
Open HardwareAssembly Instructions
Guides for installation and assembly of the LulzBot line of products made by FAME 3D LLC.

Guides for installation and assembly of the LulzBot line of products made by FAME 3D LLC.
Instructions for the assembly of the TAZ 6 Desktop 3D Printer
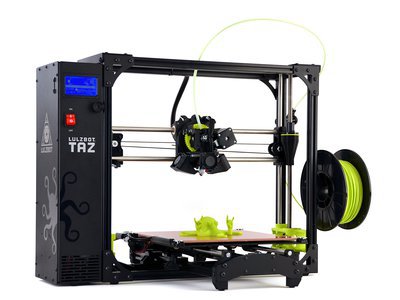
how to square a taz 6 frame
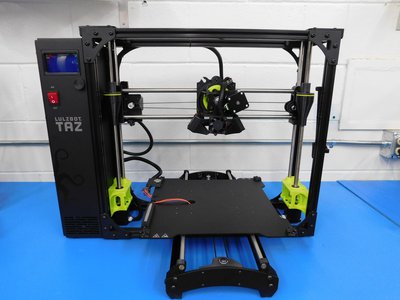
Instructions for final assembly of the TAZ 6 3D Printer from multiple sub-assemblies.
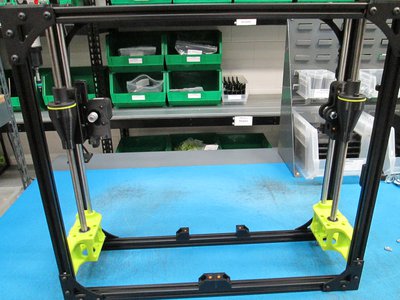
TAZ 6 Frame assembly
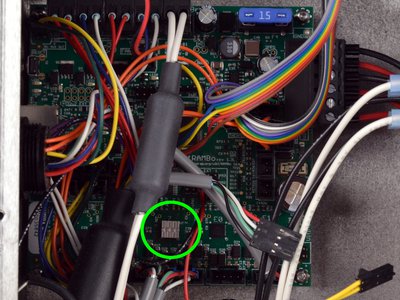
Directions for removing a heat sink from a TAZ 6.
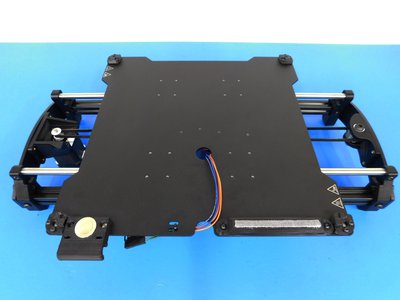
Instructions for building a TAZ 6 Y-Axis Assembly
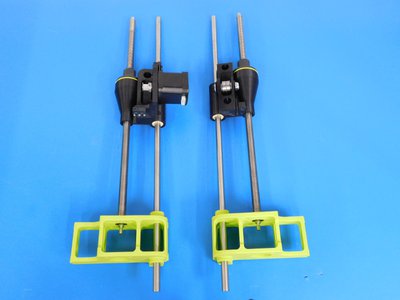
Instructions for assembling the Z-Axis Left & Right Sub-Assemblies
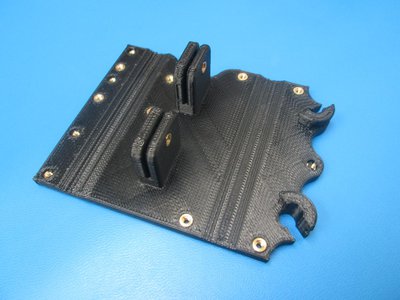
Instruction for identification of printed parts and thermal insert installation used on TAZ6.0
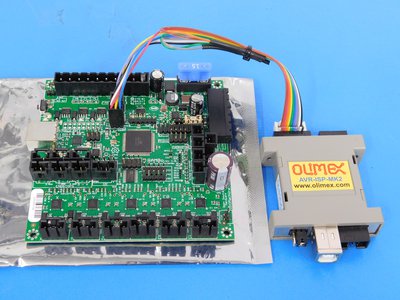
Instructions for flashing the bootloader on the TAZ6 Rambo electronics board
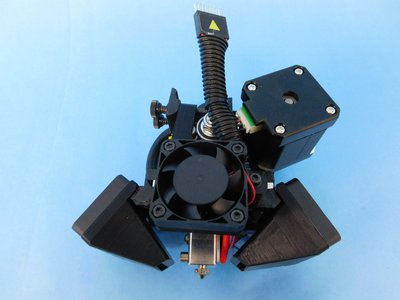
Instructions on how to assemble the TAZ extruder
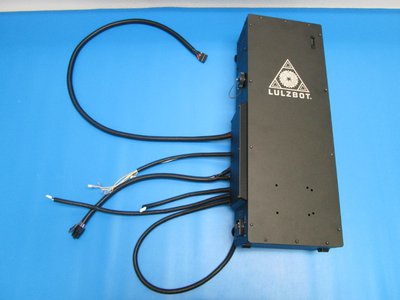
Assembly instructions and critical operation sequence for the TAZ6.0 Control Box
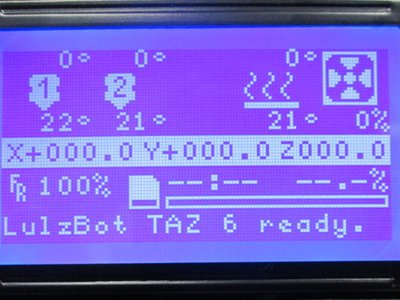
Instructions for testing a TAZ6.0 Control Box prior to connection to a TAZ 6 product. WARNING! This process is for use only with a control box test fixture, utilizing the test gcode with a standard TAZ 6 product will result in damage.
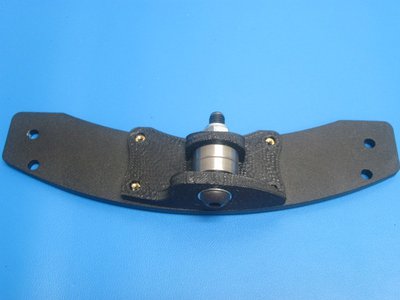
Instructions for constructing of TAZ6.0 Y axis subassemblies
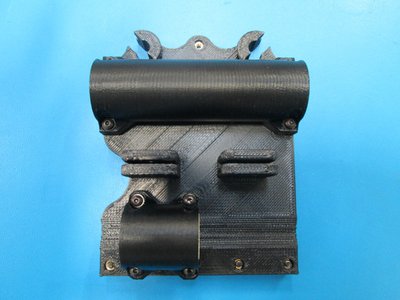
Instructions for constructing a TAZ6.0 X axis assembly
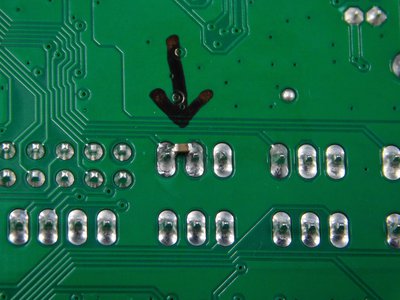
Soldering two 0603 package 100 pF capacitors to the z-min and zero sense circuits.
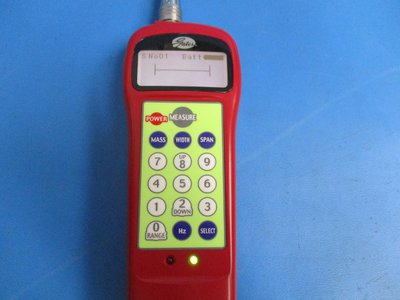
Procedure for checking belt tension with the 508C Sonic Tension Meter
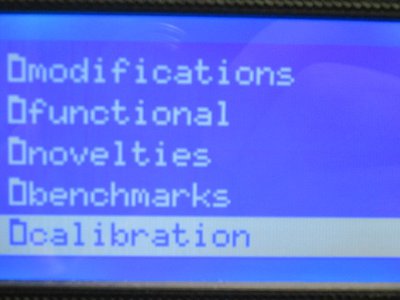
Instructions for testing and calibrating a TAZ6.0 prior to packaging for shipment
Instructions for building wire assemblies for TAZ 6
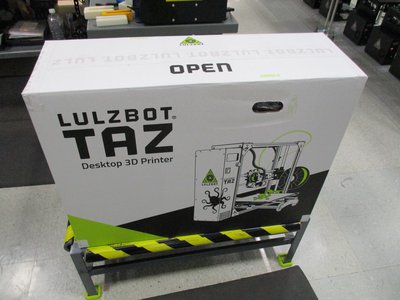
How to package a TAZ 6 at the conclusion of the manufacturing process