Open HardwareAssembly Instructions
Guides for installation and assembly of the LulzBot line of products made by FAME 3D LLC.
Guides for installation and assembly of the LulzBot line of products made by FAME 3D LLC.
BEFORE BEGINNING: position the X carriage (extruder mount) into the shipping position which is a position toward the right of the frame and 20mm from Z max.
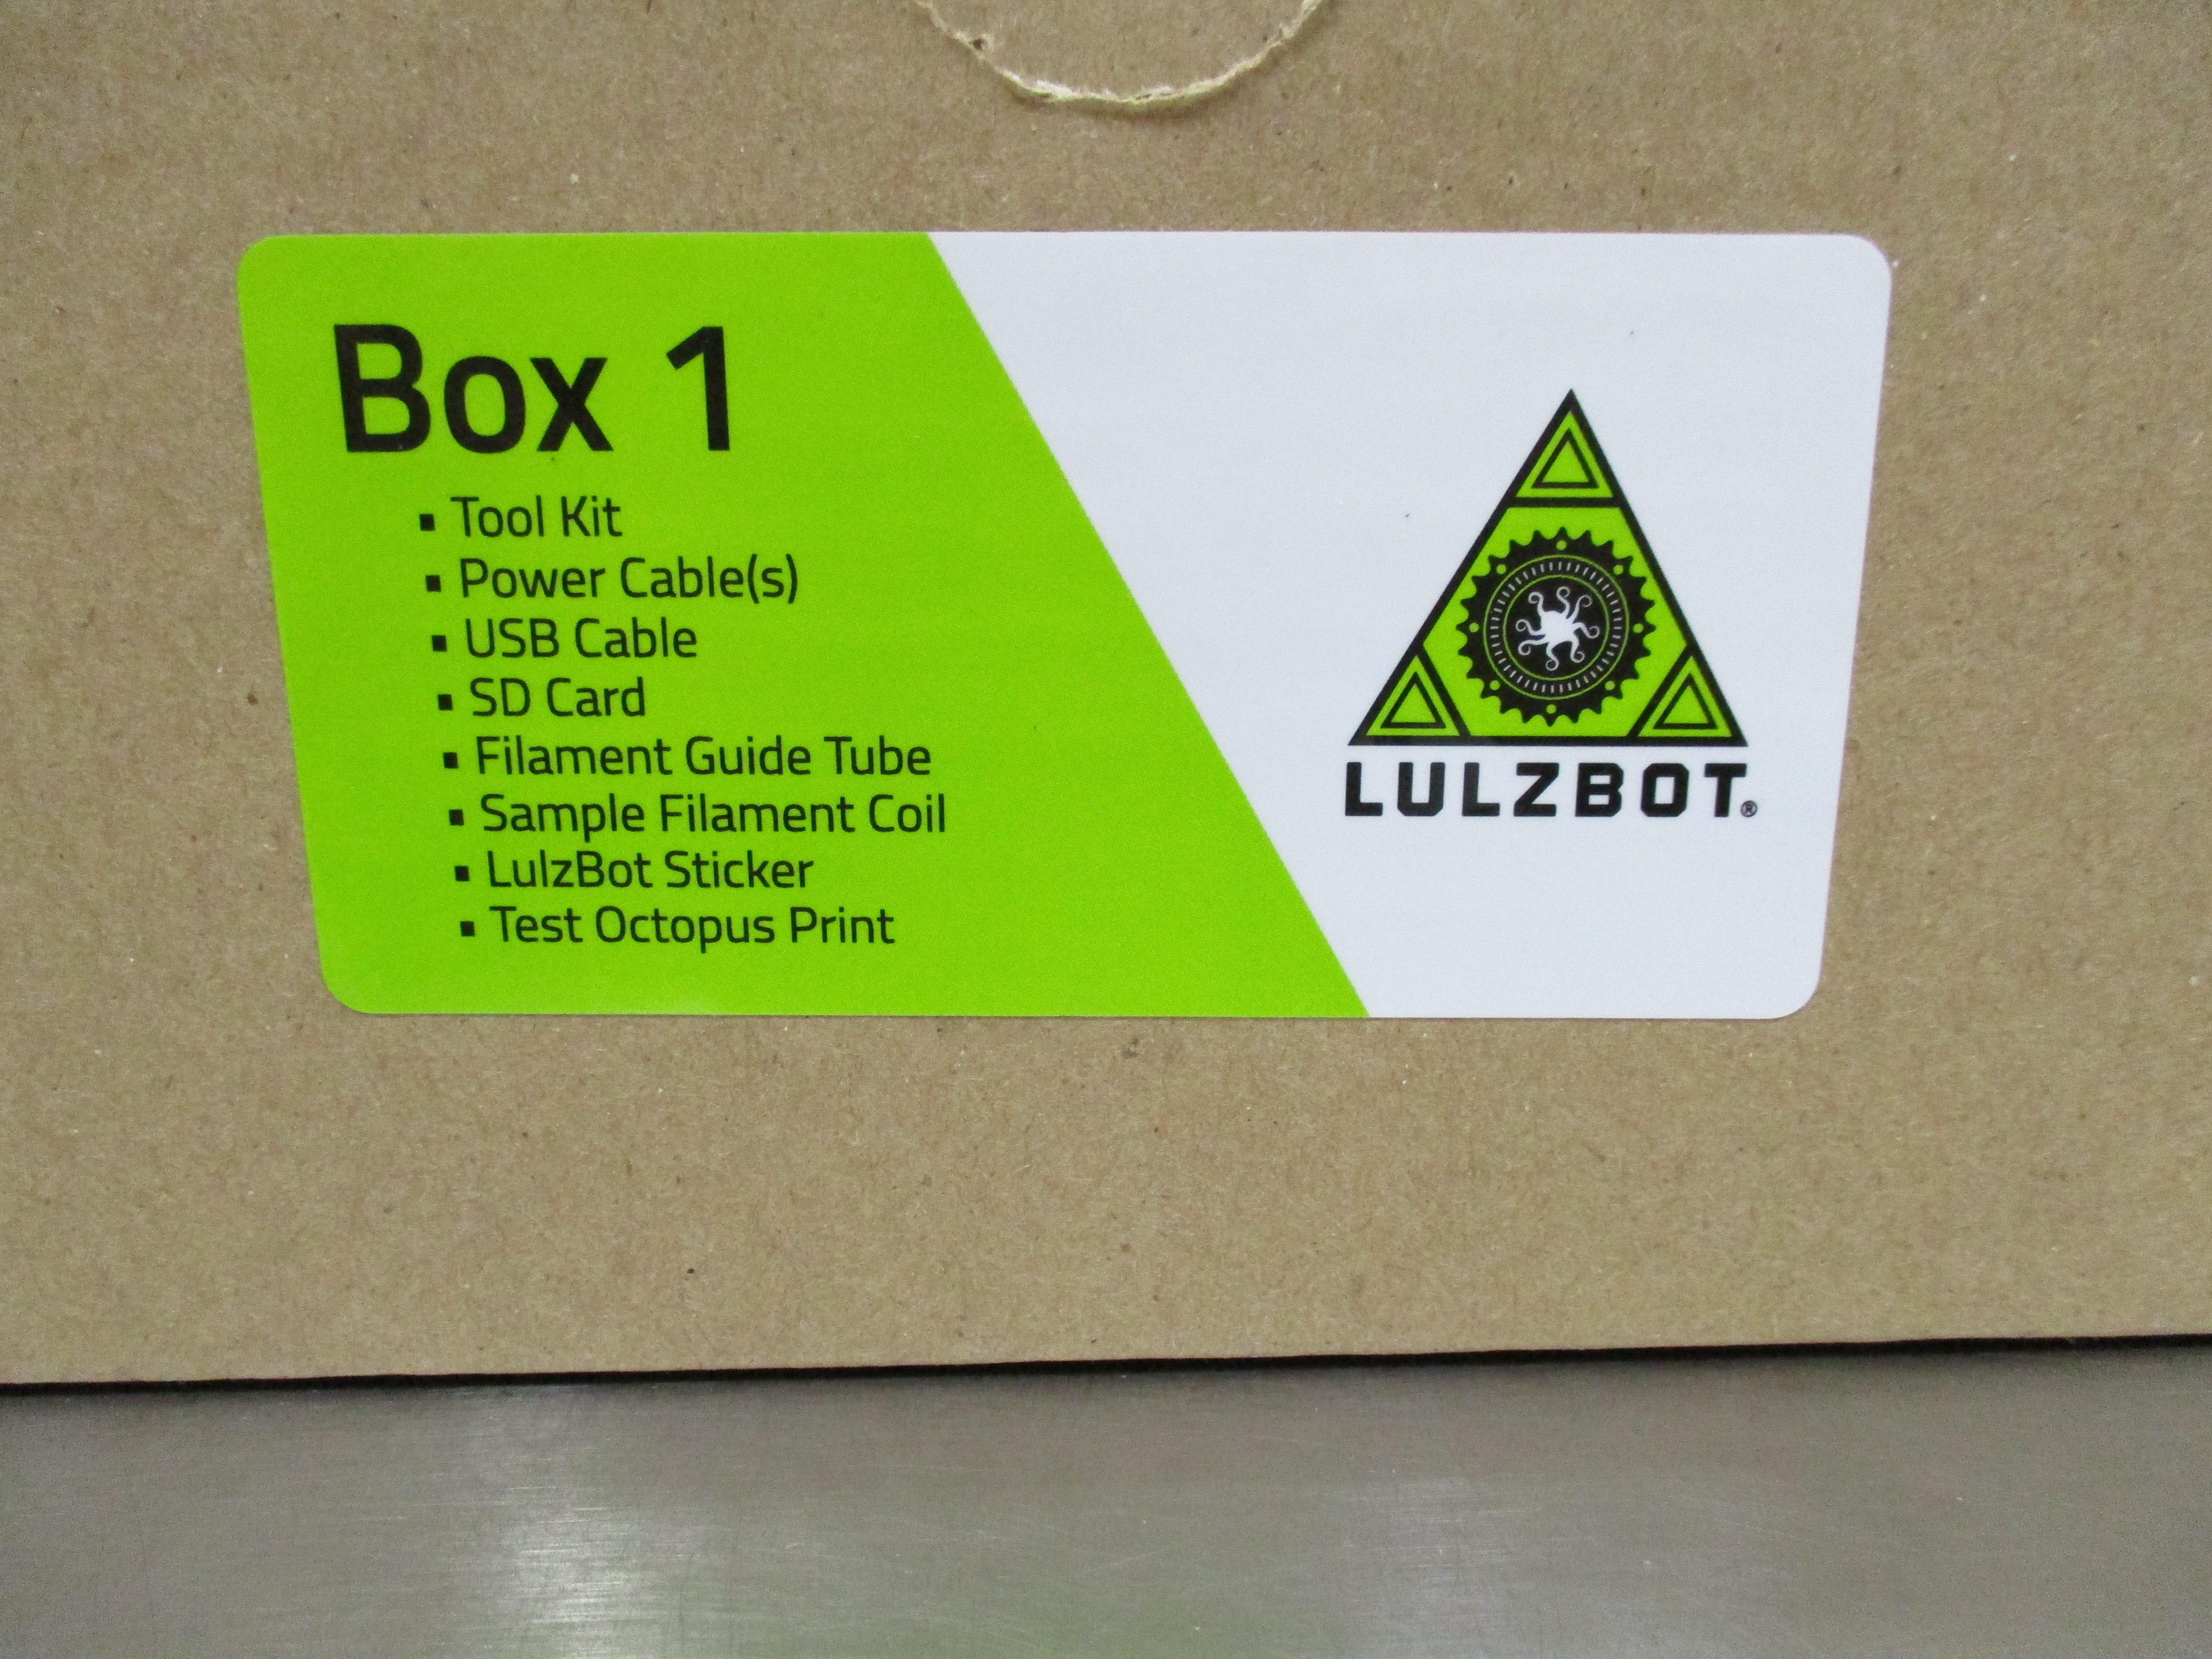
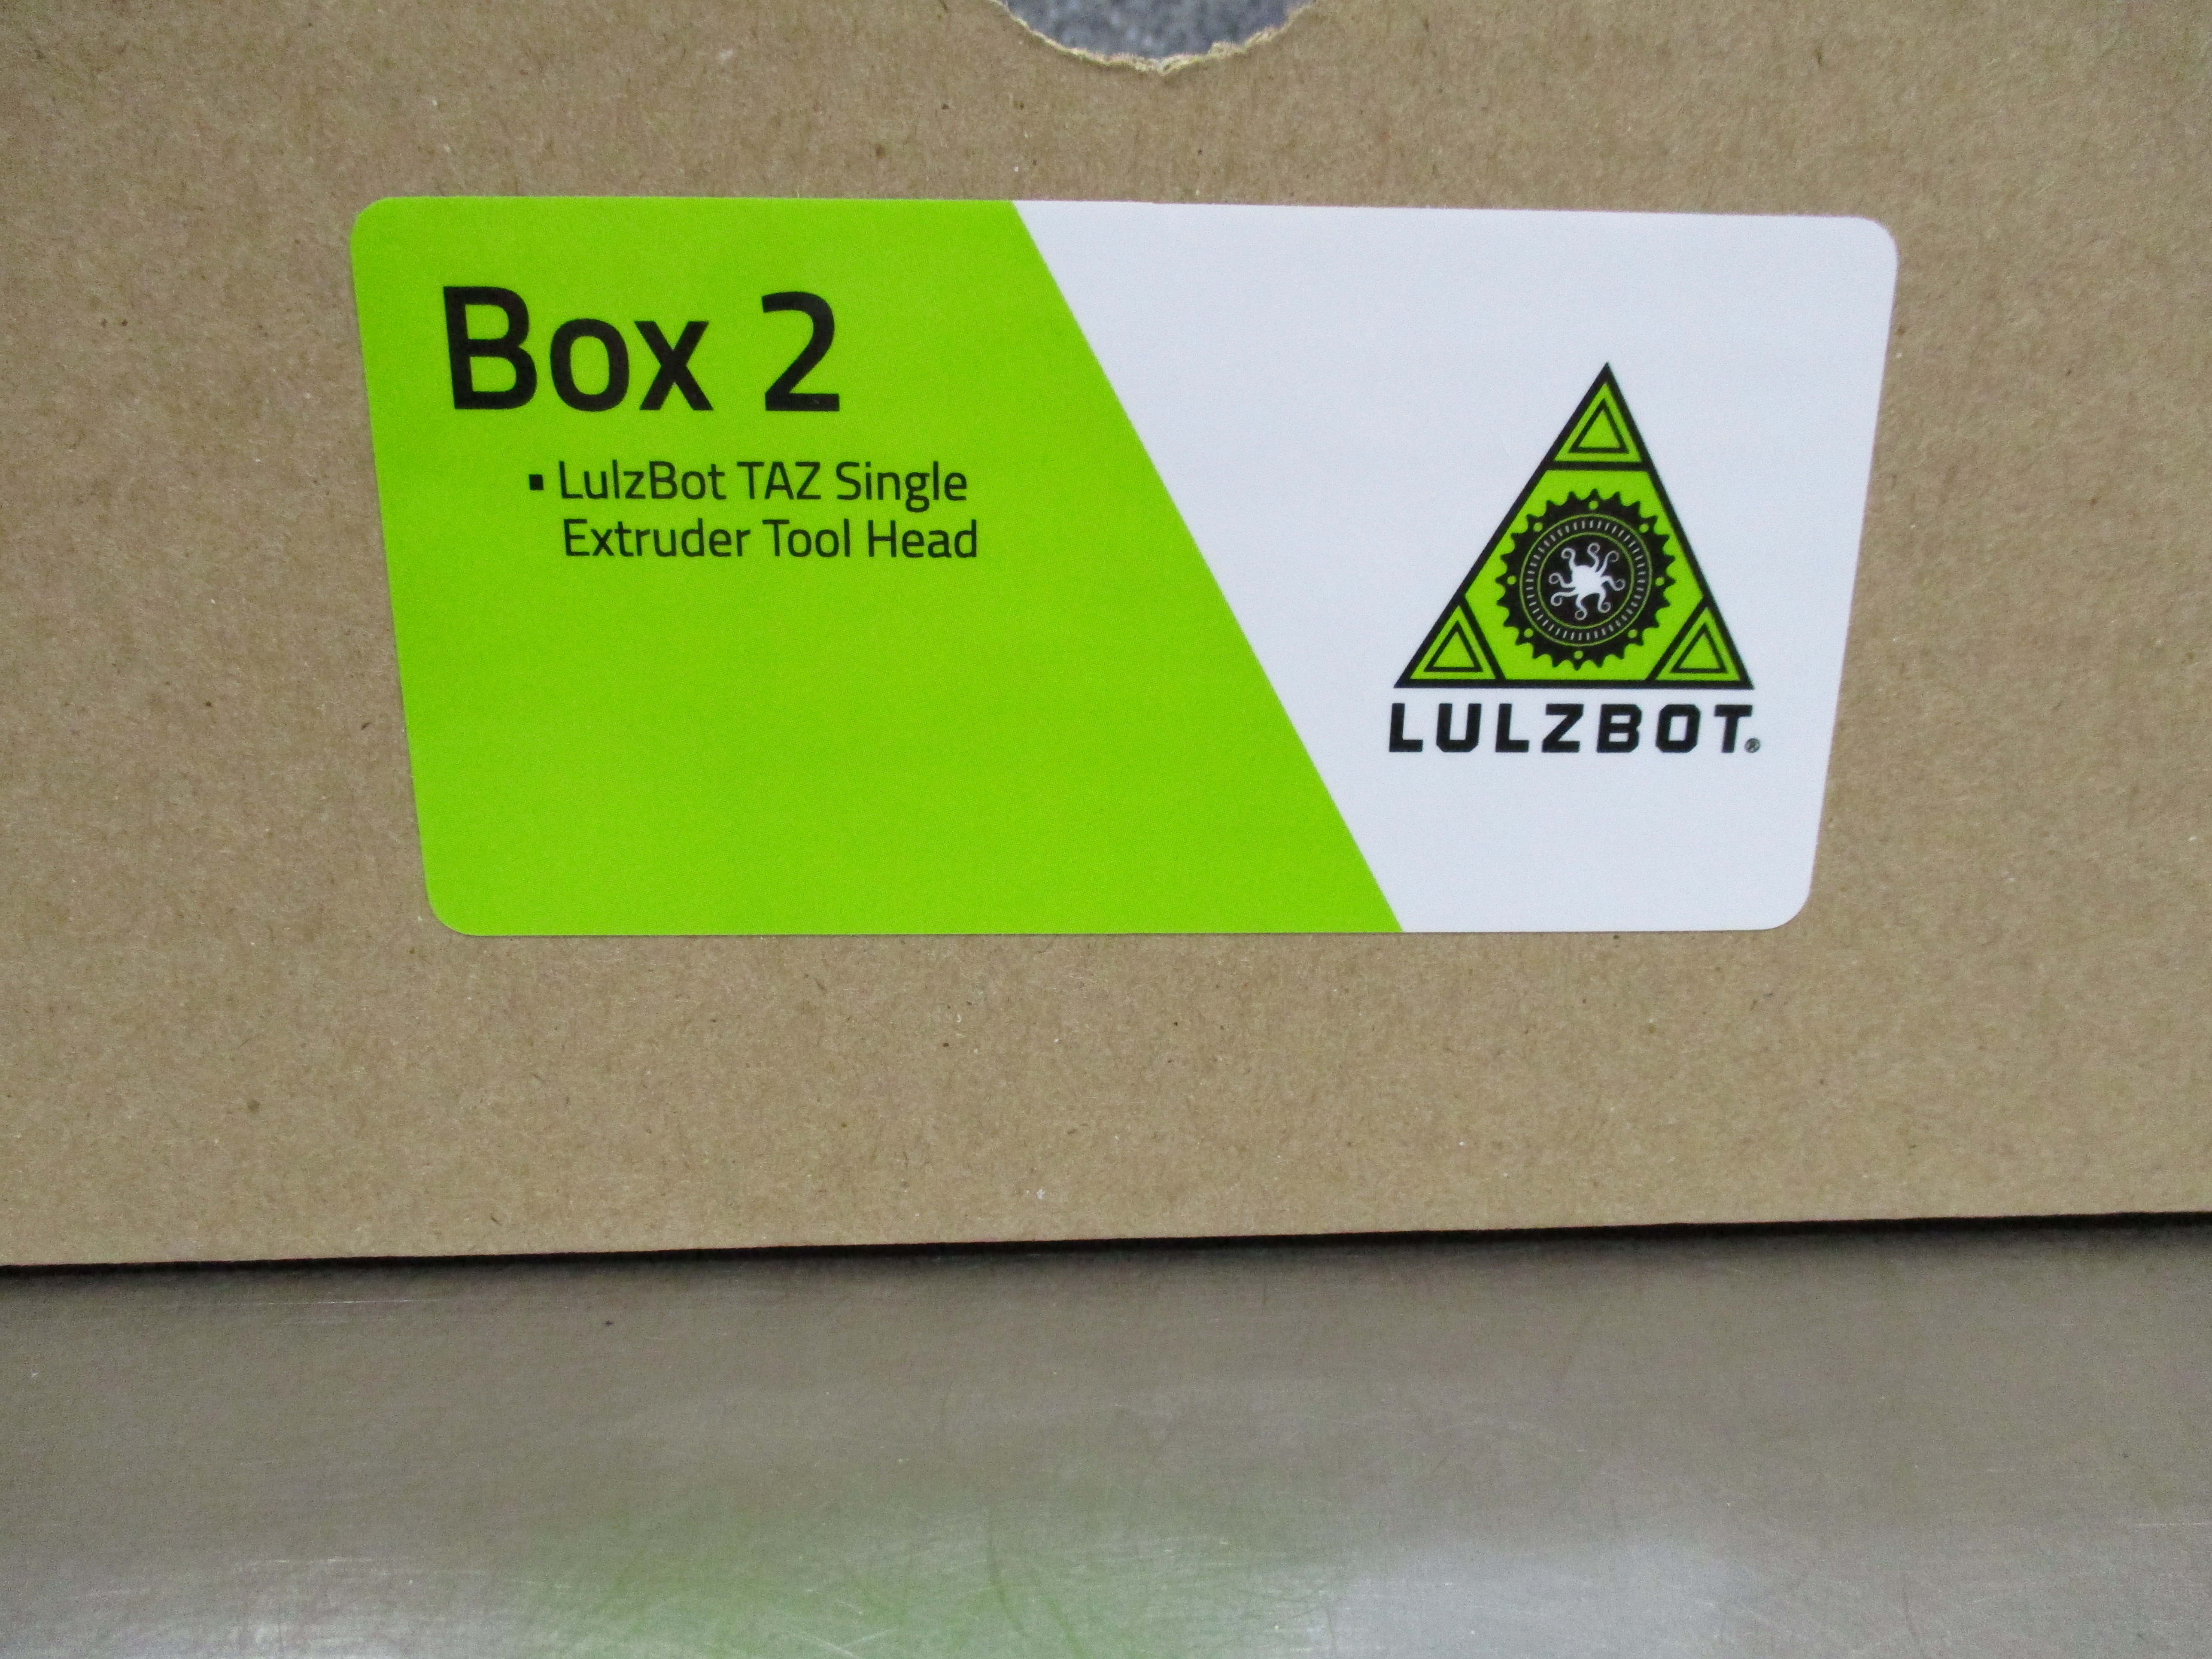
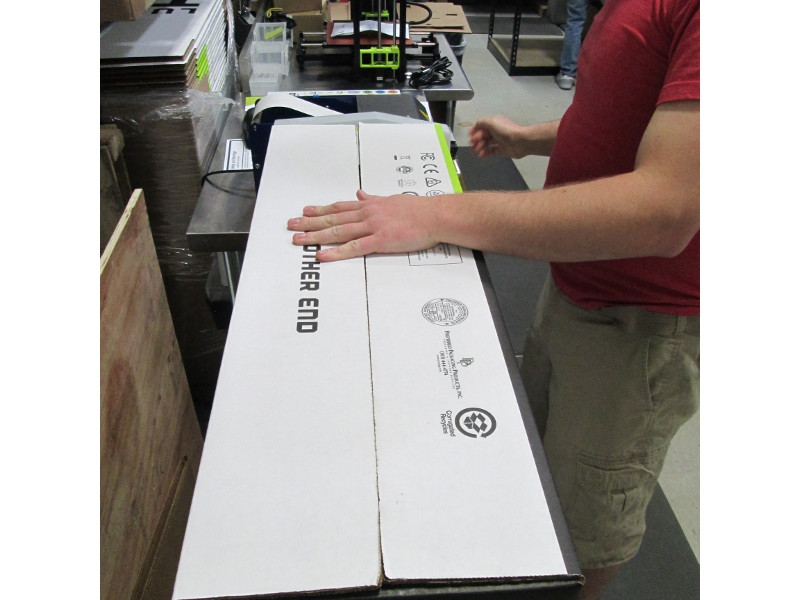
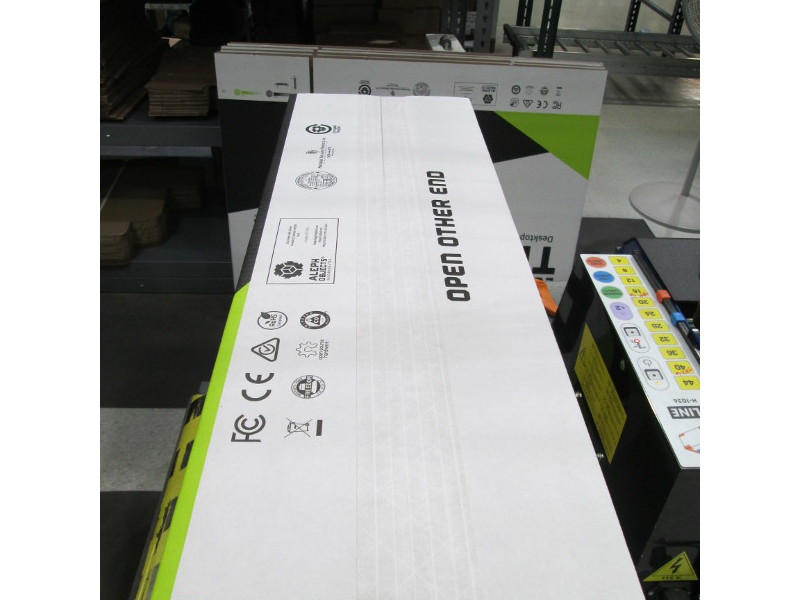
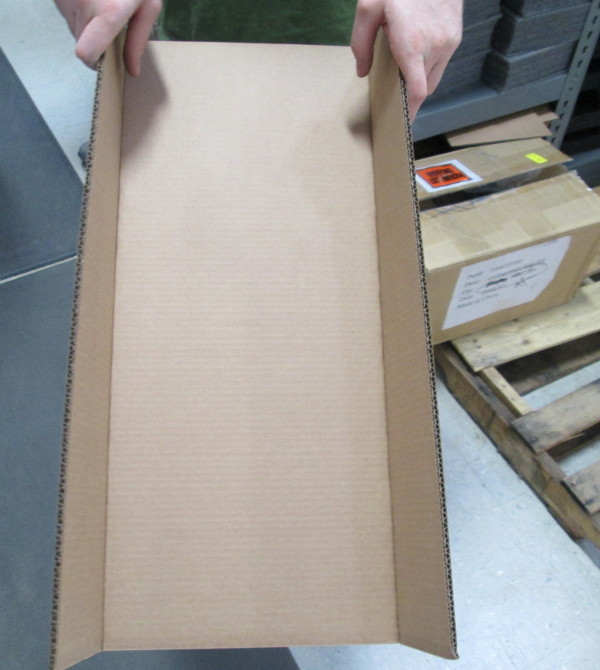
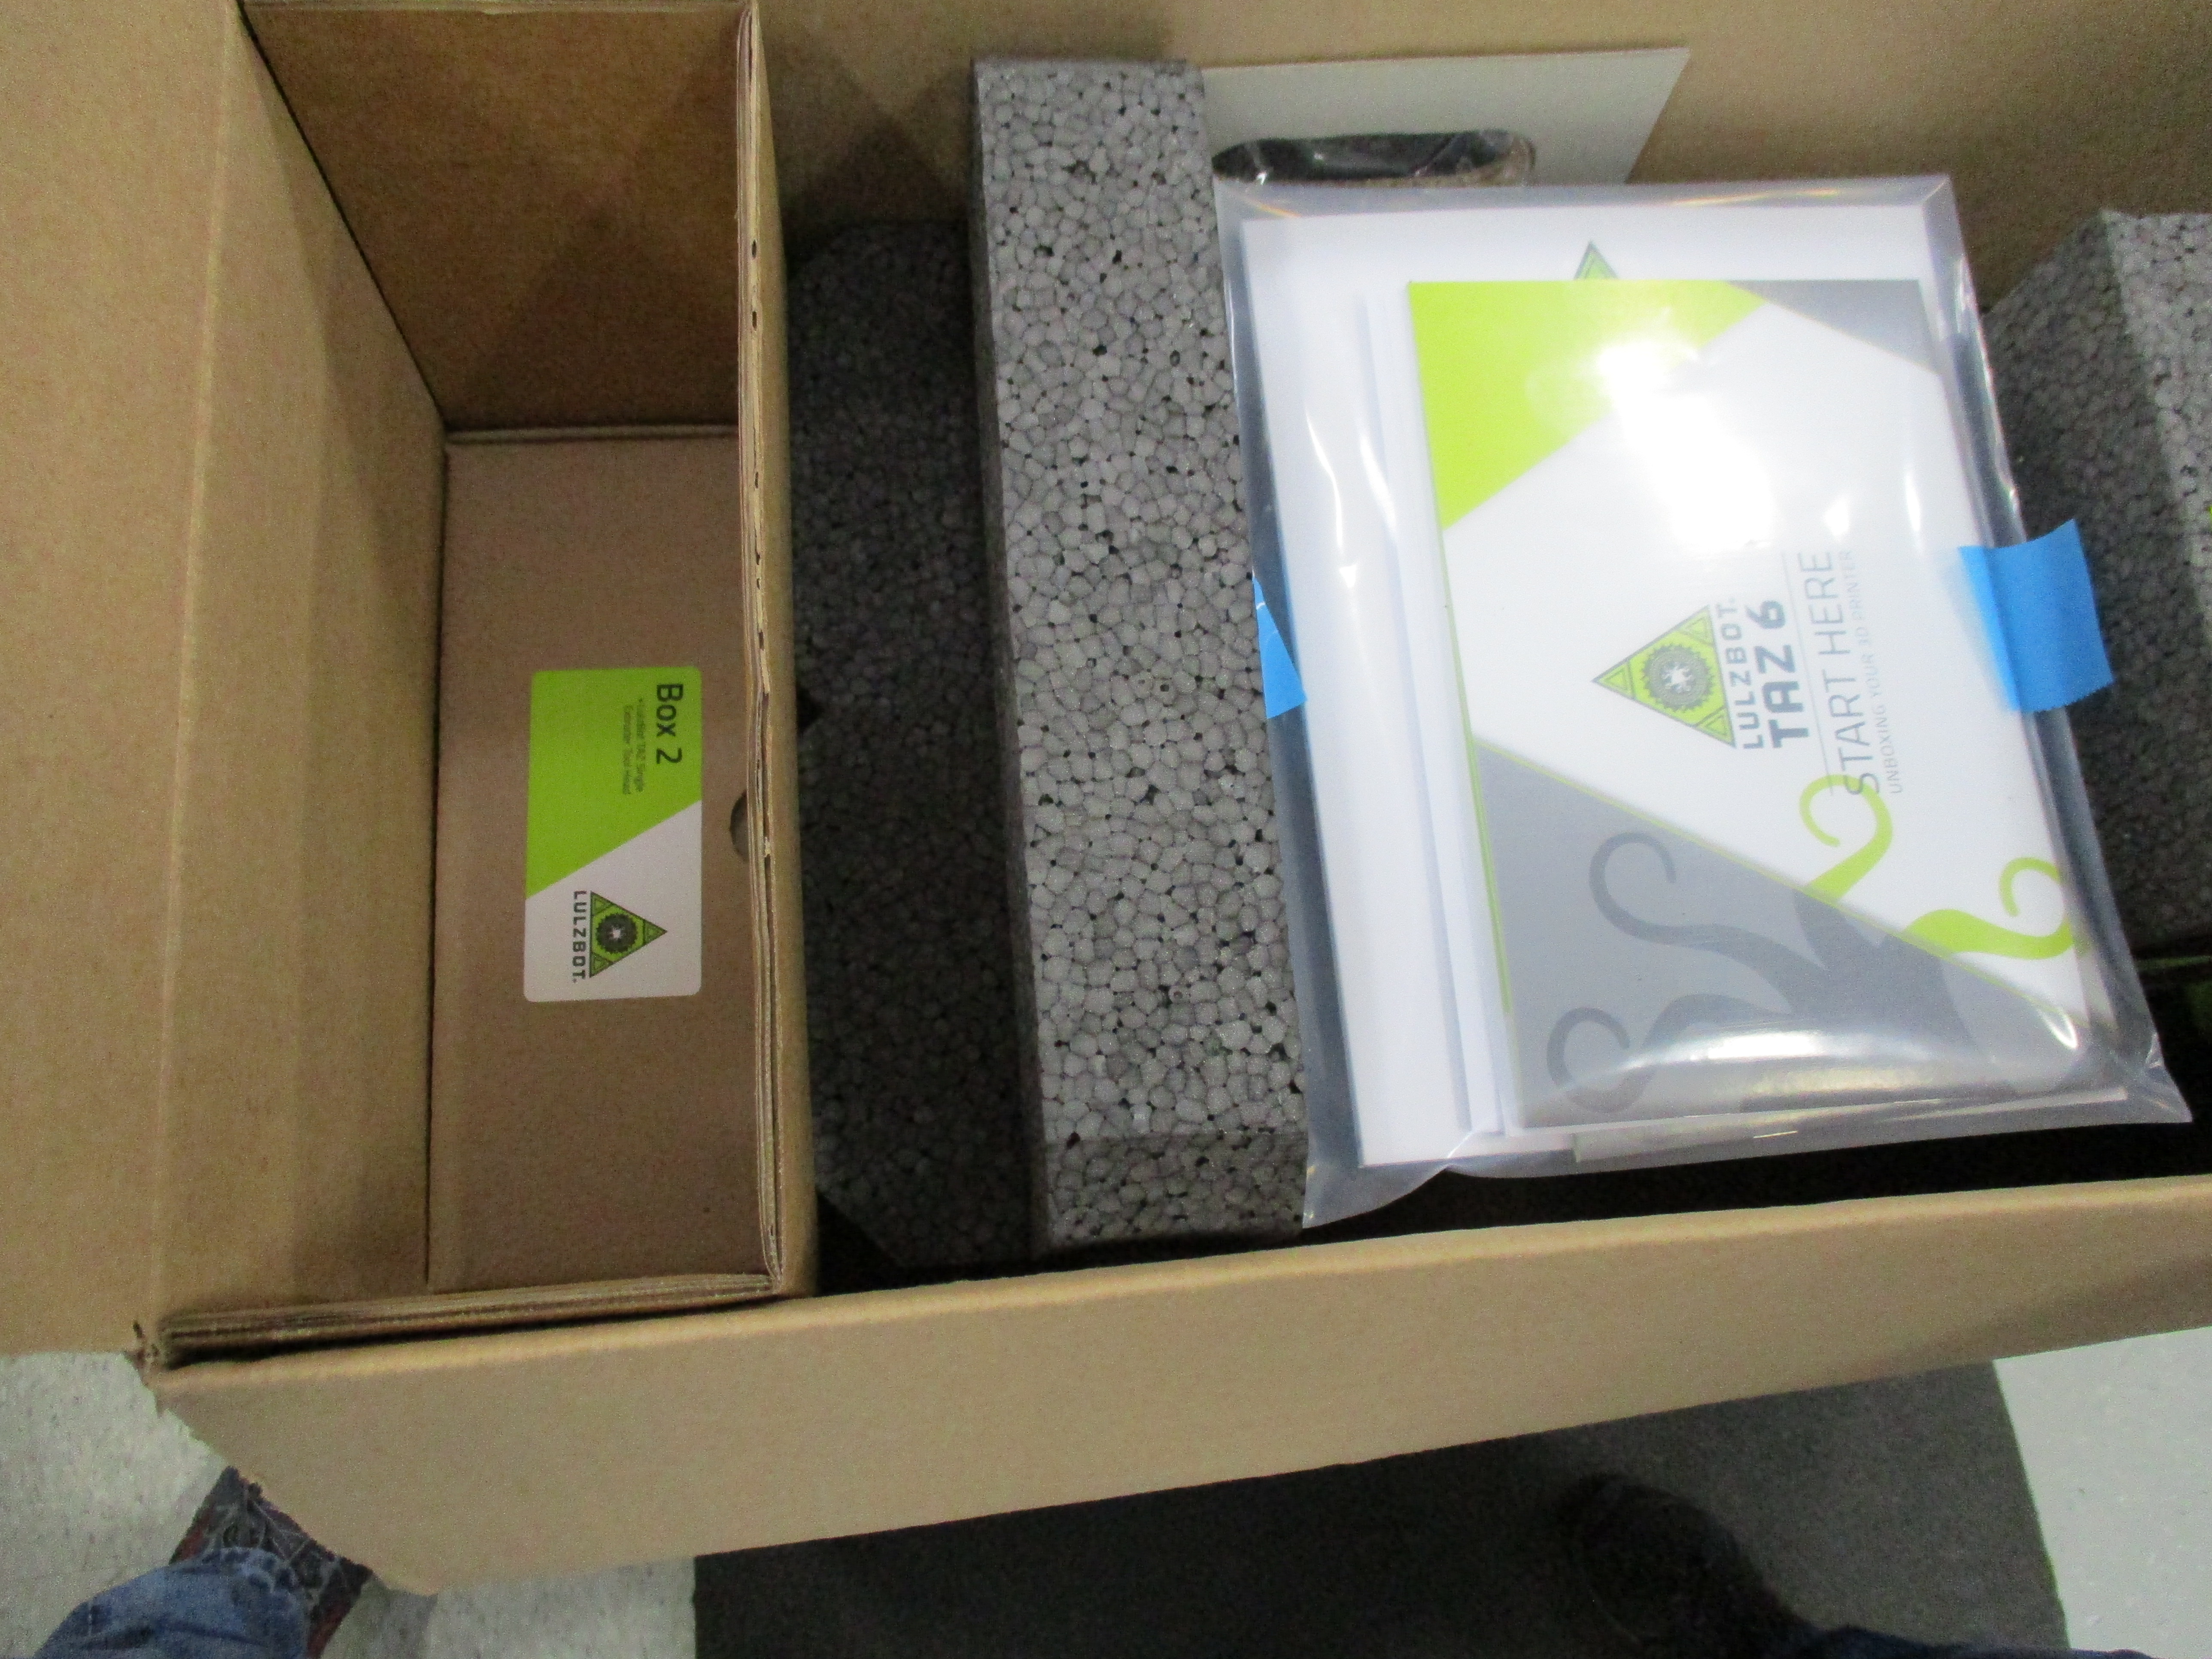
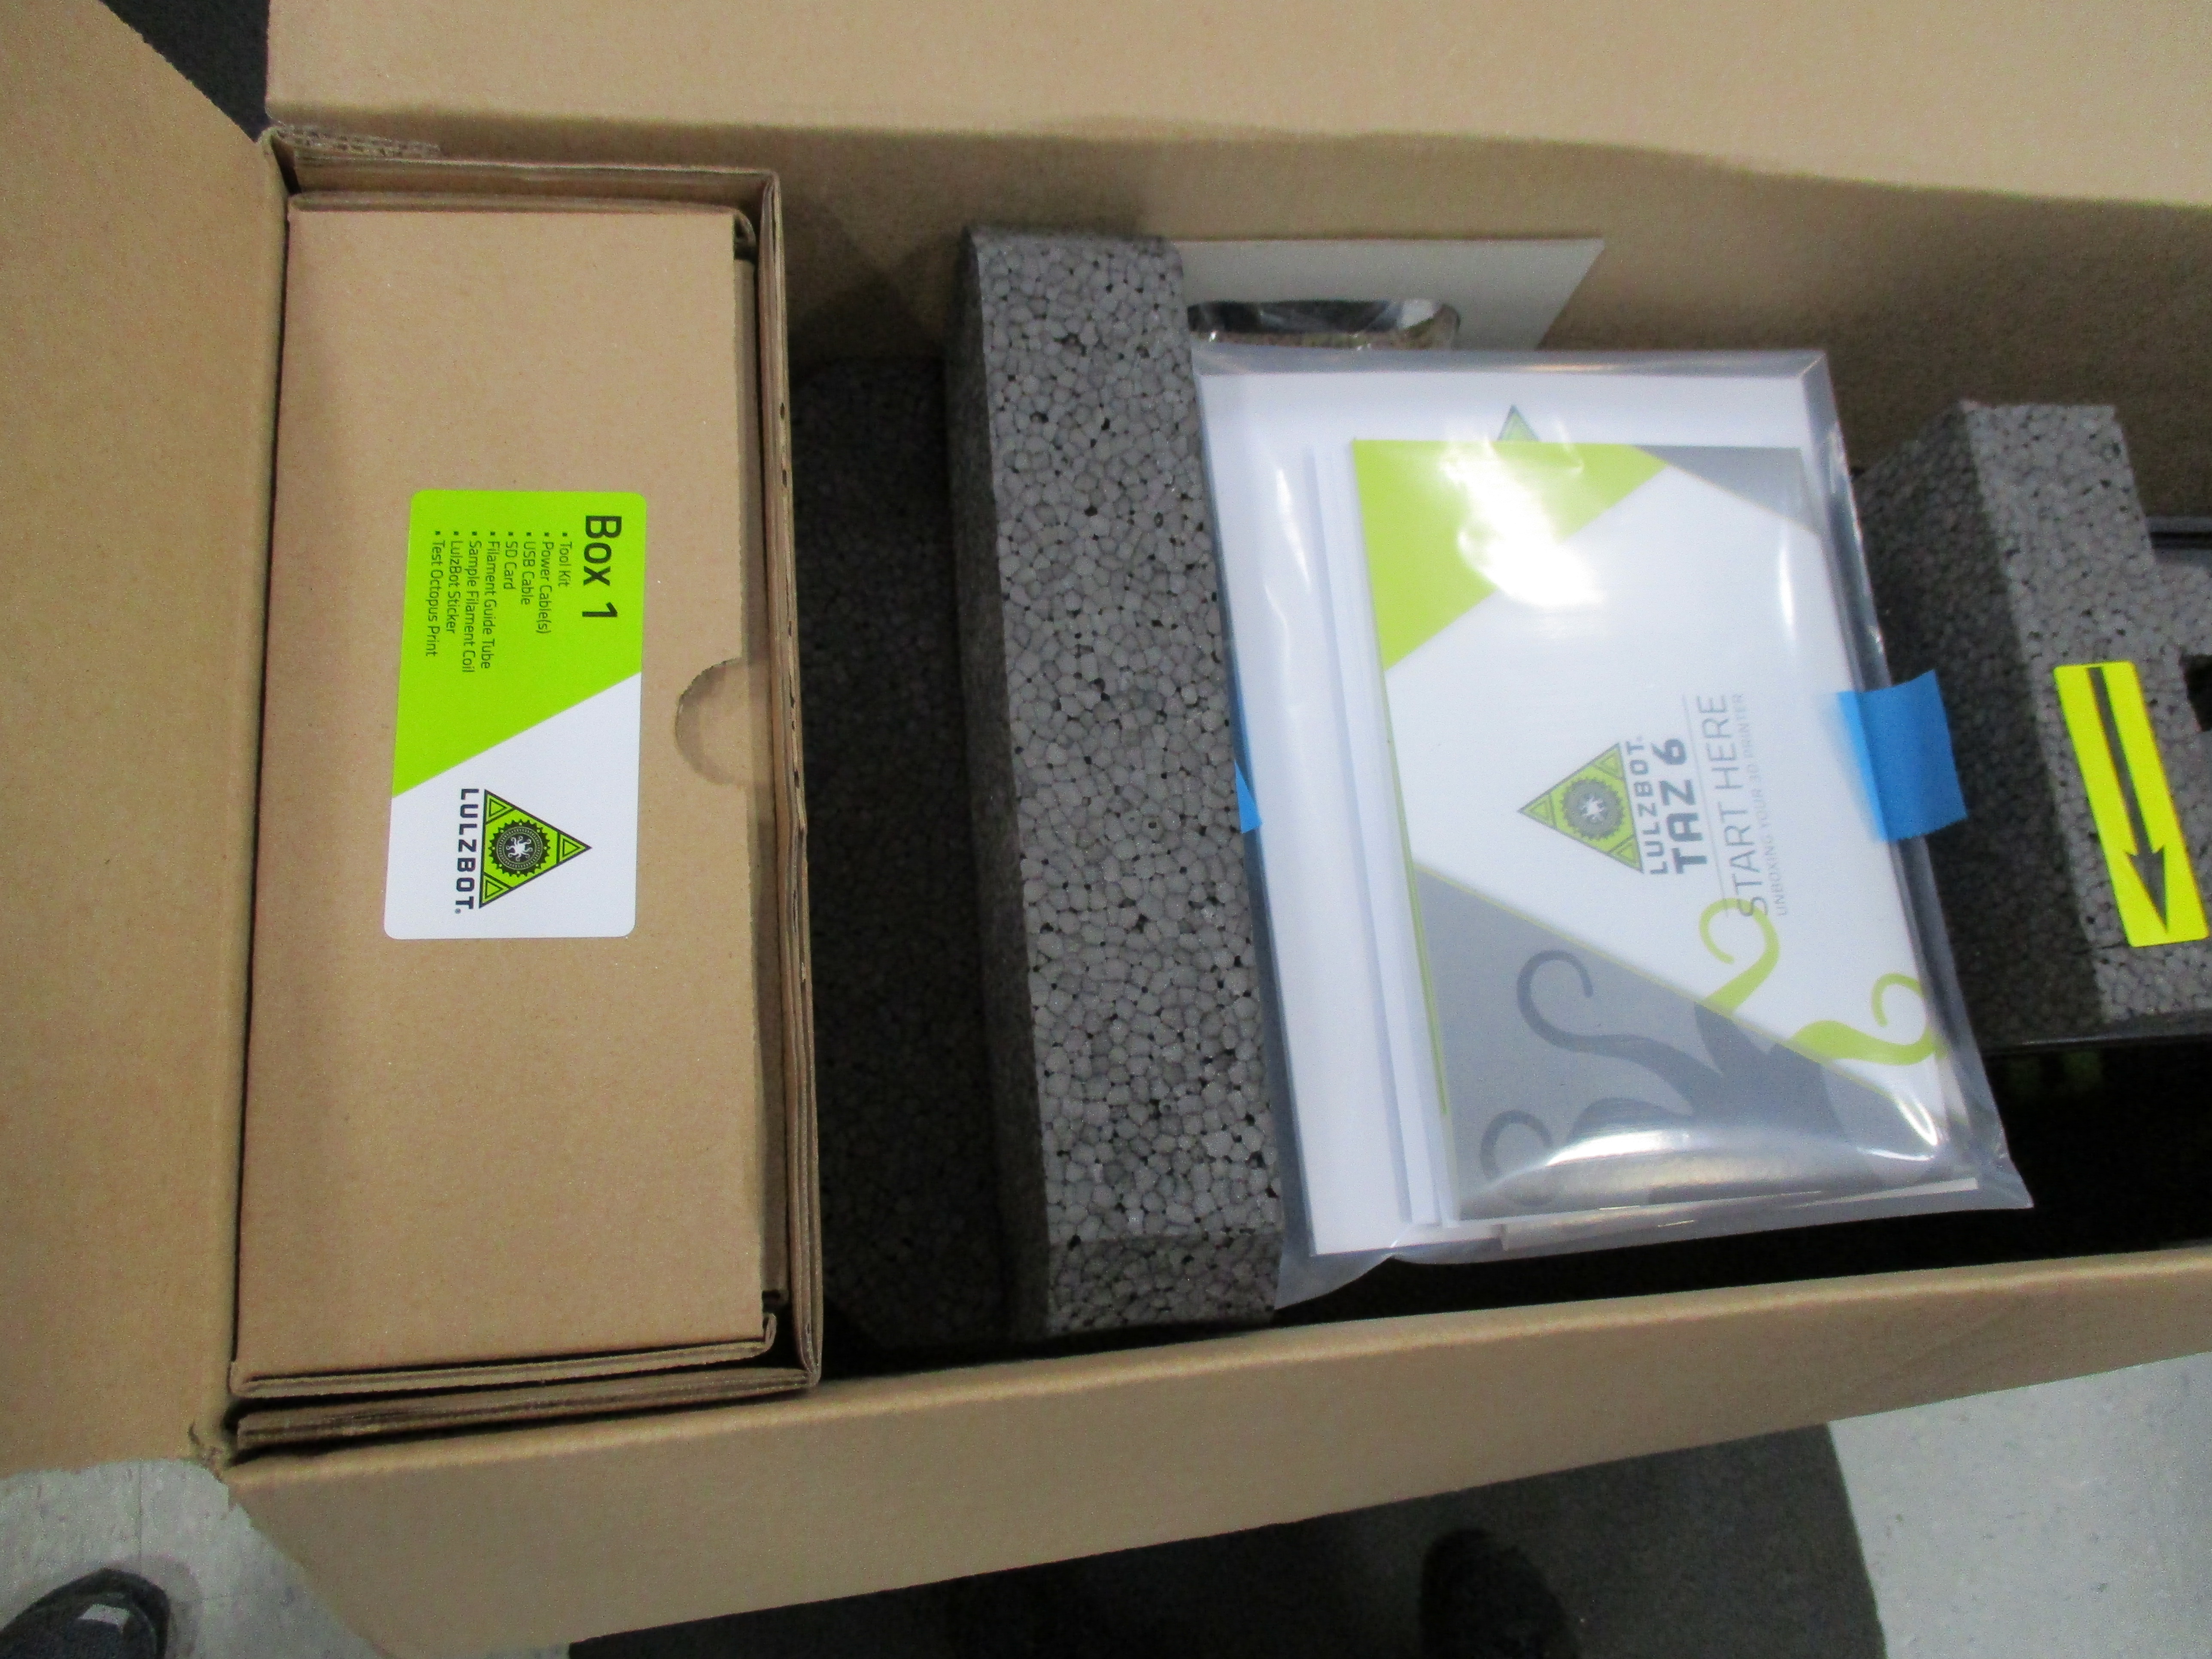
Form the Accessories box (box #1) and Extruder box (box #2), apply appropriate box labels onto the boxes
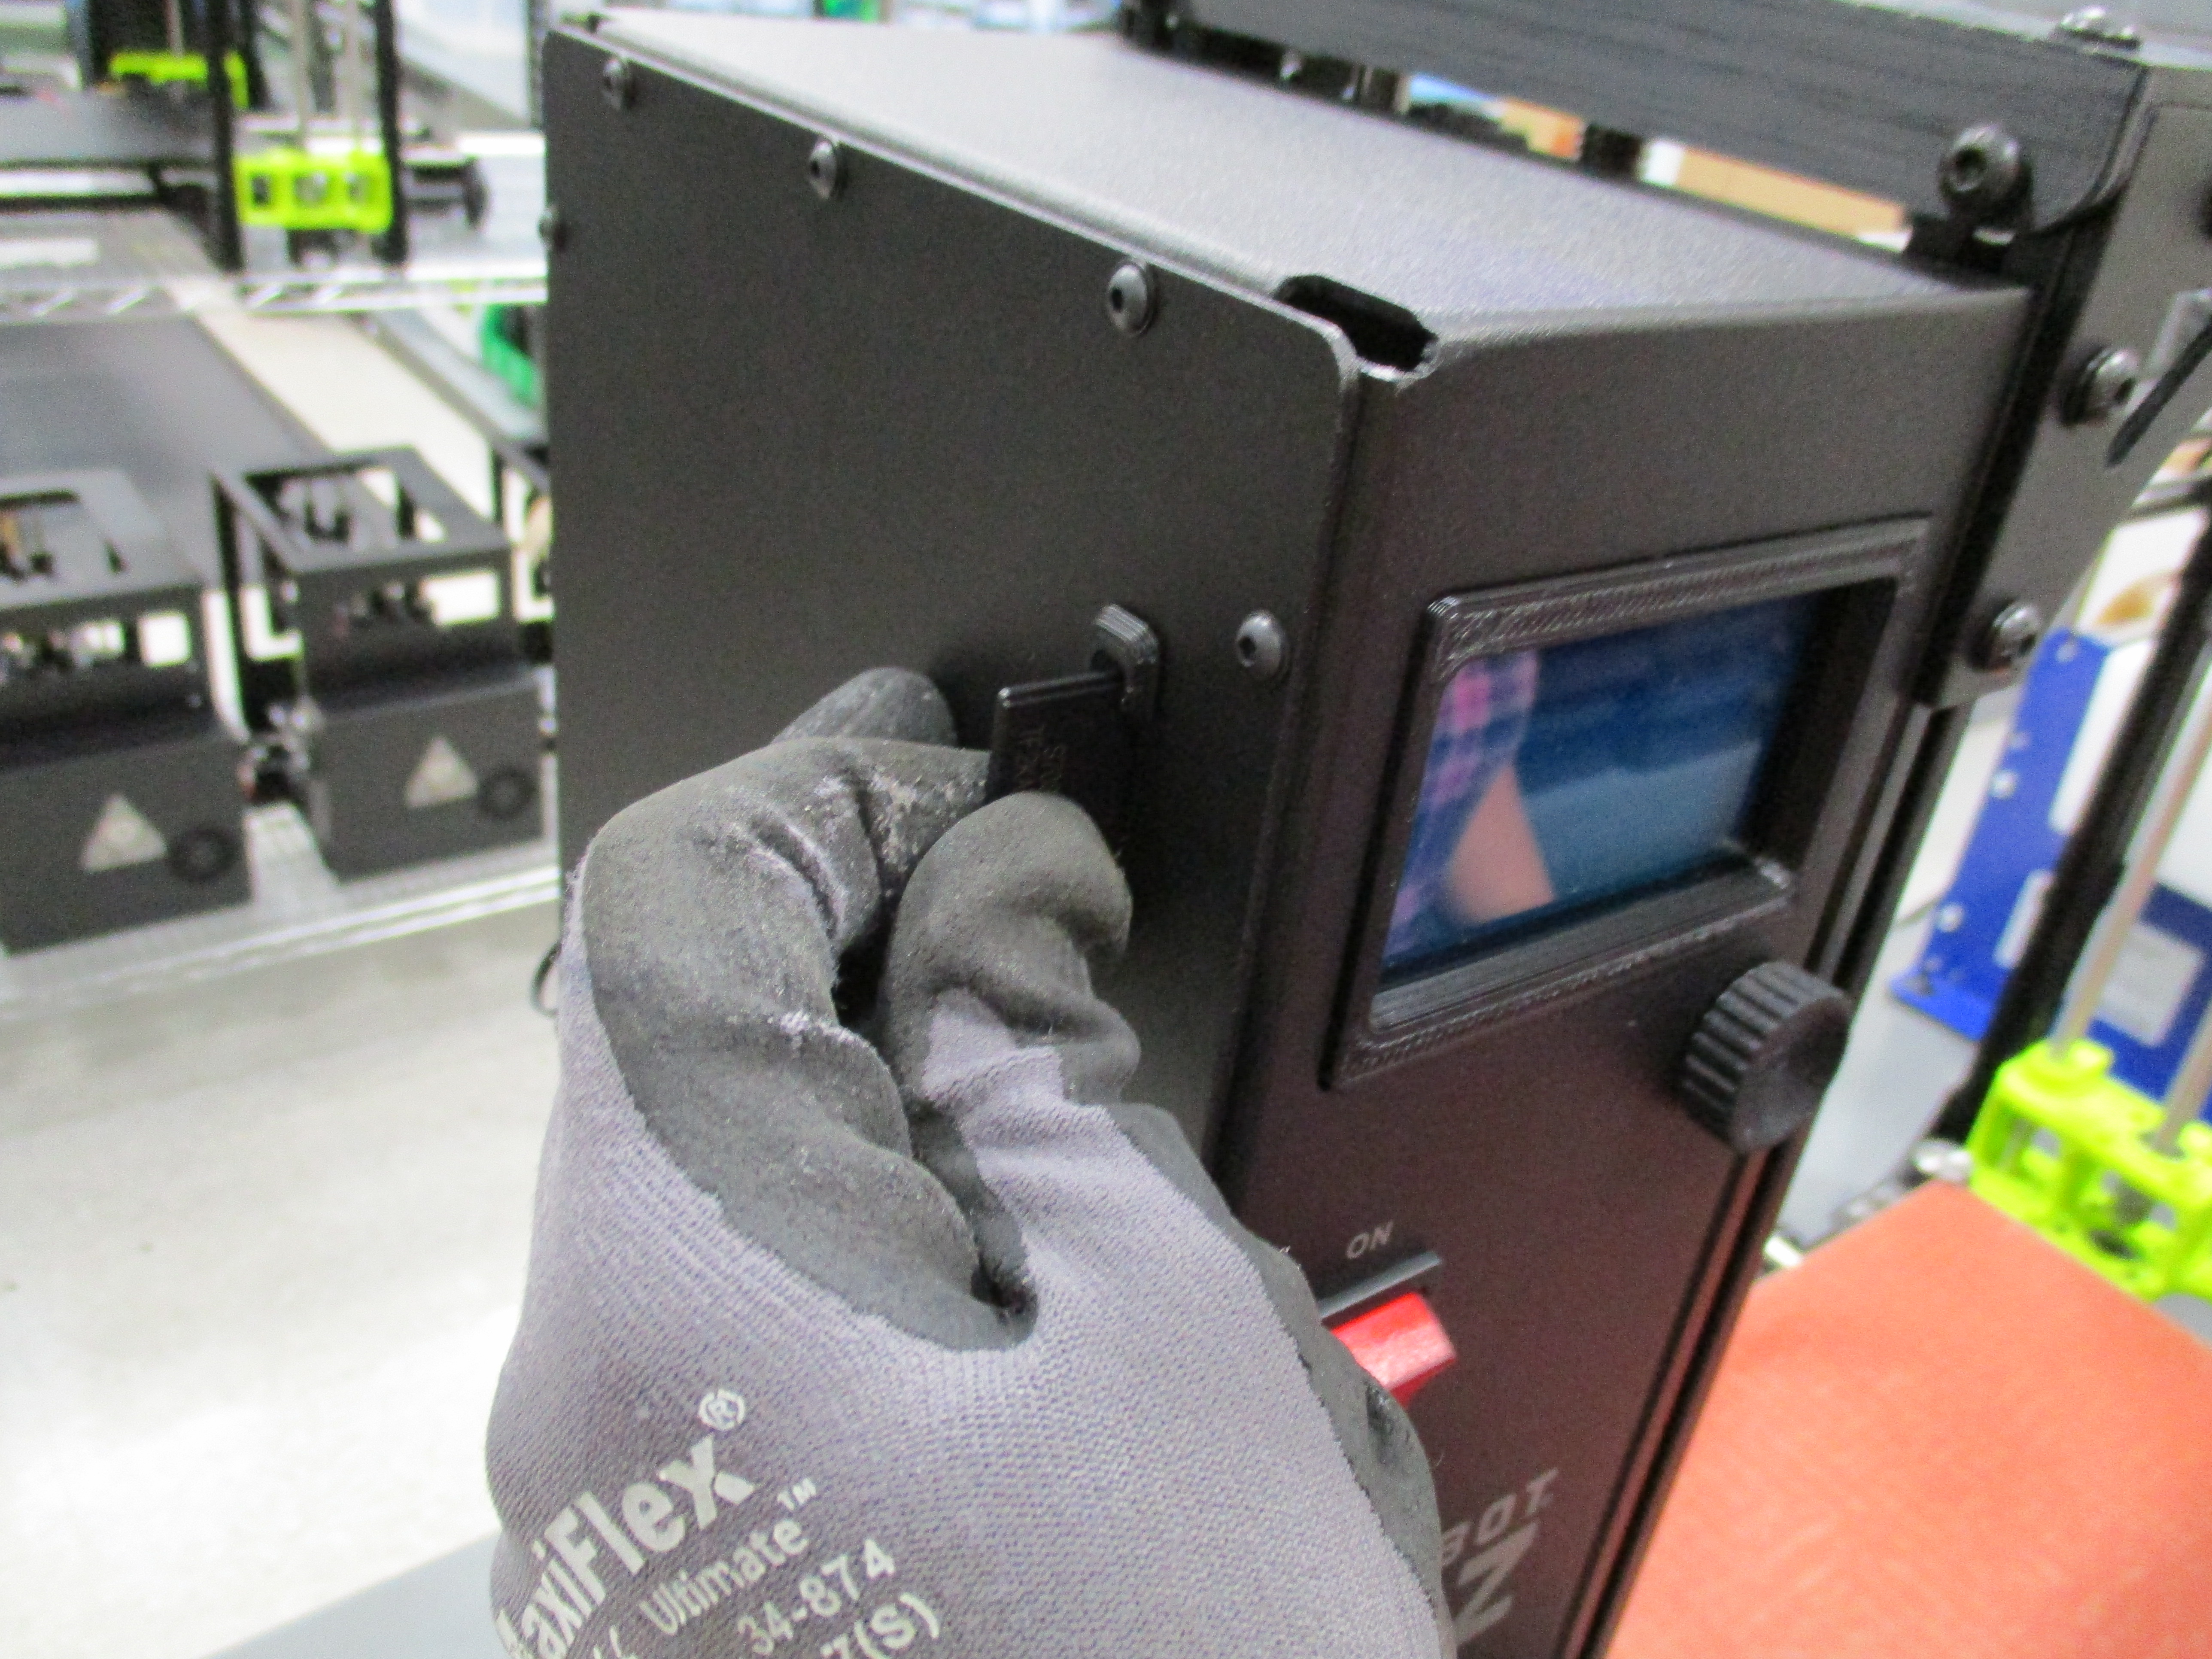
Remove the SD Card from the printer, place in ESD bag and close.
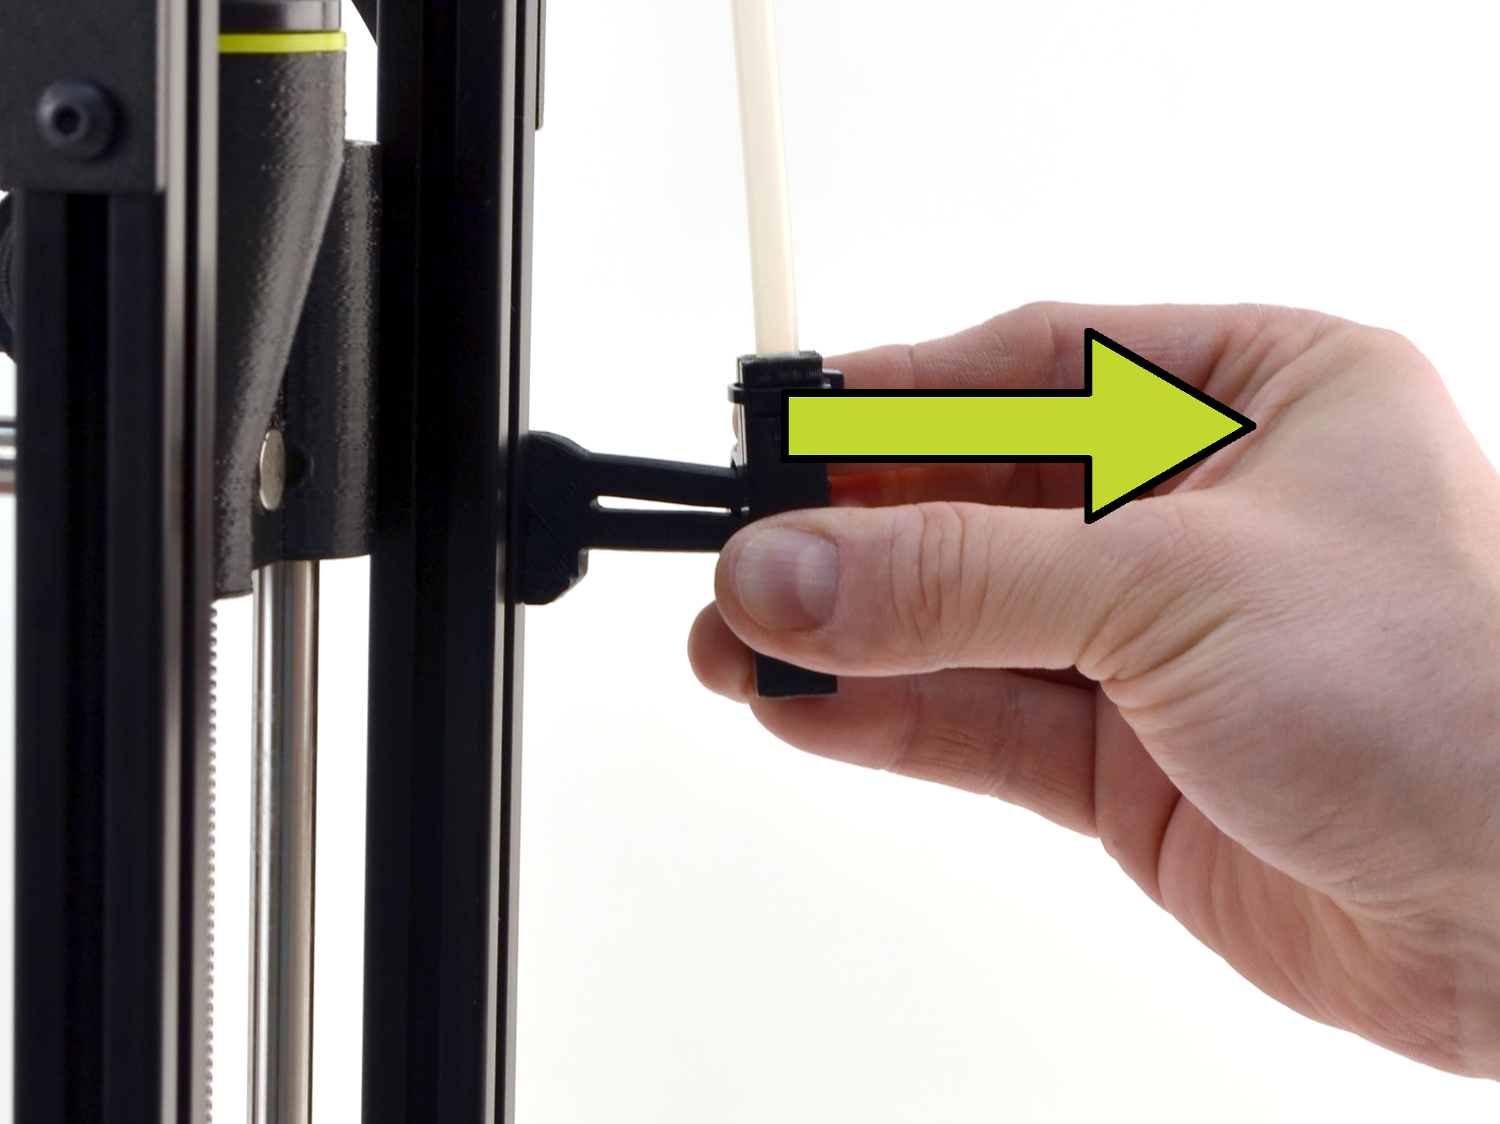
Remove the Filament feed tube assembly from the printer
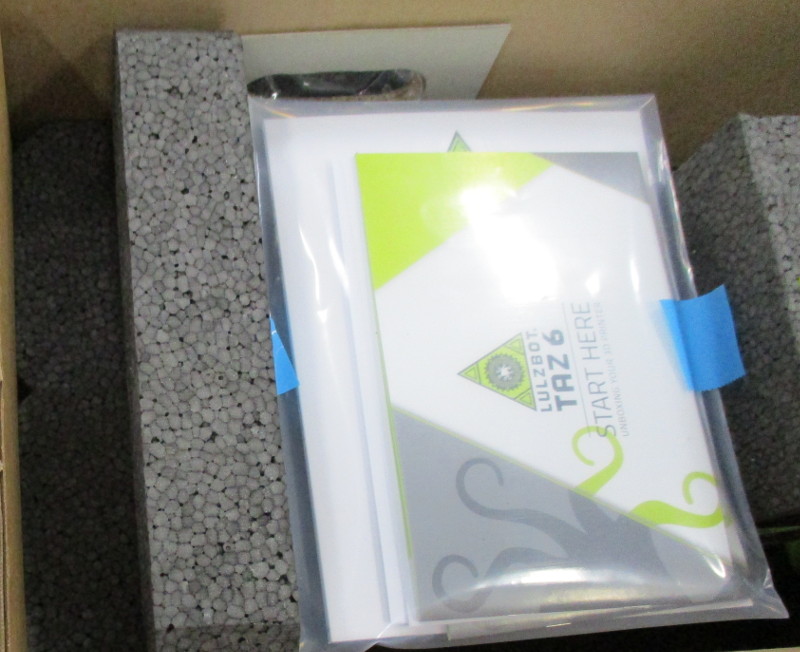
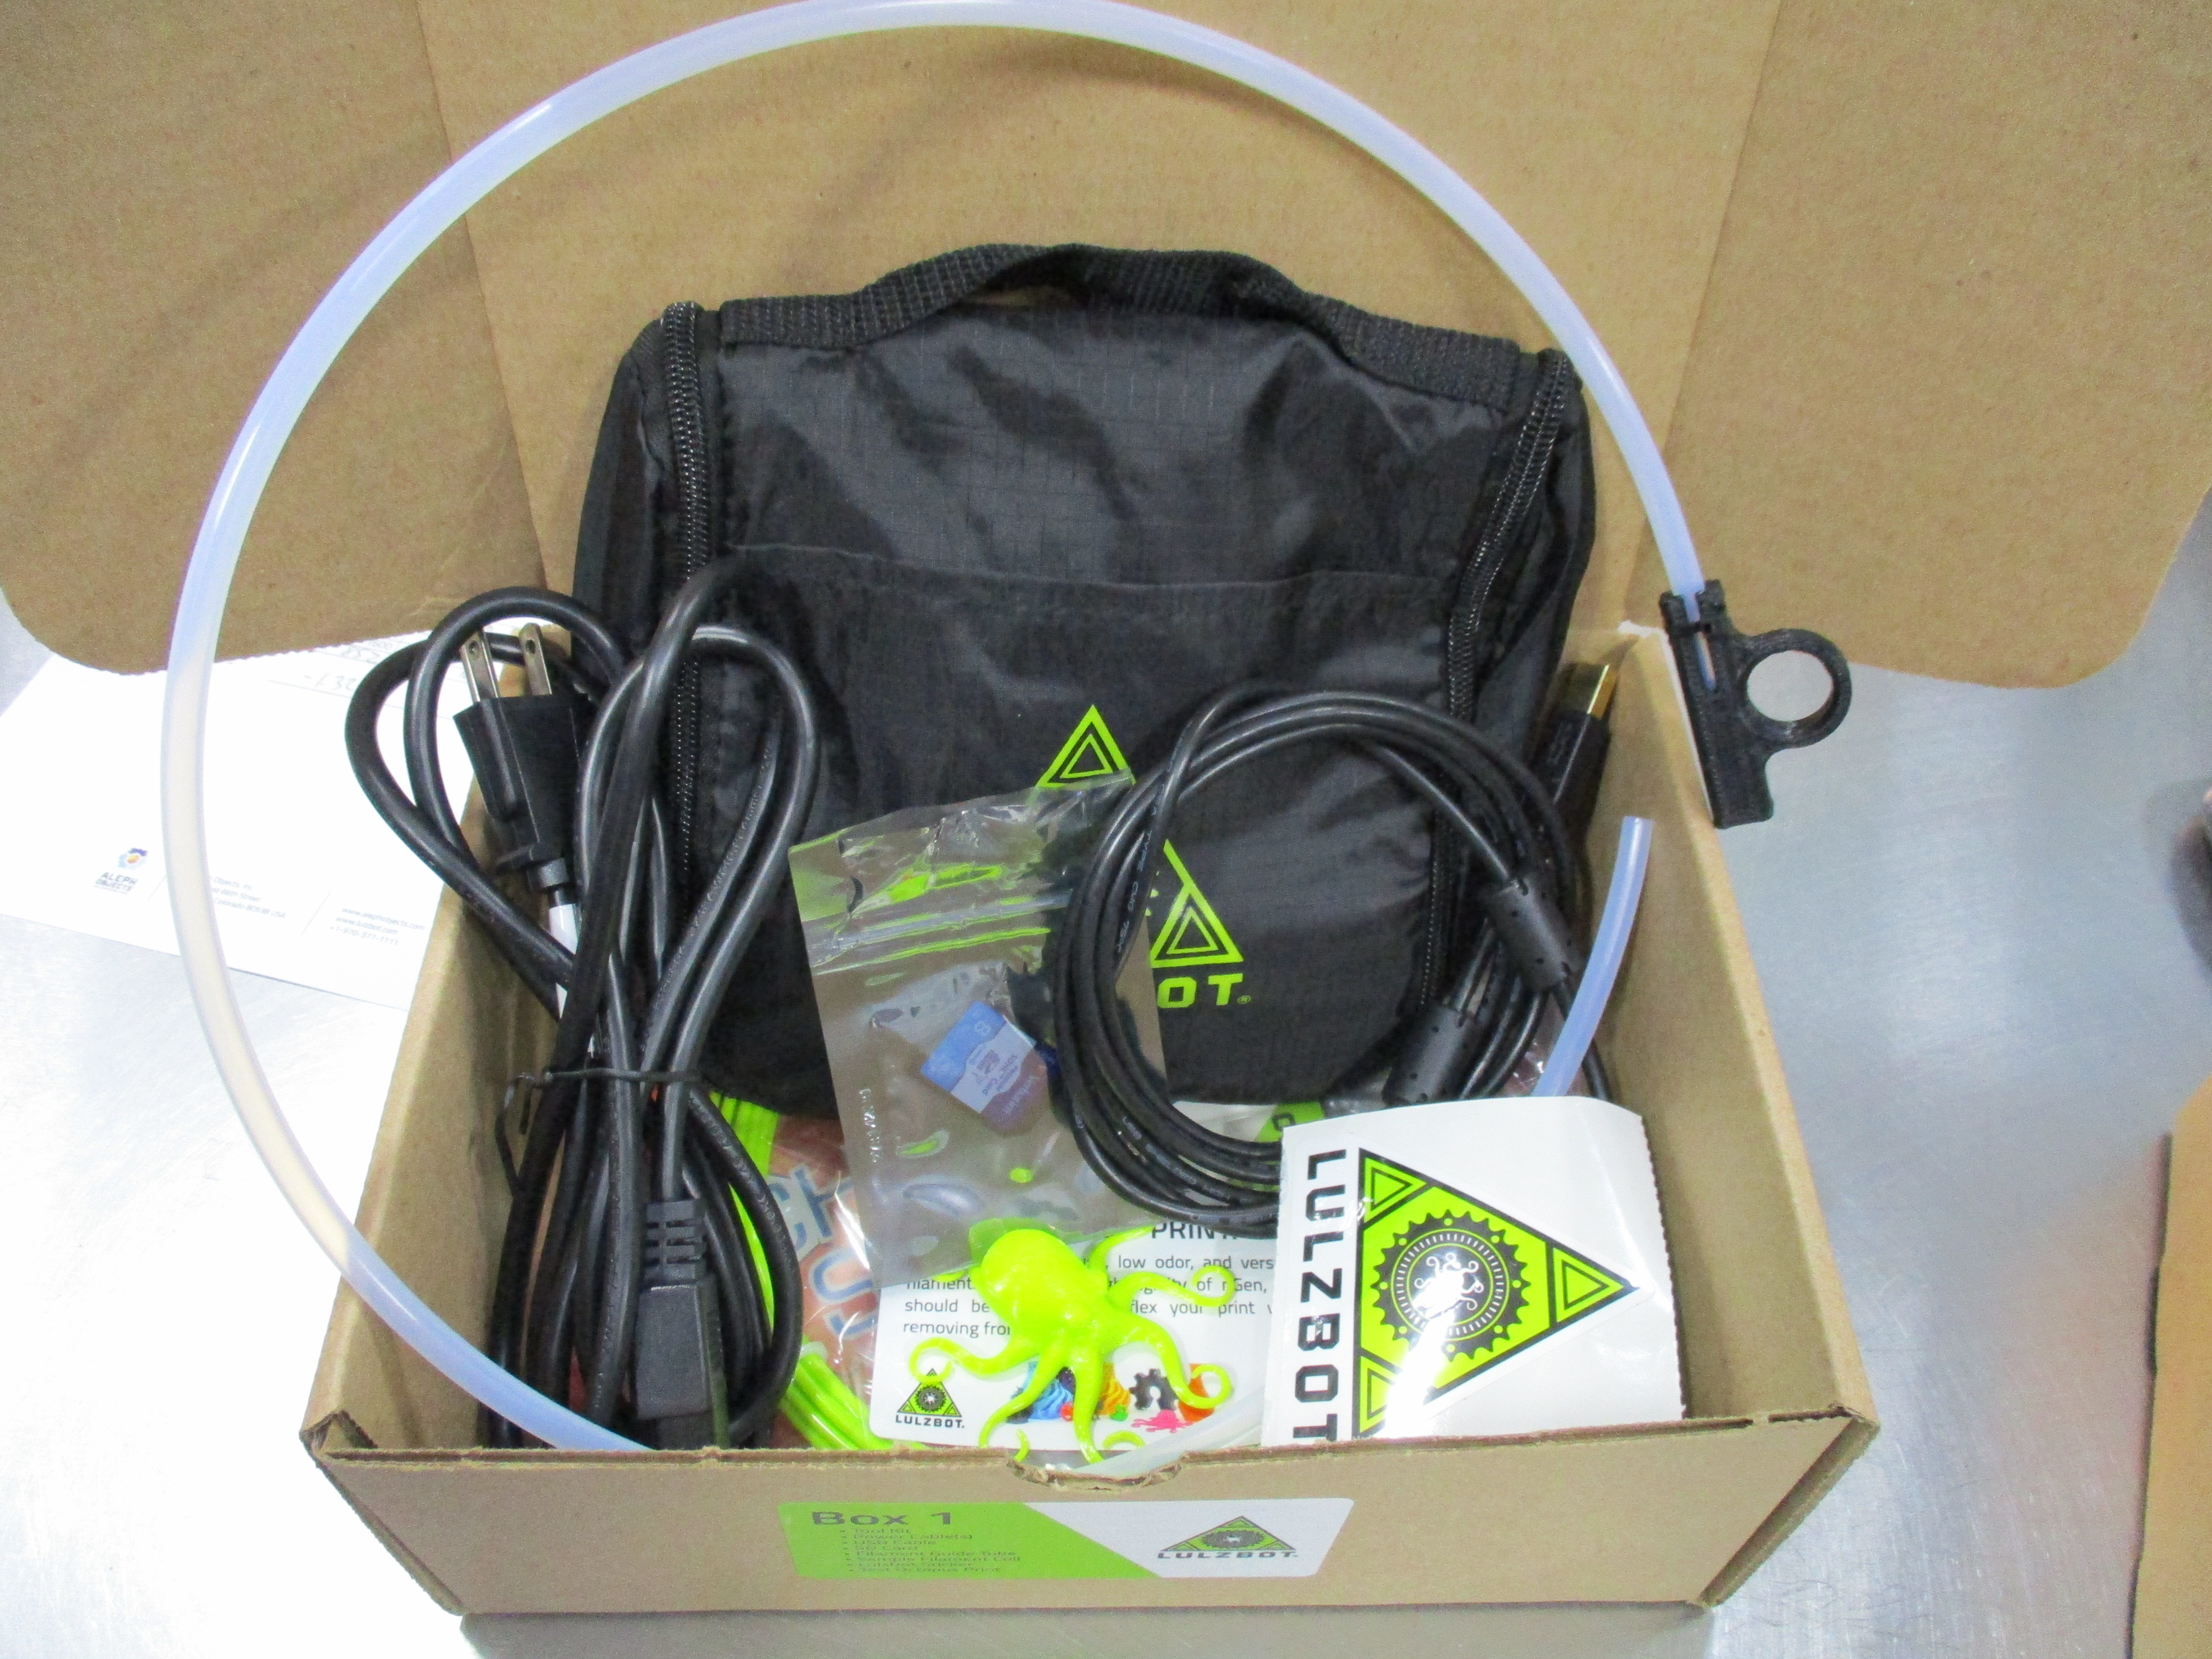
Place items into the Accessories box (Box #1) along with the TAZ 6 accessories bag bag assembly


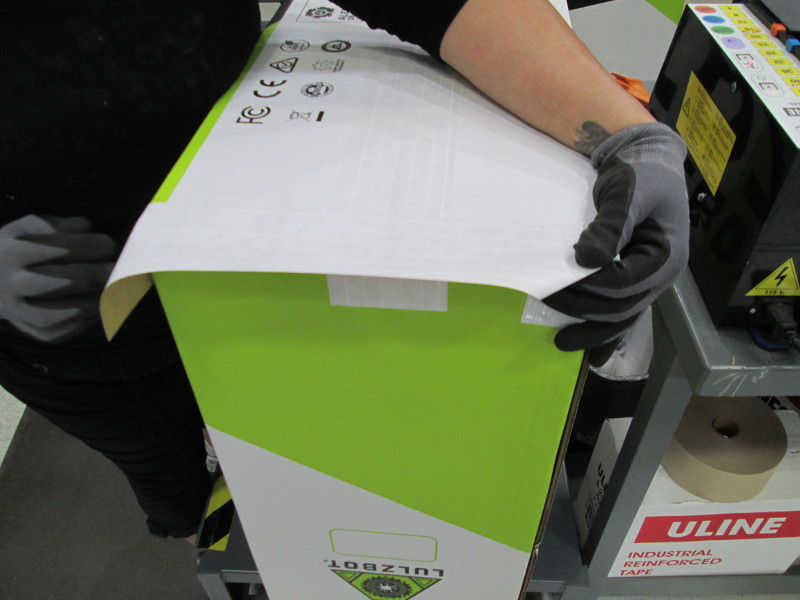
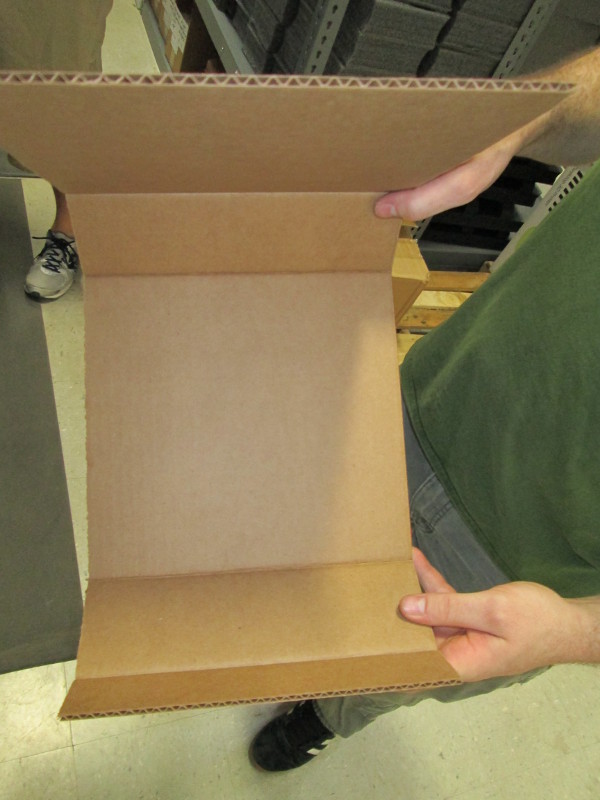
Fold the box bottom small end flaps into the box, then fold the long flaps over the end flaps;
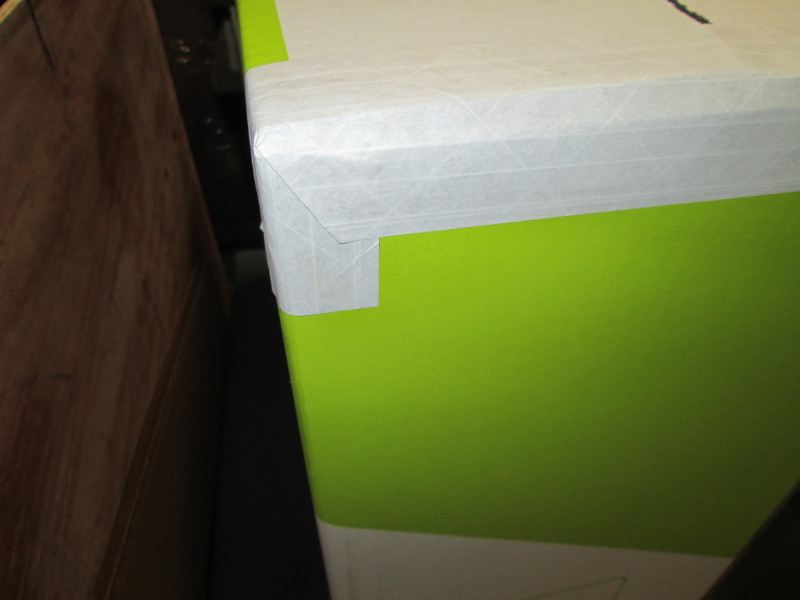
Tape the bottom of the box with white reenforced tape- 40” long.
Apply a 14” strips across the bottom of the box at the box ends so the tape is centered on the box,
Fold down the two lengths of tape that overhang the face and rear of the box;
Fold down and adhere remaining flap of tape to the box. Repeat at the opposite end of the box.

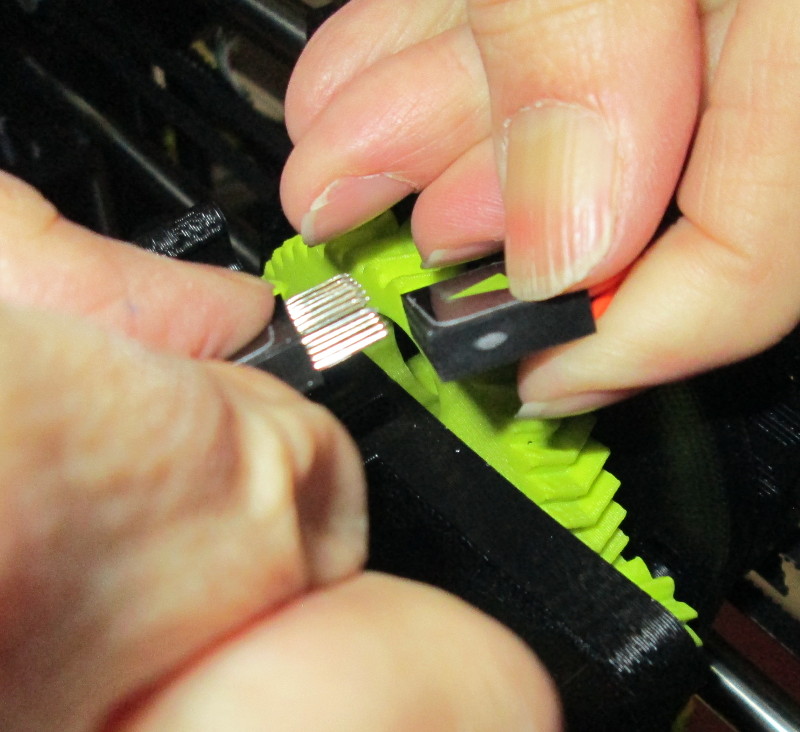
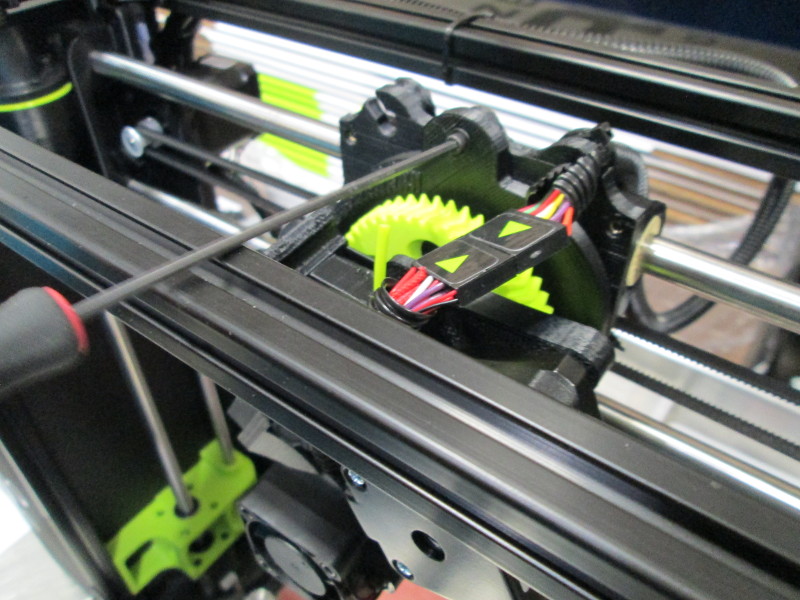
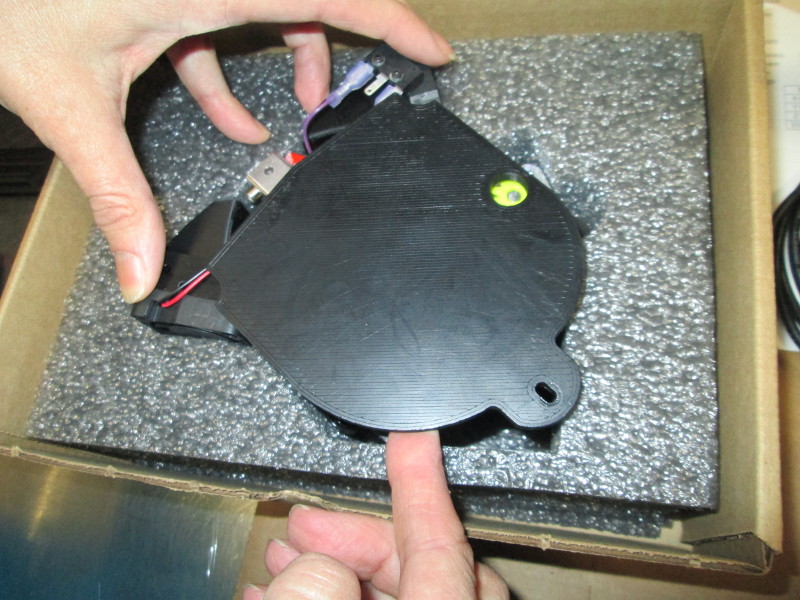
Remove the extruder assembly from the printer. Unplug the extruder cable from the system; support the extruder with one hand and remove (and retain) the 3mm screw at the top of the extruder; set the extruder aside and reinstall the 3mm screw removed moments ago.
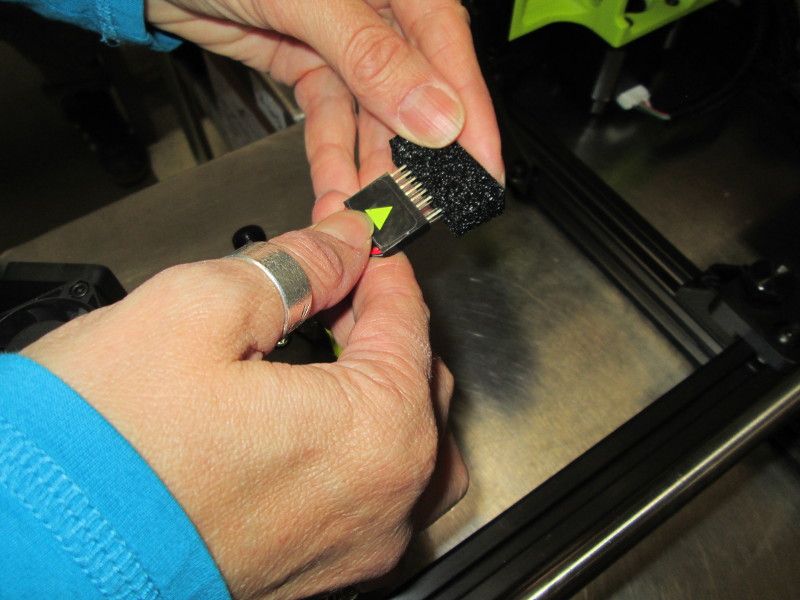
Place a protective ESDS foam block directly down onto the extruder connector pins.
Place the extruder (mount side up) into the extruder shipping box
Place the E-step sticker on the bottom of the back side of the extruder mount, in the center. Copy the e-step value from the quality check paperwork onto the E-step sticker.
Place a protective foam pad over the extruder; close the box


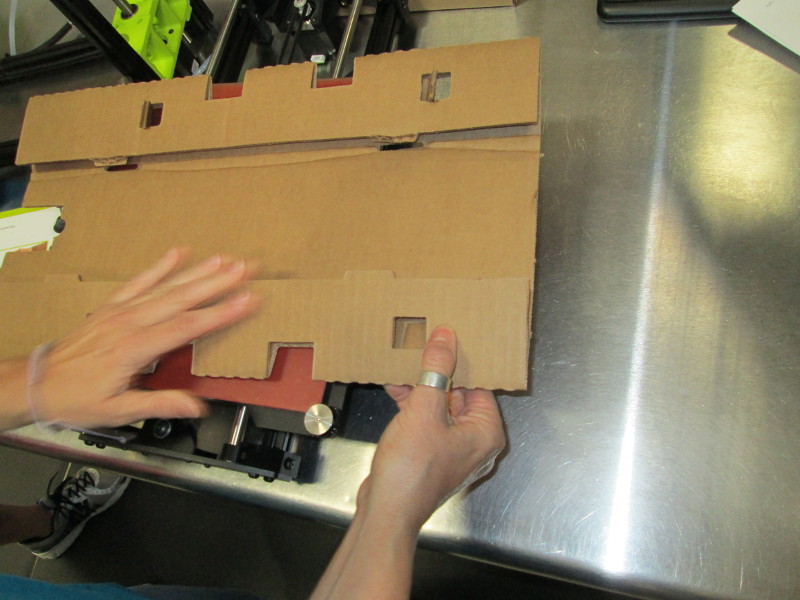
Fold the pre-cut Y axis support and place flat onto a stable surface
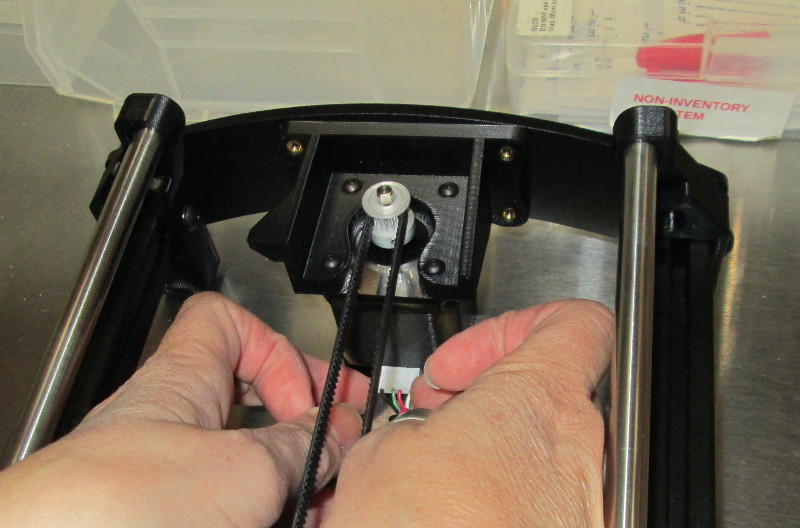
Disconnect the bed wires from the control box cables;
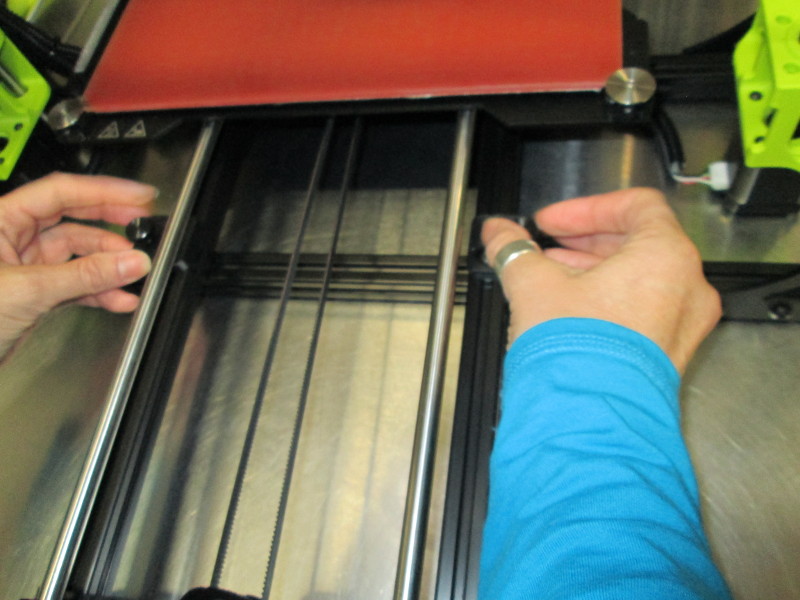
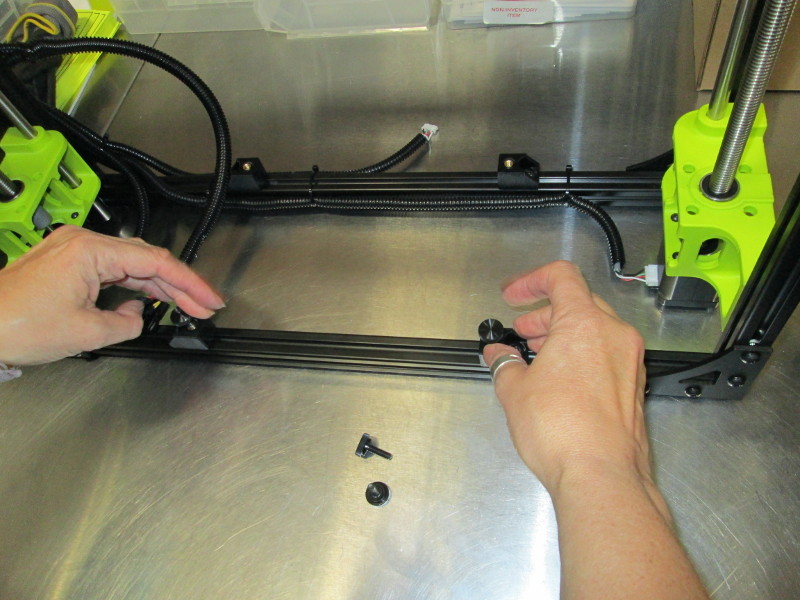
Remove and retain the two back thumb screws that secure the Y axis to the system;
Disconnect Y axis motor cable;
Move the bed assembly to the Y max position;
Remove and retain the two front thumb screws that secure the Y axis to the system;
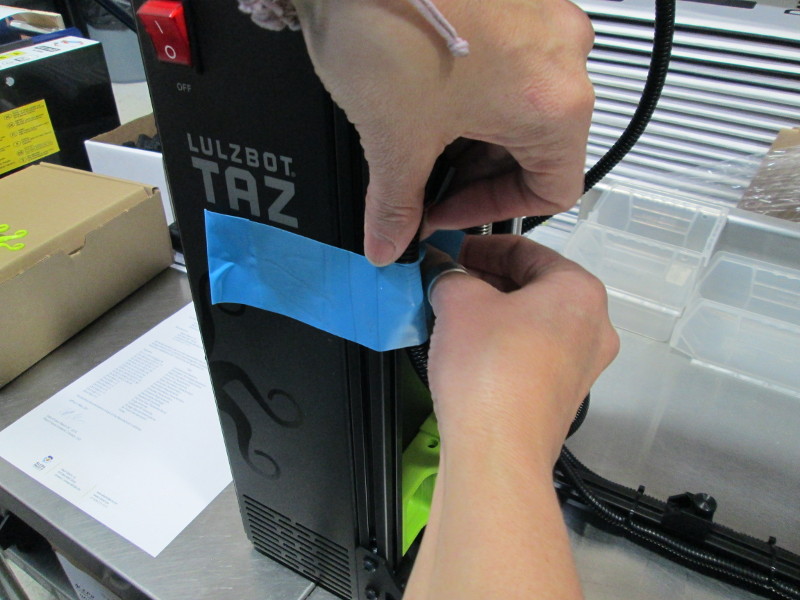
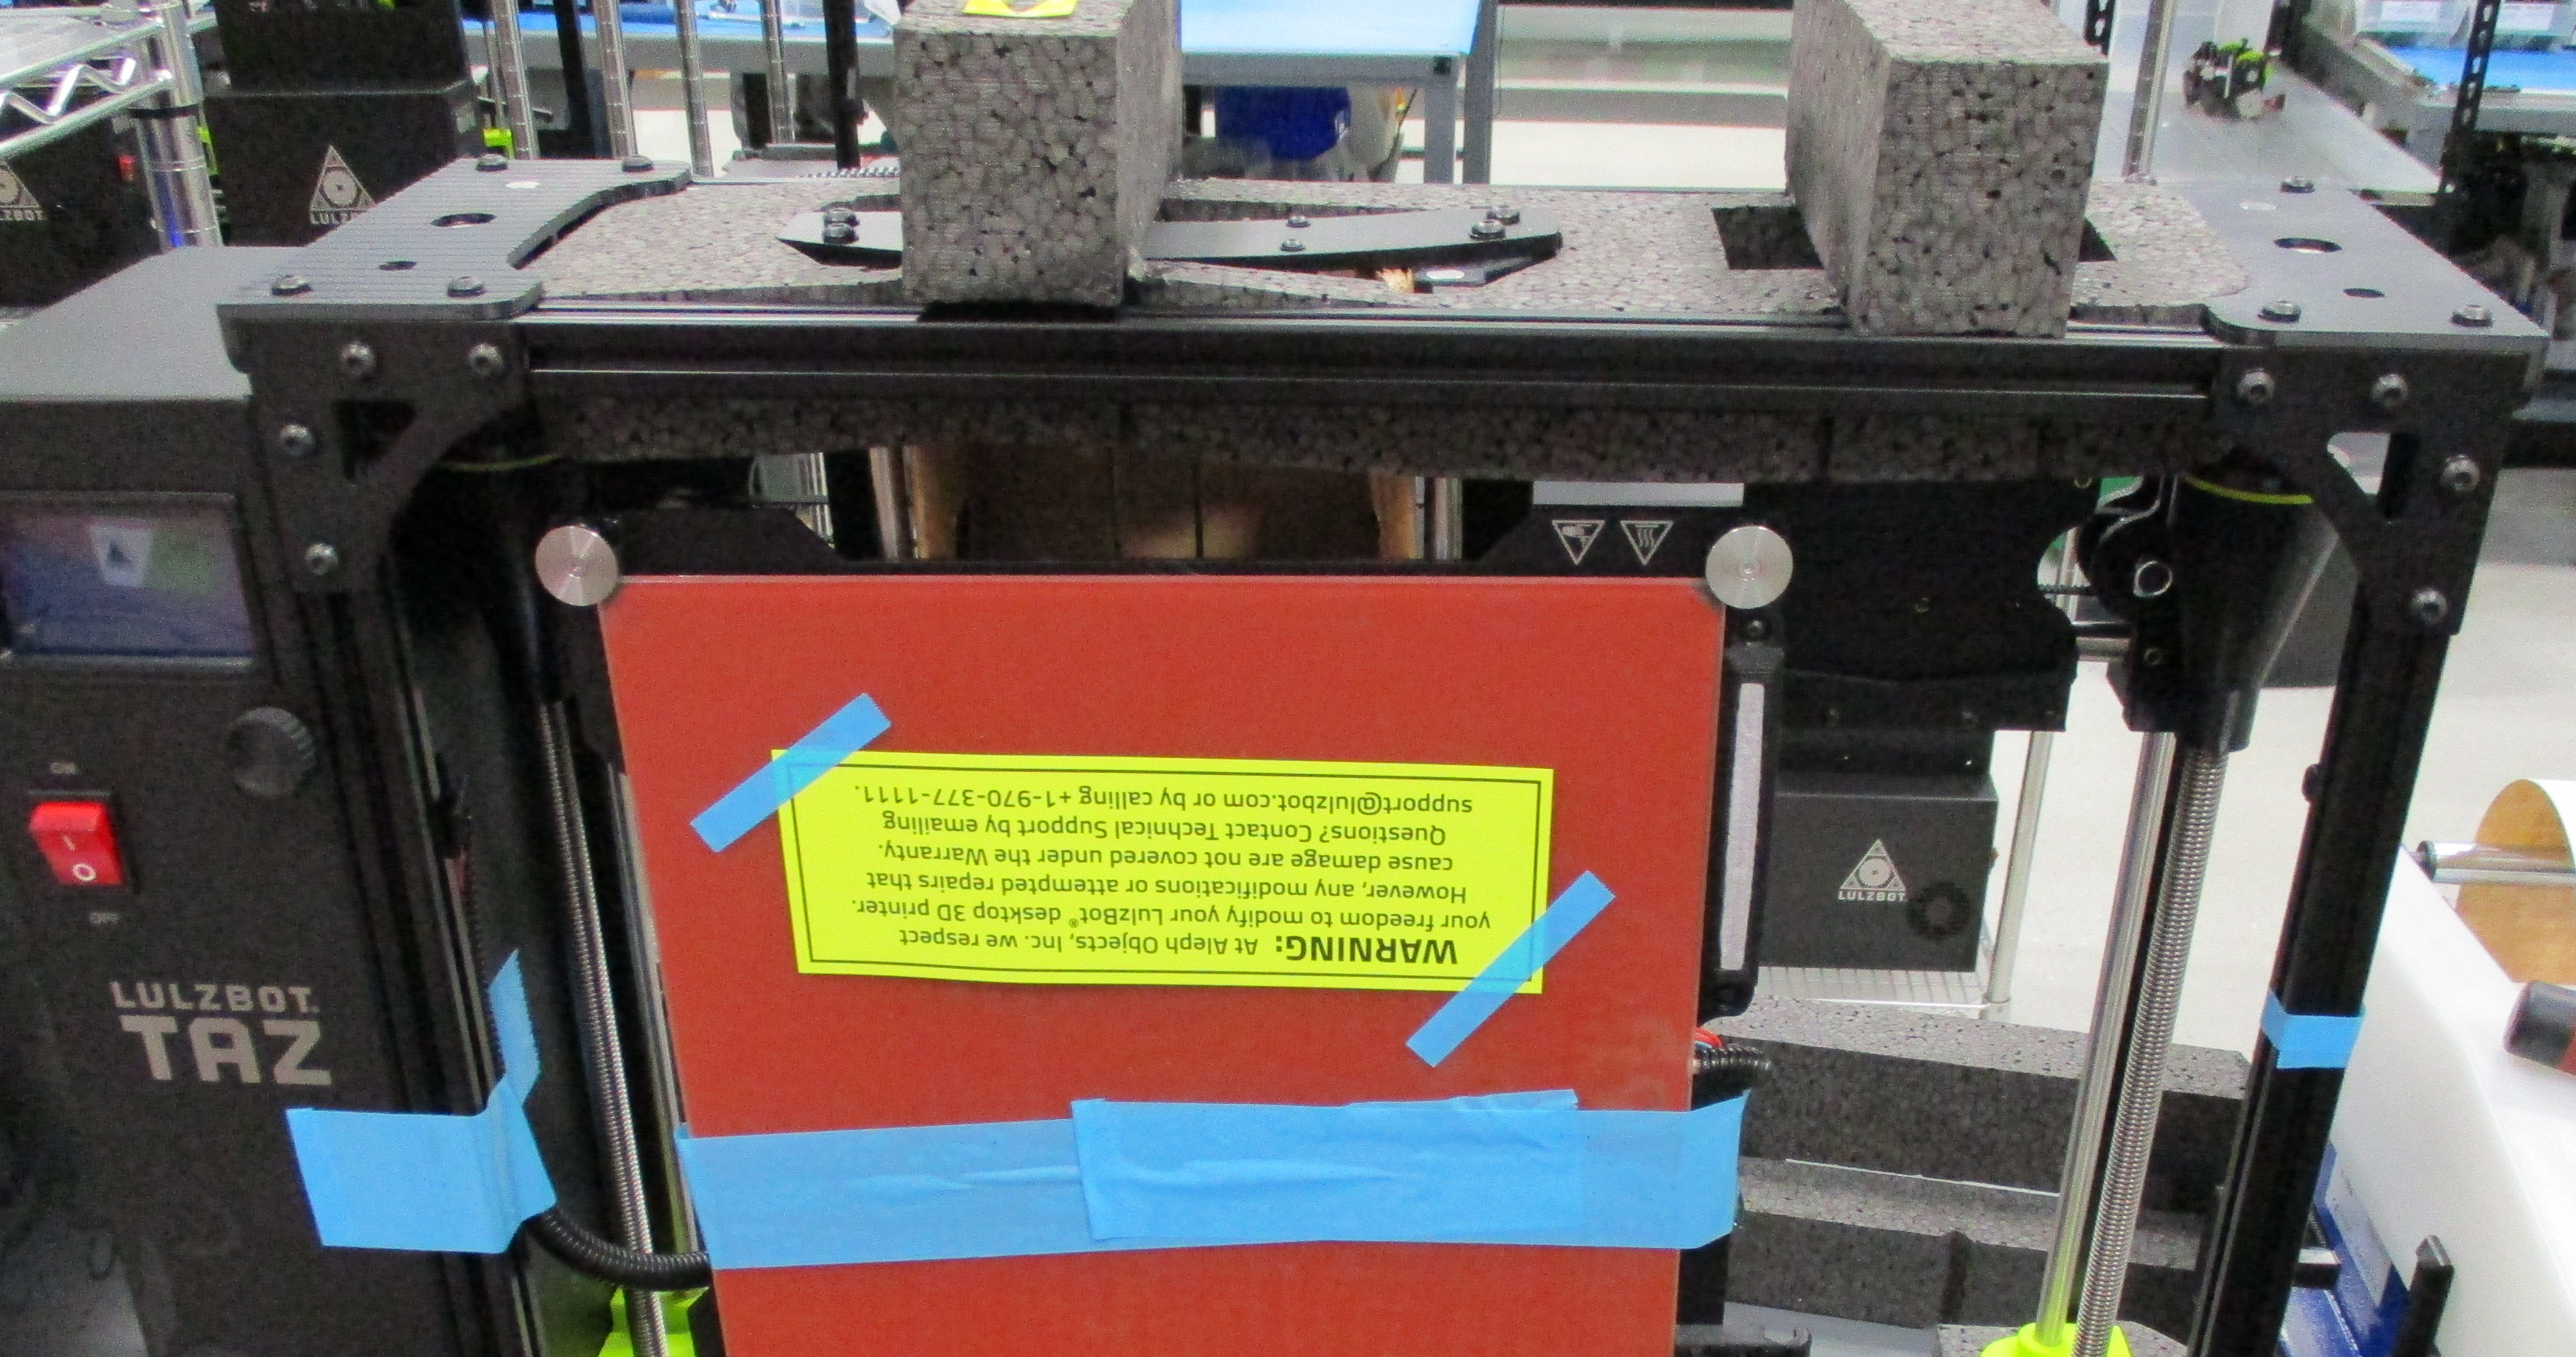
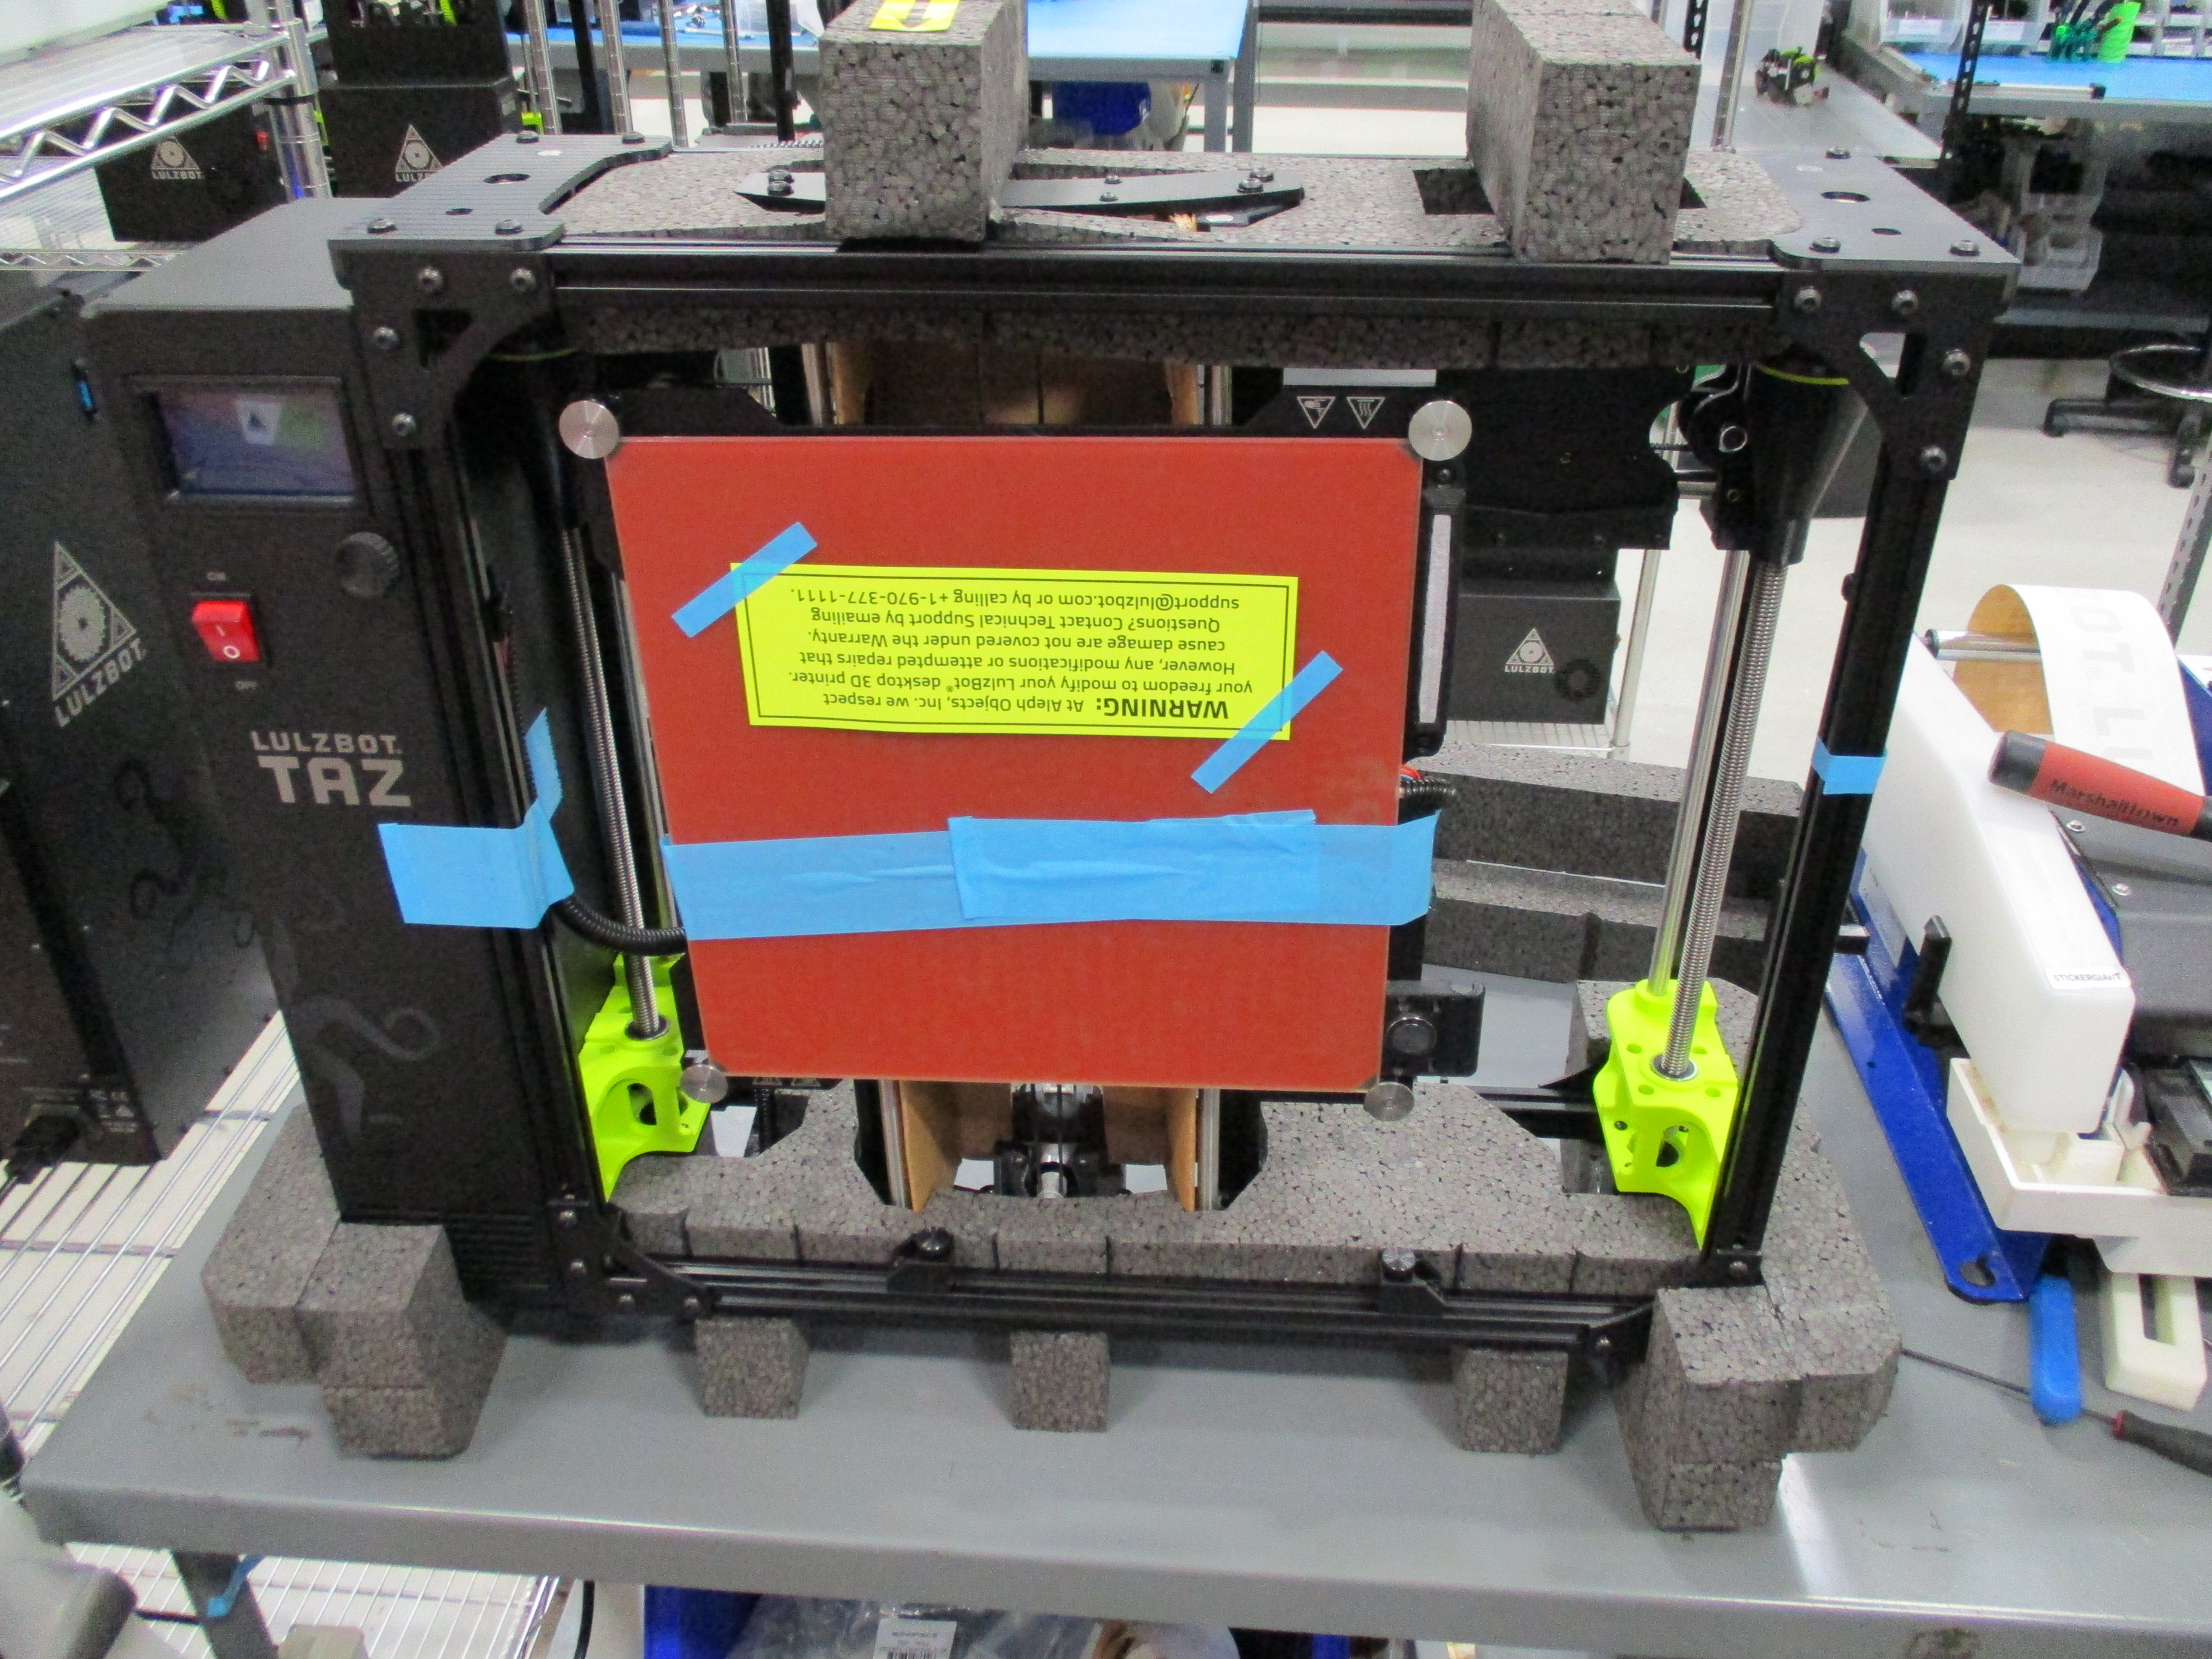
Using ~2" cut lengths of 1/2" Blue strapping tape (SH-PG0069) secure the warning sheet to the print bed (see image for orientation)
Lift the Y axis directly up from the system frame and set aside
Move the bed assembly to the Y min position (up front)
Set the Y axis assembly onto the folded Y axis support so the single bearing holders on the bottom of the bed align with knockout in the support
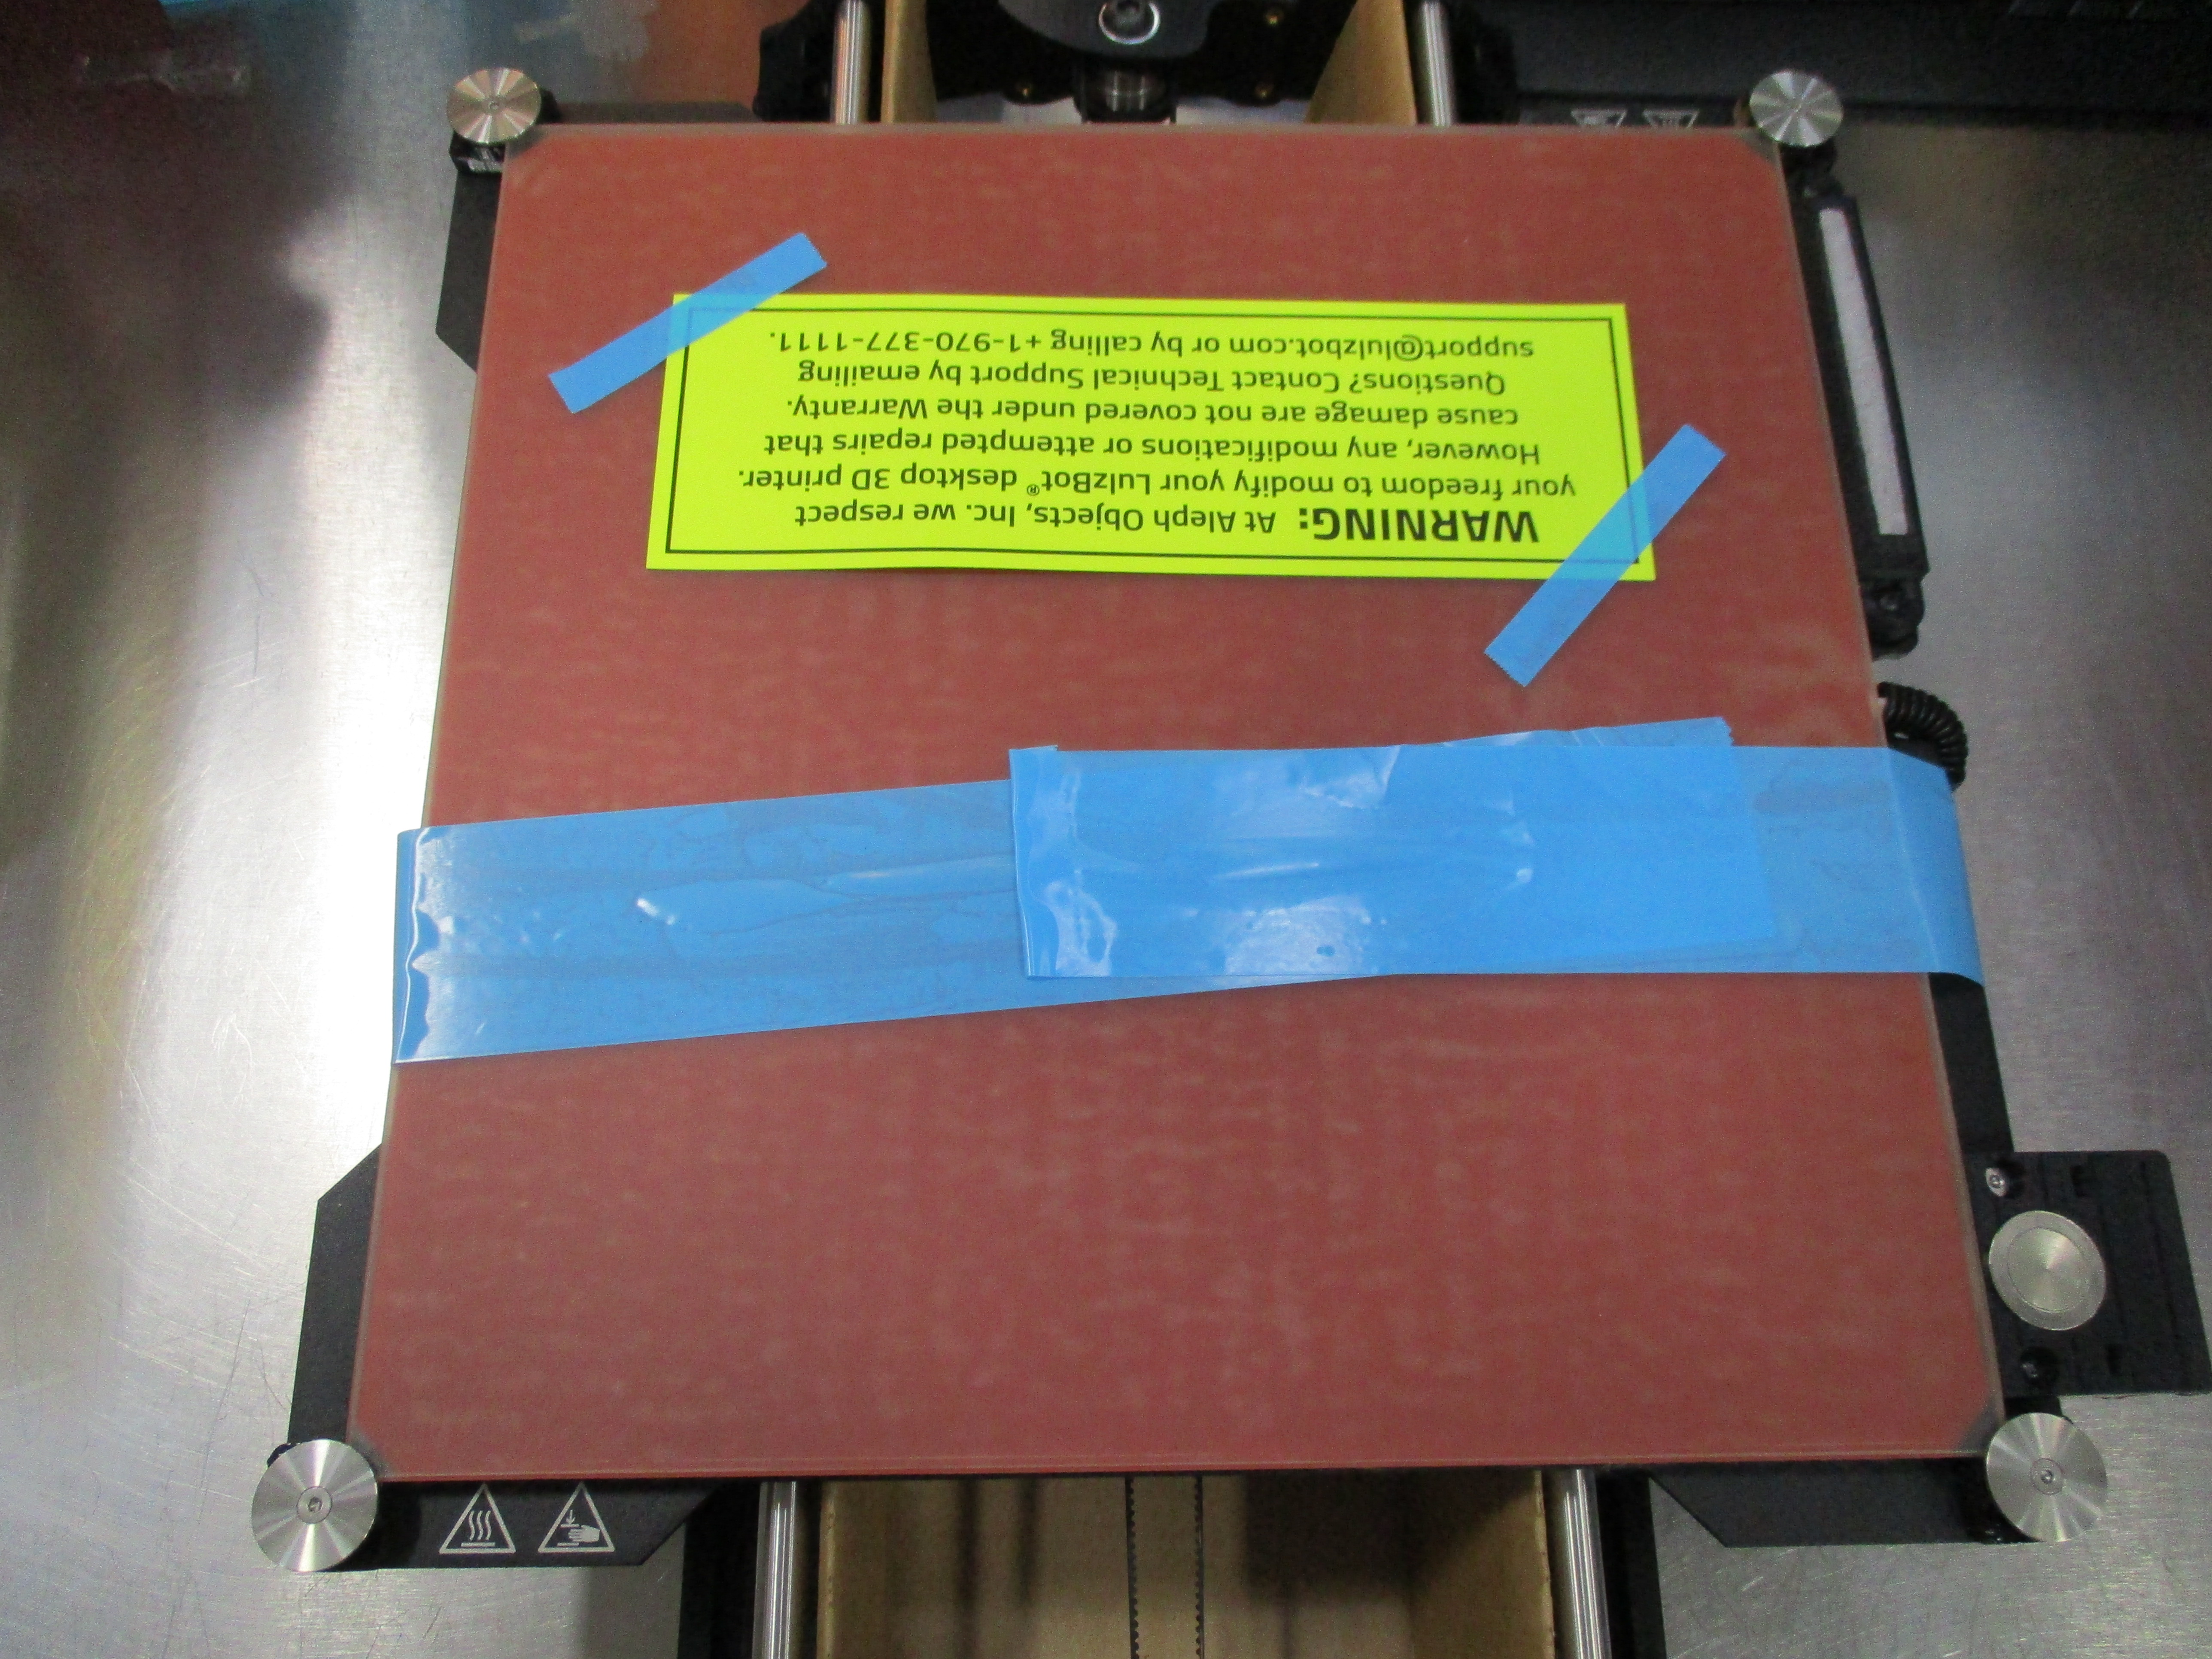
Secure the Y axis assembly with a 2” wide blue poly tape (SH-PG0072) cut to approximately 700mm long and approximately 25mm of each end of the tape folded under to form a flag; Position the tape near the middle of the bed and secure the tape to the PEI surface
Reinstall thumb screws removed previously onto the frame mounts


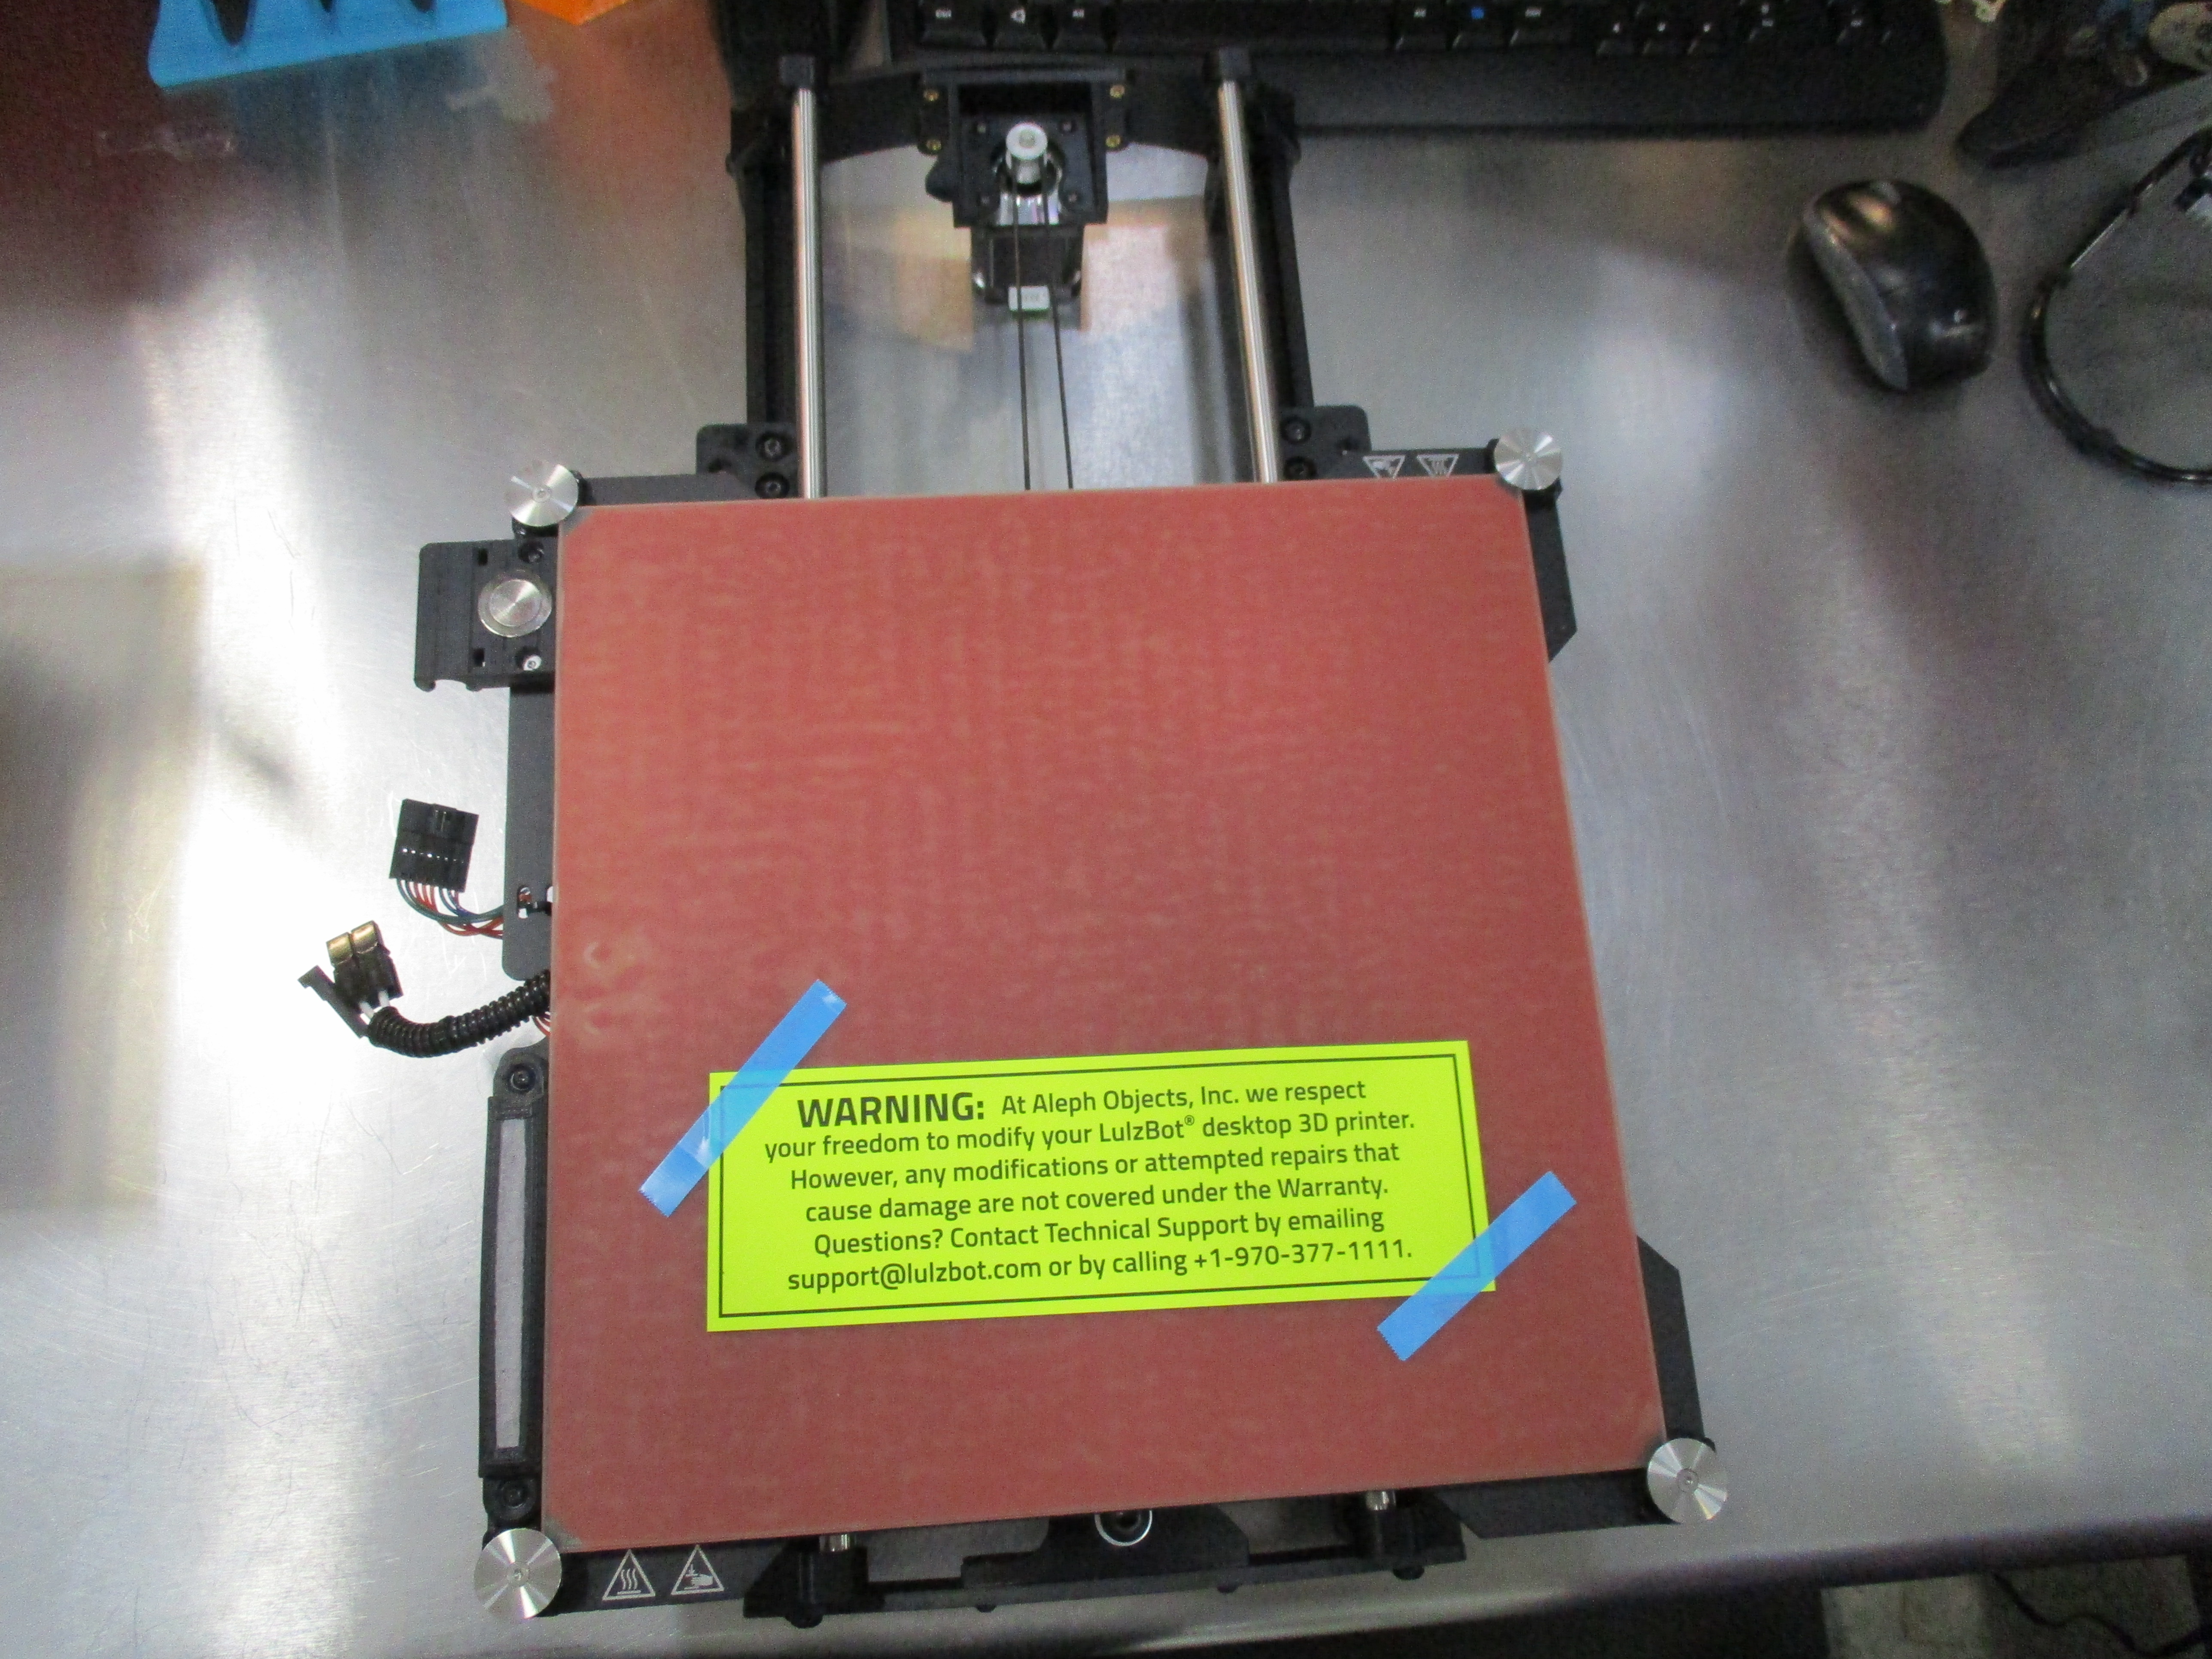


MAKING SURE TO AVOID ATTACHING TAPE TO EITHER THE ETCHED TAZ LOGO OR THE OCTOPUS PRINTED ON THE CASE secure with 2” wide blue poly tape (SH-PG0072) the bed harness cable extension to the side of the frame front near the case
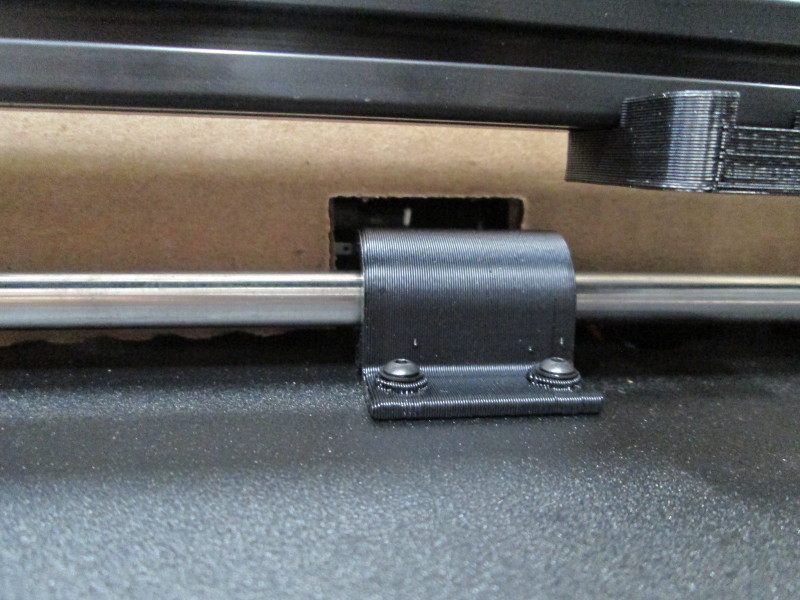
Remove the feed tube holder from the system, set aside for later packaging
2x- Cut a .5” wide blue poly tape (SH-PG0069) to approximately 100mm long; fold over approximately 10mm of tape onto itself to form a flag; Always place the flagged end of the tape toward the front of the system so the customer can access the flag.
Fold the Feed Tube Holder up and secure in place with one of the .5” blue poly tape pieces;
Fold the Spool Holder up and secure in place with one of the .5” blue poly tape (SH-PG0069) pieces;

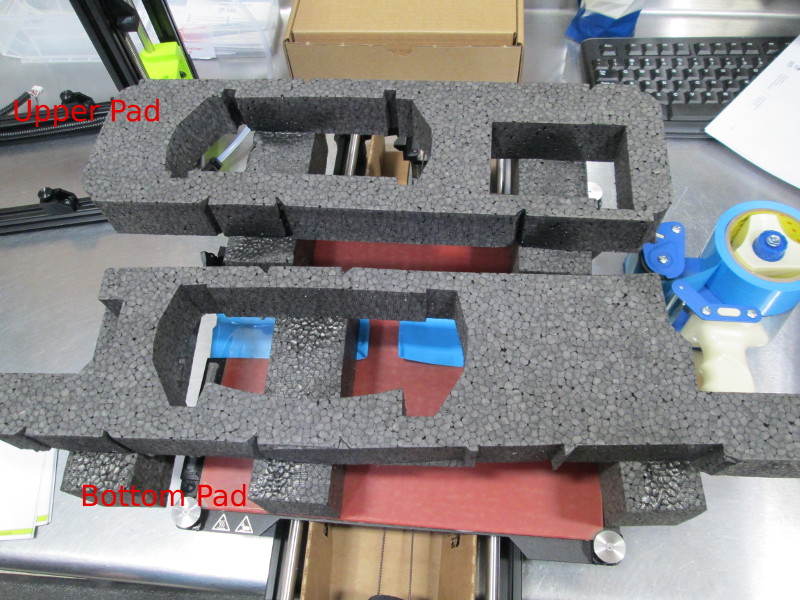
Locate 1 each of a Top and Bottom foam pad and
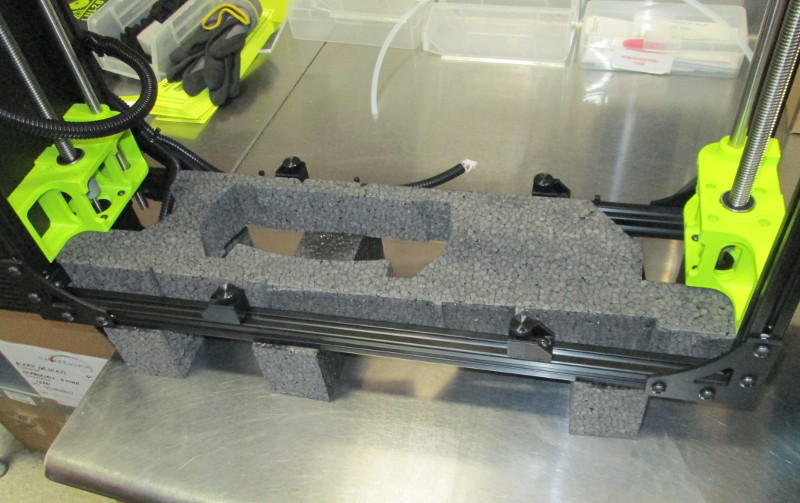
Place the bottom foam pad in between the frame pieces and push down into place;
Set the Y axis assembly into the bottom pad with the Y-Axis motor side down; The Y axis assembly will have to be passed between the frame front and back at an angle to give room for the entire assembly to clear the bottom foam.
With two small pieces of .5” blue poly tape attach the Warranty warning label to the PEI surface
Install the Top foam pad into the frame and around the Y axis idler end; Ensure the pad is flush with the top surface of the system
Locate four (4) End foam stops; attach one to each of the lower sides of the system (one side to the case, one side to the frame)
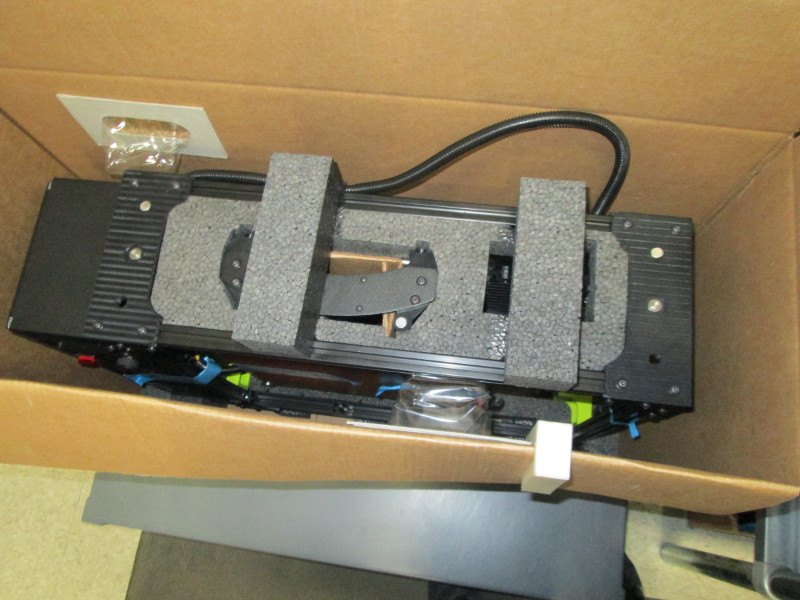
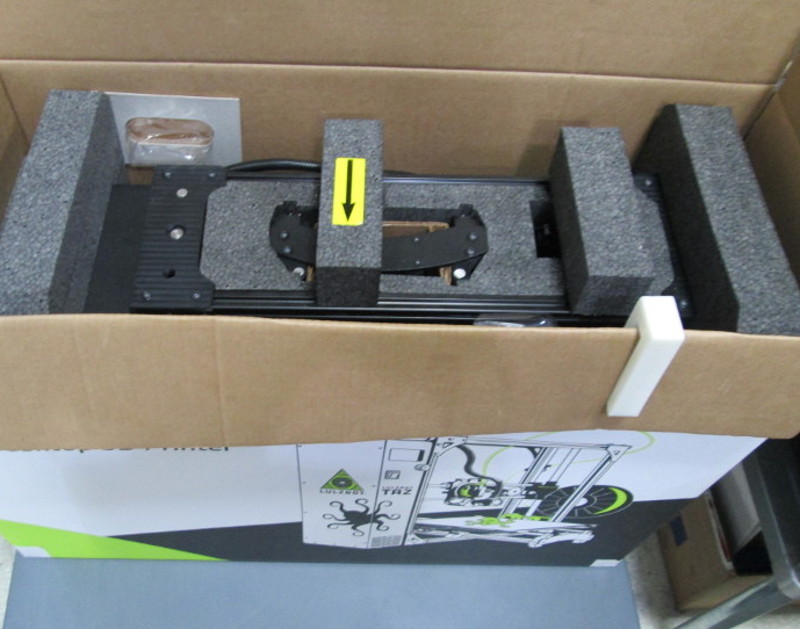
Lift and place the system so the LCD is oriented toward the front of the box and the LCD is near the left box insert installed earlier
Apply the installation directional arrow to the left riser of the top pad
Install End foam stops each to the upper sides of the system (one side to the case, one side to the frame)
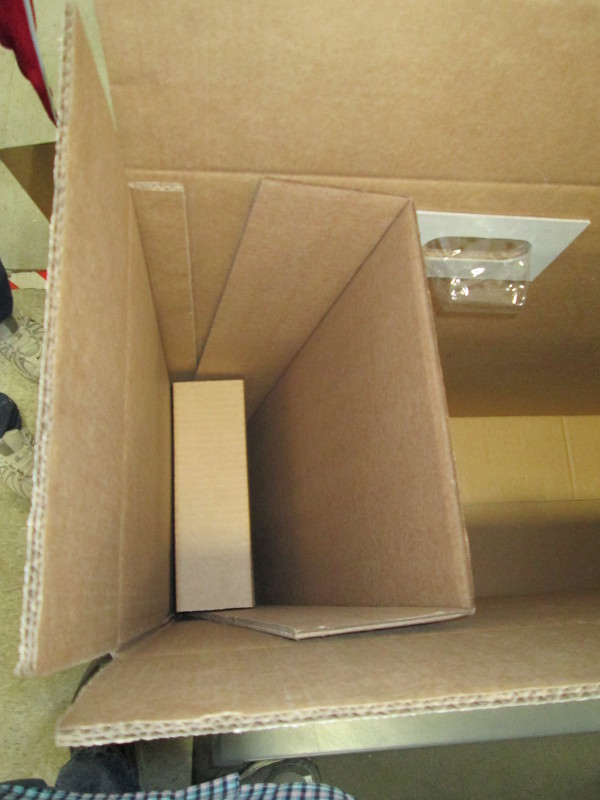
Fold the left side filler insert then place in the case with the opening of the insert toward the left side wall
Fold the left side lower filler insert, tape item together with ~50mm of 1/2" Blue strapping tape (SH-PG0069) to maintain the insert shape;
Orient the lower insert so the taped end will be toward the box bottom, place the lower insert into the pocket formed by the left side filler insert (installed earlier)


Current pictures does not include the new tool kit as seen here, https://ohai.lulzbot.com/project/universal-tool-kit-assembly/taz-6/, new pictures coming soon.
Package the system accessories into its packaging then place the accessories package into the left box insert on top of the extruder box.
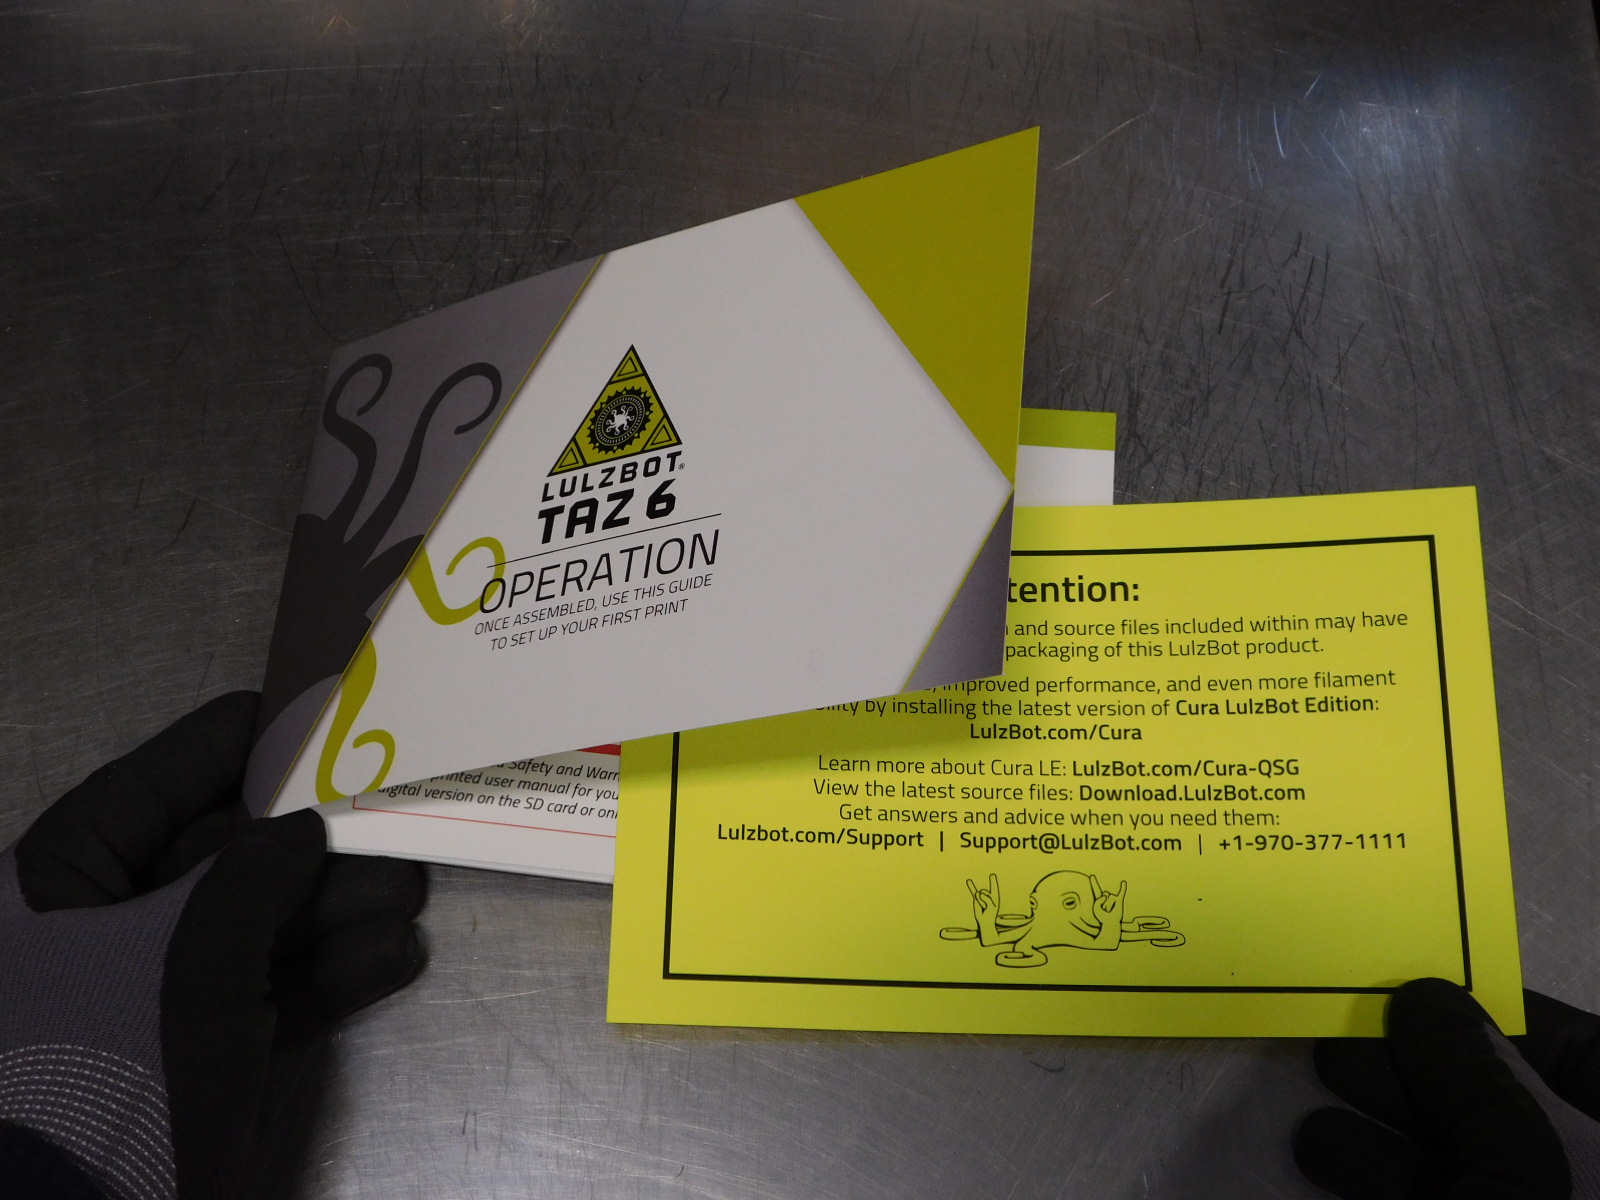
Insert one [DC-MS0076] Cura Update Insert Card inside the front cover of the Operations Guide
Package the system written documents and reports in a 9”x 12" resealable plastic bag (SH-PG0083). The documents go in this order: safety and warnings, declaration of conformity, quality check, packing list. These 4 documents must be folded in half and placed between the "start here" booklet and the "operation" booklet.
Place the bagged documents on top of the top foam pad to the left of the packing direction arrow, tape the bagged items into place with two (2) pieces of 2" wide blue poly tape (SH-PG0072), each cut to to approximately 75mm in length
With the box positioned so the accessories boxes are located to the left, install the Packaging Retention warning sticker onto the inside center of the top flap with the bottom of the sticker oriented toward the long edge of the flap see sample image.
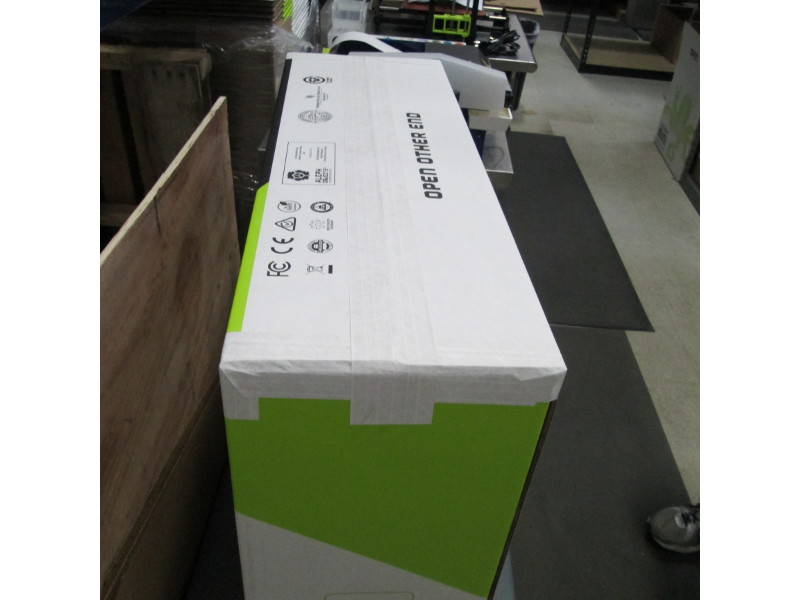
Seal the box in the same manner the box bottom was sealed; label the box with a unit serial number that matches the unit in the box. The serial number sticker on the outside of the packaging should be on the same side of the box as the control box of the printer.


TAZ6, Packaging Material
Qty Part Number Description
1 DC-LB0063 Modification Warning Insert Modification 2.75 x 8.5 on 100 lb. Astrobright Lift Off Lemon Very Bright
1 DC-LB0105 Arrow Labels - Yellow, 1 x 3" 500/roll
1 DC-LB0174 P65 Warning Label
1 DC-MS0052 Safety Warnings sheet, TAZ 6.0
1 SH-BX0051 TAZ 6 Box White: 34-1/2 x 11-3/16 x 25 RSC, 51ECT, Double Wall, White, 2 Colors, Glue Joint
1 SH-BX0052 TAZ 6 Bed Insert: 19-5/8 x 17-1/8 Die Cut, 44 ECT, C Flute, Kraft, Plain
1 SH-BX0053 TAZ 6 Scored Pad: 10-3/8 x 28-3/4 Scored Pad, 44 ECT, C Flute, Kraft, Plain
1 SH-BX0054 TAZ 6 U-Pad: 25 x 19-7/16 Scored Pad, 51 ECT, Double Wall, Kraft, Plain
700mm SH-PG0069 3M 8898 Economy Strapping Tape - 1?2" x 60 yards
600mm SH-PG0072 3M 8898 Economy Strapping Tape - 2" x 60 yards
3.5m SH-PG0131 #260 White Reinforced Gummed Tape with LulzBot Printed Logo, 10 Pack
1 SH-PG0141 TAZ 6: Set of 4 Foam Corners, 1.5 lb. Density Expanded Polyethylene Foam, Black
1 SH-PG0142 TAZ 6: Top Endcap Foam, 1.5 lb. Density Expanded Polyethylene Foam, Black
1 SH-PG0143 TAZ 6: Bottom Endcap Foam, 1.5 lb. Density Expanded Polyethylene Foam, Black
TAZ6, Olive Oil, Documentation Bag
Qty Part Number Description
1 DC-MN0015 Lulzbot-TAZ 6.0 User Manual
1 DC-MN0016 Operating Guide, TAZ 6
1 DC-MN0017 Unboxing Guide, TAZ 6
1 SH-PG0006 6 x 9" 2 Mil Reclosable Bags
TAZ6, Olive Oil, Extruder Package
Qty Part Number Description
1 DC-LB0107 TAZ 6 Inner Box Label #2, Contents
1 HD-MS0348 ESD Foam 40mm x 20mm x 10mm - Extruder Pin Protector
1 SH-BX0055 TAZ 6 Tool Head and Accessory Box: 9-1/2 x 7 x 3-7/8 Die Cut, 32 ECT, B Flute, Kraft, Plain
1 SH-PG0123 TAZ 6: Tool Head Foam Insert: 1.2 lb. Density Extruded Polyethylene Foam, Gray
TAZ6, Olive Oil, Accessories Package
Qty Part Number Description
1 DC-LB0095 LulzBot Logo Sticker, 3 - Inch
1 DC-LB0106 TAZ 6 Inner Box Label #1 Contents
1m RM-MS0035 nGen Amphora (colorFabb) Sample Pack, AM3300 Polymer, LulzBot Green
1 SH-BX0055 TAZ 6 Tool Head and Accessory Box: 9-1/2 x 7 x 3-7/8 Die Cut, 32 ECT, B Flute, Kraft, Plain
1 SH-PG0031 2 x 3" No Print Reclosable Static Shielding Bags (ESD)
TAZ6, Tool Kit
Qty Part Number Description
1 PP-FP0084 (Set of 5 cut to 90mm) LulzBot Wiper Pads, set of 5
1 DC-LB0062 Clam Knife Sheath Sticker - Caution Sharp Blade! (1"x2.5" Rectangle)
1 DC-MS0050 Packing List, TAZ 6.0
1 DC-MS0051 EC Declaration of Conformity, TAZ 6.0
1 TL-HD0008 Stainless Steel Pocket Rule Semiflexible, Metric Grads, 150 mm Length
1 TL-HD0046 PRO DENTAL PICK (PROBE) (DP-19) M S V - in a protective sleeve or with a safety cap
1 TL-HD0048 Elmer's X-Acto No. 1 Precision Knife - Aluminum
1 TL-HD0049 6" Deluxe Bent Stainless Steel Tweezers with Serrated Teeth and Safety Cap
1 TL-HD0050 Stanley 6" Long Nose Pliers
1 TL-HD0468 7 pc Long Arm Ball Hex Key Wrench Set (Metric) - Red
1 TL-HD0359 7 1/2" Nylon Handle Clam Knife - Laser Etched with "Sharp" Icon
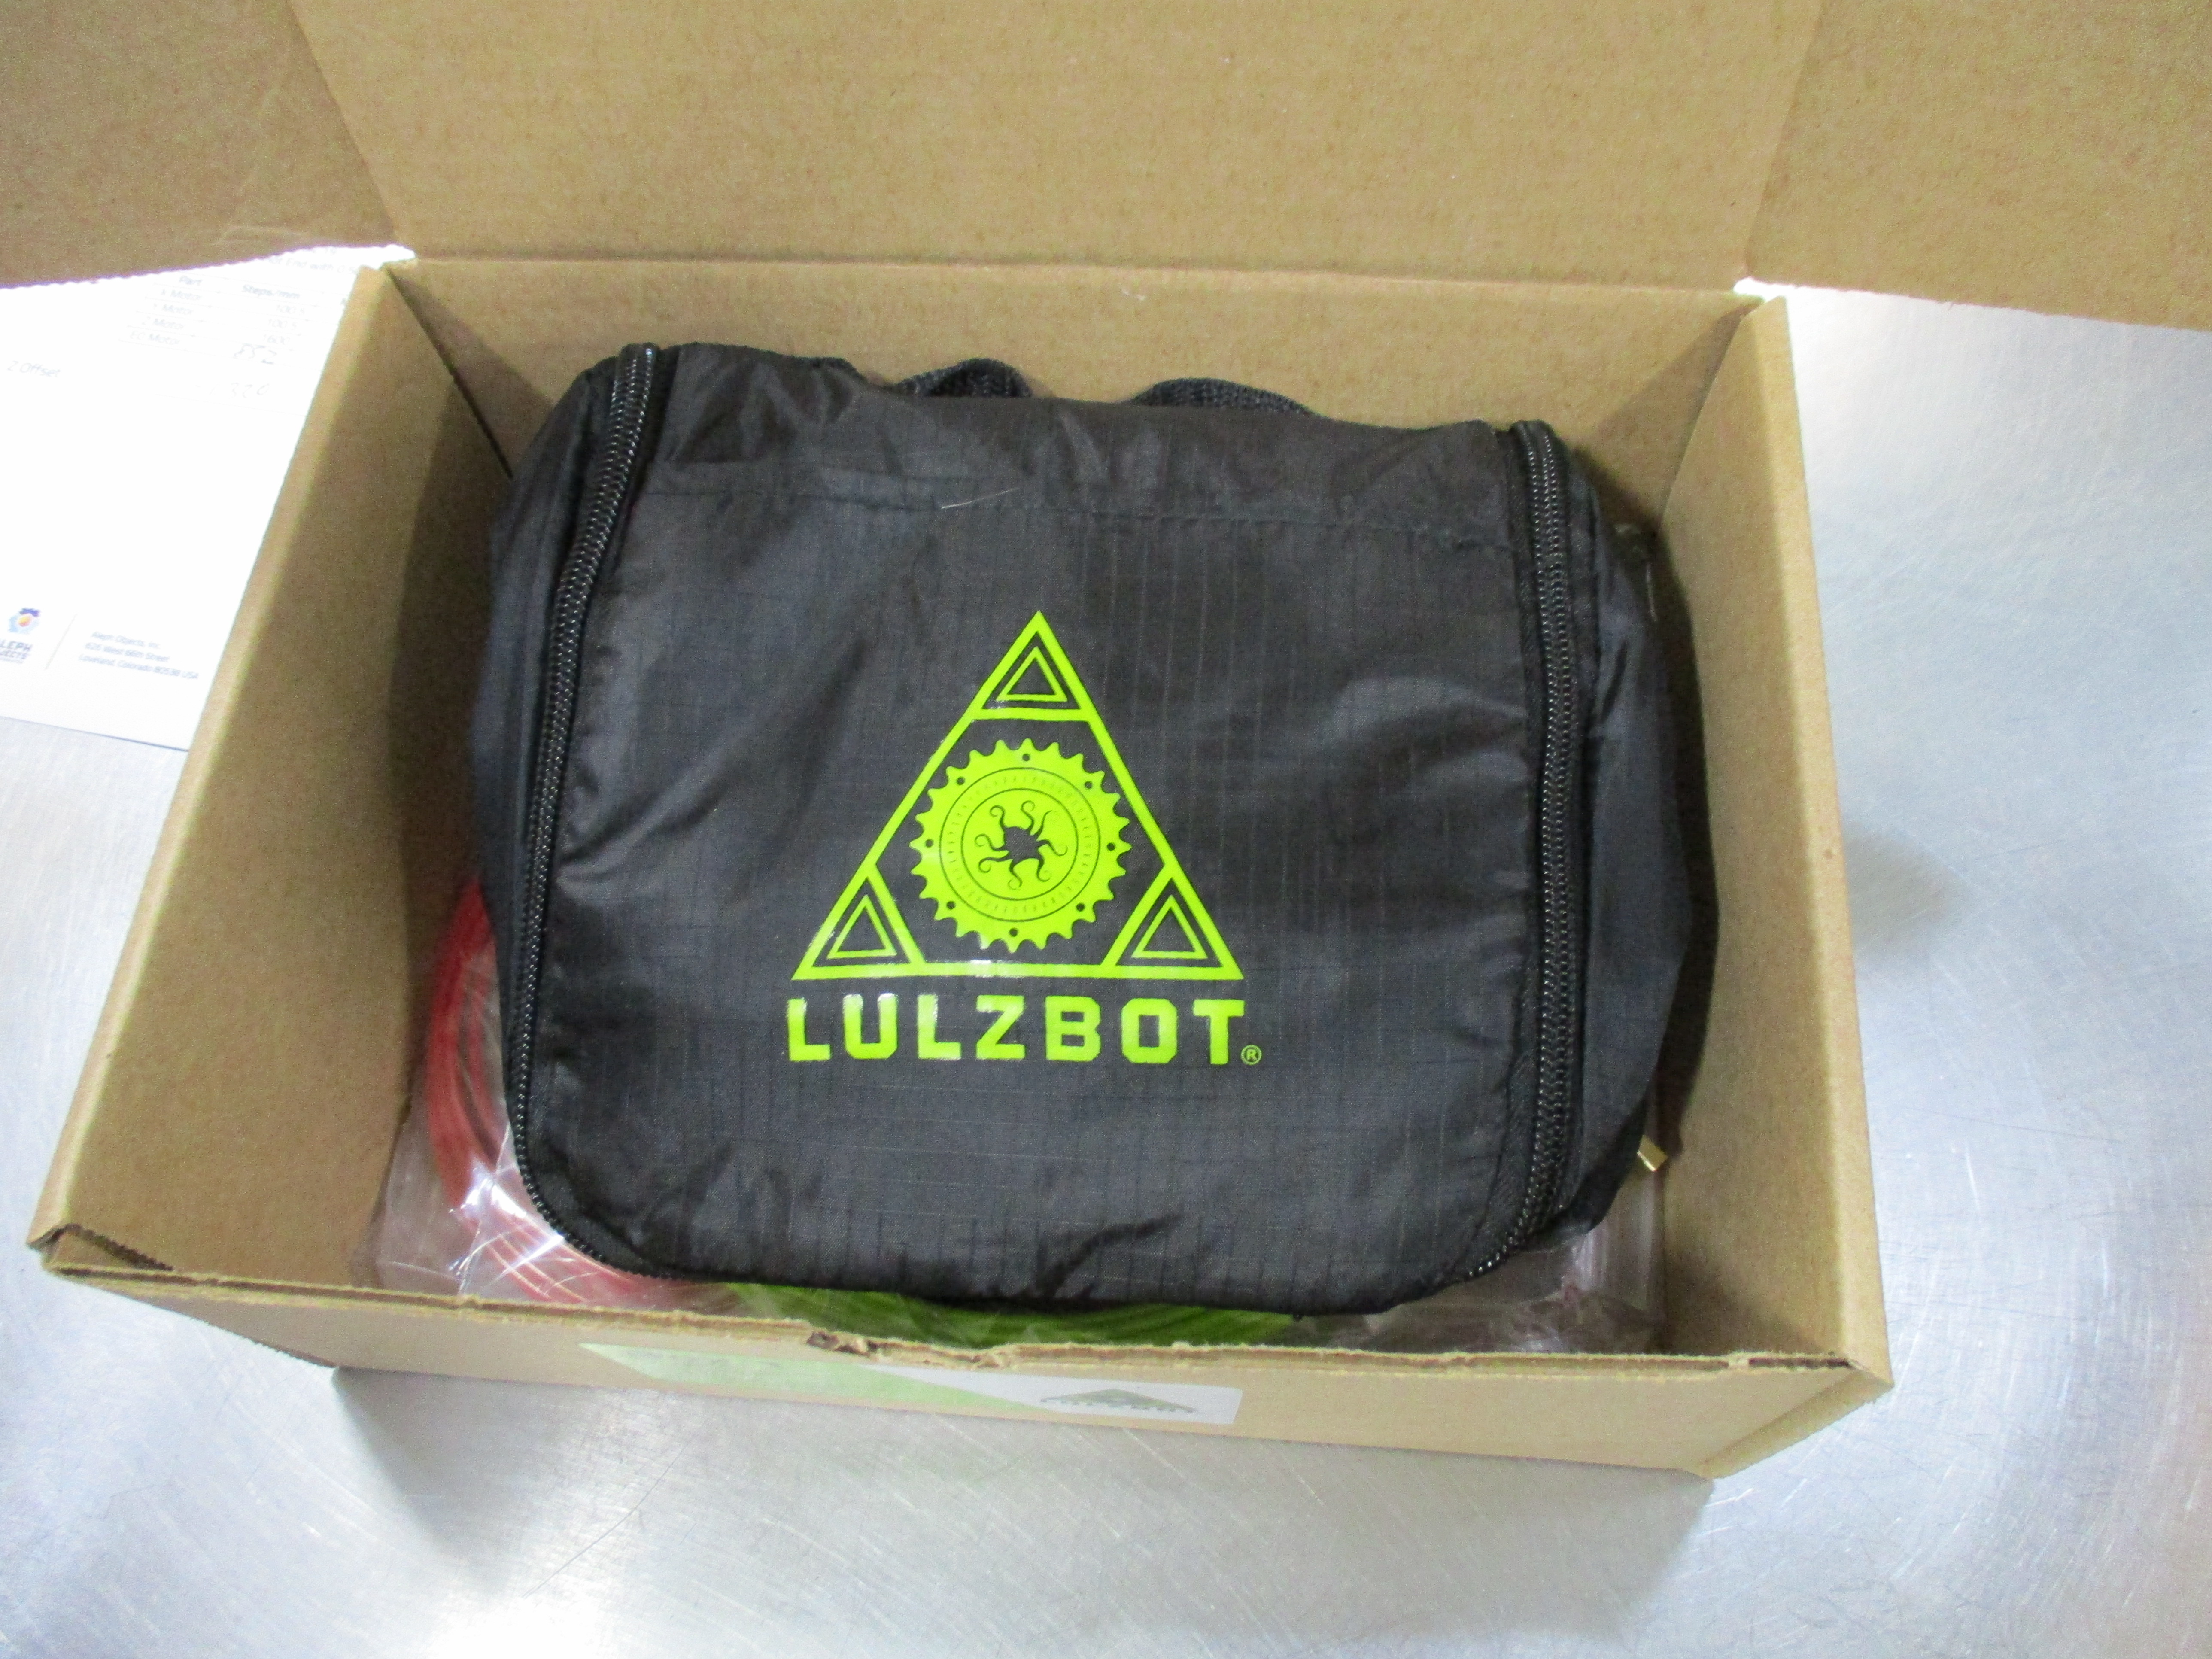
1 TL-MS0343 Bright Travels Hanging Utility Kit - TAZ Tool Bag with LulzBot Green Logo