Open HardwareAssembly Instructions
Guides for installation and assembly of the LulzBot line of products made by FAME 3D LLC.
Guides for installation and assembly of the LulzBot line of products made by FAME 3D LLC.
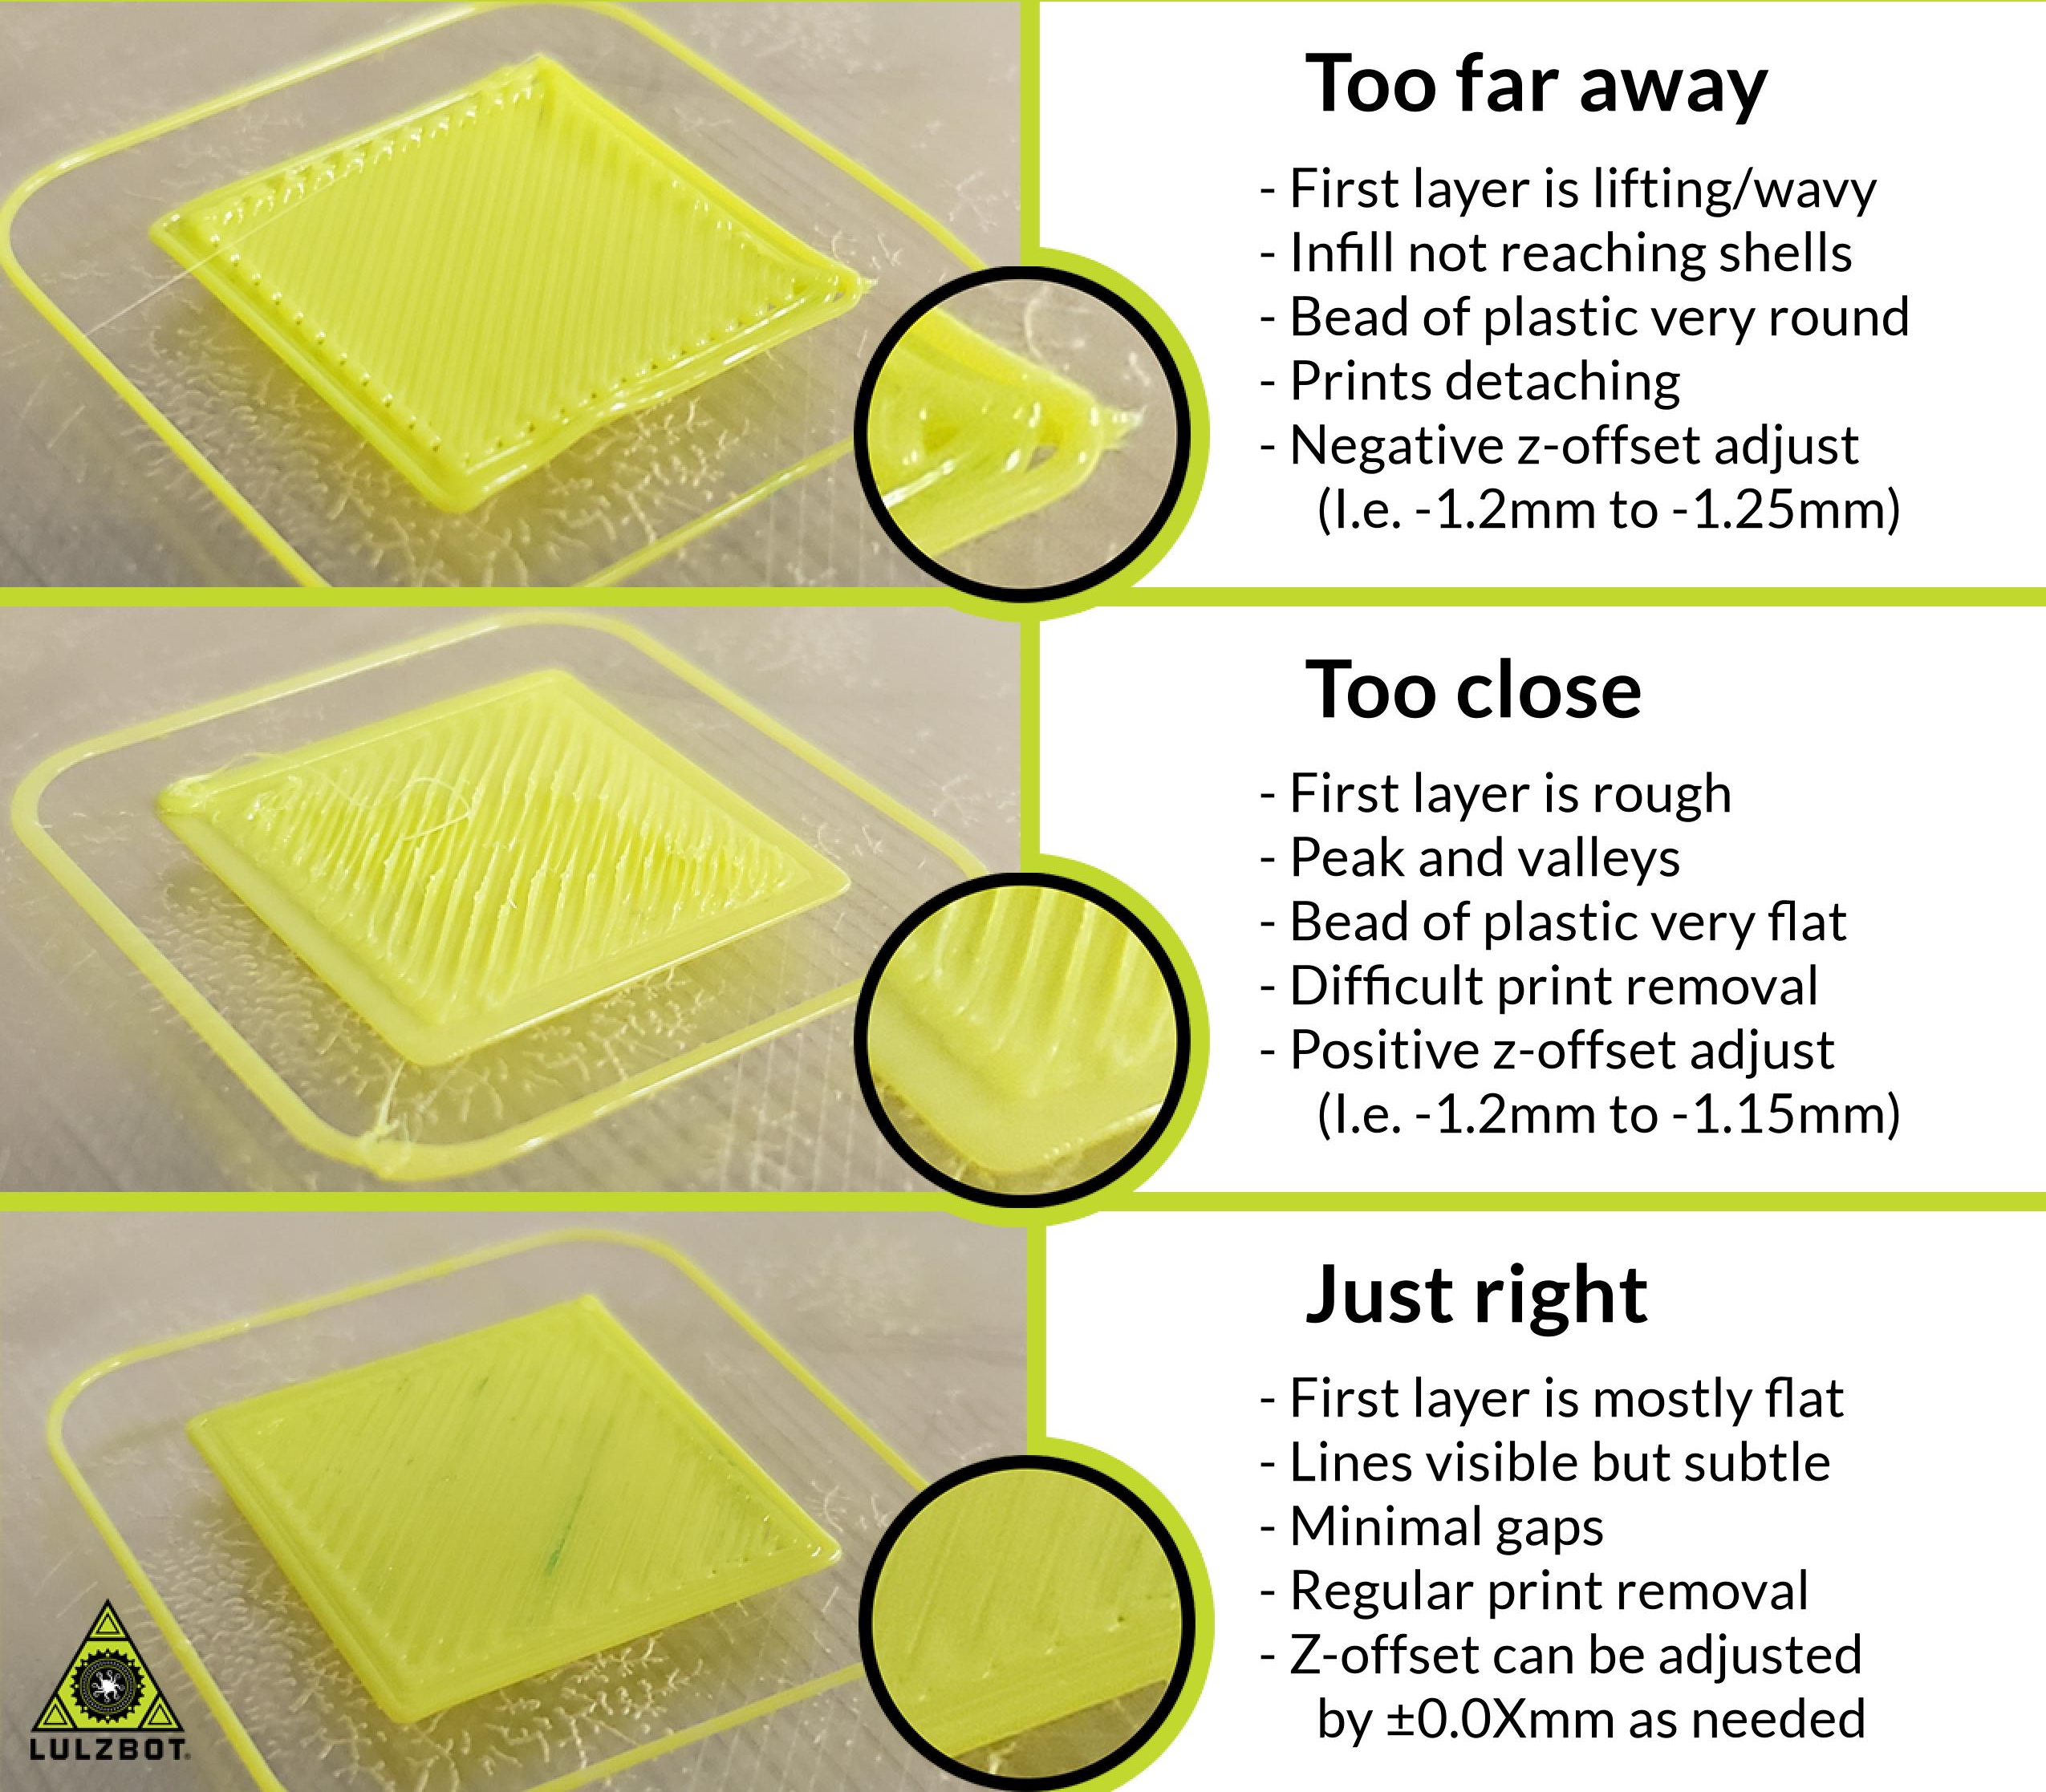
Poor bed adhesion could be caused by a few different issues.
The most common being an uncalibrated z-offset.
Z-offset is the distance between the nozzle of your tool head and the build surface of your printer.
The further away the nozzle is from the bed, the less like your print is the stick to the surface.
If this distance is too close to the build surface, you may get clogging due to the drive gear of the tool head grinding through the filament.
Resolving:
Your printers Z-offset can be adjusted through the gLCD menu on your printer by clicking the gLCD knob in once to bring up the main menu then navigating to:
Configuration > Probe Z-Offset.
Then, you can make your offset closer to the bed by turning the gLCD control knob counter-clockwise. You can make your nozzle further away from the bed by turning the knob clockwise.
Once you have found a suitable setting for the z-offset, be sure to go back to the configuration screen and click Store Settings.
An example of modifying your z-offset is as follows. Note, these numbers may not match your printers settings and are purely for demonstration purposes.
If you change the z-offset from -1.2 mm to -1.25mm, this will make your first layer more squished by bringing the nozzle closer to the bed.
If you change the z-offset from -1.2 to -1.15, this will make your first layer less squished by moving the nozzle away from the bed.
You can also adjust this setting in real time while your printer is laying down its first layer.
To perform this during your printer’s first layer, navigate to the tune menu on your gLCD and scroll
down to z-offset.
From here, you can tune the offset up and down, and the printer will adjust the first layer height as you adjust the settings.
Remember to go back to configuration and store the settings once your printer is done as you are unable to access the configuration menu while the printer is printing.
You may also need to clean your print bed using isopropyl alcohol and water.
See our guide on this process linked HERE.
Partial or complete clogs can prevent filament from exiting the nozzle and will inevitably cause the extruder gear to bite into and chew through the filament.
If you are experiencing a clog or a filament jam, we recommend performing a few cold pulls to try and remove any contaminants that may be in the nozzle.
Performing cold pulls:
When it comes to performing cold pulls (sometimes referred to as atomic pulls), set your tool head to the extrusion temperature of the filament you will be using to perform the cold pull.
1. Push that filament into the tool head while the tool head is hot, then turn the temperatures of the hot end back down to around 100°.
2. Keep pushing until you no longer see filament coming out and can no longer feel the filament going into the hotend and keep letting it cool off.
3. Once it gets to 100° apply a little upward pressure on the filament like you are trying to pull it out. Not a lot of force though.
4. Start heating the tool head back up to around 200°C again while pulling up a little.
5. As the plastic softens, you will start to feel the filament elongating and once soft enough, the filament should pull right out leaving a nice plug at the end.
You may need to perform this multiple times in an effort to remove anything that may be clogging your nozzle.
If you are not able to clear a clog or jam using the above instructions, please reach out to our support team for further assistance.

Filament grinding is normally the result of too much pressure in the hotend which prevents filament from exiting the nozzle.
If anything is blocking the transport of the filament out of the nozzle of the printer the teeth of the gear will crew through the filament.
Resolving grinding:
Check that your nozzle is not too close to the printer’s bed.
If it is too close to the bed, you will need to adjust your z-offset to bring the nozzle higher up.
See the Troubleshooting section on Bed Adhesion for instructions on this process.
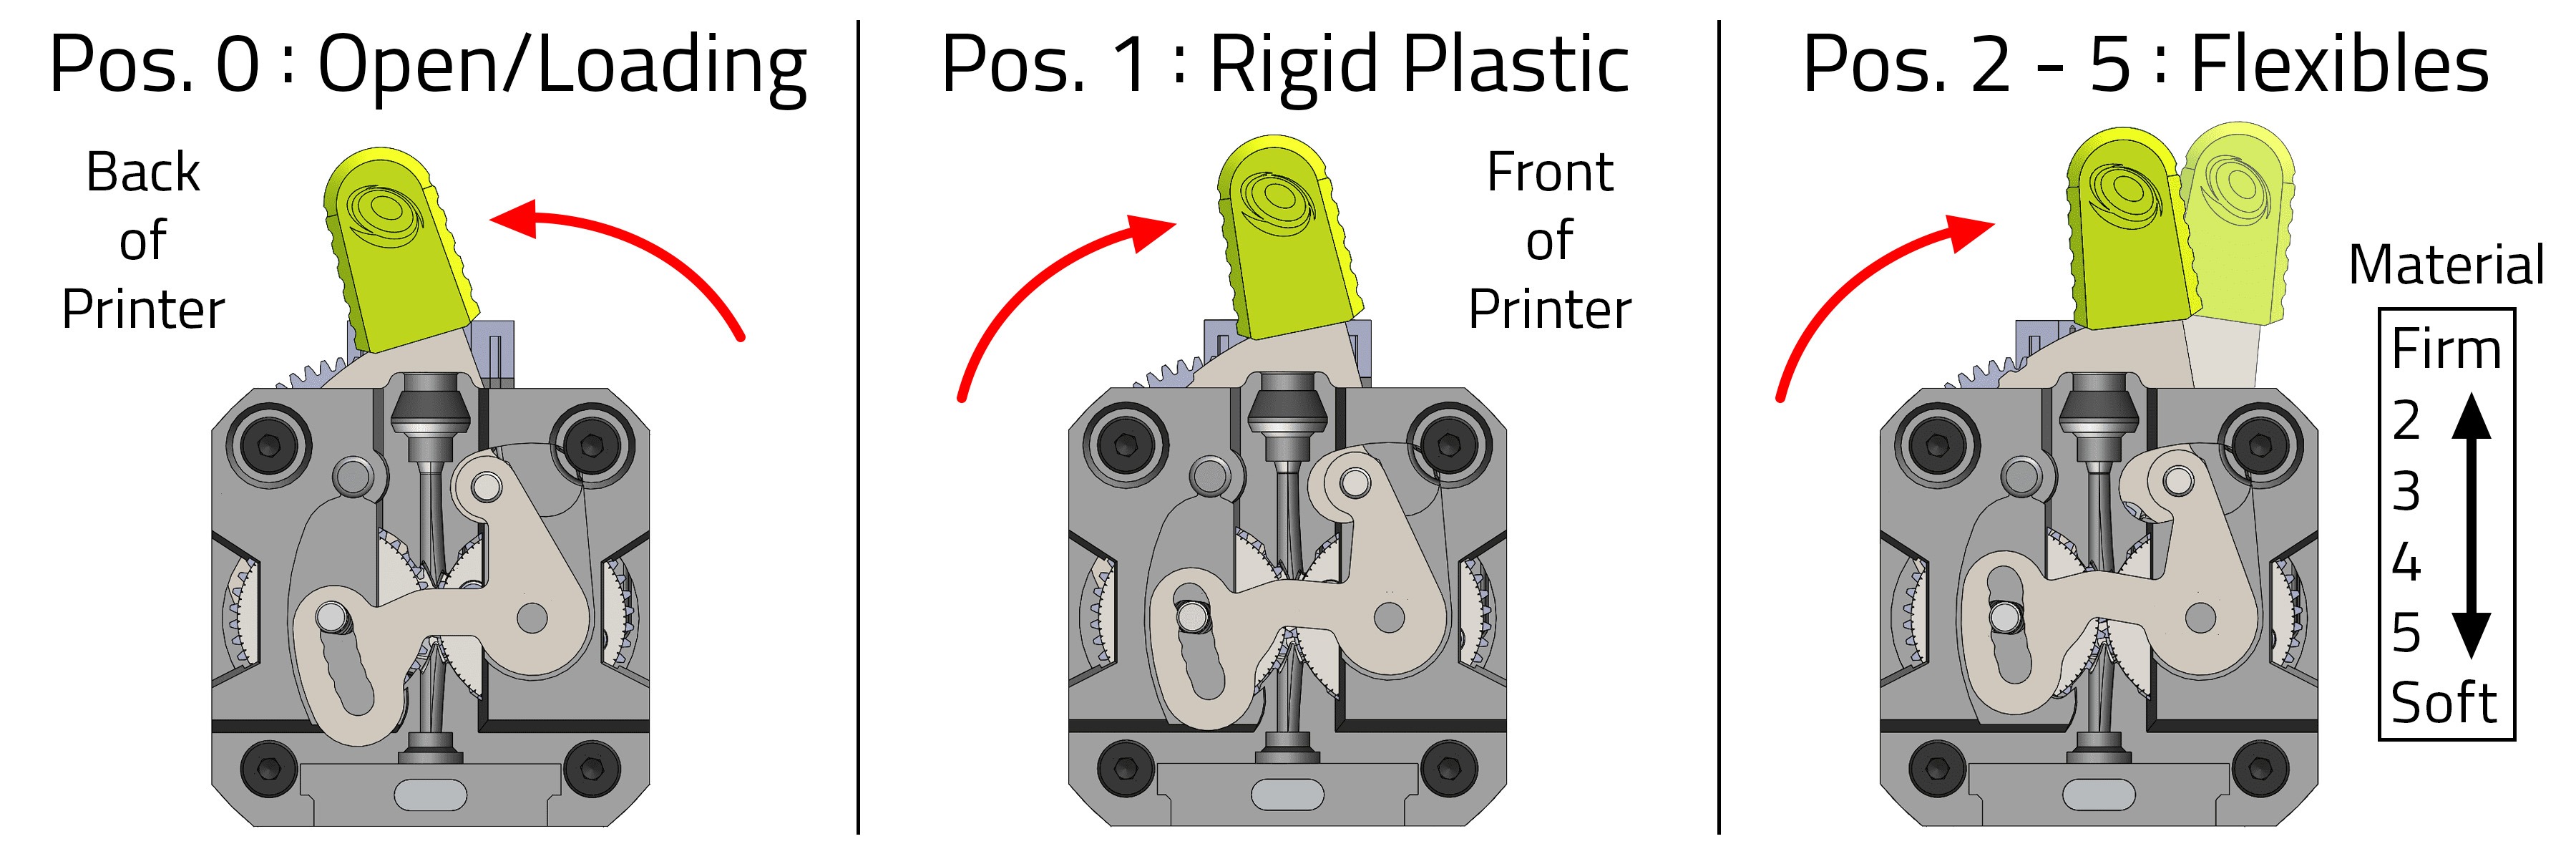
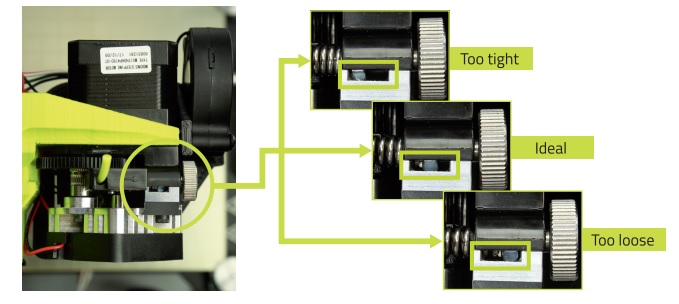
Also, check your printing temperature as well as the tension on your filament idler.
If printing too cold or if you have too much tension on the filament at the idler this will prevent the movement of filament and ultimately grind away at it. Try increasing your print temperature and loosening the tension on the filament idler a little bit.
Clogs/filament jams can also cause the gears on the extruder to grind through filament.
Please refer to the Jams/Clogs section for more information.
Over extrusion can be fairly easy to spot as the prints you are getting will either be slightly too large or appear to be pretty blobby.
This is caused when too much filament is being extruded from the nozzle and can be caused by a number of issues.
Possible resolutions:
1. Be sure that the filament diameter is set correctly within your slicer.
The most common filament diameters are 1.75mm filament and 2.85mm filament.
Some manufacturers create 3.00mm filament and it is actually 3.00mm, while others state their filament is 3.00mm when it is actually 2.85mm filament.
If you have access to calipers, check to ensure that you have the correct filament diameter set that corresponds with your installed tool head.
2. Check for a worn nozzle.
Even non abrasive filaments can wear the nozzle on your printer over time and will widen the opening where the filament comes out.
This means that even though your nozzle started off as a 0.5mm diameter nozzle, due to wearing, it may be 0.6mm or even wider.
This will cause more filament to be extruded than the printer thinks.
Highly abrasive filaments such as glass/carbon fiber filed materials will wear through your nozzle faster than others.
3. Wrong GCode flavor selected in Cura.
Check your machine settings in Cura by navigating to the window as follows:
Settings > Printers > Manage Printers > Machine Settings
On this window check that the "Gcode flavor" is set to Marlin and not Marlin (Volumetric).
The volumetric option will cause the printer extrude too much filament during normal printing.

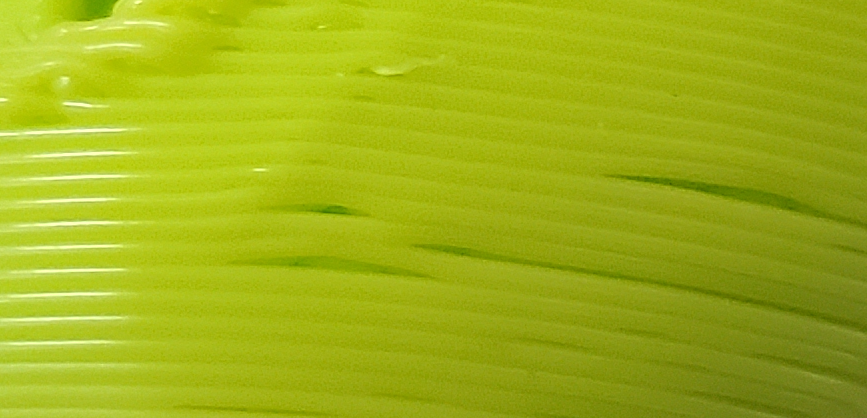
Under extrusion can be a little more difficult to diagnose.
Your prints may appear like they are slightly hollow or maybe there are missing lines or extreme gaps on the print.
Your top layers may have space between the lines of plastic.
Like over extrusion, be sure that your filament diameter is set correctly in your slicer to ensure that the printer extrudes filament at the right speed
Possible resolutions:
1. Check filament idler tension.
If the tension on your filament idler is too loose, the gear that pushes filament into the hotend may not be fully engaging the side of the filament and can slip. This will prevent the filament from going into the hot end and cause a lack of plastic being extruded.
2. A partial clog in the nozzle is another common cause of under extrusion.
If there is debris preventing plastic from being extruded, it will cause under extrusion. If this is the case, you will usually see grinding through the filament and may need to perform a few cold pulls to try and remove any debris.
Please refer to the Jams/Clogs section for more information regarding cold pulls.
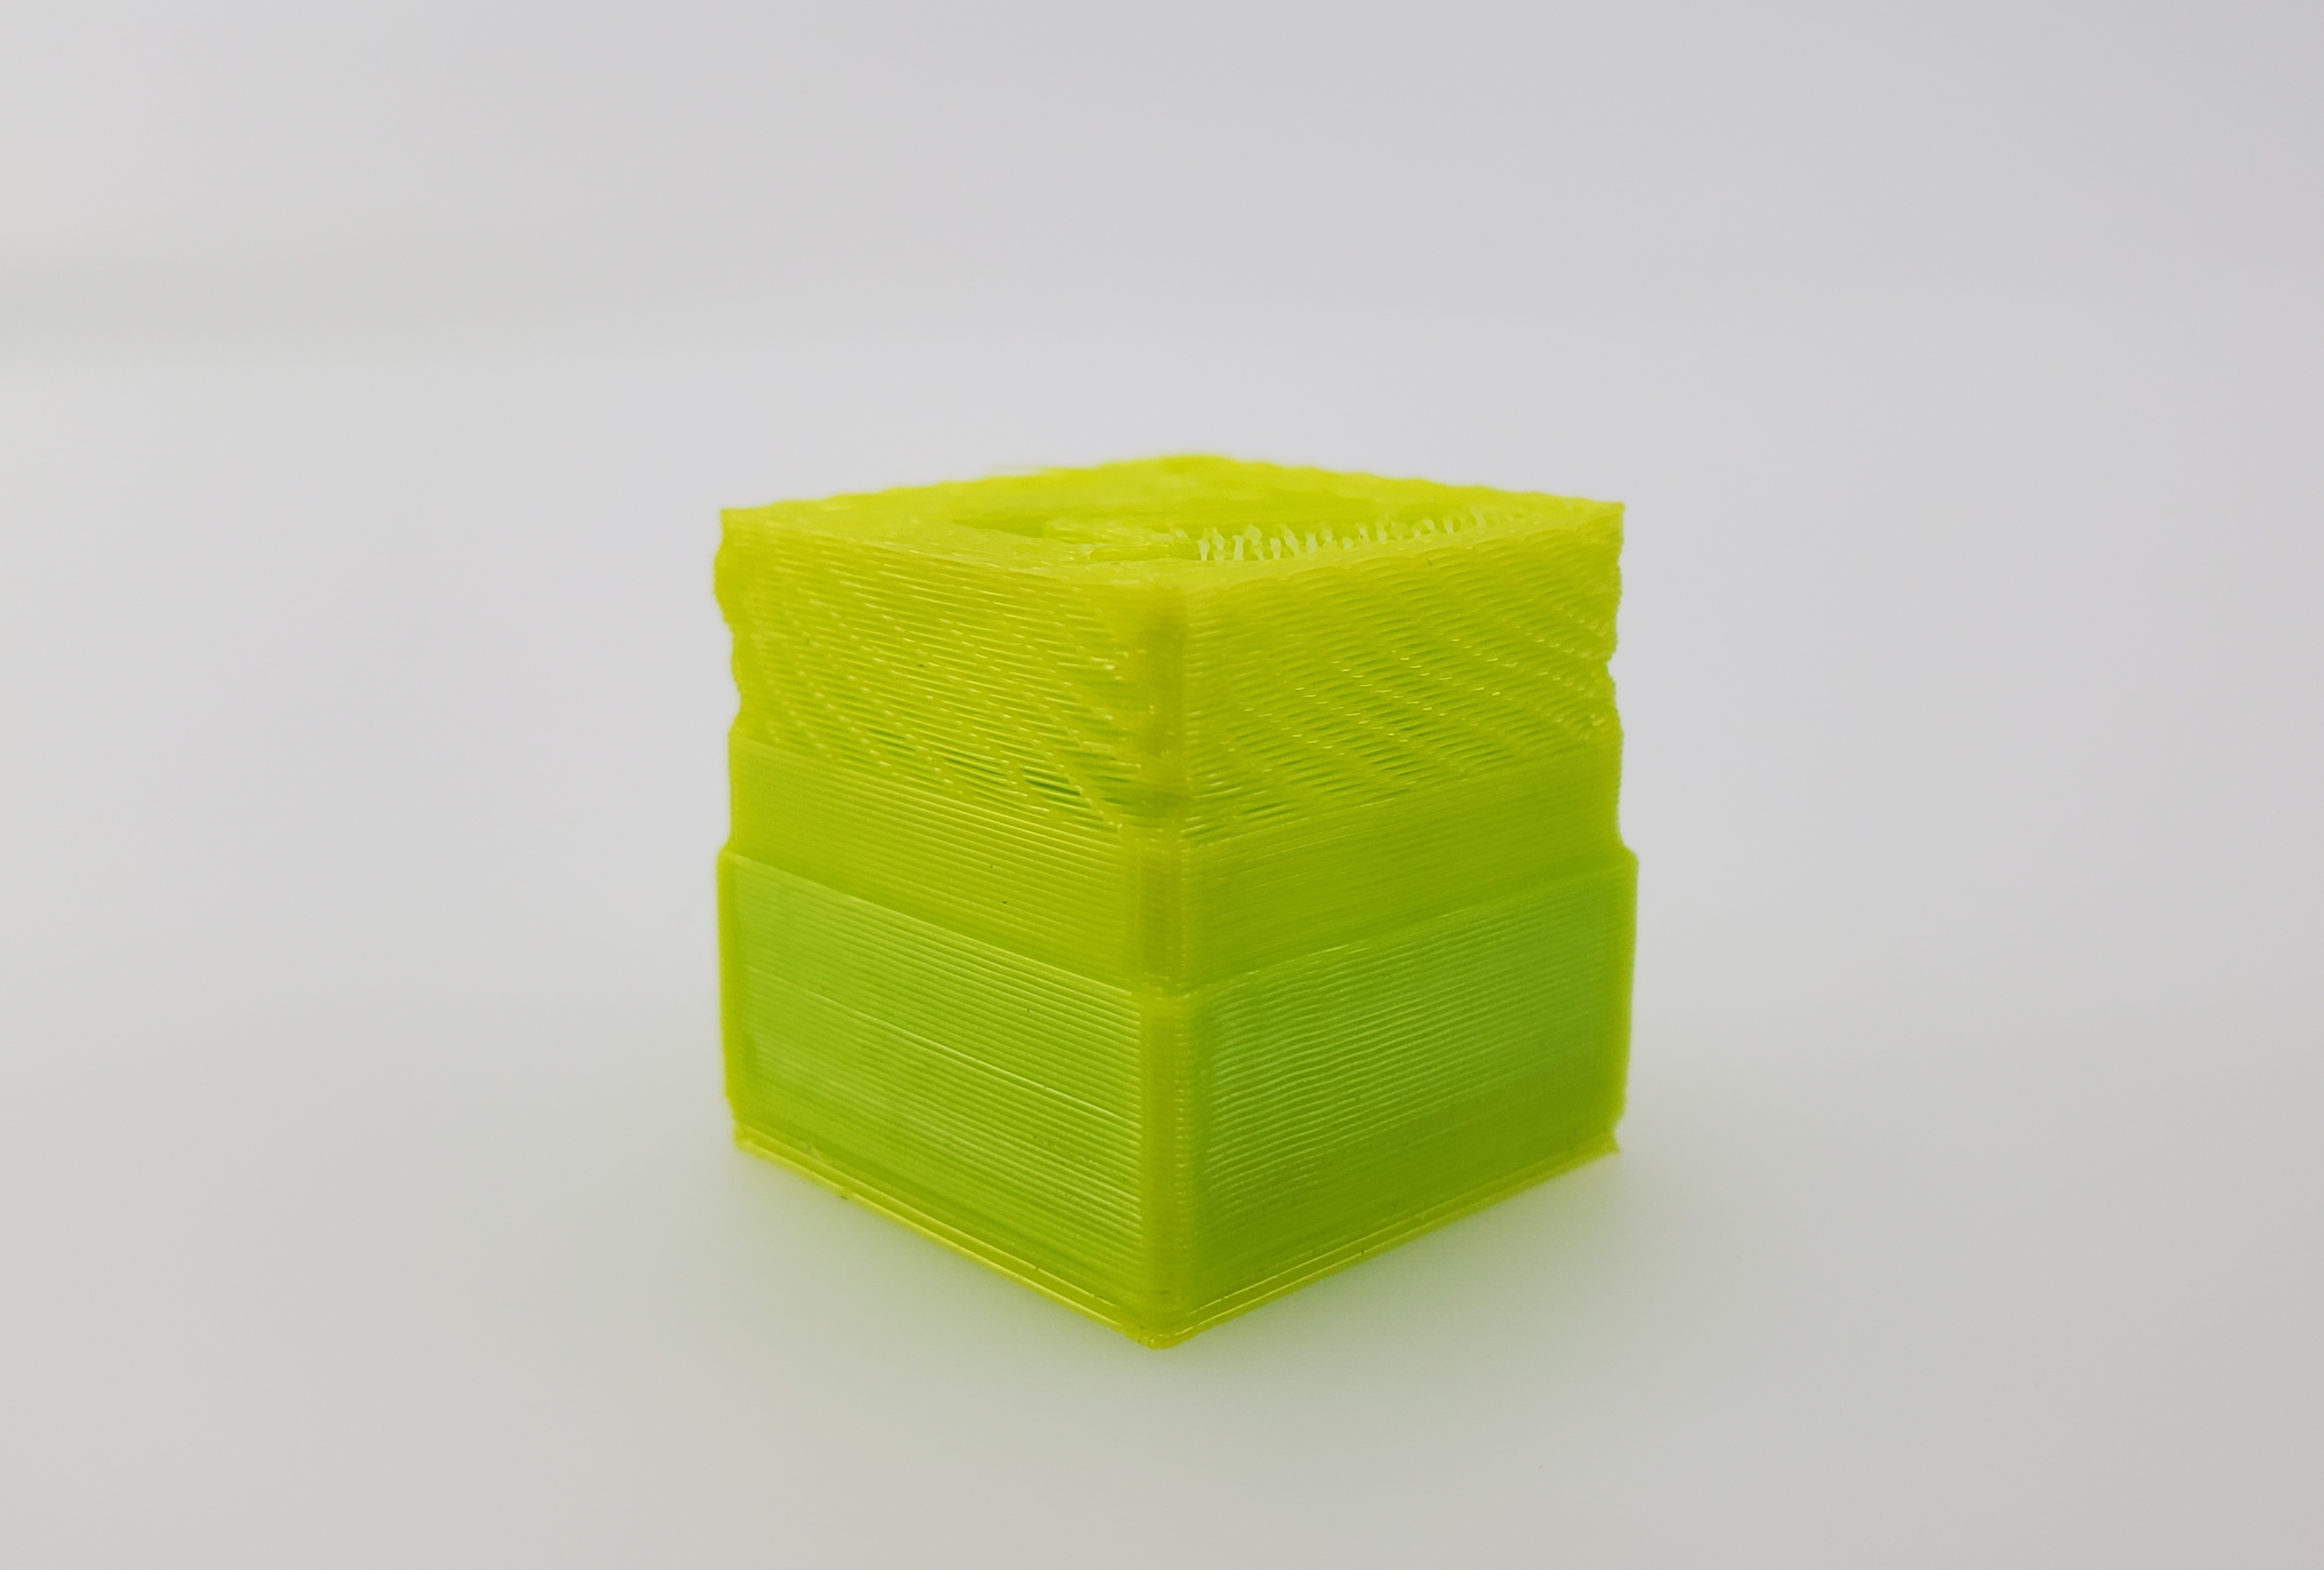
Layer adhesion or delamination issues can stem from a few different places.
Possible resolution:
Depending on the filament used, you may need an enclosure.
Filaments such as ABS and ASA tend to warp and shrink after being printed and this can cause the layers to come apart. The use of an enclosure greatly reduces the speed at which the filament shrinks and helps minimize layer separation.
Another reason for layer adhesion issues can be too thick of layers.
Generally, the optimal printing layer height is going to be 25-75% of the nozzle diameter.
For a 0.5mm nozzle, this equates to layer heights between 0.125 and 0.375mm.
Smaller layer heights can be achieved through tuning, however larger layer heights will likely not be due to the physical limitations of the nozzle diameter.
If you are printing too thick of layers, try reducing your layer height.
When printing, temperature is a very important setting that may need to be adjusted for your printer.
Not printing hot enough can cause layers to bond poorly to one another and increase the chance of layer delamination.
If you are experiencing layer separation, try increasing the printing temperature by 5-10° and try another test print.
Ringing or ghosting on a 3D print can usually be seen as a surface artifact on a print that appears next to a feature that has been printed.
A lot of time this will appear almost like a rippling effect to the right or left of a surface feature such as text or a corner.
This artifact is normally caused by something mechanical, such as a loose belt or a dirty bearing/extrusion/smooth rod.
Possible resolutions:
Check for debris that may be causing the bearings/bushing to bind and ensure that the extrusion/rods are clean and free of debris as well.
Inspect that the belts are tight. If they appear to be too loose, adjust their tension by turning the adjustment knobs on the axis which is loose.
Another reason you may be experiencing ghosting/ringing could be that you might be printing too fast.
Printing fast can create jerks on the printer when changing direction and this can introduce extra vibration on the printer and this vibration can show through on the print.
Reduce the speed of your printing and try another test print.

Lines on the side of your prints can be caused by a number of issues.
Potential causes:
Usually this is a sign of belts that may be a bit loose.
Ensure that the belts on your 3d printer are not too loose.
If they are loose, refer to the correct assembly guide for your printer on our OHAI main page to tighten it and try another test print.
Horizontal lines that appear to be consistent may also be due to a bed that needs to be PID tuned.
As the bed heats up and cools off, it will expand and contract by a small amount.
This expansion and contraction can cause the bed to rise and lower by a very small amount and this will show as horizontal lines in the print.
Performing a PID tune on your printer will help the printer calculate how much current to send to the bed and how quickly it will need to turn it on and off to more accurately regulate the bed temperature.
Your printer is likely capable of performing an automatic PID tune via the LCD.
You can do this by navigating to the following menu and selecting the PID Autotune:
Configuration>Advanced Settings>Temperature
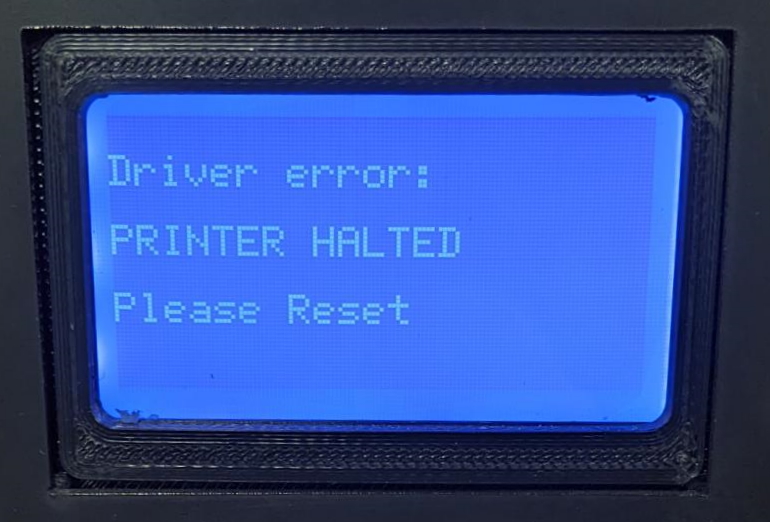
At times, your 3D printer may throw an error code.
Knowing what these errors are the potential causes will help when troubleshooting the issue being experienced. Accompanying each error with be the message Please Reset.
Please Reset - Printer needs to be reset.
Power the machine off, then back on.
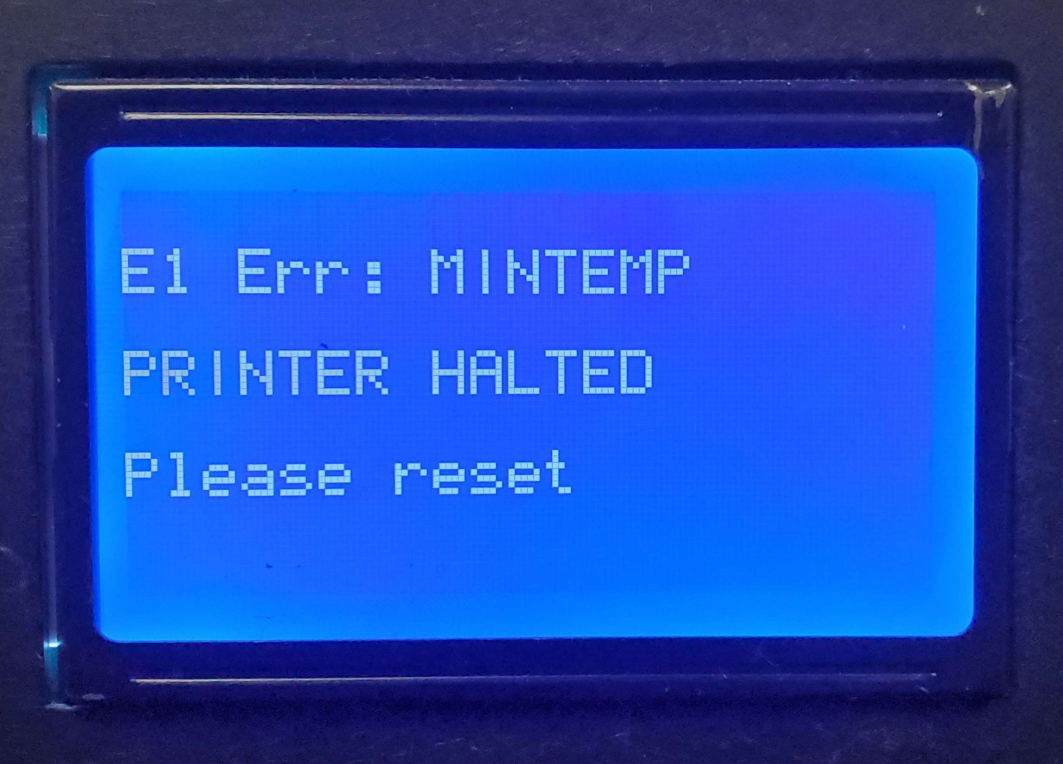
Mintemp errors occur when the temperature of the tool head or bed drops below 0°C.
This is usually due to the printer not sensing a thermistor.
Troubleshooting:
Check thermistor connection and if possible, test with a multimeter using the guide found here. Replace thermistor/bed heater if necessary.
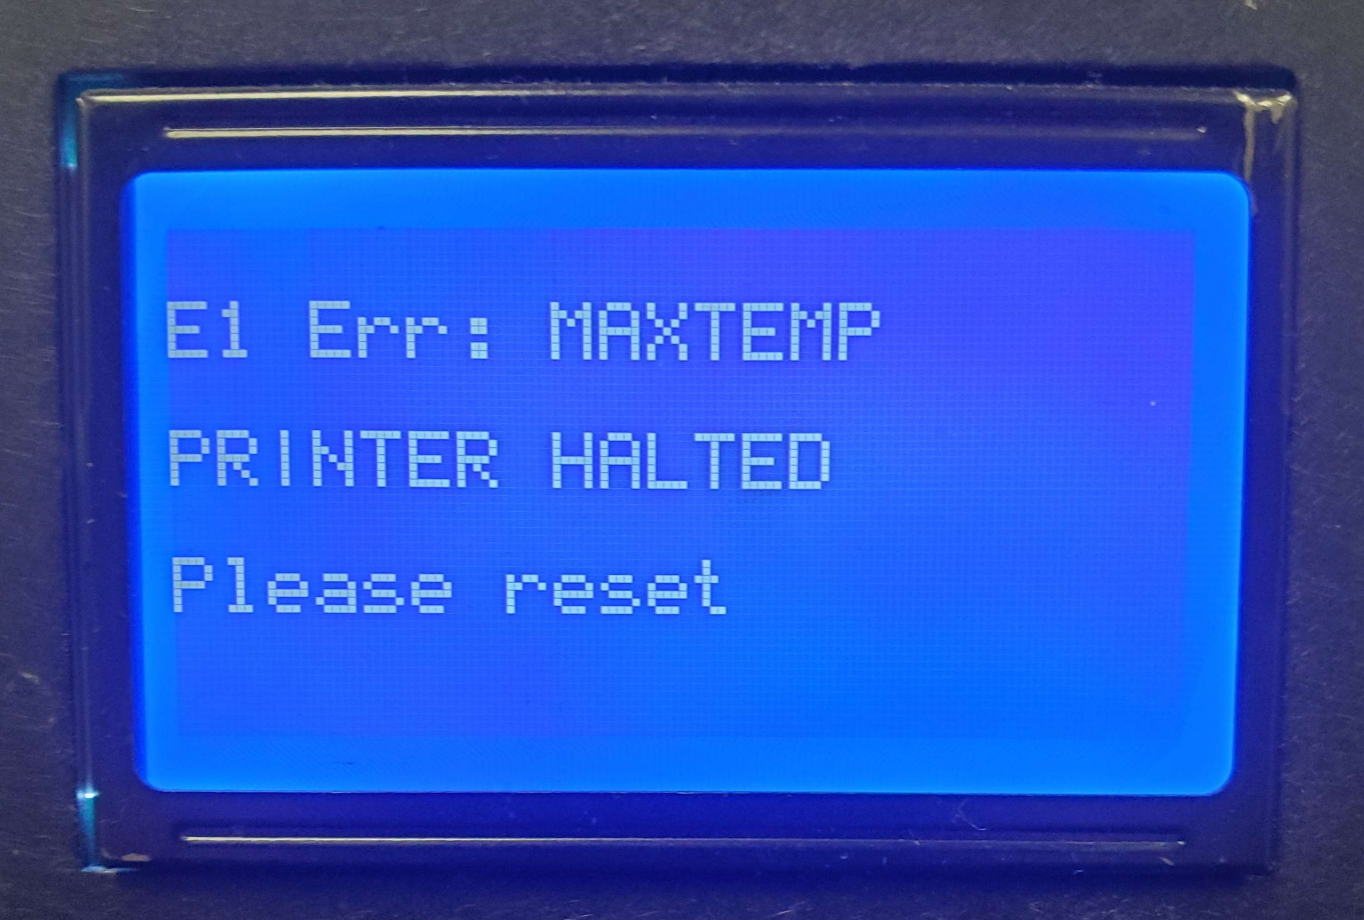
Maxtemp errors occur when the printer senses the hotend temperature above 305°C. If error appears when the printer is first turned on this can be caused by shorting thermistor wires.
Troubleshooting:
Check that the thermistor wires are not touching each other.
If the tool head is heating up without commands, possibly a bad mosfet on the control board or incorrect firmware for printer.
Thermal runaway errors occur when the temperature on the bed/tool head has swayed too far from the set temperature and caused the printer to stop heating.
Troubleshooting:
Check to make sure that nothing is causing the tool head or the bed to cool down such as a room fan.
A bad heater cartridge or thermistor may also cause an incorrect reading.
Use the heater cartridge/thermistor testing guide found here to check these components.
A loose or broken thermistor wire could also cause the temperatures on the LCD to jump around.
This can cause the error due to the incorrect reading outside of that temperature window.
If you gently wiggle a wiring harness and you see the temperature jump around on the LCD, that may be causing the error and the harness would need to be replaced.

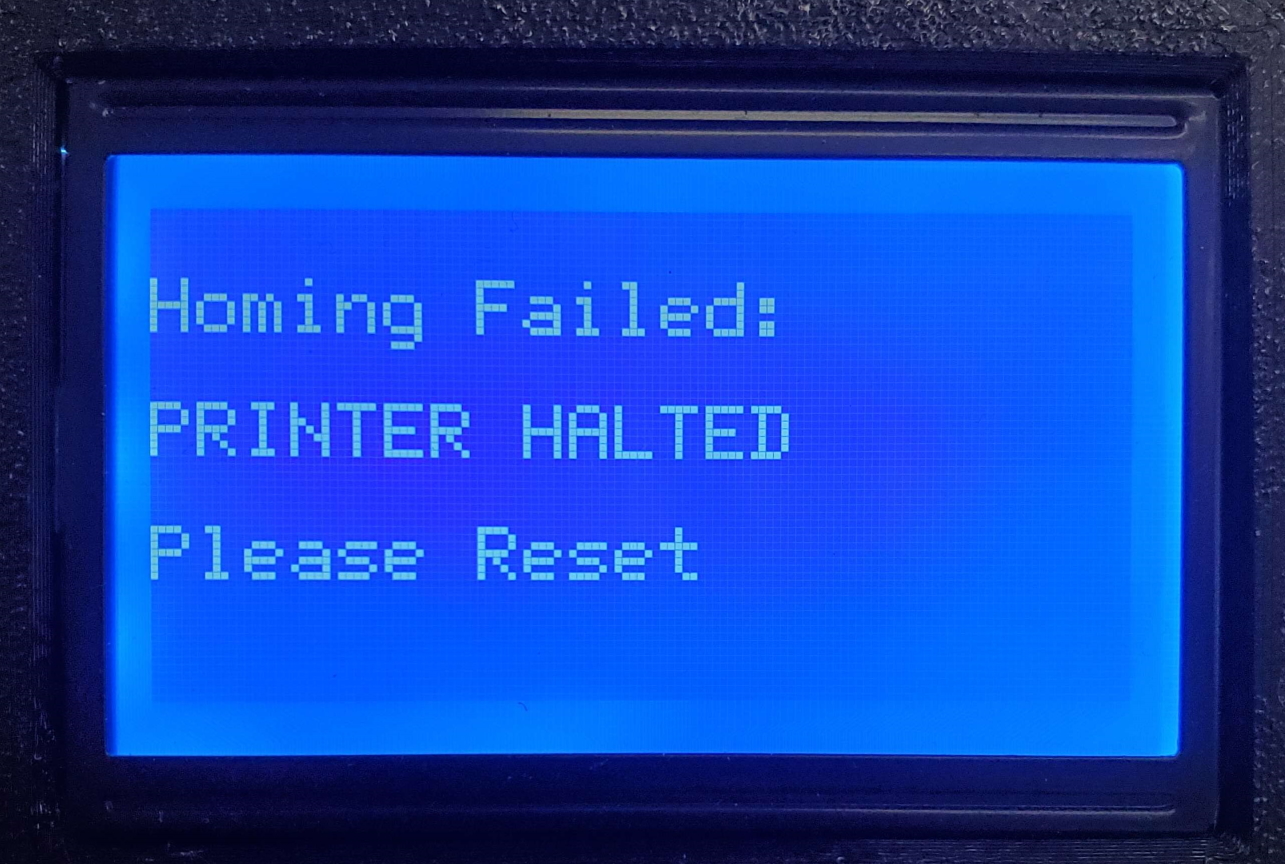
Homing failed errors occur when the printer is not able to home itself in the x/y/z axis.
Troubleshooting:
Check for any obstructions in the tool head or bed path. For printers with sensorless homing, homing sensitivity may not be sensitive enough.
Check if motors are all plugged incorrectly. An unplugged motor cannot move and therefore cannot home correctly.
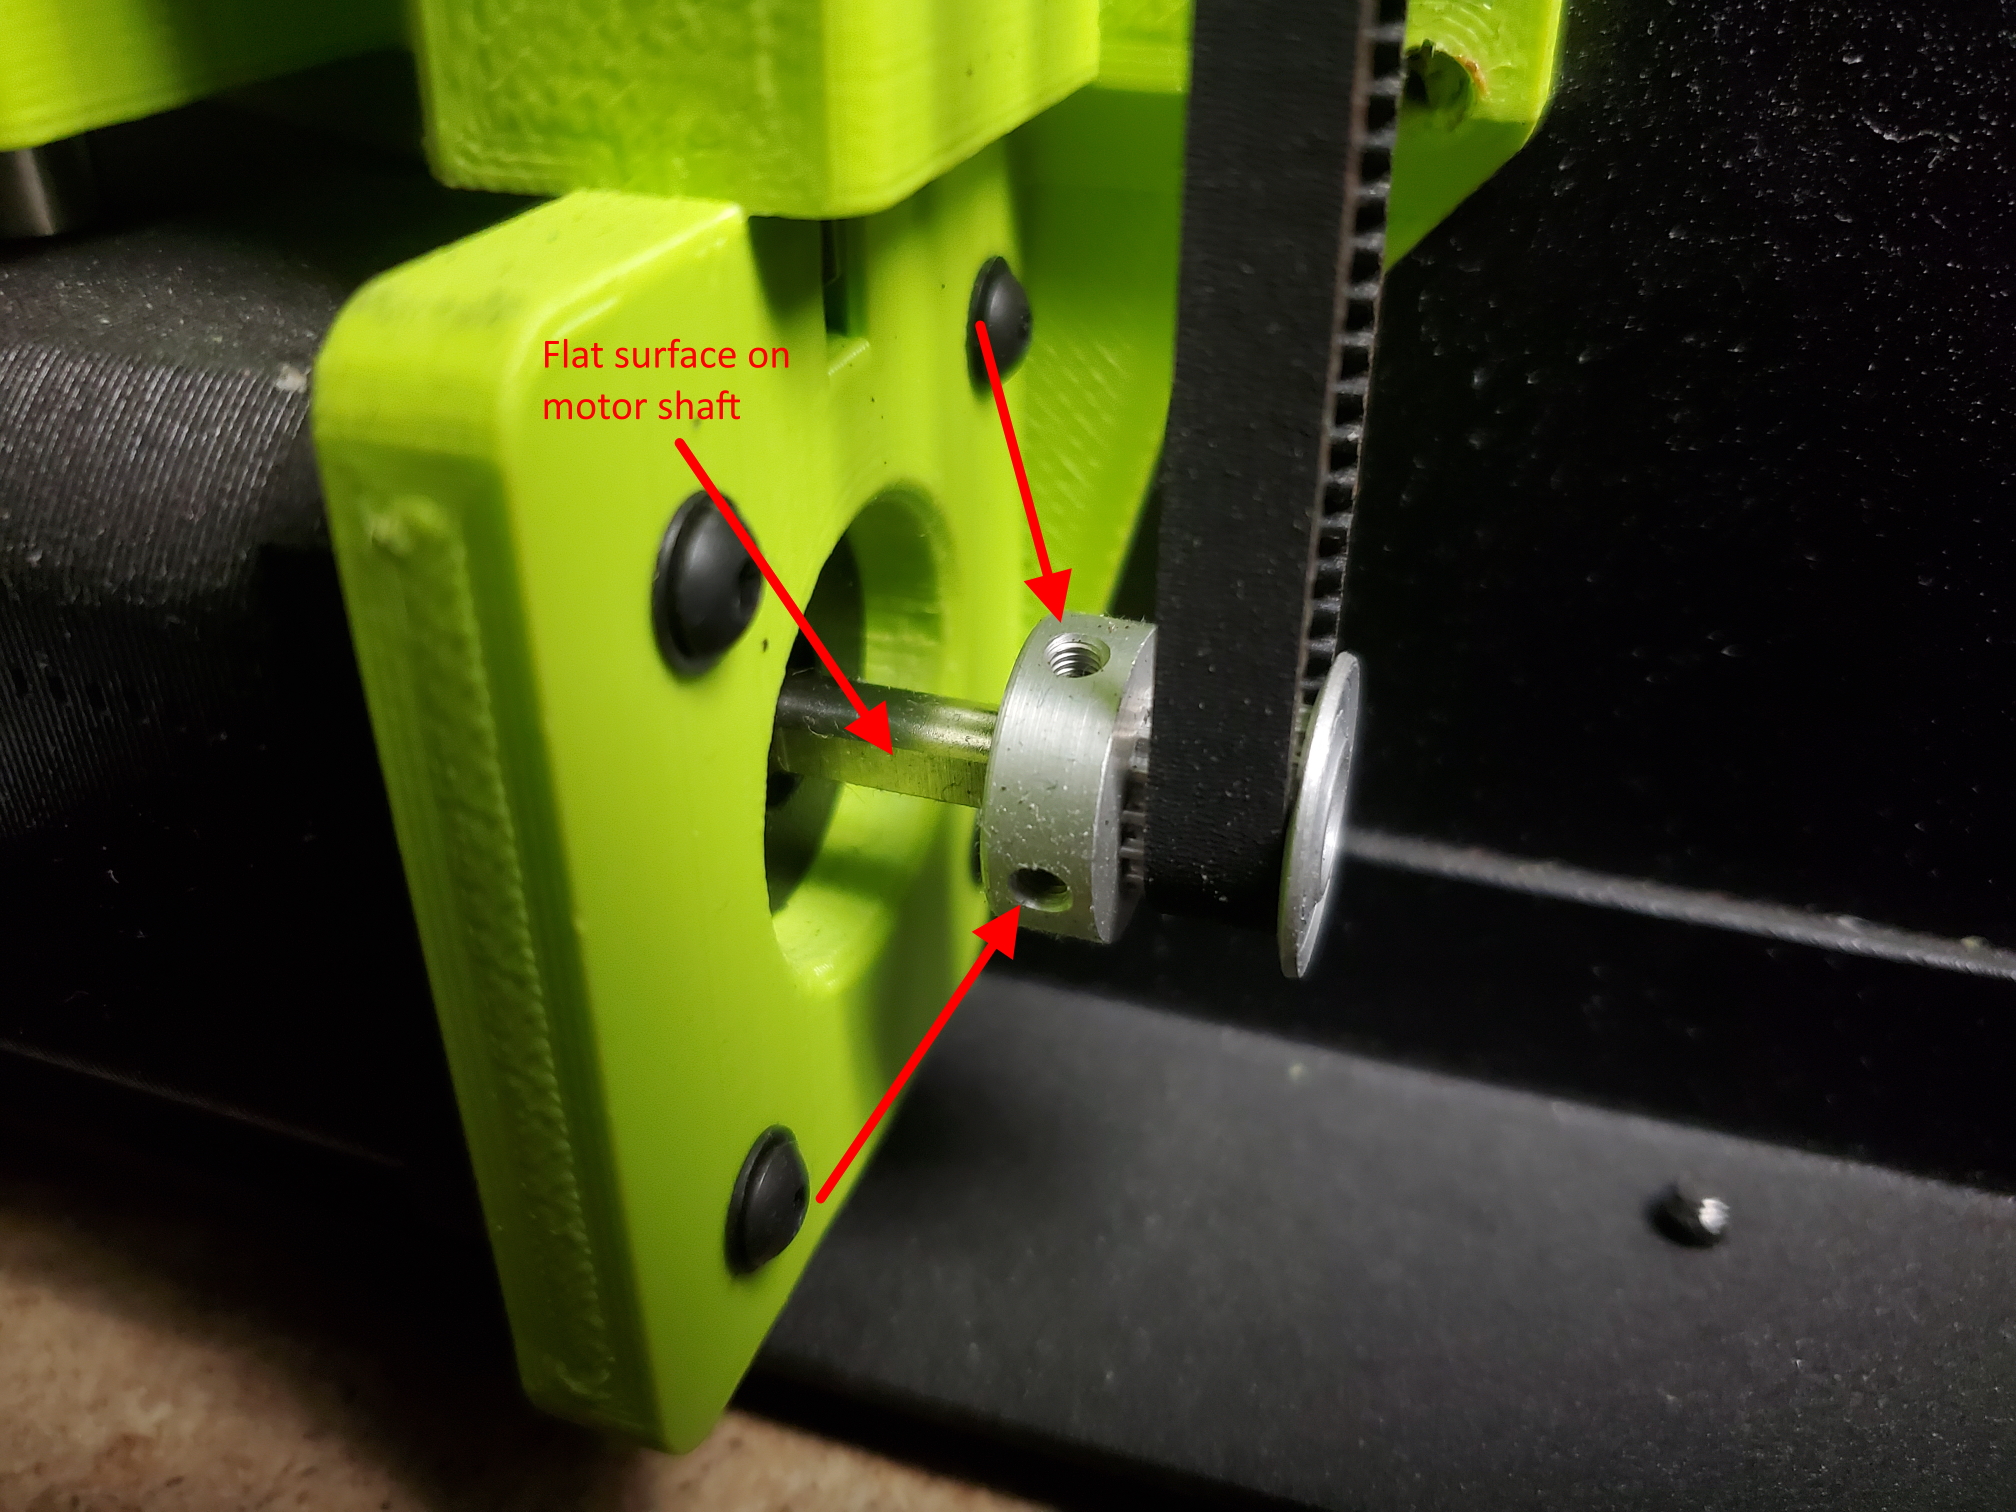
If you home a specific axis and you can hear the motor running but the axis not moving, it is possible that the pulley that is attached to the motor shaft is loose.
There are two set screws on that drive pulley that need to be fully contacting the motor shaft in order for it to turn correctly and move the axis.
Ensure that the set screws are fully seated against the motor shaft with one of them contacting the flat surface of the motor shaft.
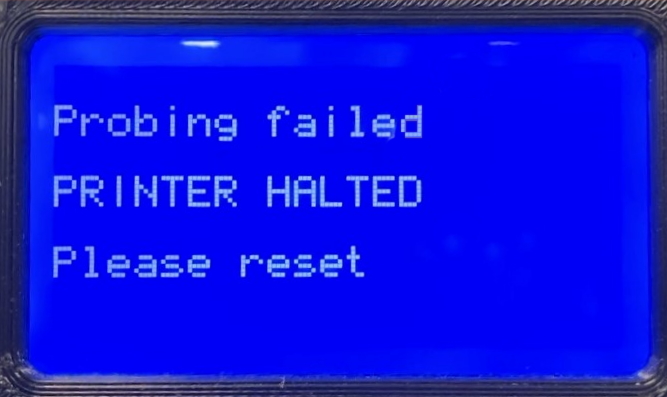
Probing failed errors occur when the printer’s automatic bed leveling was unable to be completed.
Troubleshooting:
Check for any obstructions in the tool head or bed path.
For printers using corner washers, check that the washers and nozzle are clean and free of debris. Also check that the wiper pad is clean as residue can be transferred to the nozzle and prevent accurate probing.
You may also need to clean off the printhead by hand to ensure a clean nozzle.
Raise the printhead off the bed, and bring to extrusion temperature.
Using a thick leather glove and a clean blue shop towel gently wipe off the outside of the nozzle.
Using a non-conductive Scotch Brite pad to clean the nozzle is also very effective.
The one thing that you will want to avoid when cleaning is anything metal, the printer's hot end is susceptible to electrostatic discharge that can damage the hot end, so avoid using any kind of wire brush.
For printers equipped with a BLTouch sensor, check that the BLTouch is probing correctly and that the nozzle of the tool head is not contacting the bed before the probe.
A flashing BLTouch sensor indicates that it was unable to deploy the probe correctly.
This could be due to a bent probe.
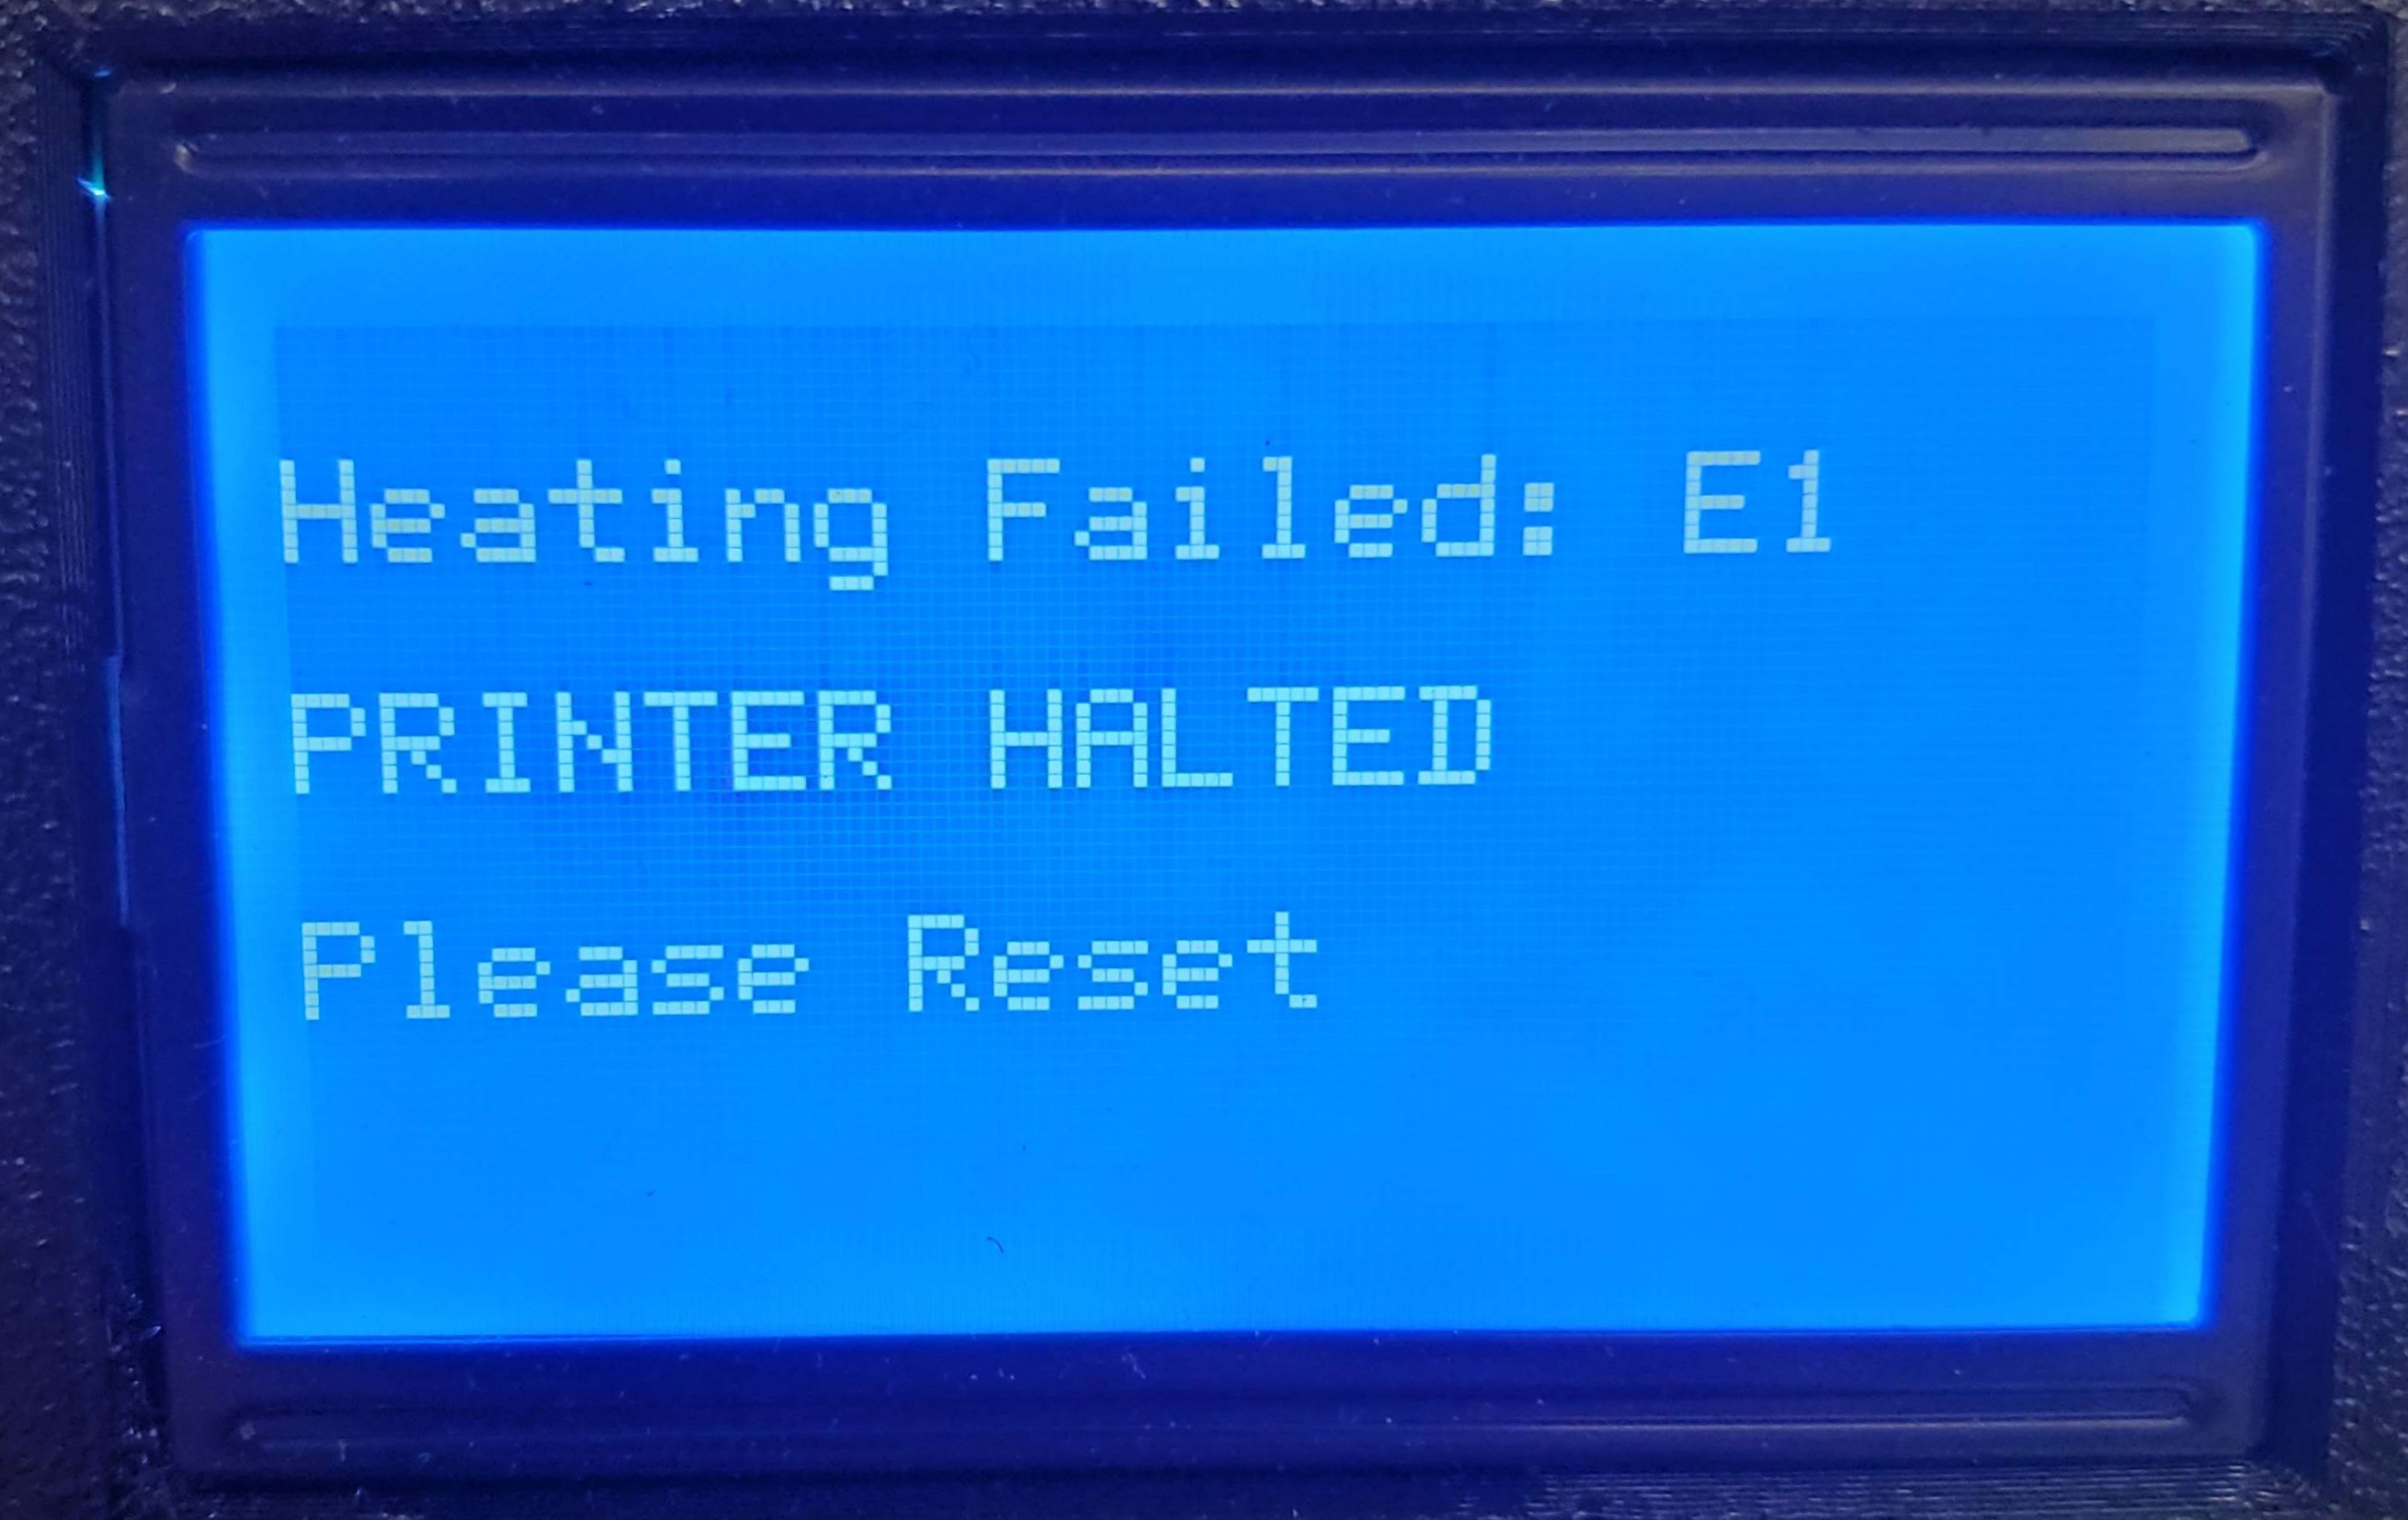
Heating failed errors occur when the Printer was unable to heat the bed/tool head quickly enough causing the printer to shut off due to its thermal protection.
Troubleshooting:
Check to make sure that nothing is causing the tool head or the bed to cool down such as a fan.
If possible, test the heater cartridge for a high resistance value using the guide here.
Driver errors present themselves when a stepper motor is not moving when told.
Troubleshooting:
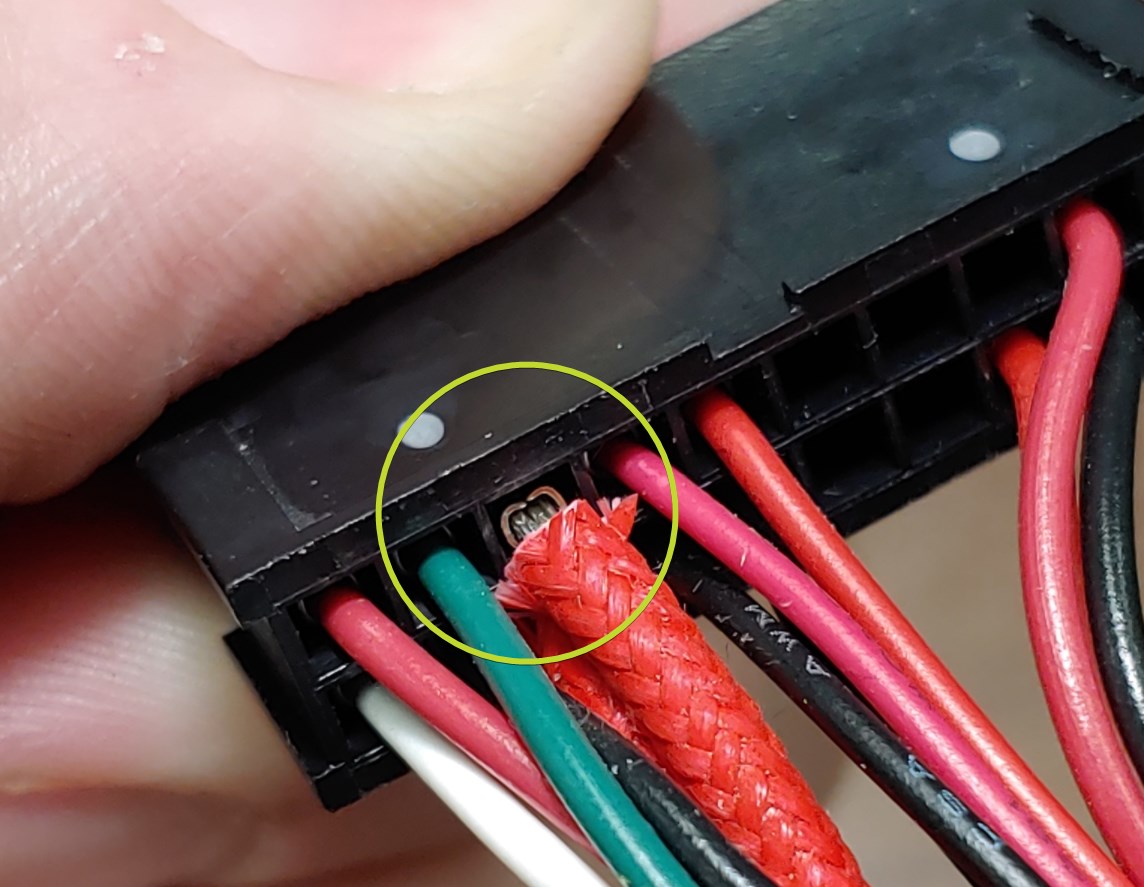
Check that the stepper driver for your tool head wiring is fully connected to the motor and the printer harness.
If the wiring is damaged or disconnected, the printer will be unable to move the motor.
Pushed out pins may occur if too much force is applied when connecting a tool head.