Open HardwareAssembly Instructions
Guides for installation and assembly of the LulzBot line of products made by FAME 3D LLC.
Guides for installation and assembly of the LulzBot line of products made by FAME 3D LLC.
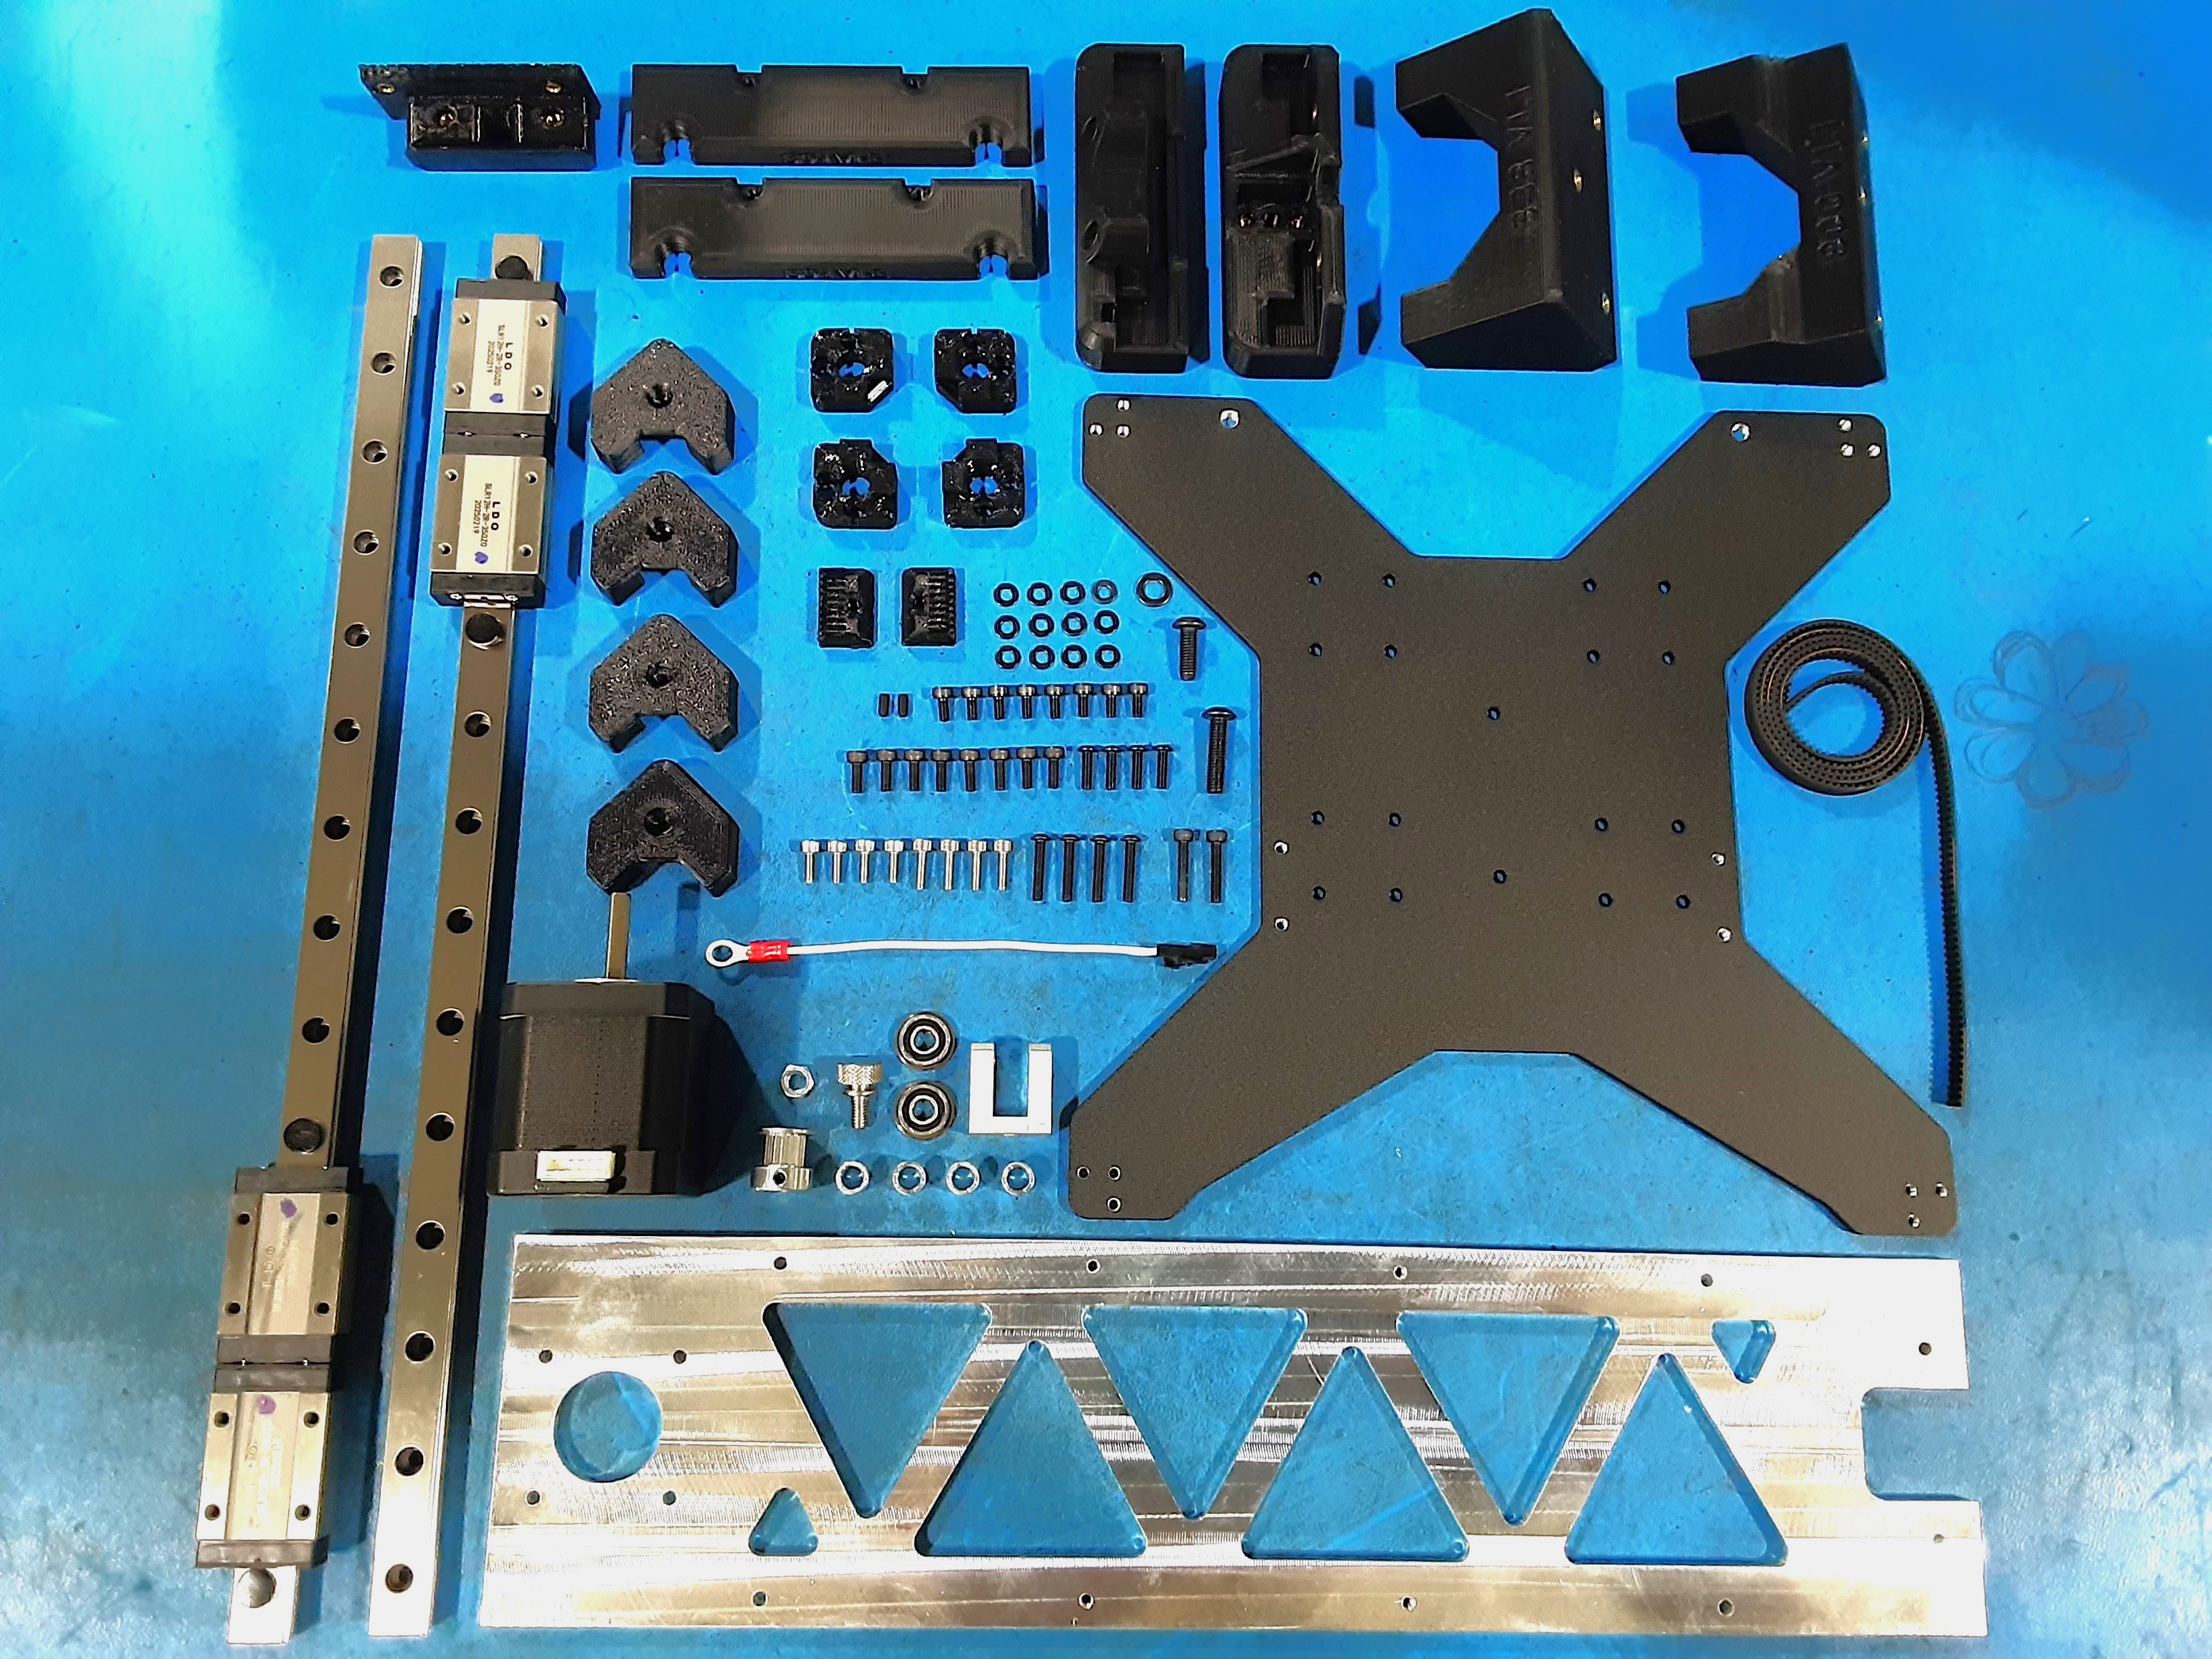
1x [EL-HR0228] Bed Ground Wire
1x [EL-MT0068] NEMA 17 Stepper Motor, LDO
735mmx [HD-BL0037] Single Sided Neoprene Open Loop Belt - 6mm wide, 2mm tooth style
1x [HD-BT0001] M5-0.8 x 14mm 3mm hex drive SHCS Black Oxide
2x [HD-BT0012] M3 Set Screw (Grub Screw) M3 x 6mmL x 0.5 Black
8x [HD-BT0045] Metric Class 12.9 SHCS Alloy Steel, M3 x 6mm Length, 0.50mm Pitch
4x [HD-BT0091] M3 x 10mm, SHCS, stainless steel
4x [HD-BT0148] Class 10.9 Steel BHCS, M3 x 10mm Length, .5mm Pitch
8x [HD-BT0157] Class 12.9 Alloy Steel Black-Oxide SHCS, M3 x 8mm Length, 0.50mm Pitch
4x [HD-BT0170] M3-0.5 X 8MM Length 2.5 SHCS Stainless Steel
2x [HD-BT0185] Black-Oxide Alloy Steel SHCS M3 x 16mm Long, 0.5mm Thread
4x [HD-BT0256] Black-Oxide Alloy Steel BHCS, M3 x 16mm Long, 0.5mm Thread
1x [HD-BT0272] M5 x 20mm BHCS, Black-Oxide
1x [HD-BT0300] Thumb Screw for Mini 3
2x [HD-BU0035] Flanged Bearing 695-2RS
4x [HD-MS0062] Metric Aluminum Unthreaded Spacer, 8MM OD, 8MM Length, M5 Screw Size
1x [HD-MS0625] 16T "D" Key Pulley Rev 1.0 With Set Screws
1x [HD-NT0016] M5 Nut, Steel, Zinc Plated, thin (jam nut)
2x [HD-RD0050] Mini3, Linear Rail, 350mm Dual Truck
12x [HD-WA0038] Black-Oxide 18-8 Steel Flat Washer, M3 Screw Size, 3.2mm ID, 7.0mm OD
1x [HD-WA0040] Black-Oxide 18-8 Stainless Steel Washer, M5 Size, 5.3mm ID, 10.0mm OD
1x [PP-FP0237] Mini3, Bed Plate Rev 0-6
1x [PP-FP0241] Y Axis Rail Frame Mini 3 REV 0.5
1x [PP-GP0800] Mini3, Y Axis Pylon, ABS-BLK
1x [PP-GP0802] Mini3, Y Idler Mount, ABS-BLK
1x [PP-GP0803] Mini3, Y Motor End, ABS-BLK
2x [PP-GP0804] Mini3, Bed Spacer, ABS-BLK
1x [PP-GP0806] Mini3, Y Belt Mount, PETG-BLK
2x [PP-GP0807] Mini3, Y Belt Clamp, ABS-BLK
1x [PP-GP0838] Mini3, Front Y Axis Pylon, ABS-BLK, v0.0
4x [PP-GP0883] Mini3 Bed Corner
4x [PP-GP0930] Mag Bed Corner Cover-Backstop
1x [PP-MP0360] XZ Idler Yoke Aluminum Rev 0-4
Motor Assembly
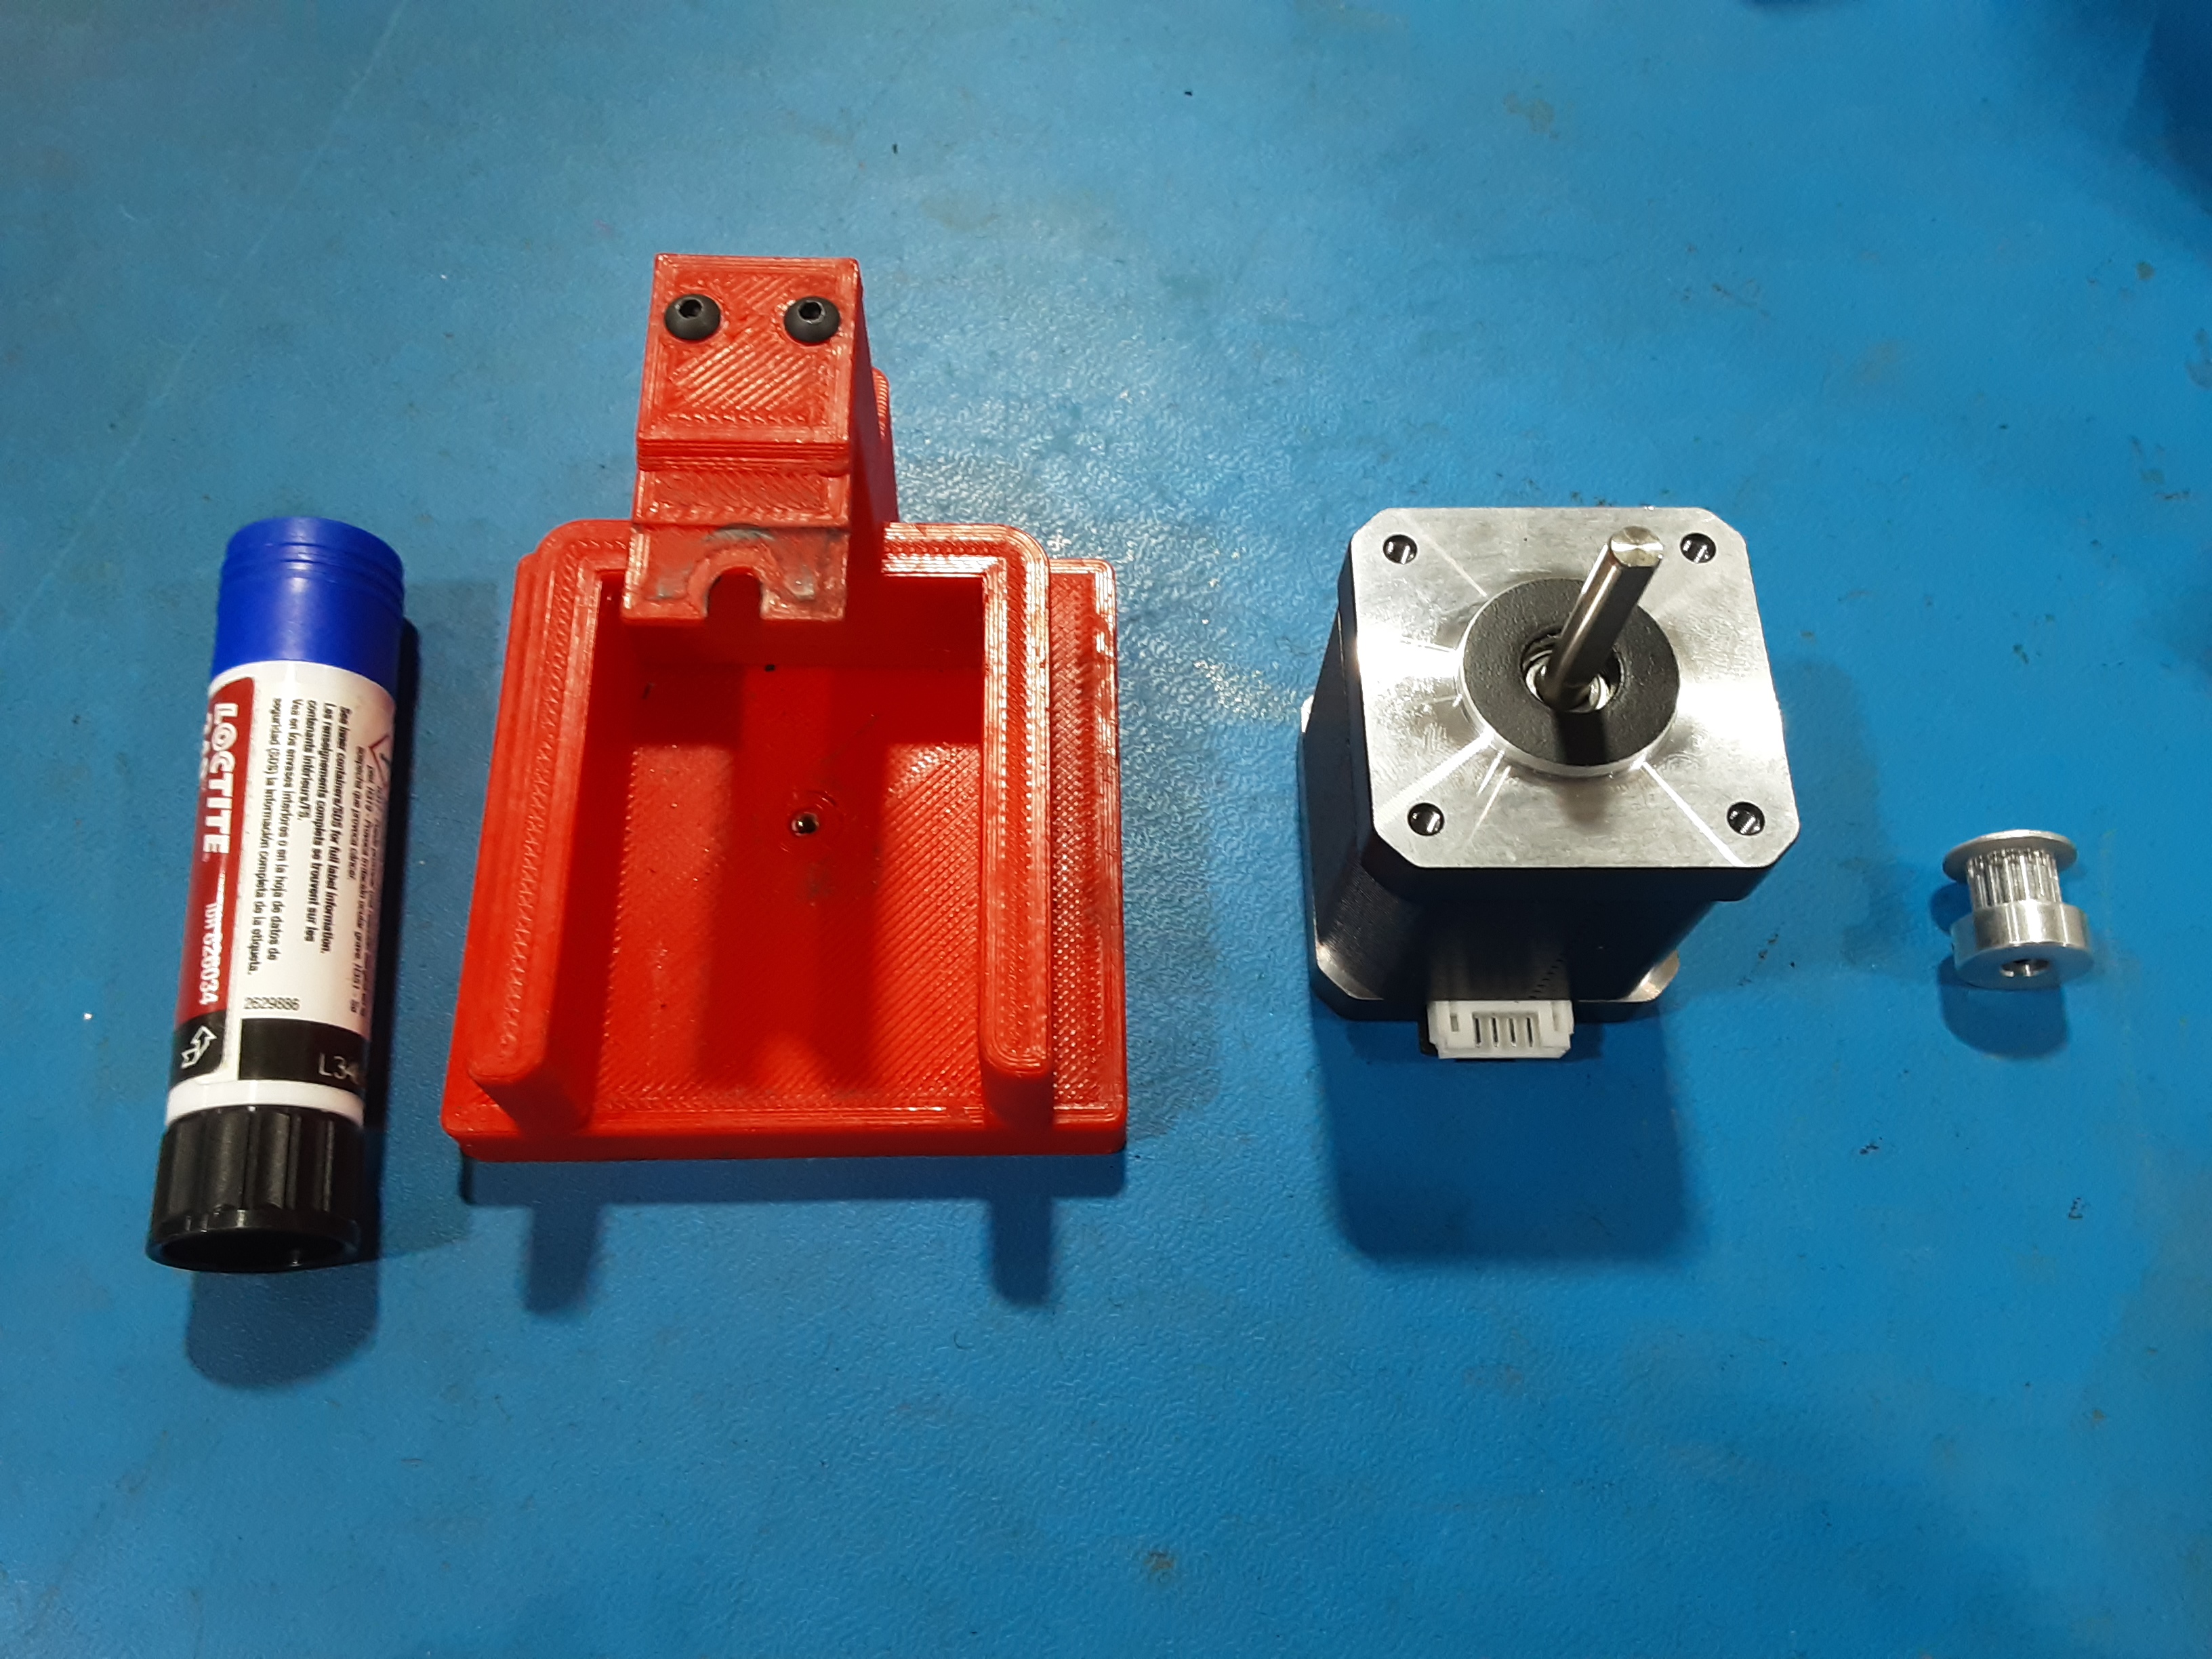
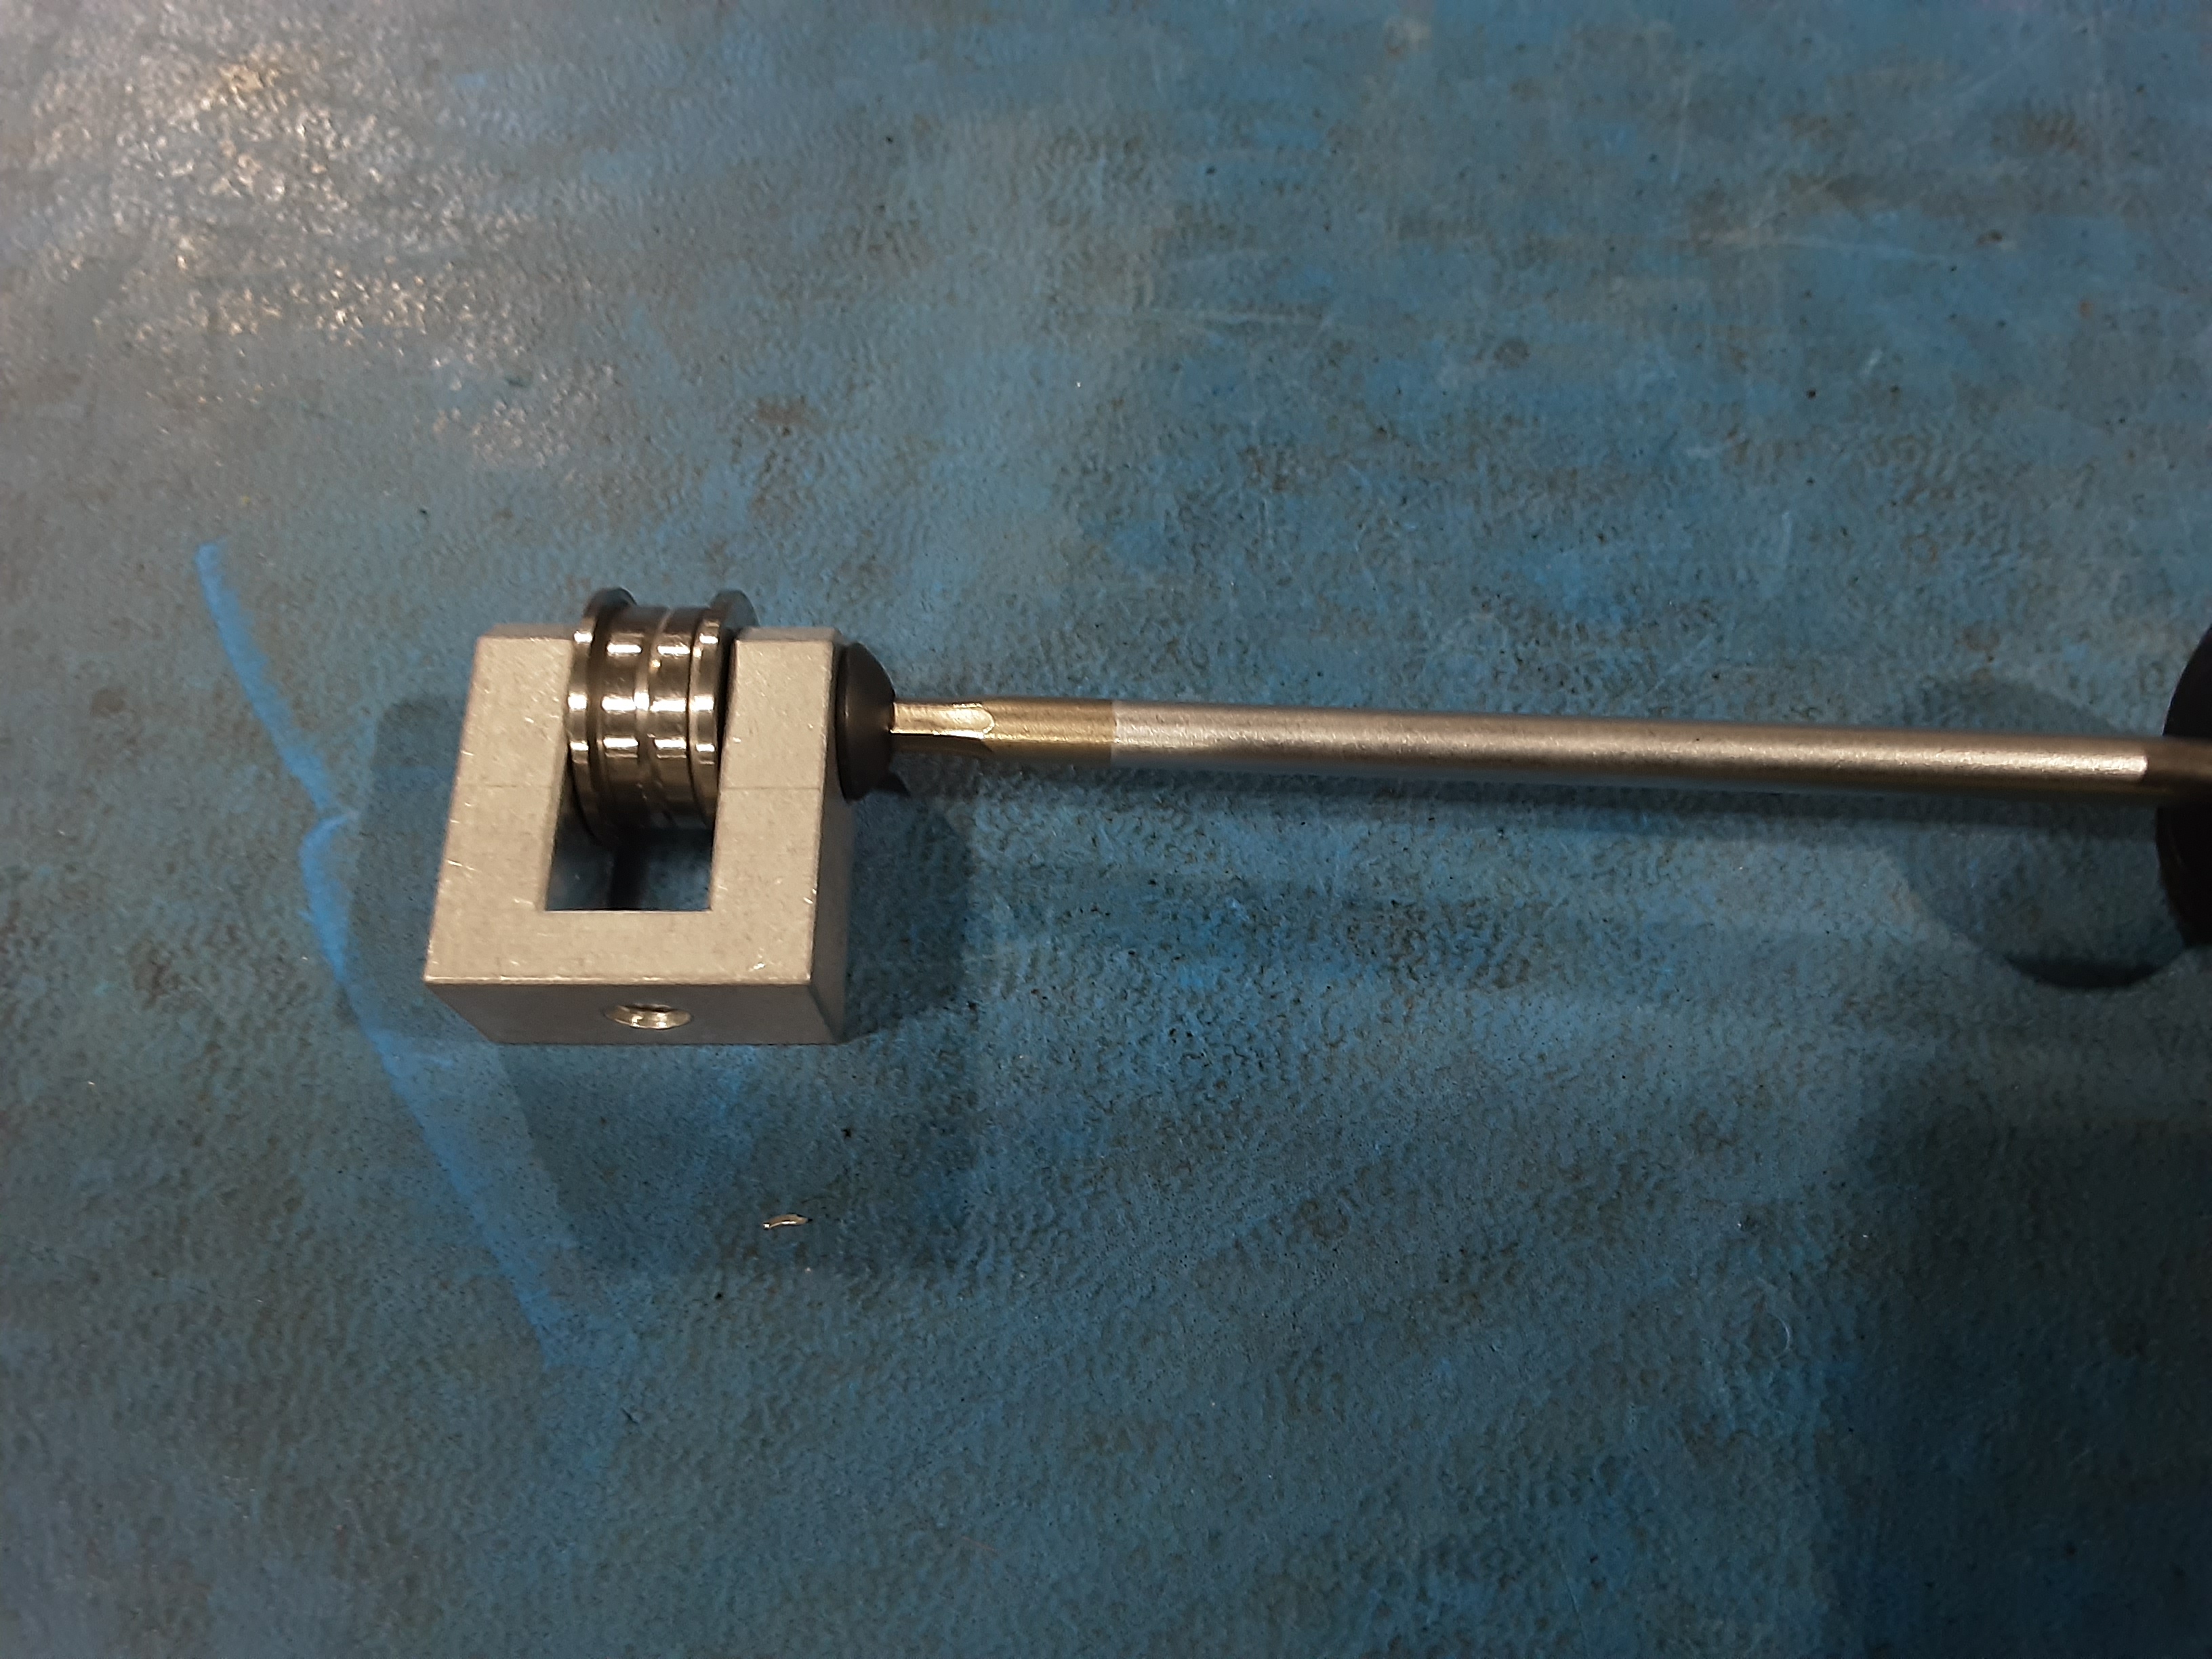
2A) Grab EL-MT0068 x1, HD-MS0625 x1, blue loctite, and the motor jig.
2B) Remove the set screws from HD-MS0625.
2C) Place EL-MT0068 in the motor jig.
2D) Set HD-MS0625 on the shaft of EL-MT0068.
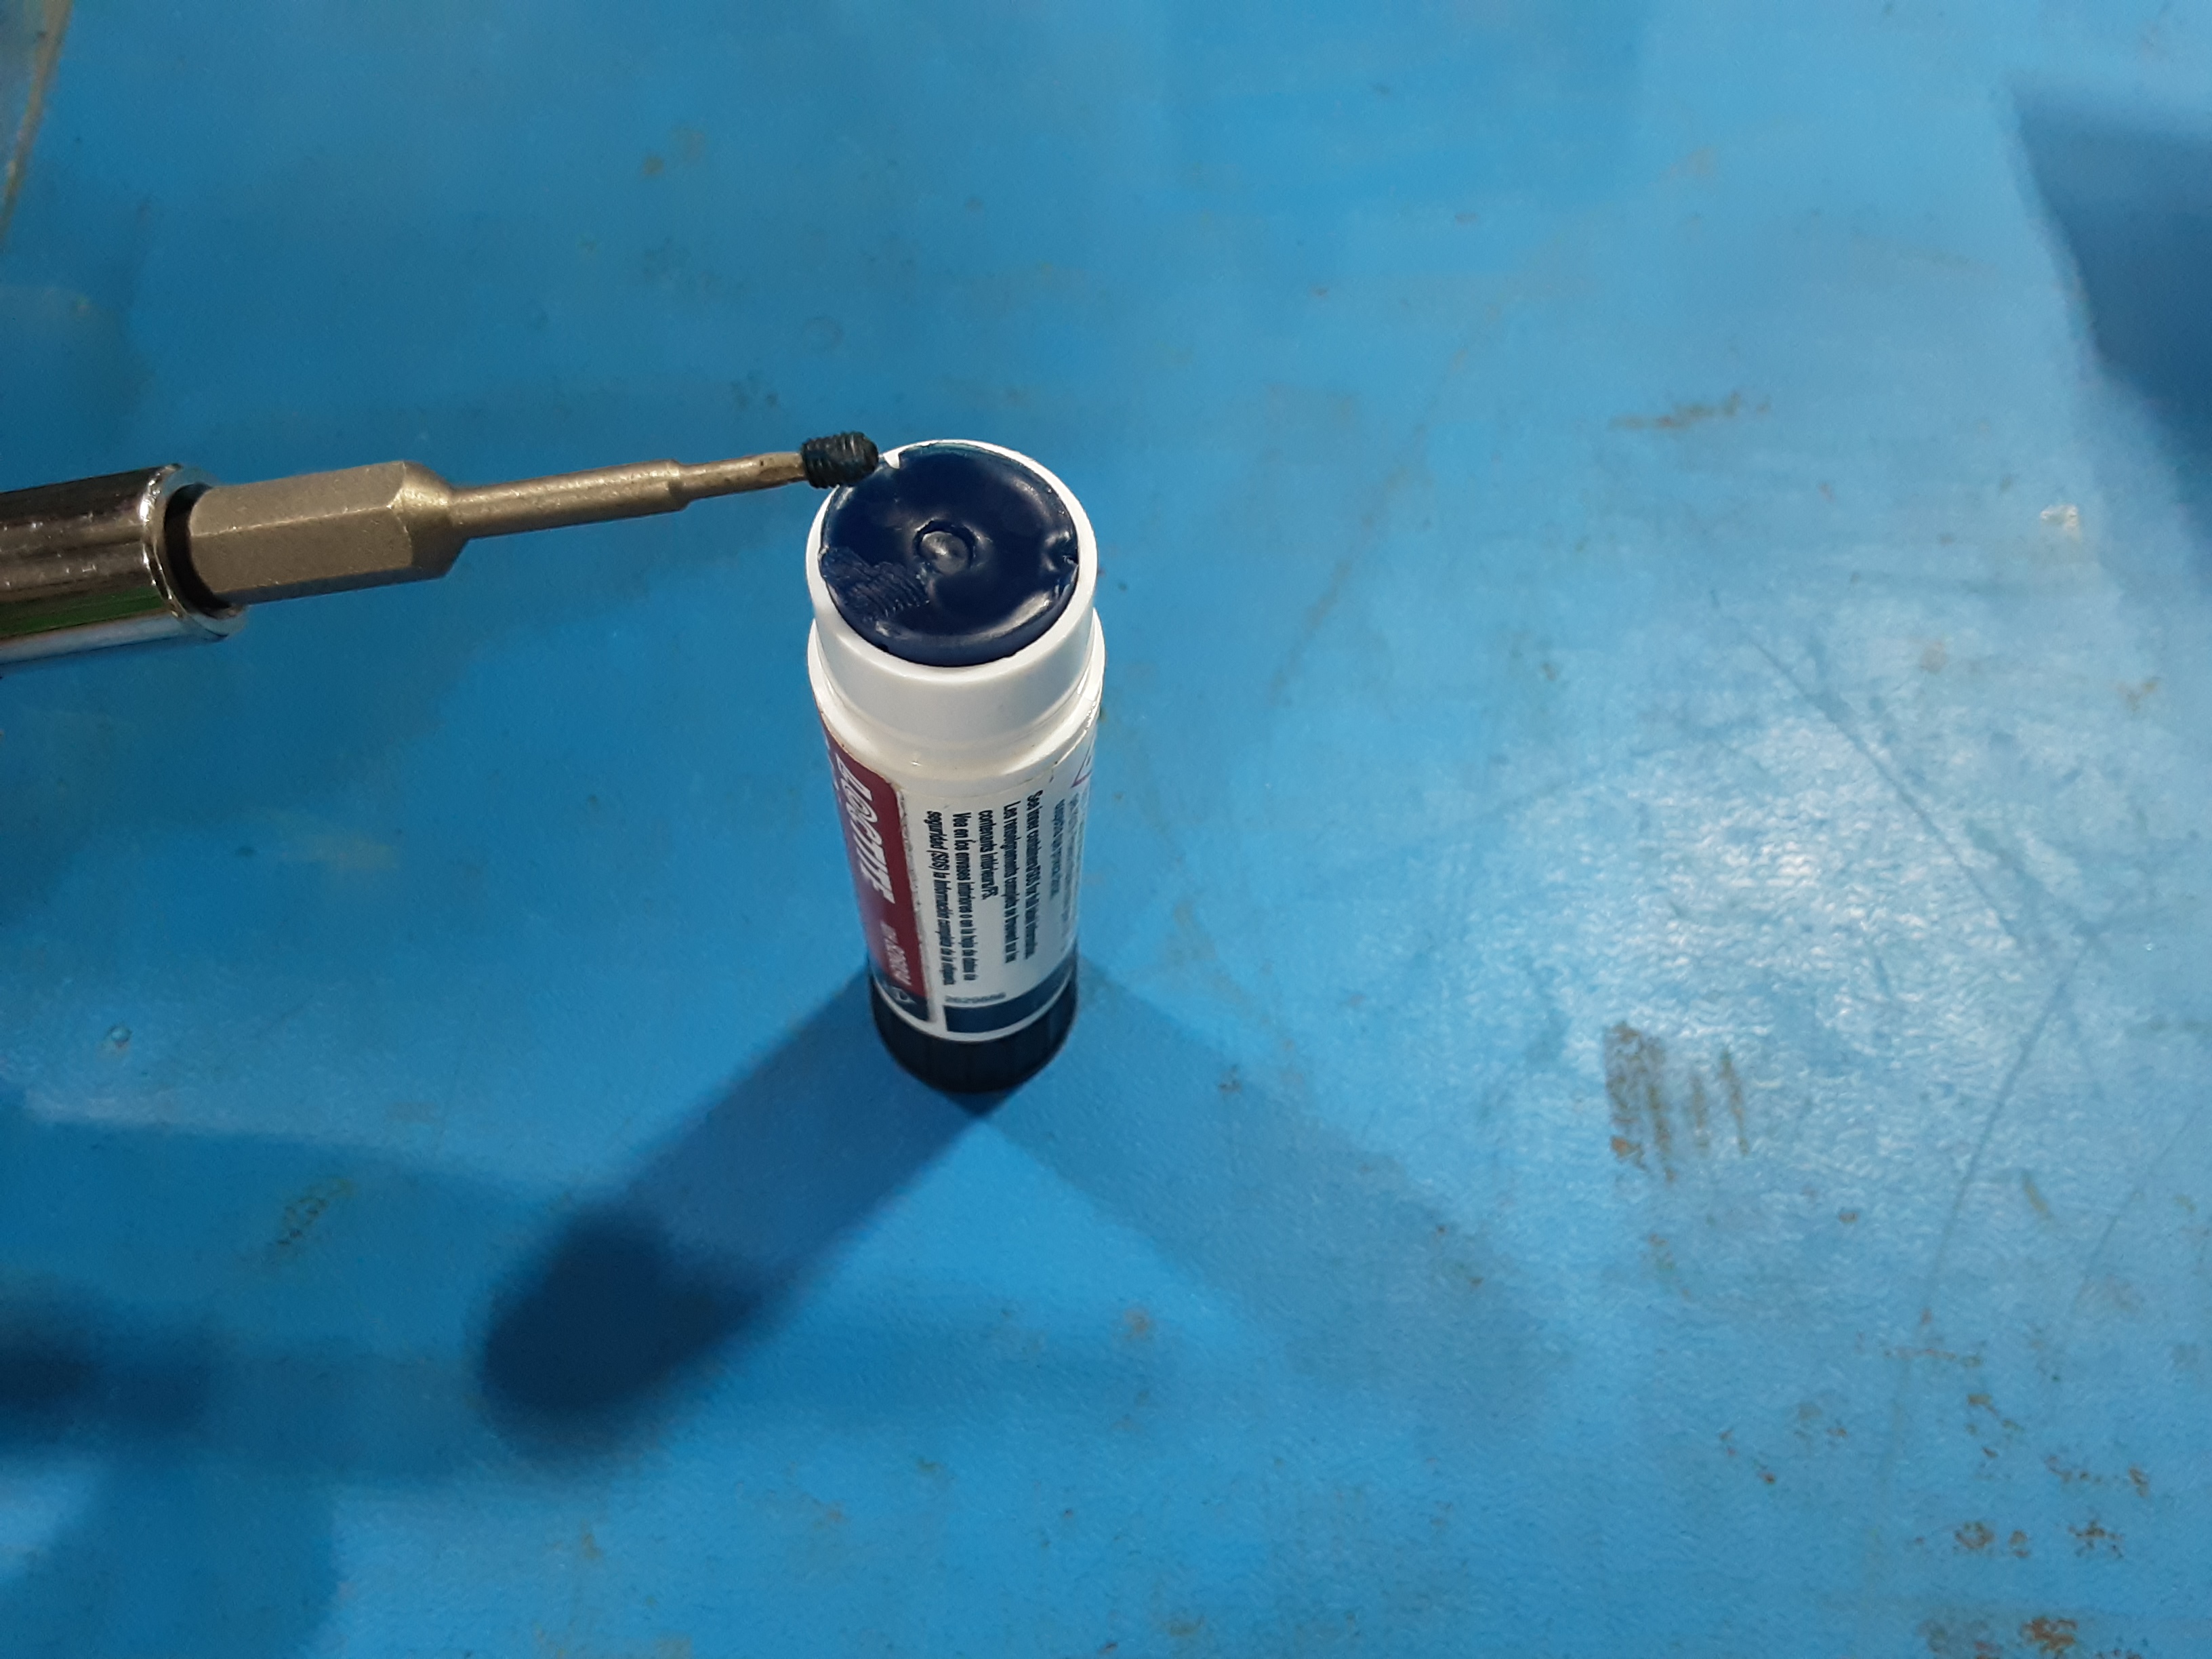
2E) With HD-MS0625 all the way down on the motor jig spacer apply blue loctite to the previously removed set screws and secure it to the motor shaft. Make sure one of the set screws is lined up with the flat side of the motor shaft.

Rails Assembly
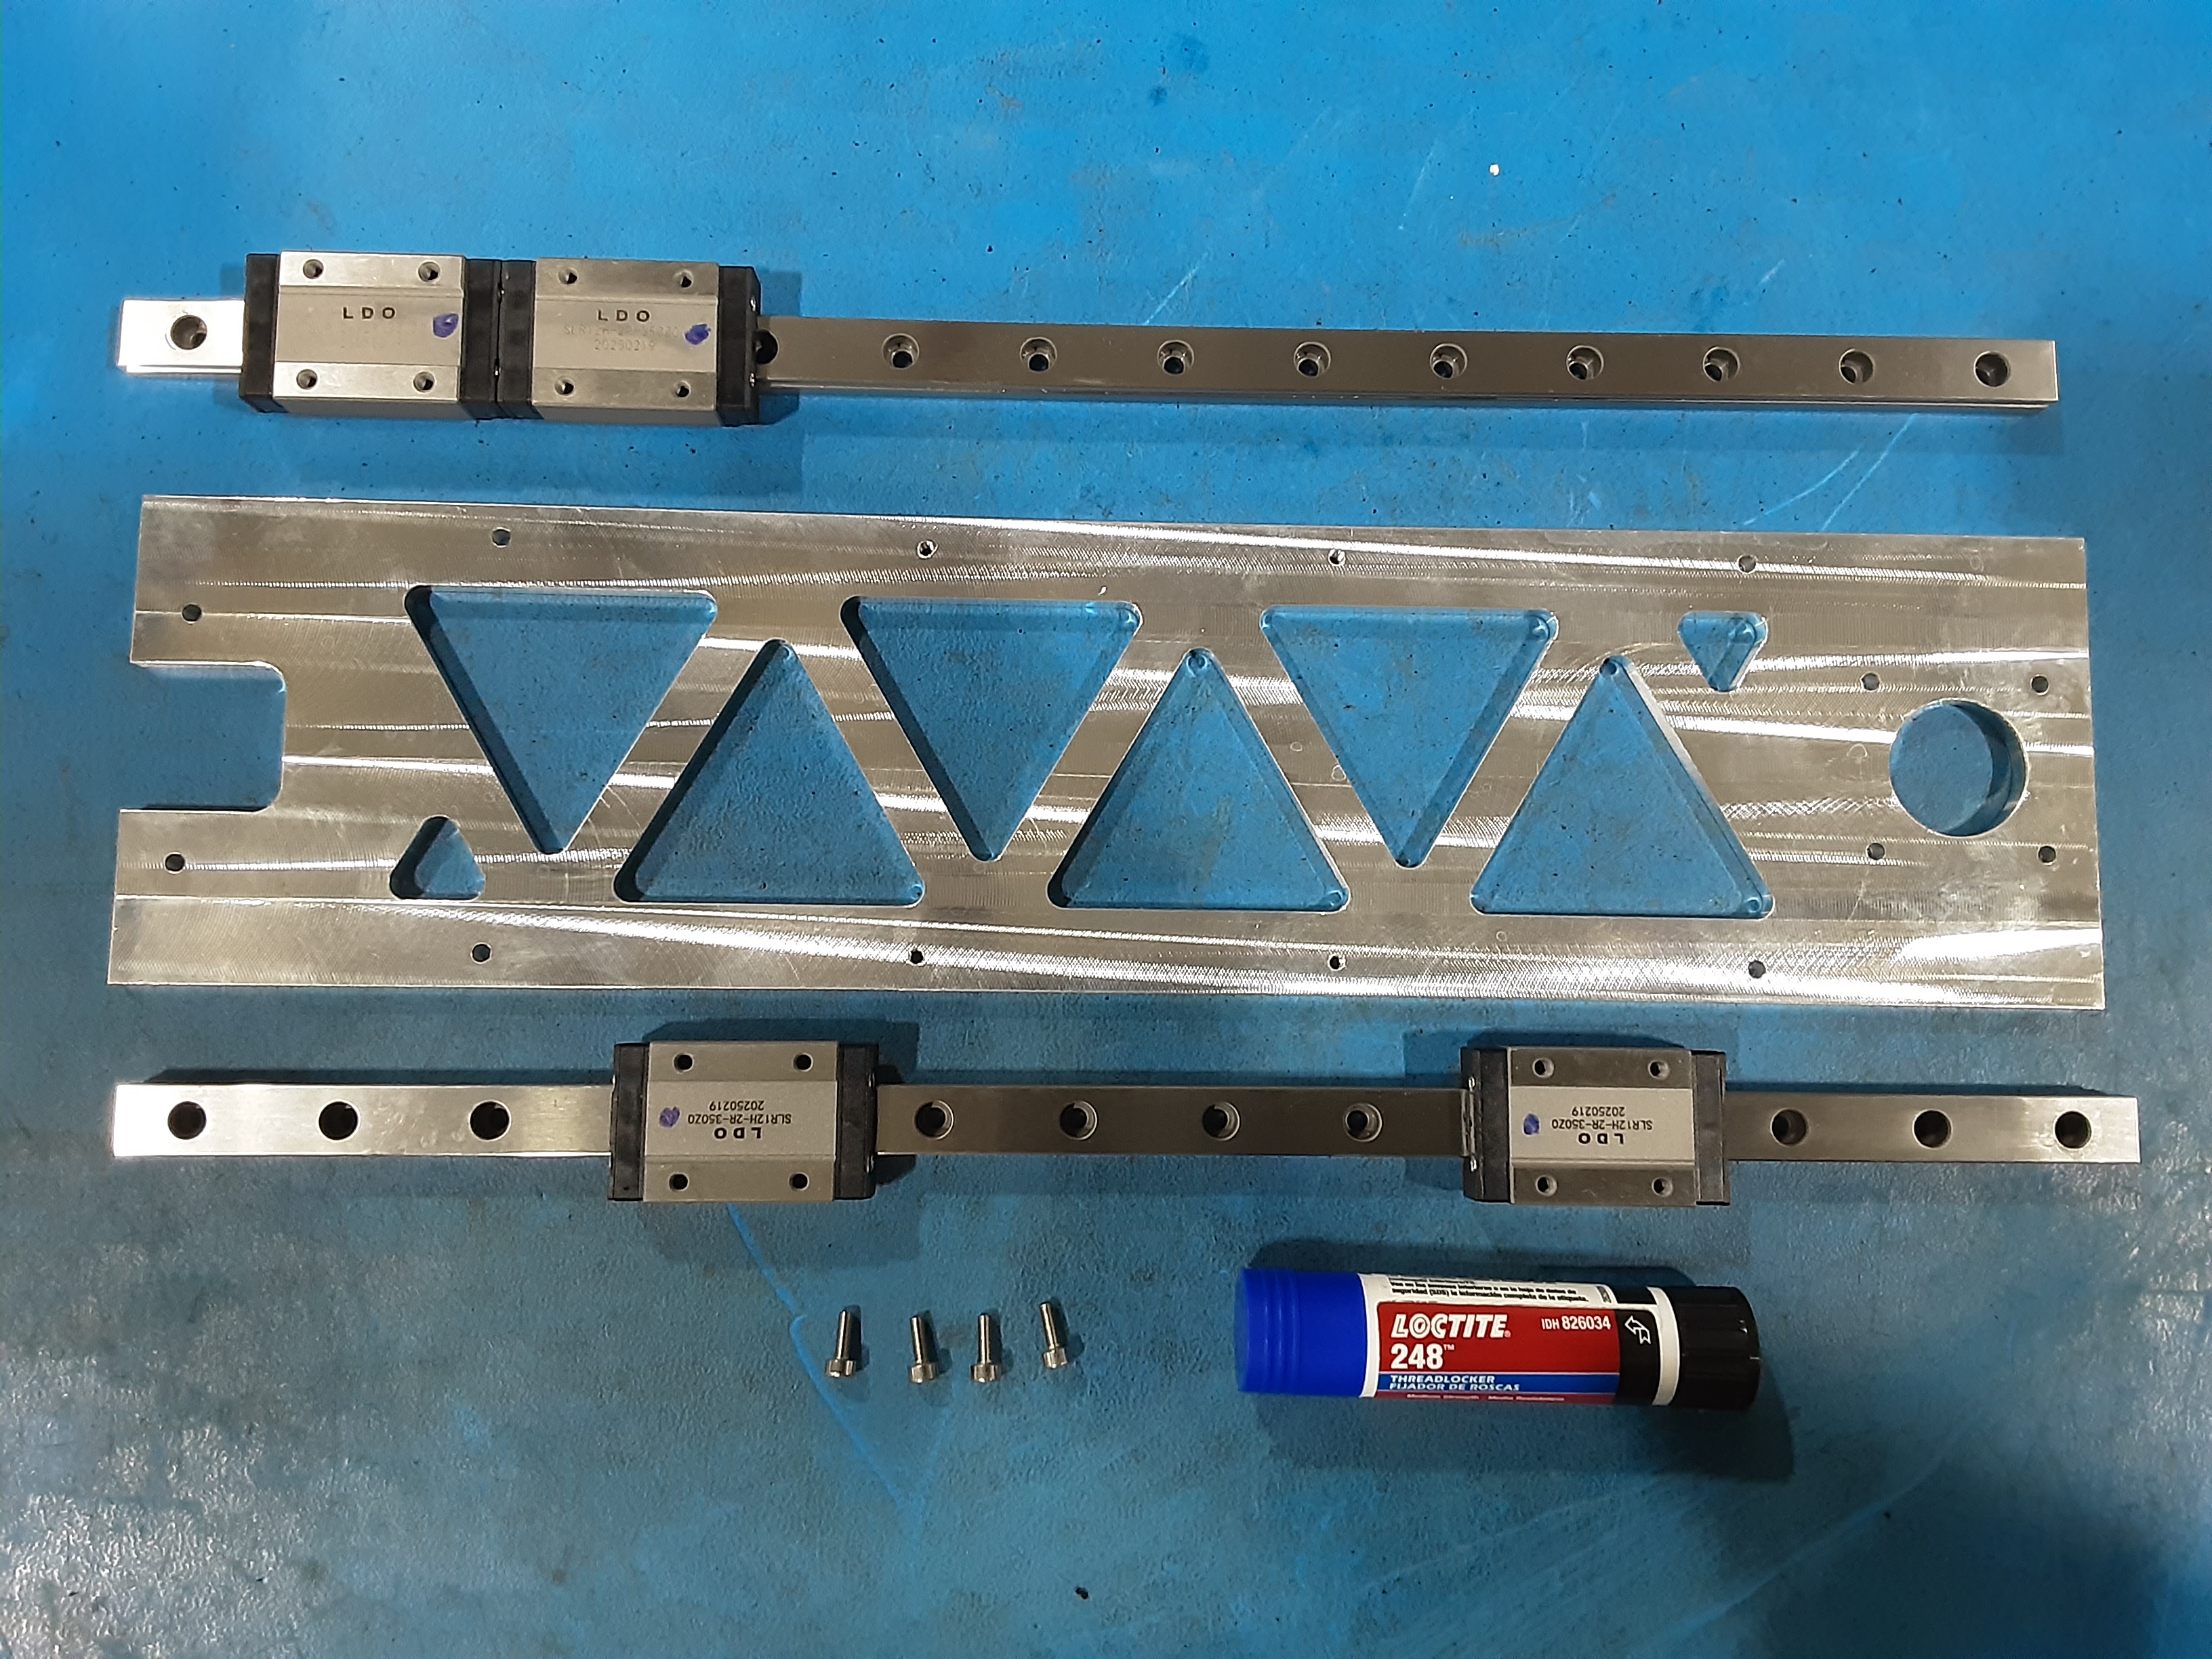
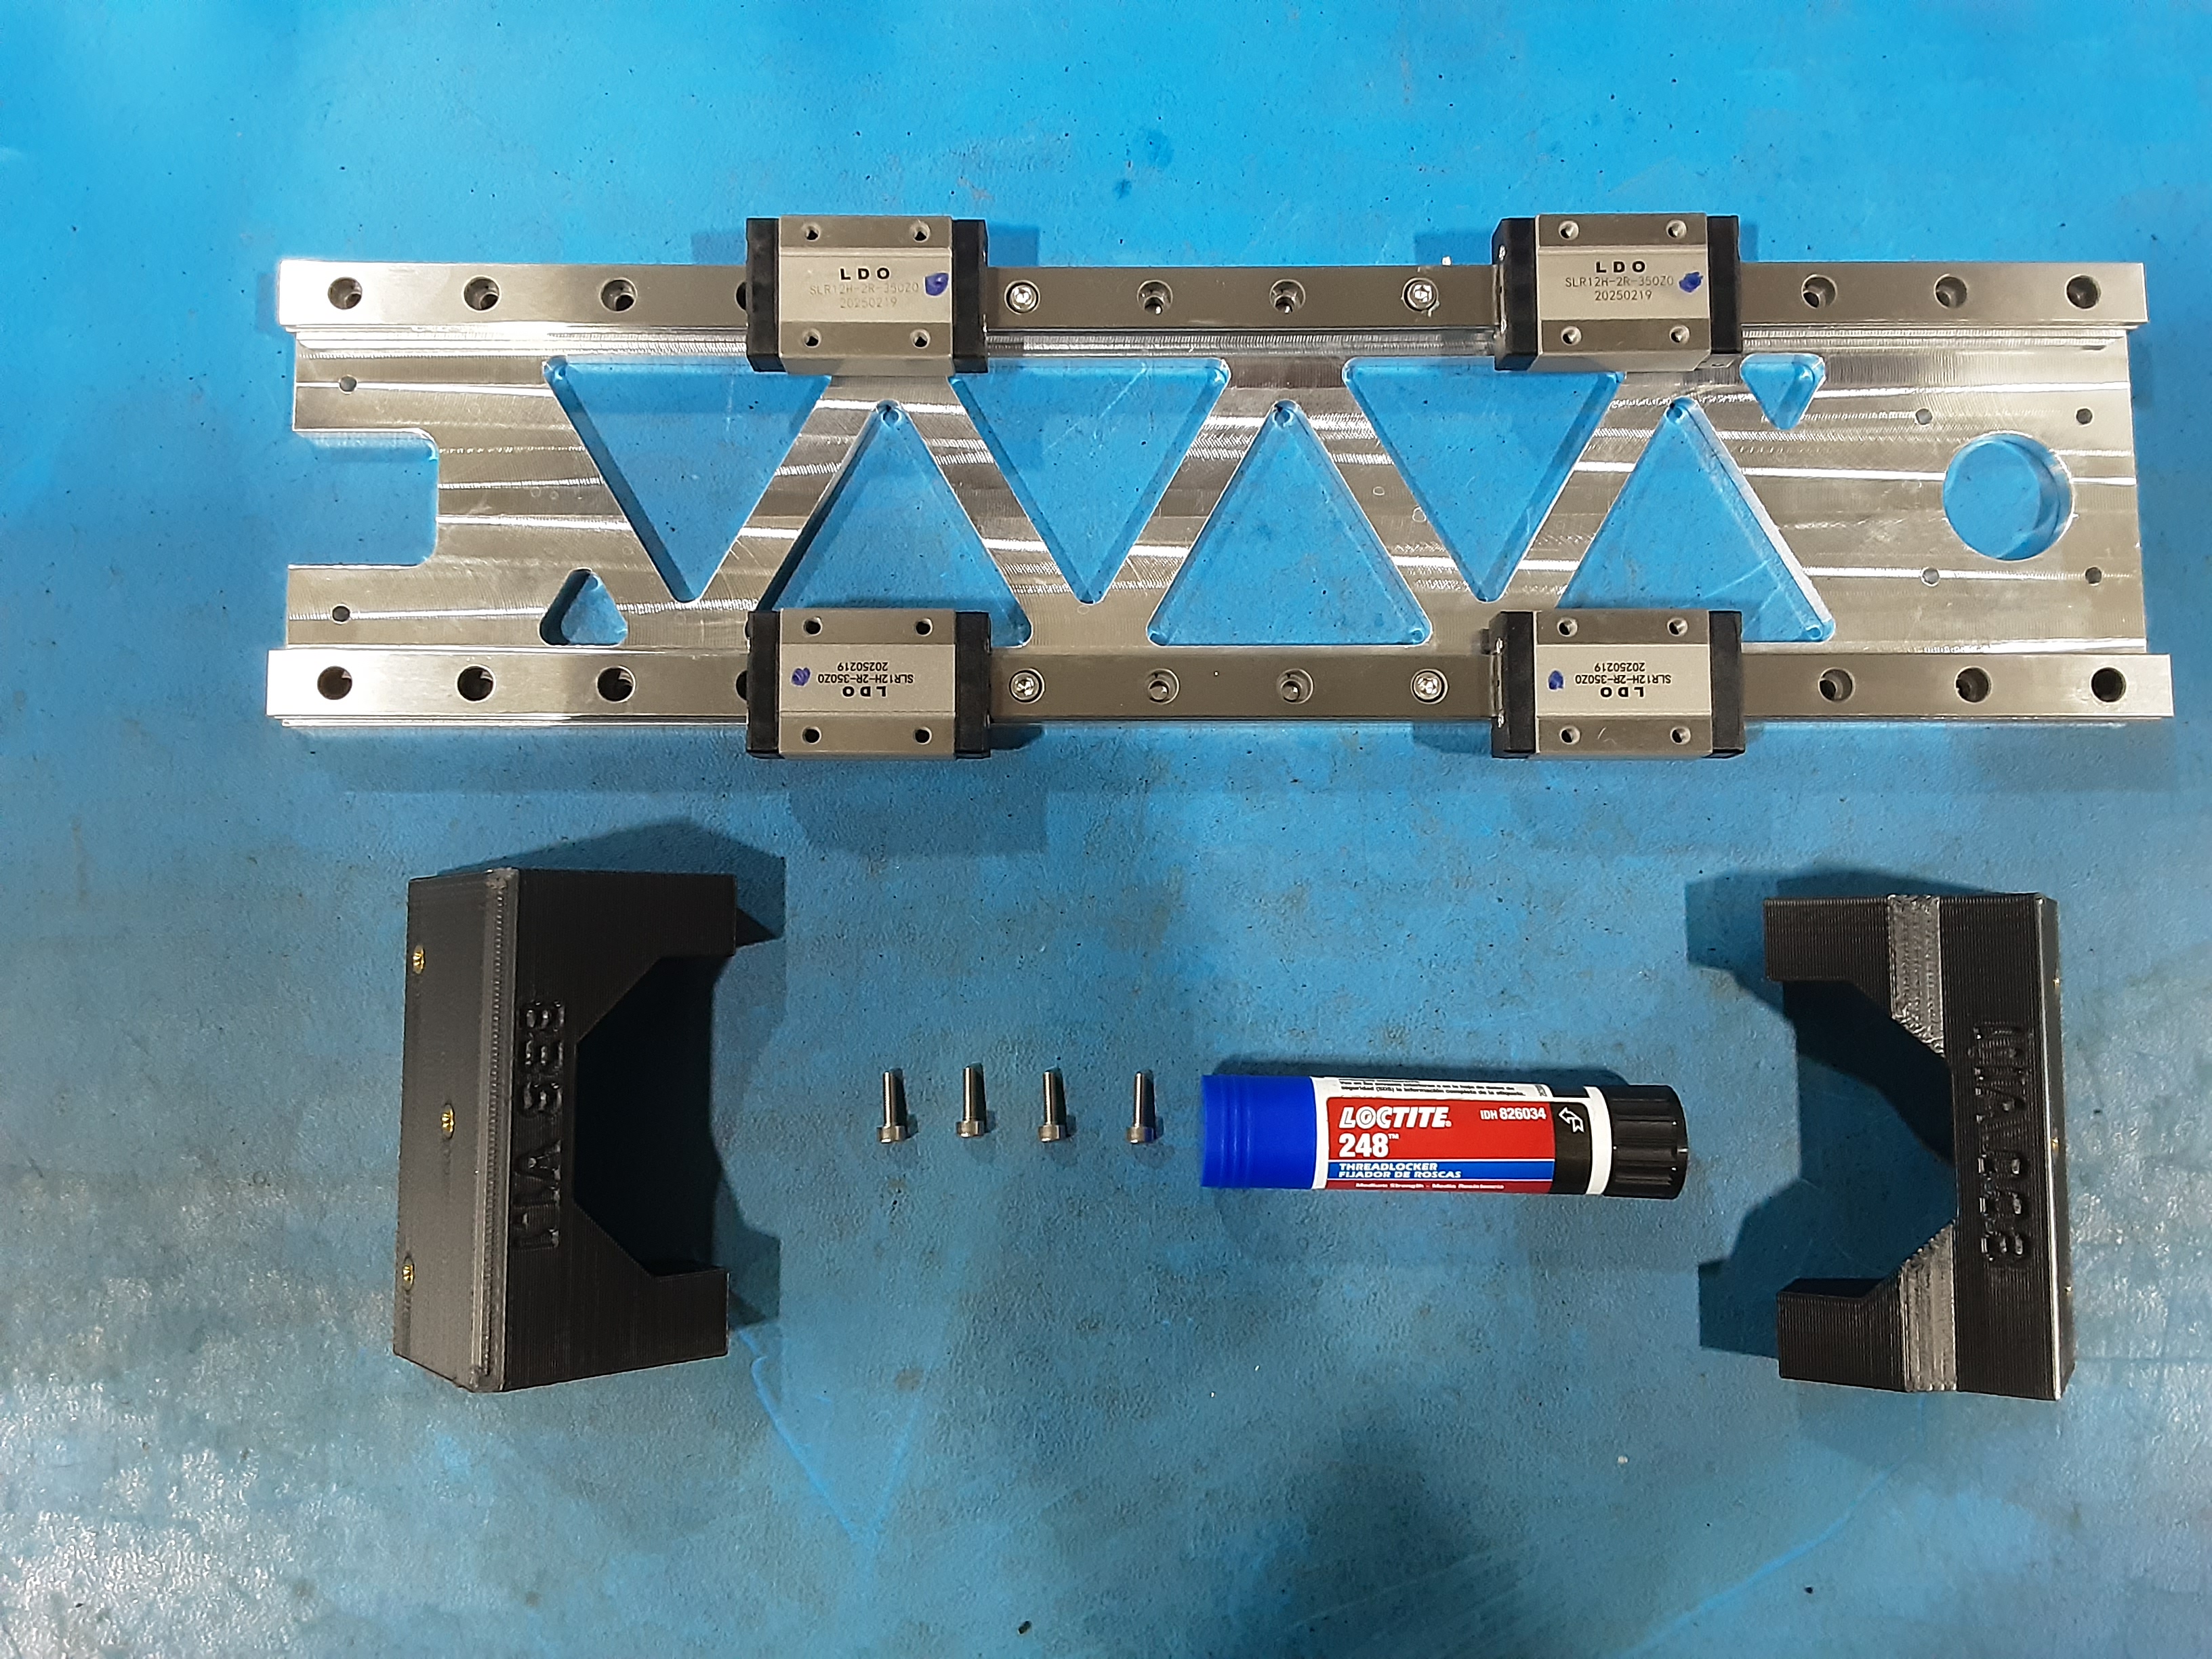
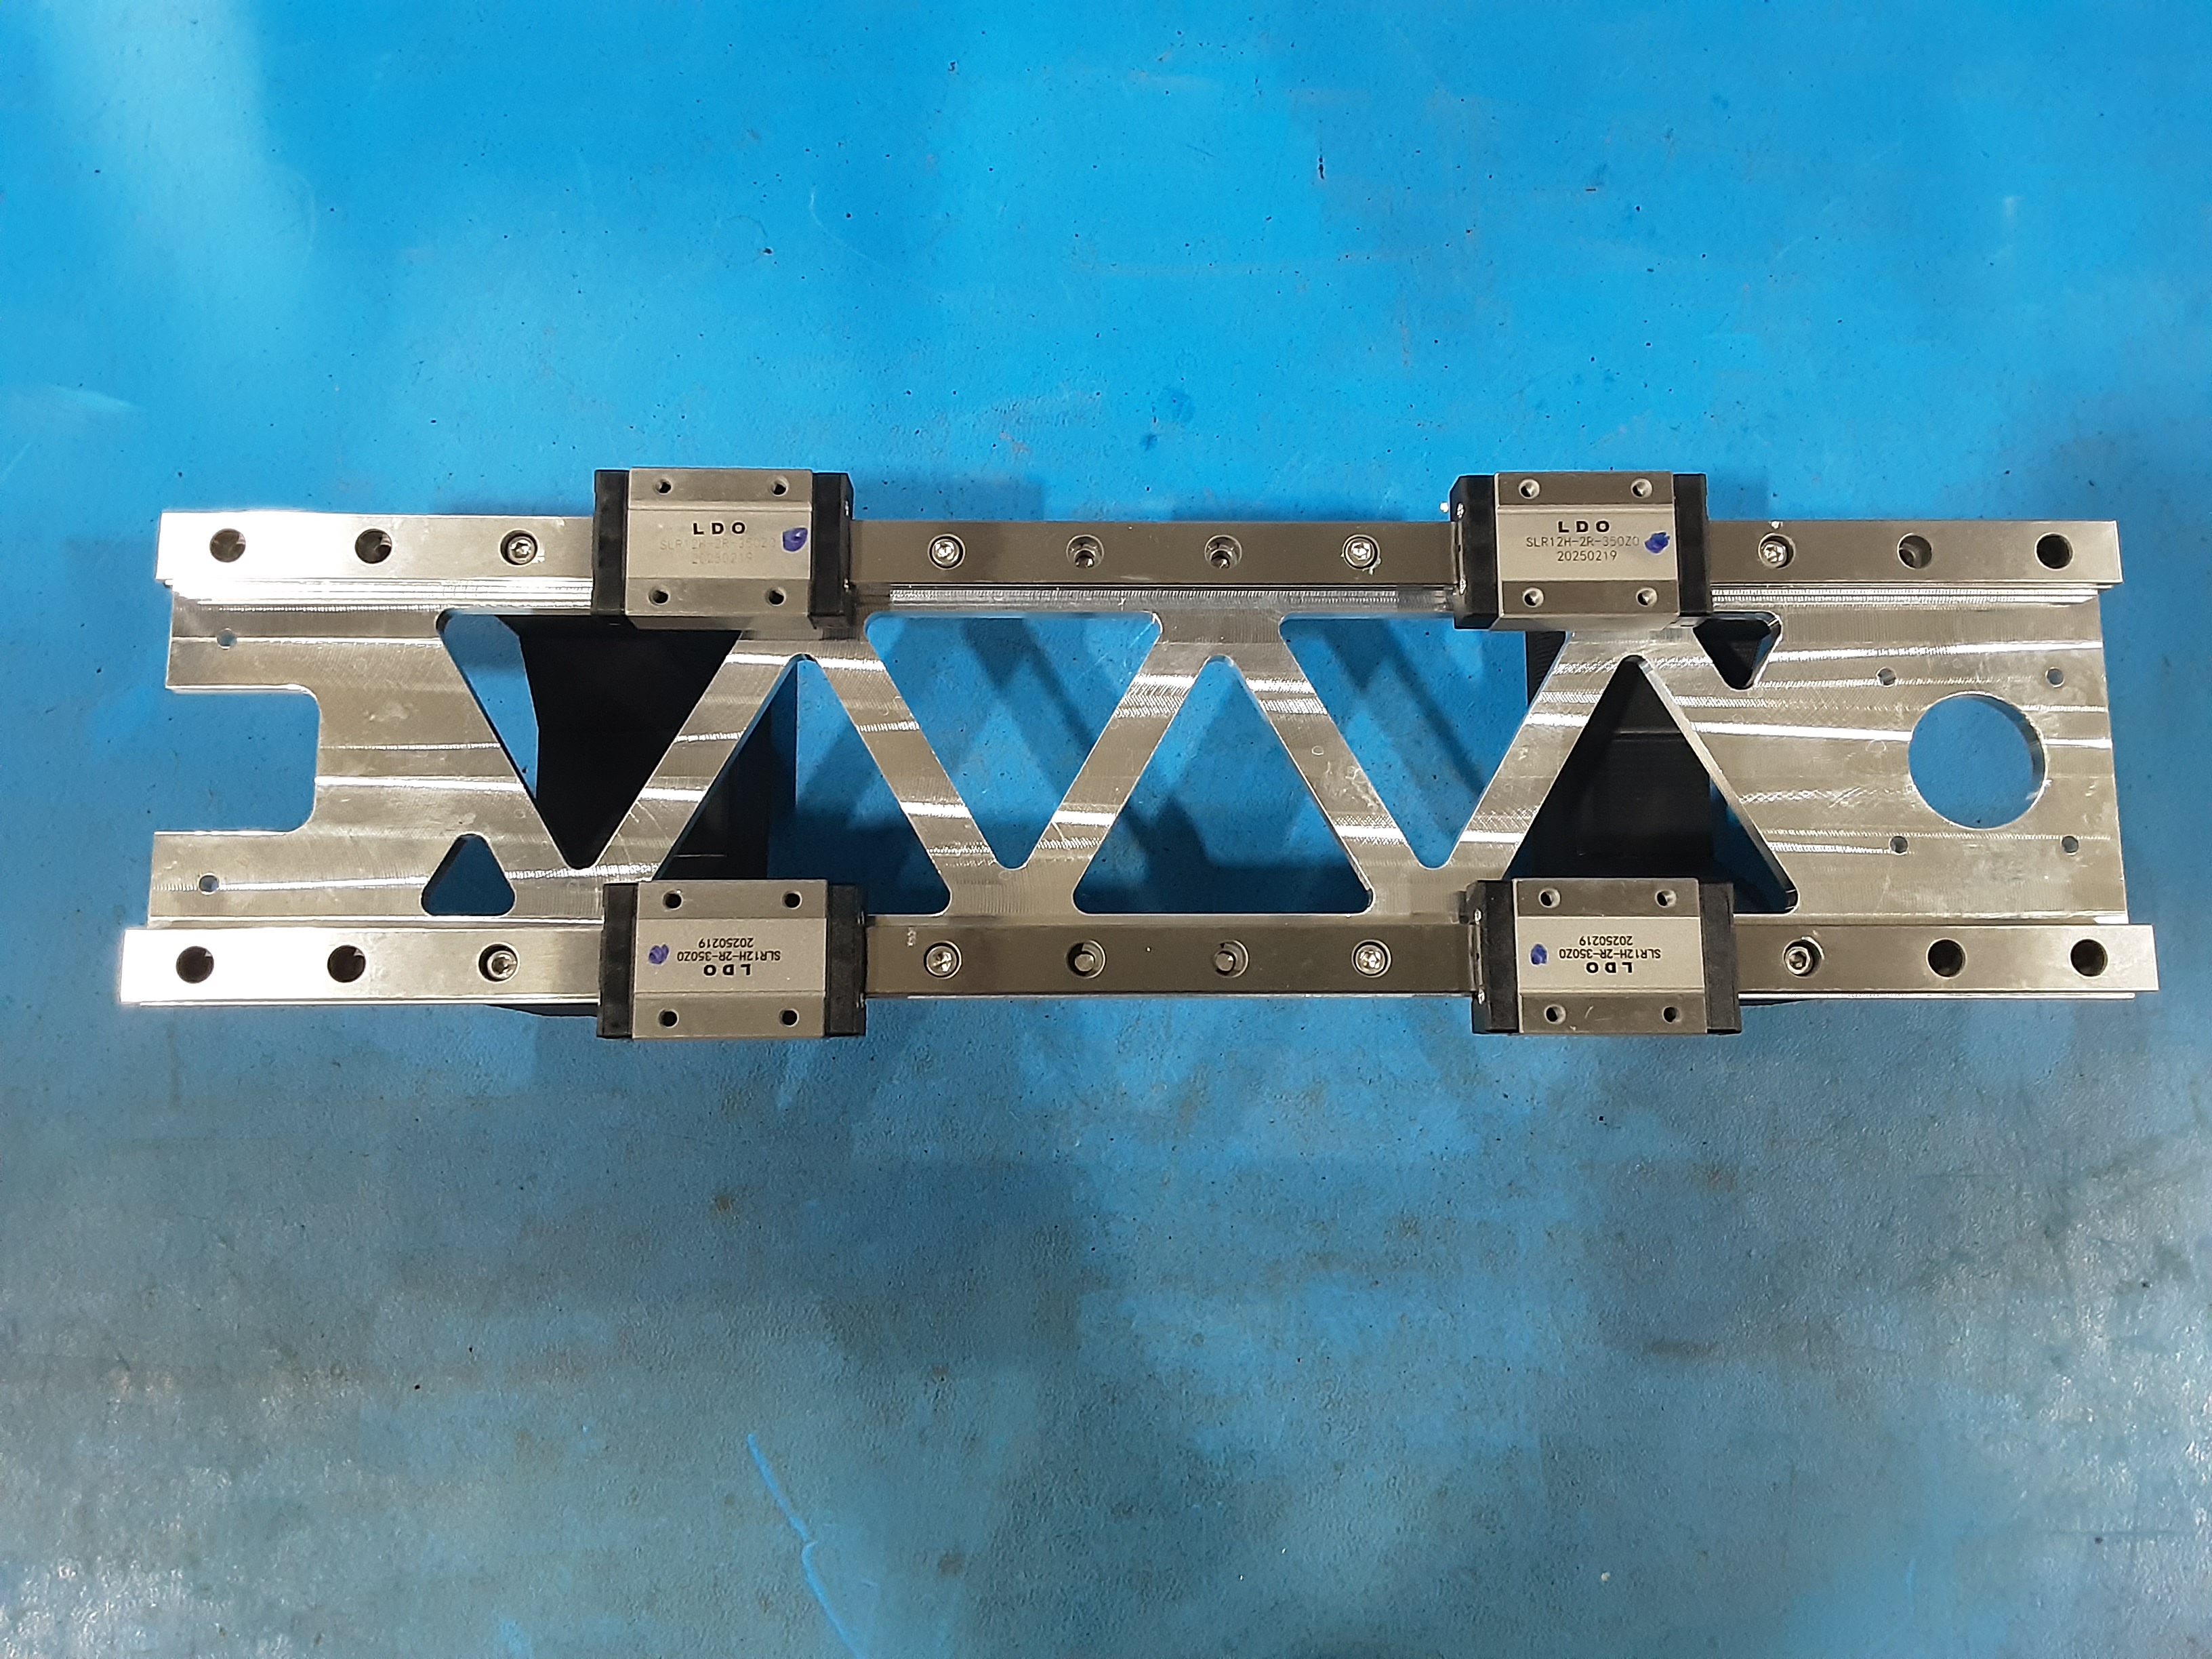
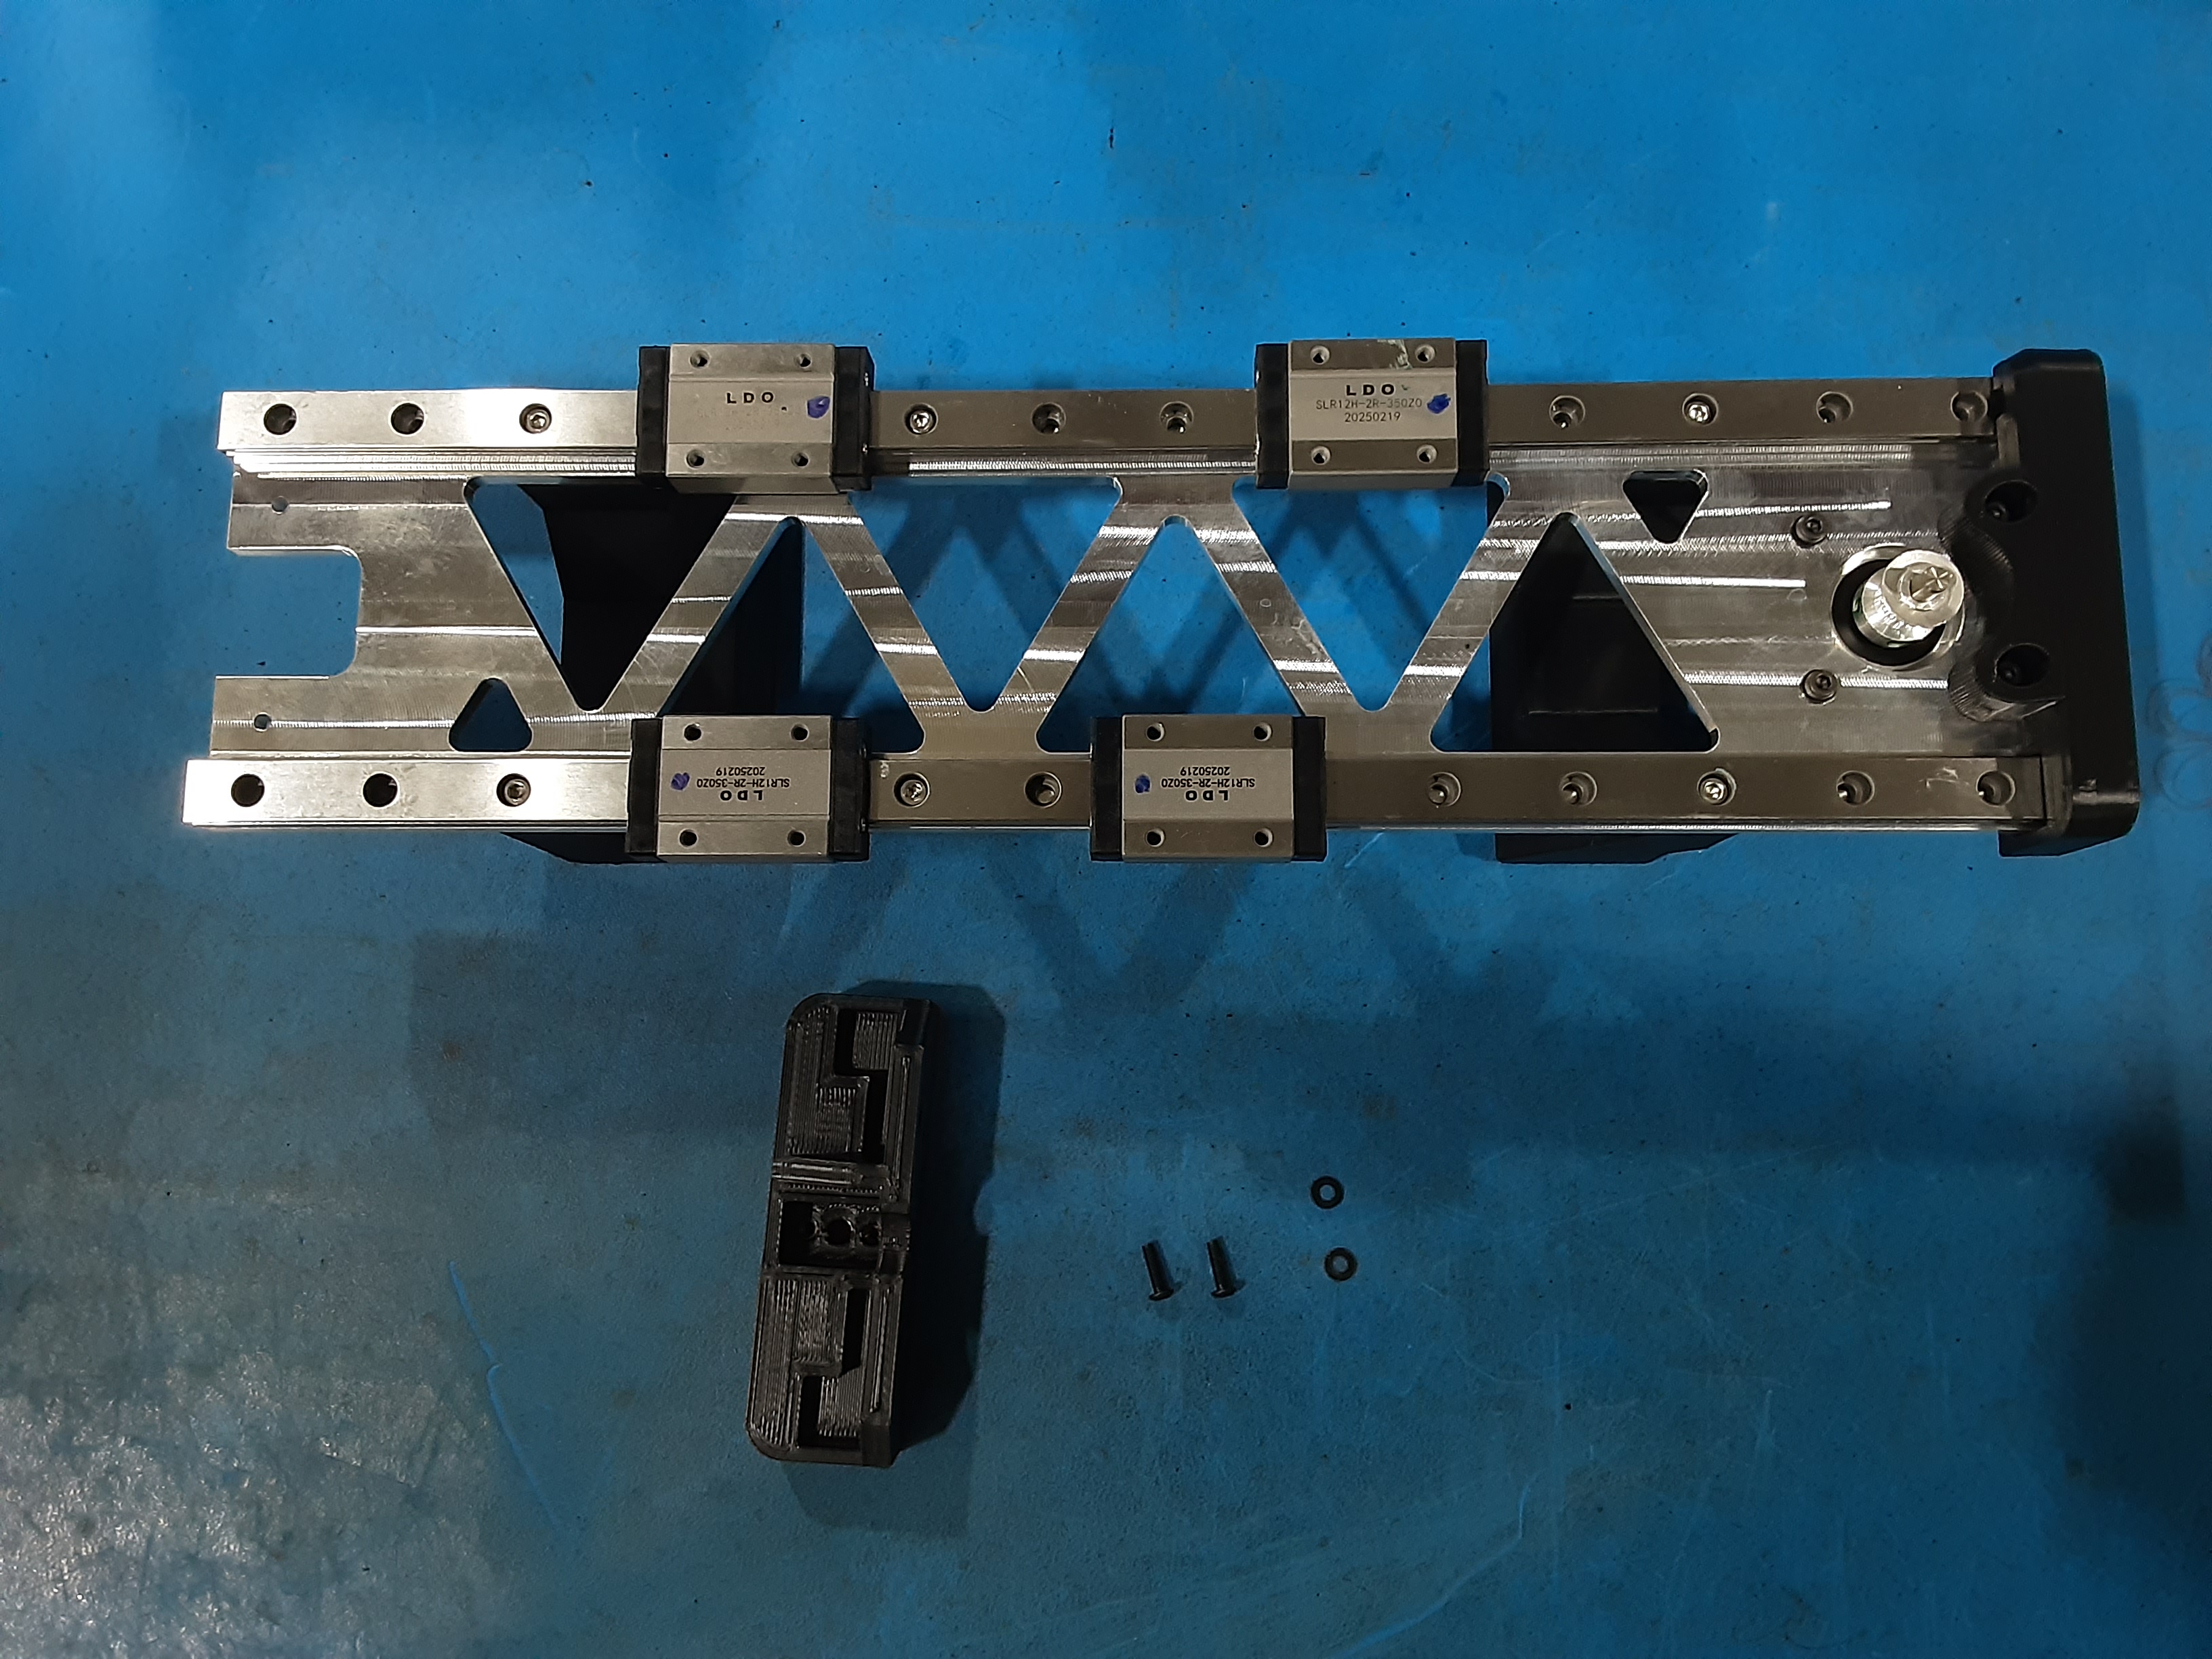
3A) Grab PP-FP0241 x1, HD-RD0050 x2, HD-BT0170 x4, and blue loctite.
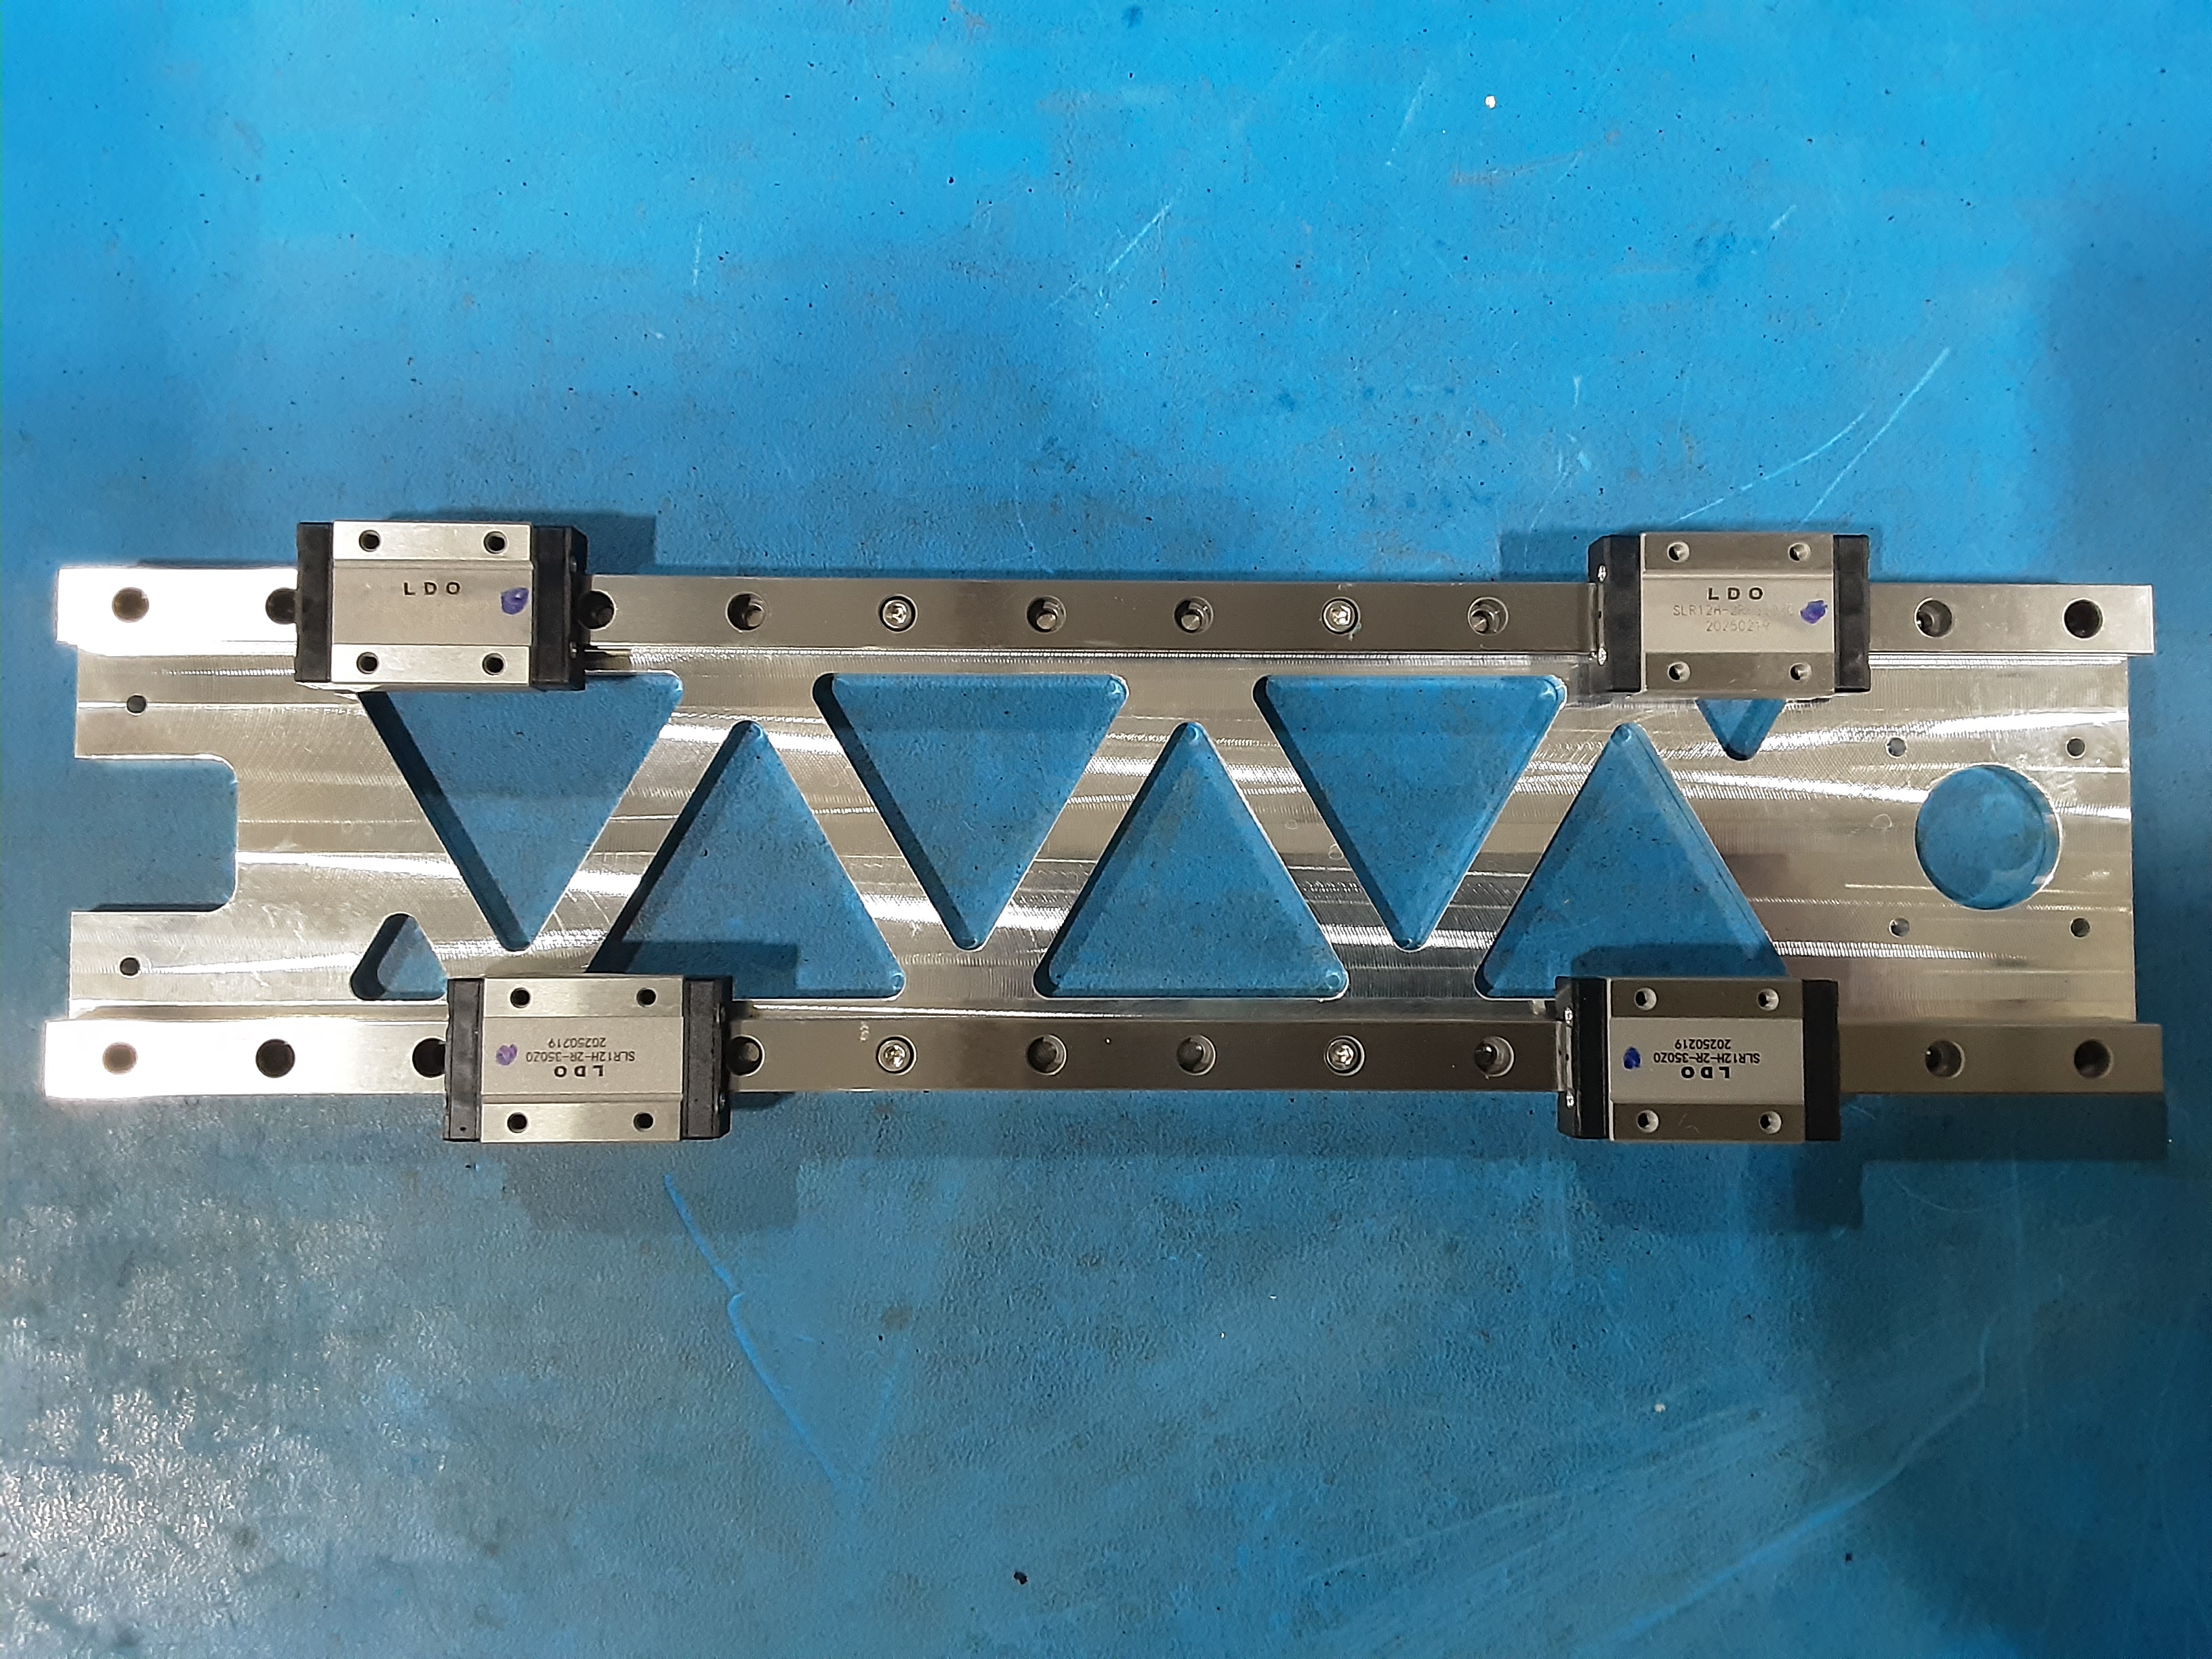
3B) Line up HD-RD0050 x2 on PP-FP0241 and loosely attach using HD-BT0170 x4 with blue loctite.
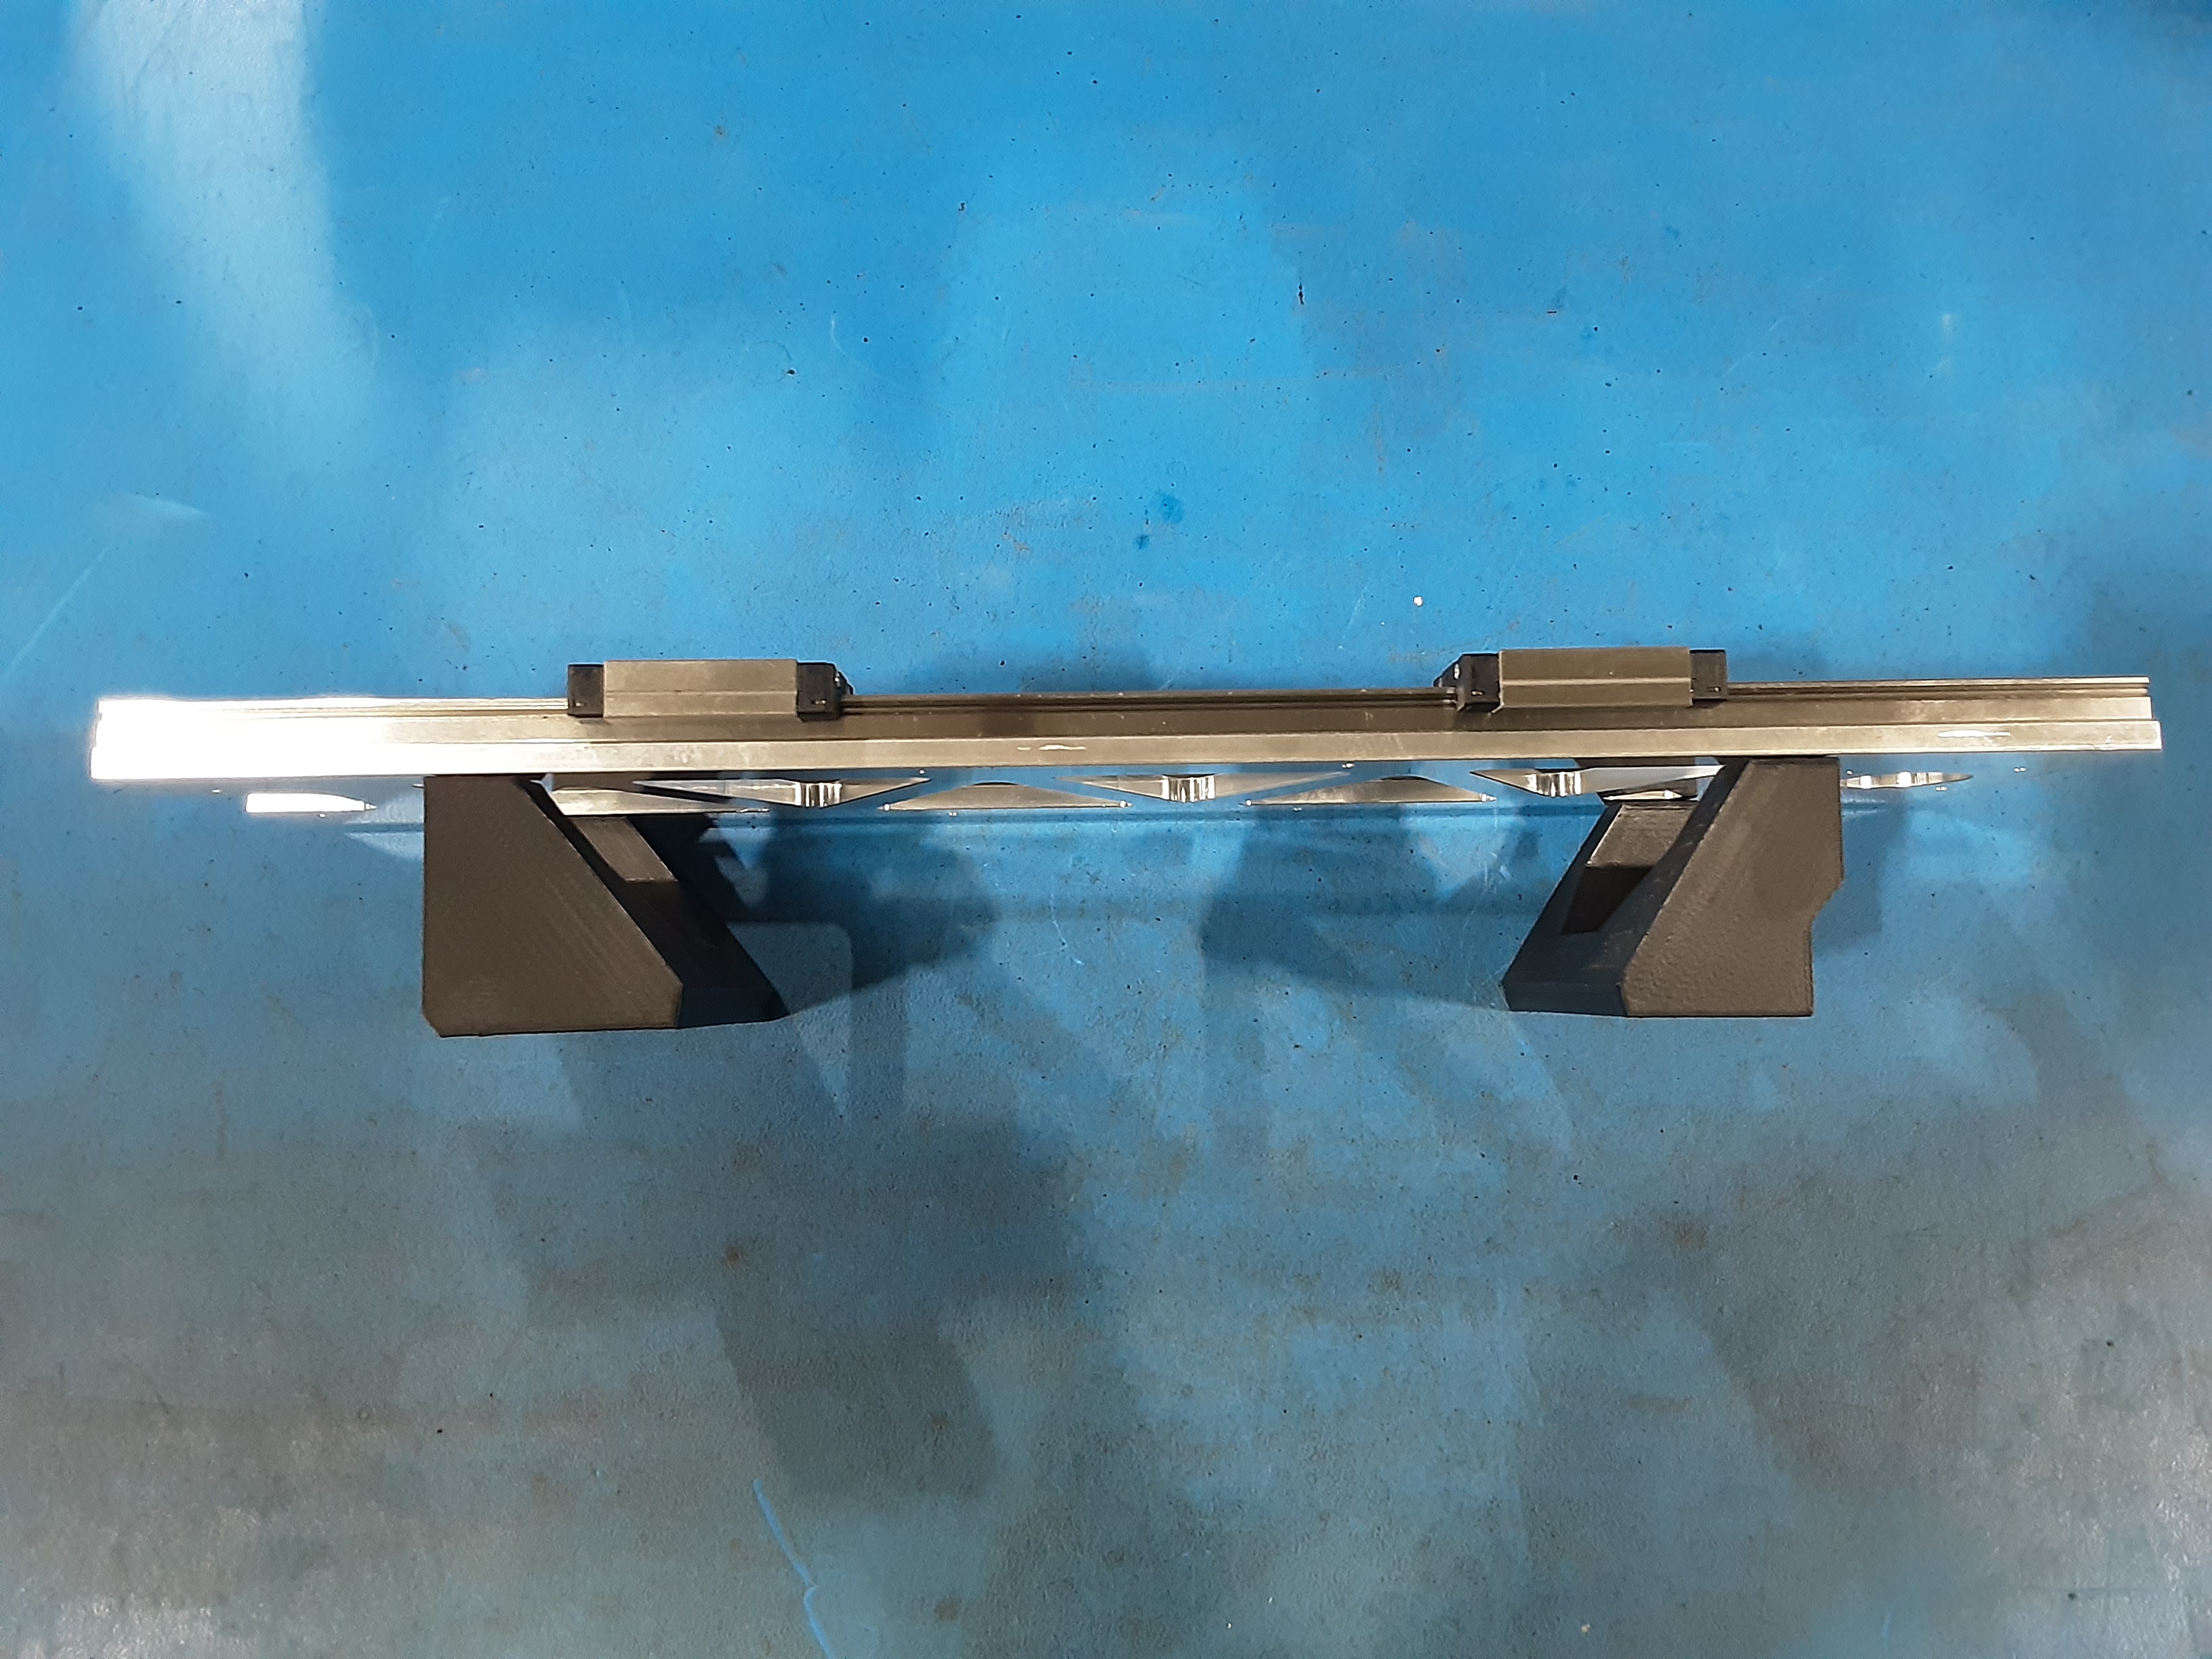
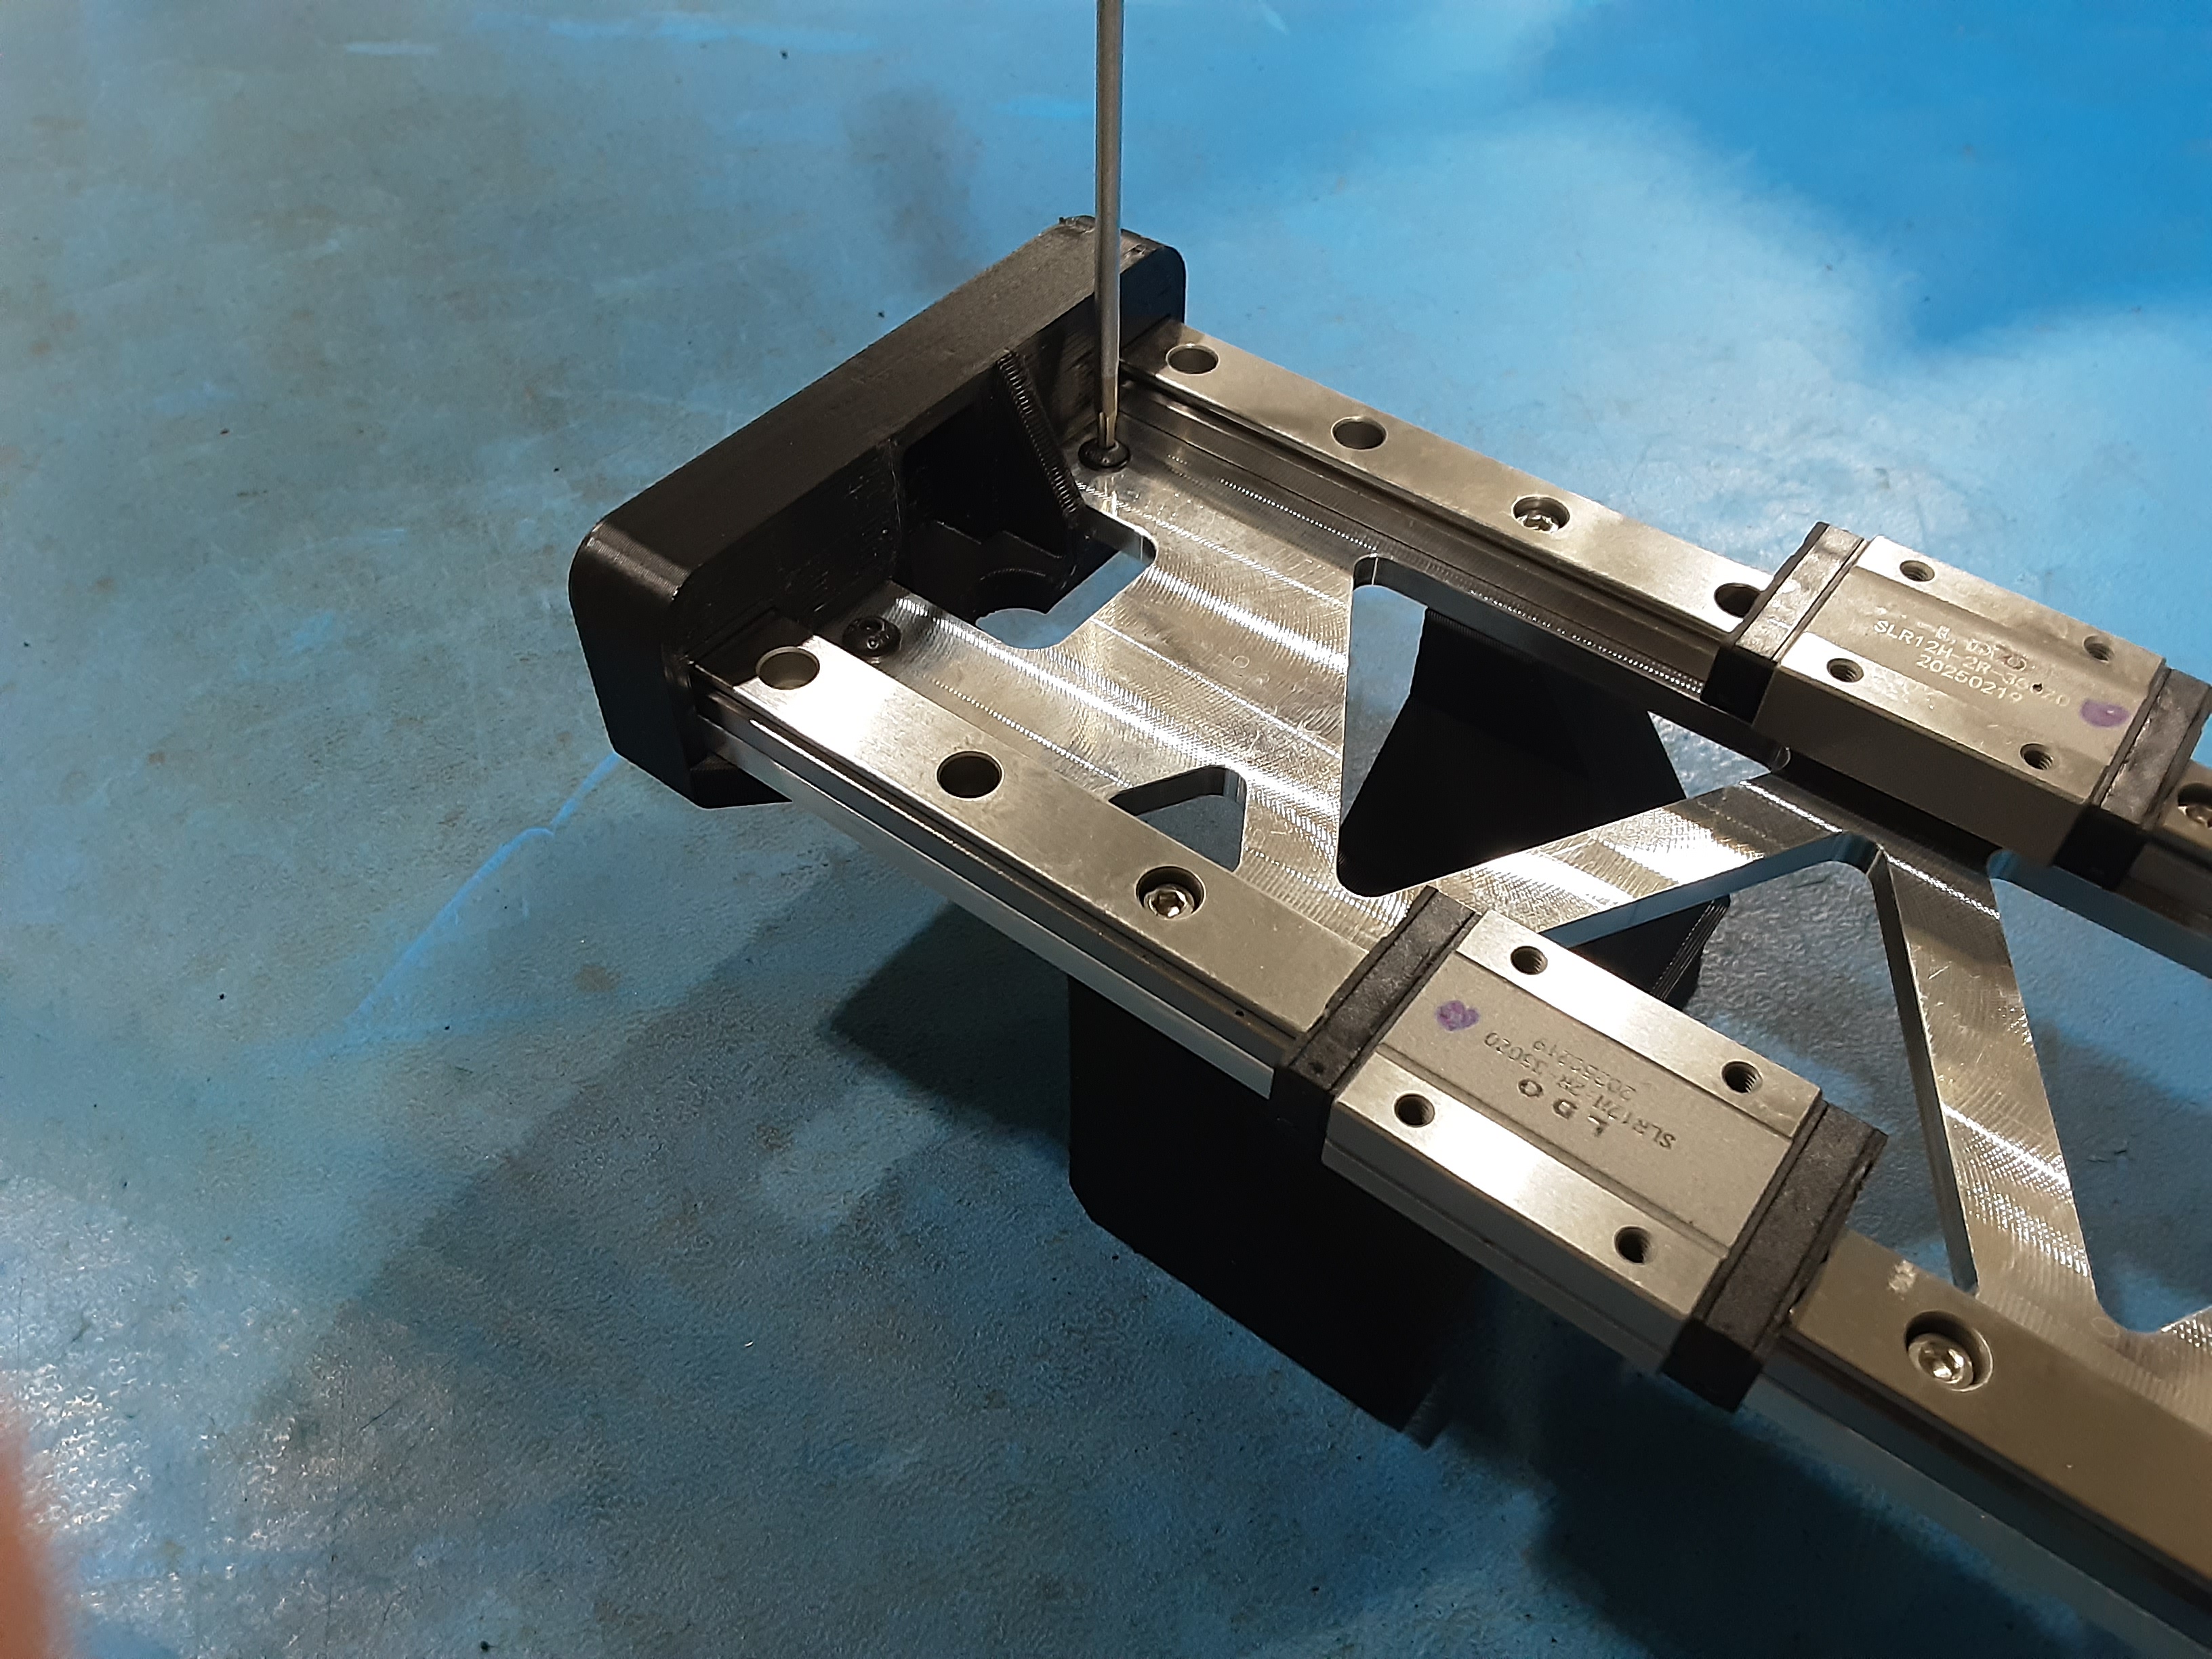
3C) Grab PP-GP0838 x1, PP-GP0800 x1, HD-BT0091 x4 and blue loctite.
3D) Loosely attach PP-GP0800 on the motor side and PP-GP0838 on the other side to PP-FP0241 and
HD-RD0050 using HD-BT0091 x4 with blue loctite.
3E) With all the screws in, tighten HD-BT0170 x4 and HD-BT0091 x4.
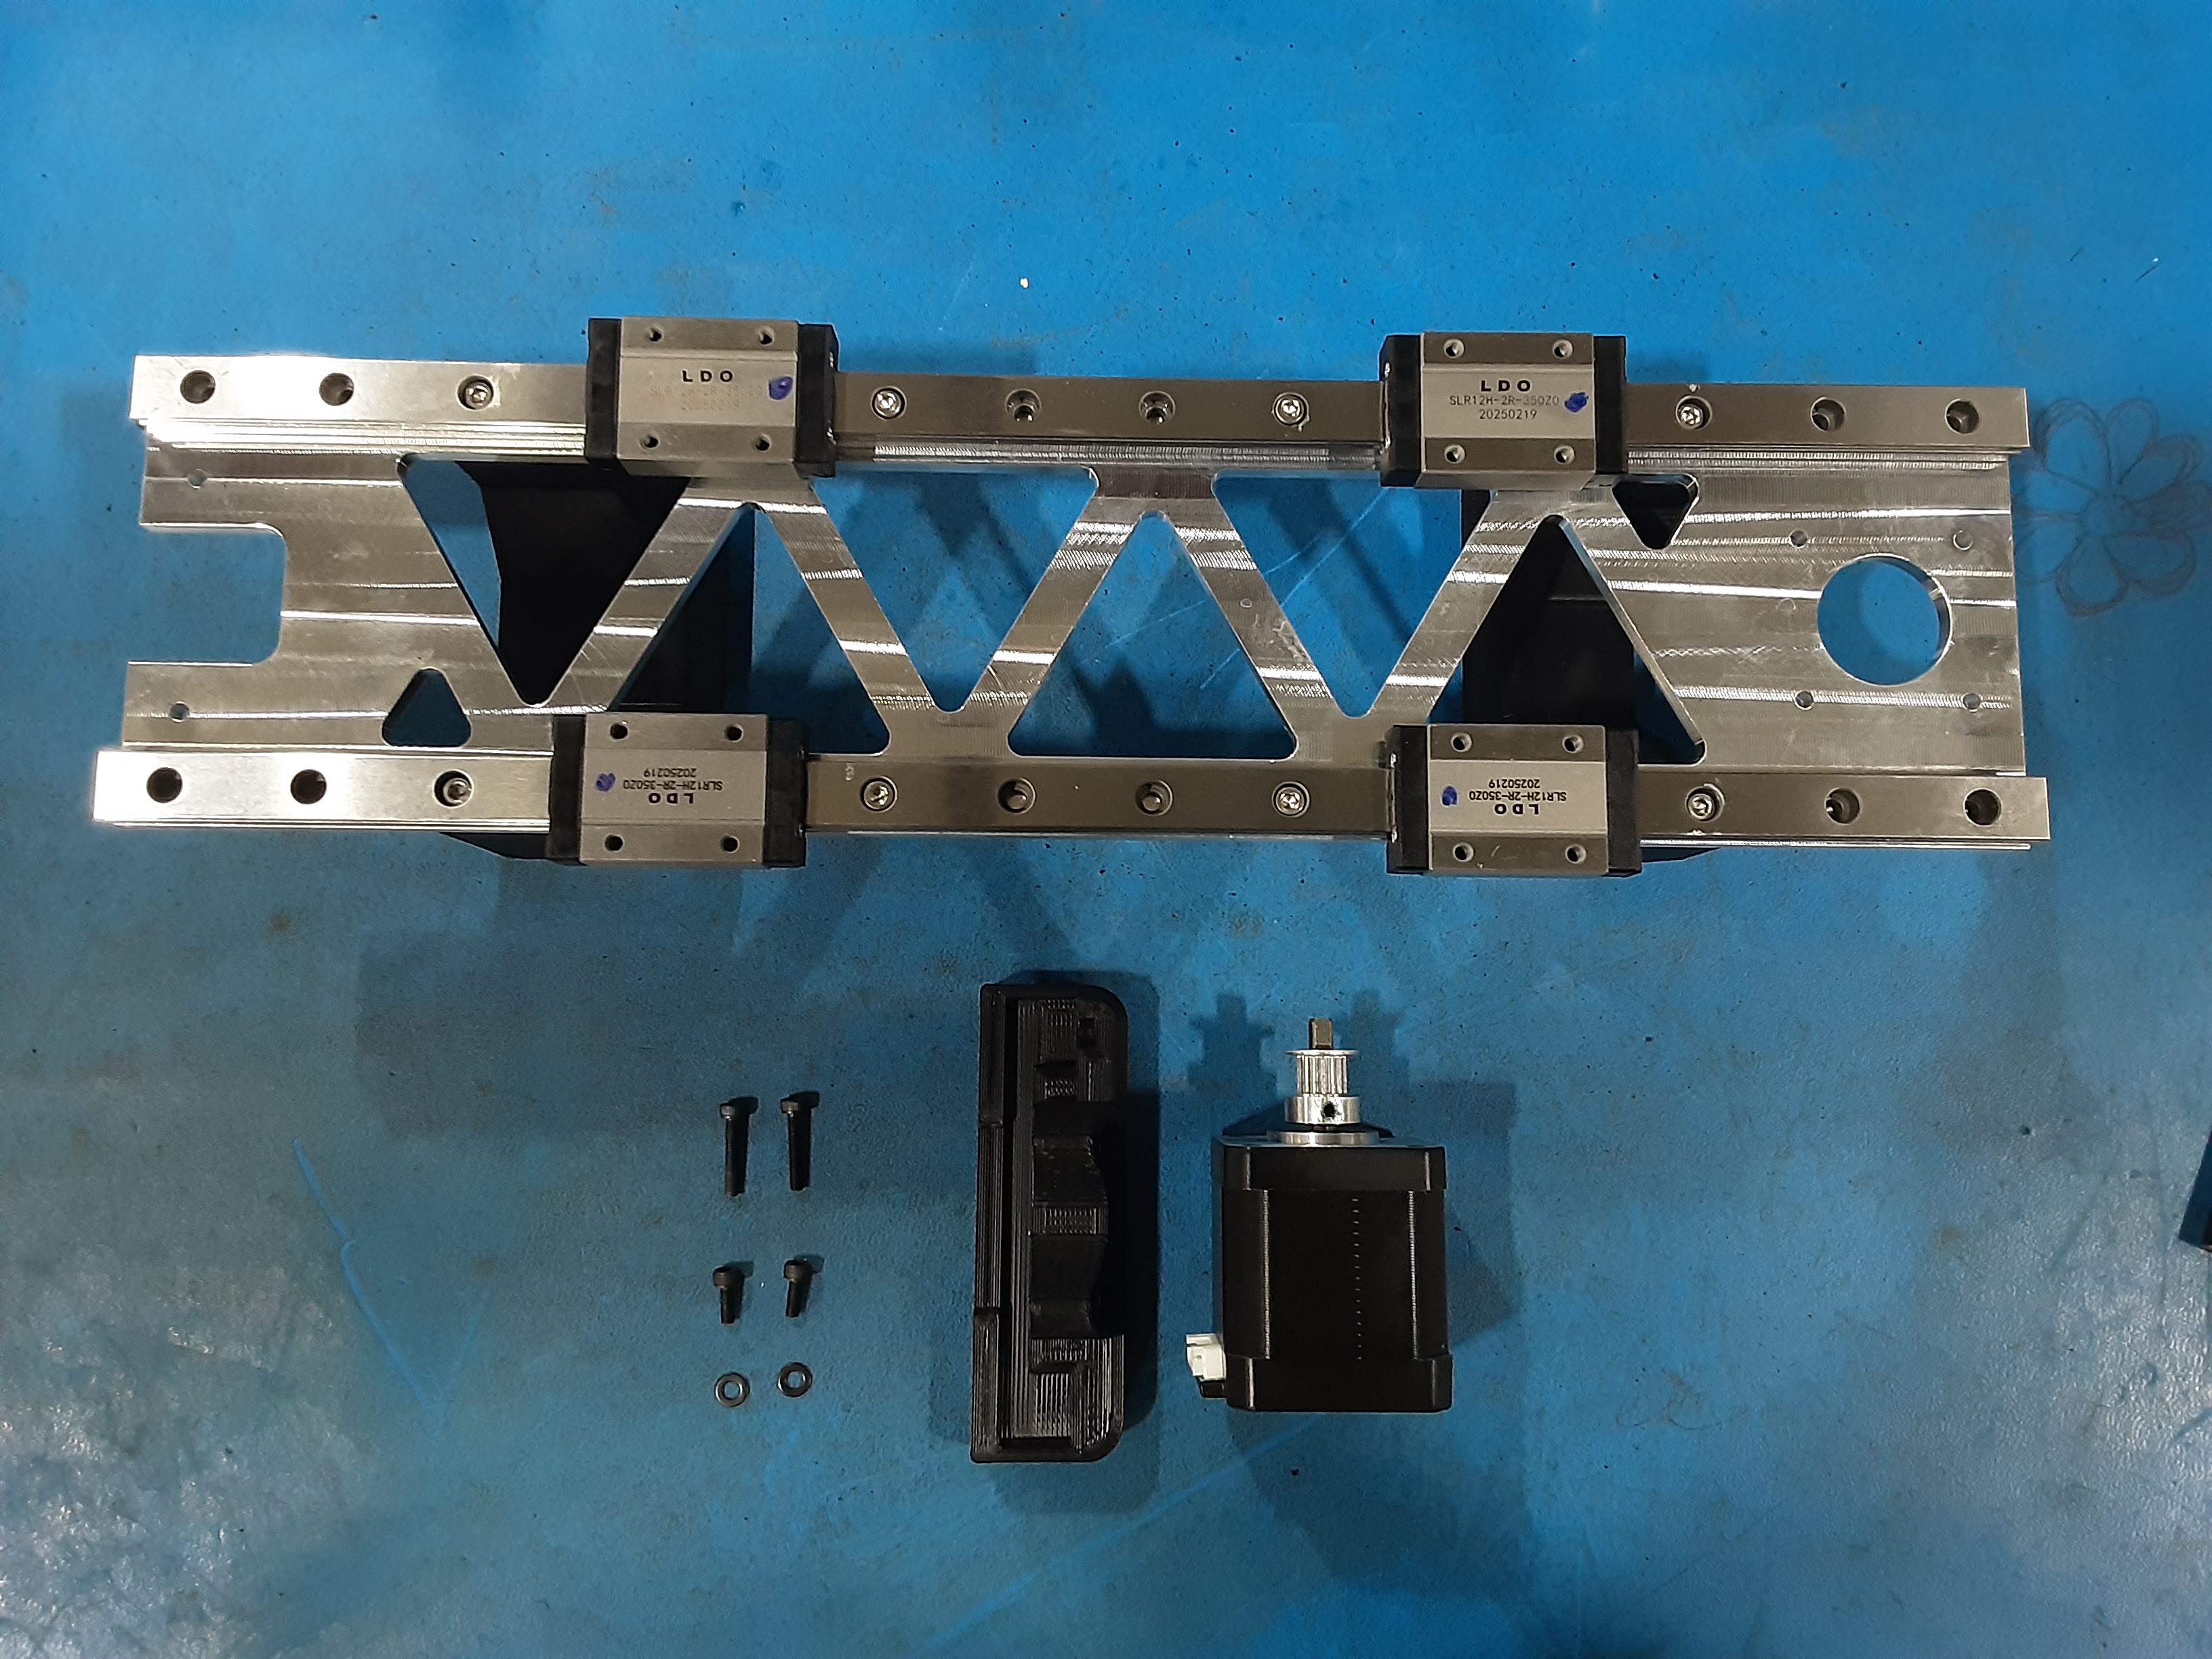
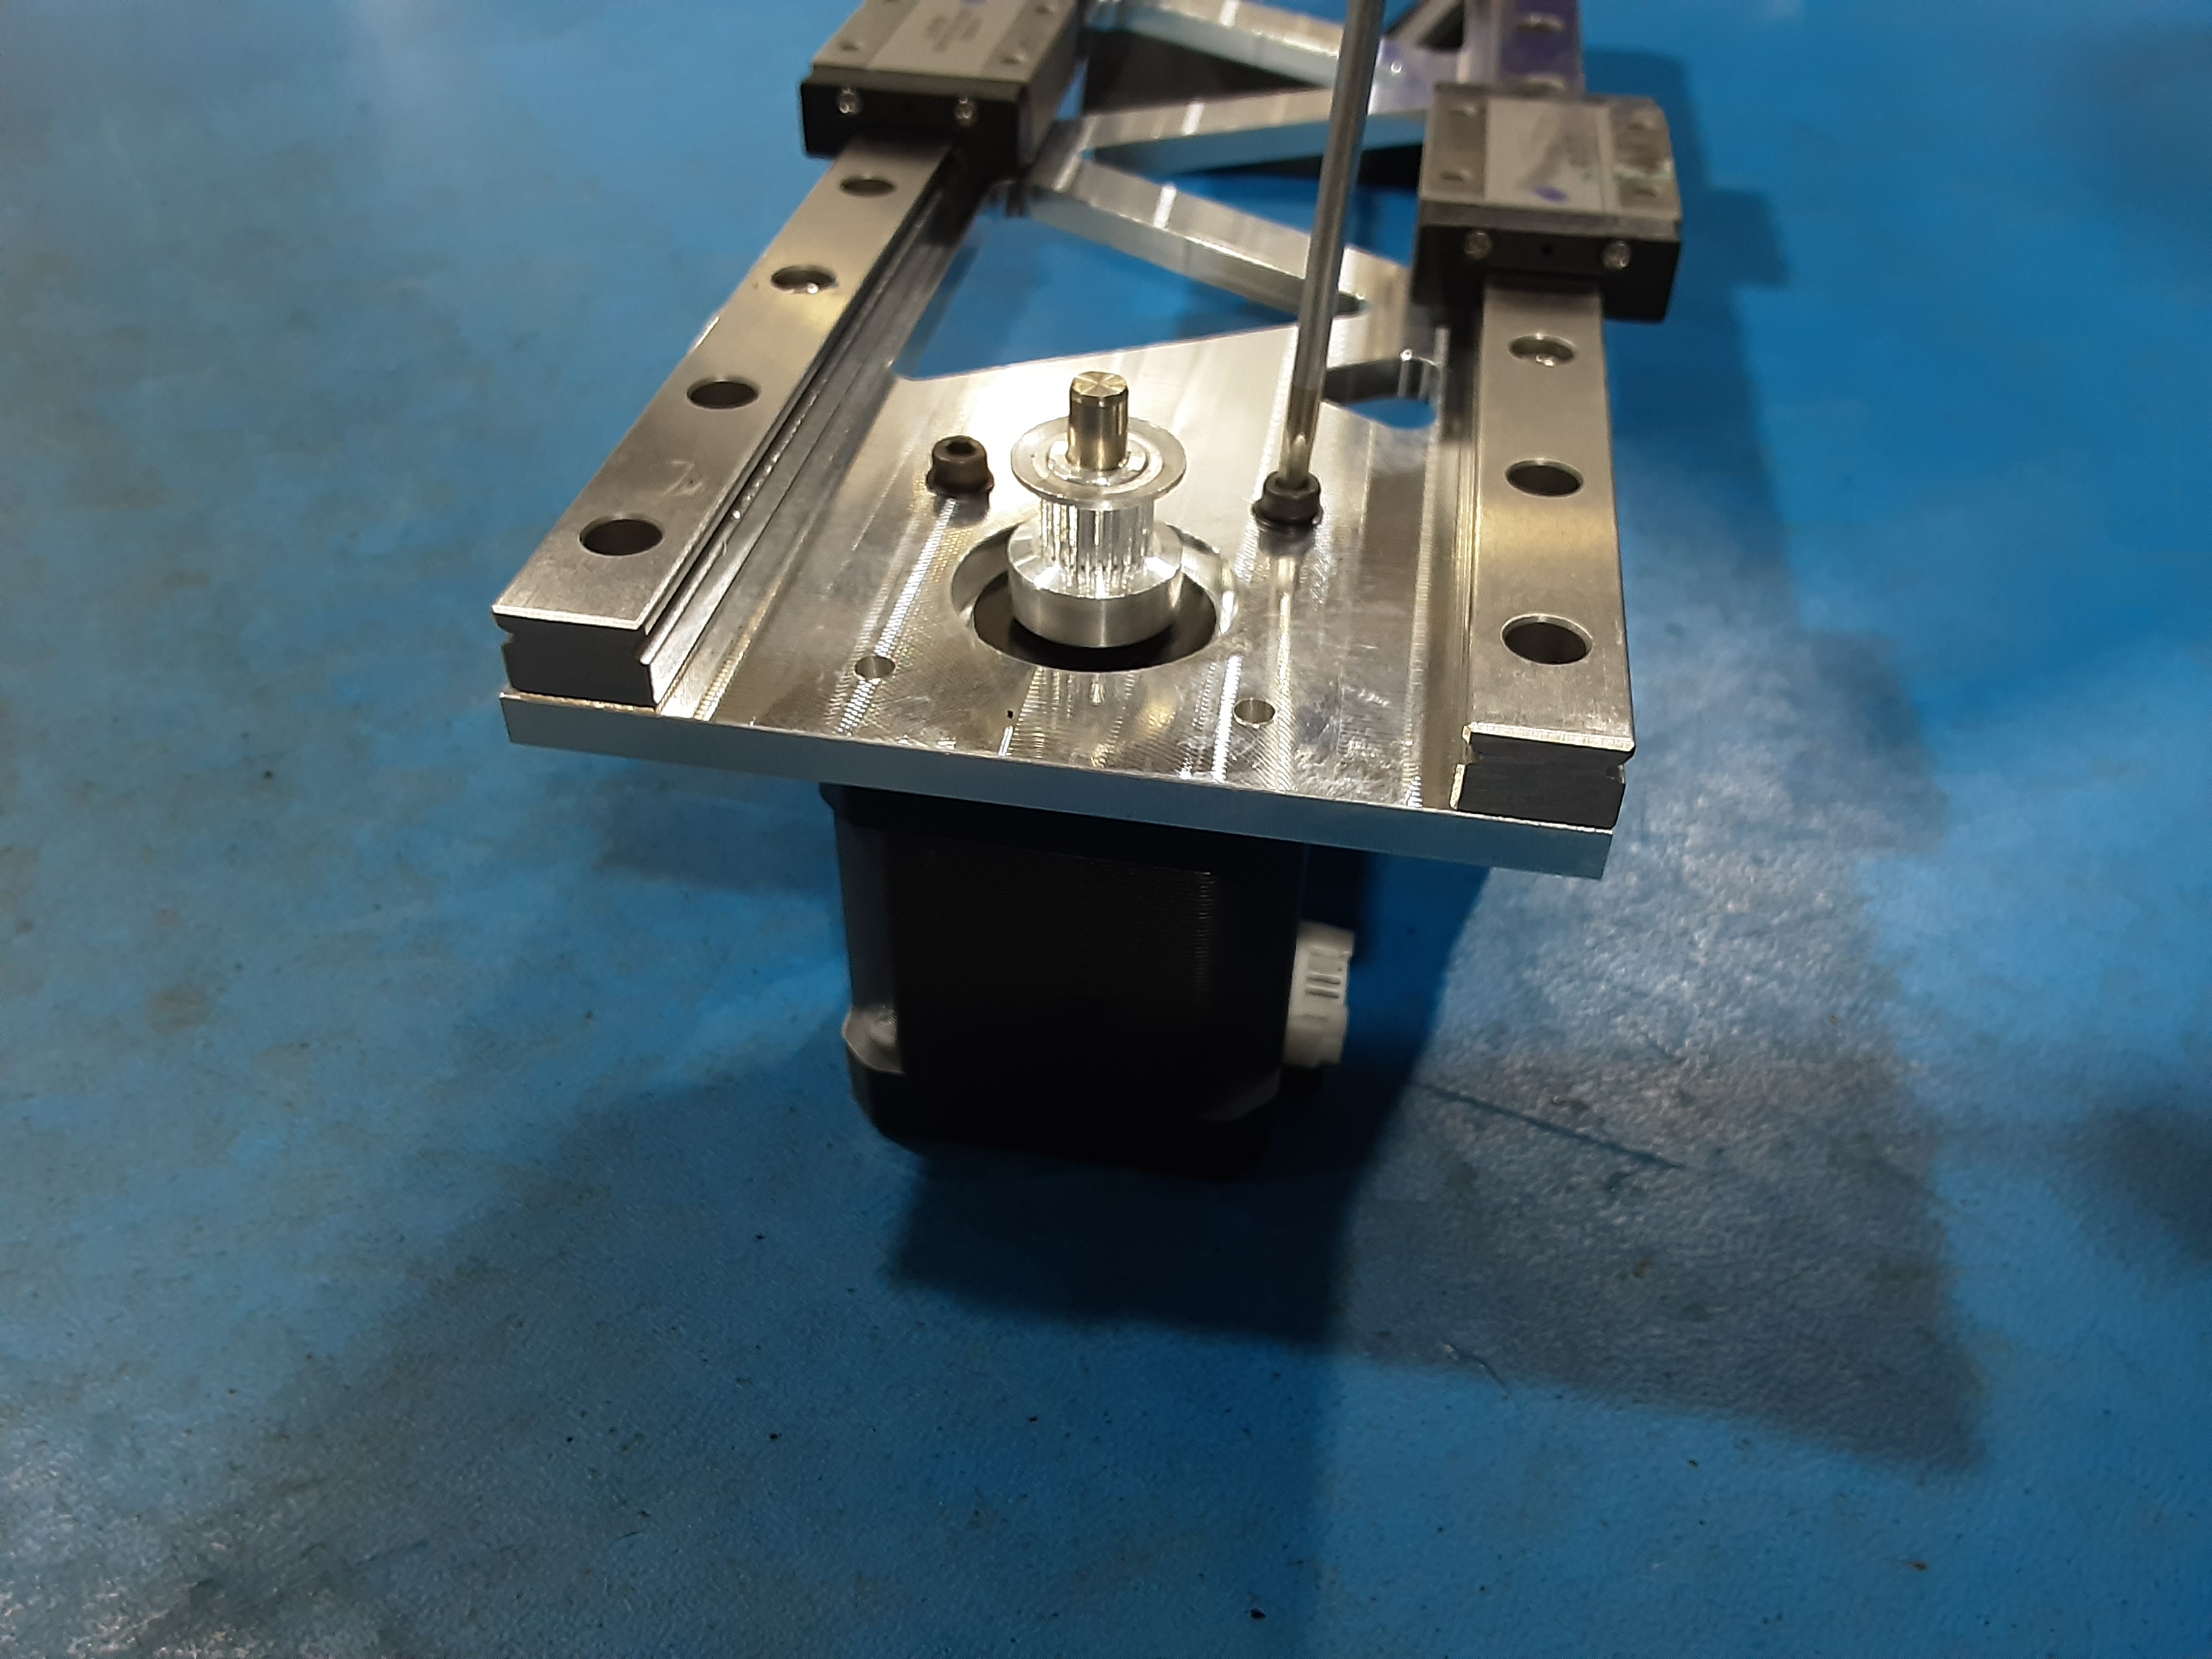
3F) Grab PP-GP0803 x1, HD-BT0185 x2, HD-BT0157 x2, HD-WA0038 x2, and Motor Assembly.
3G) Loosely attach the Motor Assembly in the proper orientation to PP-FP0241 using HD-BT0157 x2 and
HD-WA0038 x2.
3H) Attach PP-GP0803 to PP-FP0241 and the Motor Assembly using HD-BT0185 x2. Tighten
HD-BT0157 x2.
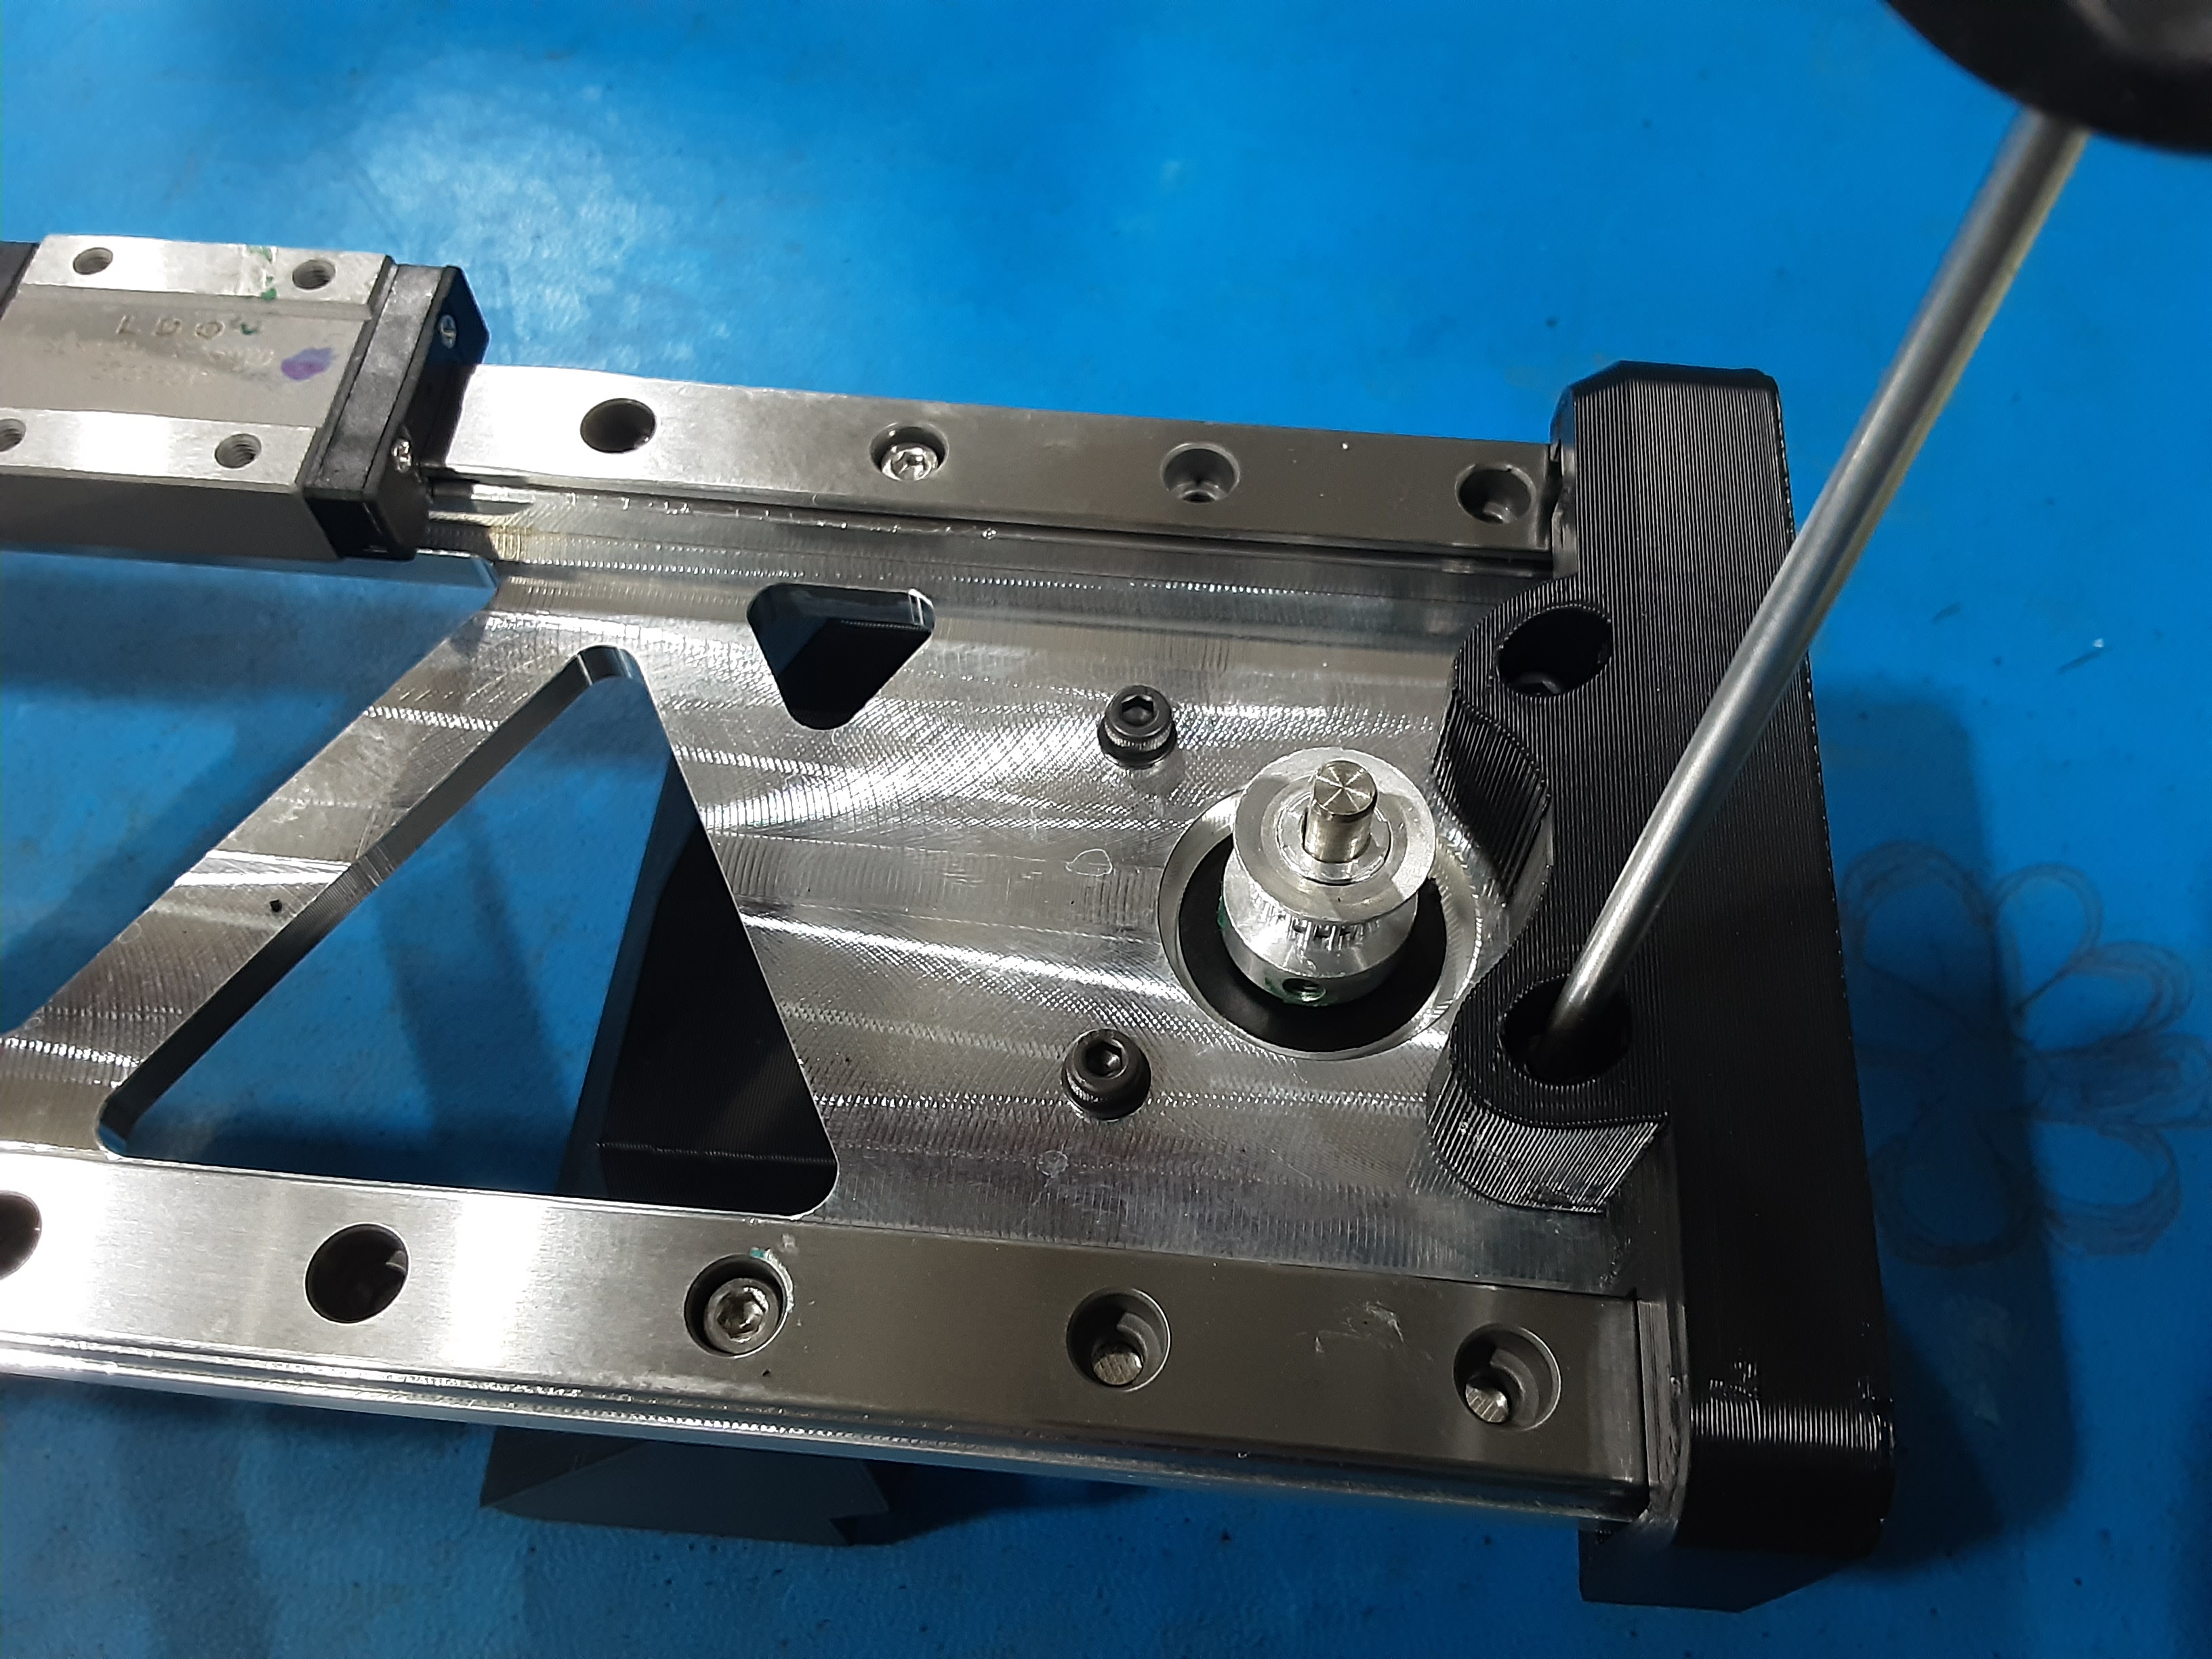
3I) Grab PP-GP0802 x1, HD-BT0148 x2, and HD-WA0038 x2.
3J) Attach PP-GP0802 to PP-FP0241 using HD-BT0148 x2 and HD-WA0038 x2.
Belt Assembly
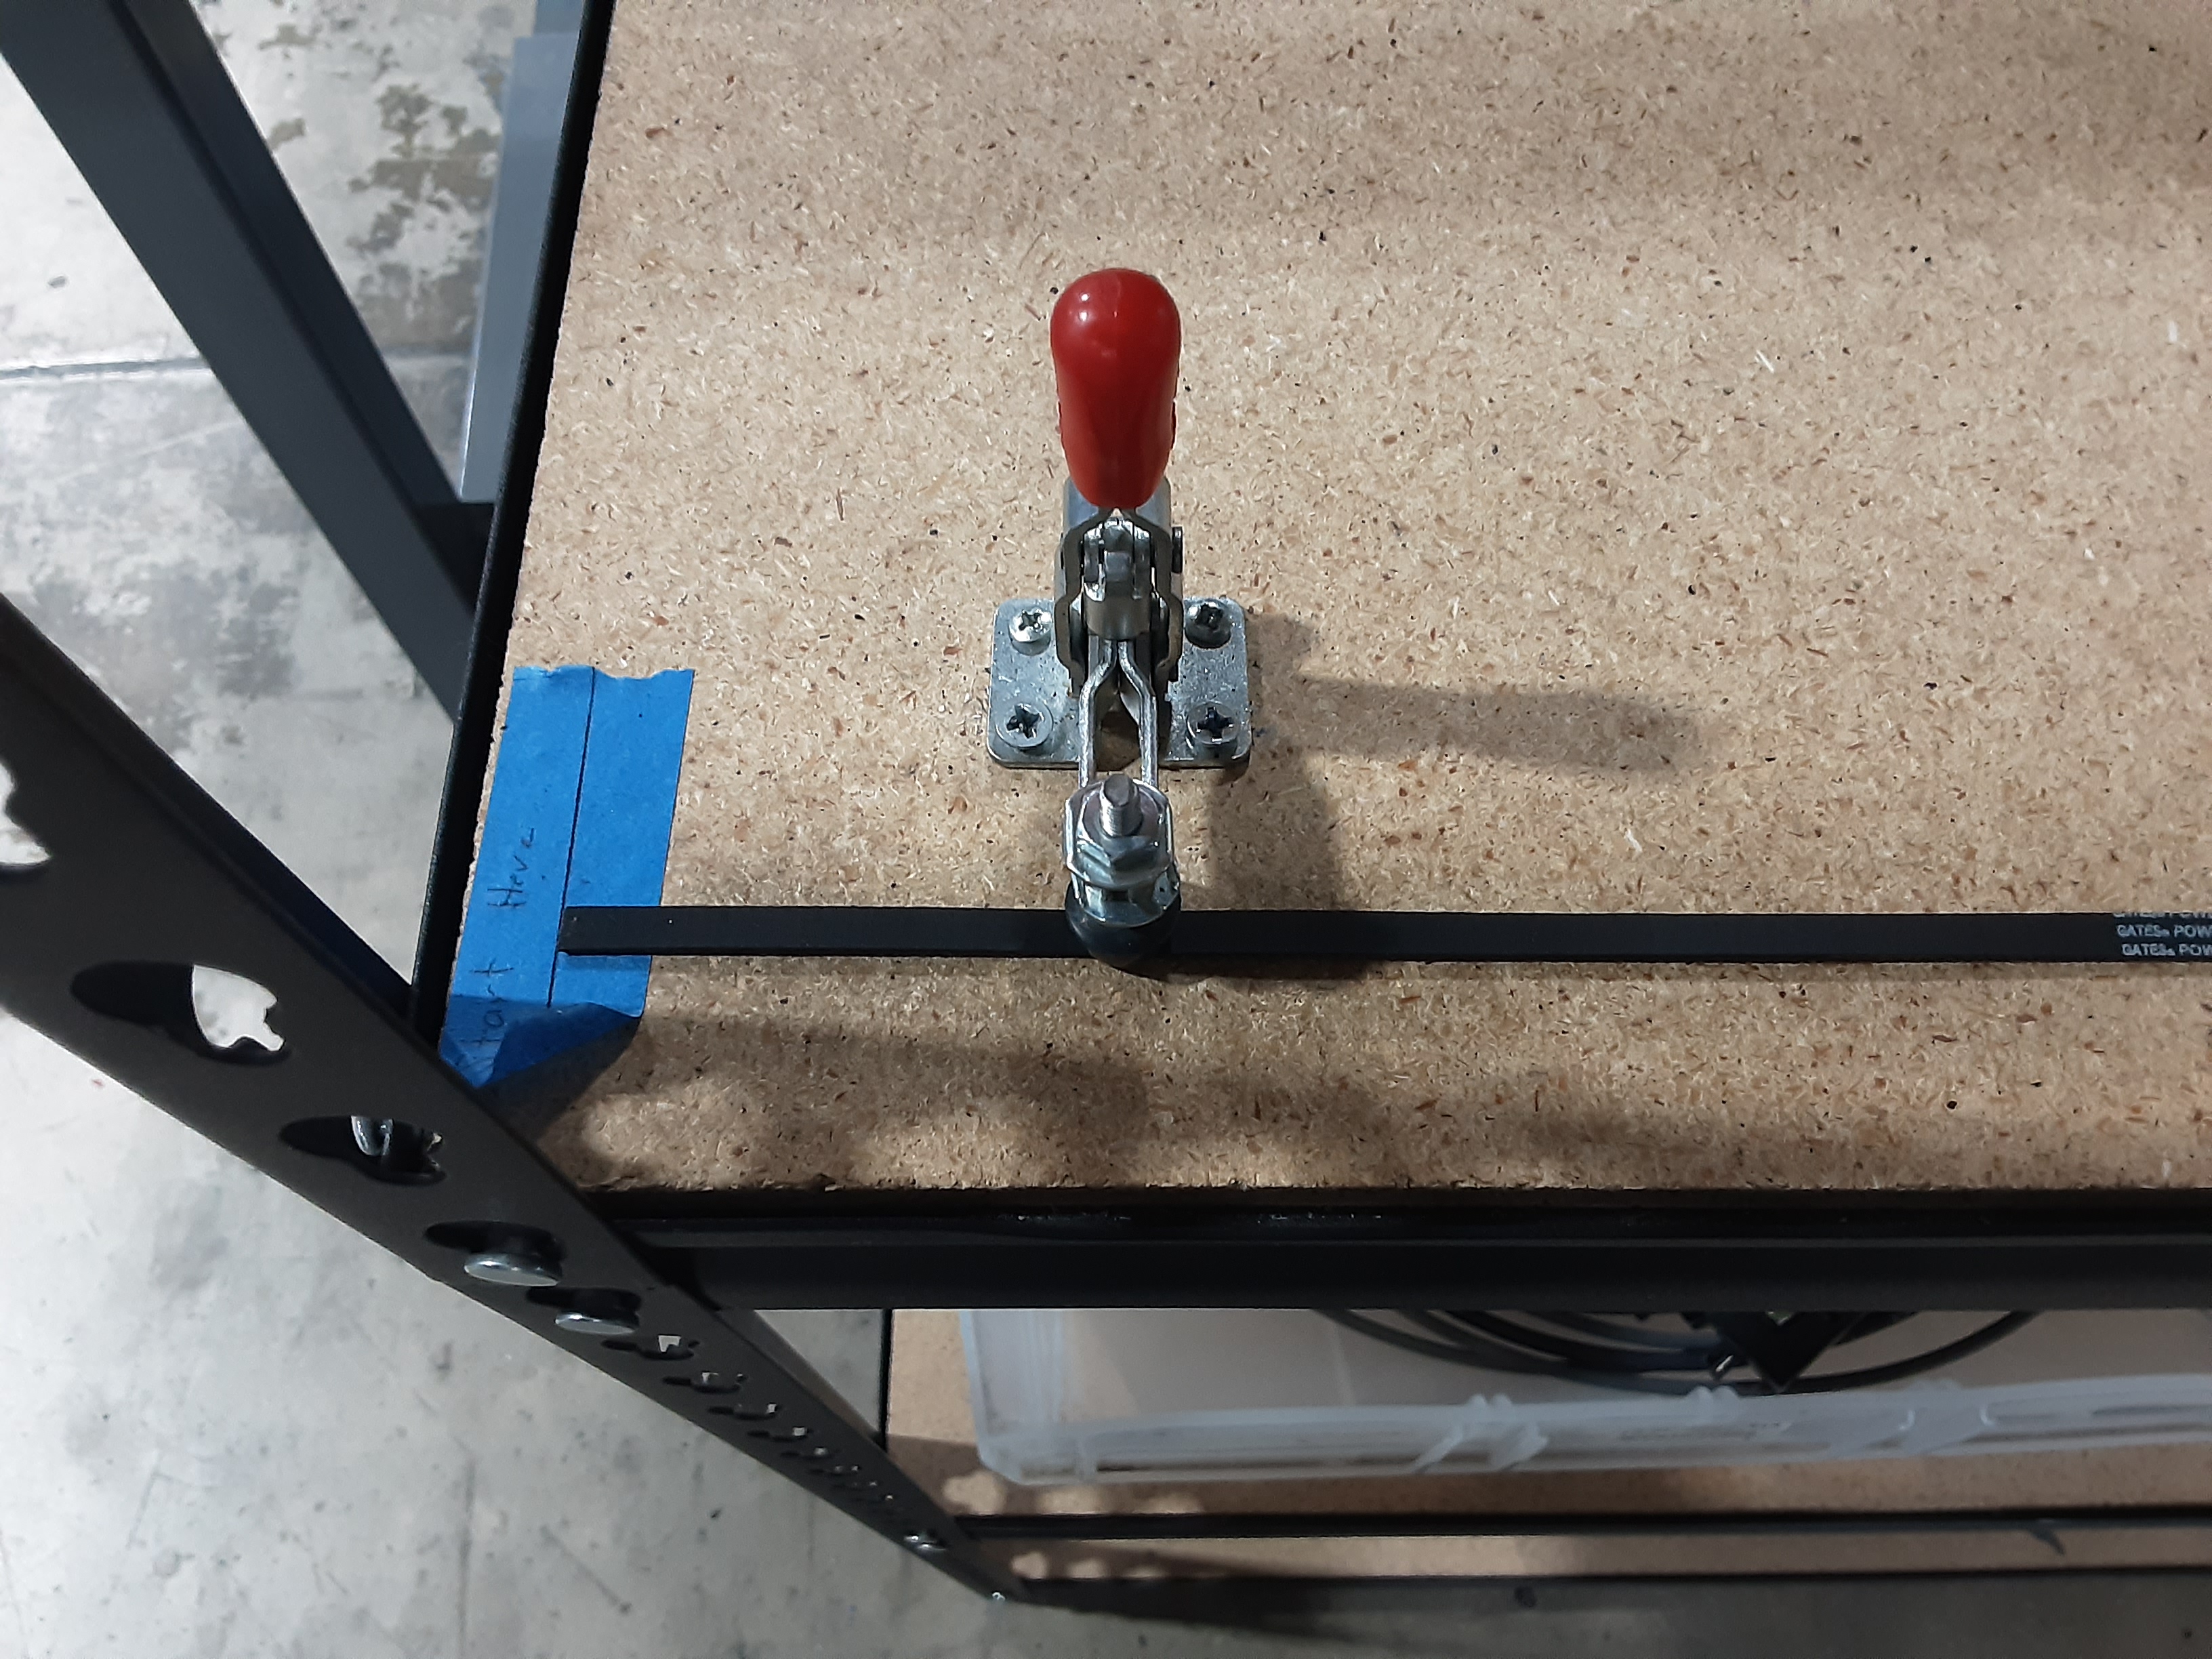
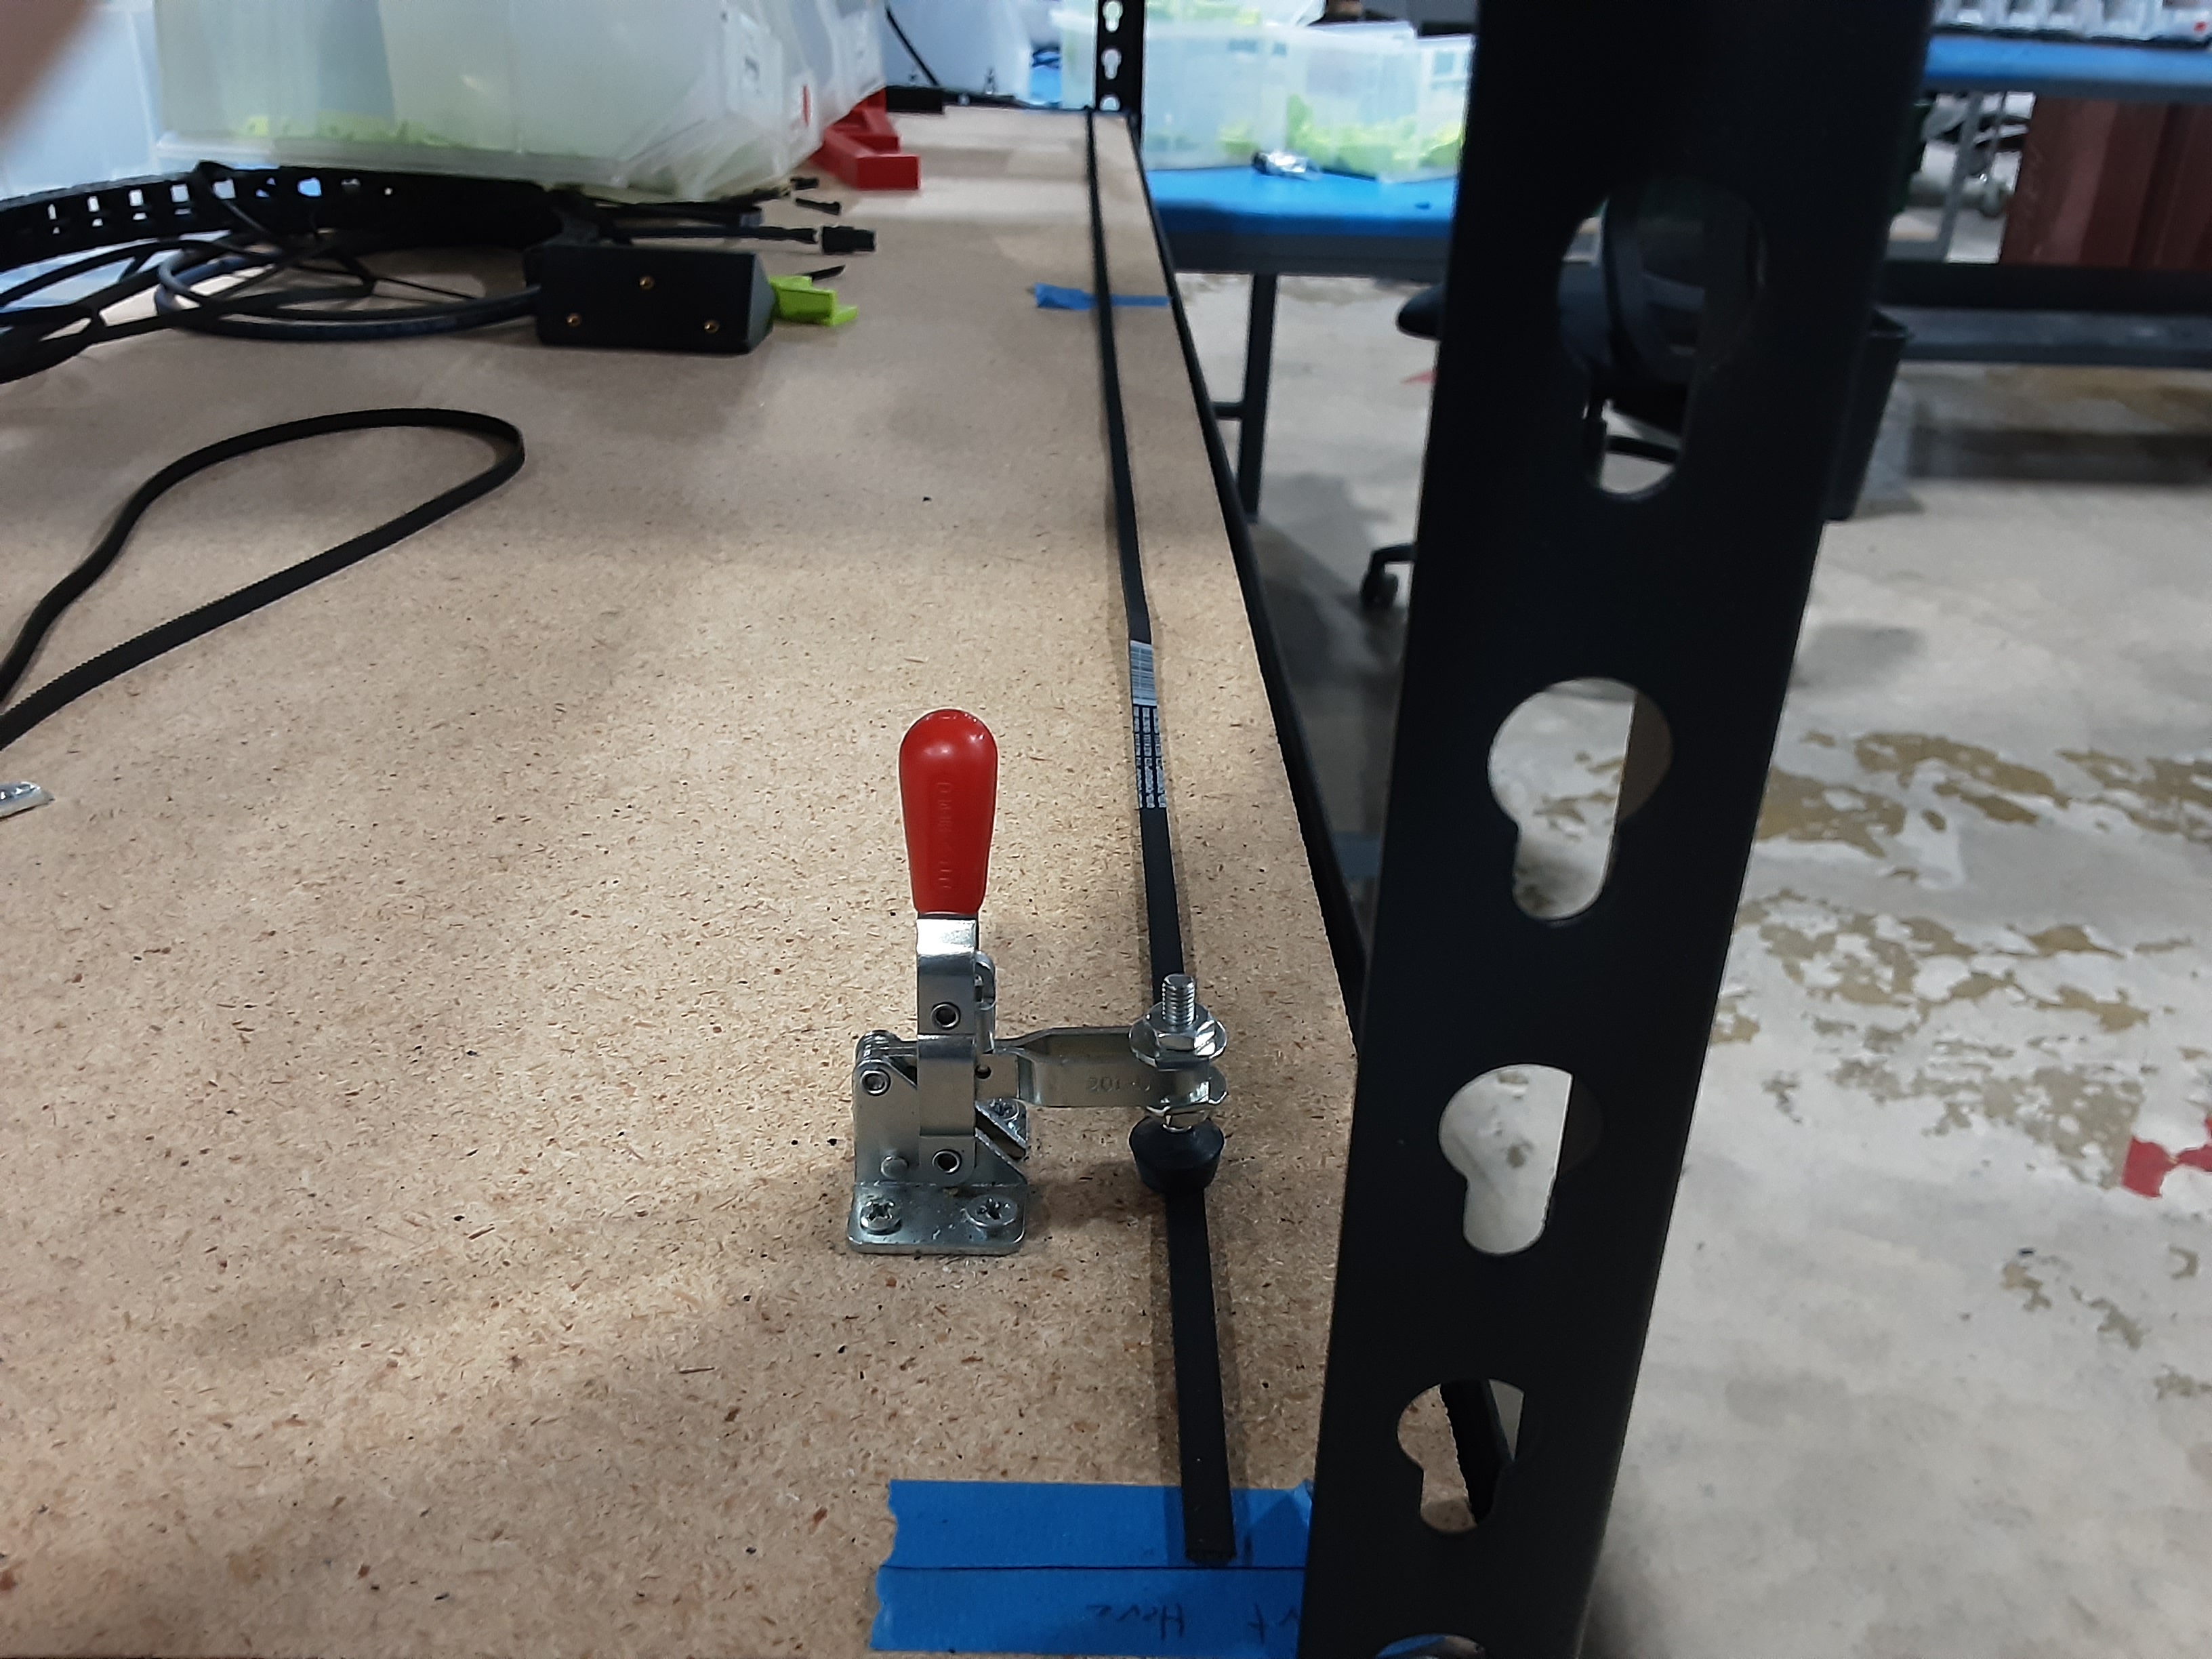
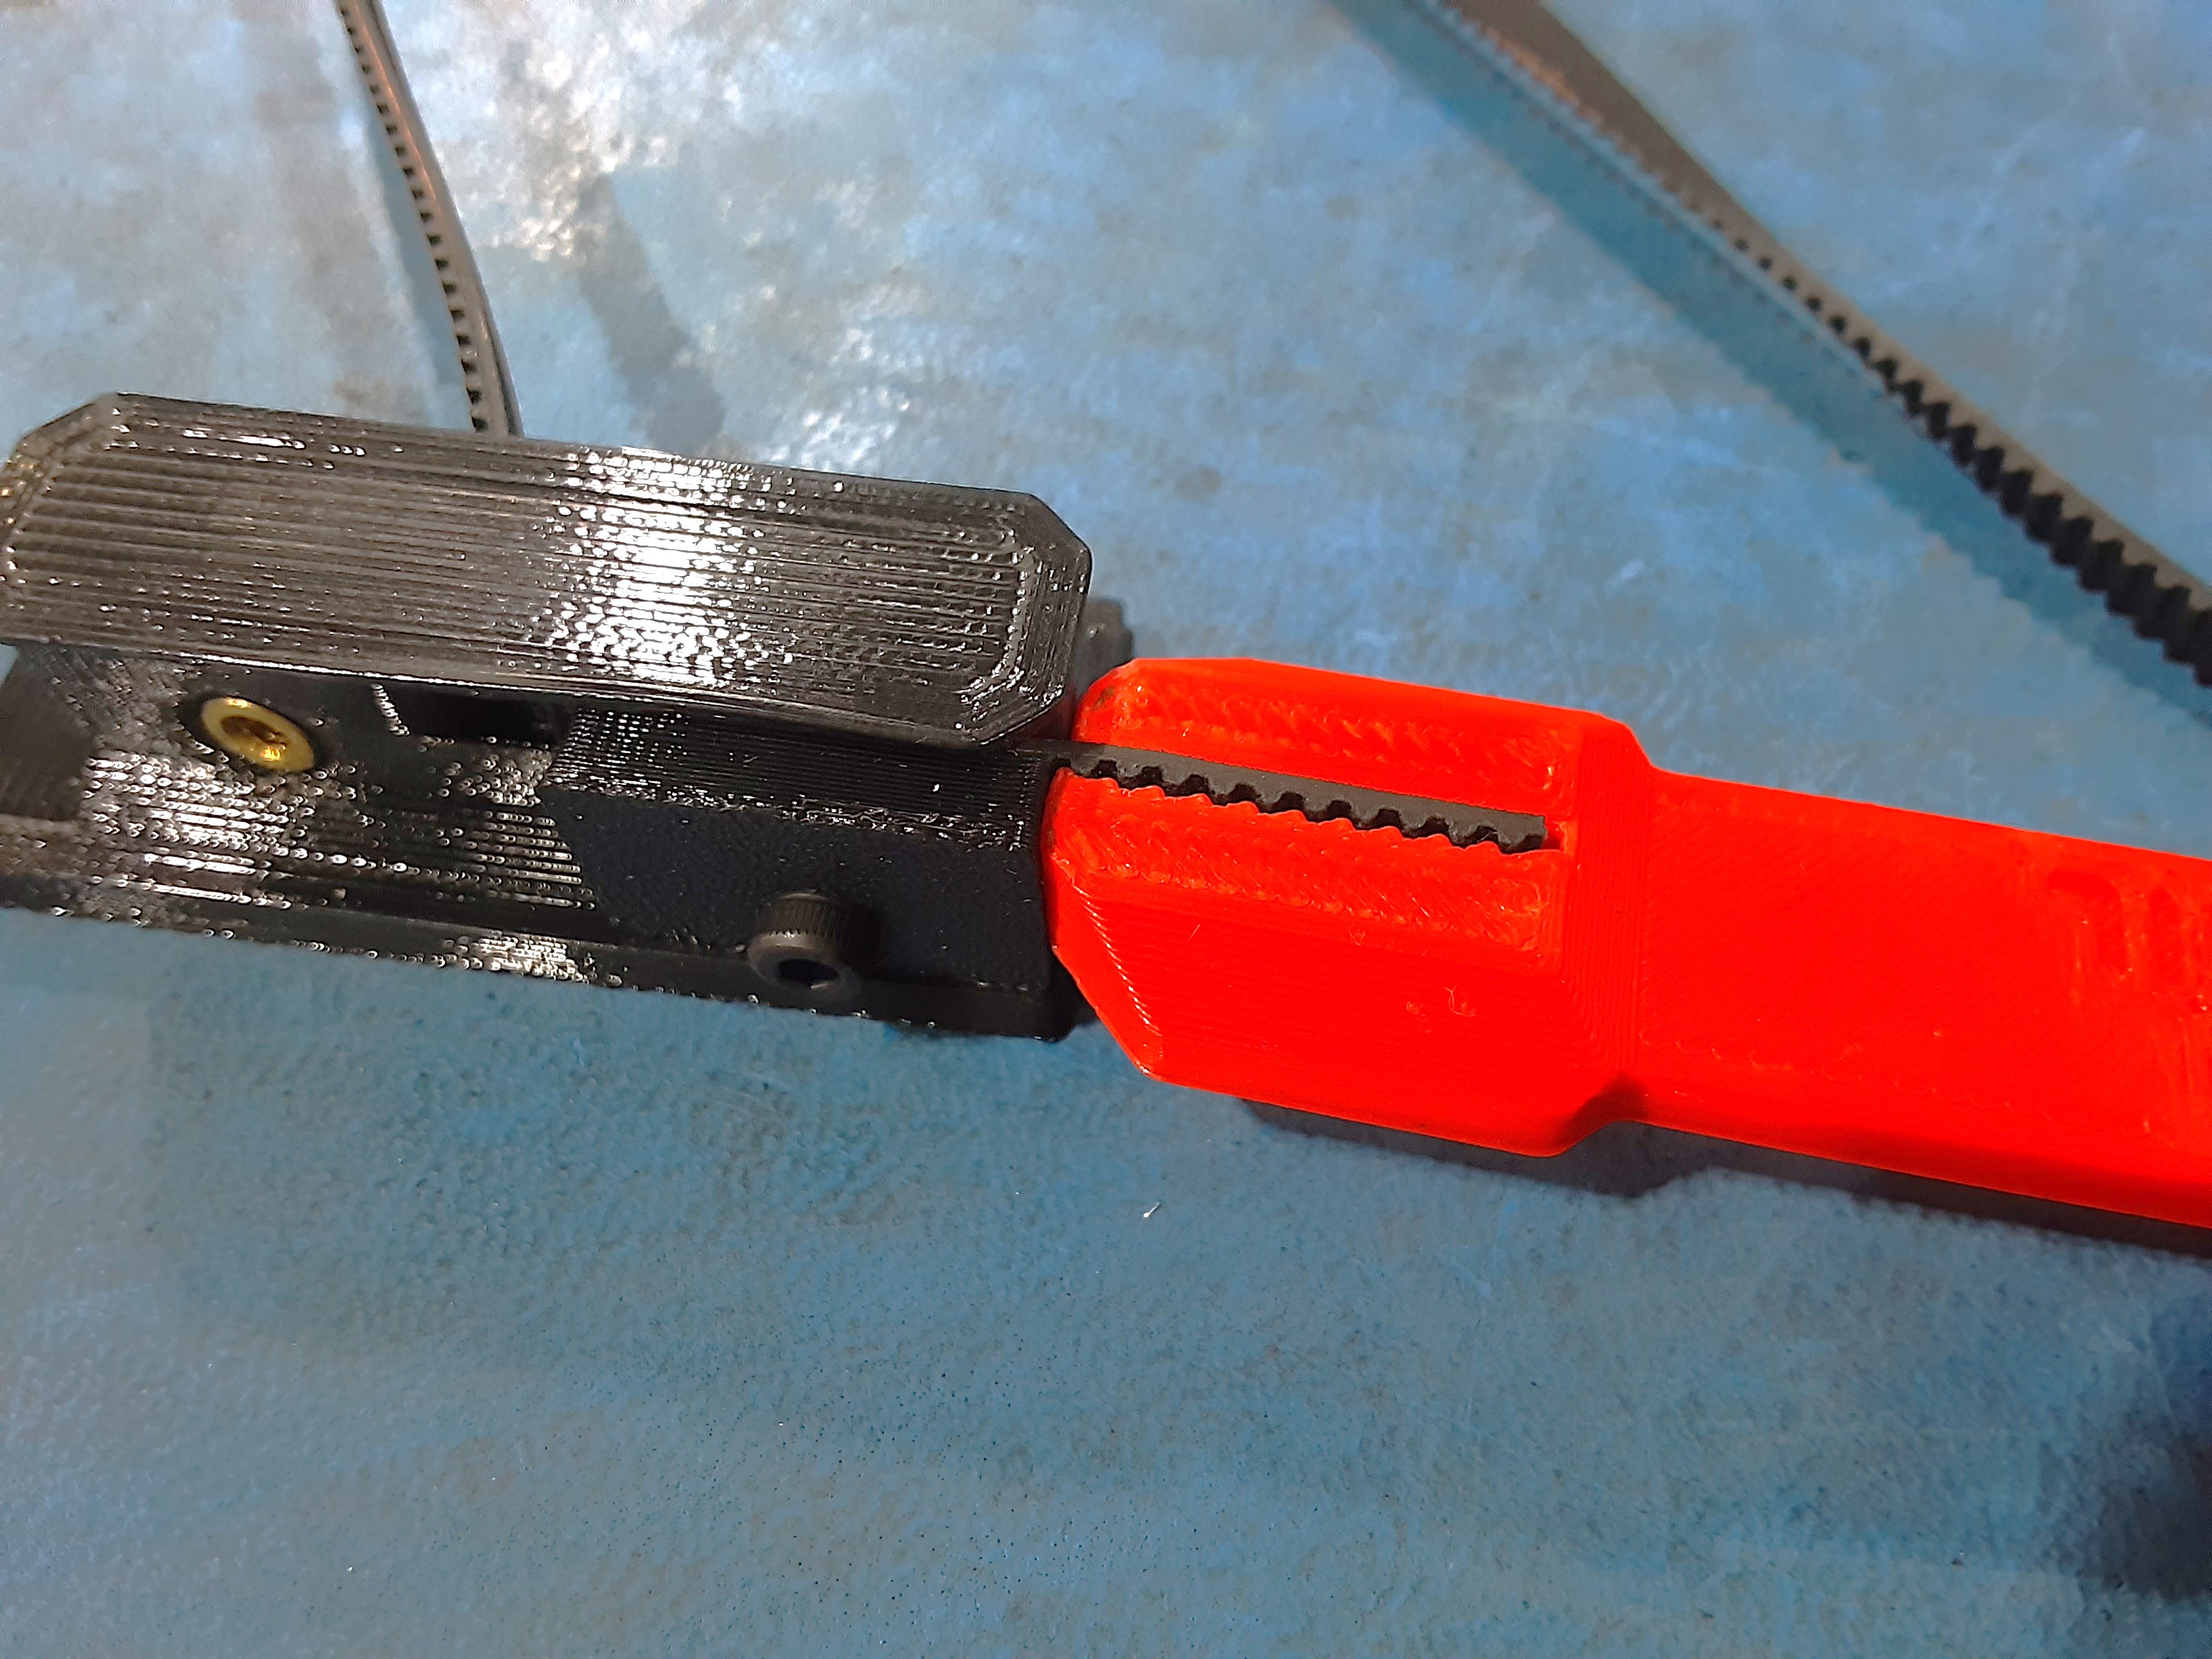
4A) At the belt cutting station, unspool enough HD-BL0037 to get the end to the “Start Here” line and use the clamp to hold the belt in place.
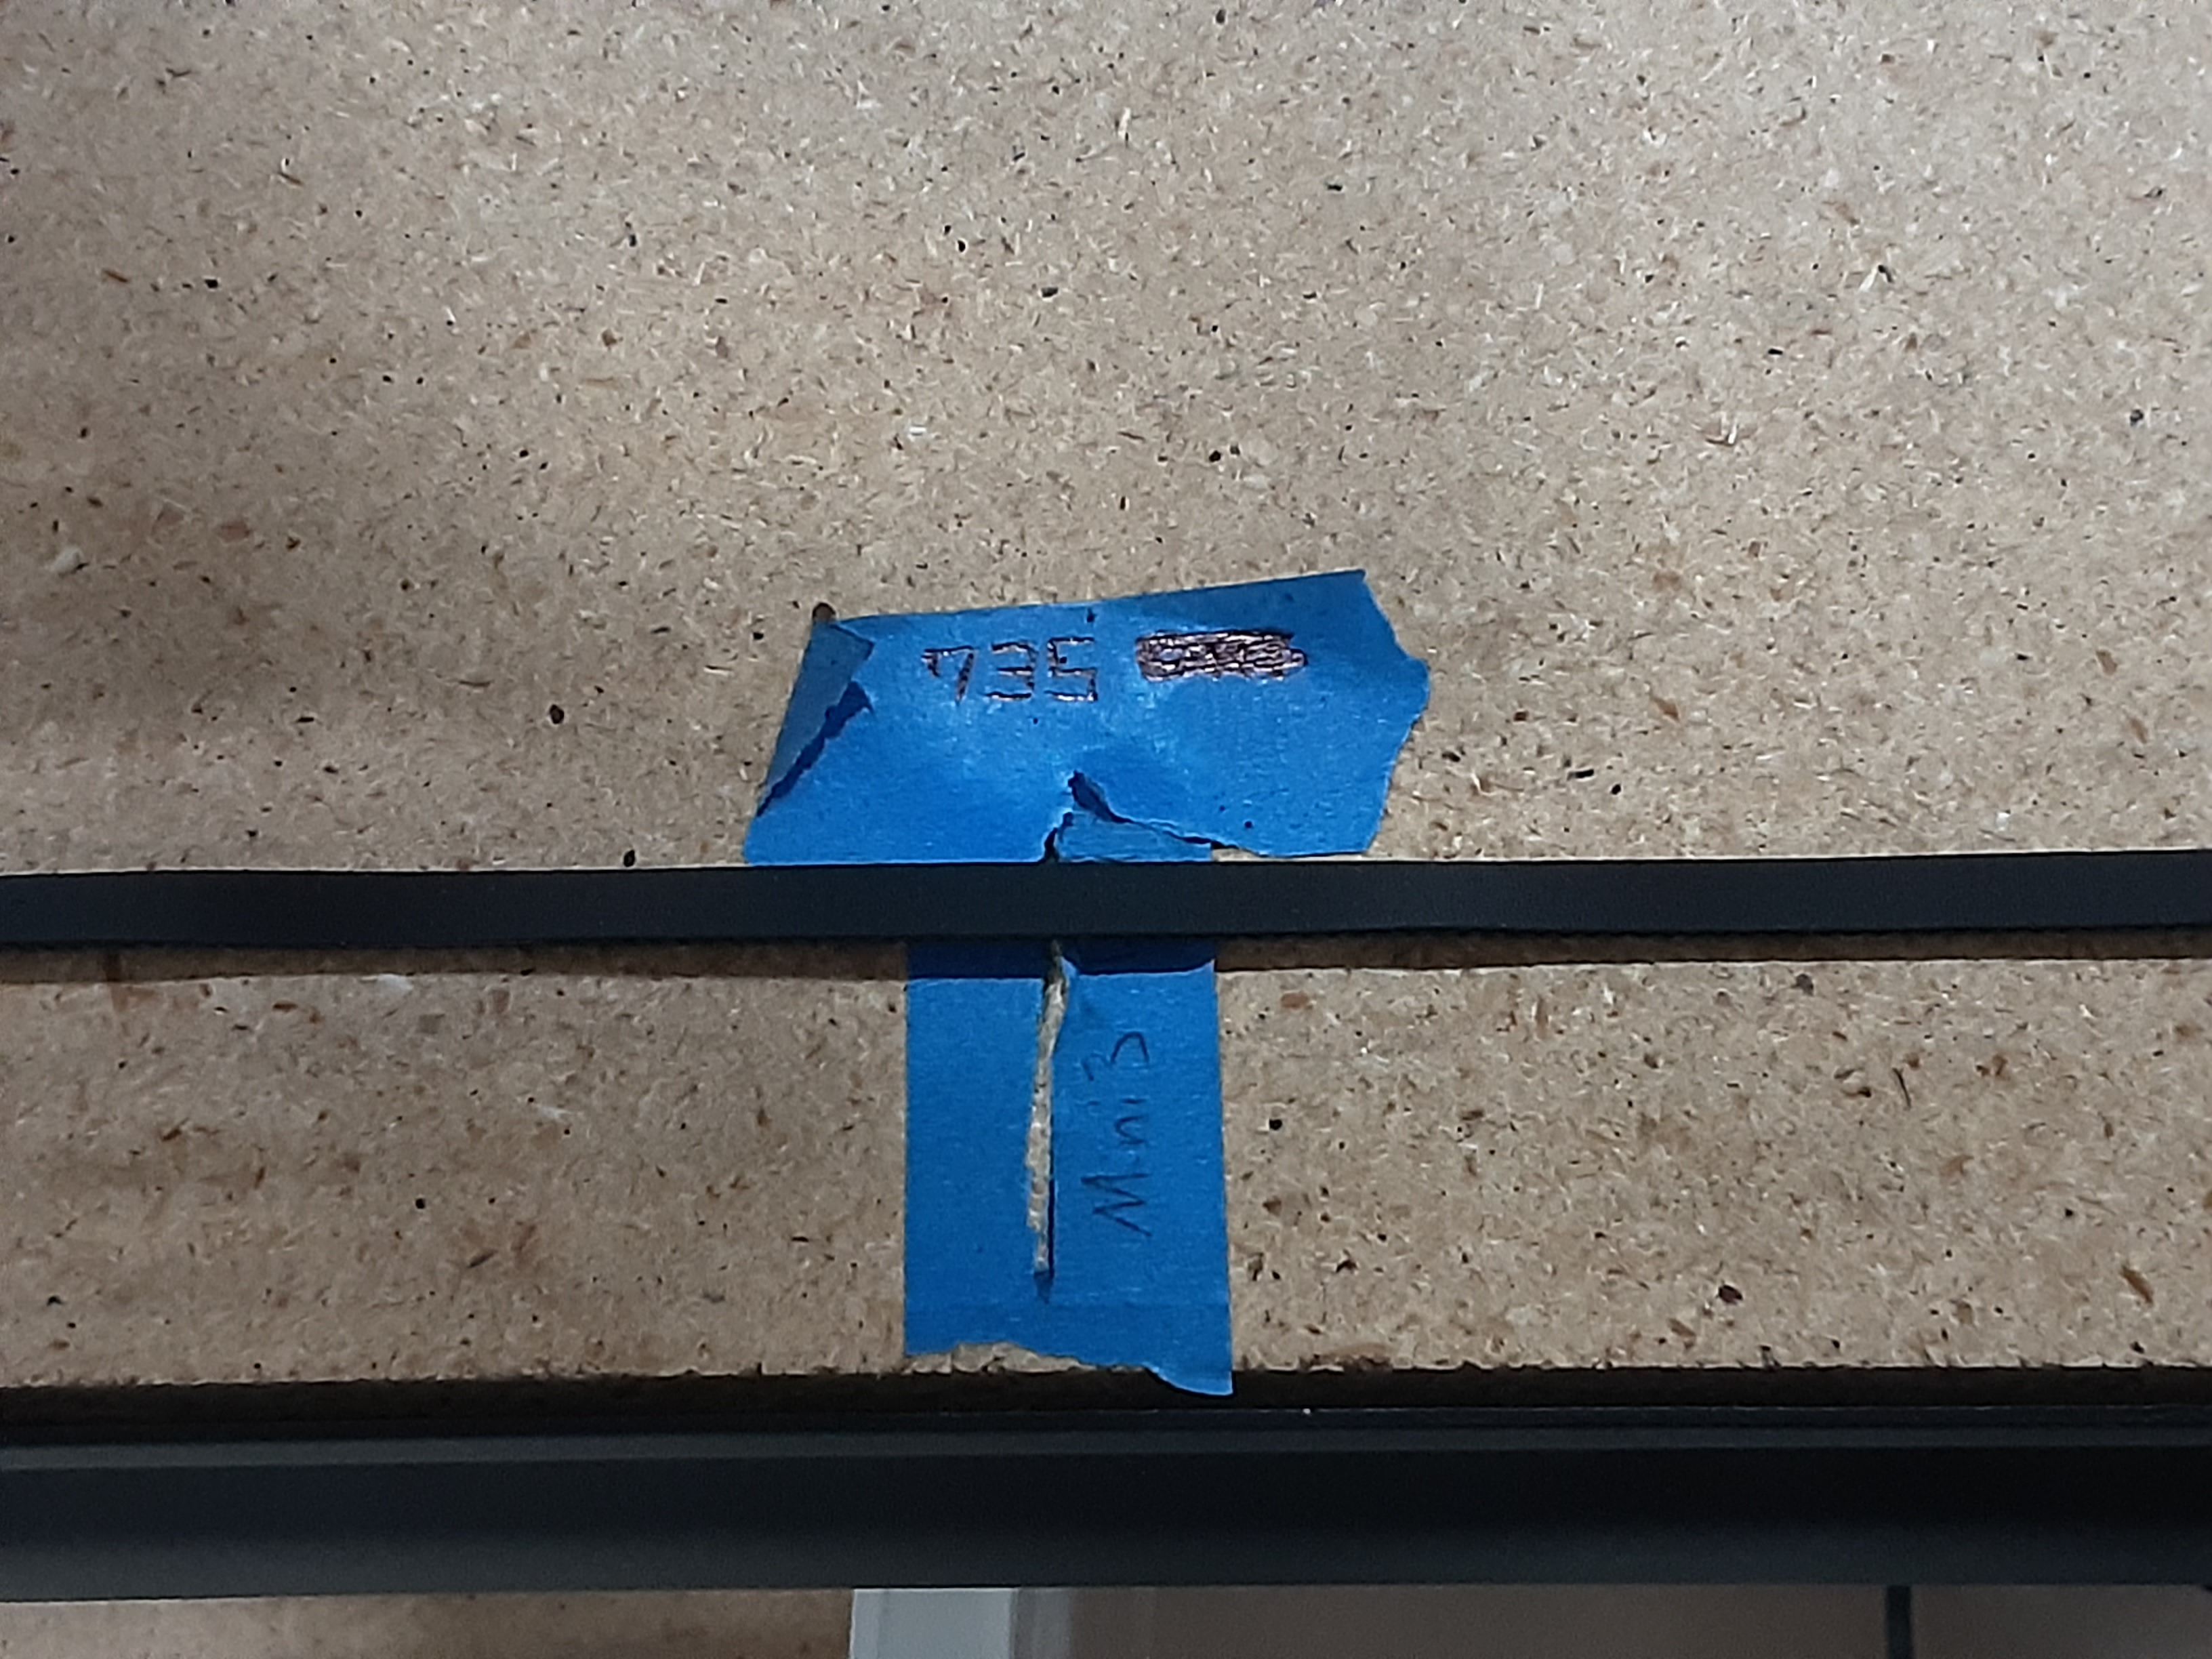
4B) Ensure that the belt does not have any twists and lays flat. Cut the belt at the “735” cut line.
4C) Grab HD-BL0037 x735mm, PP-MP0360 x1, HD-BU0035 x2, HD-BT0272 x1, PP-GP0806 x1,
PP-GP0807 x2, and HD-BT00157 x2.
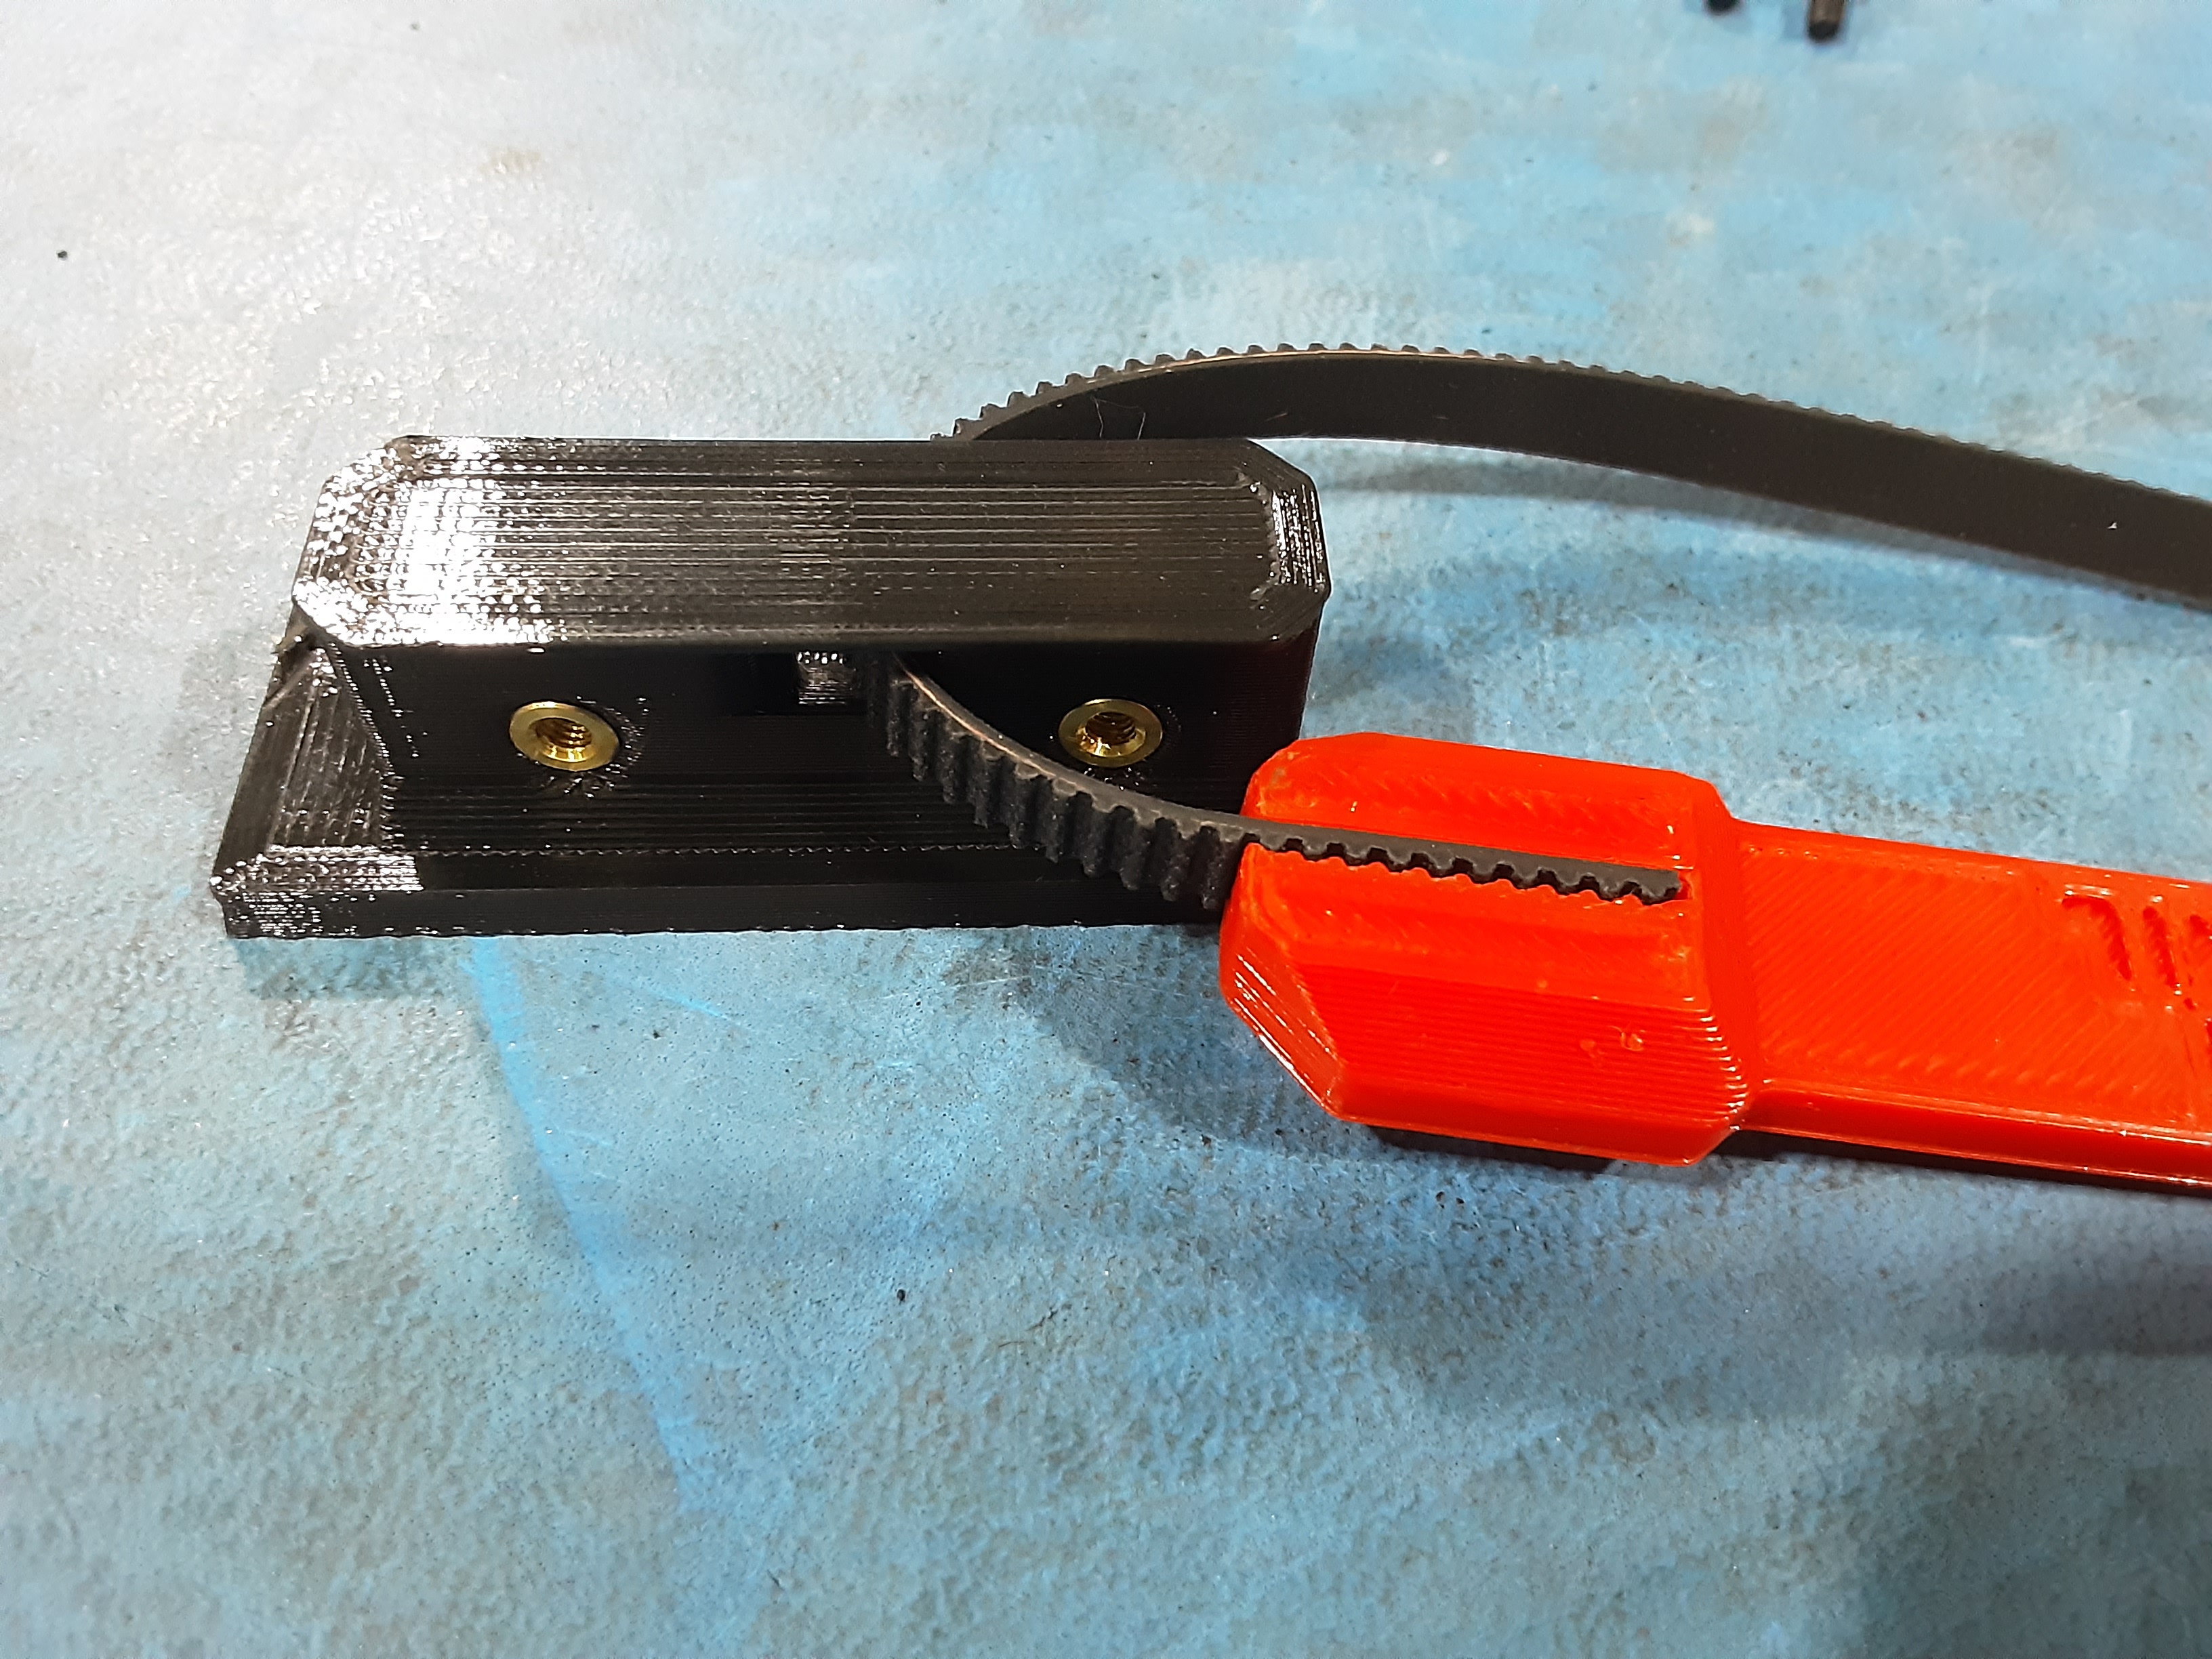
4D) Feed HD-BL0037 through PP-GP0806 and place it in belt jig.
4E) With the belt jig touching the side of PP-GP0806 secure HD-BL0037 using PP-GP0807 x1 and
HD-BT0157 x1.
4F) Position the smaller sides of HD-BU0035 x2 together and place them in PP-MP00360 and secure using HD-BT0272 x1.
4G) Feed HD-BL0037 between PP-MP0360 and HD-BU0035. Continue feeding through PP-GP0806 and secure using PP-GP0807 x1 and HD-BT0157 x1 leaving just a little bit of the belt sticking out past the end of PP-GP0807.
4H) Loop HD-BL0037 on HD-MS0625 and secure PP-MP0360 in PP-GP0802 using HD-BT0001 x1 and
HD-WA0040 x1. Ensure PP-GP0806 is on the correct side with the inserts facing up.


Belt Tension
5A) Loosen HD-BT0001 to have just about one thread still in PP-MP0360. Loosen HD-BT0157 in
PP-GP0806 on the longer belt side.
5B) Using a pliers pull the longer belt side tighter.
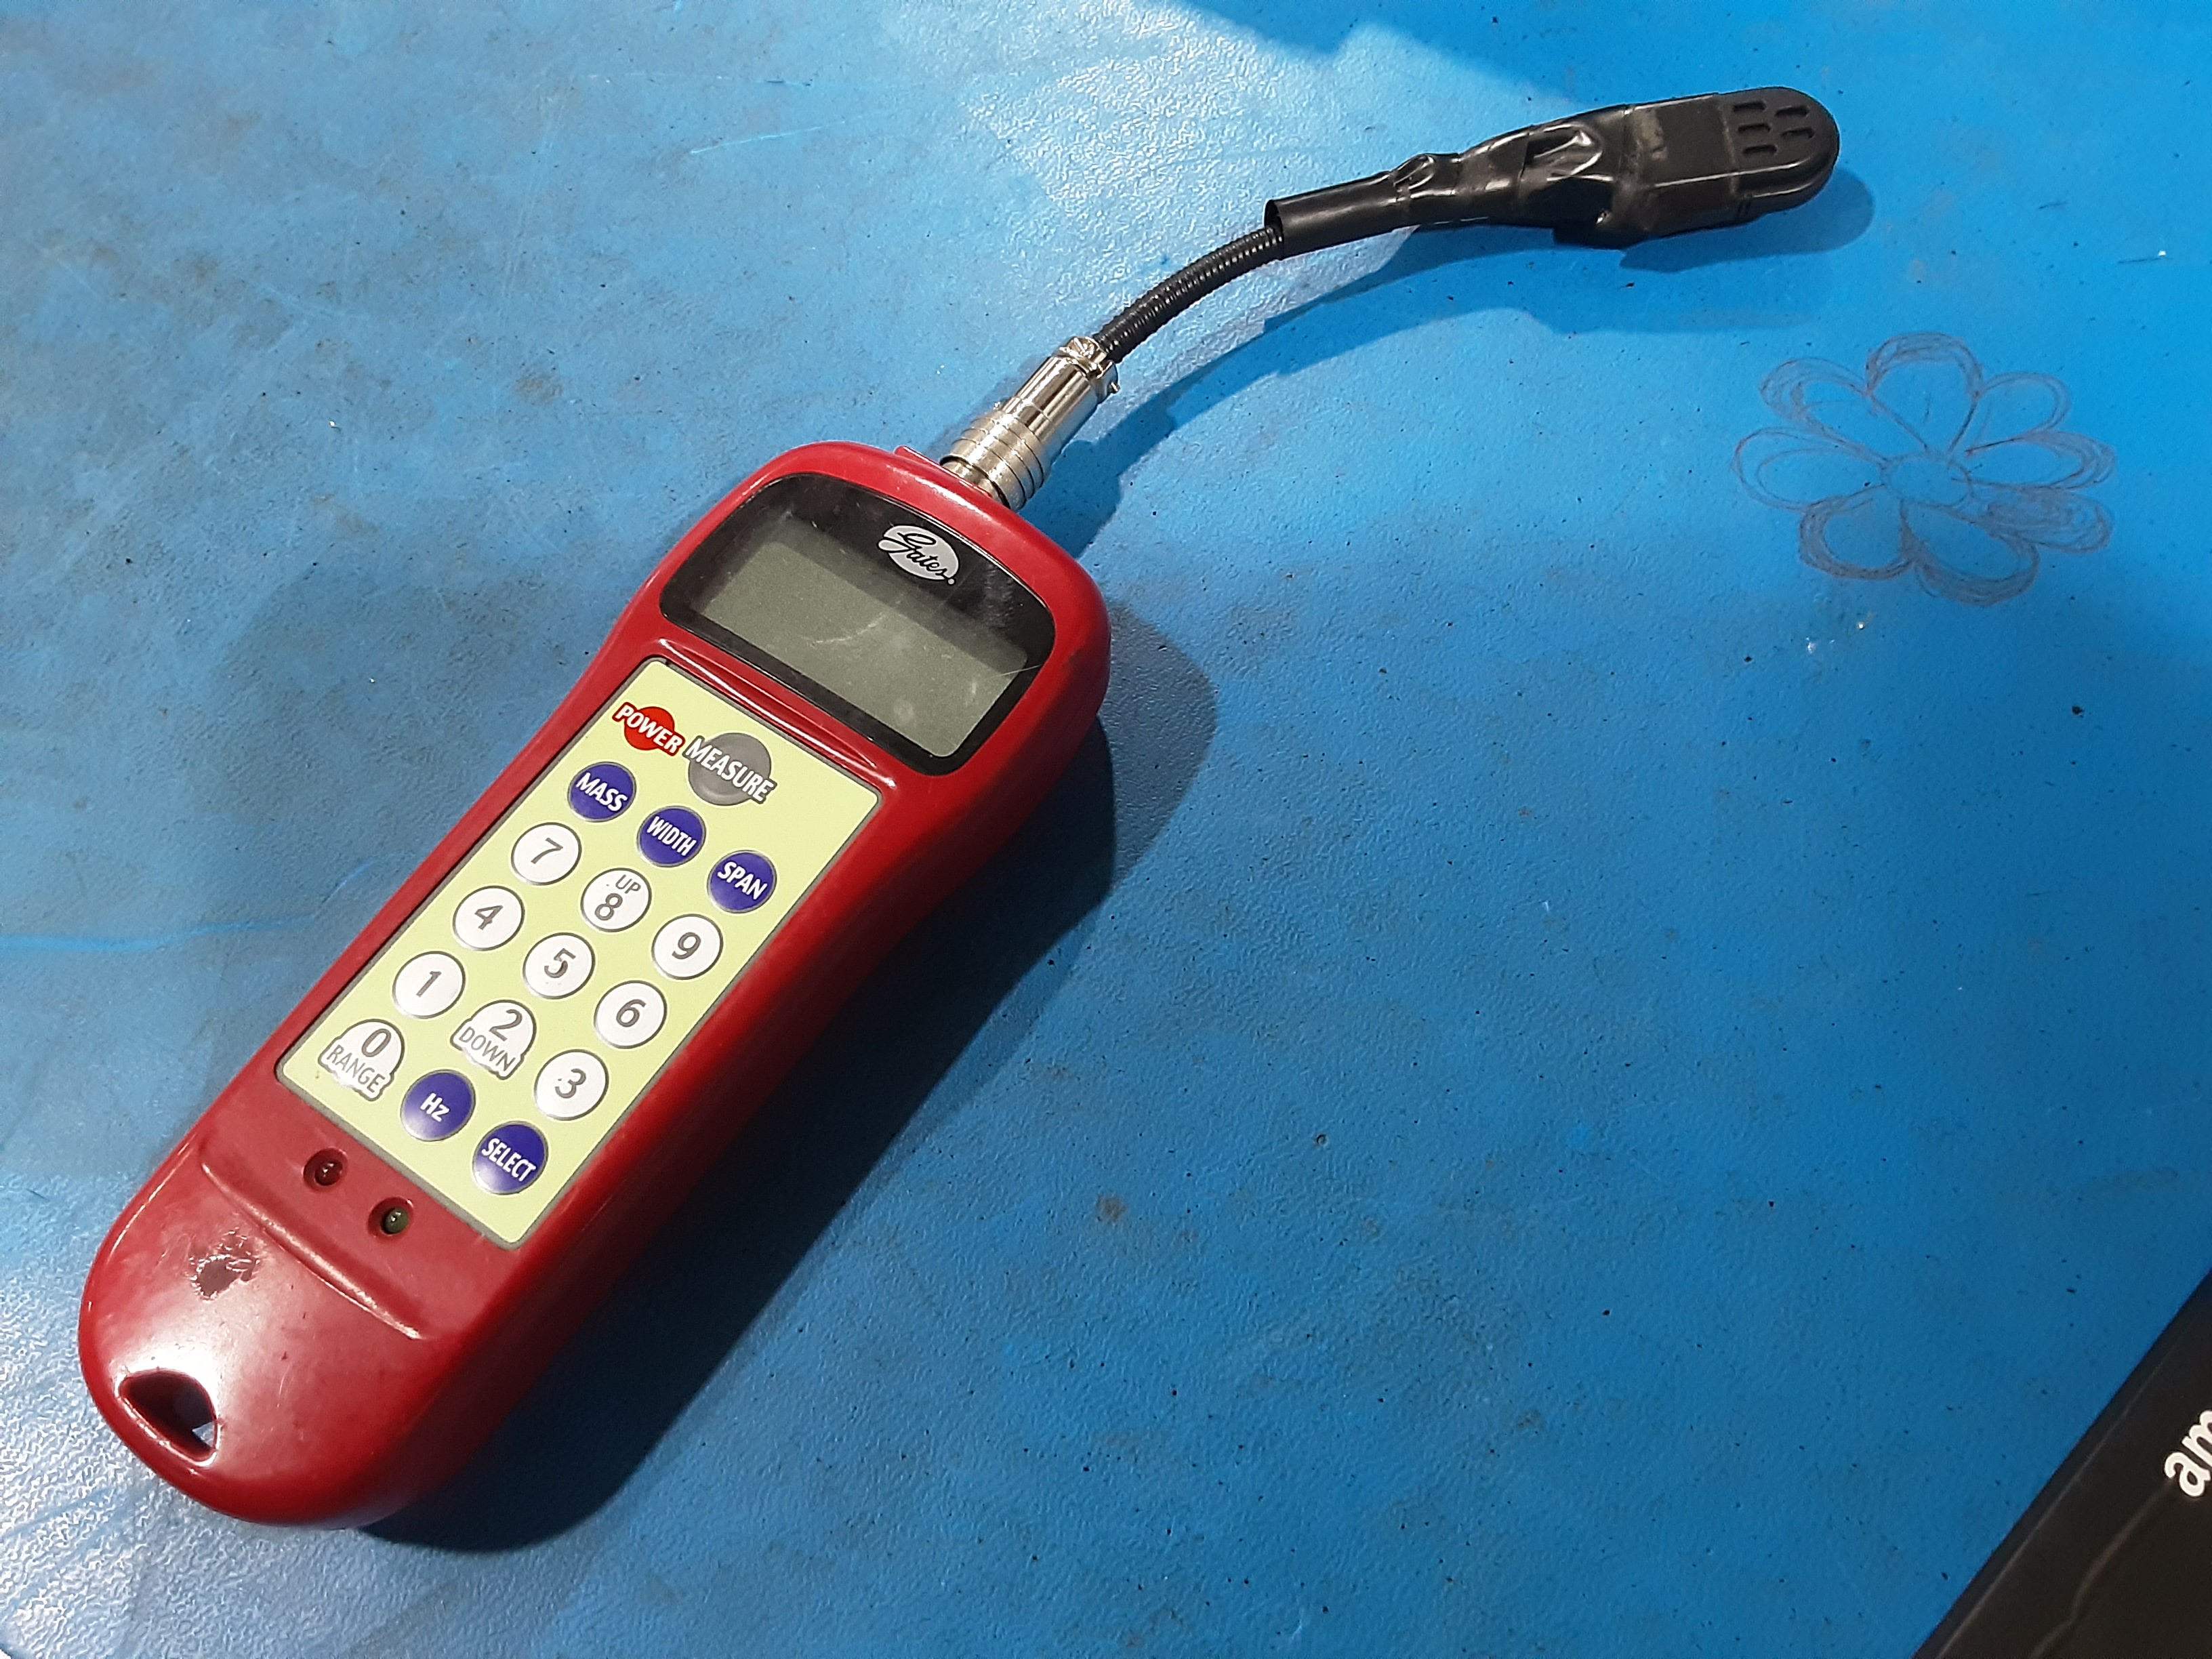
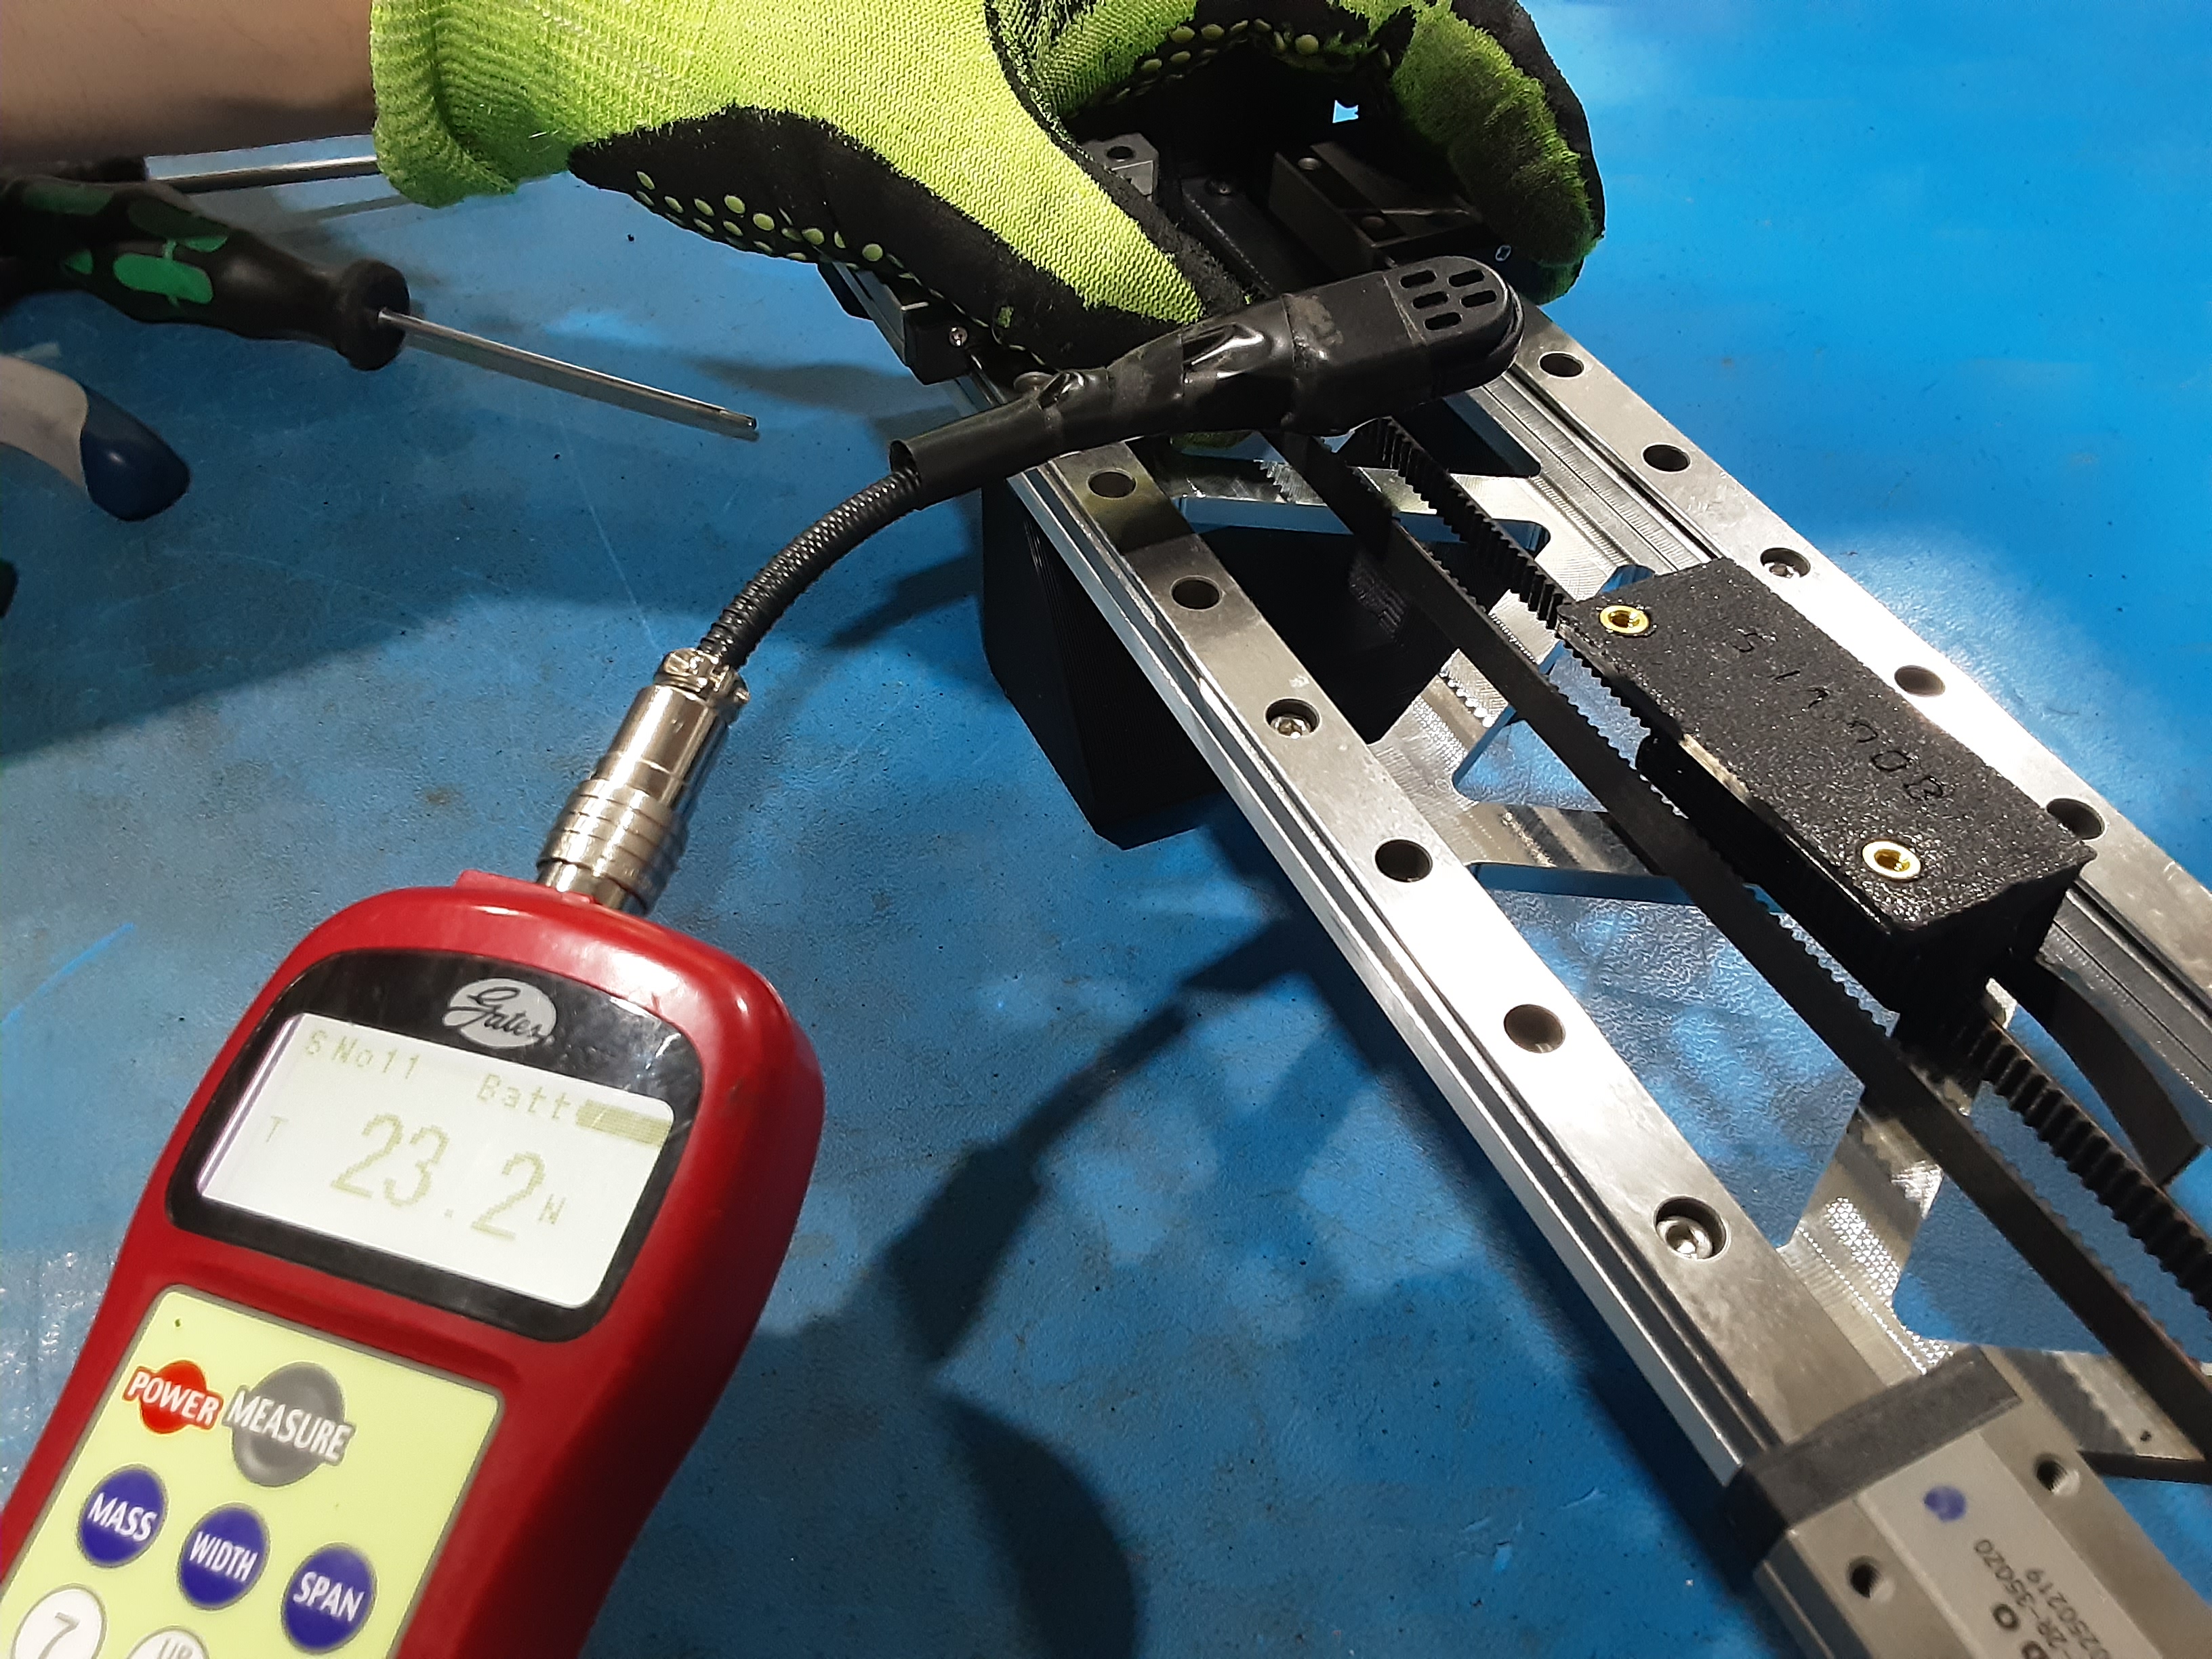
5C) Grab Sonic Tension Meter.
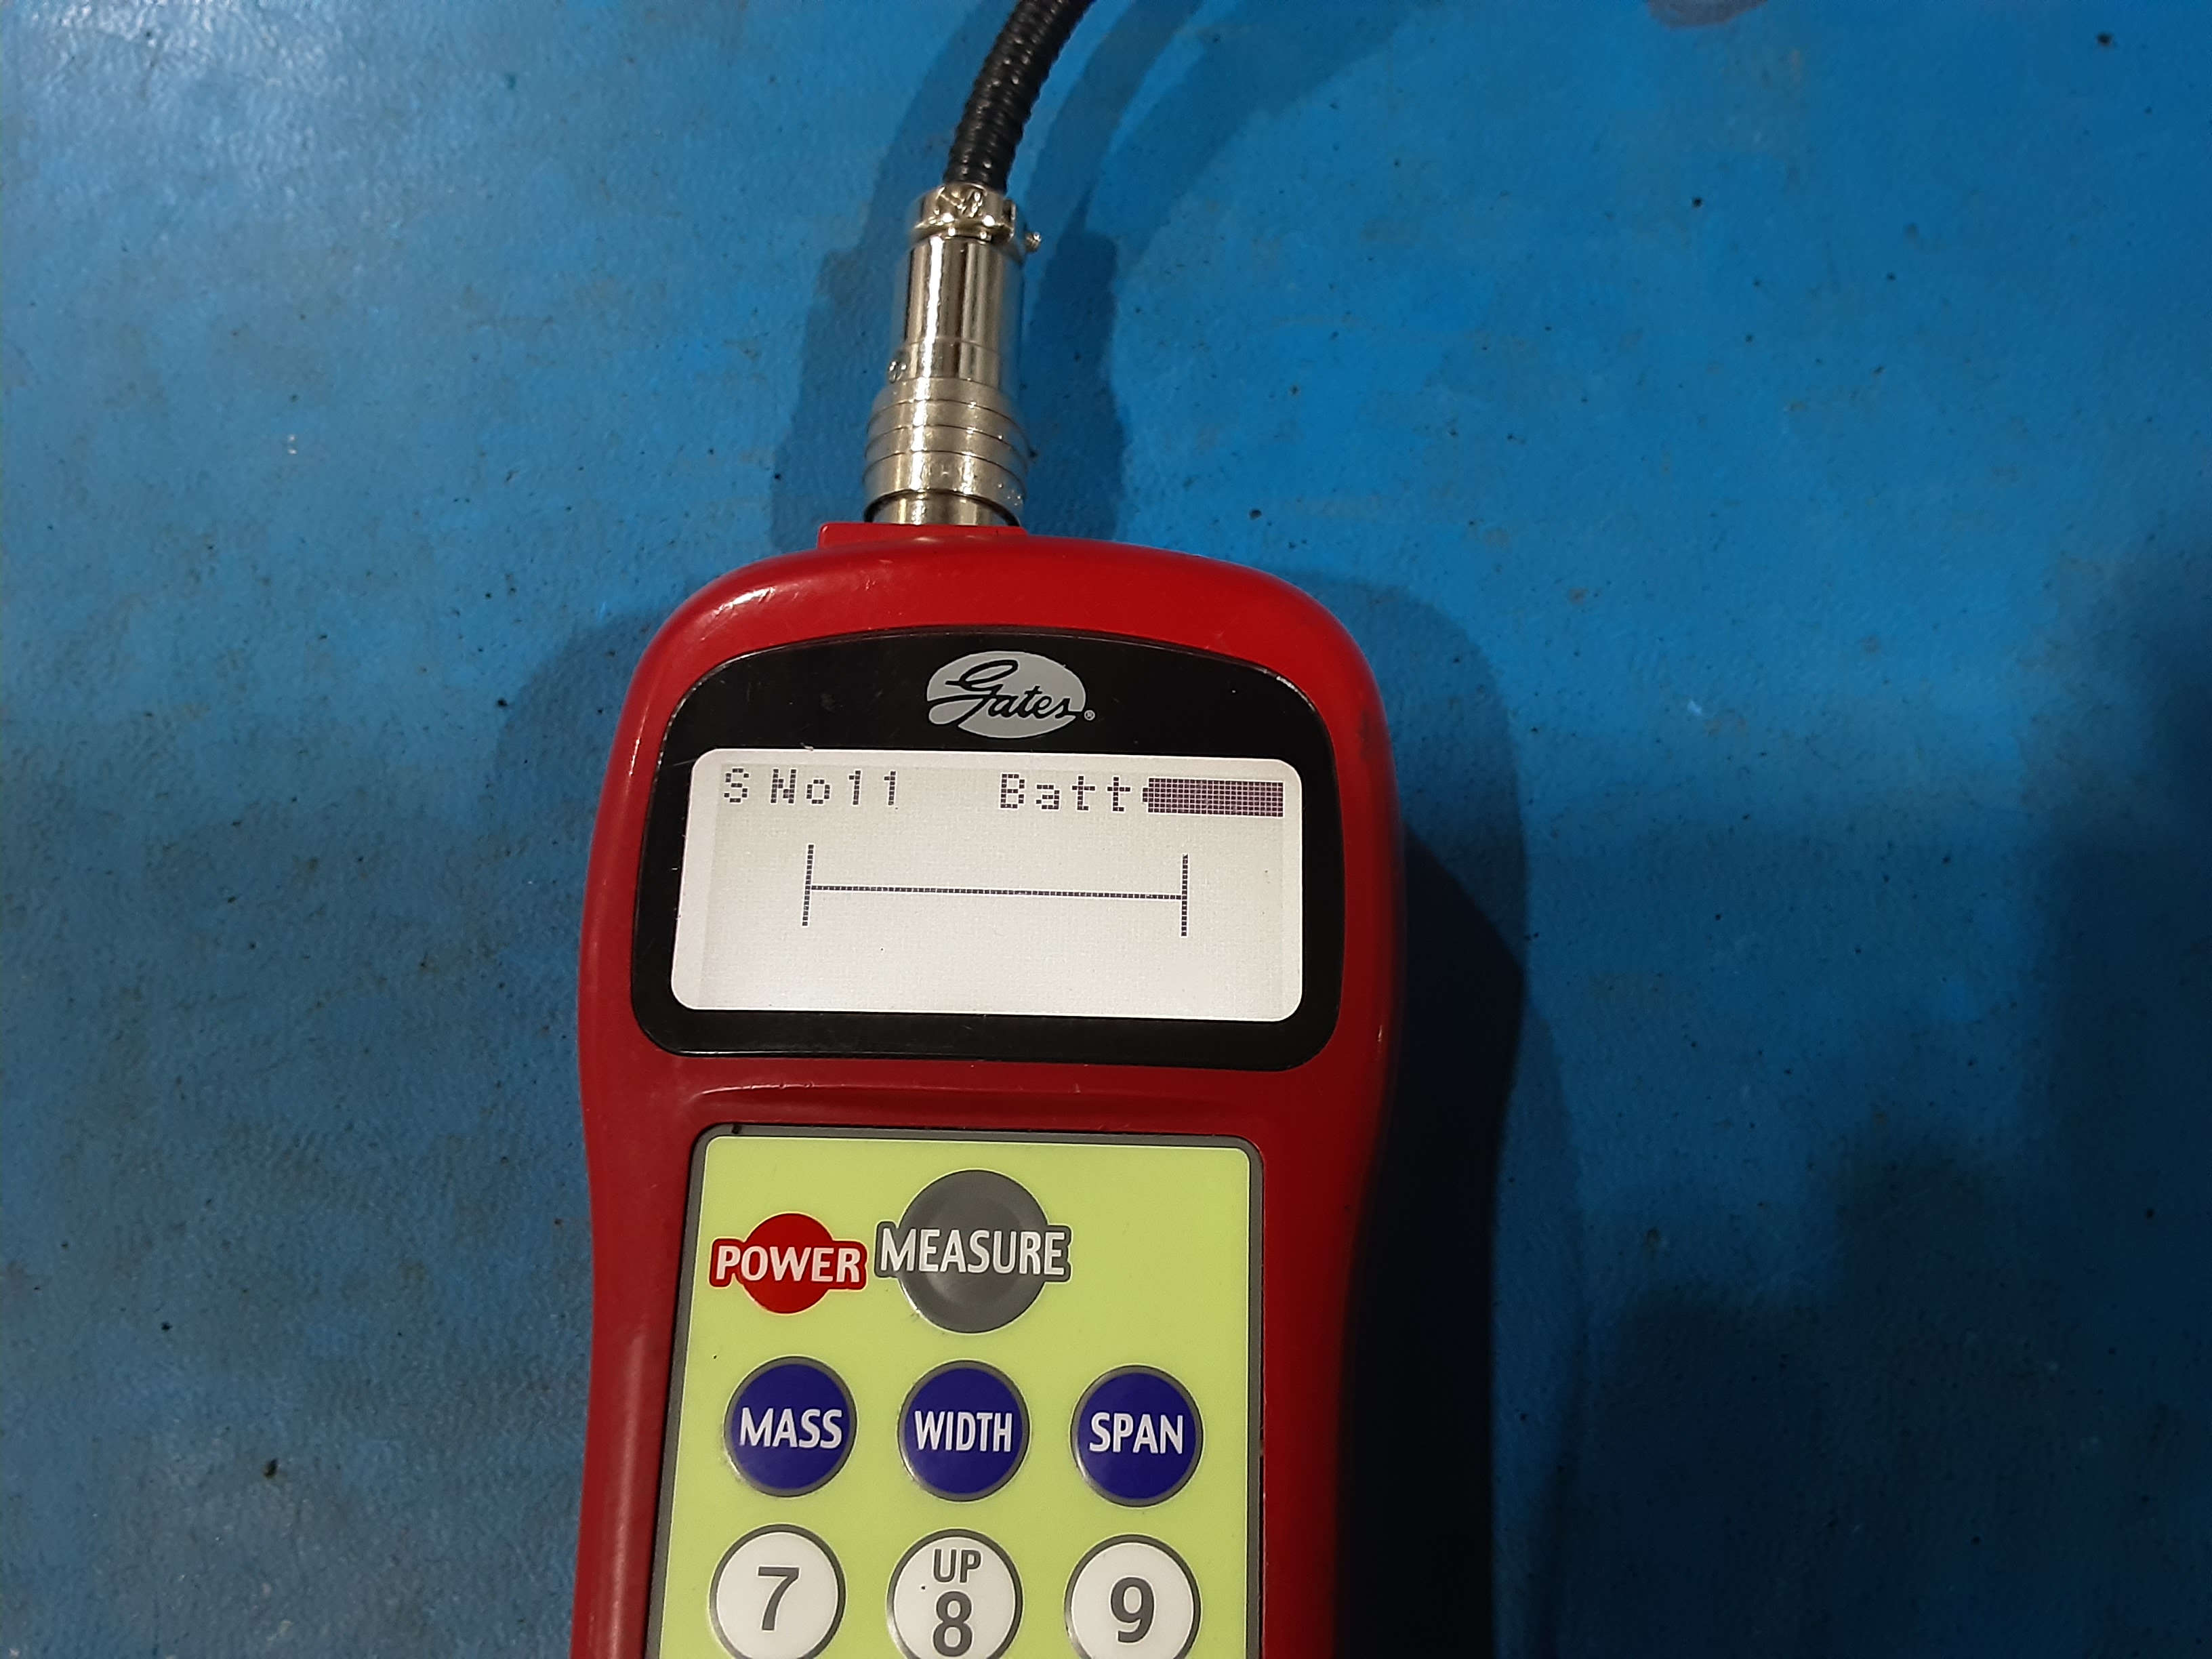
5D) Hit “Power” then “Measure”. Make sure it says “S No11” in the top left corner.
5E) While holding the microphone over the belt, flick the belt to get a measurement on the meter. Sonic Tension Meter should read between 20-25.
5F) If the measurement is correct can tighten the HD-BT0157 in PP-GP0806. If the measurement is incorrect, will need to pull the belt tighter or looser to get a good measurement.
5G) Slowly tighten HD-BT0001 and keep measuring the belt now until the meter reads between 29-35.
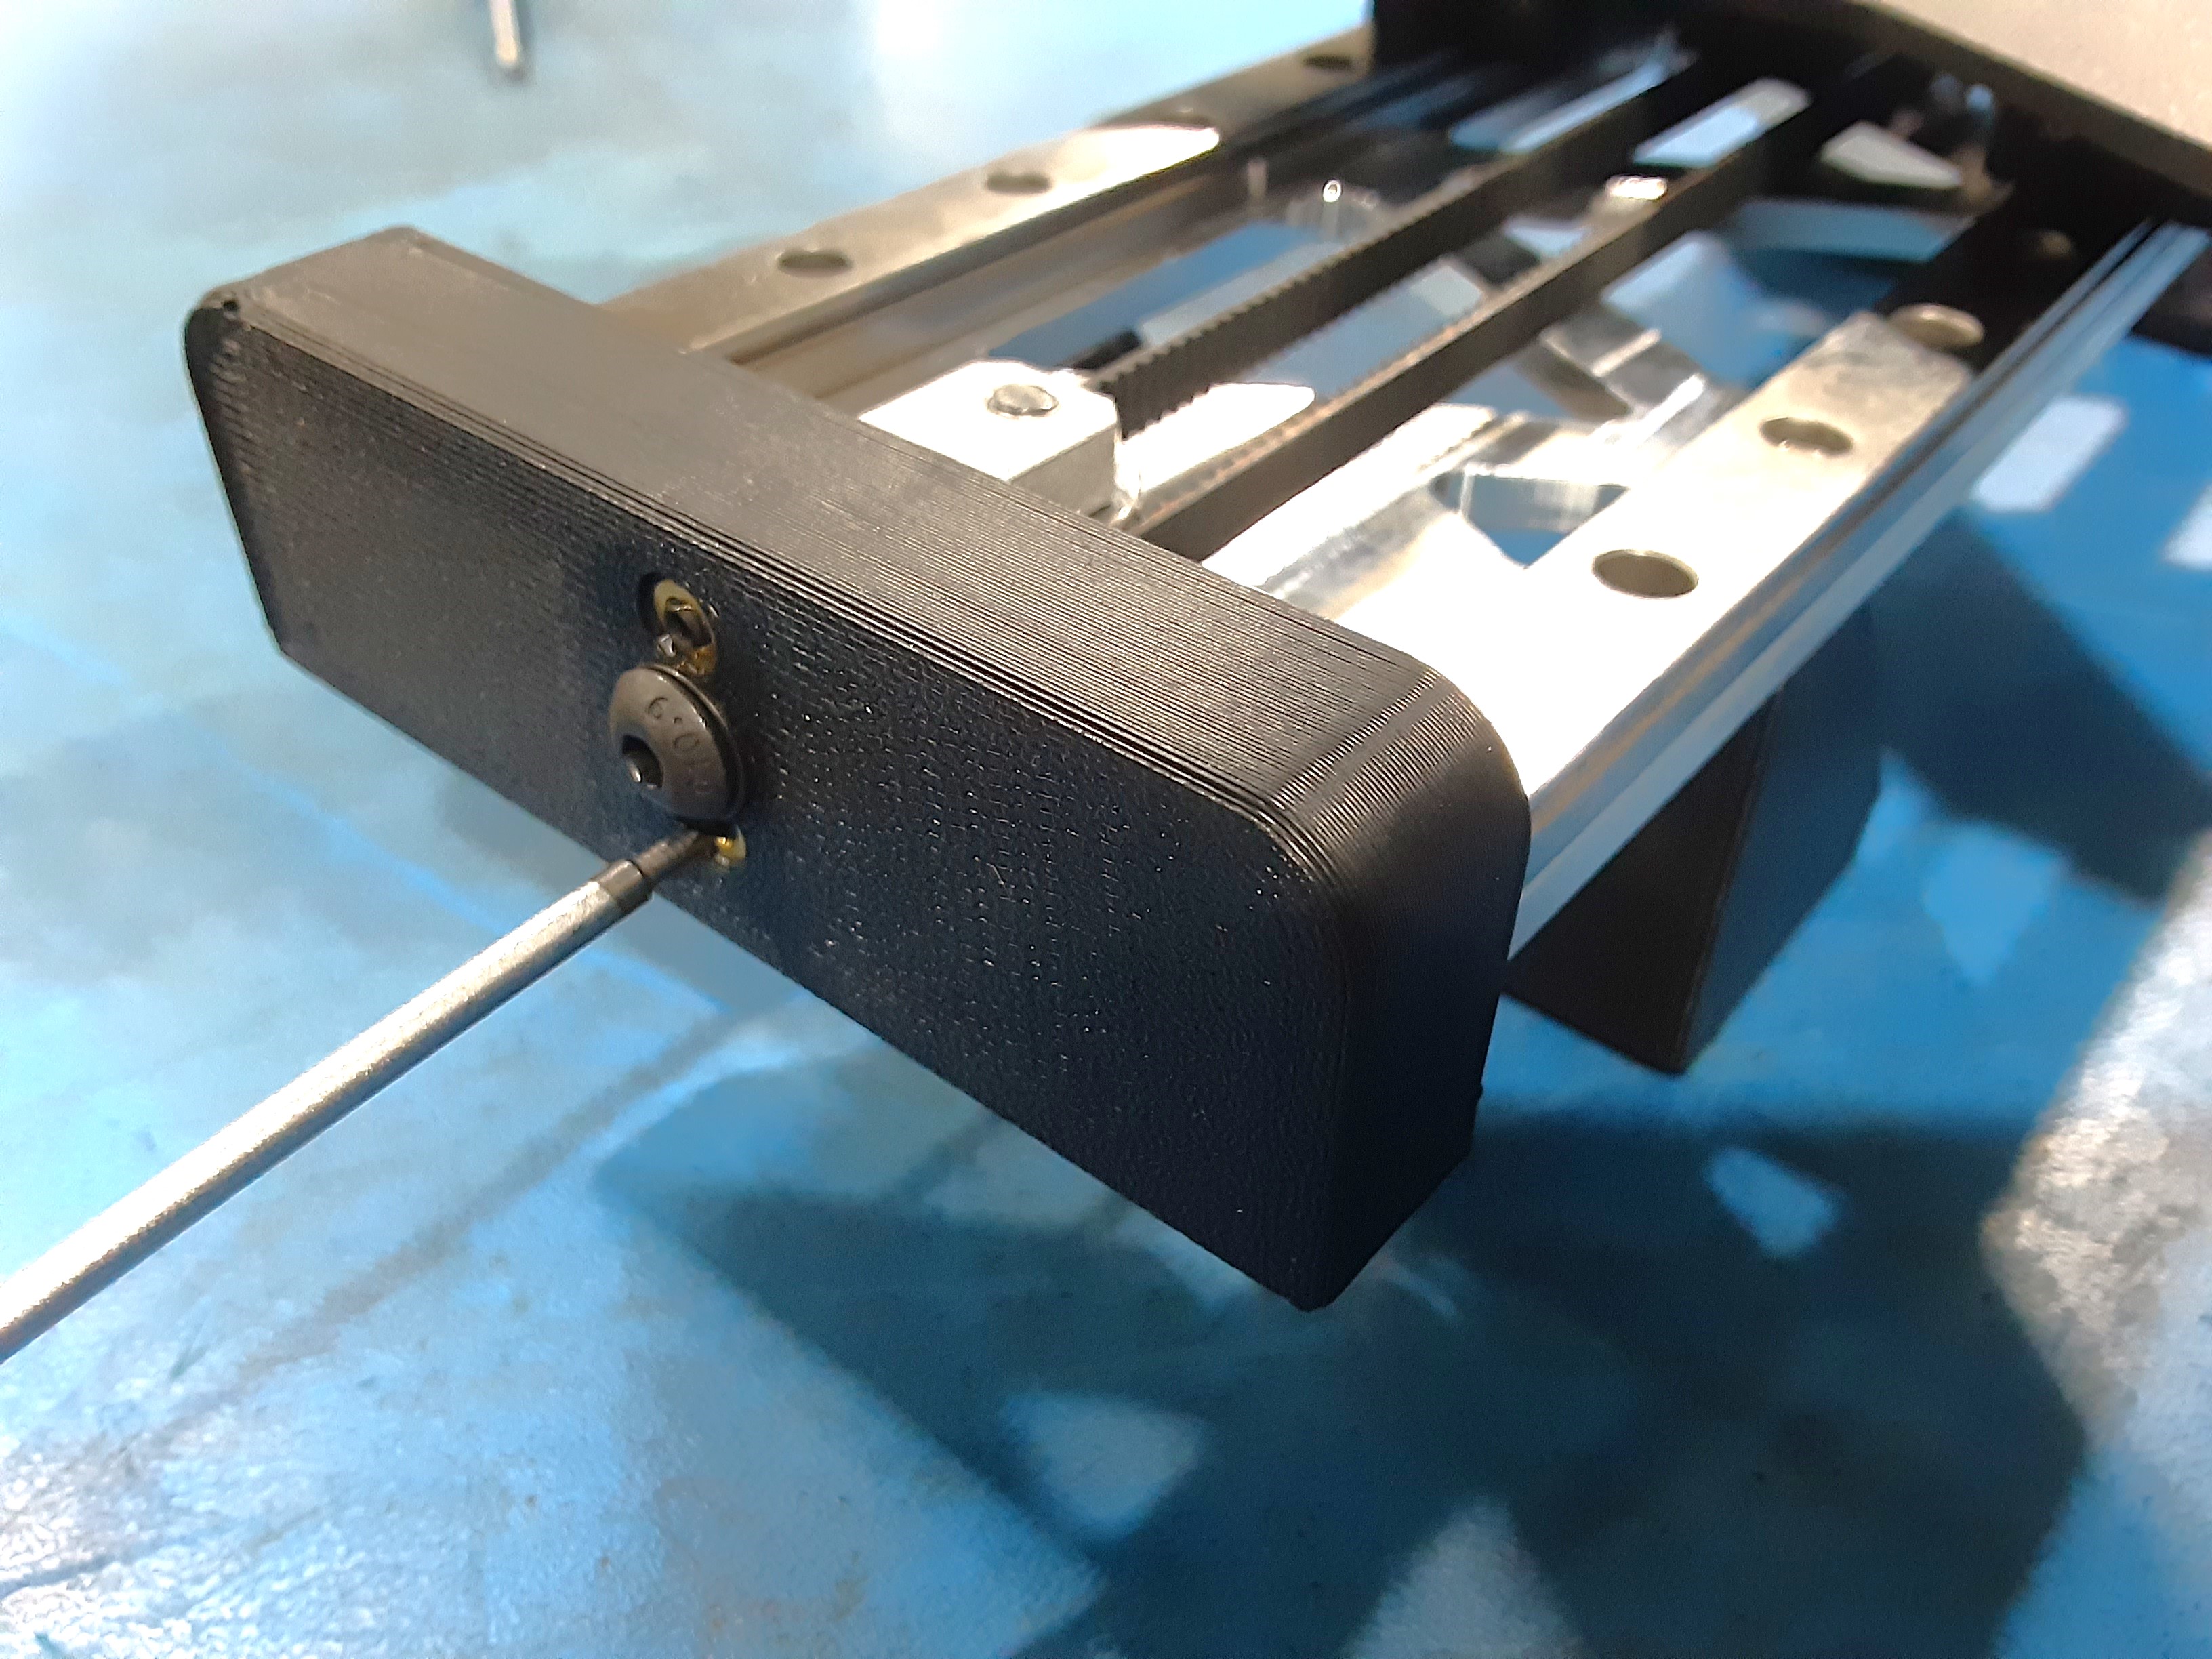
5H) Install HD-BT0012 x2 in PP-GP0802 until there is just one thread sticking out of the inserts.

Final Steps
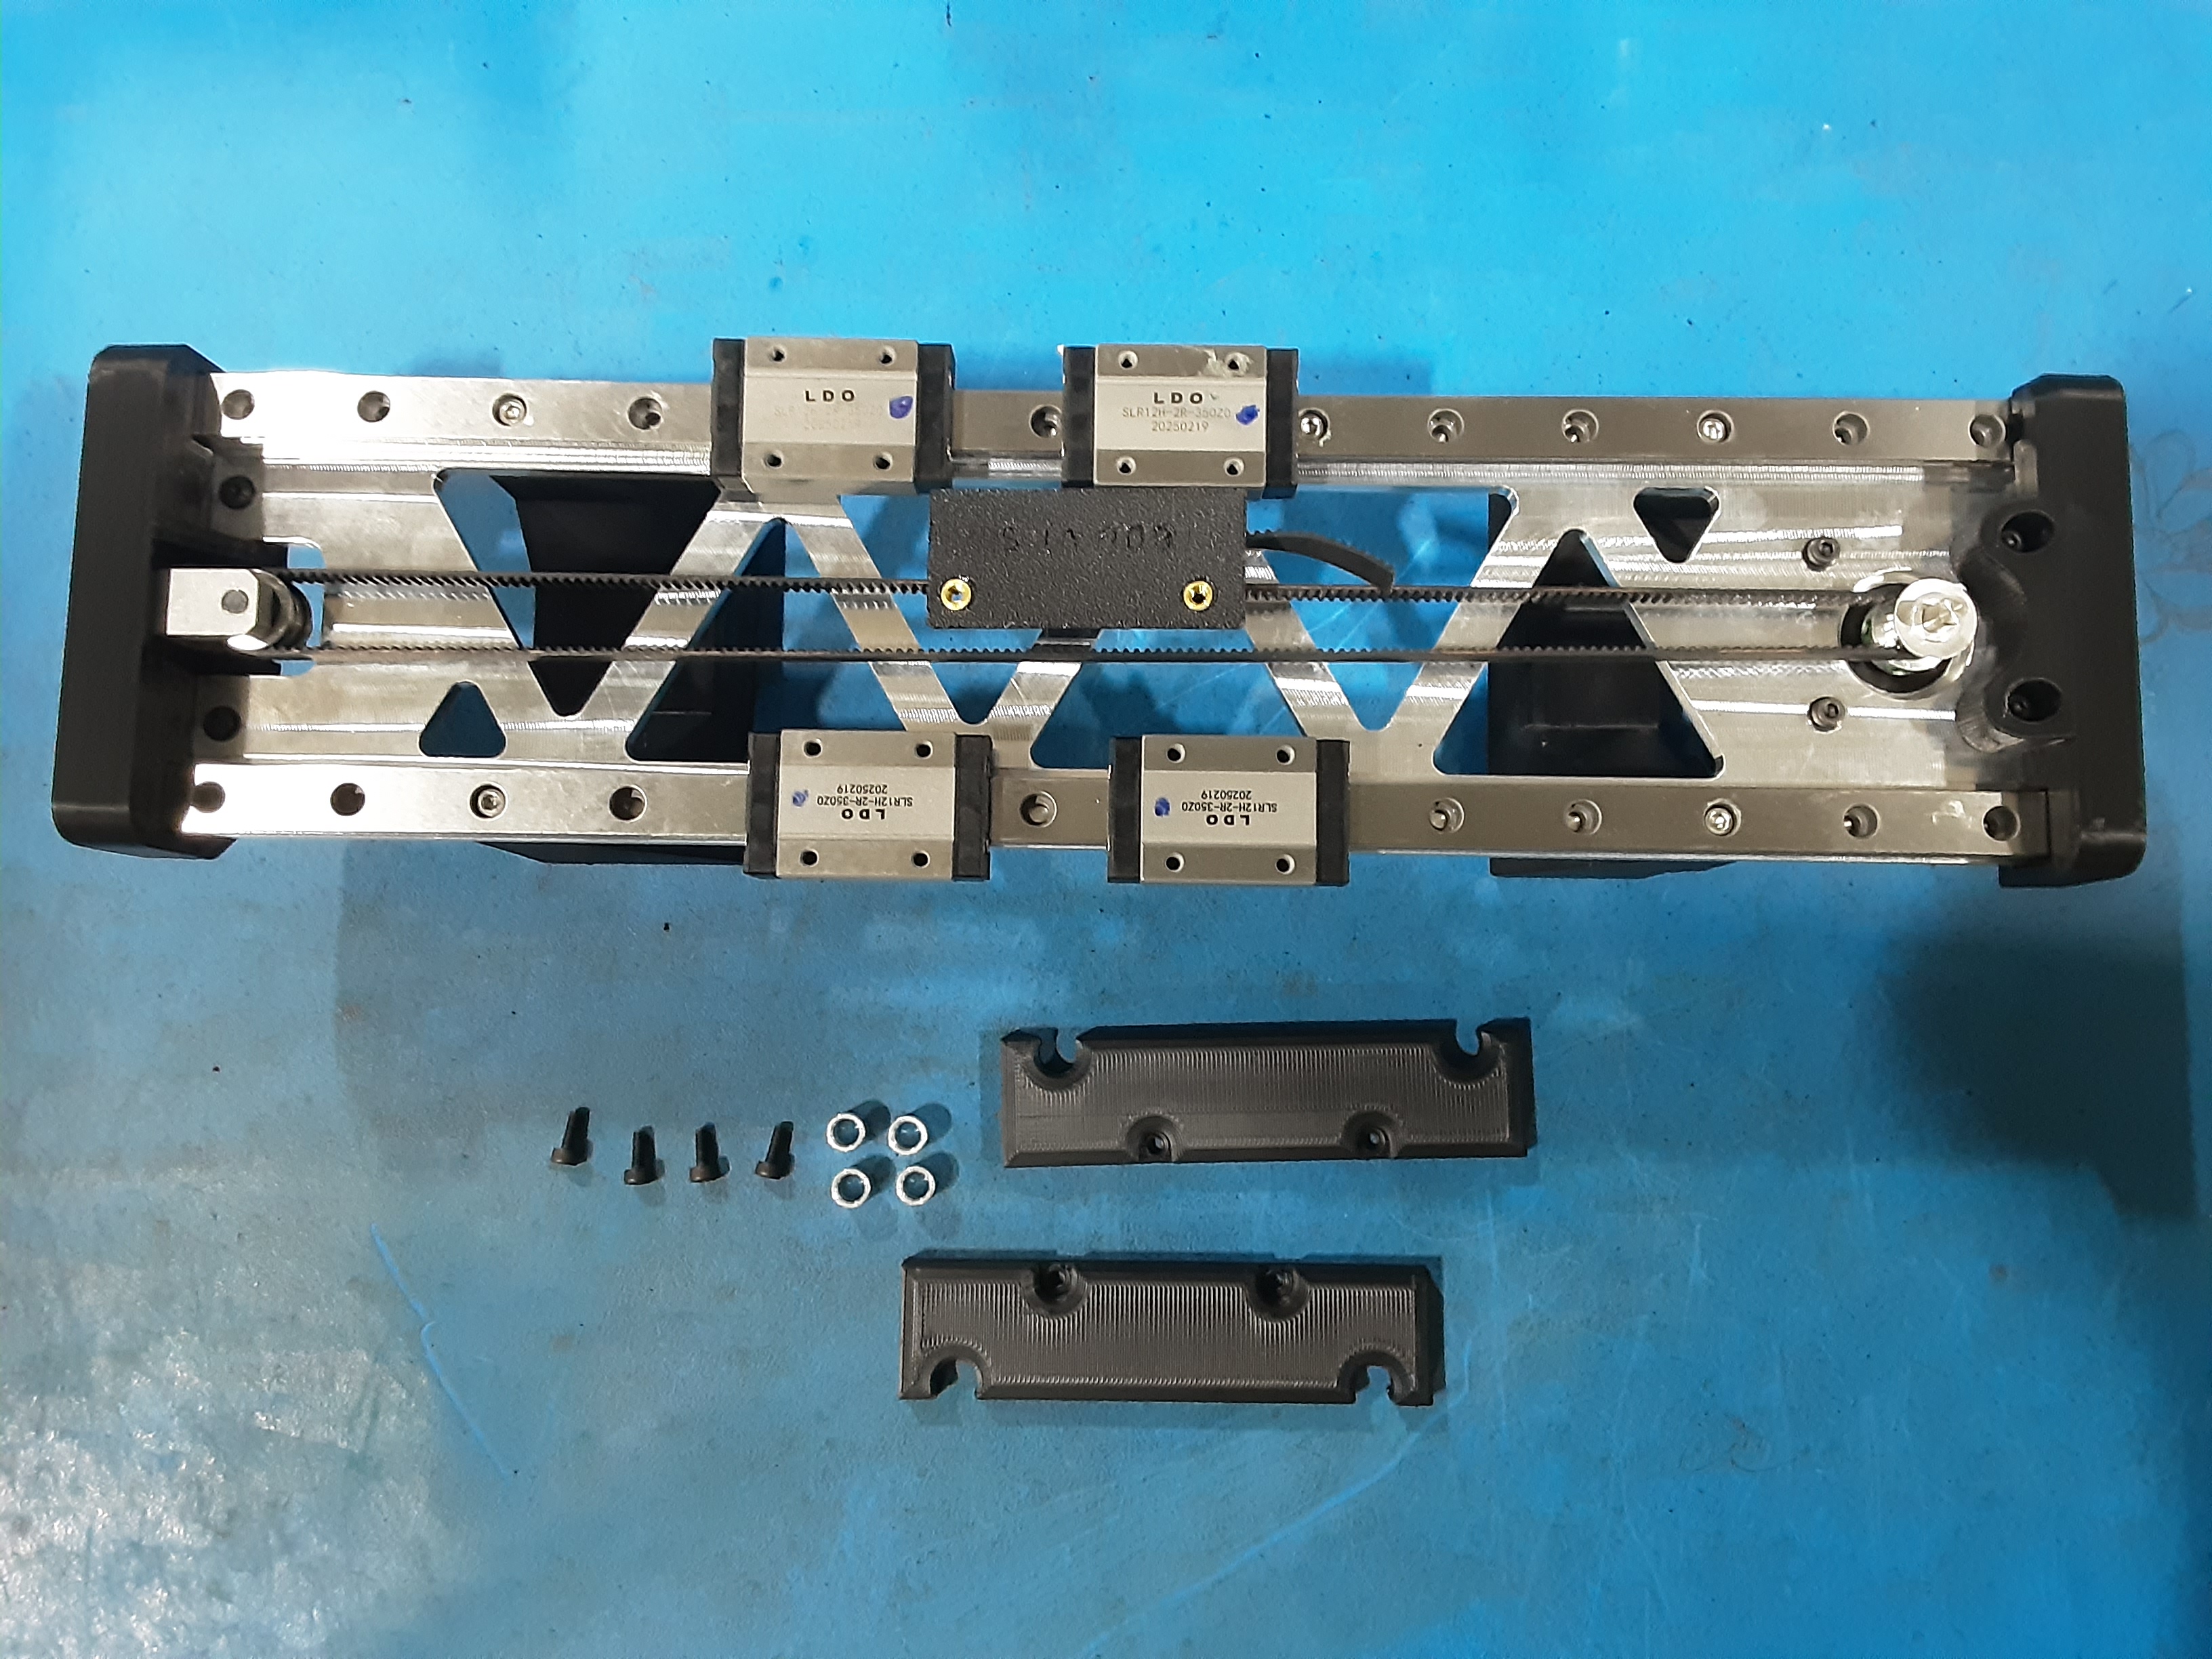
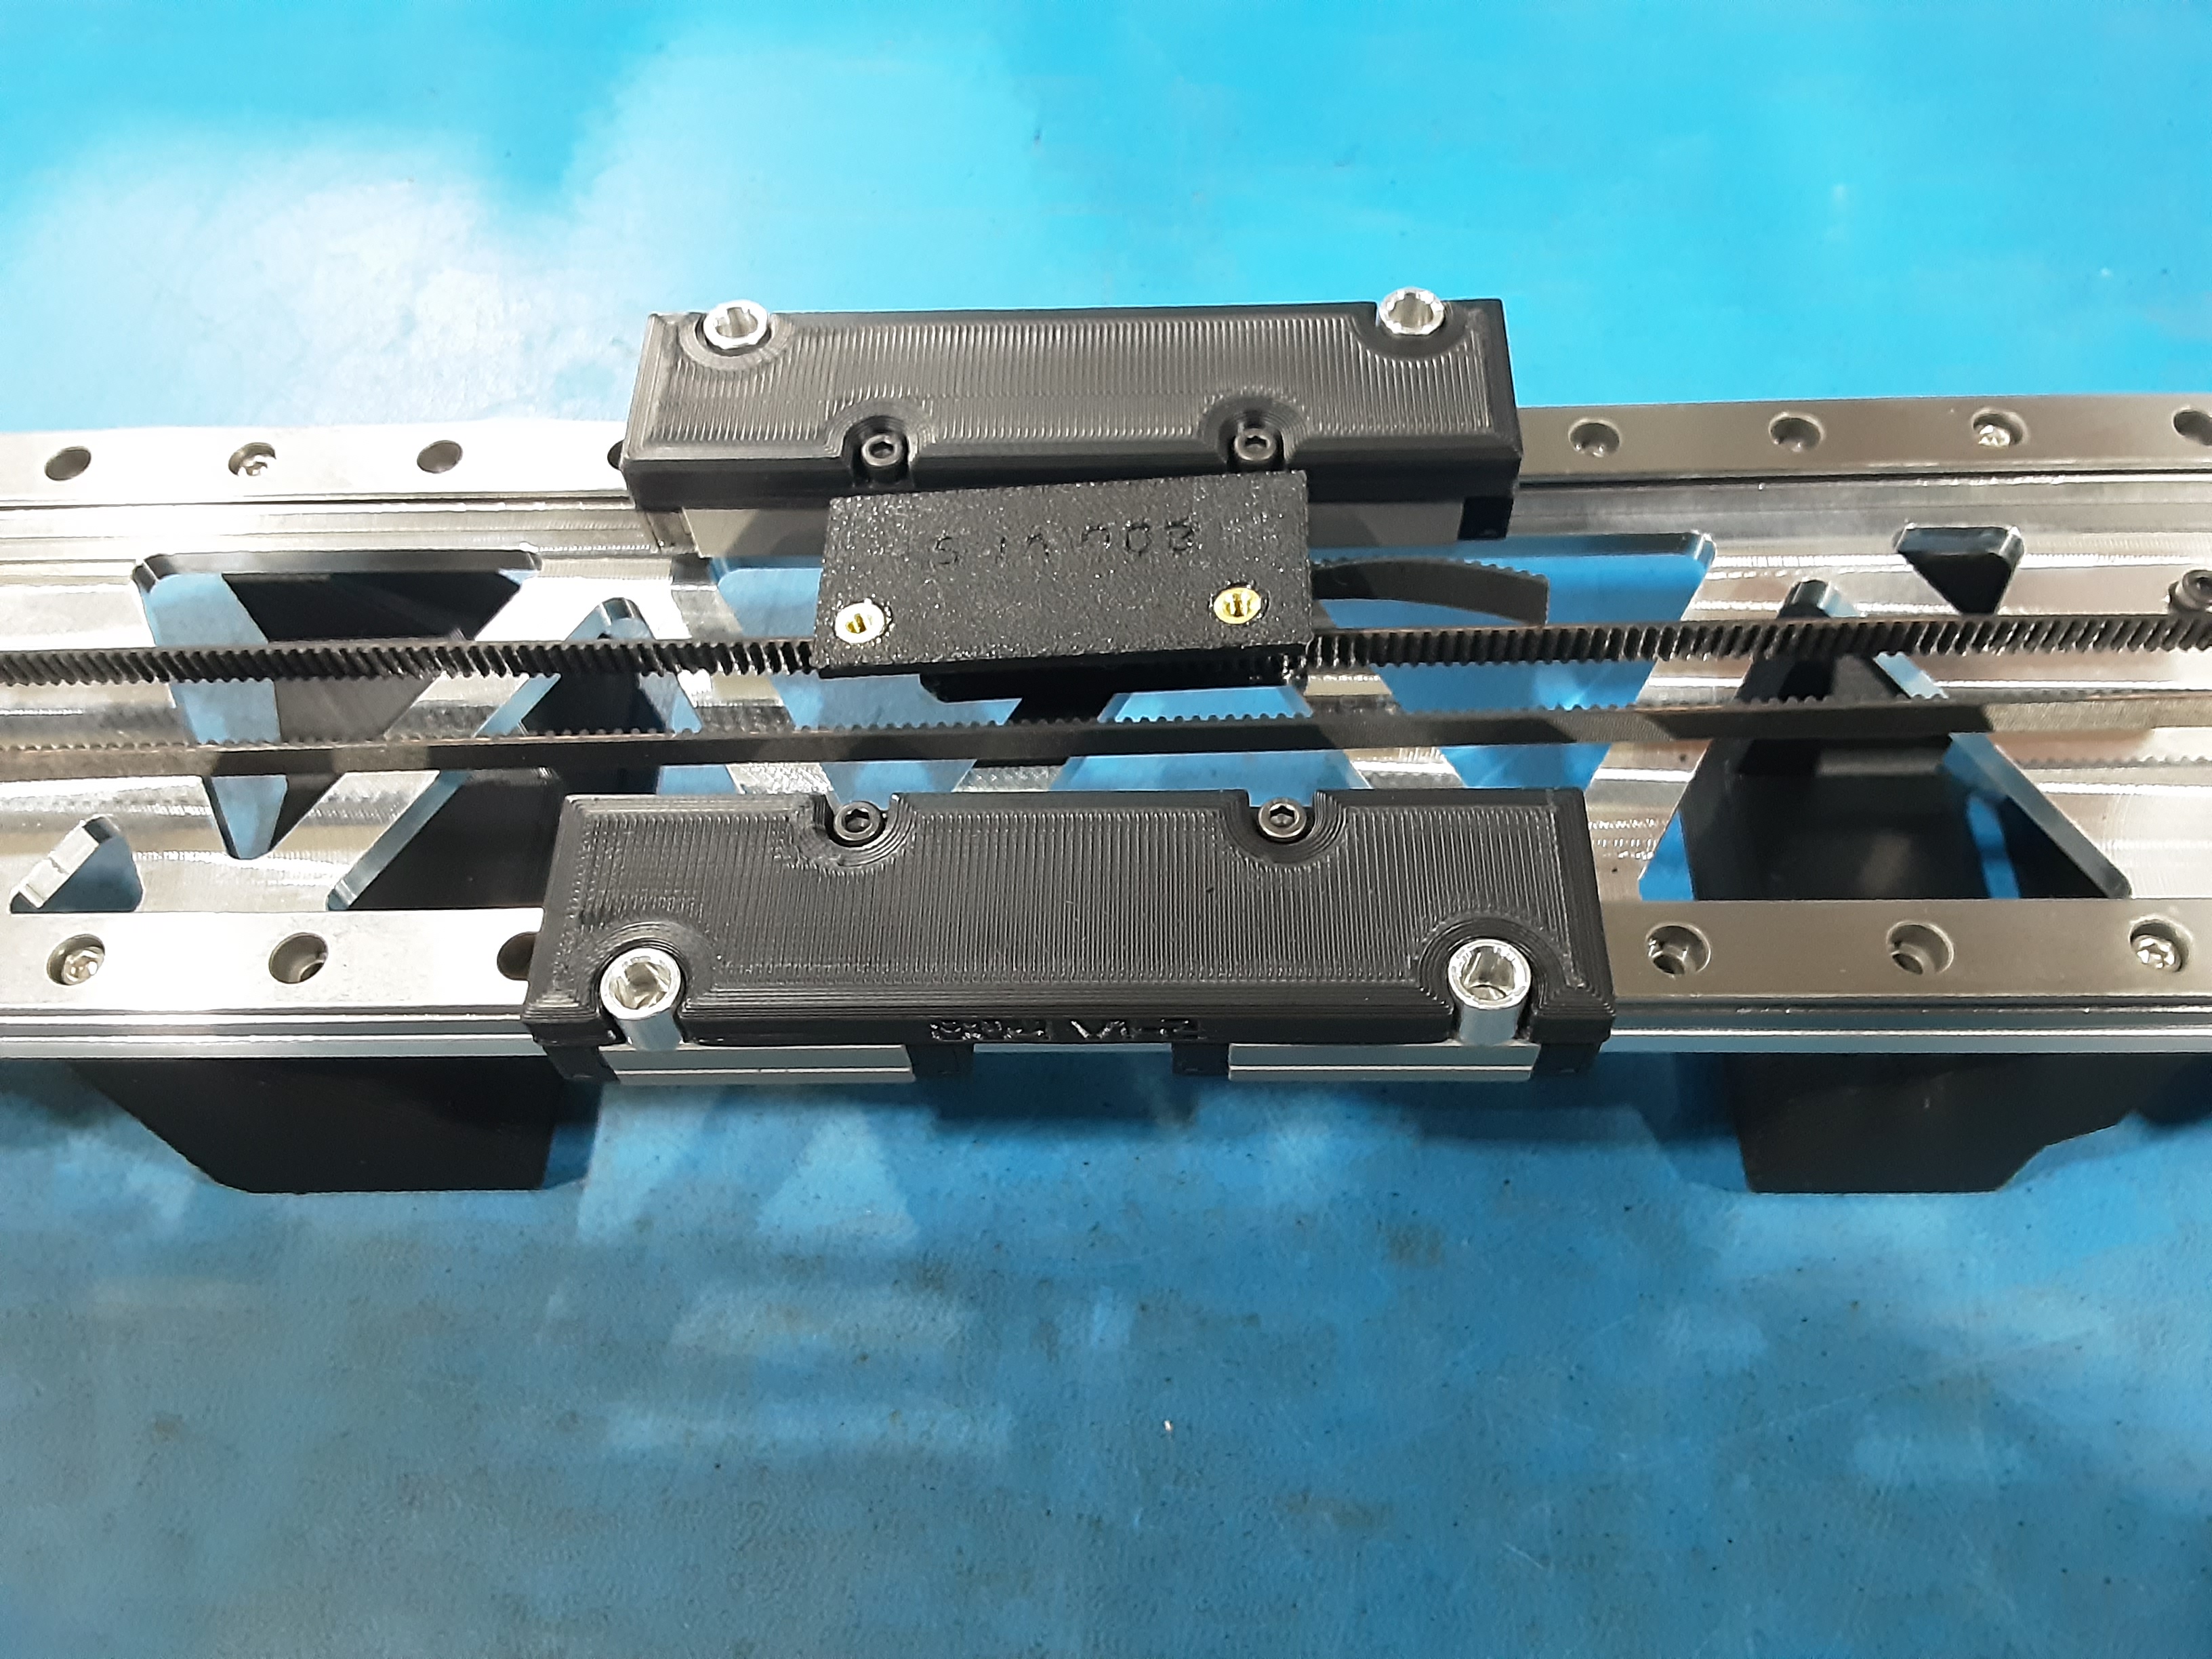
6A) Grab PP-GP0804 x2, HD-MS0062 x4, and HD-BT0157 x4.
6B) Line up PP-GP0804 x2 on the HD-RD0050 trucks and secure them using HD-BT0157 x4.
6C) Place HD-MS0062 x4 in PP-GP0804.
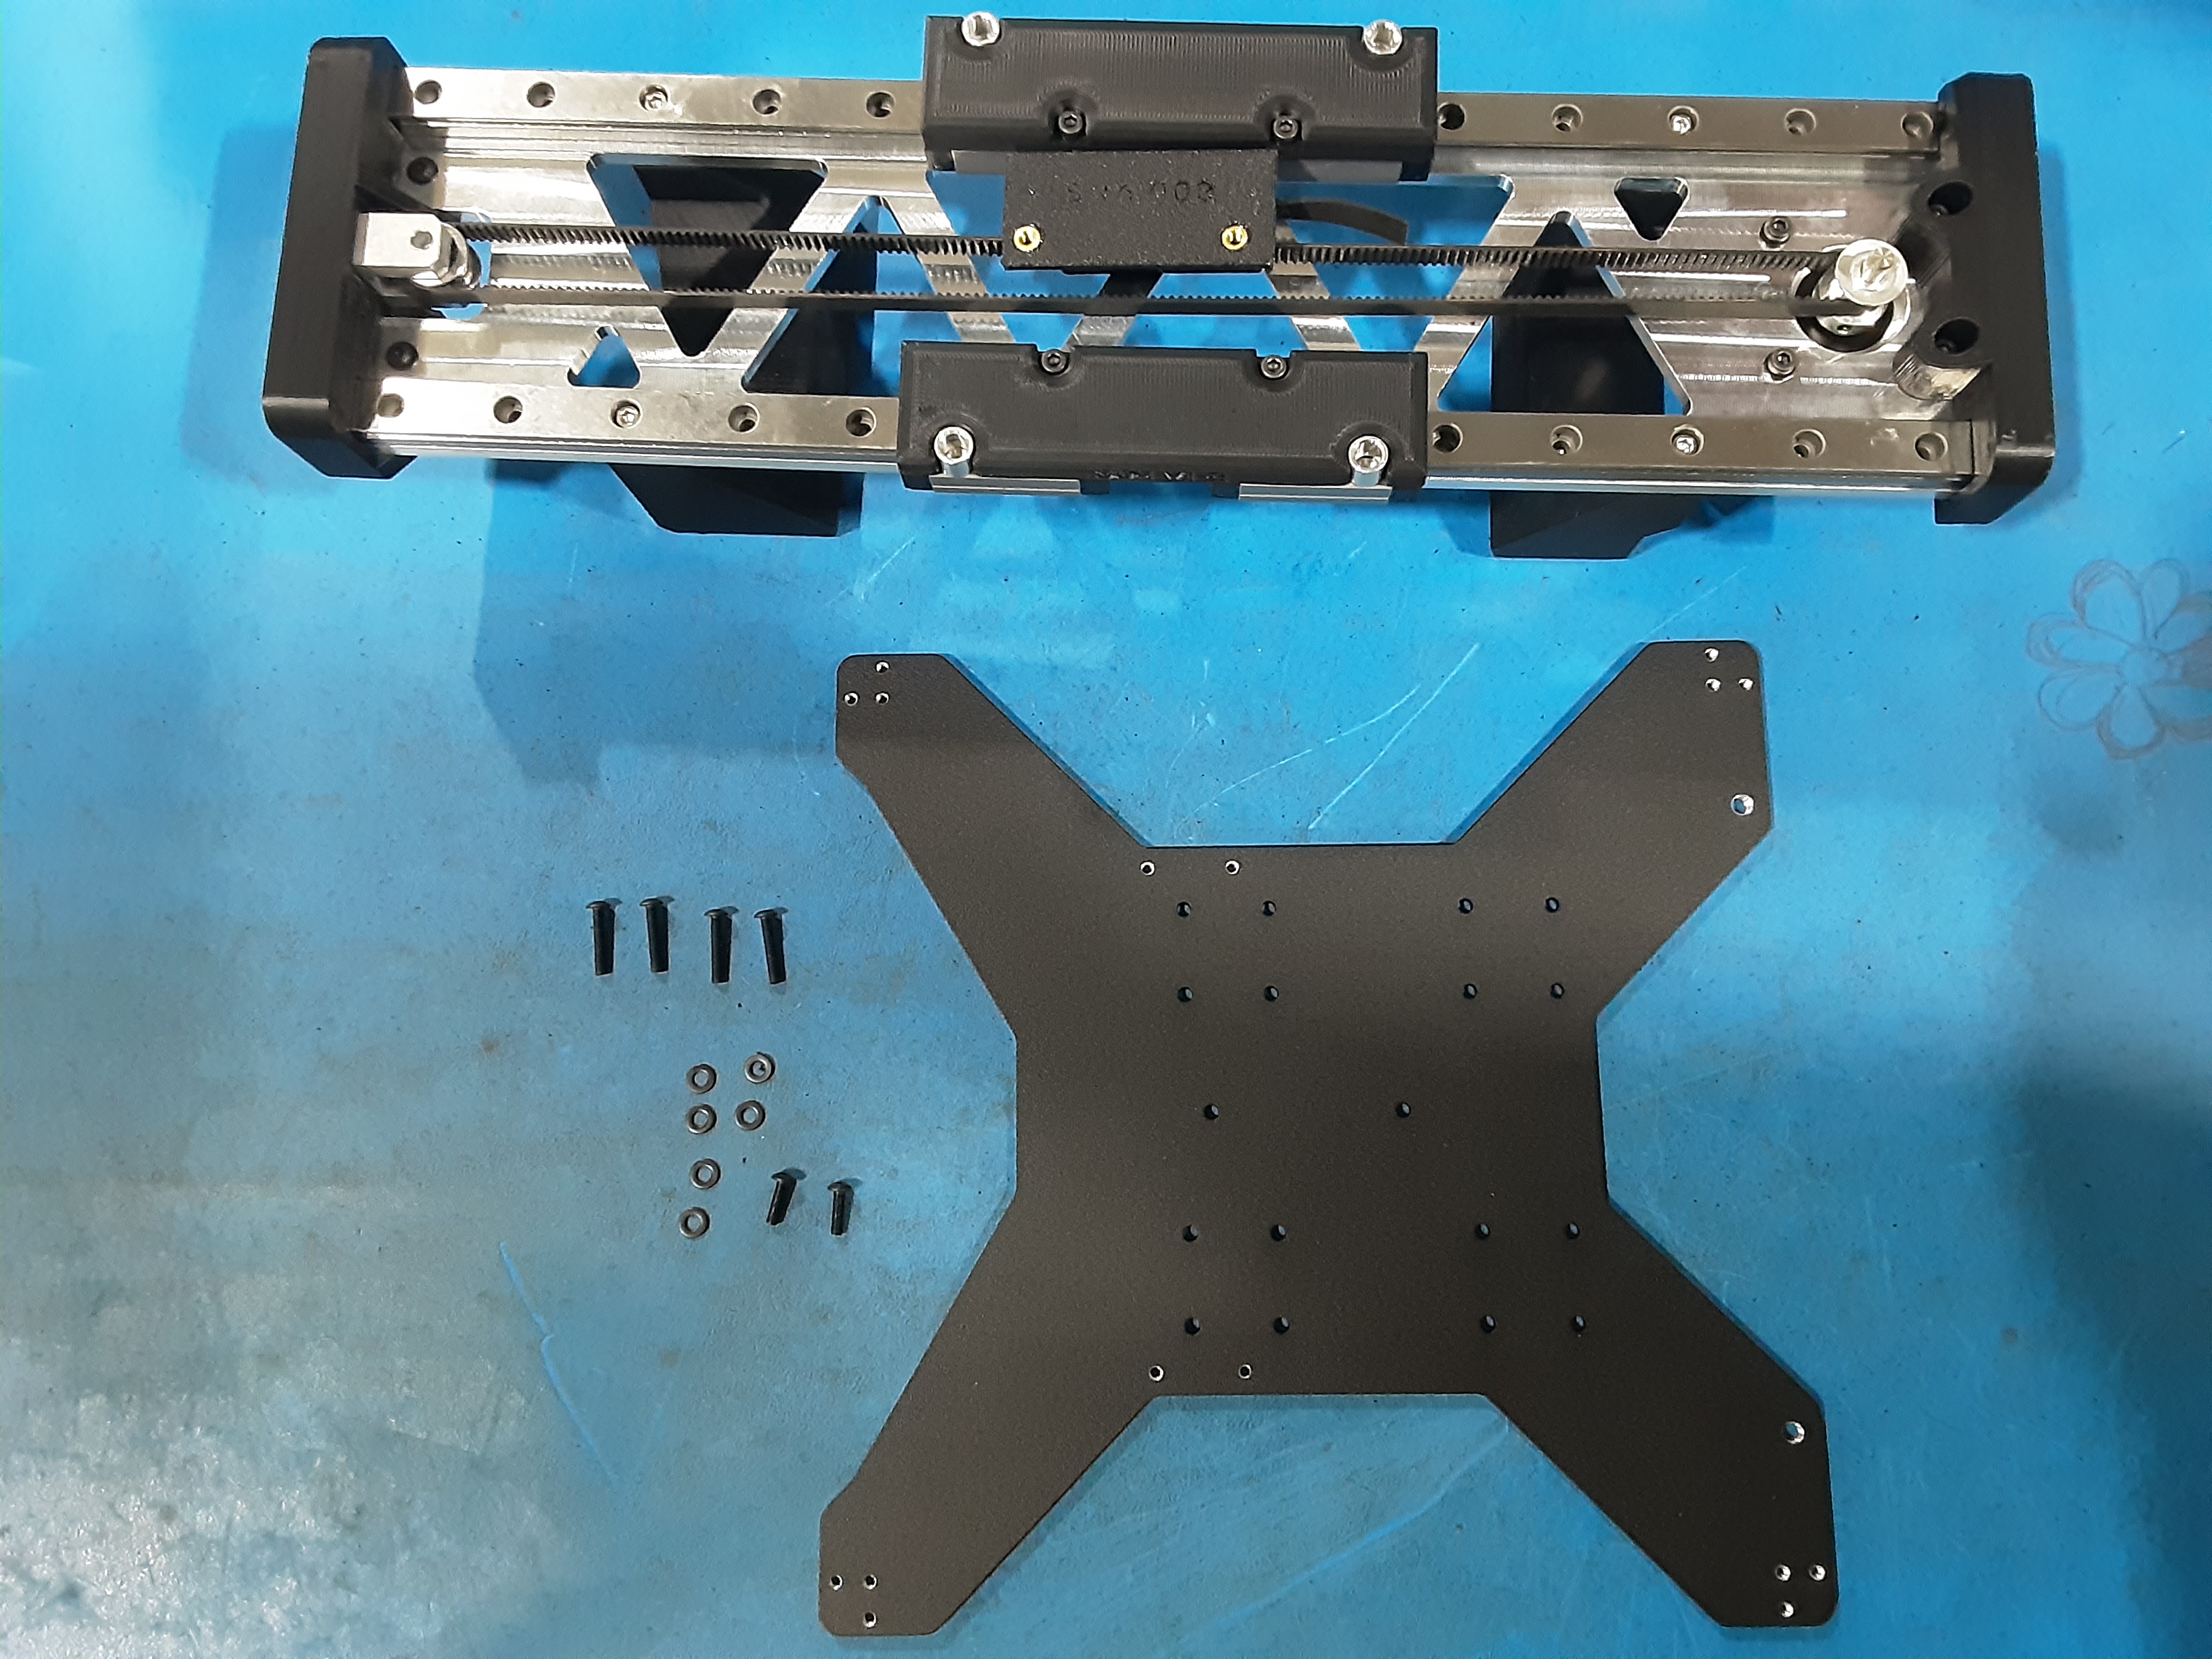
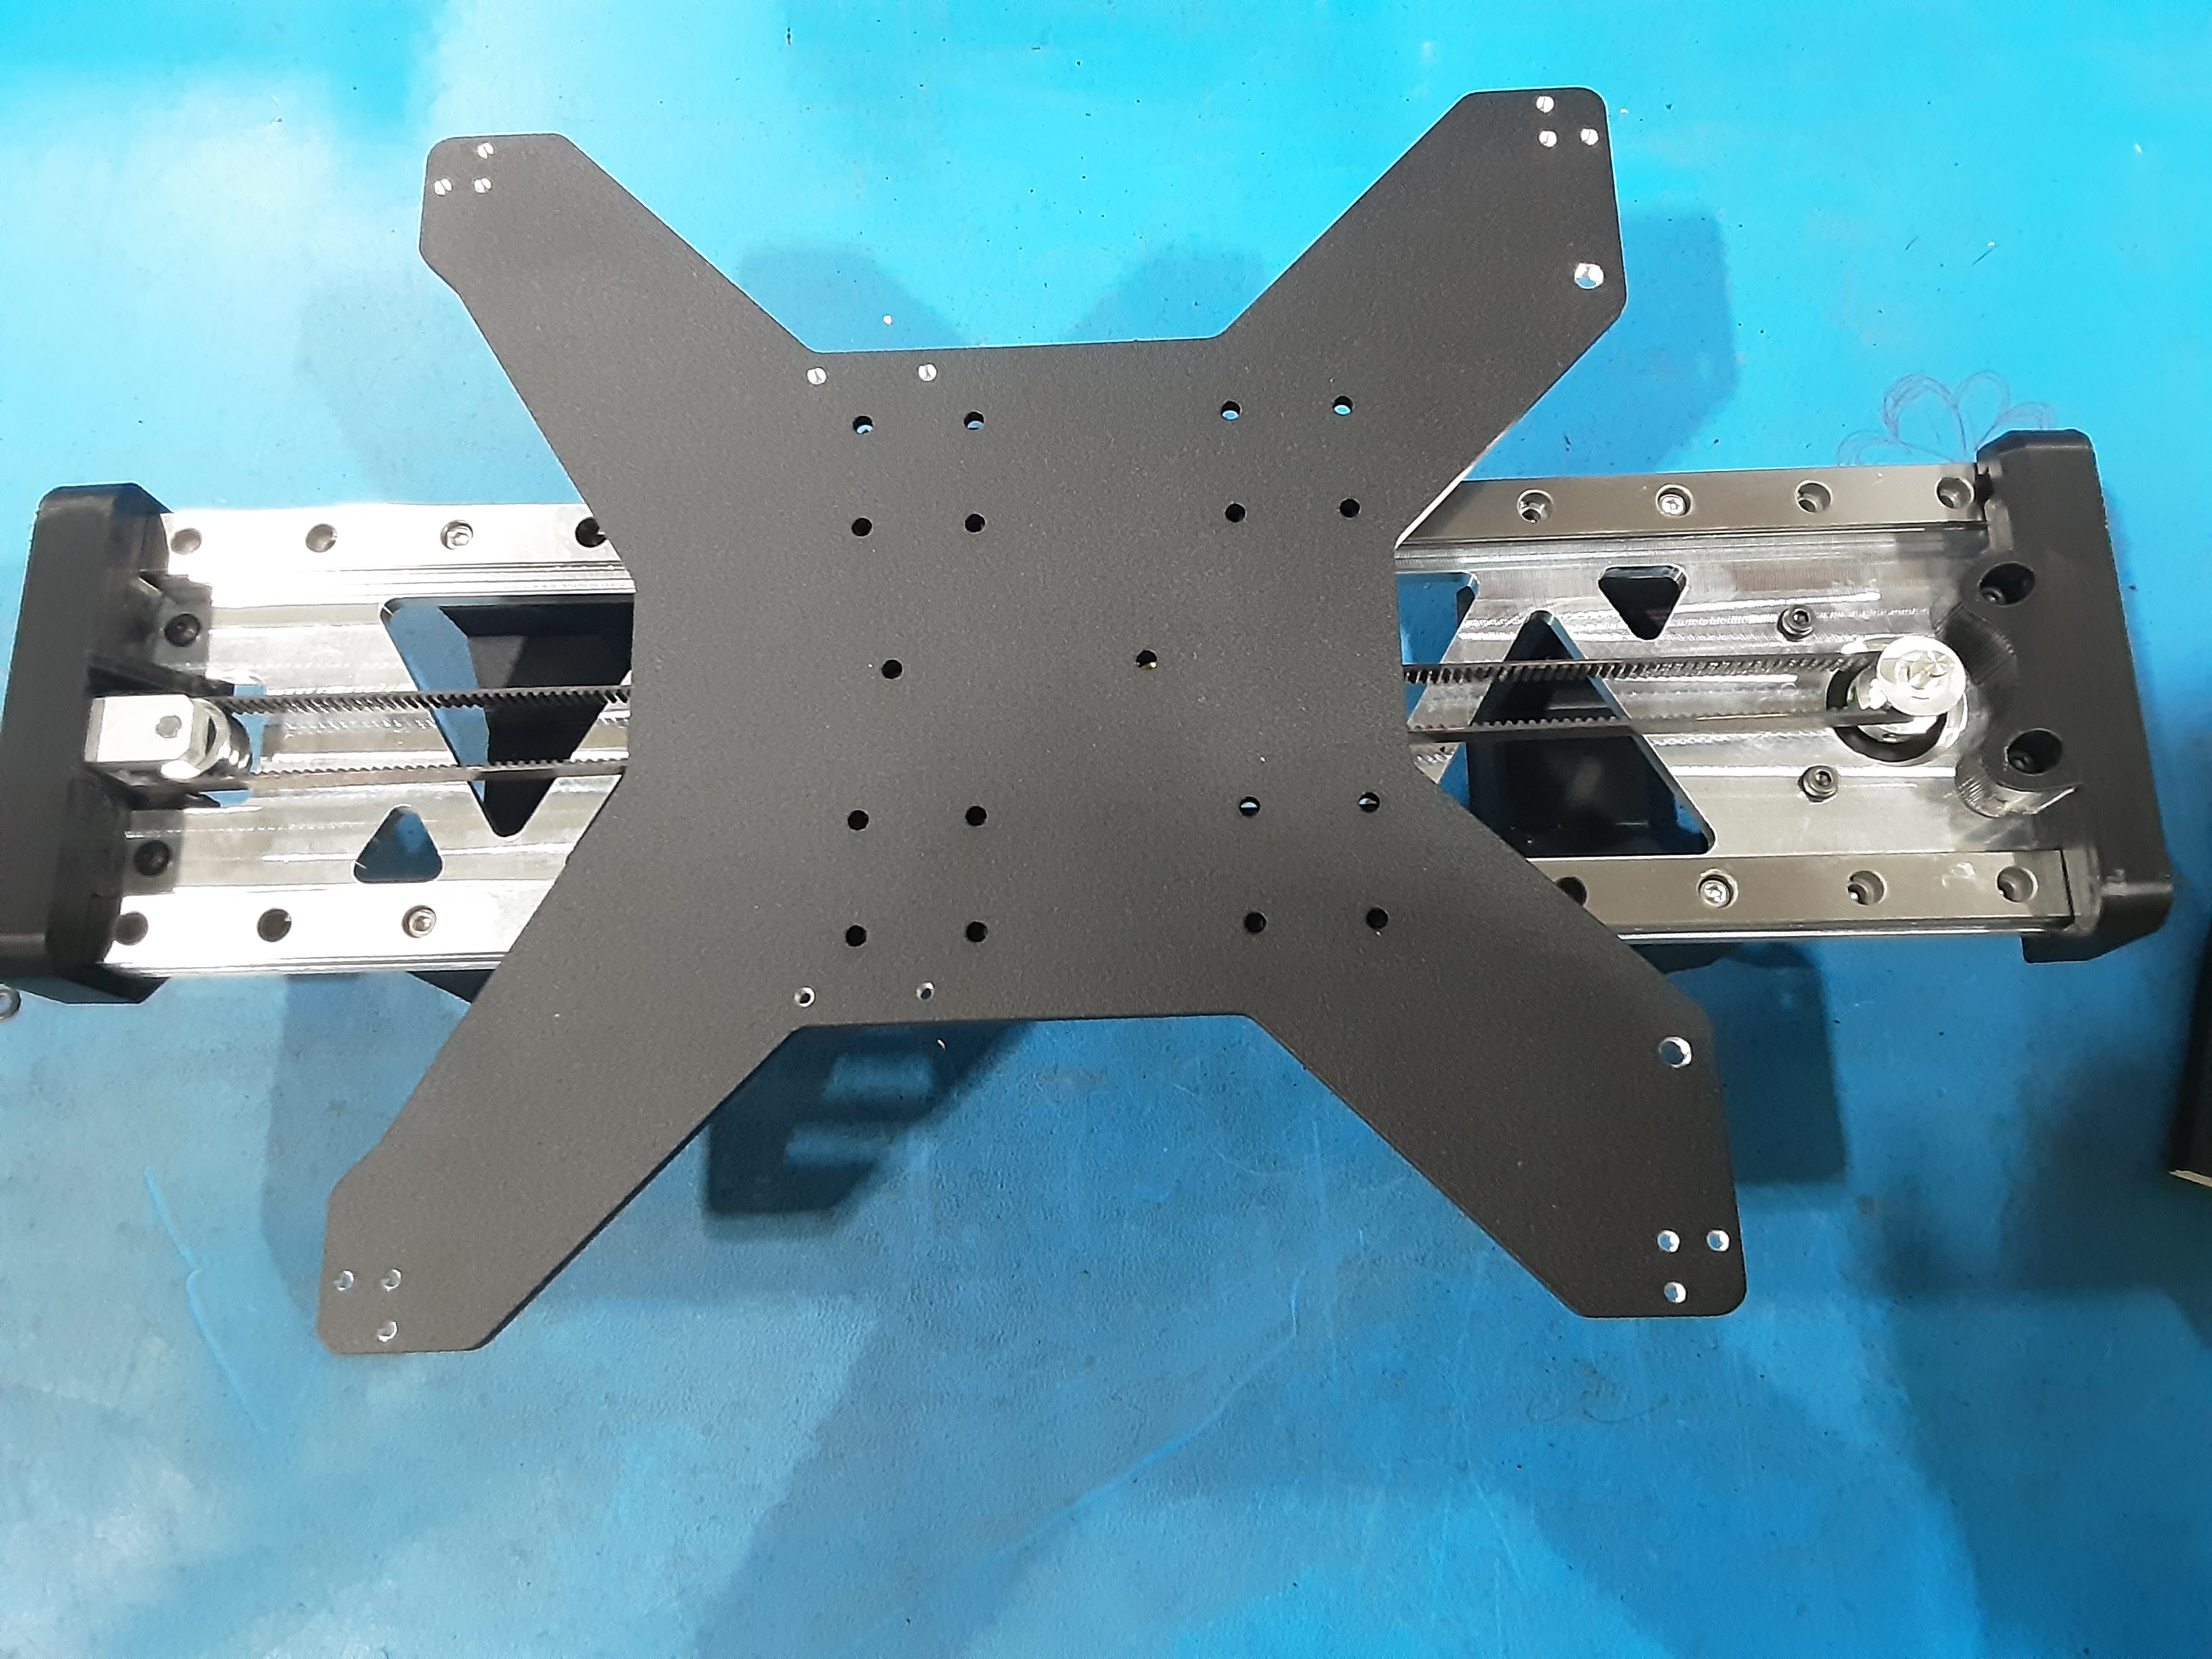
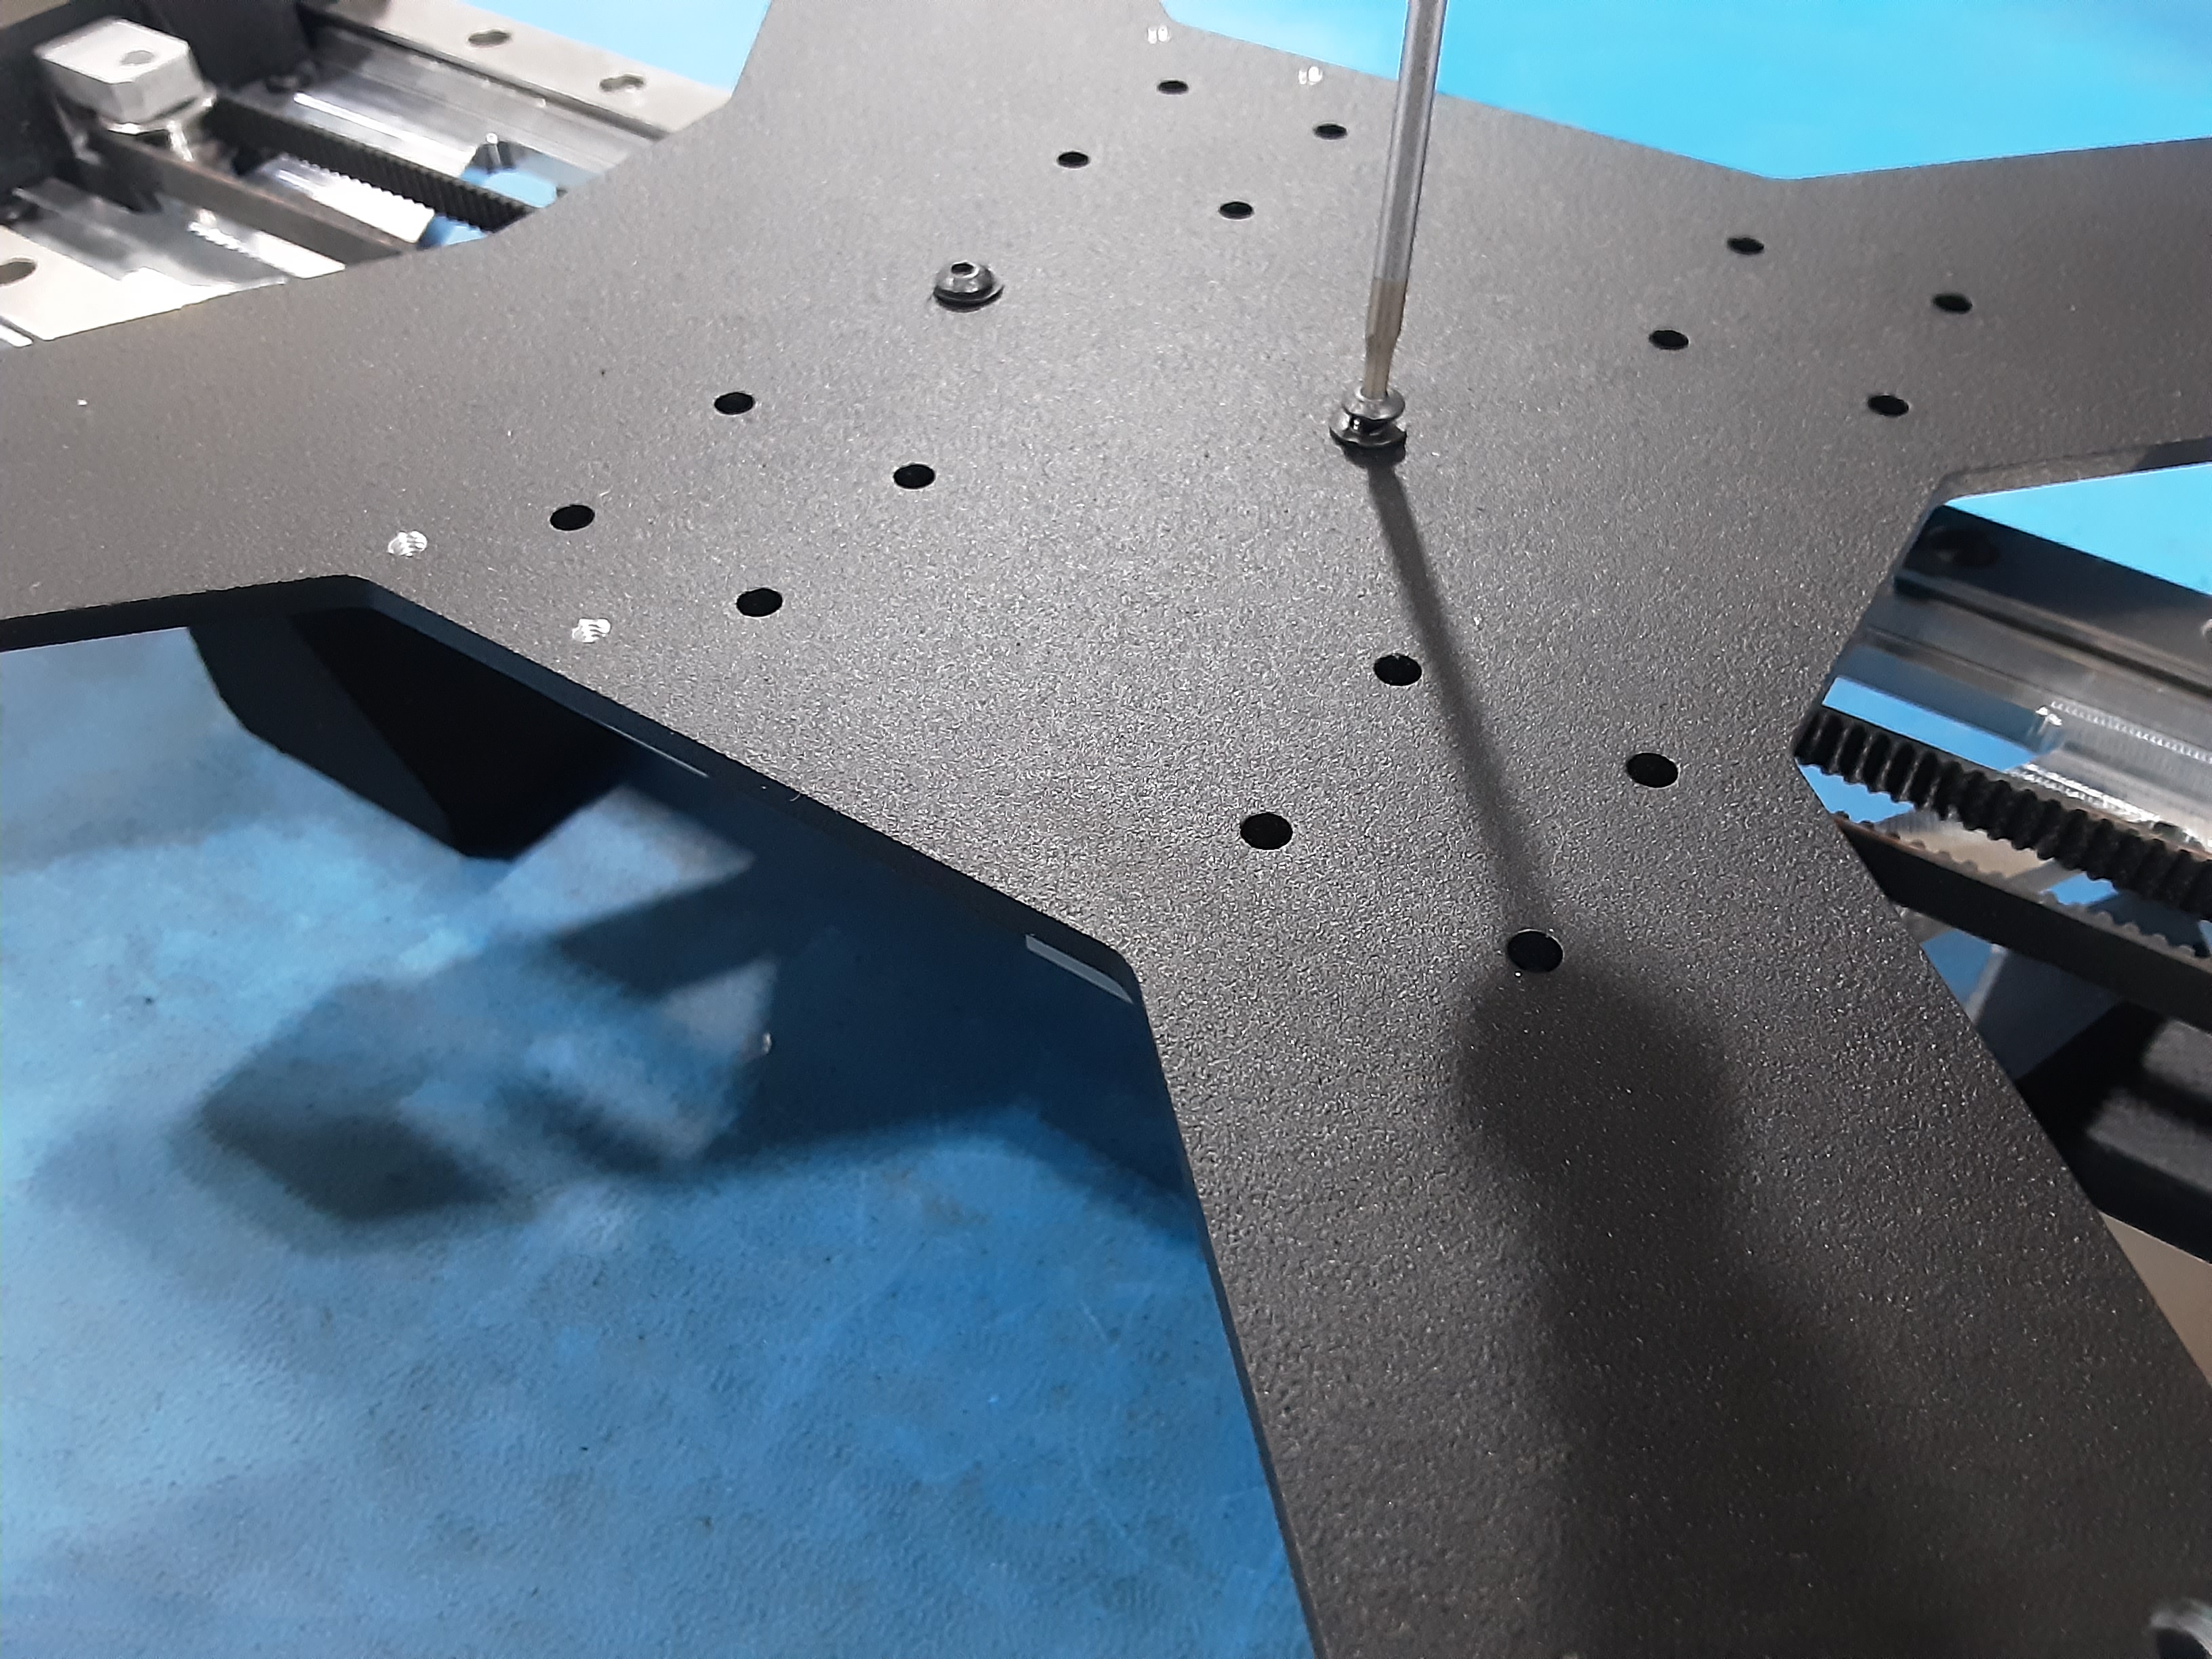
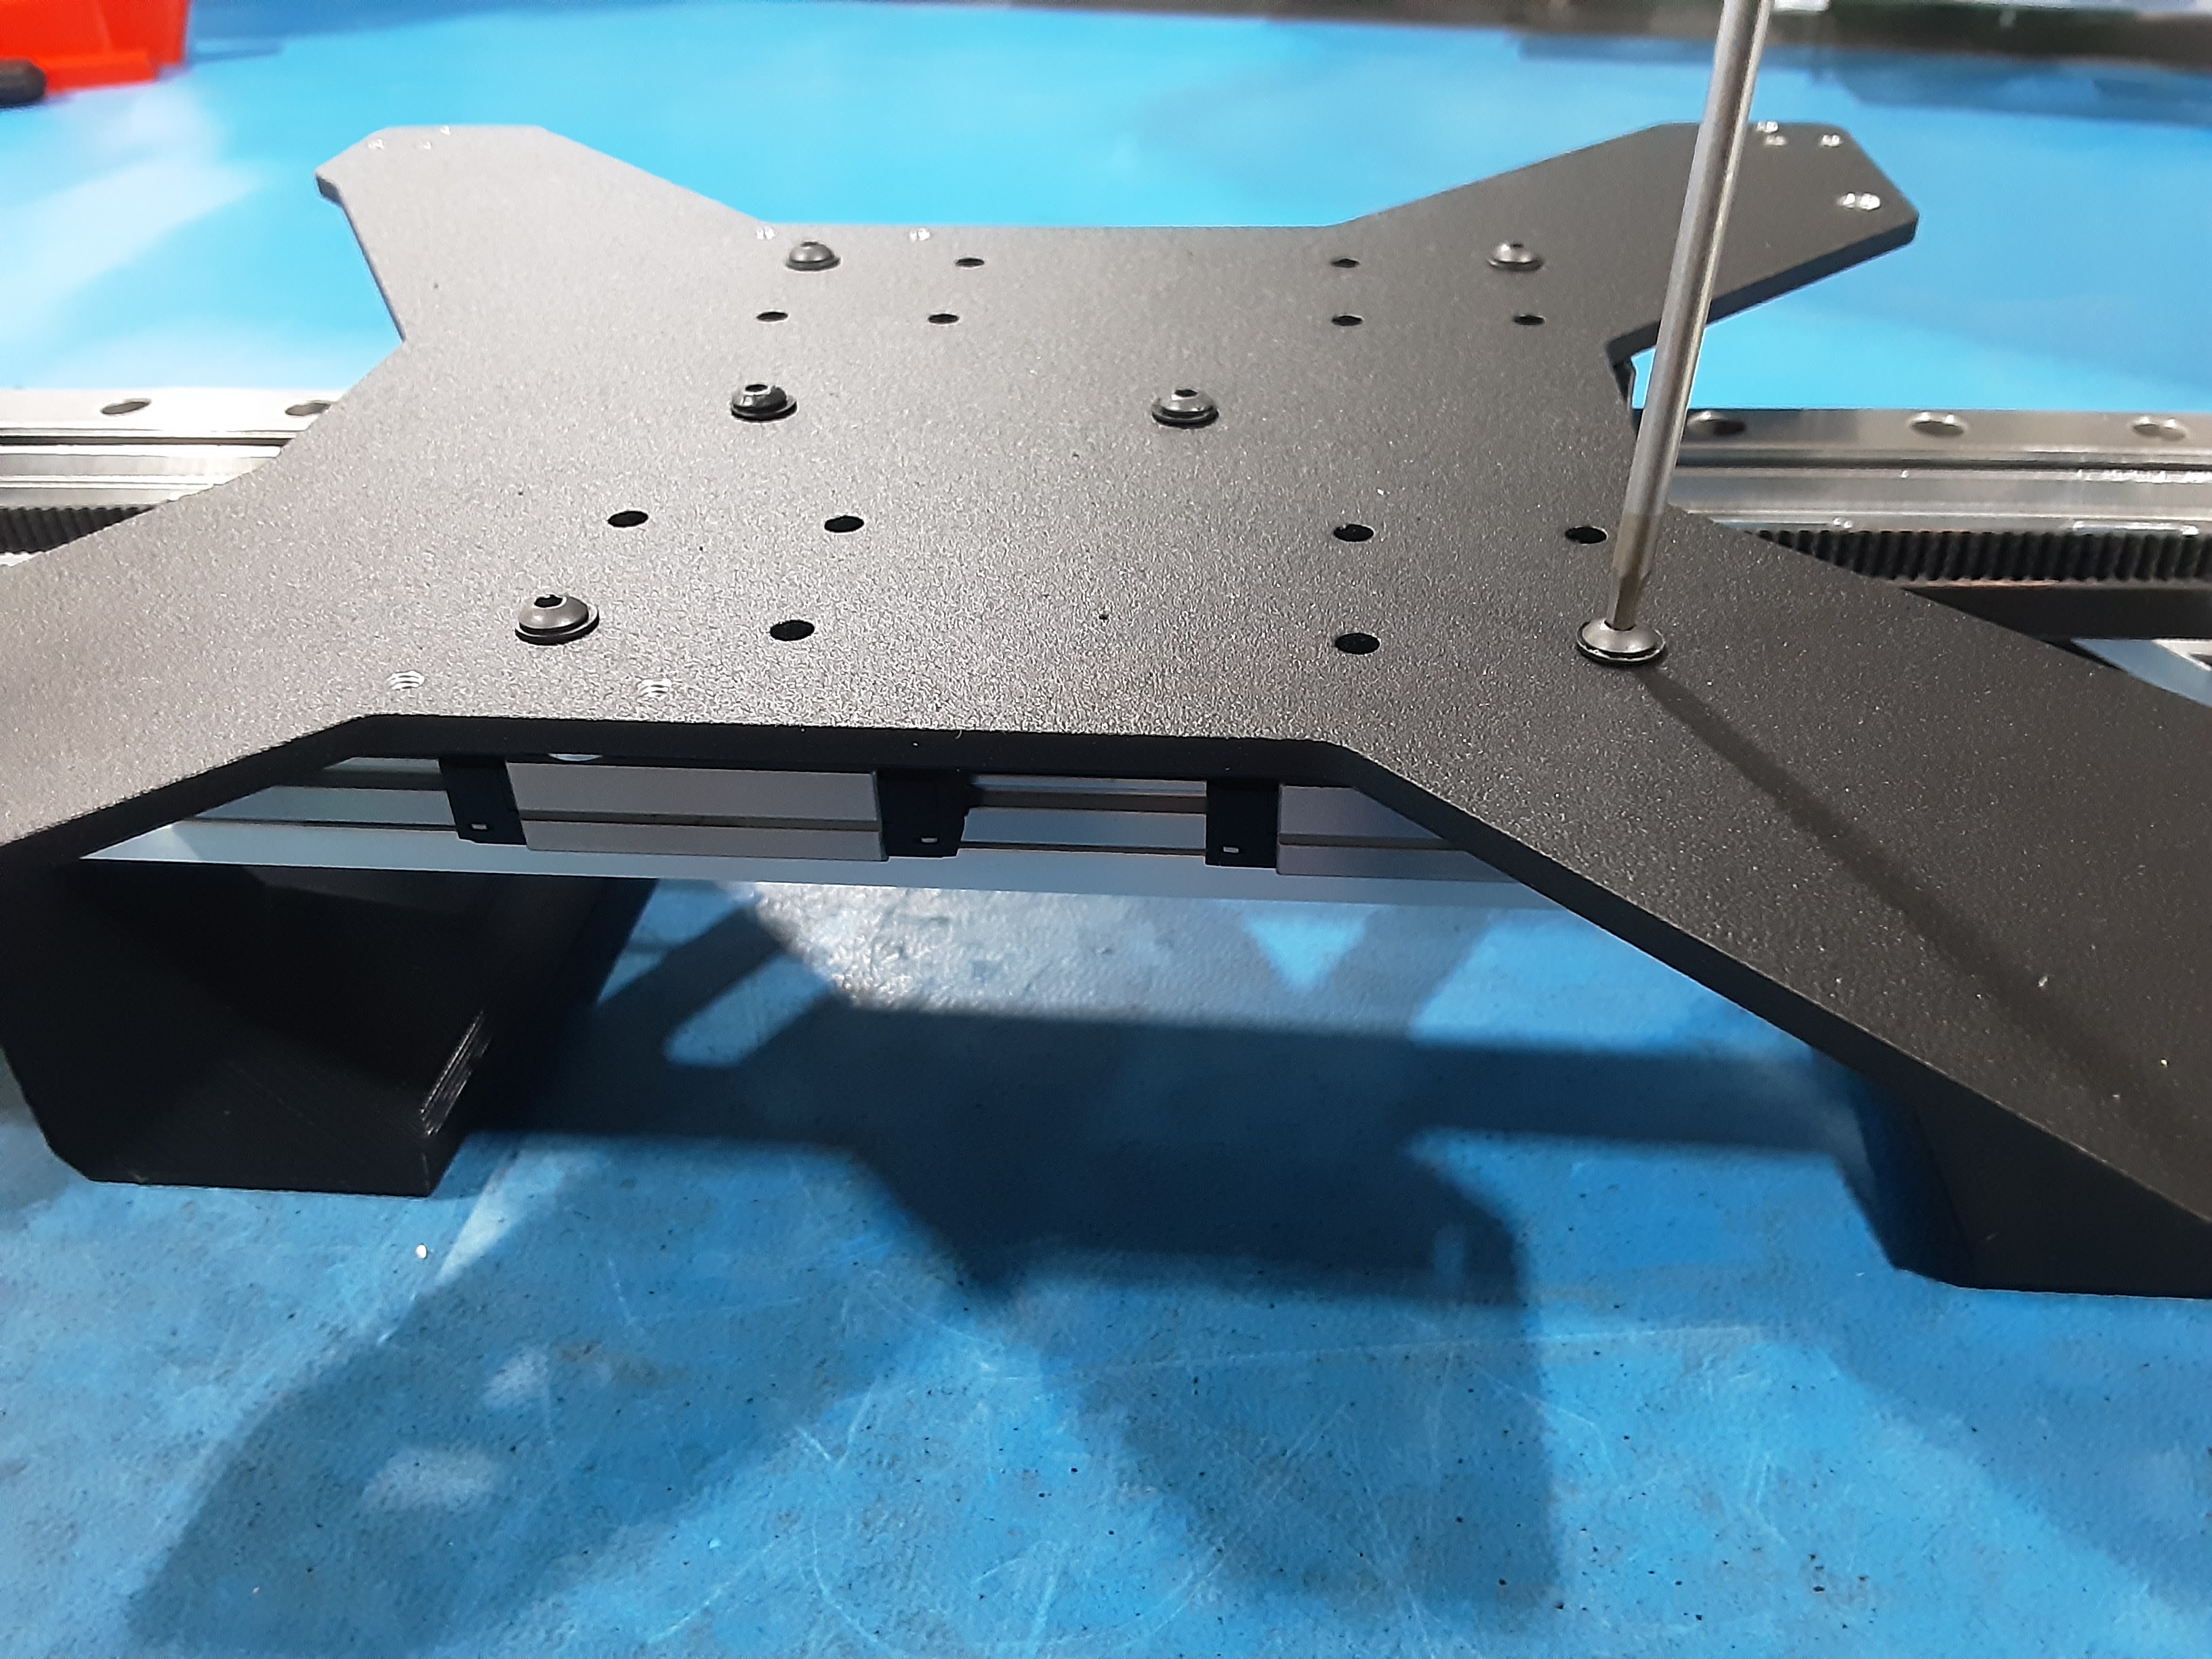
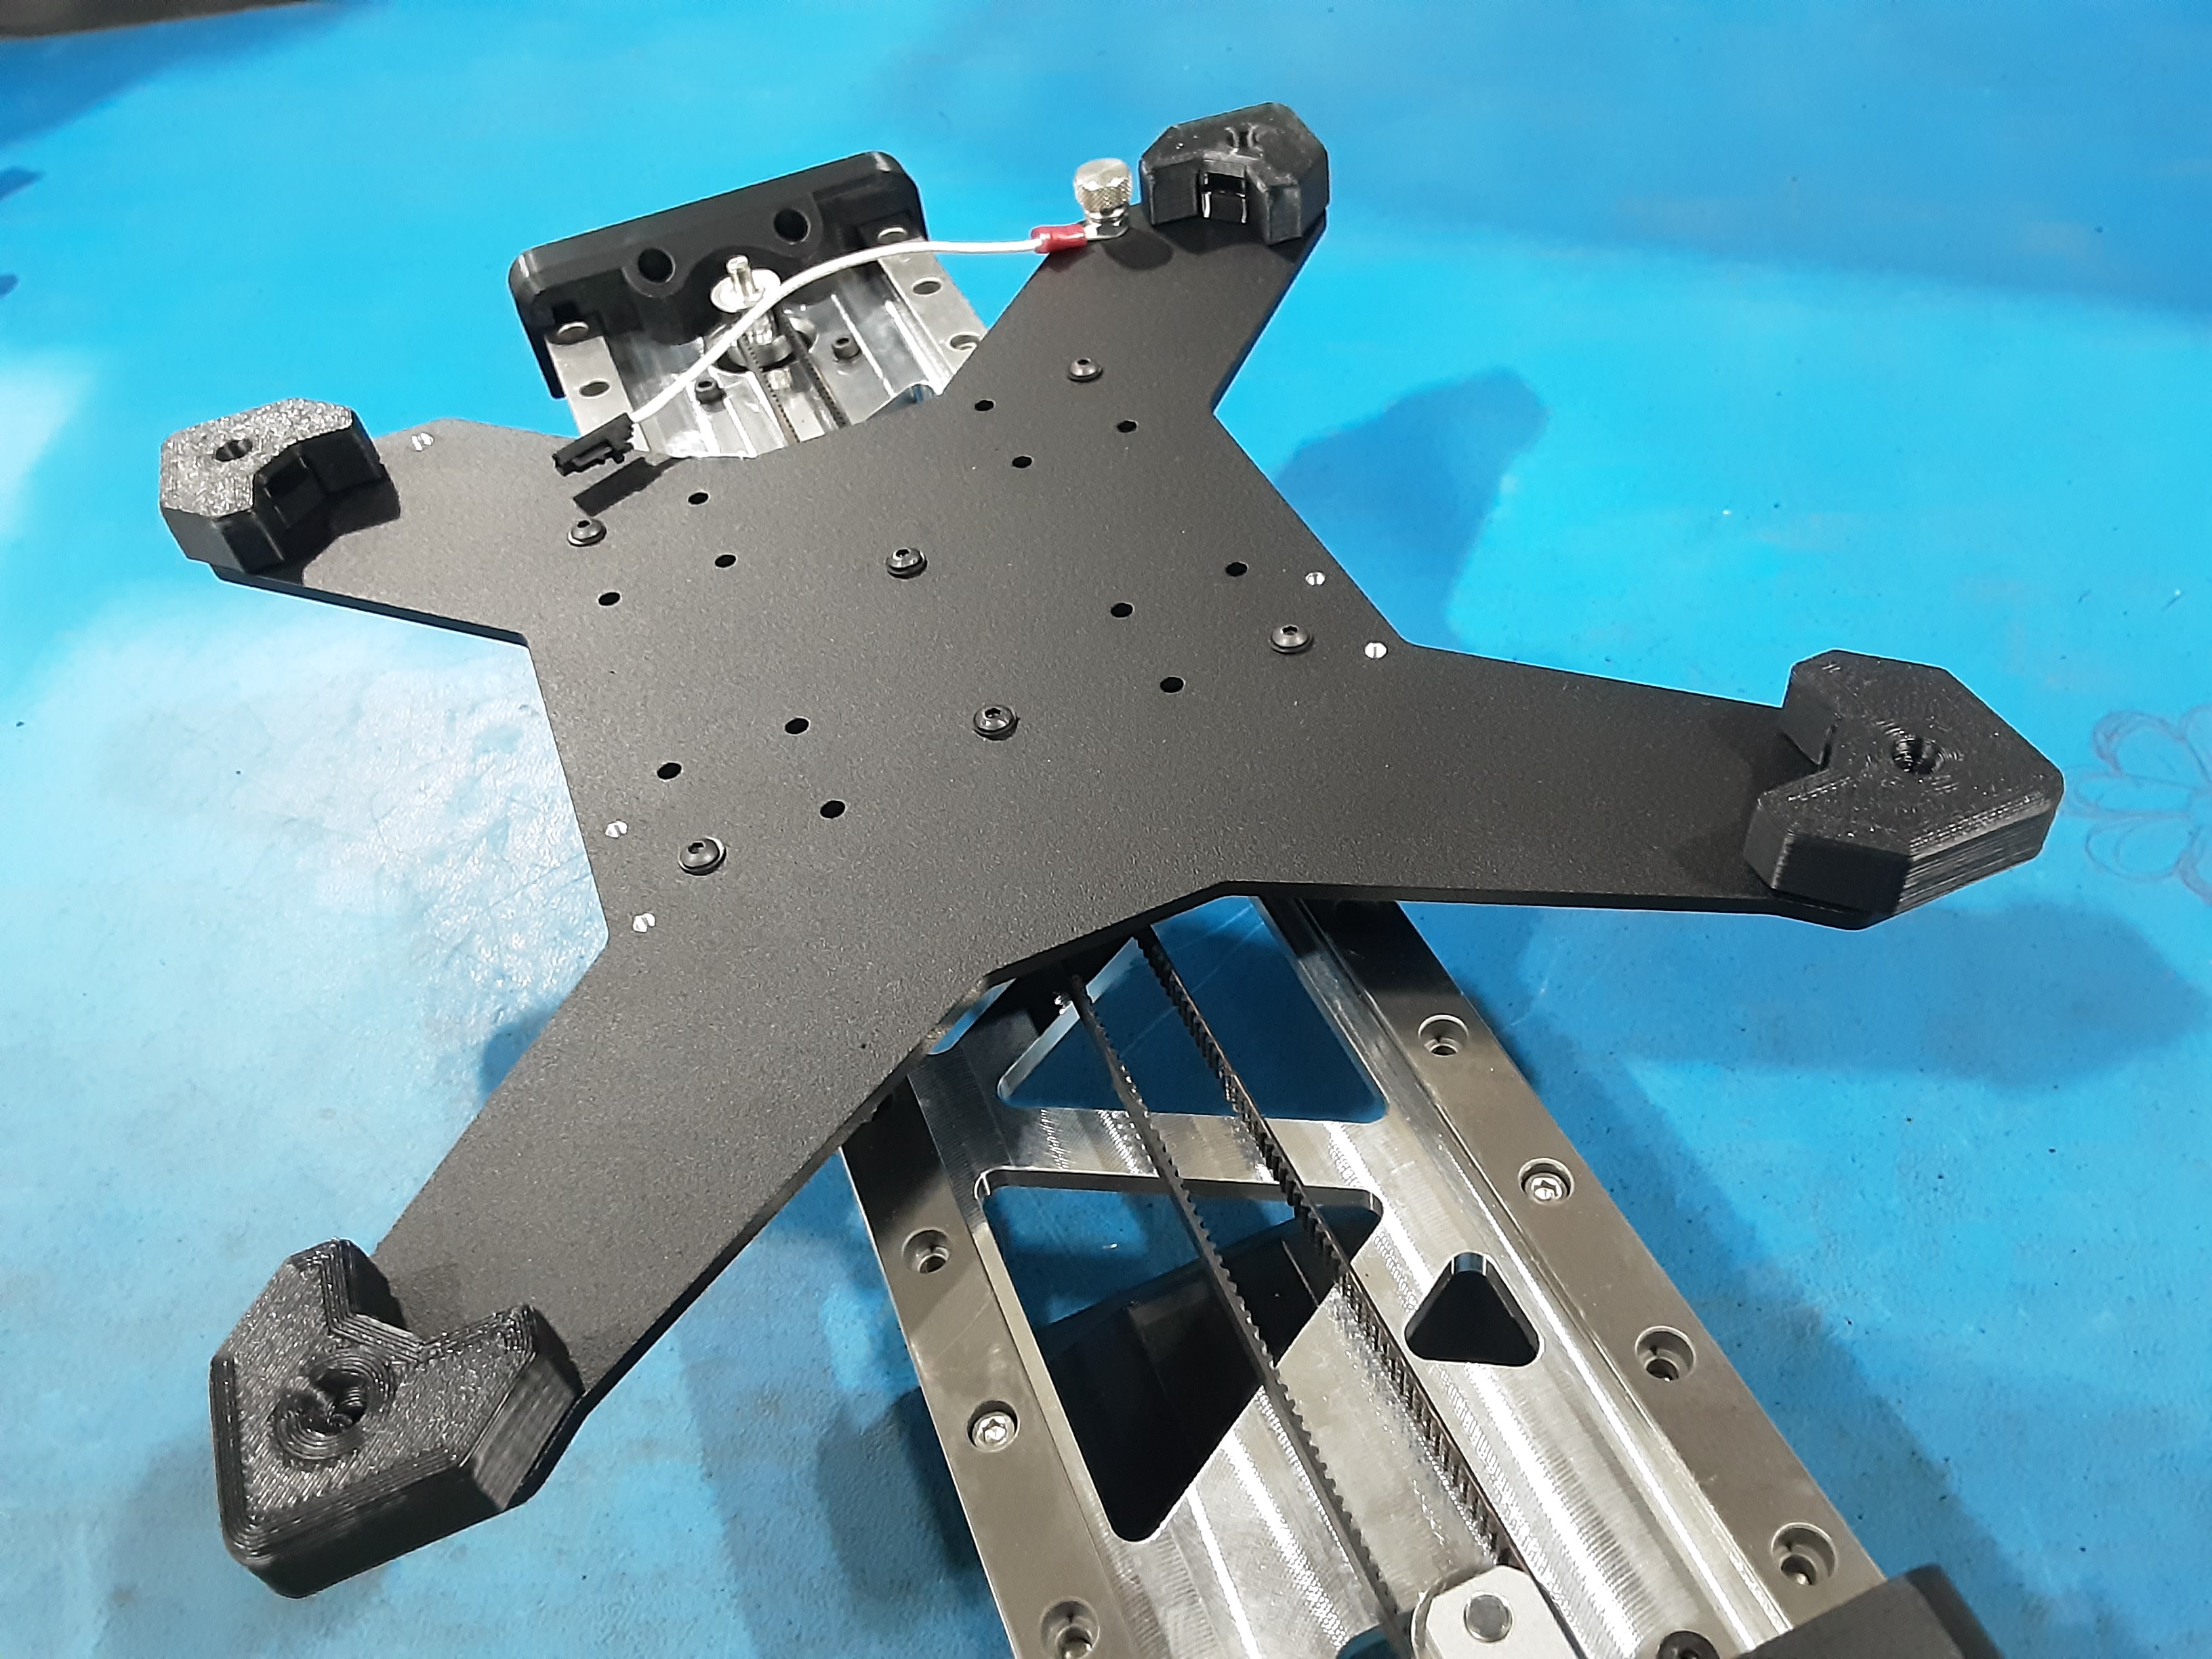
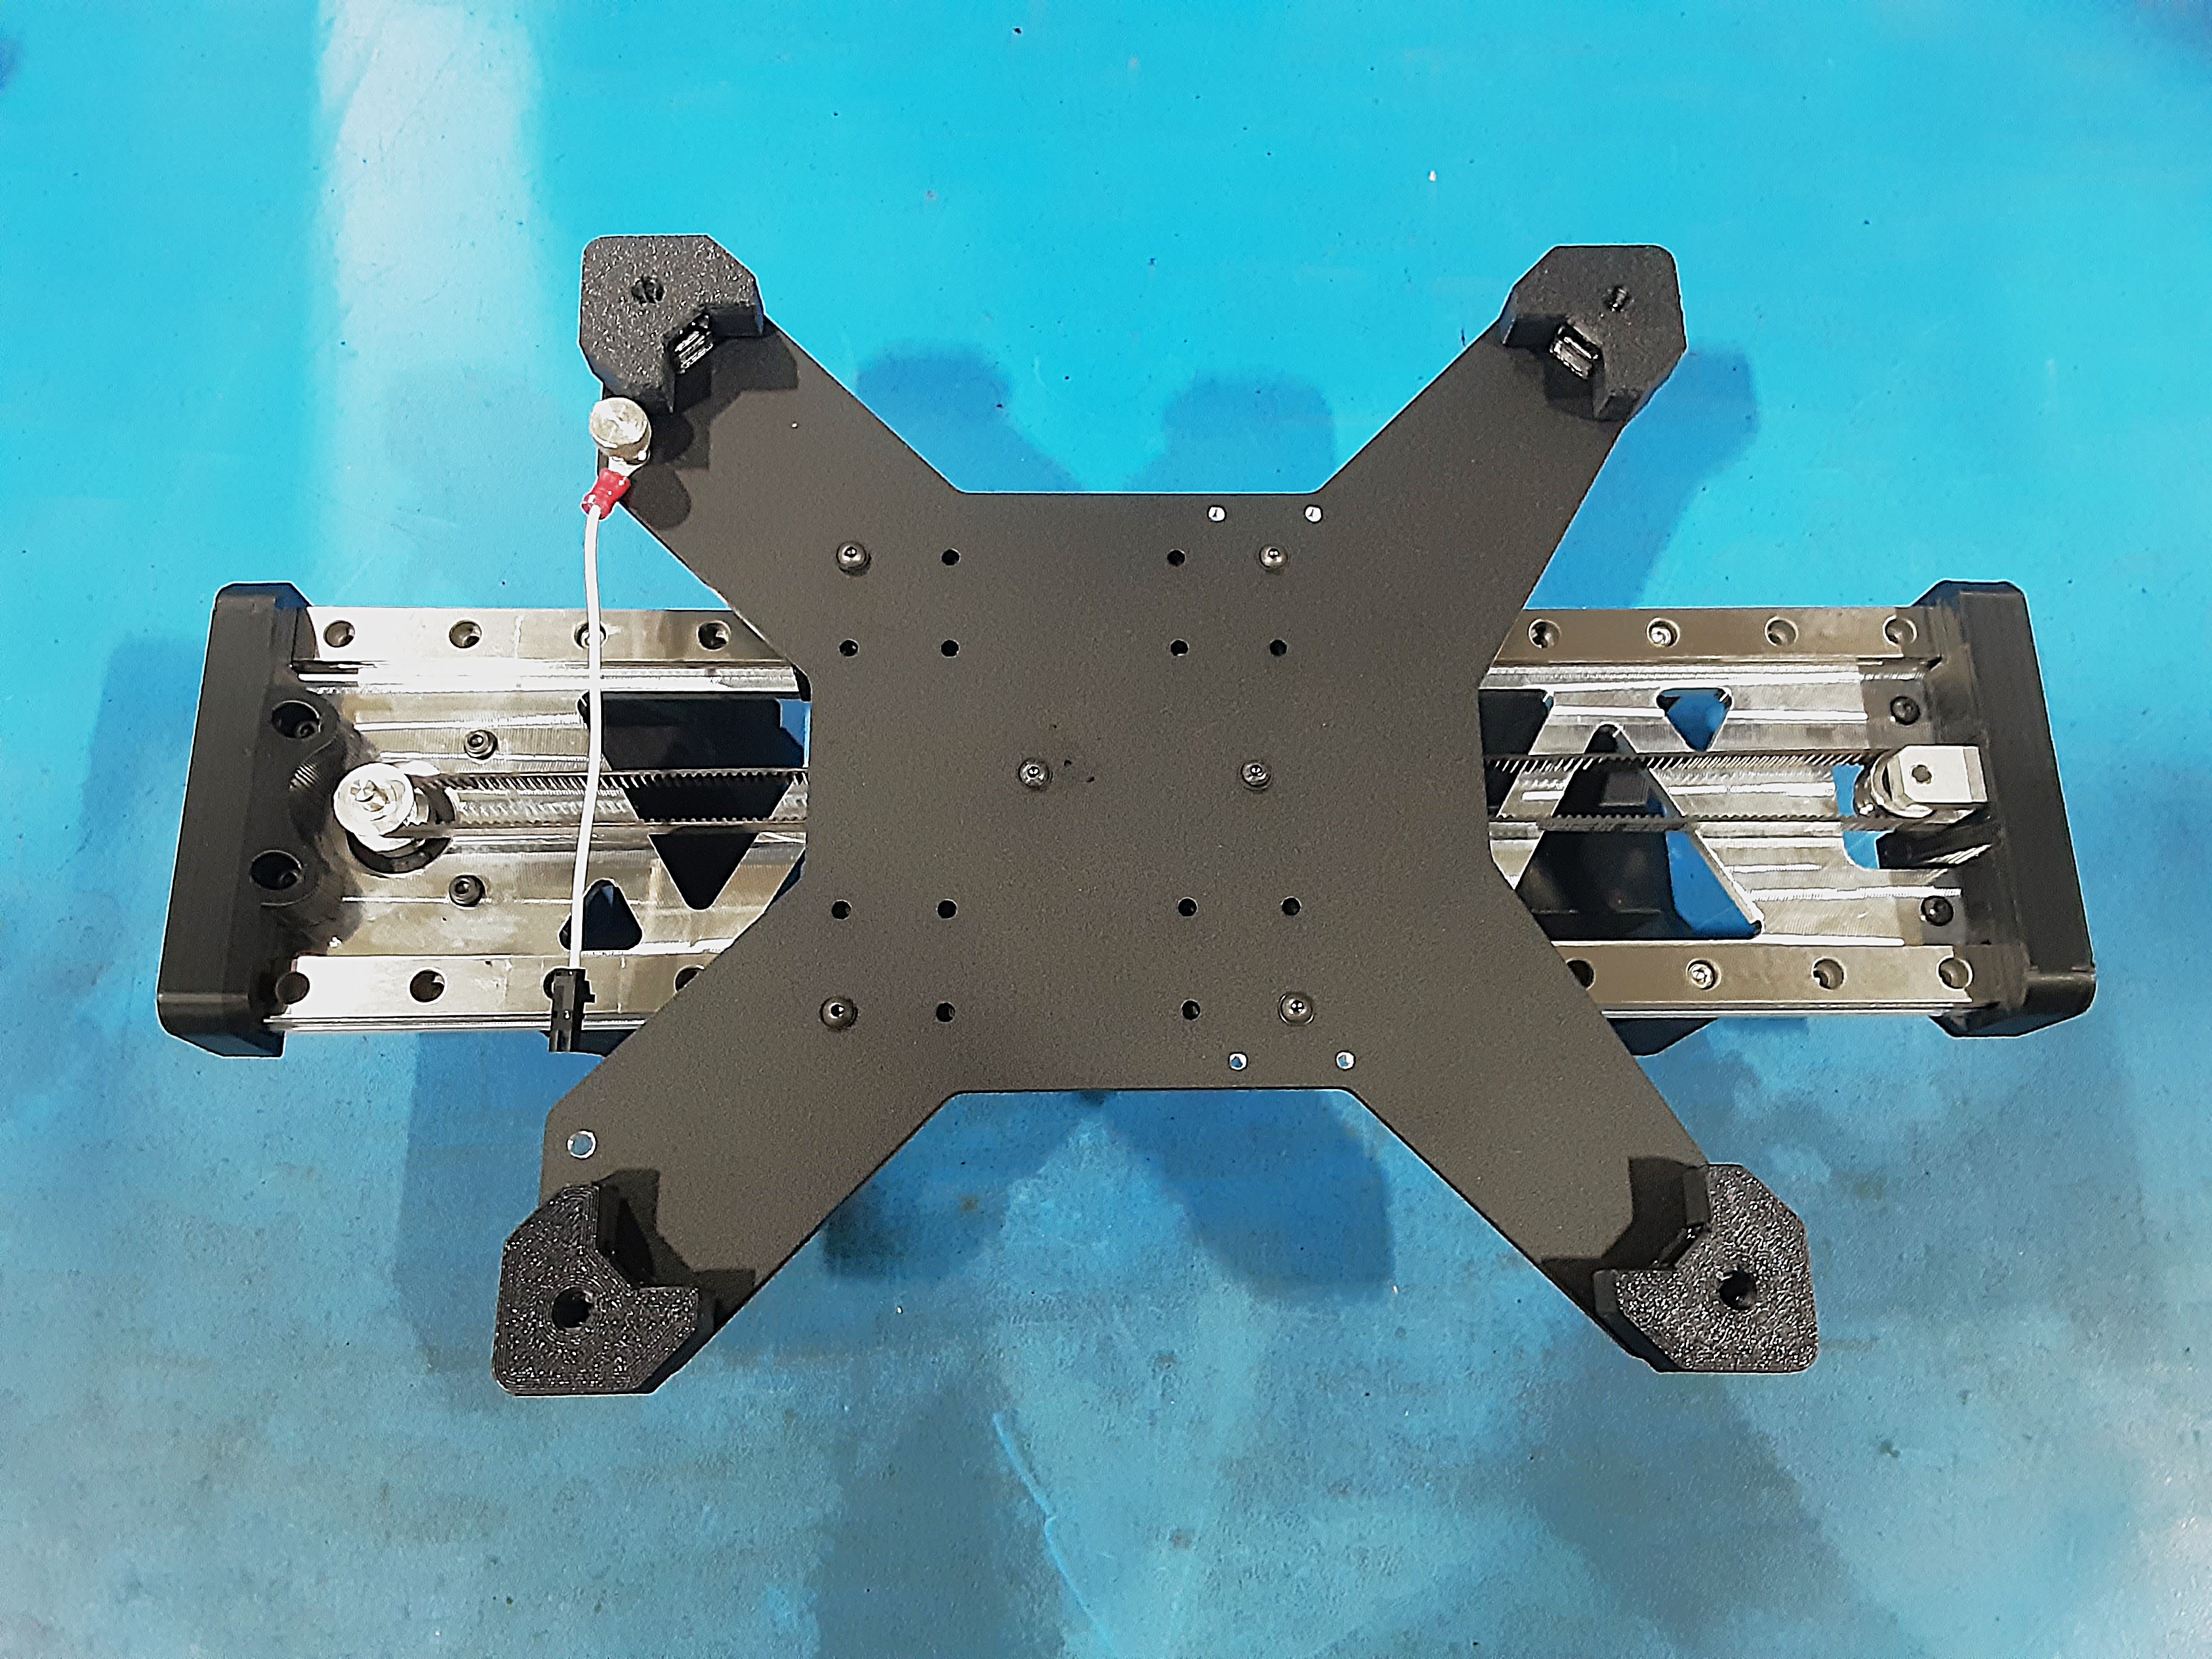
6D) Grab PP-FP0237 x1, HD-BT0148 x2, HD-WA0038 x6, and HD-BT0256 x4.
6E) Line up PP-FP0237 on PP-PG0804 x2 and PP-GP0806.
6F) Attach PP-FP0237 to PP-GP0806 using HD-BT0148 x2 and HD-WA0038 x2
6G) Attach PP-FP0237 to HD-RD0050 trucks through PP-GP0804 and HD-MS0062 using
HD-BT0256 x4 and HD-WA0038 x4.
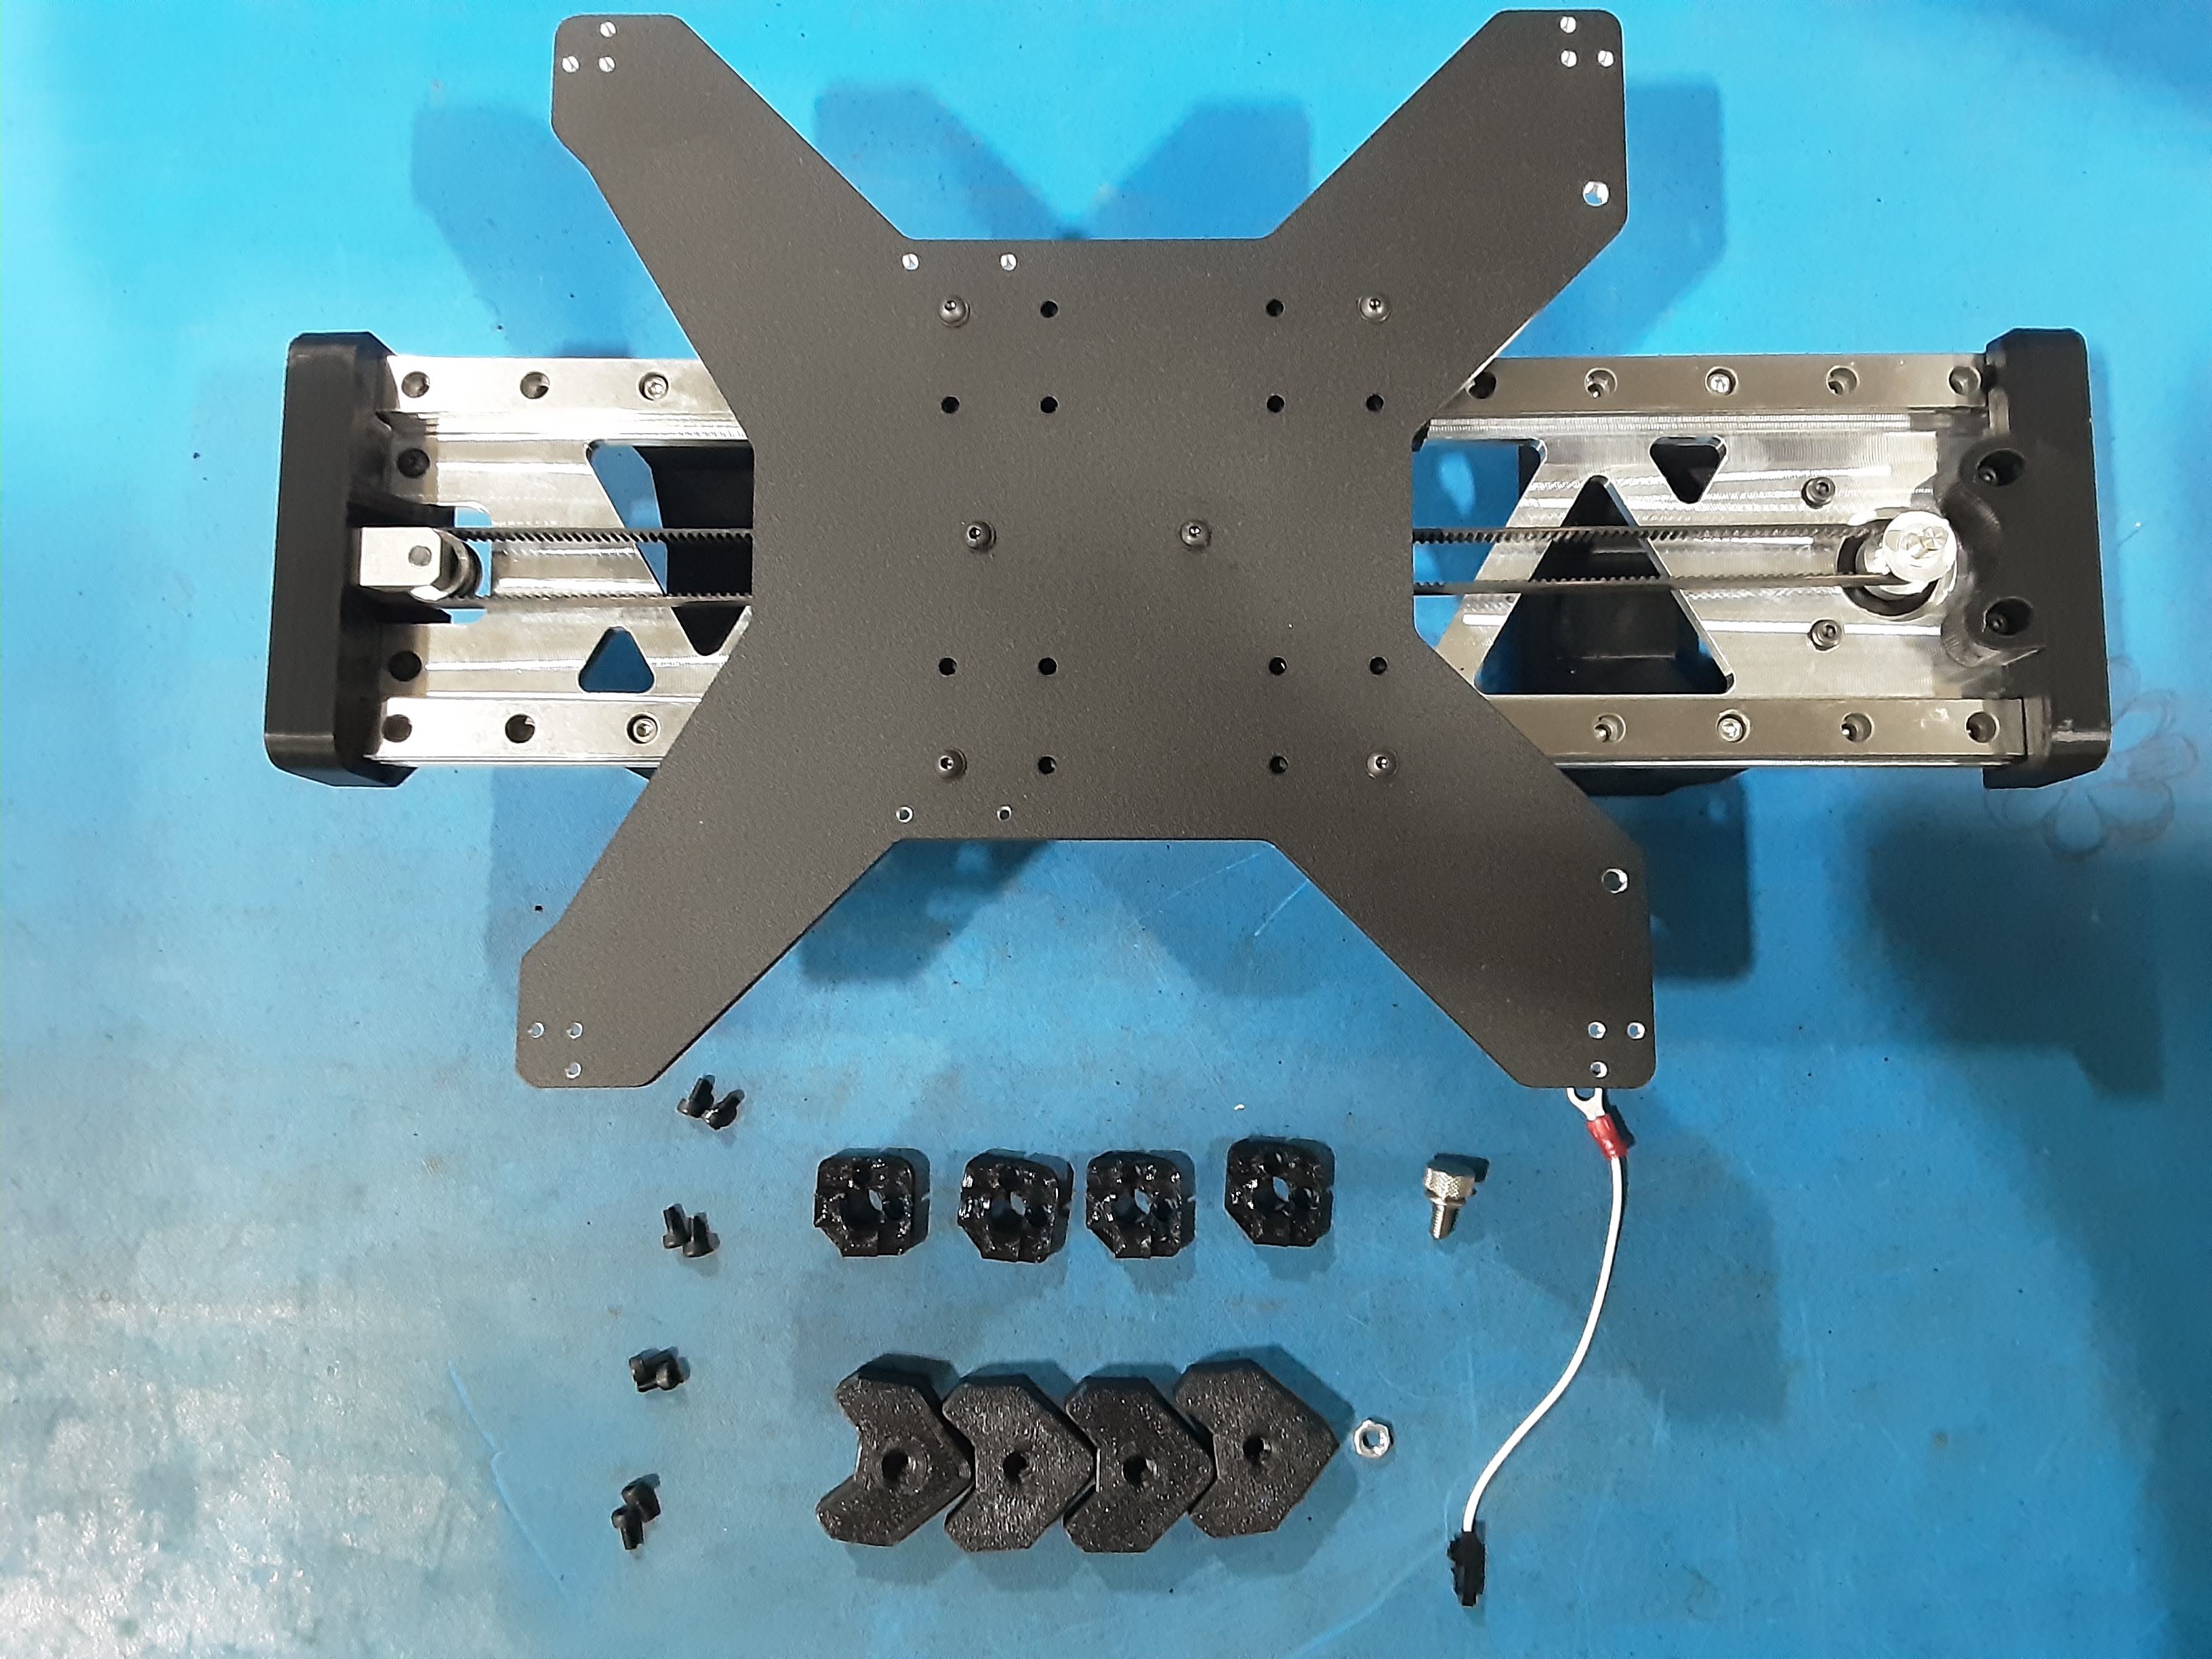
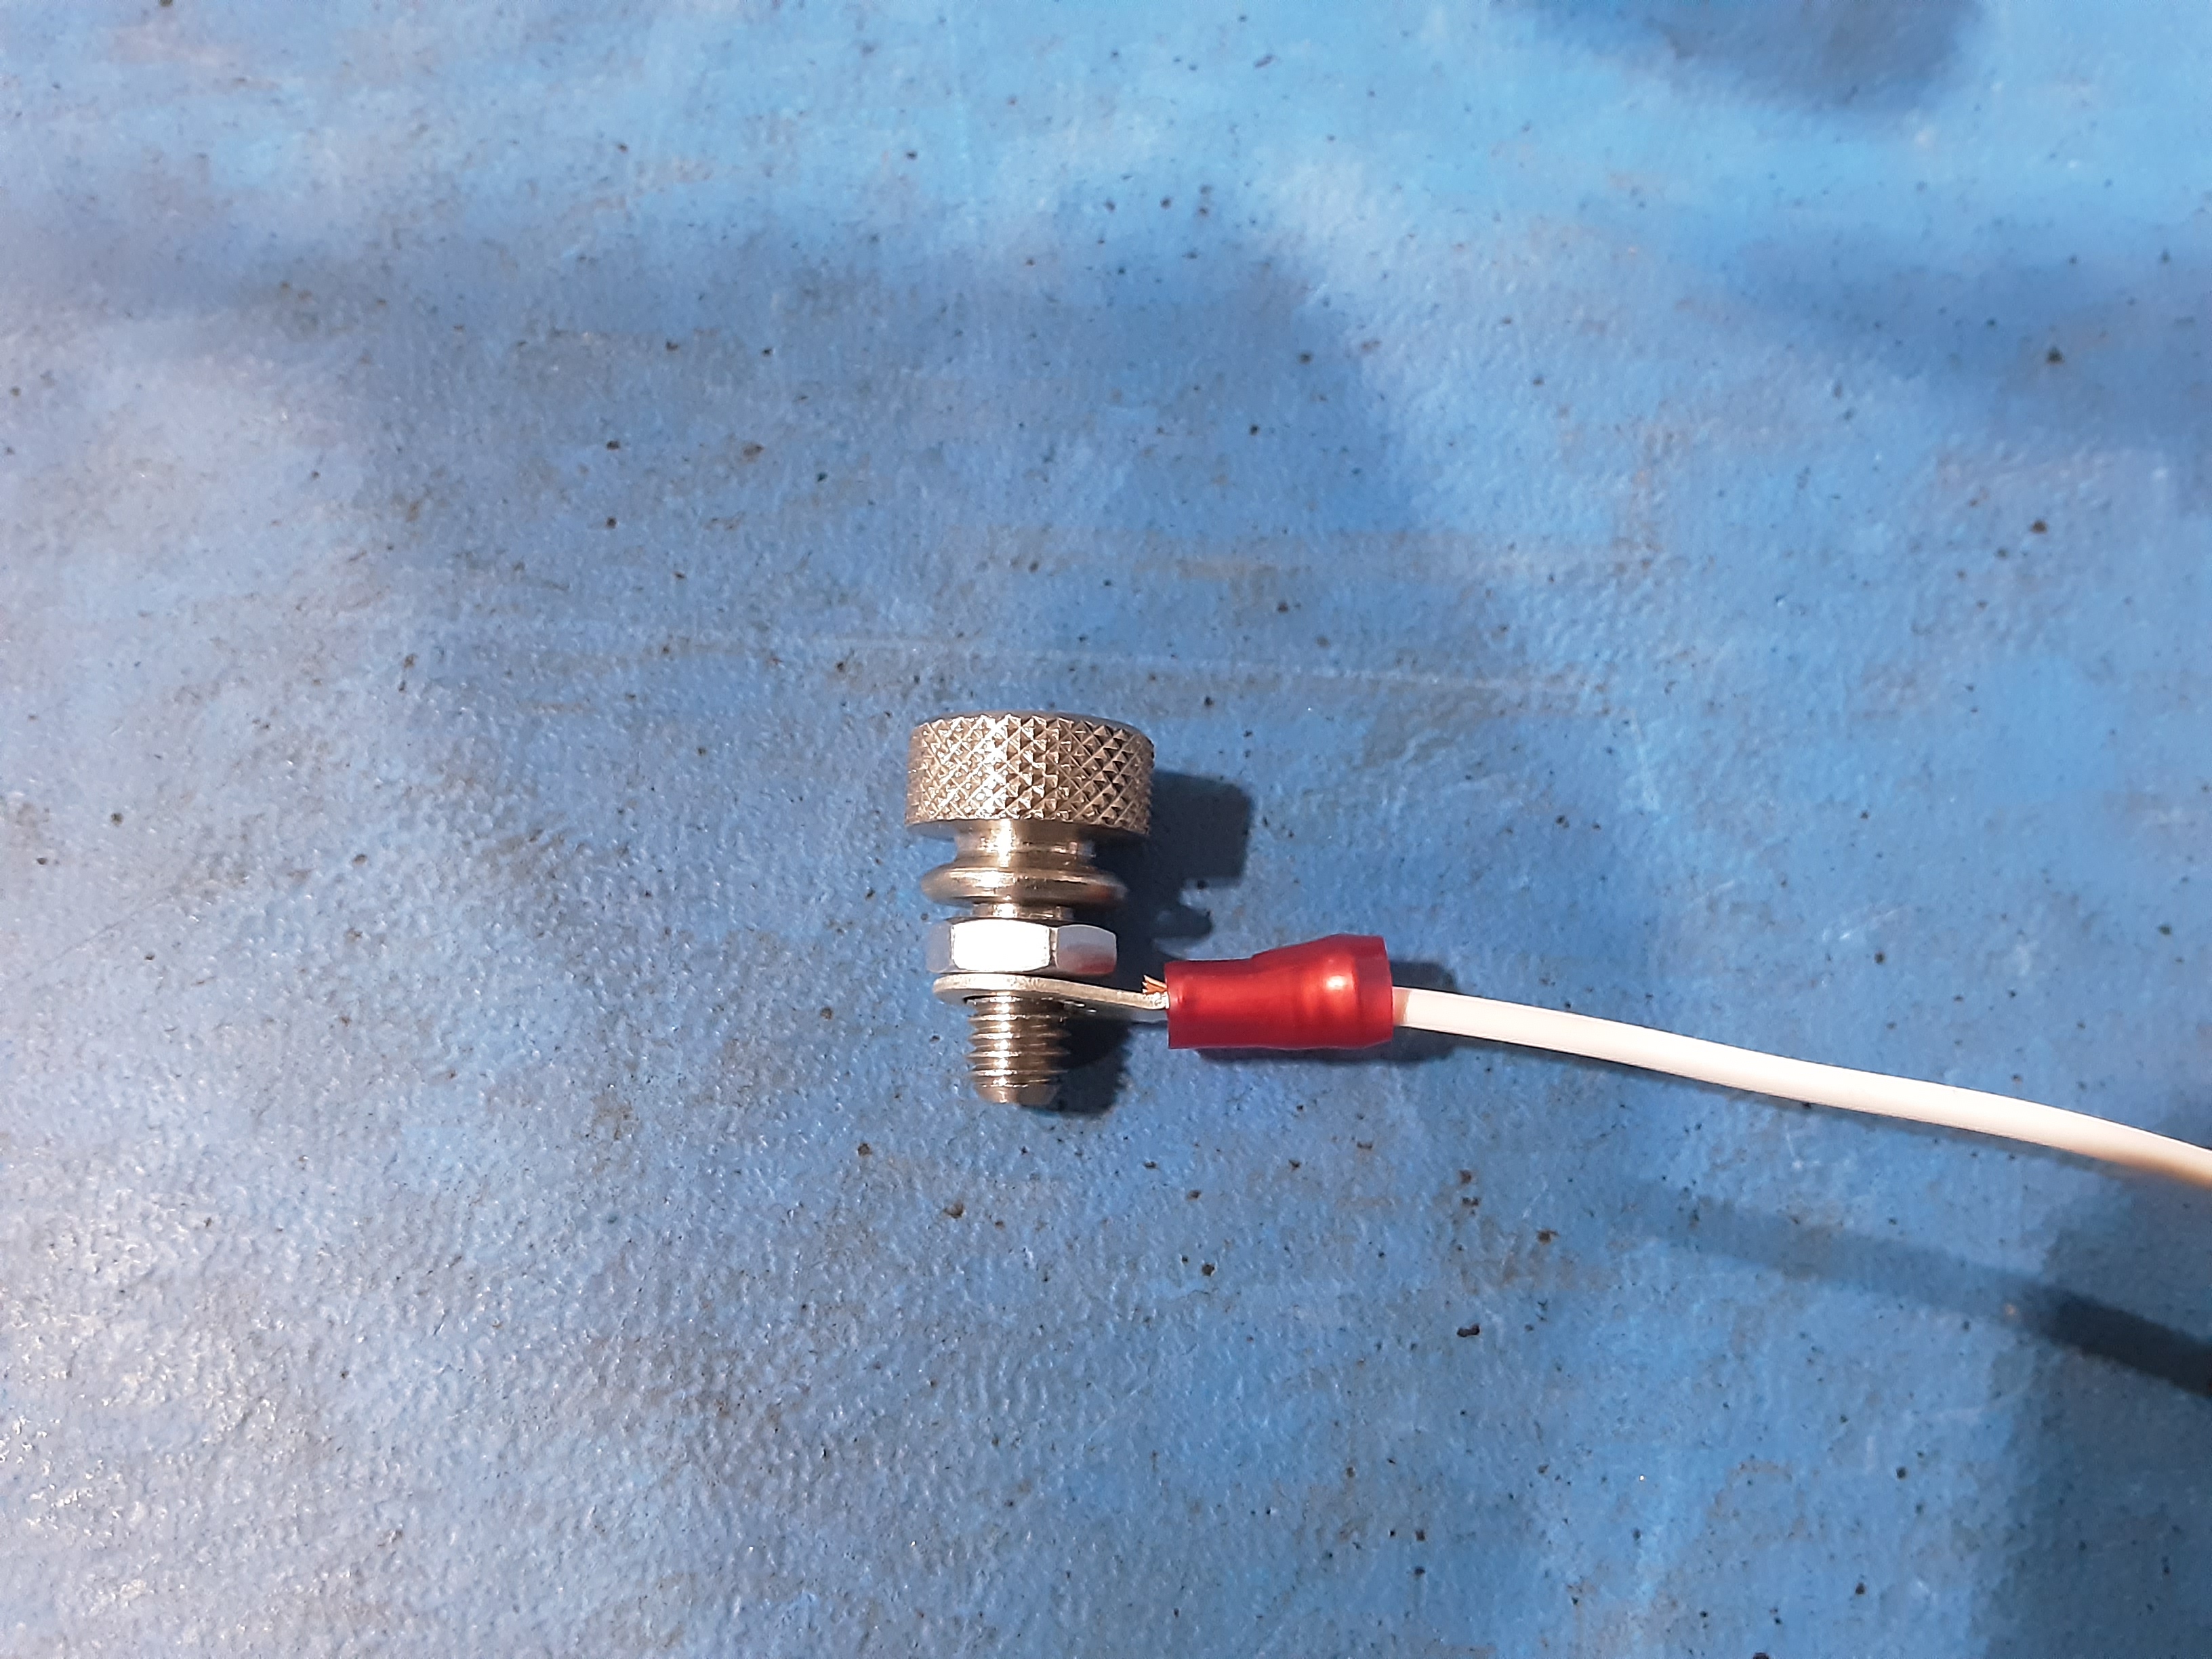
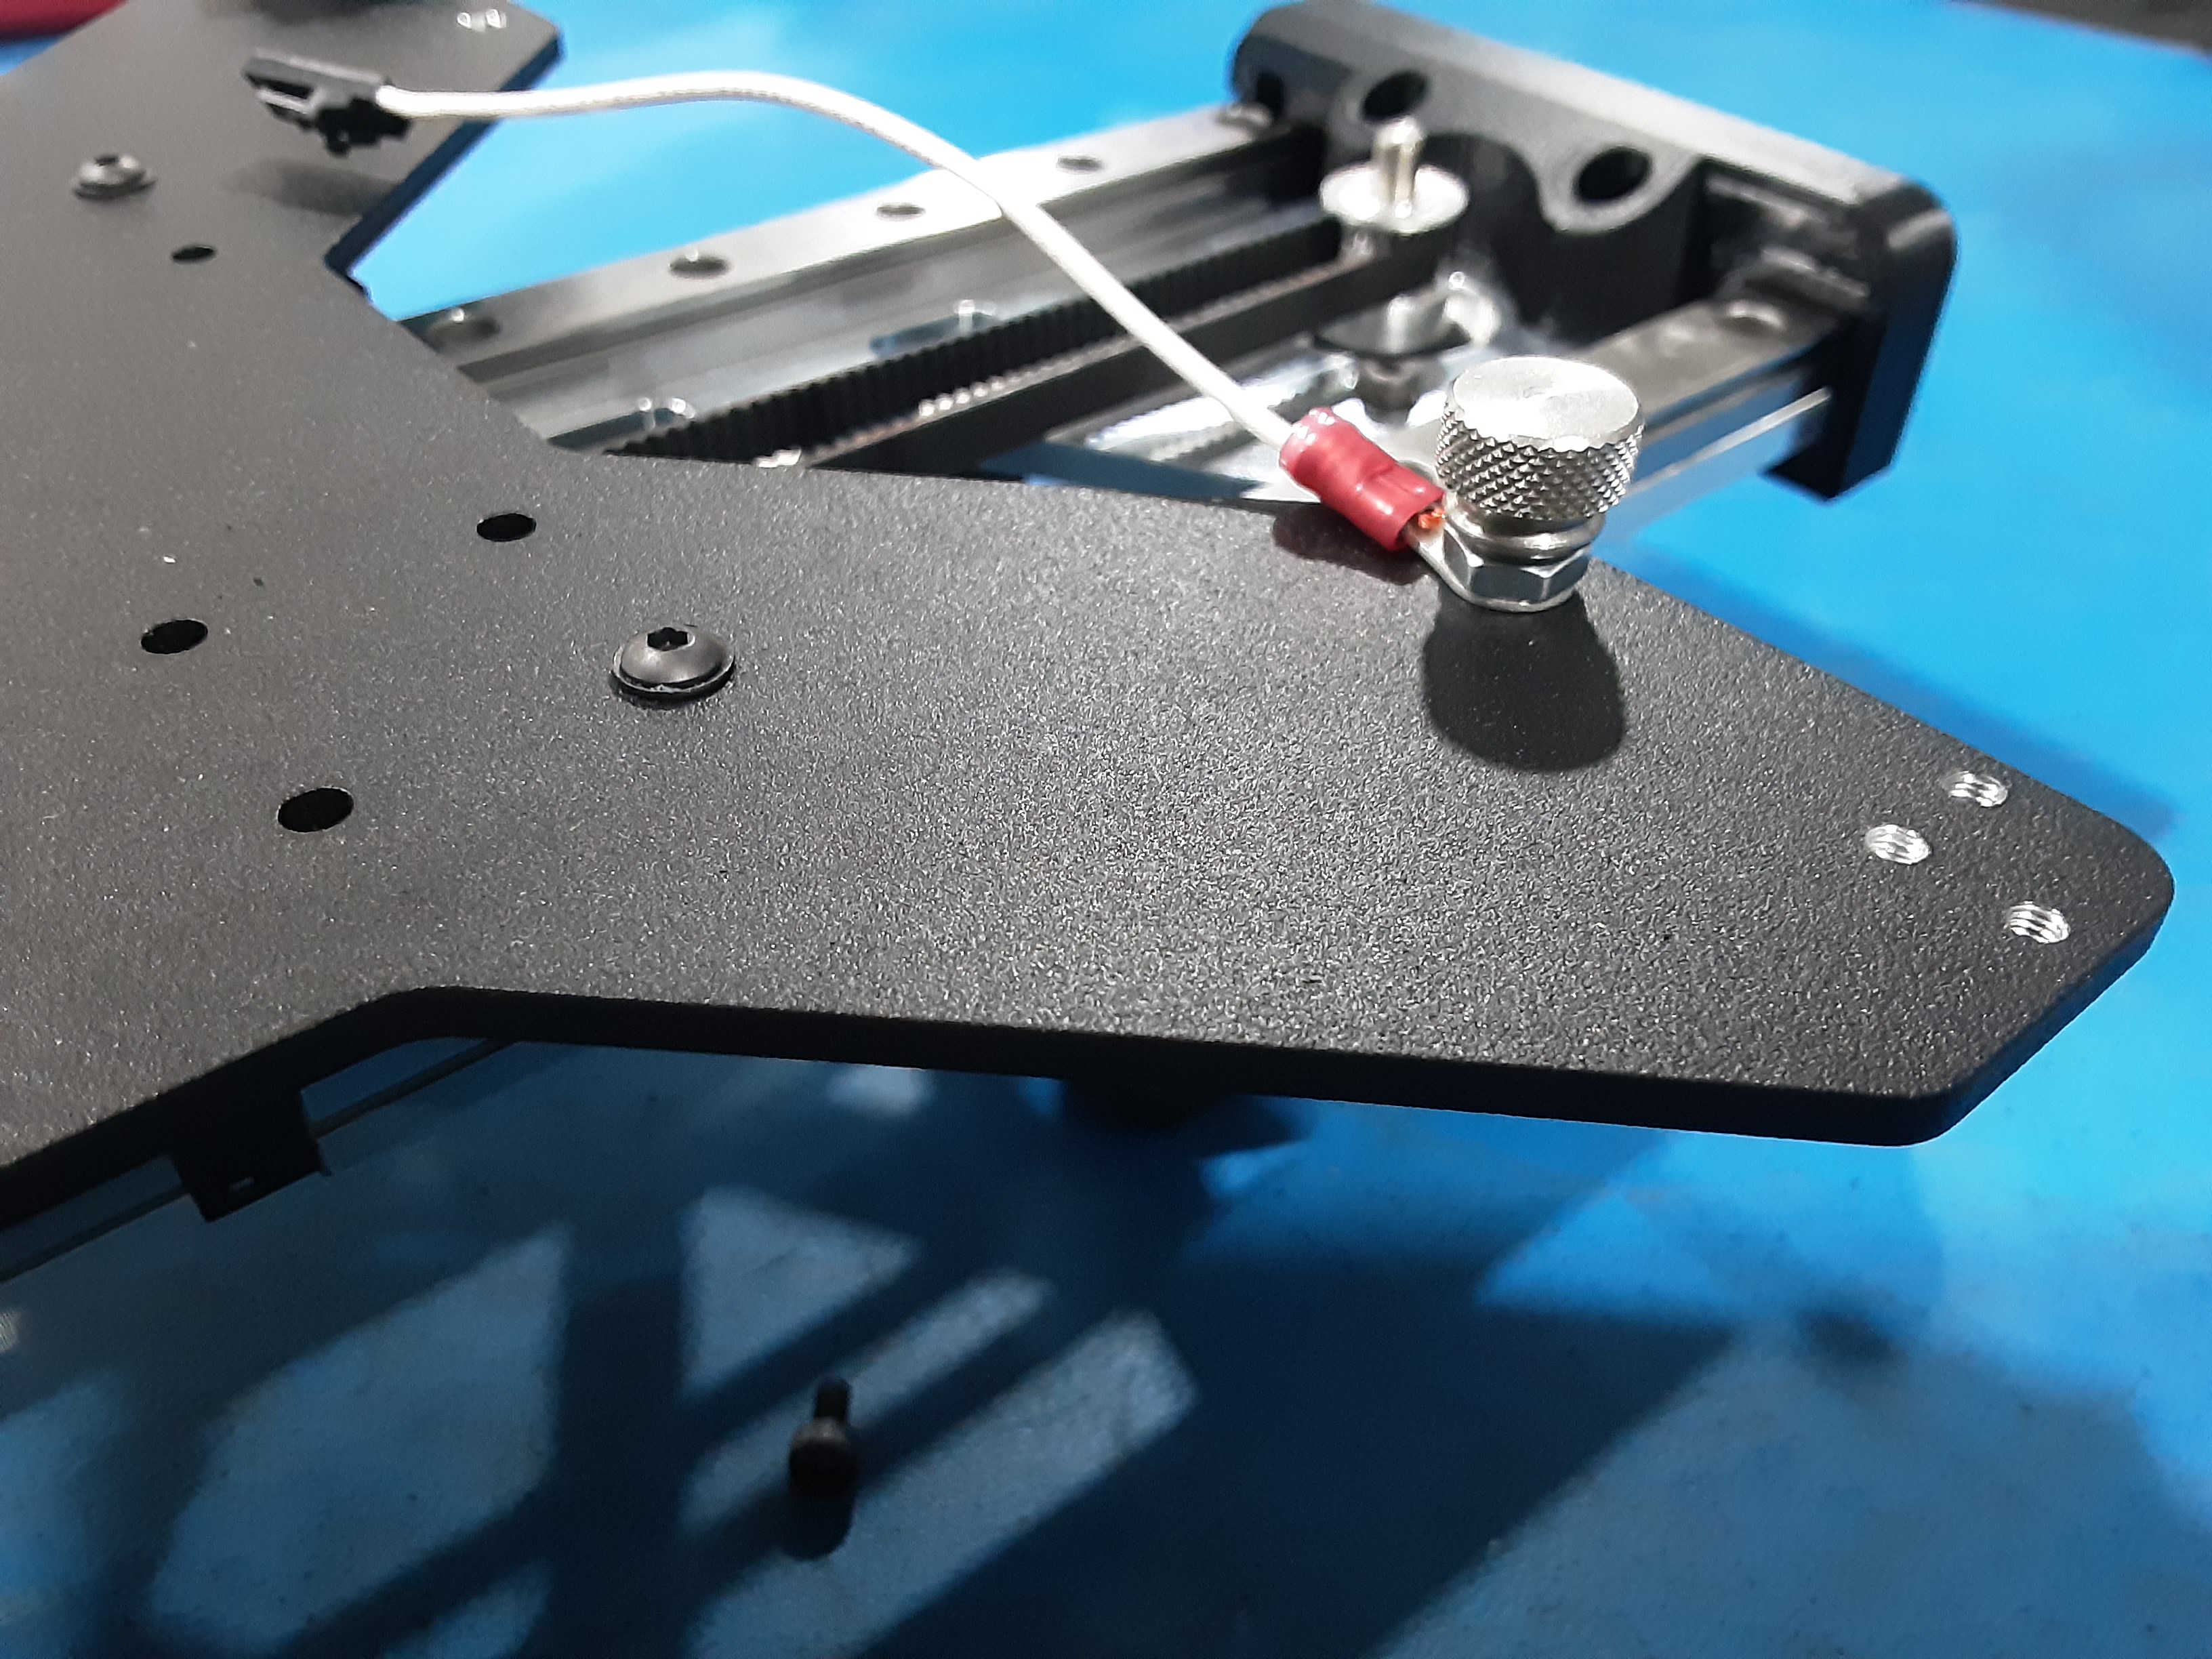
6H) Grab EL-HR0228 x1, HD-BT0300 x1, HD-NT0016 x1, PP-GP0883 x4, PP-GP0930 x4, and
HD-BT0045 x8.
6I) Thread HD-NT0016 onto HD-BT0300. Put HD-BT0300 through the ring terminal on EL-HR0228 and install on PP-FP0237.
6J) Attach PP-GP0883 x4 to the four corners of PP-FP0237 using HD-BT0045 x8.
6K) Place PP-GP0930 x4 over PP-FP0883 x4.