Open HardwareAssembly Instructions
Guides for installation and assembly of the LulzBot line of products made by FAME 3D LLC.
Guides for installation and assembly of the LulzBot line of products made by FAME 3D LLC.
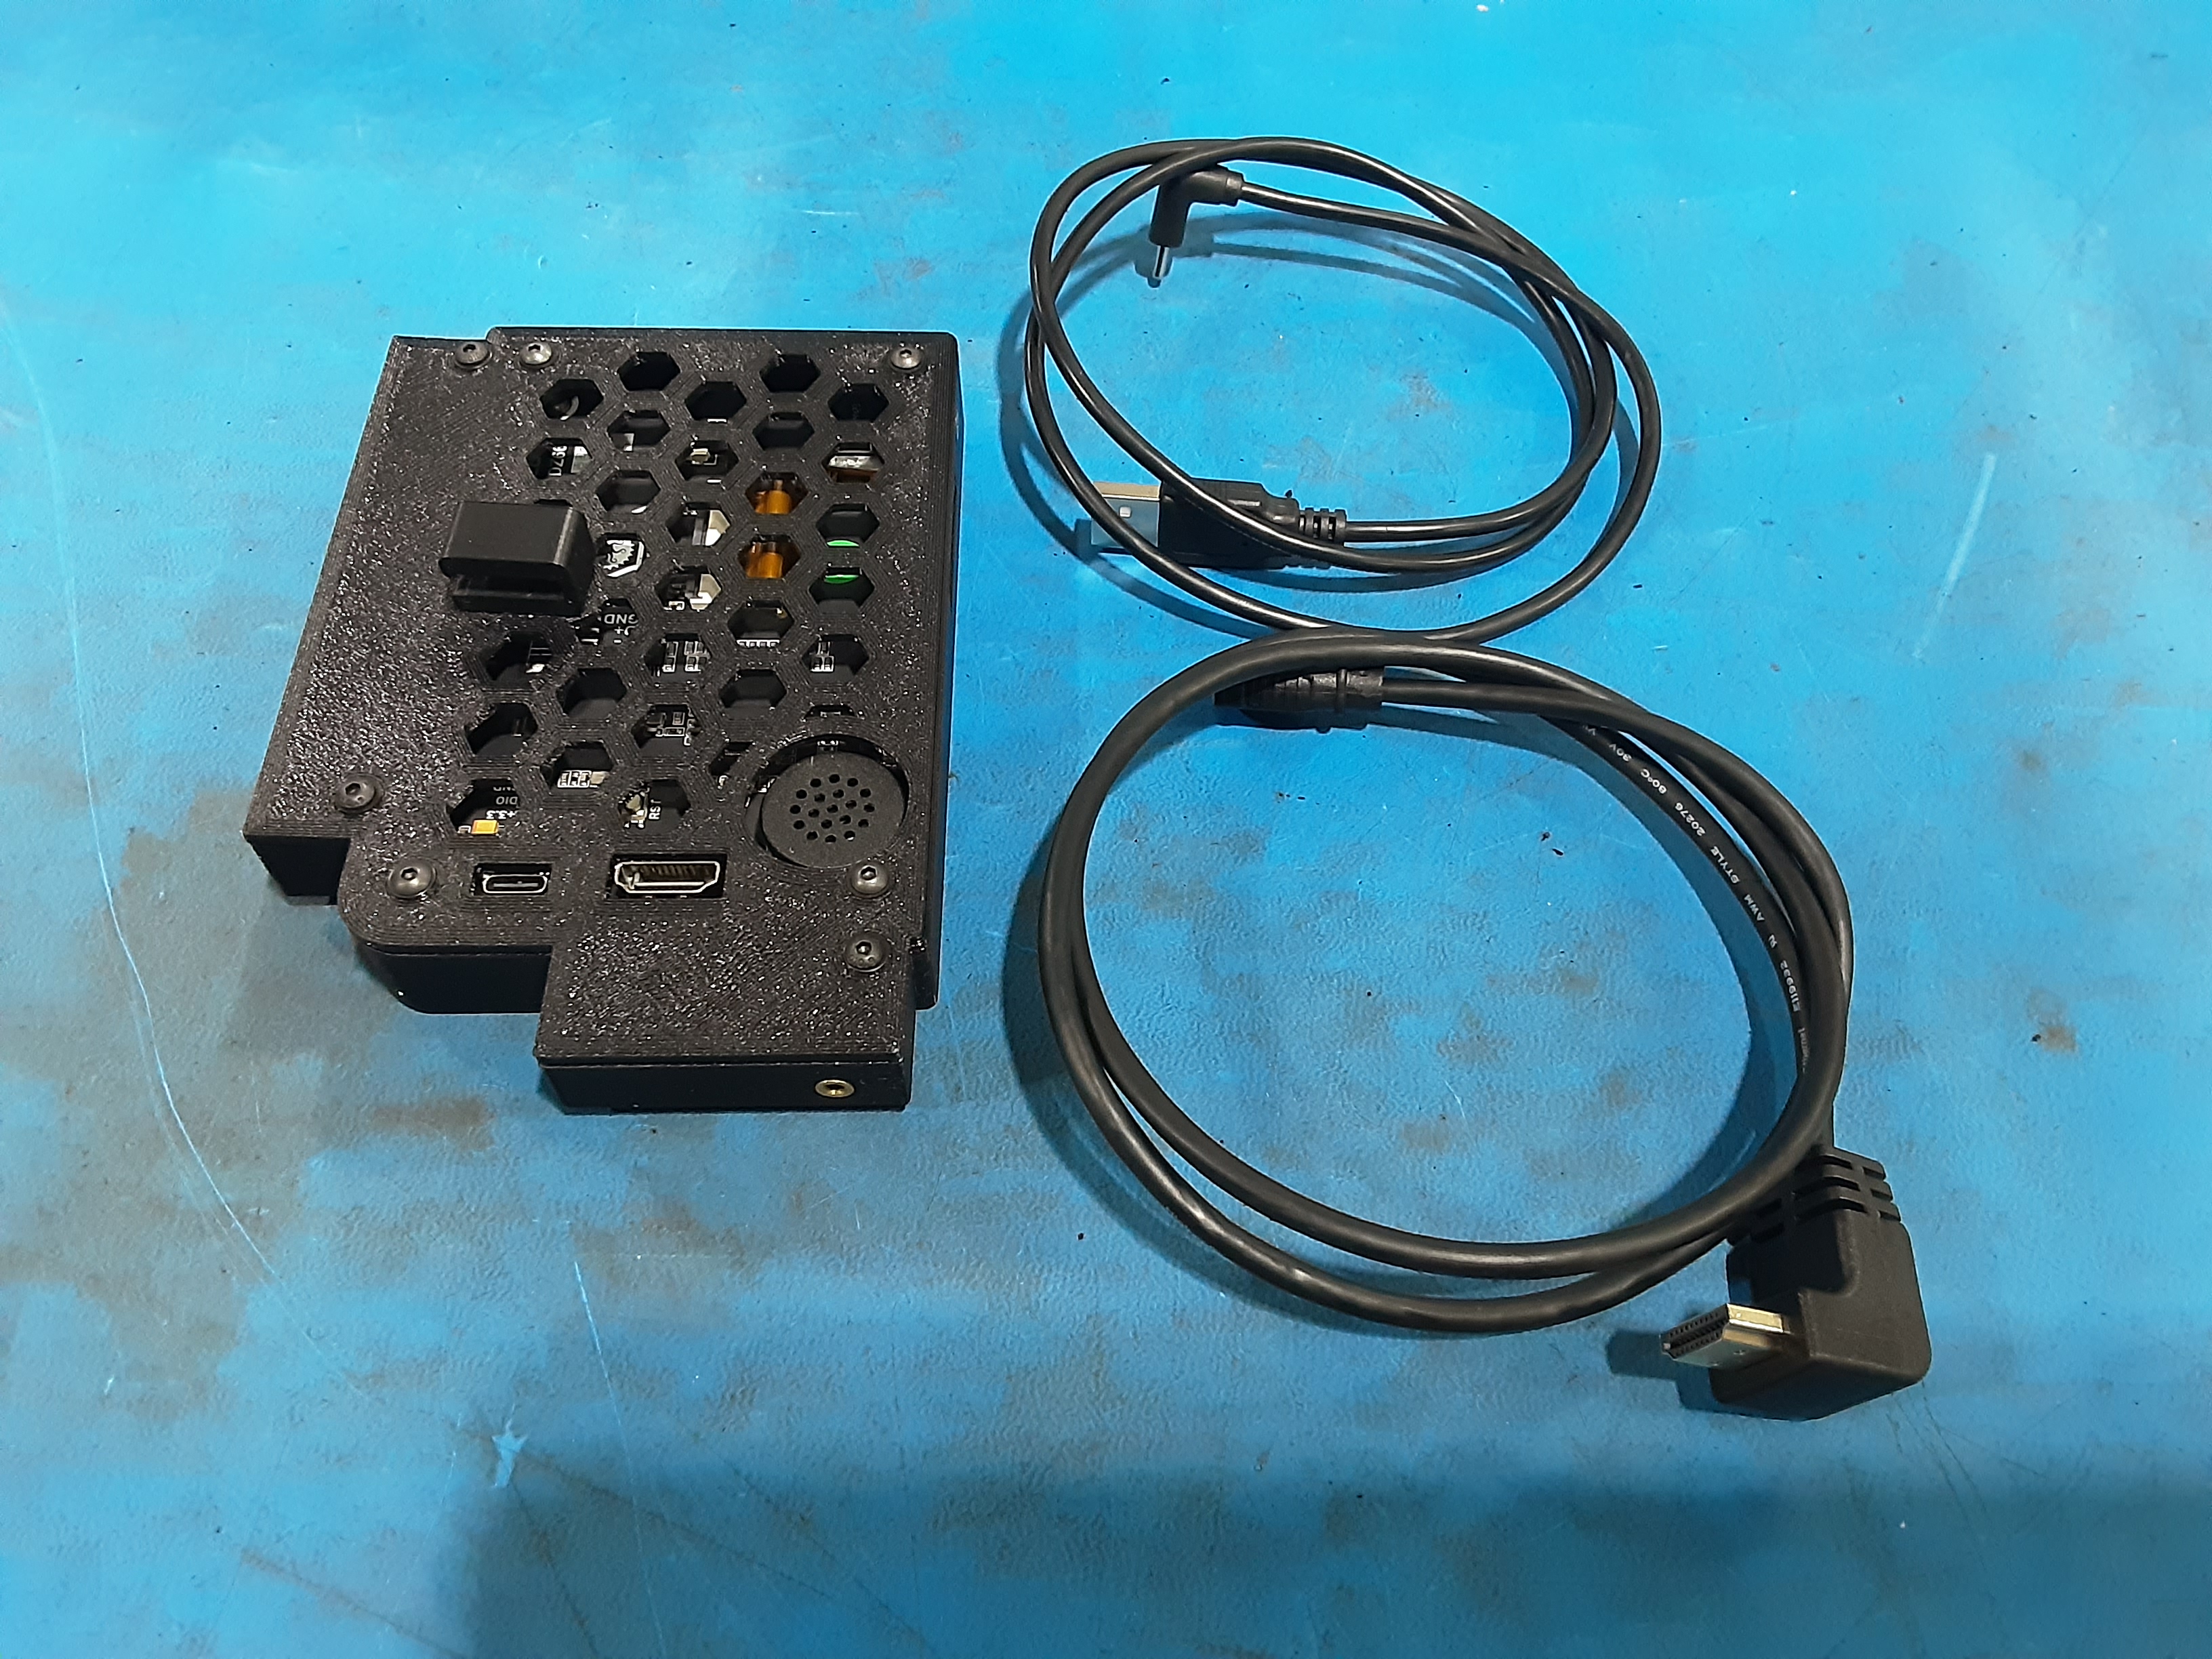
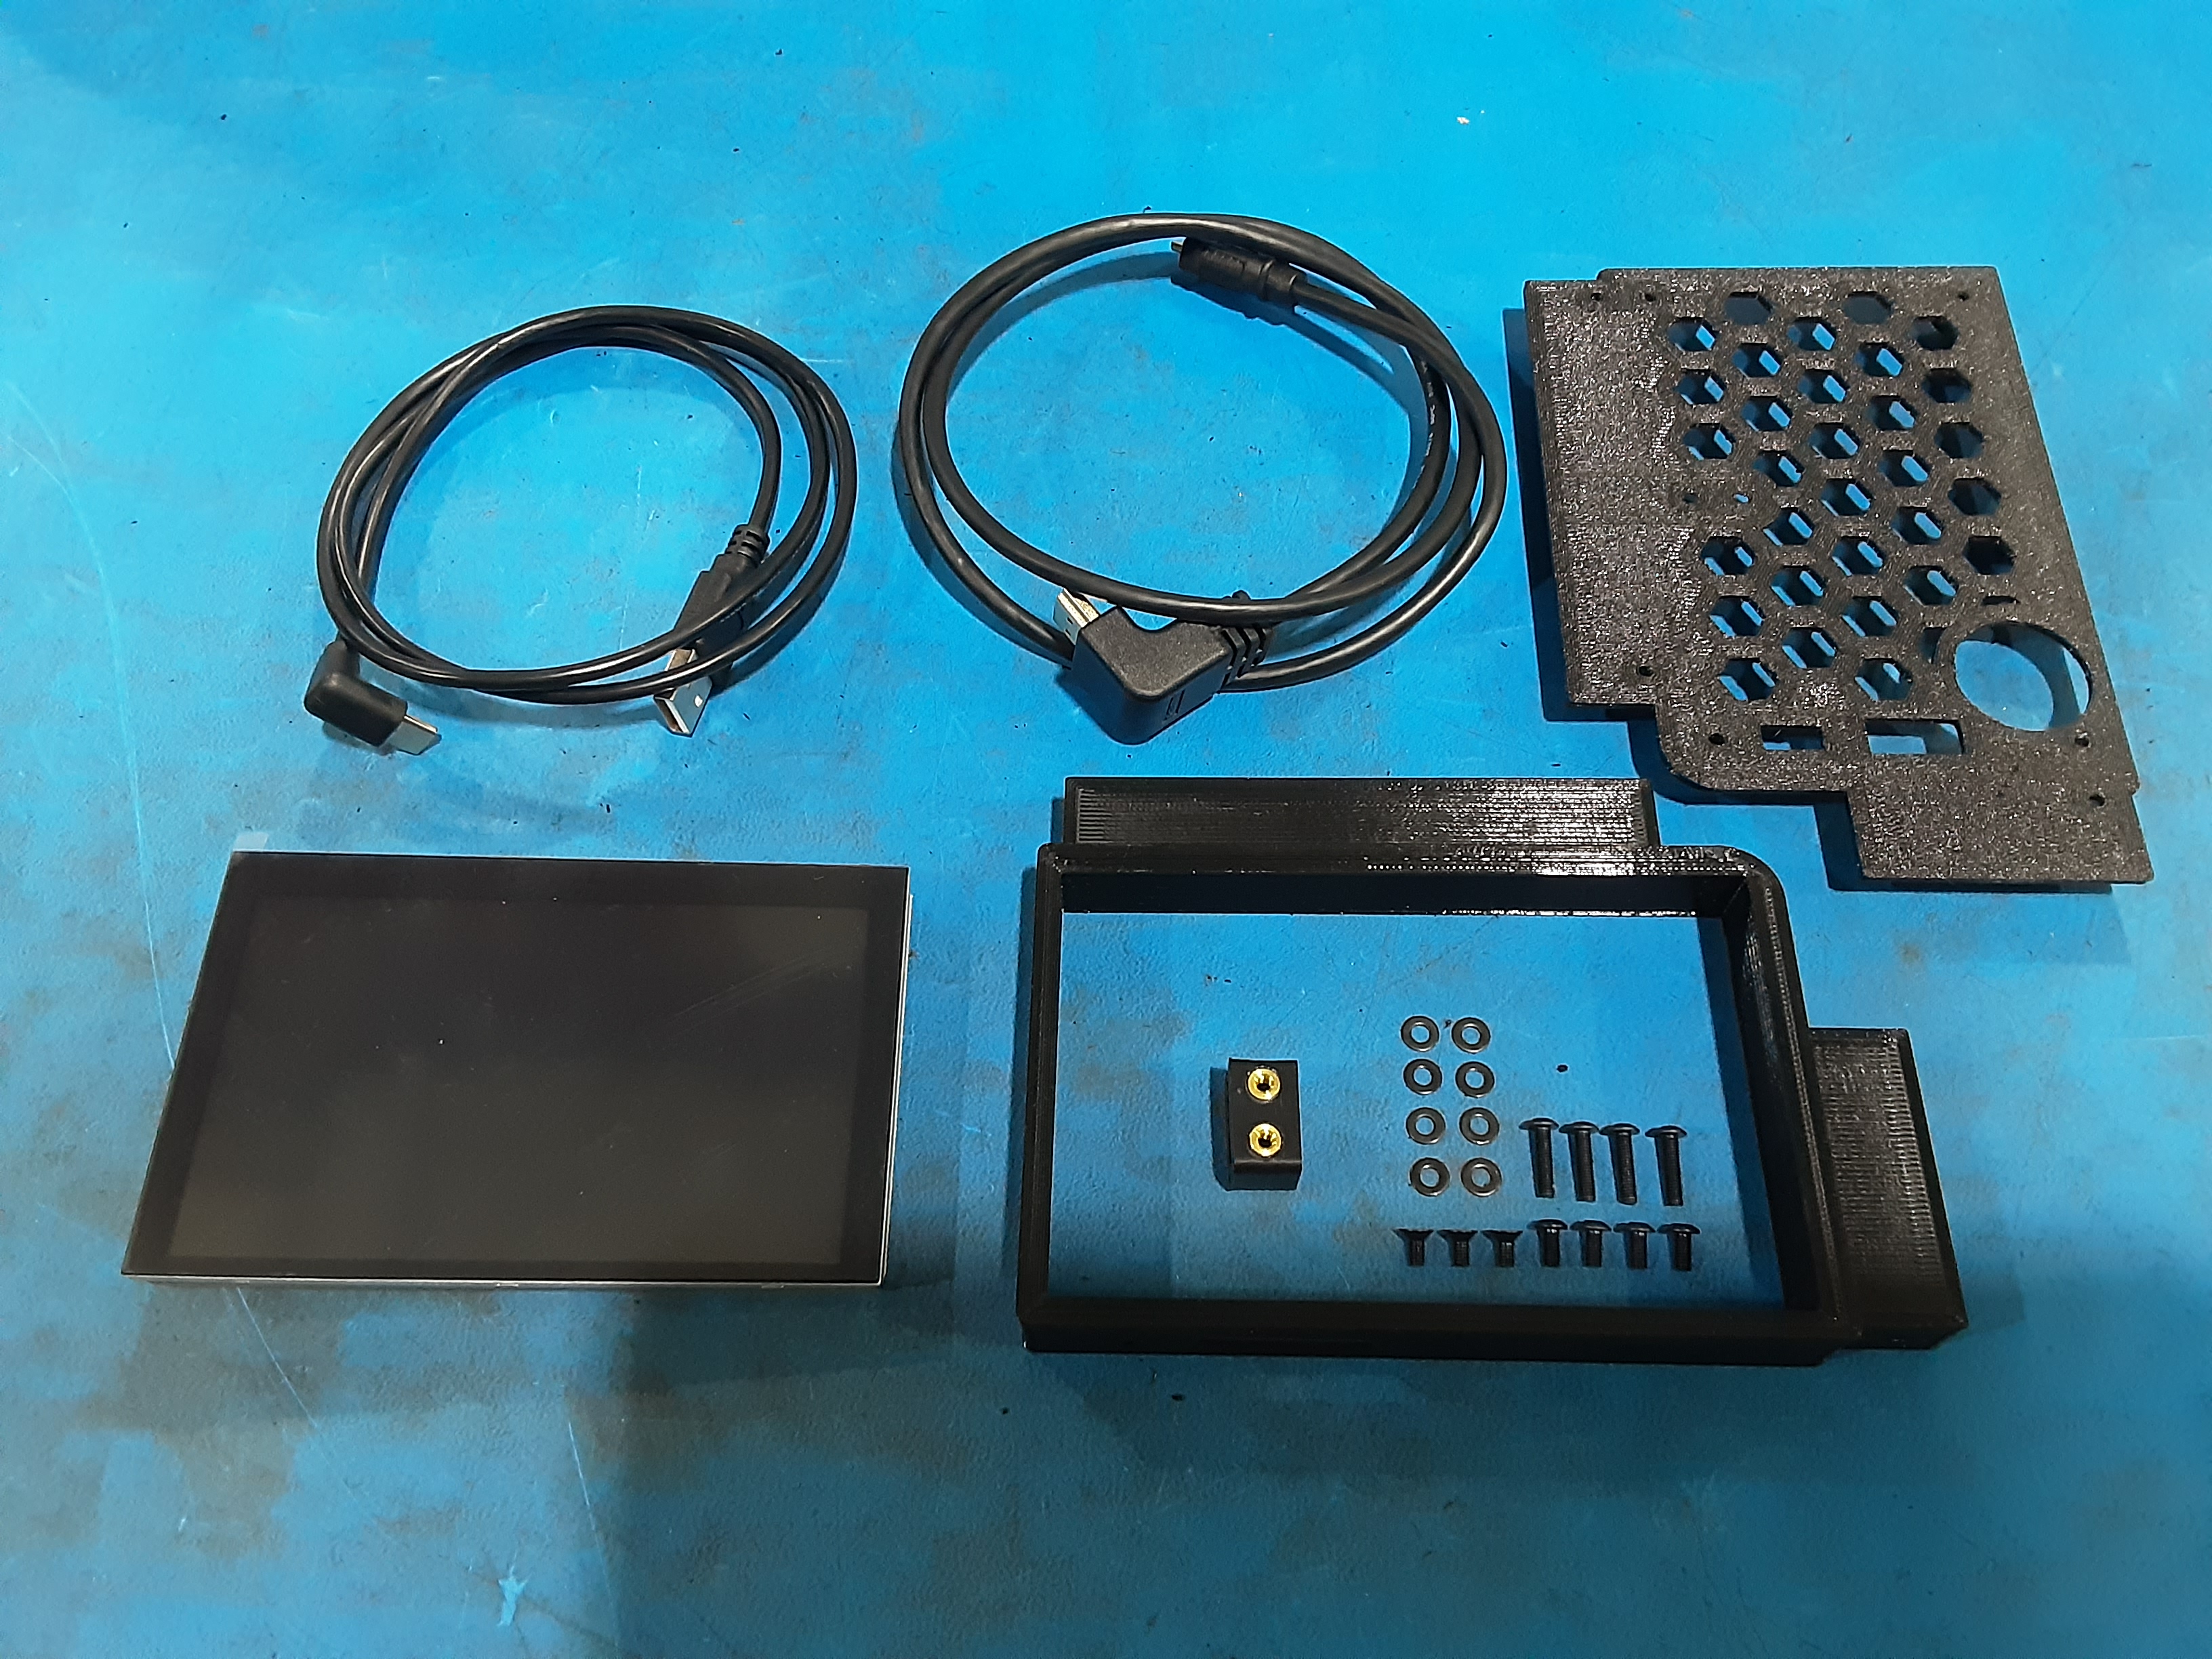
1x [EL-MS0601] BTT HDMI 5 Touchscreen Big Tree Tech Including HDMI and USB Cable V2
3x [HD-BT0128] M3 x 6mm FHCS Black-Oxide
4x [HD-BT0140] M3 x 6 Bolt, BHCS Black Oxide
4x [HD-BT0146] Class 10.9 Steel Black-Oxide BHCS, M3-0.5 x 12
8x [HD-WA0038] Black-Oxide 18-8 Steel Flat Washer, M3 Screw Size, 3.2mm ID, 7.0mm OD
1x [PP-GP0821] Mini3, TouchScreen Case, PETg-BLK
1x [PP-GP0833] Mini3, Top Cable Bracket, ABS-BLK
1x [PP-GP0881] Mini3 Touchscreen Case Back
Screen Assembly
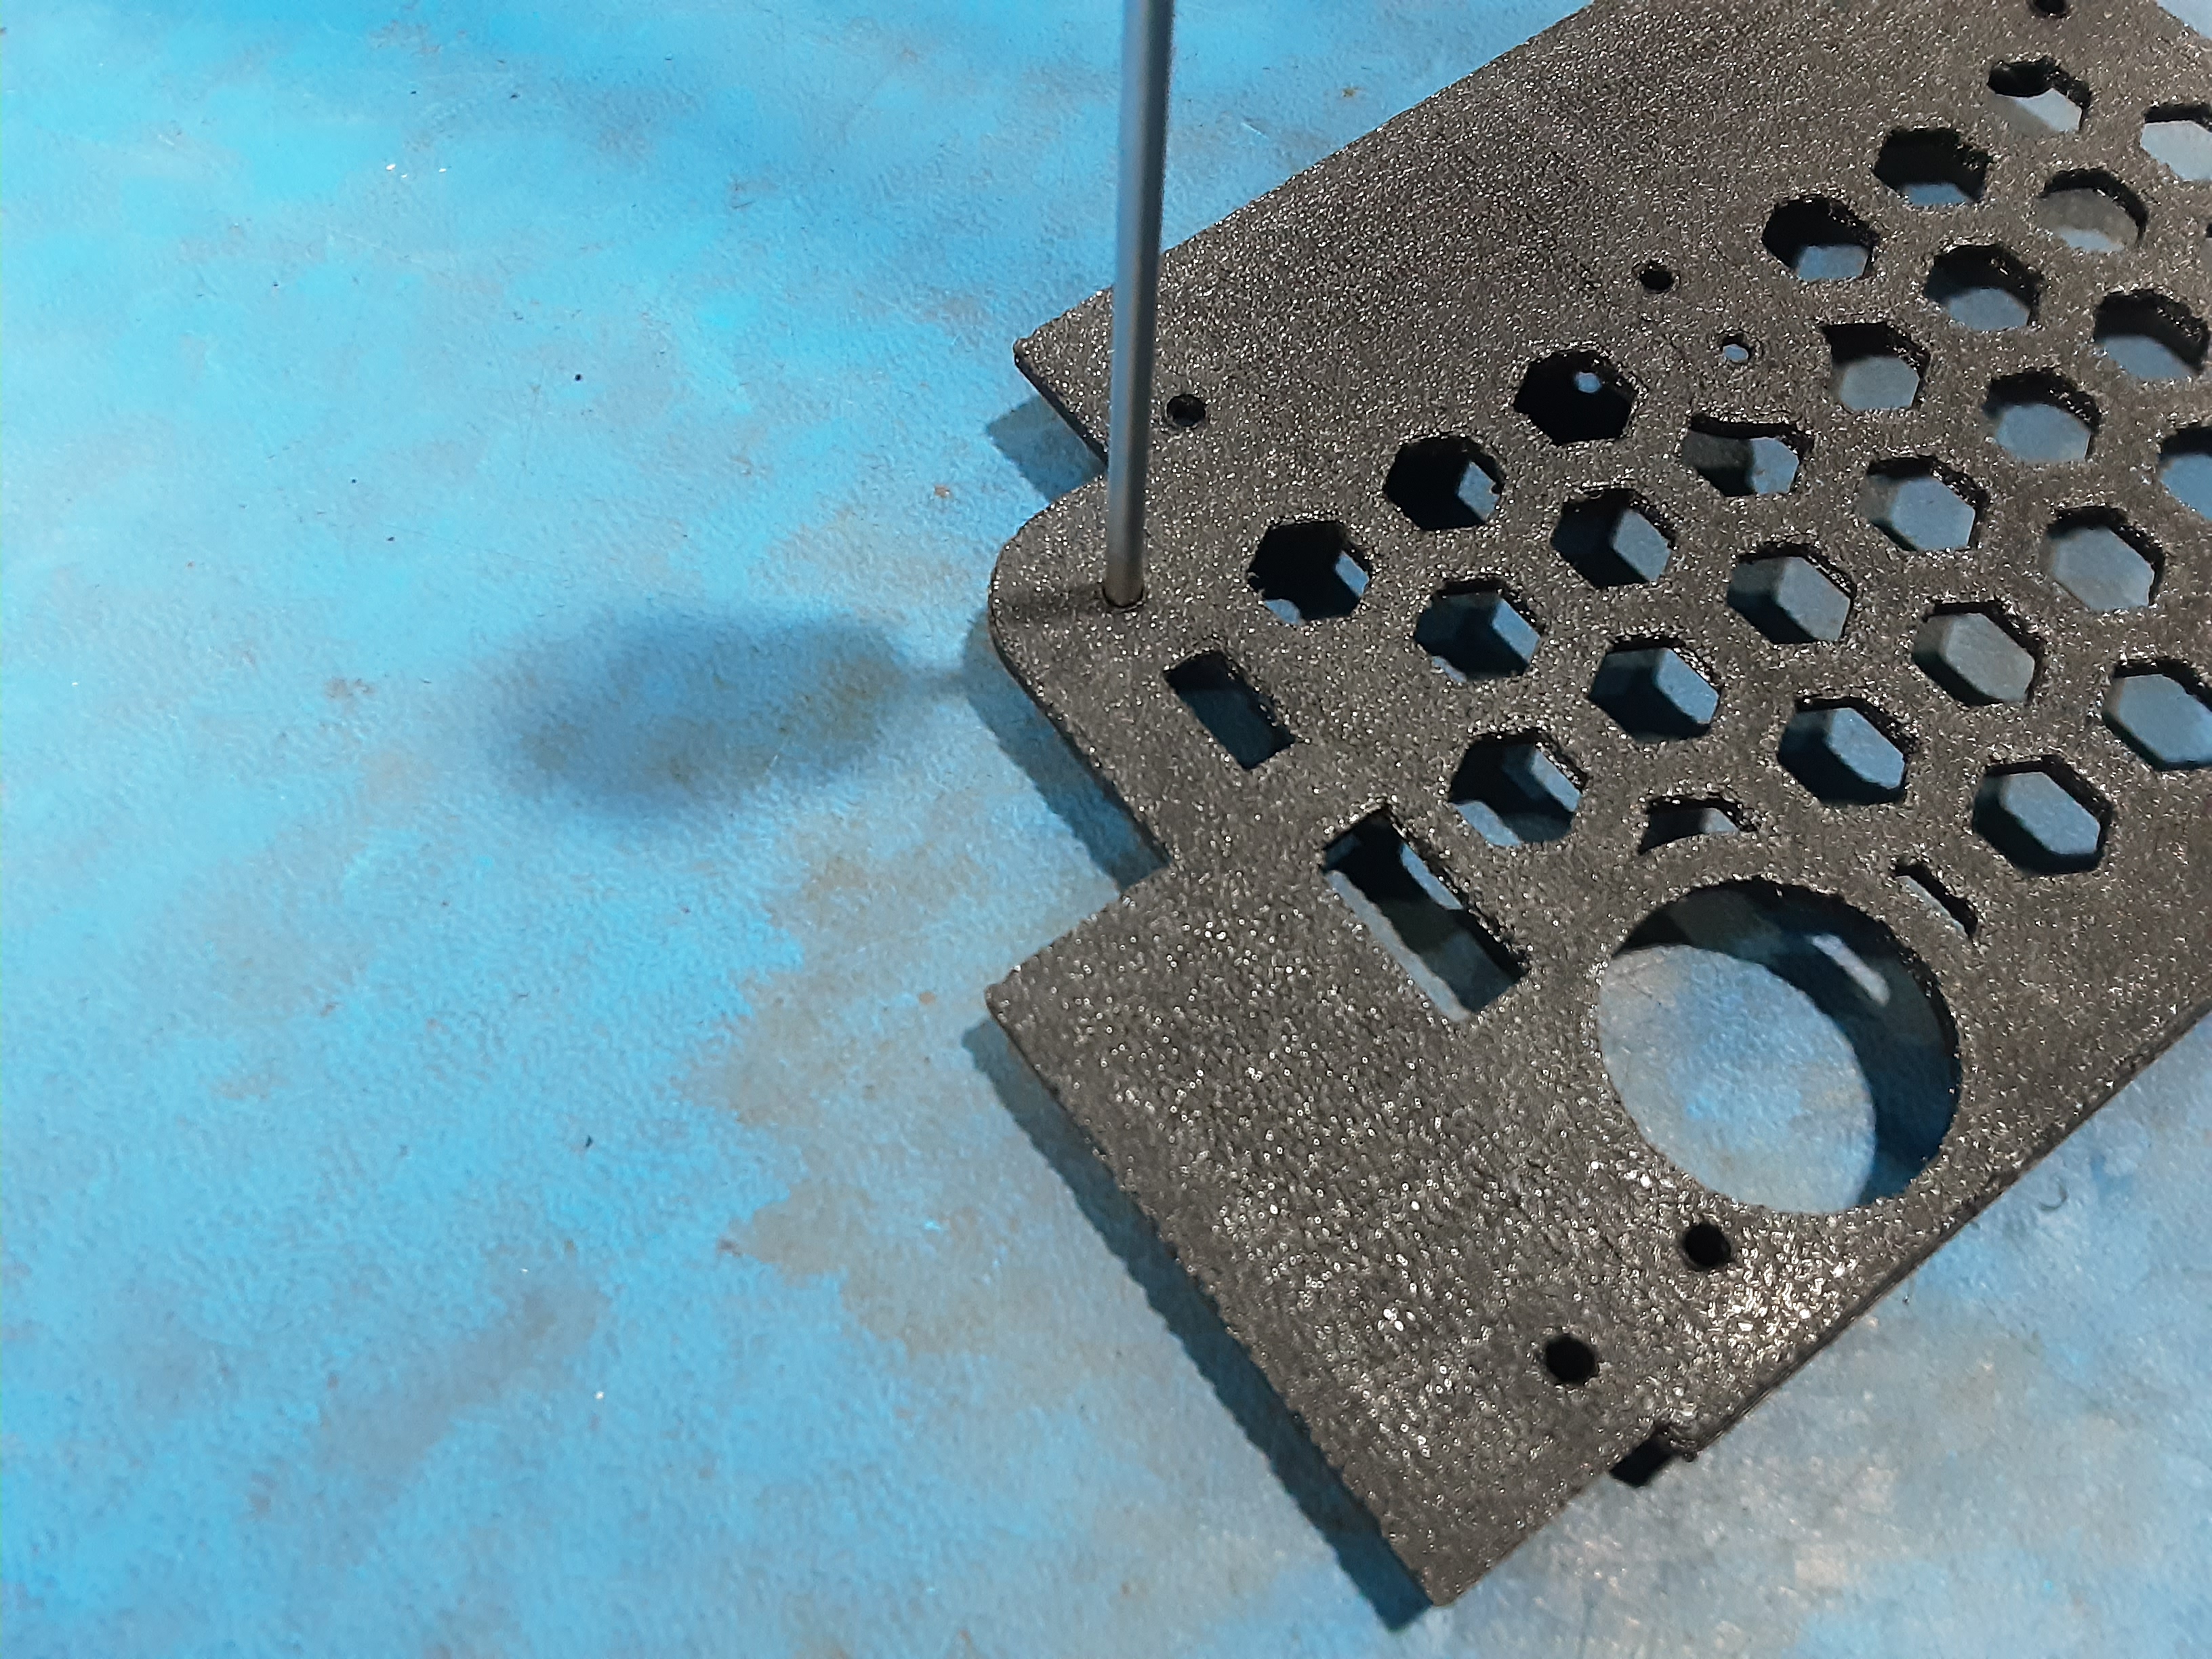
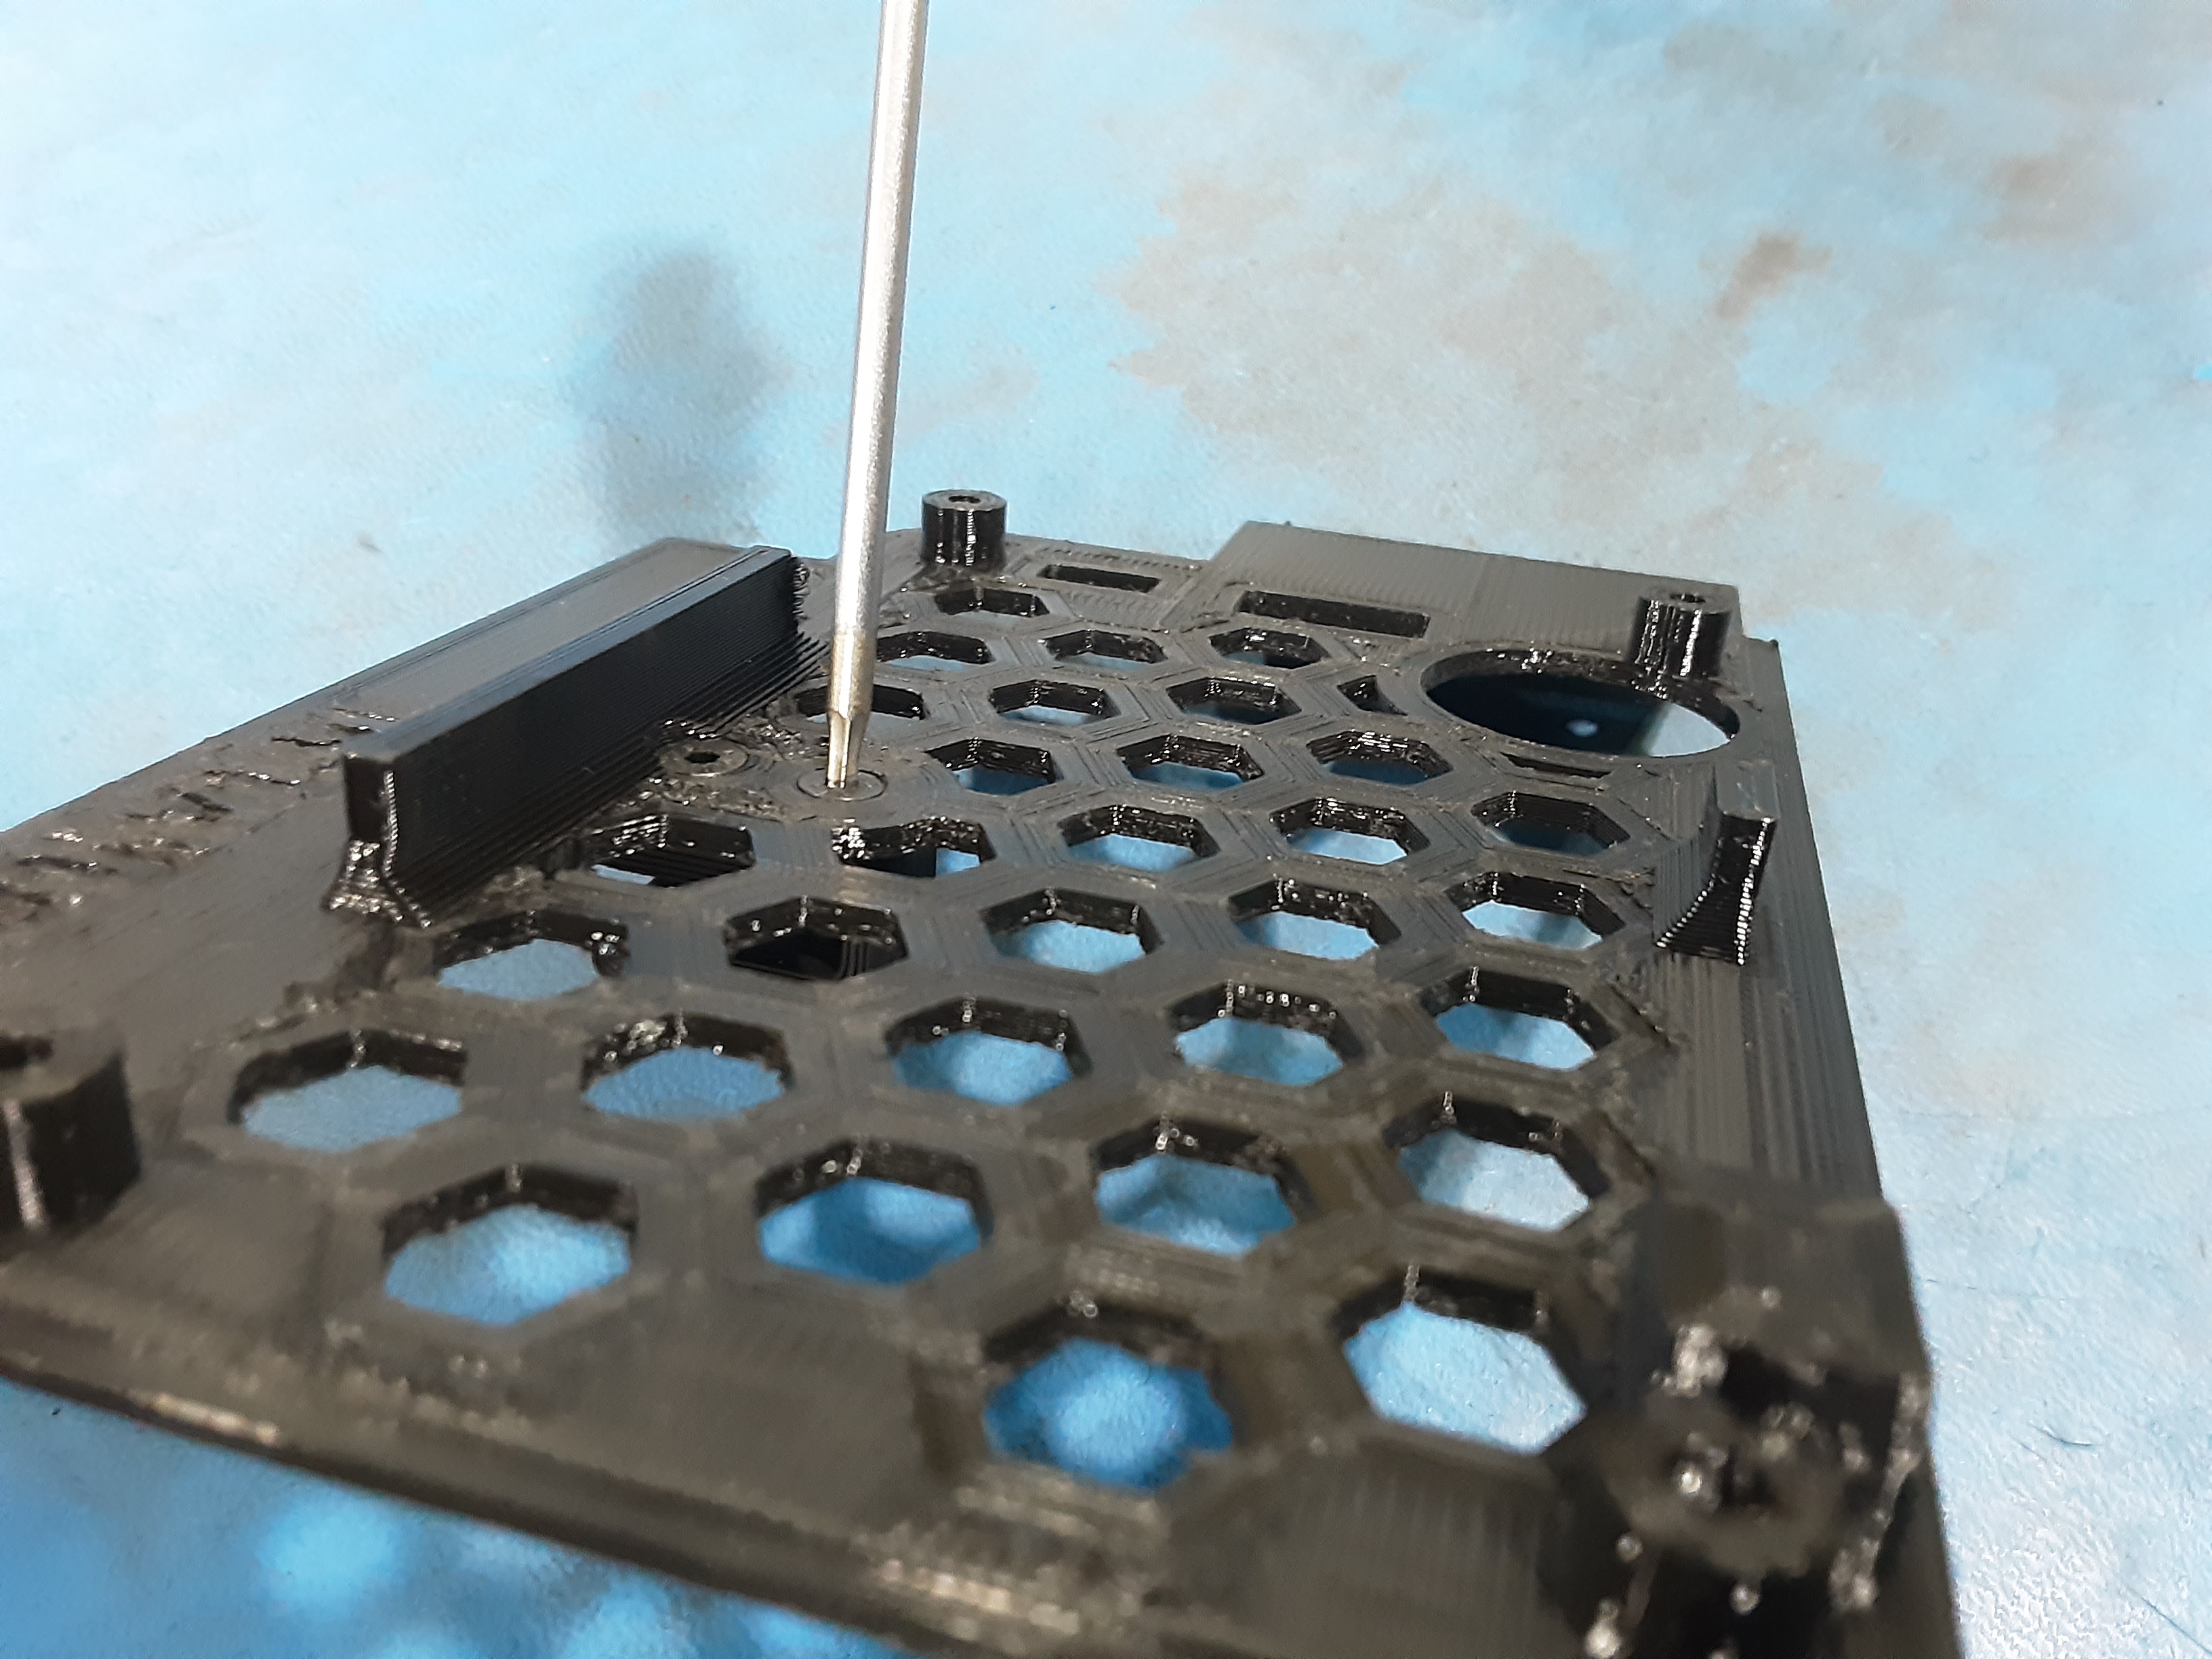
2A) Use a screw driver to open up the holes in PP-GP0881.
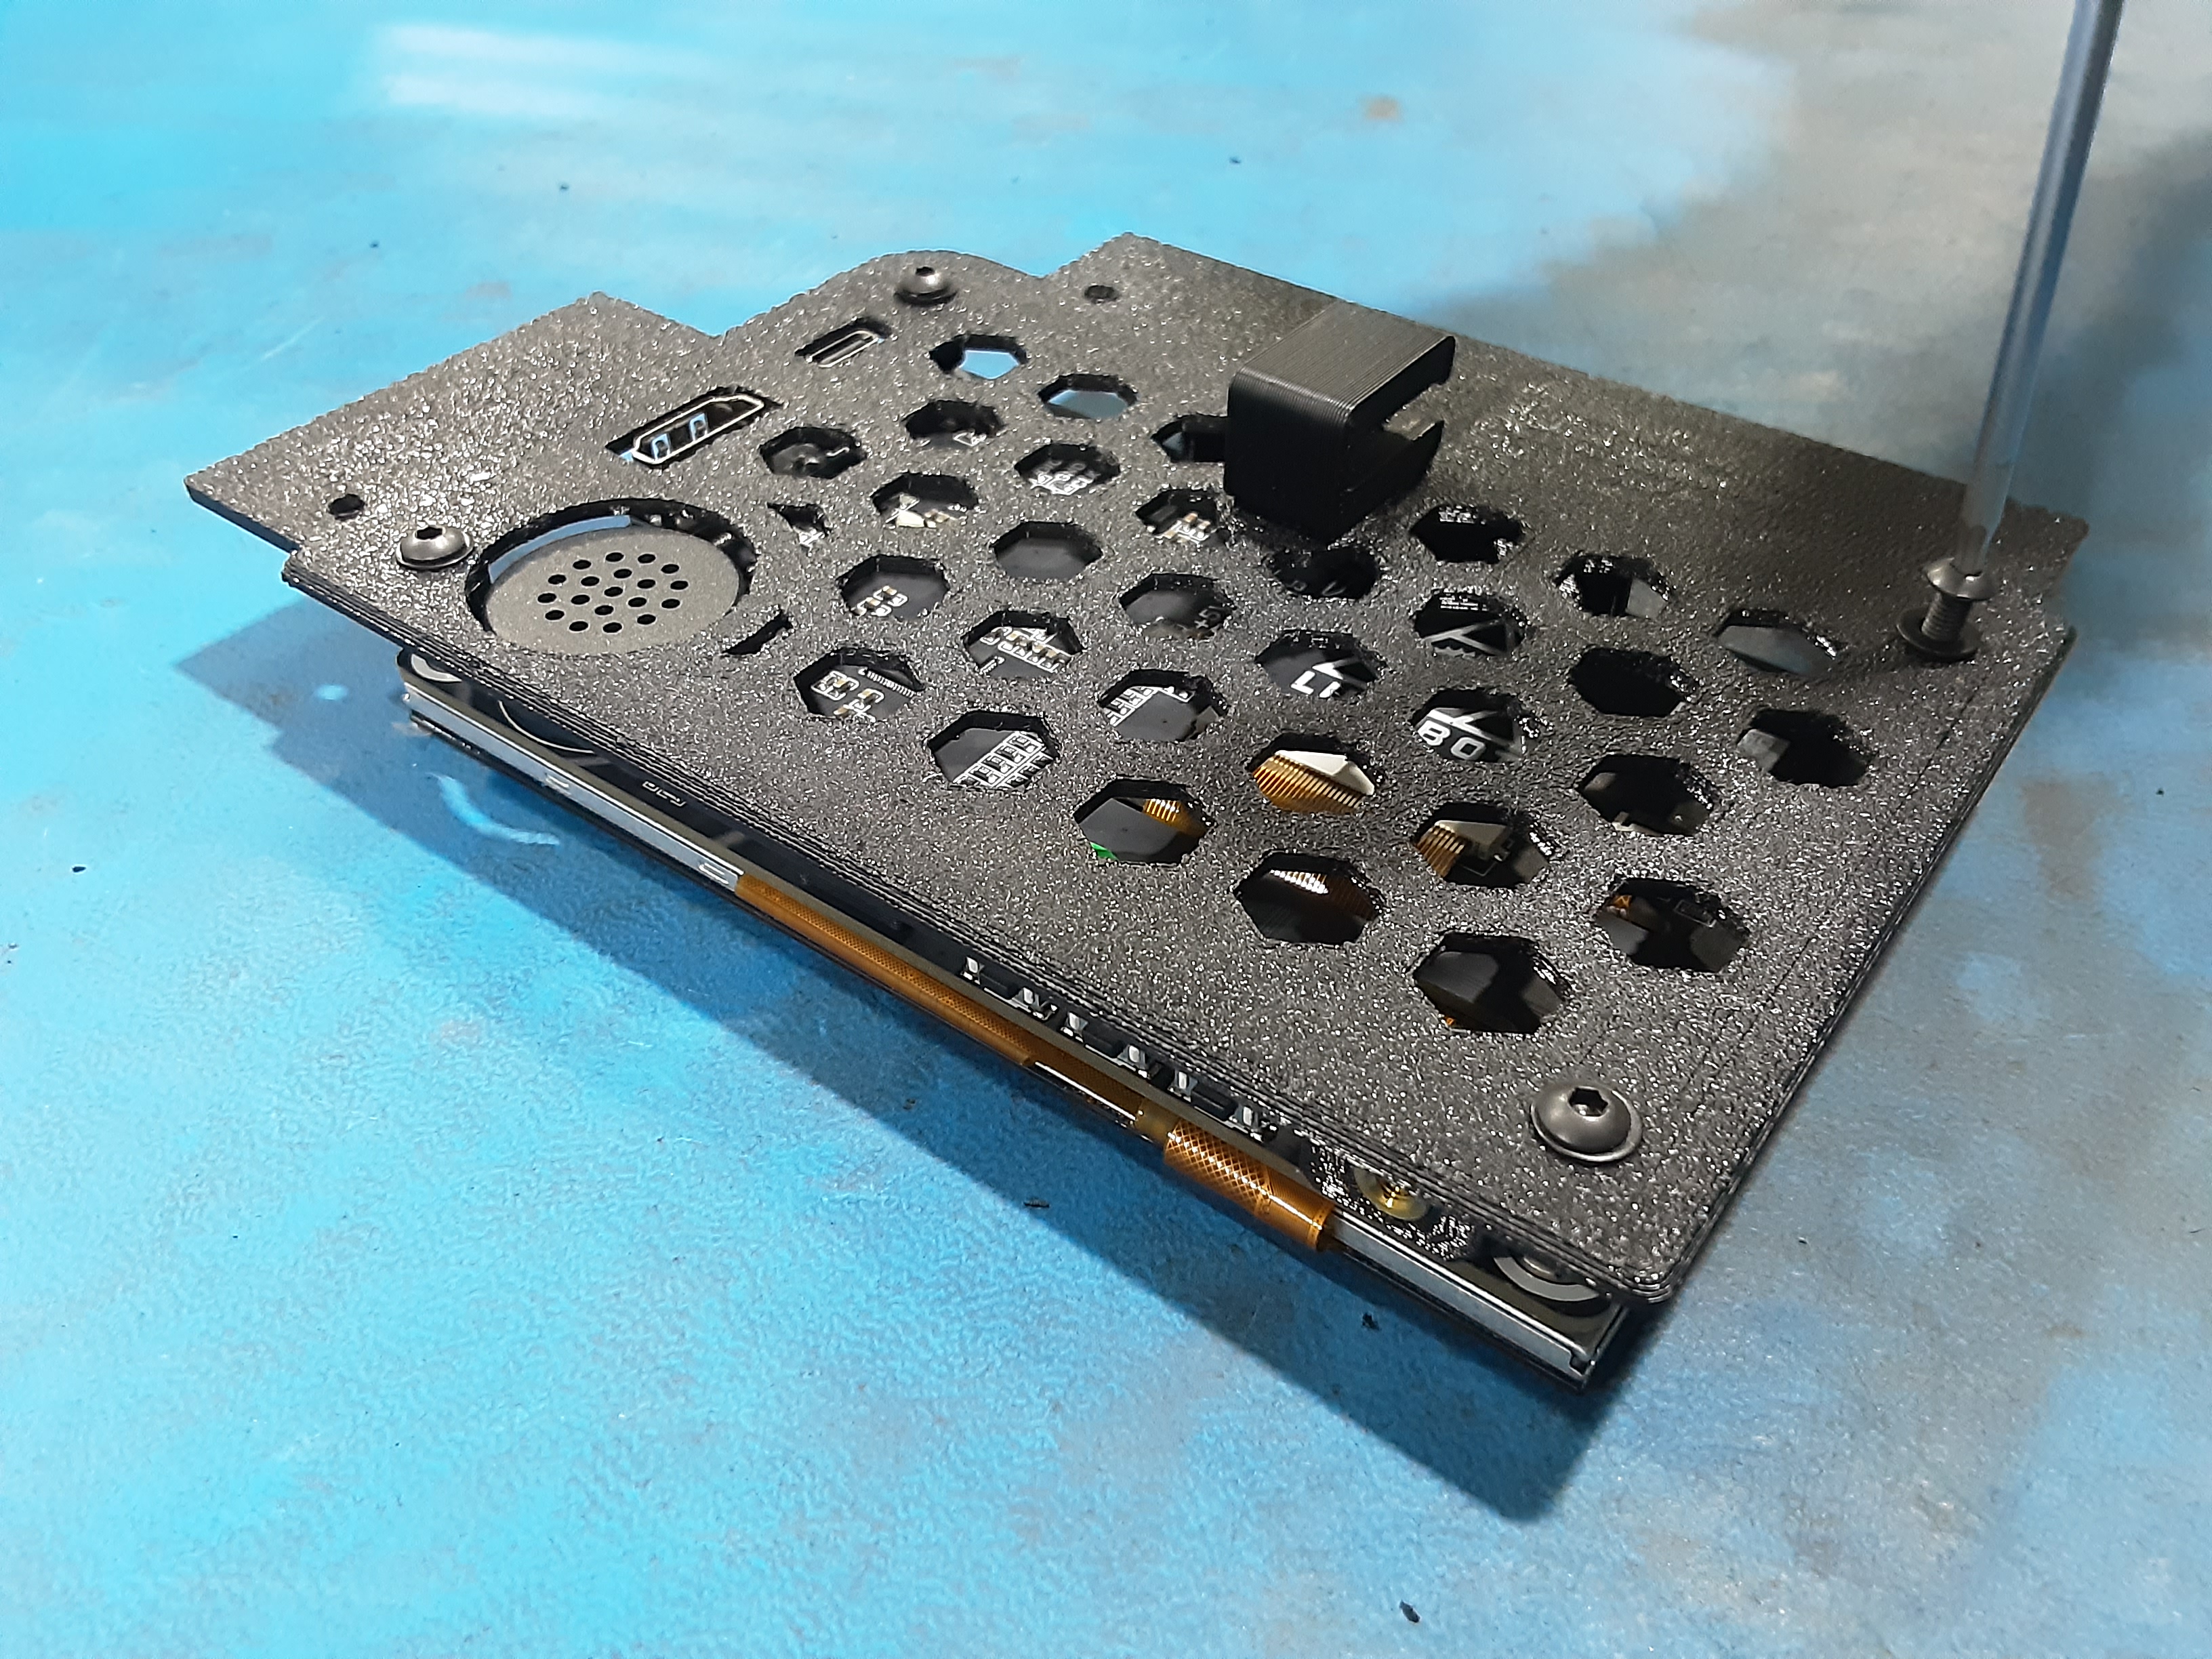
2B) Attach PP-GP0833 to PP-GP0881 with the opening of the “U” shape facing the shorter side of
PP-GP0881 using HD-BT0128 x2
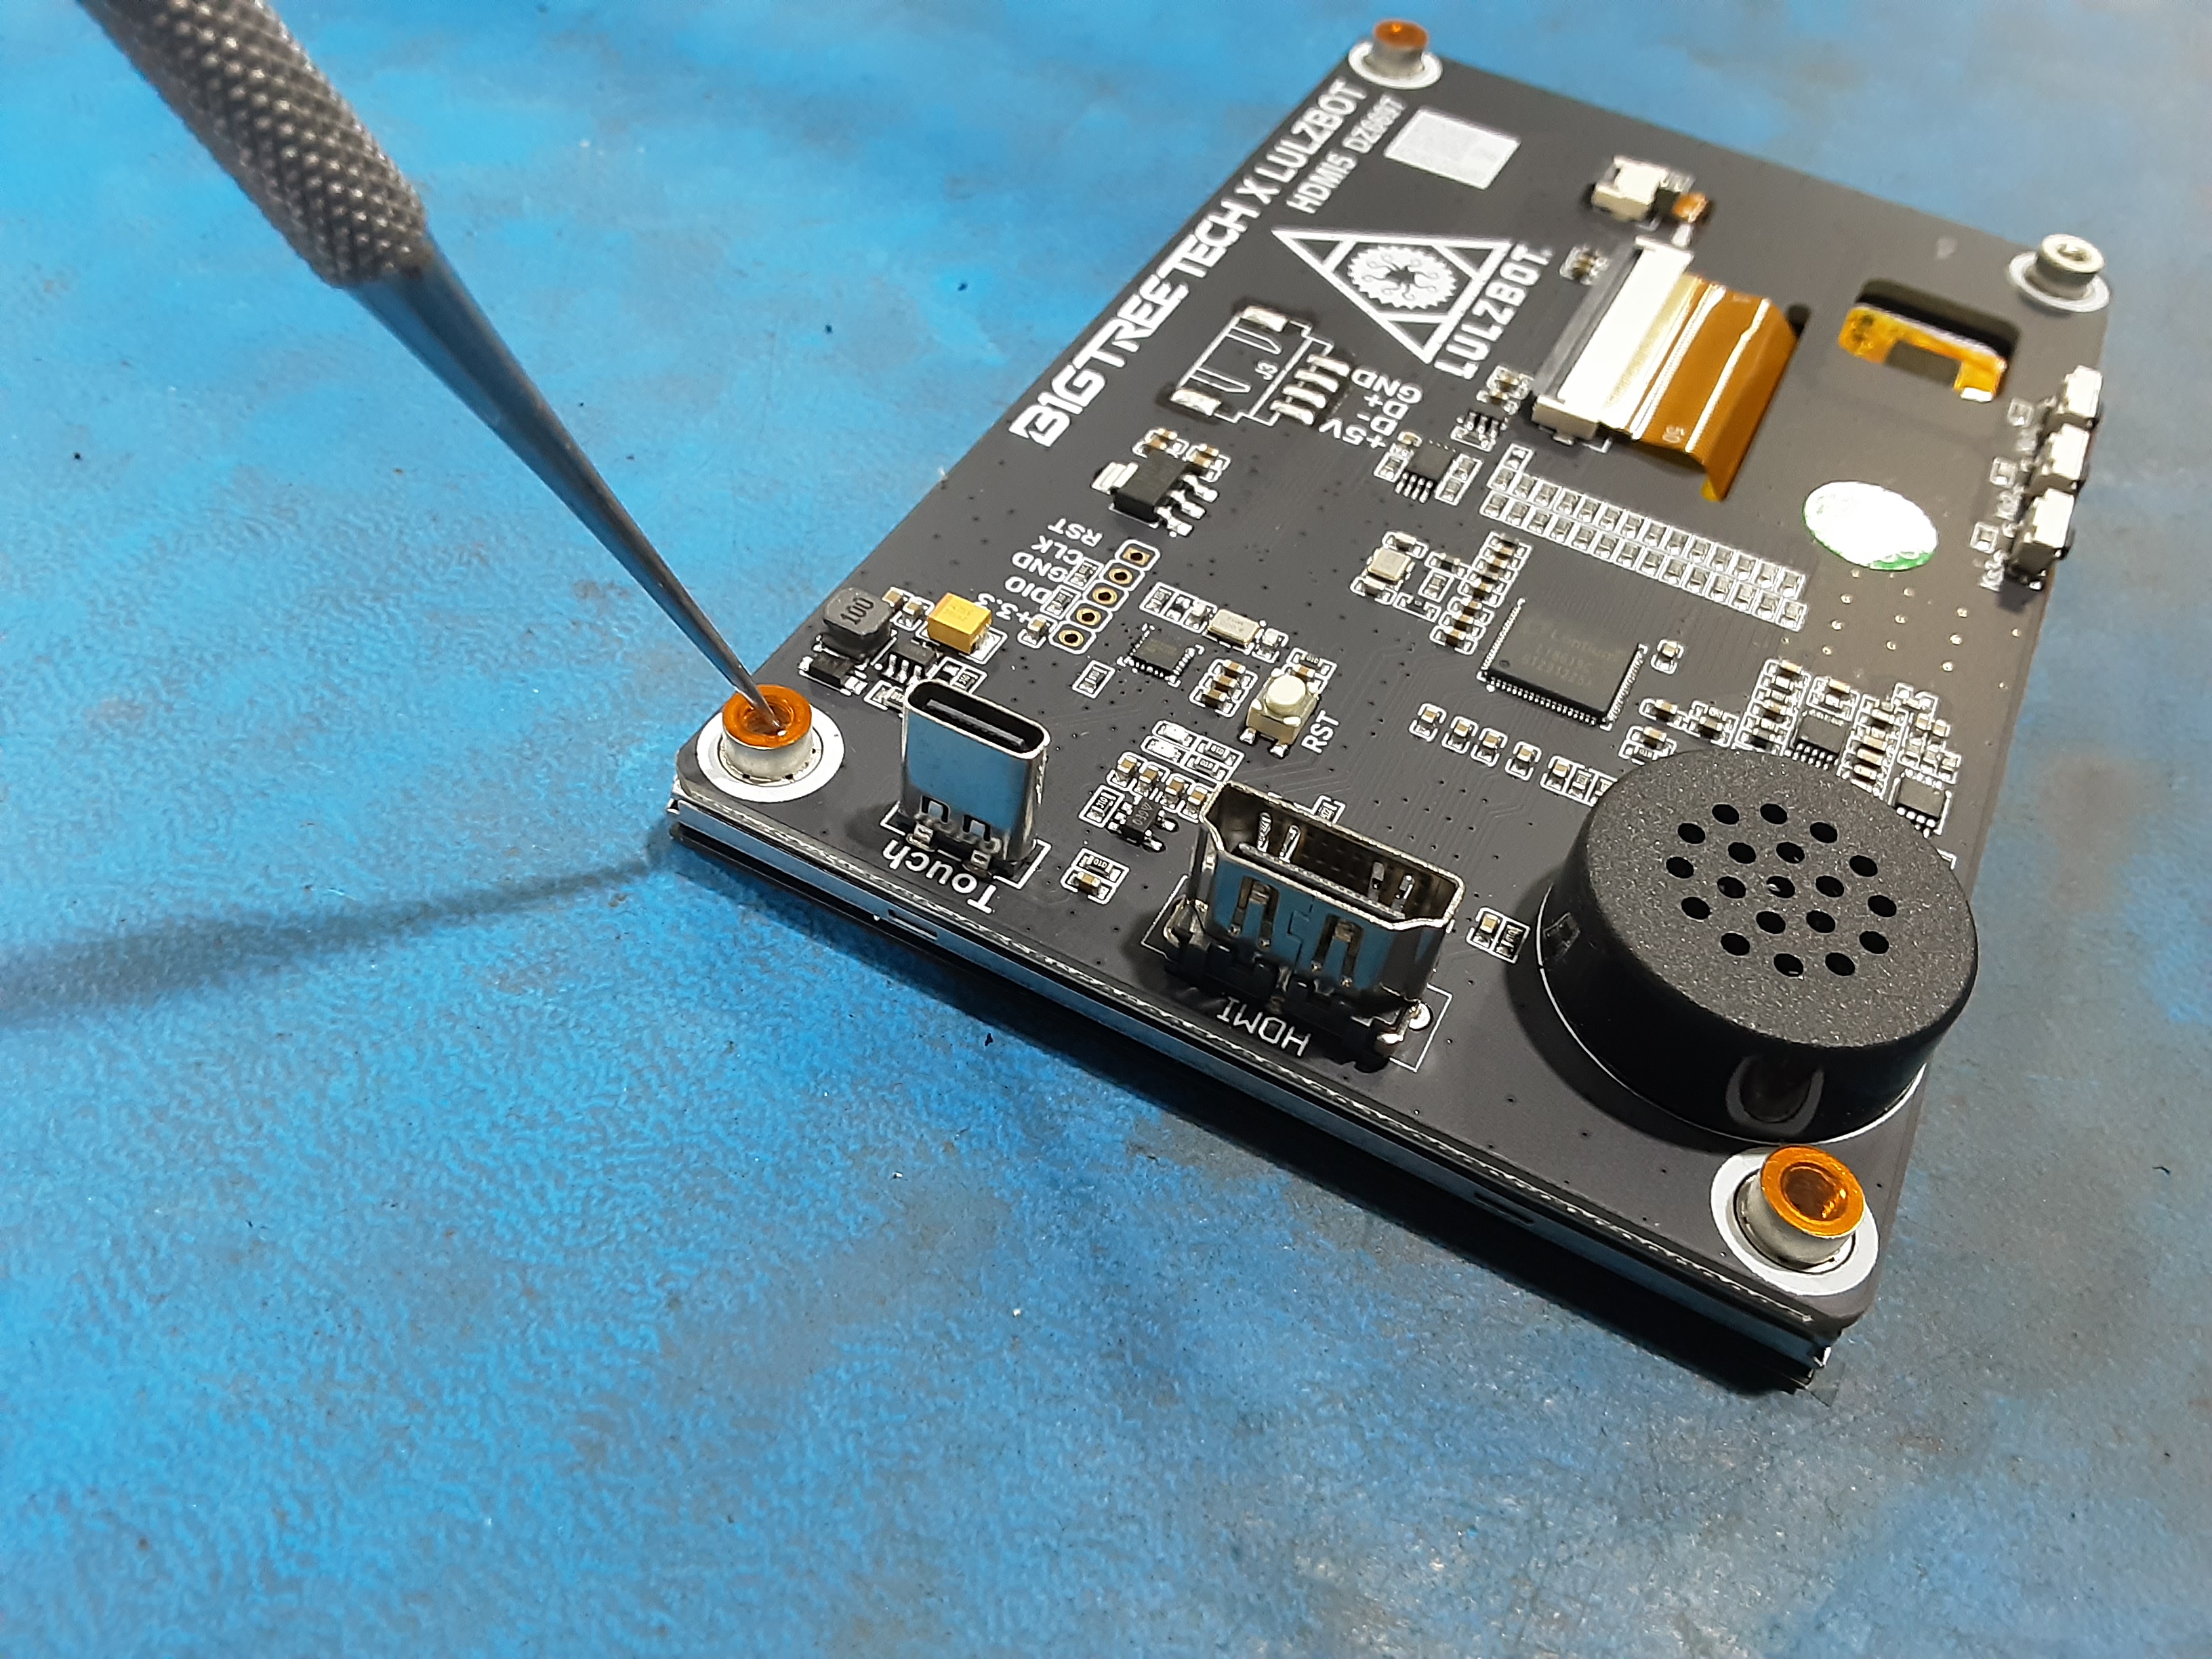
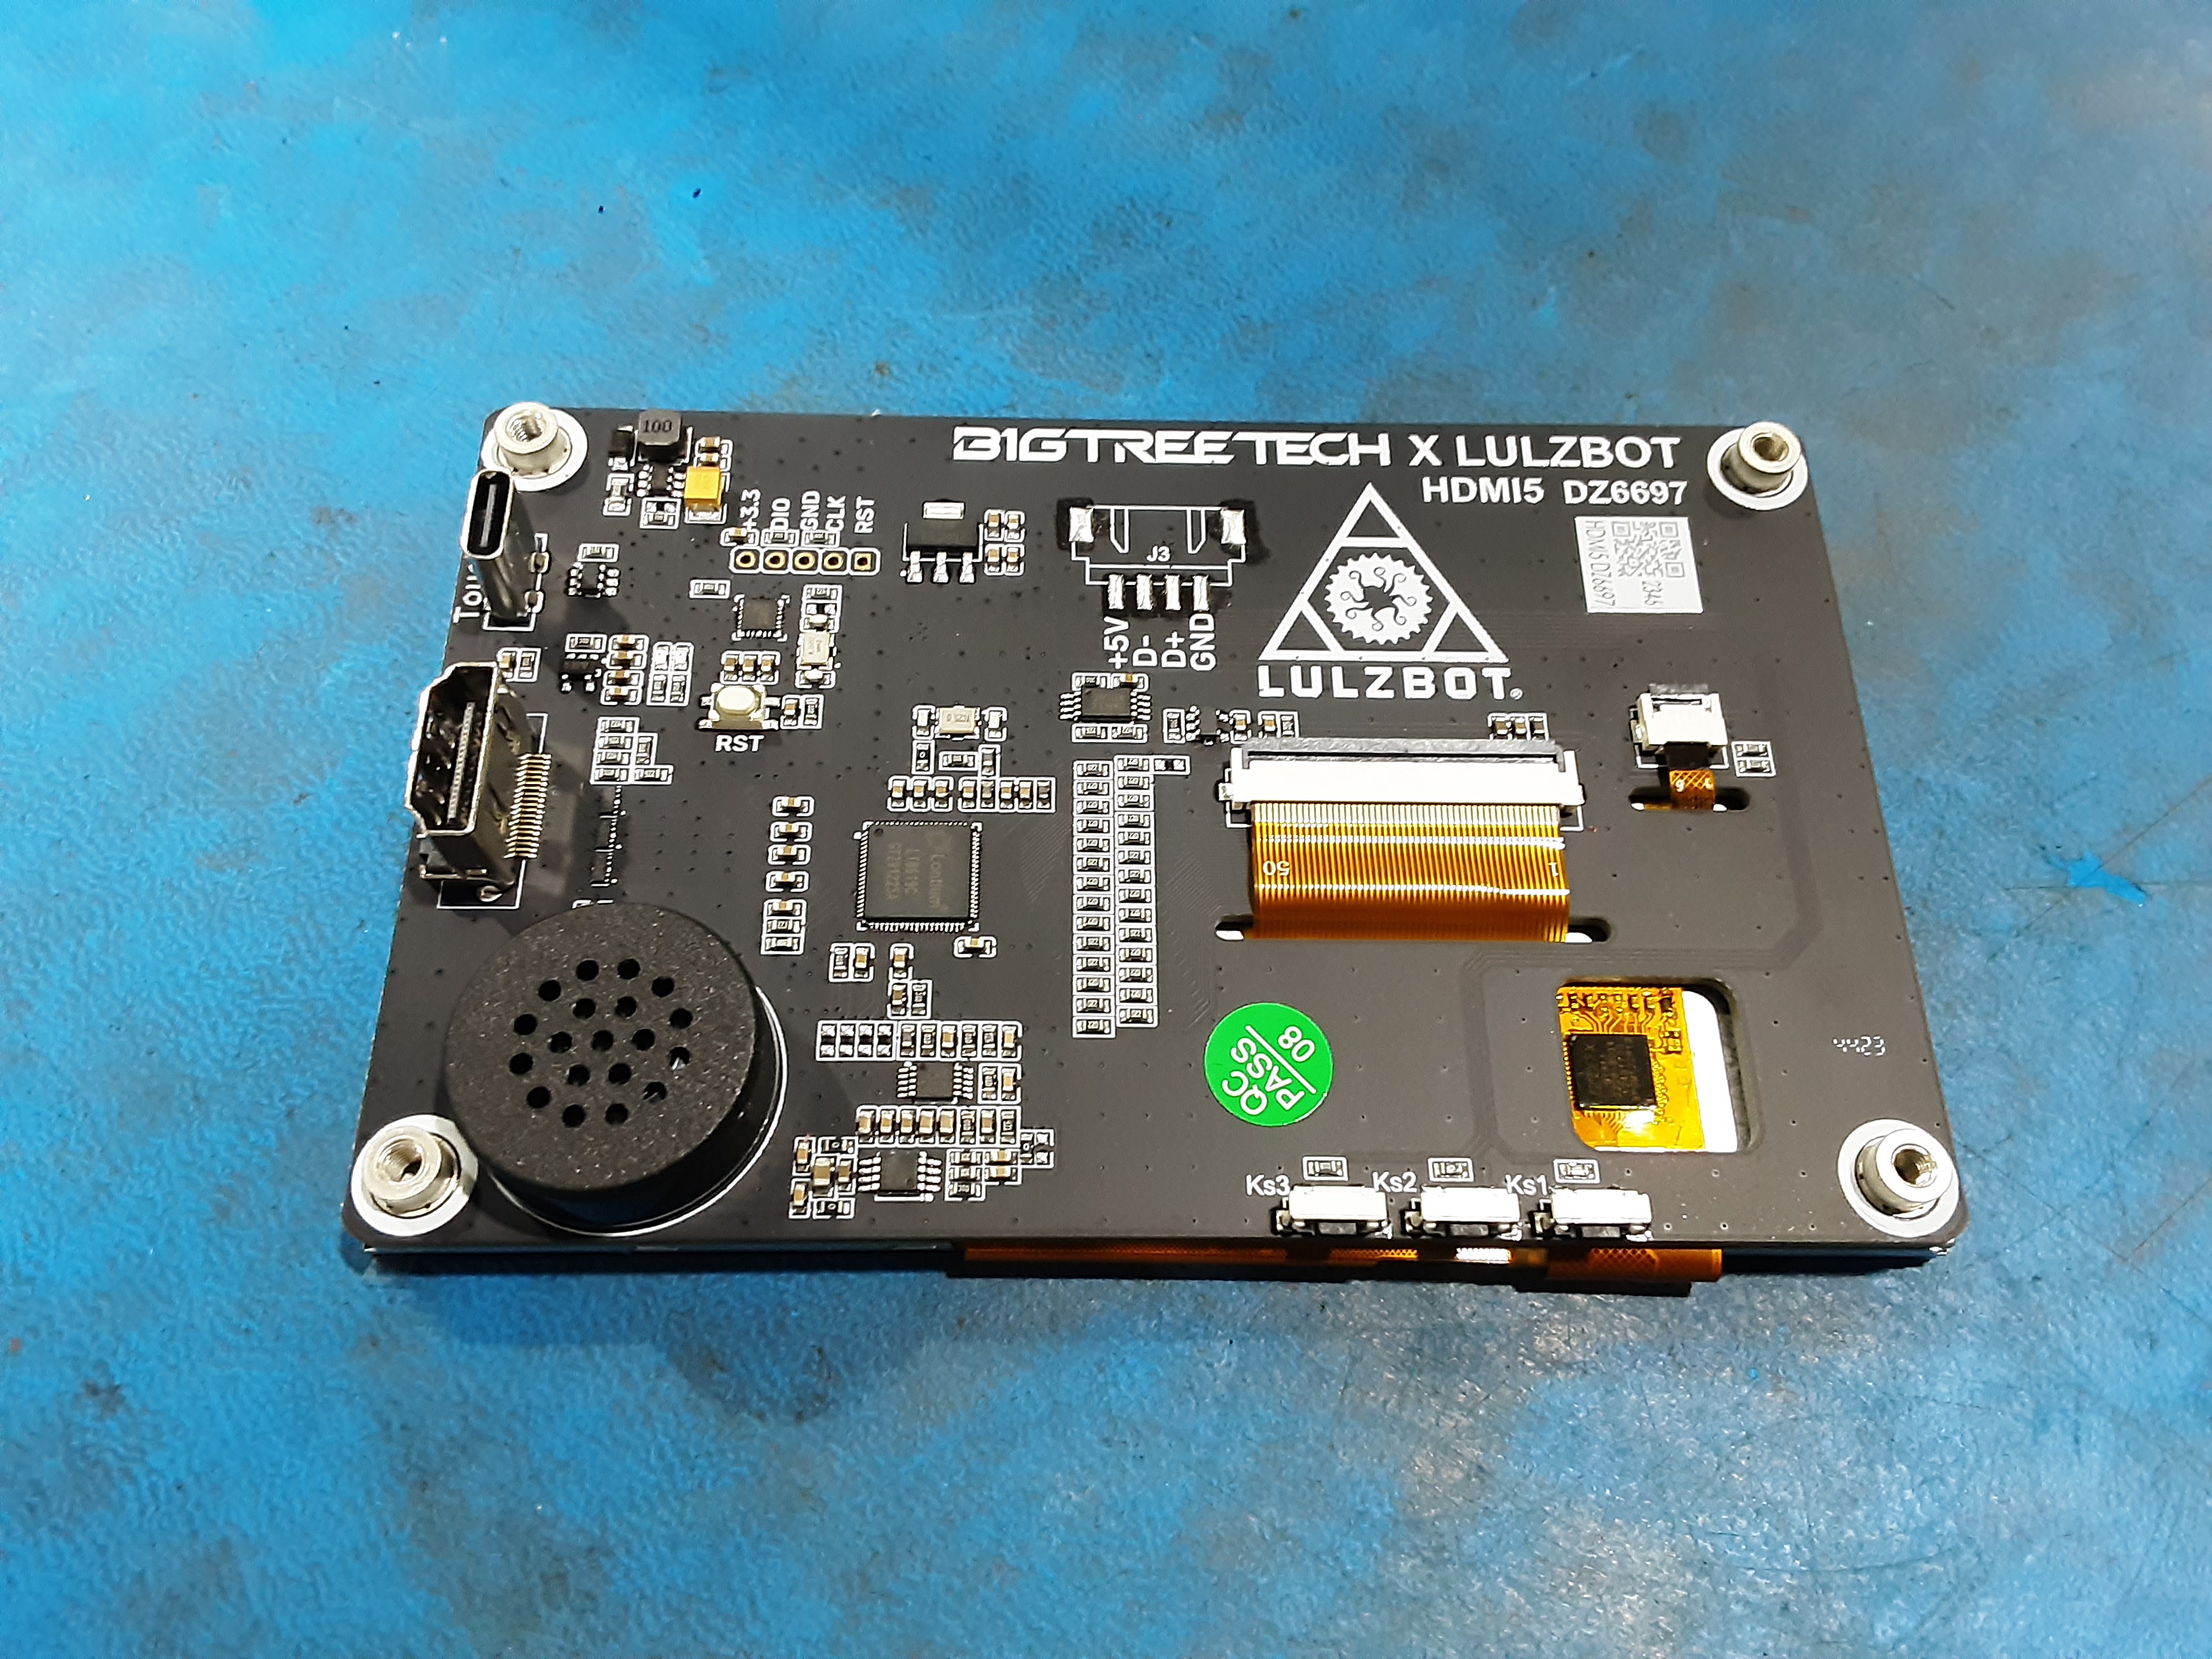
2C) Use a pick to remove the four orange stickers on EL-MS0601.
2D) Attach PP-GP0881 to EL-MS0601 using HD-BT0146 x4 and HD-WA0038 x4.
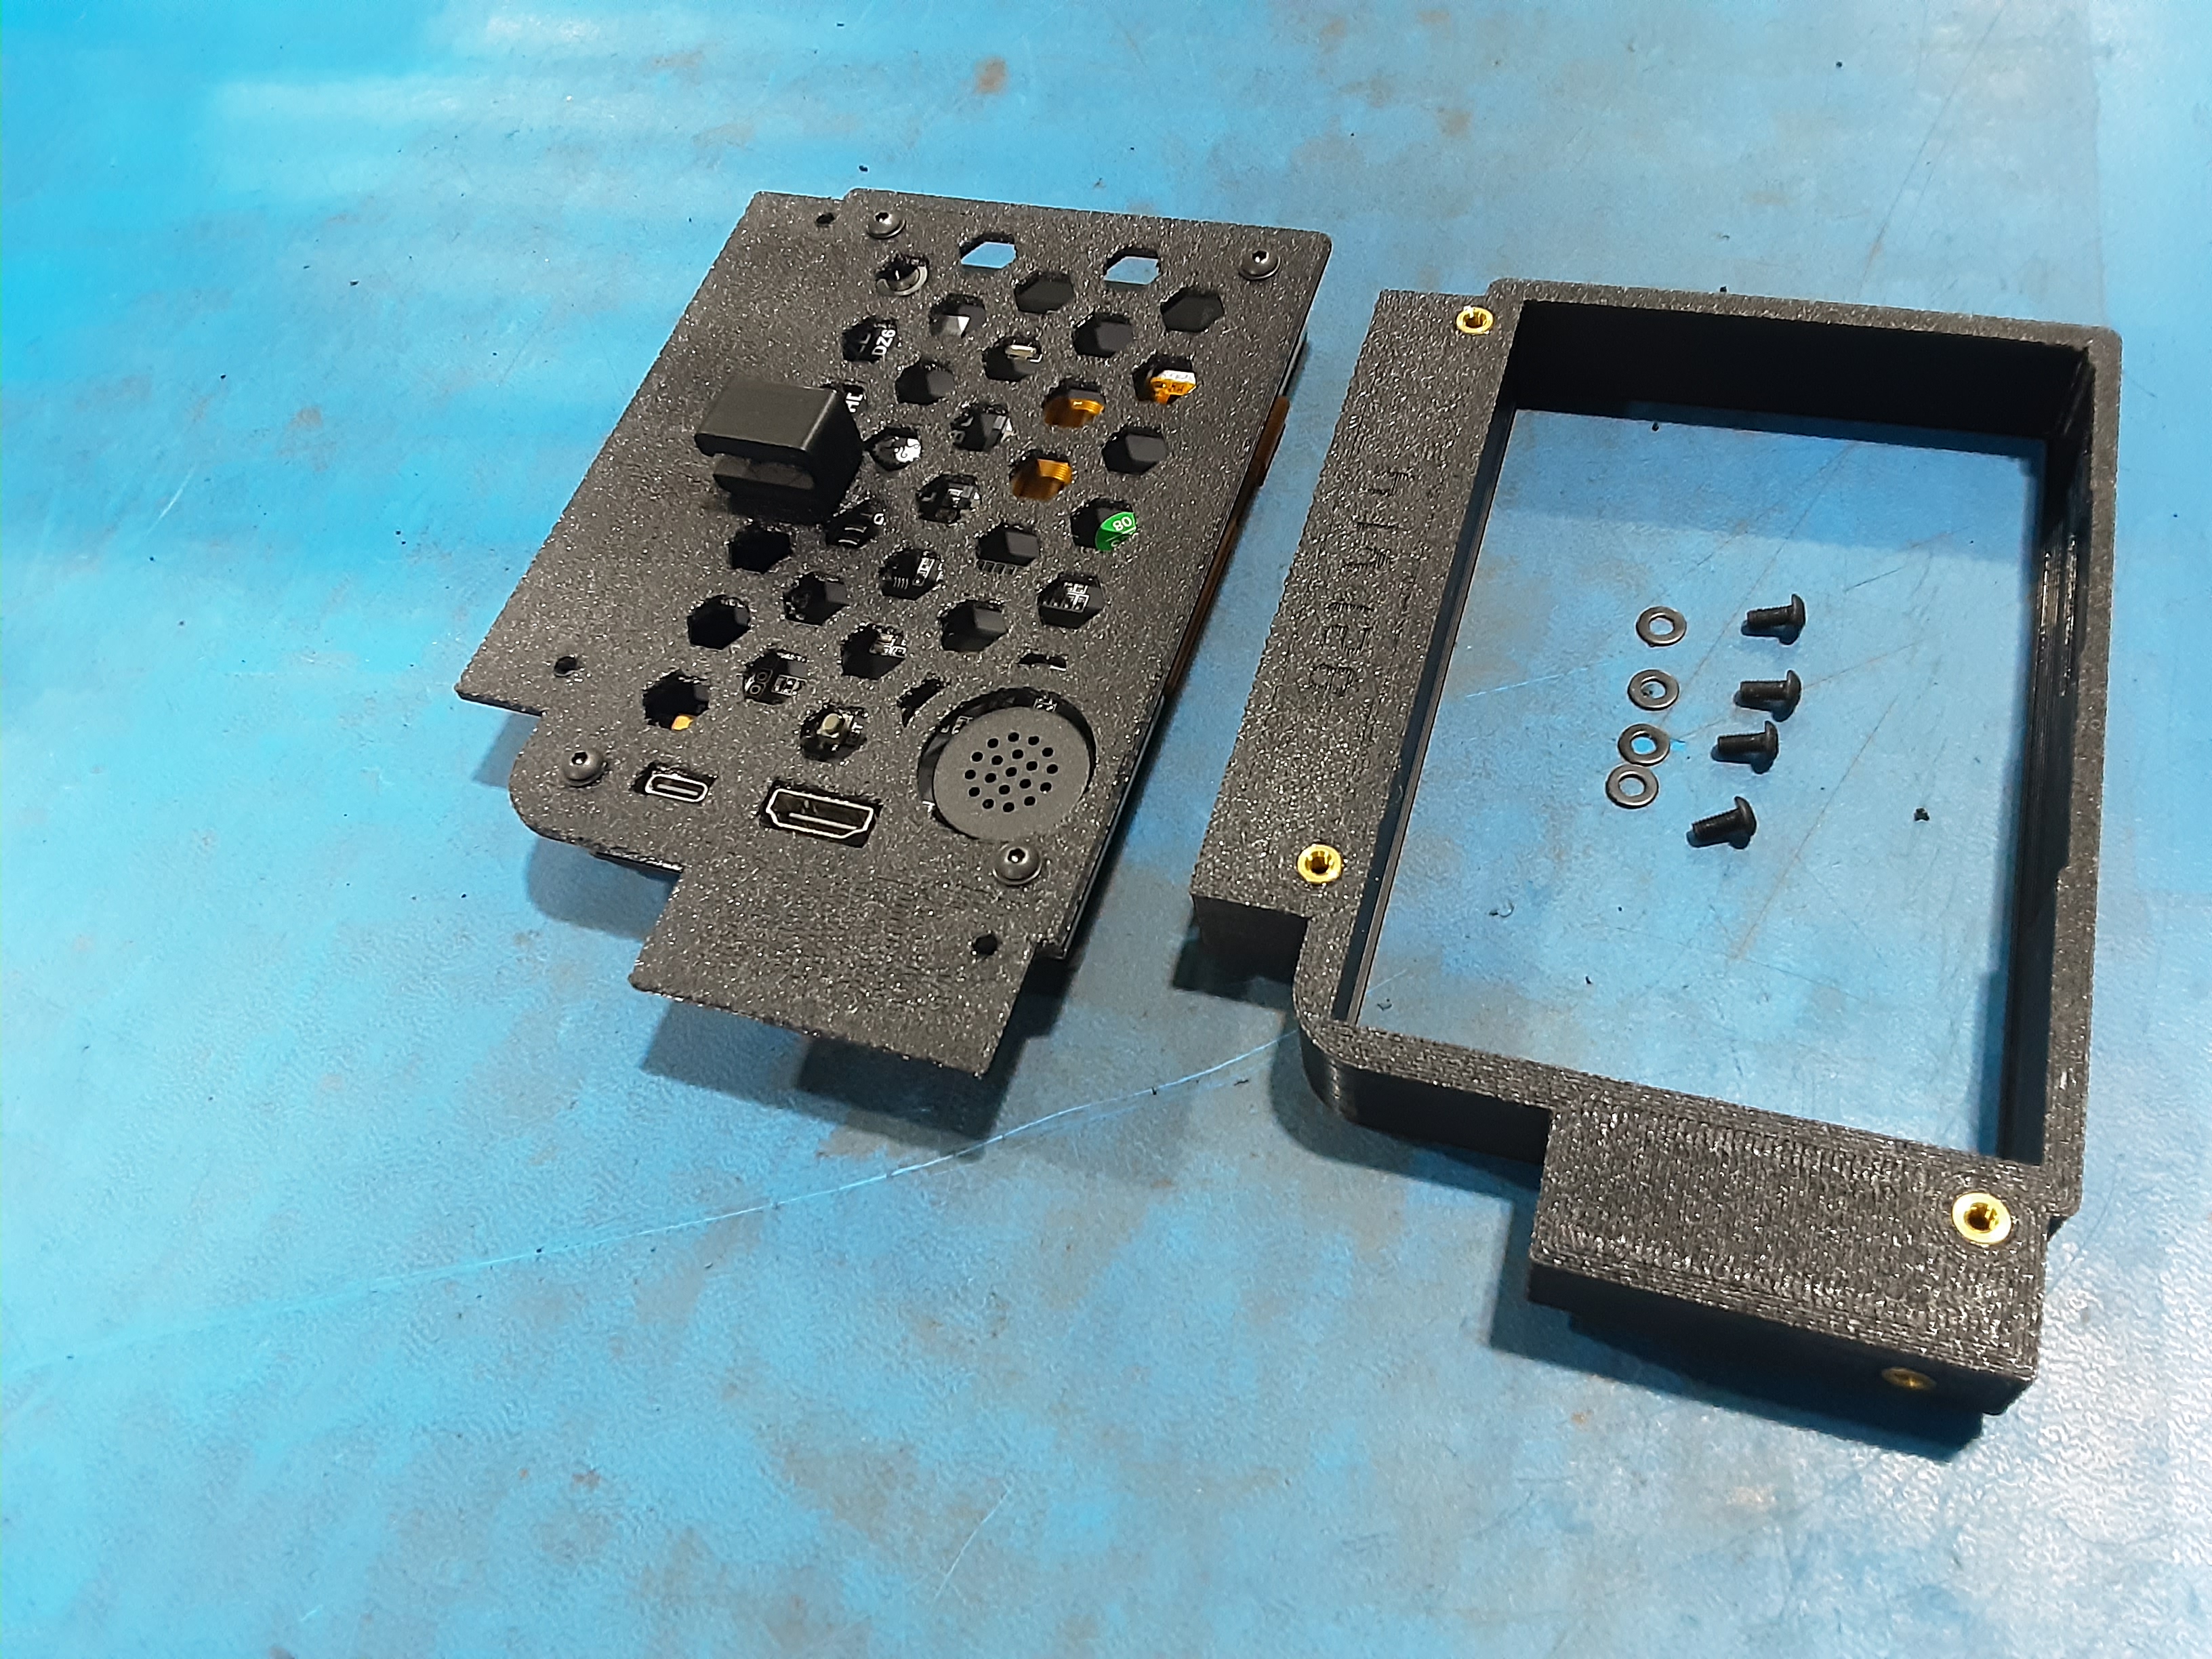
2E) Grab PP-GP0821, HD-BT0128 x1, HD-BT0140 x4, and HD-WA0038 x4.
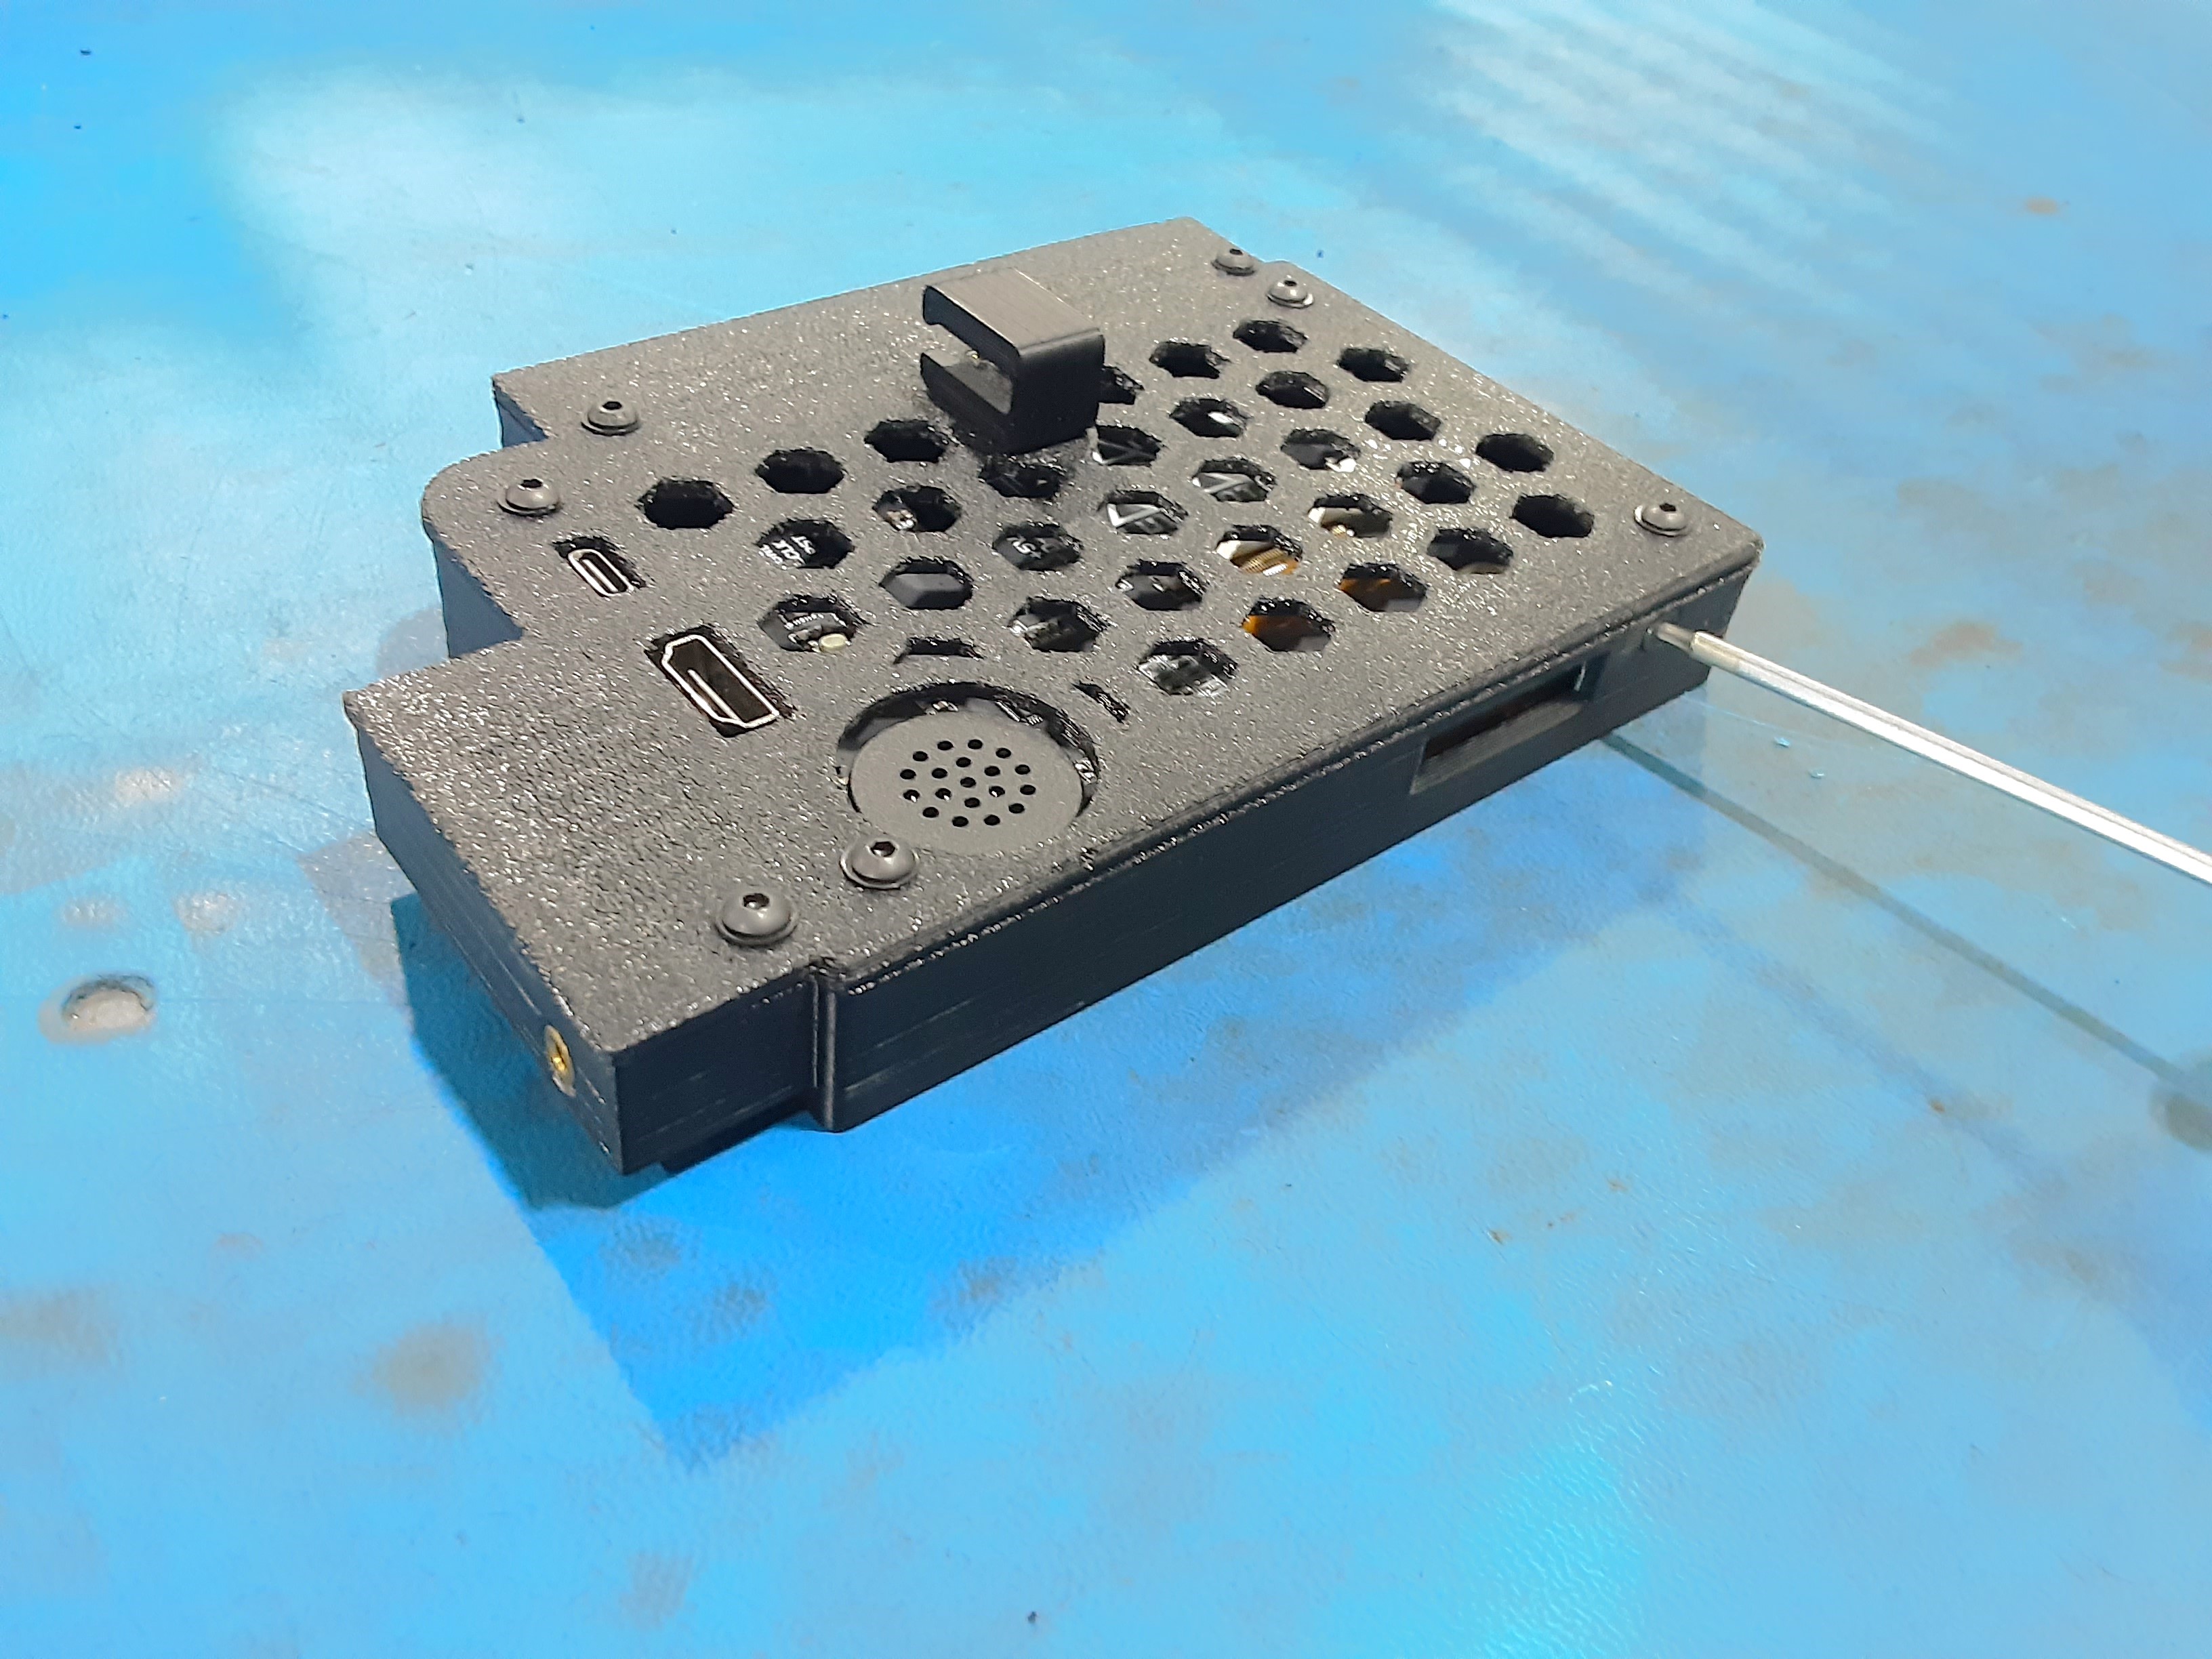
2F) Attach PP-GP0821 to PP-GP0881 using HD-BT0140 x4, HD-WA0038 x4, and HD-BT0128 x1.