Open HardwareAssembly Instructions
Guides for installation and assembly of the LulzBot line of products made by FAME 3D LLC.
Guides for installation and assembly of the LulzBot line of products made by FAME 3D LLC.
For compatibility, some older RAMBo boards need the addition of a capacitor in order to work with the TAZ 5/6 Z-axis setup.
This is only necessary if the board being worked on was manufactured prior to 2013 (TAZ 1-2).

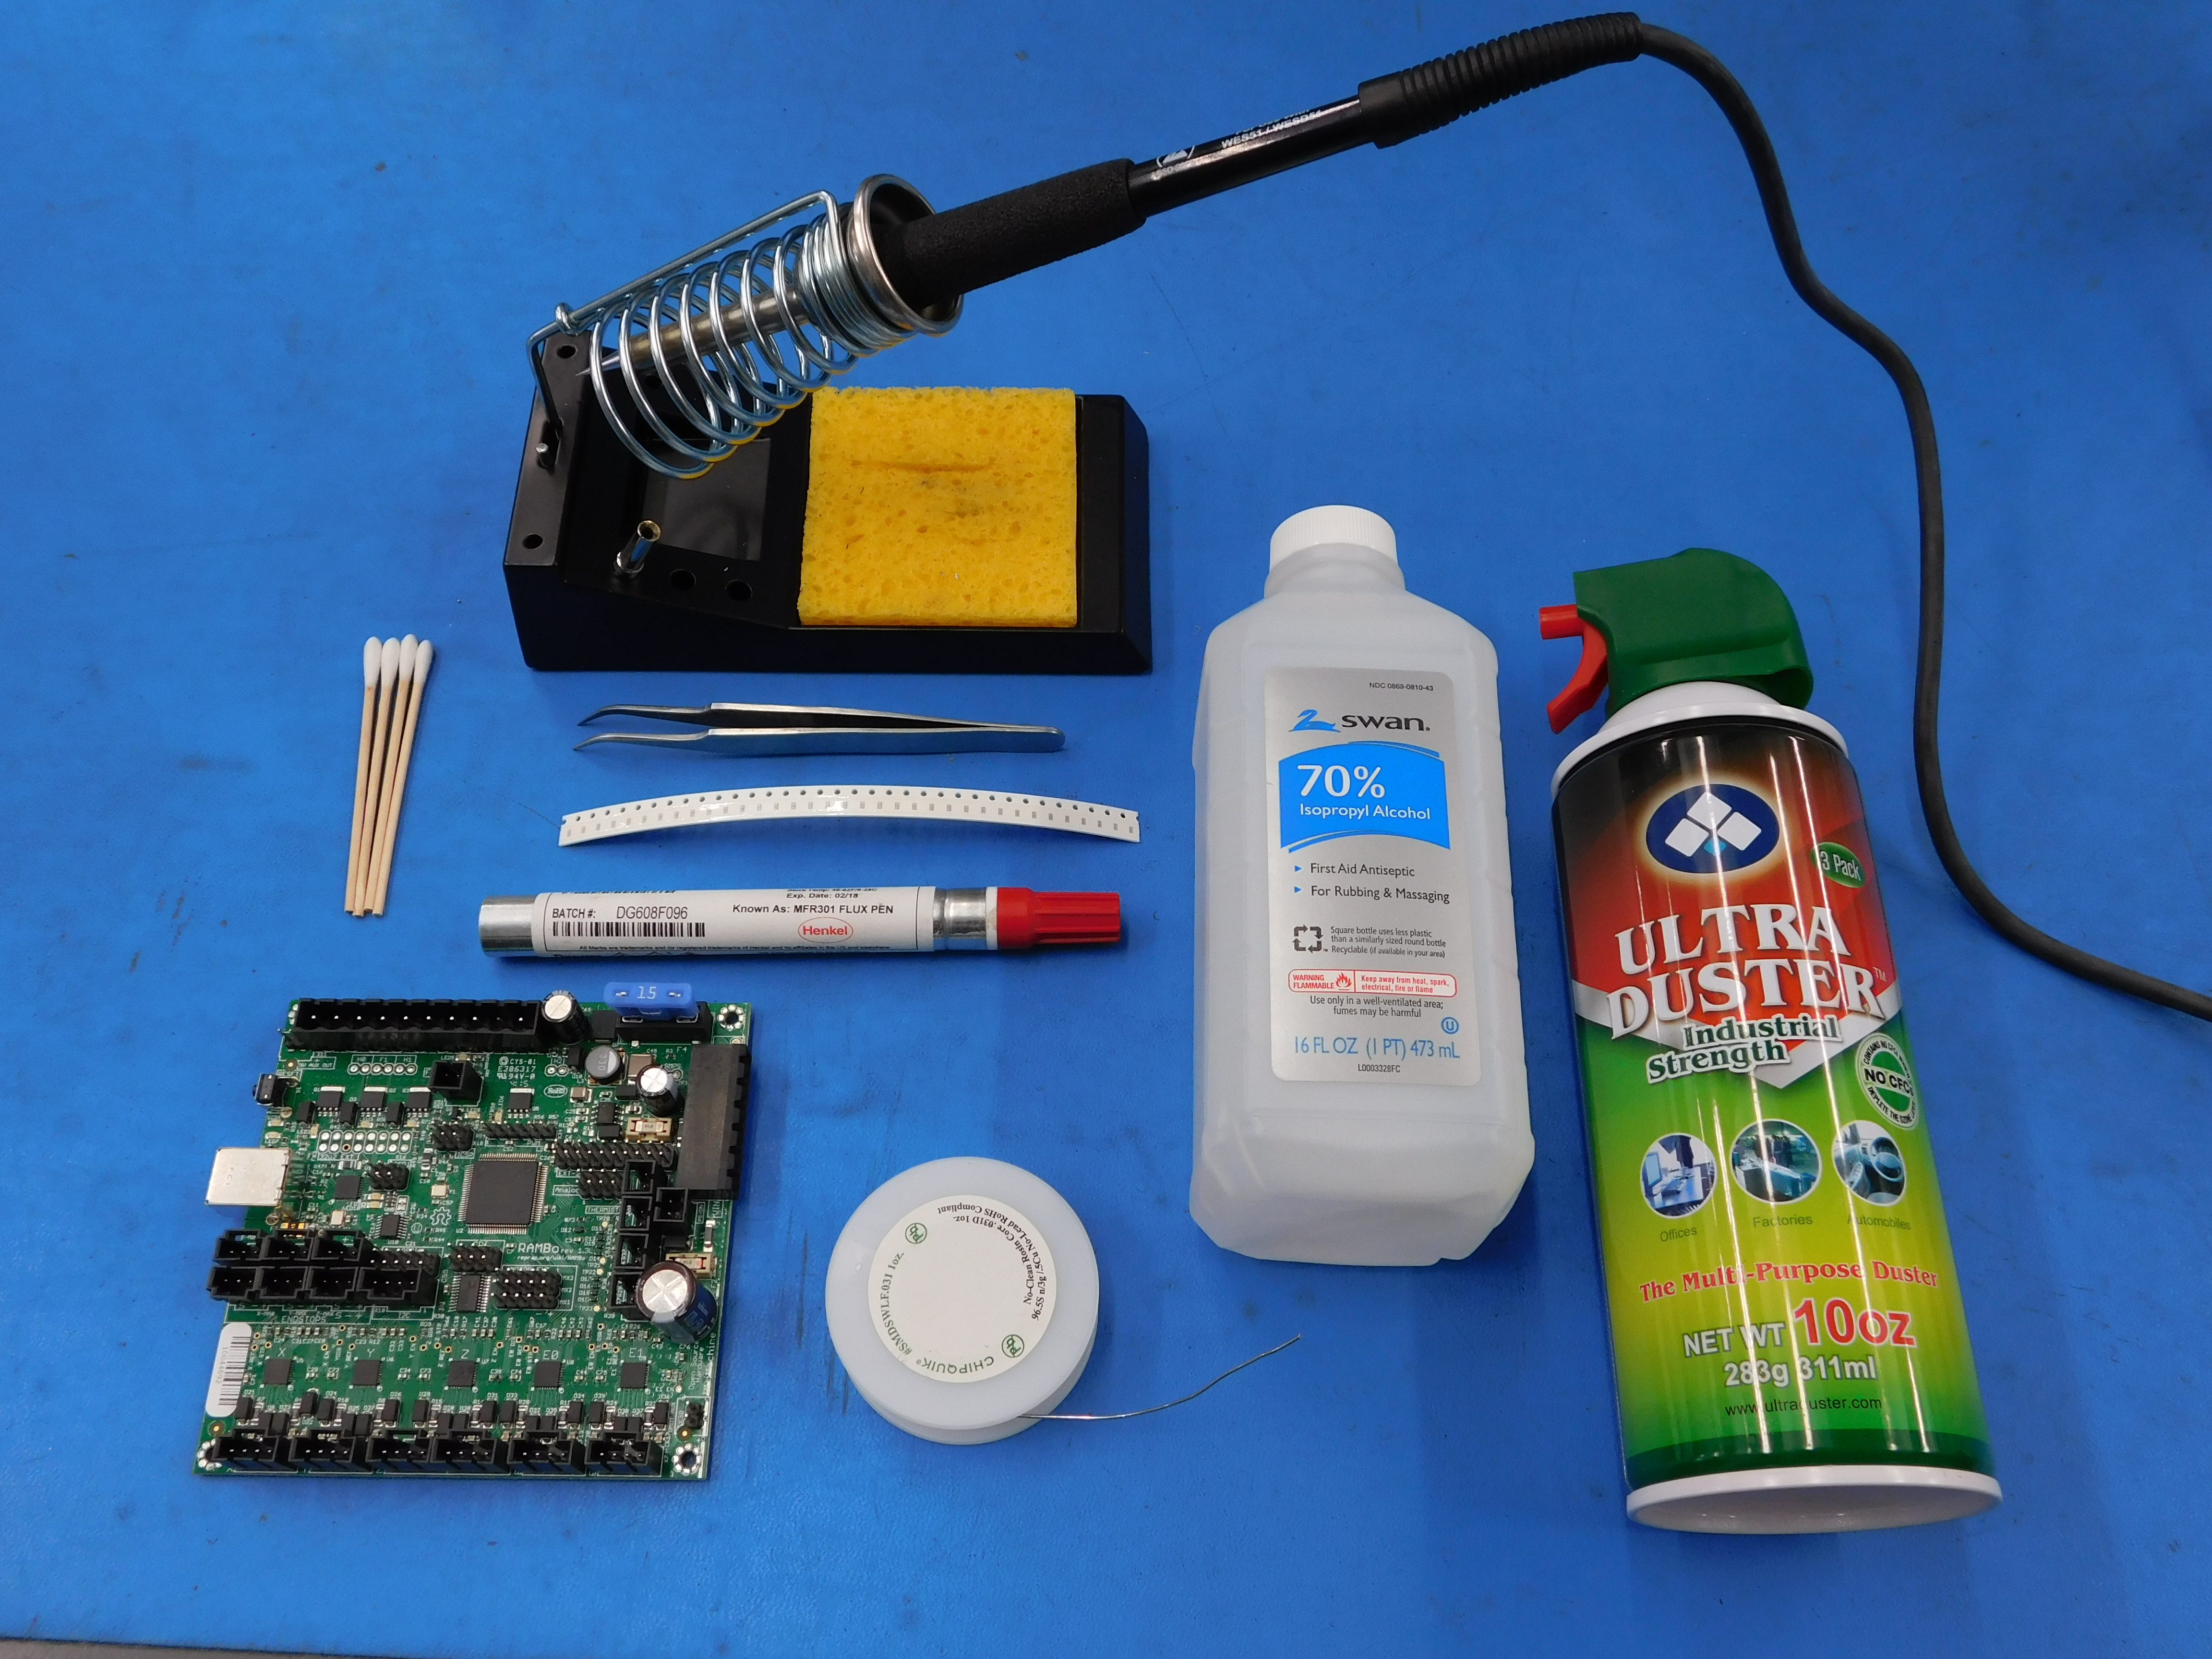
For this you will need:
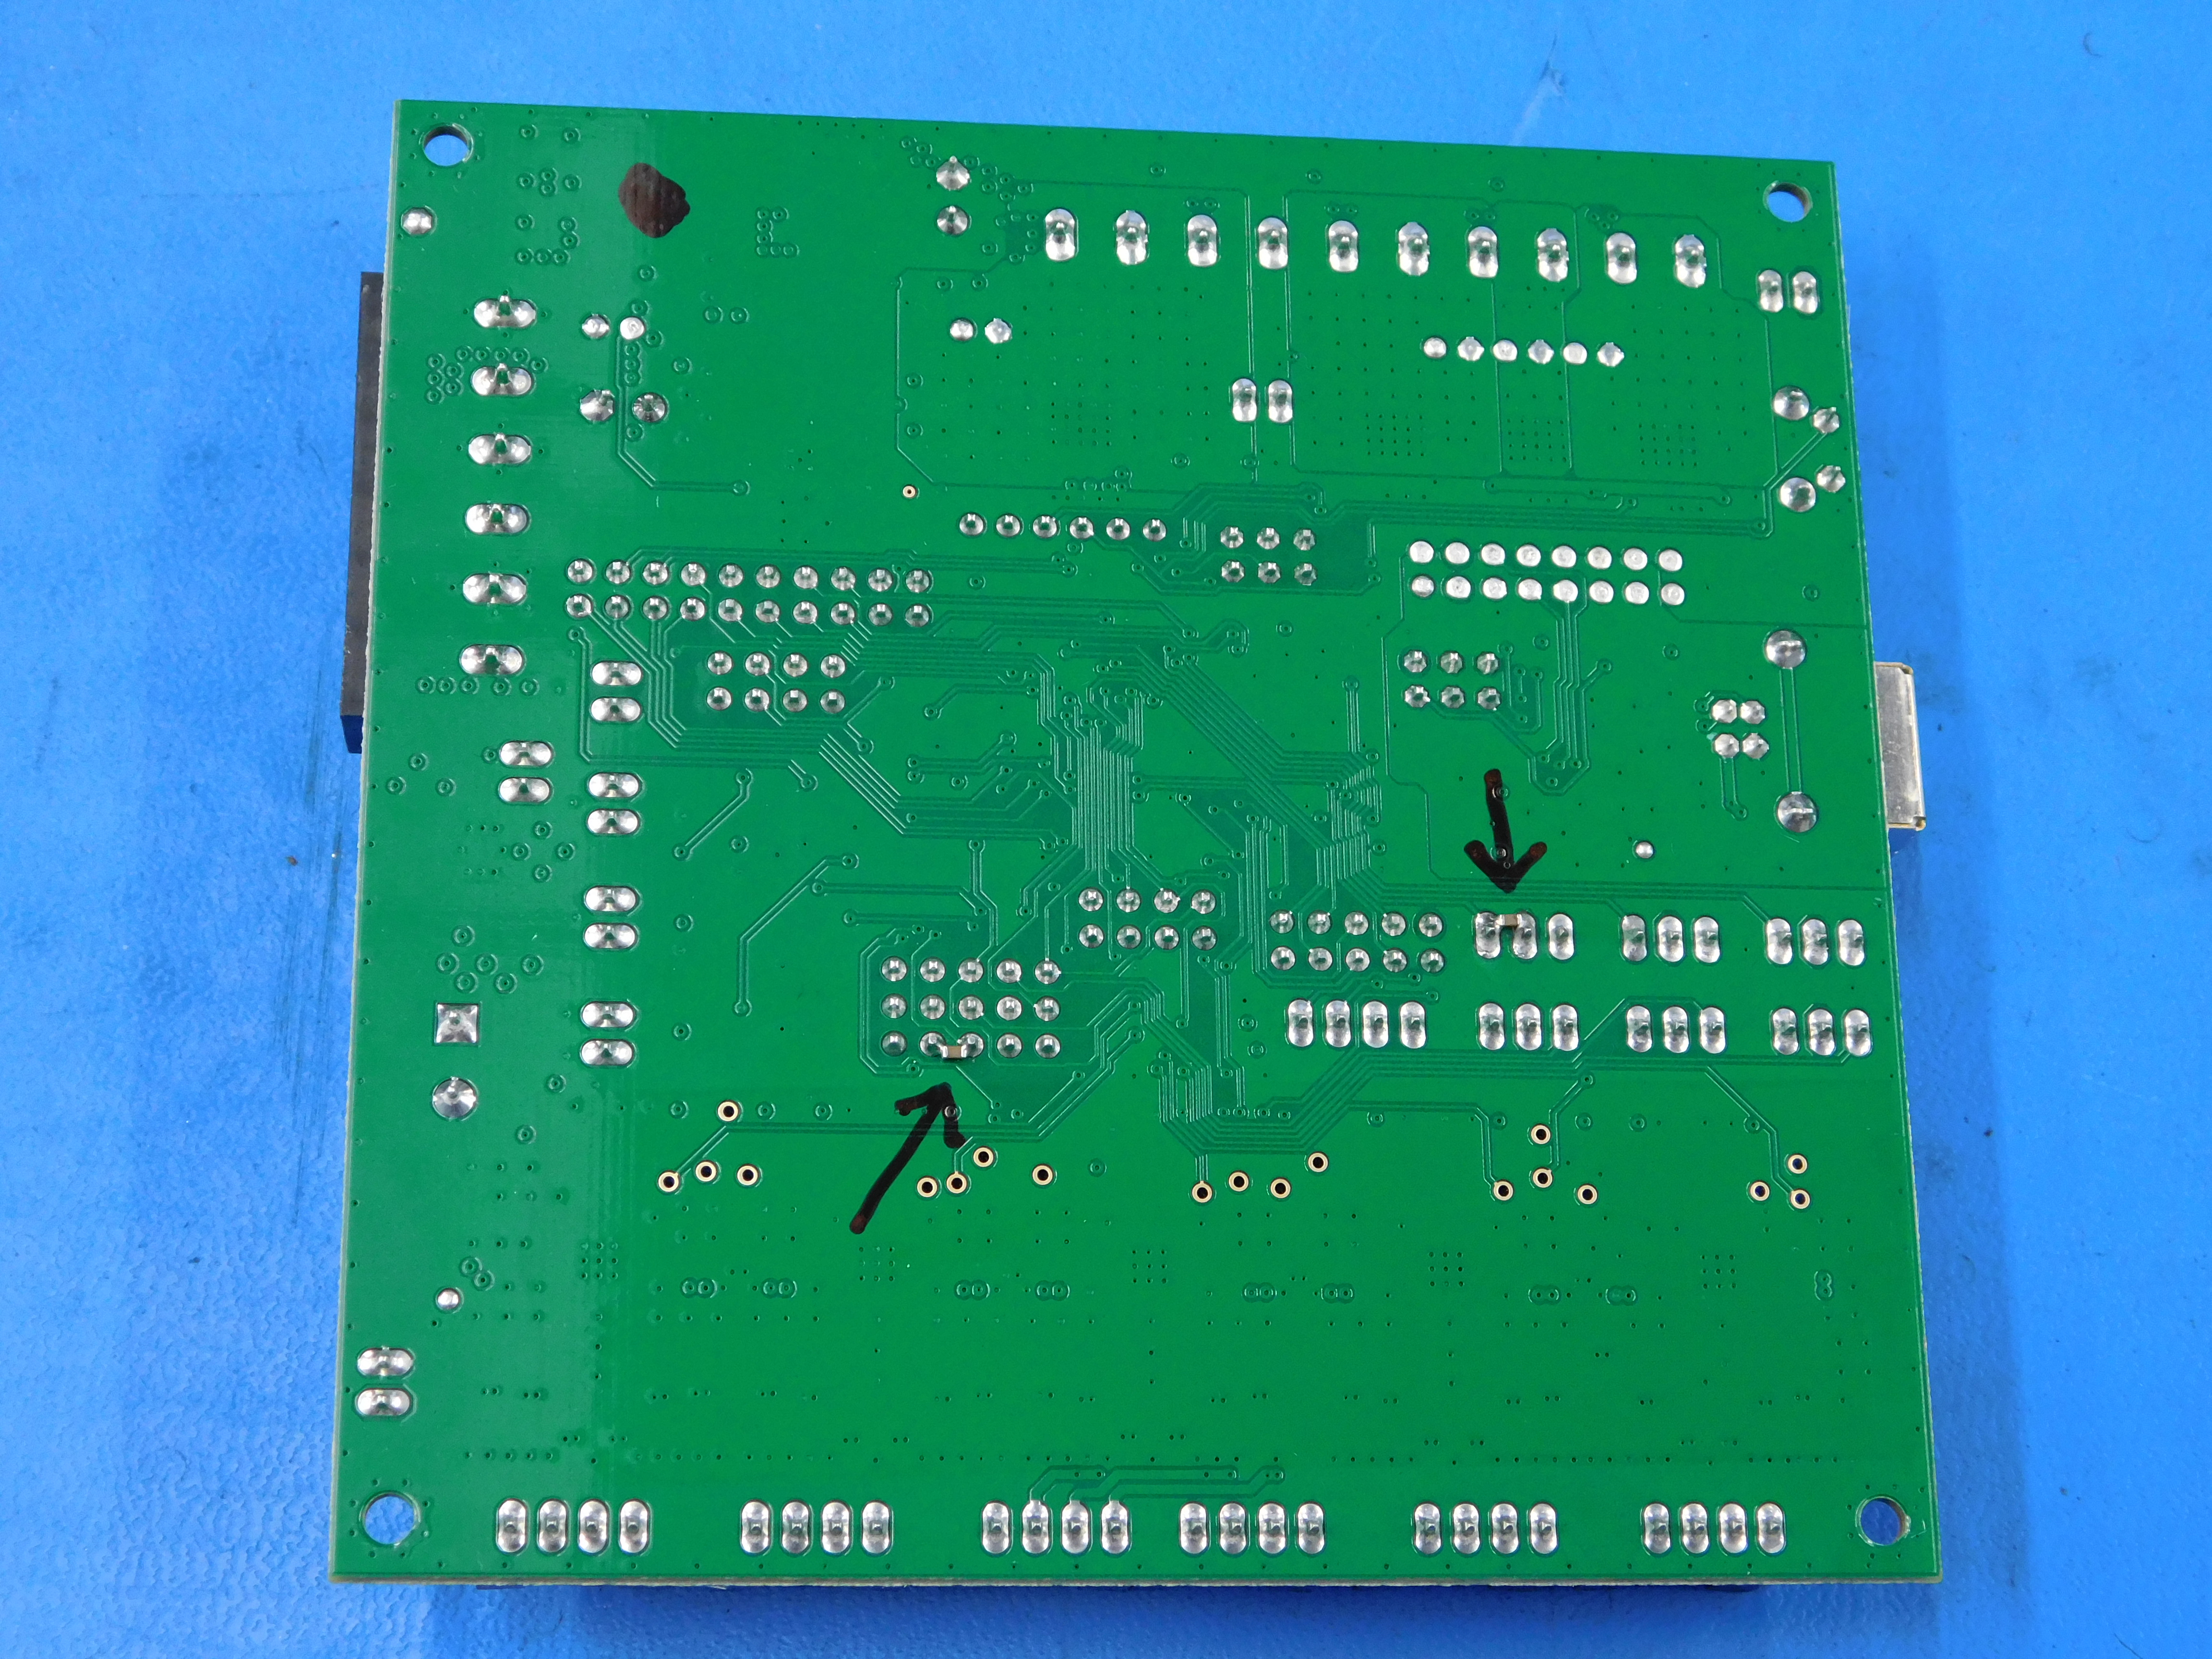
These are the two sets of pins to which we are going to add capacitors.
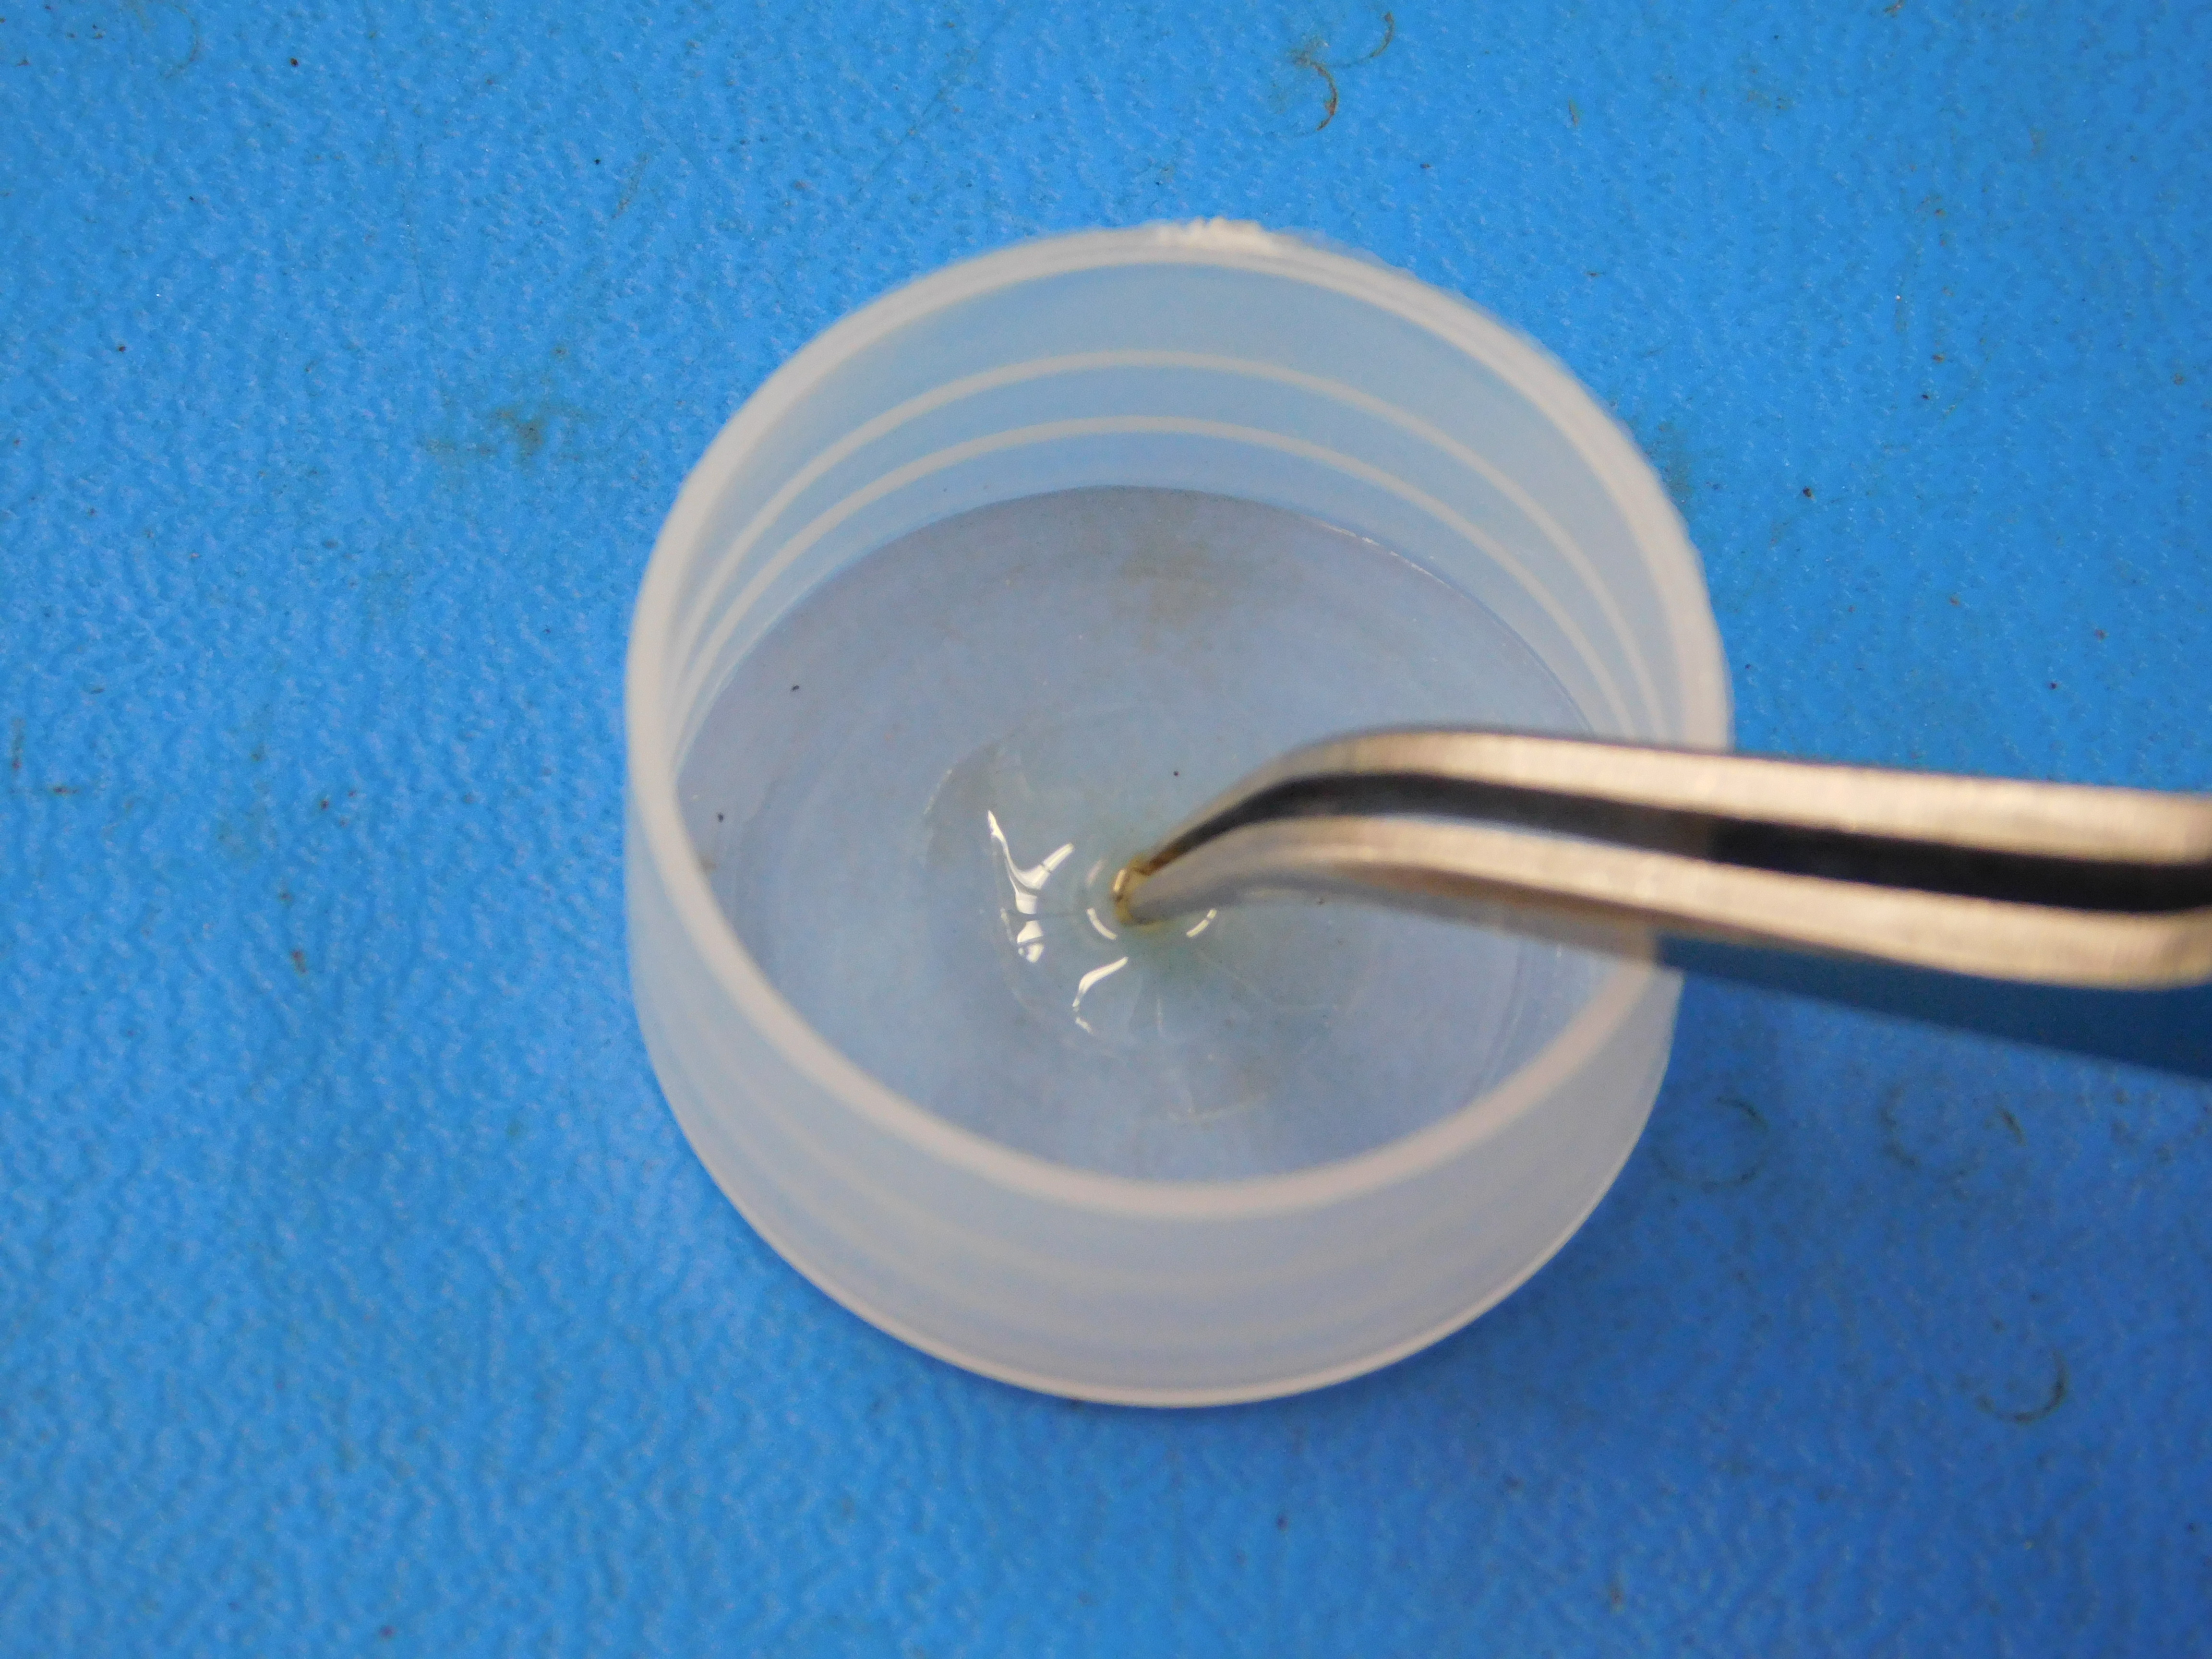
Make a little puddle of flux in a small container
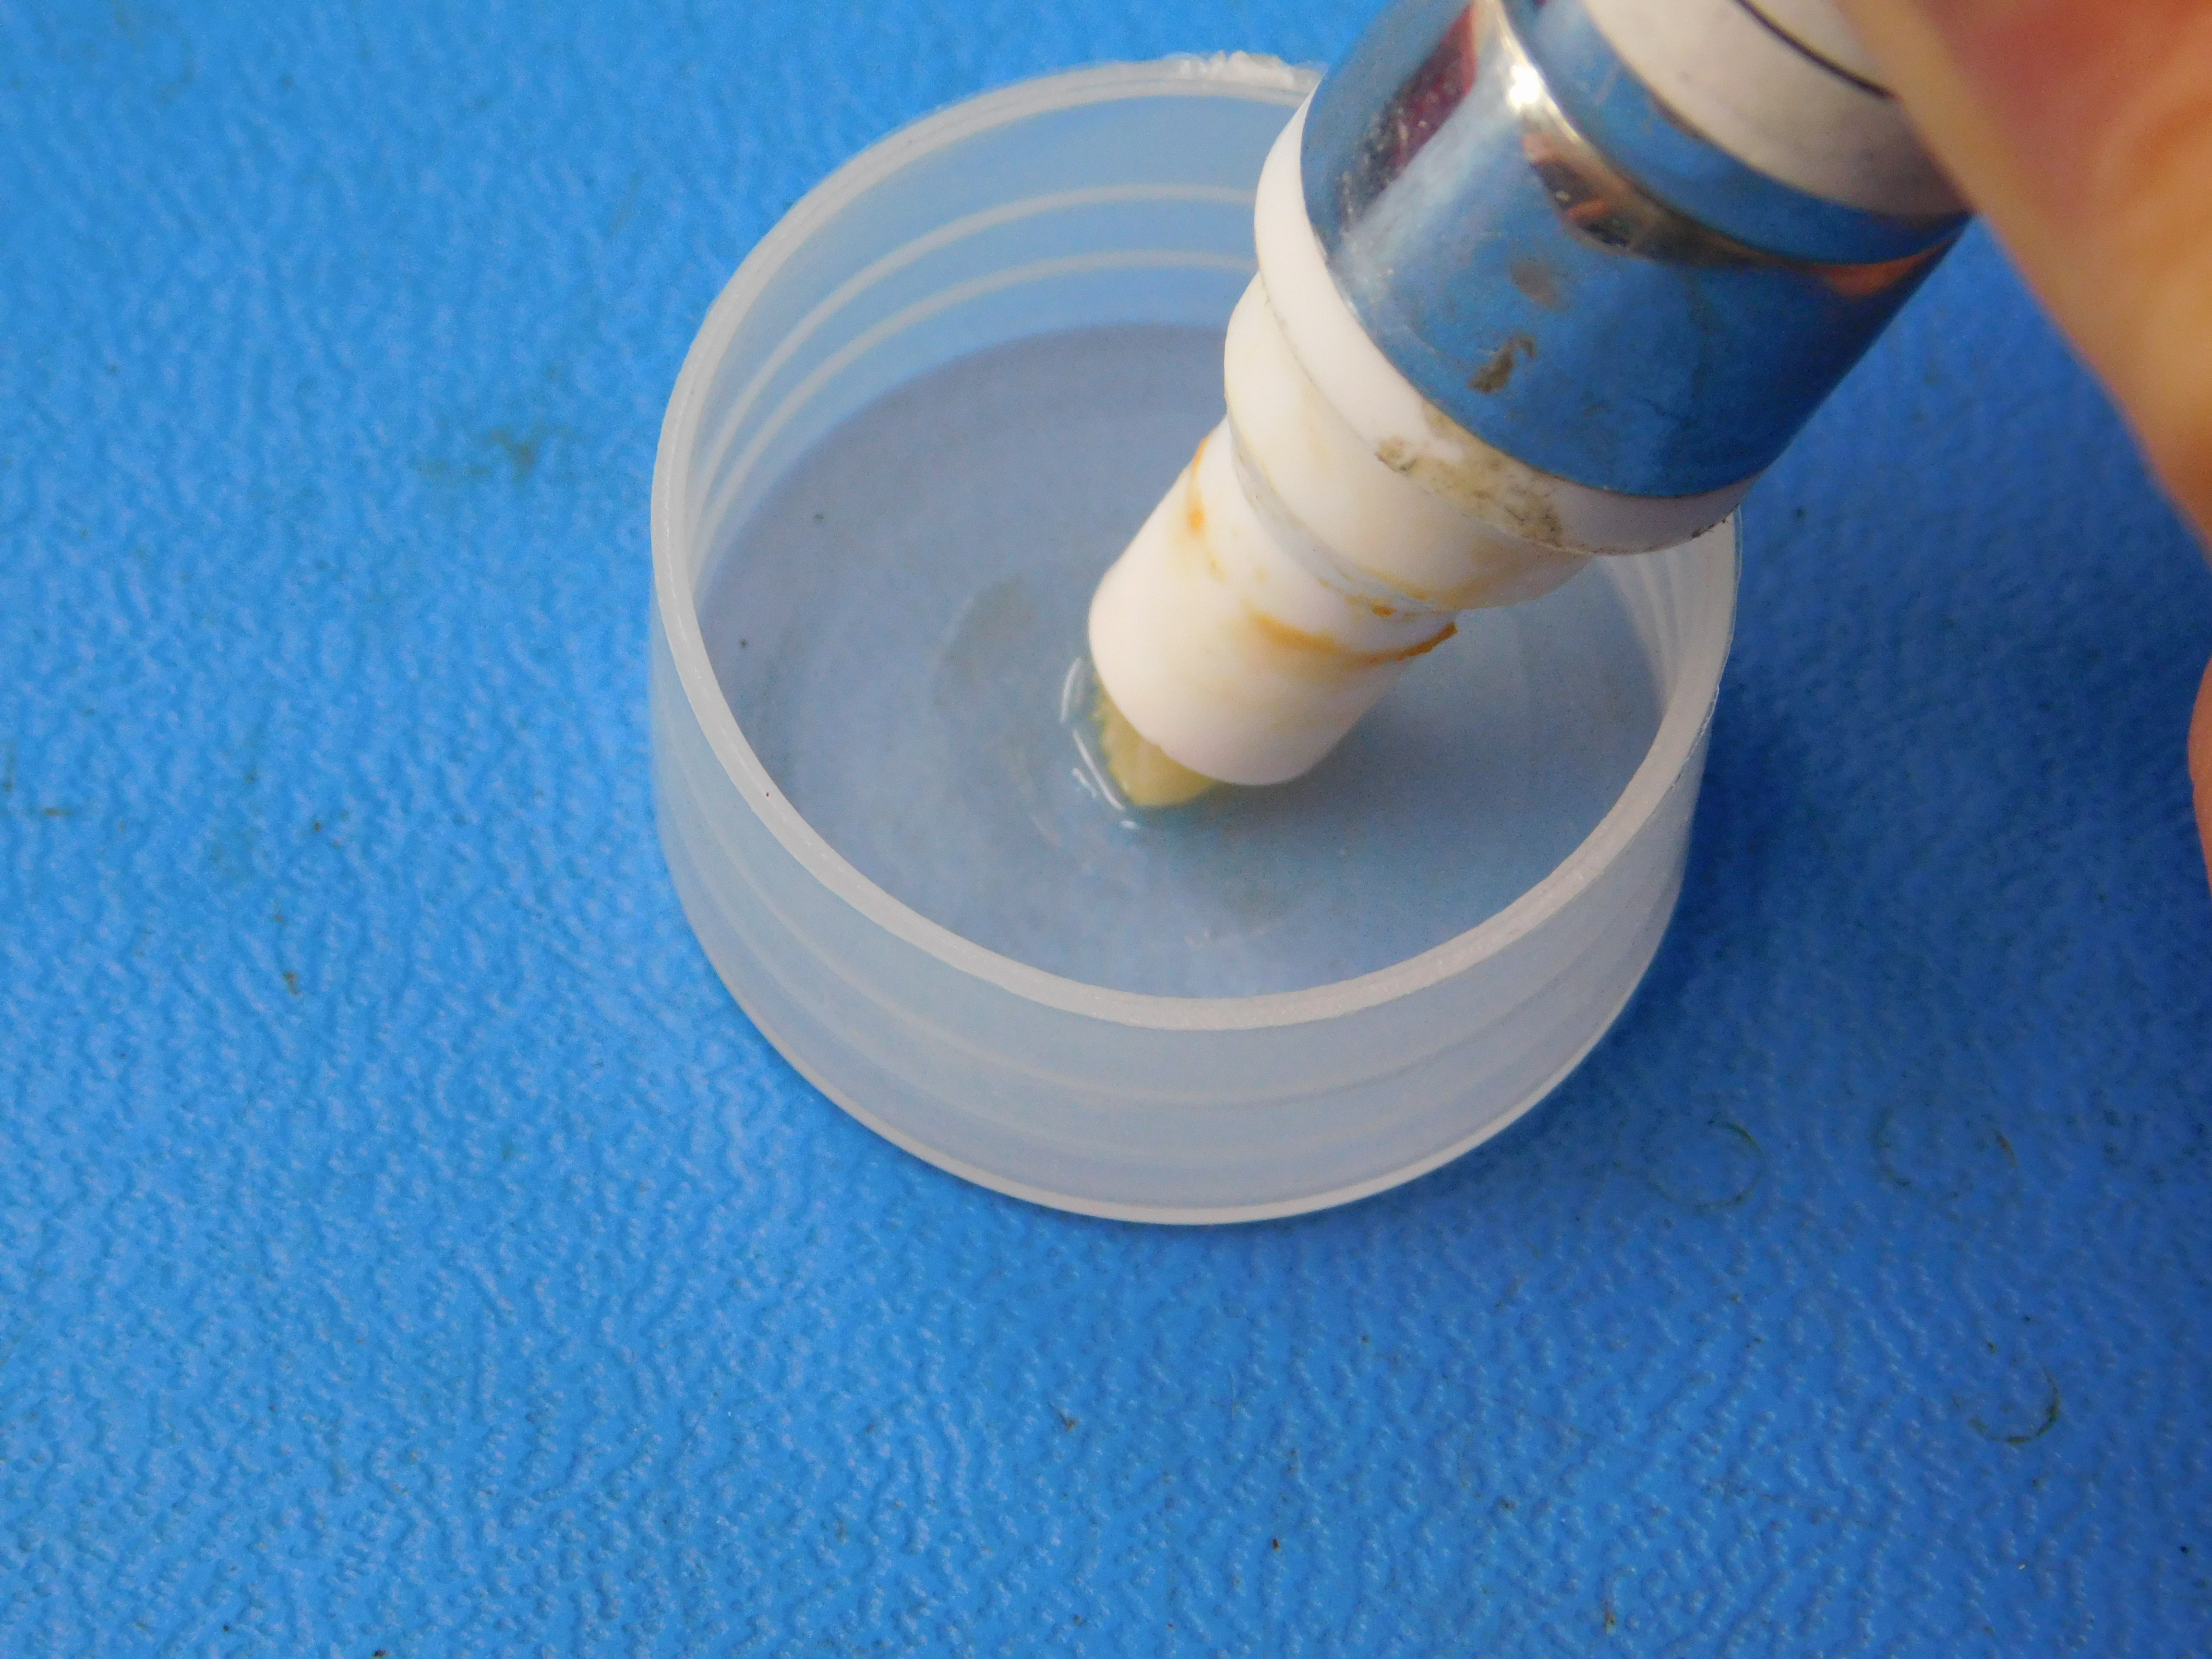
Dip the cap to be added to the pins into the flux

Clean the tip of your iron by rubbing it on a wet sponge. You can optionally dip it in the tip tinner at this point too.

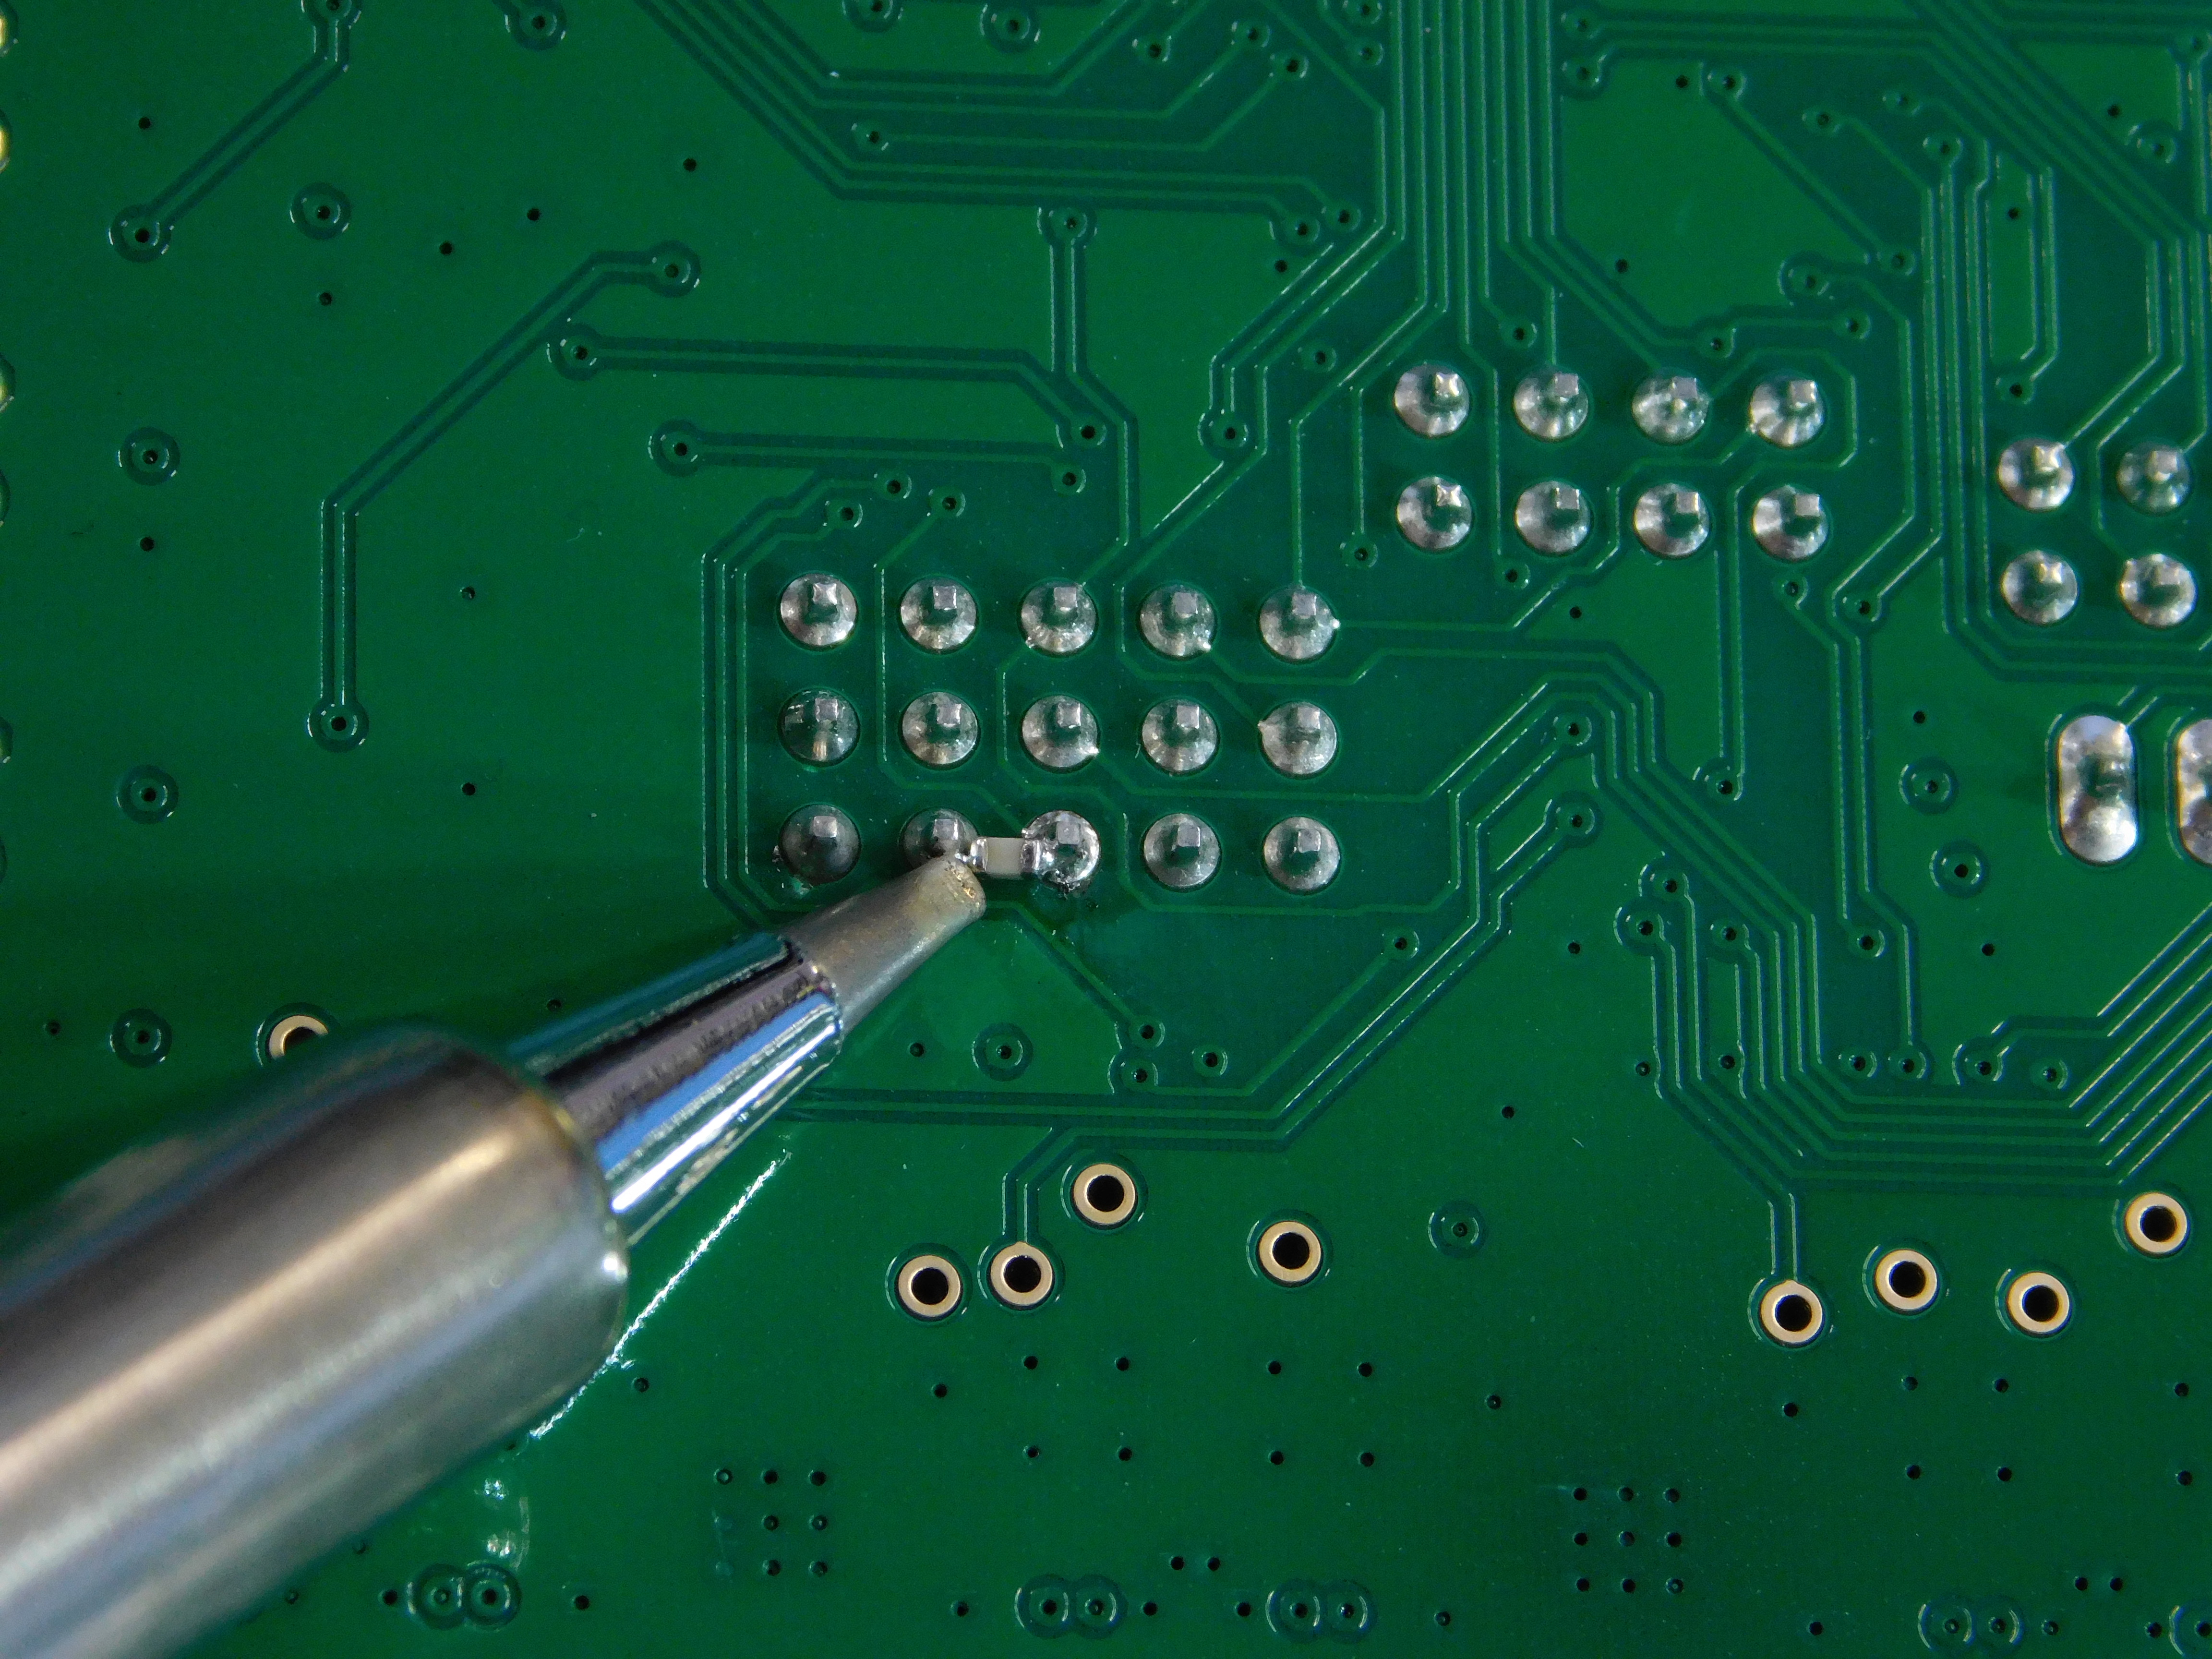
Hold the cap with your tweezers and flow the solder onto one end of the capacitor

Hold the cap in place with the tweezers and flow the solder onto the left side of the capacitor.
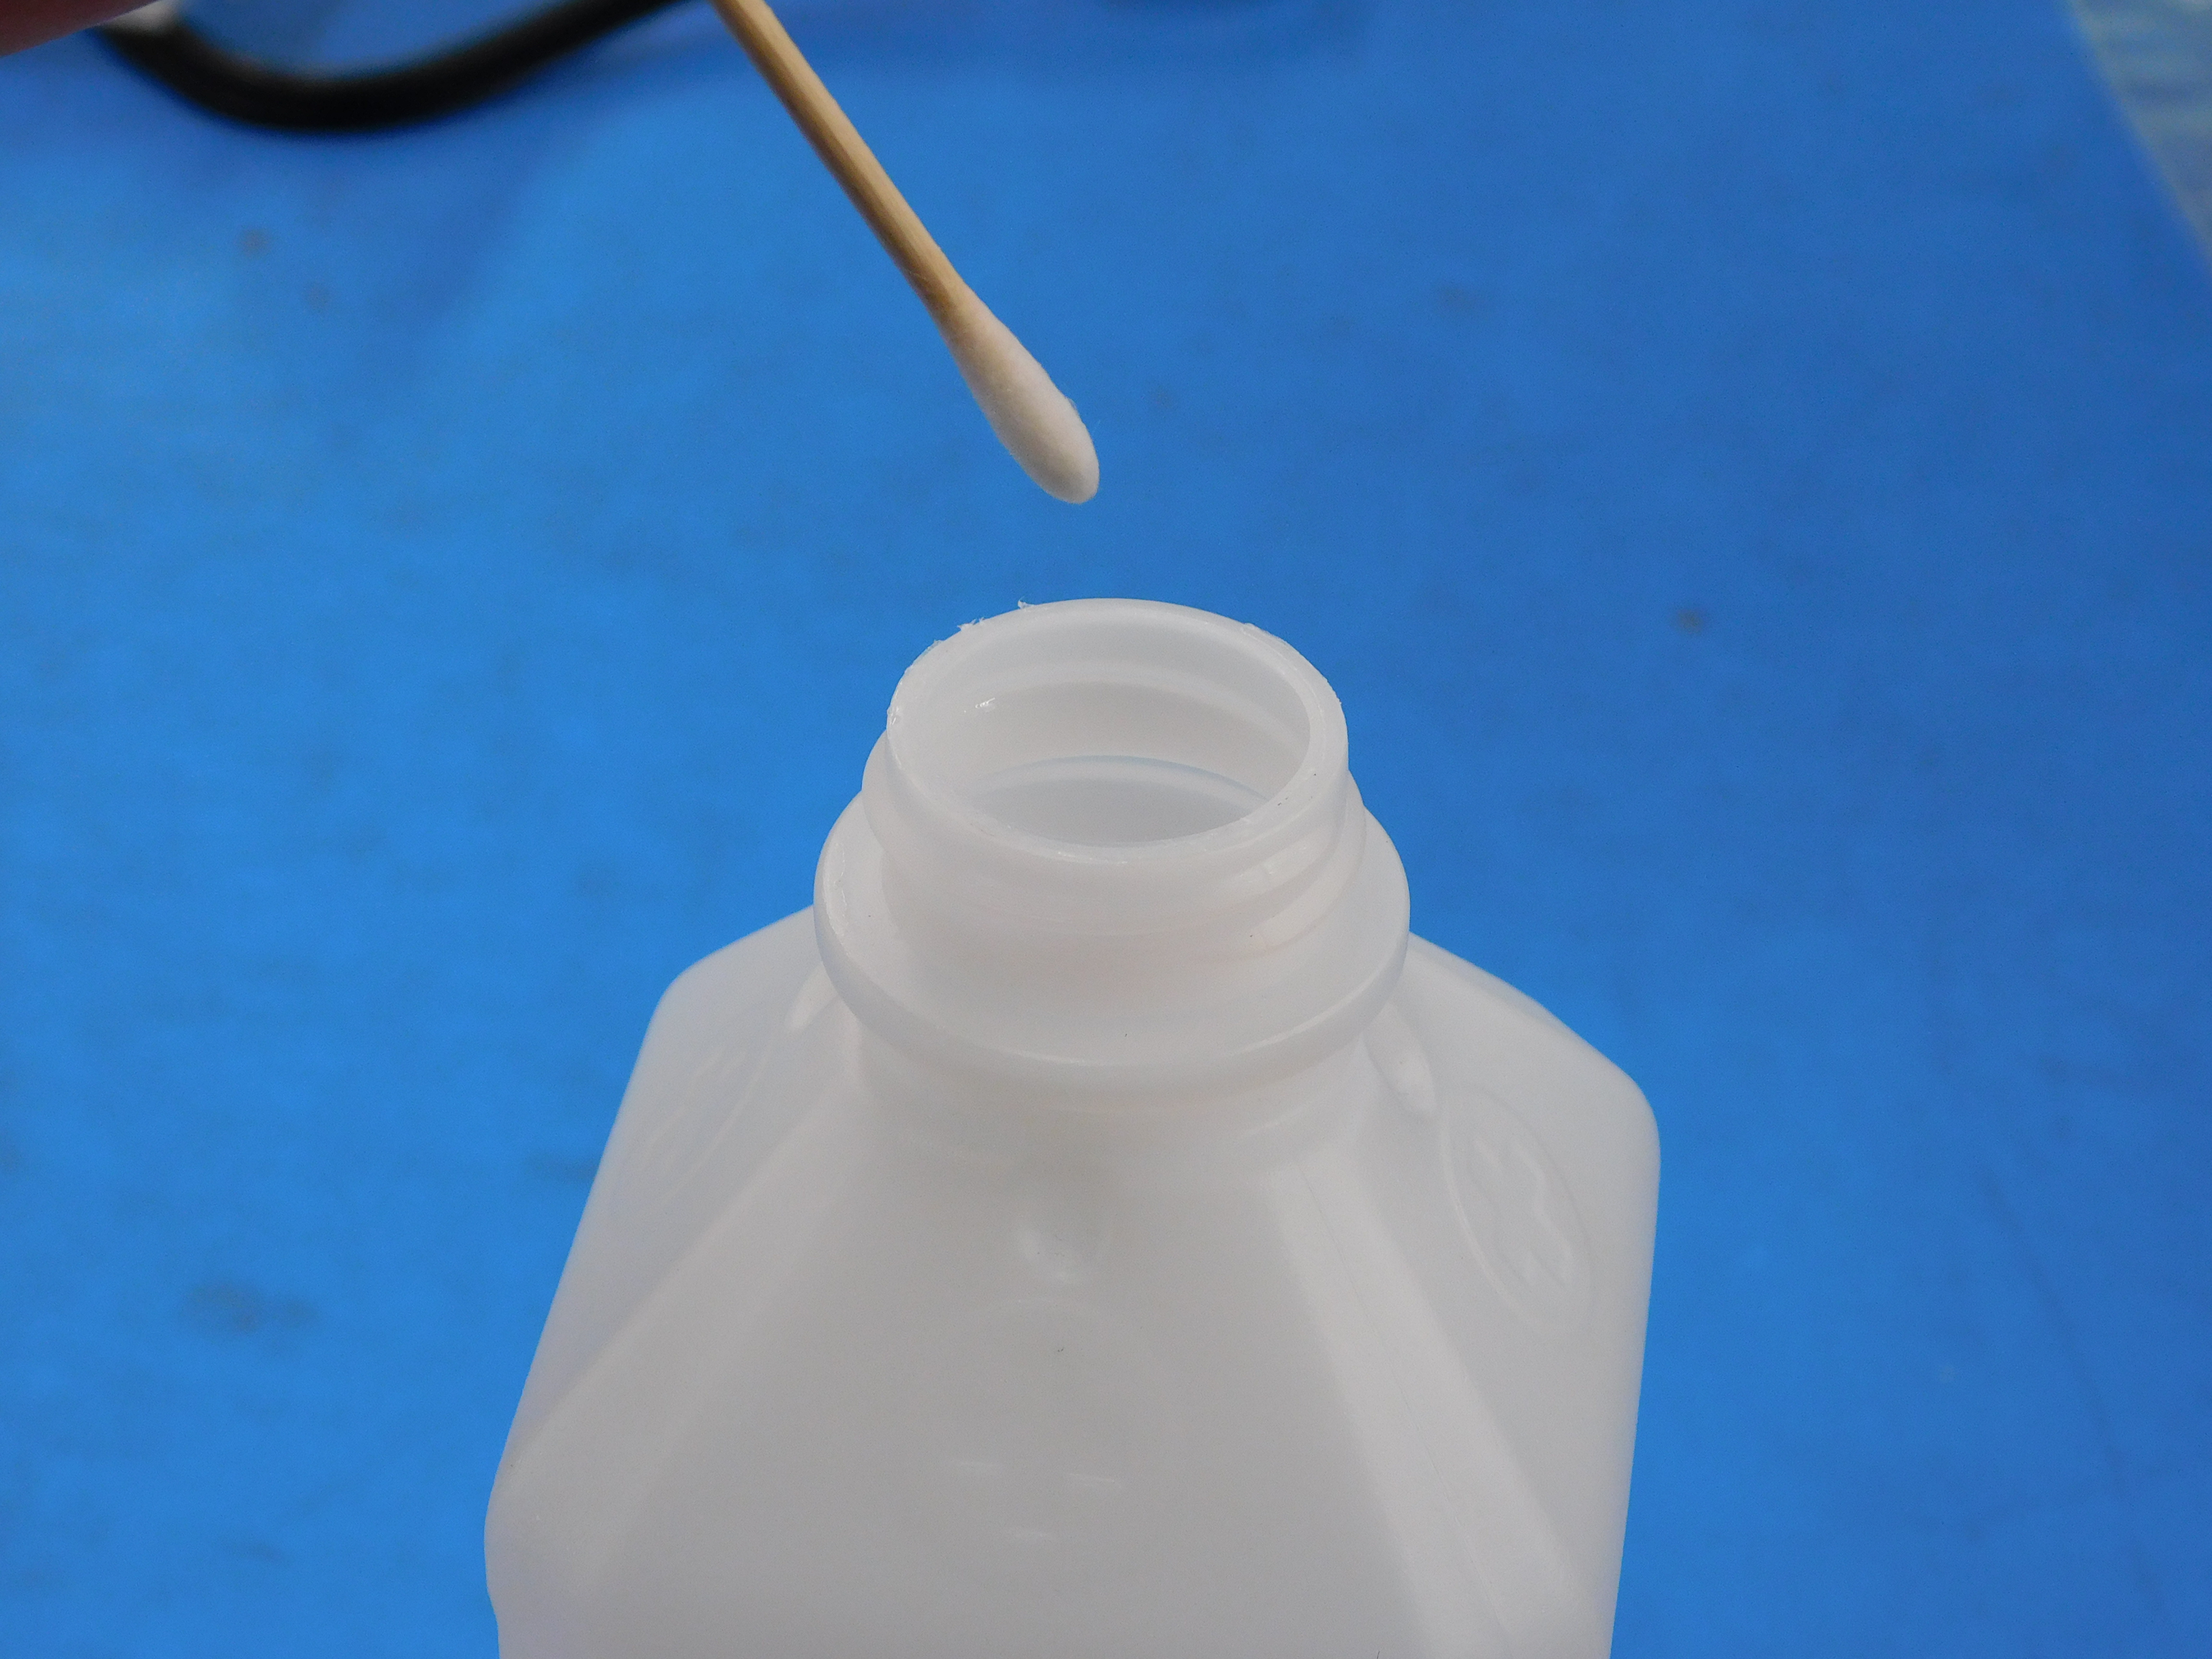
Get plenty of alcohol on the swab
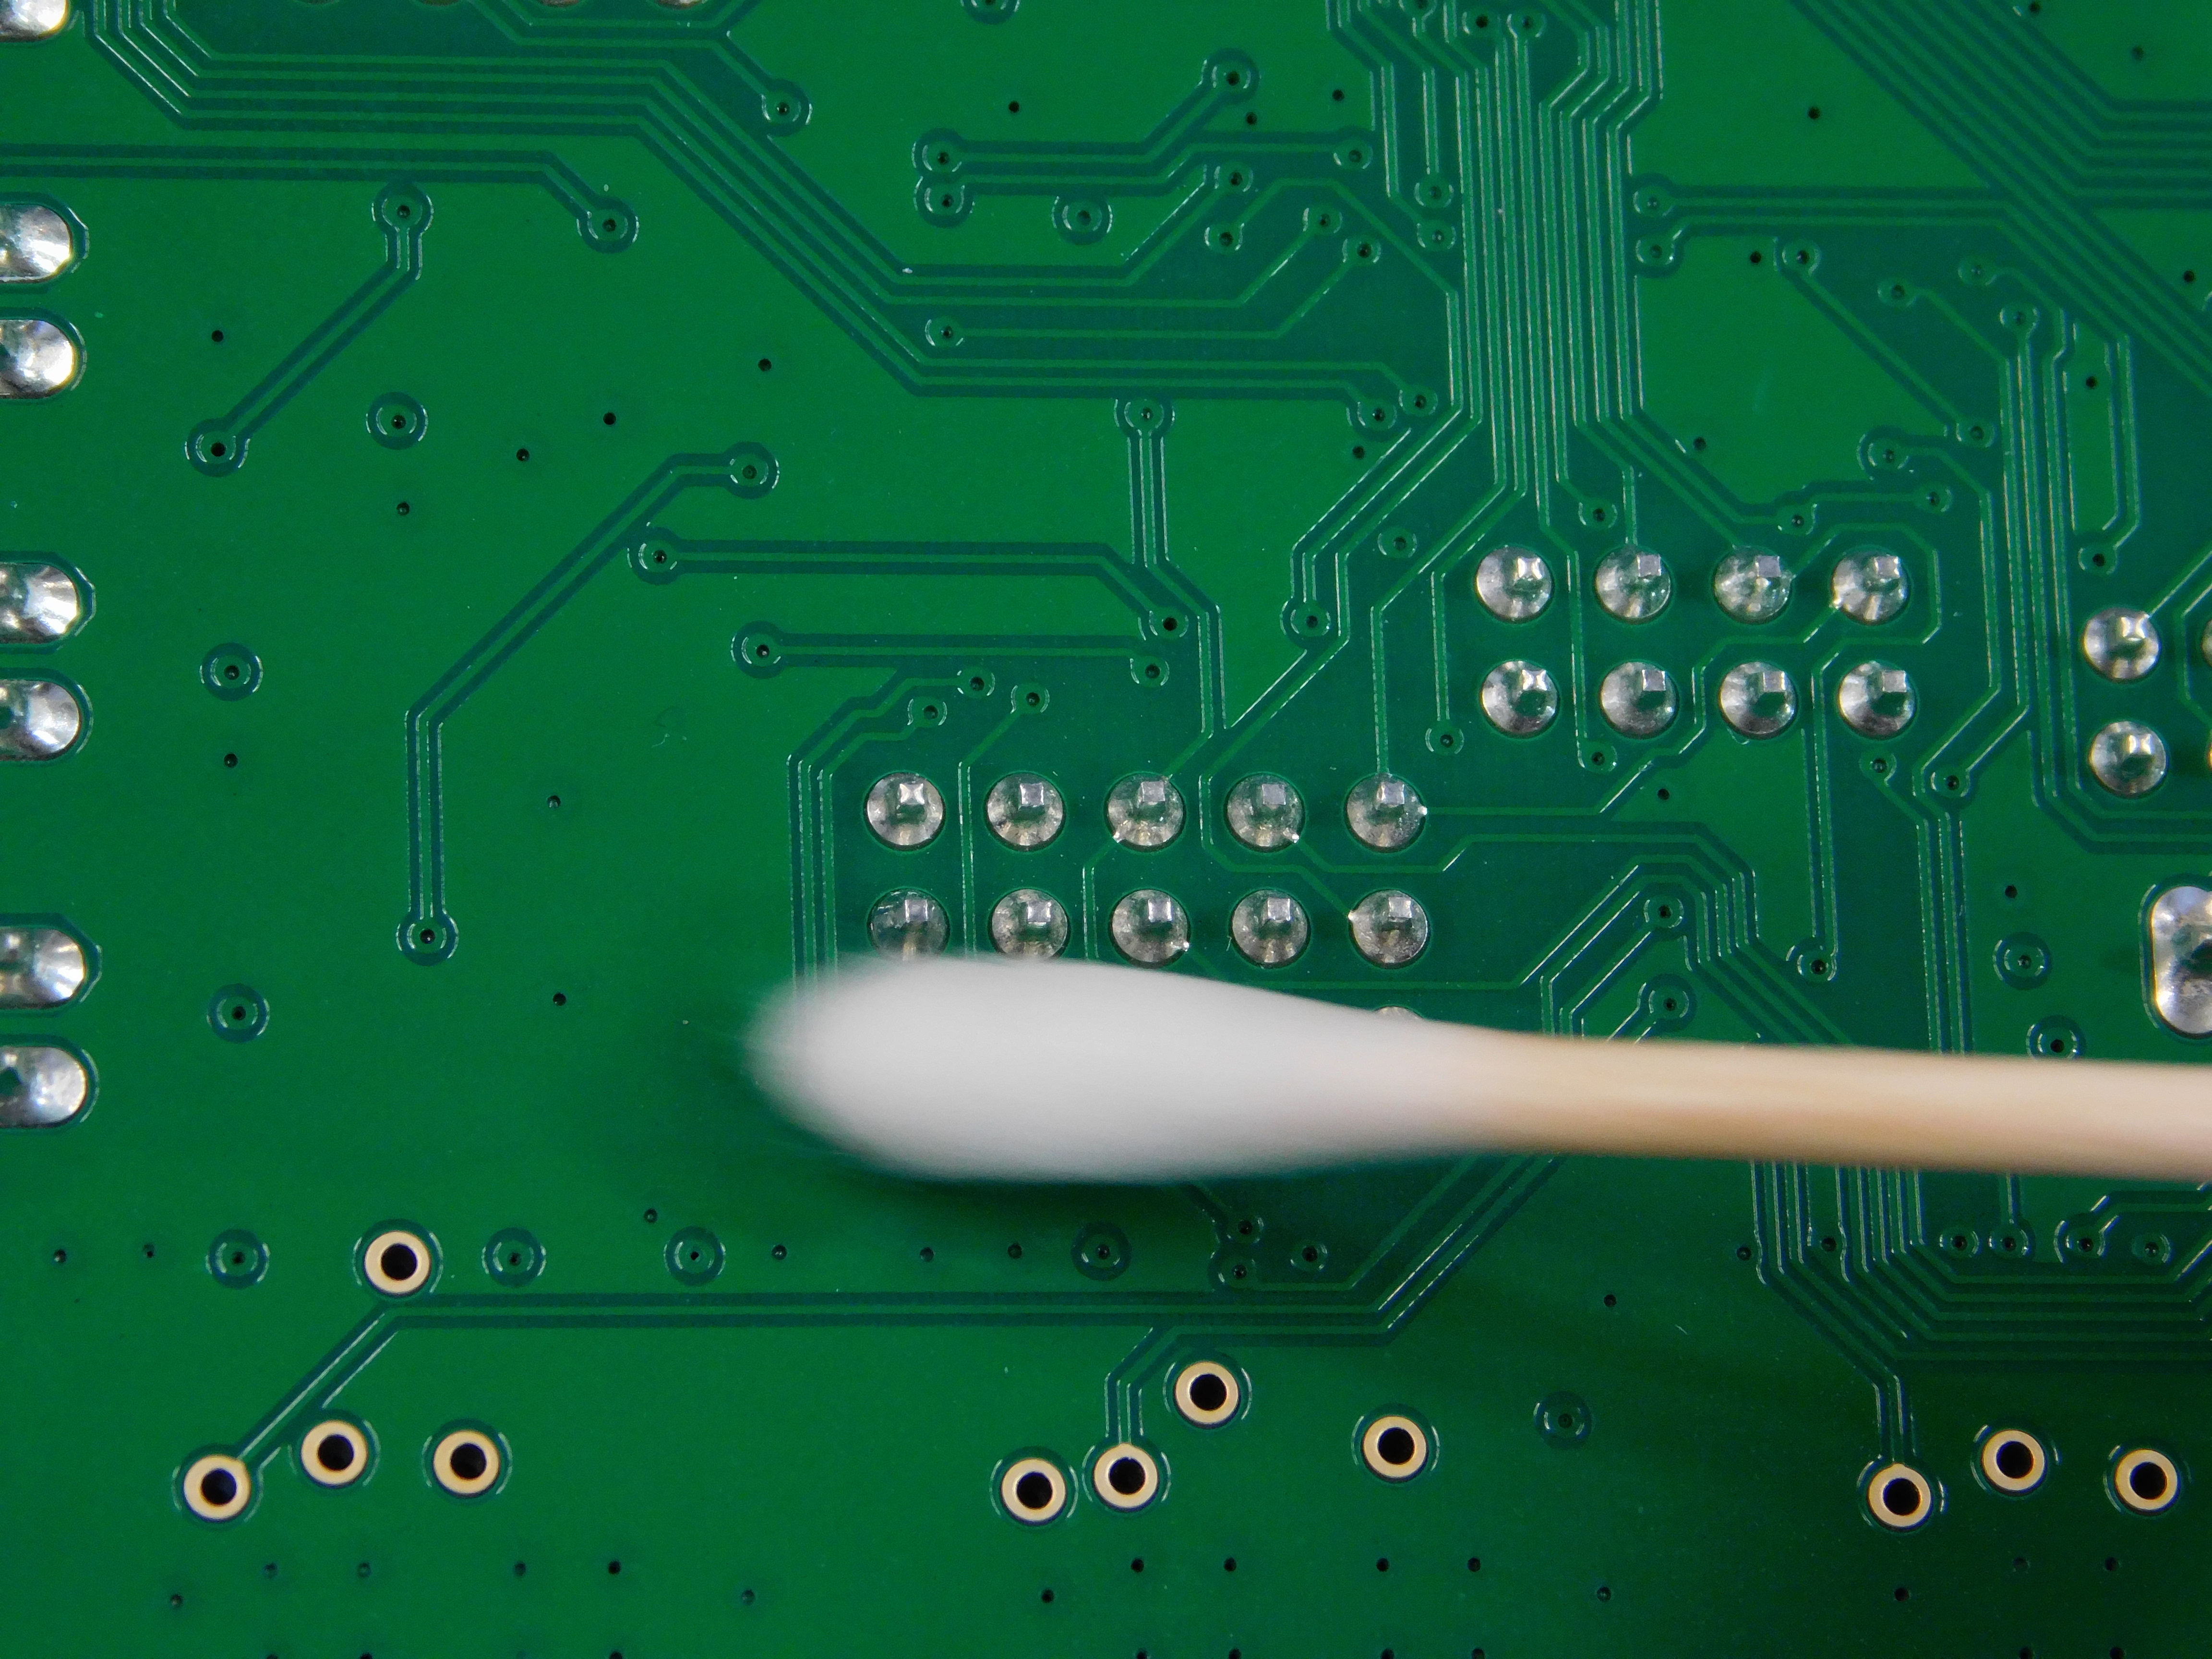
Clean all the flux residue. Add more alcohol as needed.
Blow away the alcohol with canned air

Dip another cap in the flux you dispensed earlier. Add flux as needed.
Clean any oxidation and/or flux residue off the tip of the iron. Optionally, you can dip the tip in tinner.

Hold the cap with tweezers, and flow the solder with the iron tip.

Flow solder to make the joint.

With the cotton swab from earlier, clean the flux residue off the board. Use more alcohol and a fresh swab as needed.
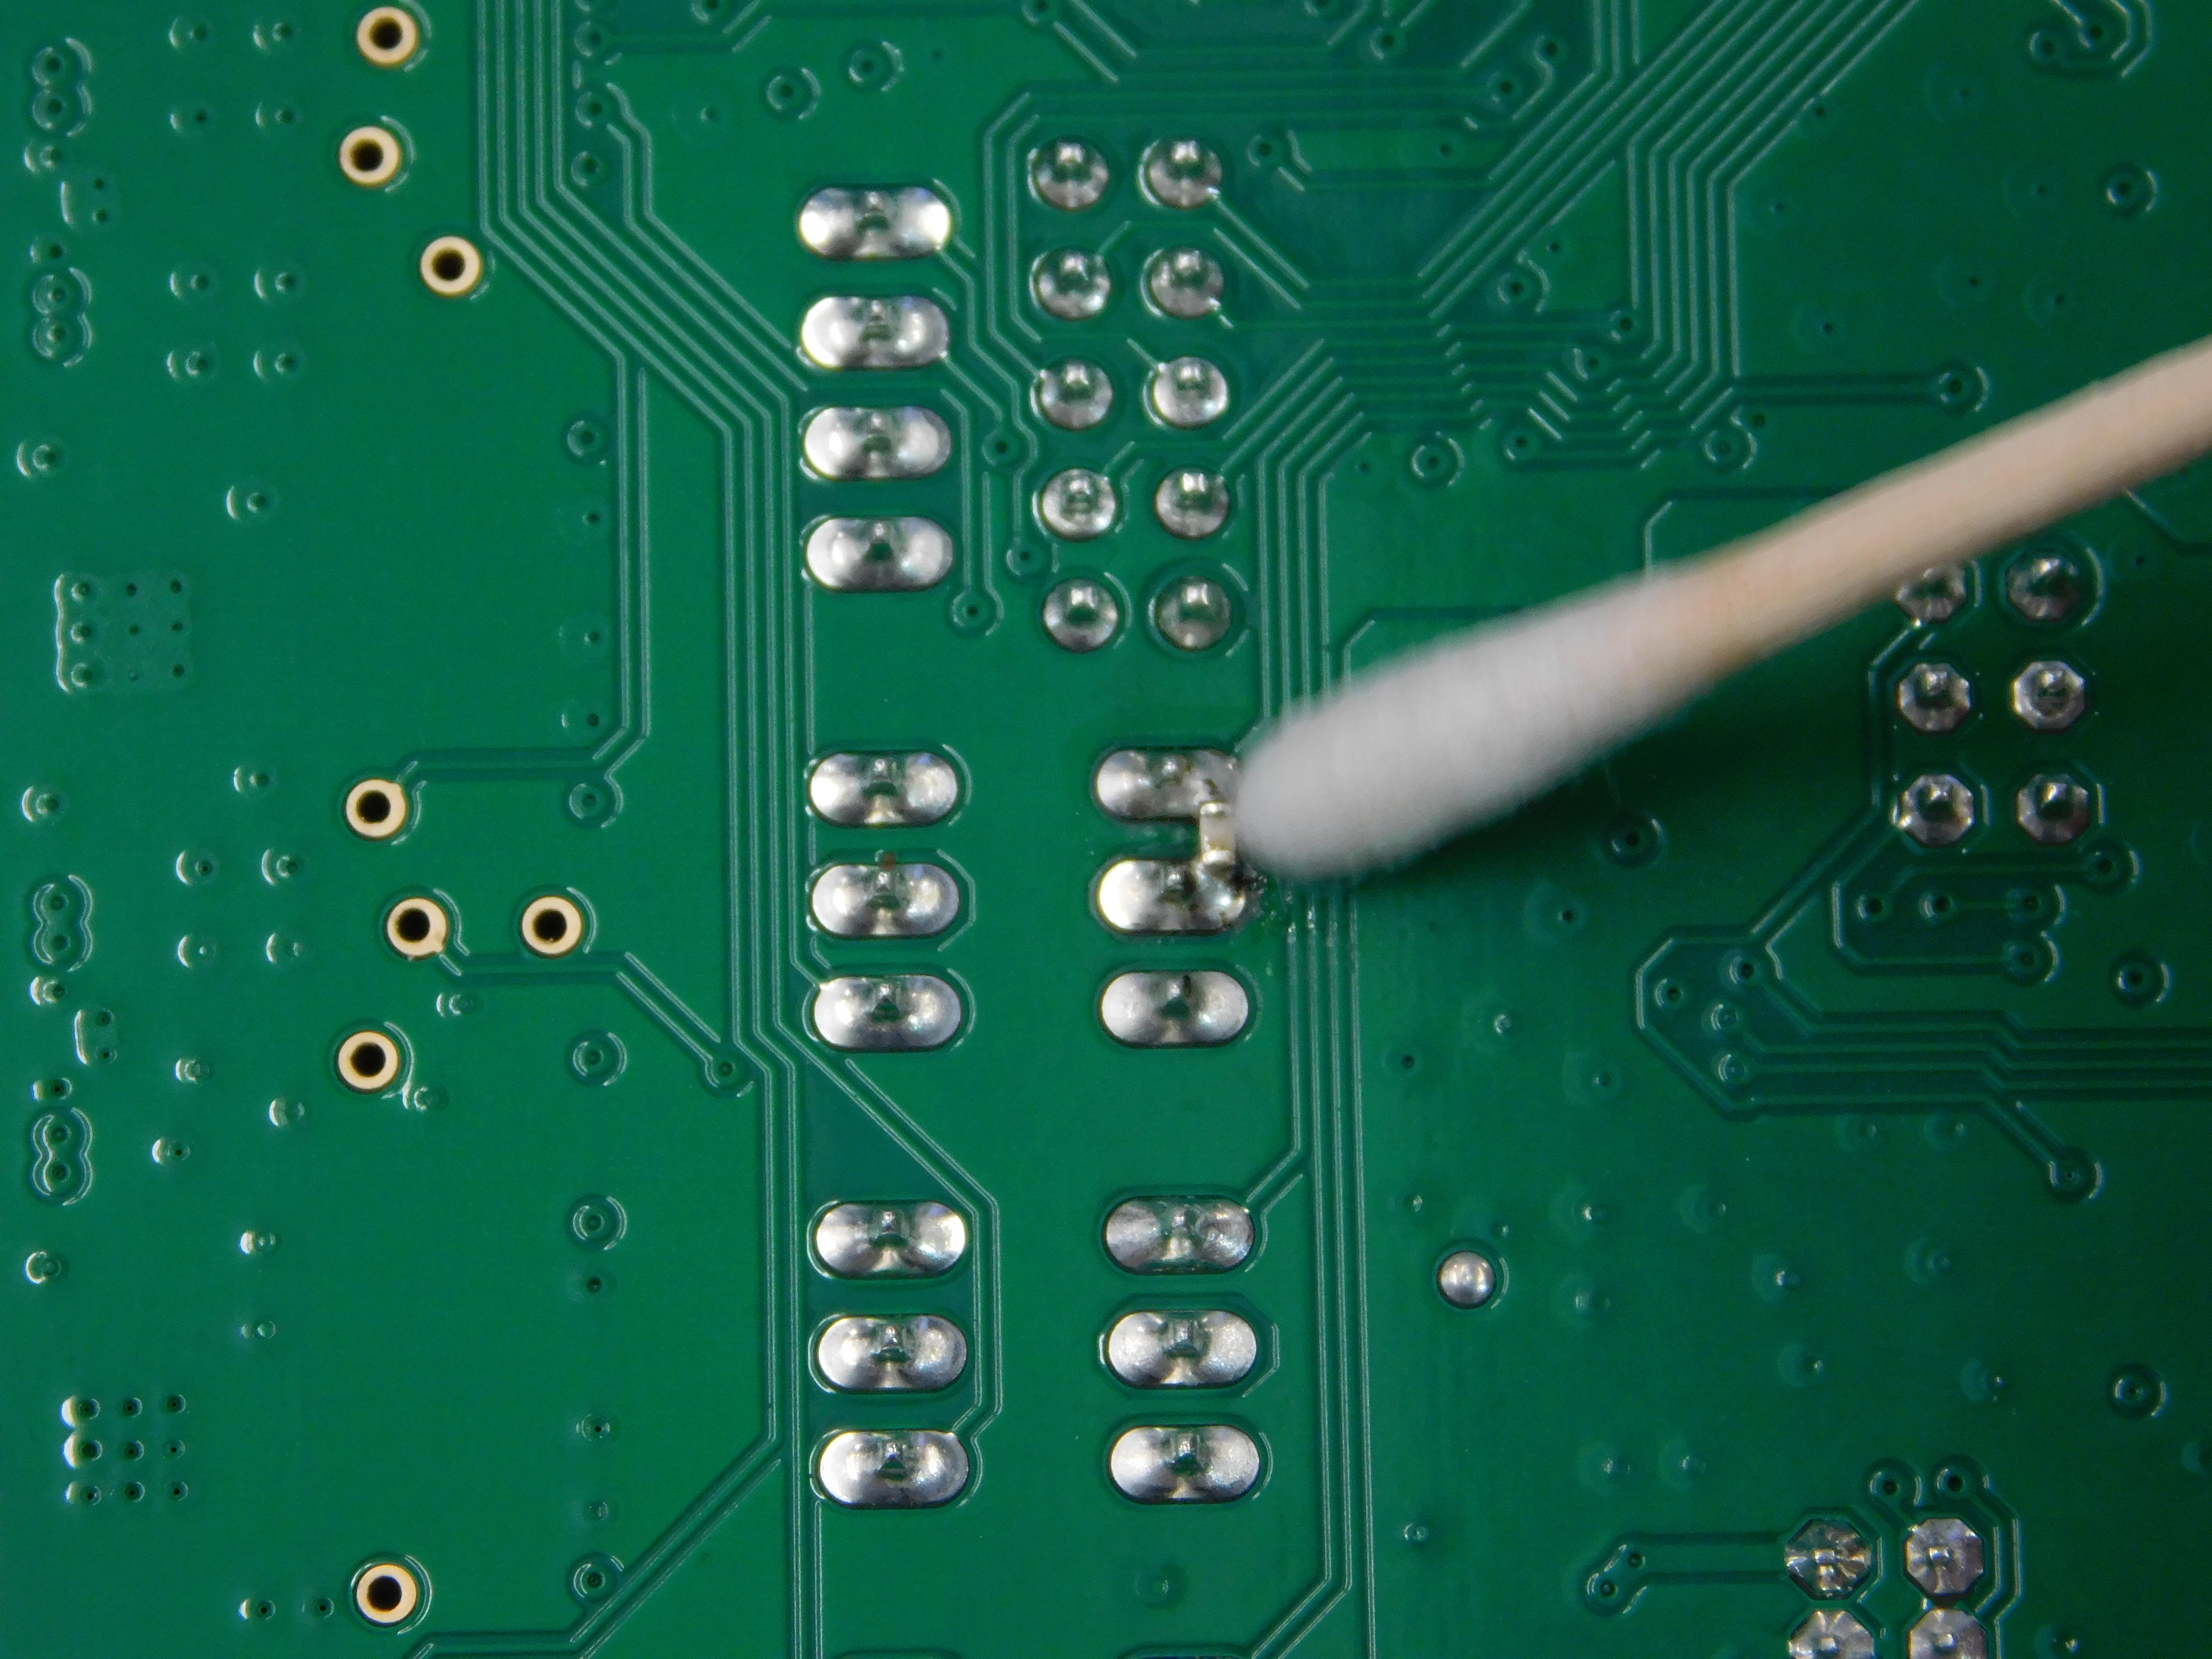
Use the canned air to blow dry the area.
The picture shows what it should look like before drying. After drying, it looks very similar -- only dry.

If you are really good, you can flow both pads of solder at the same time and then drop the flux'd up capacitor onto the pads and make both joints at once. This is good because it is faster, cleaner, and just plain cool. Try it out.