Open HardwareAssembly Instructions
Guides for installation and assembly of the LulzBot line of products made by FAME 3D LLC.
Guides for installation and assembly of the LulzBot line of products made by FAME 3D LLC.
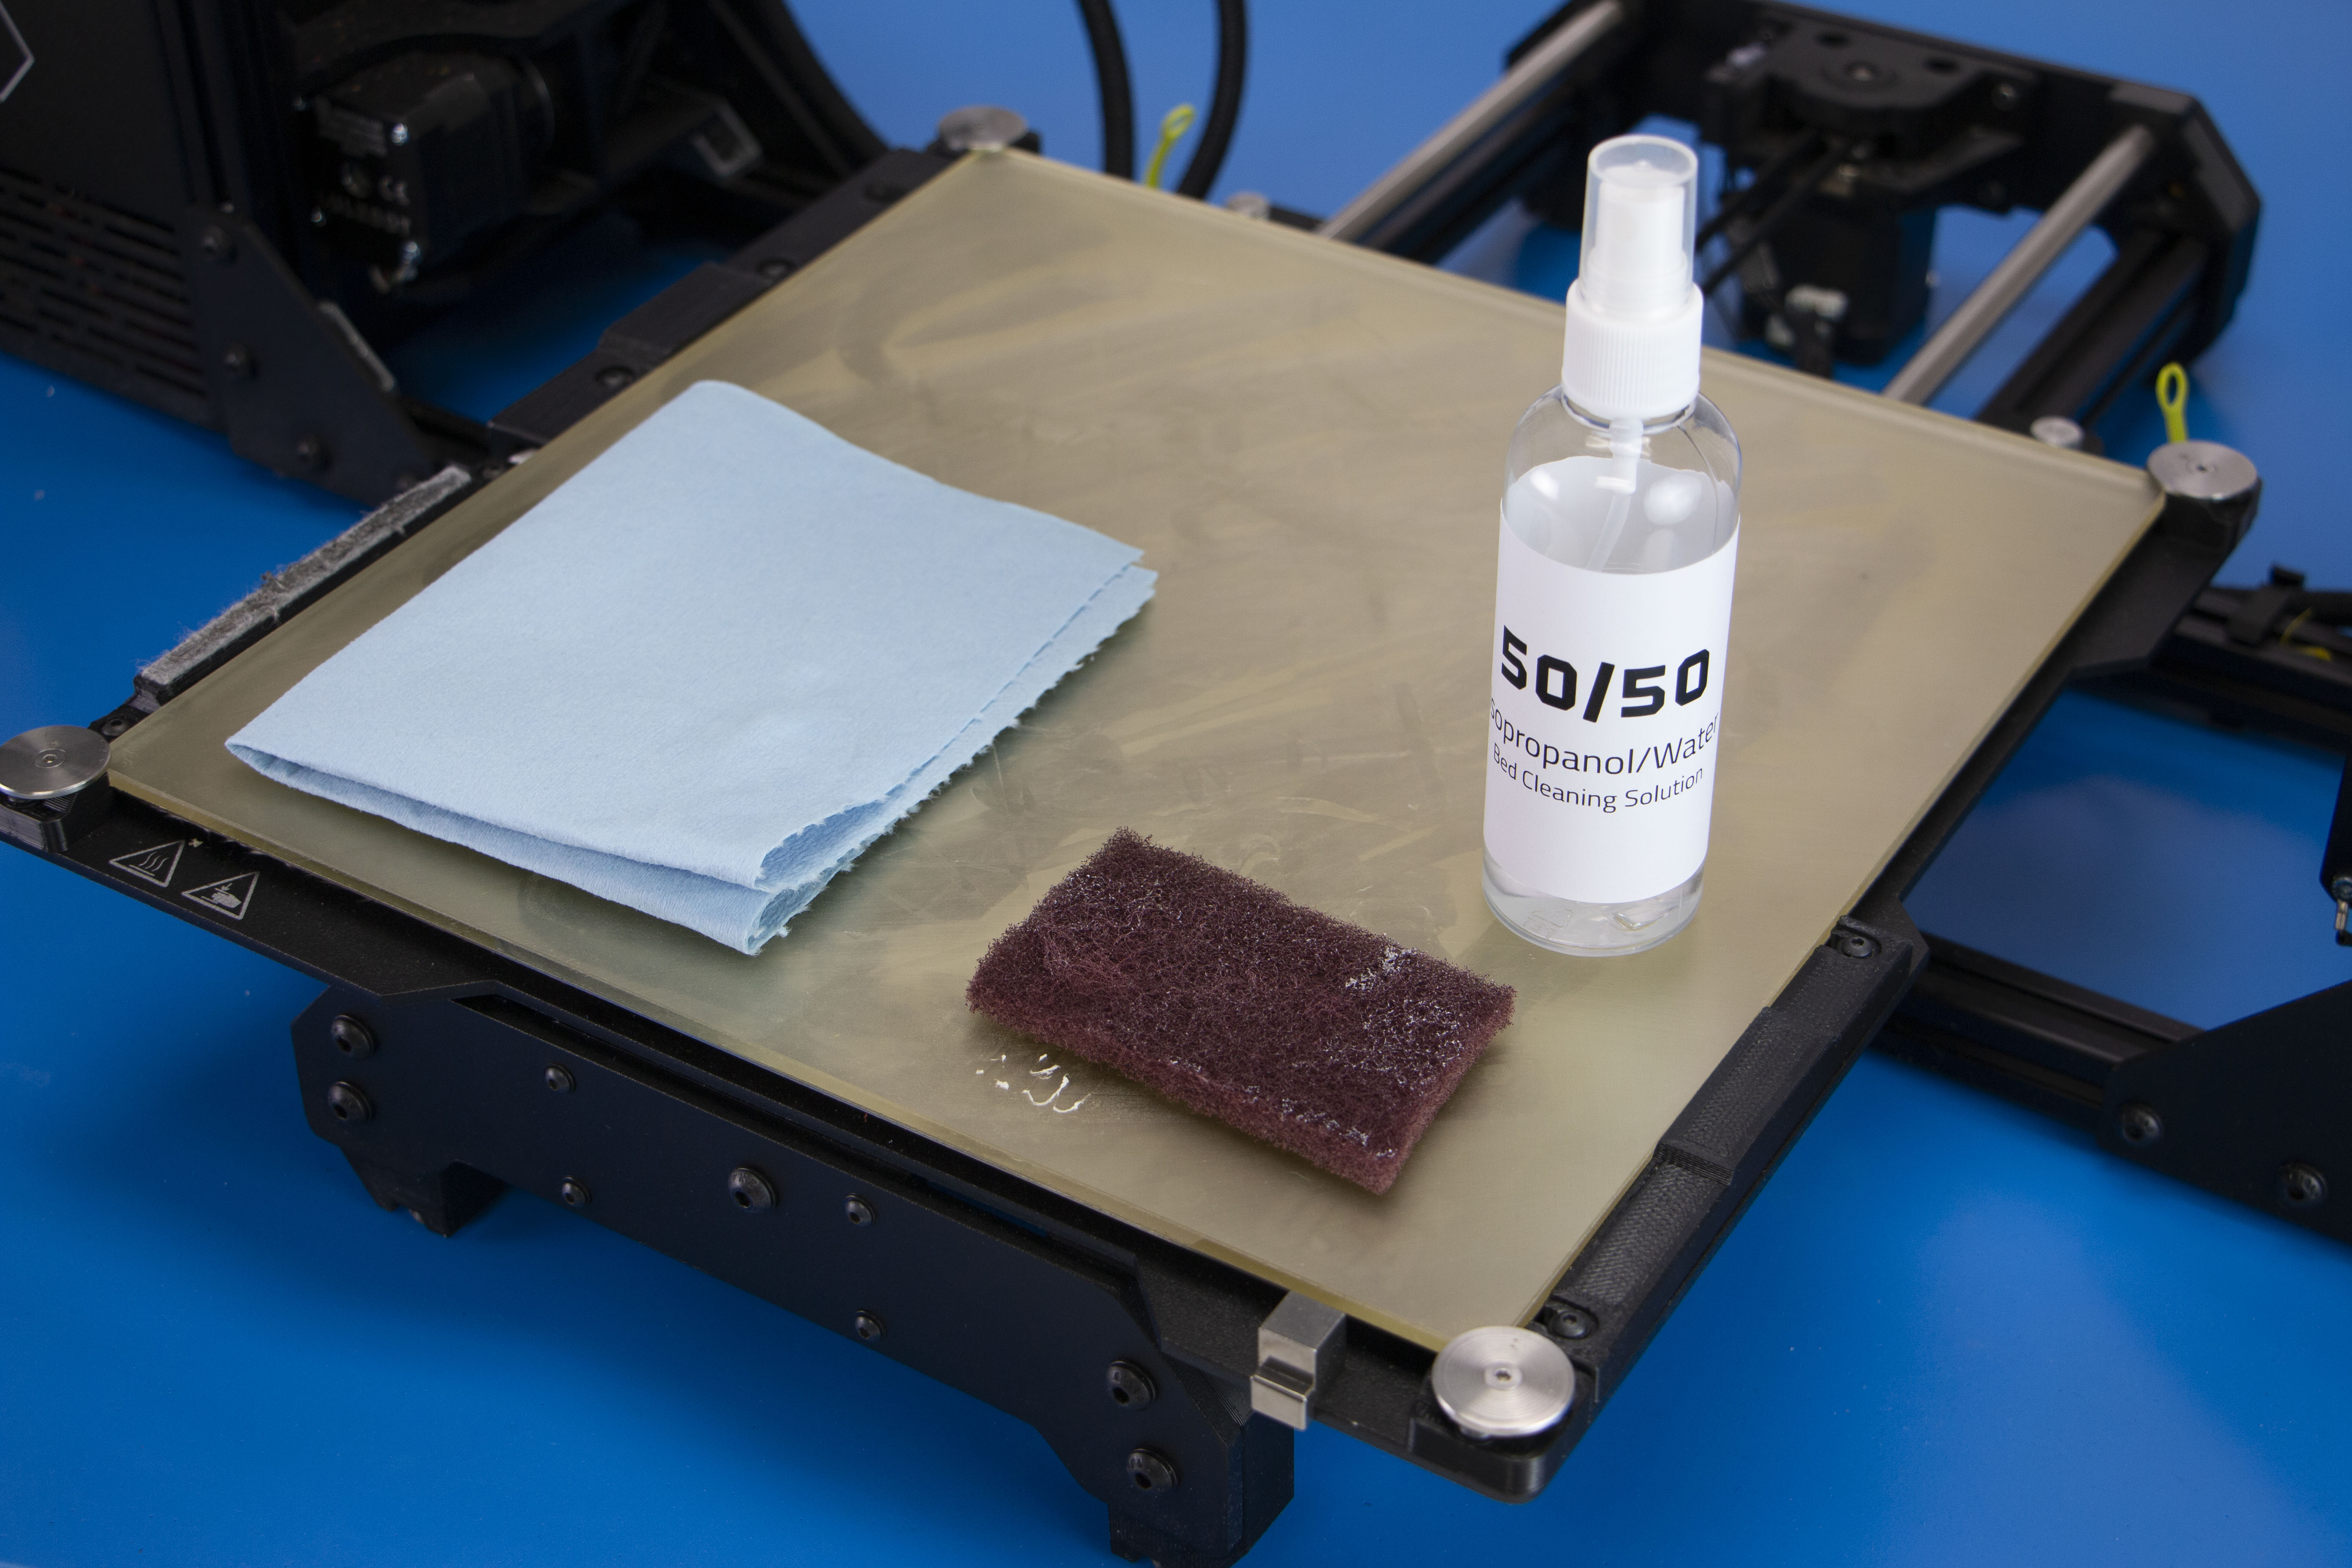
If you are unable to get parts to print and you have already dialed in your z-offset, we can look into cleaning the build plate.
First, take a 50/50 mix of water and isopropyl alcohol and wipe down the bed to clean the surface of any dust or oils from touching the PEI.
If you want to really help bed adhesion, you can take a green or red scotch-brite pad and add a little of the water/iso mix to the PEI and lightly scuff the PEI surface.
Wipe down with the 50/50 mix again and add glue stick to that.
Doing this opens up the print surface to allow greater bed adhesion and is exactly what we do in our print farm if the print surface starts to lack adhesion.
If that still does not work for you, you may need to replace the PEI surface on the build plate.
We have an in-depth guide on the bed prep/cleaning process found here
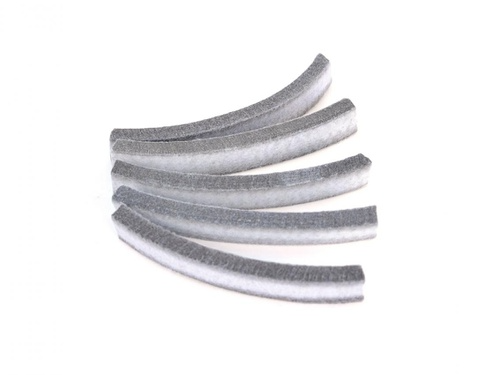
Over time the nozzle wiping pad will become filled with plastic residue.
The pad can be flipped over once and will need to be replaced when full.
Replacement nozzle wiping pads are available in our online store at LulzBot.com.
Do not attempt to use a plastic or polymer based wiping pad as it can melt, rather than clean the nozzle.
If the nozzle is not clean during the bed-level calibration process the heated bed assembly or extruder tool head can be damaged.
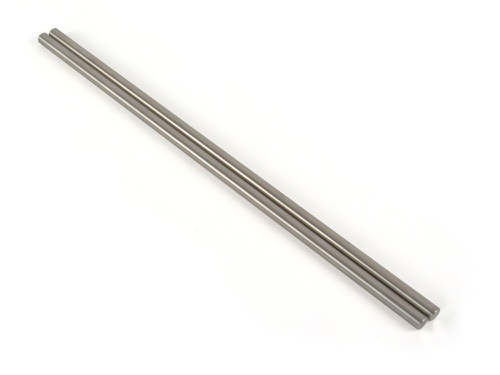
Wipe the smooth steel rods with a clean cloth or paper towel. The linear bushings leave a solid lubricant that builds up over time. Hearing squeaking noises while the printer is printing is likely a sign that the smooth rods need to be cleaned.
If necessary, buff smooth rods with #0000 steel wool and clean with cloth and isopropyl alcohol to ensure no debris is left on the rods.
NOTE: Never apply any lubricant or cleaning agent to the smooth rods; the bushings are self-lubricating.
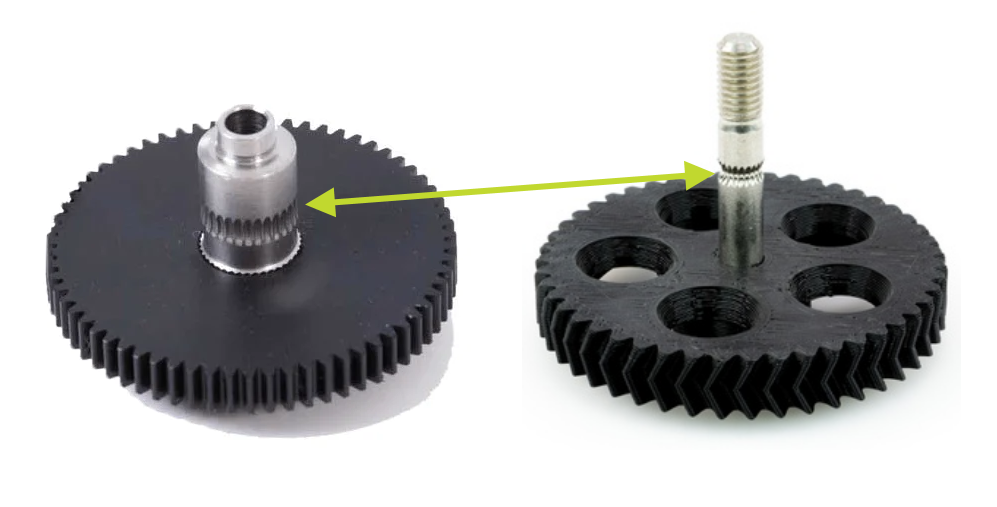
Filament is pulled through the extruder by a hobbed bolt/gear.
After repeated use, the teeth of the gear can become filled with plastic.
Using the brush or pick, clean out the hobbed bolt teeth.
If an extruder jam ever occurs, remove the plastic filament from the extruder and clean out the hobbed bolt.
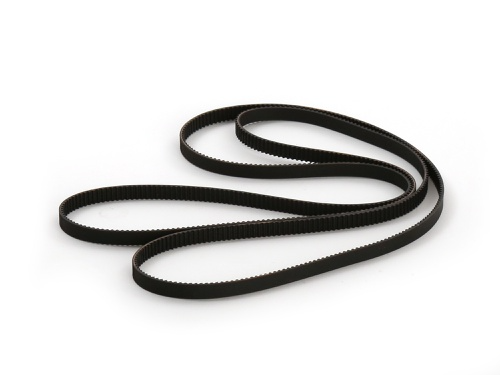
Over long periods or after extensive relocating of the printer you may need to re-tighten the belts on your 3D printer.
You will want to tighten your belt tension.
Each printer will have a different process by which this will be done.
Please refer to your user manual or the correct OHAI page for instructions on this process.
Make sure not to over tighten the belts as this can cause unneeded stress on the printer.
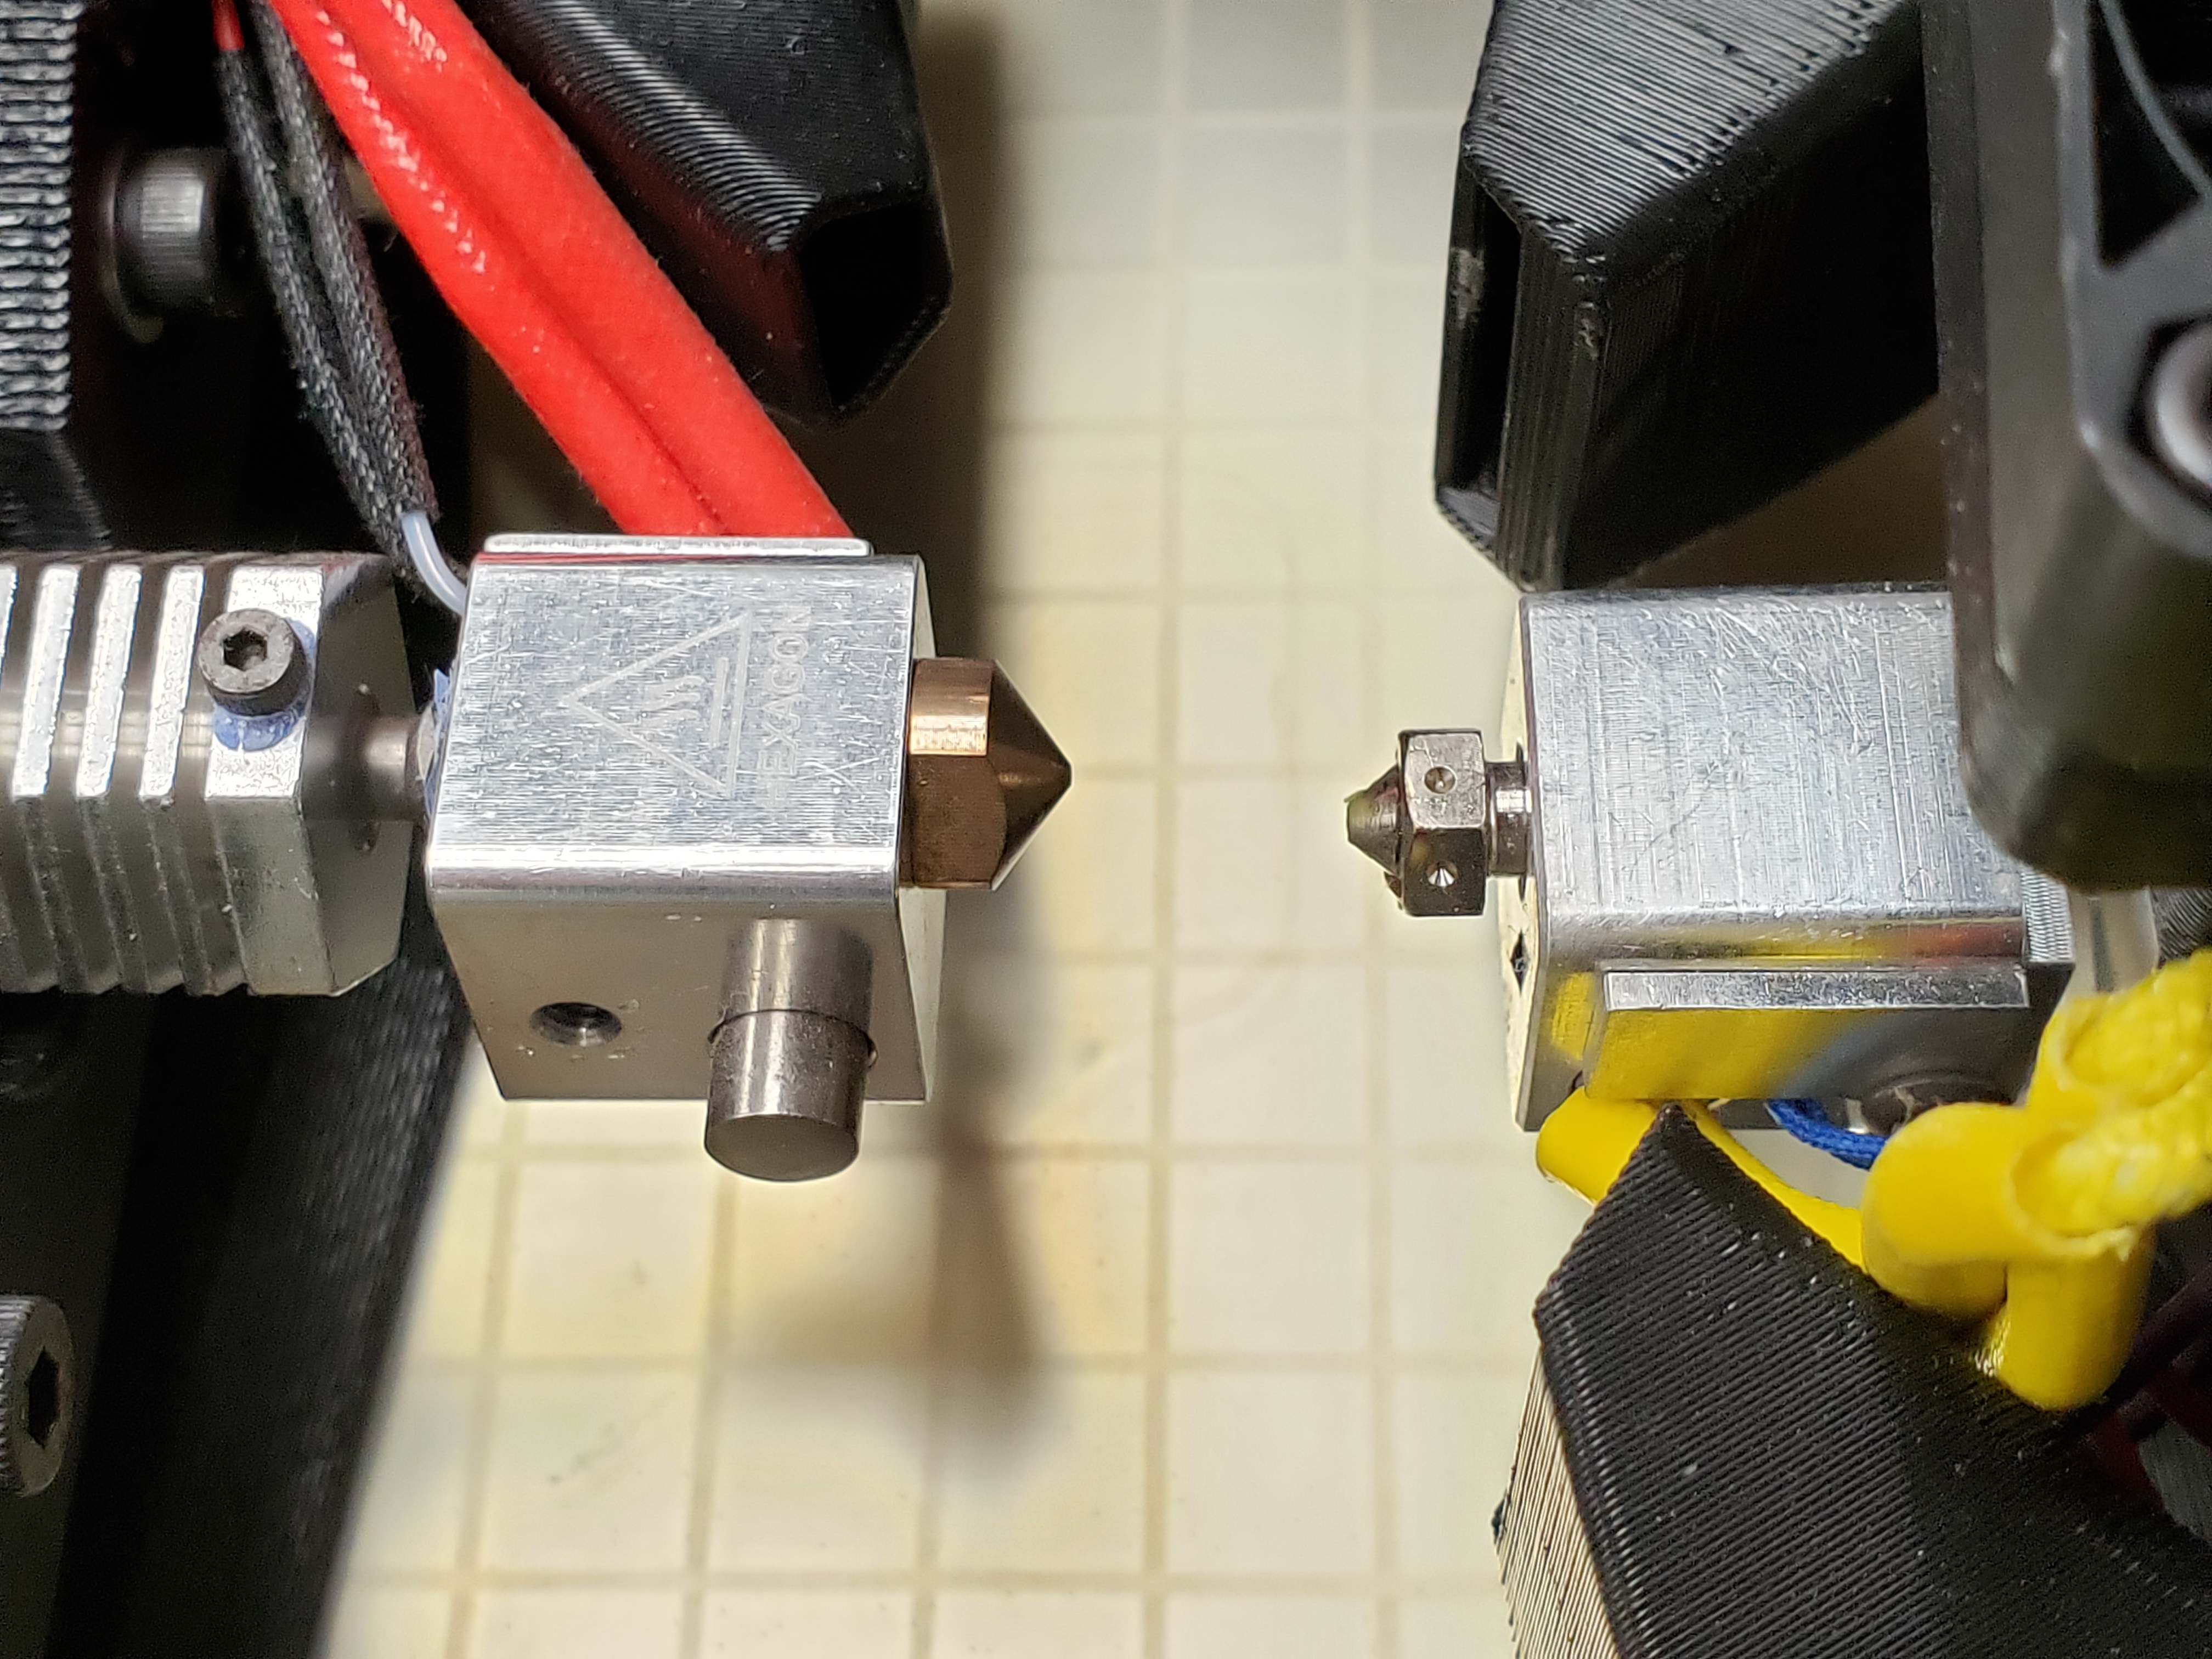
The hot end should be kept clean of extruded plastic by removing melted plastic strands with tweezers.
Raise the printhead off the bed, and bring to extrusion temperature.
Using a thick leather glove and a clean blue shop towel gently wipe off the outside of the nozzle.
Using a non-conductive Scotch Brite pad to clean the nozzle is also very effective.
Do not clean the hot end with anything metal.
The printers hot end is susceptible to electrostatic discharge that can damage the hot end, so avoid using any kind of wire brush.
Housing the control board, the control box of your printer should be kept clean of dust and debris to ensure proper airflow and cooling.
Find the screws that hold the control panel/case onto and remove them.
On the TAZ Pro there will be 10 screws and for the Mini 2 there will be 8.
Remove the side panel/case from your 3D printer and set aside. For the Mini 2, be careful as the control box case will still have a couple wires attached to the control board for the fan.
Using compressed air, clear the fans, power supply, and the area around the control board of any dust or debris that may have collected inside.
Reinstall the control box/case to the printer.
Dust, debris, and little bits of filament can accumulate under and around your 3D printer.
This can cause potential issues with movement of the y-axis.
Periodically inspect, clean, and dust around your printer, especially underneath to prevent this.
Ensure that the hot end and print bed are both at room temperature and the printer turned off before beginning any cleaning around your printer.
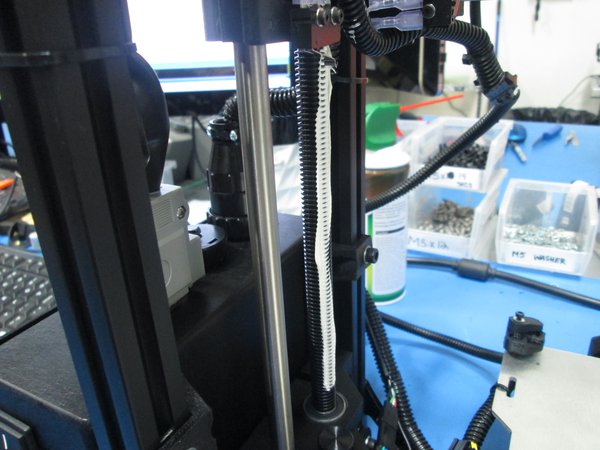
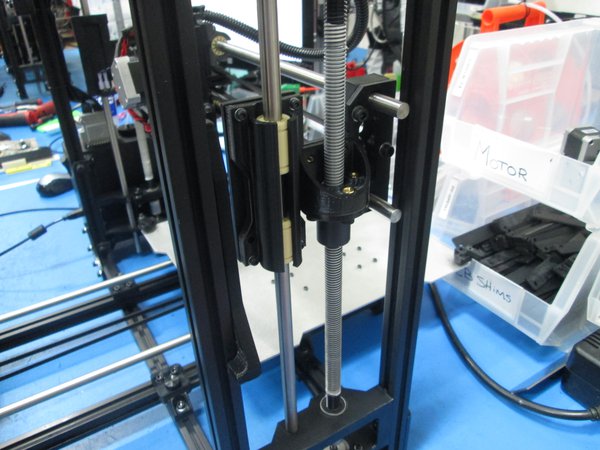
If your printer uses lead screws for its z-axis, periodically you will want to wipe down the threaded rods with a lithium-based grease.
Never use any petroleum based grease such as WD-40, which may compromise the plastic parts.
We utilize Lucas white lithium grease NLGI-2.
Apply the lithium grease both above and below the X ends on the threaded rods and wipe down the threaded rods.
Use your preferred printer host software or the Graphical LCD controller to drive the Z axis up and down to help further distribute the lubricant.
Wipe off any excess.