Open HardwareAssembly Instructions
Guides for installation and assembly of the LulzBot line of products made by FAME 3D LLC.
Guides for installation and assembly of the LulzBot line of products made by FAME 3D LLC.
Several of these may be prepared for later use
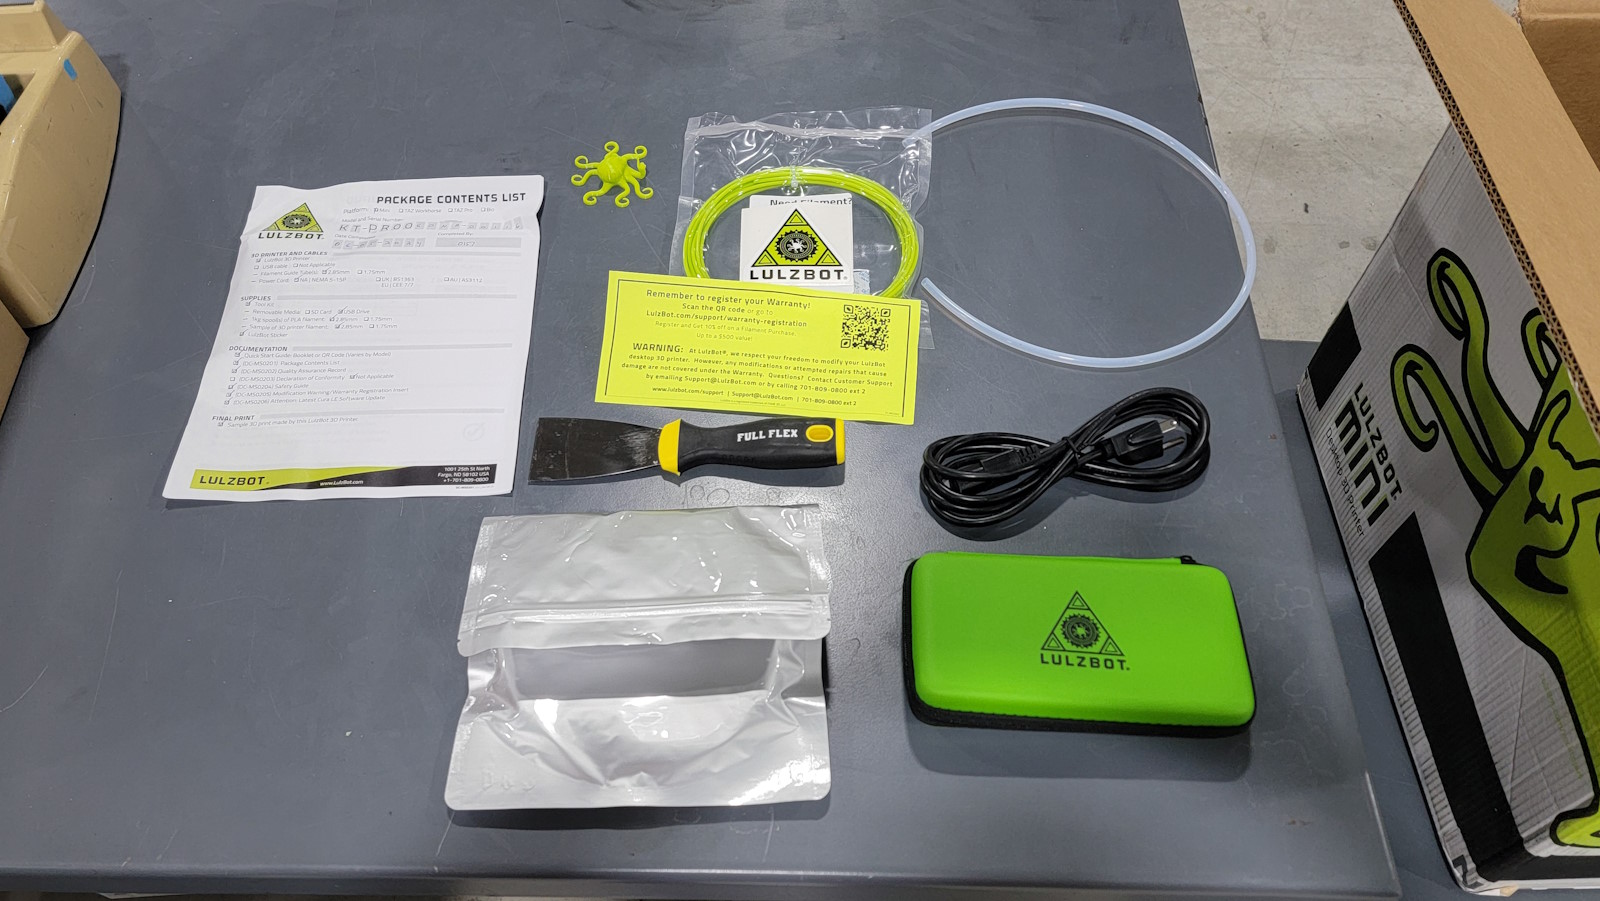
Gather the following materials:
1x- 9x12” Recloseable Bag
1x- Warranty Registration card
1x- LulzBot Logo Sticker, 3 - Inch
1x- Sample Filament
1x- Mini 3 PTFE Tube
1x- Bed scraper/part removal Tool
Gather Materials Needed:
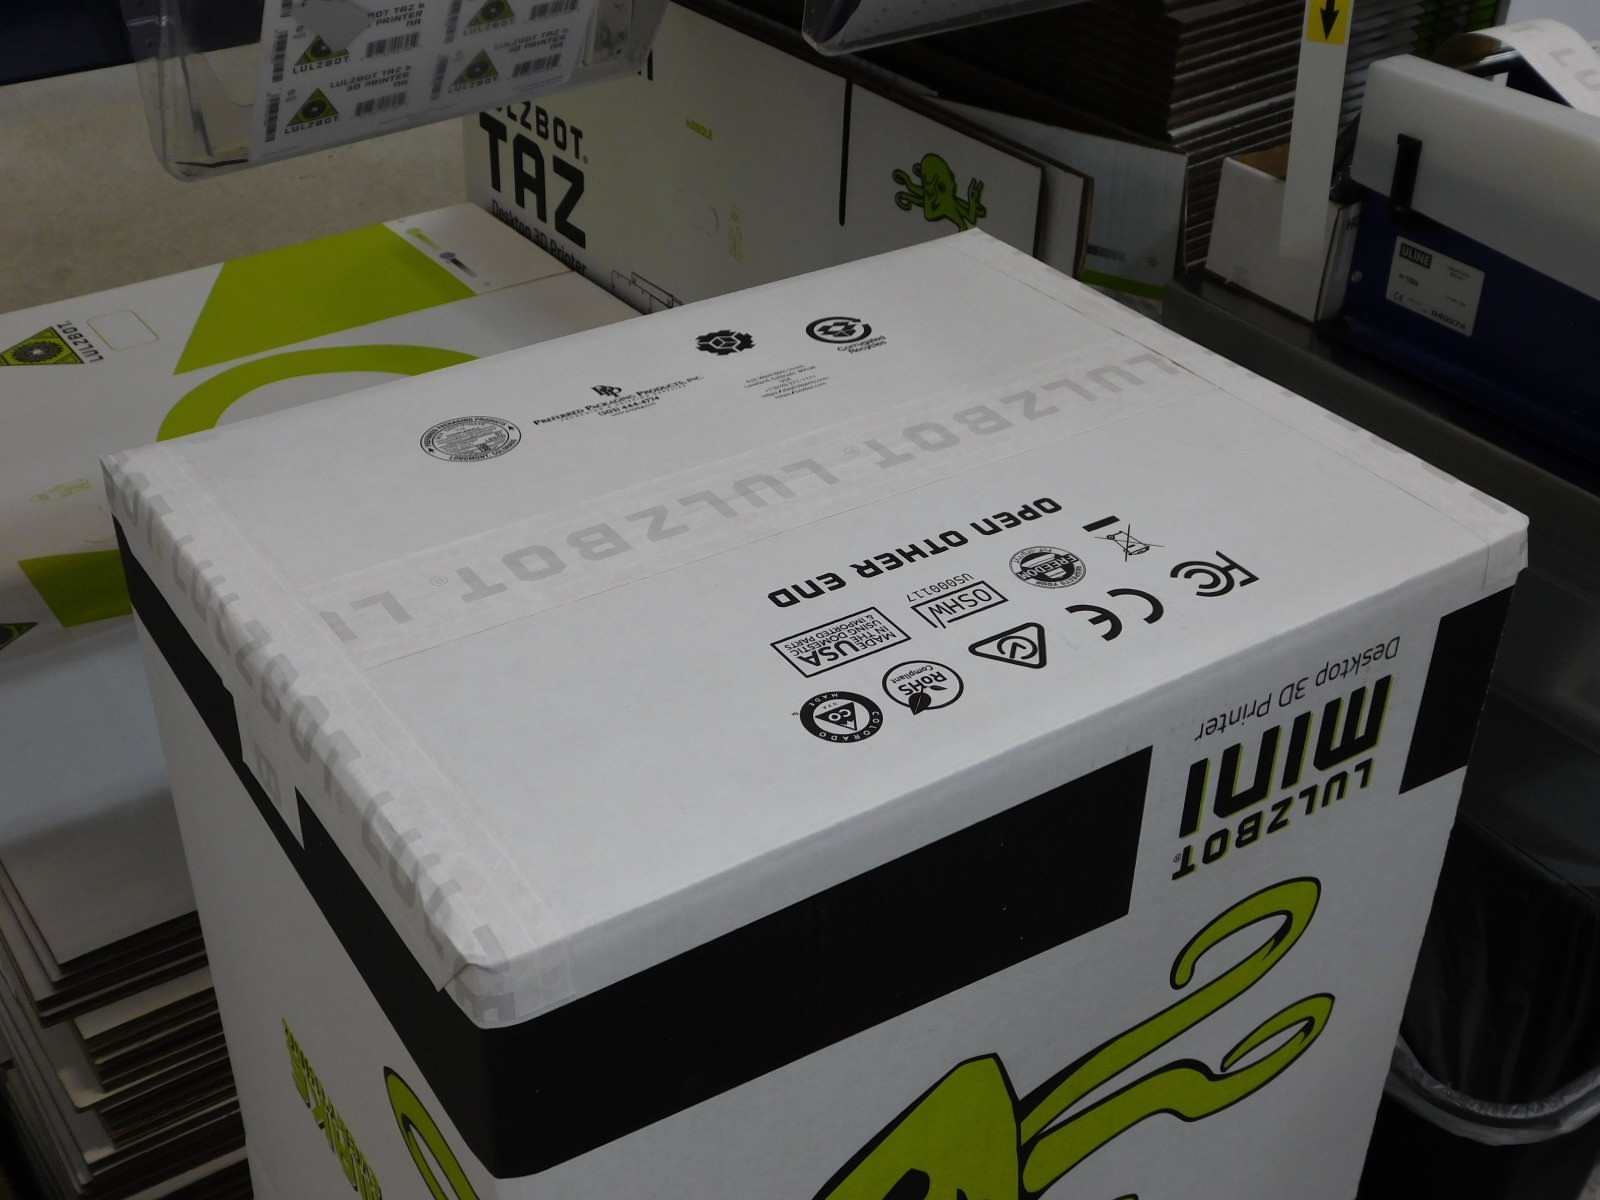
1x- Mini 3 Shipping Box
1725mm- [SH-PG0131] White Reinforced Tape with LulzBot Logo (or 68")
Begin with the box upside down;
Fold the box bottom small end flaps into the box, then fold the long flaps over the end flaps;
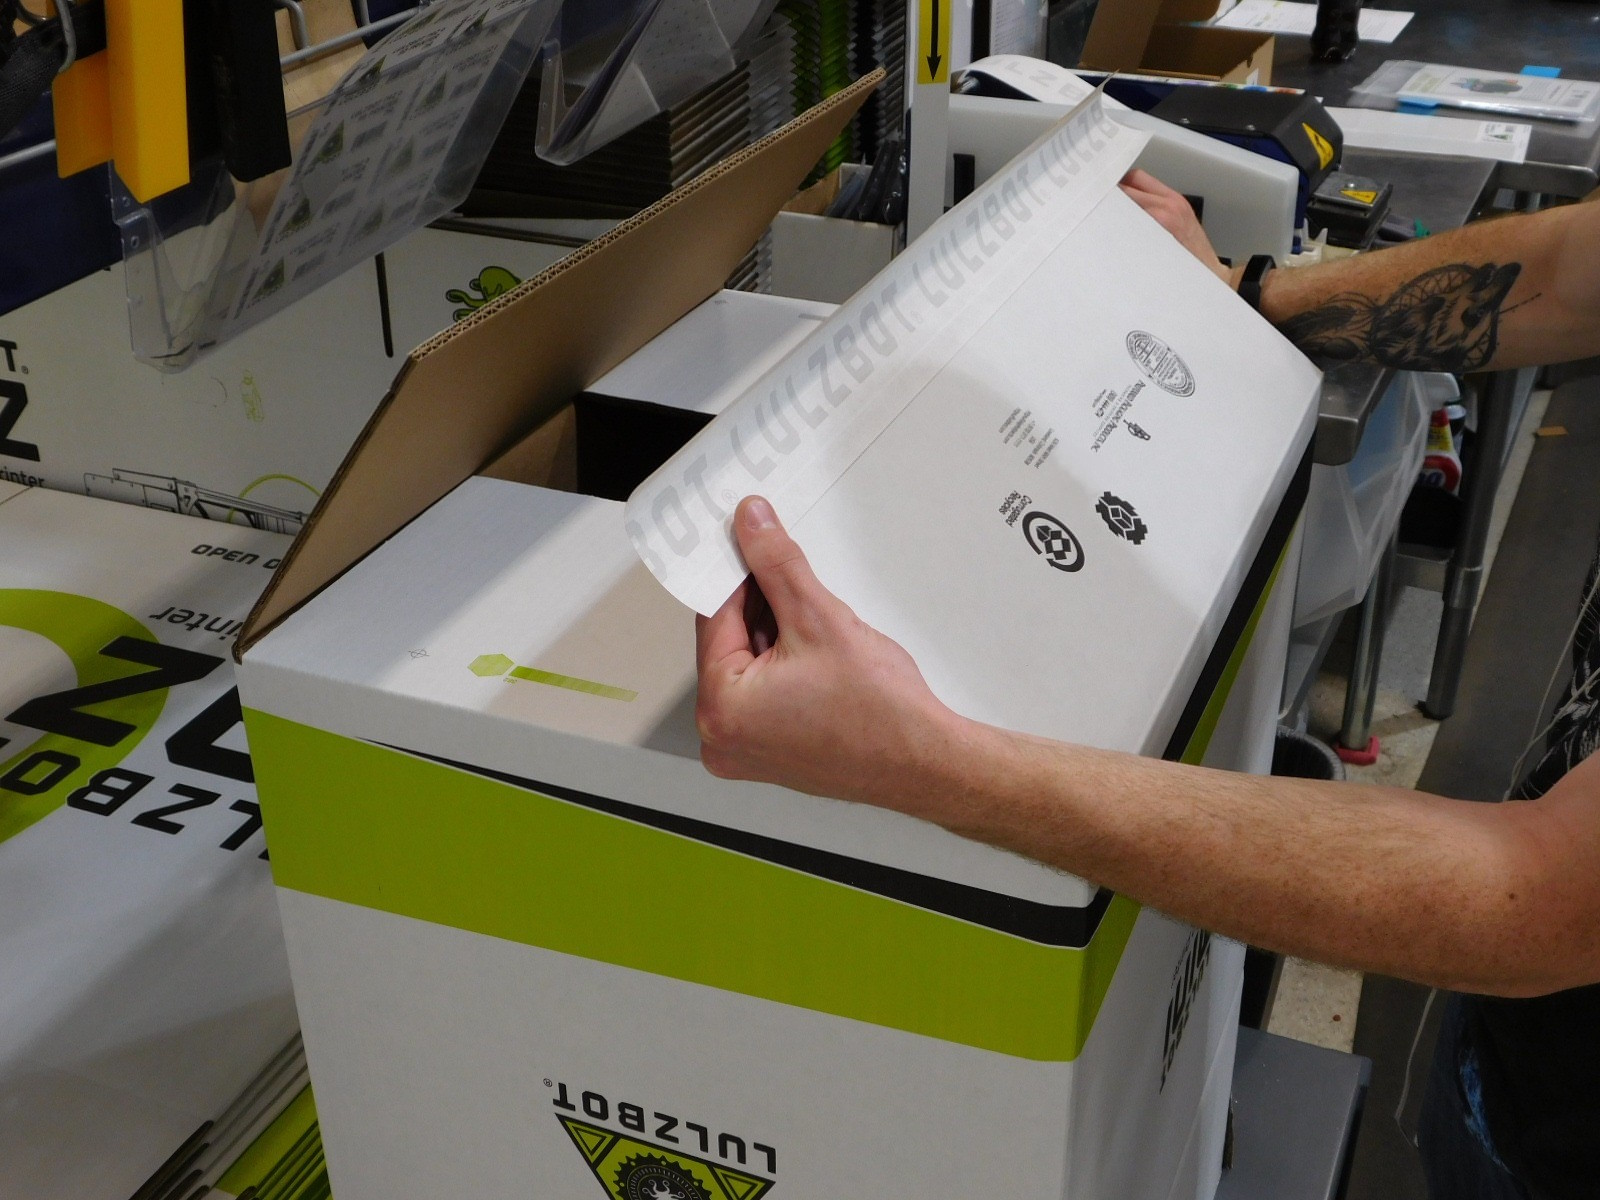
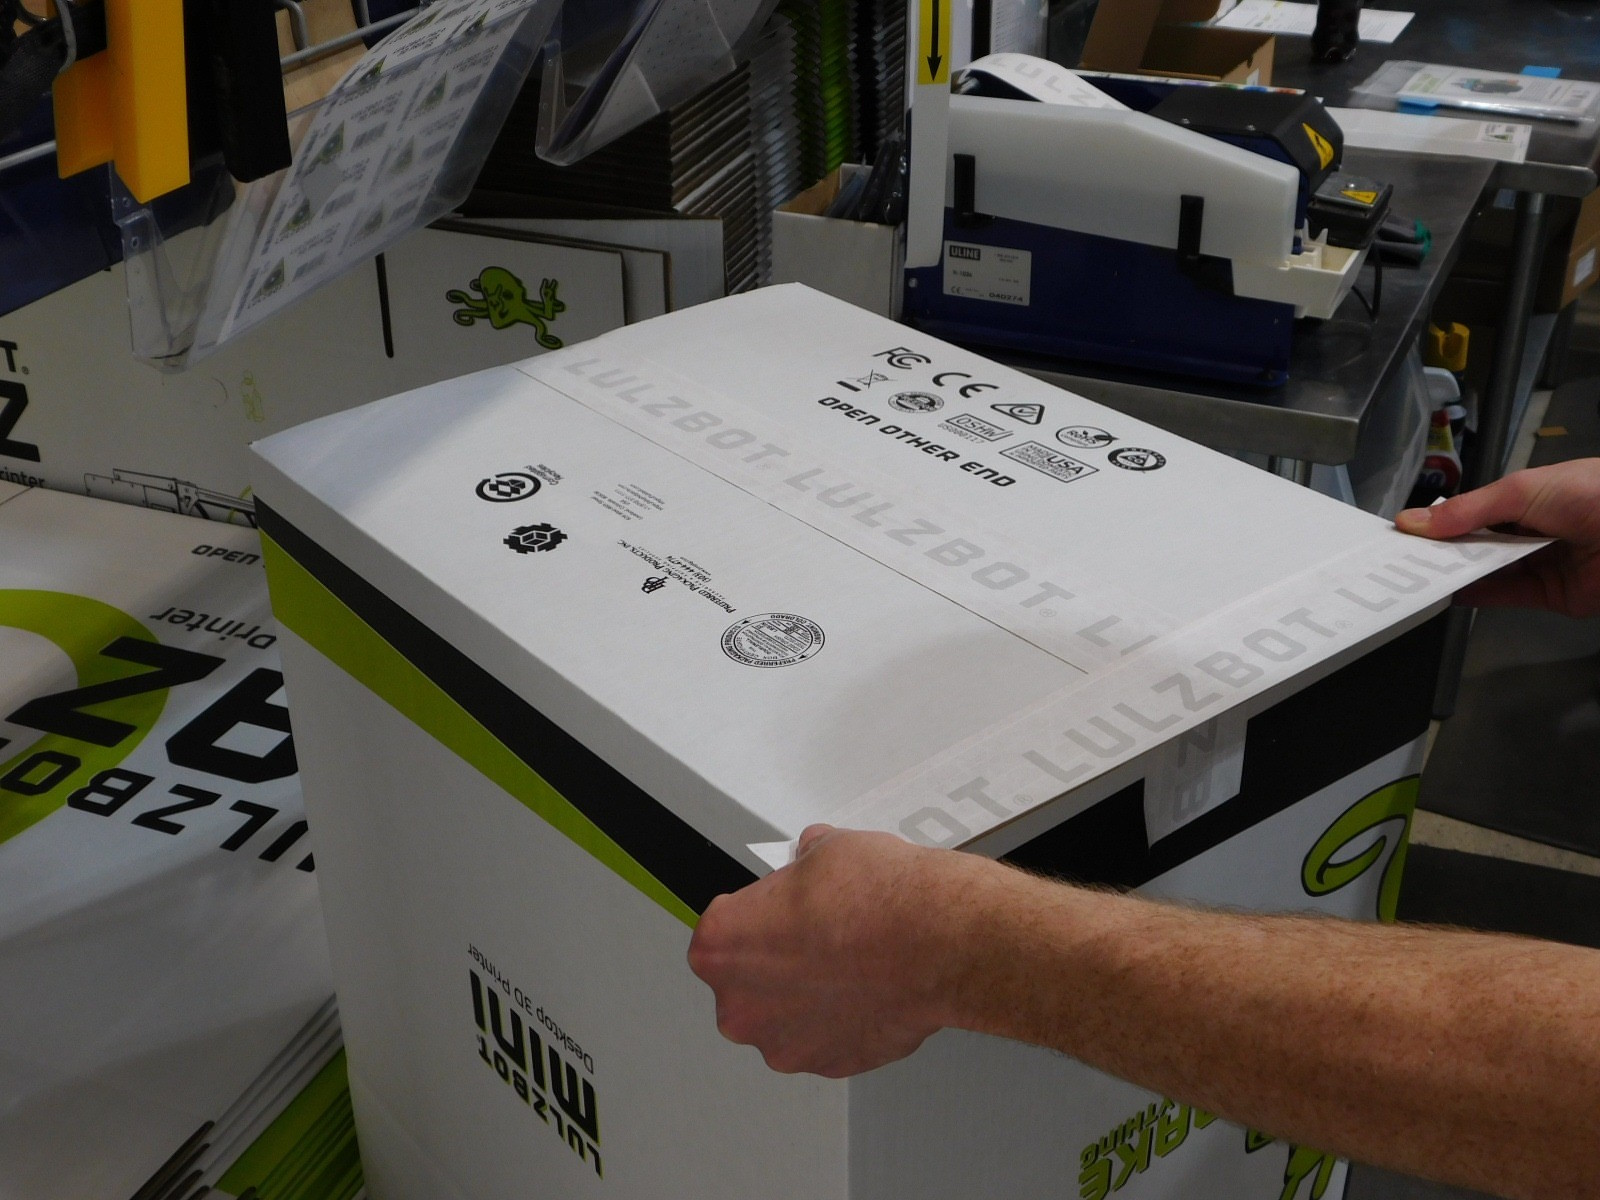
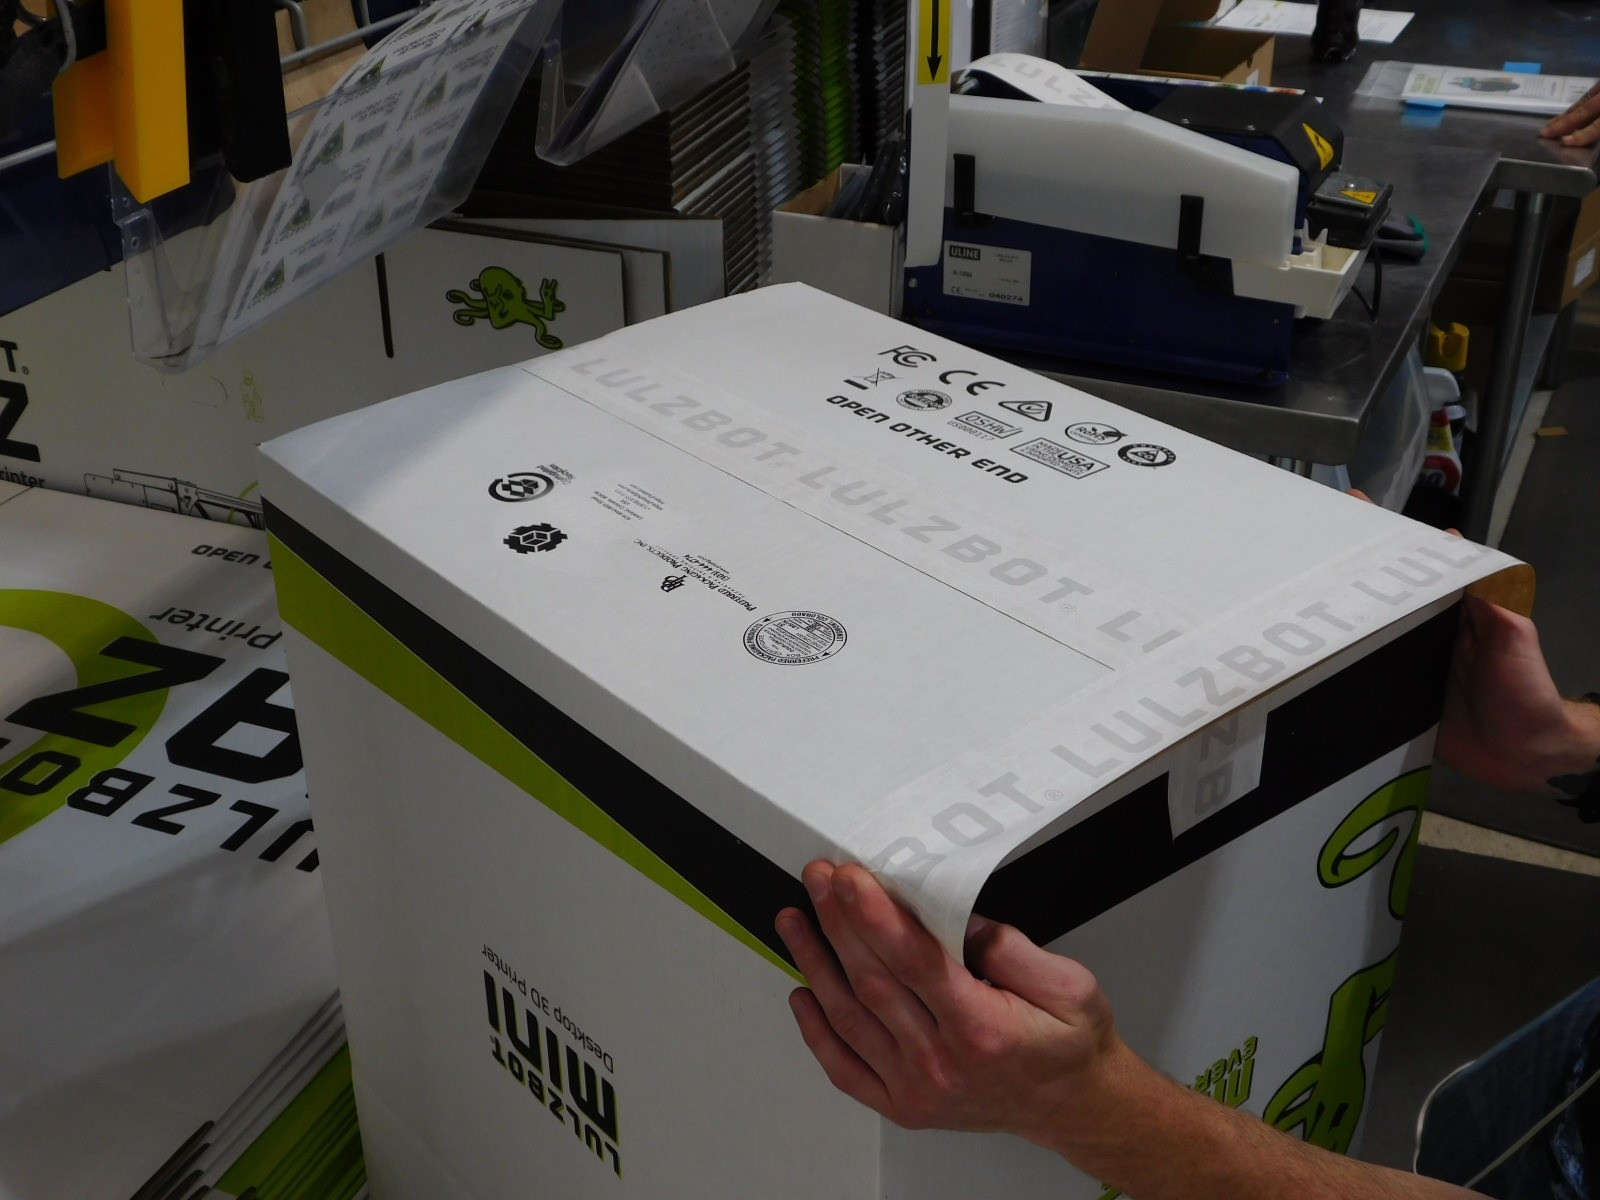
Tape the bottom of the box with white reinforced tape- 28” long.
Apply a 20” strip across the bottom of the box at the box ends so the tape is centered on the box,
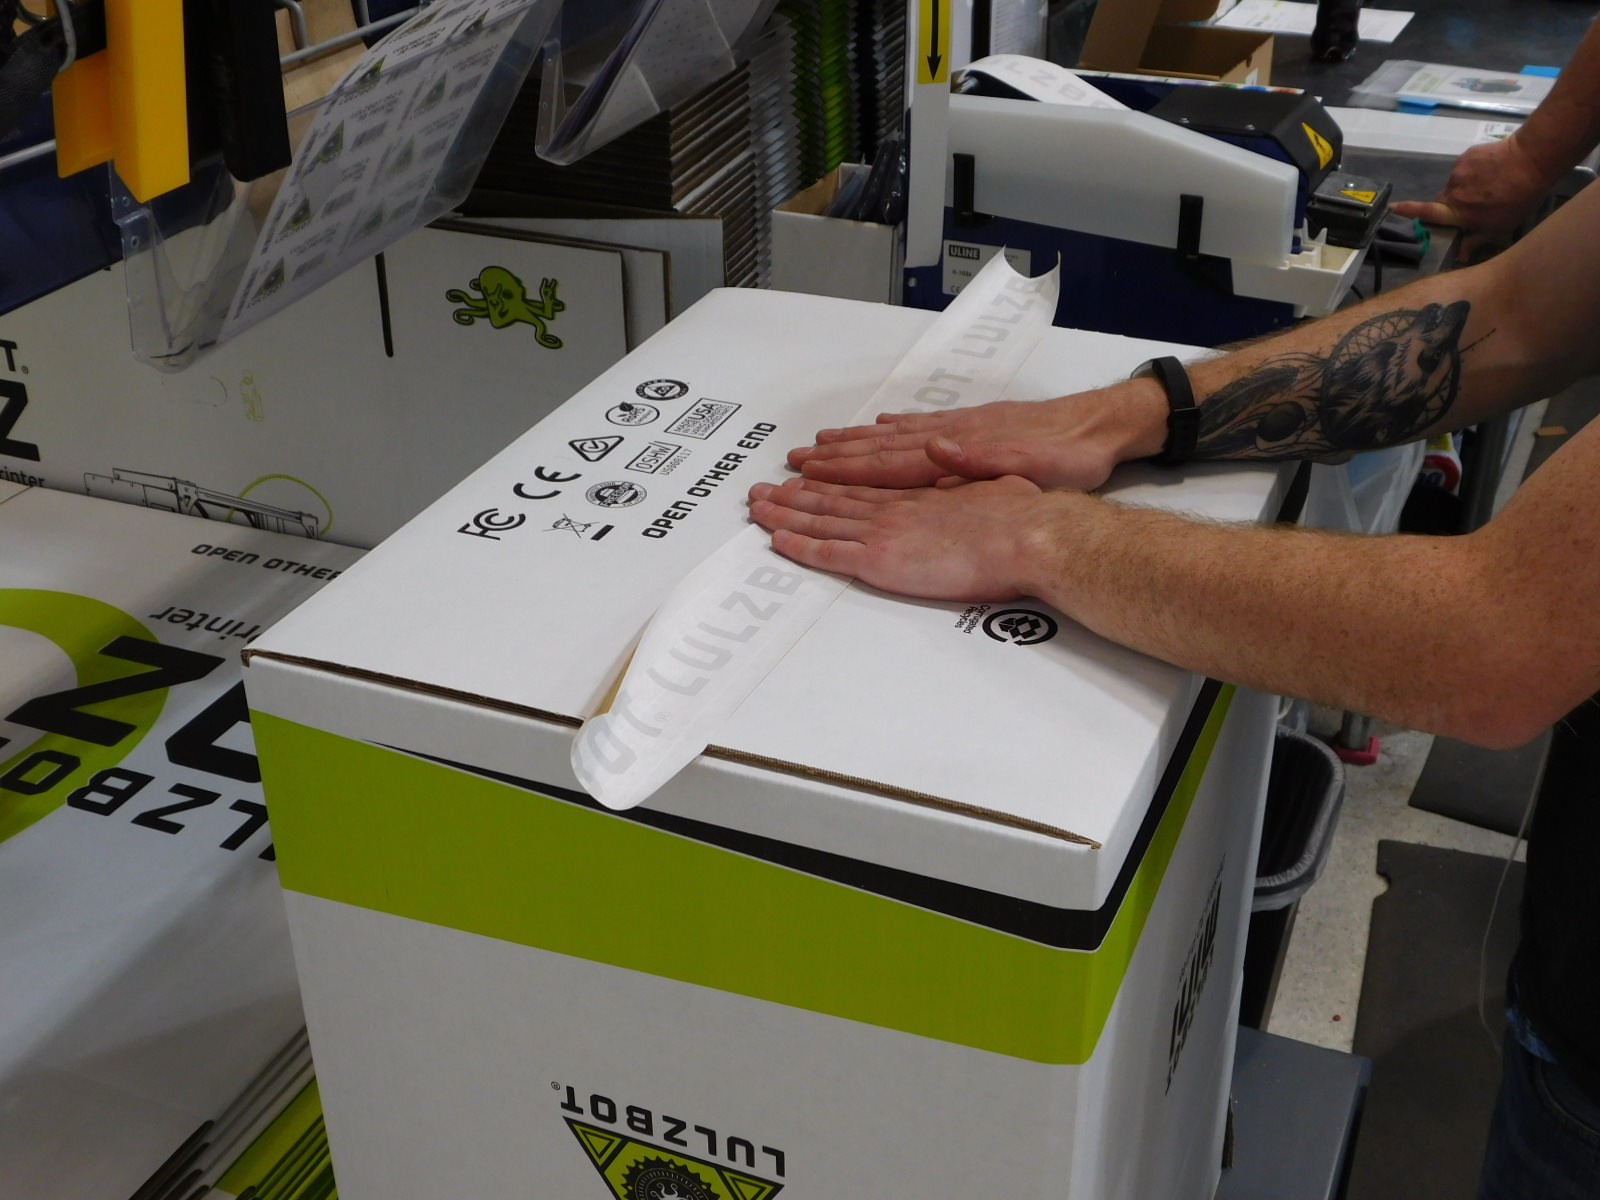
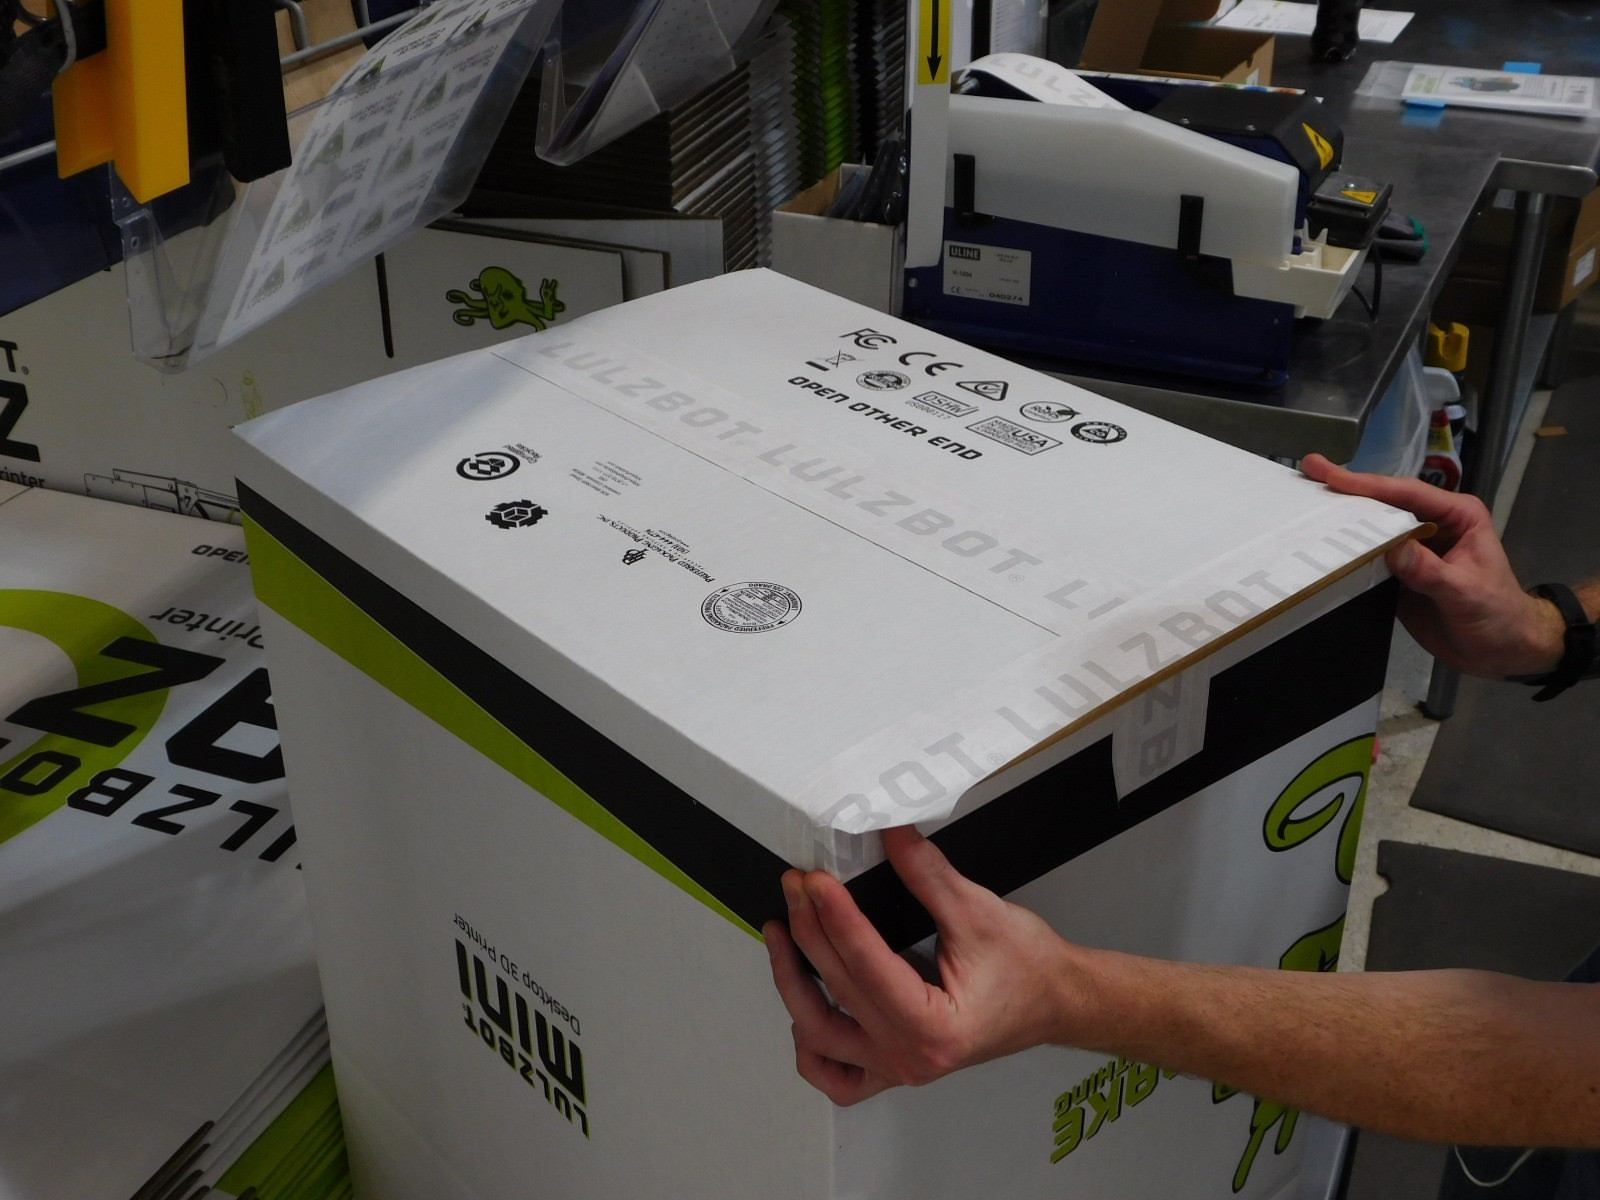
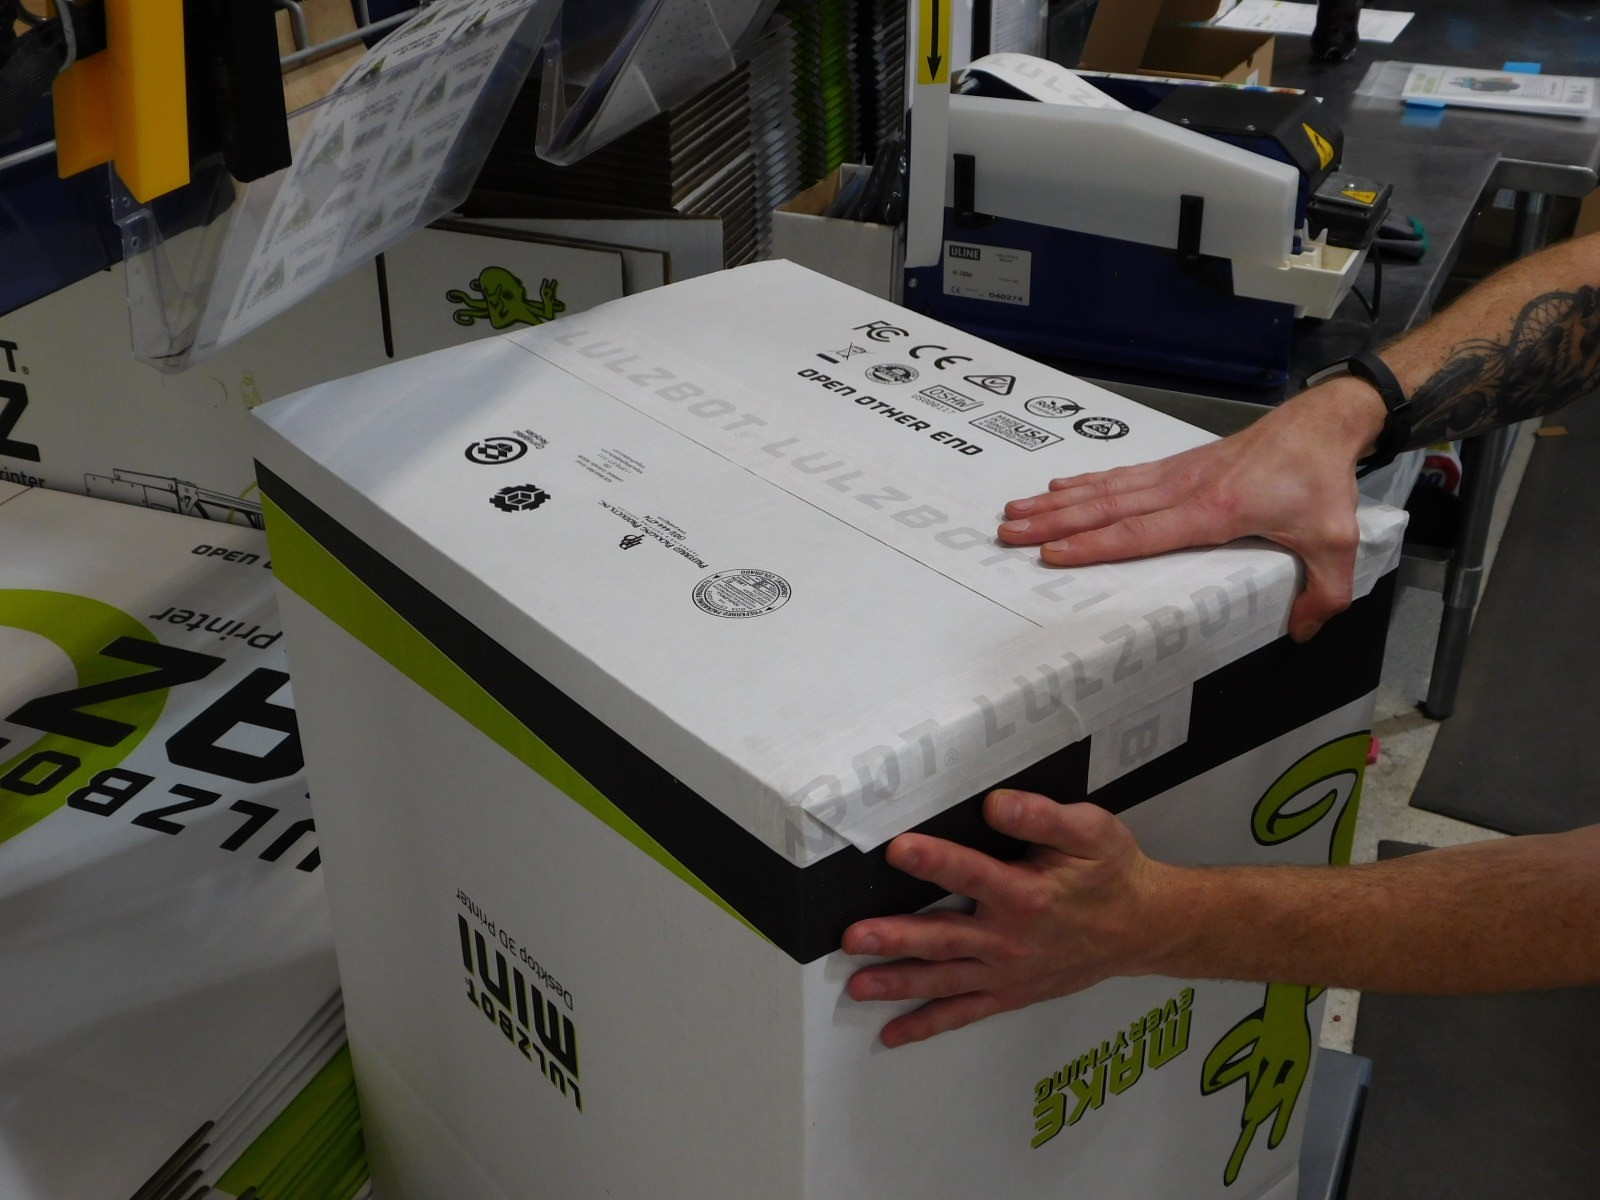
Fold down the two lengths of tape that overhang the face and rear of the box;
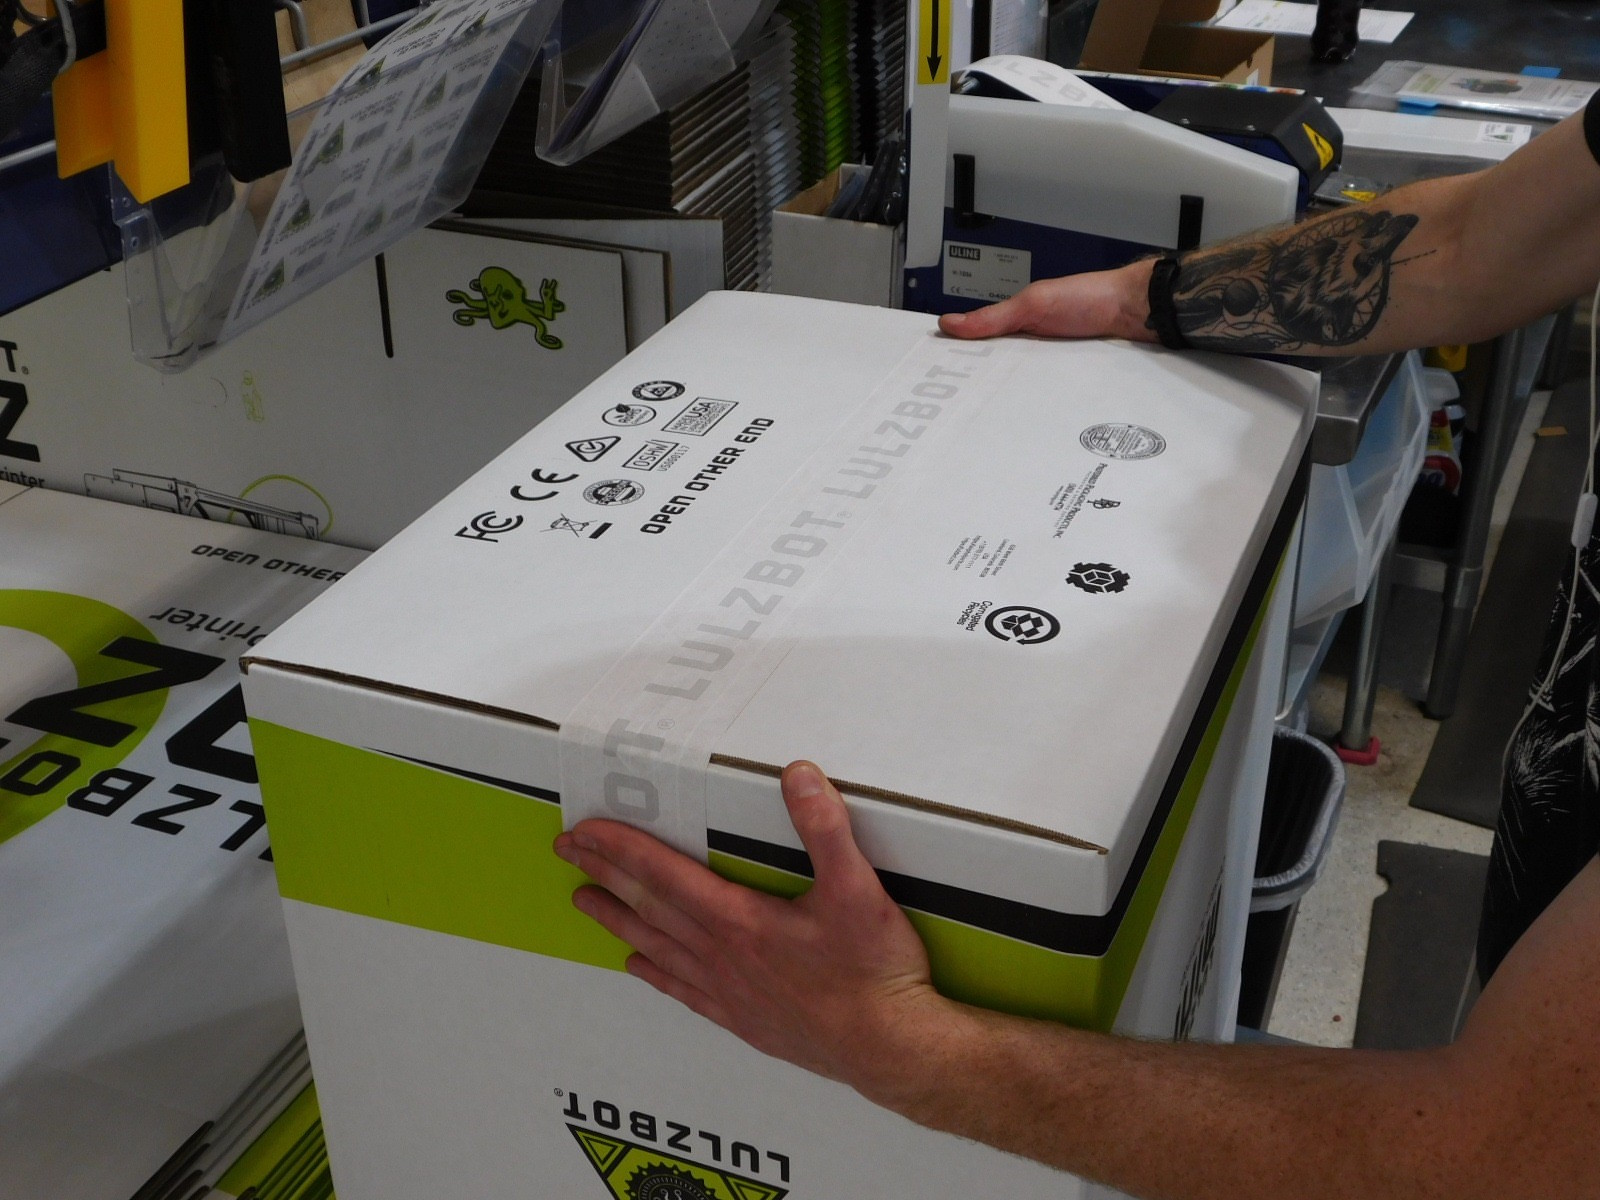
Fold down and adhere remaining flap of tape to the box. Repeat at the opposite end of the box
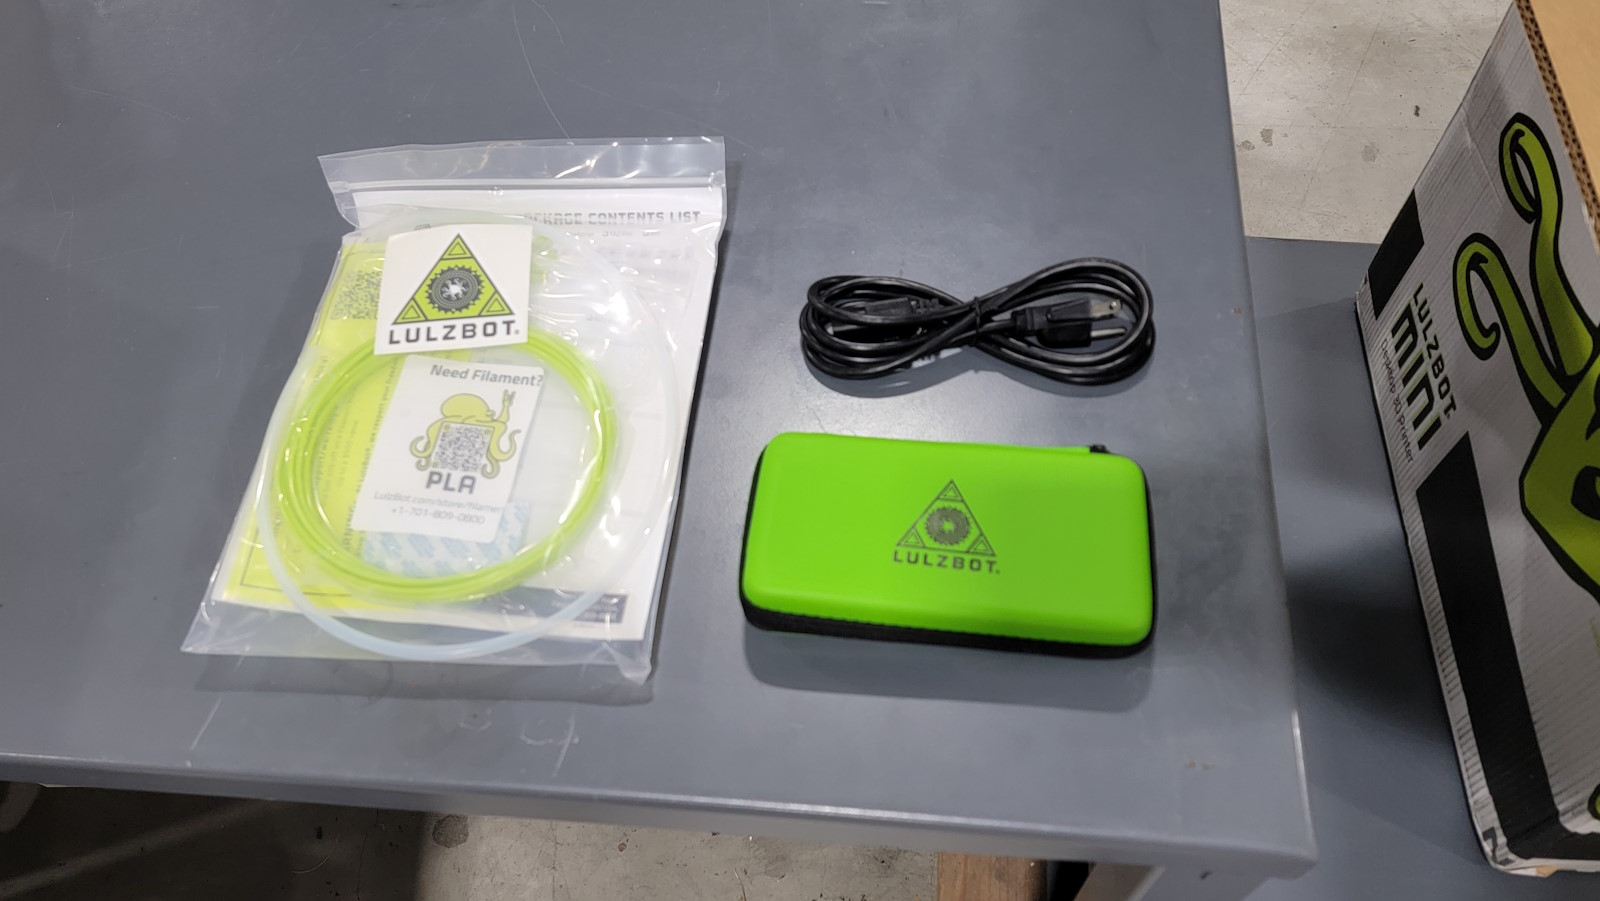
Place all documents, PTFE tube, part removal tool, filament sample, sticker, test print, and warranty registration card into resealable bag.
Examine the machine:
Ensure customer facing surfaces are free of unacceptable cosmetic defects.
Ensure the Z-Axis has been placed in proper shipping position.
Ensure that the heat bed is free of unacceptable defects.
Verify the serial number sticker on the rear of the machine is present and matches both the Quality Assurance Record and the Packing List.
Gather the following materials:
1x- Mini 3 shipping clamp set
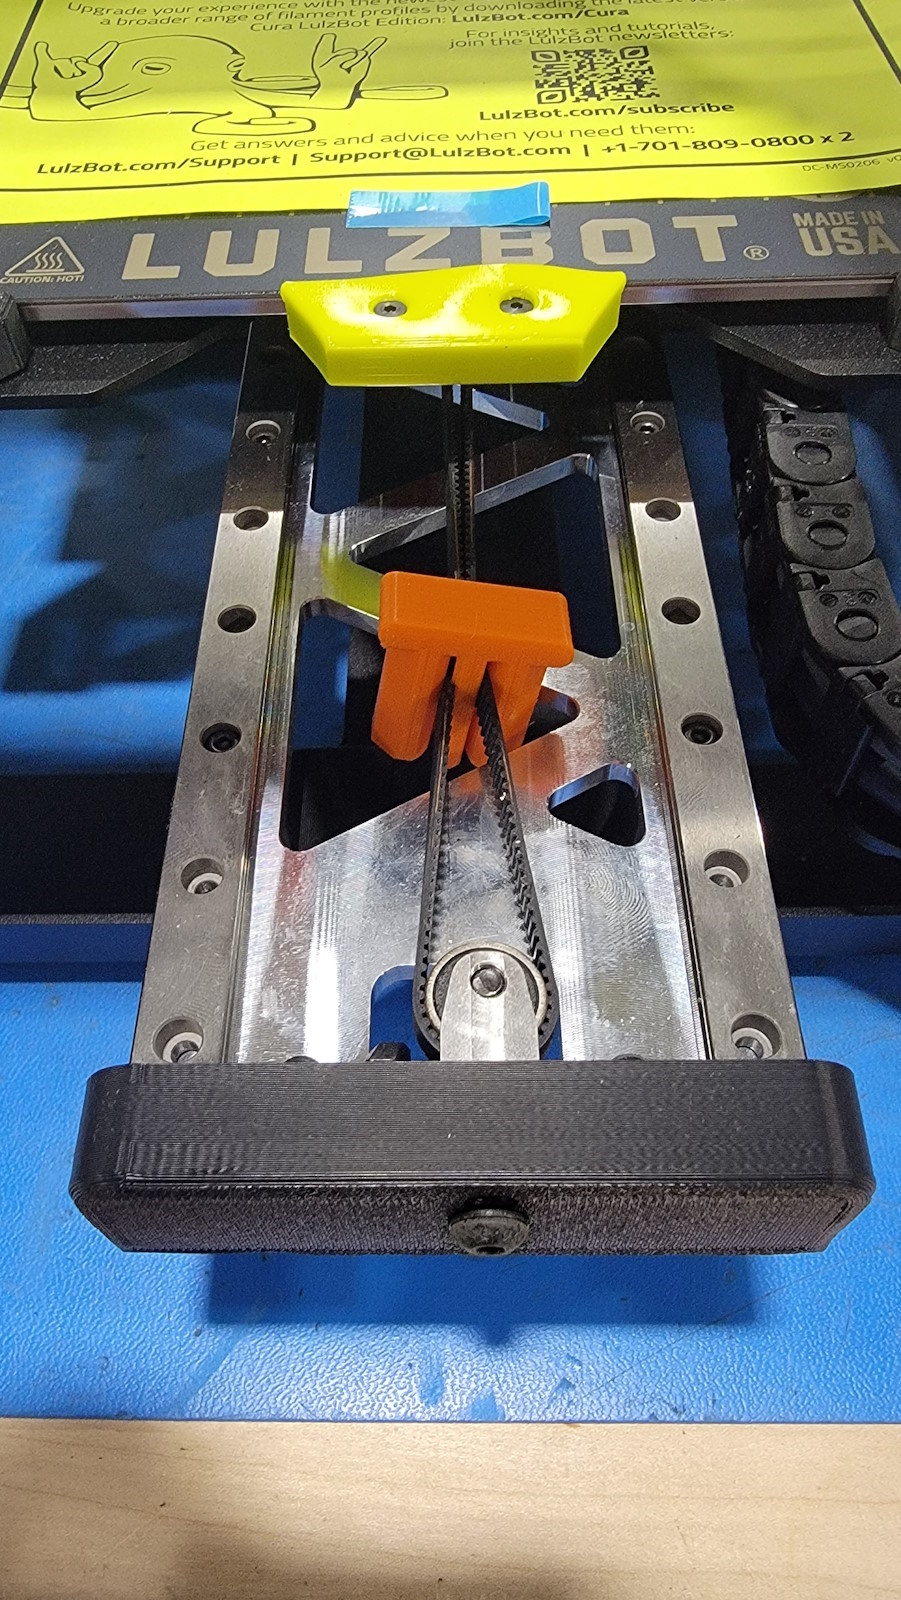
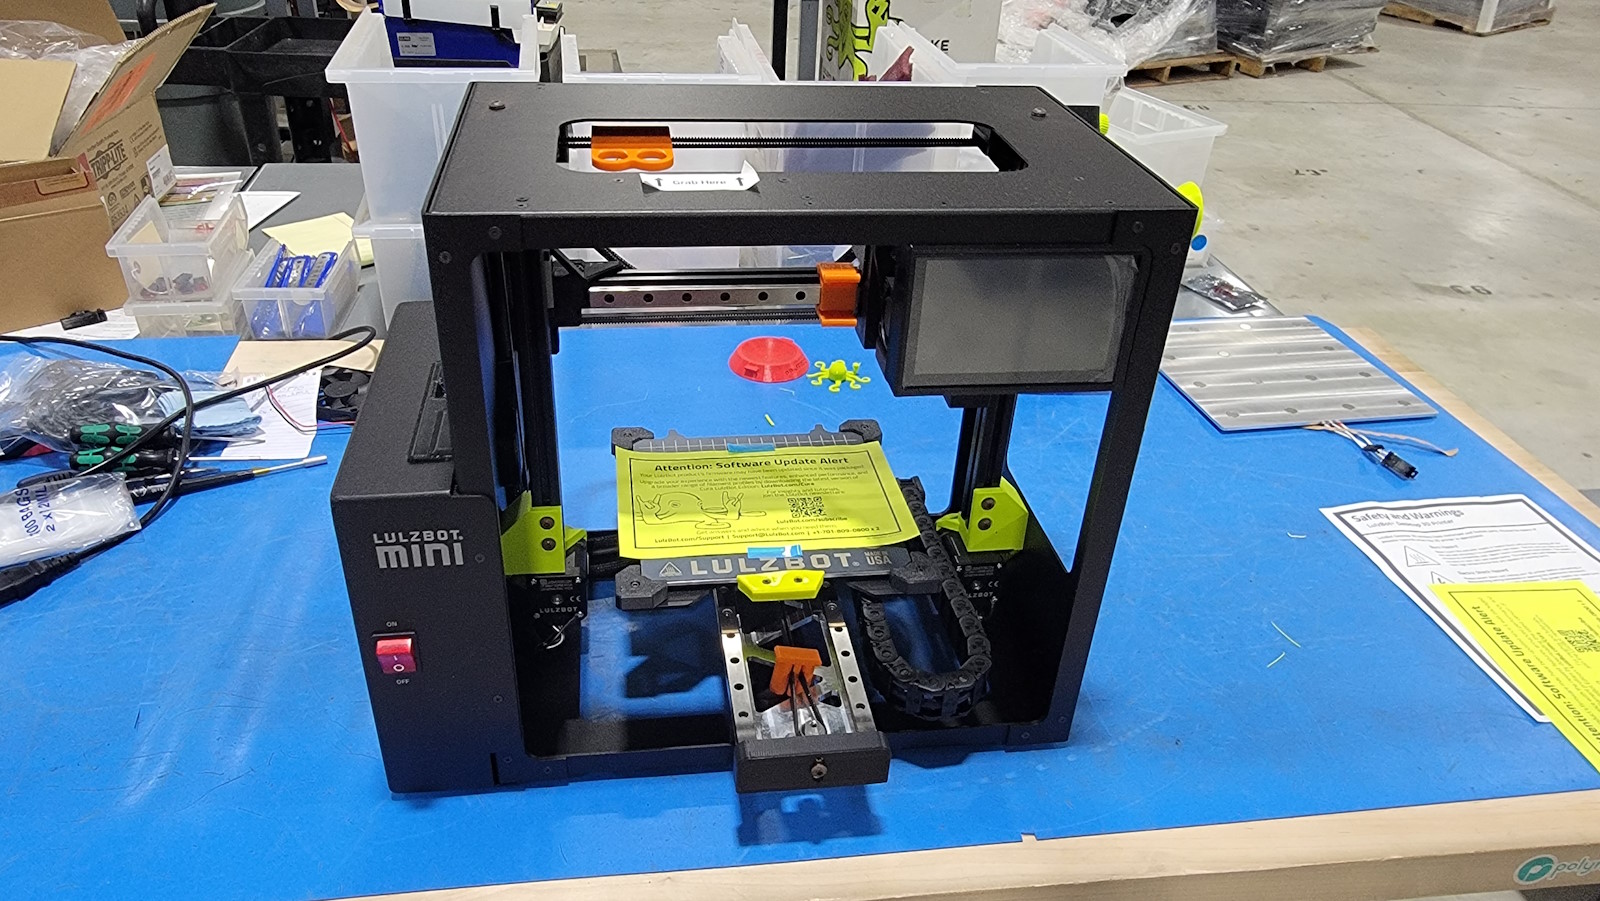
Using two short lengths (~1”) of small blue strapping tape, affix the Update Alert Insert to the printer's heat bed.
Place the y-axis belt clamp on the y-axis belt to secure into place for shipping.
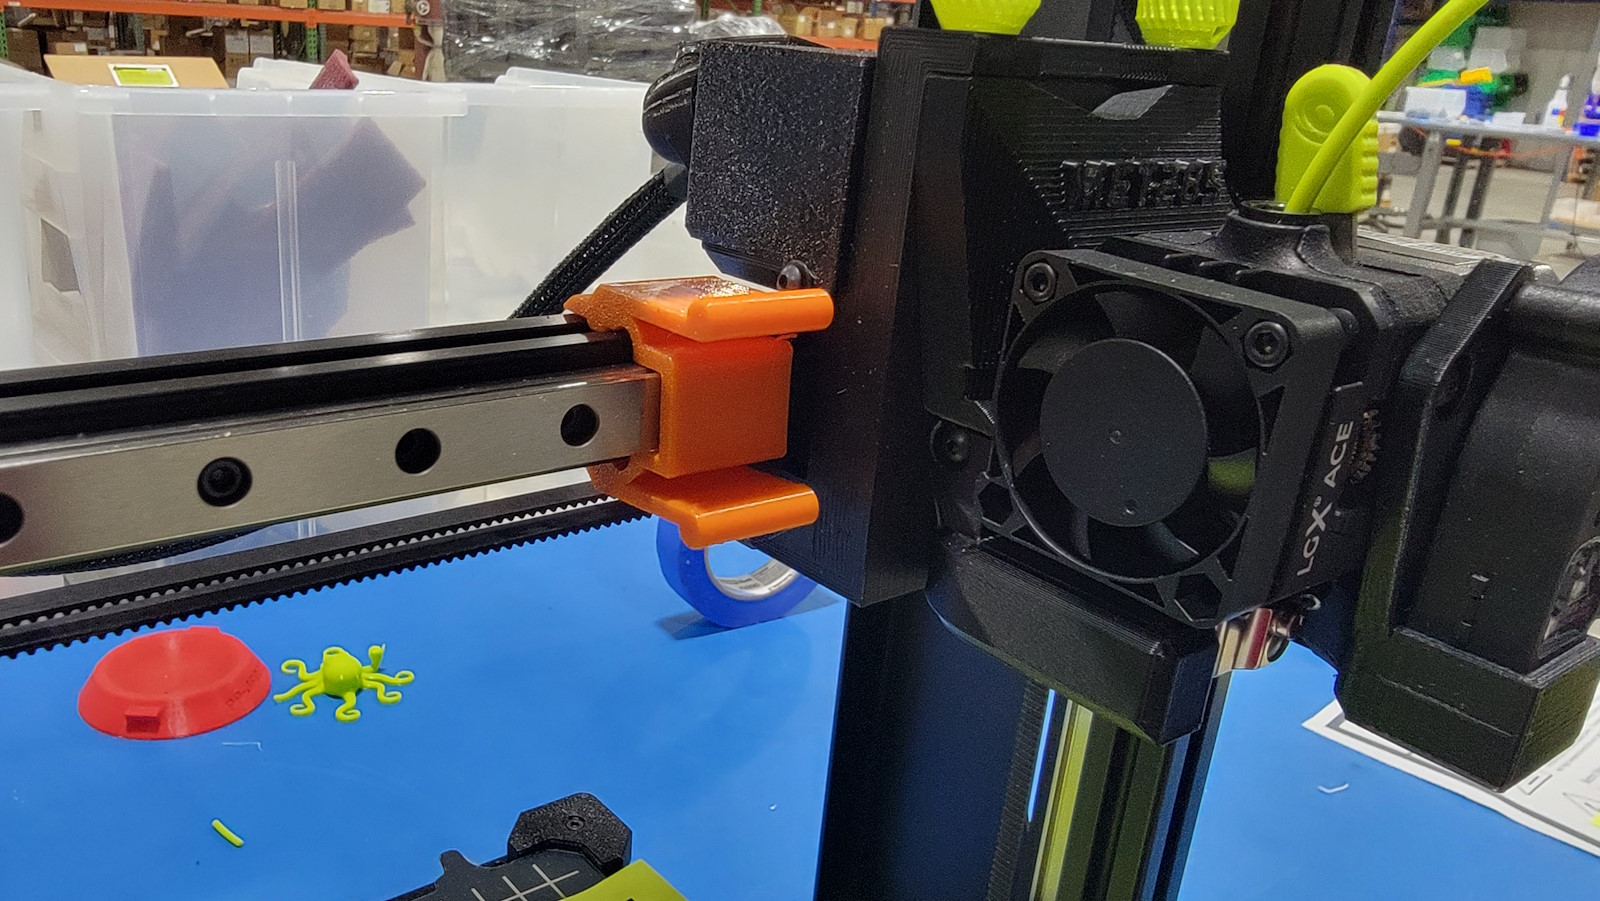
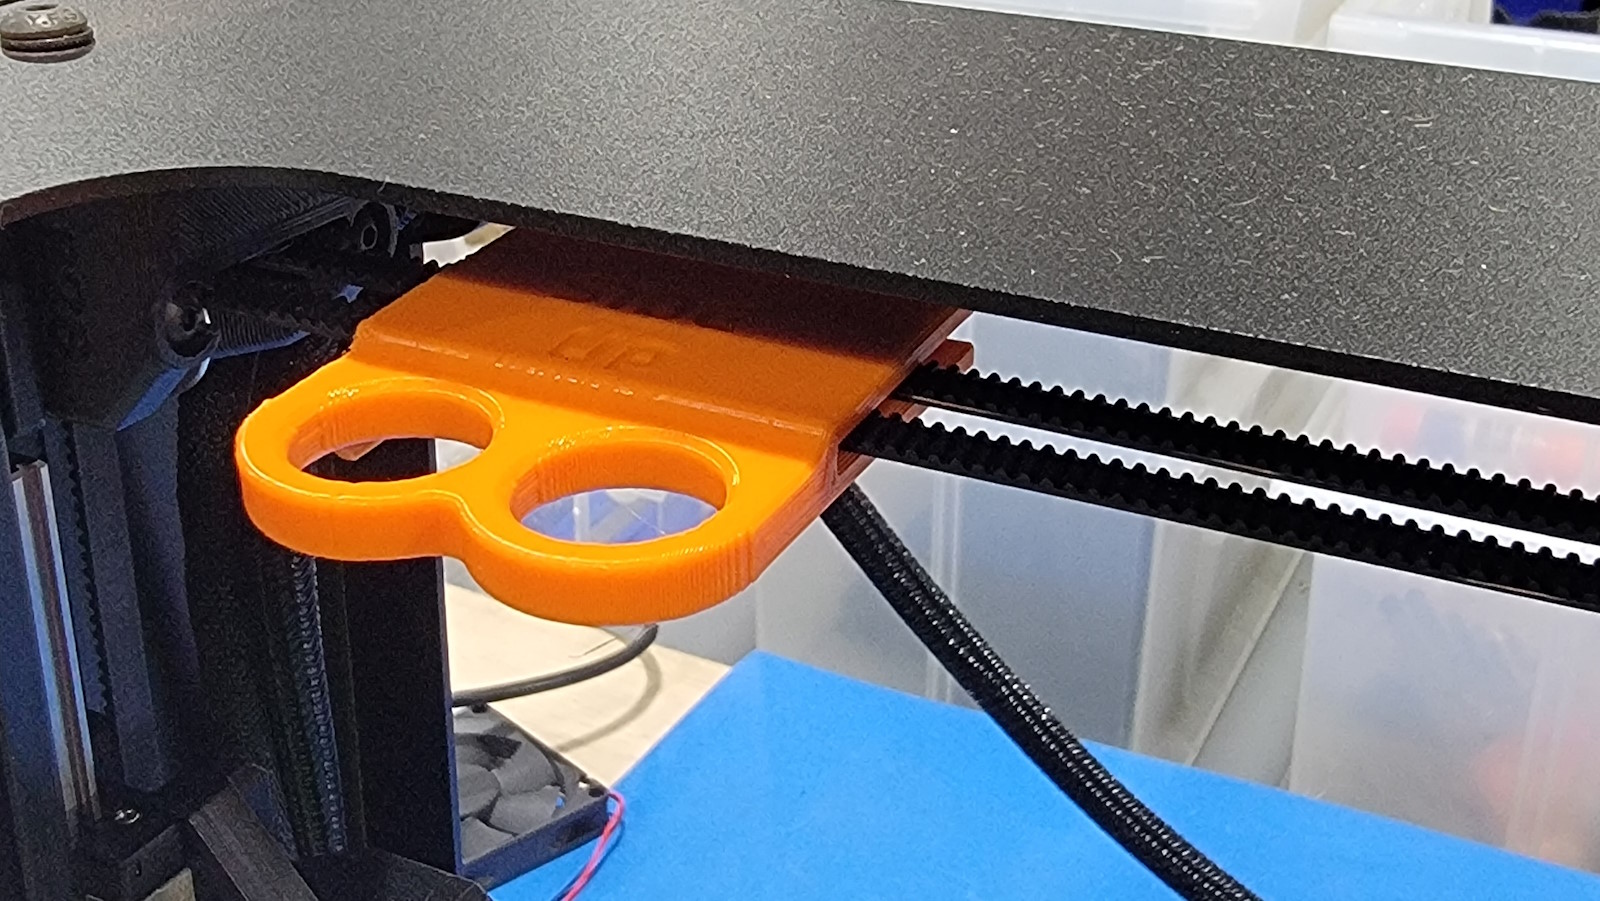
With the Tool Head in the upper right corner of the print area, secure it in place with the X-axis extrusion clamp.
Use the double belt clamp to secure upper belts in place.
Gather Materials Needed:
1x- Mini 3 Printer, calibrated – prepared in previous steps
1x- Mini 3 Document Bag – Completed
1x- Mini 3 Toolkit - Completed
1x- Mini 3 Shipping Box – See above for preparation
1x- Mini 3 Foam, Top
1x- Mini 3 Foam, Bottom
1x- Mini 3 Foam, Side
1x- Mini 3 Barcode Label
1x- 1kg Polylite PLA Roll
1725mm- [SH-PG0131] White Reinforced Tape with LulzBot Logo (or 68")
1x- [DC-LB0111] Filament Samples Bag Label – Mini 3
Orient the Shipping Box on the stand upright.
Locate the correct Serial Number/Barcode Label for the machine to be packaged, verify the serial number matches the number on the rear of the machine.
Apply the Serial Number/Barcode Label within the green outline.
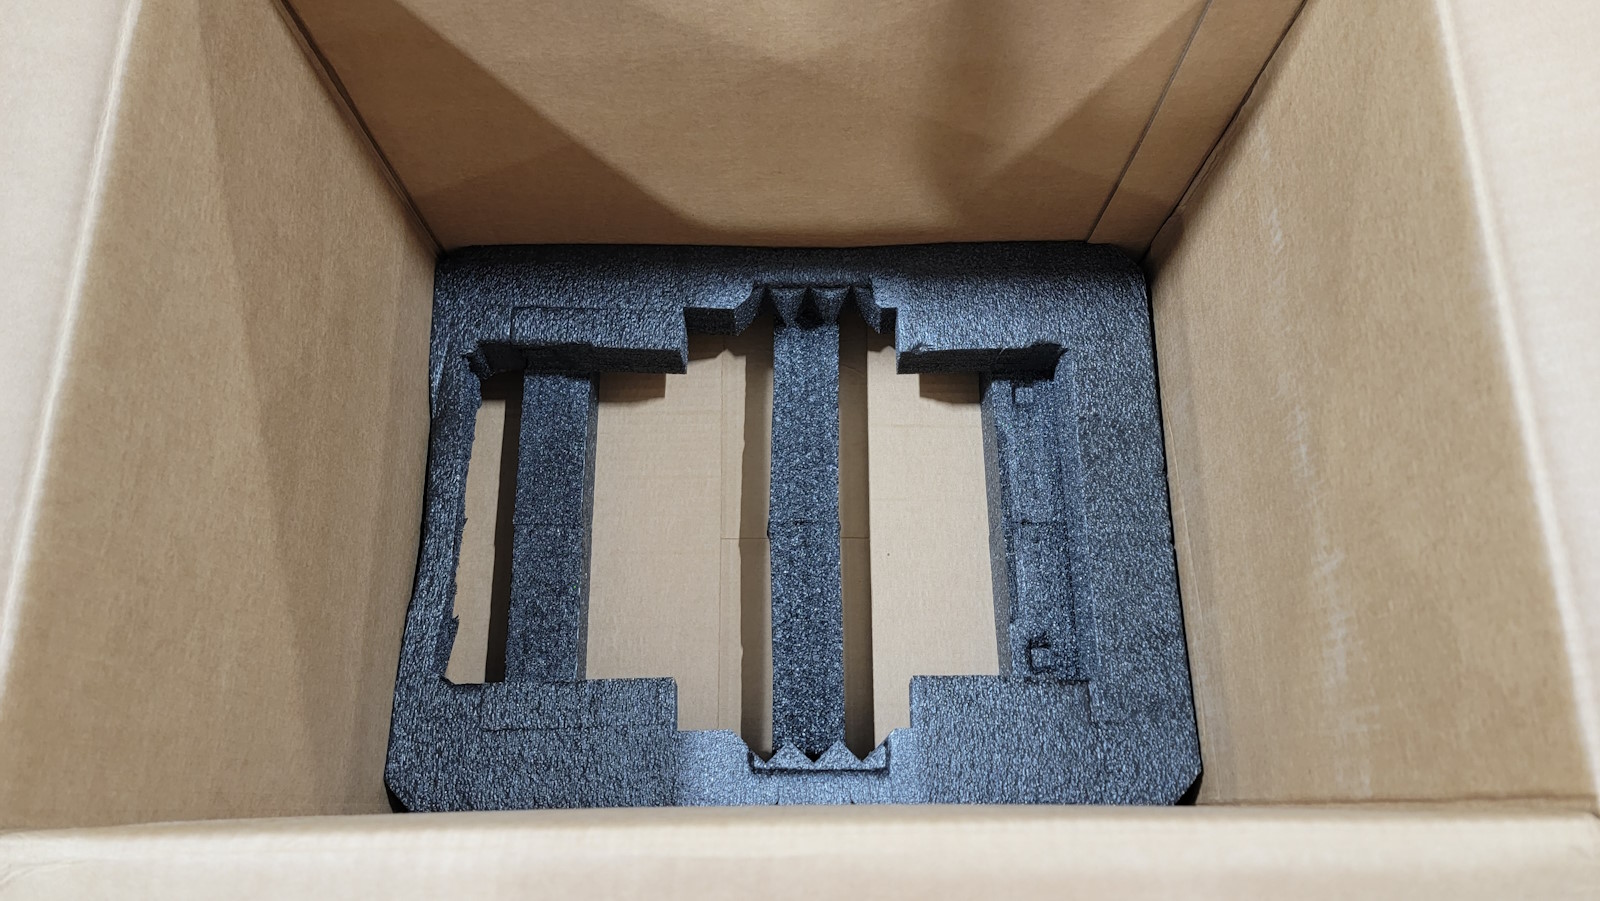
Locate the Mini 3 Foam Bottom and place it in the box, ensuring the flat side is facing up and the left side is facing towards you (and the side of the box with the green outline), refer to picture for orientation.
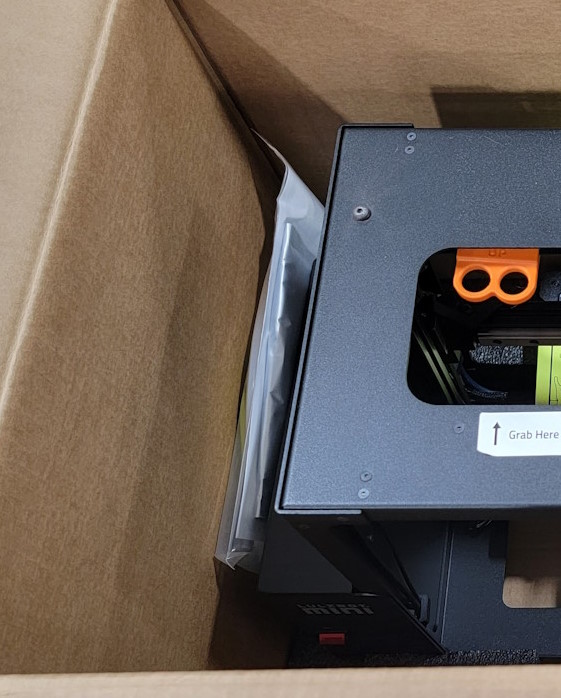
Grab hold of the machine and lower it into the box, ensure the printer is fully seated in the Mini 3 Foam Bottom.
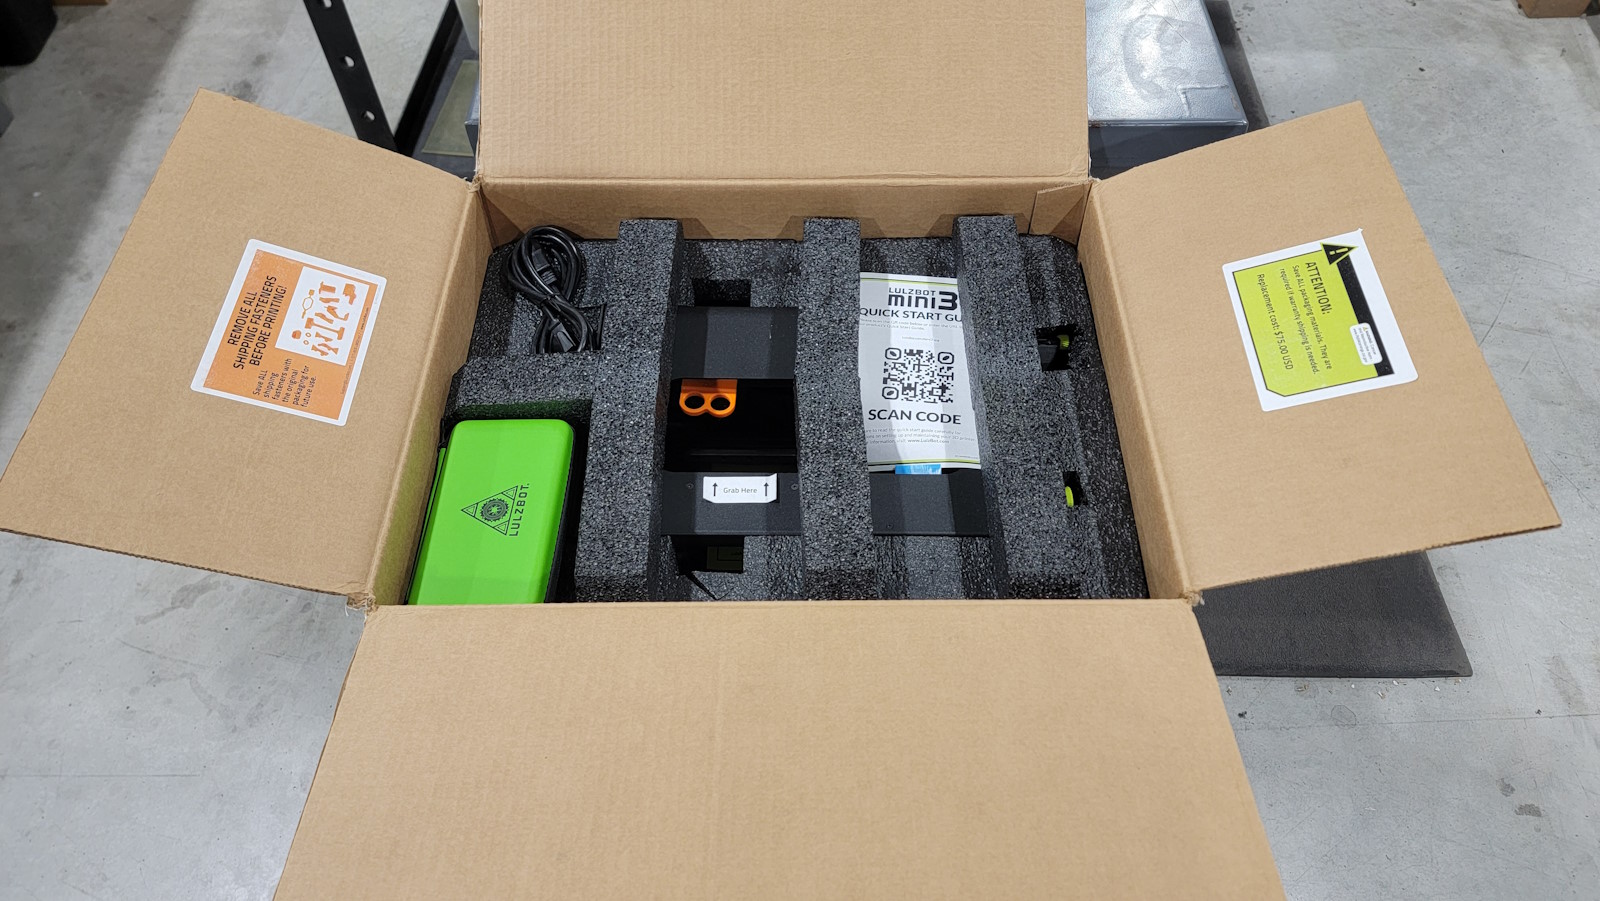
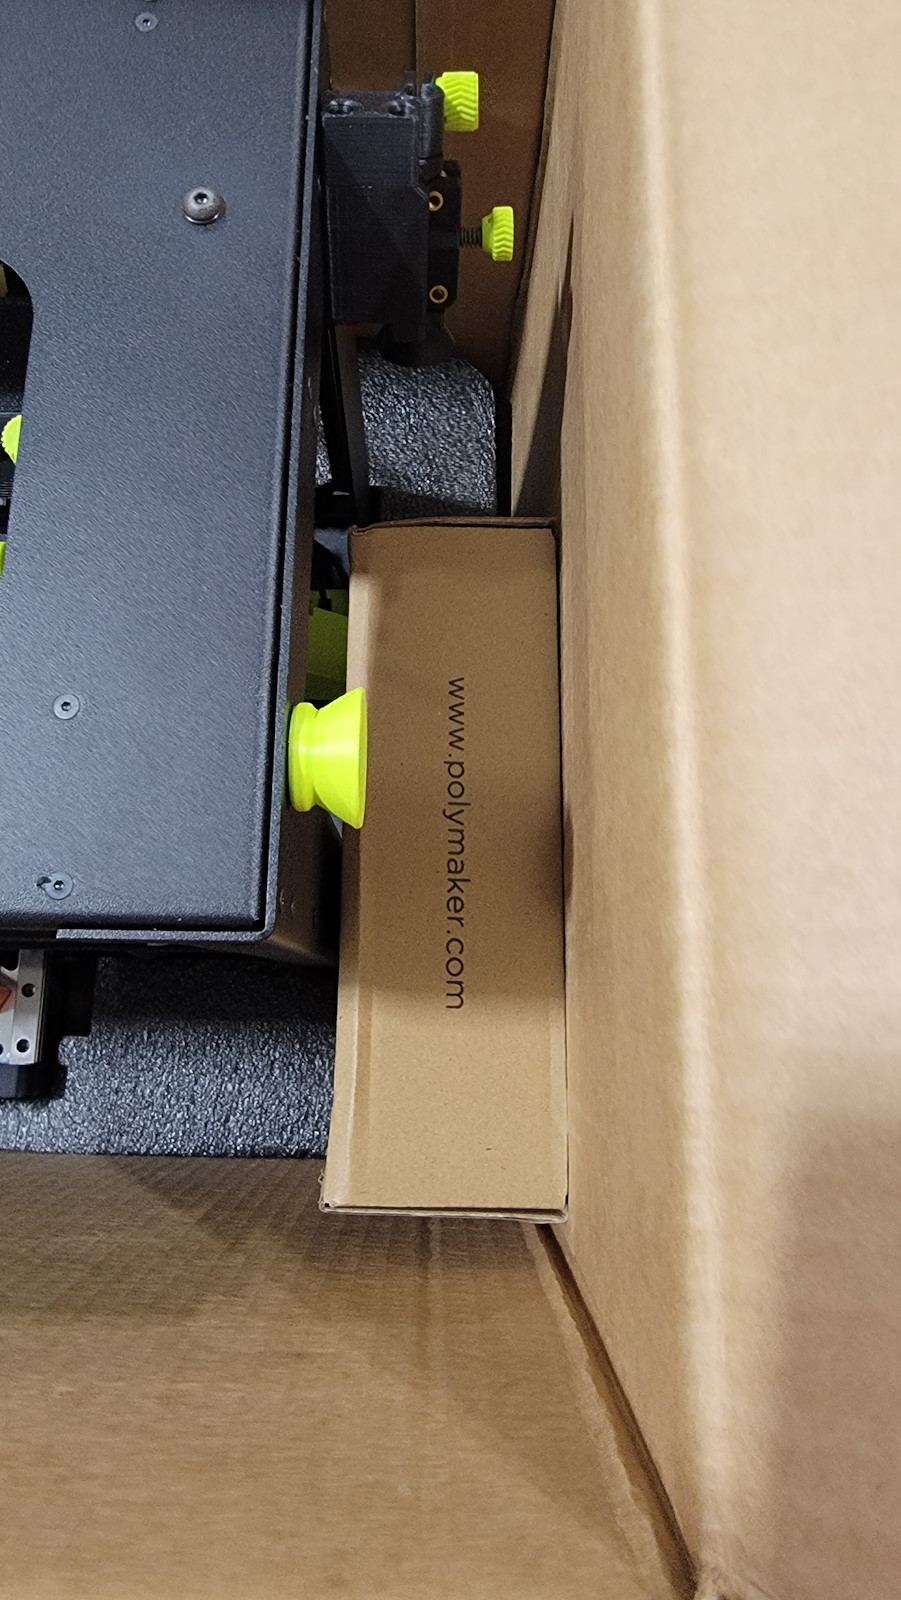
Place the Document bag along the side of the printer next to the control box.
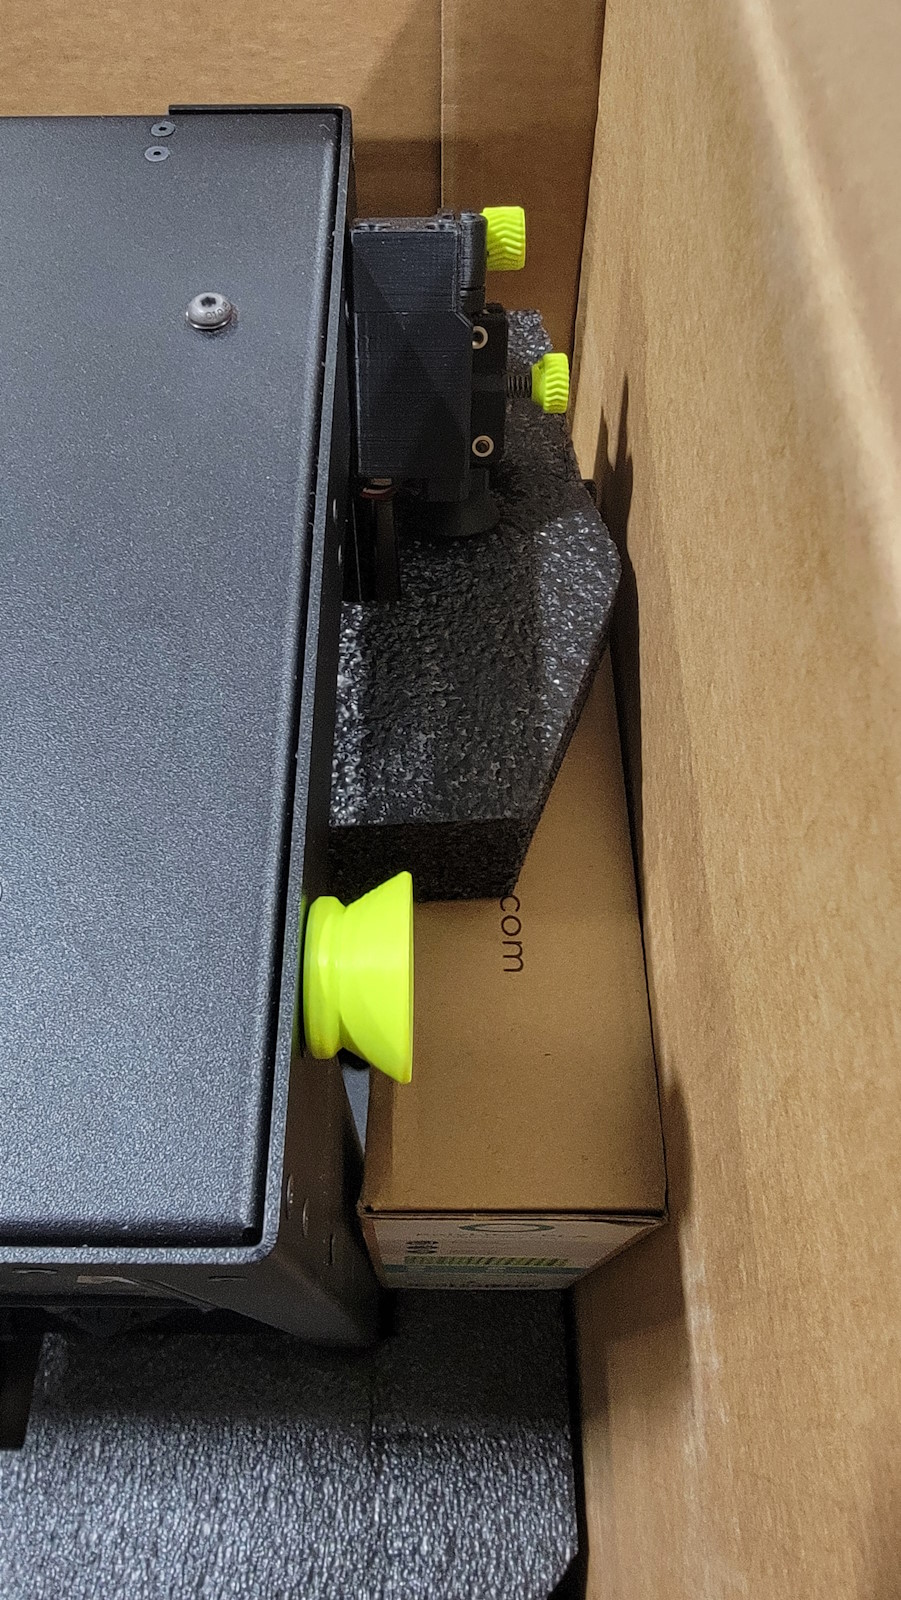
Place the 1kg roll of PolyLite PLA on the opposite side of the printer and slide it back towards the rear of the printer.
Set the side foam piece directly on top of the filament and under the runout sensor to protect it.
Locate the Mini 3 Foam Top foam and install.
Ensure that is fully seated.
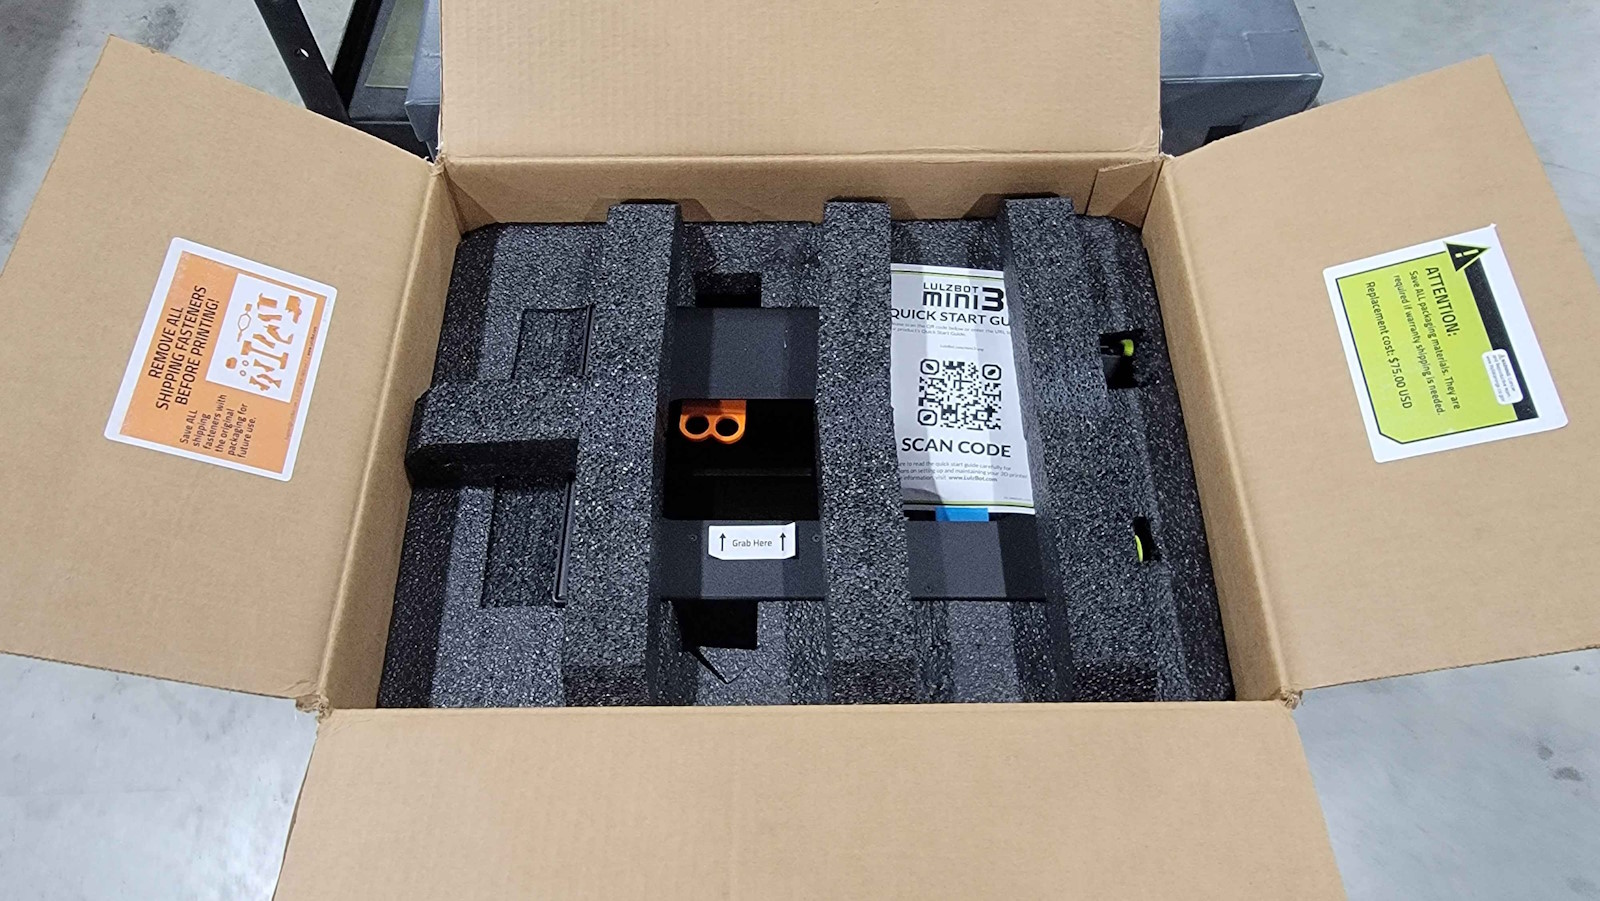
Insert the Mini 3 quick start guide QR code paper on foam as pictured.
Place the Mini 3 Toolkit into the cell on the Top Foam as pictured.
Place the power cable on top of the foam as pictured.
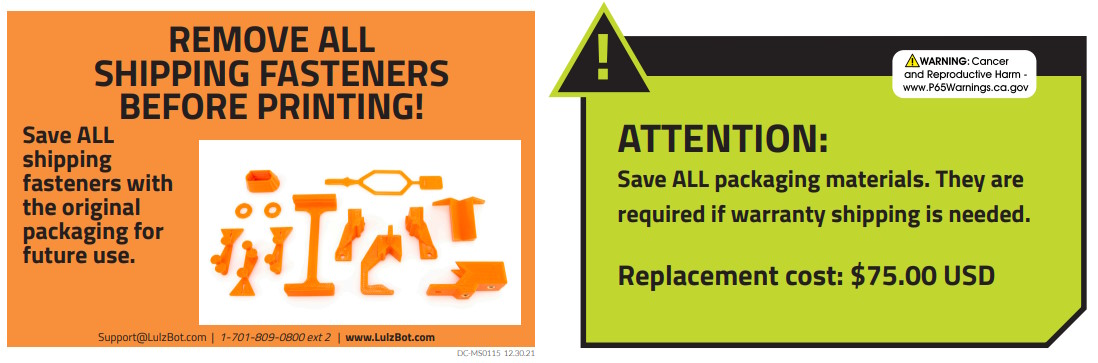
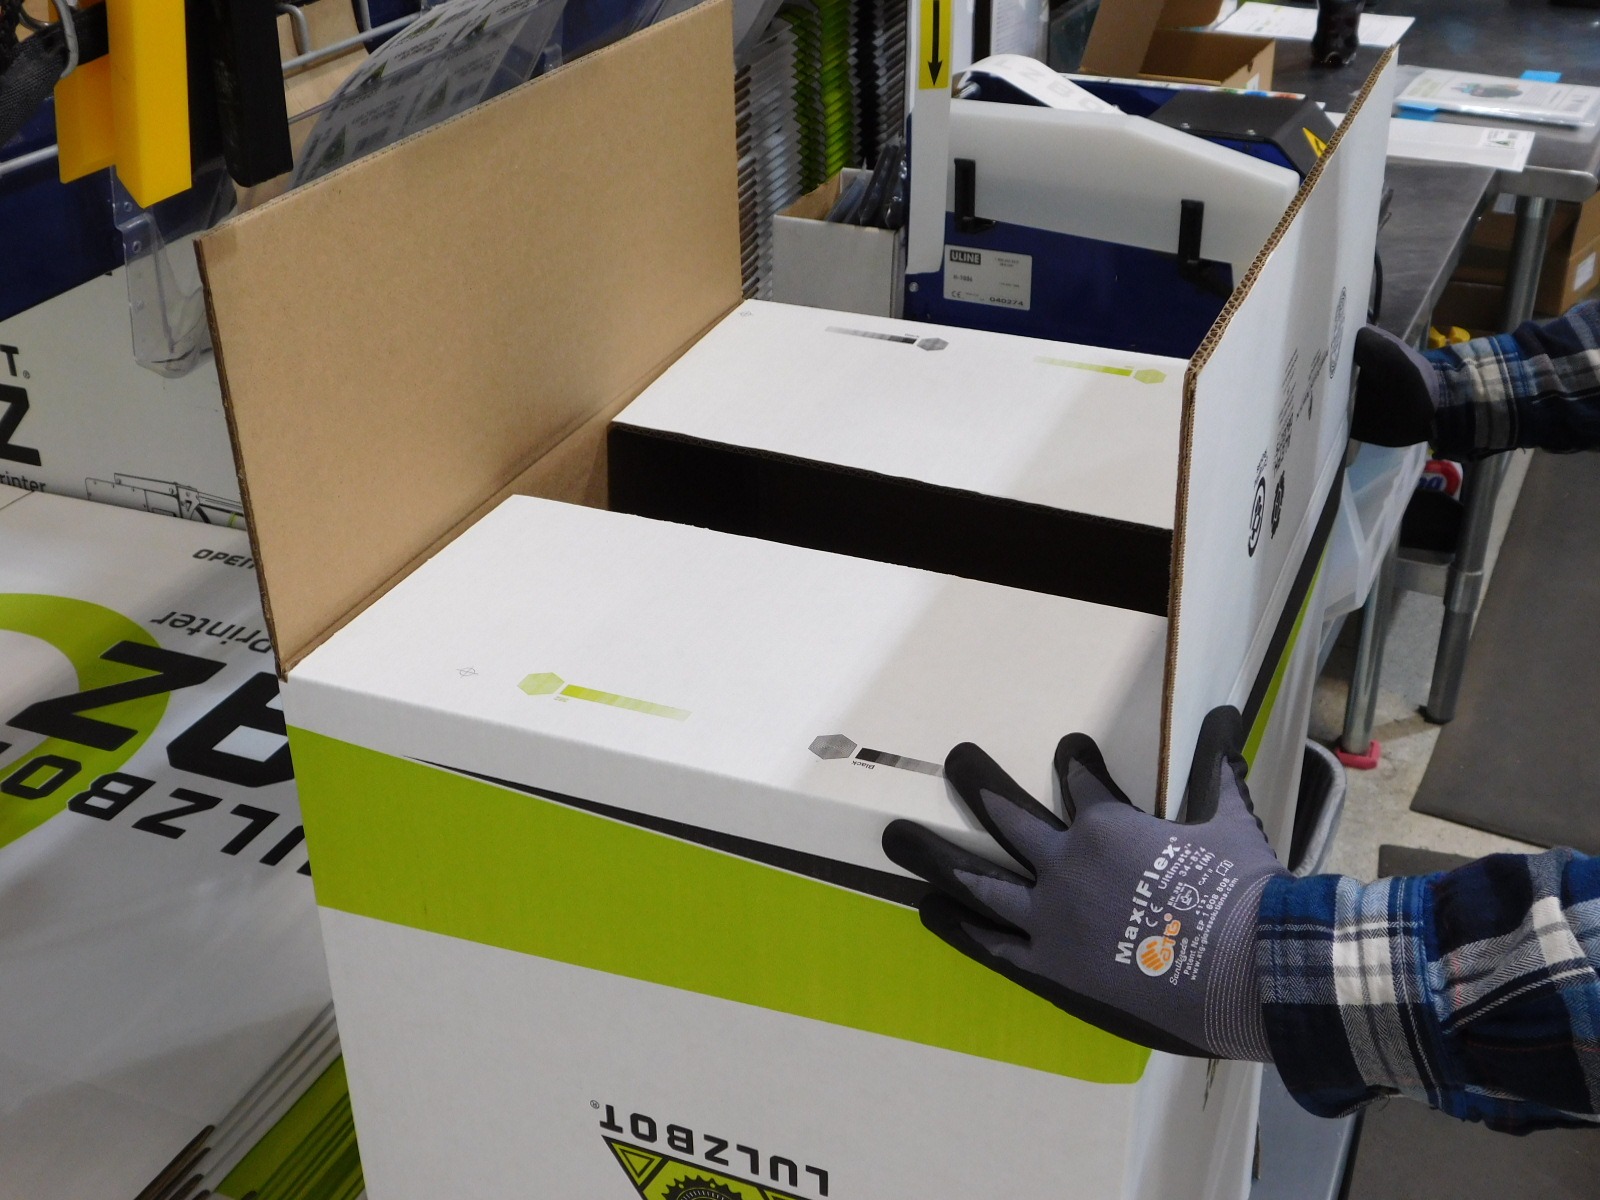
Place the save packaging and 3D printed shipping clips labels on the inside of the top flaps of the printer box.
Close and tape the box, utilizing the same procedure used to tape the bottom of the box. Ensure that tape is placed evenly and all edges pressed as flat as possible.