Open HardwareAssembly Instructions
Guides for installation and assembly of the LulzBot line of products made by FAME 3D LLC.
Guides for installation and assembly of the LulzBot line of products made by FAME 3D LLC.
4x- [HD-BT0116] M3x10 FHCS, Black-Oxide
4x- [HD-BT0157] M3x8 SHCS, Black-Oxide
3x- [HD-BT0171] M3x20 BHCS, Black-Oxide
1x- [HD-BT0275] M3x12 SHCS, Clear Zinc
1x- [HD-MS0555] M3x5 Spacer
3x- [HD-WA0038] M3 Washer
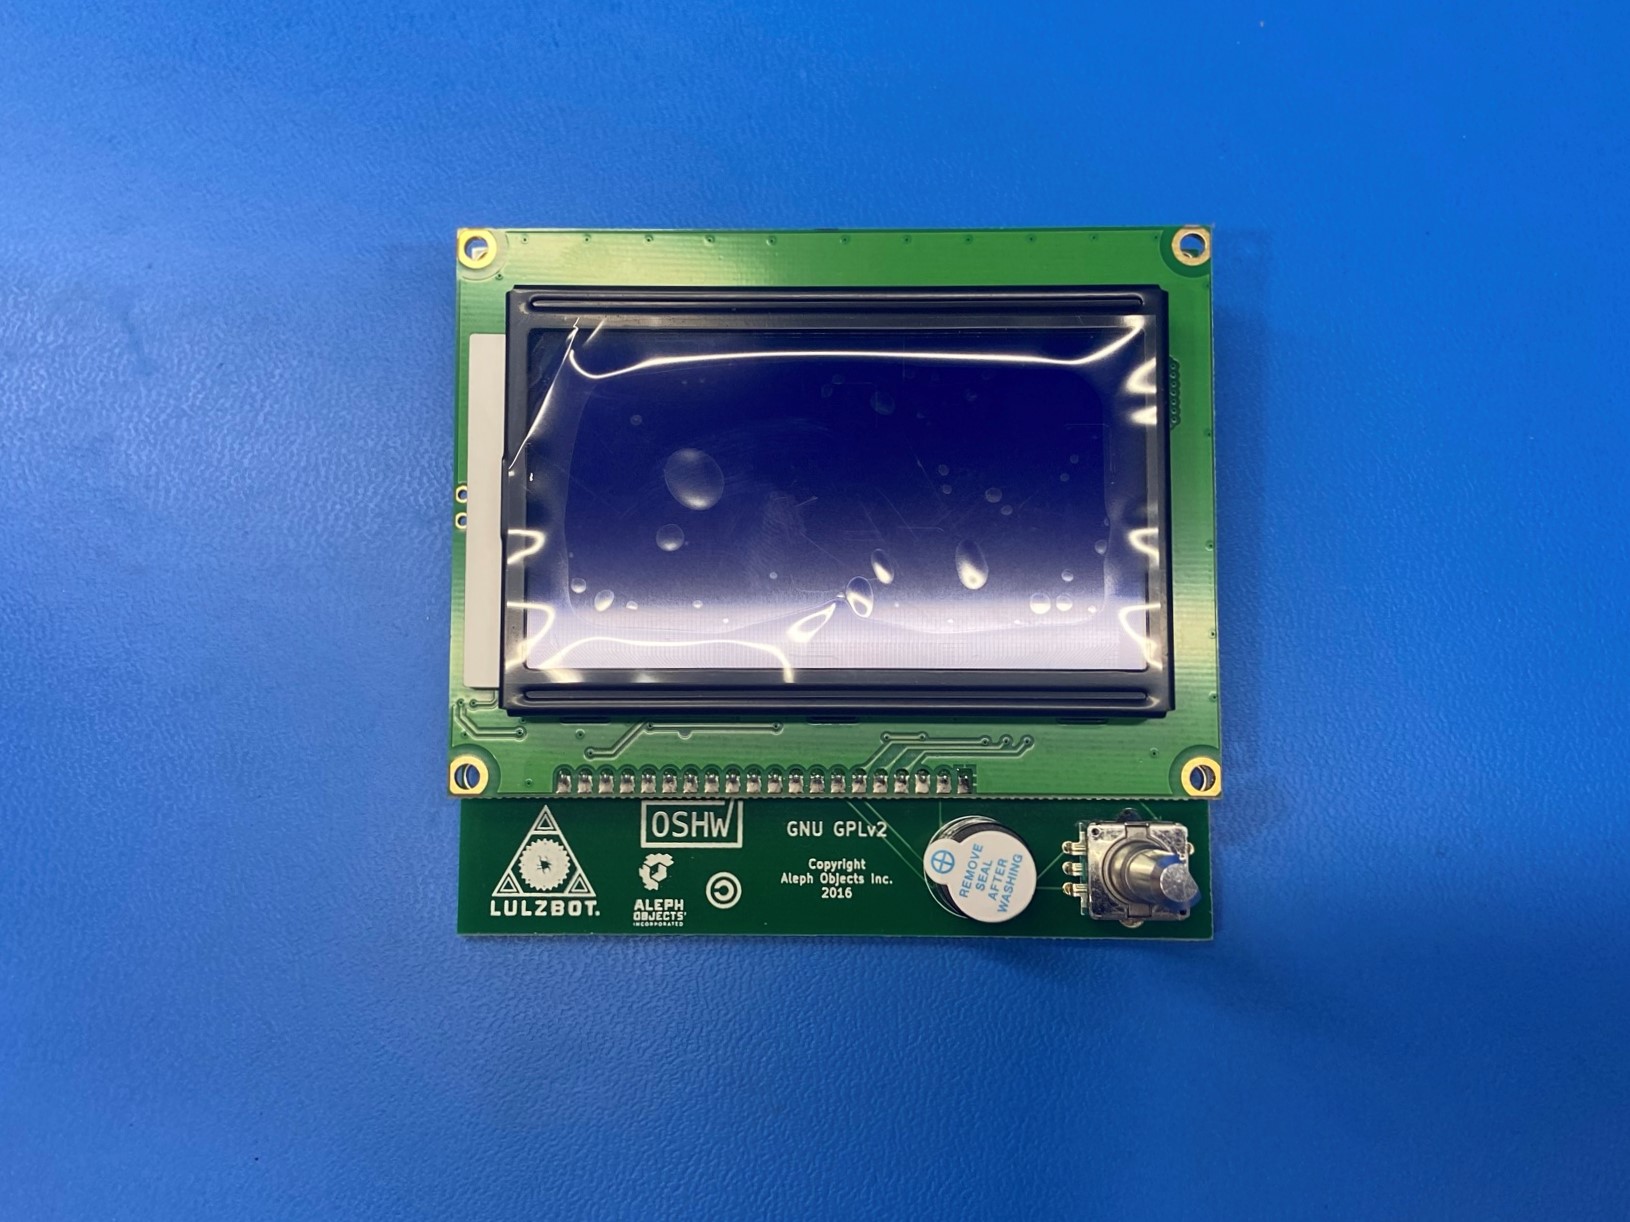
1x- [PC-AS0056] LCD LB_GLCD
1x- [PP-GP0325] LCD Bracket Right
4x- [PP-GP0603] LCD Locking Tabs
1x- [PP-GP0574] Flexy LCD Knob
1x- [PP-GP0693] Mini 2 LCD Case
4x- [PP-GP0694] Mini 2 LCD Back Cover

To prevent static damage to the LCD controller, ground yourself with a grounding strap. Ensure the metal button inside the wrist strap makes contact with your bare skin and that the wrist strap lead is connected properly to earth ground.

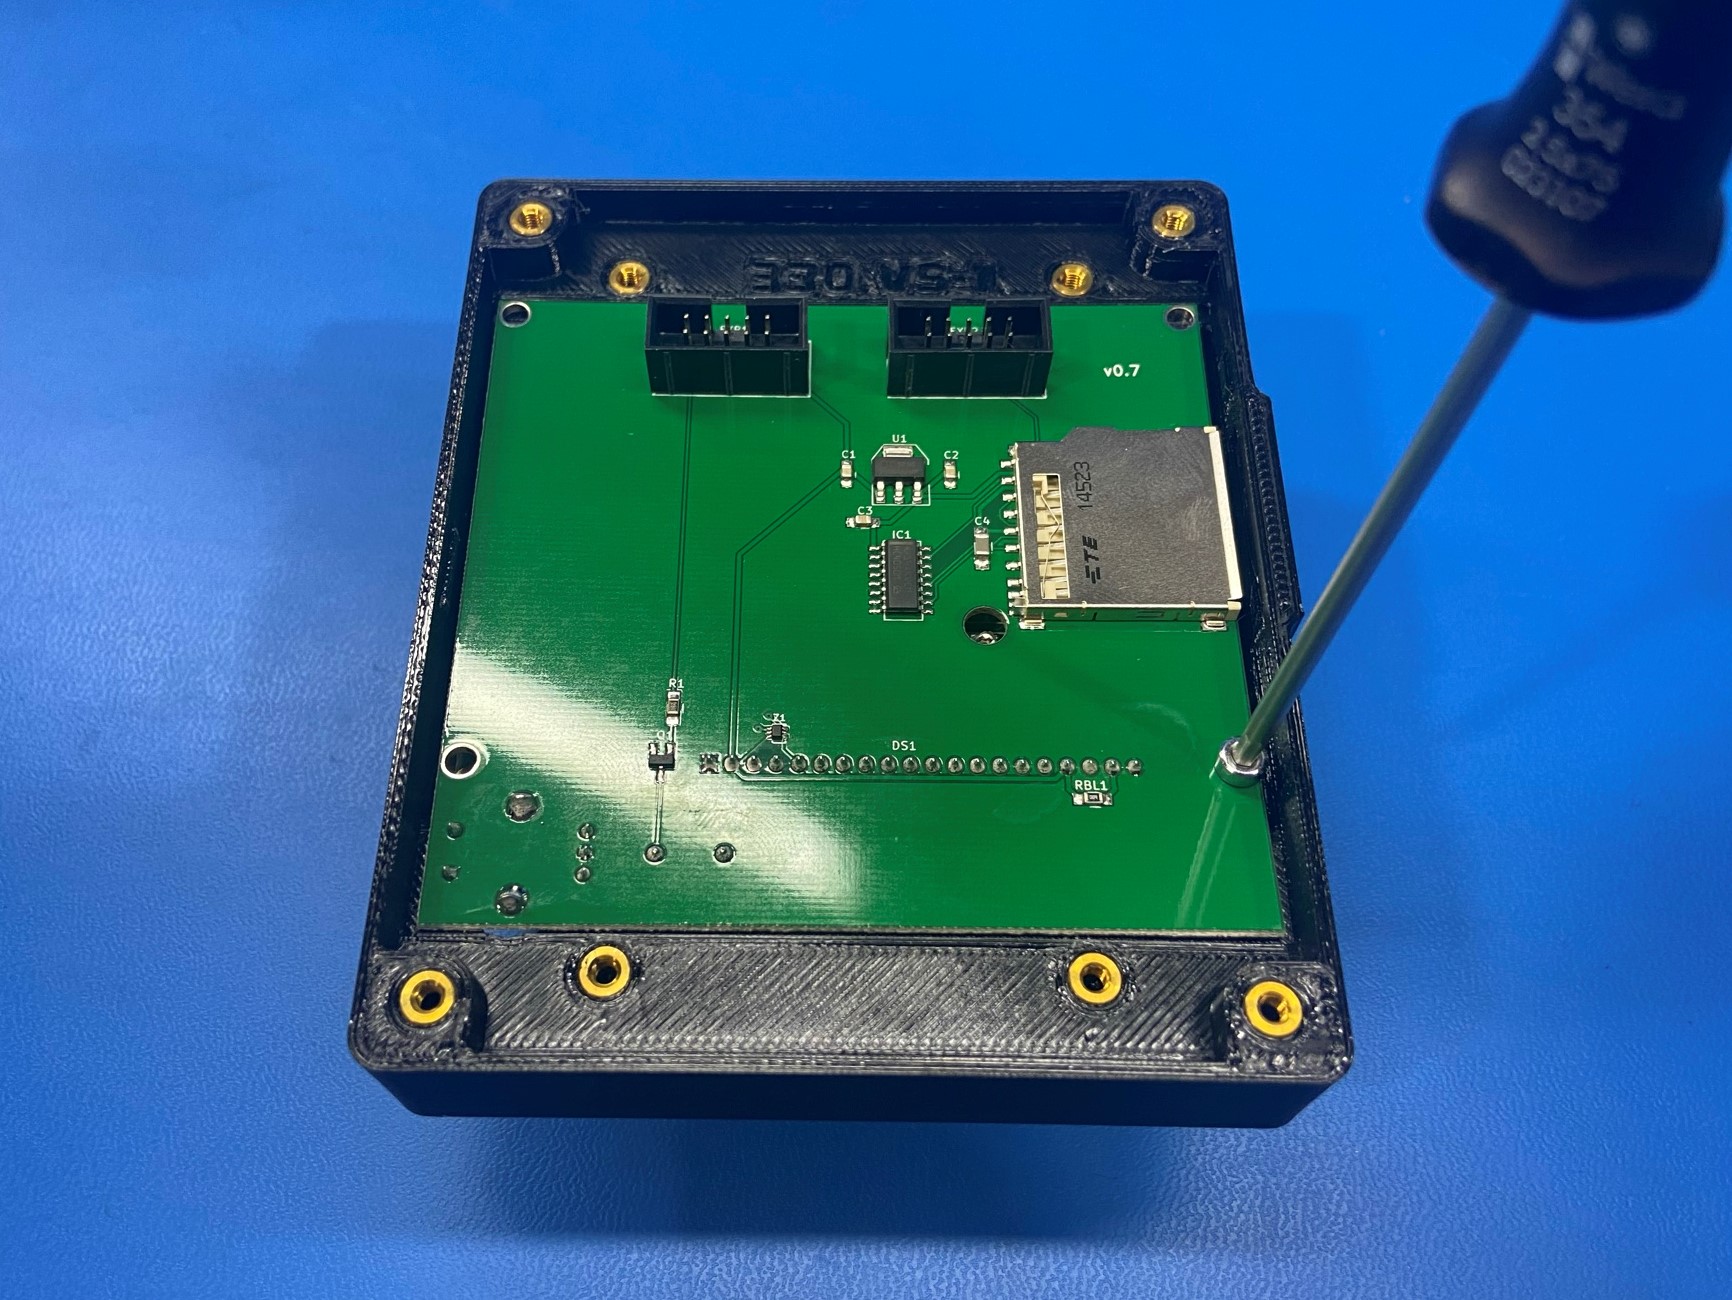
Remove LCD LB_GLCD [PC-AS0056] from antistatic packaging, then flip it over to the screen is facing down.
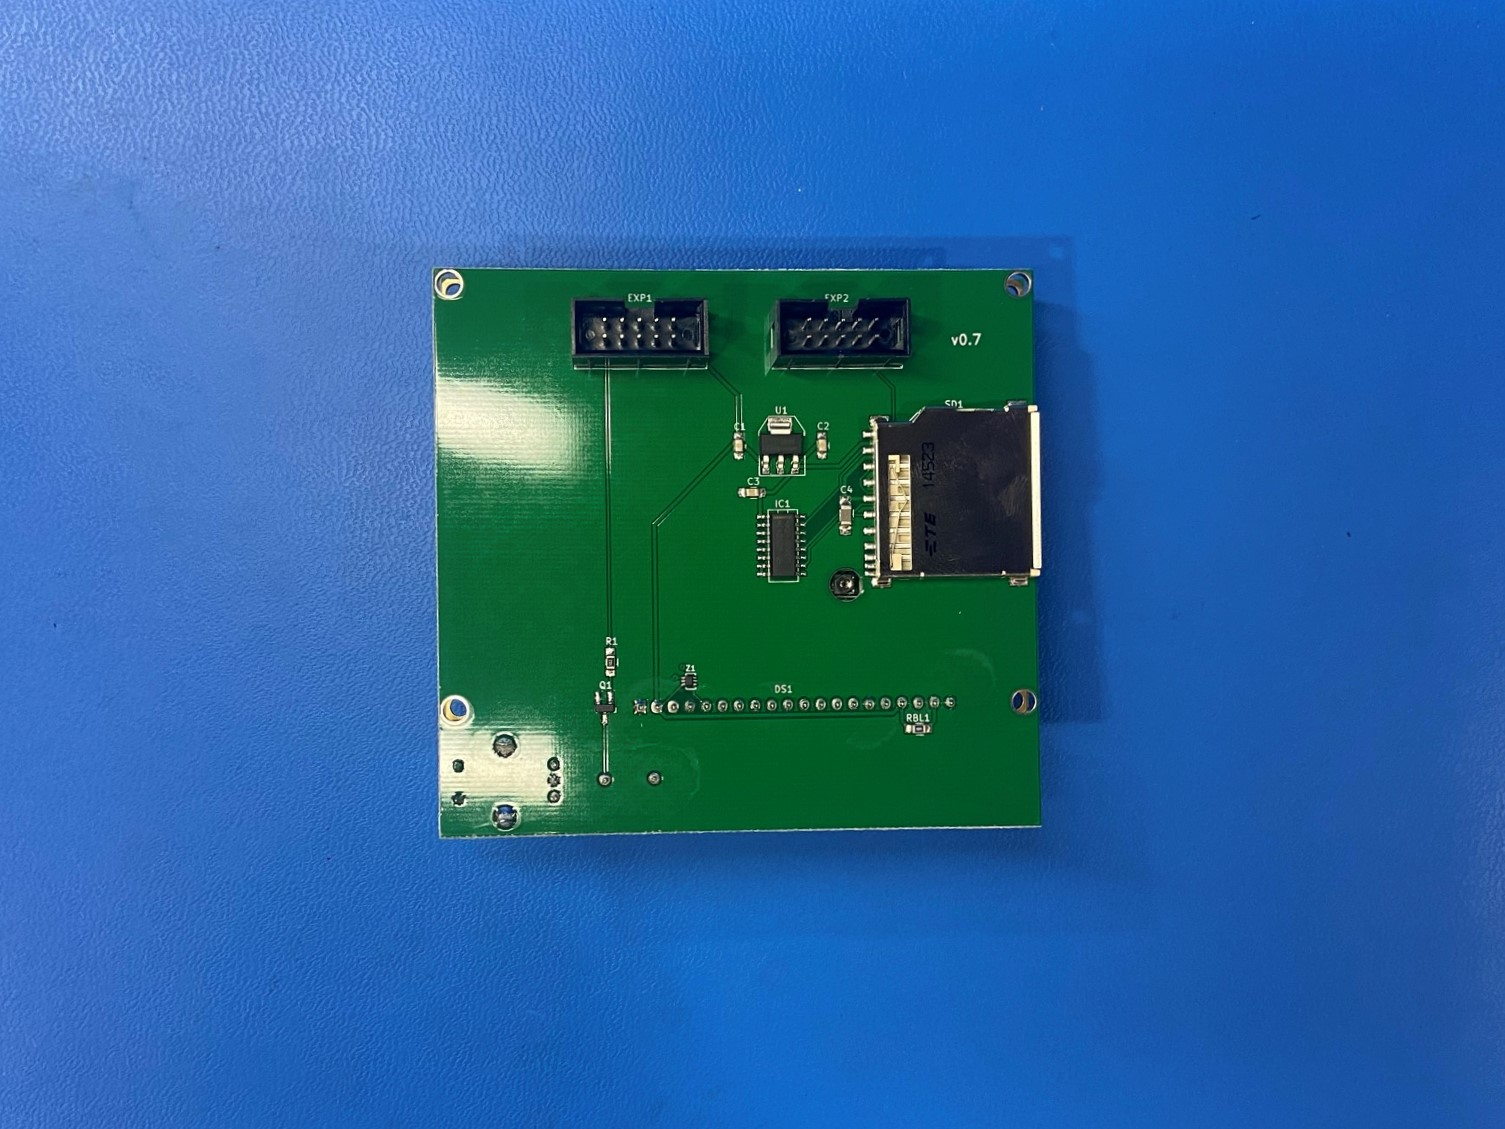
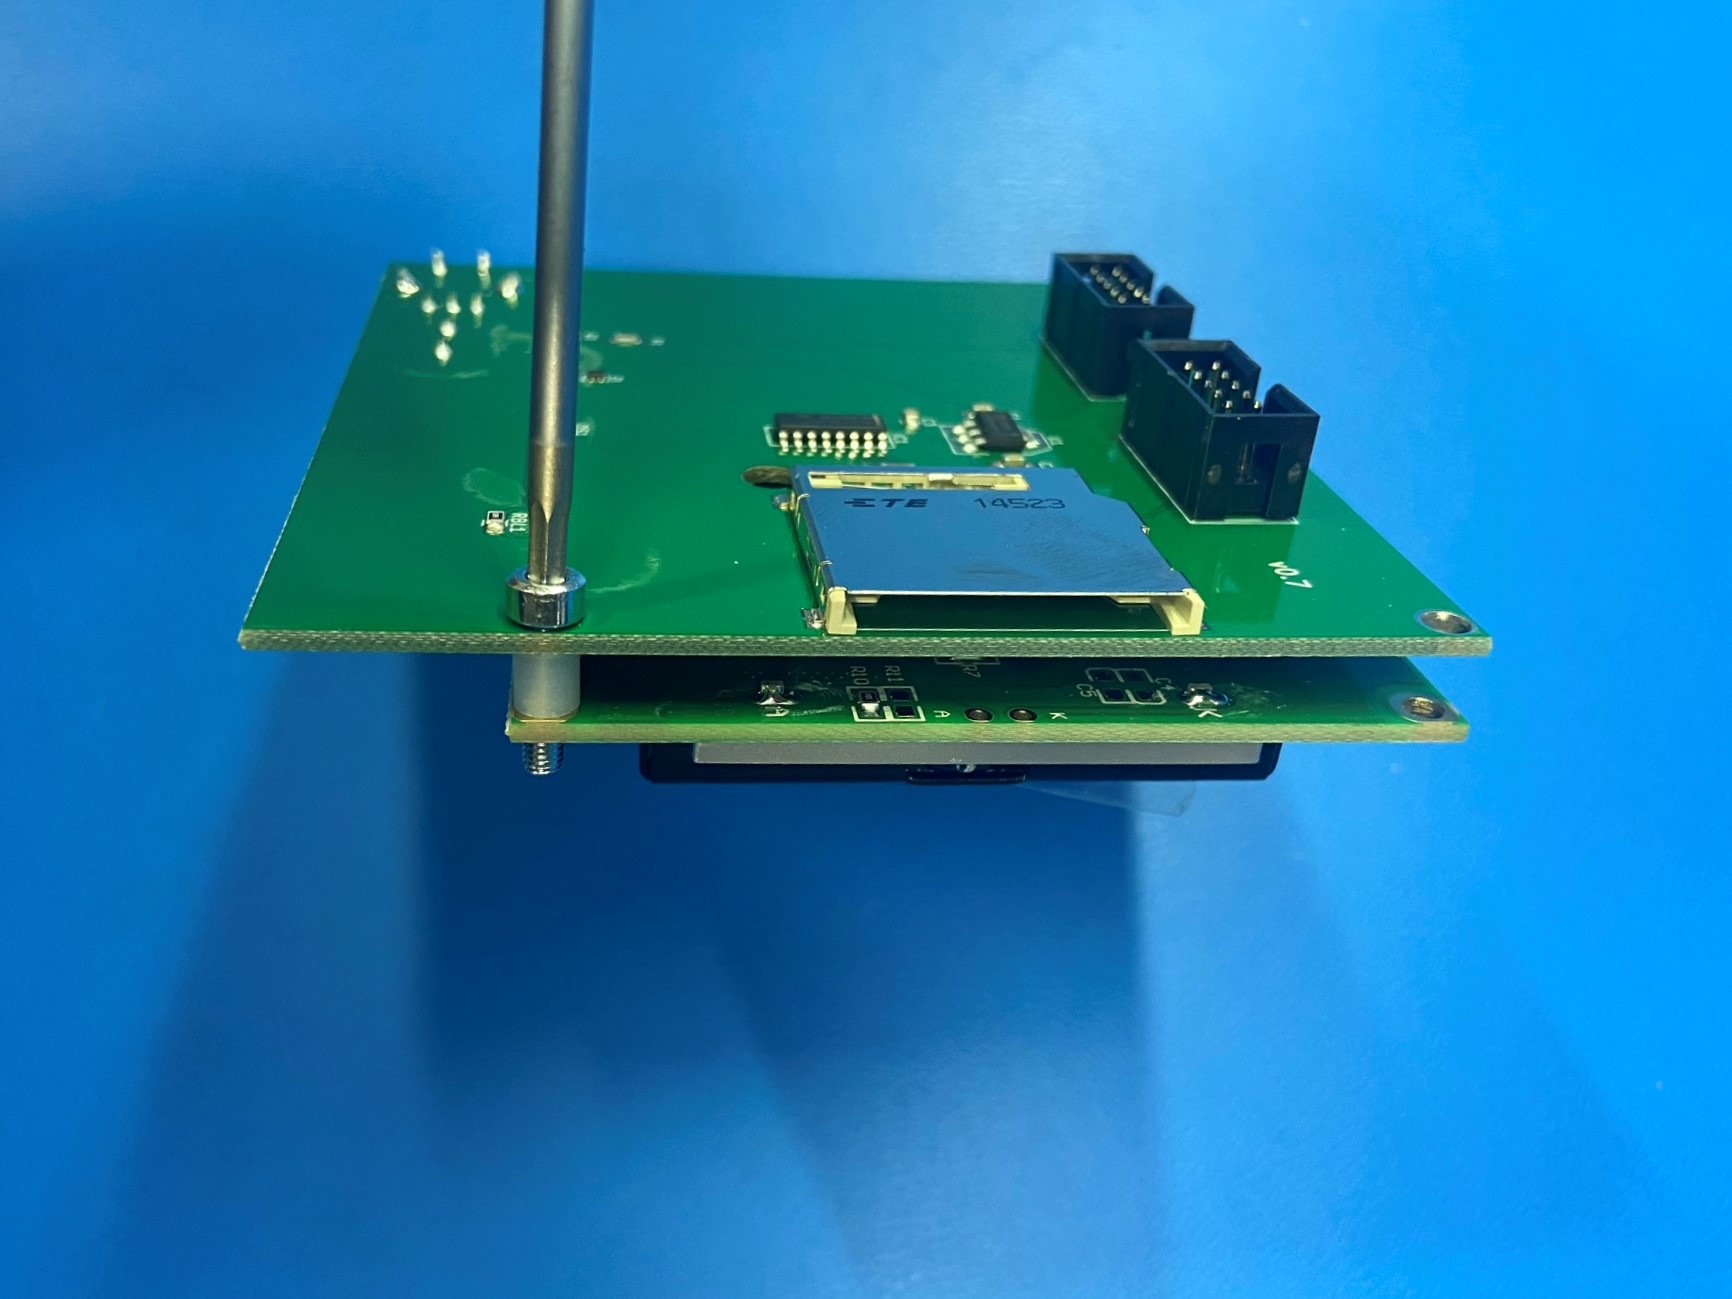
Using tweezers place 1x LCD spacer in-between the two plates on the LCD, with the SD card reader on the right side place the spacer in the bottom right hole.
Then place 1x M3x12 SHCS [HD-BT0275] through the bottom right hole securing the spacer between the LCD plates.

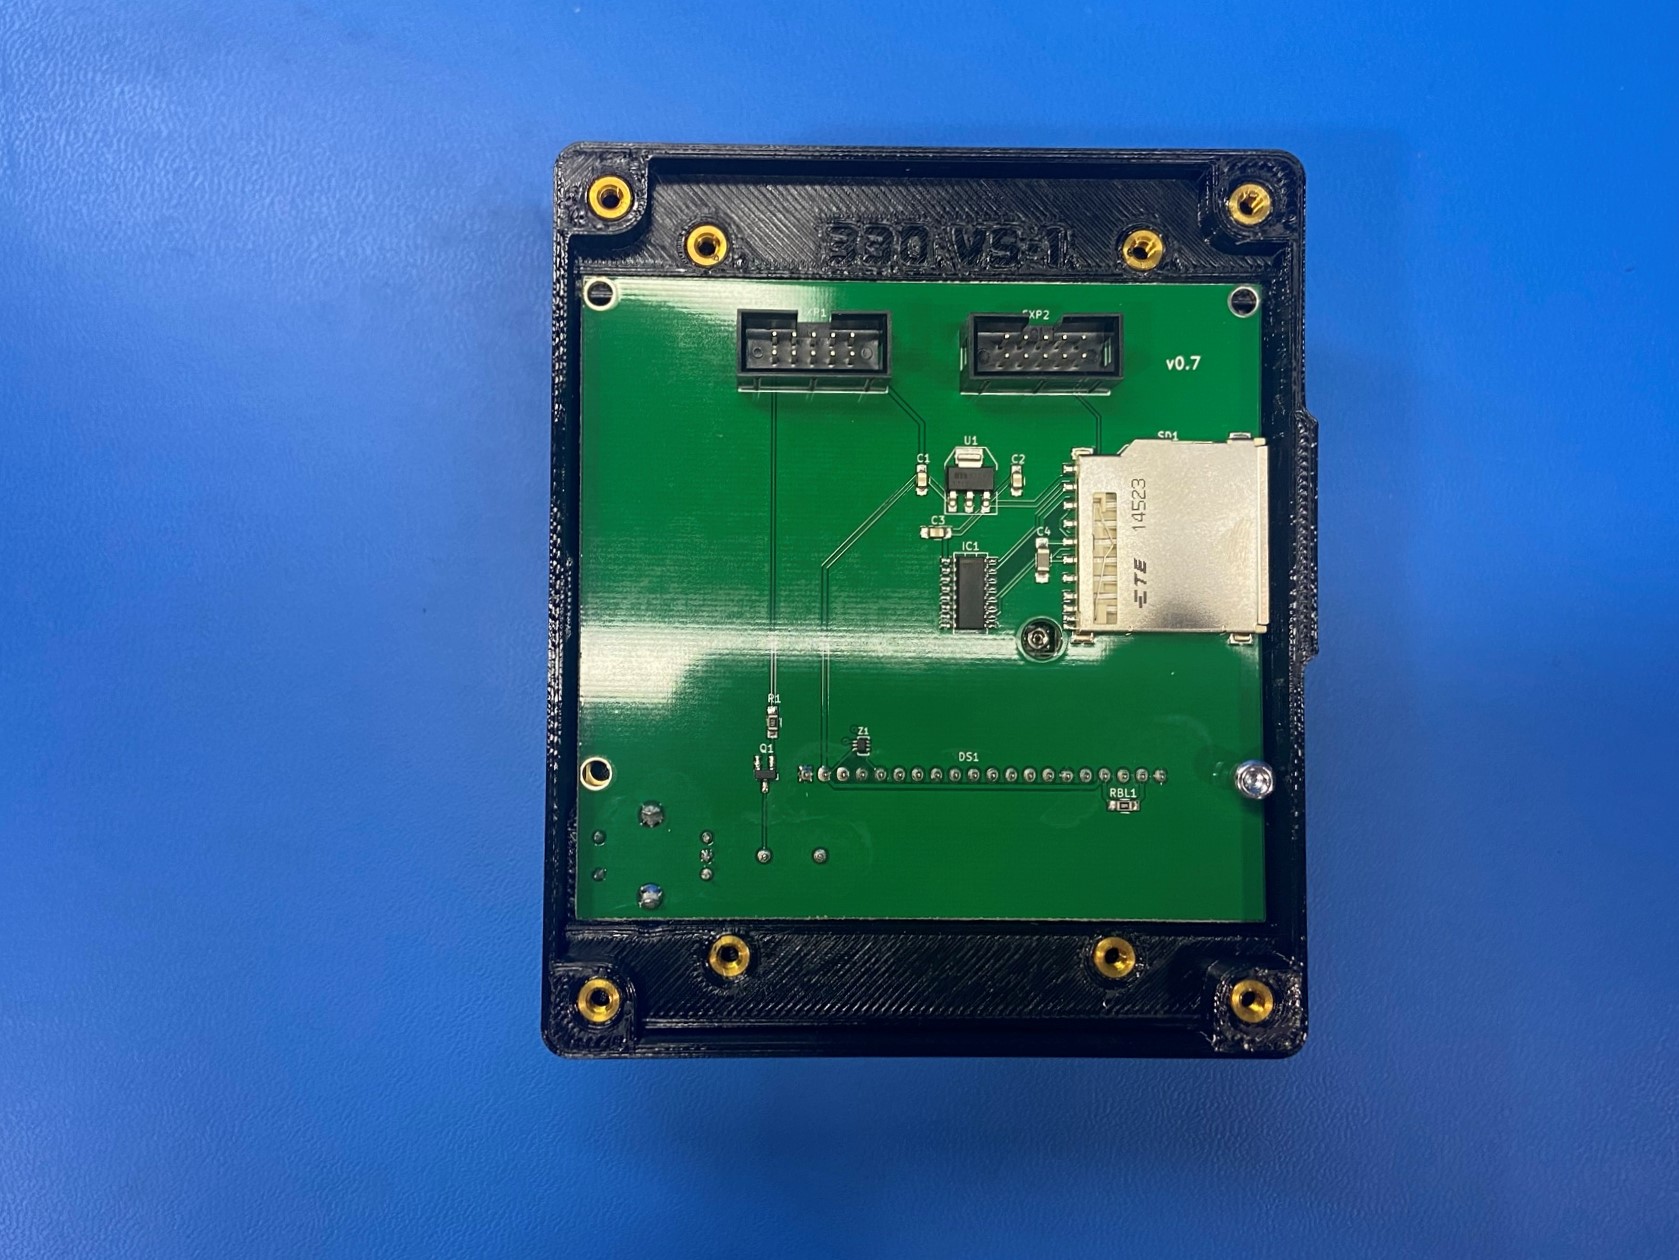
Place the top edge of the LCD inside the Mini 2 LCD case [PP-GP0693] then gently drop the bottom side in.
Once the LCD is fully seated inside the LCD case, fasten the M3x12 SHCS into the board to secure the LCD spacer.
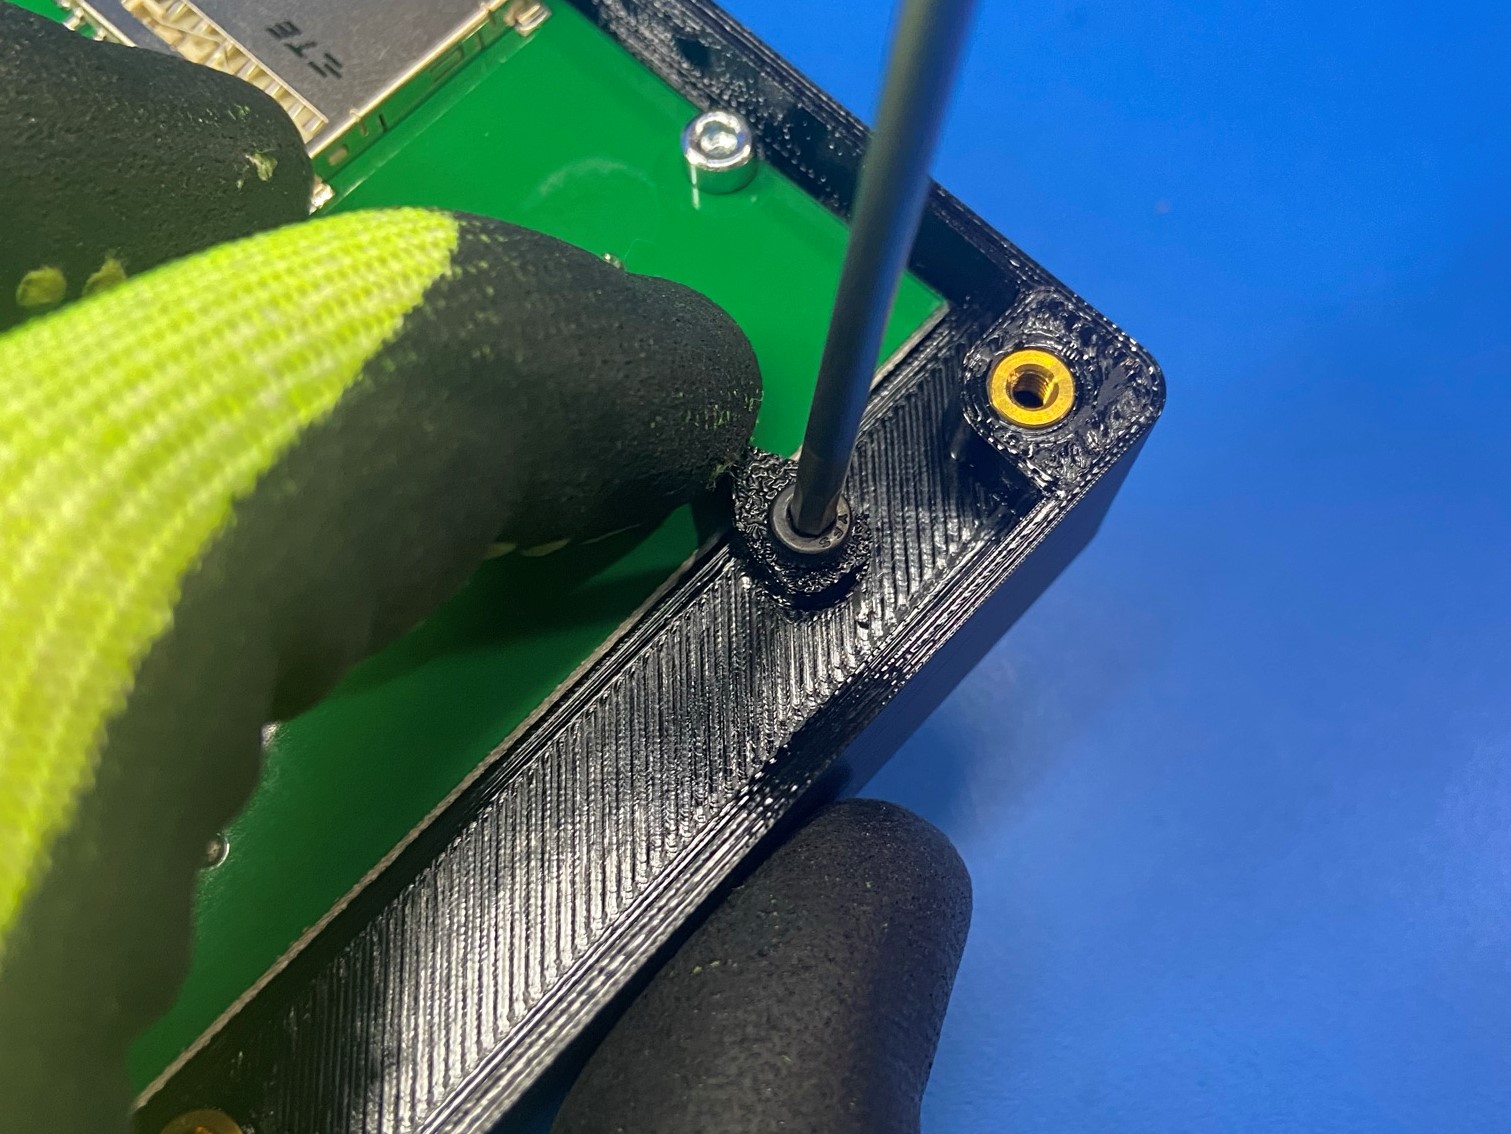
Then using 1x M3x8 SHCS [HD-BT0157] install 1x LCD locking tab [PP-GP0603] to the LCD case to hold the LCD inside the case.
Note: Make sure to hold the LCD locking tab in place while tightening the screw so the locking tab is directly over the LCD.
Repeat this process for the other three LCD locking tabs.


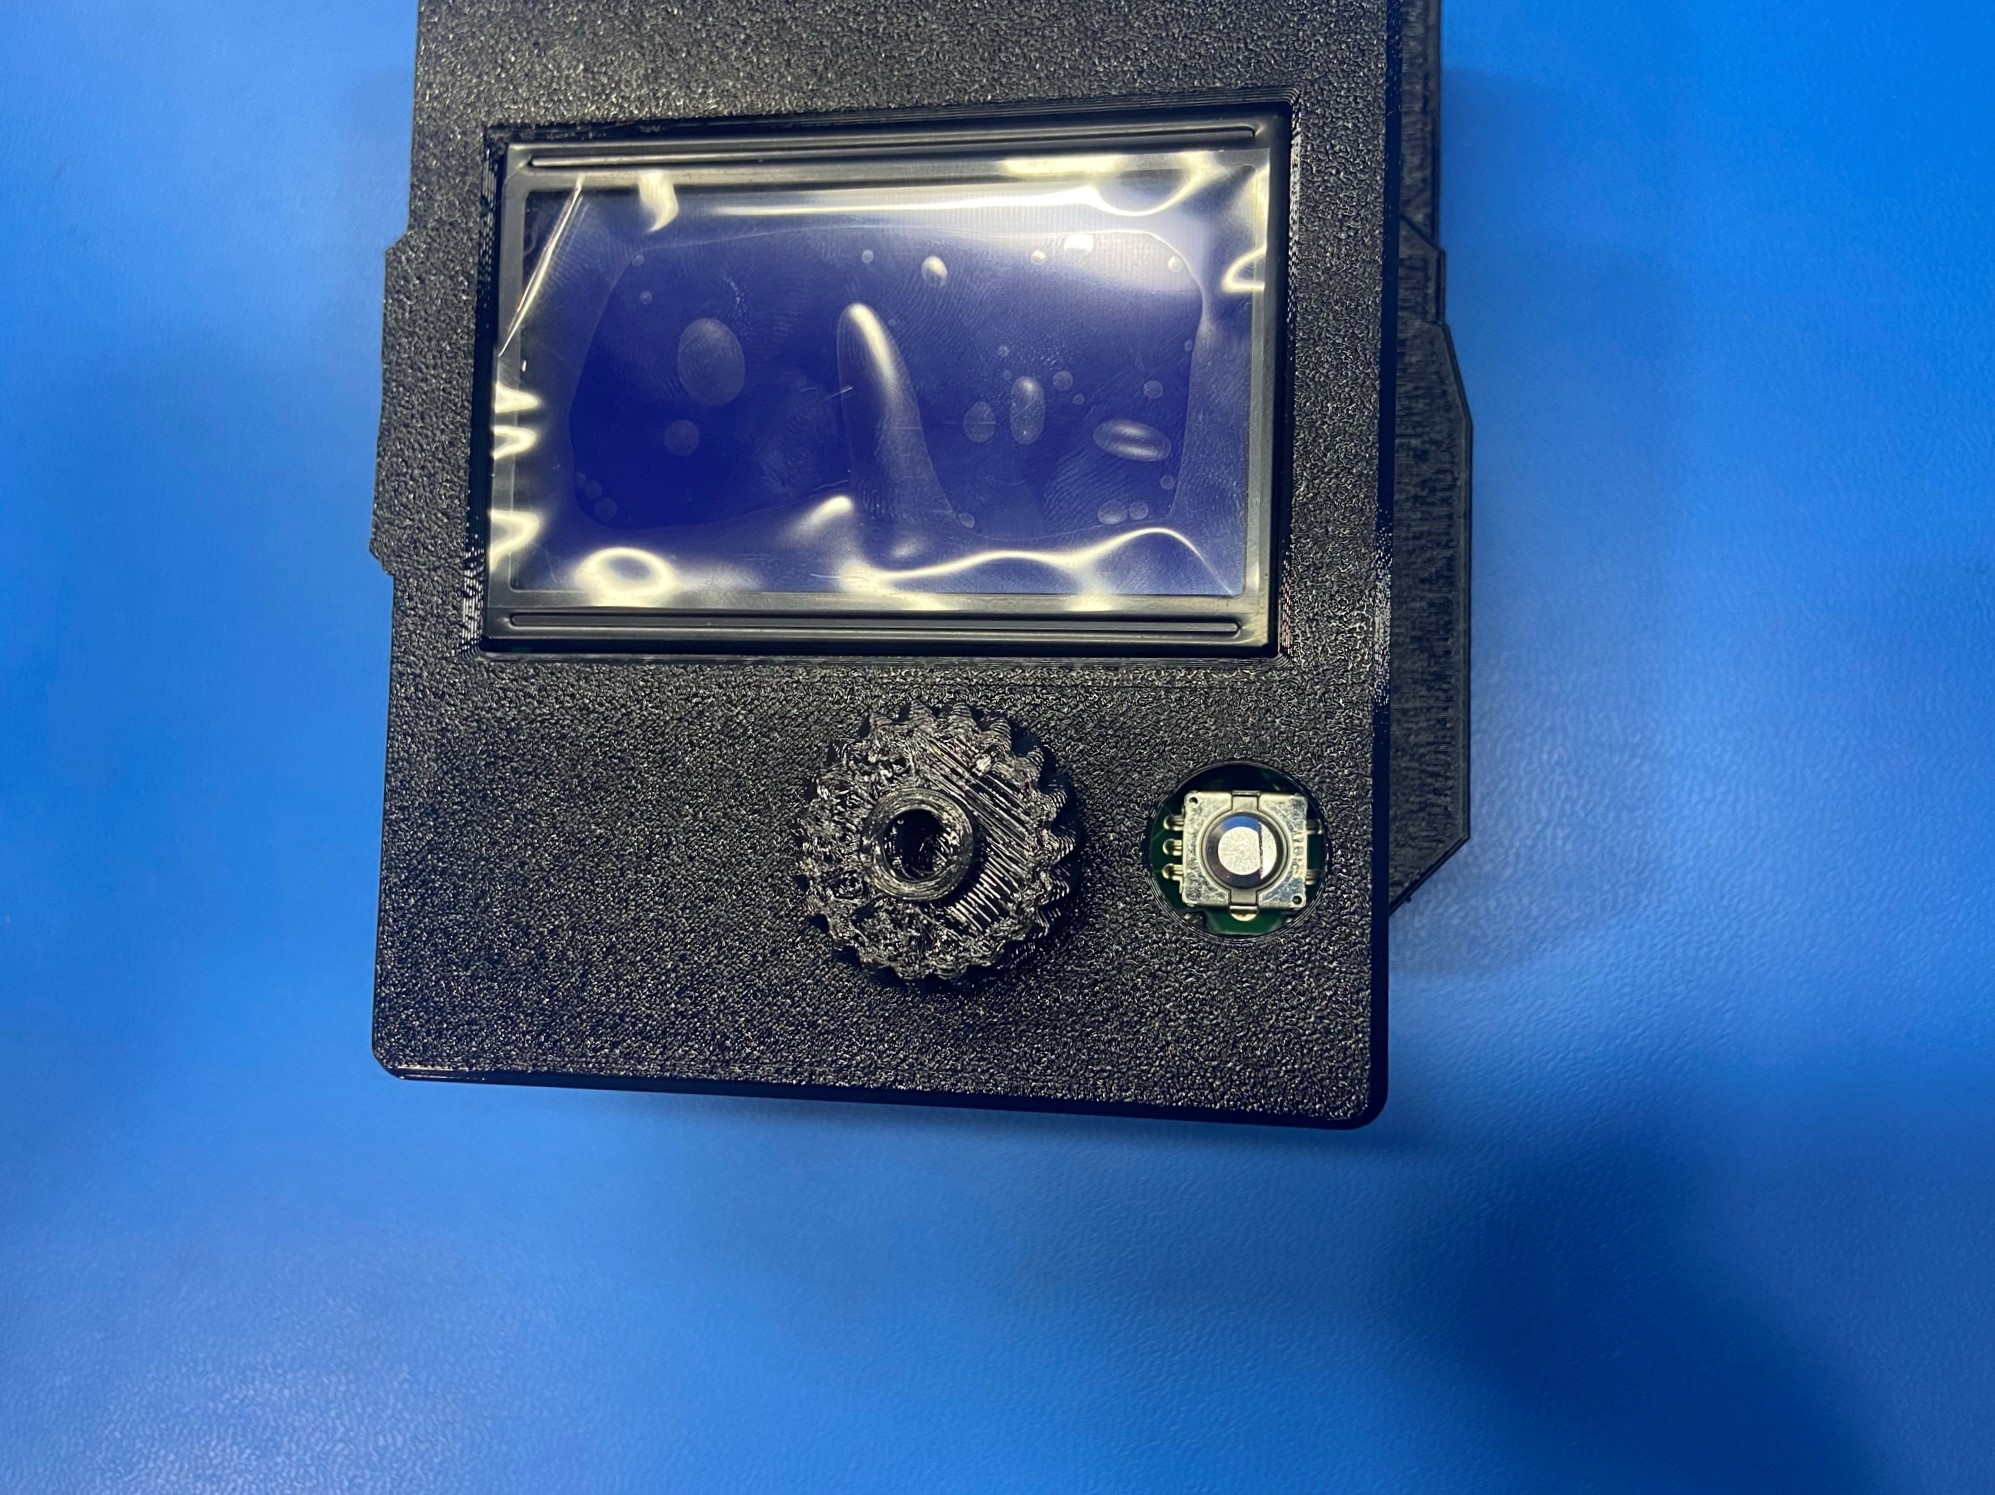
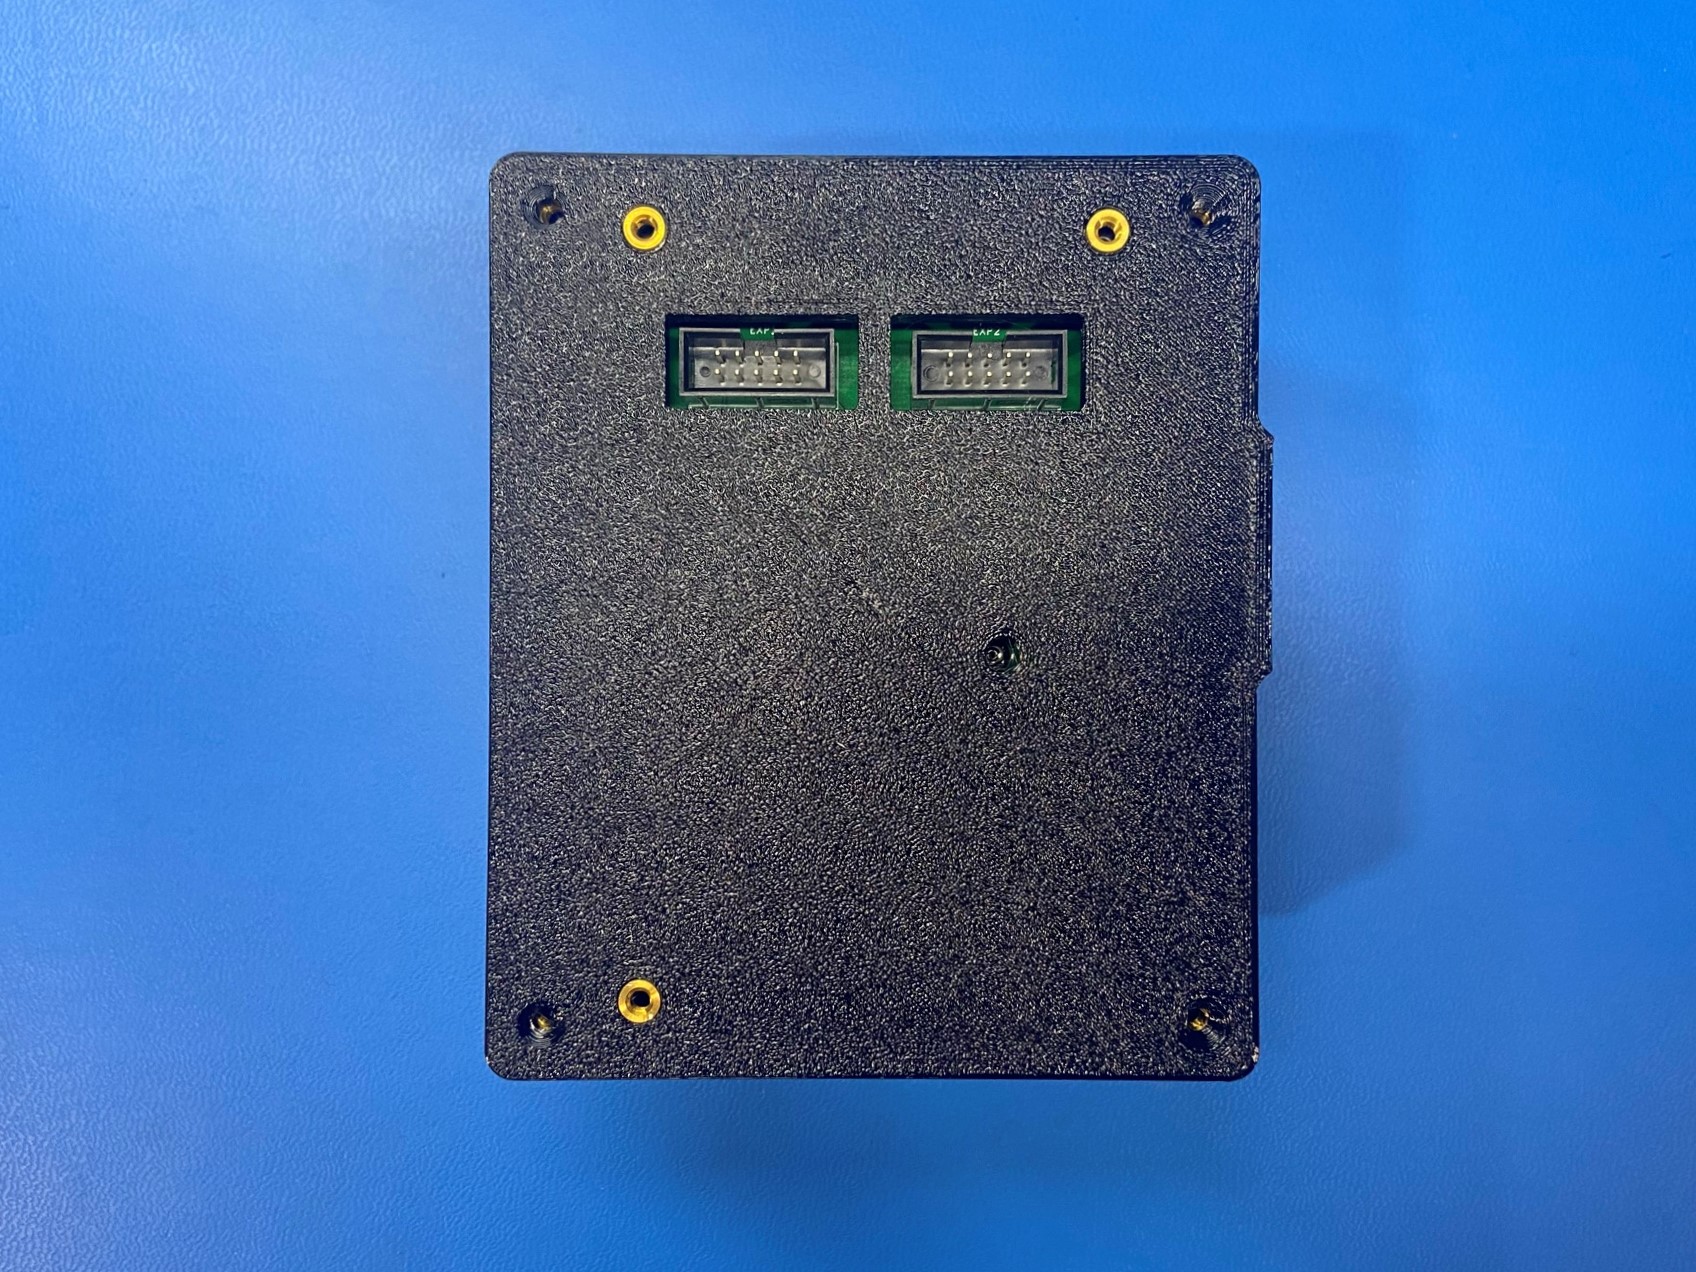
Place the Mini 2 LCD cover [PP-GP0694] over the LCD case making sure the textured side is facing up.
Then using 4x M3x10 FHCS [HD-BT0116] secure the LCD cover to the LCD case.
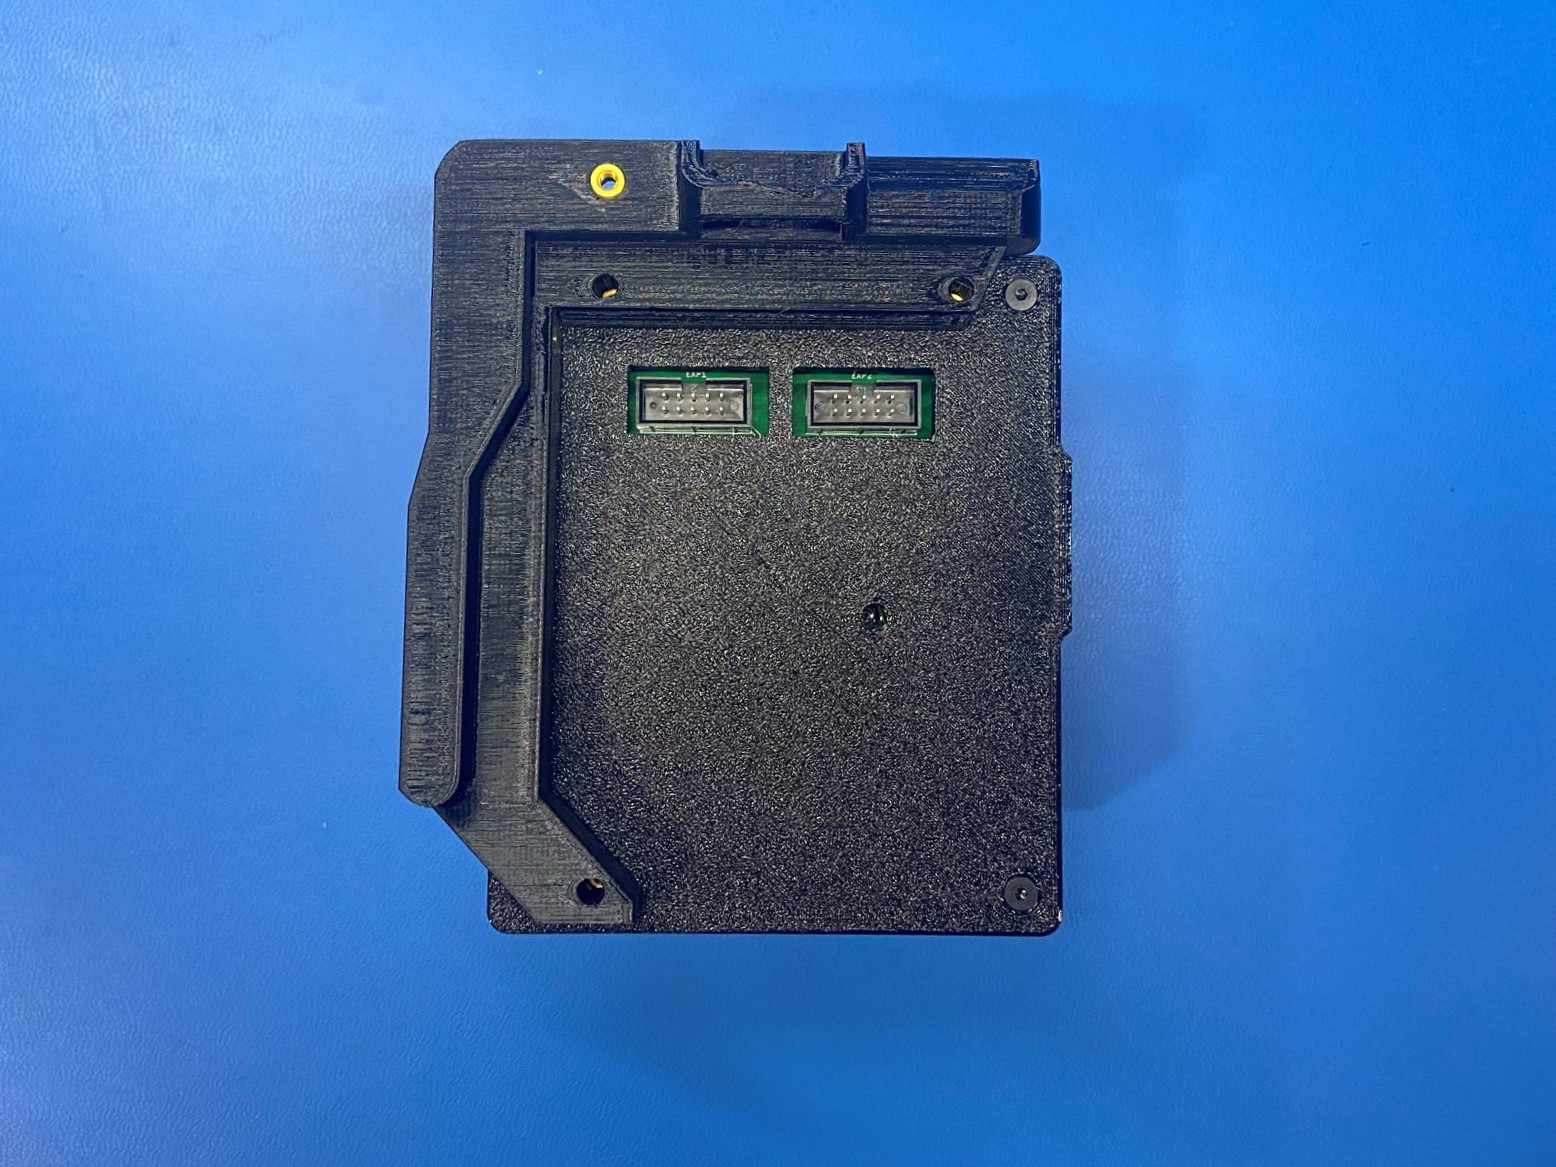
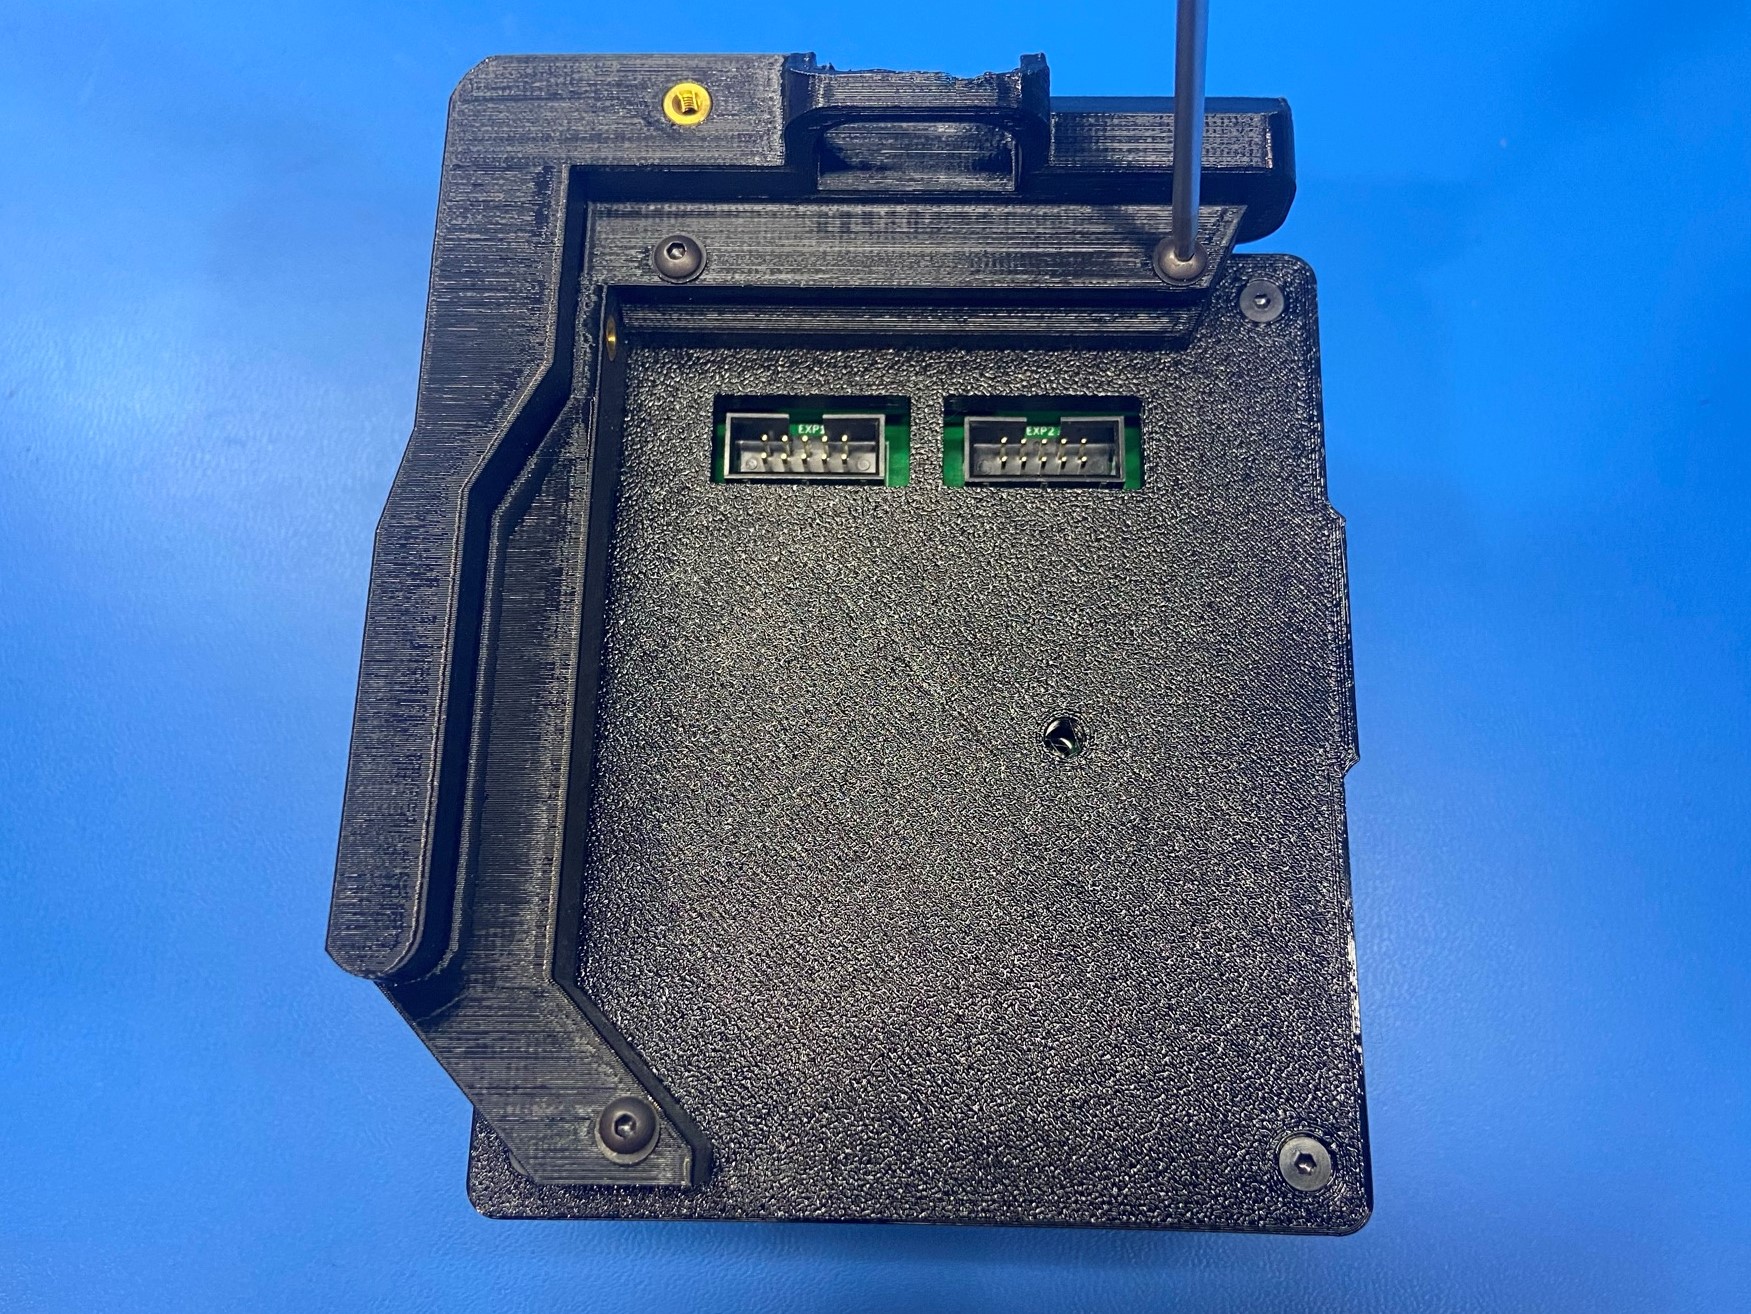
Now place the LCD bracket right [PP-GP0325] over the LCD cover aligning the three holes with the three brass inserts.
Then using 3x M3x20 BHCS [HD-BT0171] and 3x M3 washers [HD-WA0038] secure the LCD bracket to the LCD cover.

Press the flexy LCD knob [PP-GP0435] onto the LCD dial making sure to align the flat side on the flexy knob with the flat side of the dial.
Ensure the Knob fits properly and is able to be pressed and clicked repeatedly.
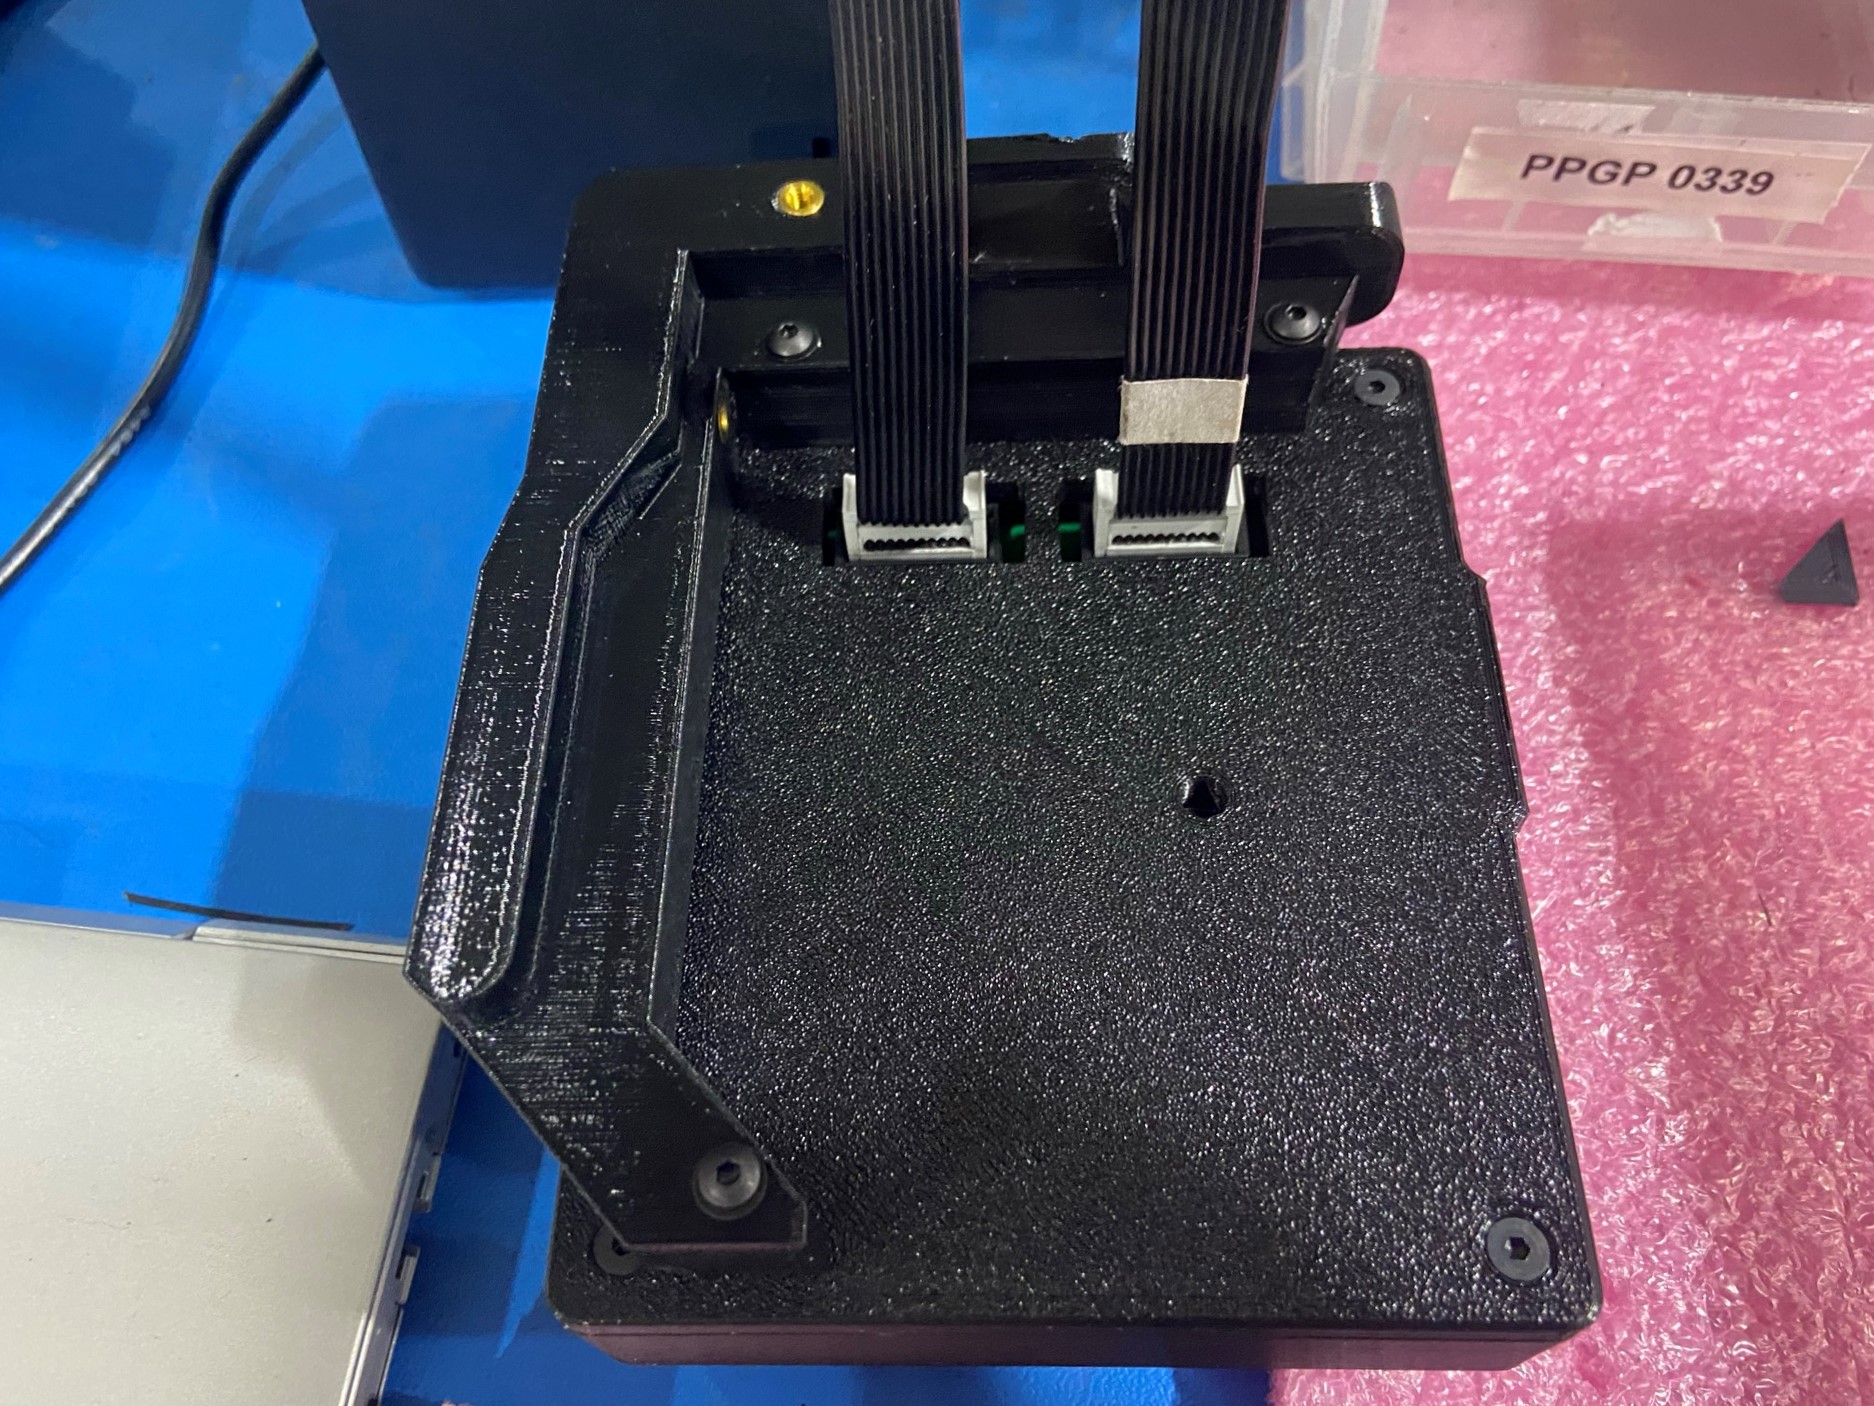
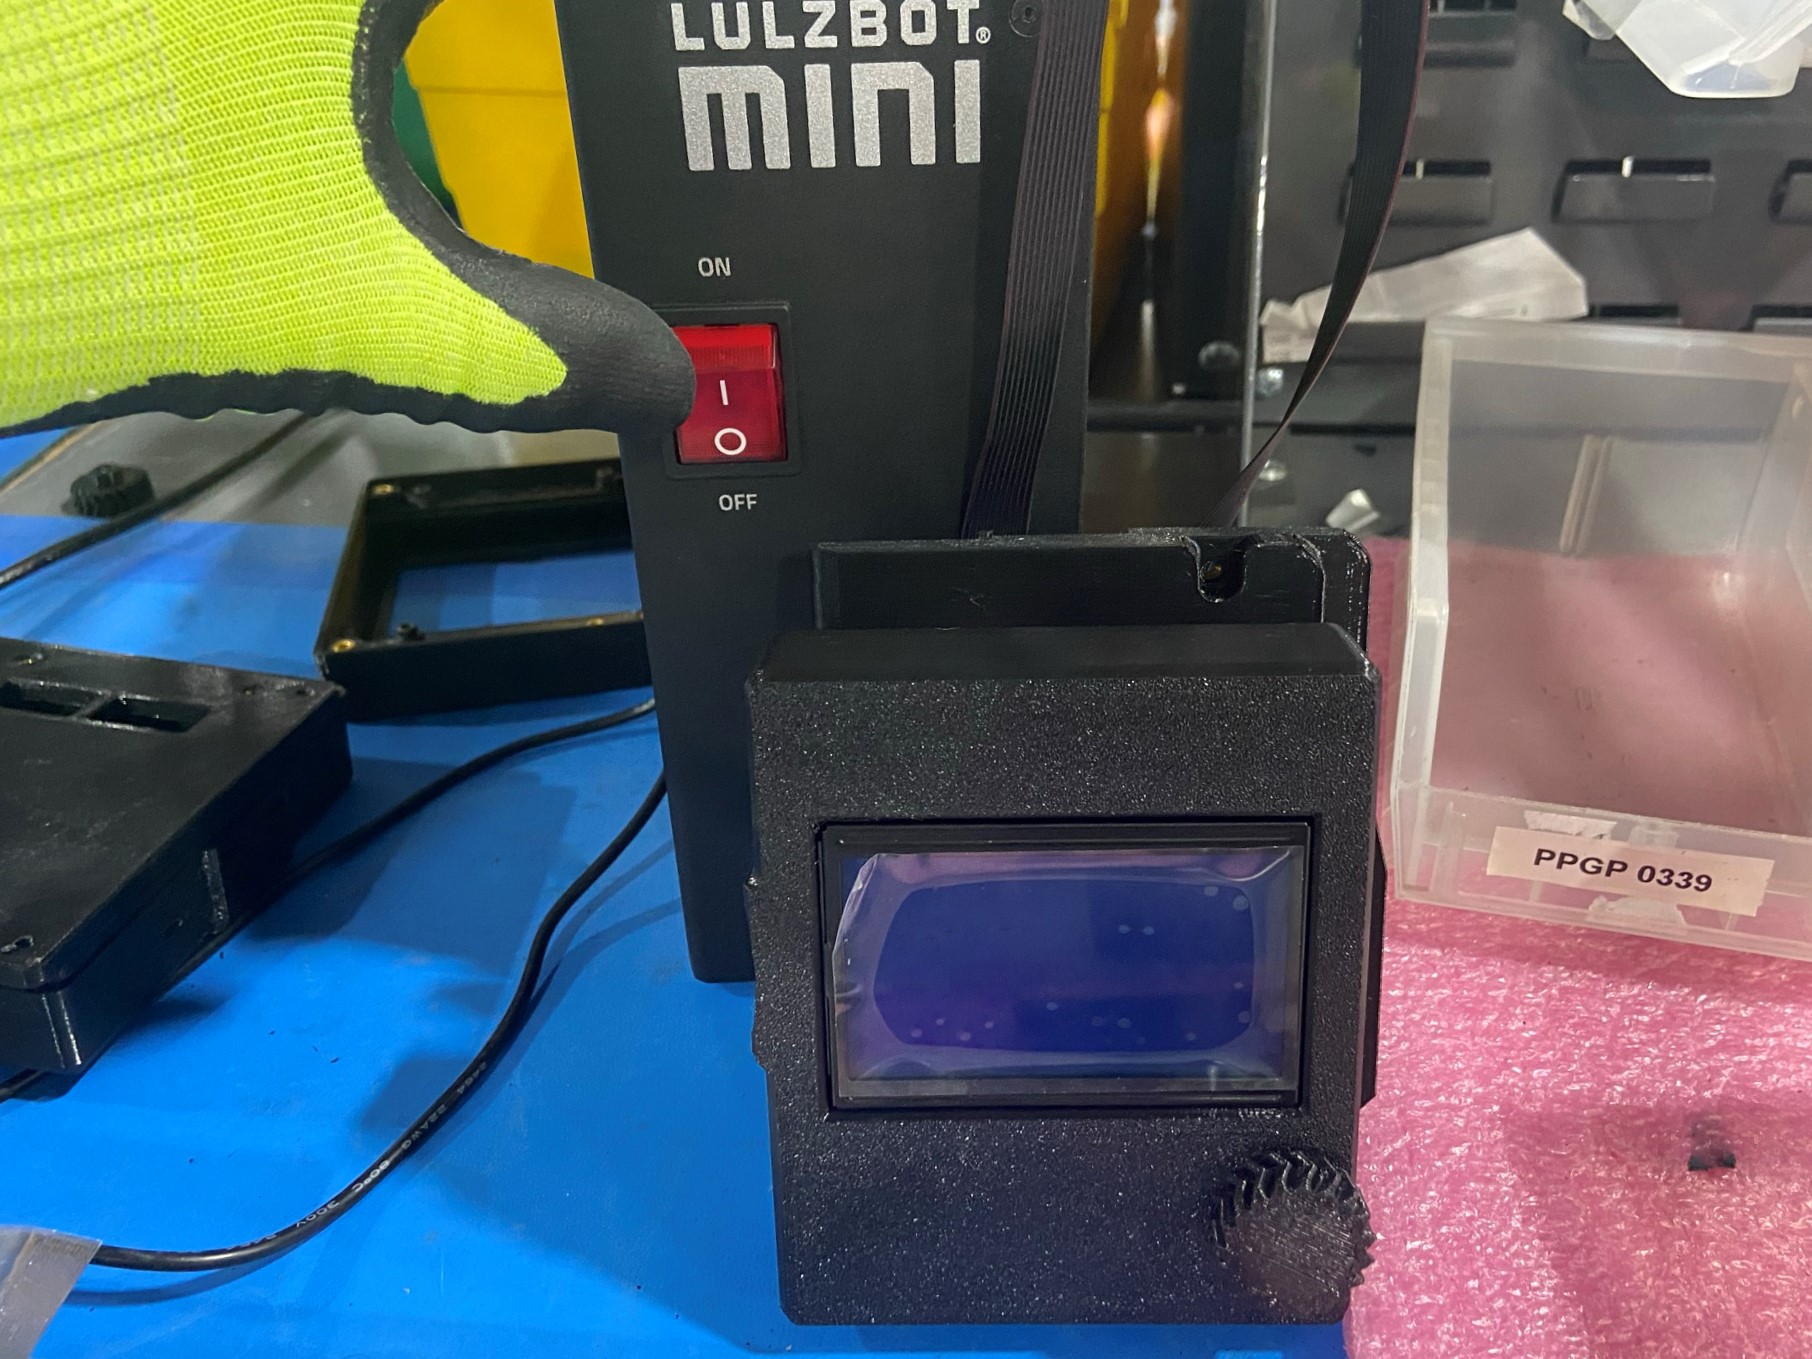
Bring the LCD assembly to the LCD testing stand and connect the LCD wires to the LCD. (The LCD wire that has white tape around it is LCD 2 and it connects to the right port)
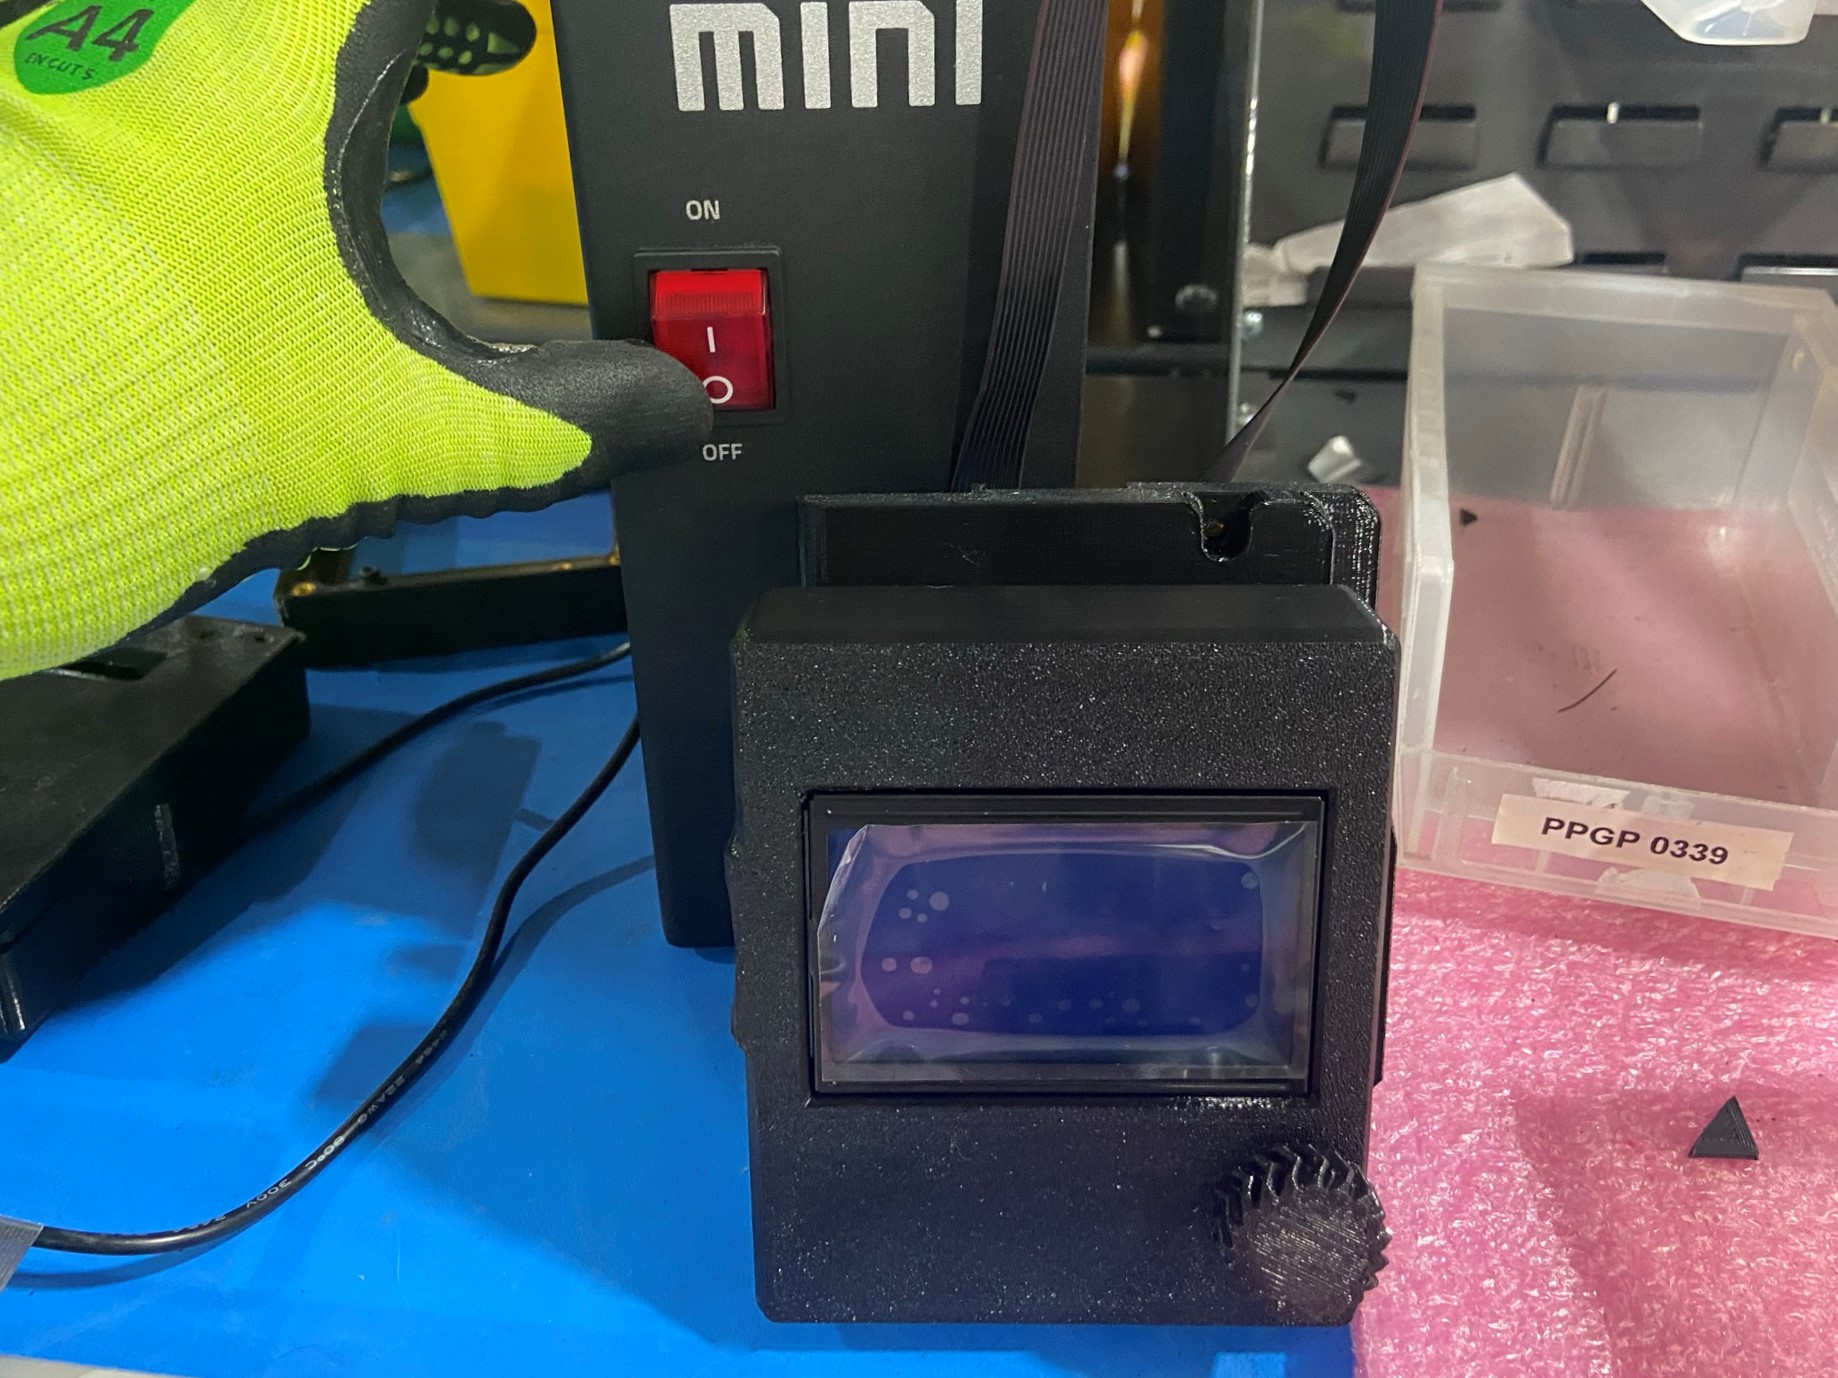
Then turn the test printer on, verify that the screen lights up with a light blue. If the LCD doesn't light up check the LCD wires and make sure they are connected correctly.
The screen should show the following message next:
LUZBOT 3D PRINTER TESTING DISPLAY PIXELS
Then the screen will turn from white to blue then finally a solid white.
Look for any pixels that aren't lighting up or if there is something unusual with the displace. If this occurs tag the LCD and report to team lead.