Open HardwareAssembly Instructions
Guides for installation and assembly of the LulzBot line of products made by FAME 3D LLC.
Guides for installation and assembly of the LulzBot line of products made by FAME 3D LLC.
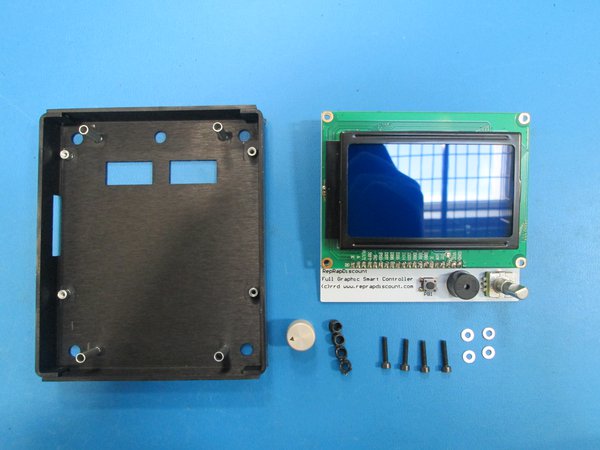
Components

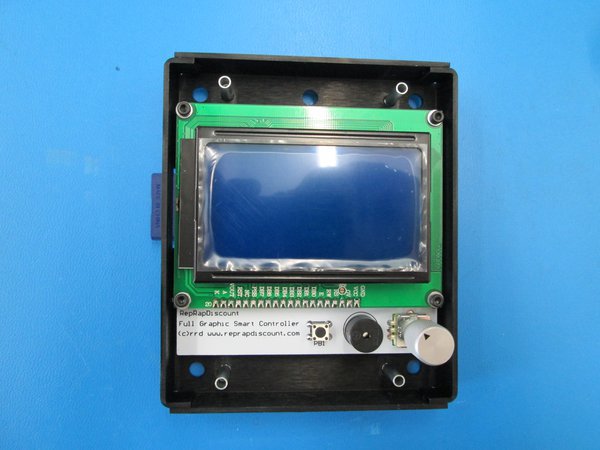
Install LCD spacer between the circuit boards and drop a M2.5x12 SHCS with M2.5 washer through it.
Do this in all 4 corners of the board.
Set the LCD with screws down into the LCD case and tighten the screws down

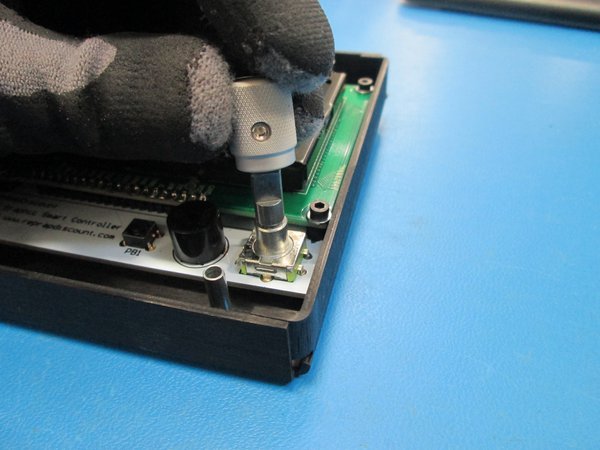
Install the knob onto the LCD with the set screw aligned with the flat.
The knob will go all the way down to a step on the shaft.
Tighten the set screw down.
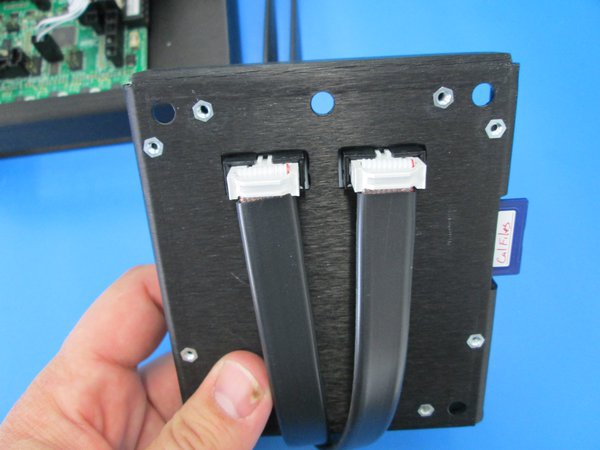
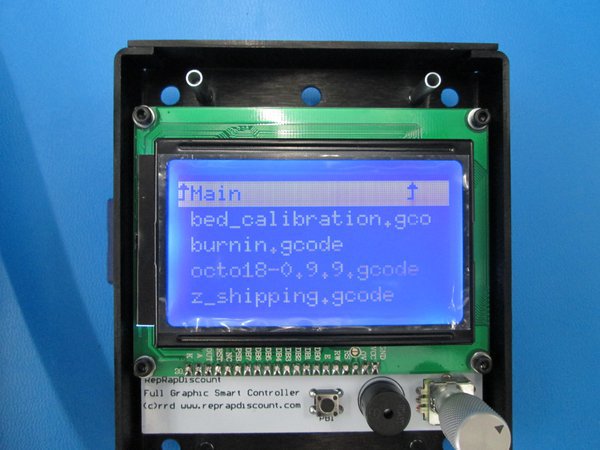
Insert a test SD card.
Plug the LCD into the test fixture.
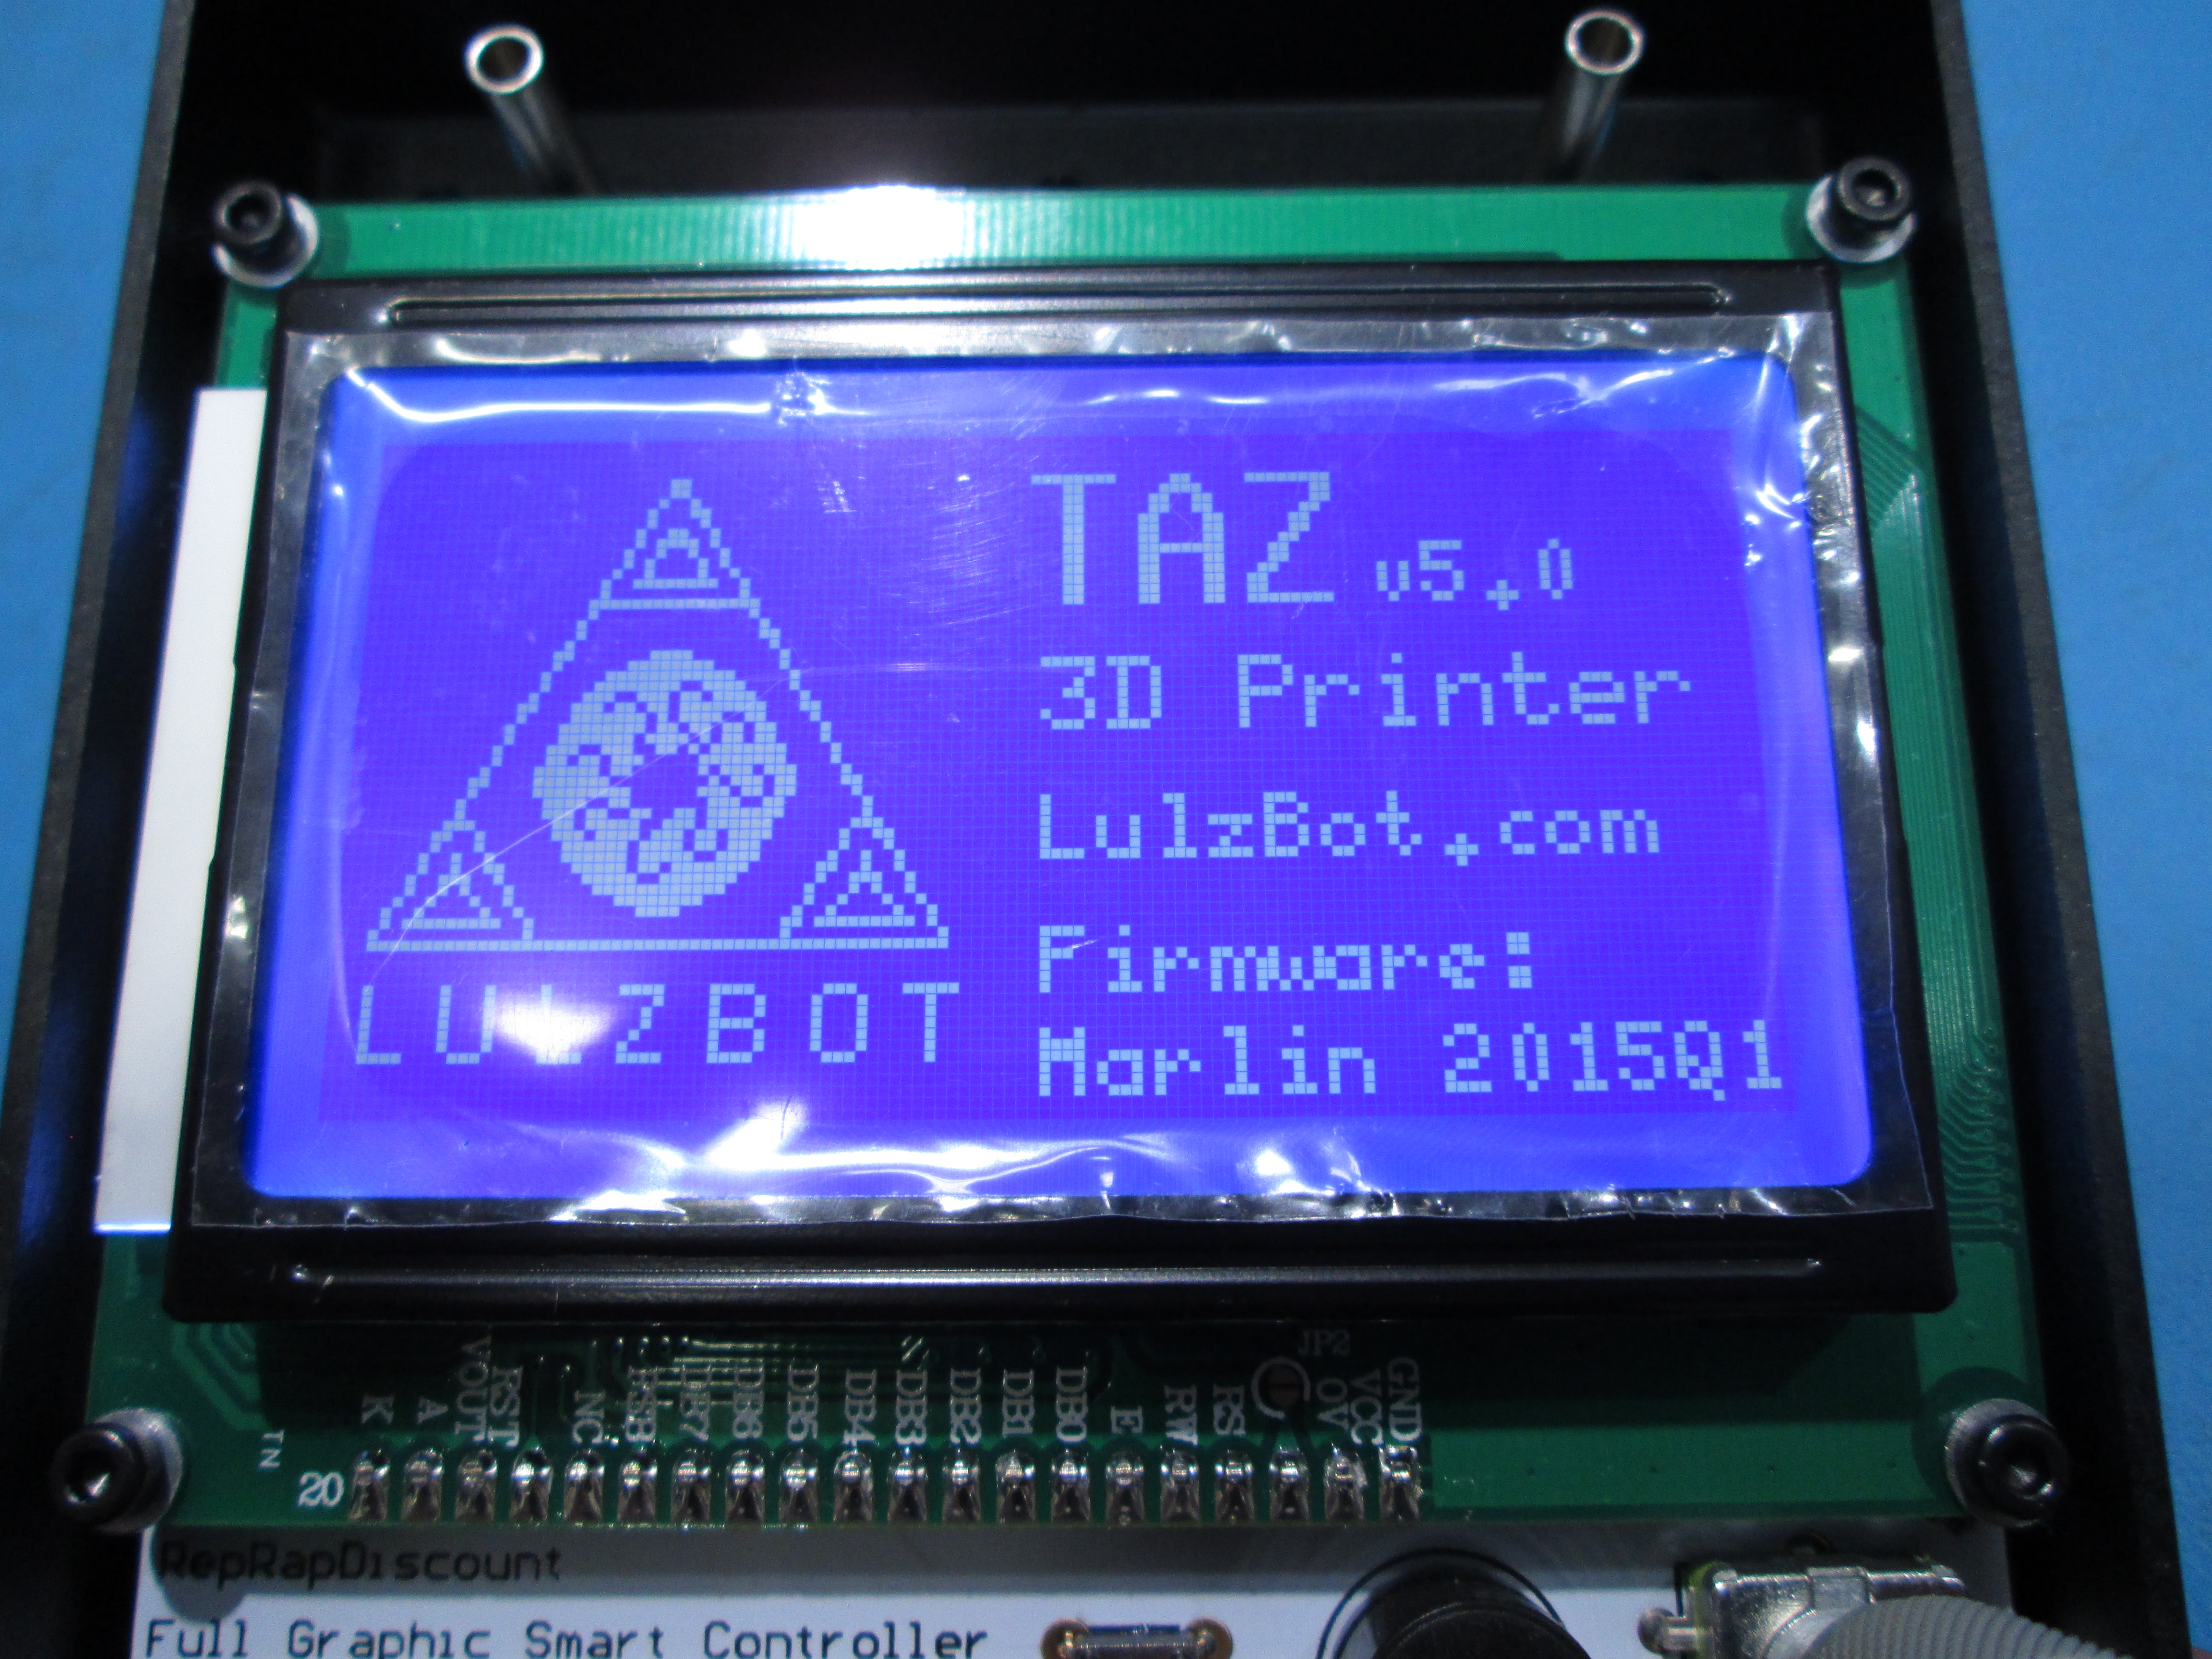
Click the reset button on the RAMBo board.
Verify there are no defects in the LCD screen and it boots up normally.
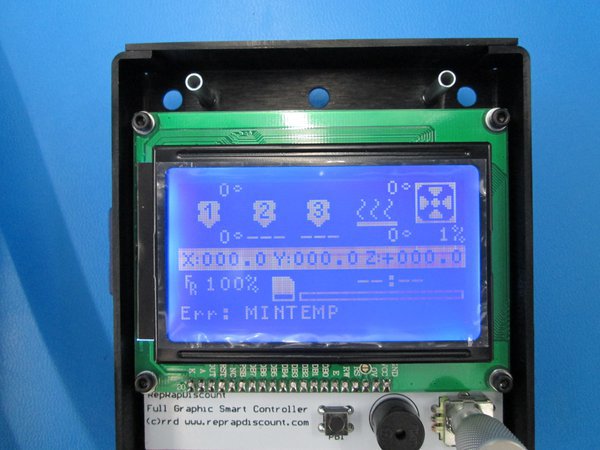
Click the knob and verify it makes a beep.
Scroll through menu till you get to print from SD. Click and verify it lists files from SD card.