Open HardwareAssembly Instructions
Guides for installation and assembly of the LulzBot line of products made by FAME 3D LLC.
Guides for installation and assembly of the LulzBot line of products made by FAME 3D LLC.
Please read complete instructions before proceeding.
You will need to adjust your z-offset after installation as shown in Step 8.
TAZ Pro users:
After installation, your start gcode will need to be modified as well as your z-offset.
Please review the second half of Step 8 before printing.
Tools
2mm Hex Key.
Gloves - recommended.
Materials
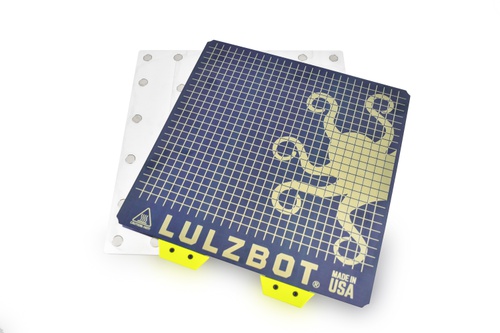
1x- TAZ Flexible Bed Kit. Textured or Smooth
Warning
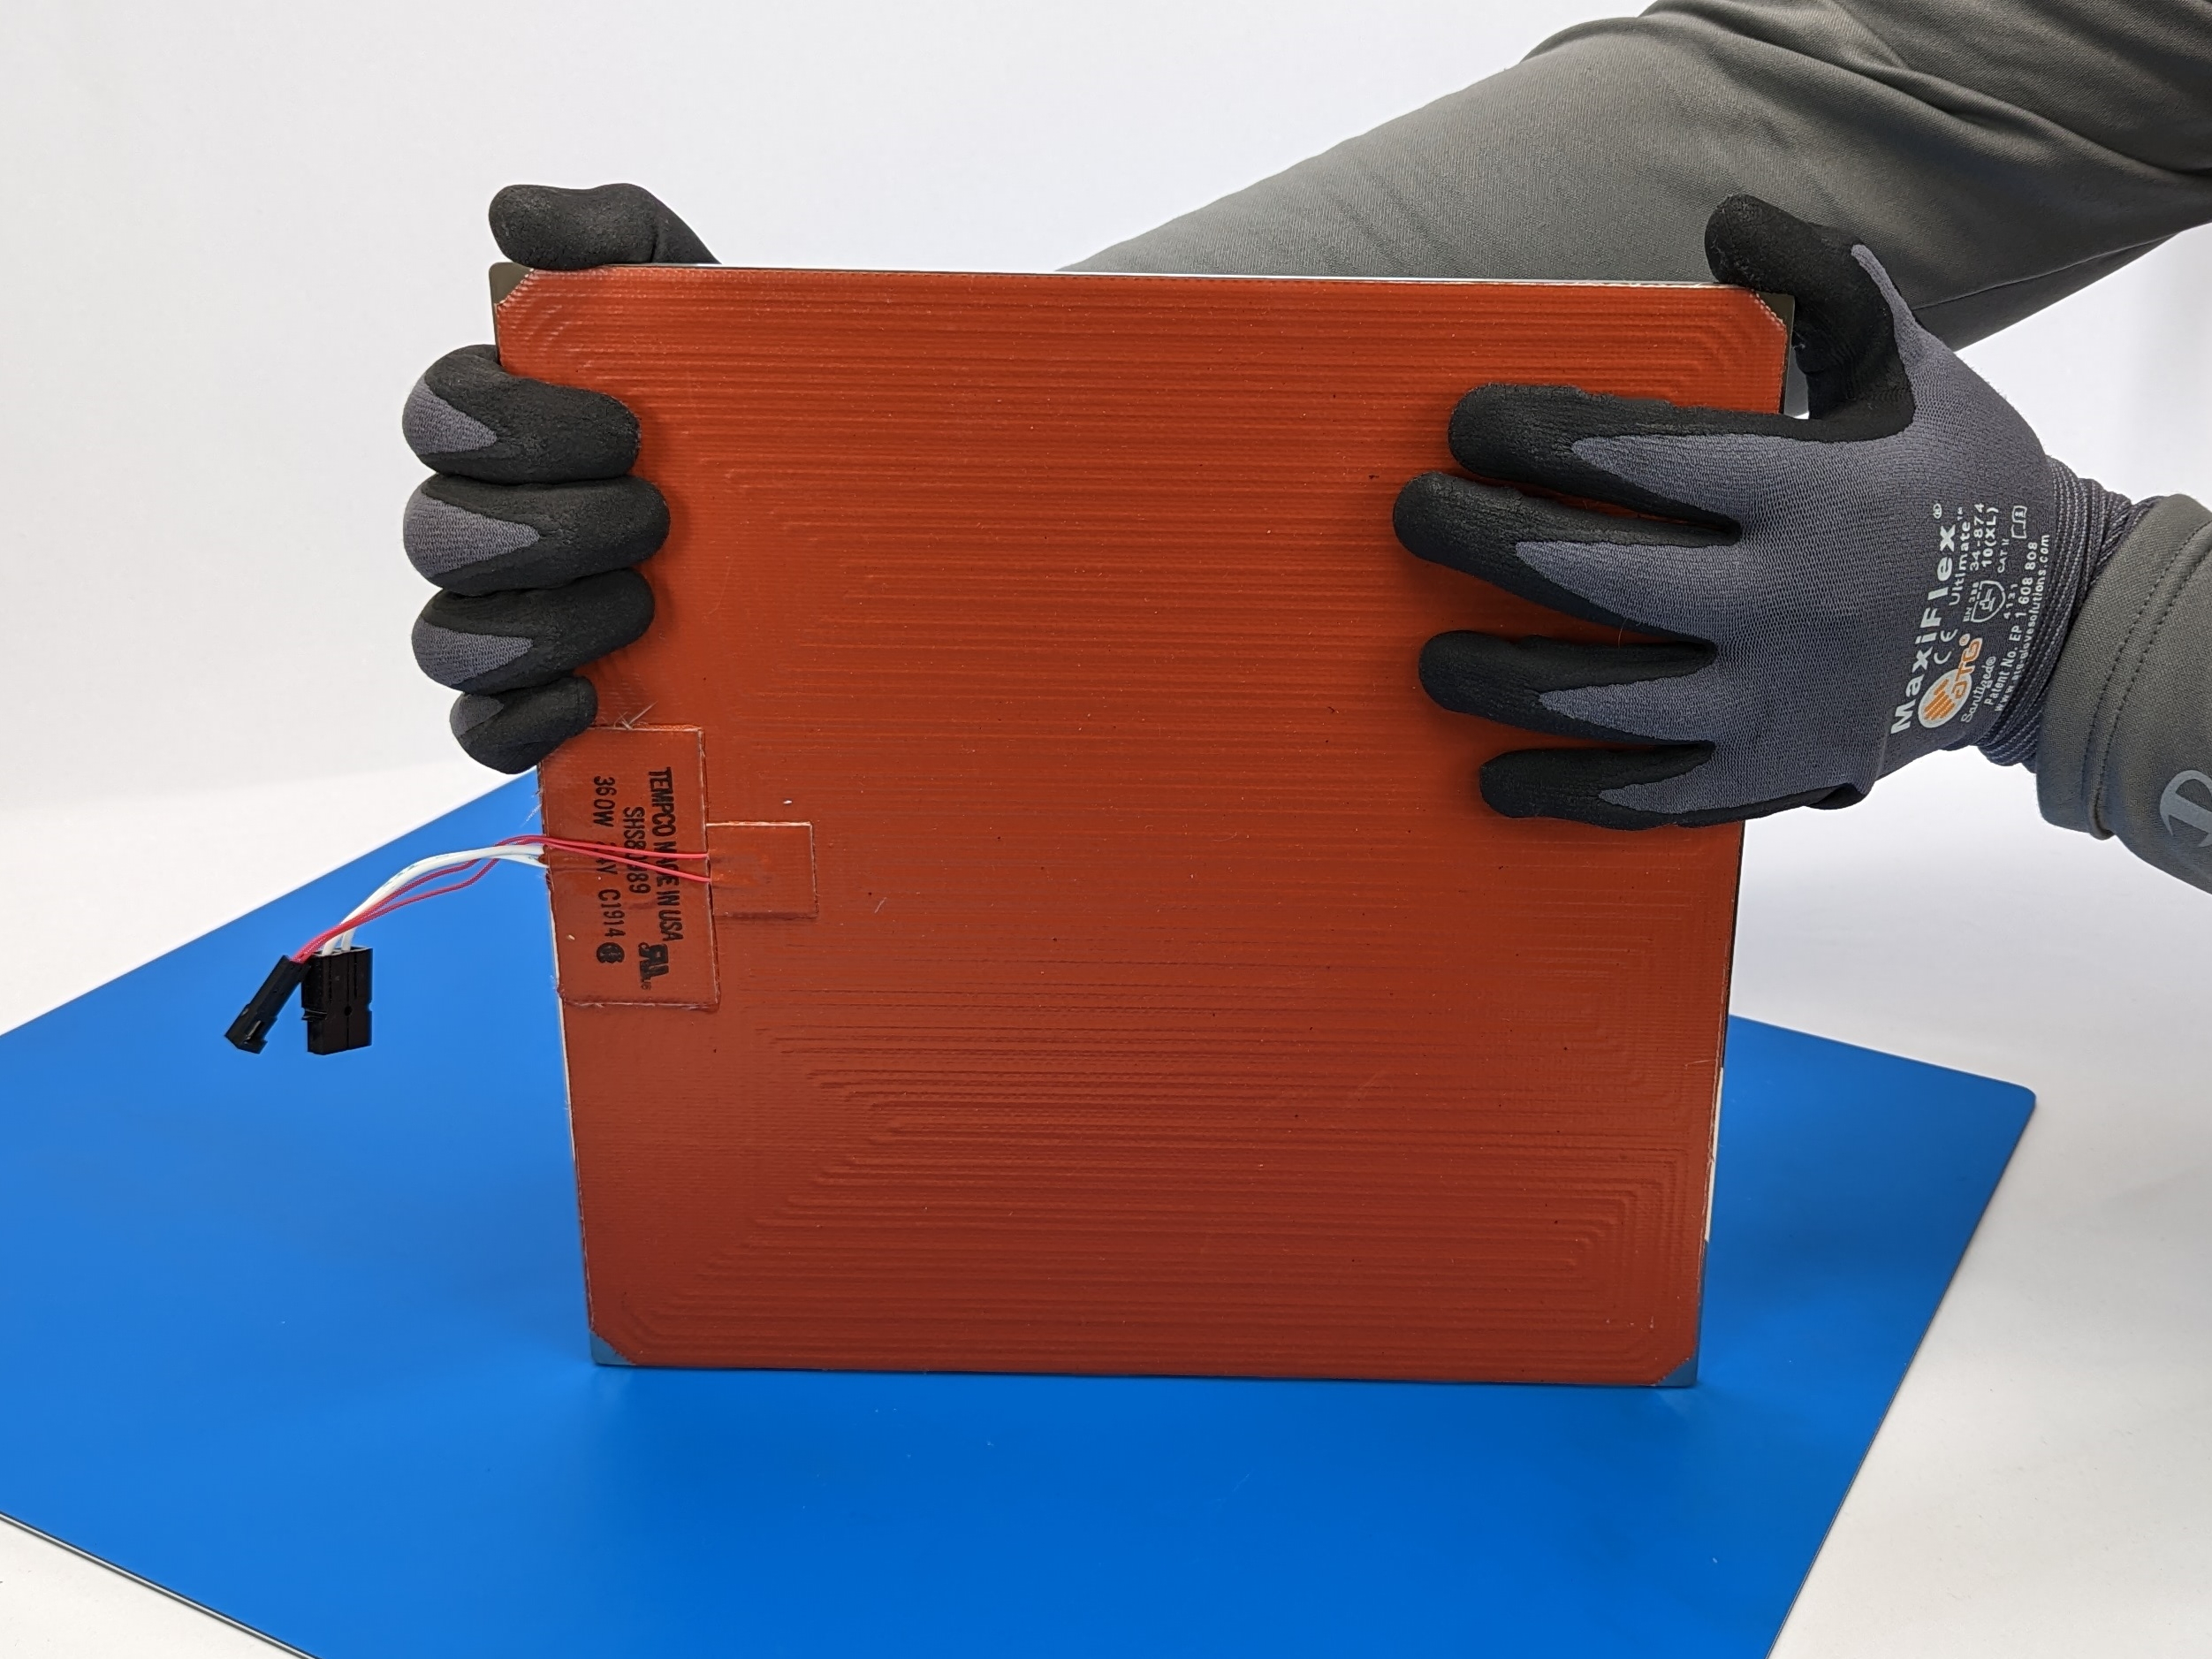
Be careful while handling the magnetic plate, the magnets are strong and can pinch your fingers.
It is recommended to wear gloves.

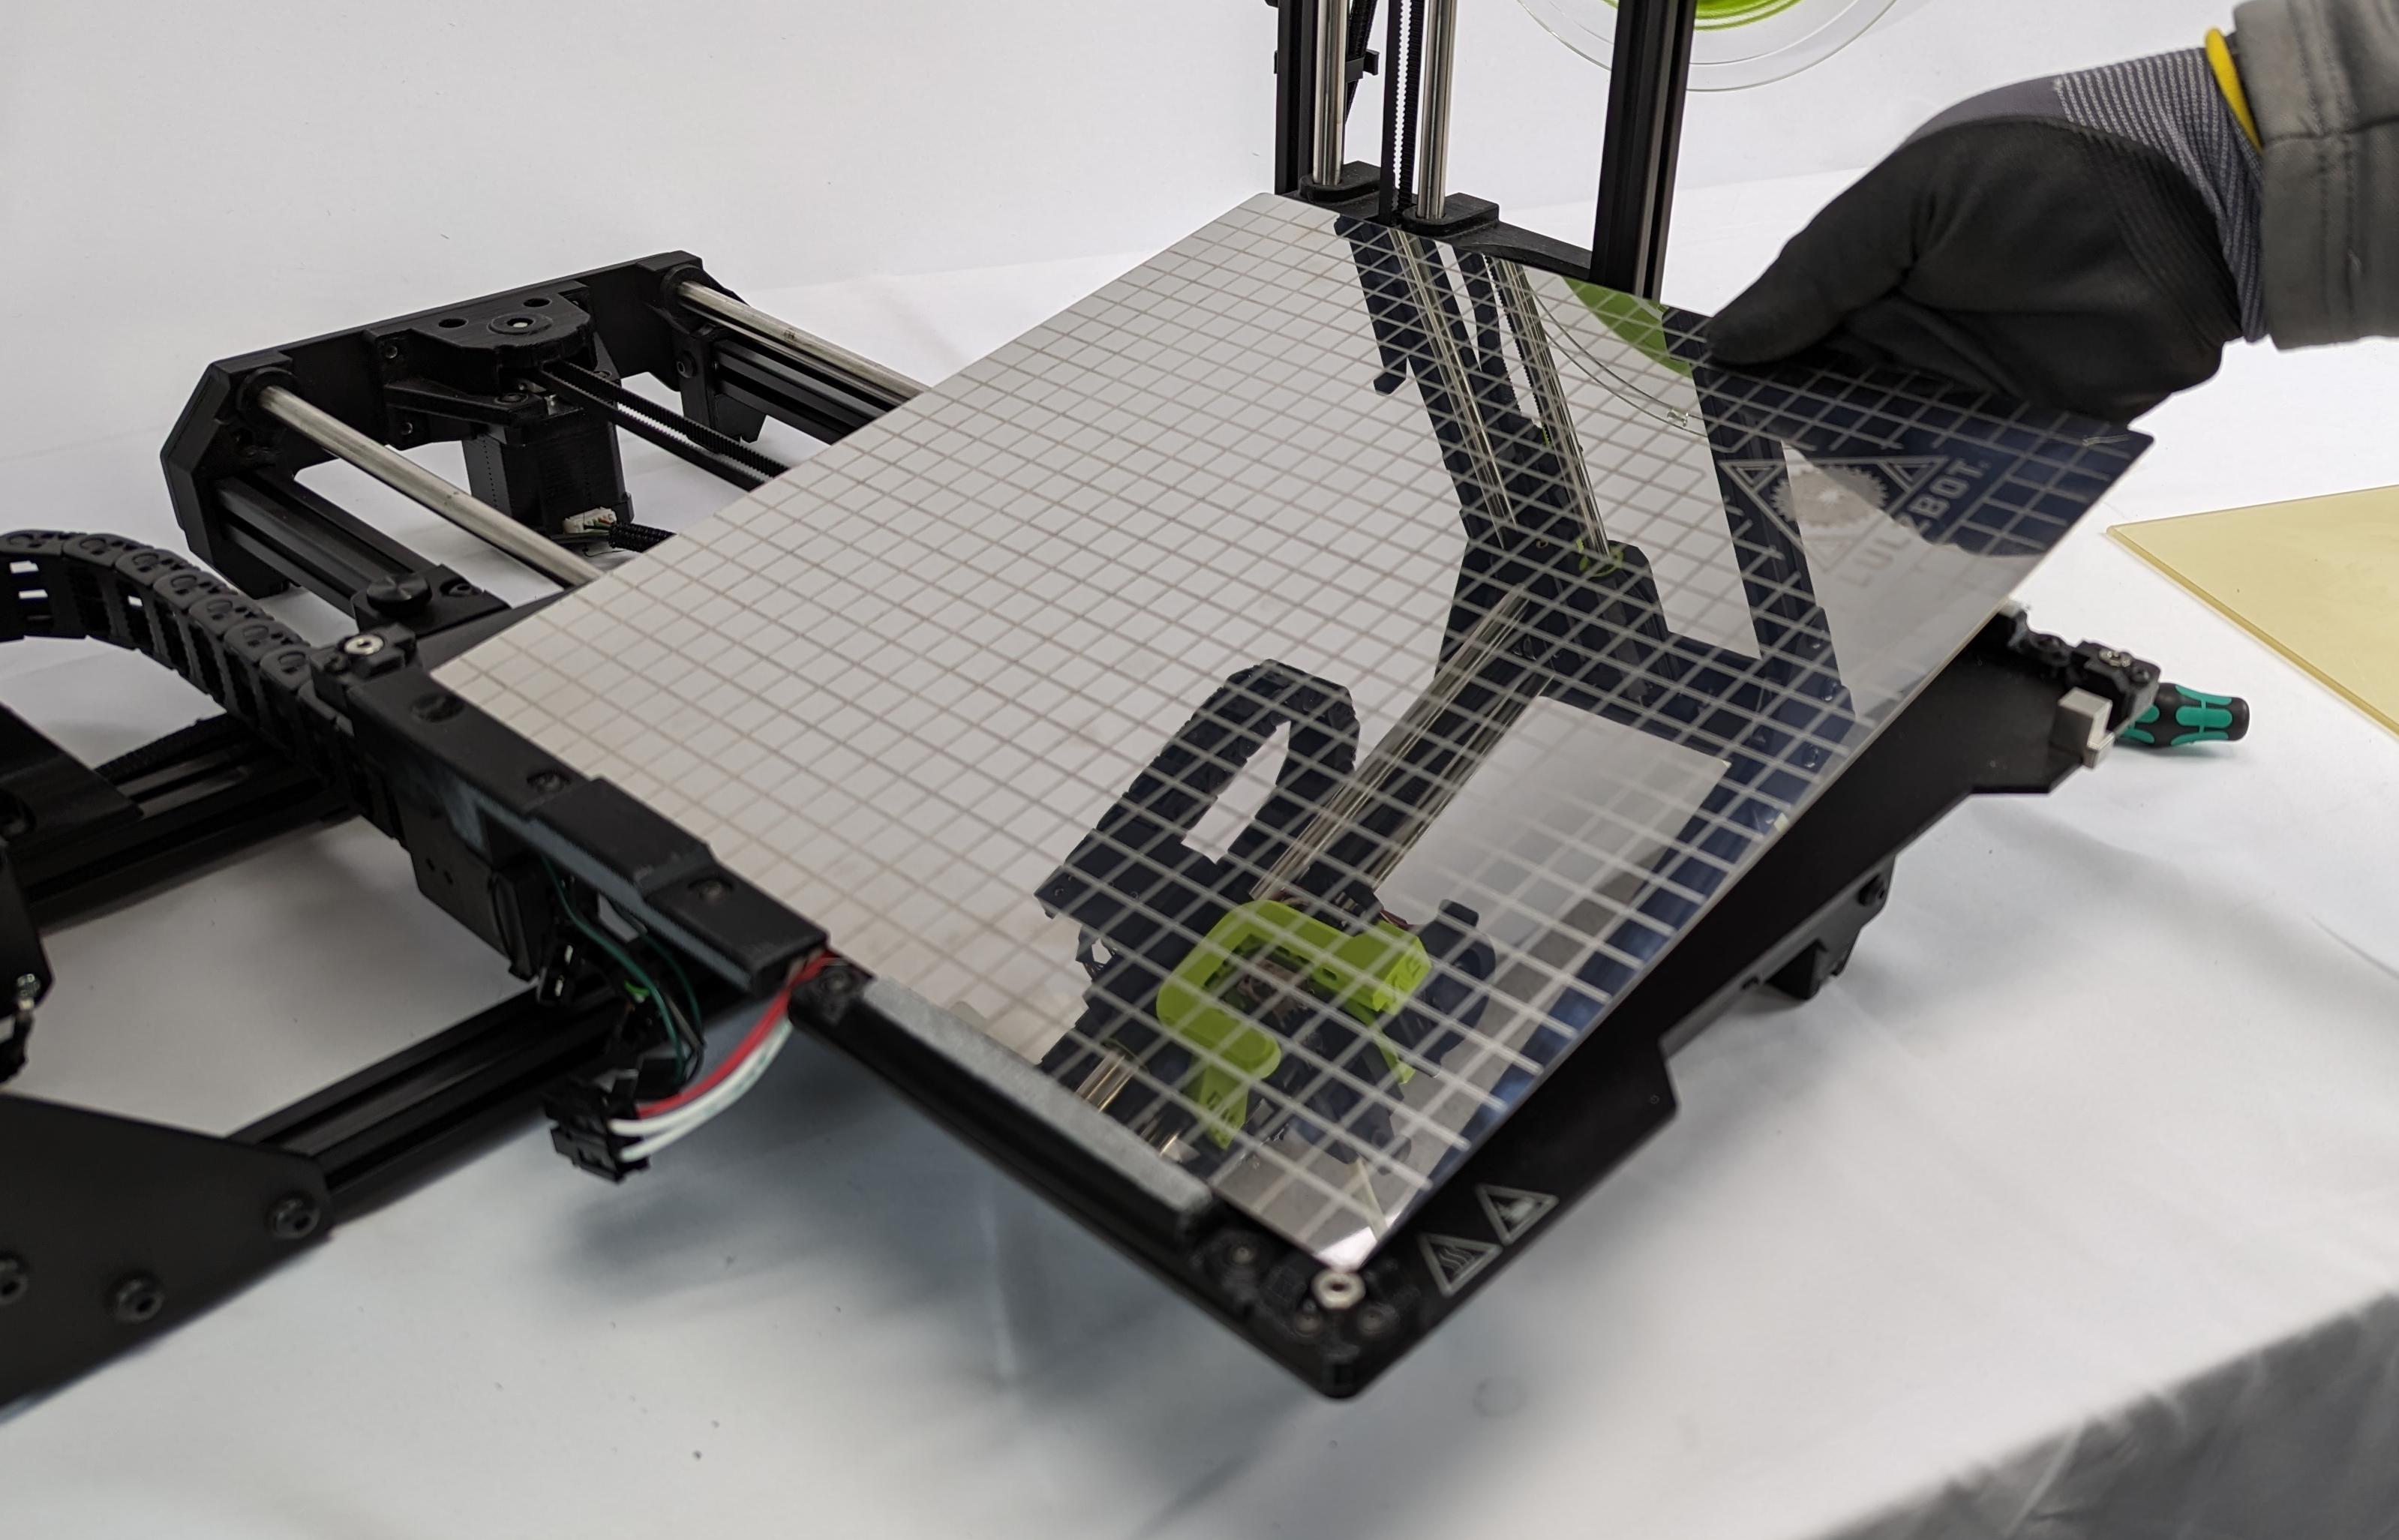
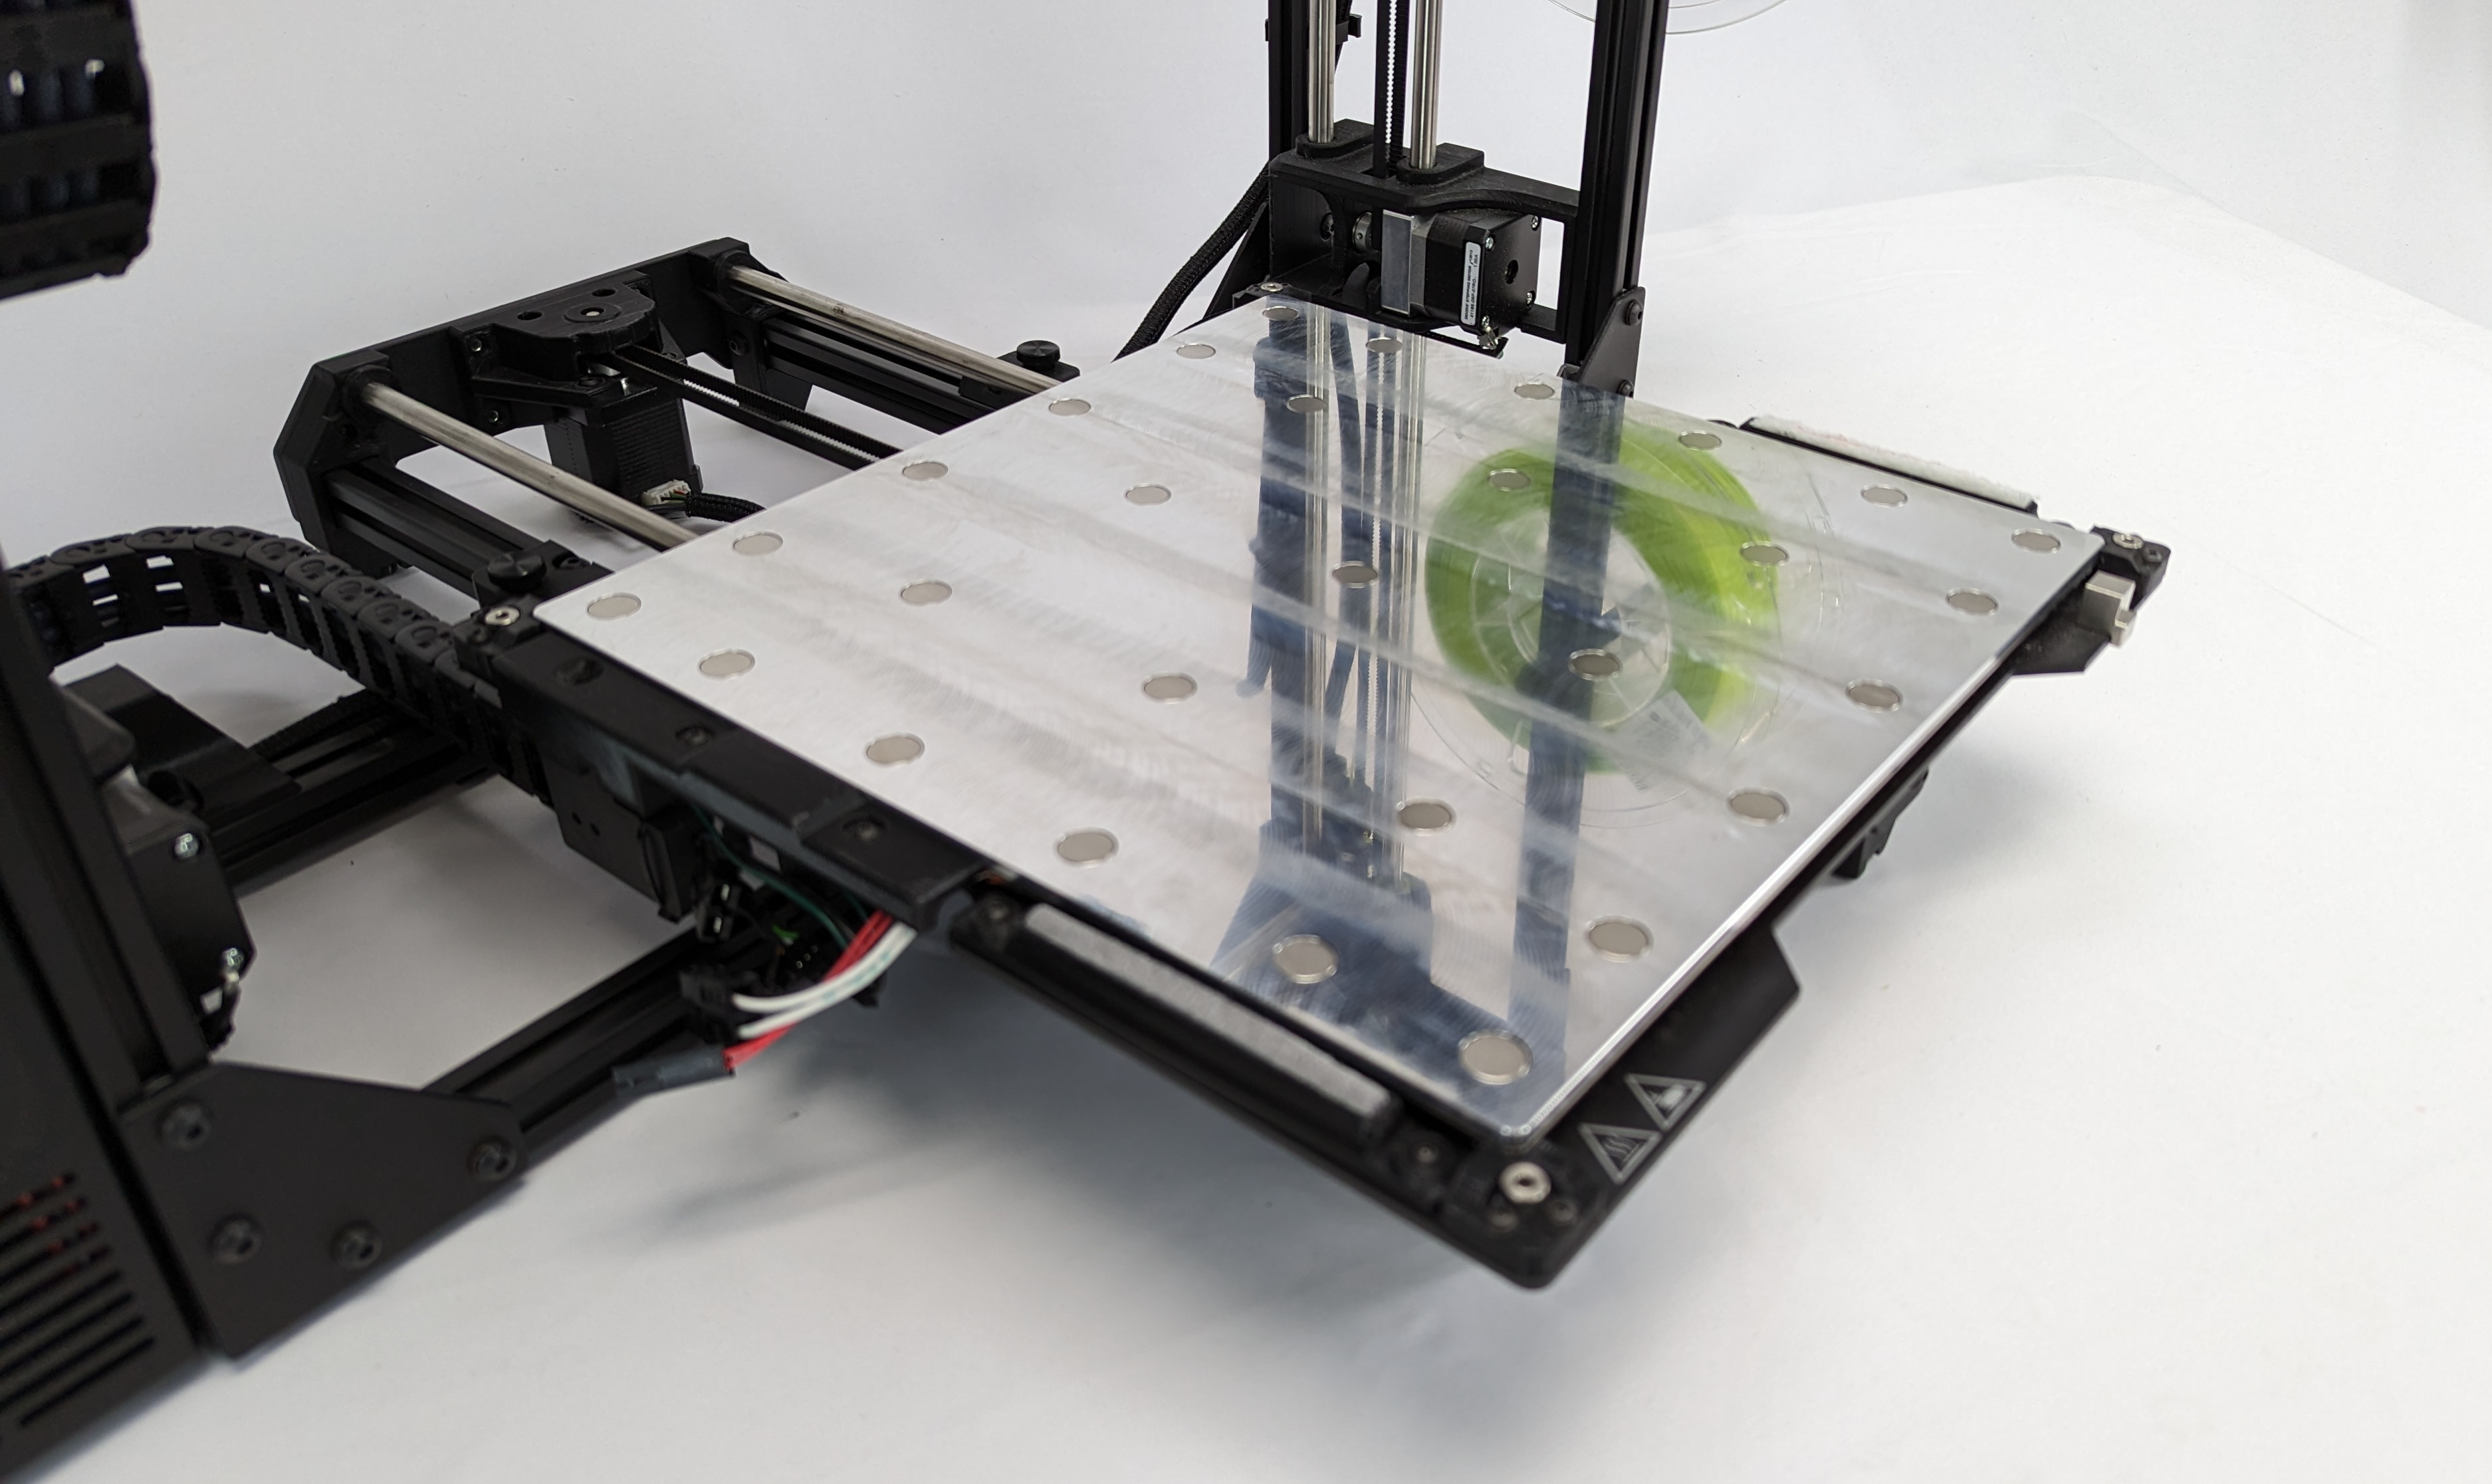
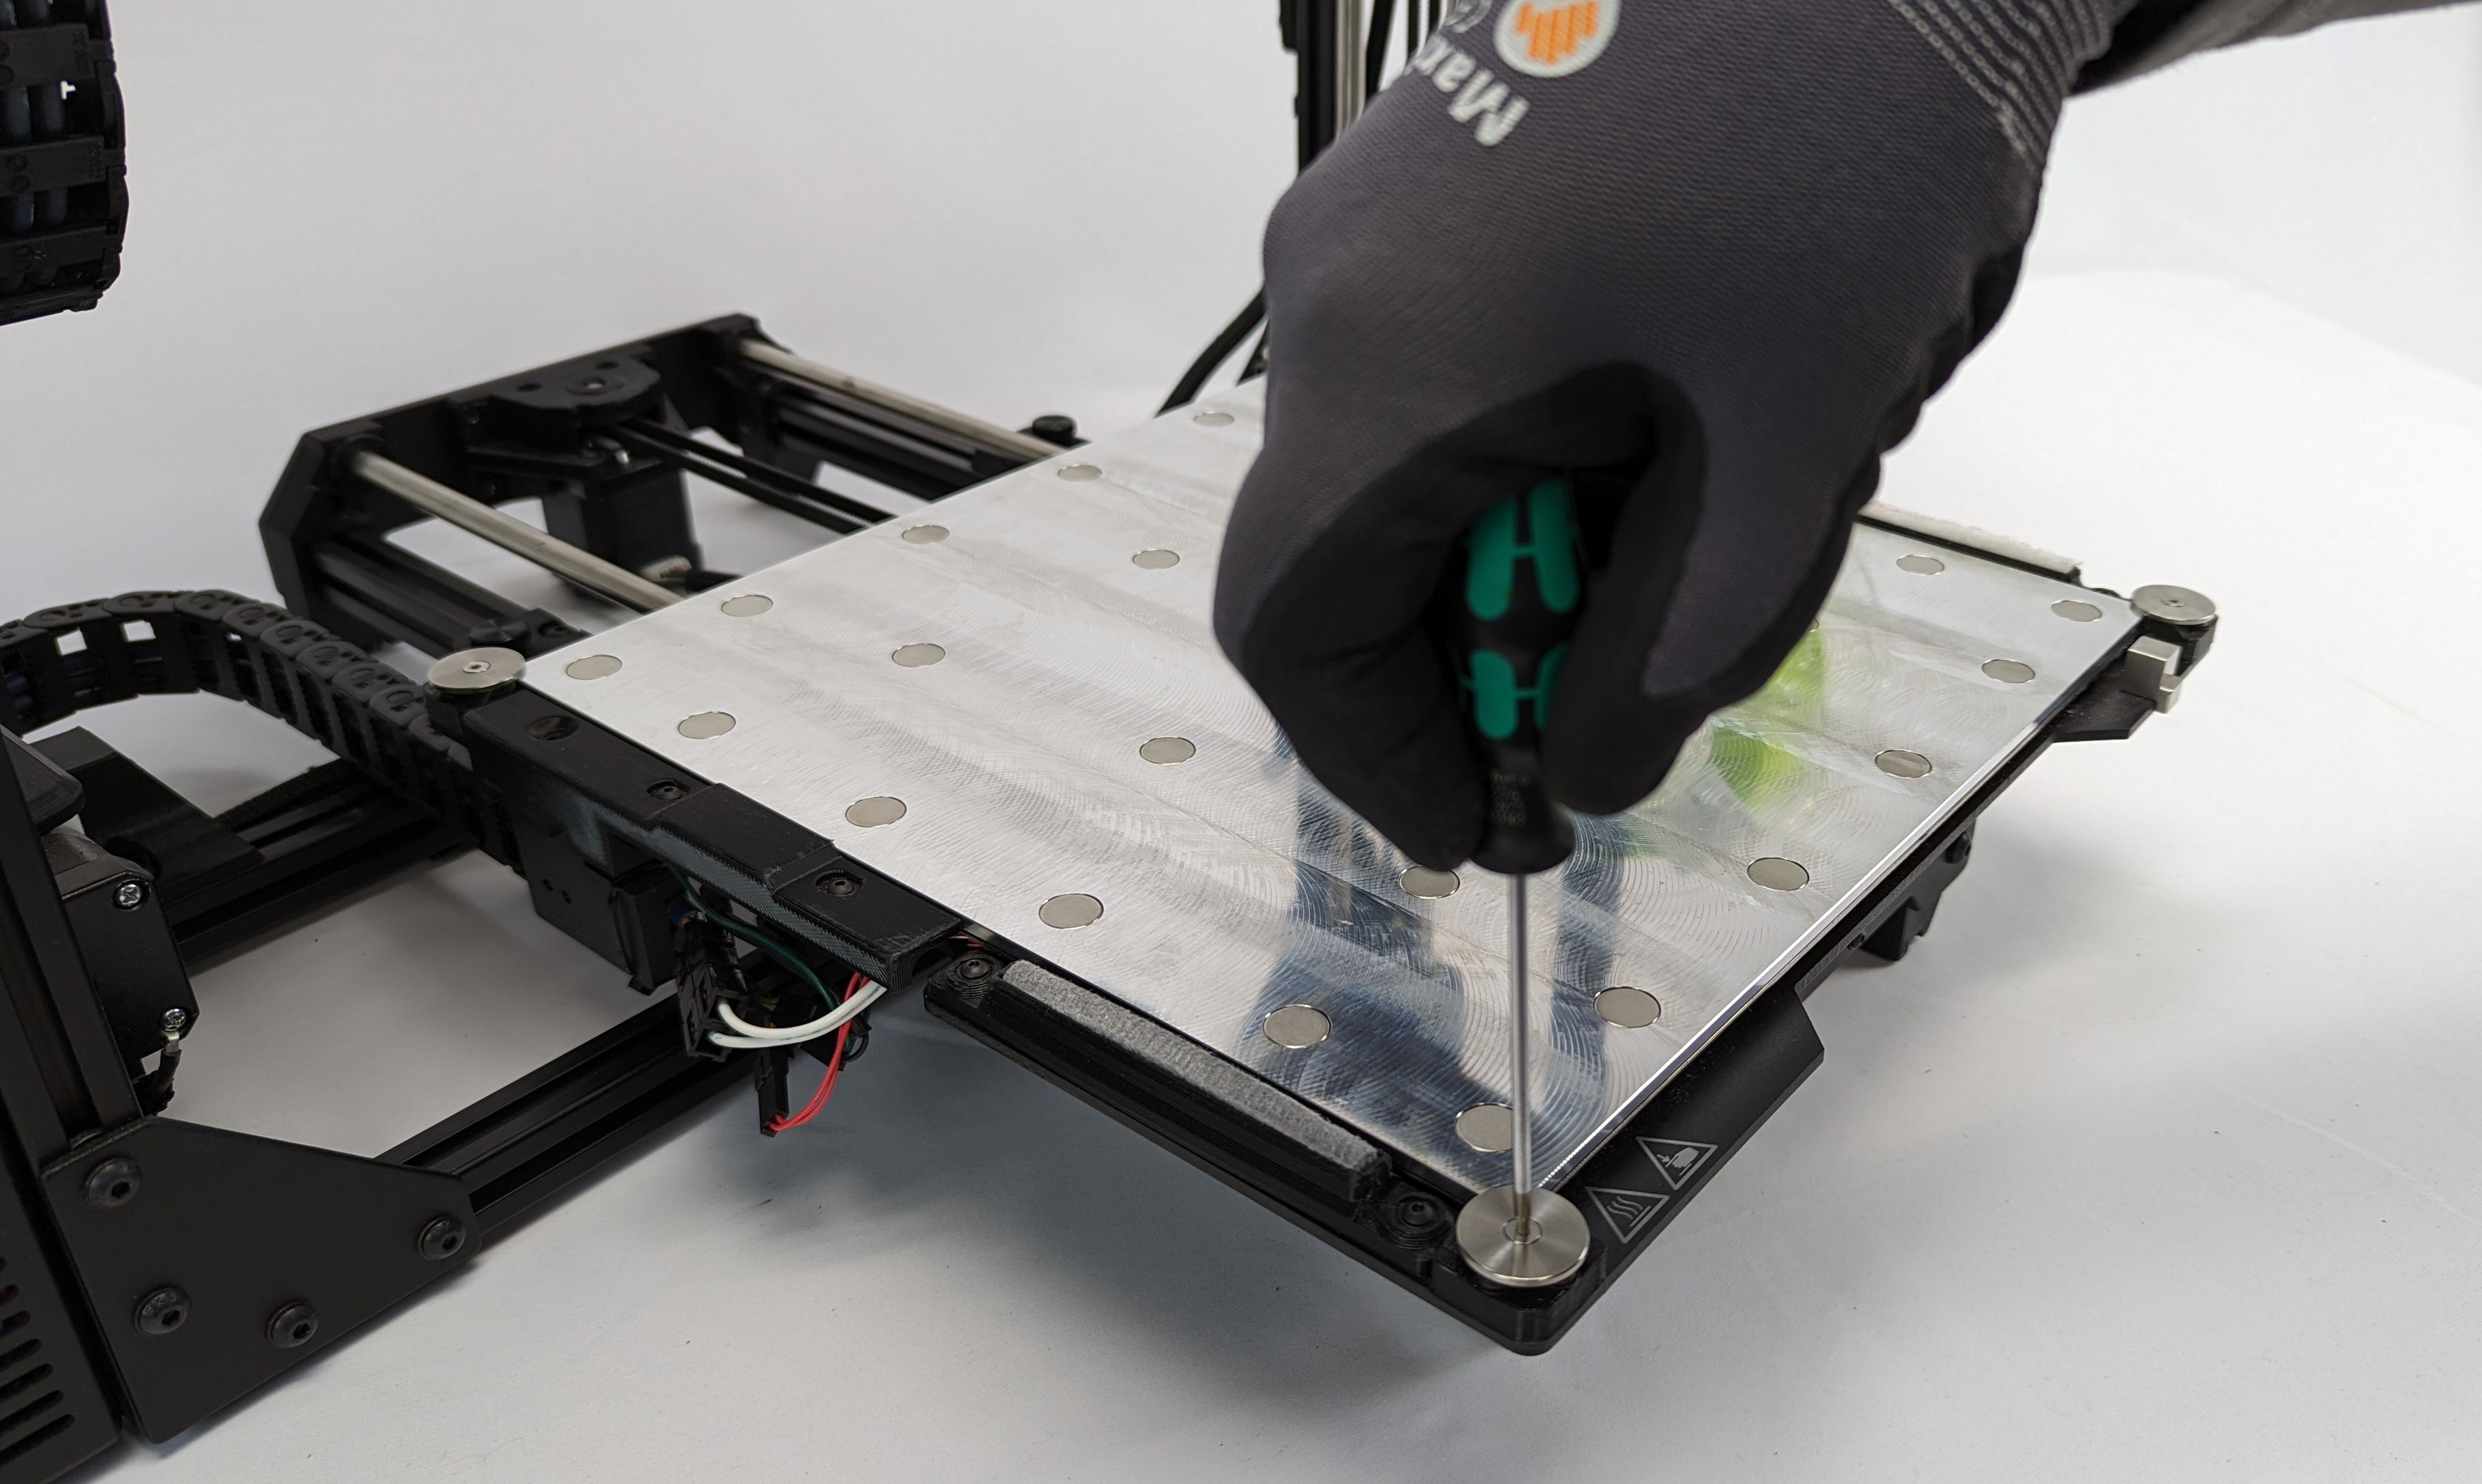
Start by removing the four corner washers holding the glass bed down with the use of a 2mm hex wrench.
Carefully remove the glass plate.

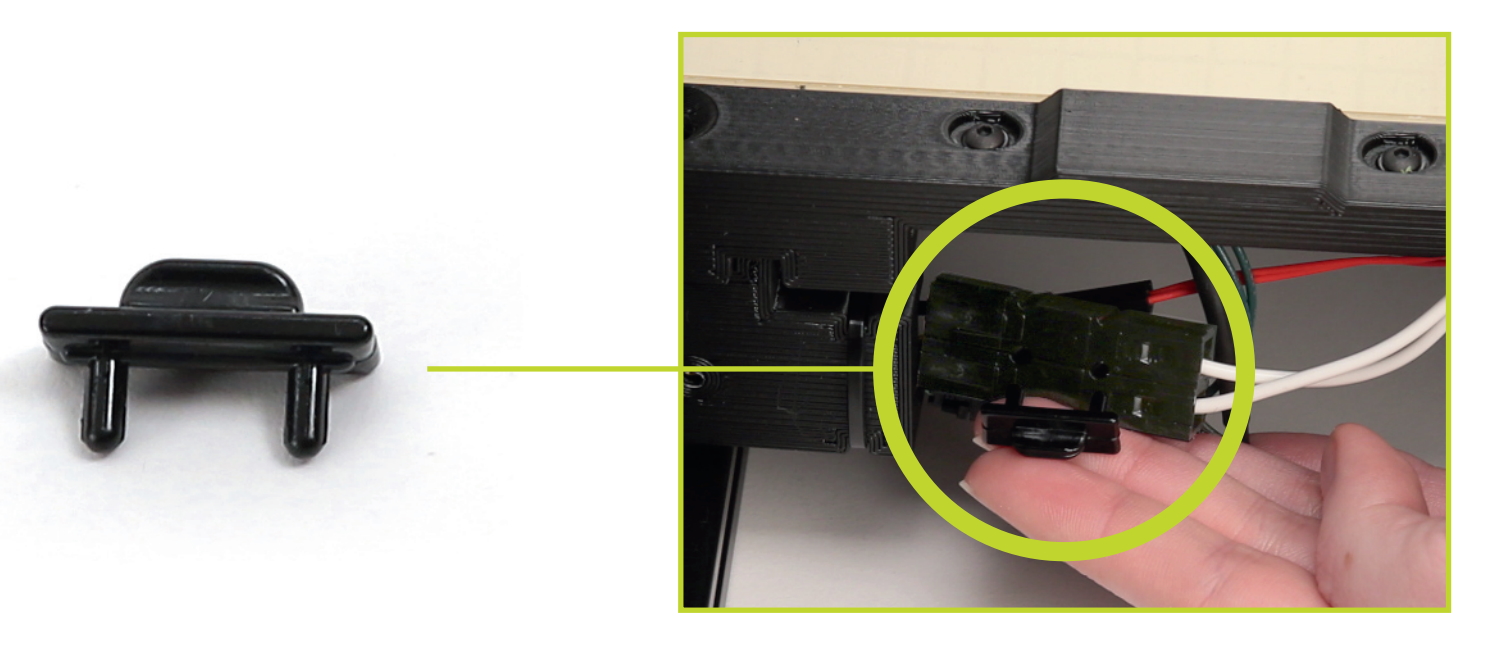
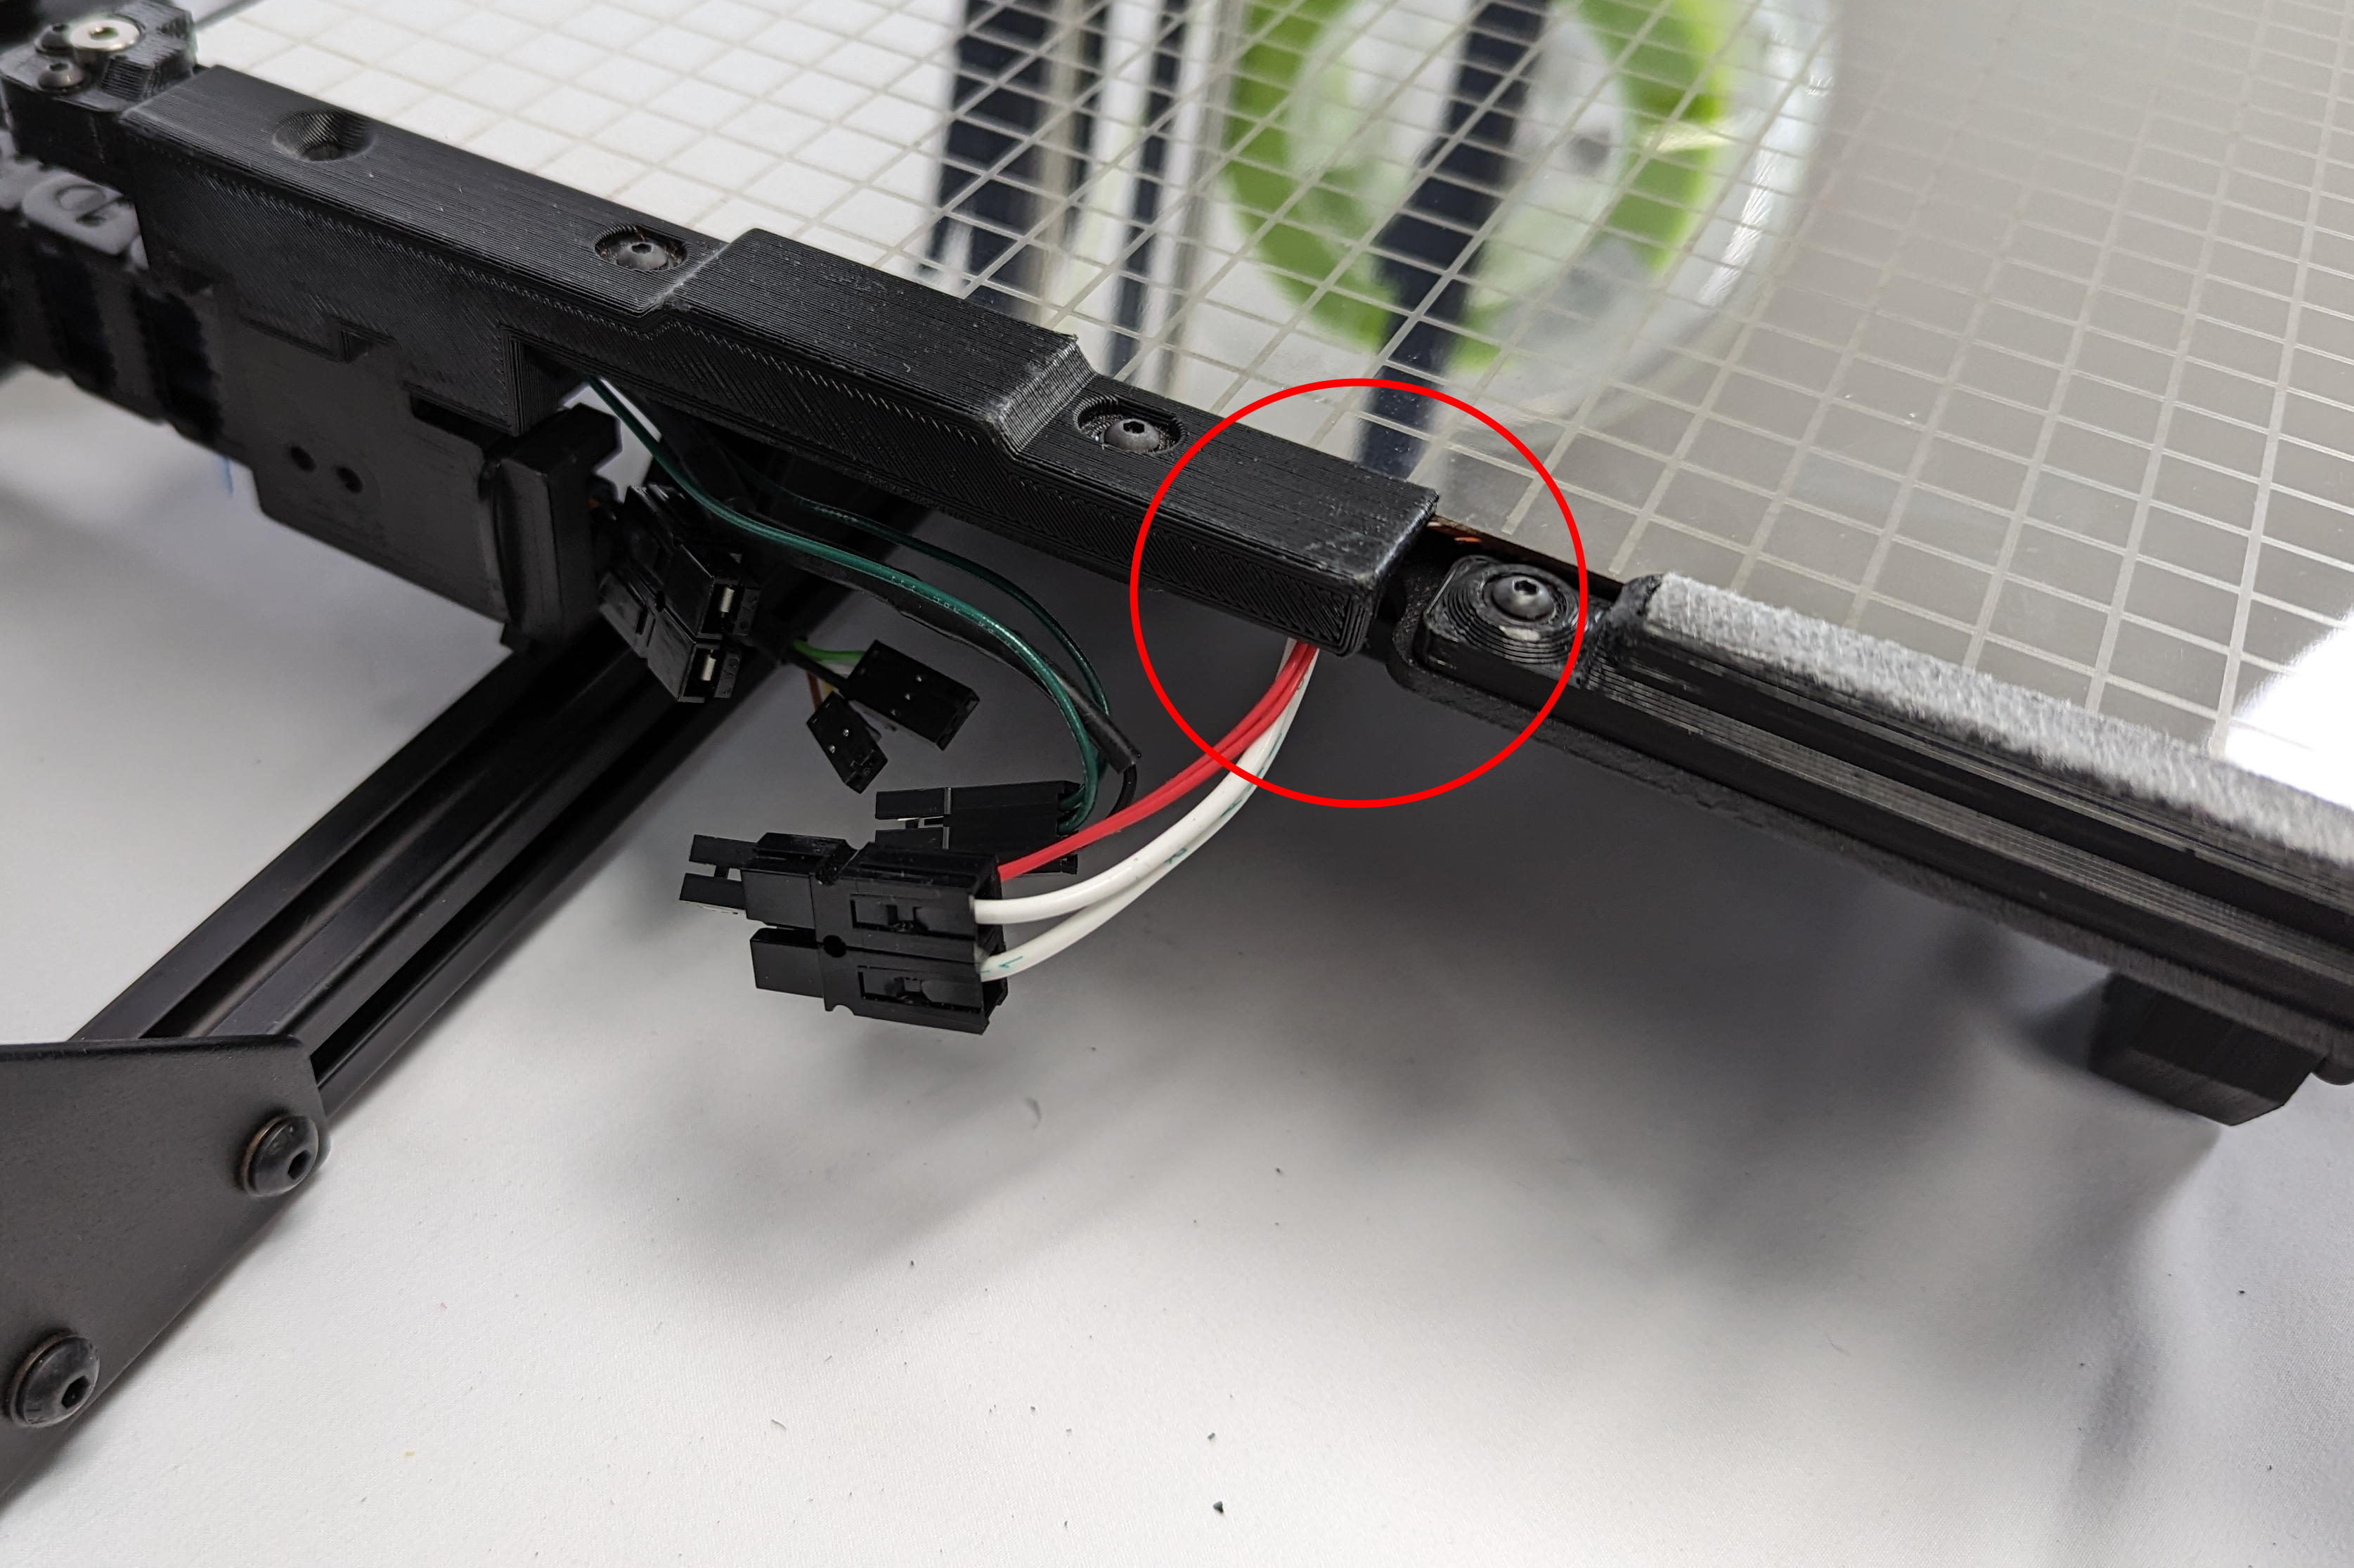
If installed, remove the bed power connector retention clip.
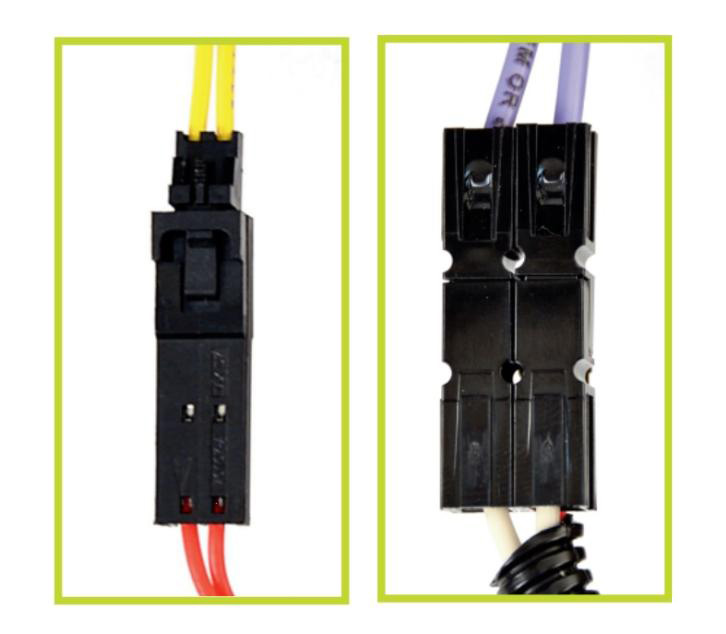
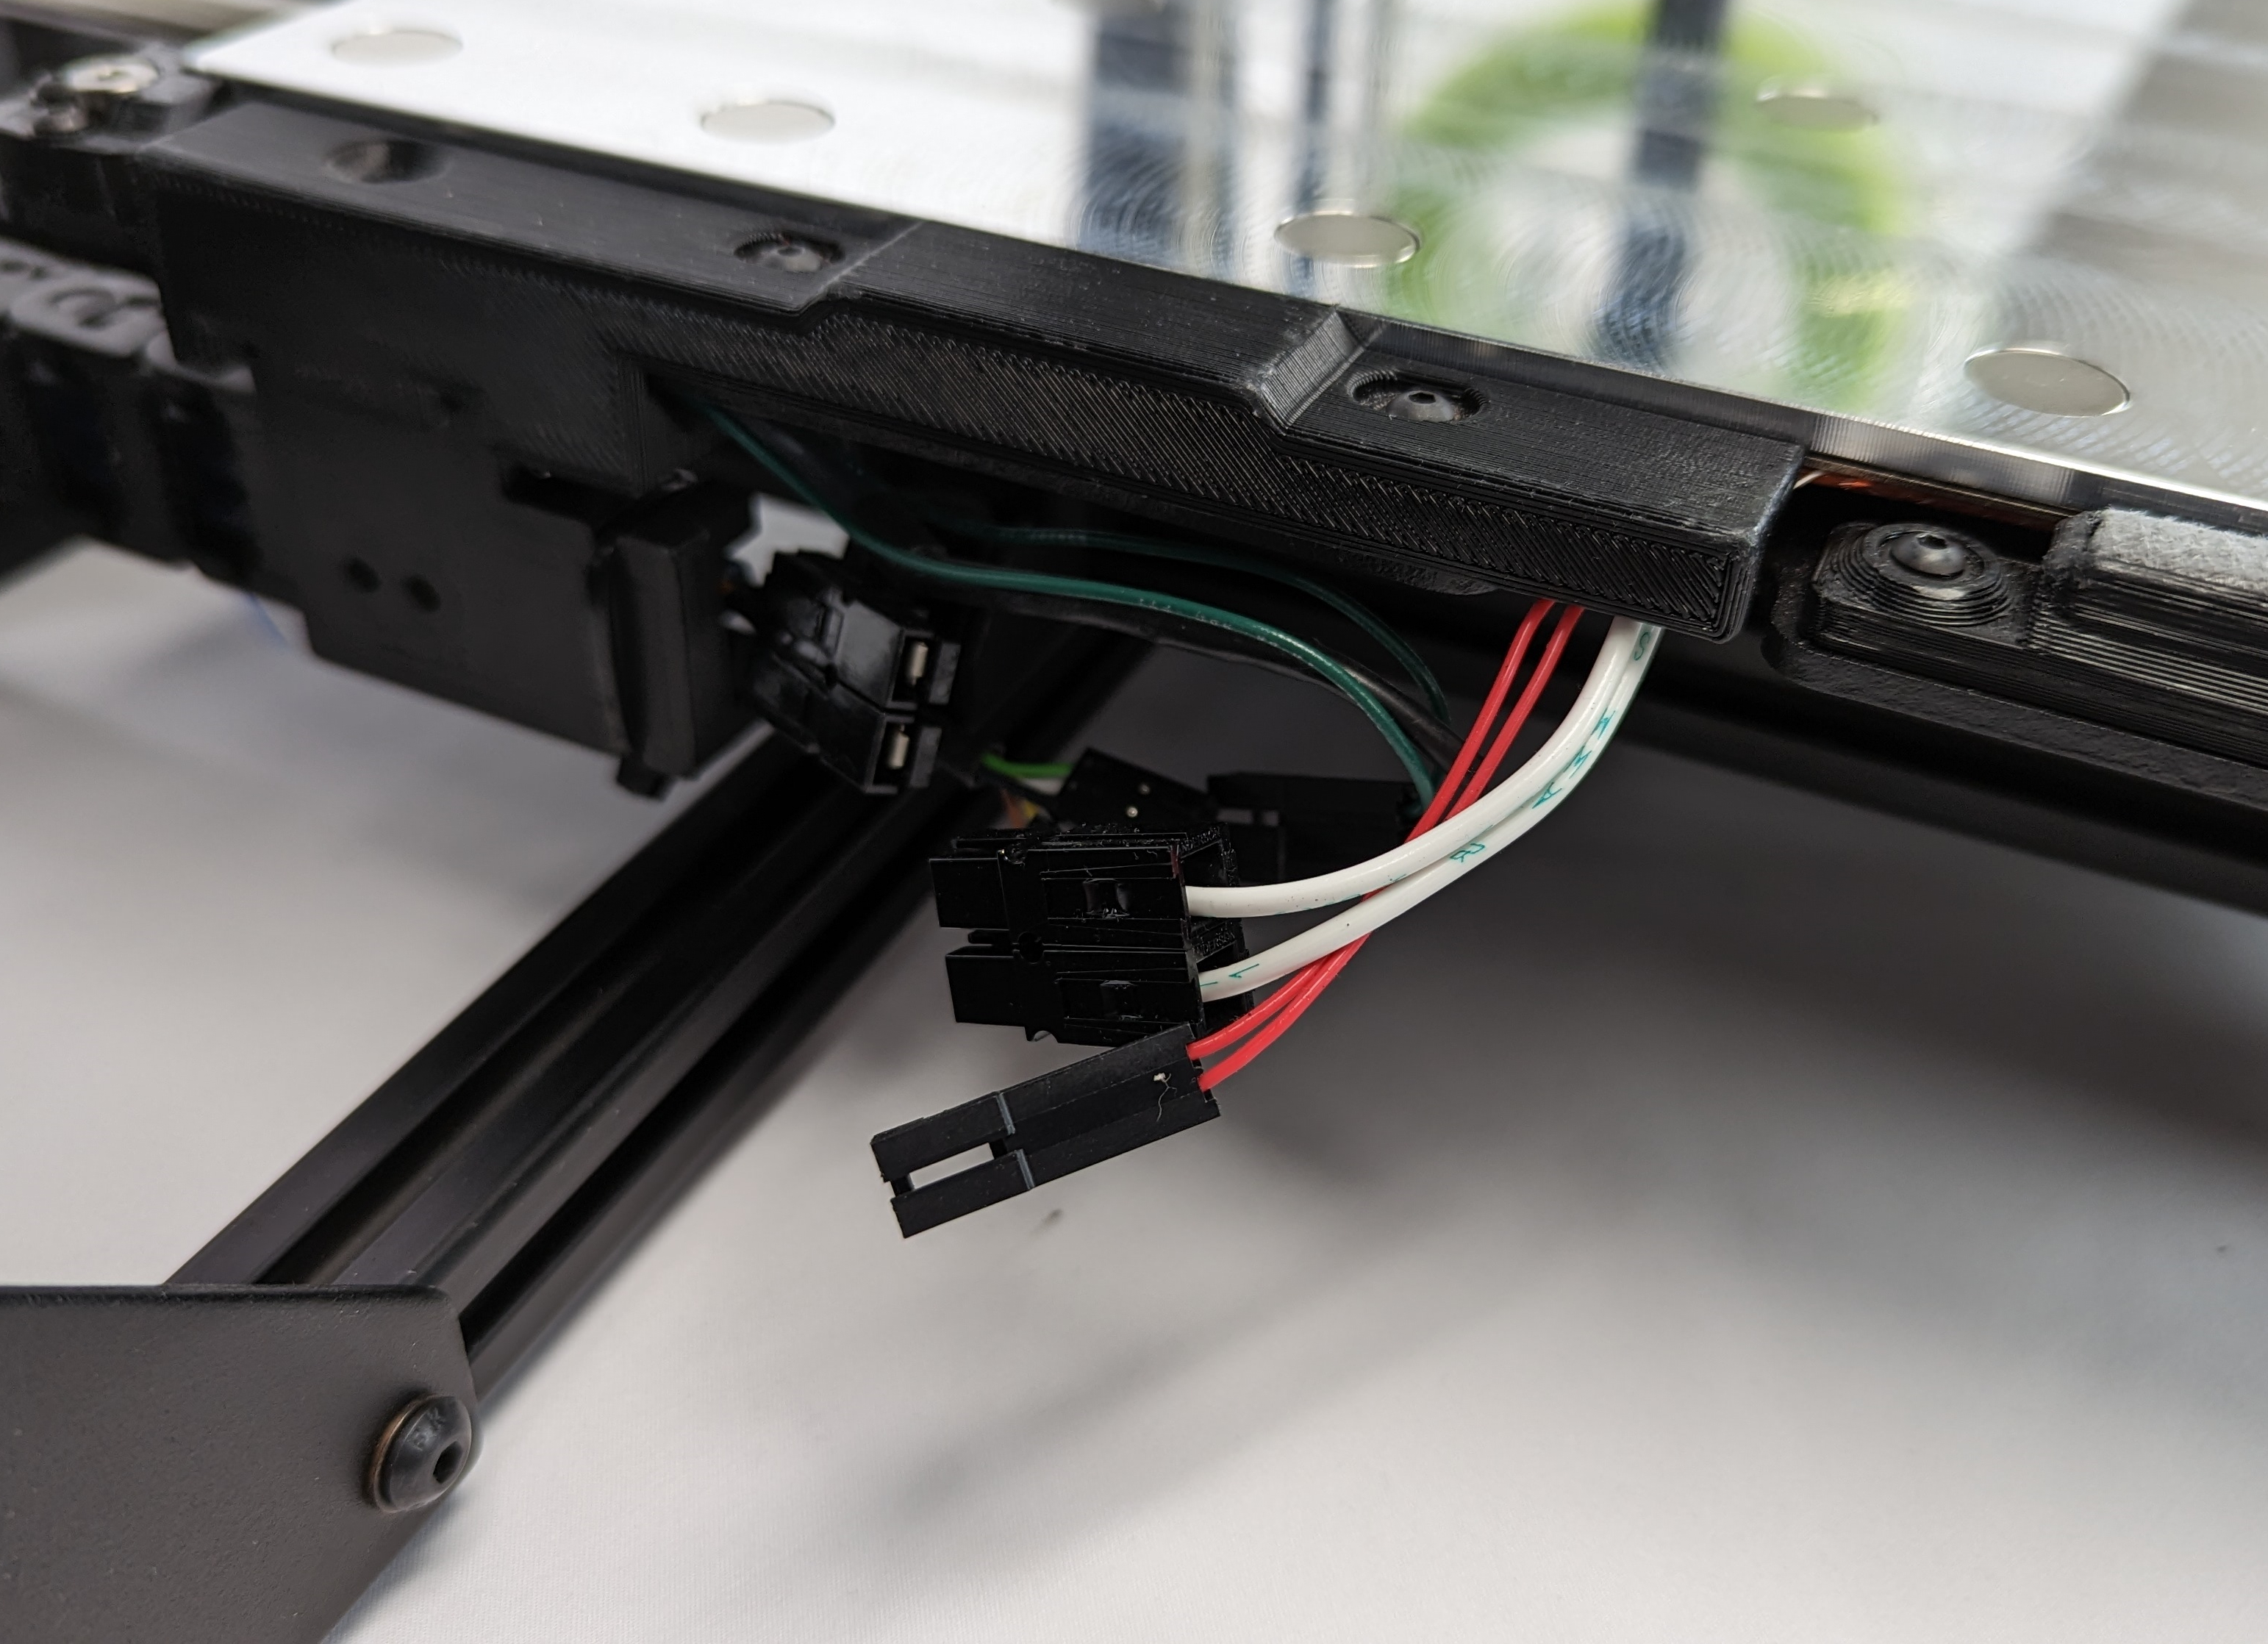
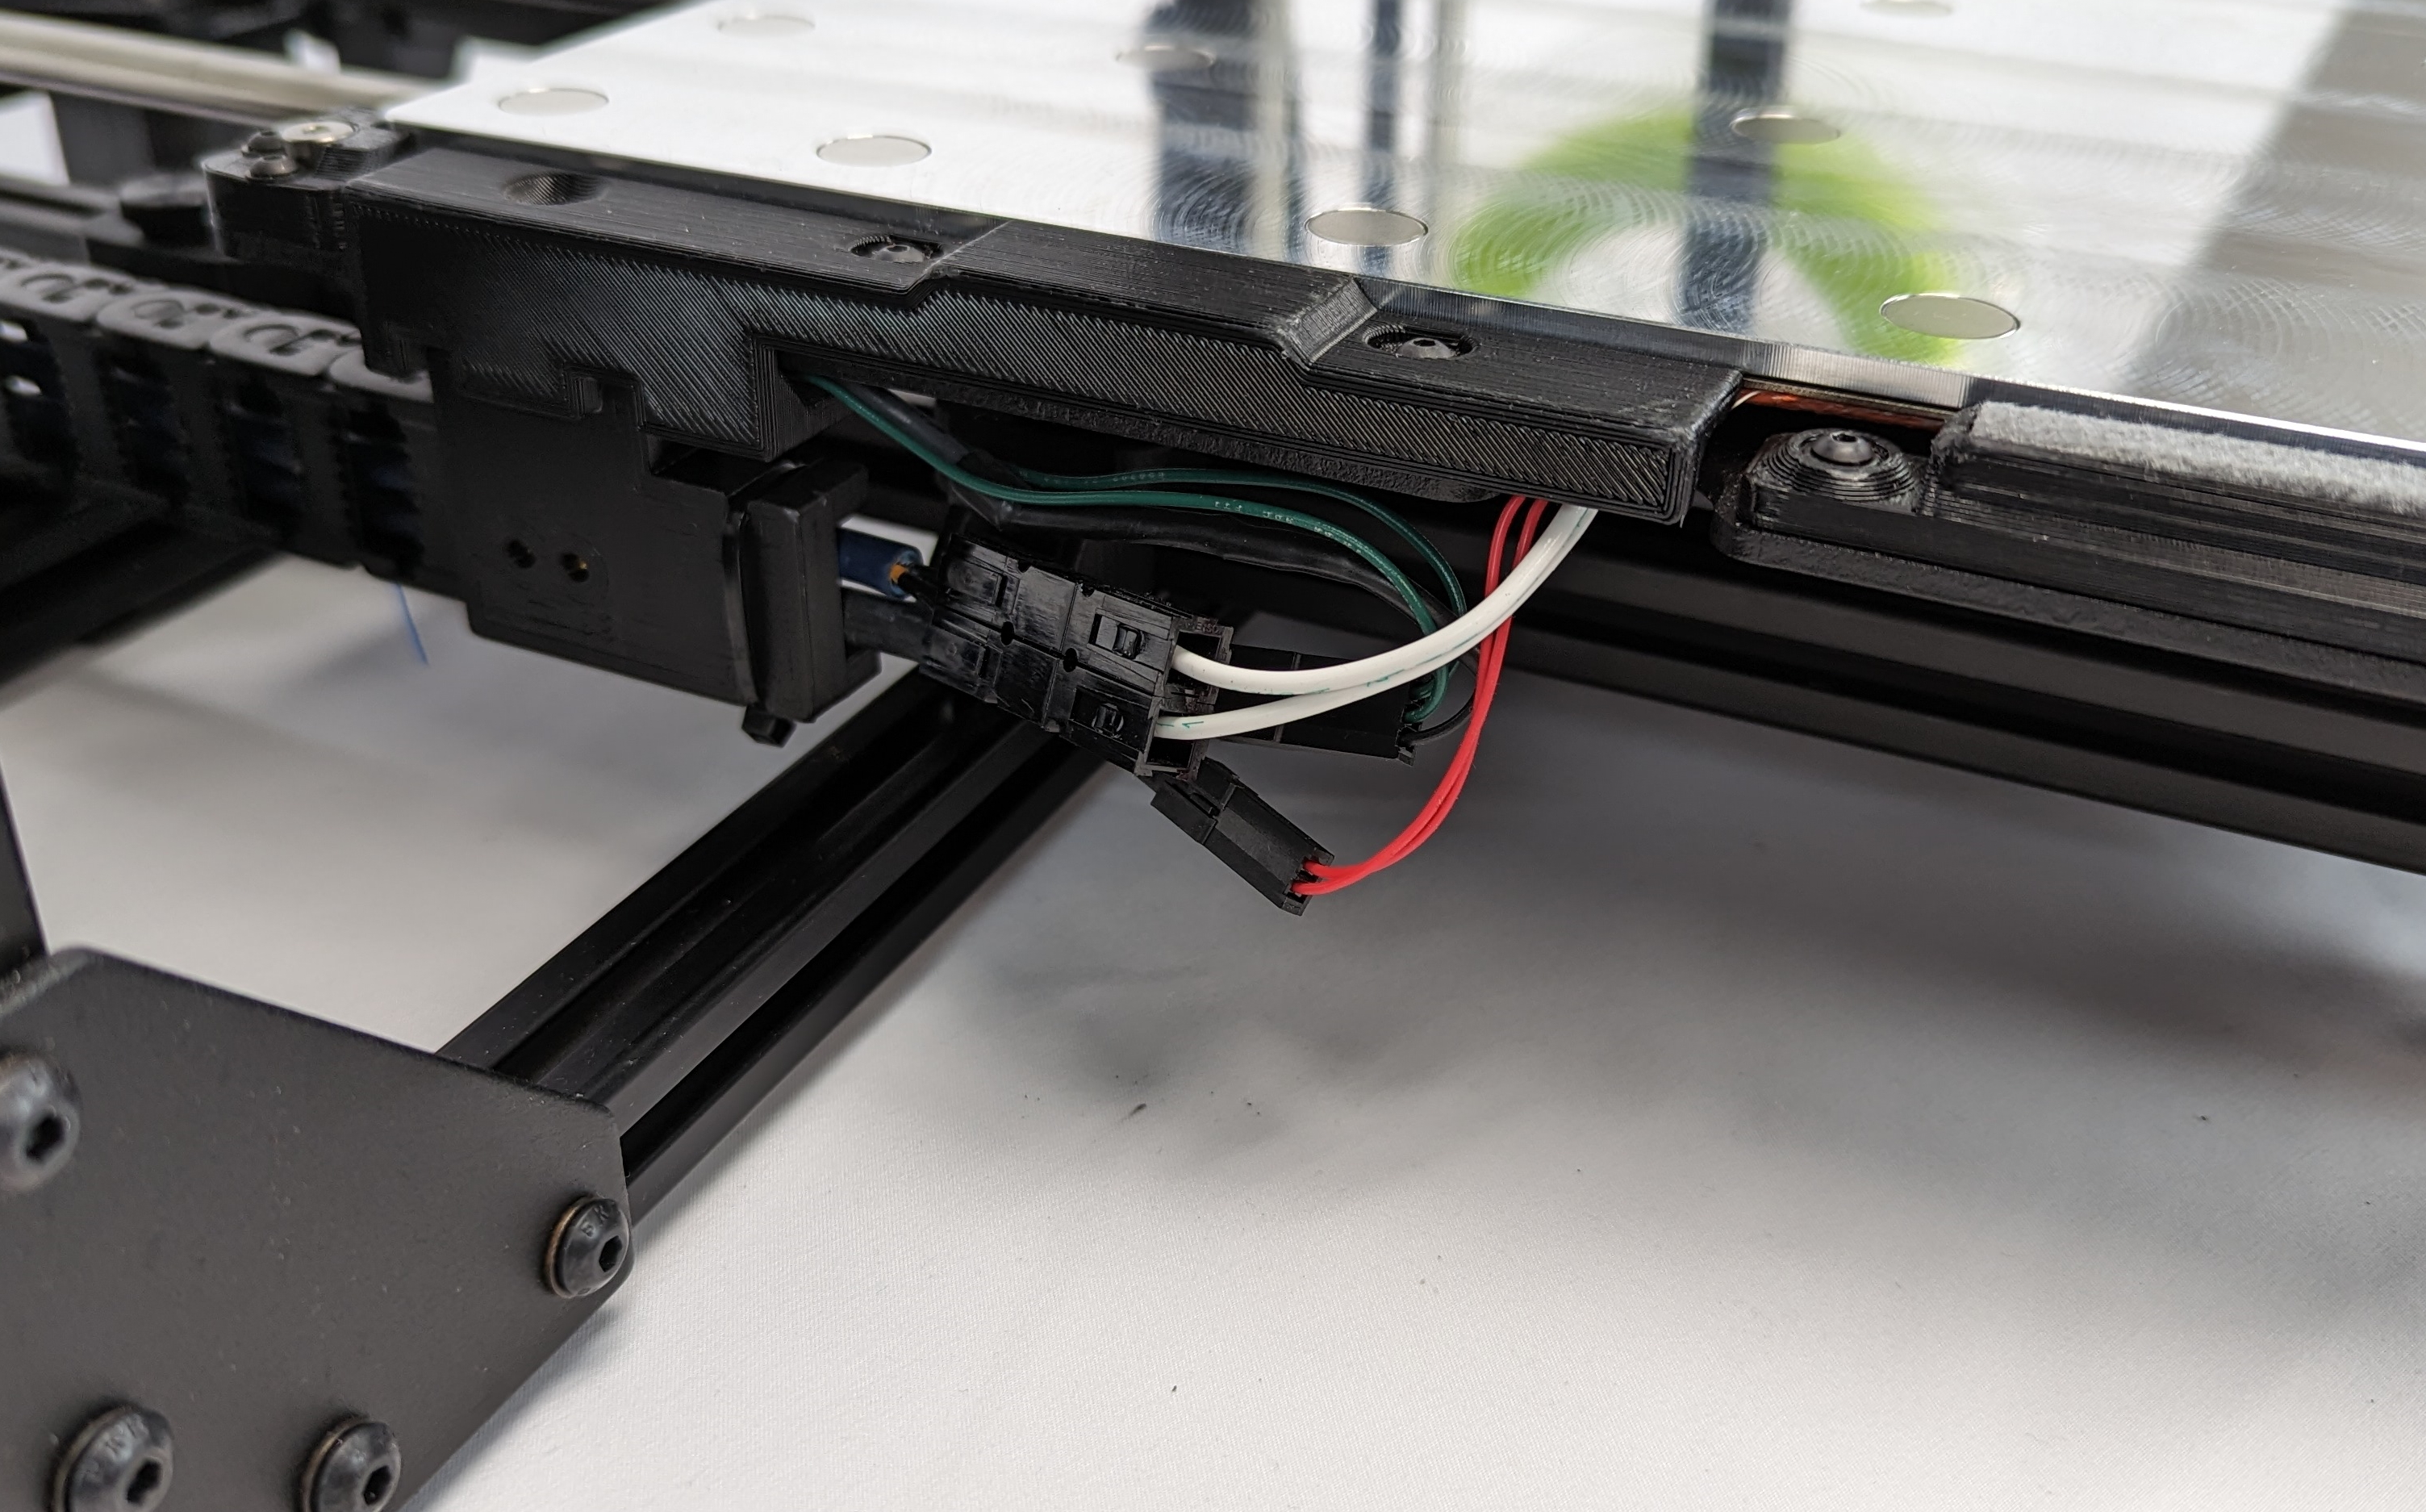
Disconnect the two wire connectors that are attached to the Modular Heat Bed.
[reference#1] shows the connectors, the color may differ depending on the printer.
Starting with the wider connector gently pull the two ends apart.
Then, push down on the tab of the smaller connector and gently pull the two ends apart.
Carefully take the modular heat bed from the printer being mindful of the way the wires are routed under the y-axis cable cover.

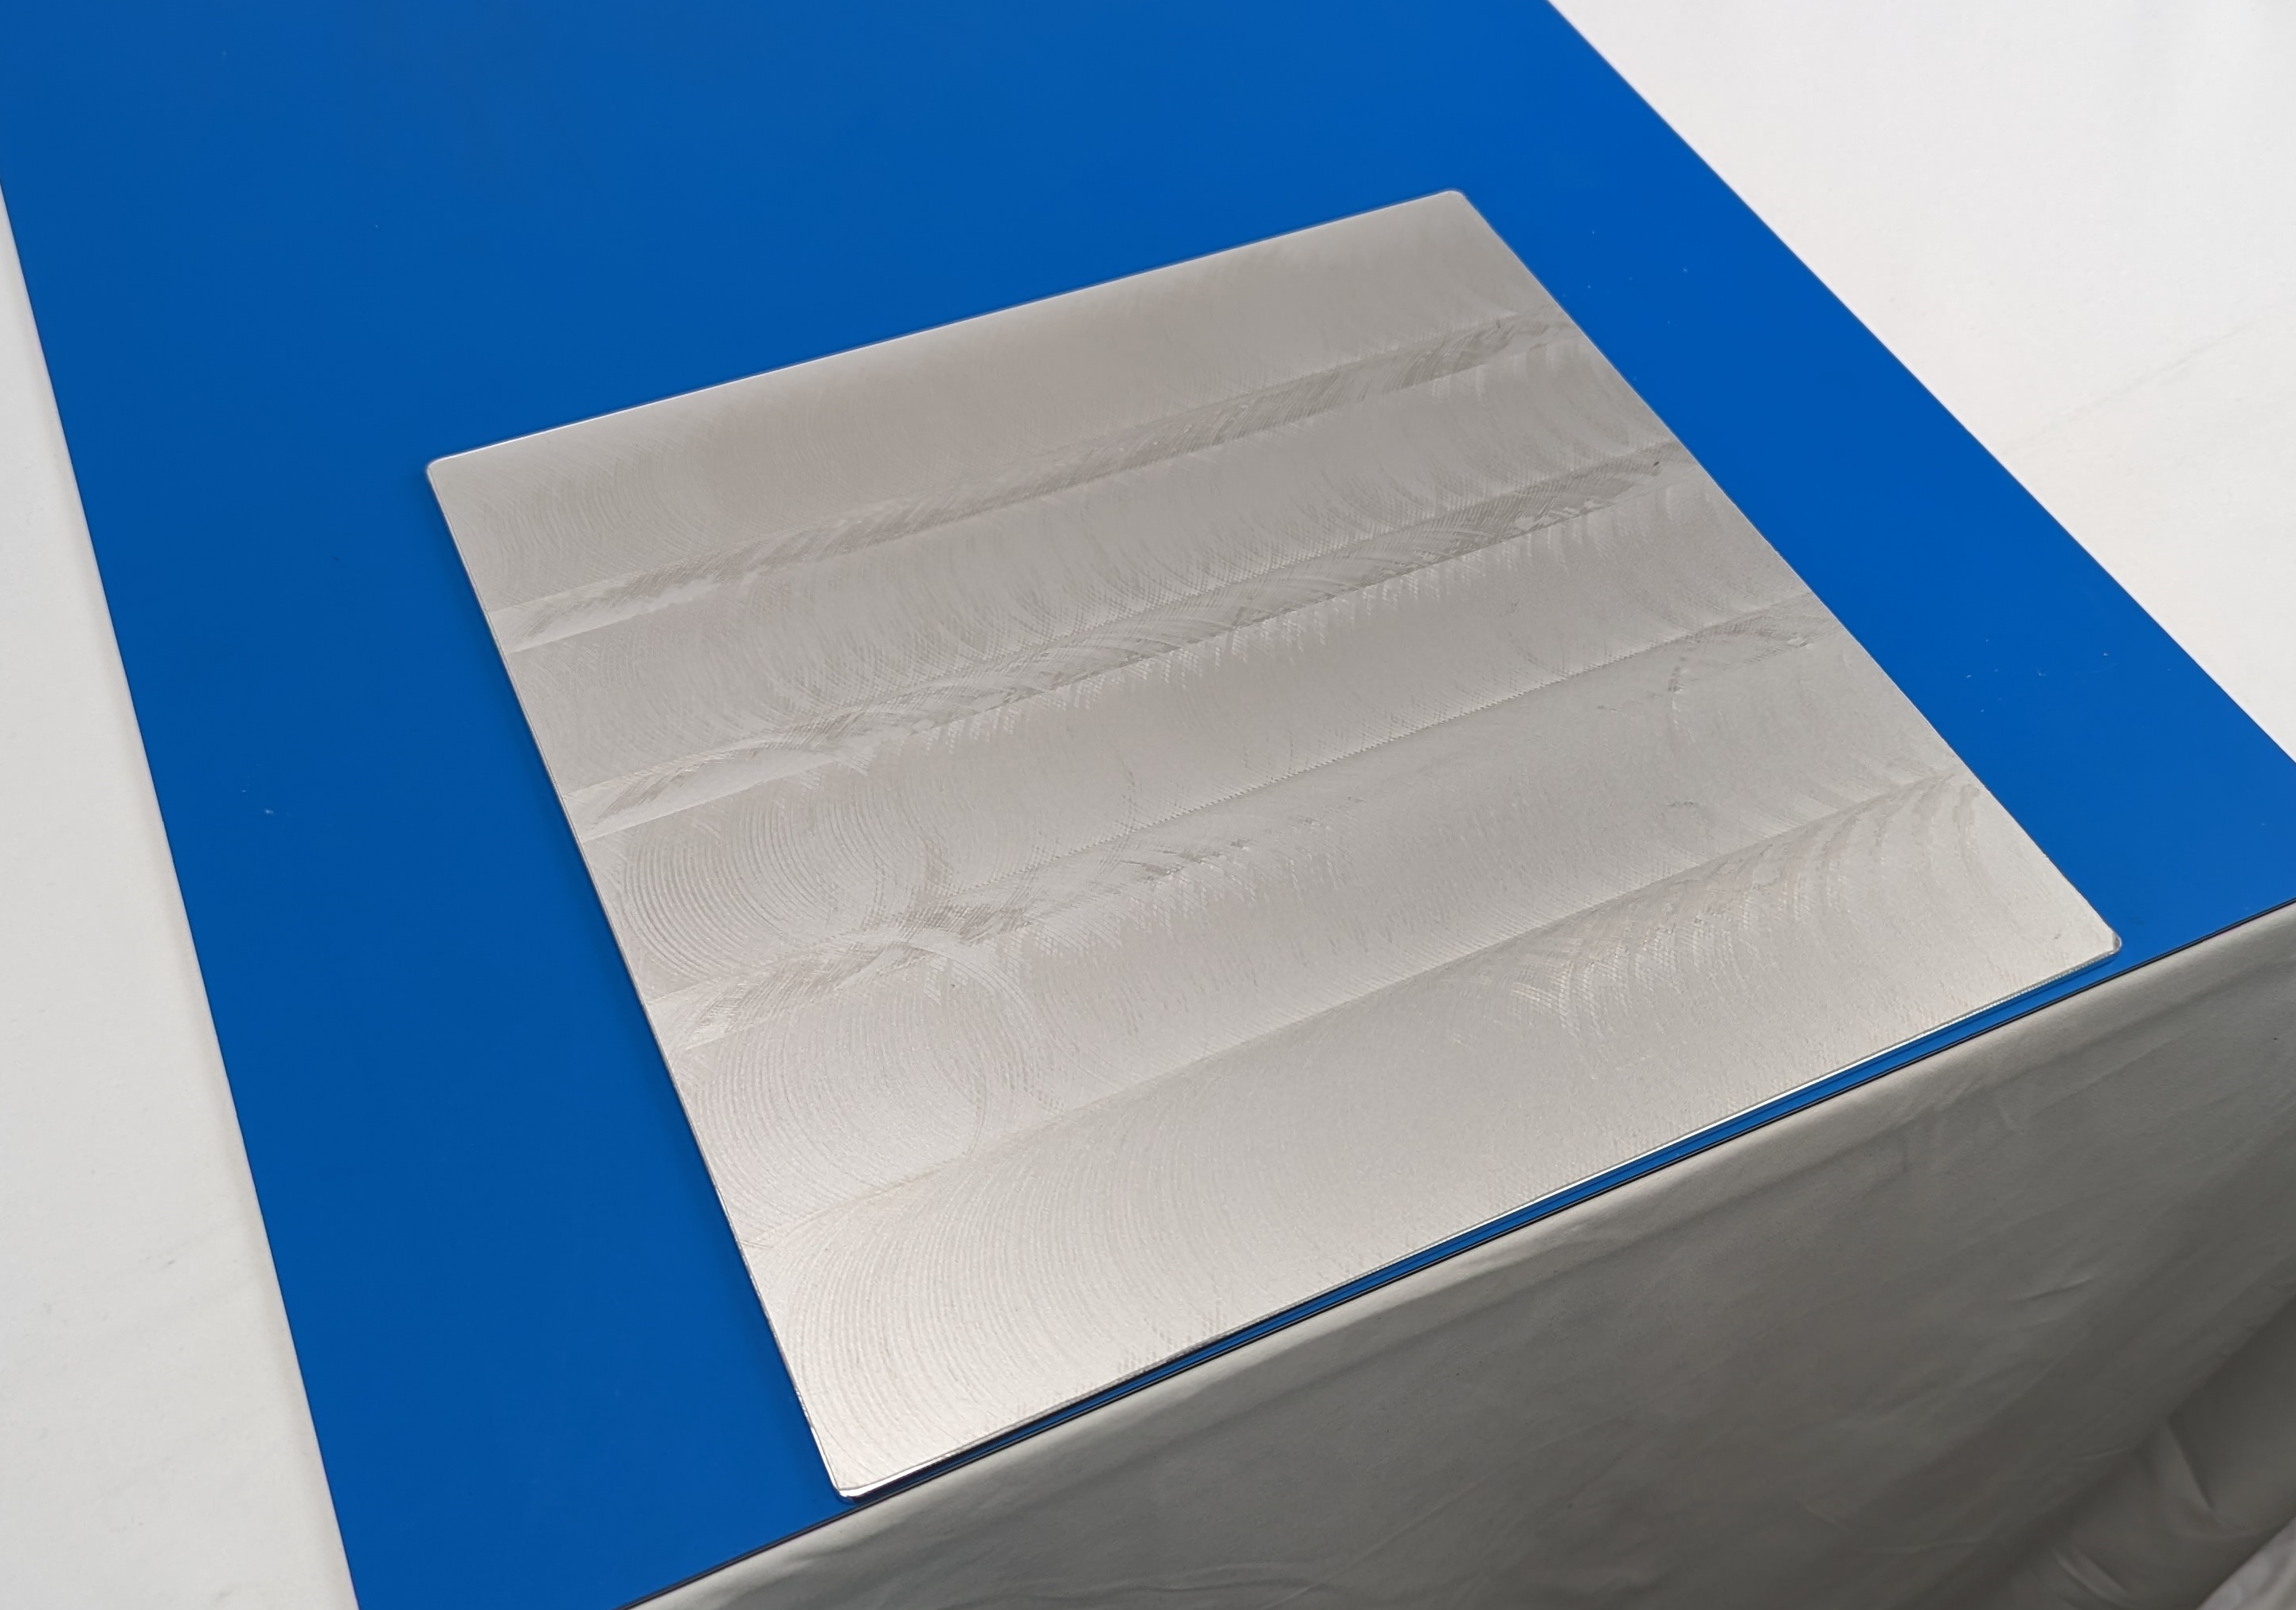
Set the Magnetic Plate on a non-metallic table with the magnets facing down.
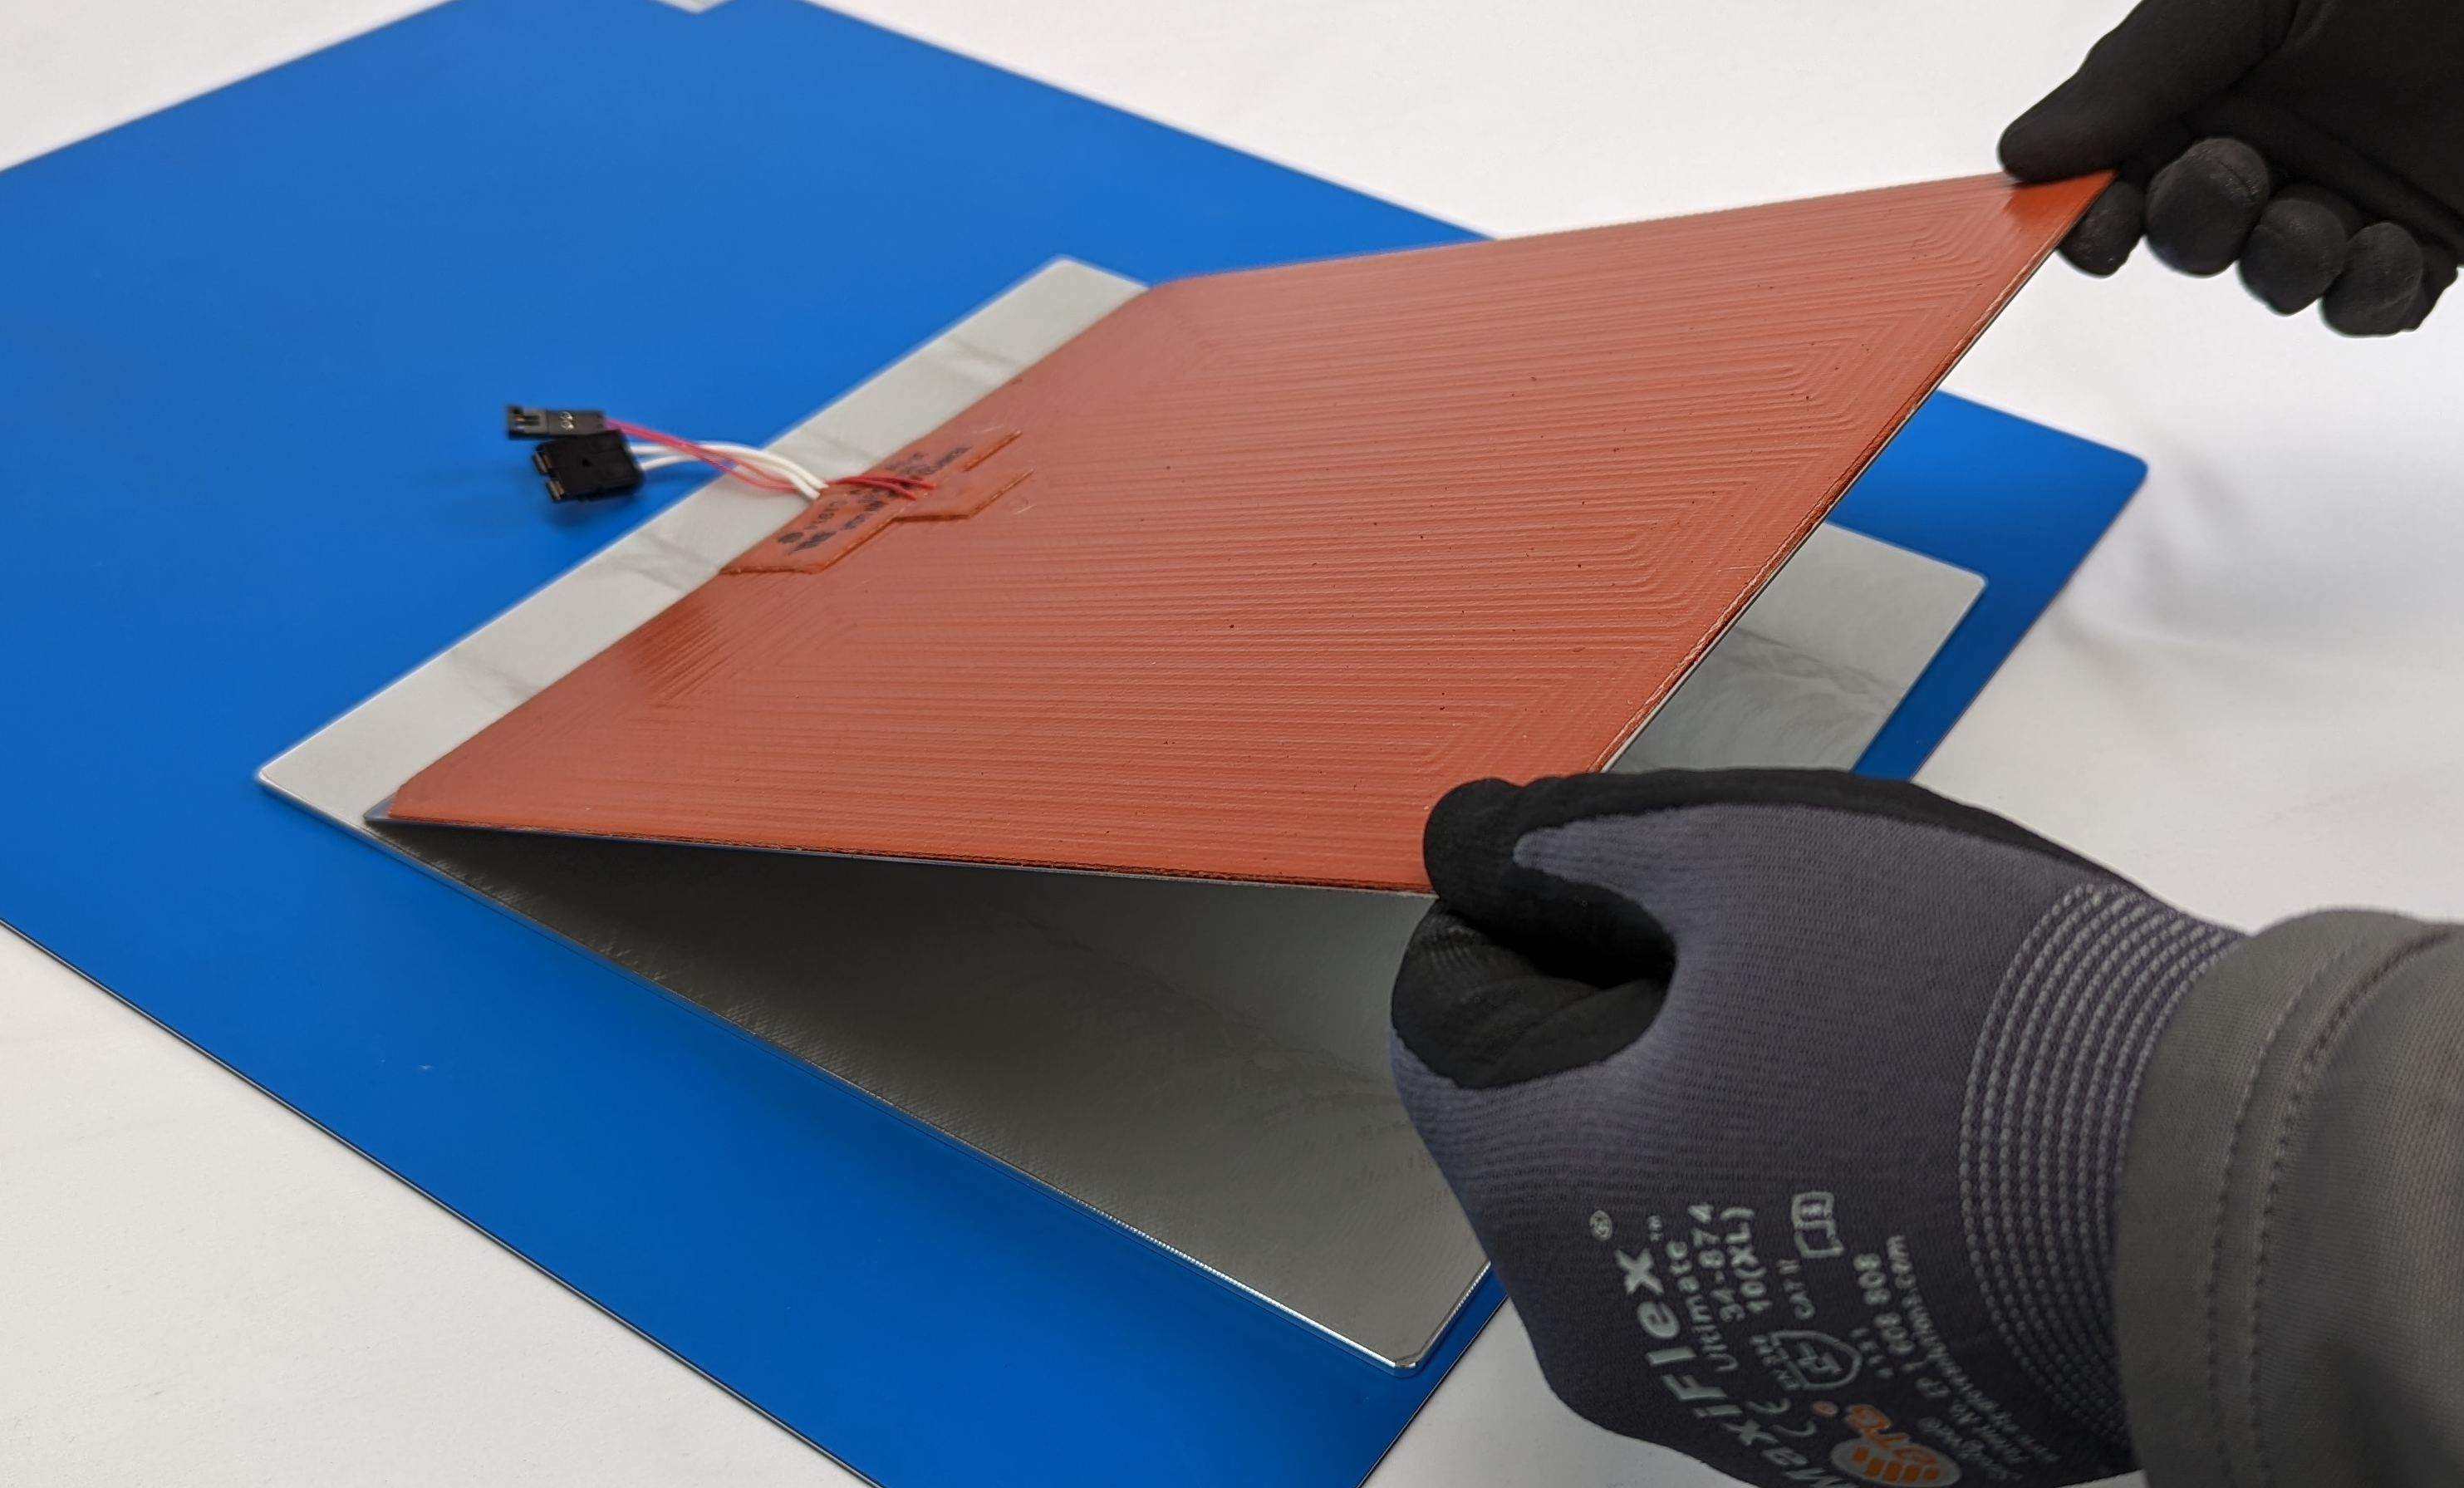
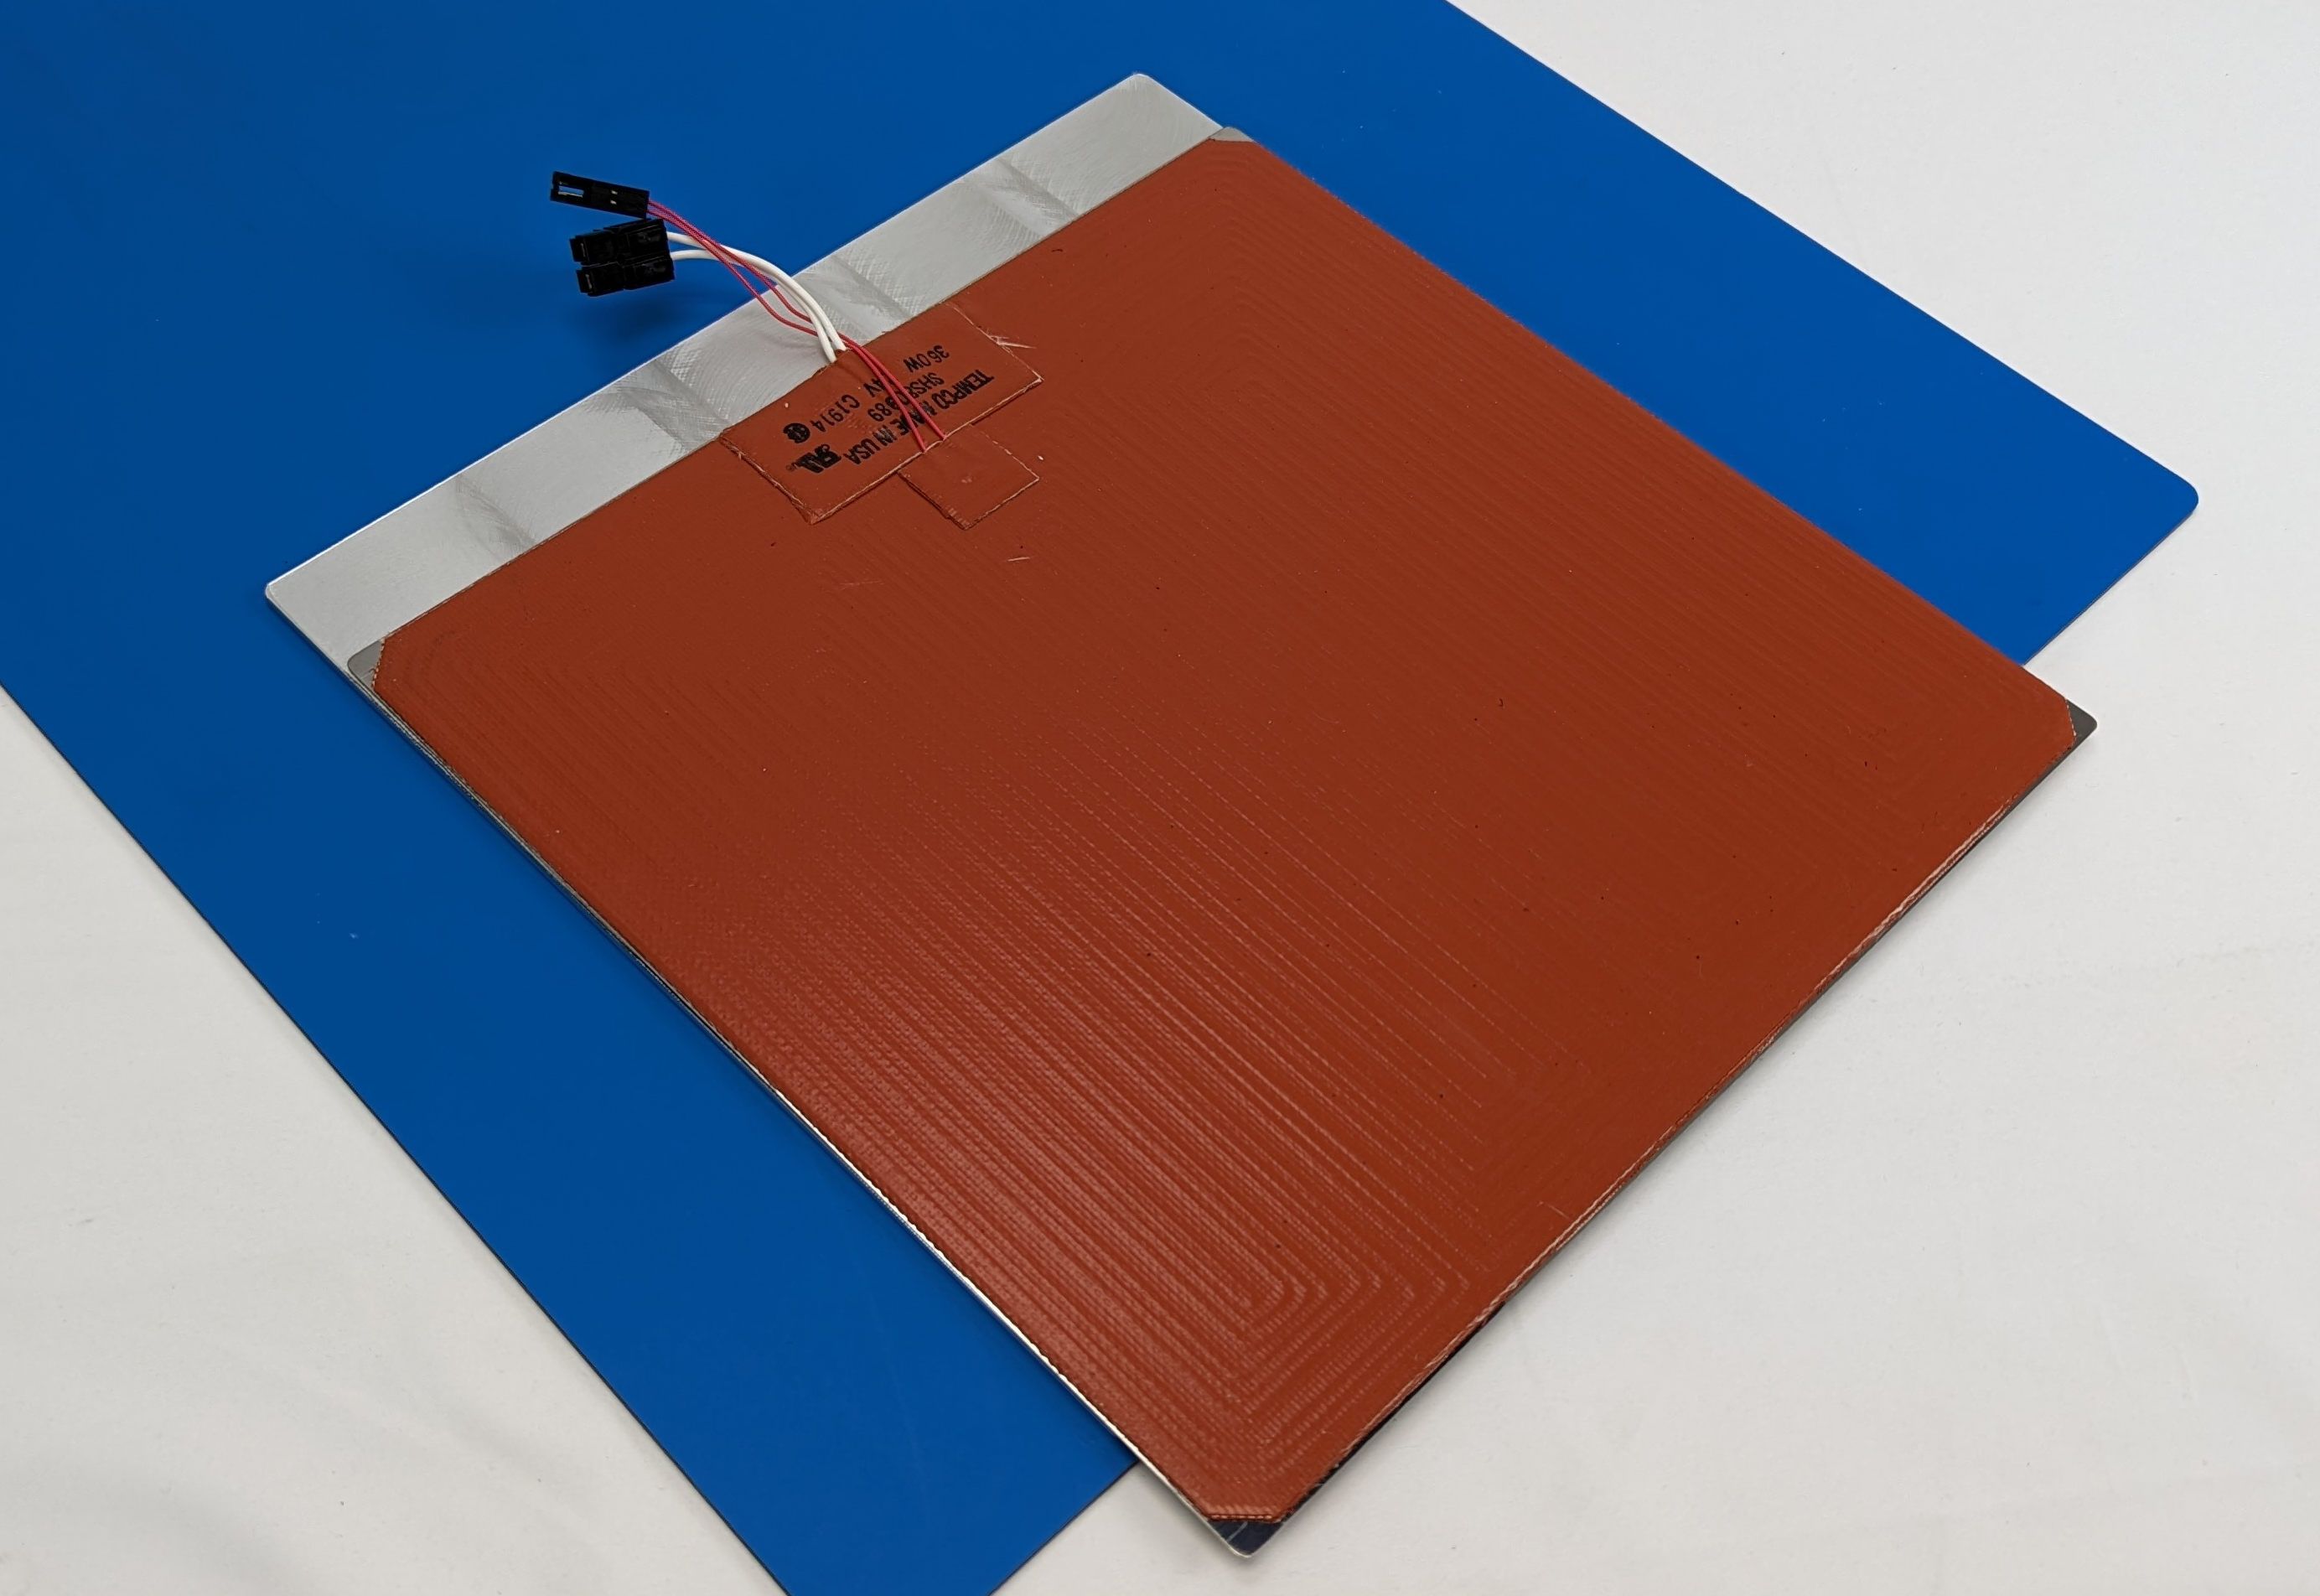
Take the Modular Heat Bed and place the end with the wires on the Plate. Align the heat plate with the furthest row of magnets away from you so the edge of the heat plate is not resting on the back edge of the magnetic plate.
It is recommended to wear gloves during this step to protect your hands.
Carefully set down the heat bed making sure to keep your fingers at the edge of the heat bed so they won't get pinched.
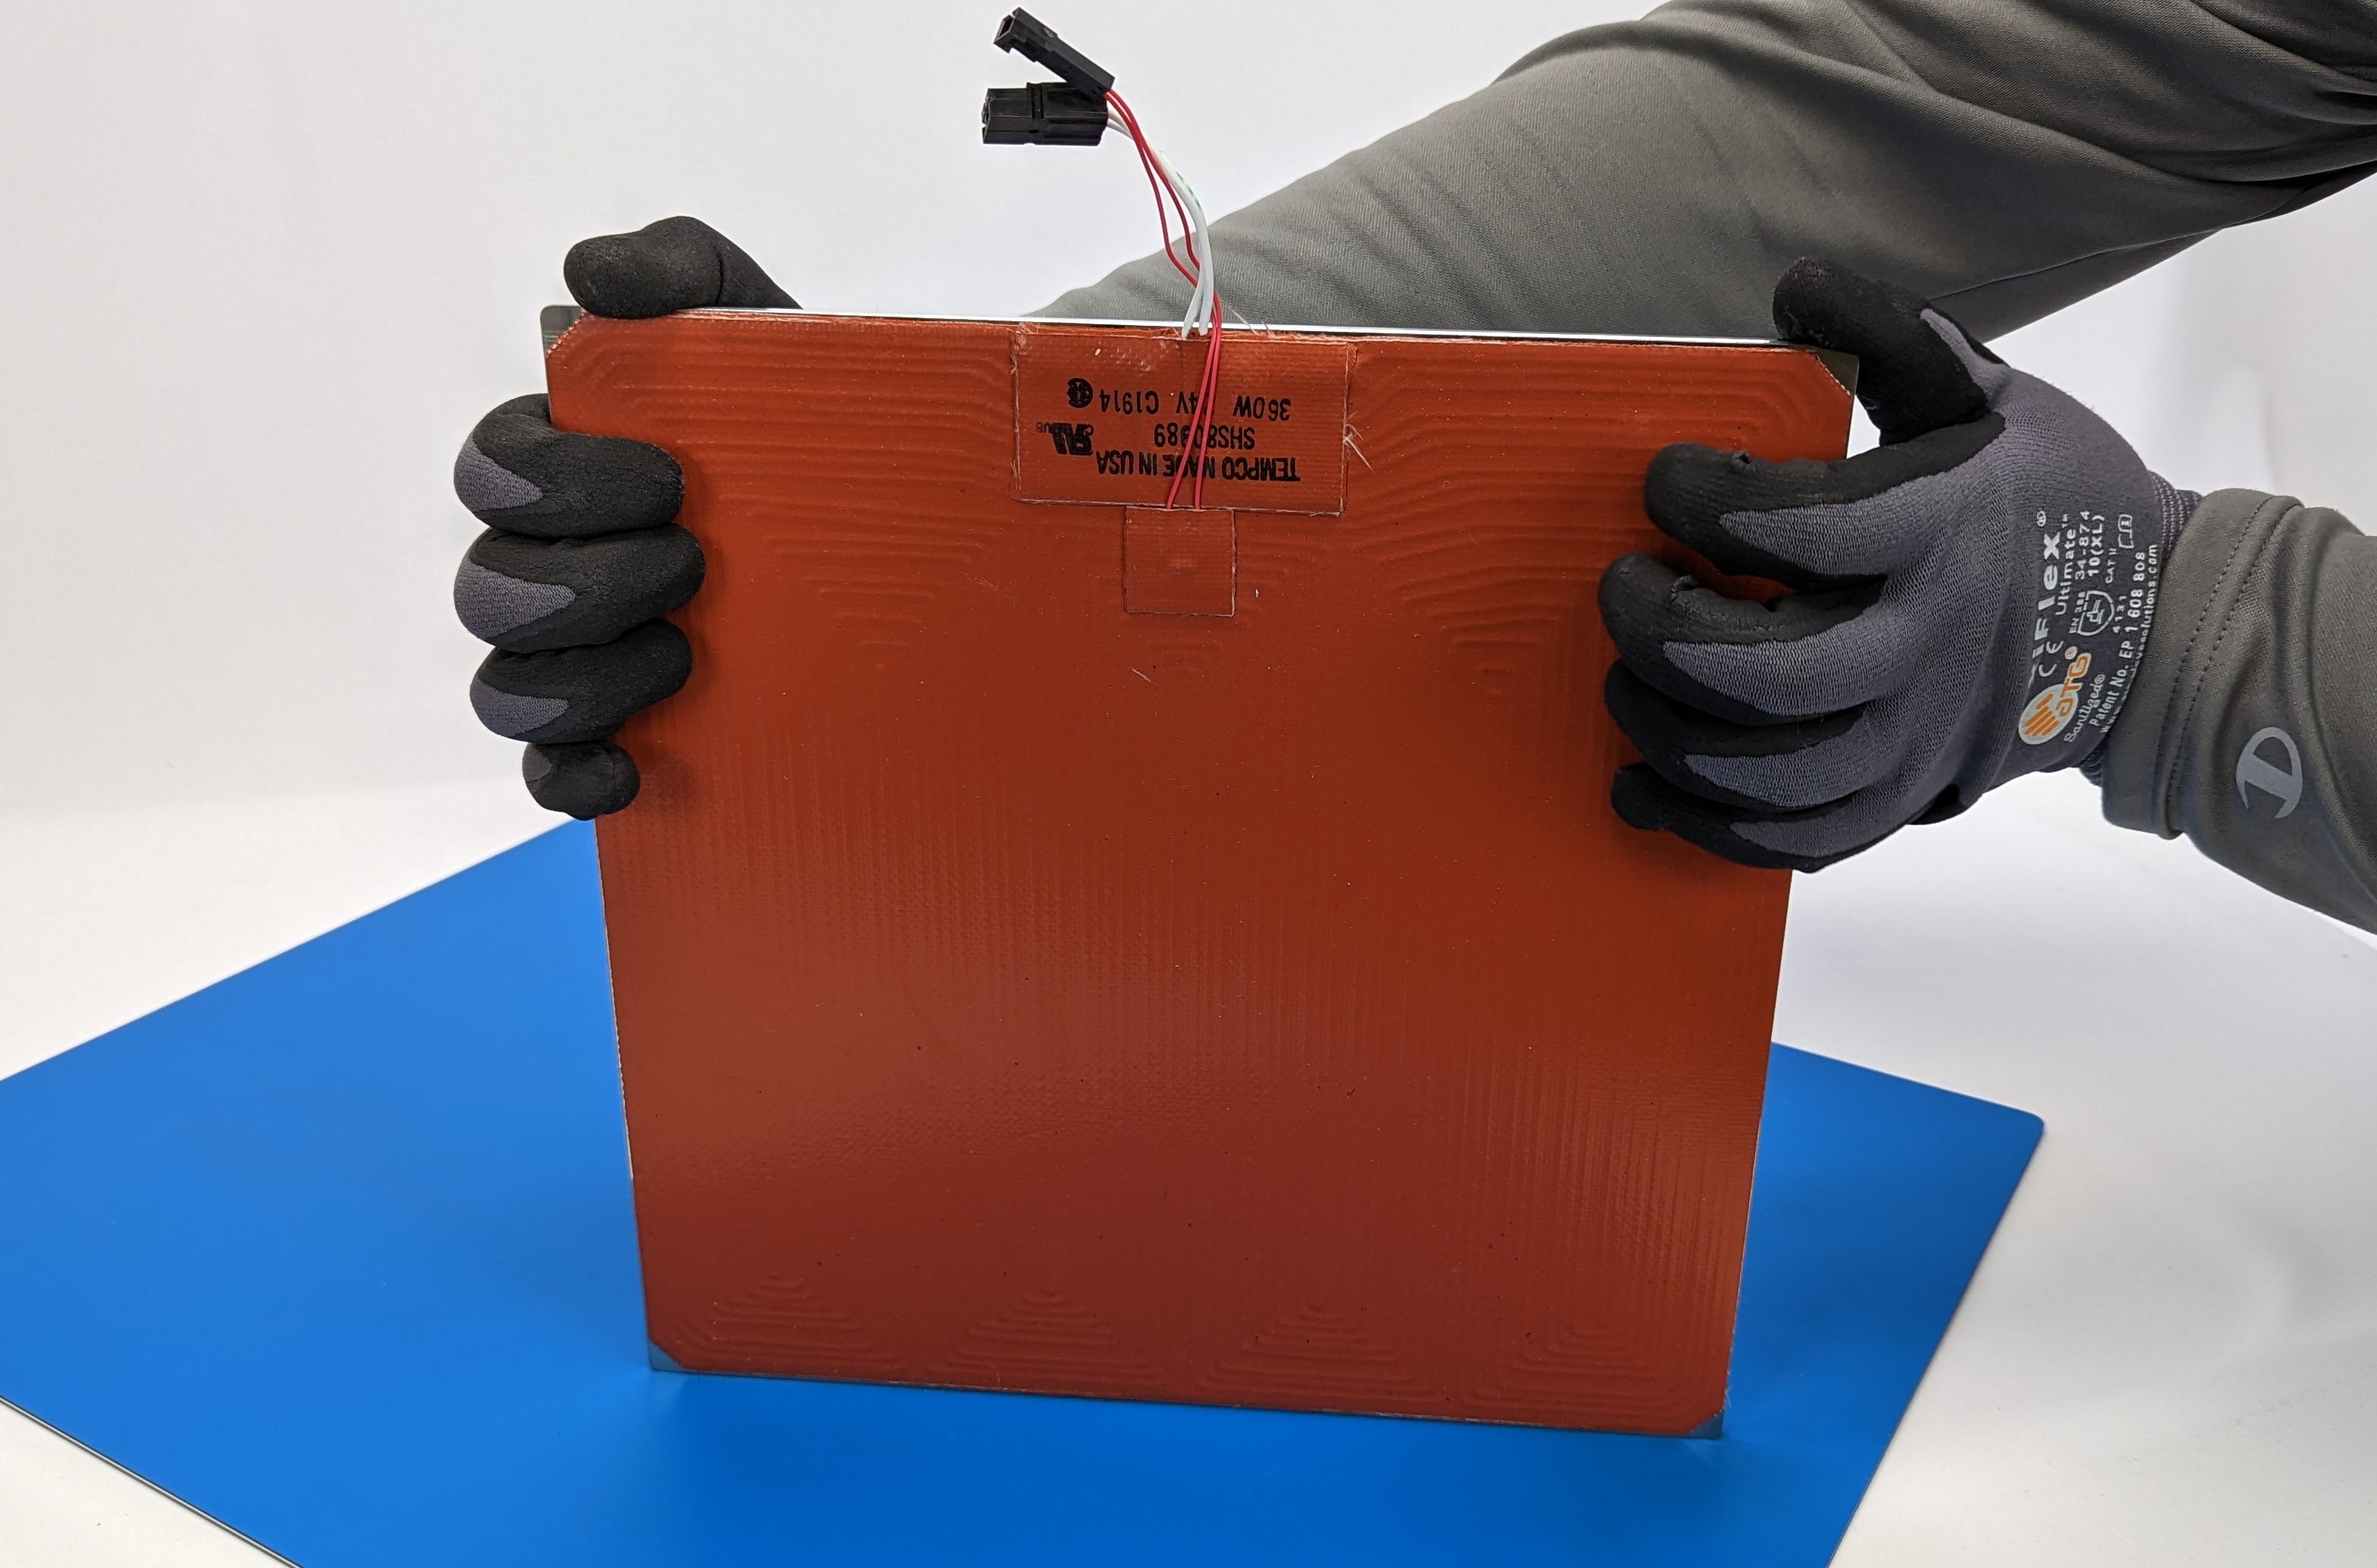
Once the heat bed is sitting on the magnetic plate, pick the assembly up and use the table to push the magnetic plate down. The heat bed should move fully downward on the plate and the two parts will align.
Rotate the bed 90° and repeat the previous step to align the opposite side of the bed.
Always be mindful of the wire locations so as not to damage them.


Place the heat bed and magnetic plate on the printer with the wires facing the electronics case.
Be sure to route the wires back under the y-axis cable channel.
Reinstall the four corner washers.
Connect the bed heater and thermistor wires.
Reattach the Anderson bed power retention clip if applicable.

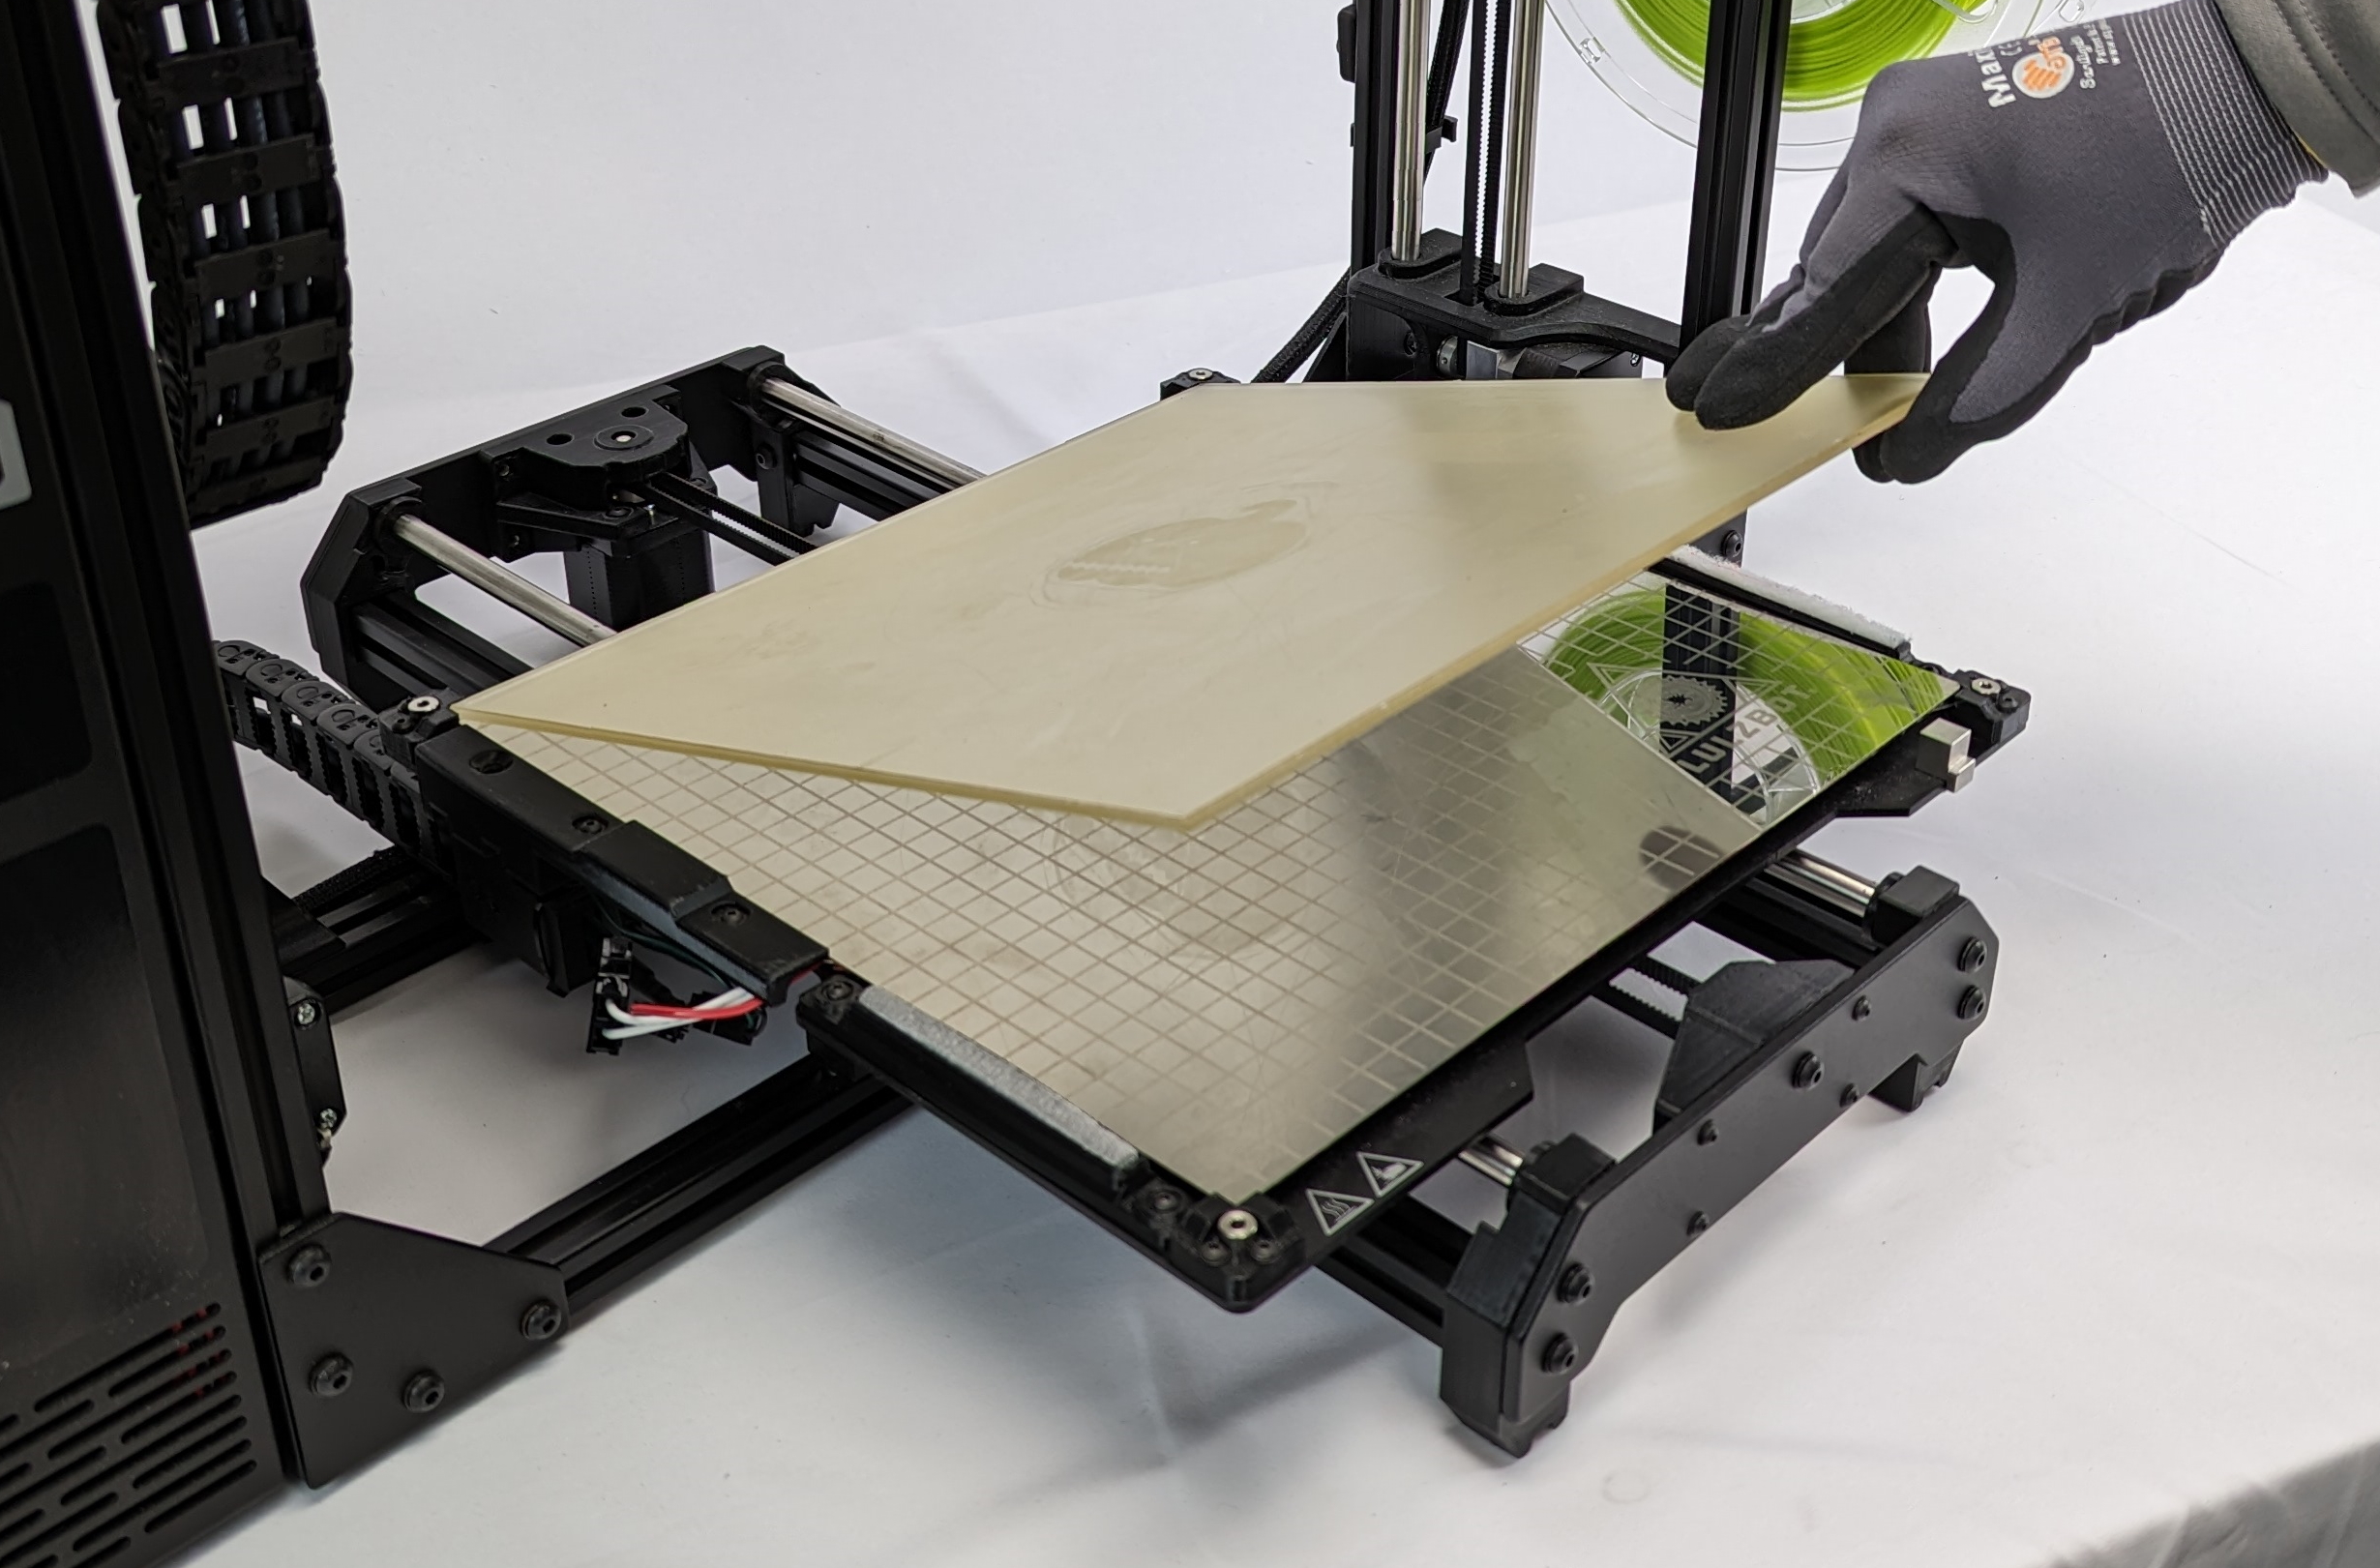
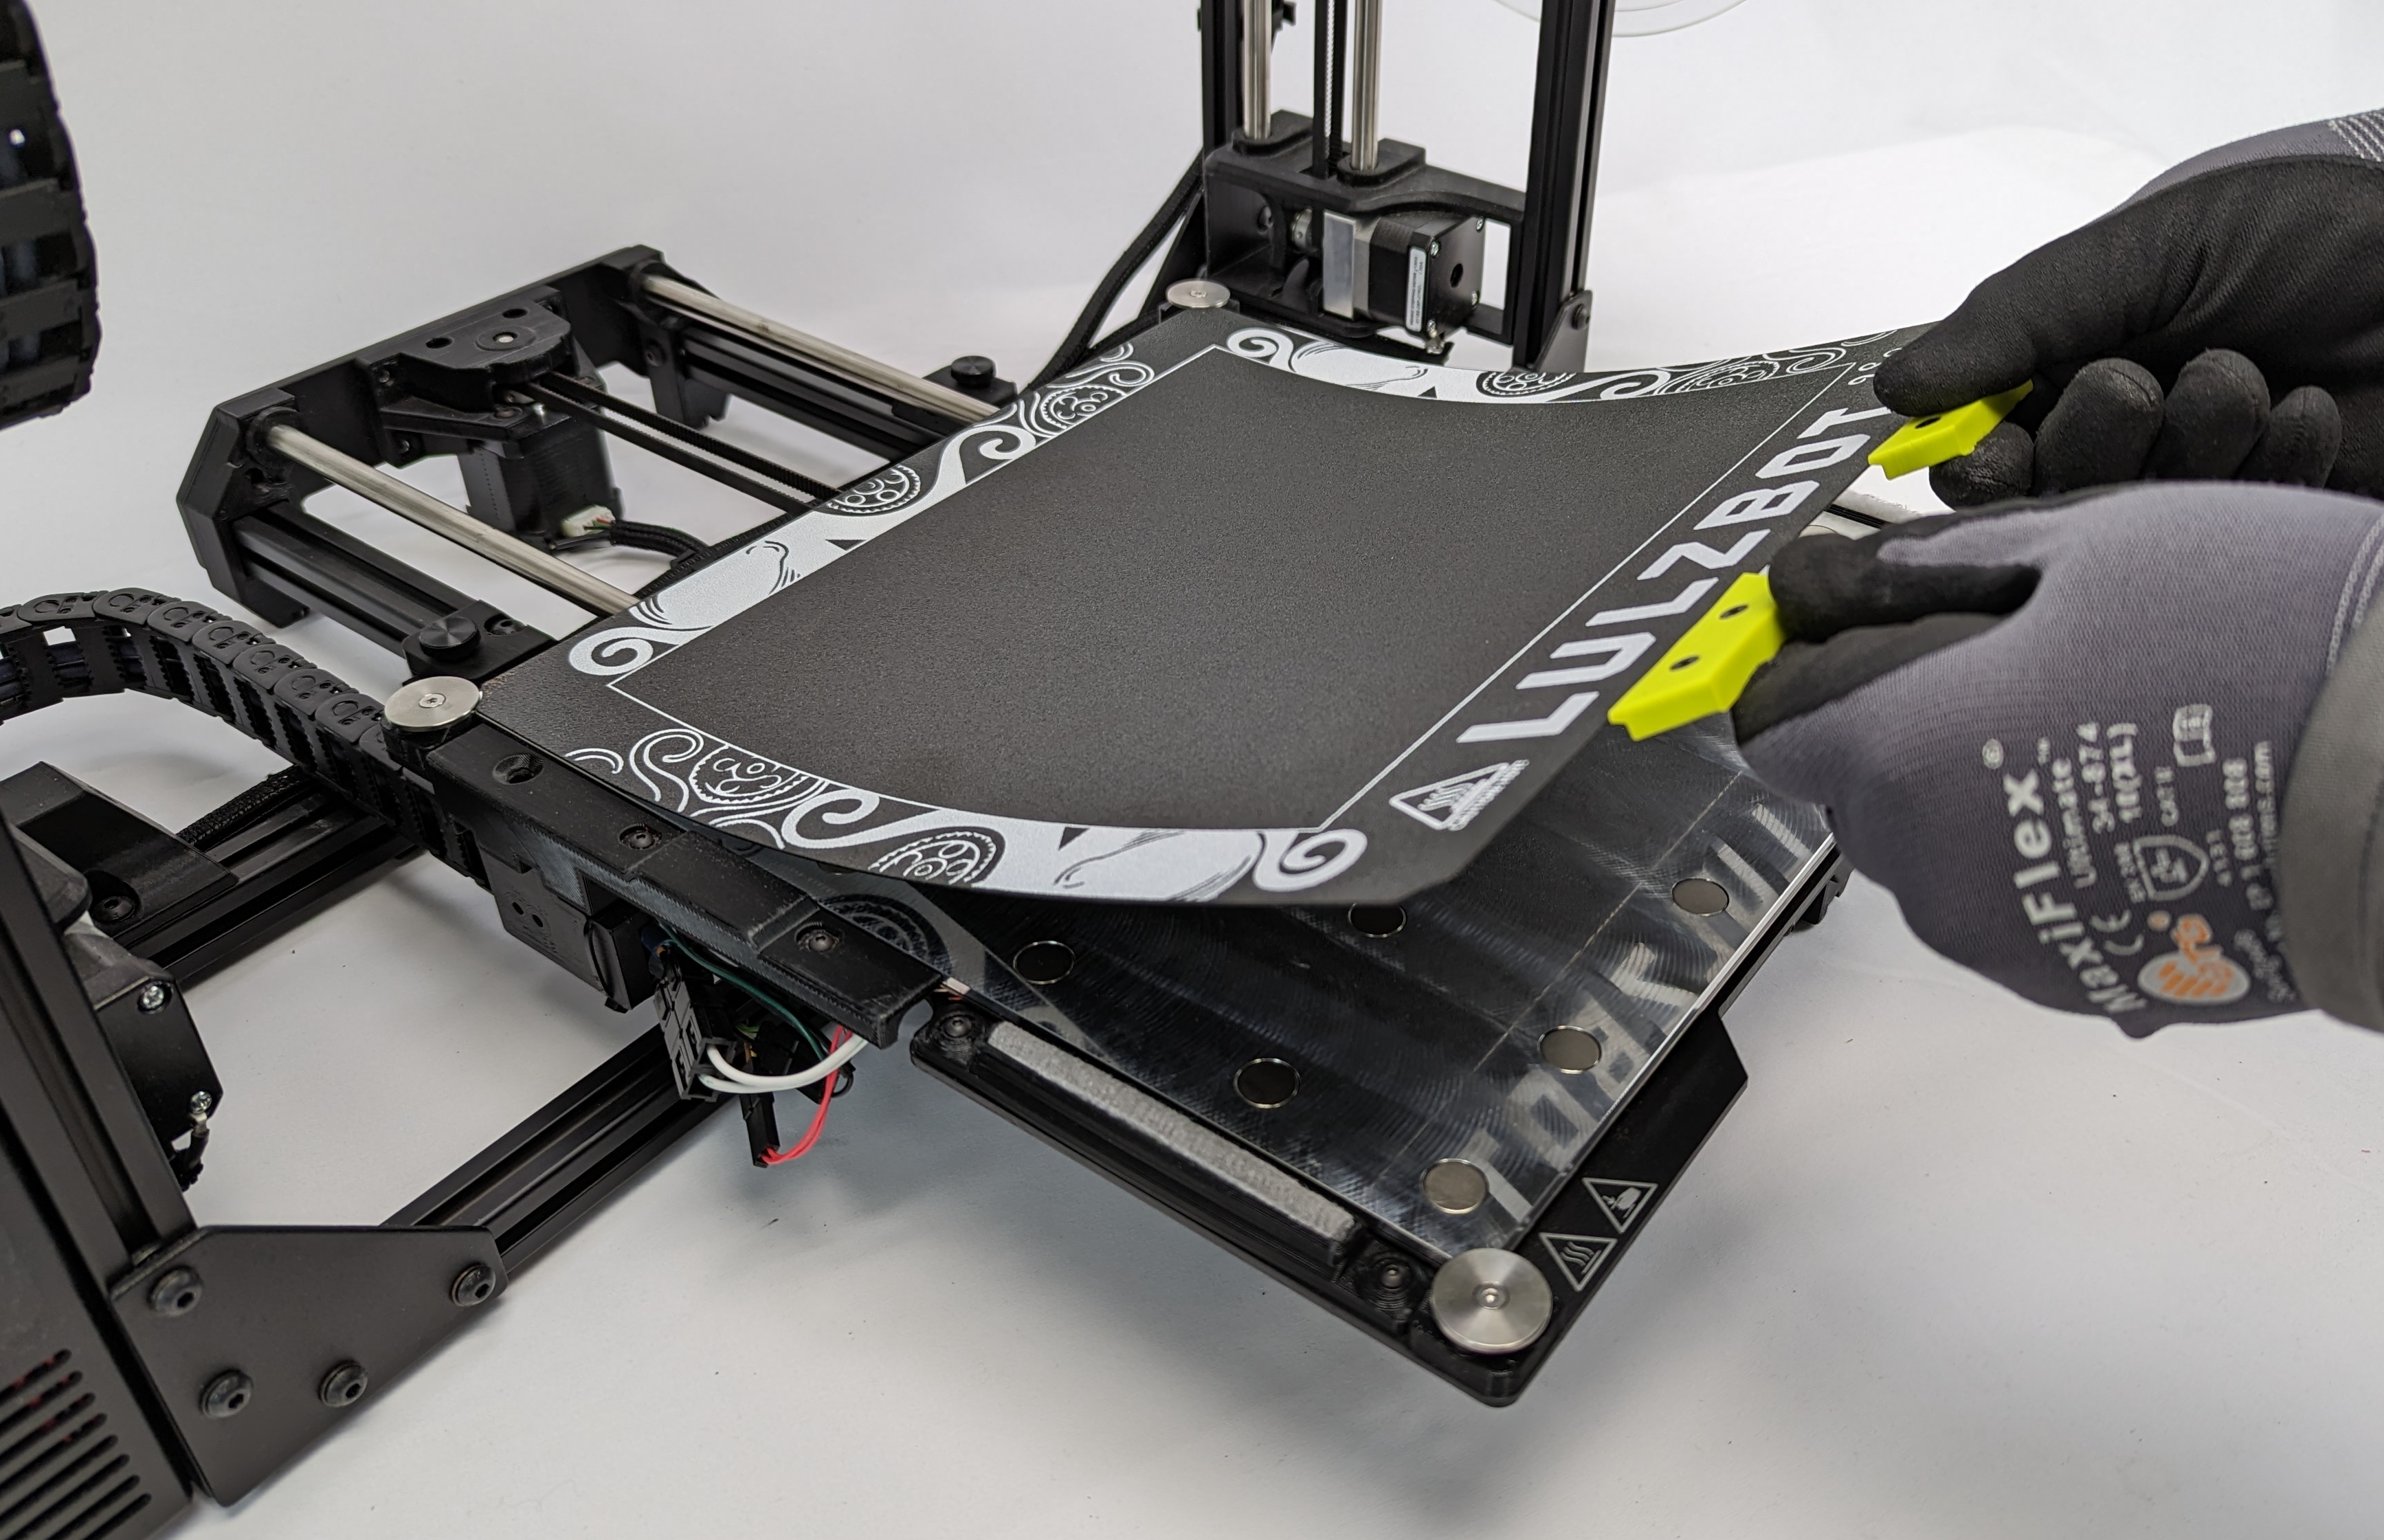
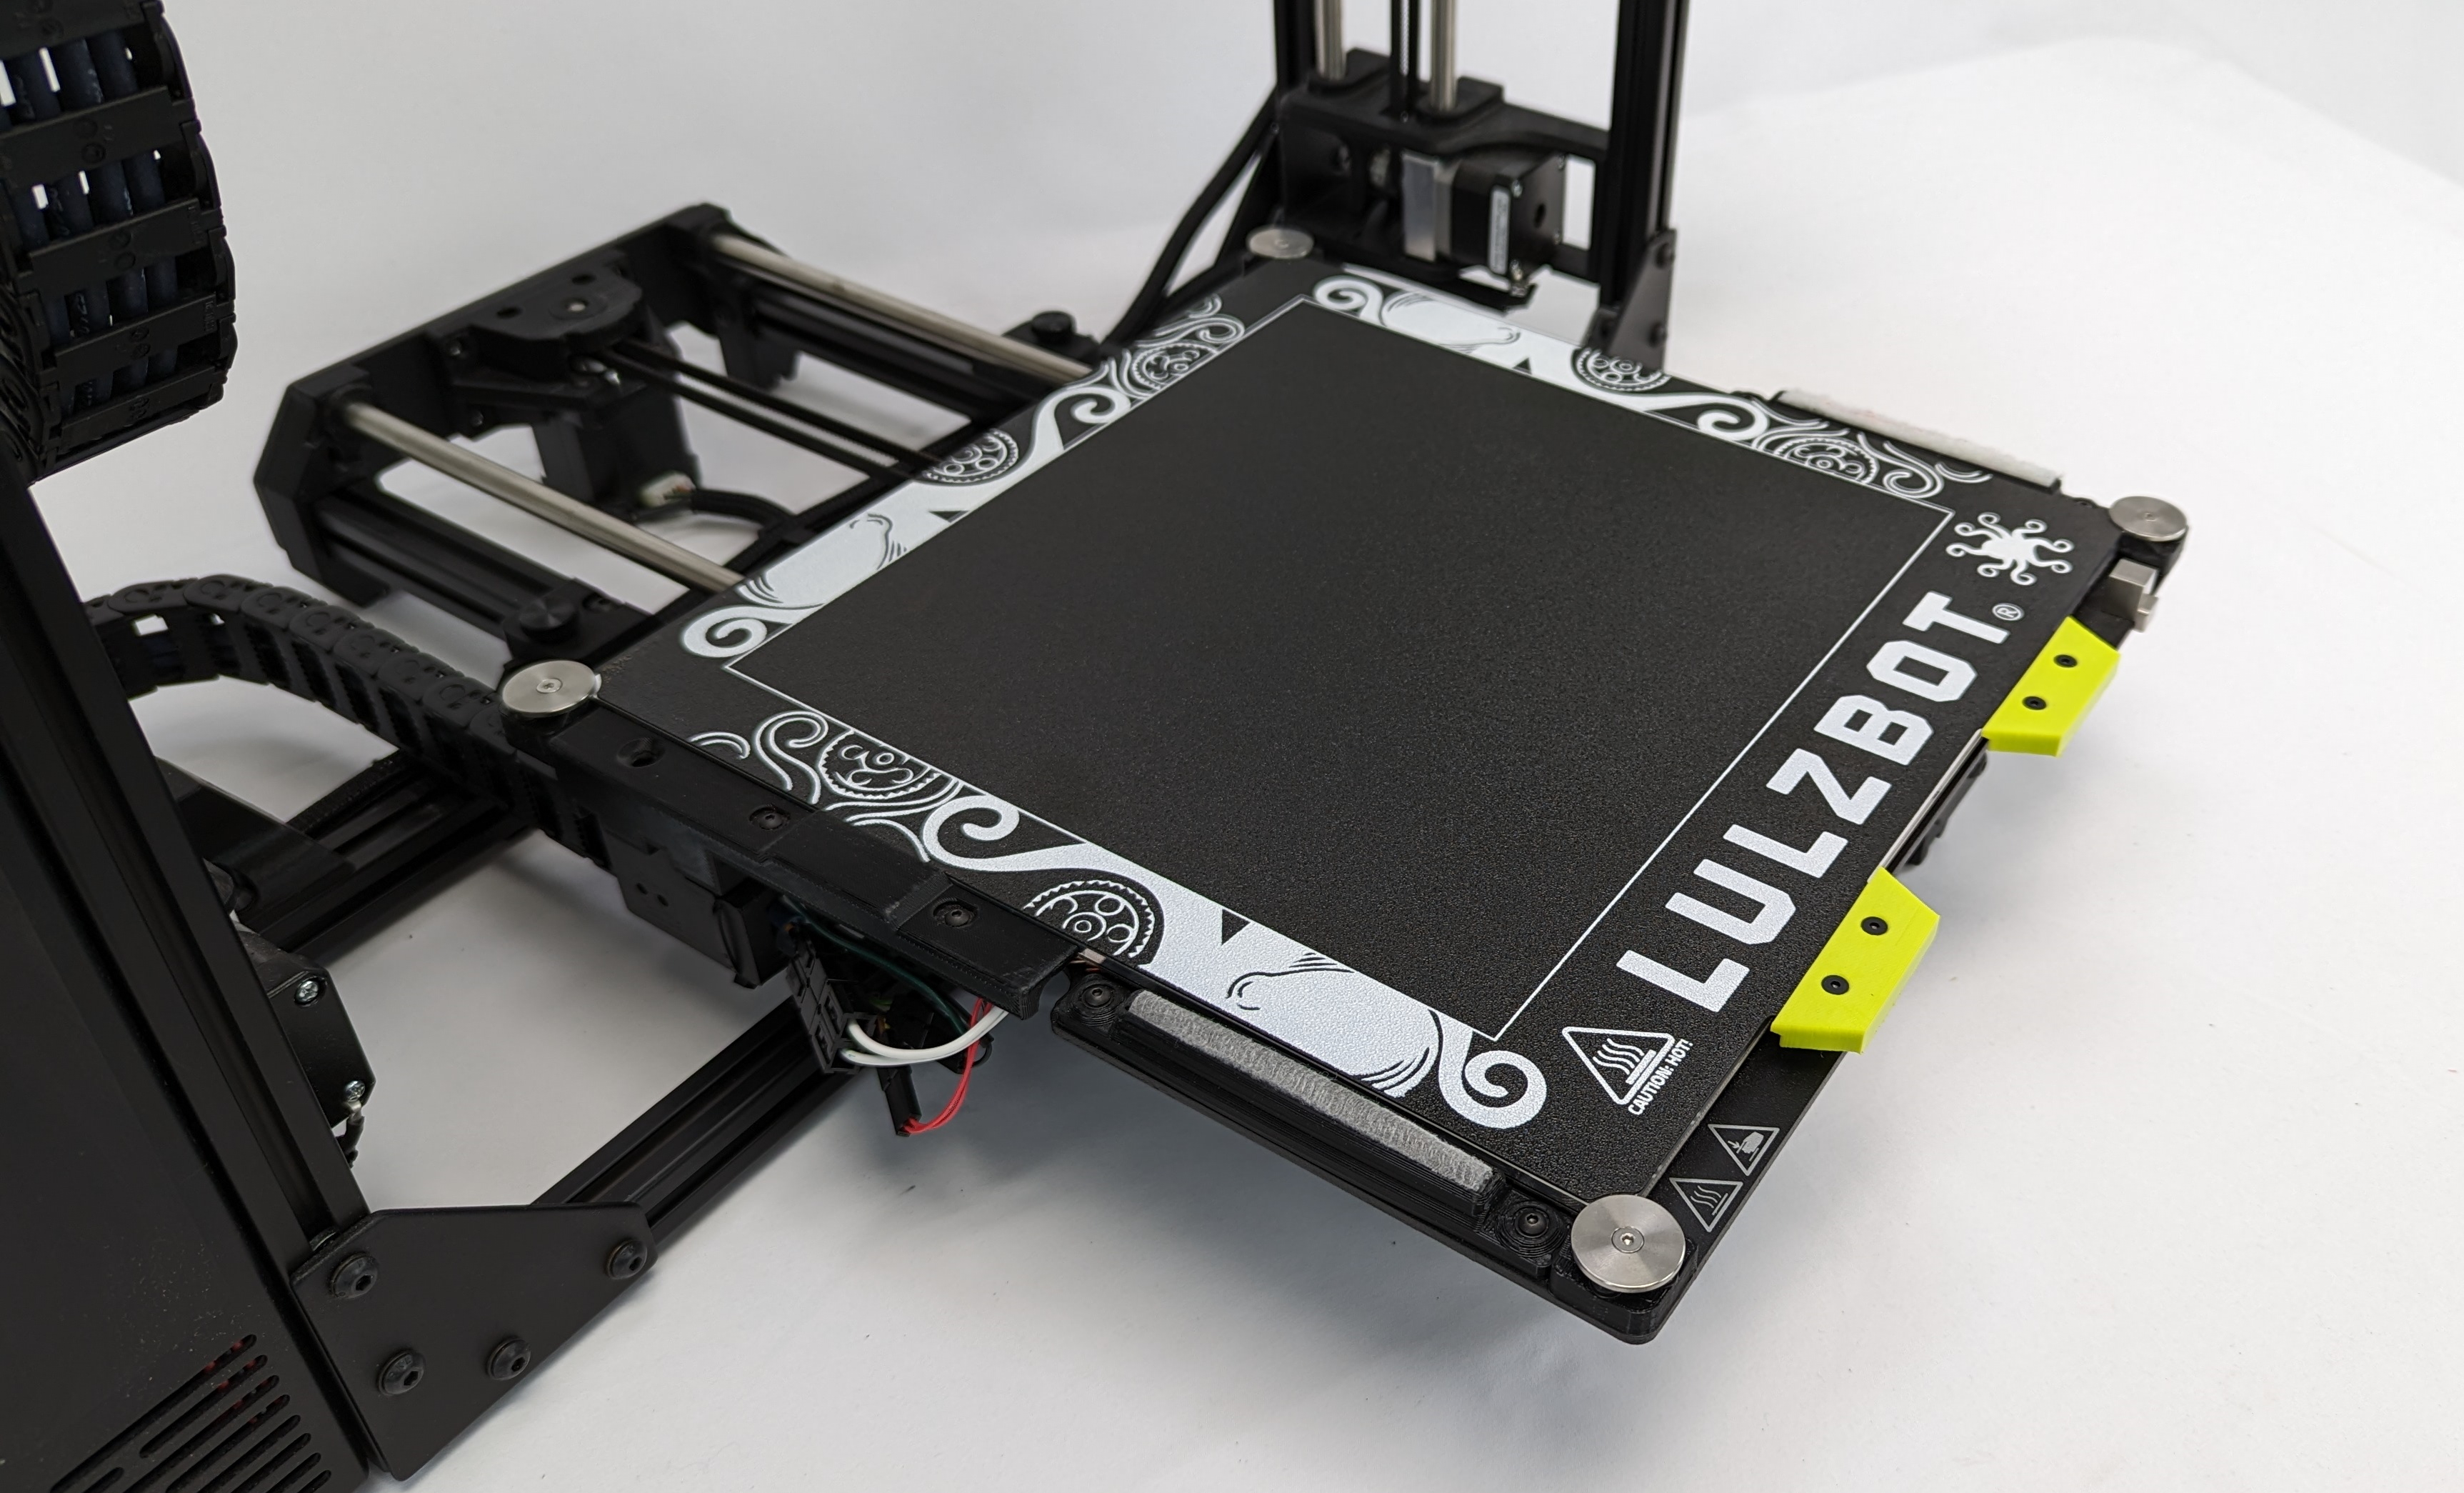
While holding onto the handles of the flexible bed plate set it on top of the magnetic bed plate with the handle facing the front of the printer.
Align the rear corners of the flexible build plate so the plate sits flat.
Make sure the LulzBot logo is facing up.
Do not print on underside of the flexible plate as any damage to underside surface may prevent the bed from sitting flat.
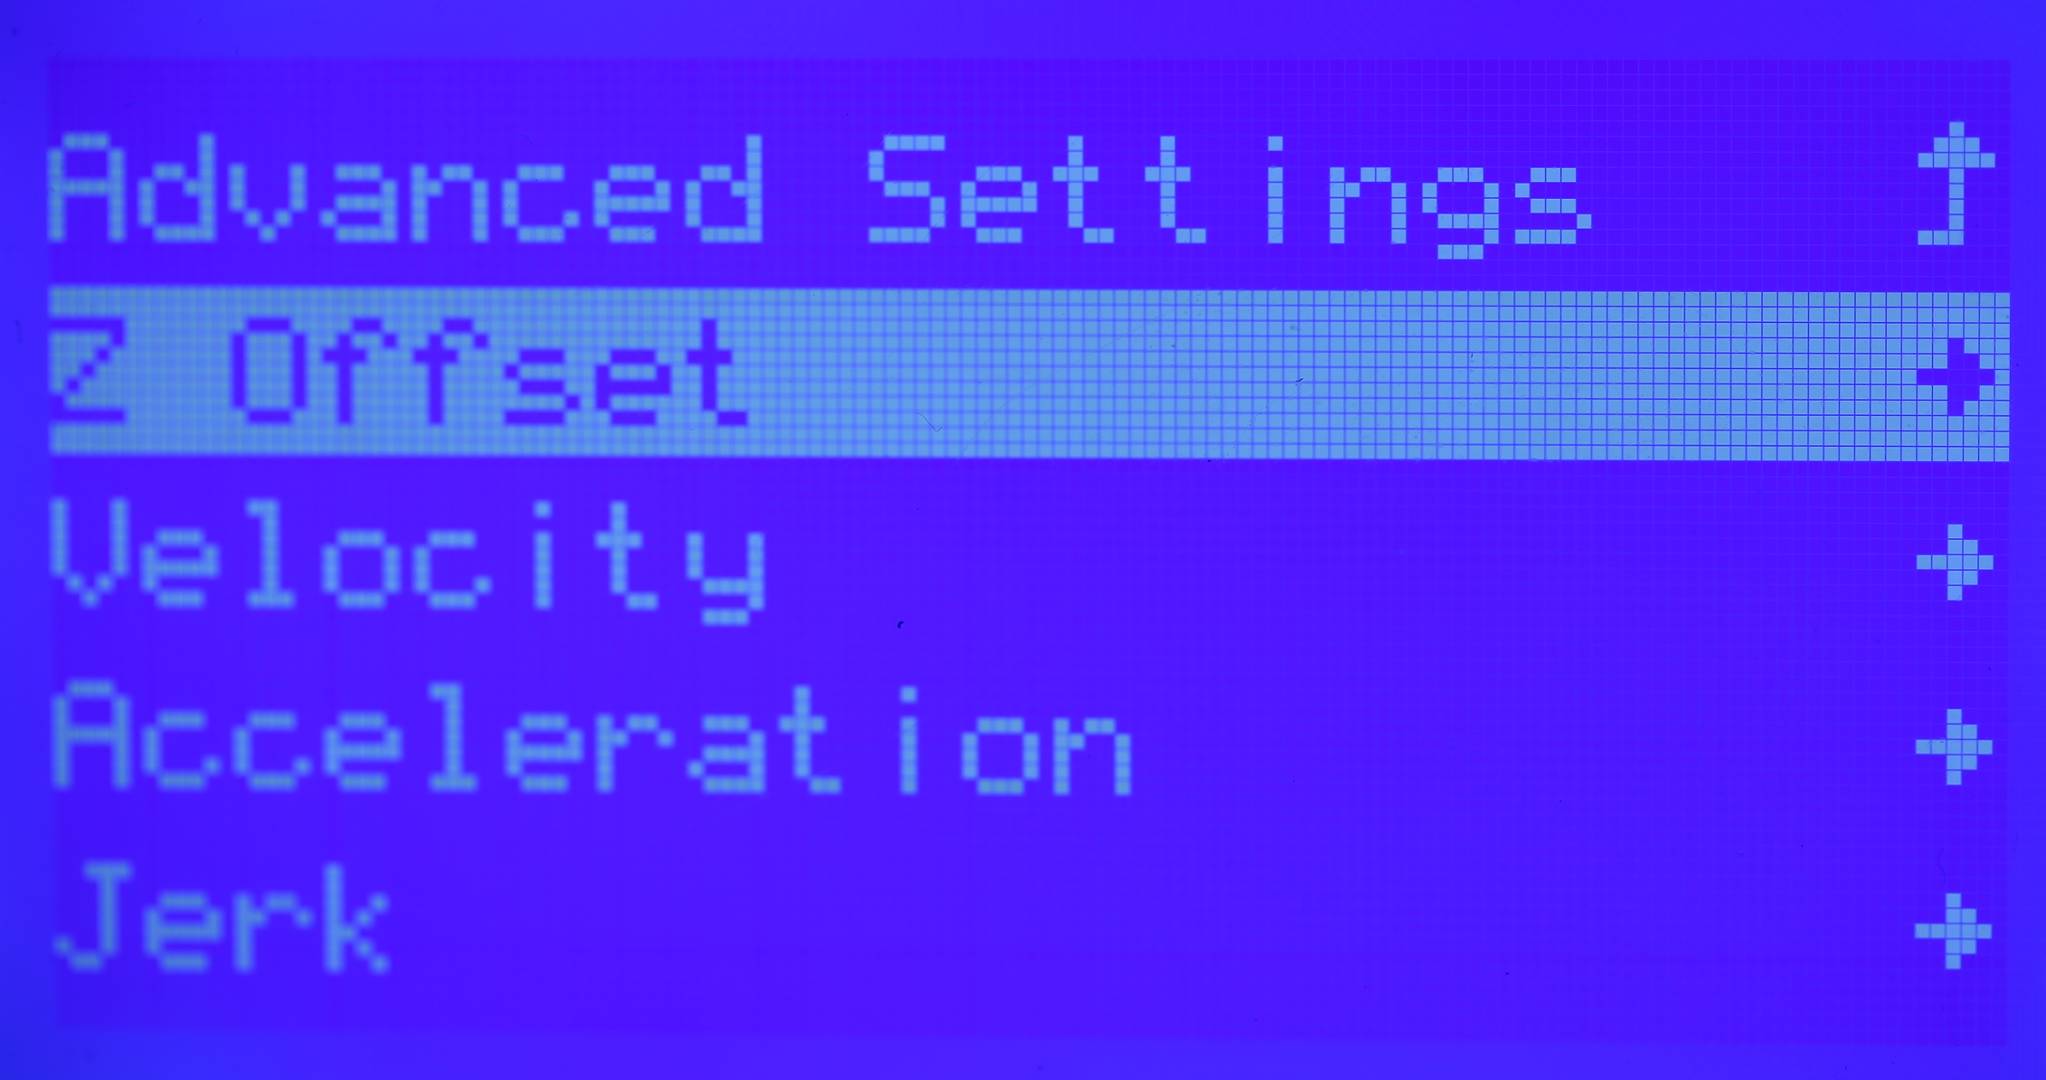
The LulzBot Magnetic Build Plate System will require your z-offset to be adjusted positively to account for the added thickness of the spring steel plate.
Use the graphical LCD on your printer or Cura's printer console to adjust your z-offset positively by 1.50mm prior to printing to avoid damaging your build surface.
For example, if your z-offset is currently set to -1.20, change it to 0.30mm. (-1.20+1.50=0.30mm)
Adjust your offset down as necessary to lower your nozzle closer to your build surface.
A guide for adjusting your z-offset can be found linked below.
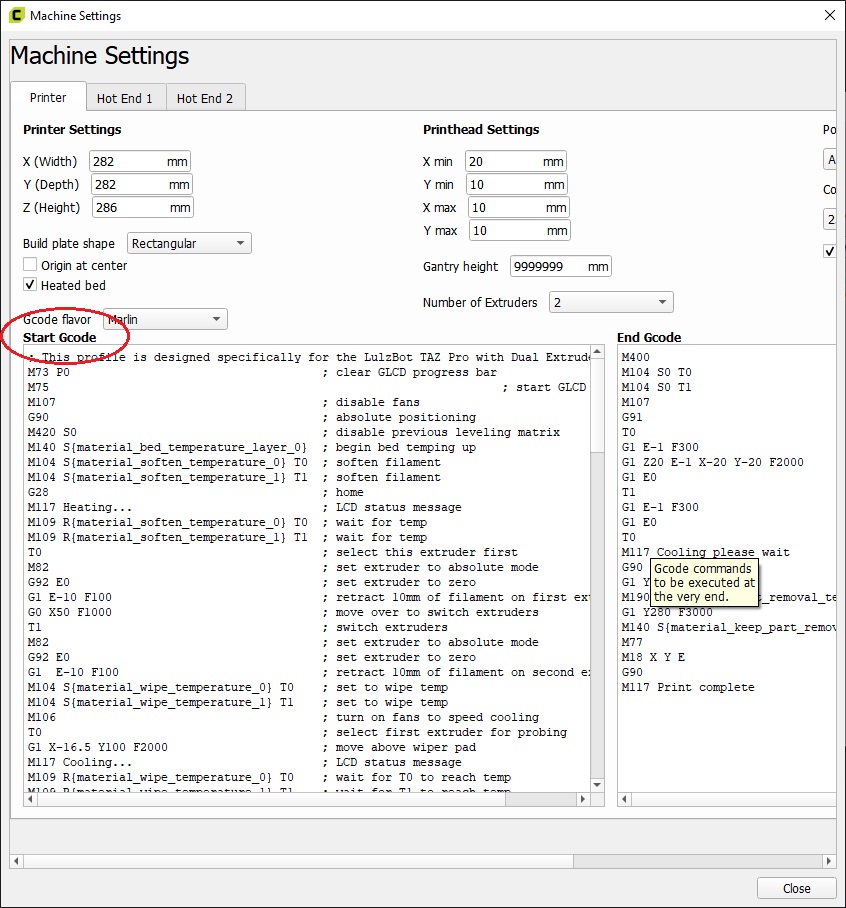
Below instructions only for TAZ Pro users with the Pro Dual Tool Head installed
You will need to modify your start gcode within Cura to prevent your tool head from priming over the build plate handles. This can be done be going to Settings > Printers > Manage Printers > Machine Settings within Cura and selecting the entire start gcode and replacing it with the text from the TAZ_Pro_start_gcode.txt linked below.