Open HardwareAssembly Instructions
Guides for installation and assembly of the LulzBot line of products made by FAME 3D LLC.
Guides for installation and assembly of the LulzBot line of products made by FAME 3D LLC.
Please note when building this assembly that there have been a few changes to this assembly since this workflow was written.
These changes include:
.5mm Nozzle on HotEnd instead of .35mm
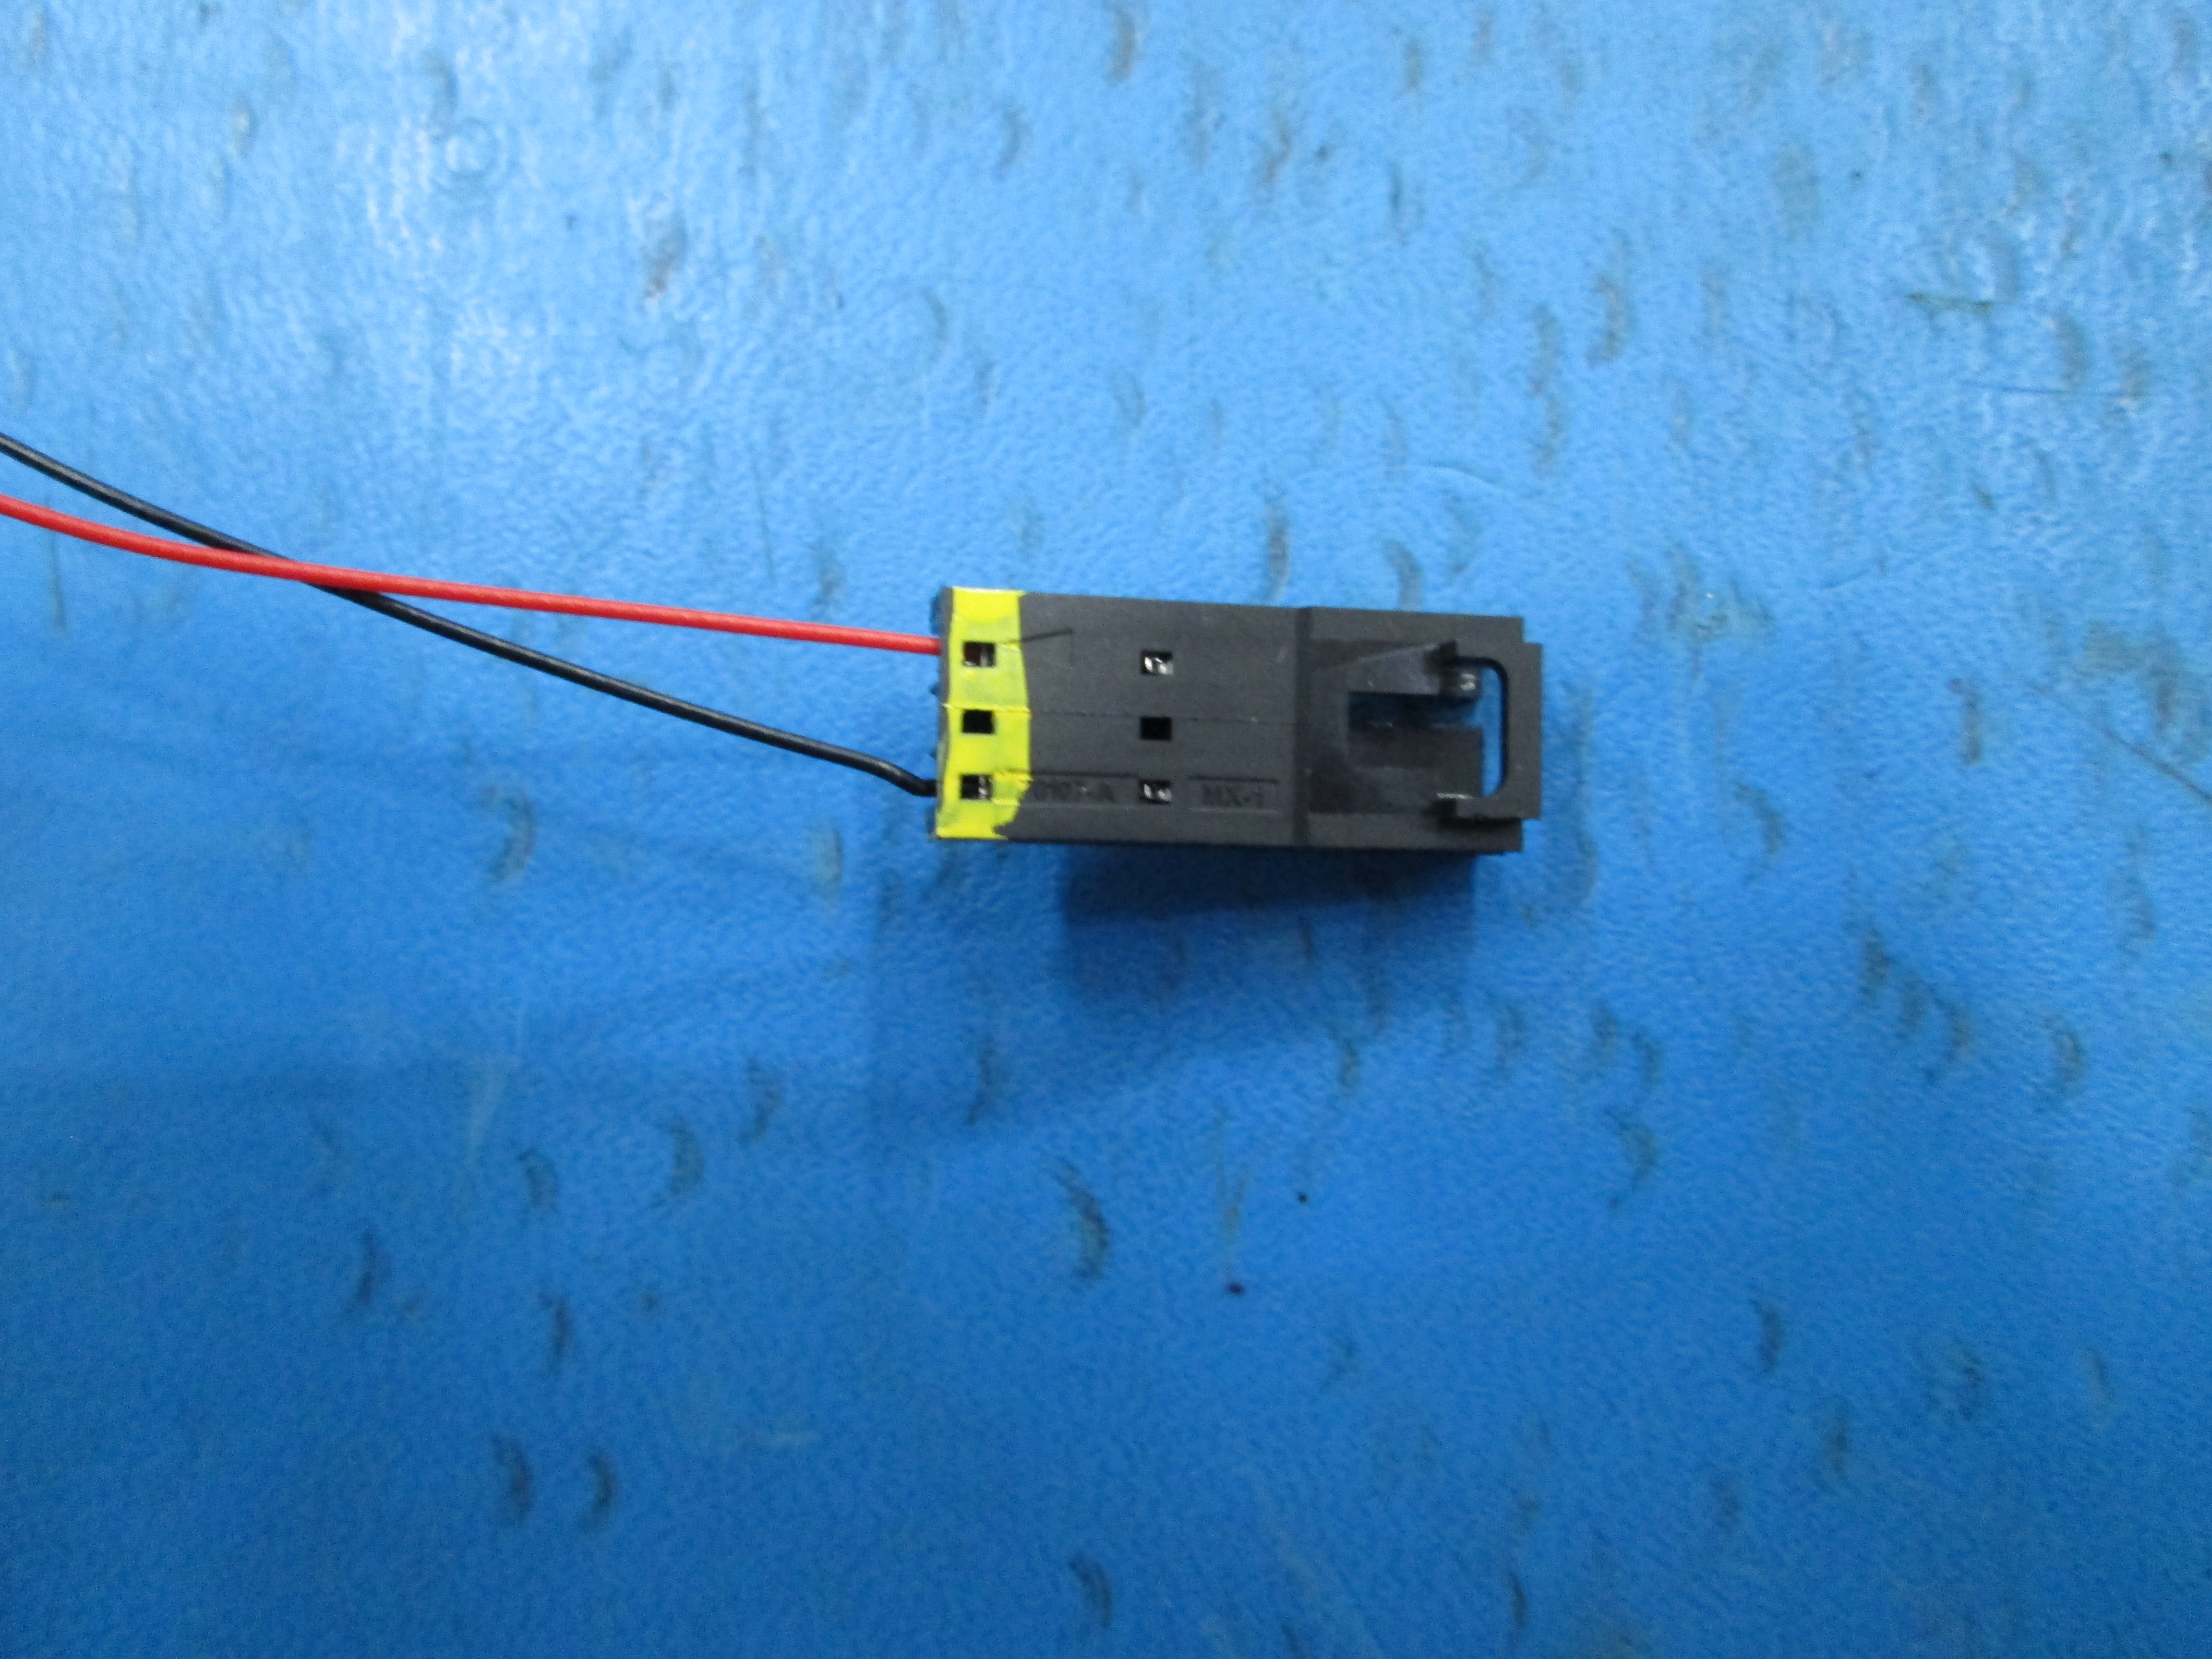
Single 16pin Connector Housing instead of multiple connectors
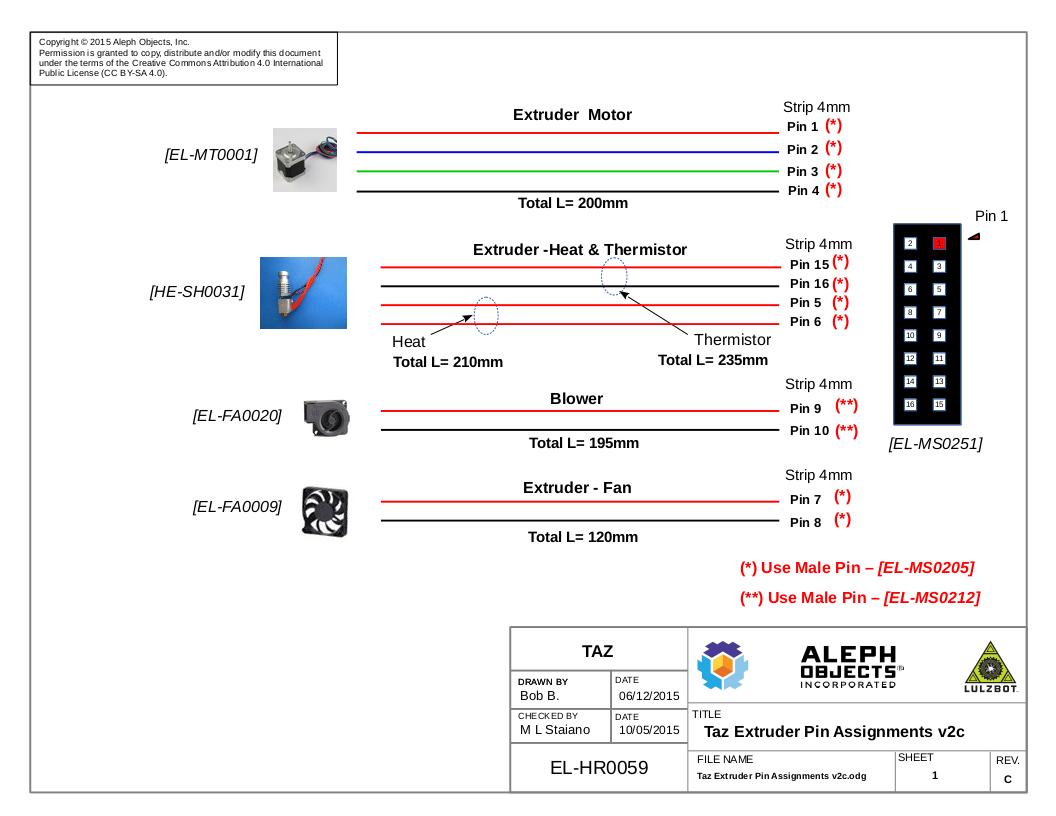
Please ensure when building AS-TH0049 that a .5 nozzle is used and follow the pinout diagram in this step for wiring the extruder.
Components
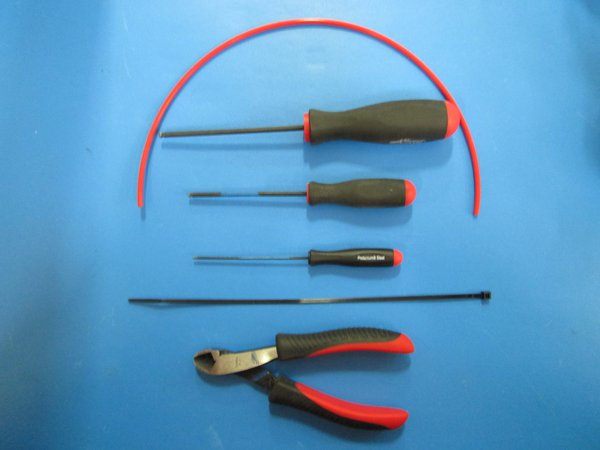
Tools
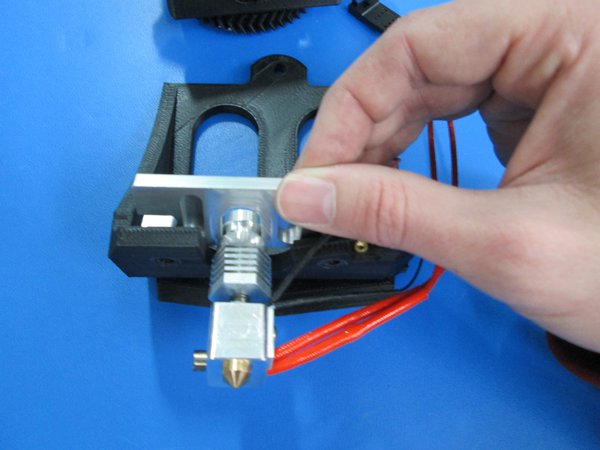
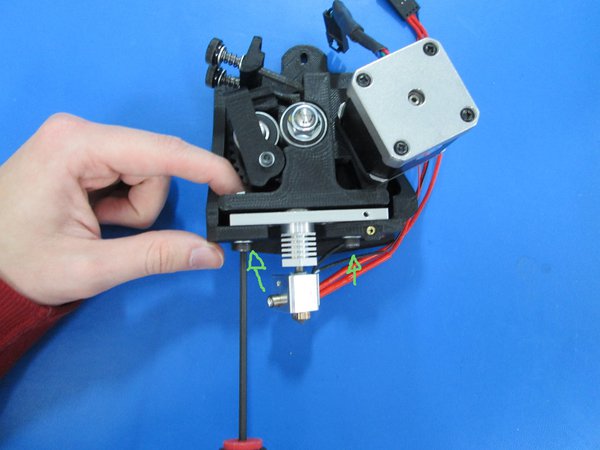
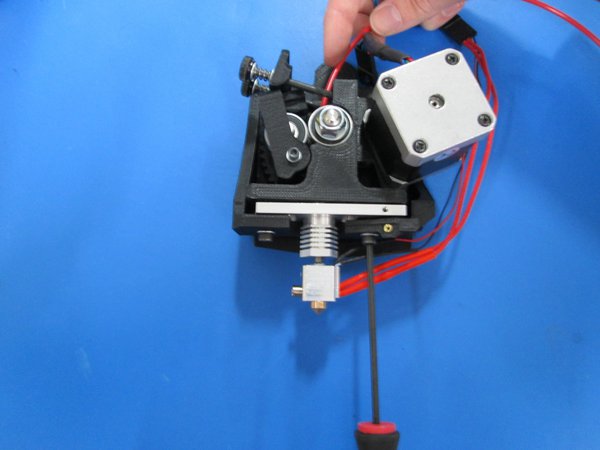
Place aluminum plate onto hex nozzle grooves, then place onto extruder body.
Place extruder mount on the top of hex nozzle. Hex nozzle should have yellow paint around (360 degrees) the connector.
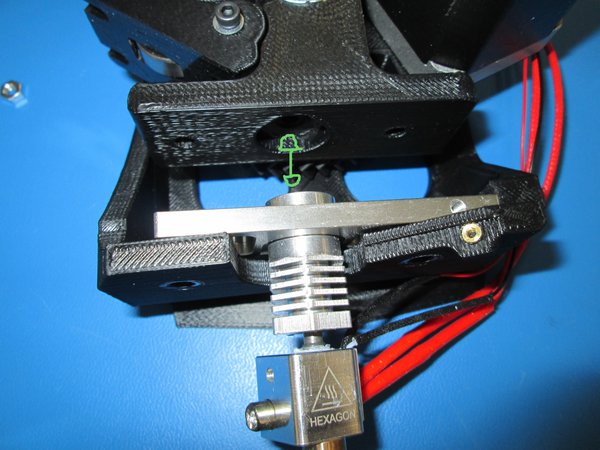
Using the the M3 allen, screw 2 M4x20's with washers into the 2 M4 nuts held by your finger on the extruder mount(leave these to M4 screws loose for now).
Face hex nozzle forward, tighten M4 screws, check that filament feeds through body and into hex nozzle without catching(you may need to push the aluminum plate to the right while tightening the M4's, so that the filament does not catch).
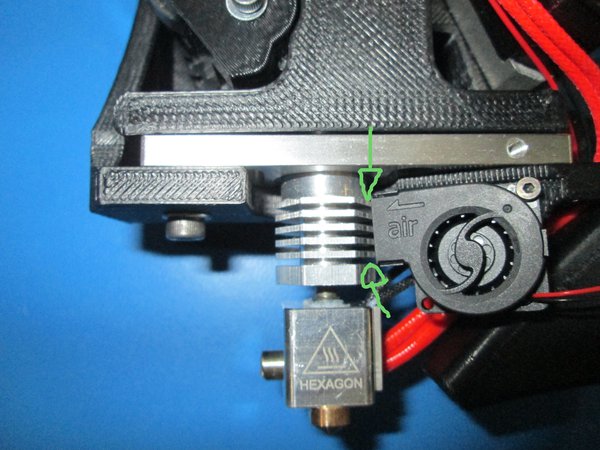
Verify gears don't rub on extruder body.


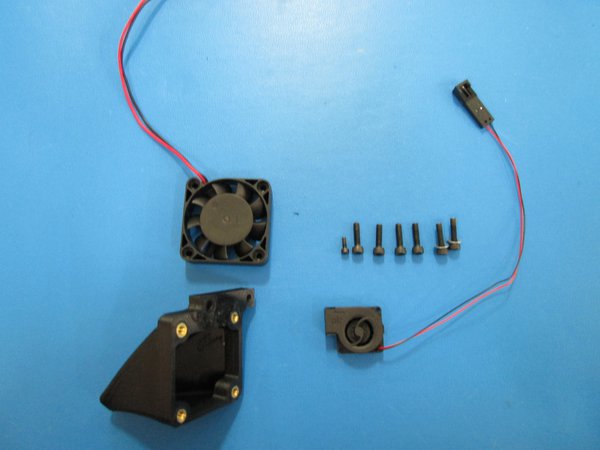
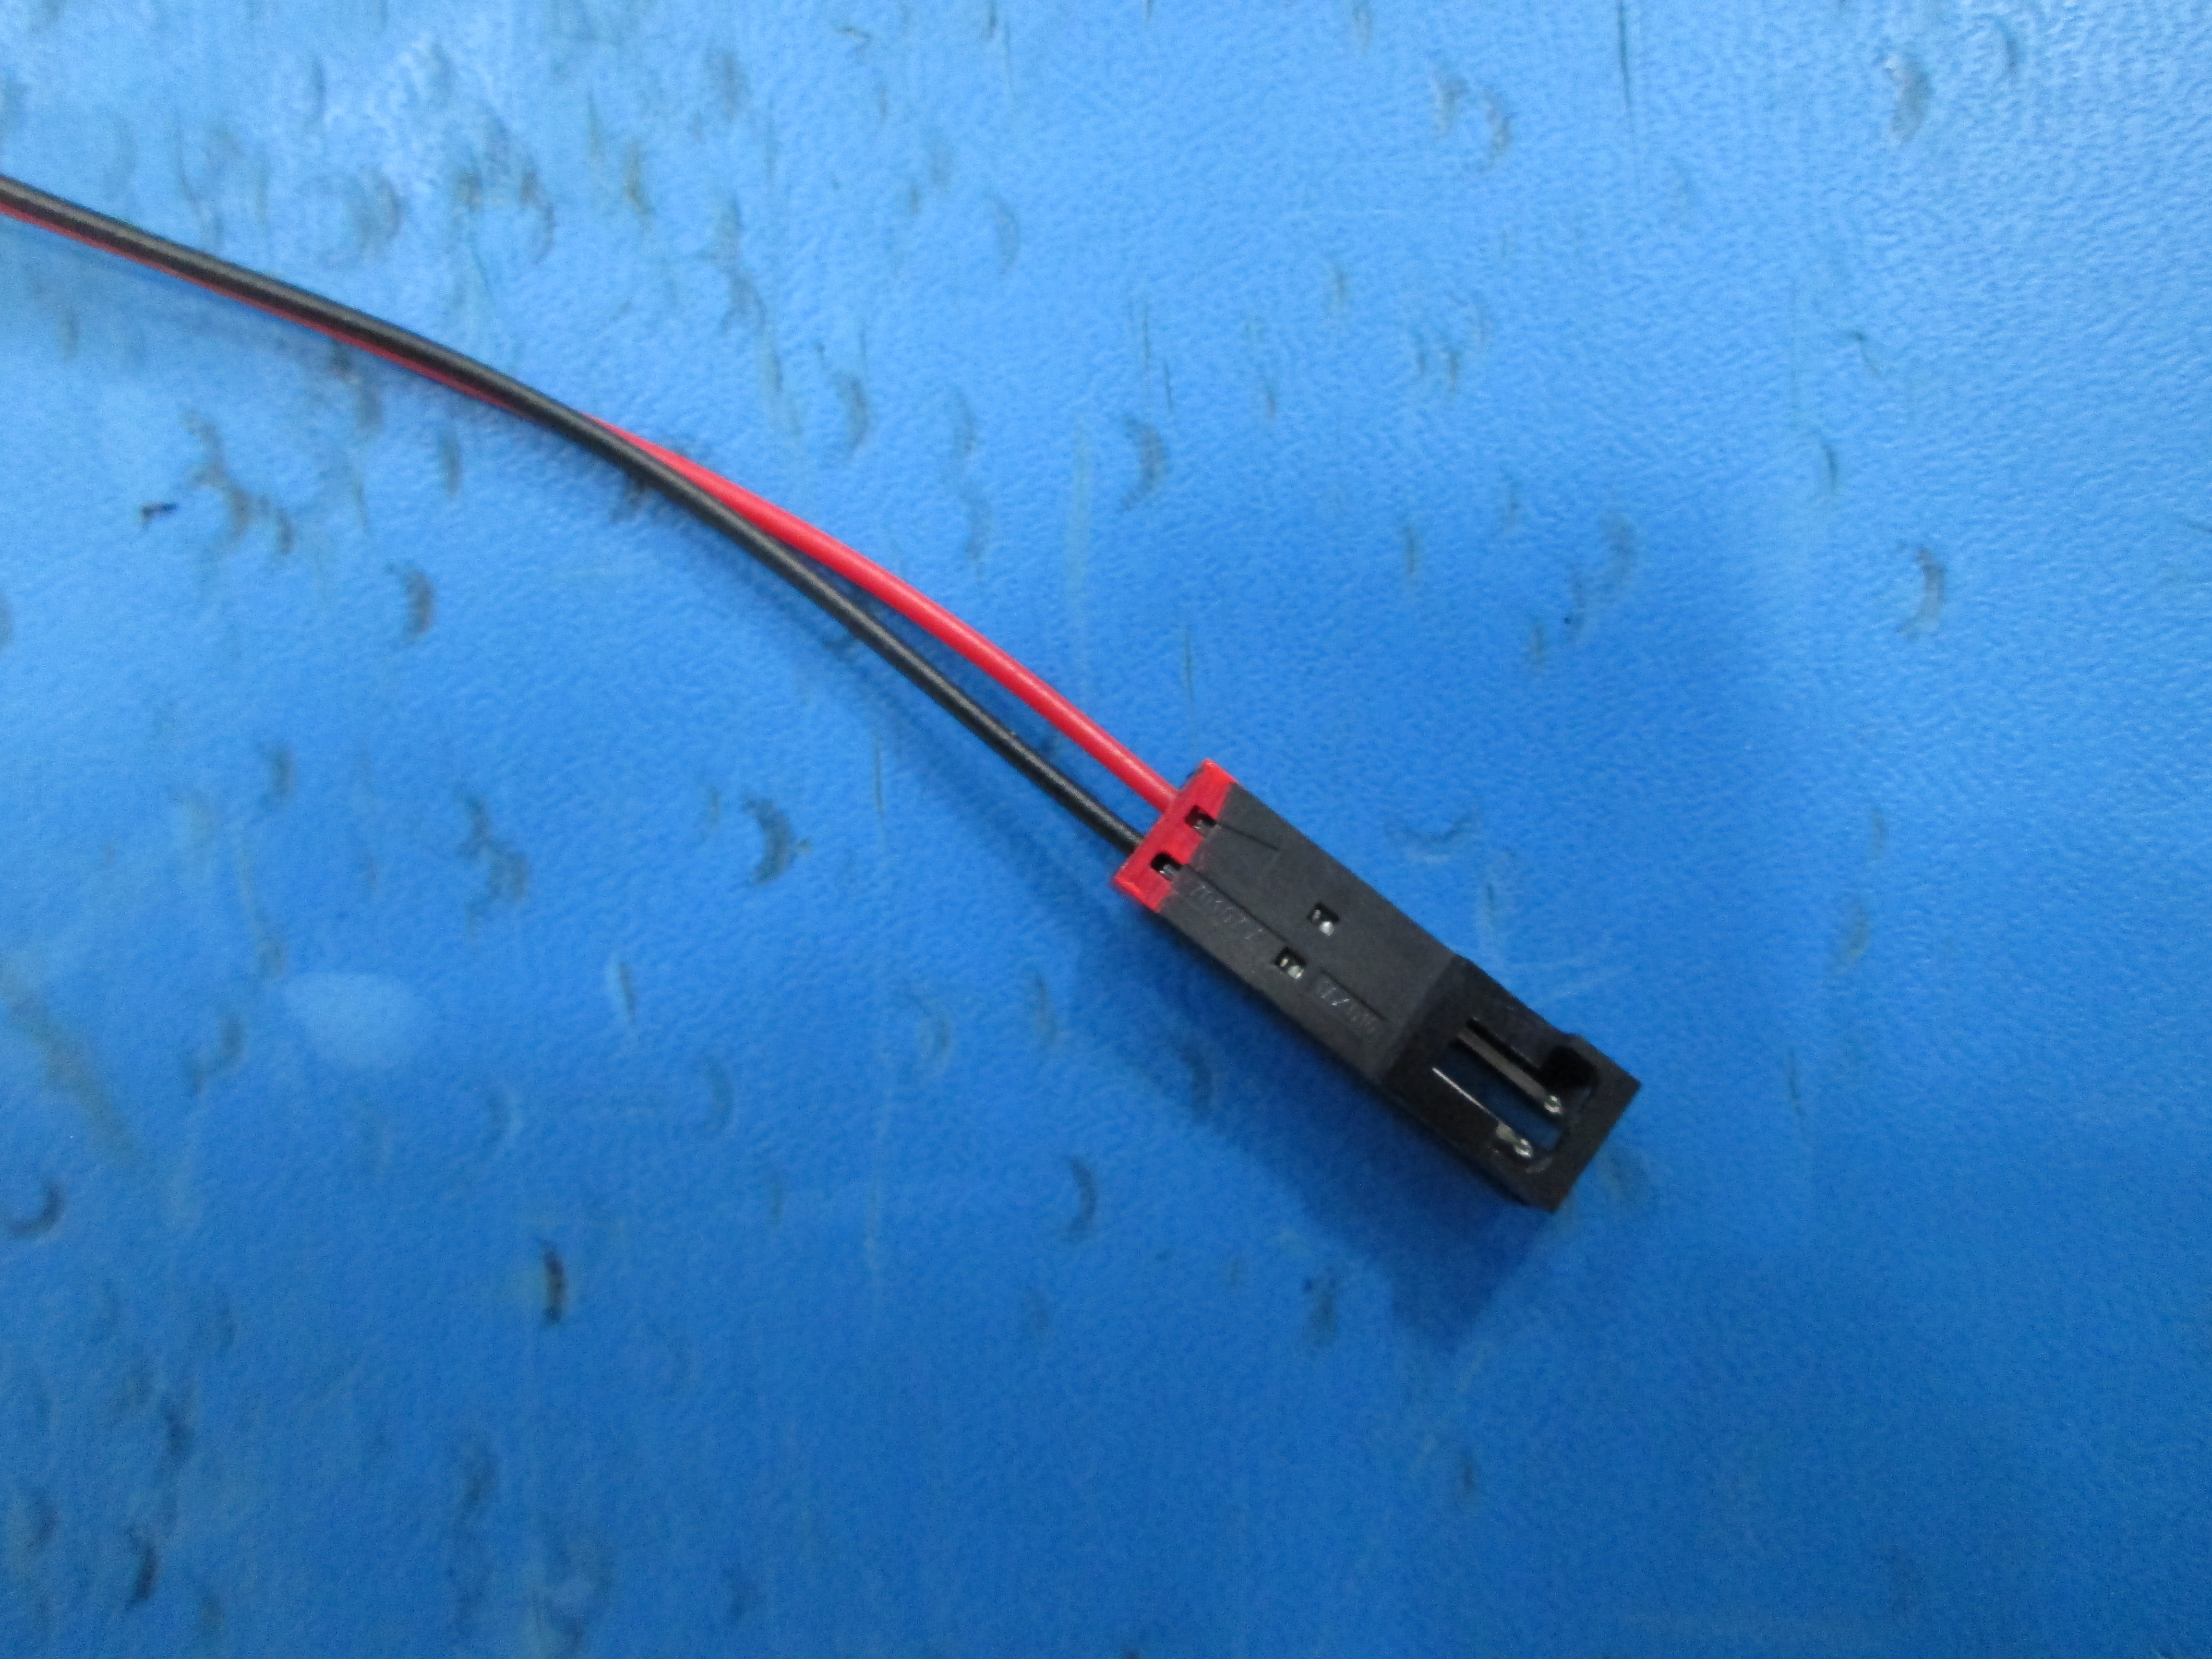
Attache the 40mm fan using the 2.5mm allen, screw in 4x M3x12 SHCS (Note fan orientation). 40mm fan should have red paint around (360 degrees) the 2-pin connector.
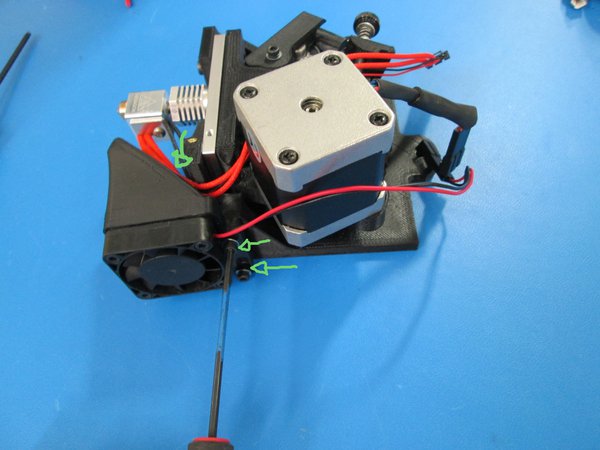
Align hex nozzle wires under fan duct, then screw in 2x M3x12 SHCS with washers to the extruder body.
Using the 1.5mm allen, screw one M2x6 mini blower on.
Make sure Mini blower has a 3-pin connector with yellow paint around (360 degress) the connector.
Ensure mini blower is aligned with hex heat sink.

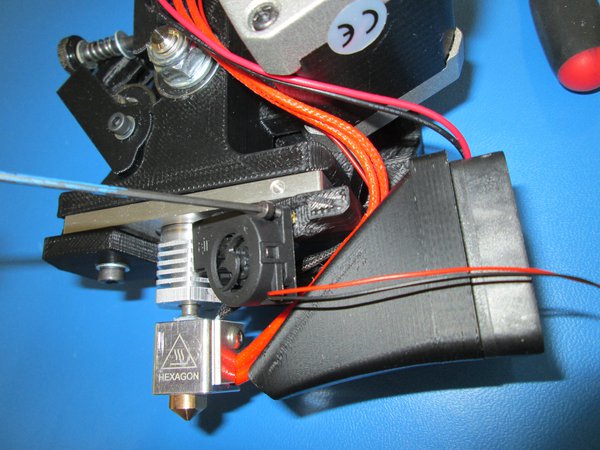
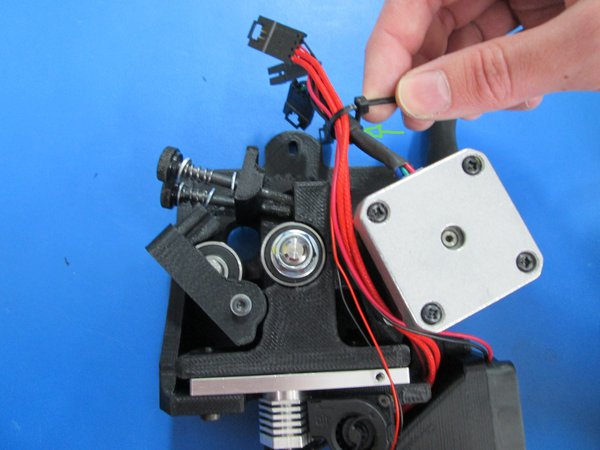
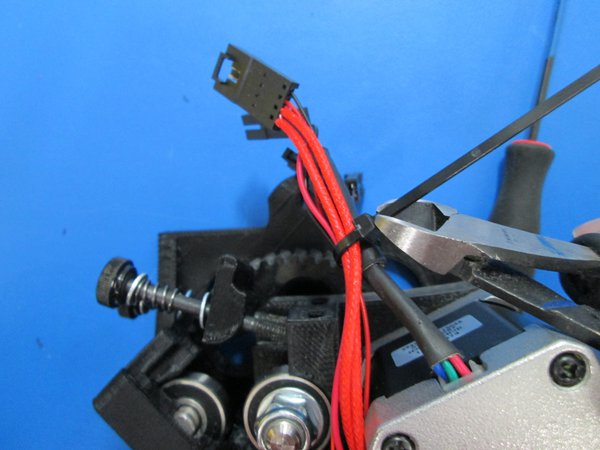
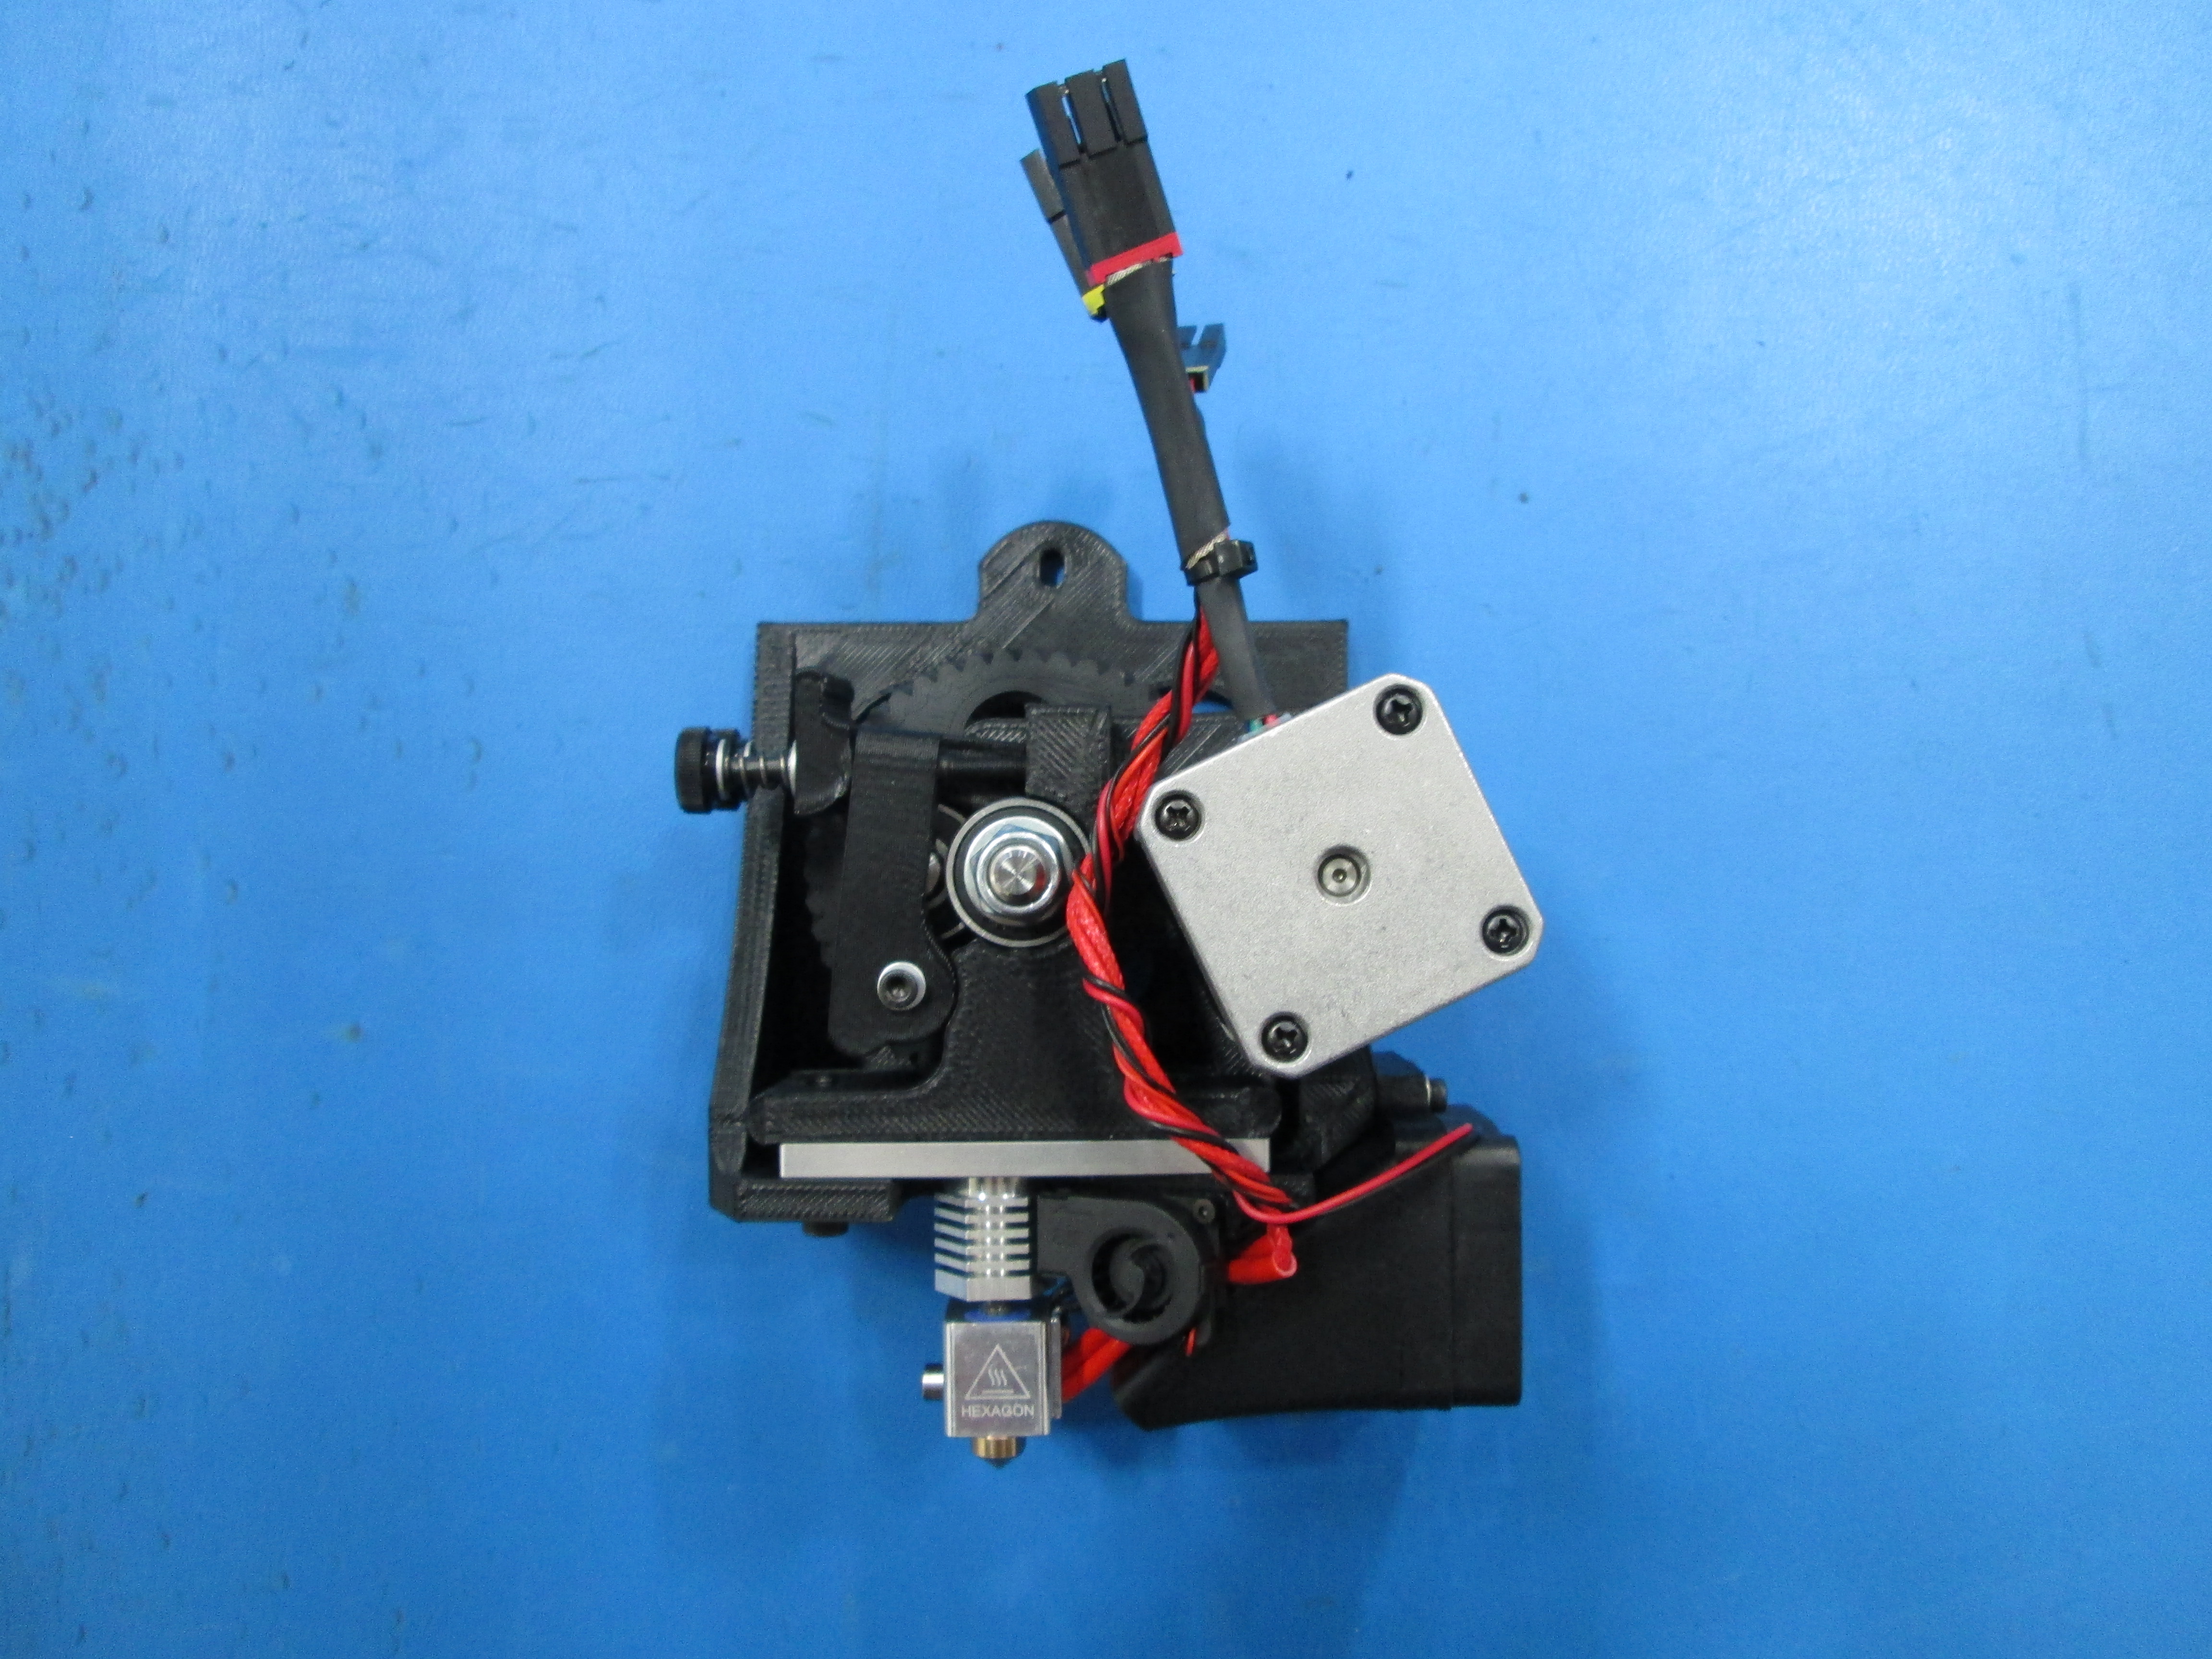
Route wires around motor, then zip tie wires where the motor wire get larger.
Tighten and clip zip tie using flush cutters