Open HardwareAssembly Instructions
Guides for installation and assembly of the LulzBot line of products made by FAME 3D LLC.
Guides for installation and assembly of the LulzBot line of products made by FAME 3D LLC.
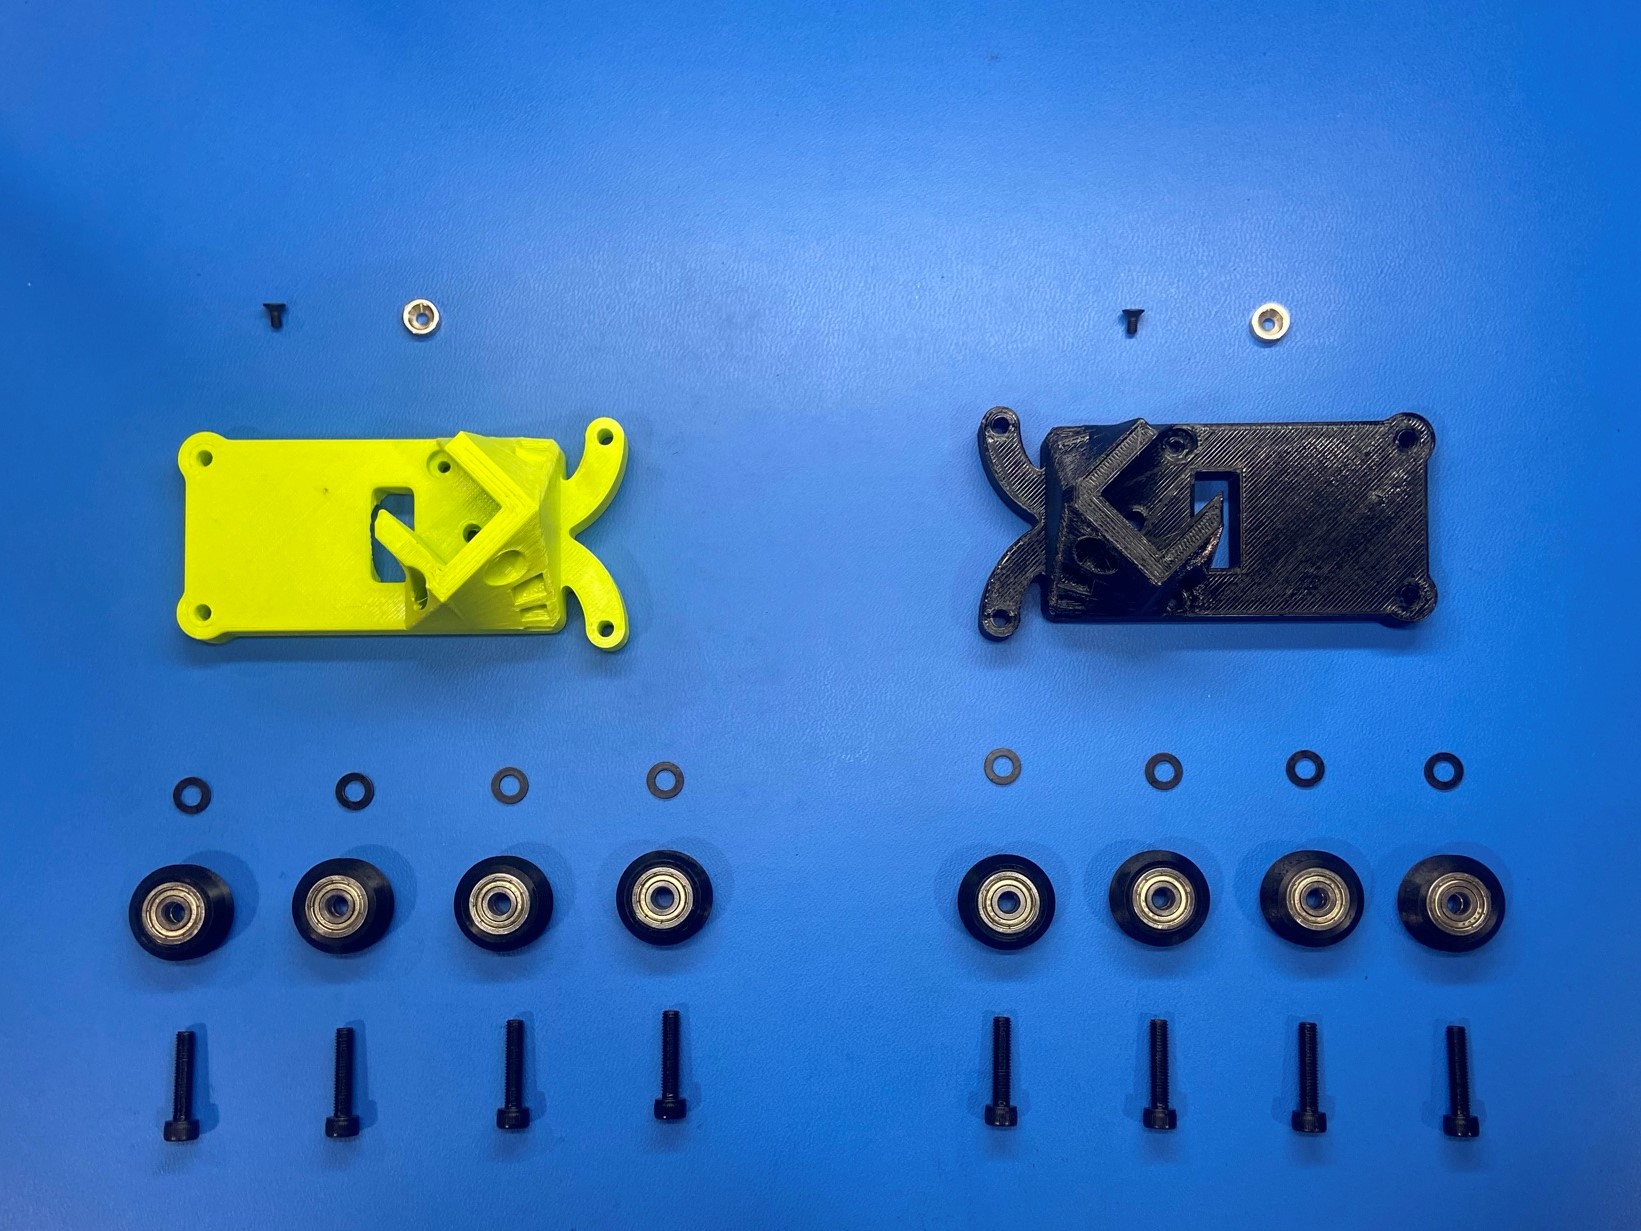
X Axis Idler
1x- [HD-BT0128] M3x6 FHCS, Black-Oxide
4x- [HD-BT0271] M5x22 SHCS, Black-Oxide
4x- [HD-MS0582] V-Wheel w/ Bearing
1x- [HD-MS0594] 3/8x1/8in Magnet w/ Taper Hole
4x- [HD-WA0040] M5 Washer
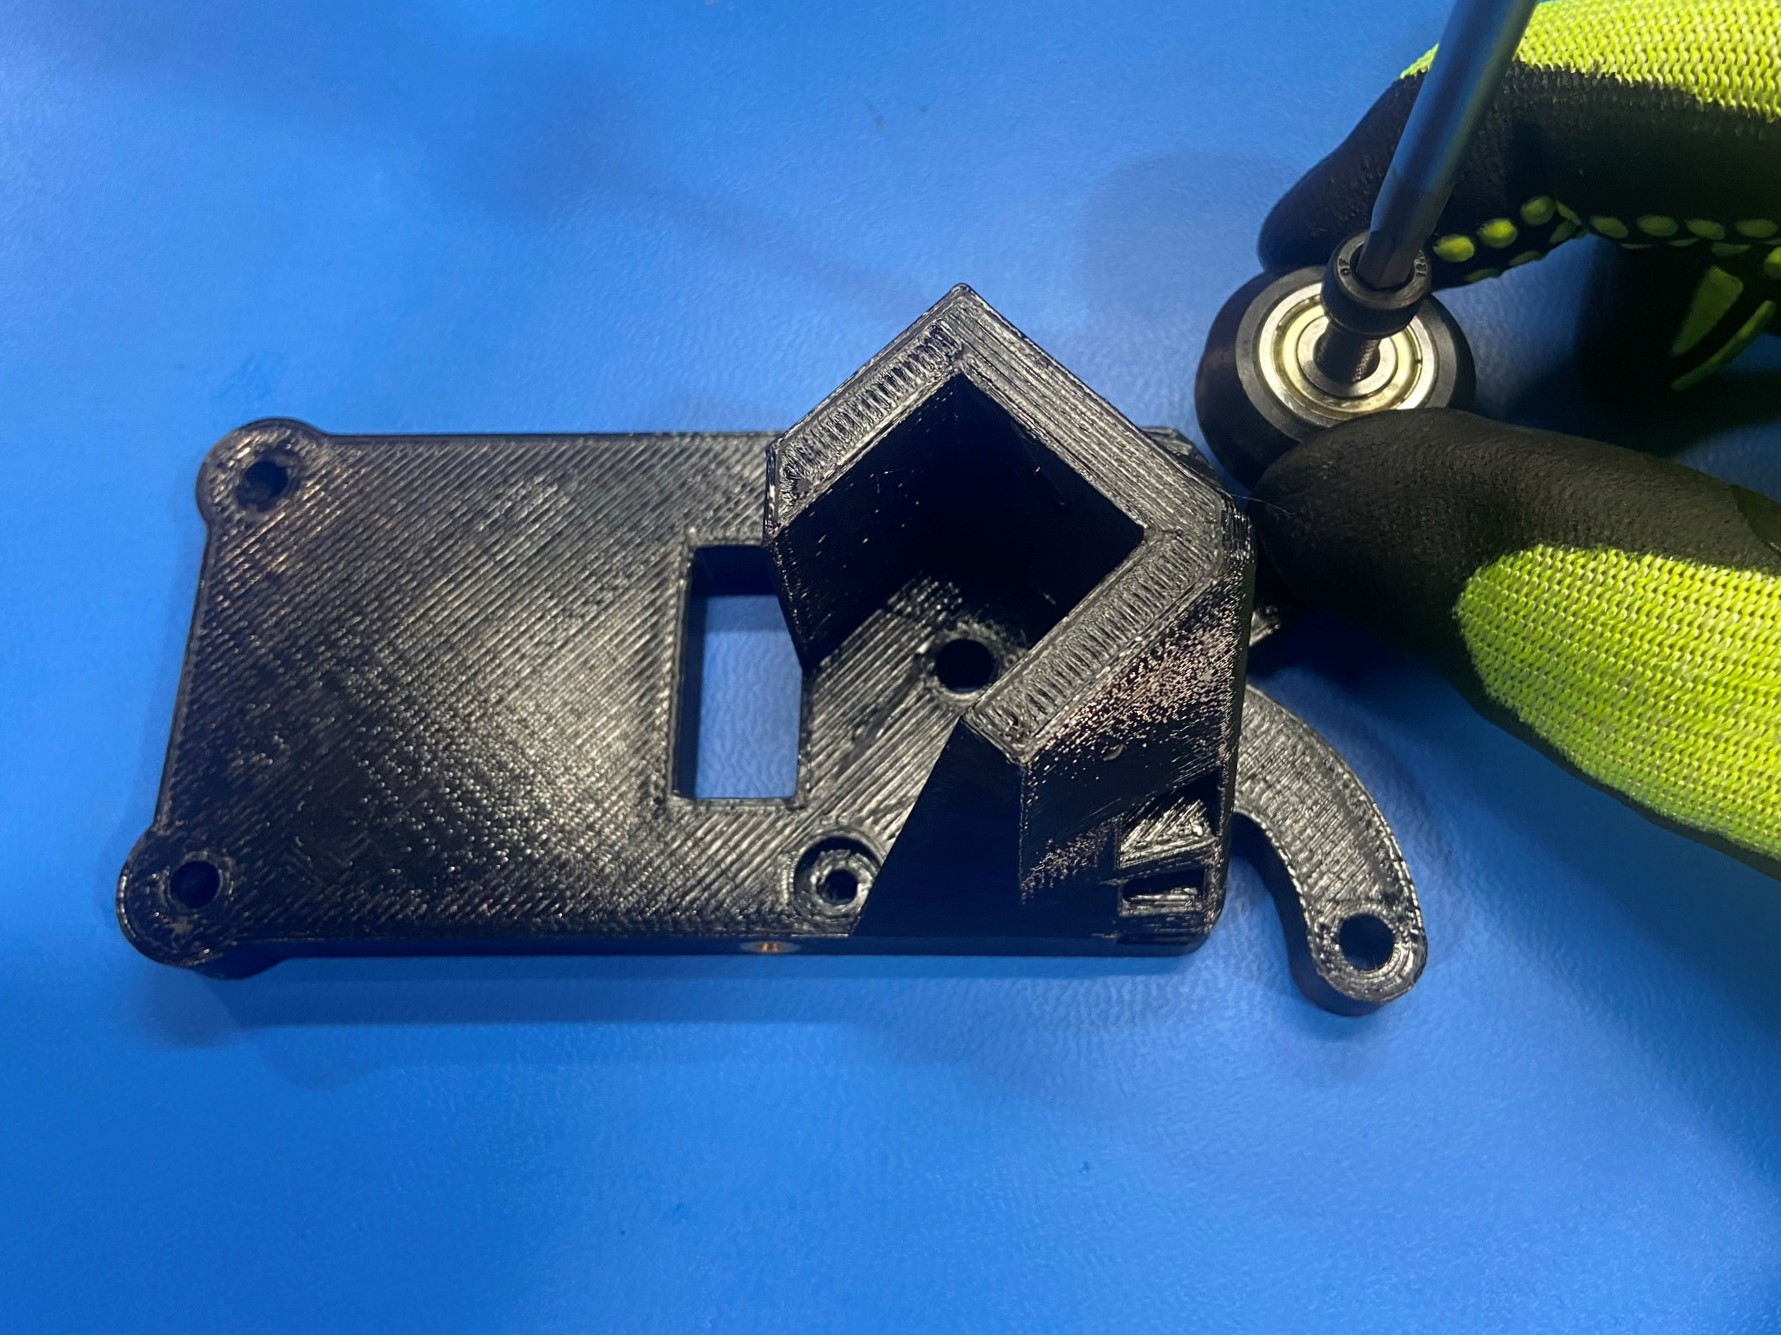
1x- [PP-GP0556] X Axis Idler
X Motor
1x- [HD-BT0128] M3x6 FHCS, Black-Oxide
4x- [HD-BT0271] M5x22 SHCS, Black-Oxide
4x- [HD-MS0582] V-Wheel w/ Bearing
1x- [HD-MS0594] 3/8x1/8in Magnet w/ Taper Hole
4x- [HD-WA0040] M5 Washer
1x- [PP-GP0526] X Motor
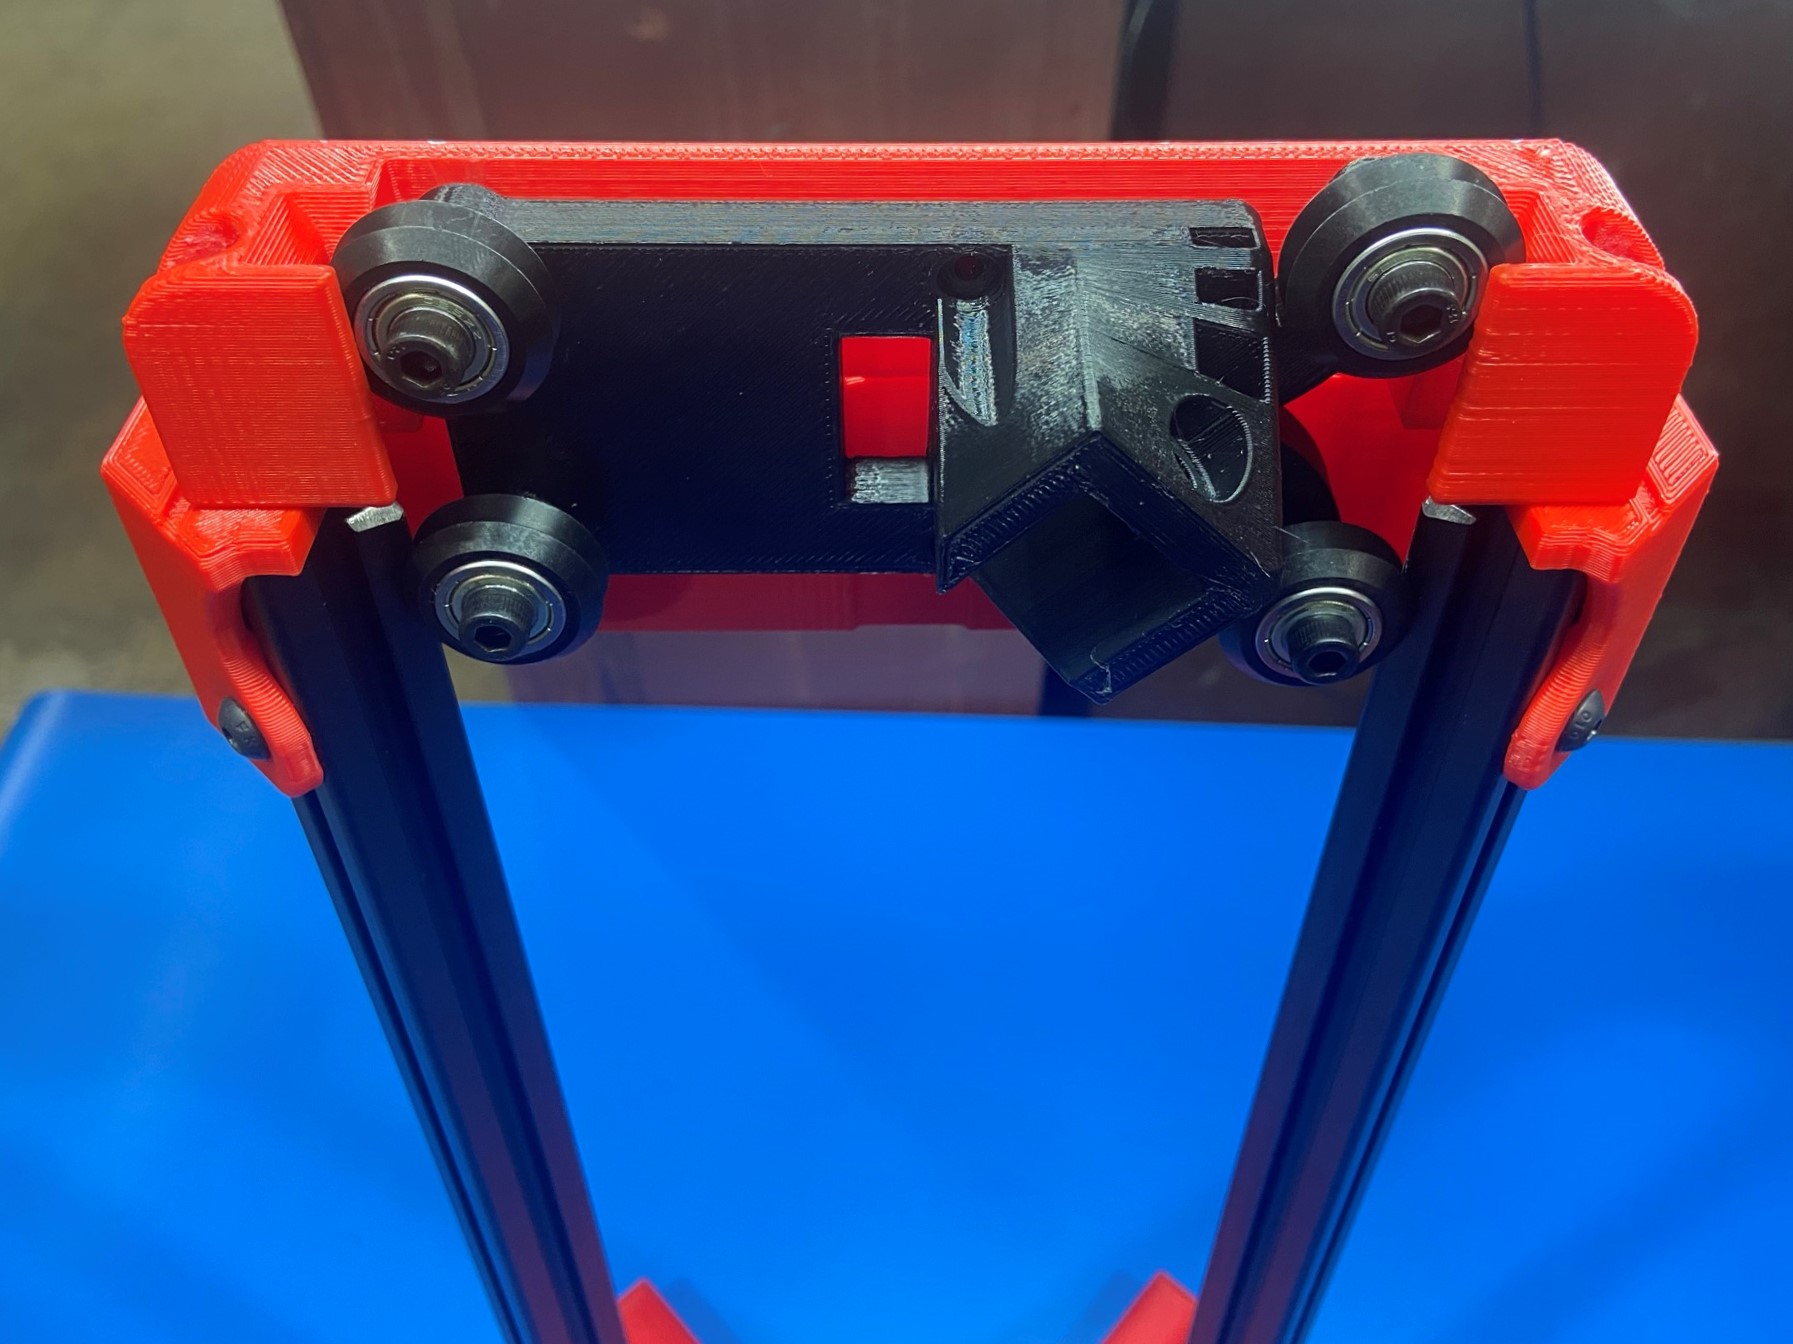
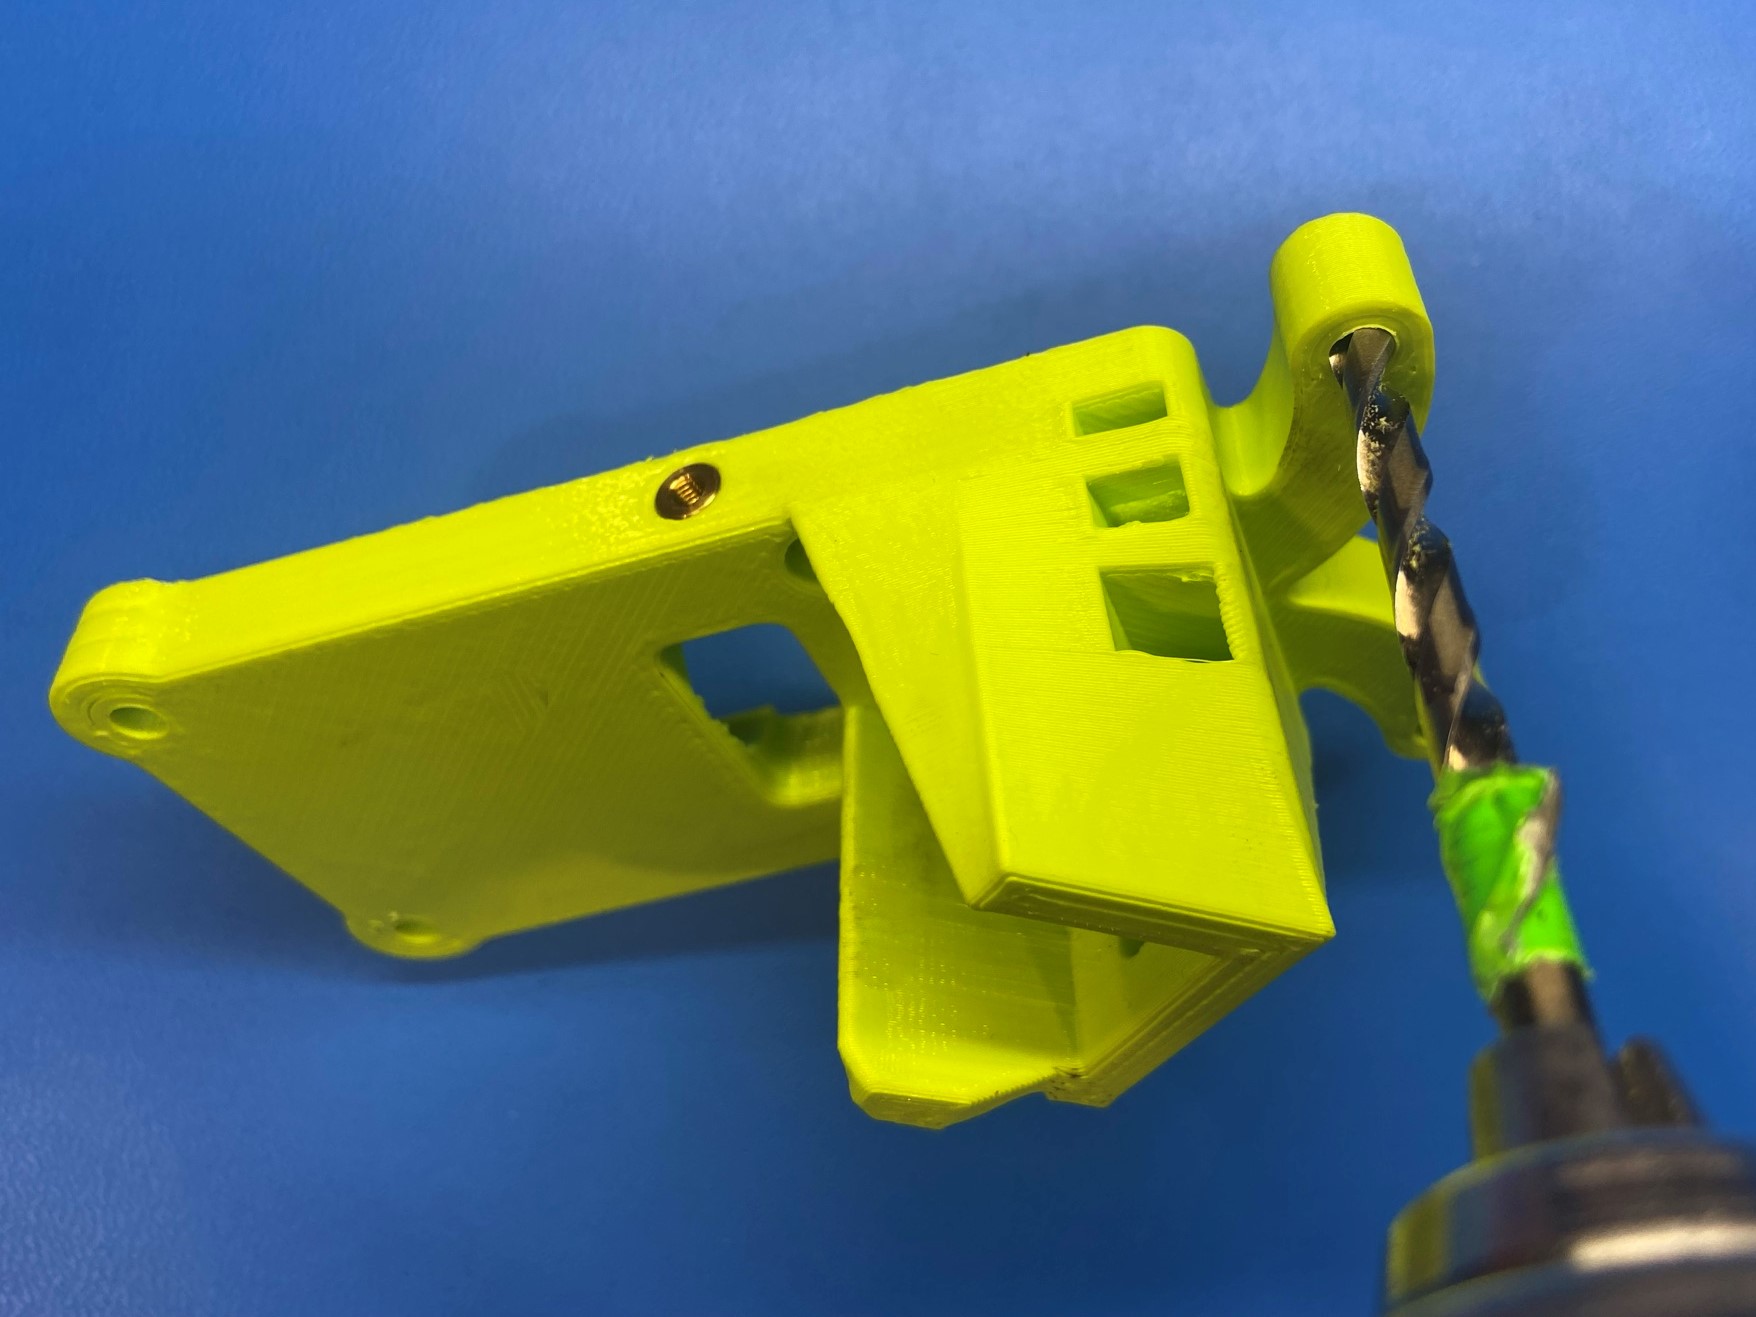
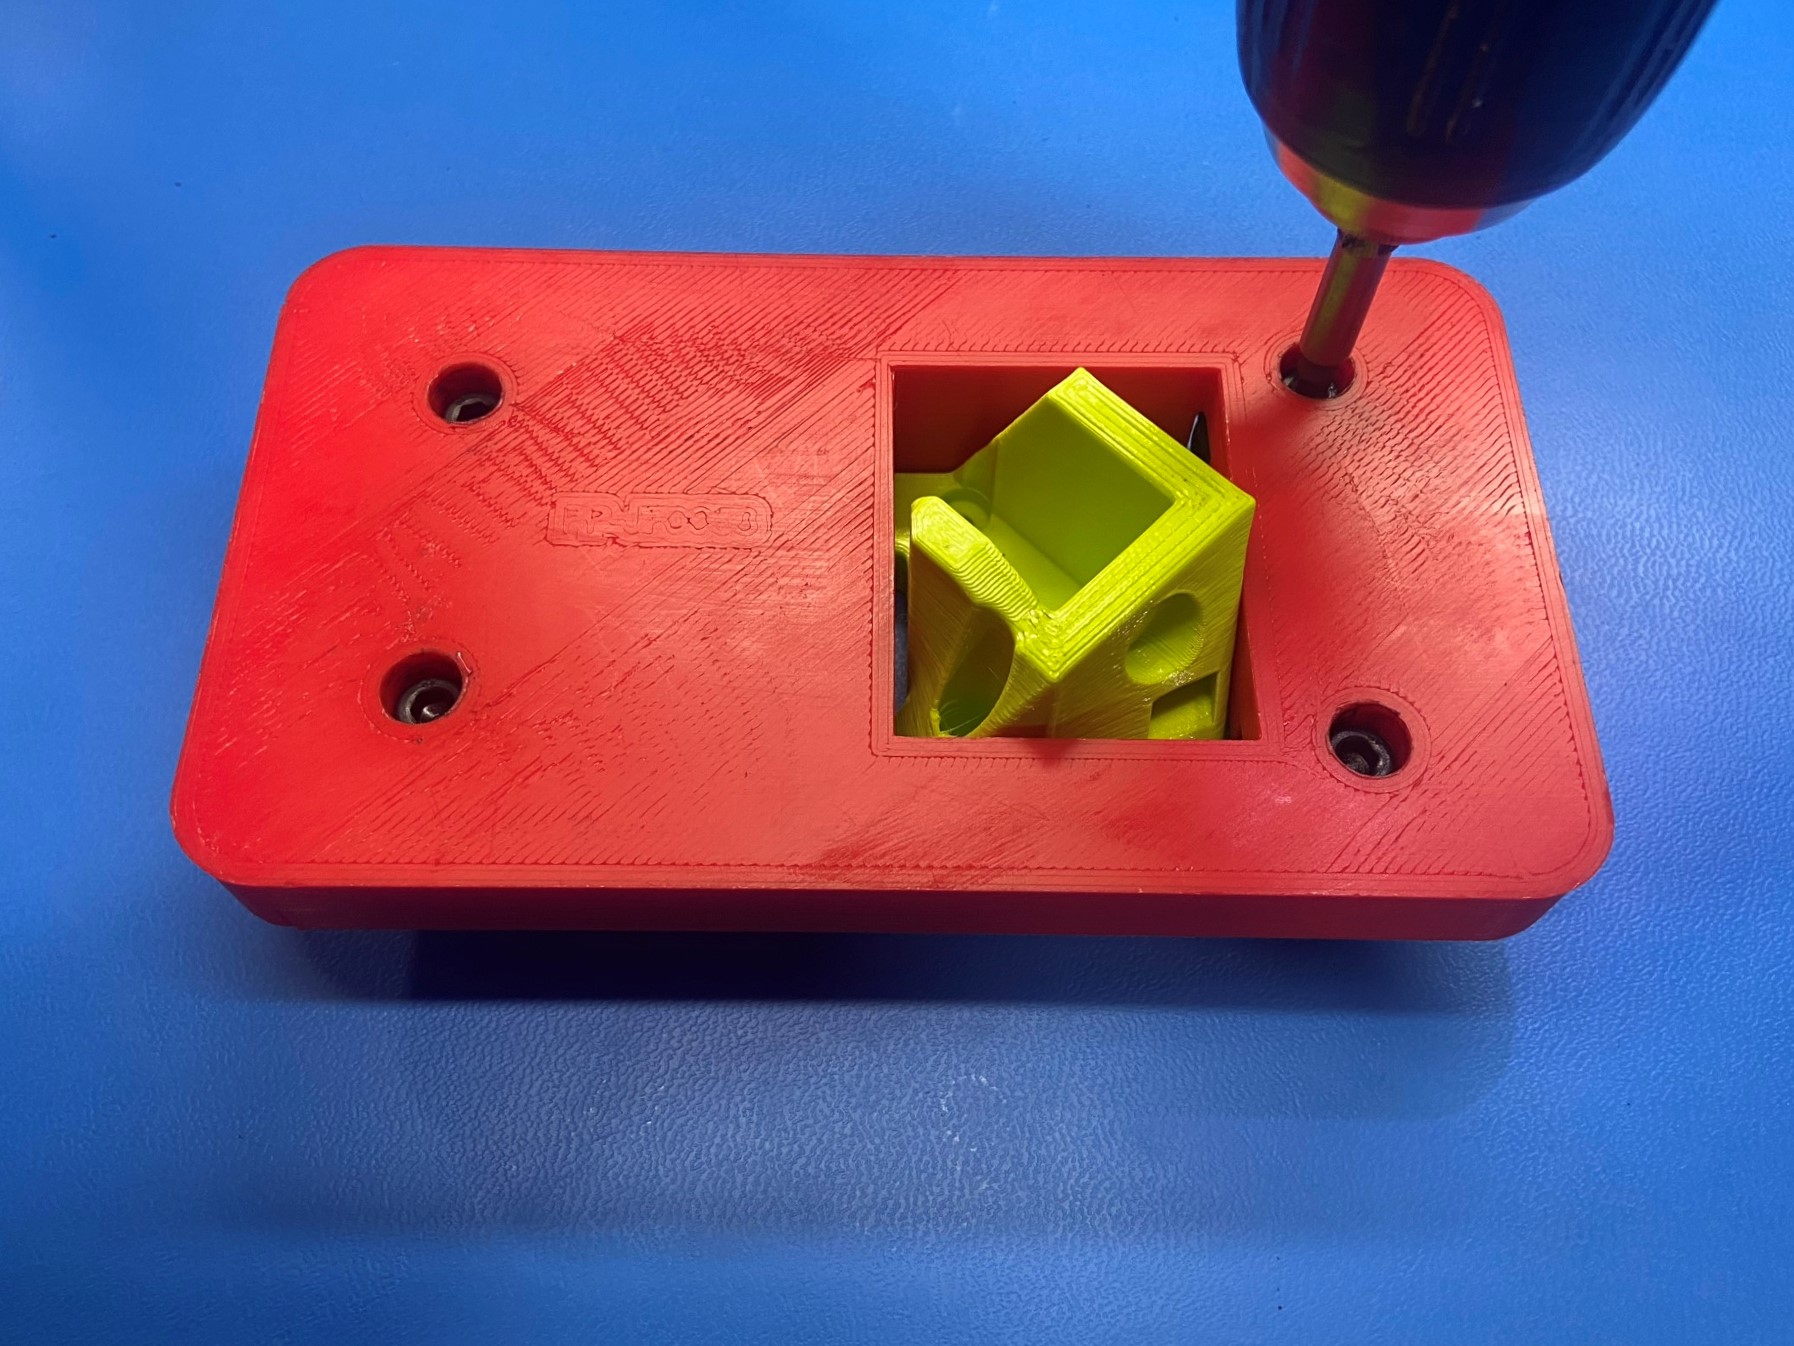
Use the drill with the drill bit that has green duct tape on it and drill out all four holes one the X axis idler [PP-GP0556]
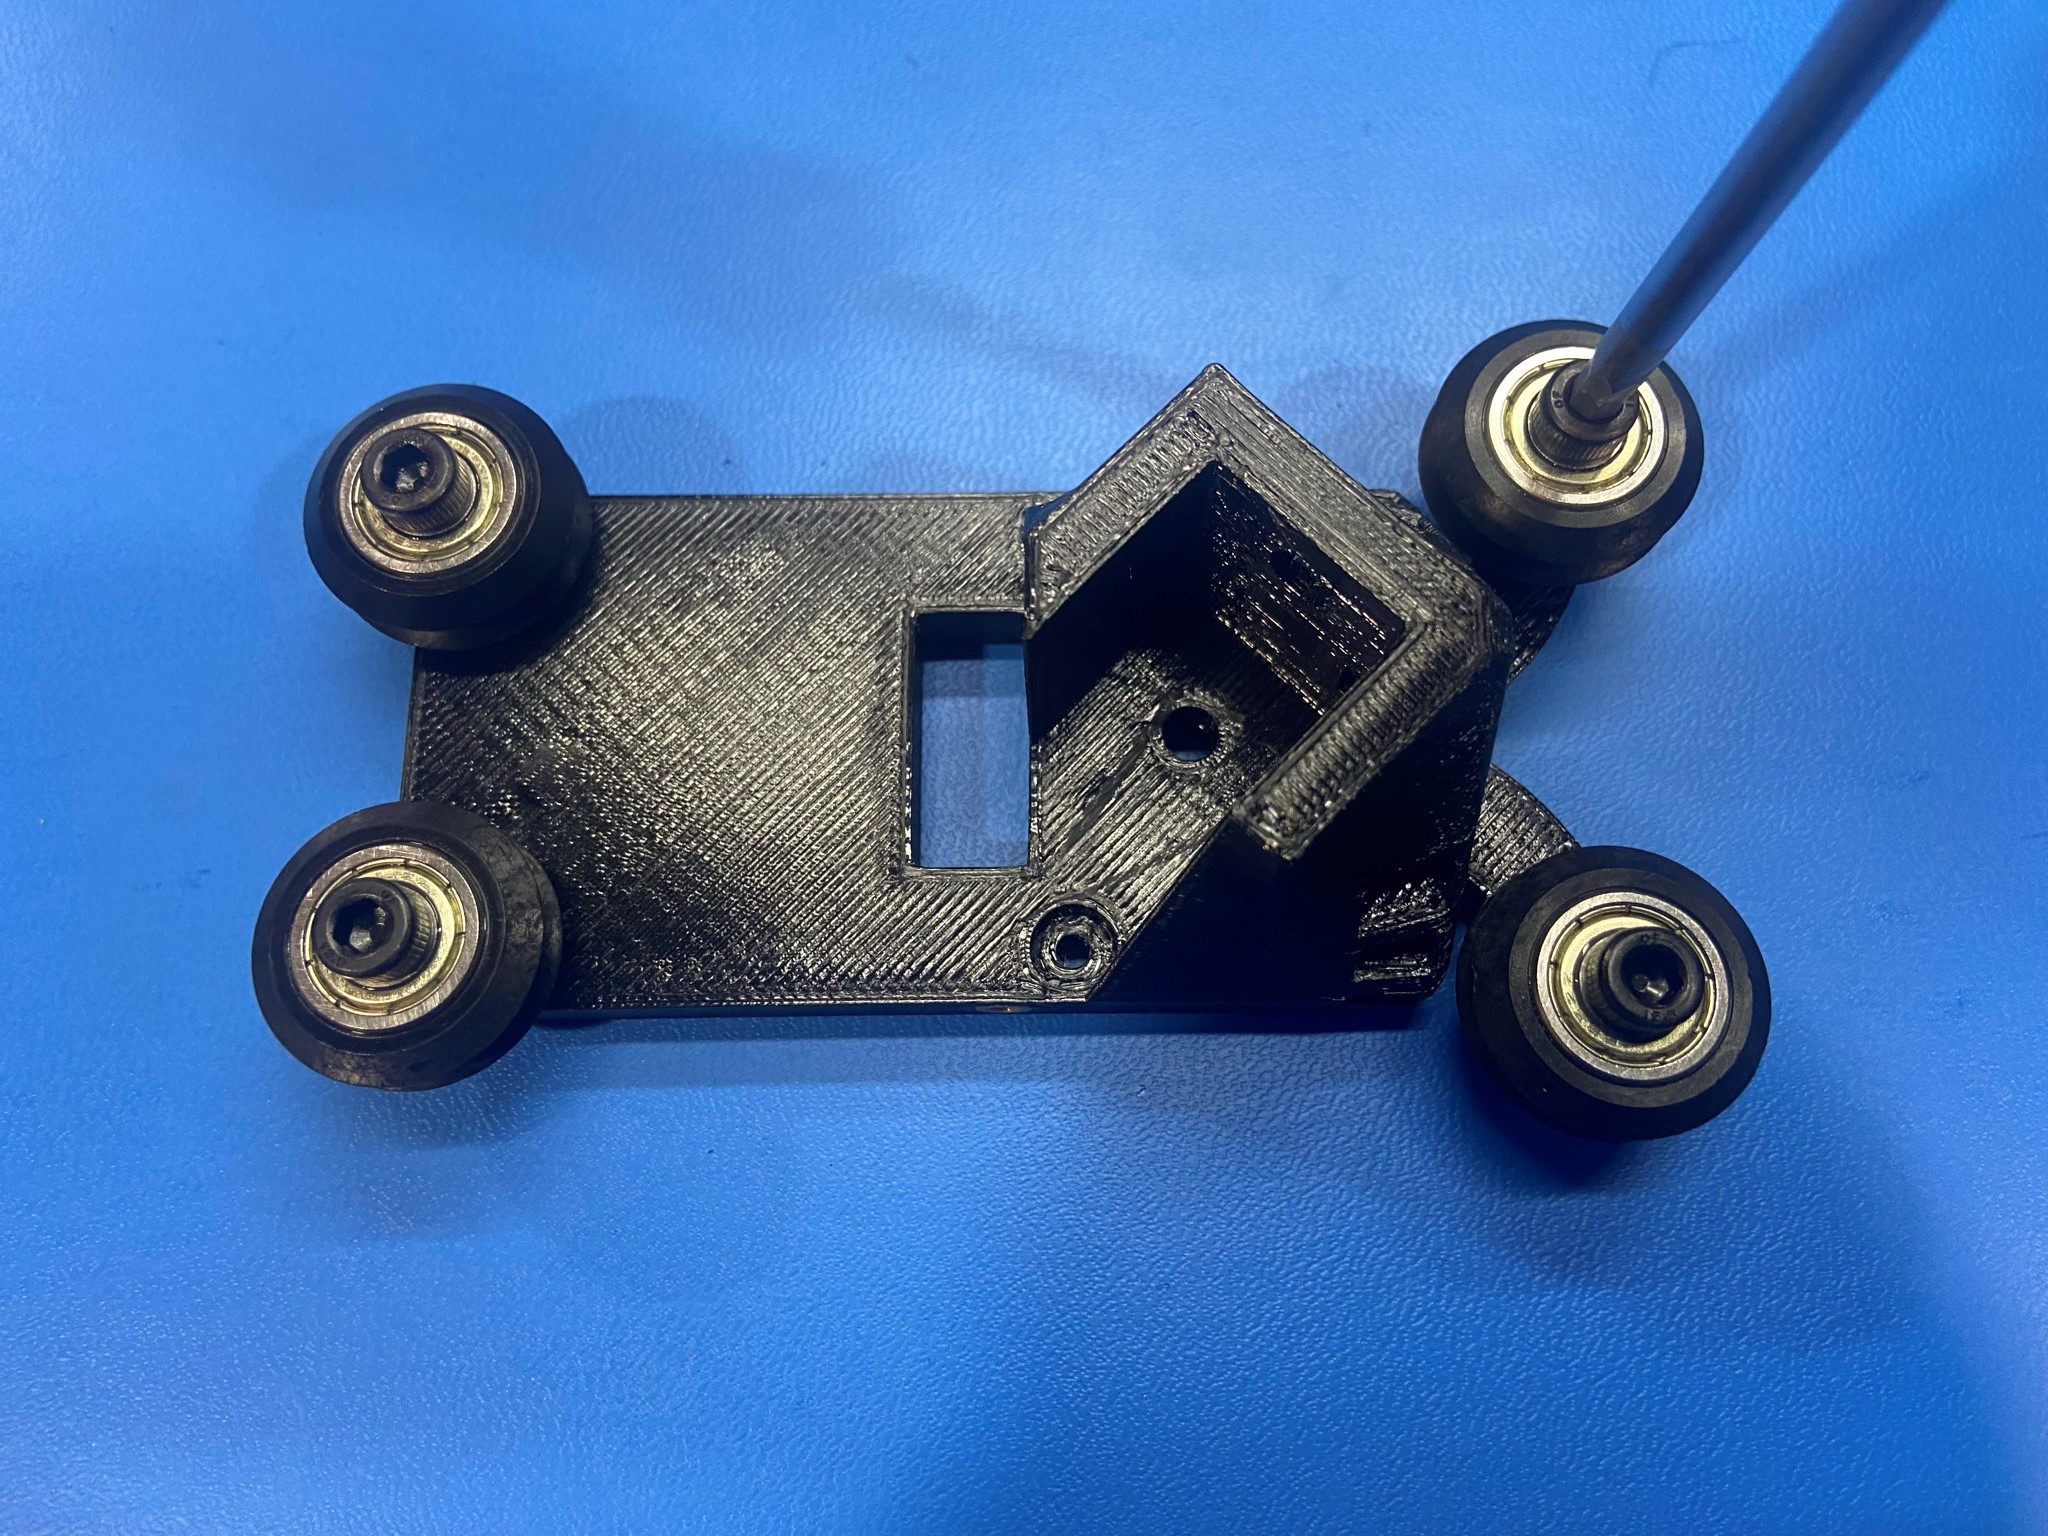
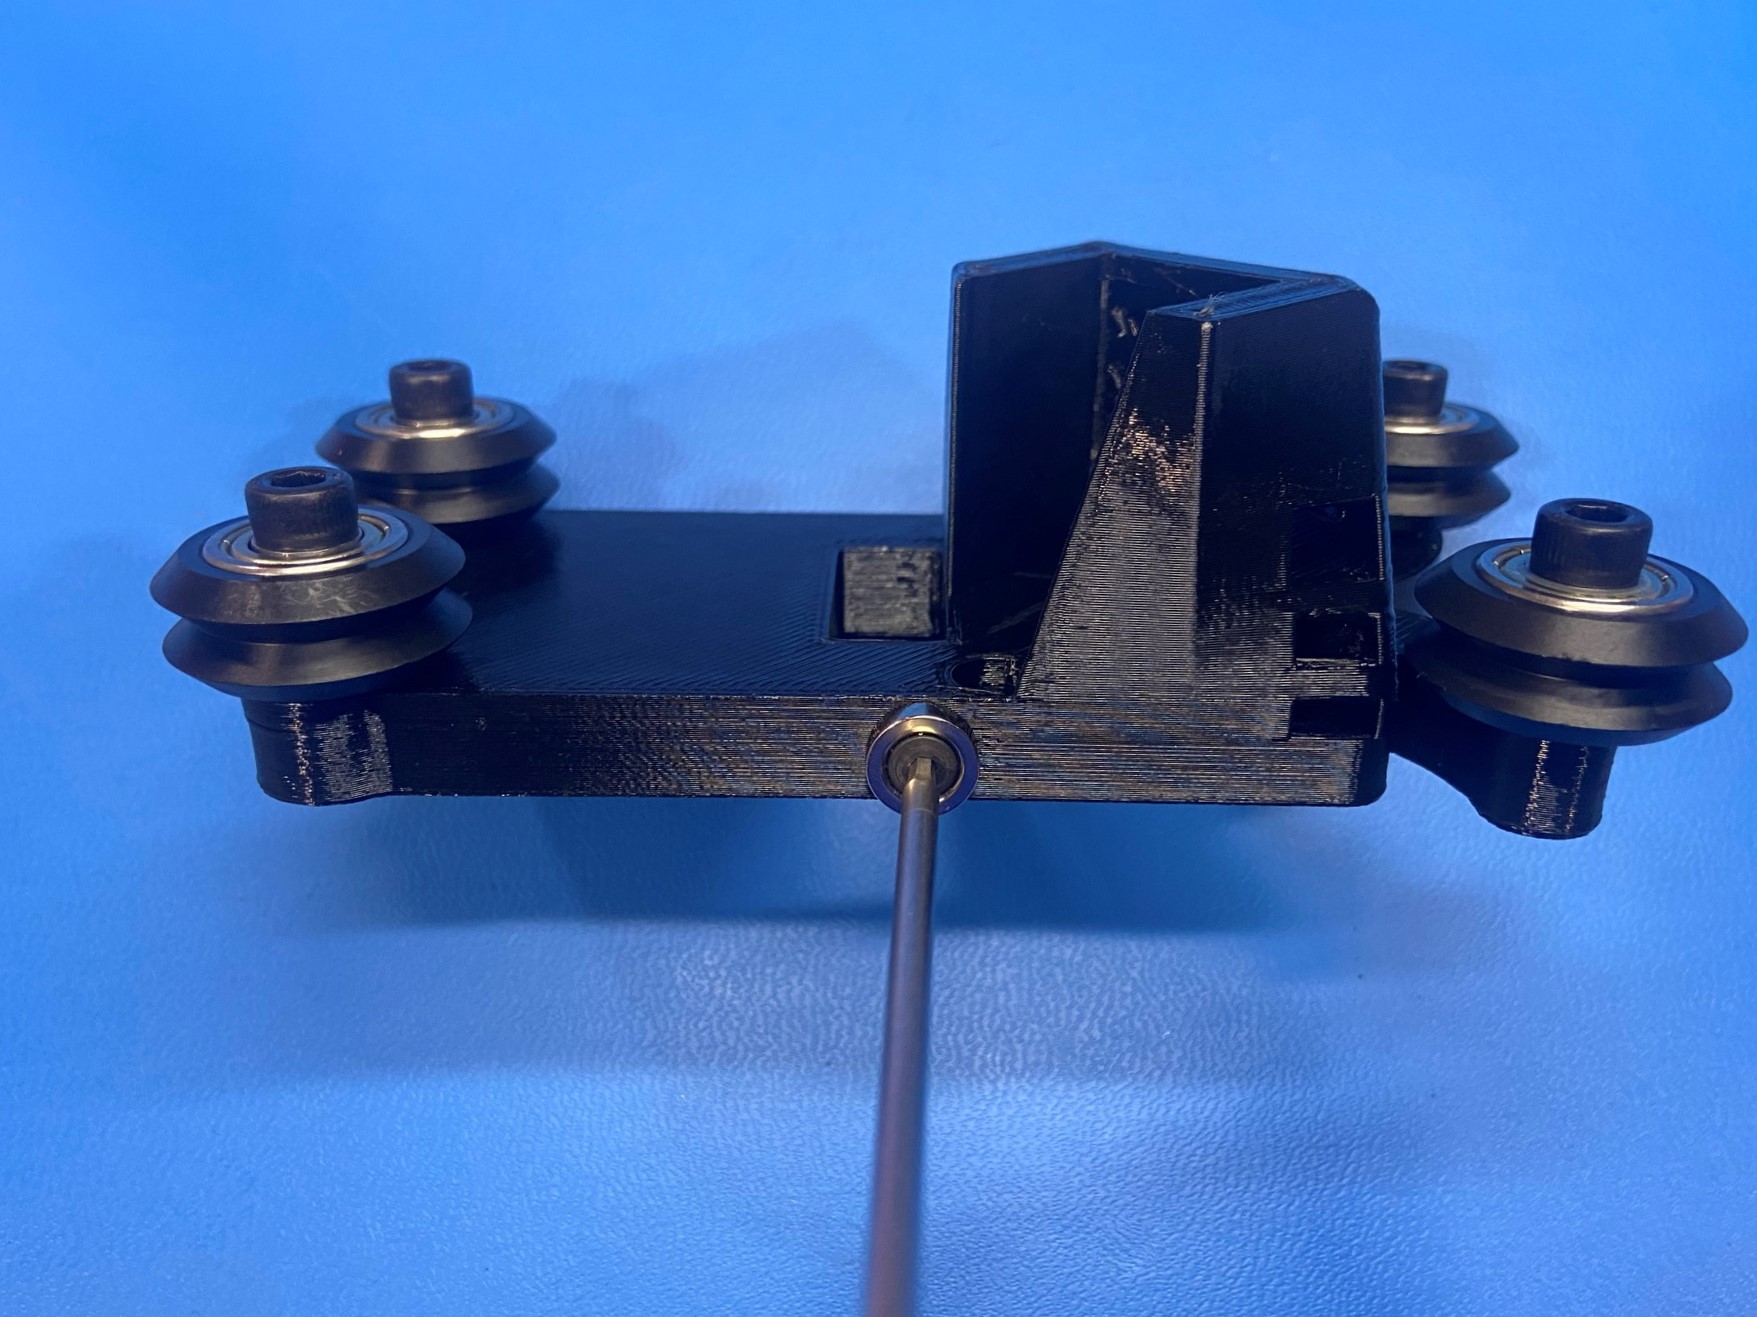
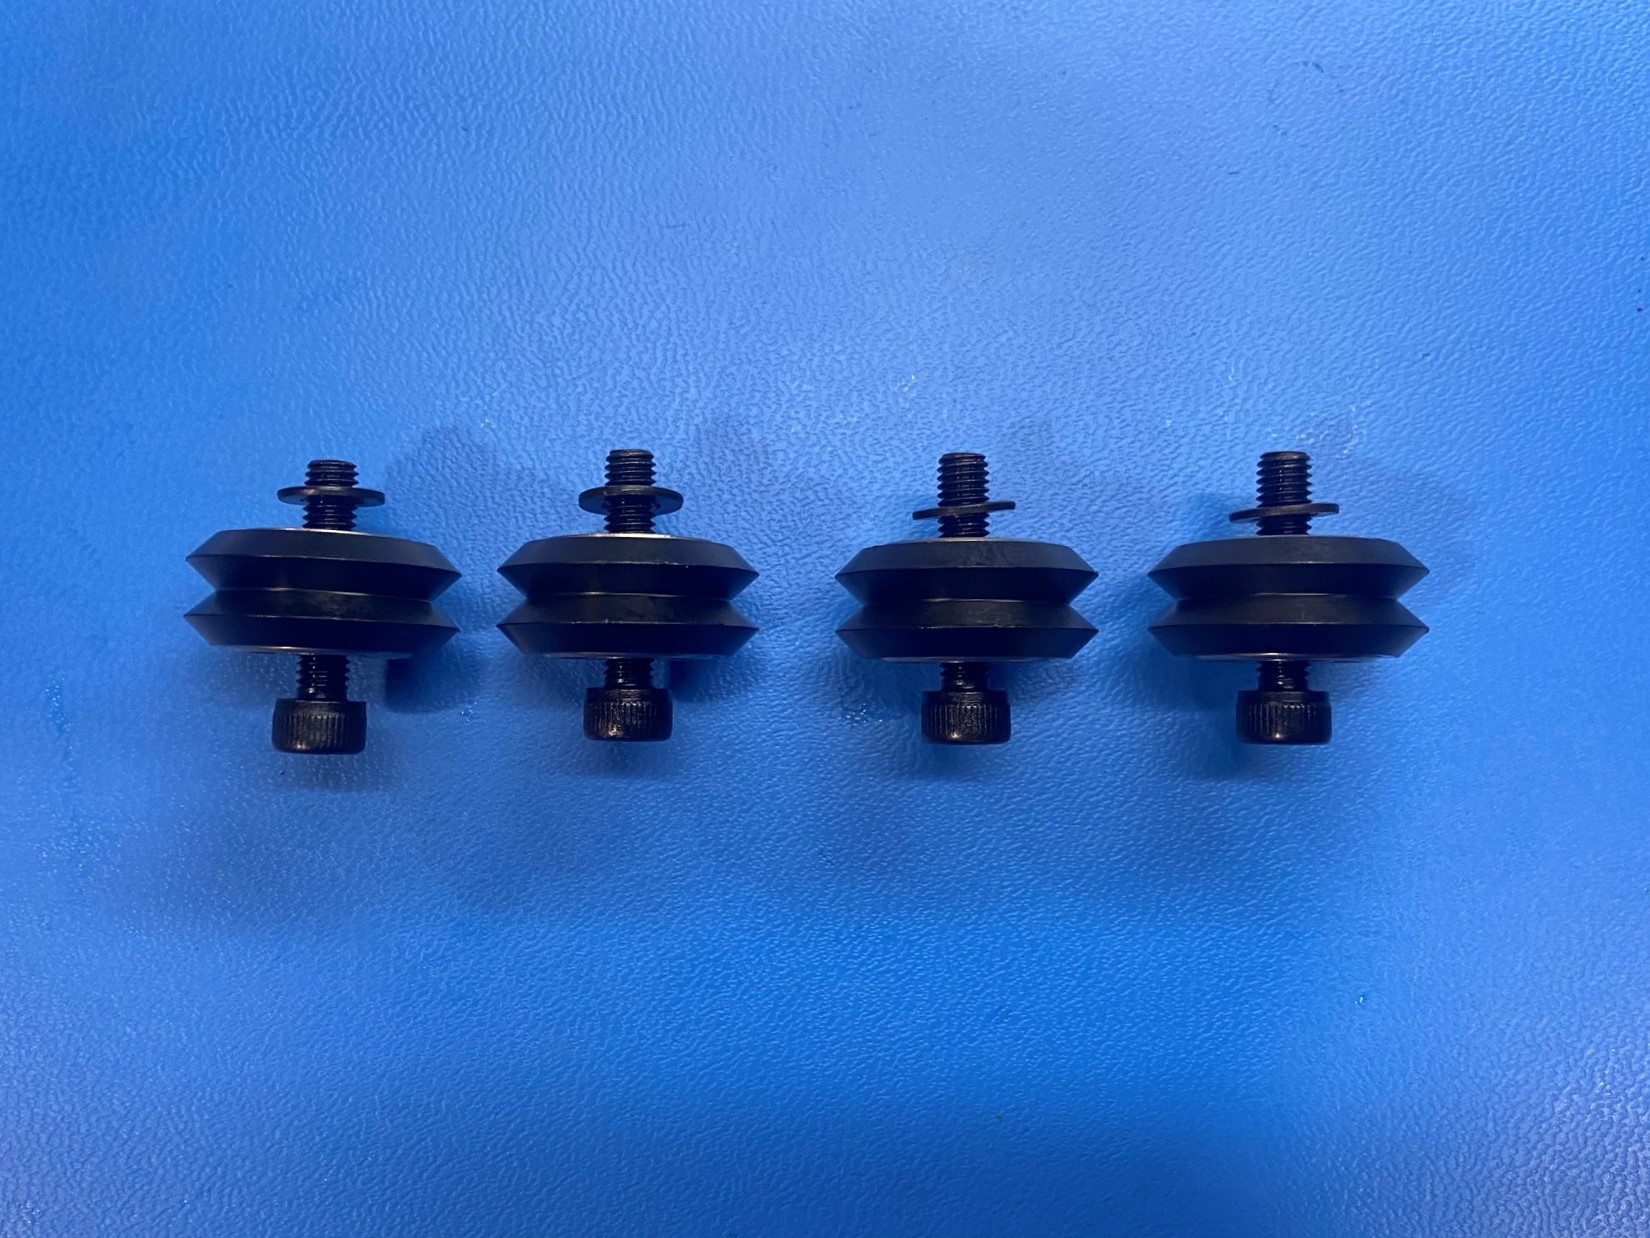
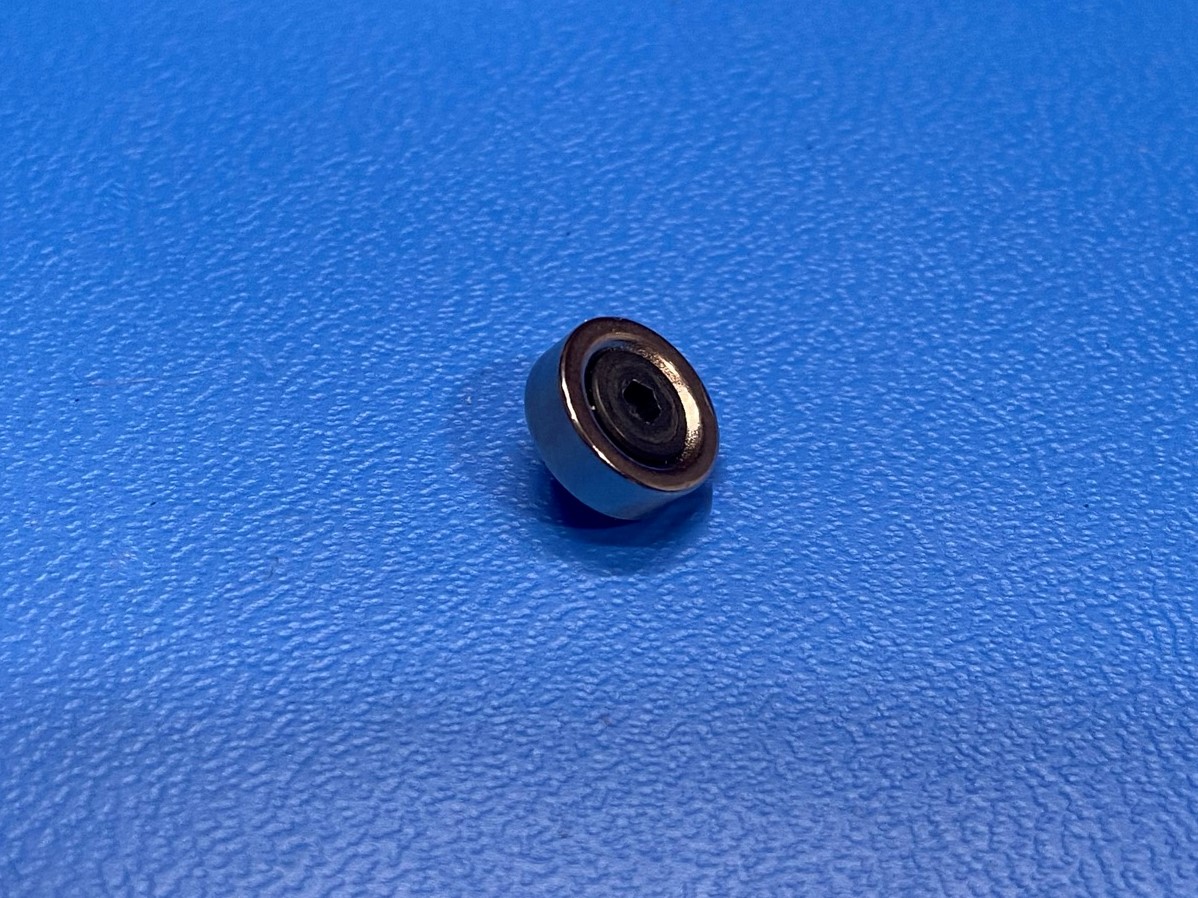
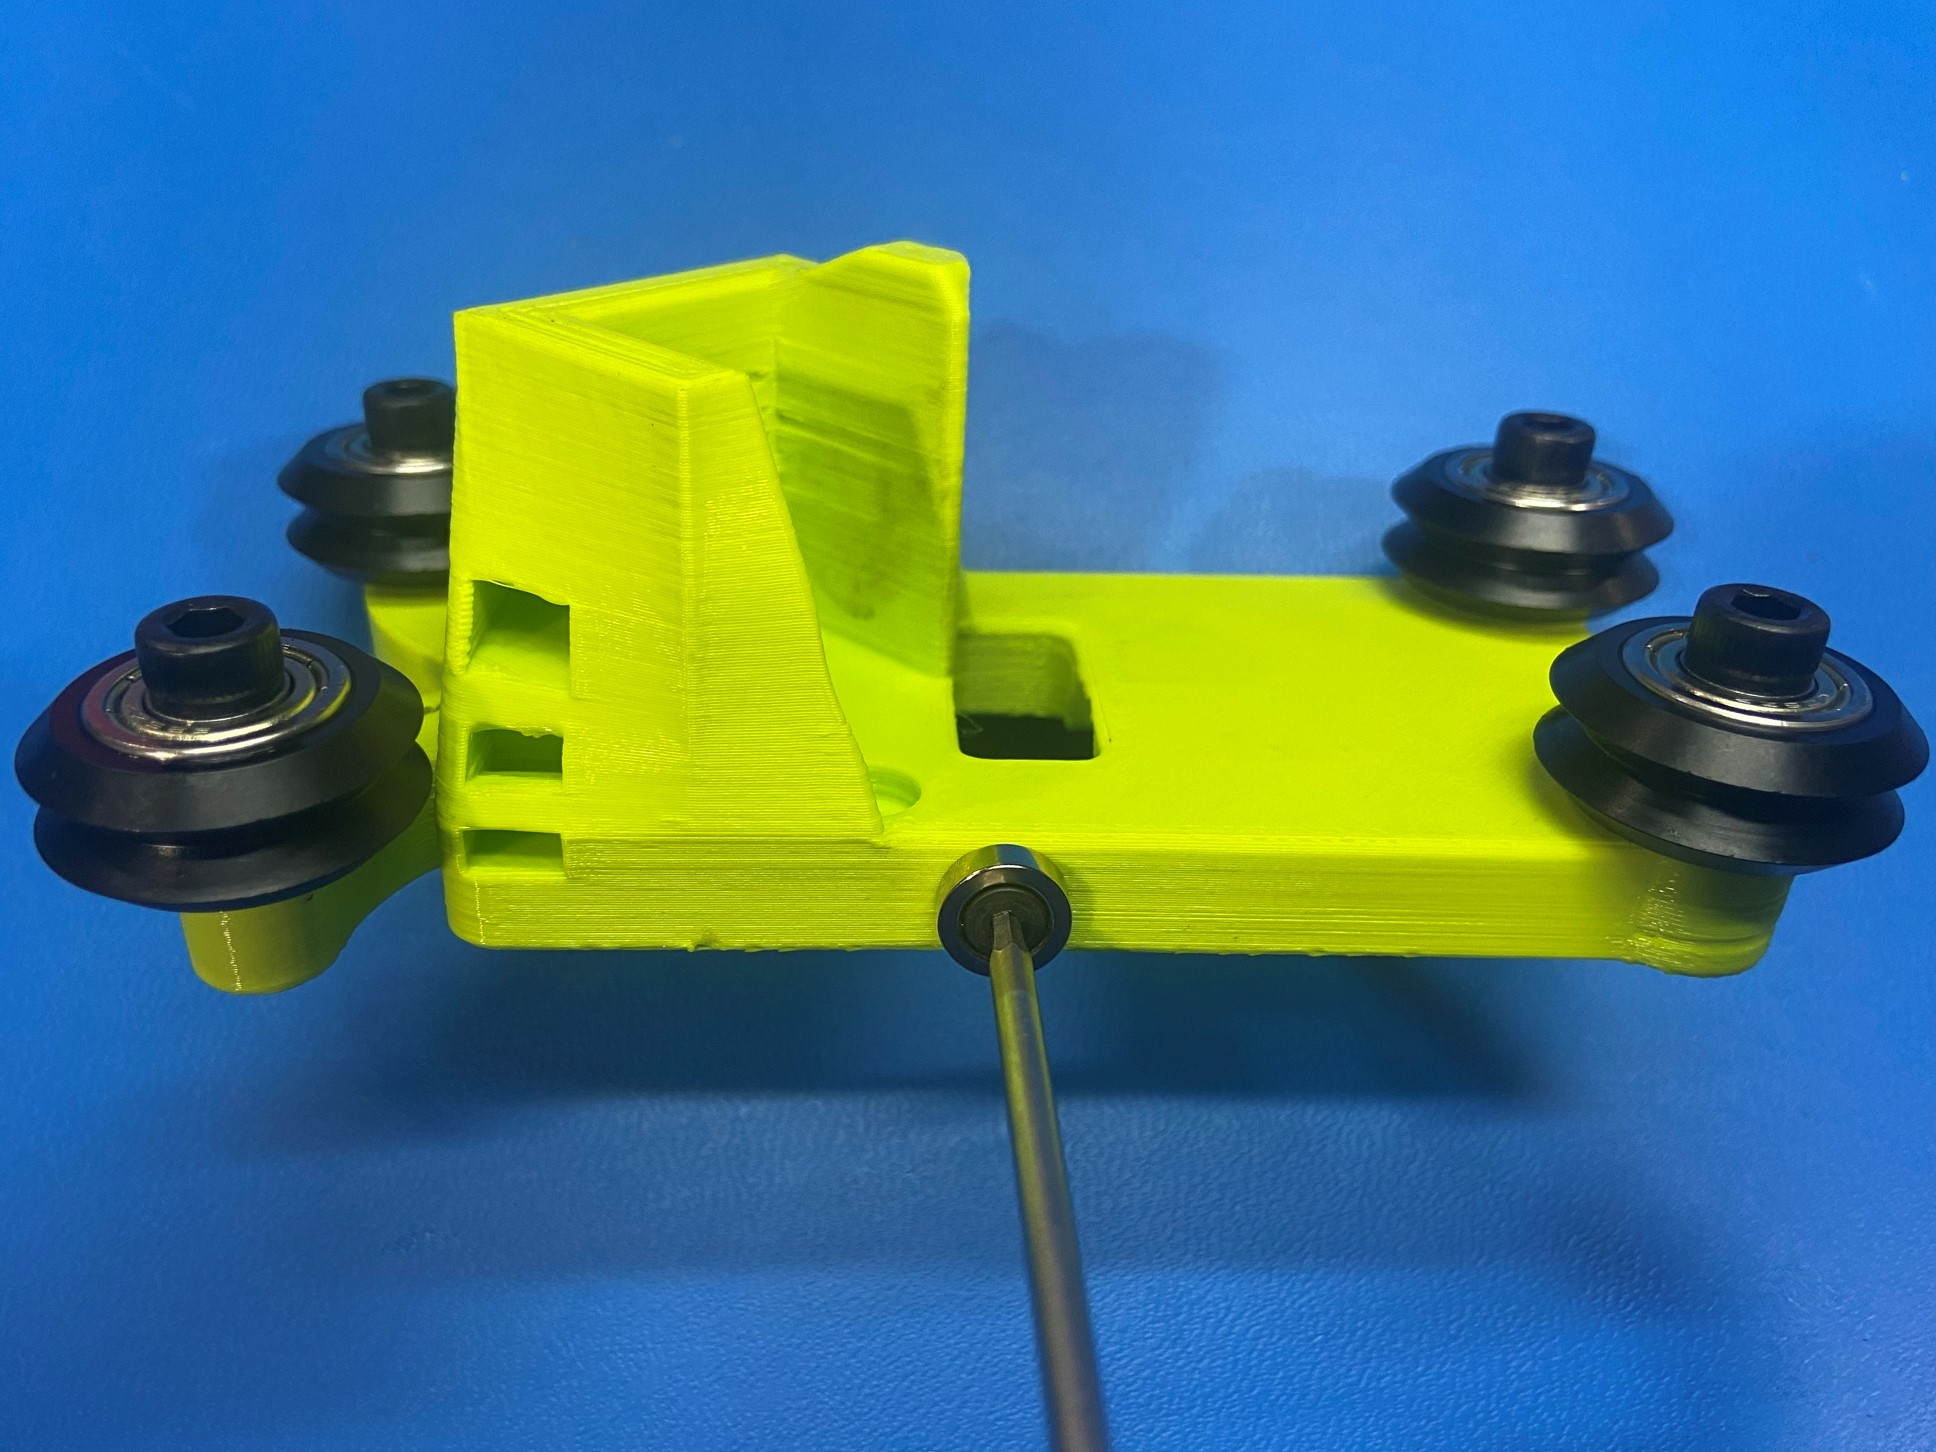
Using 4x M5x22 SHCS [HD-BT0271], 4x v-wheels with bearings [HD-MS0582], and 4x M5 washers [HD-WA0040] prepare the the rollers as shown in [reference#1]
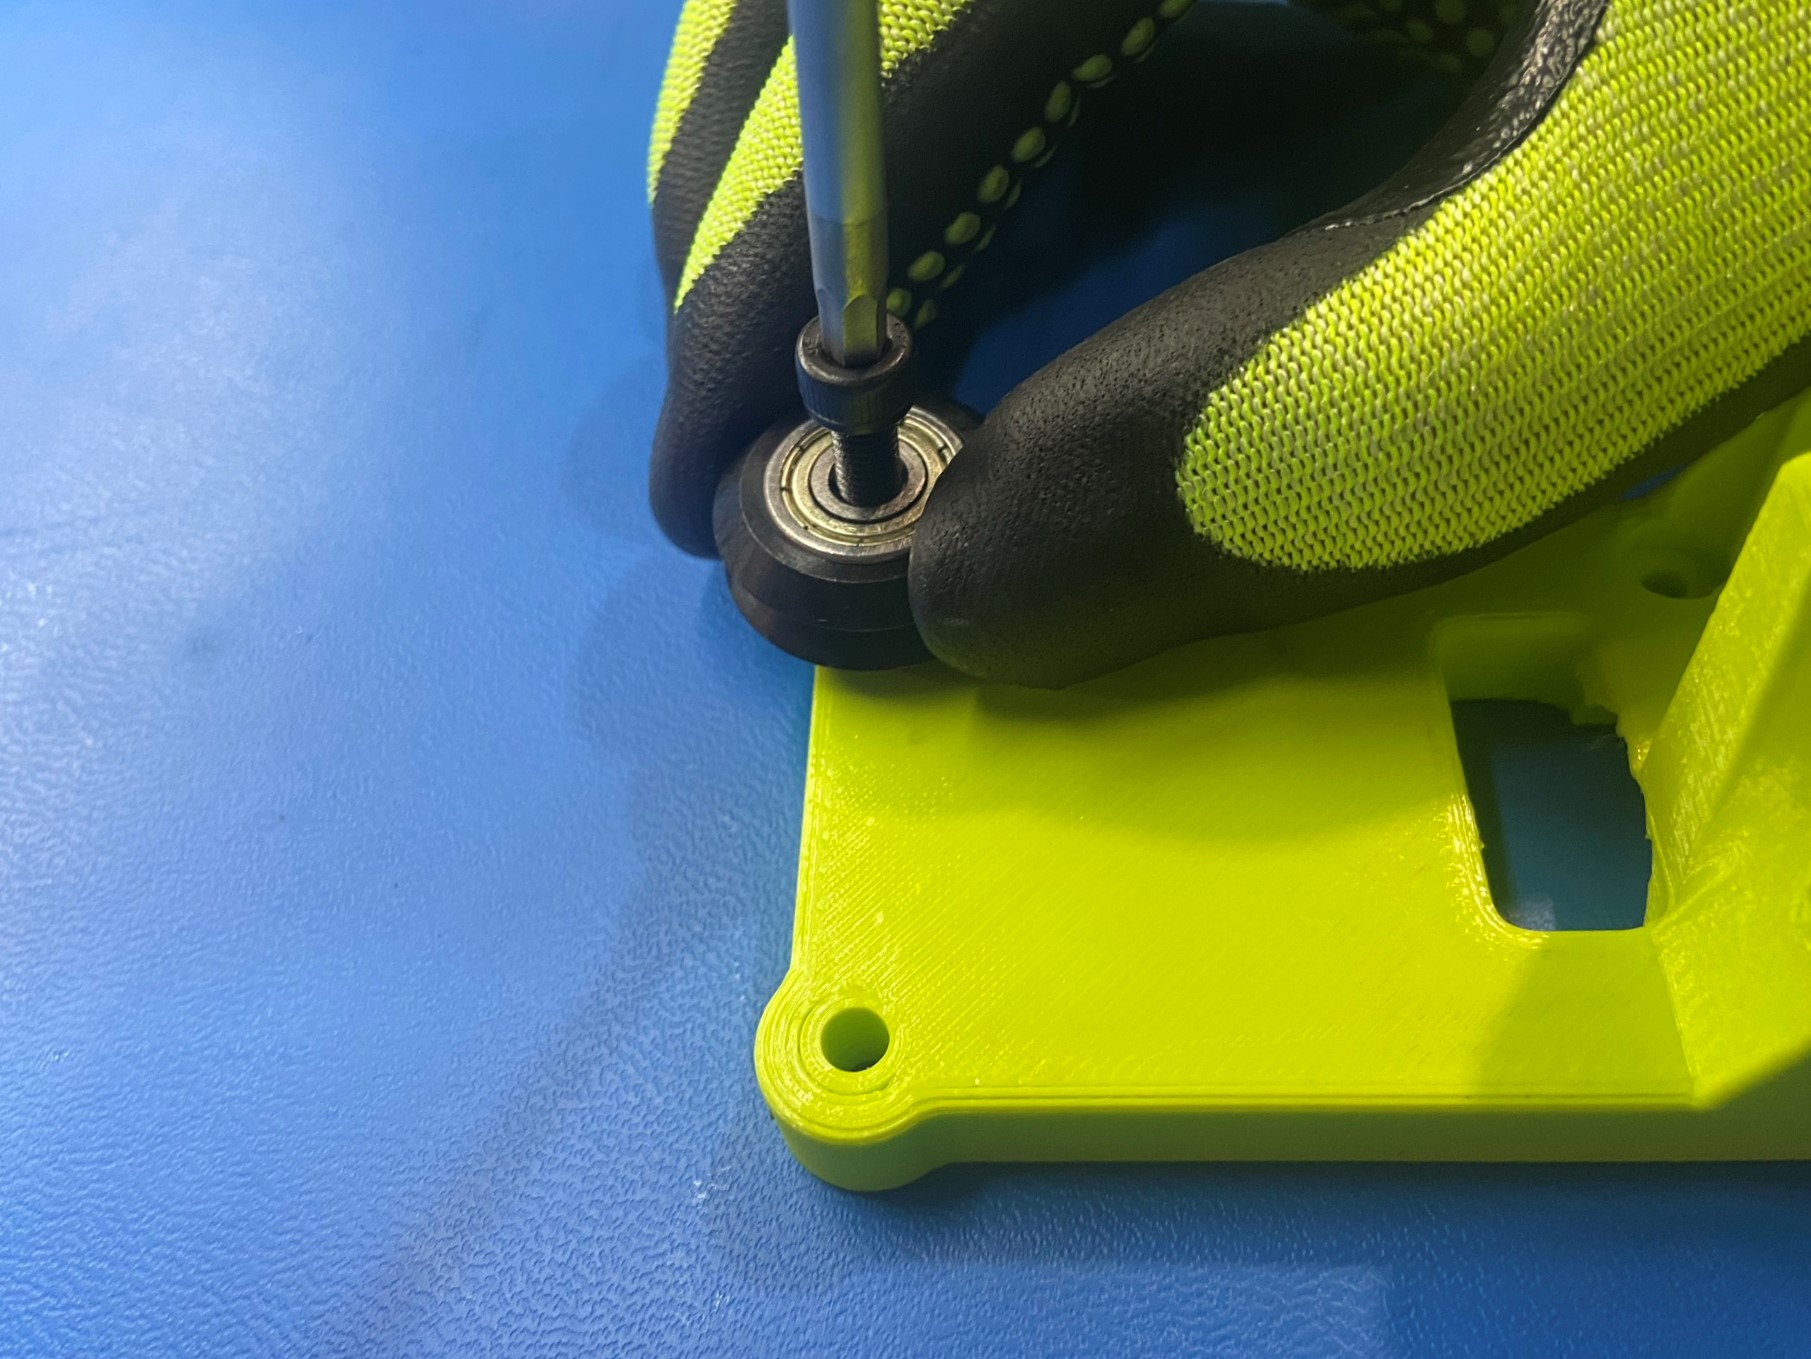
While pushing the V-wheel against the X axis idler loosely thread the bolt into the drilled hole.
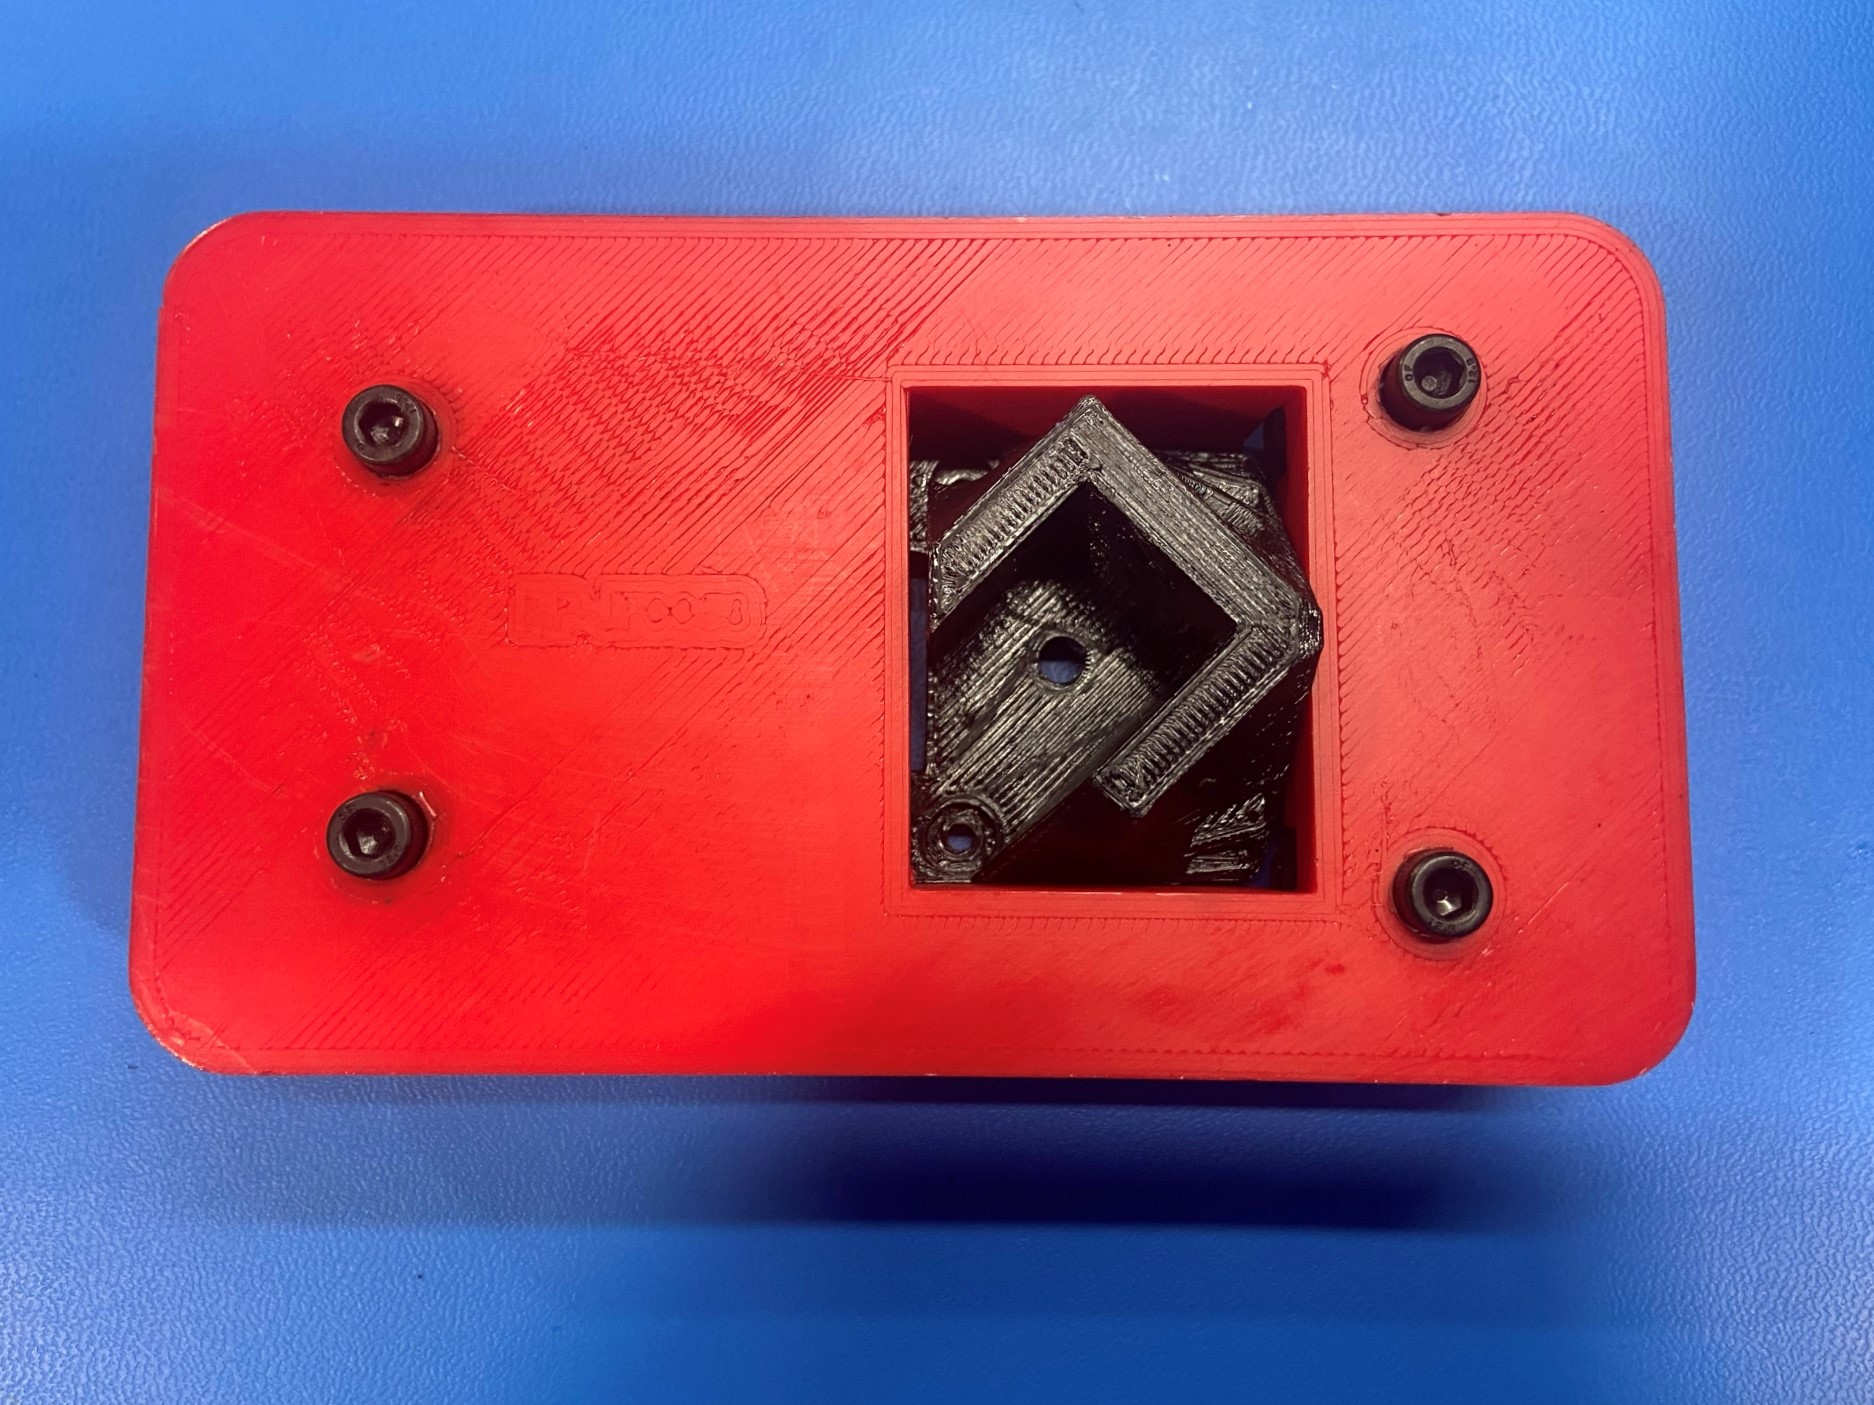
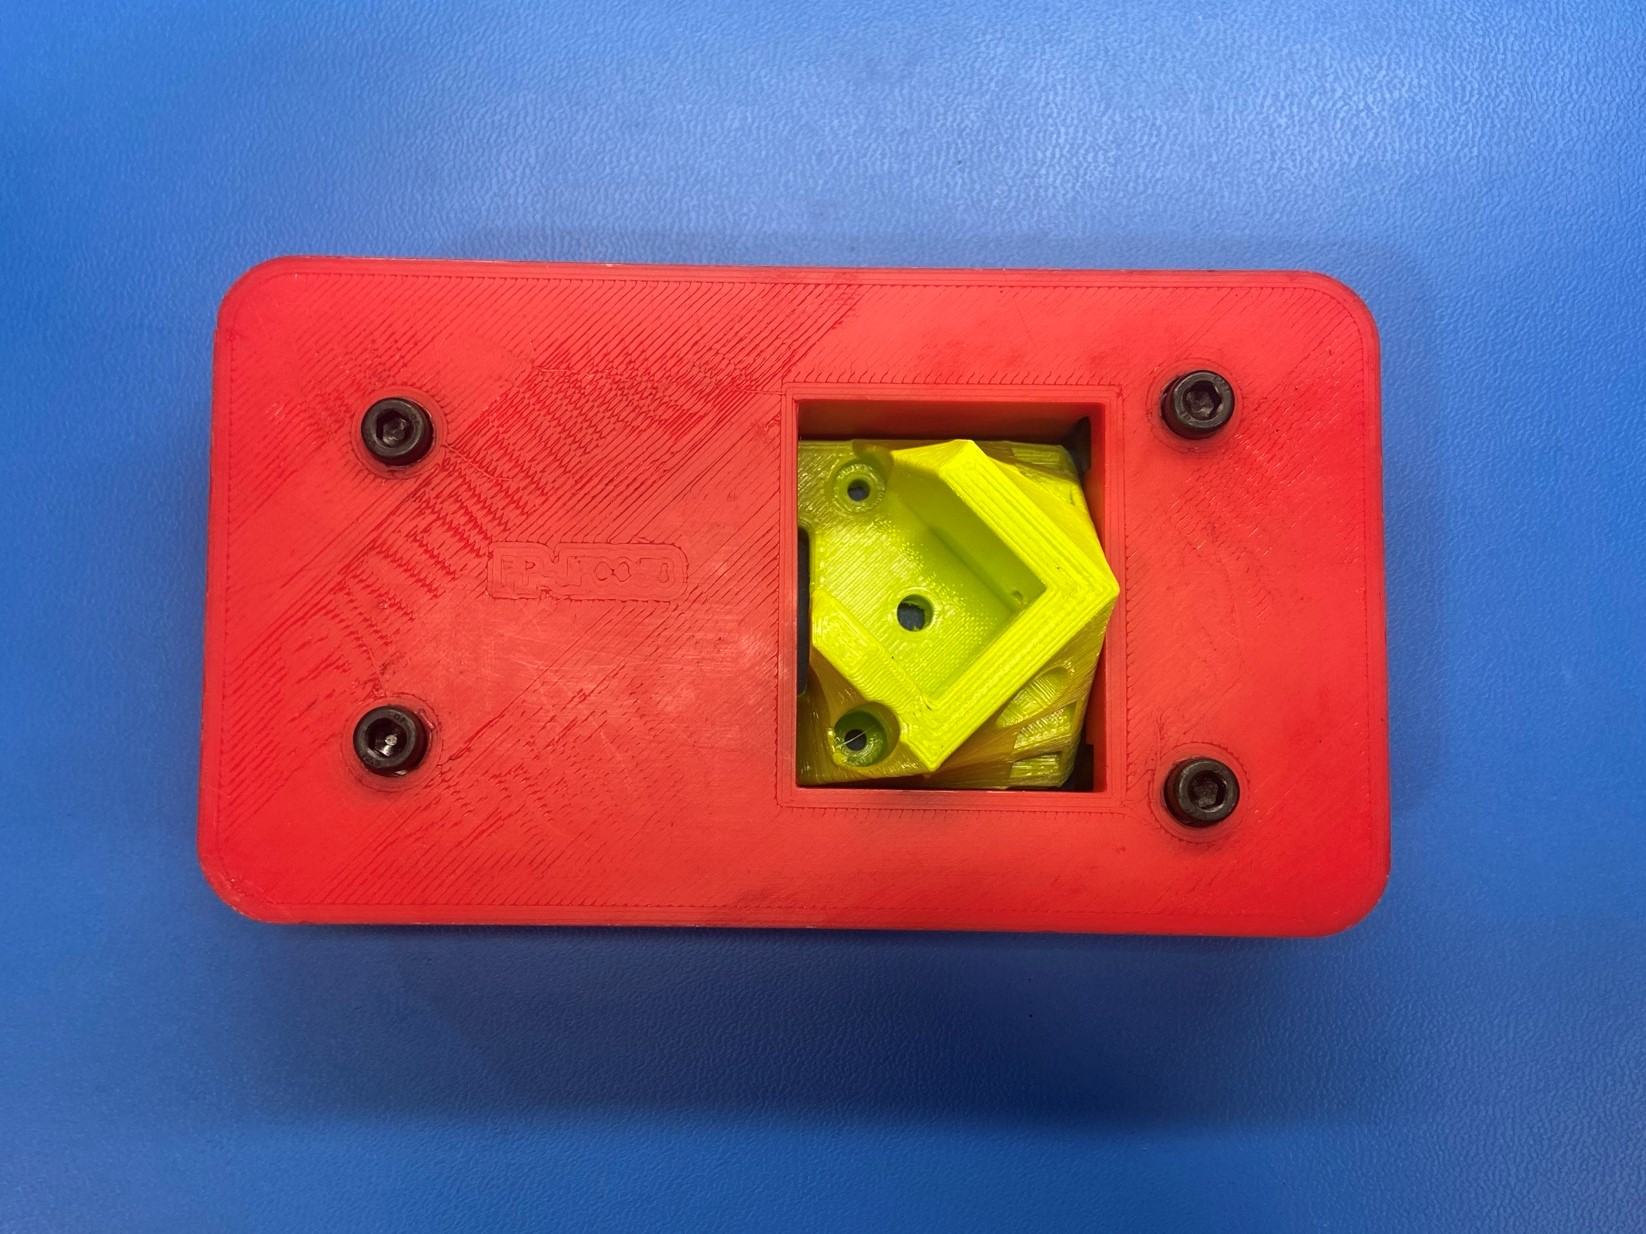
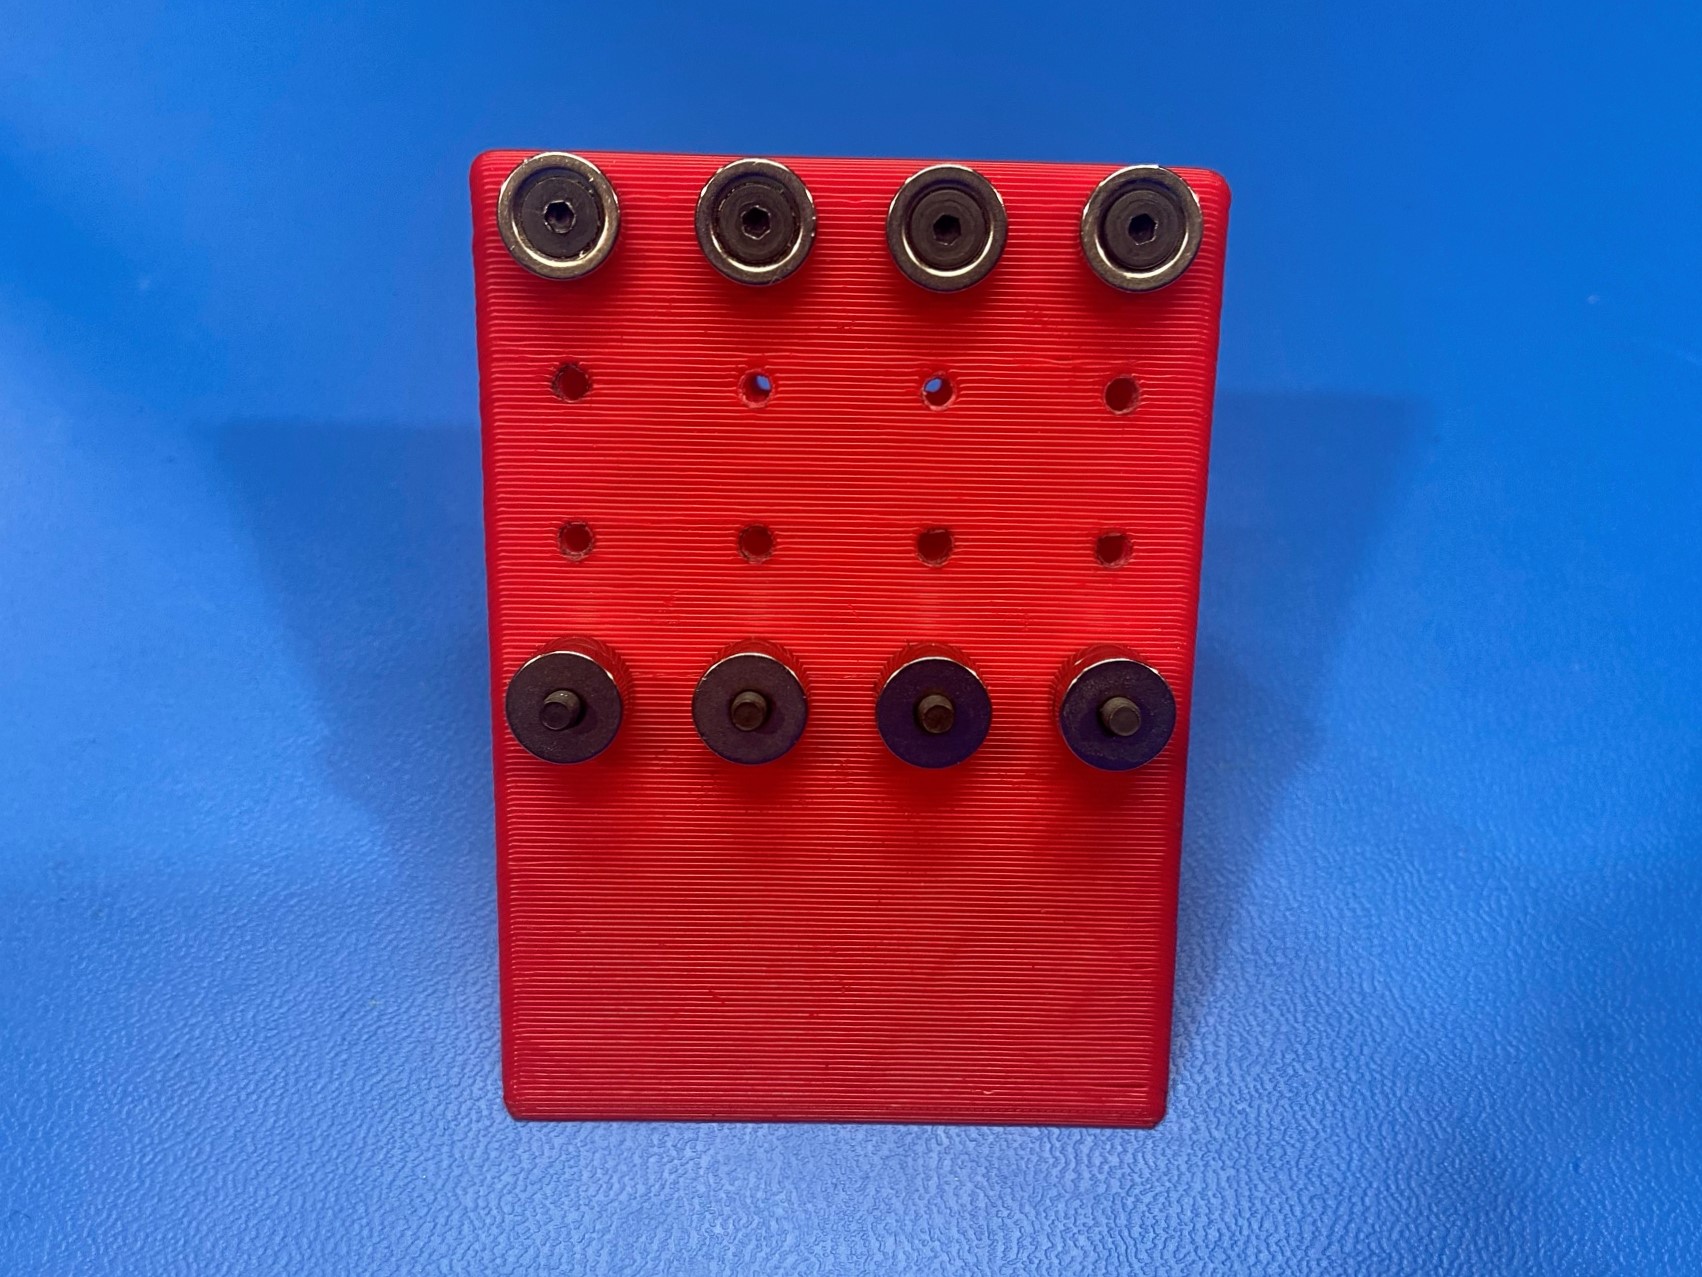
Repeat for the other three rollers, then place the squaring jig over the X axis idler. Note: you may need to move the head of the bolt around in order to place the jig over the X axis idler.
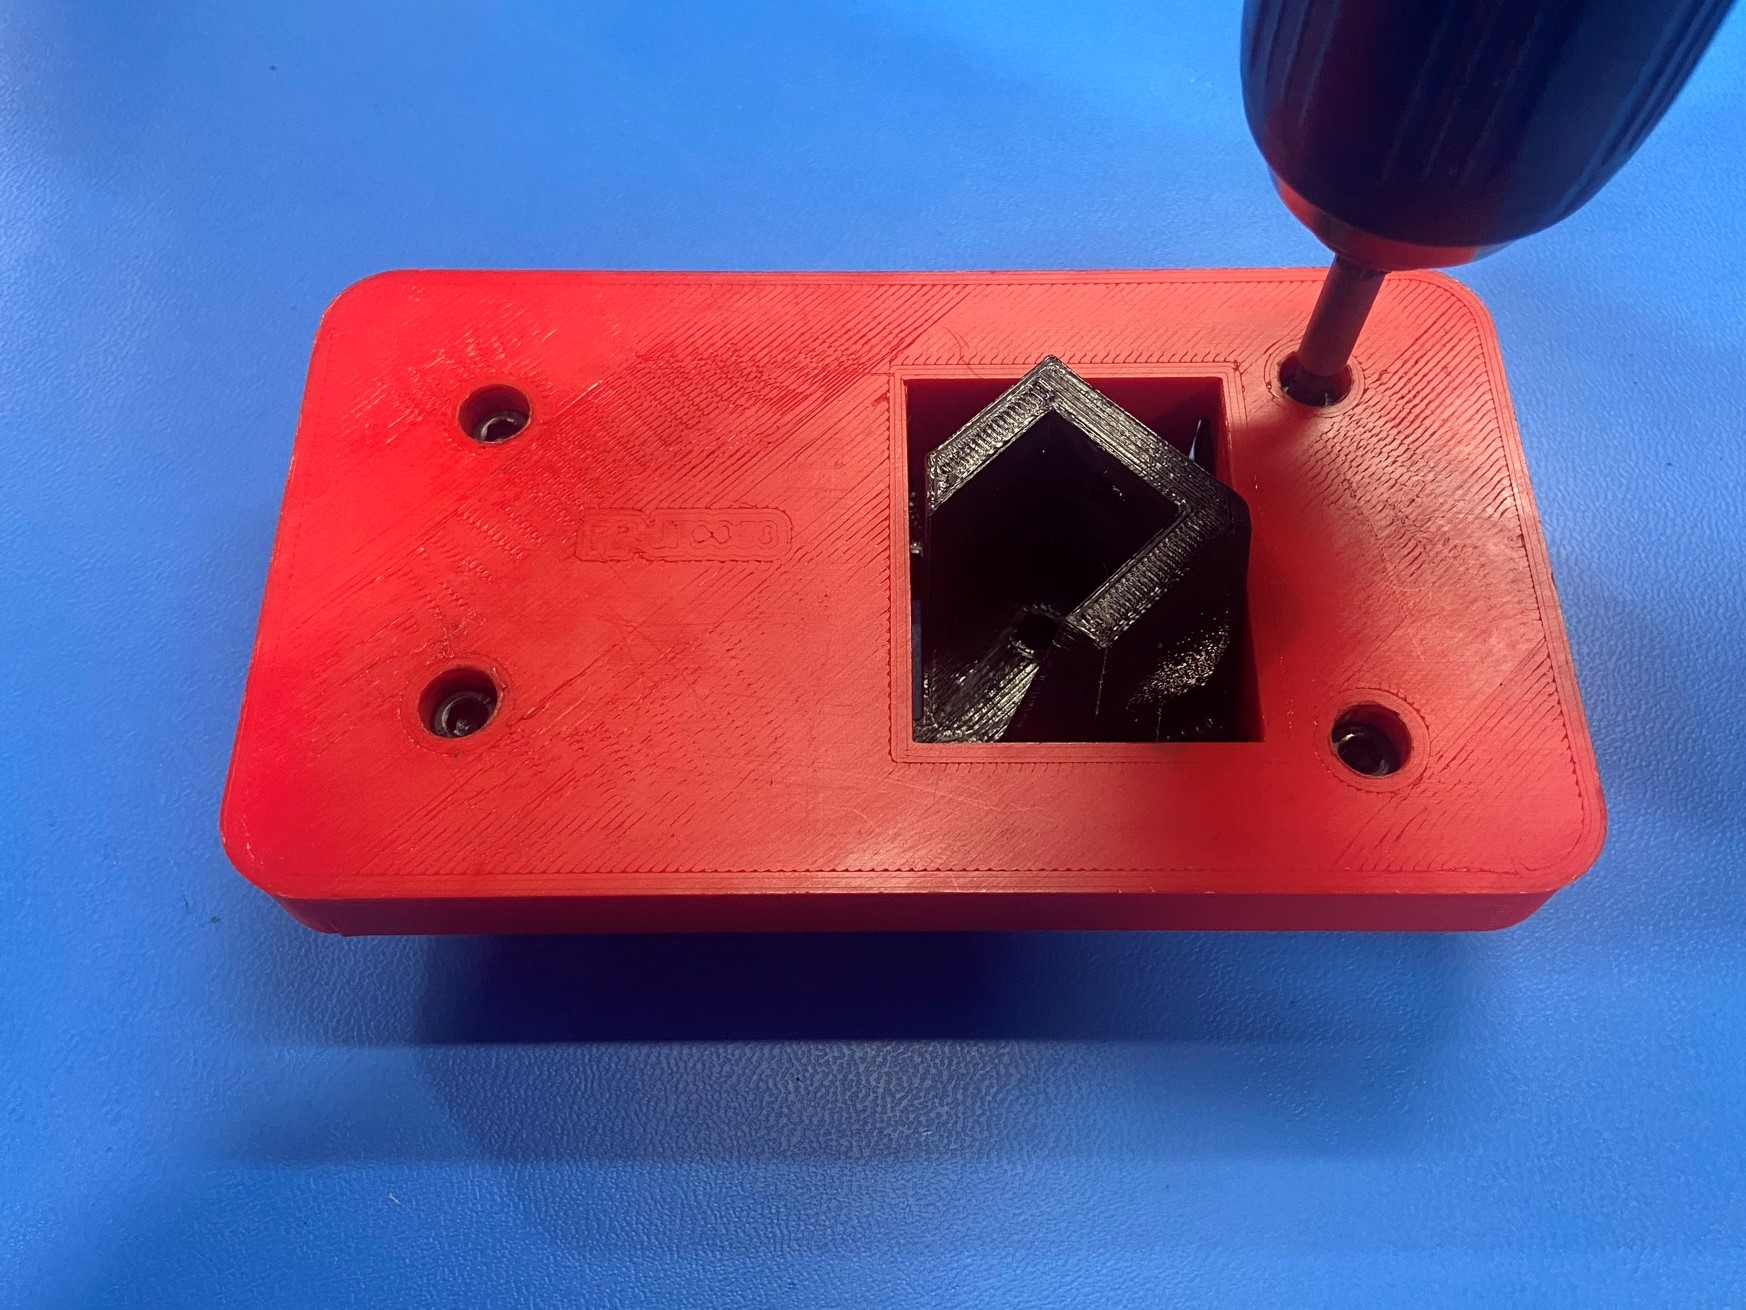
Using the drill fasten all four rollers making sure there is no gap between the V-wheels and the plastic, then remove the squaring jig.
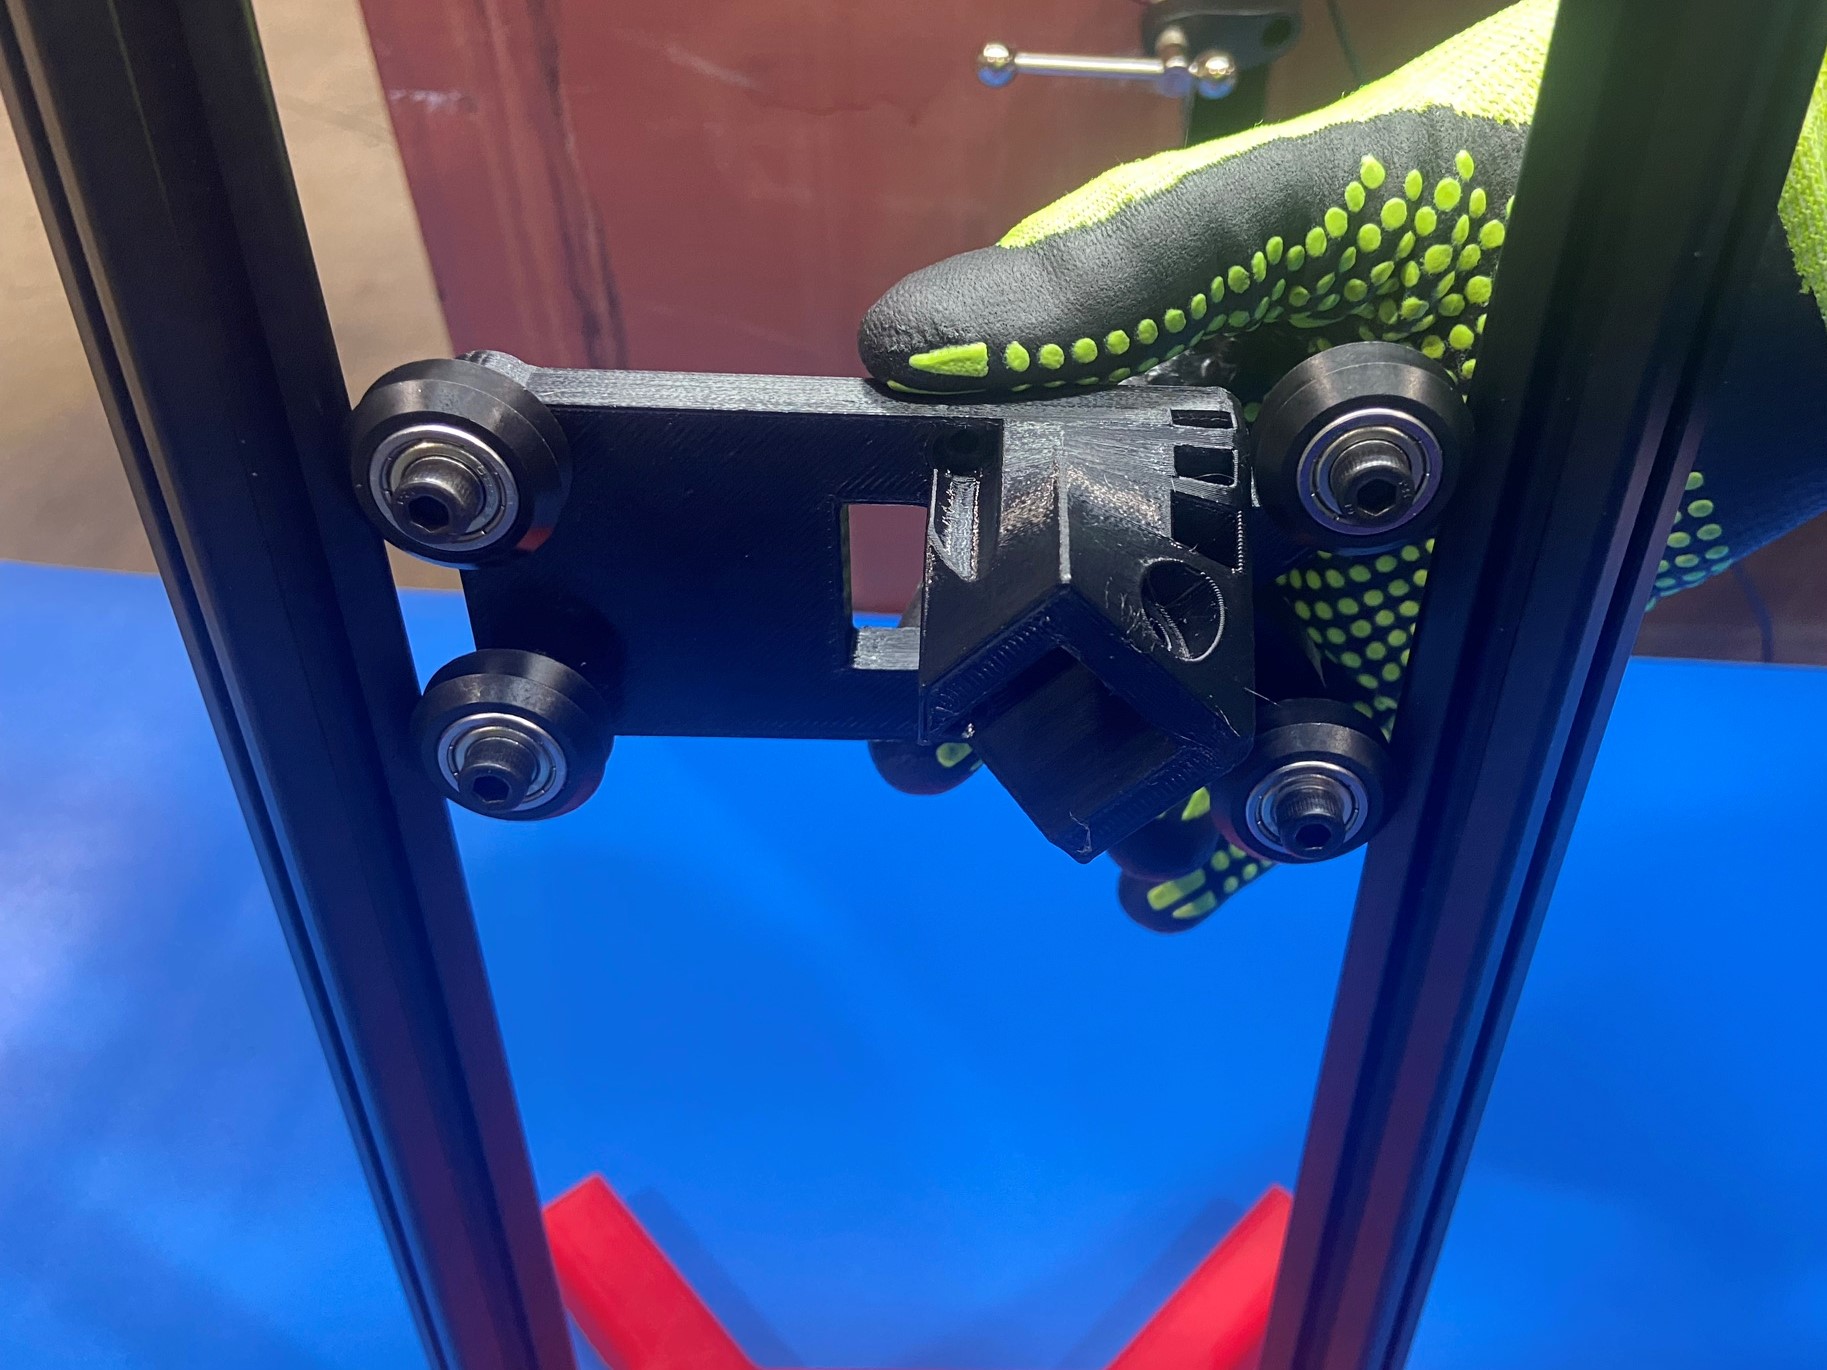
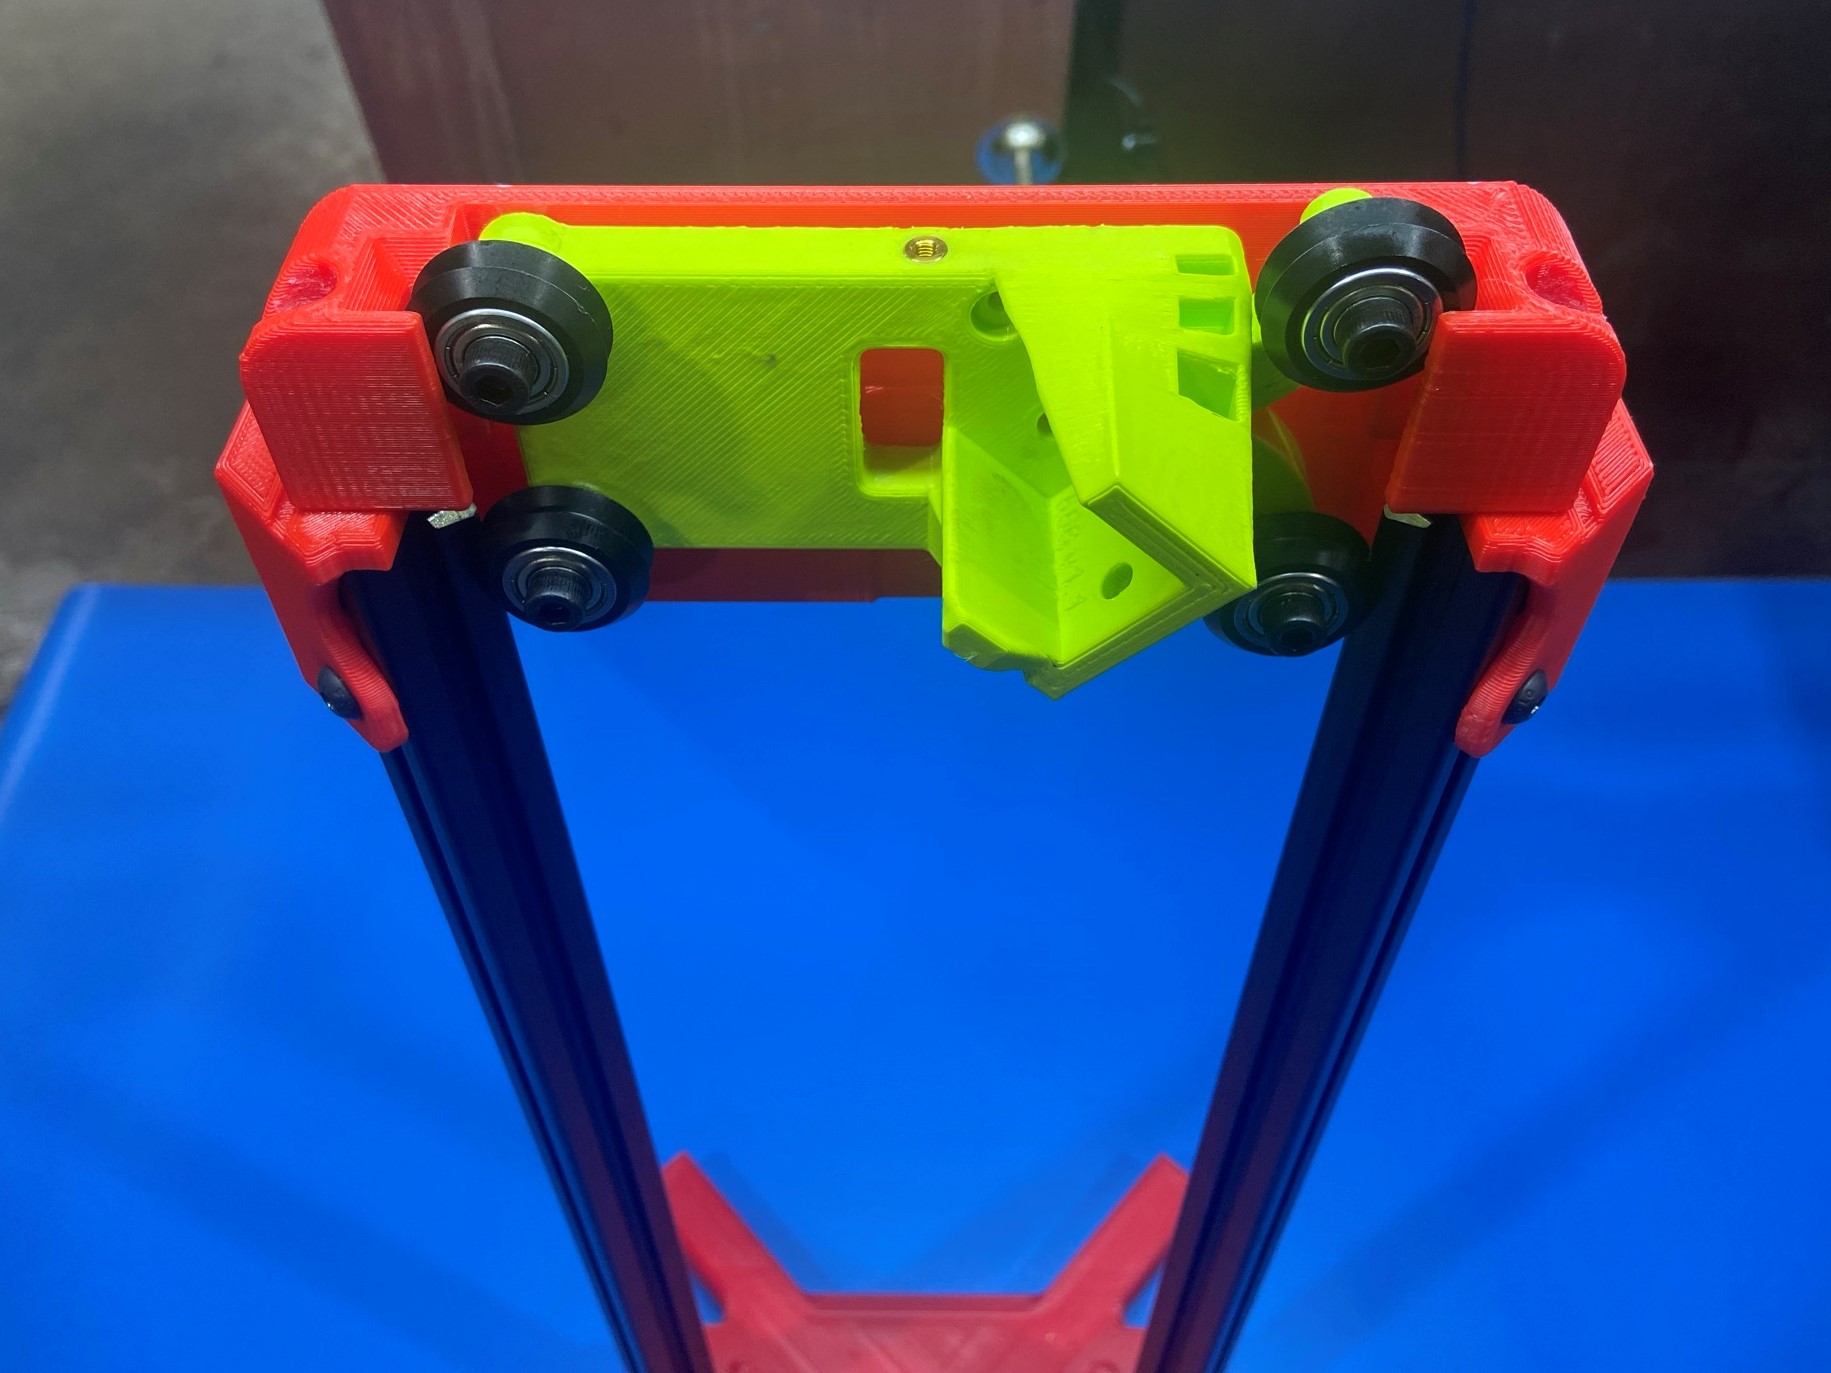
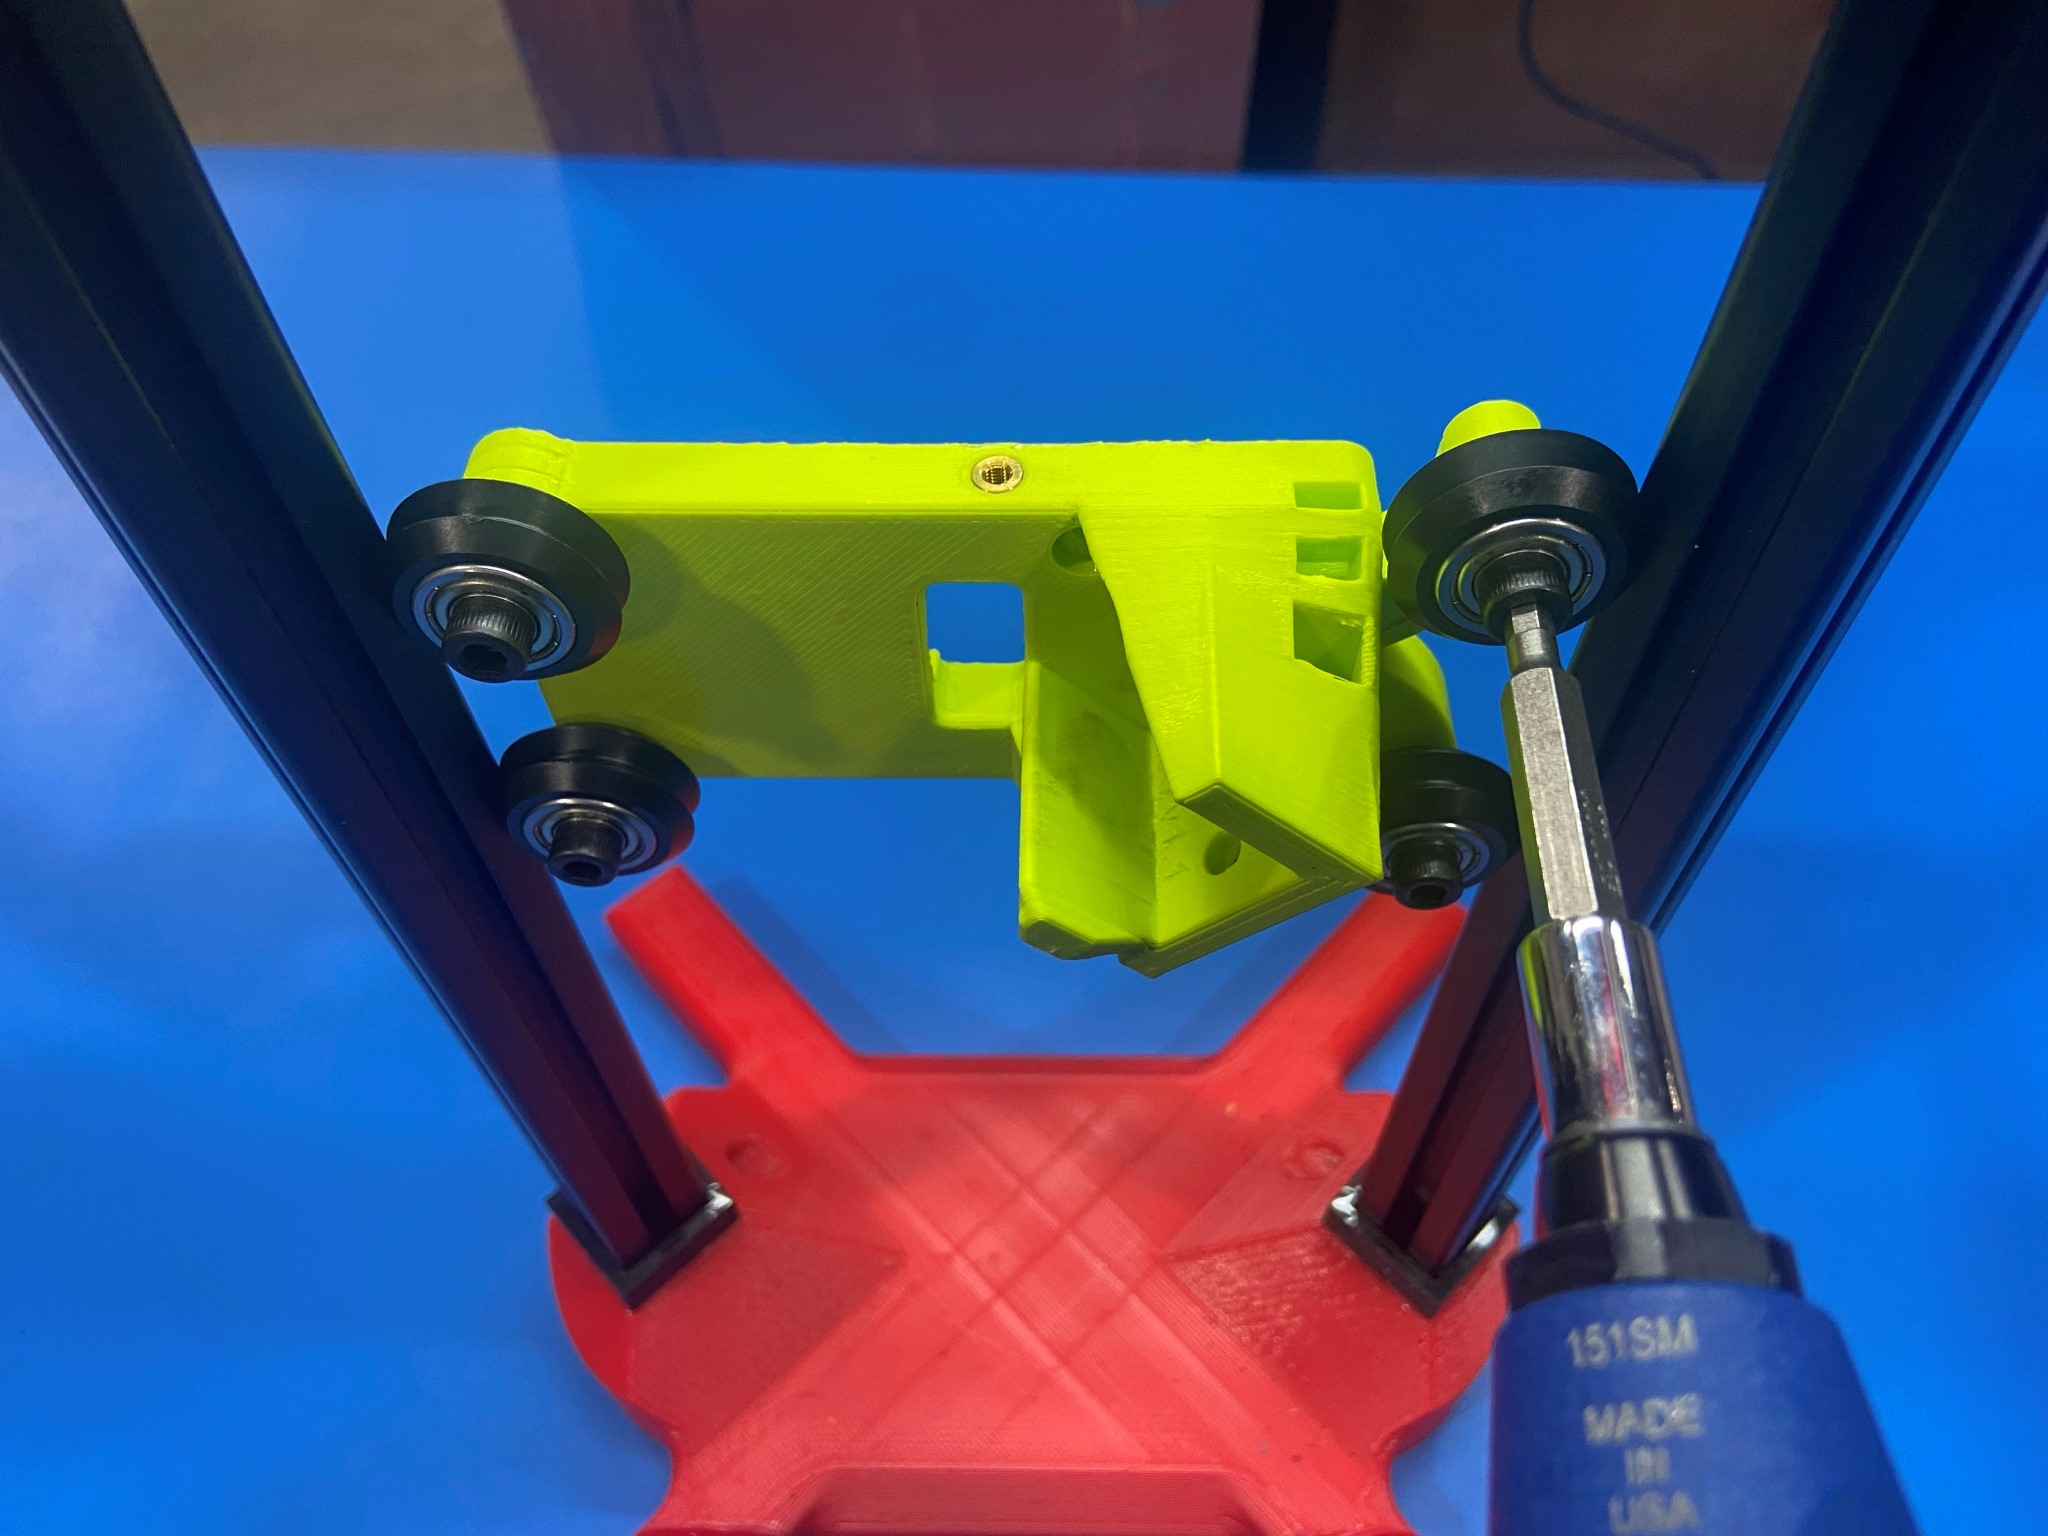
Loosen all four bolt by a quarter turn, then place the X idler inside the Z axis jig.
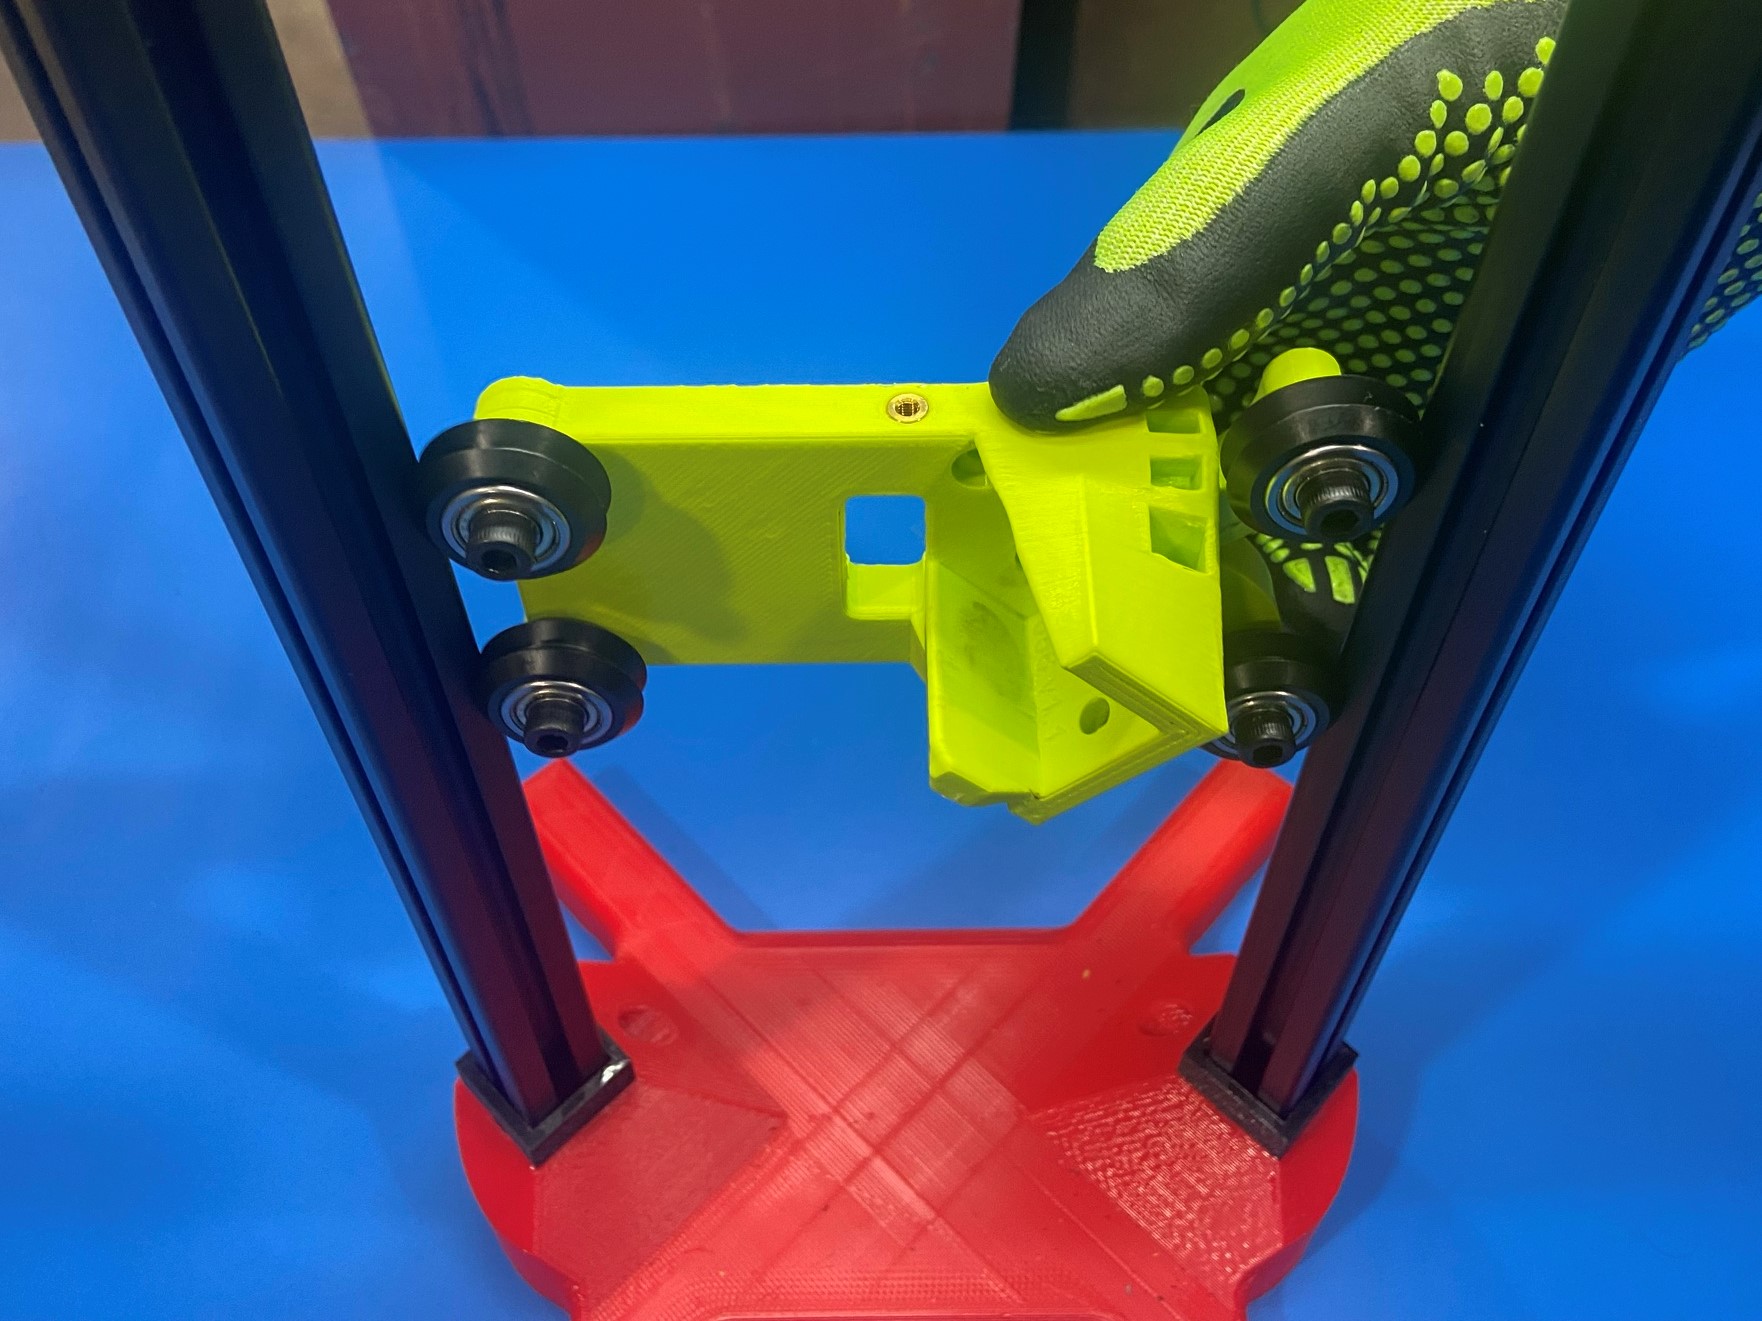
Once the X idler is inside the Z axis jig move the X idler up and down the jig a couple times, this will ensure that the rollers are properly seated in the X idler.
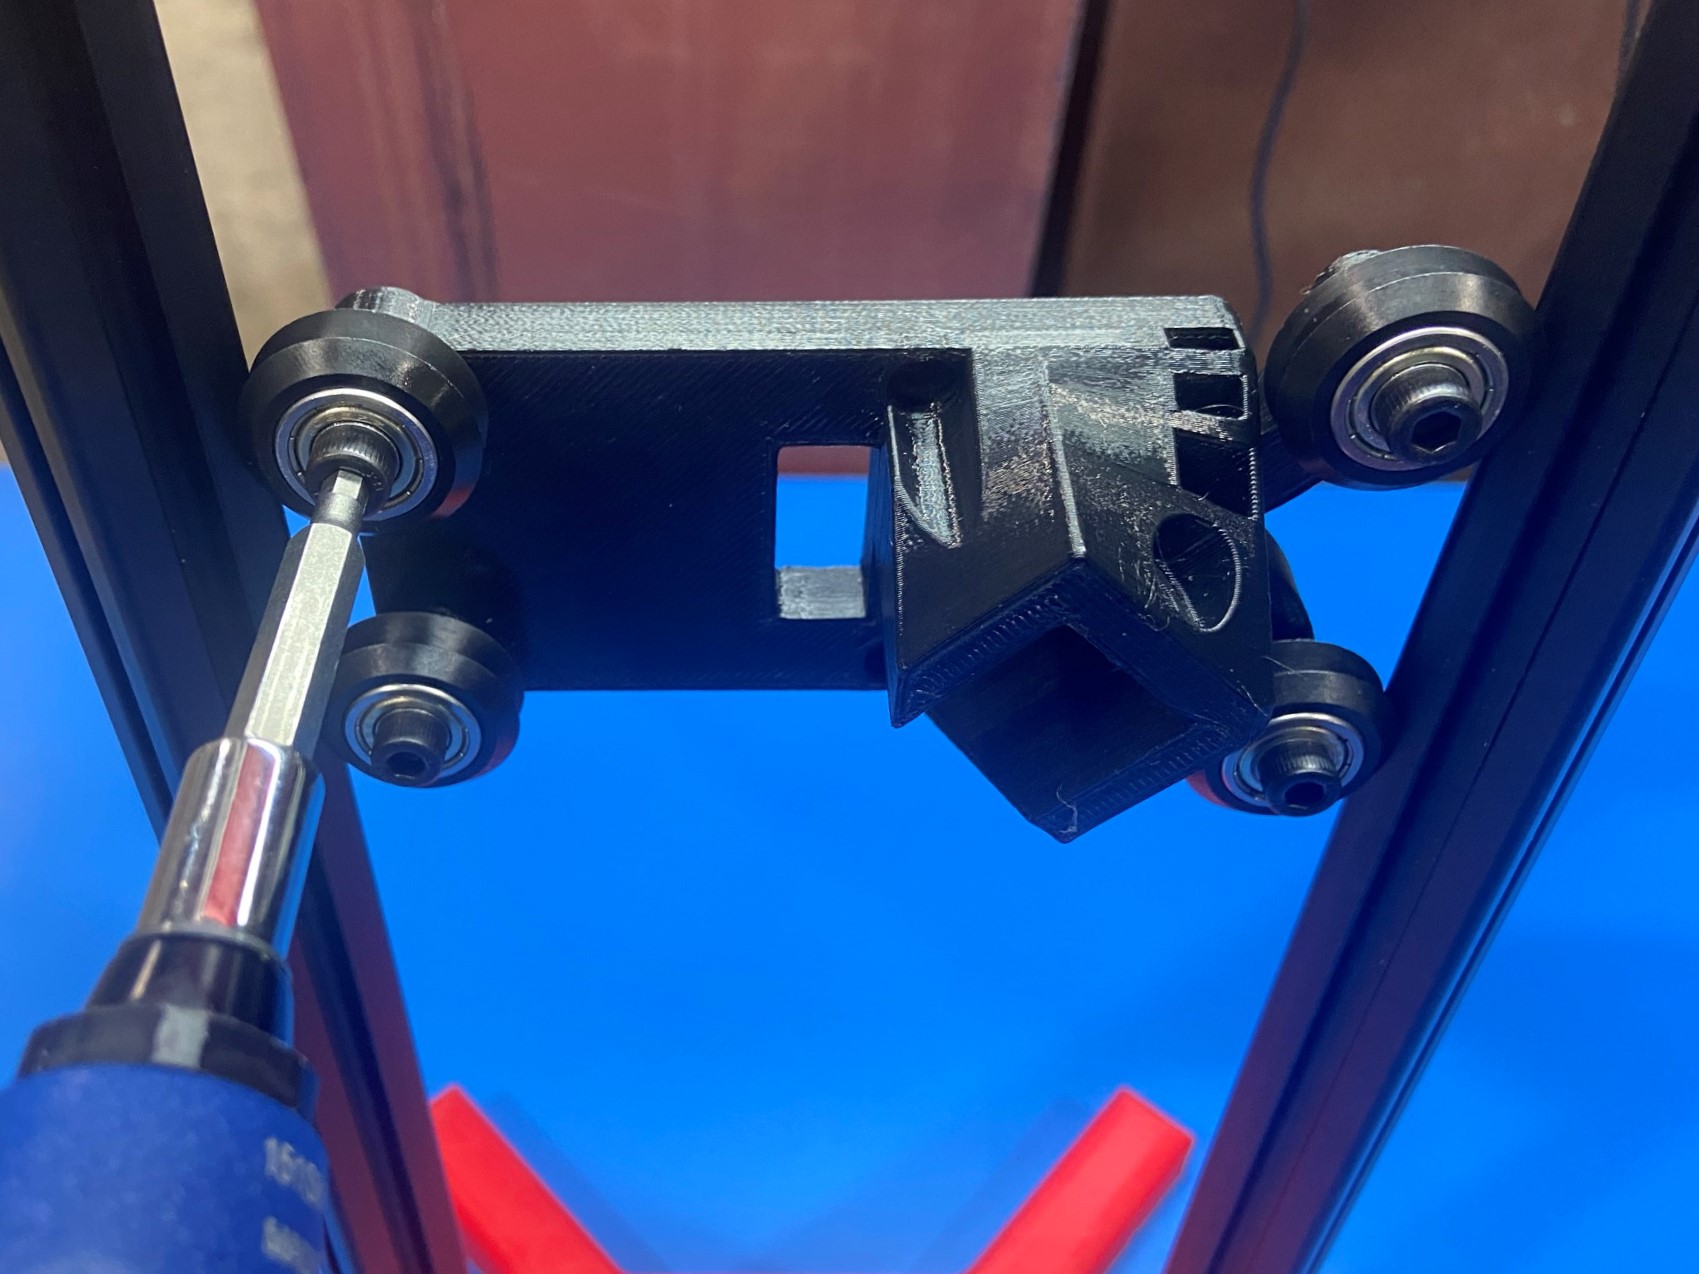
Then torque the rollers to 17 in*lbs, then bring it to the top of the jig and drop it. Make sure the X idler gradually falls down, if it doesn't move gently push it down and it should start to drop on its own.
If it falls fast or doesn't fall at all, tag the assembly and report to the Line Leader for further instructions

Take 1x M3x6 FHCS [HD-BT0128] and place it through 1x magnet w/ taper hole [HD-MS0594] making sure the head of the bolt is fully seated inside the tapered hole on the magnet.
Then place the magnet on the magnet polarity jig with the threads of the bolt facing up.
This ensures the magnet has the correct polarity
Then install the magnet on the X idler.
Do not over tighten or the magnet may break
Repeat the previous step for assembling the X motor sub-assembly.