Open HardwareAssembly Instructions
Guides for installation and assembly of the LulzBot line of products made by FAME 3D LLC.
Guides for installation and assembly of the LulzBot line of products made by FAME 3D LLC.
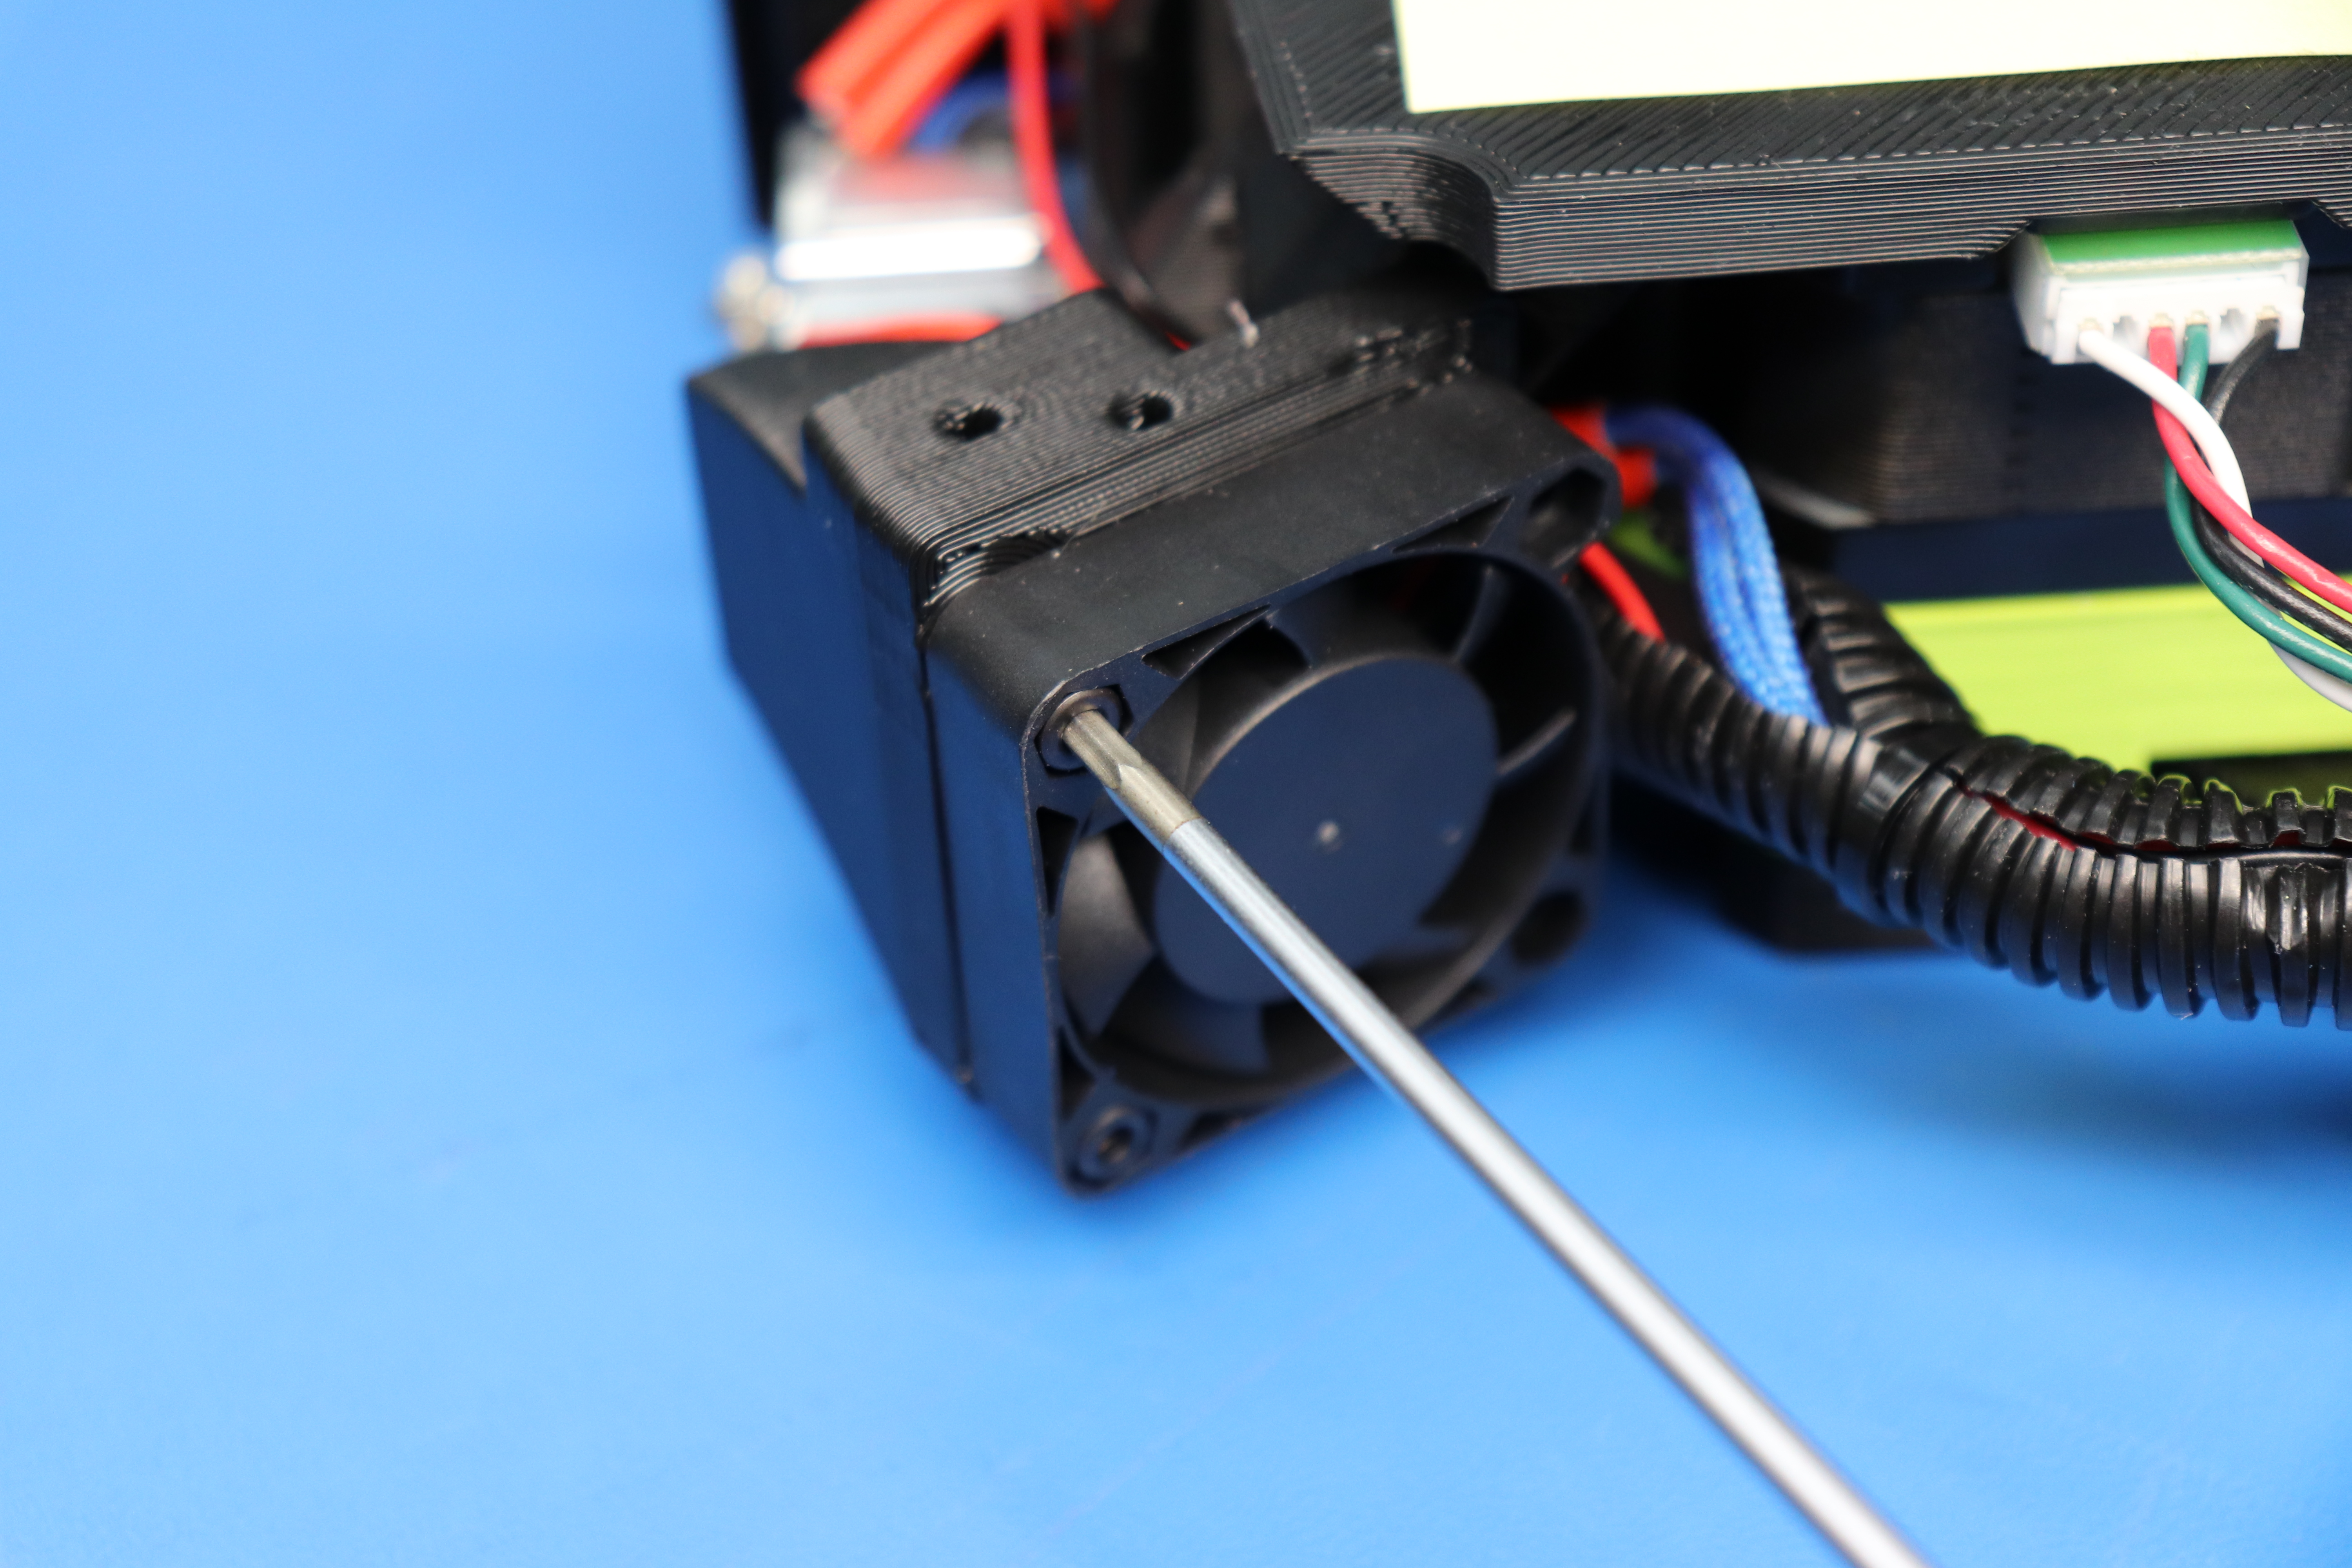
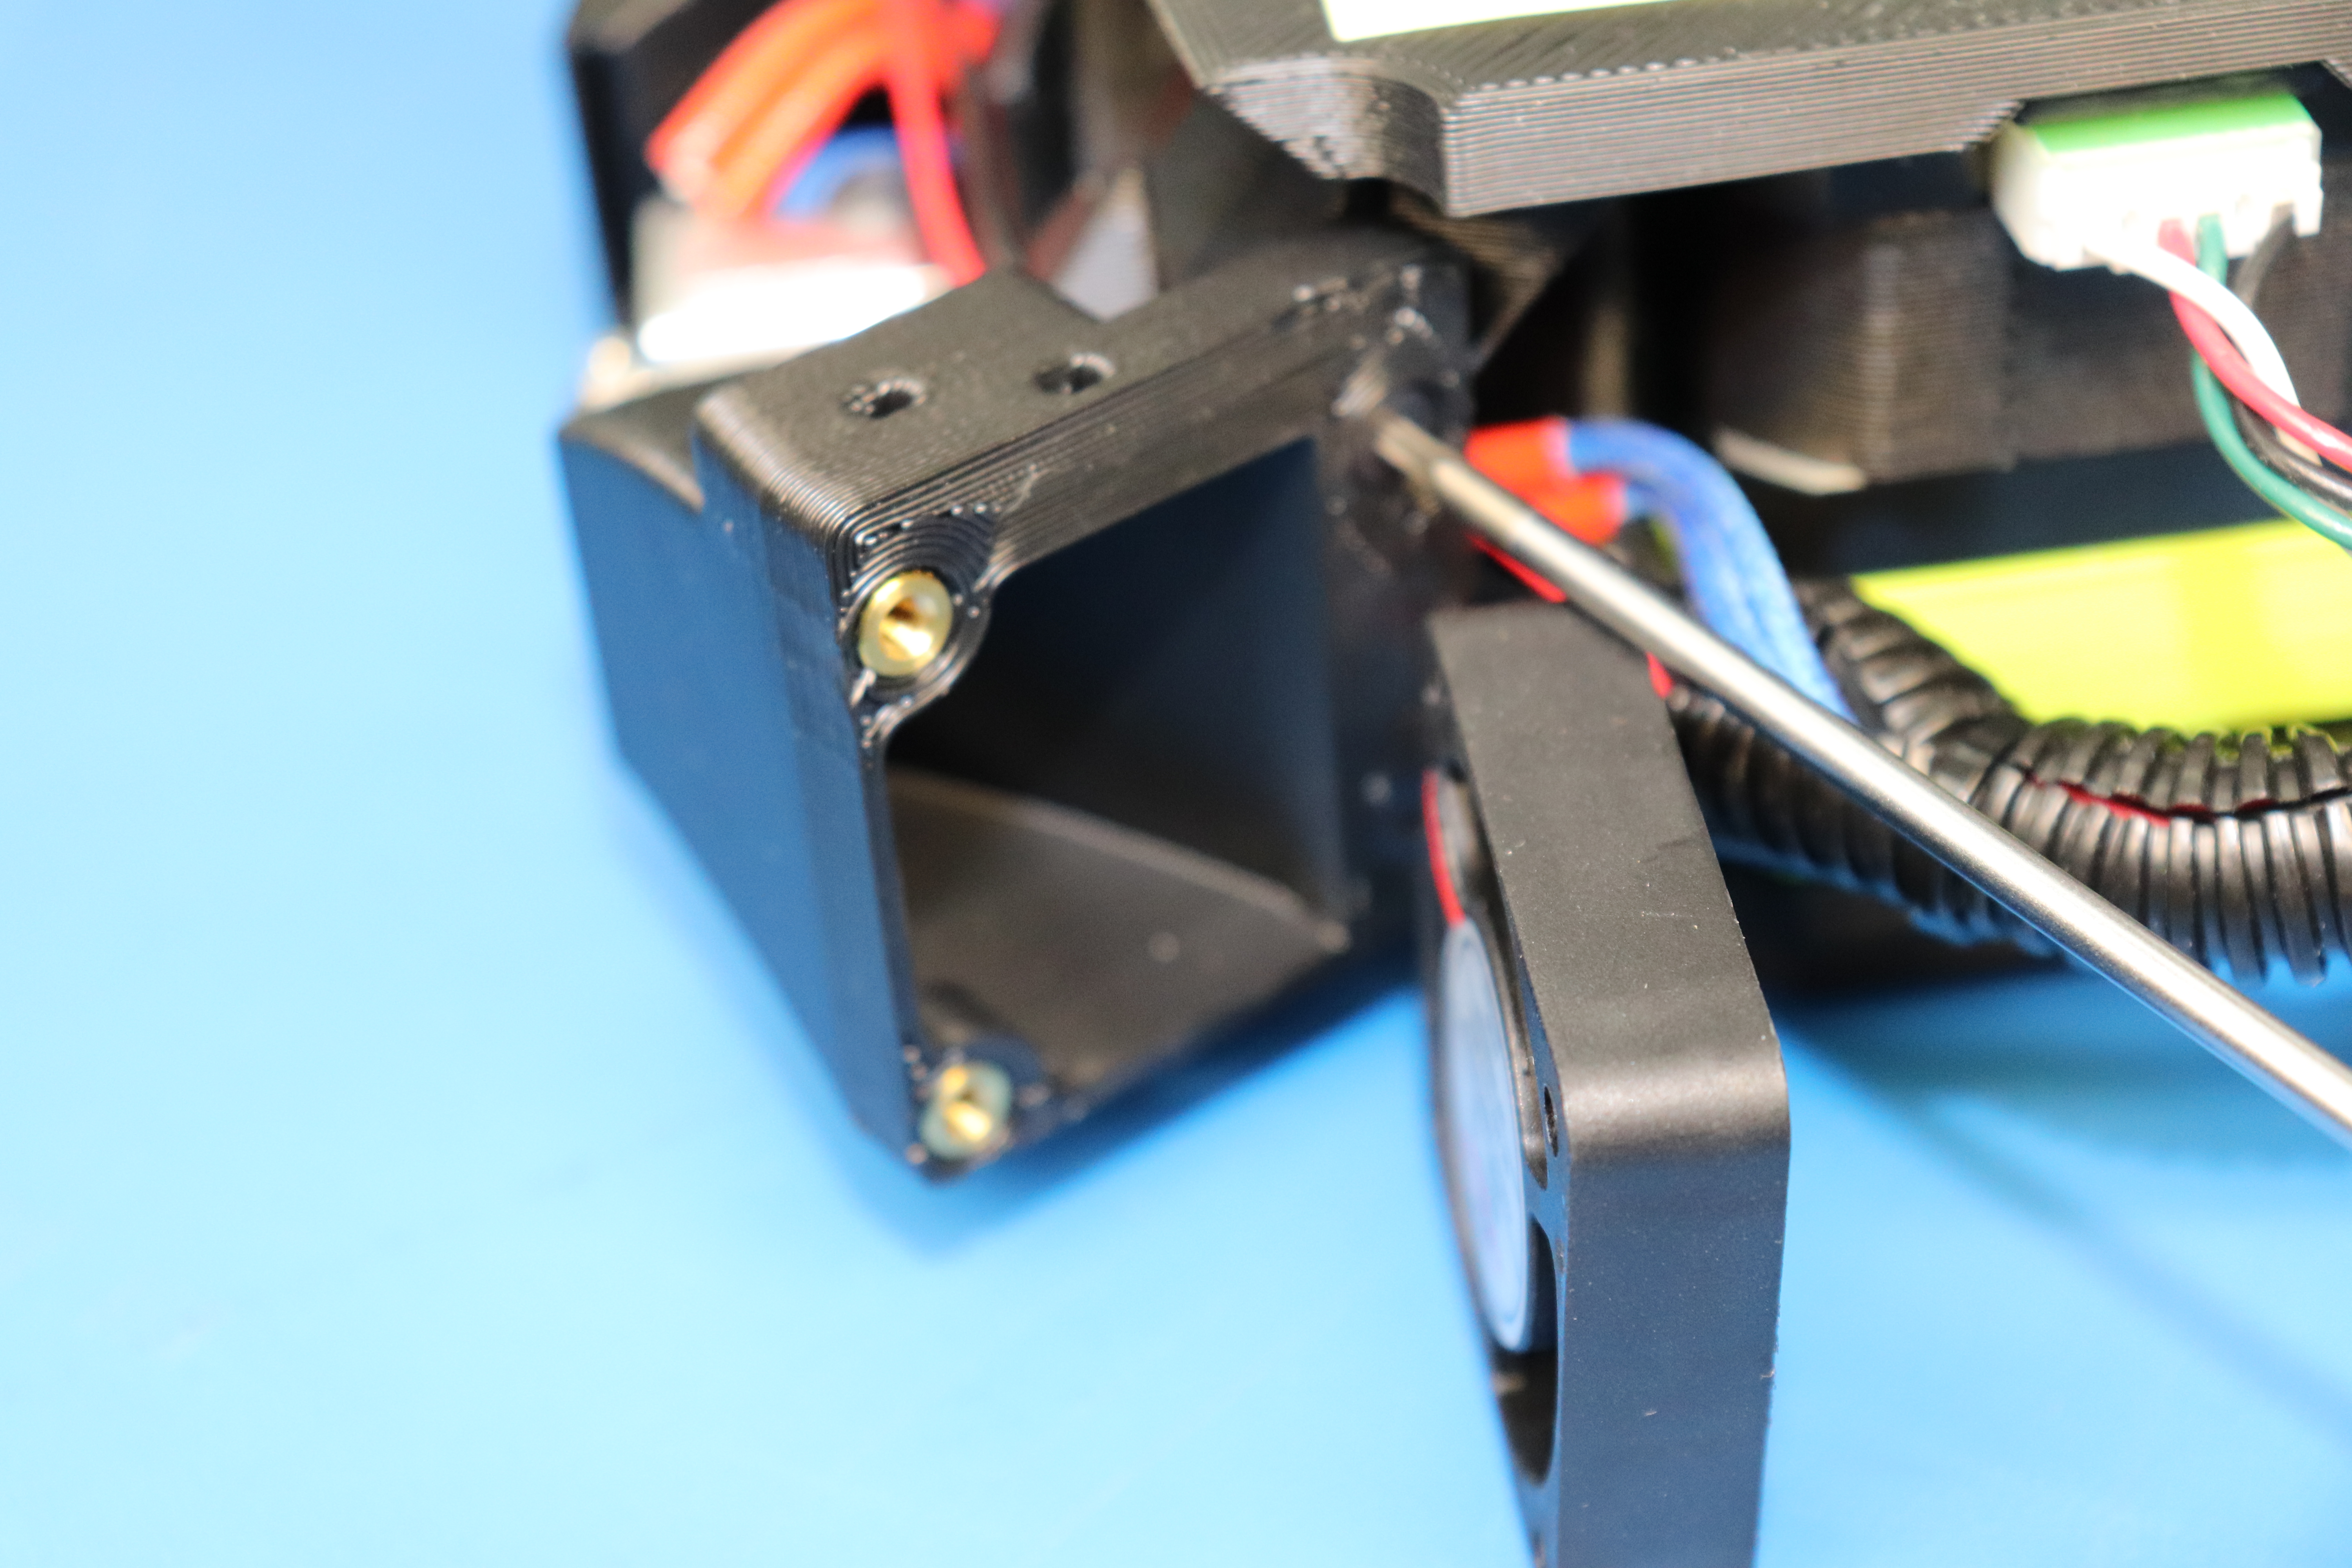
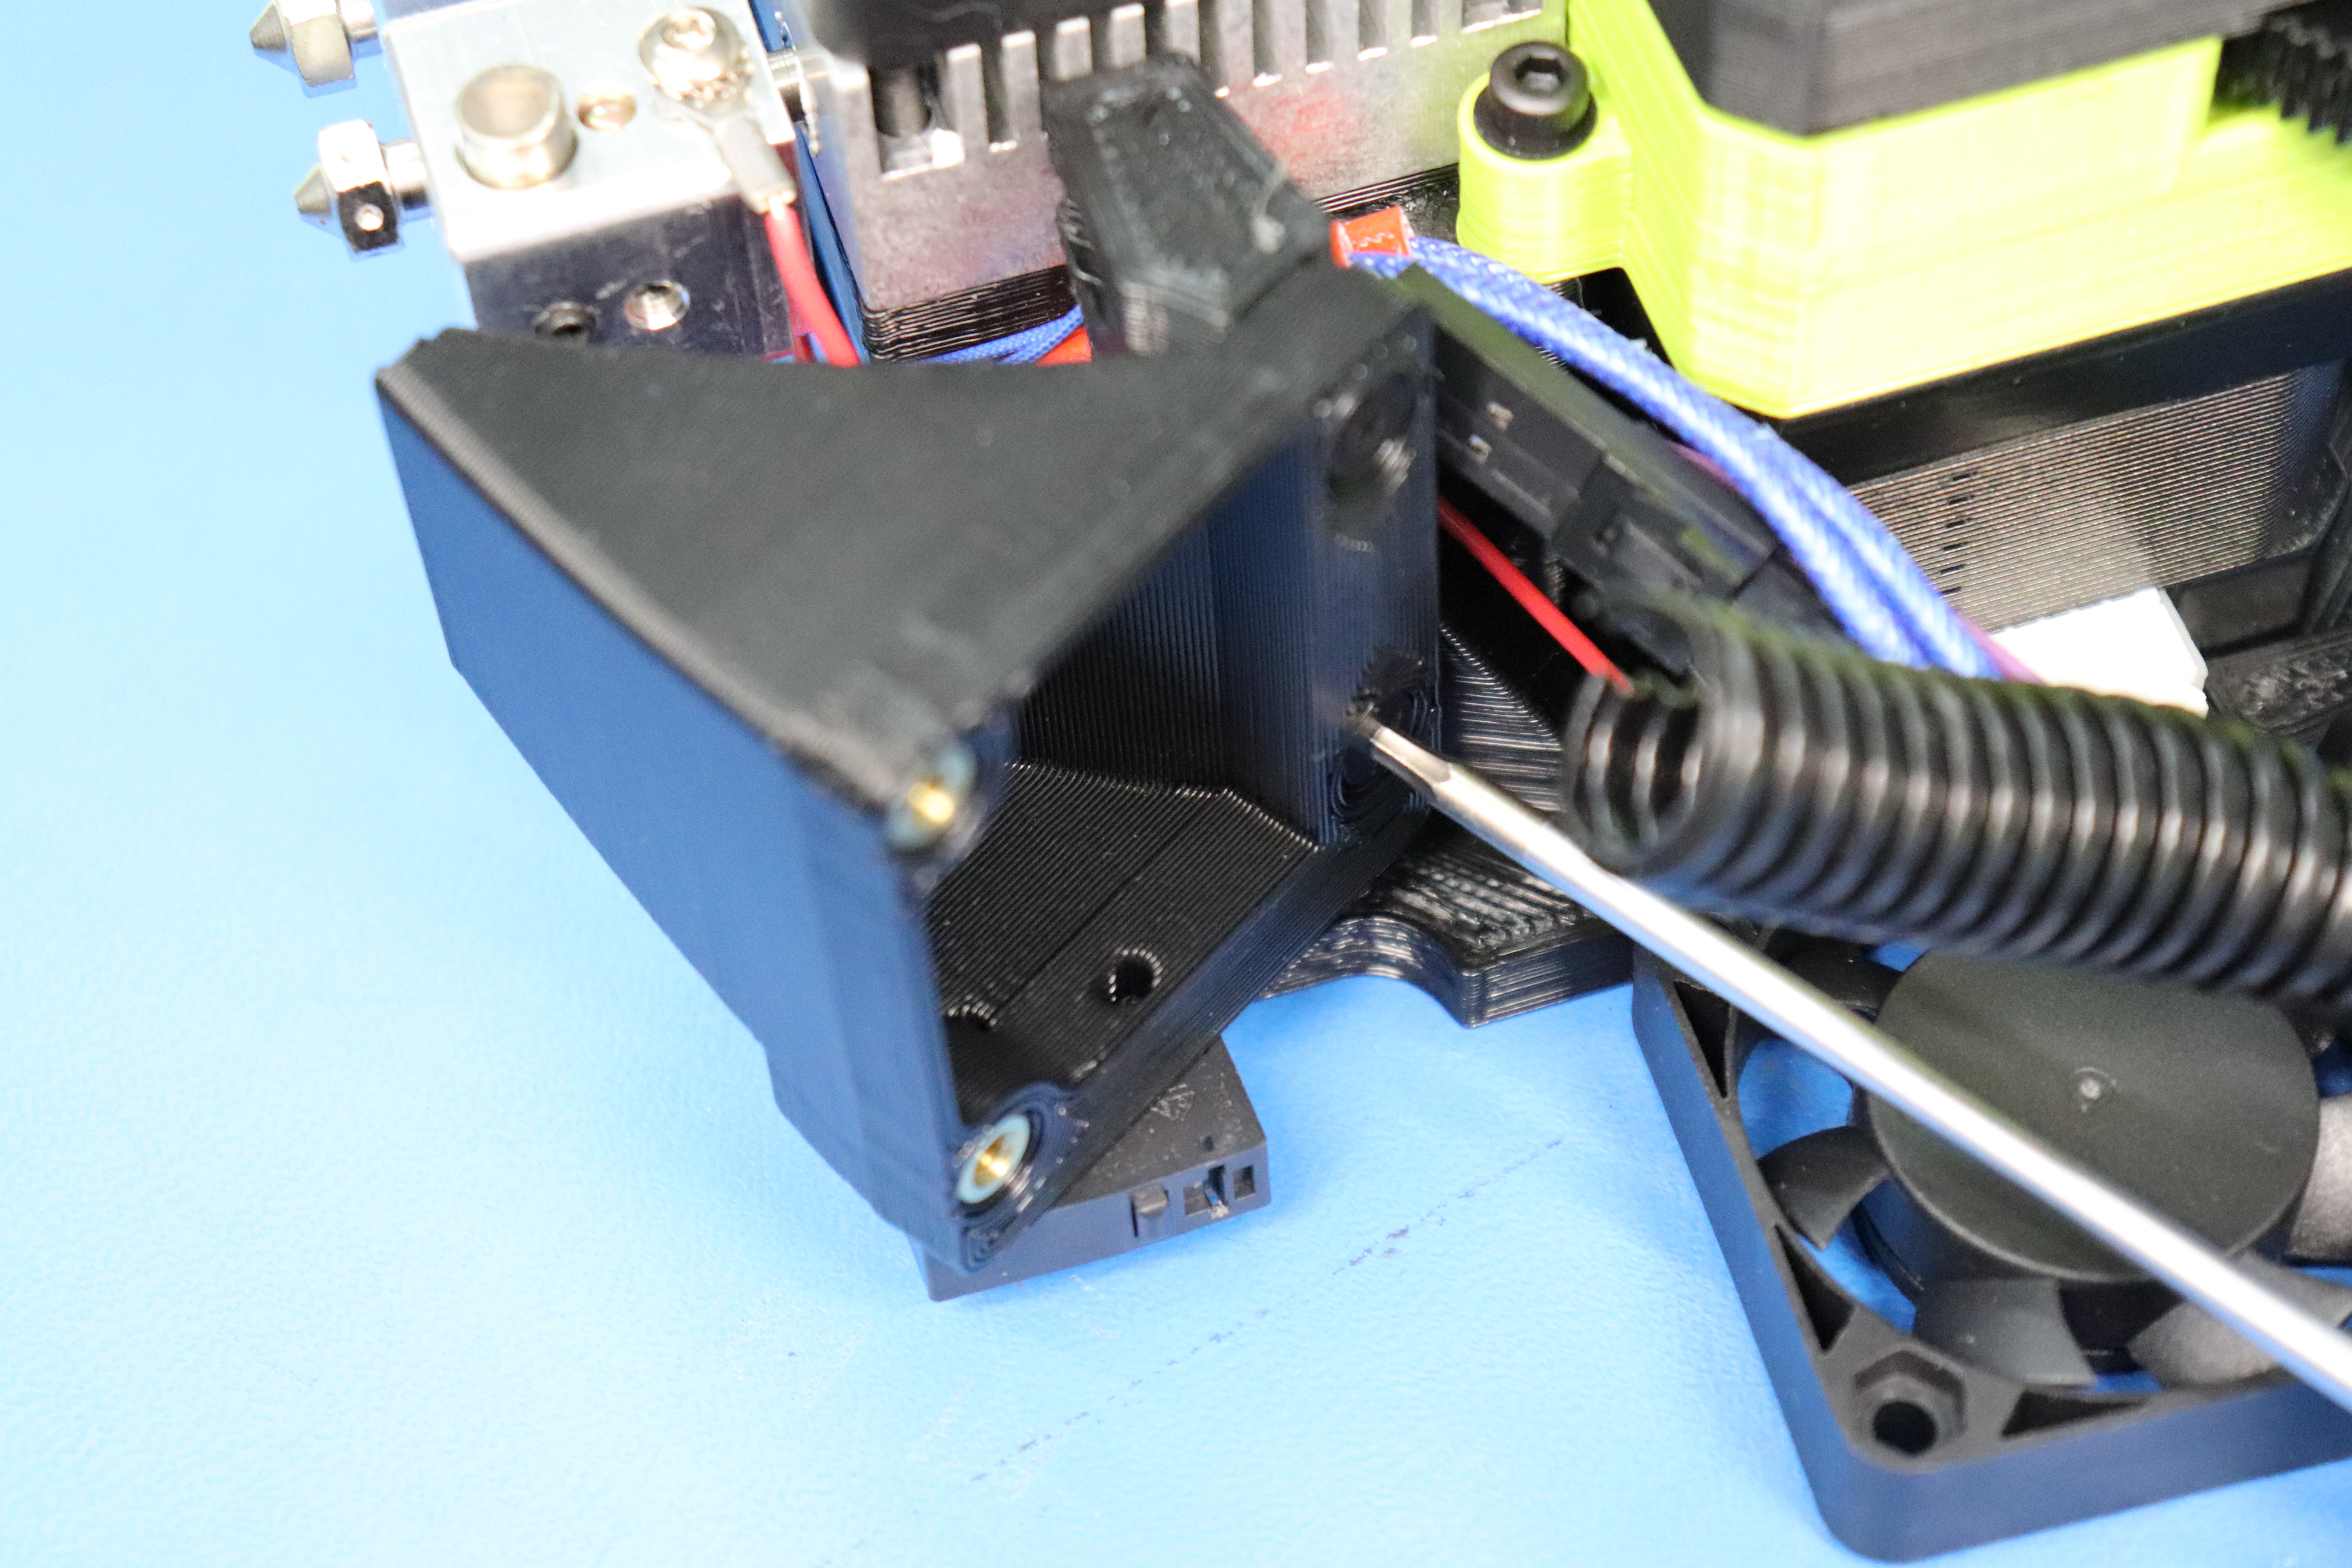
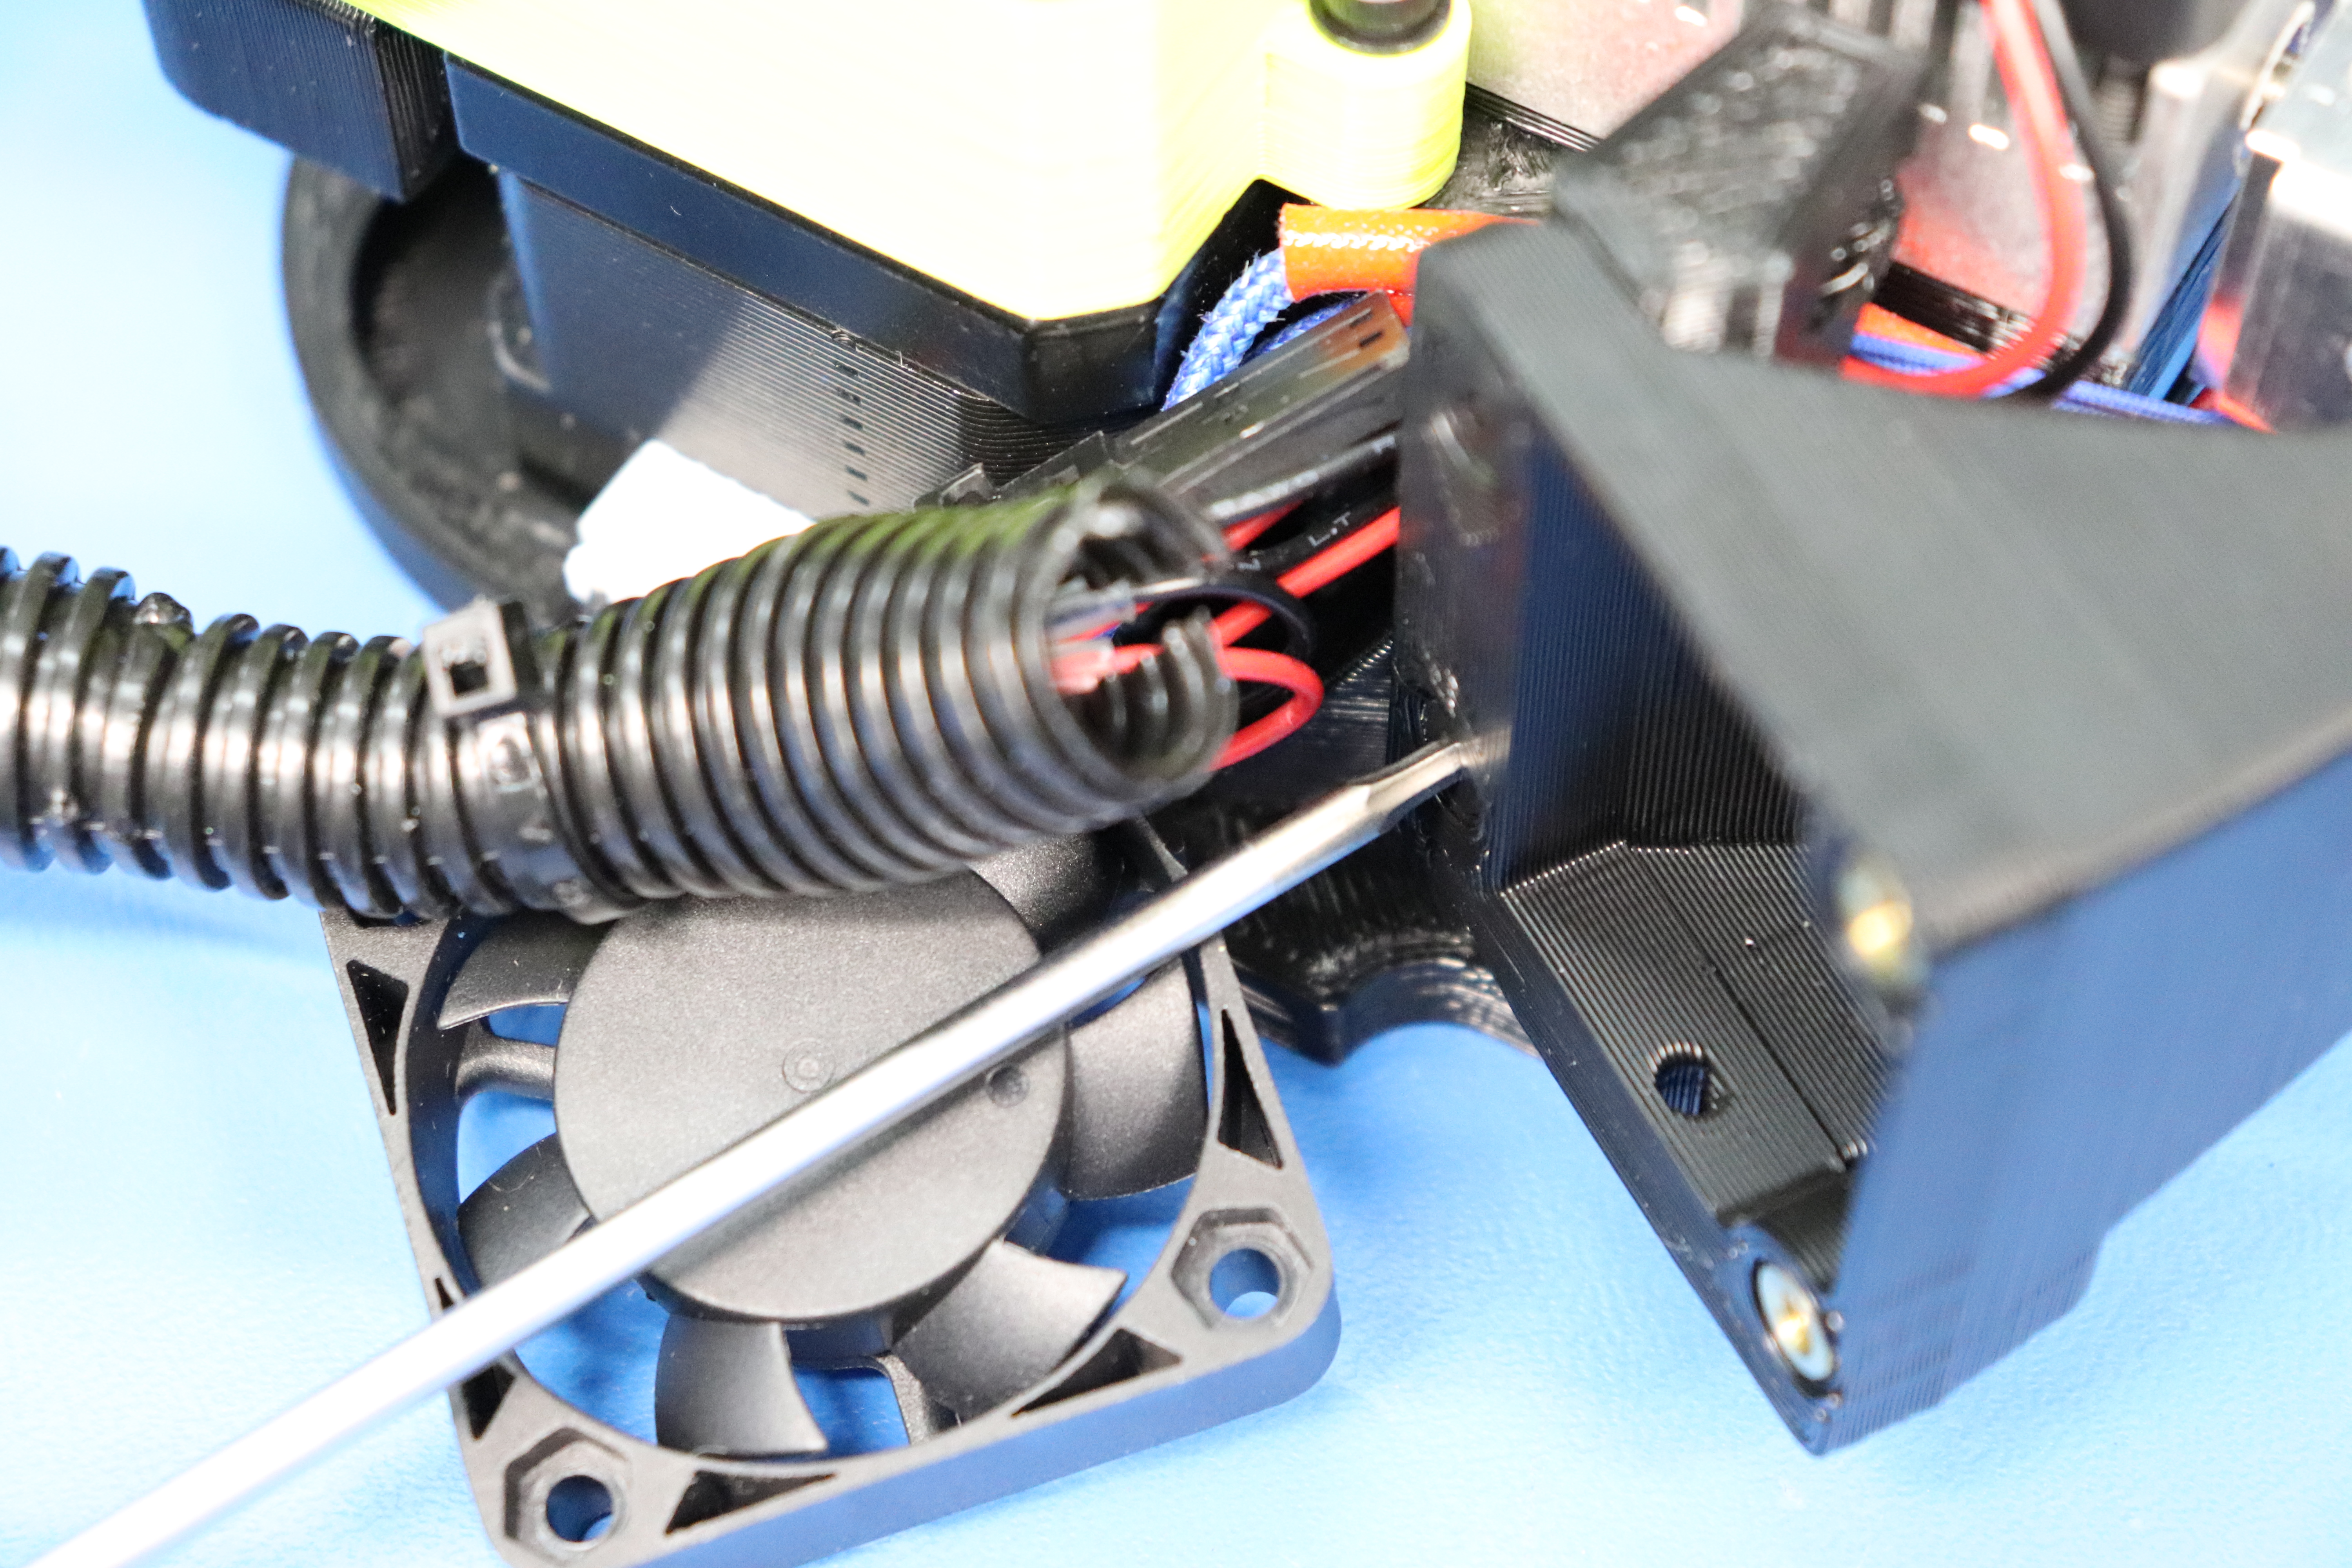
Using a 2.5mm hex driver, remove the four M3x12 SHCS that hod the fans onto the ducts.
Using a 2mm hex driver, remove the 4 M3x14 FHCS that hold the fan ducts to the extruder mount.
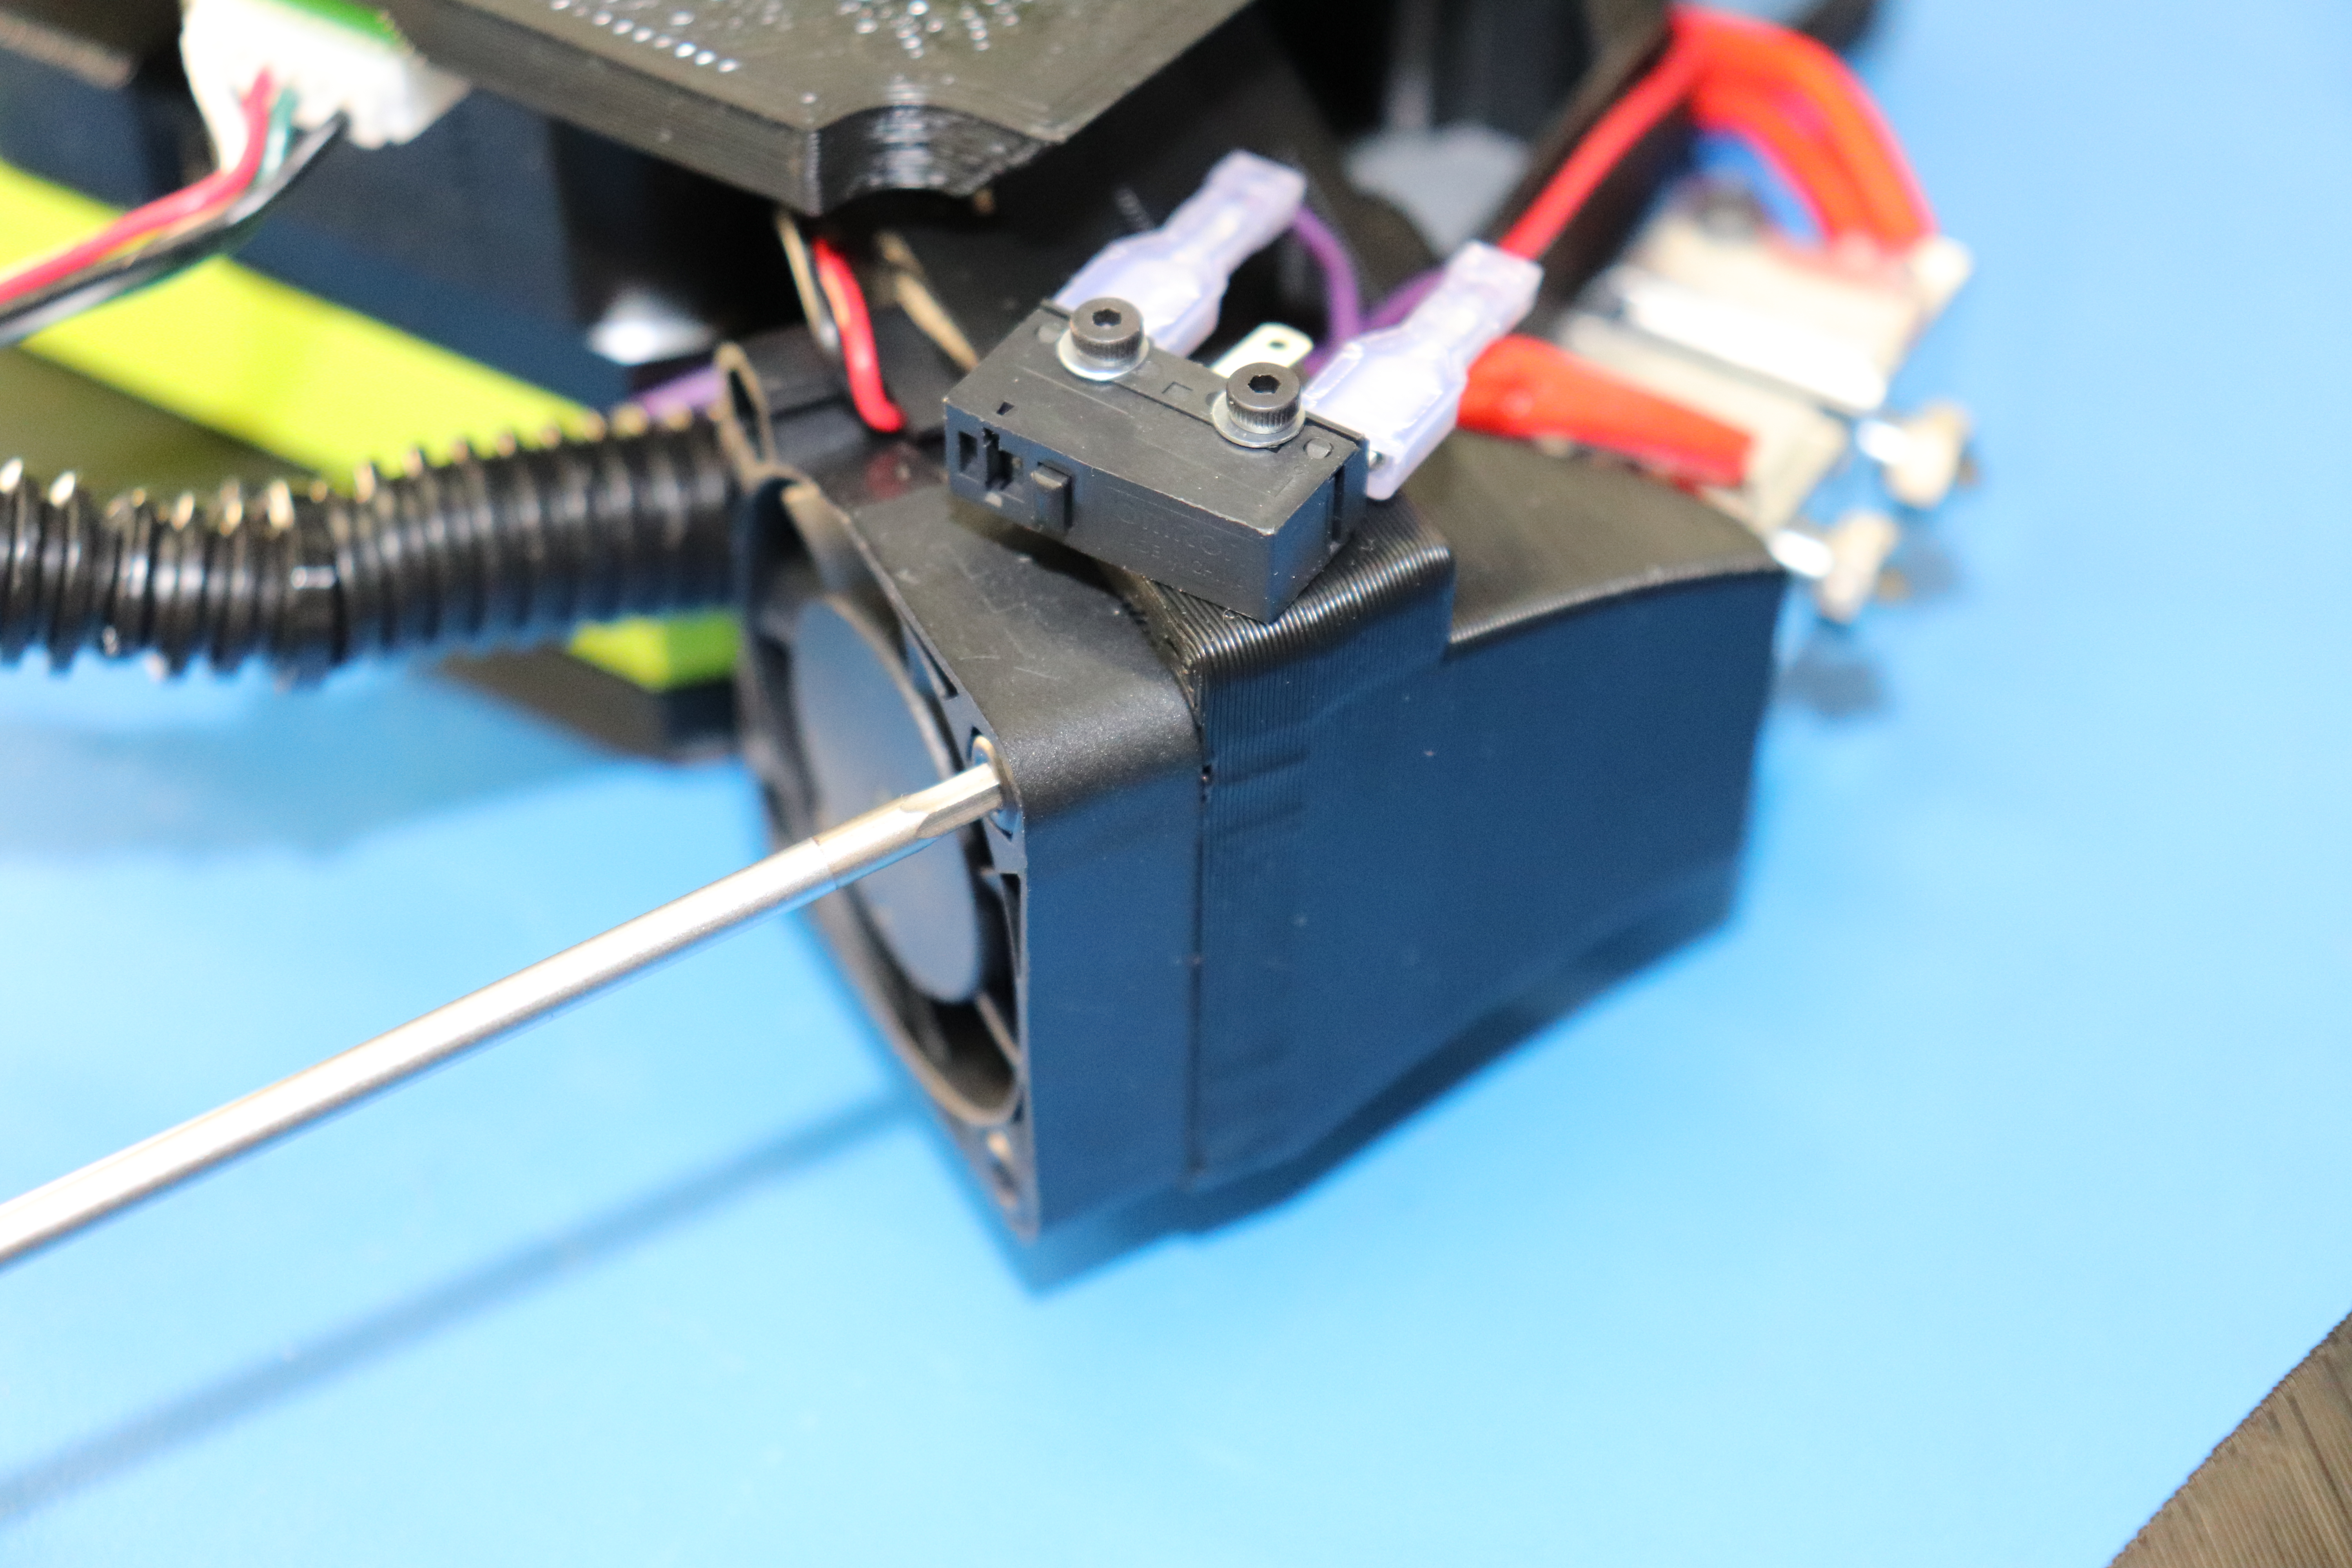
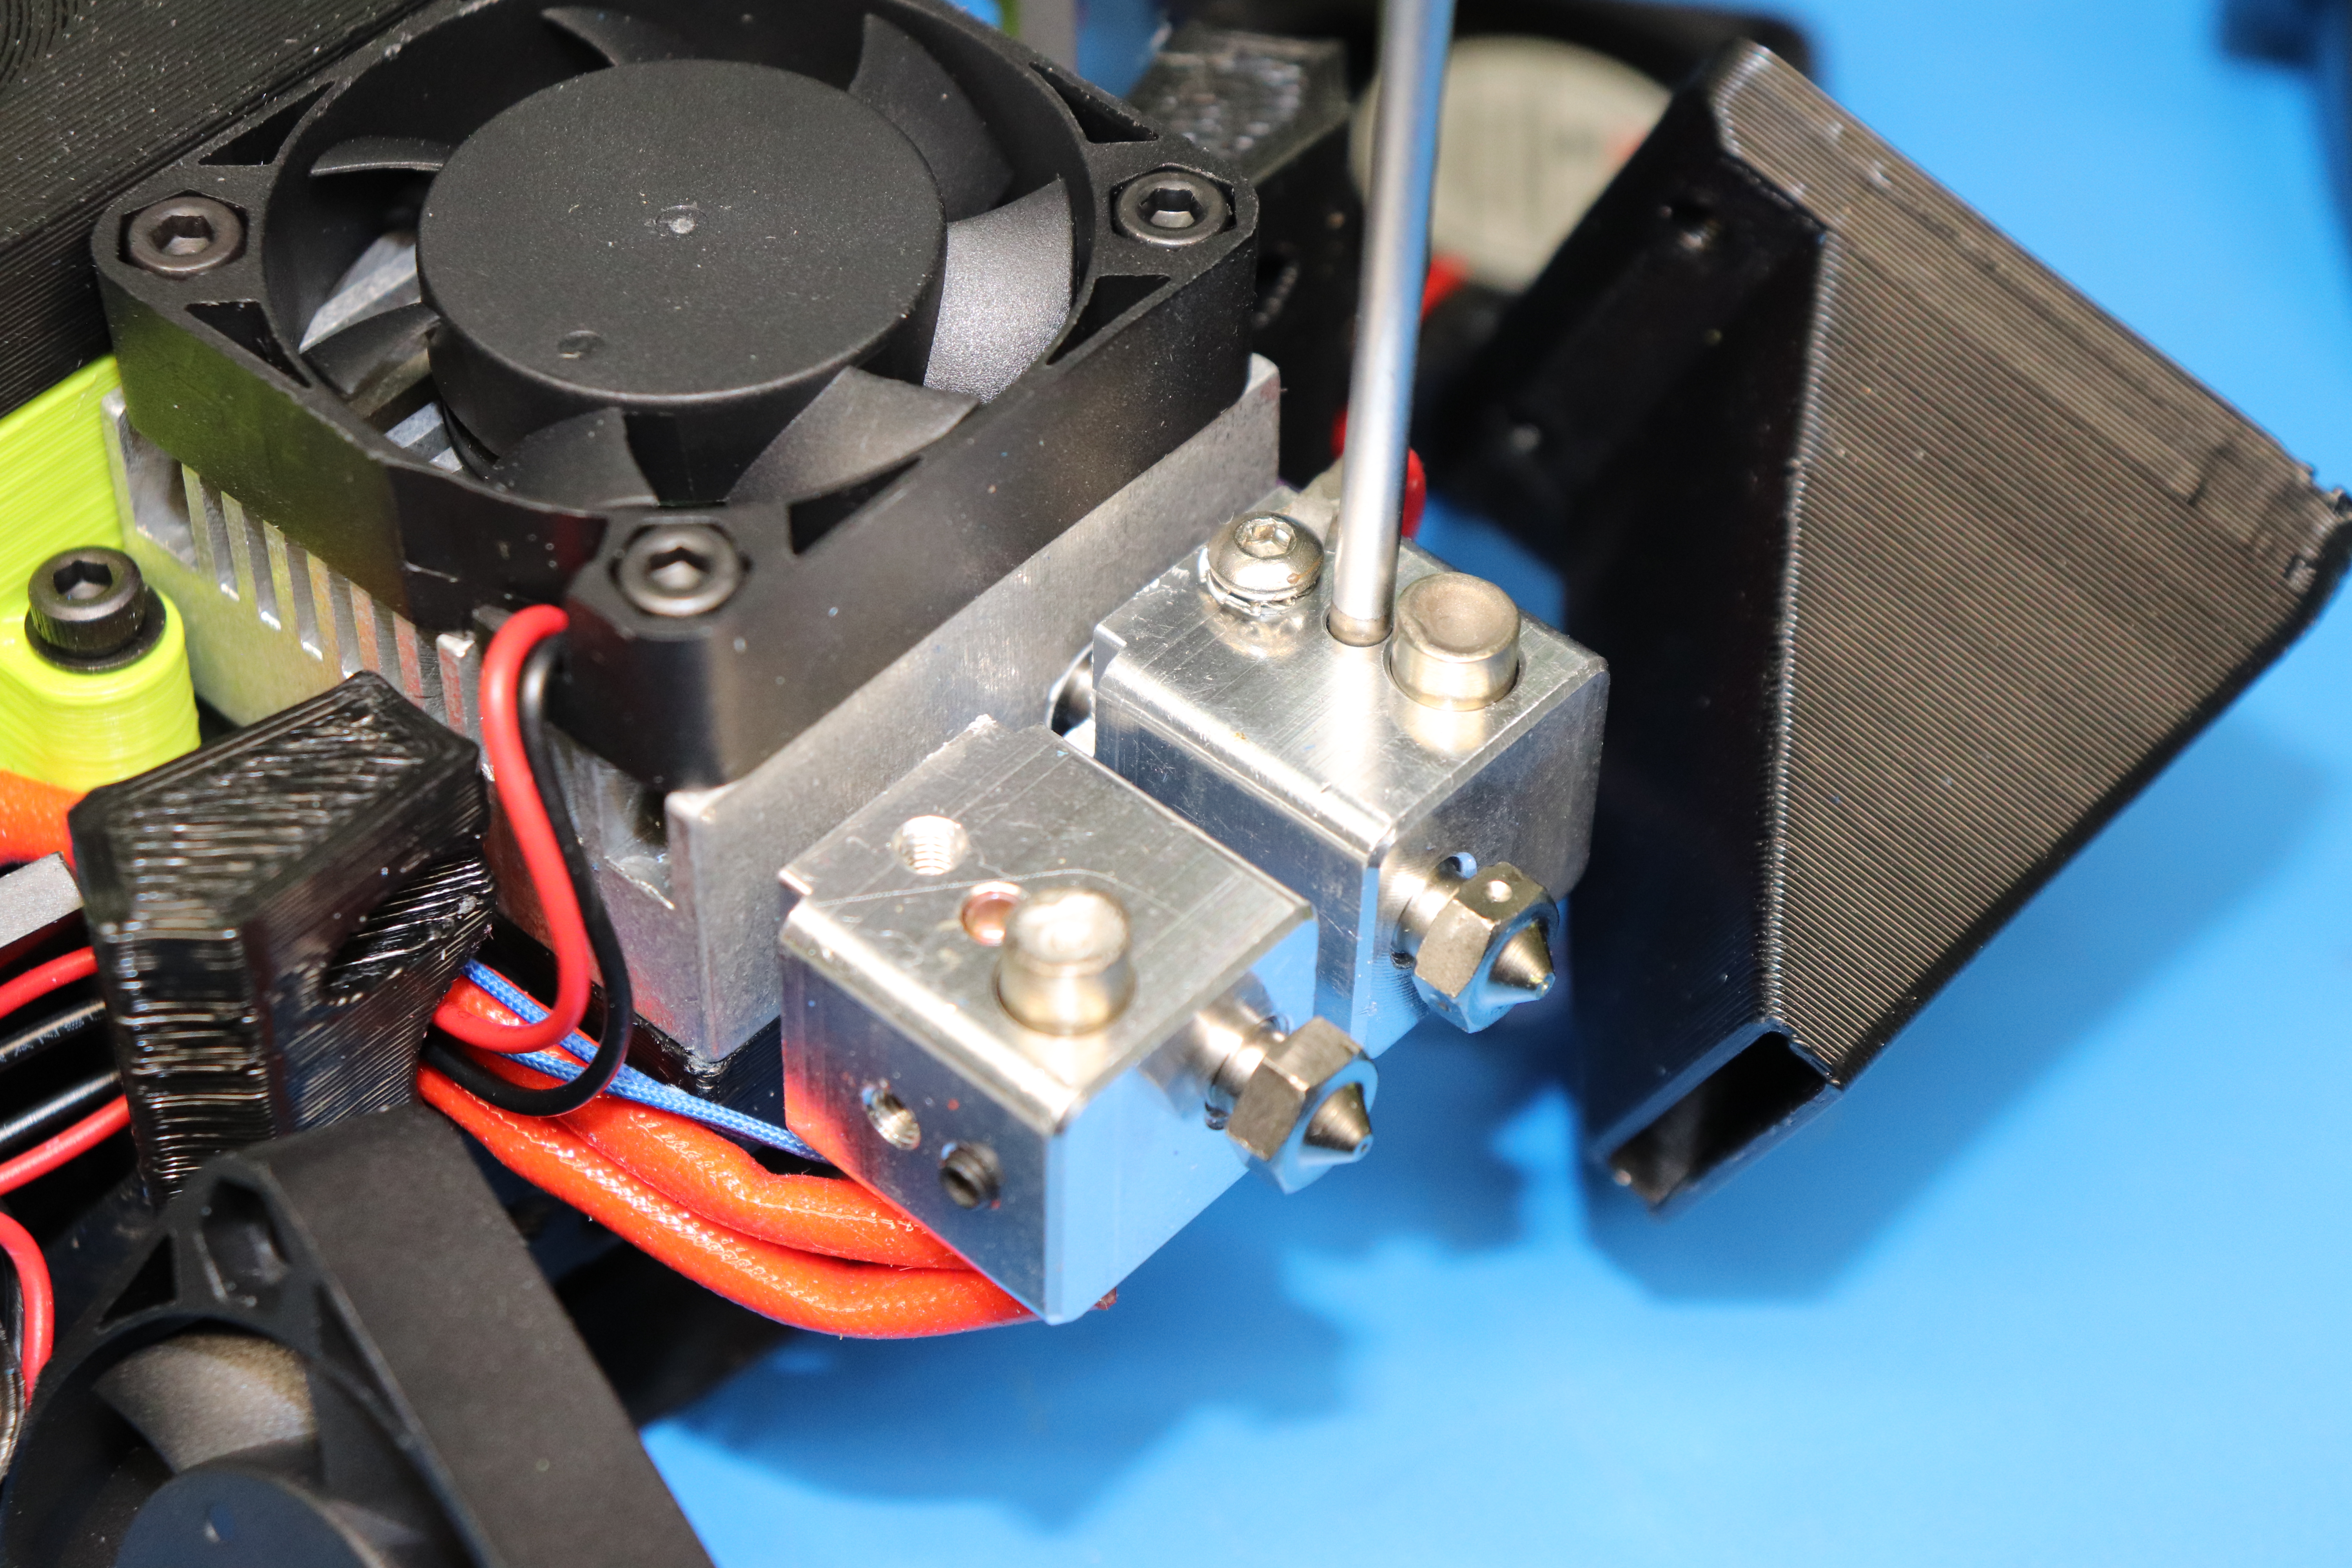
Using a 2.5mm hex driver, remove the retaining plates and their fasteners.
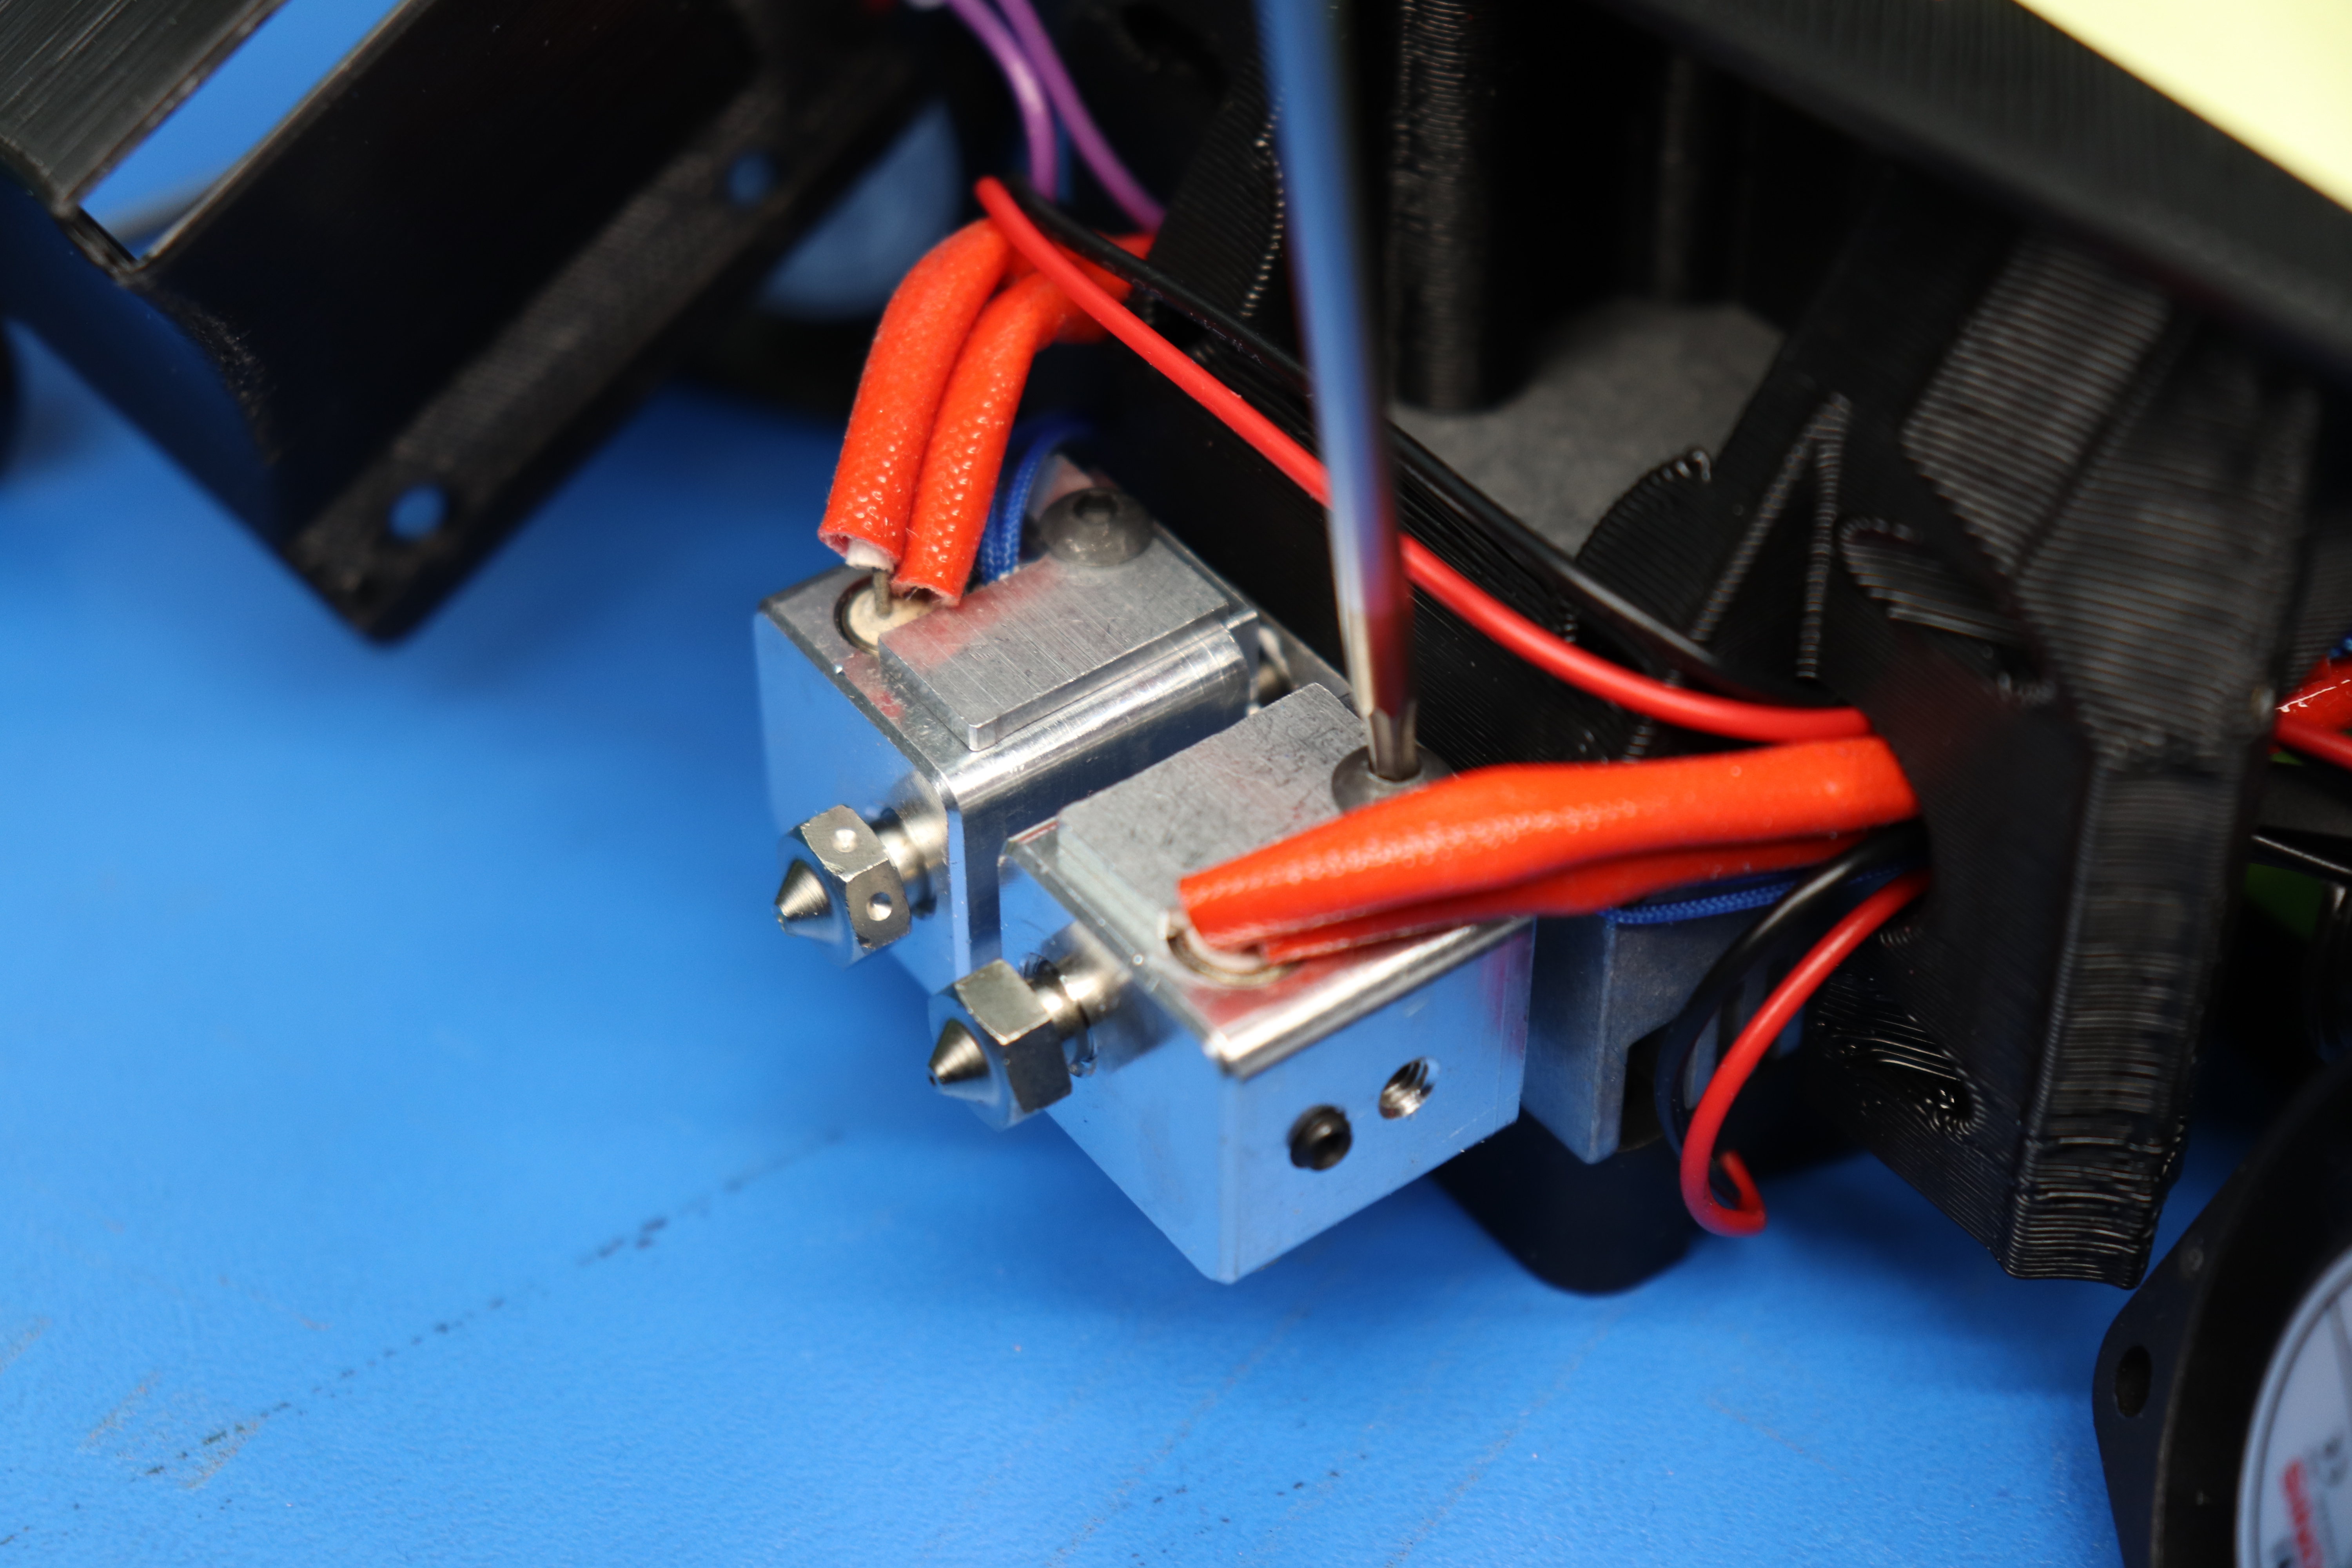
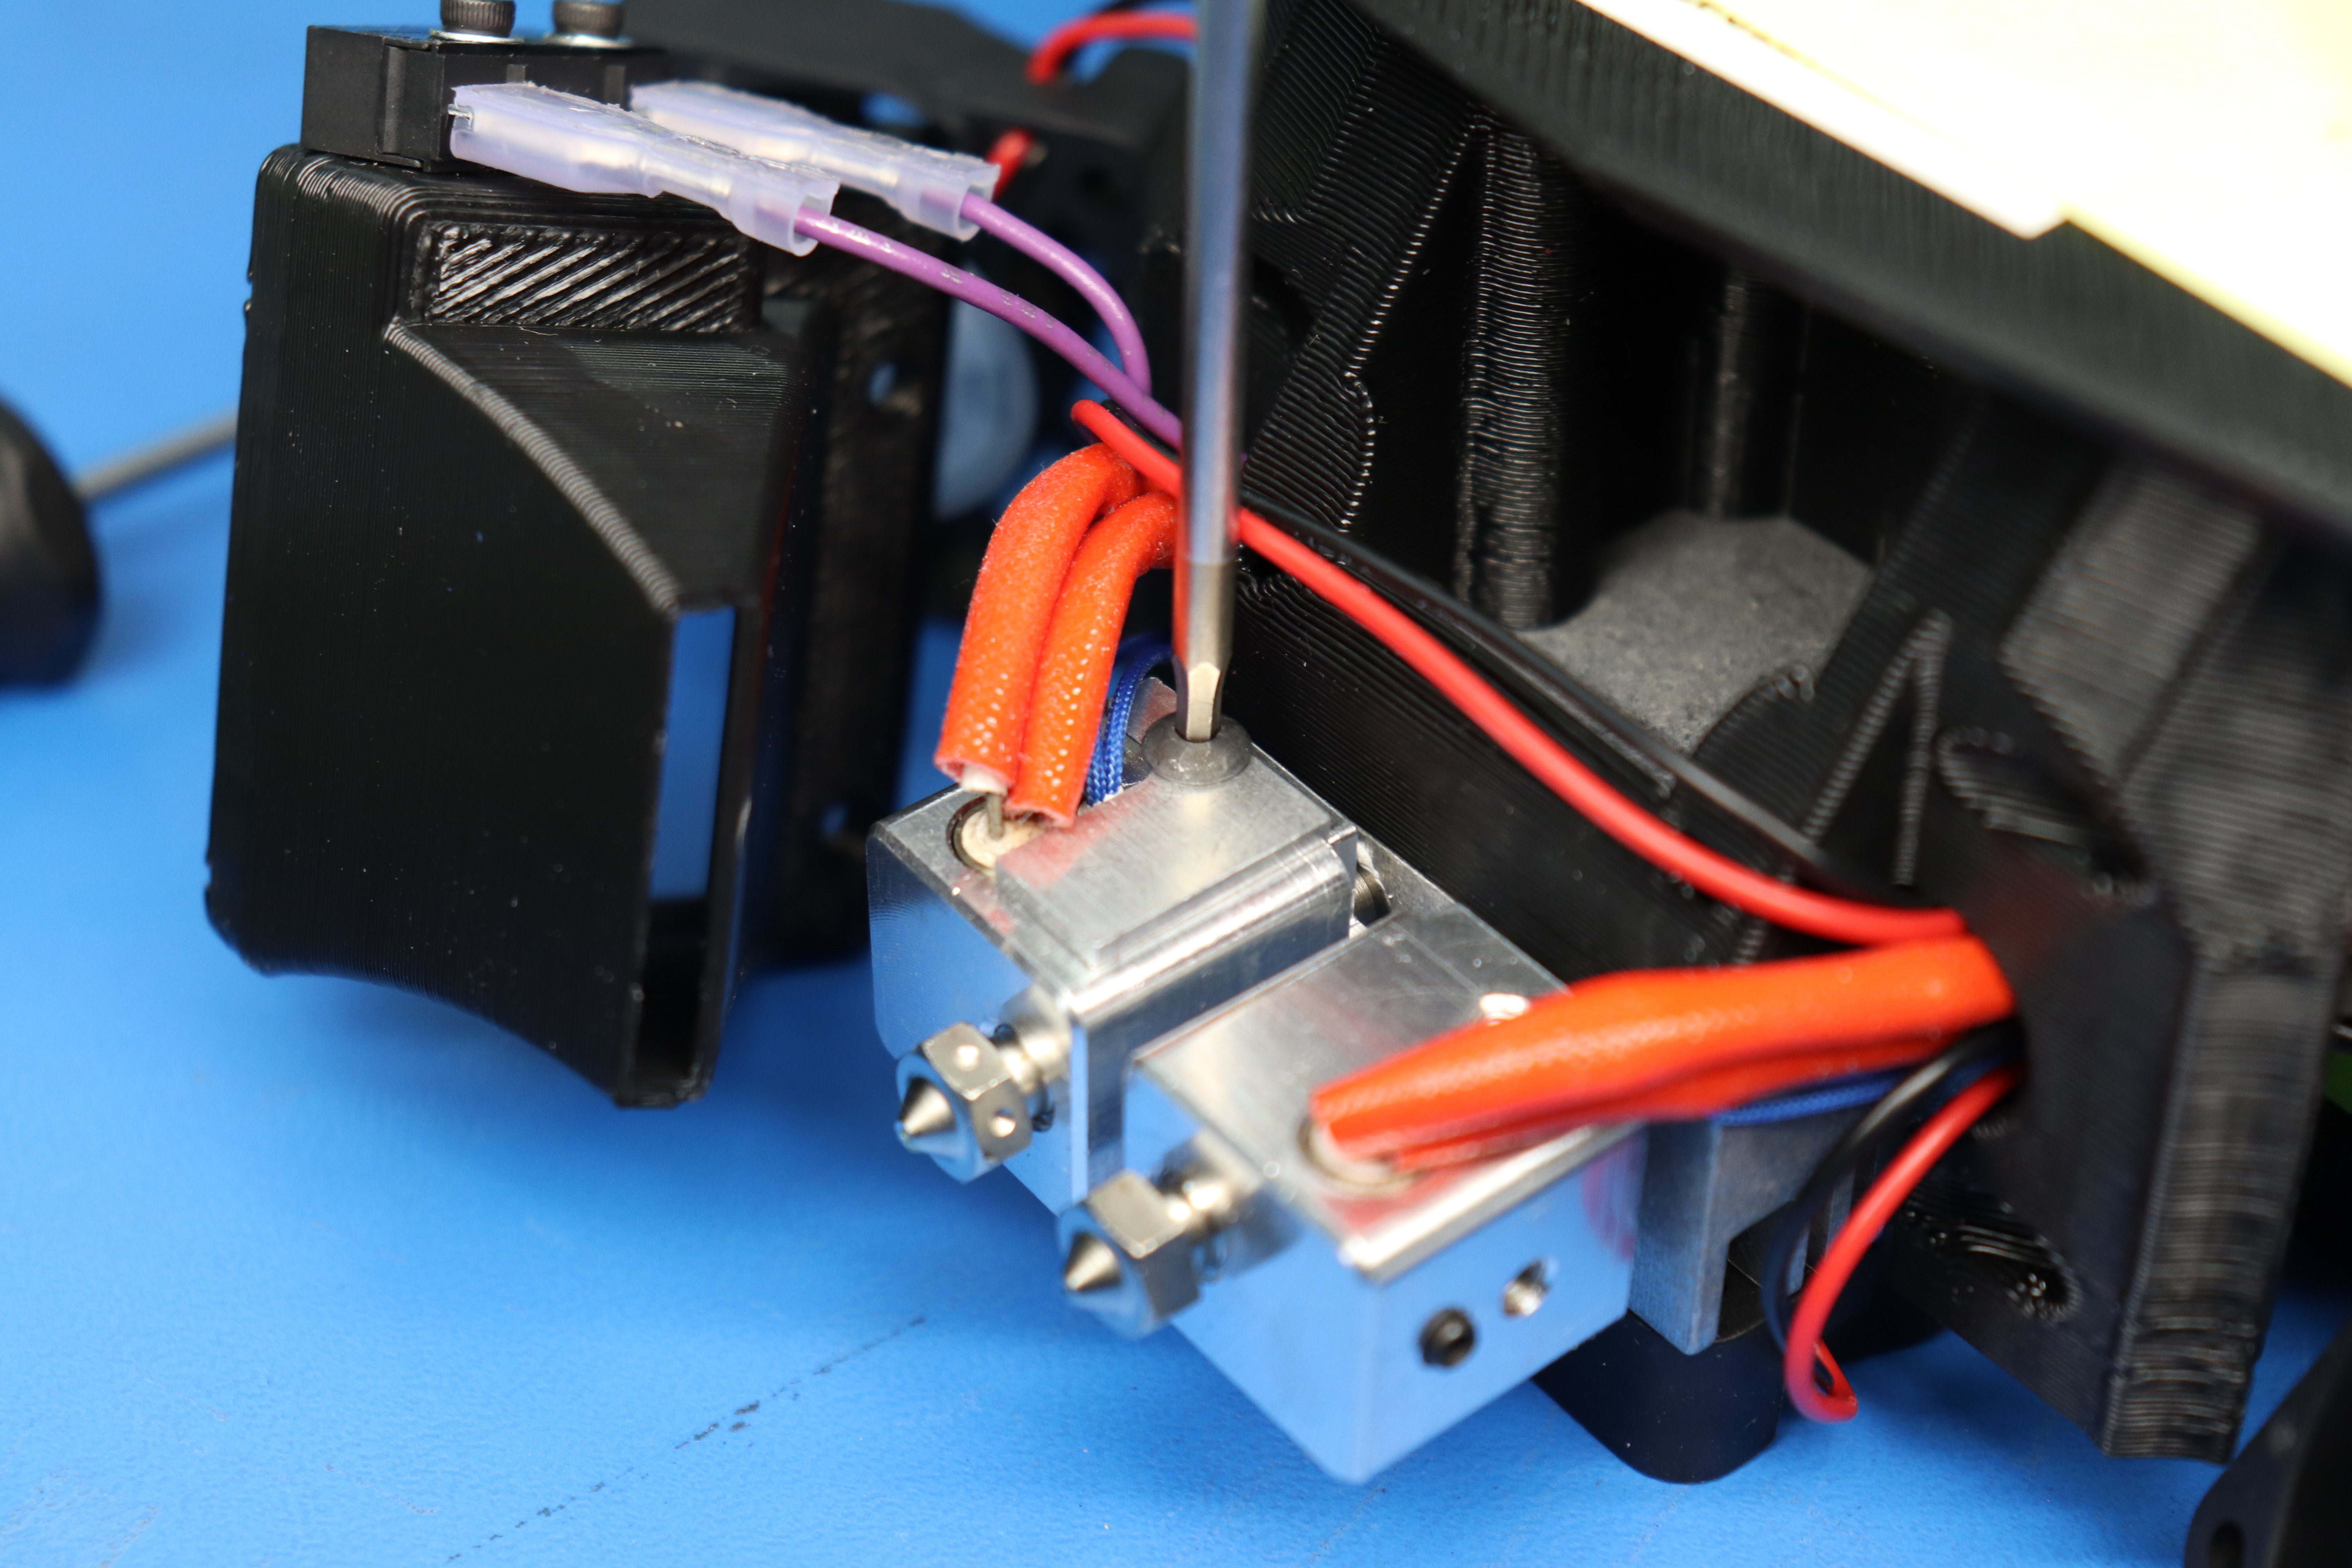
Using a 1.5mm hex driver, loosen the retaining set screws by about 2 or 3 turns


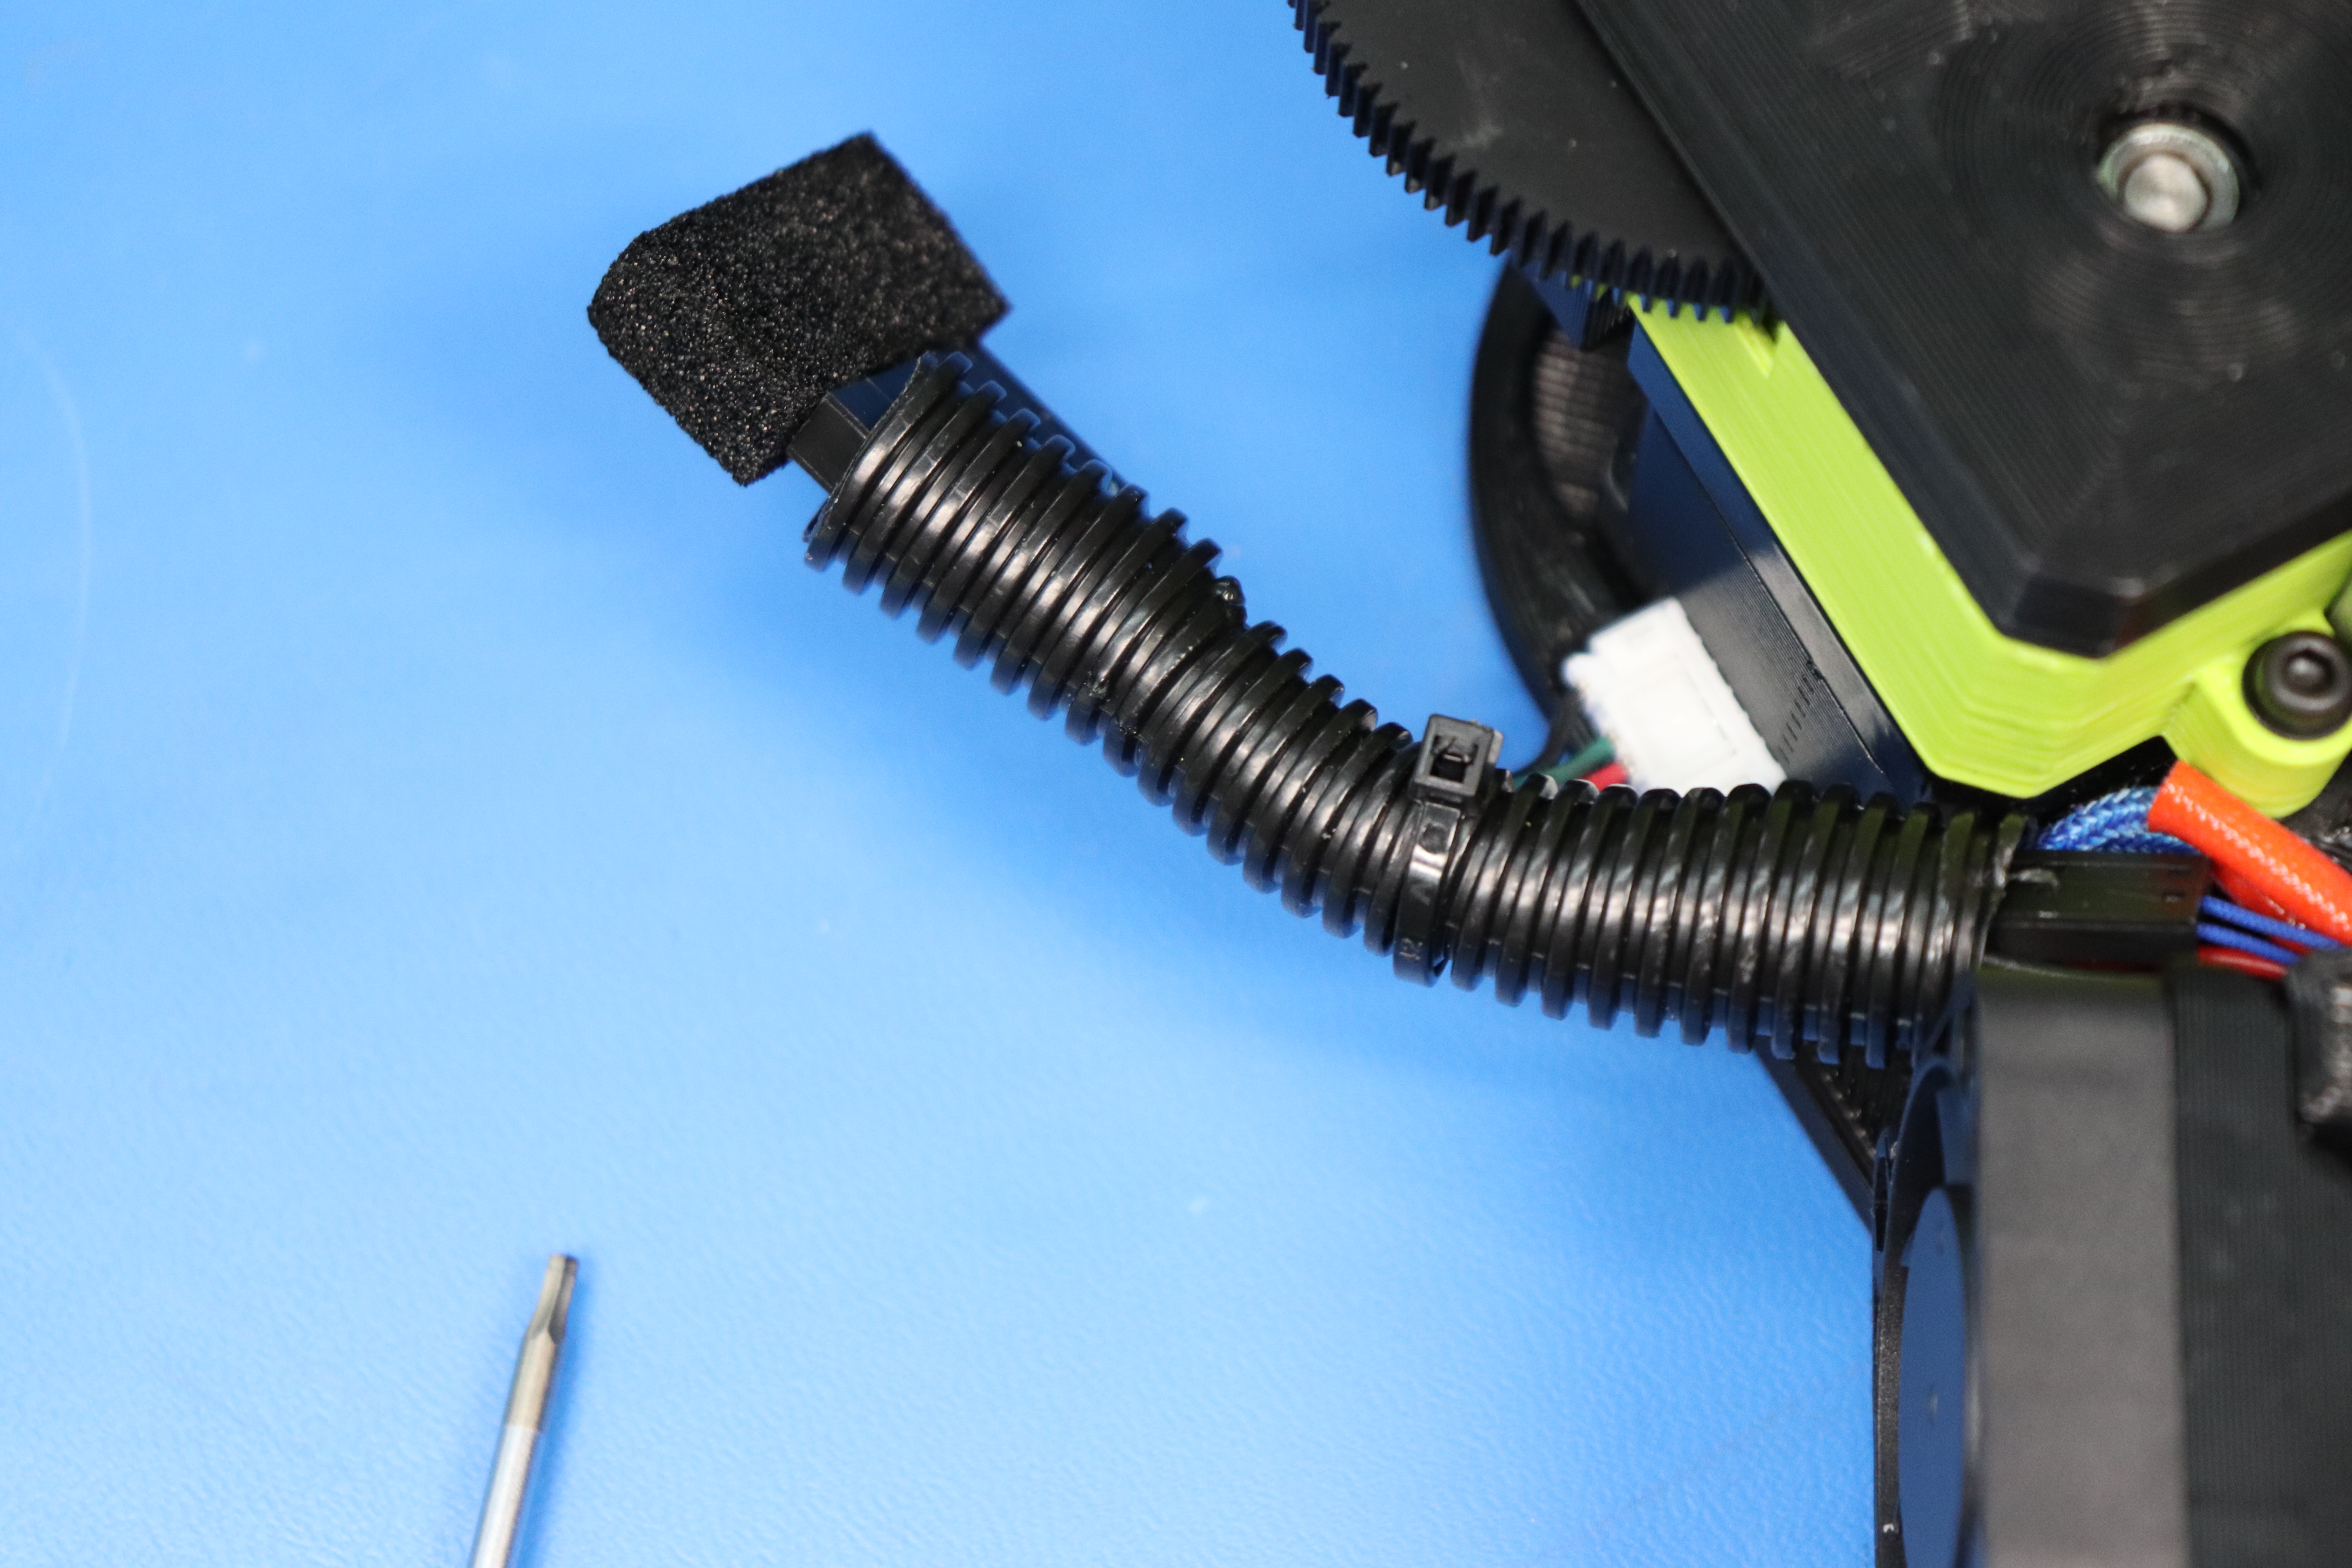
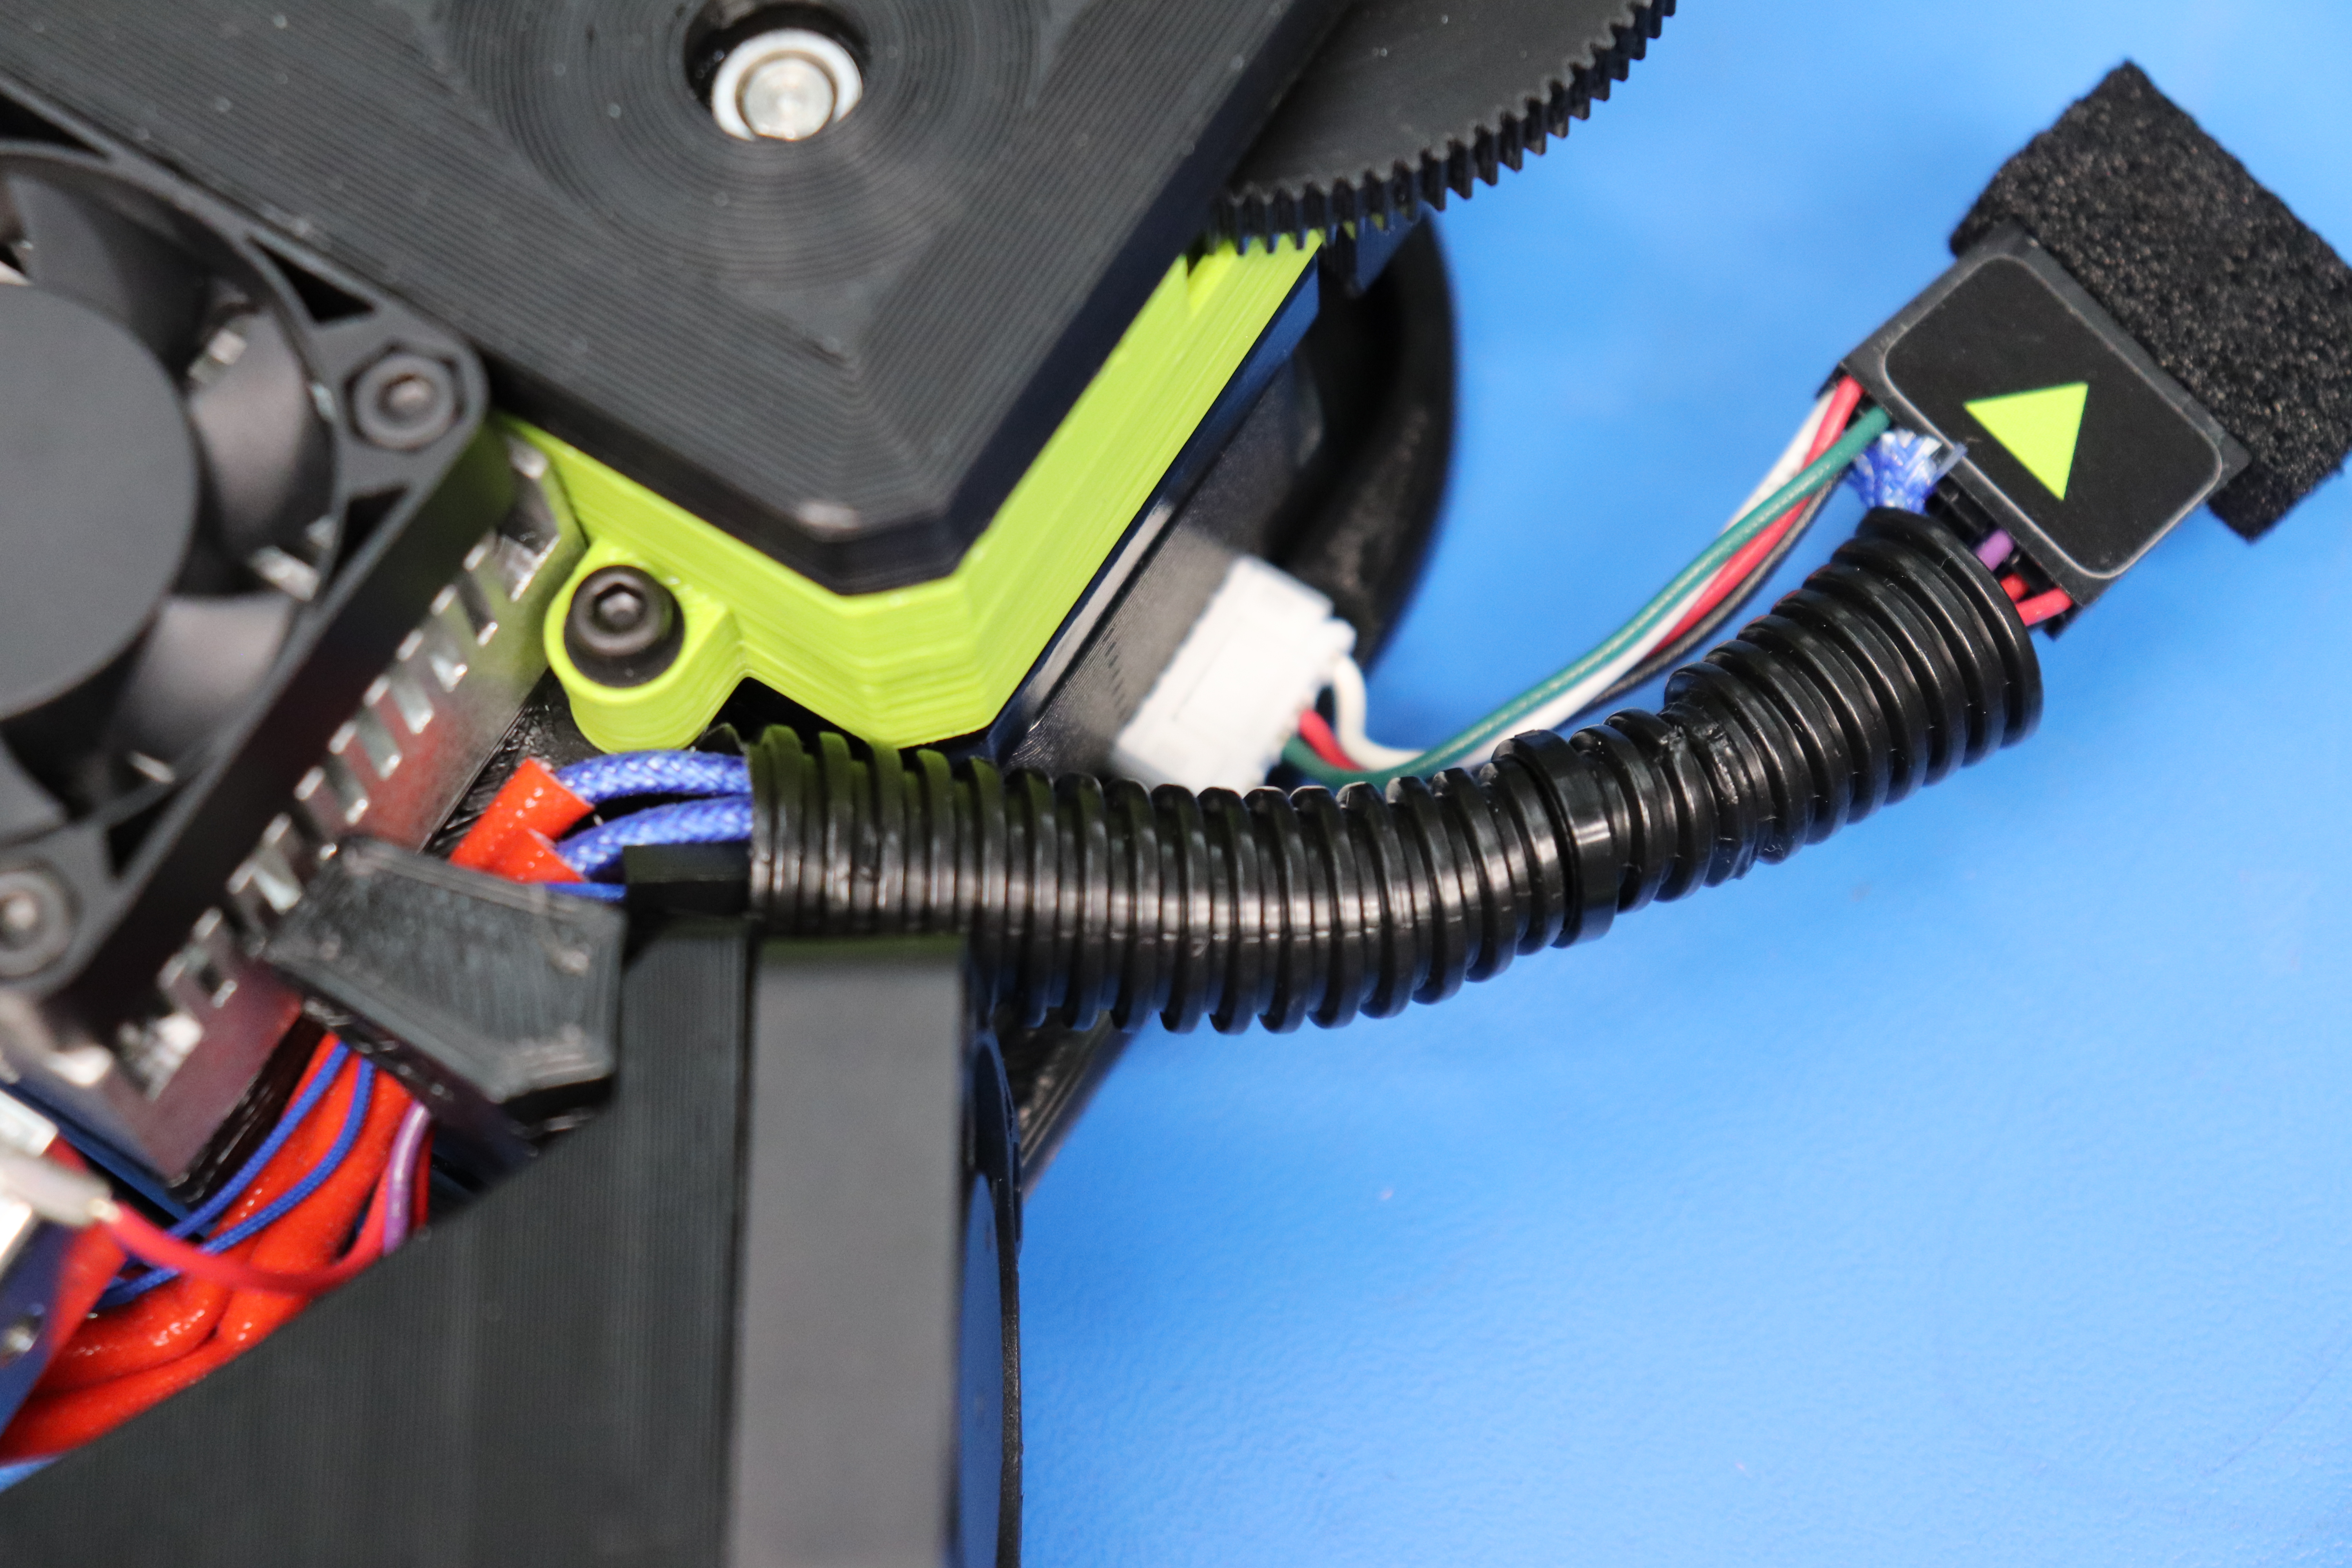
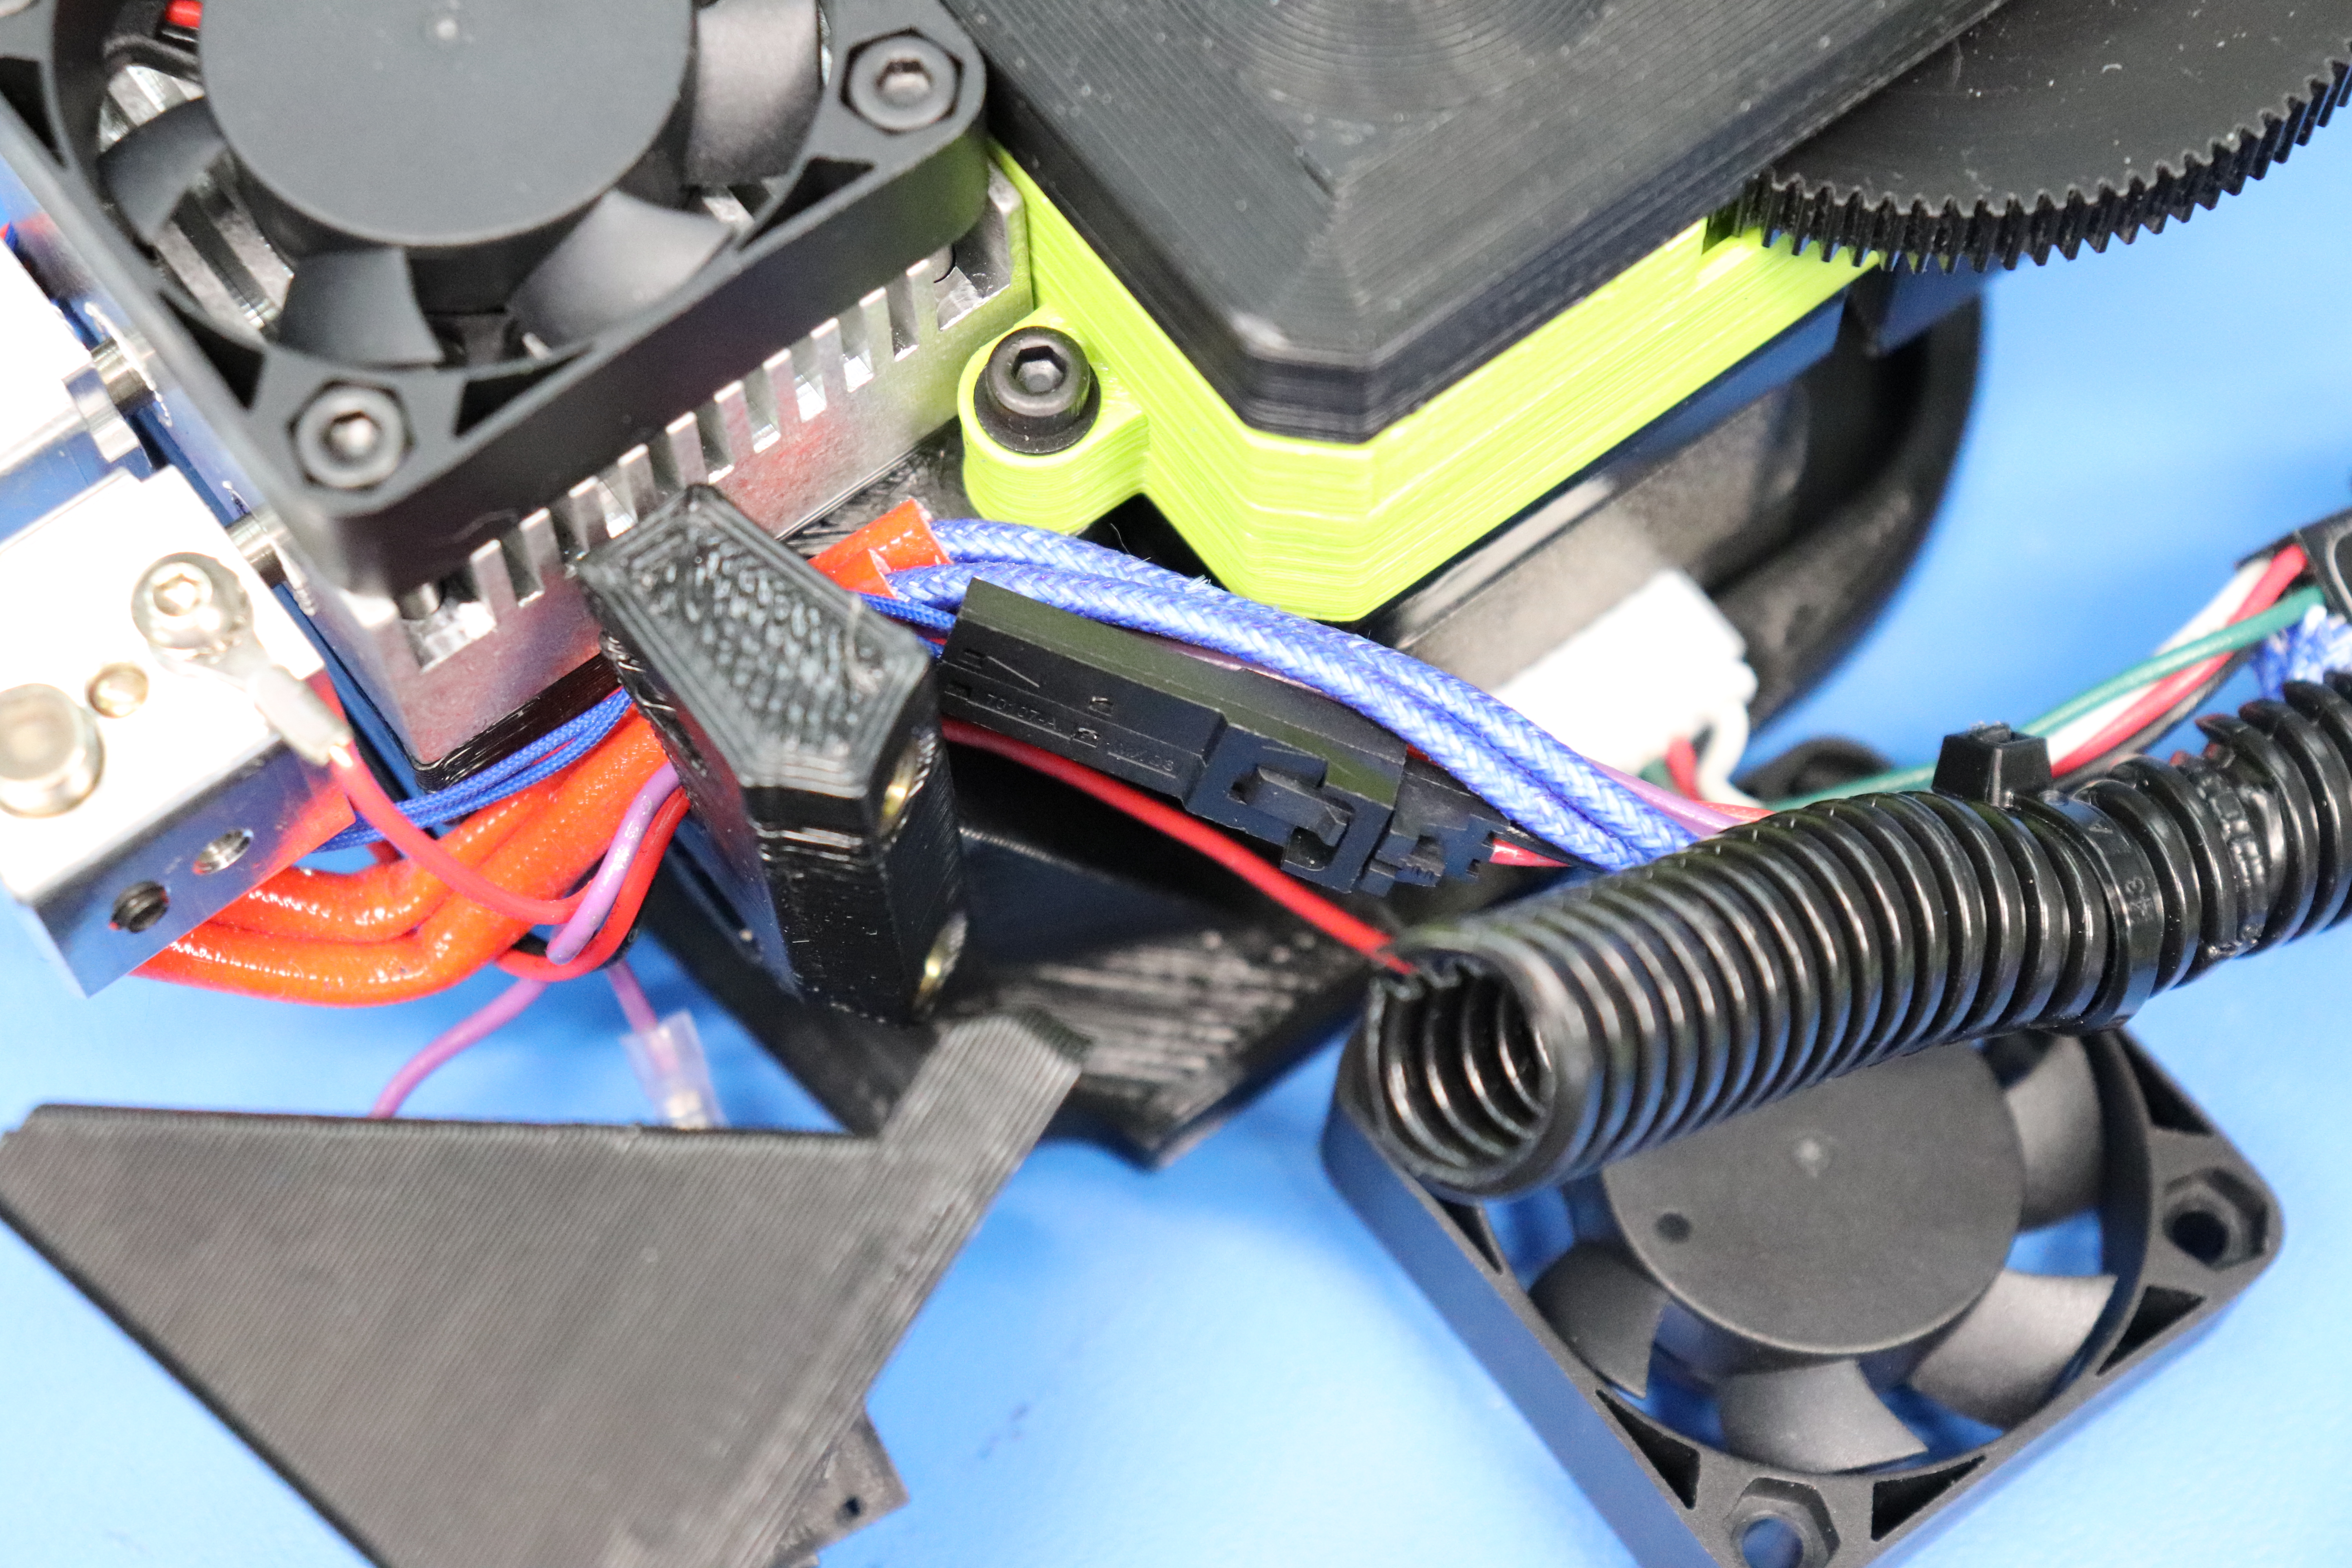
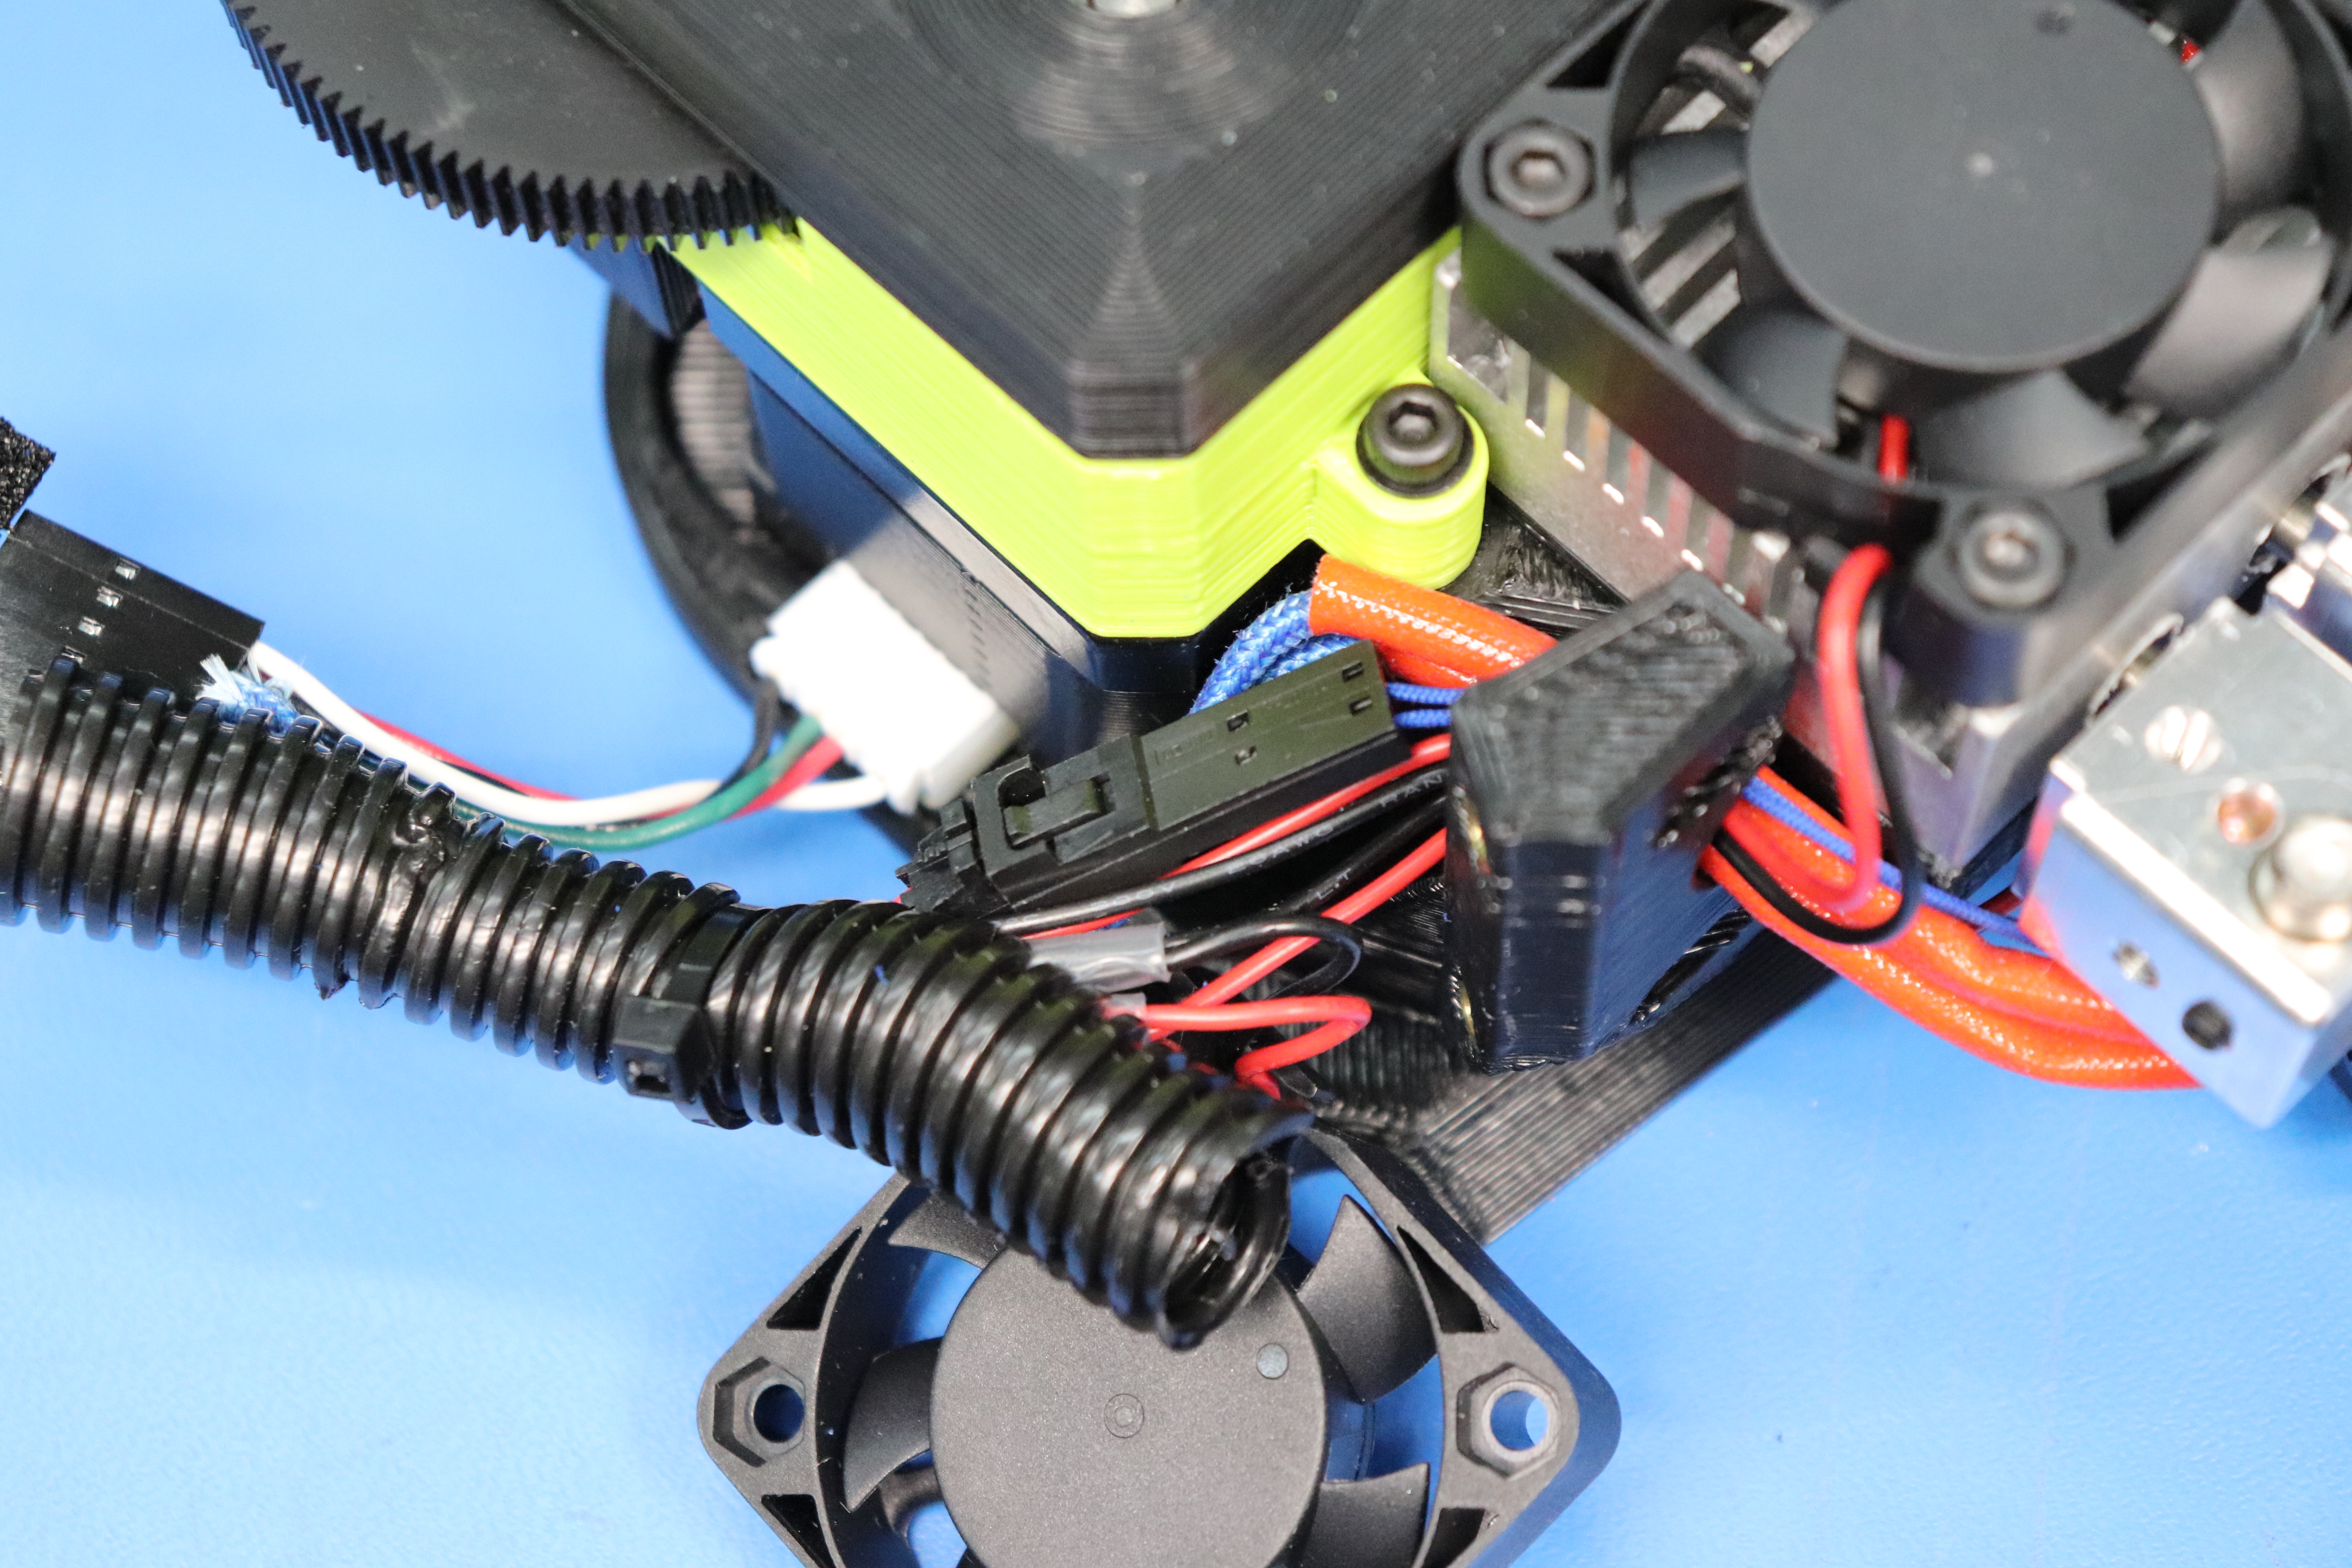
Remove the looming enough to expose the thermistor connections
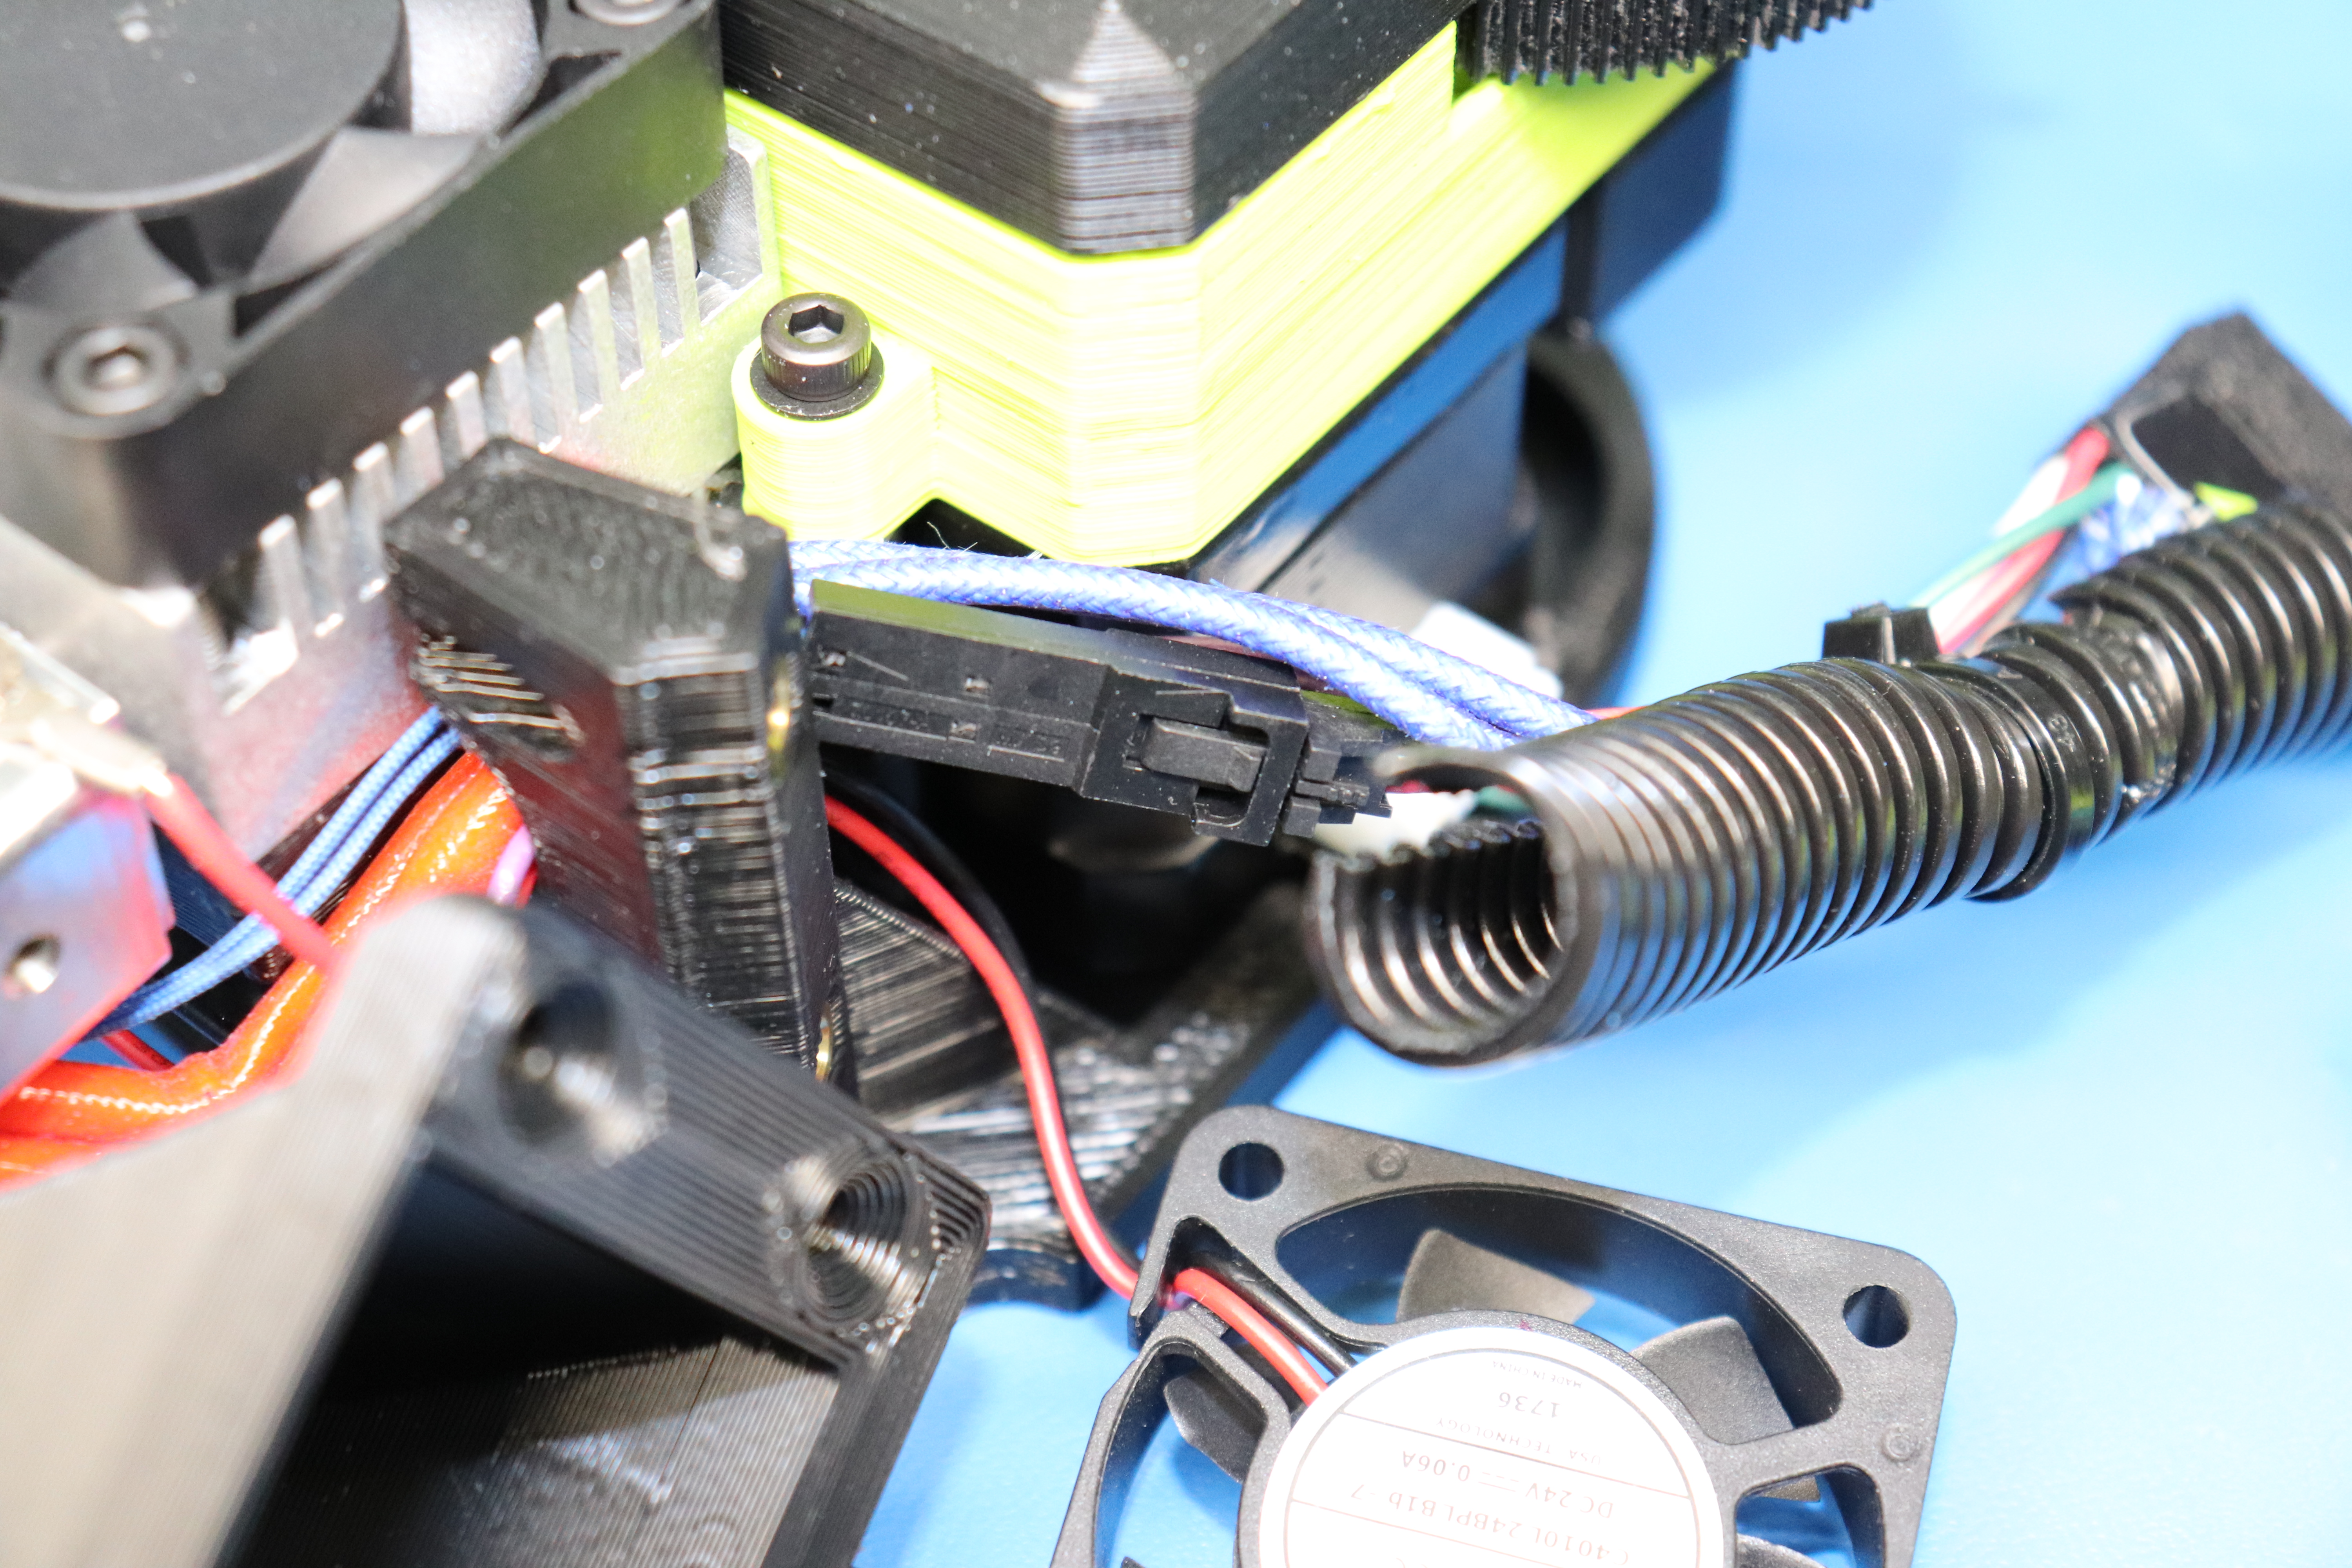
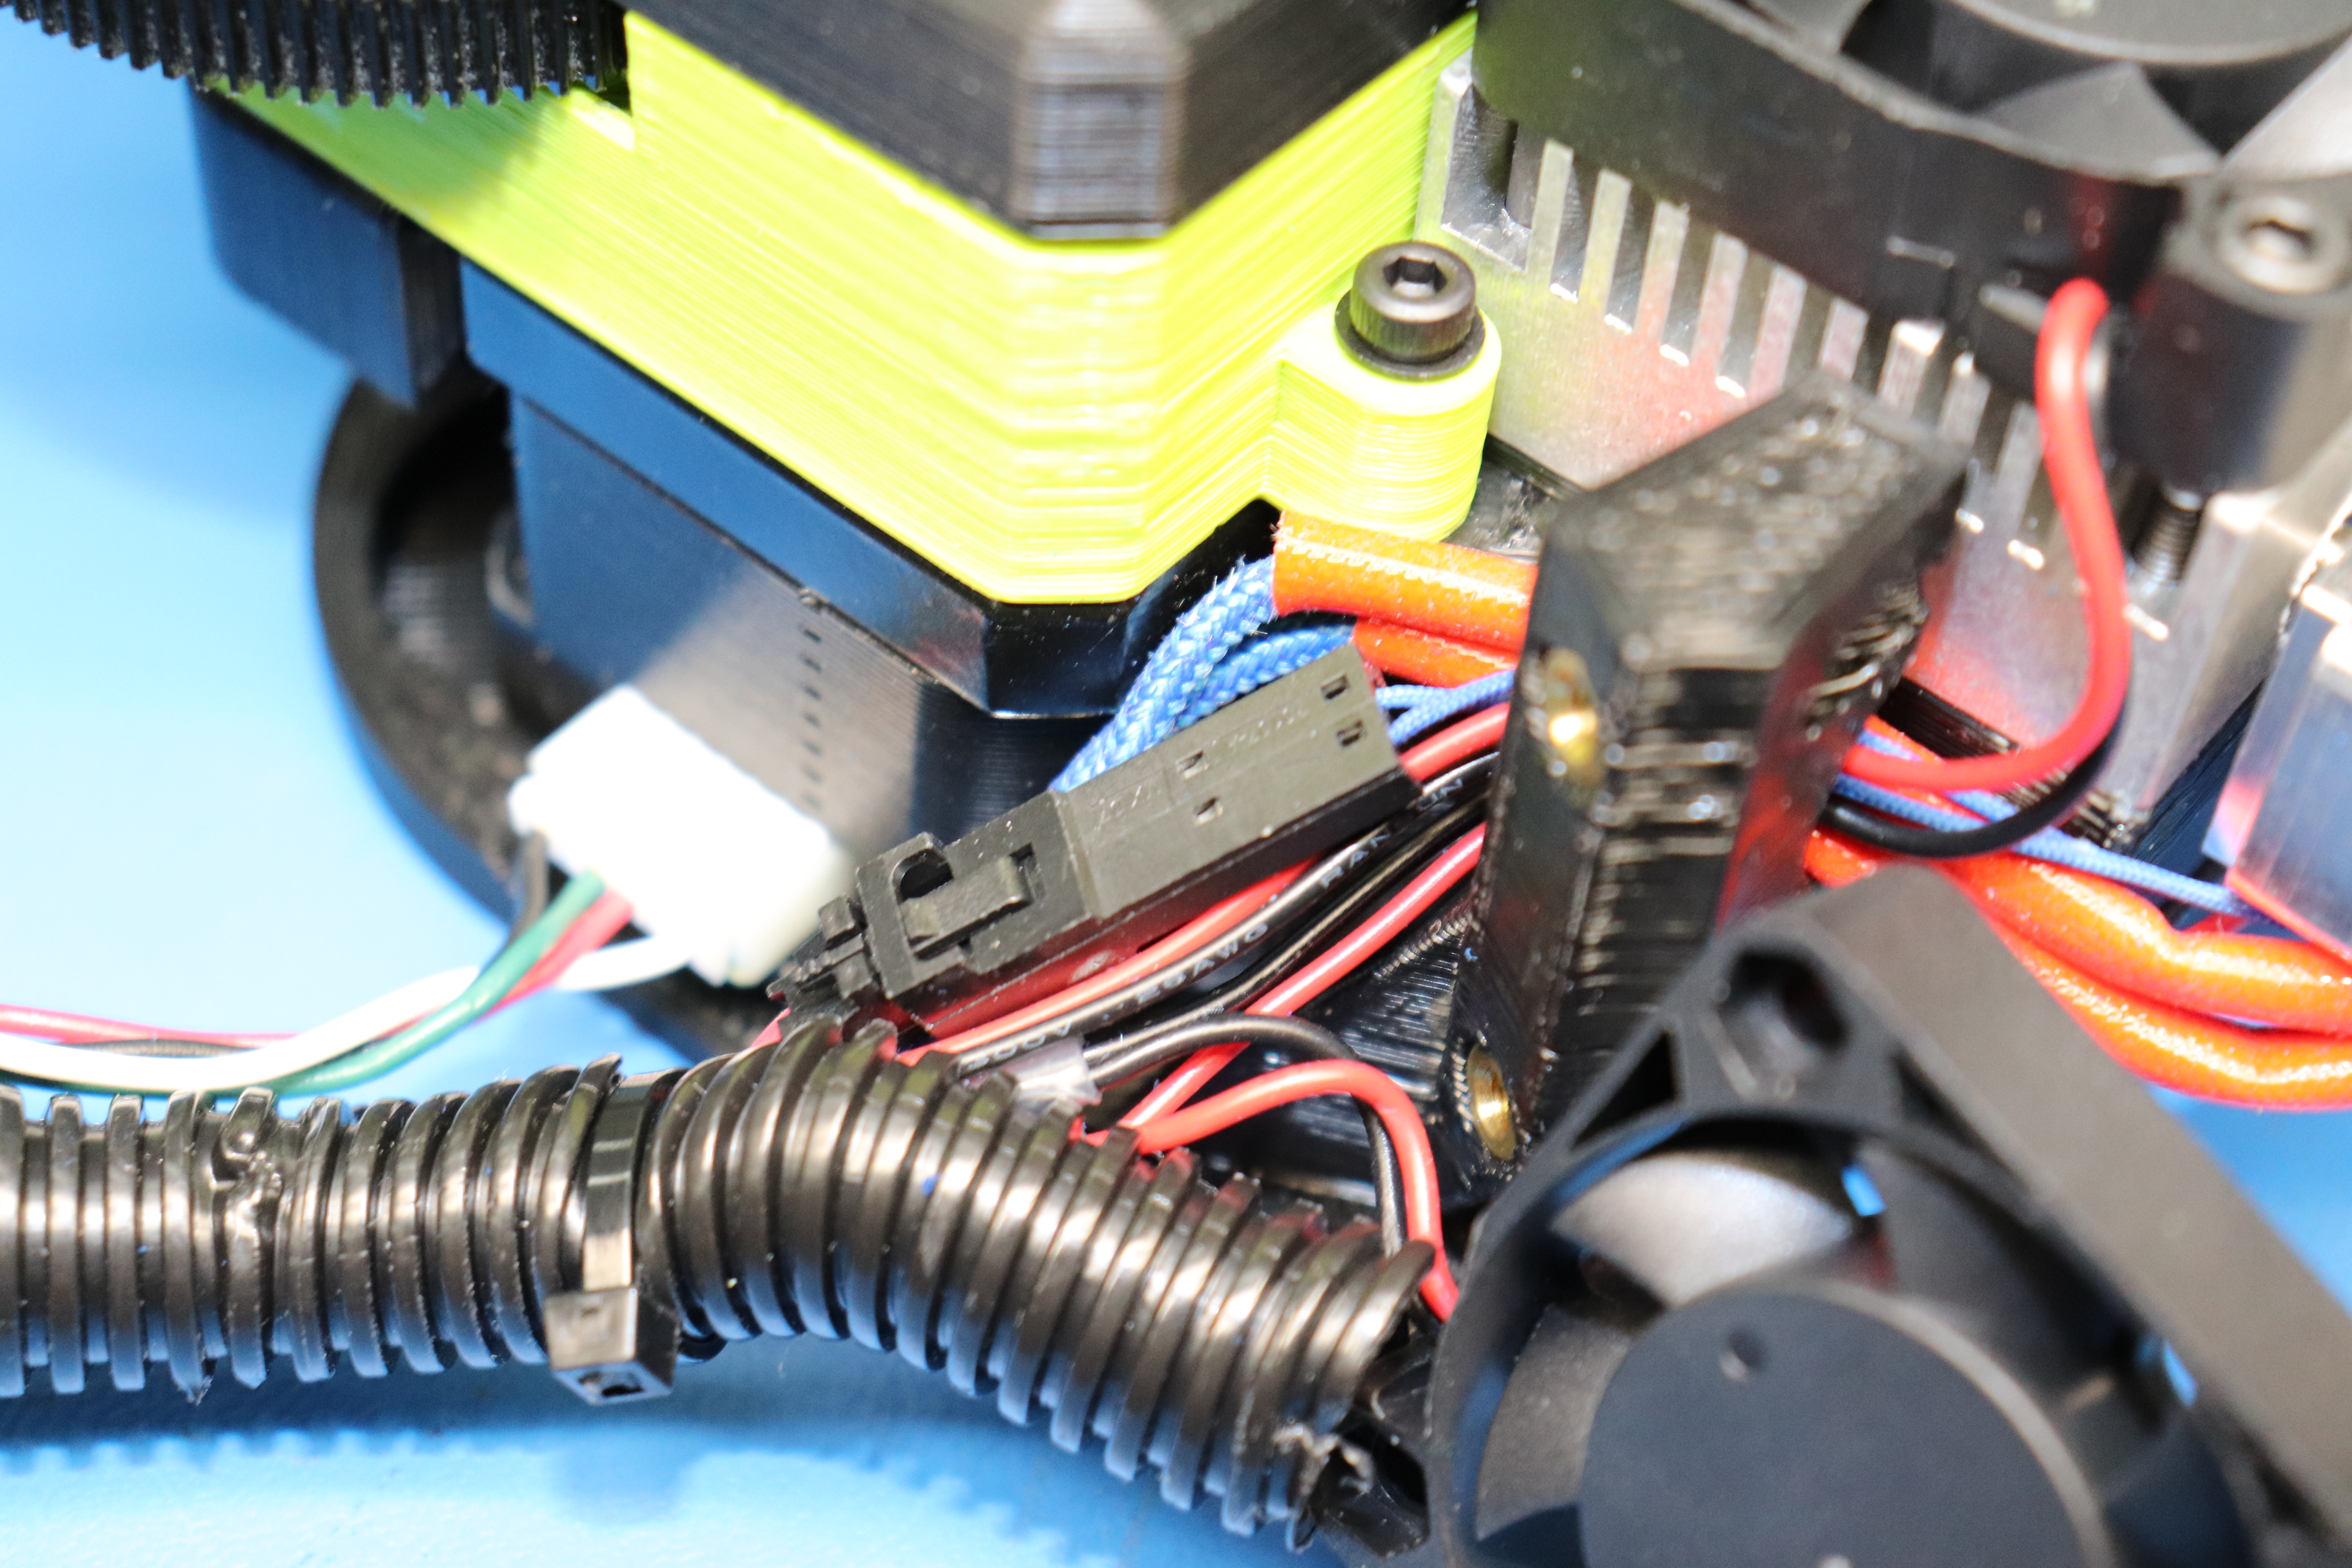
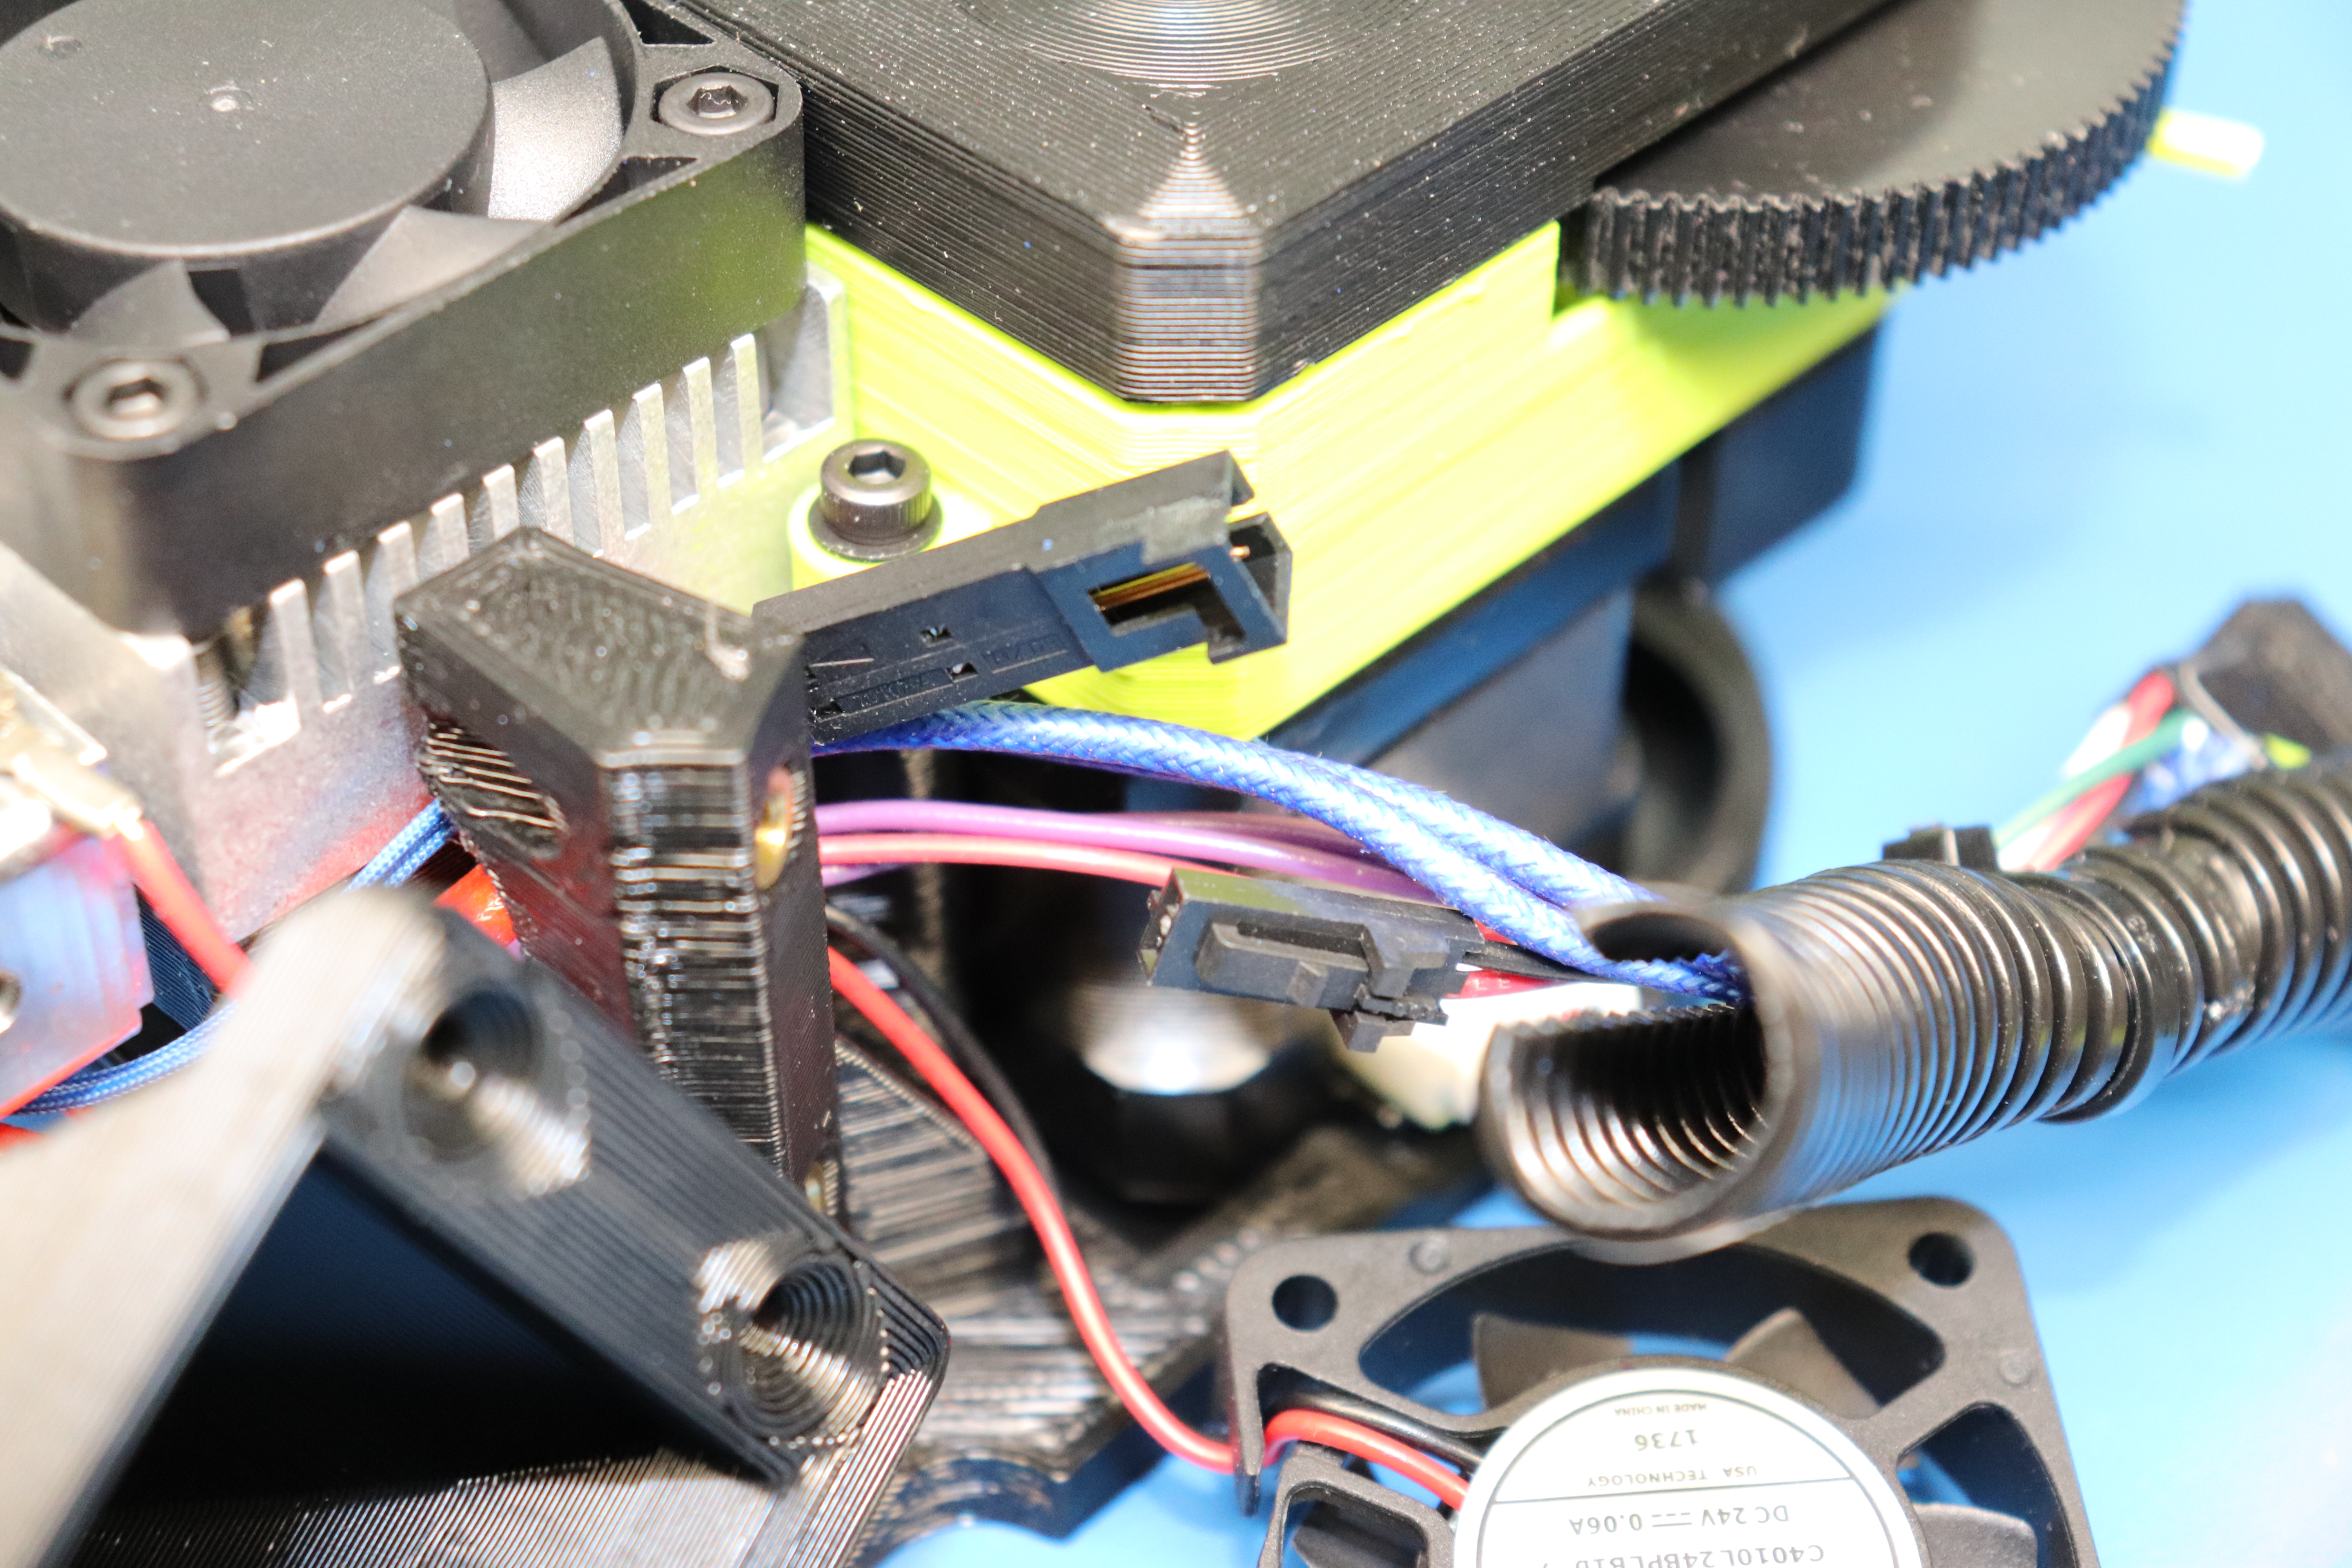
Depress the retaining tab on the connector housing and gently disconnect the thermistor harness.
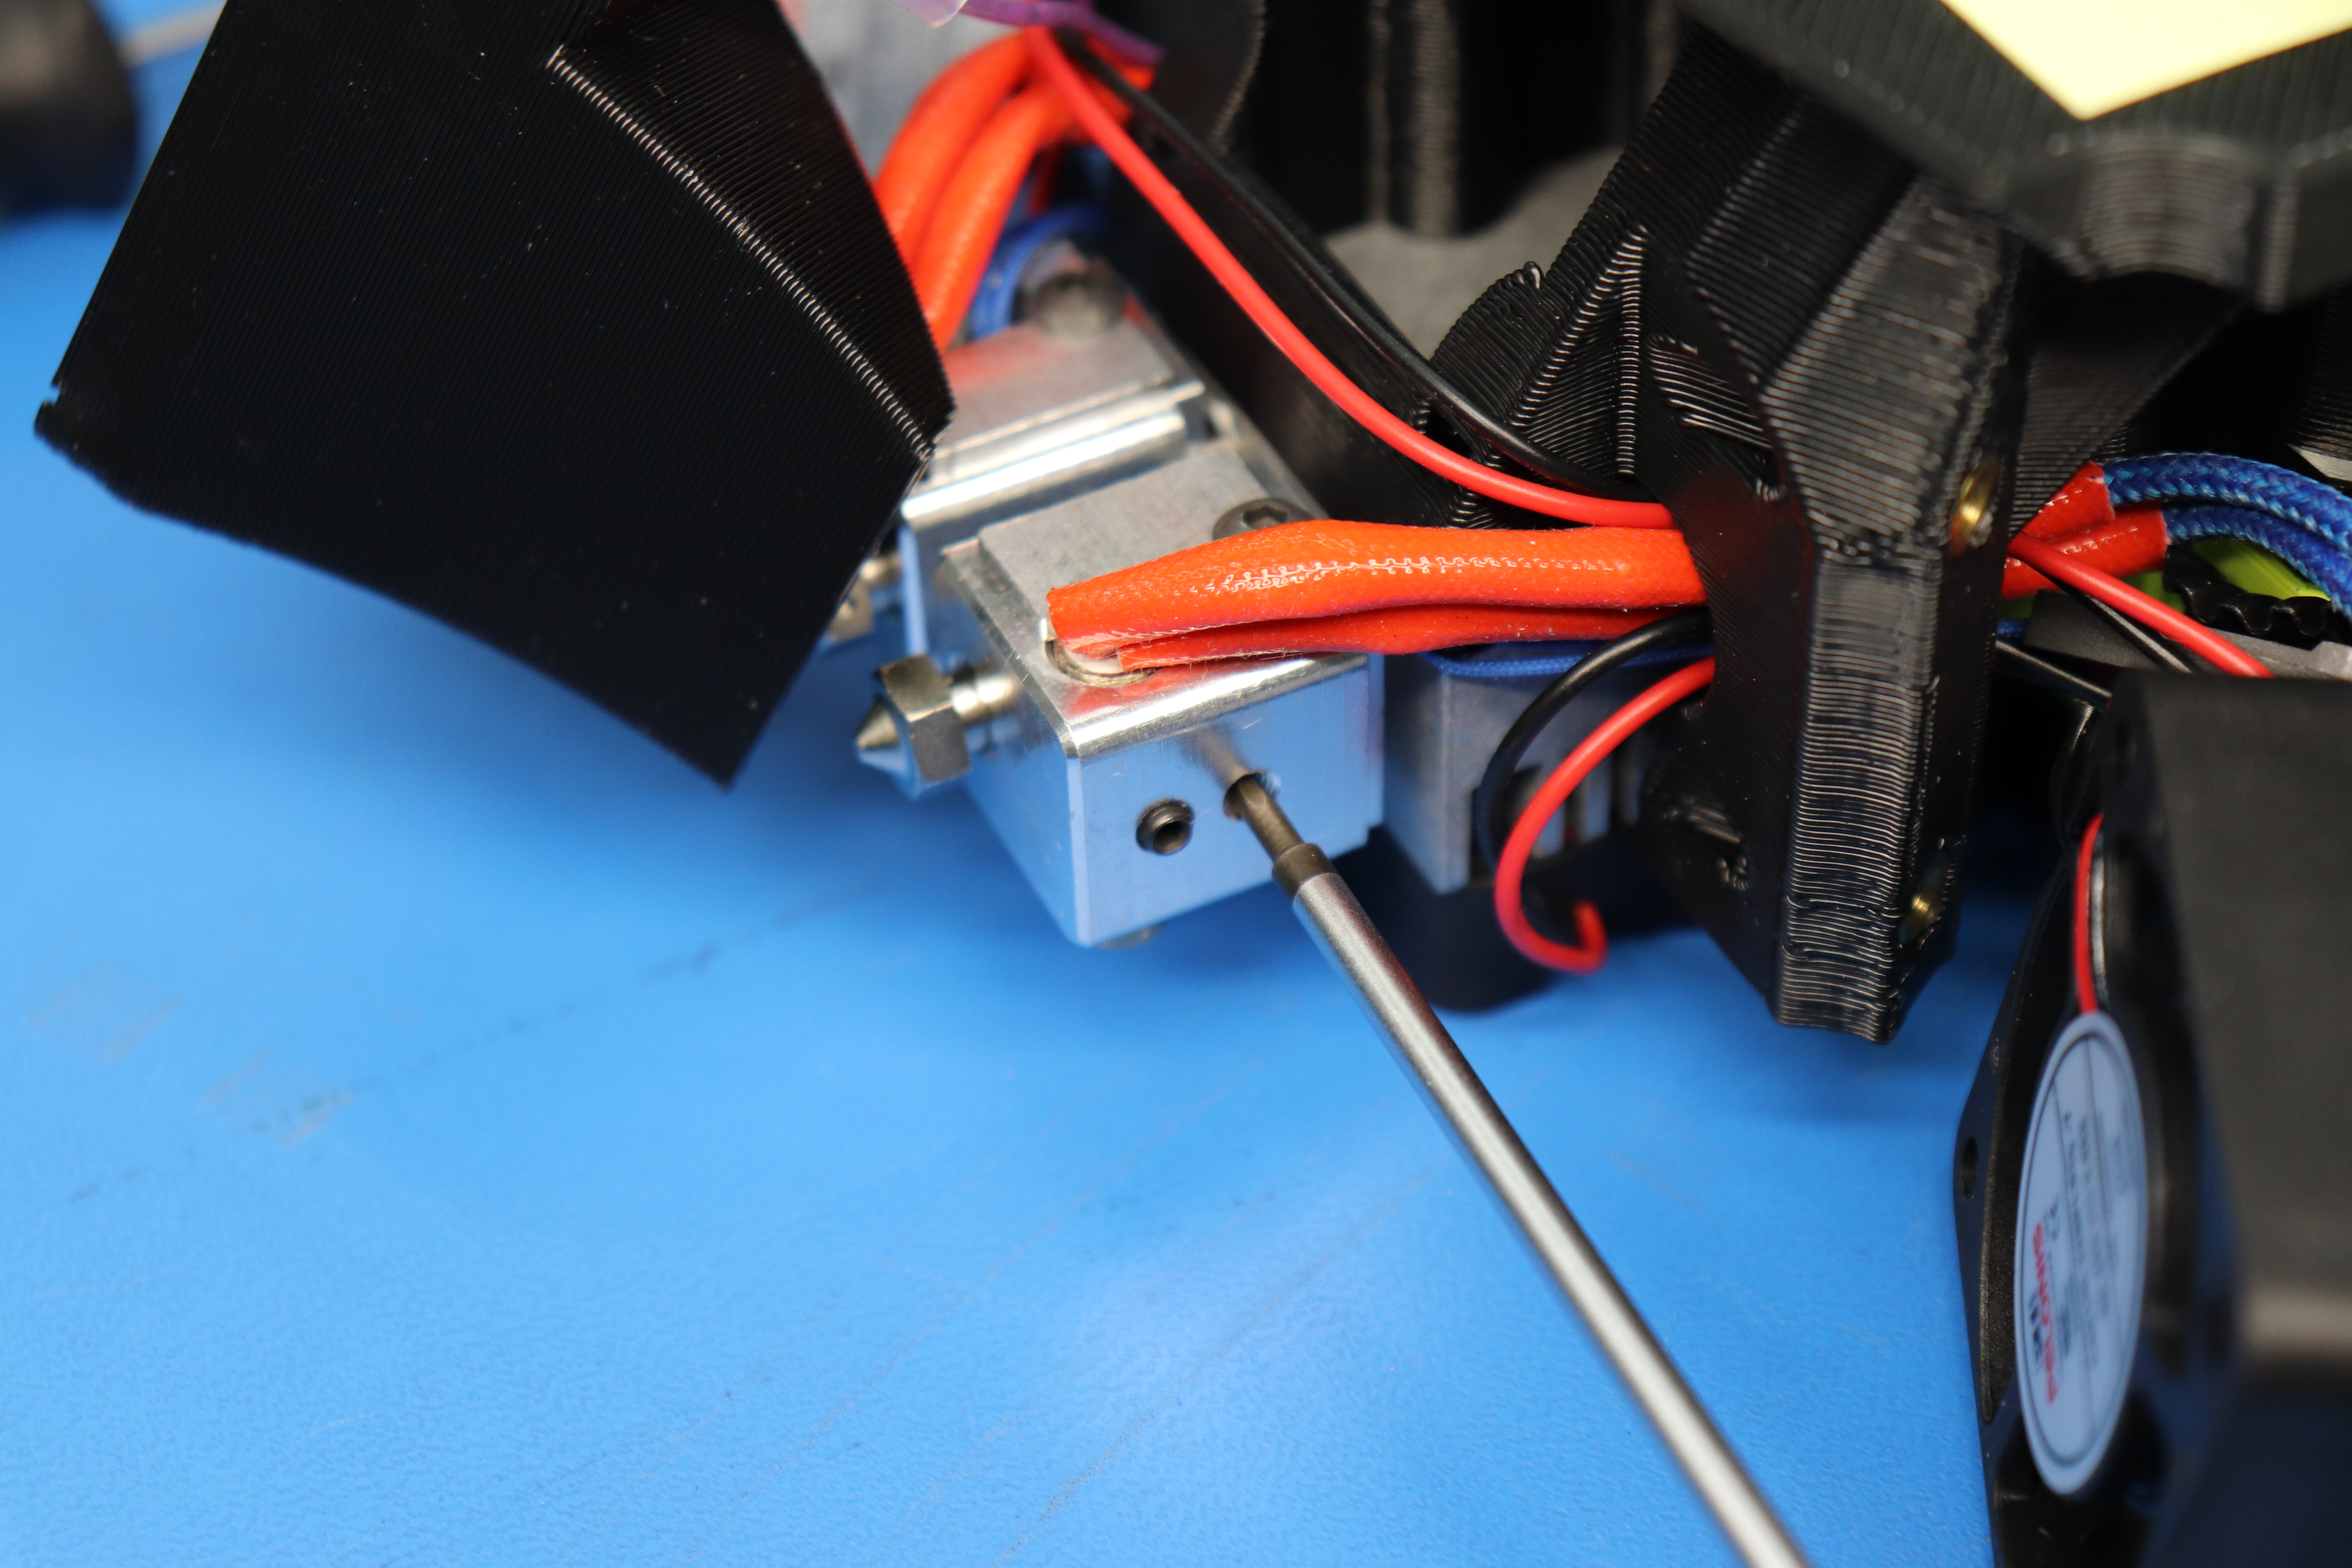
Using a punch or equivalent, push the thermistors out of the heater block. Make note of how the wires are routed before removal for reference on installation.

Install the new thermistors in the reverse order of removal. Use the same wire routing as how they were originally.

Using a 1.5mm driver, turn the set screws until they stop, then turn and additional 1/4 turn. Do not over-tighten these or the thermistor will be damaged.

Using a 2mm hex driver, replace the retaining plates and fasteners.


Align the connector housings and connect the thermistors.
Using a 2mm driver and the M3x14 FHCS, install the fan ducts.
Using a 2.5mm hex driver, install the fans. The wires should come out towards the back of the tool.


Replace the looming on the wires.