Open HardwareAssembly Instructions
Guides for installation and assembly of the LulzBot line of products made by FAME 3D LLC.
Guides for installation and assembly of the LulzBot line of products made by FAME 3D LLC.
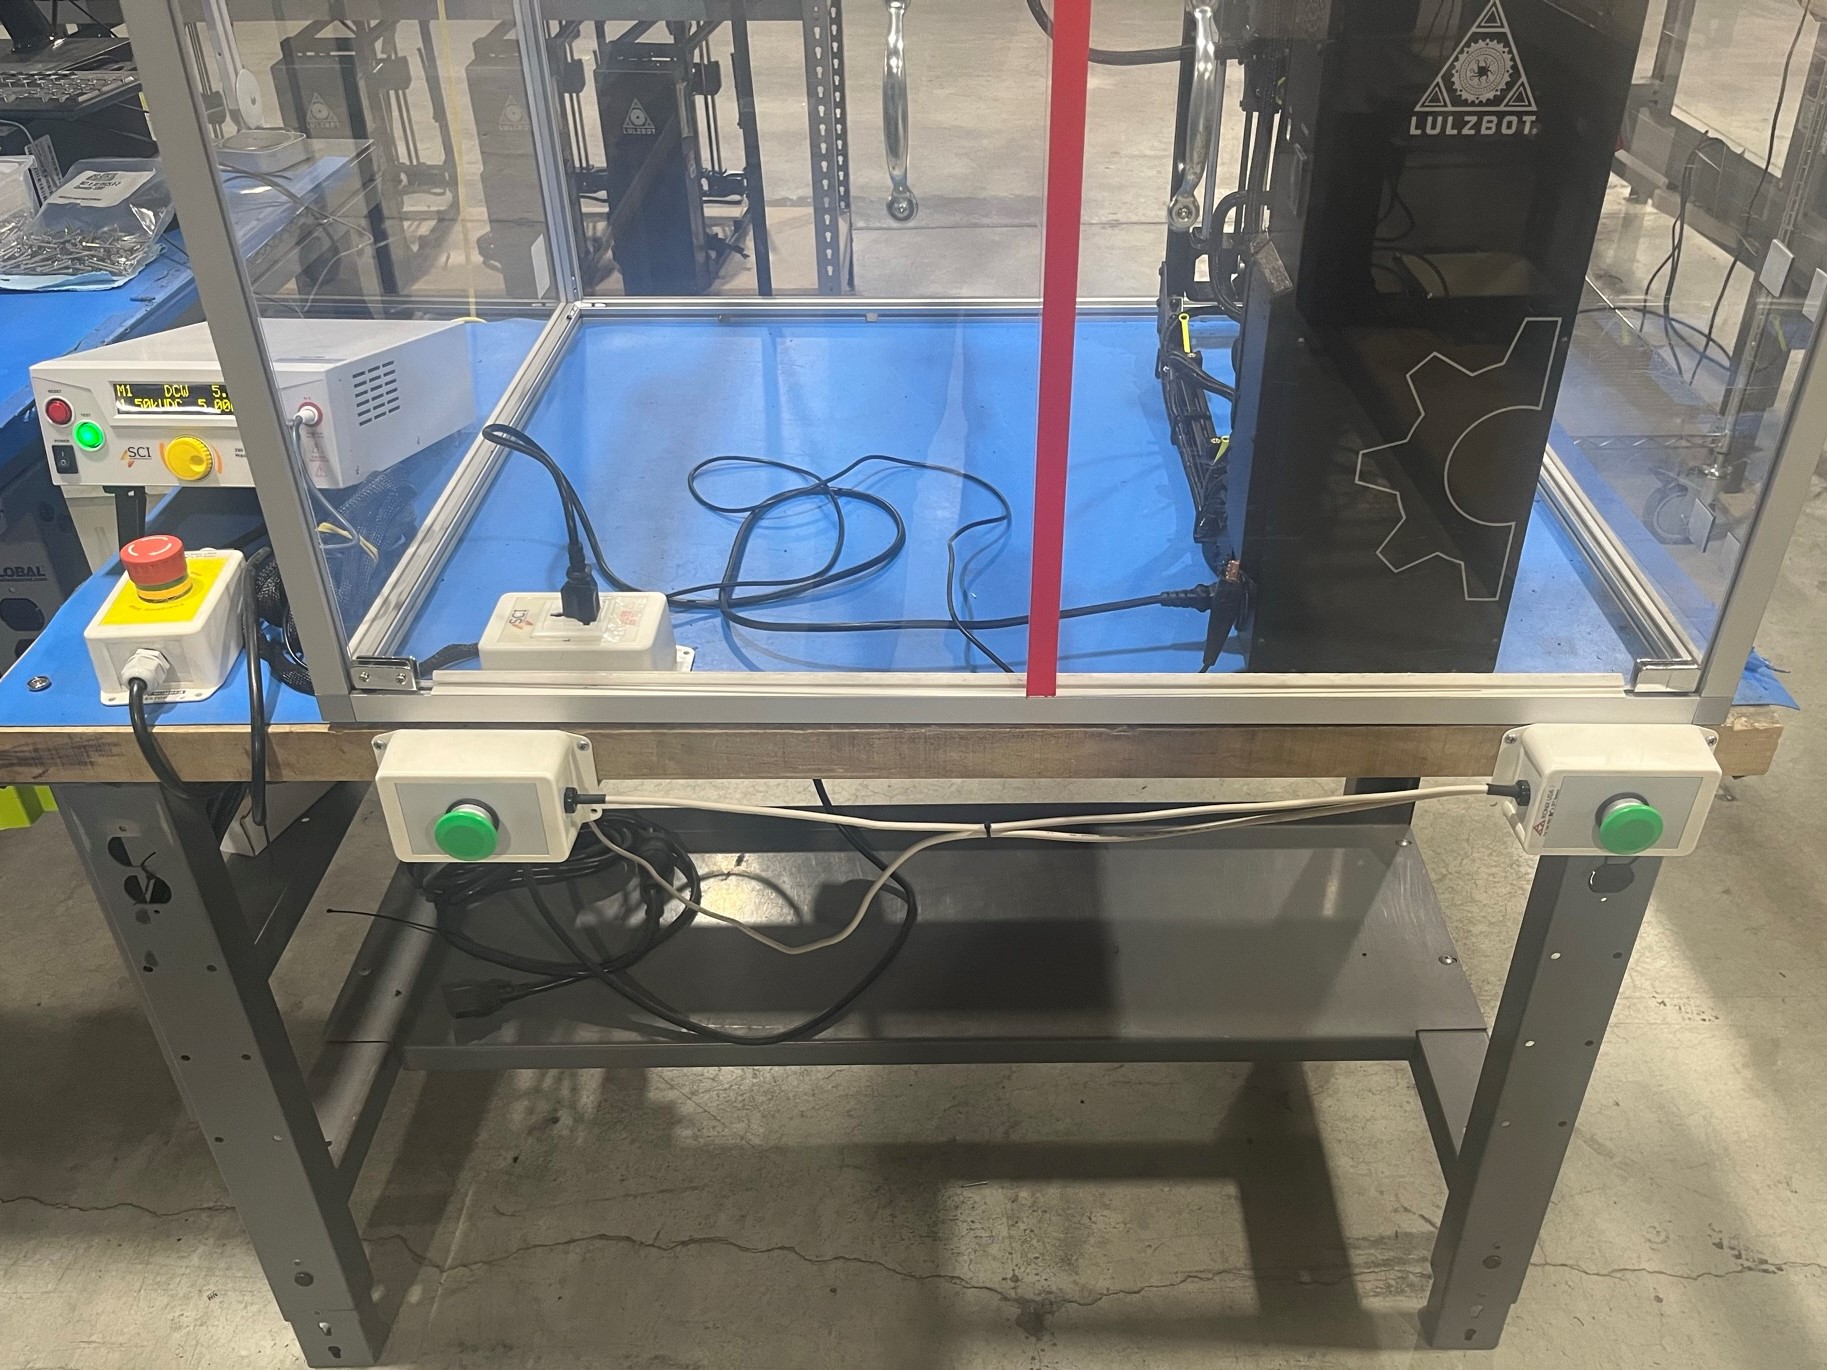
Place the printer inside the clear testing box.
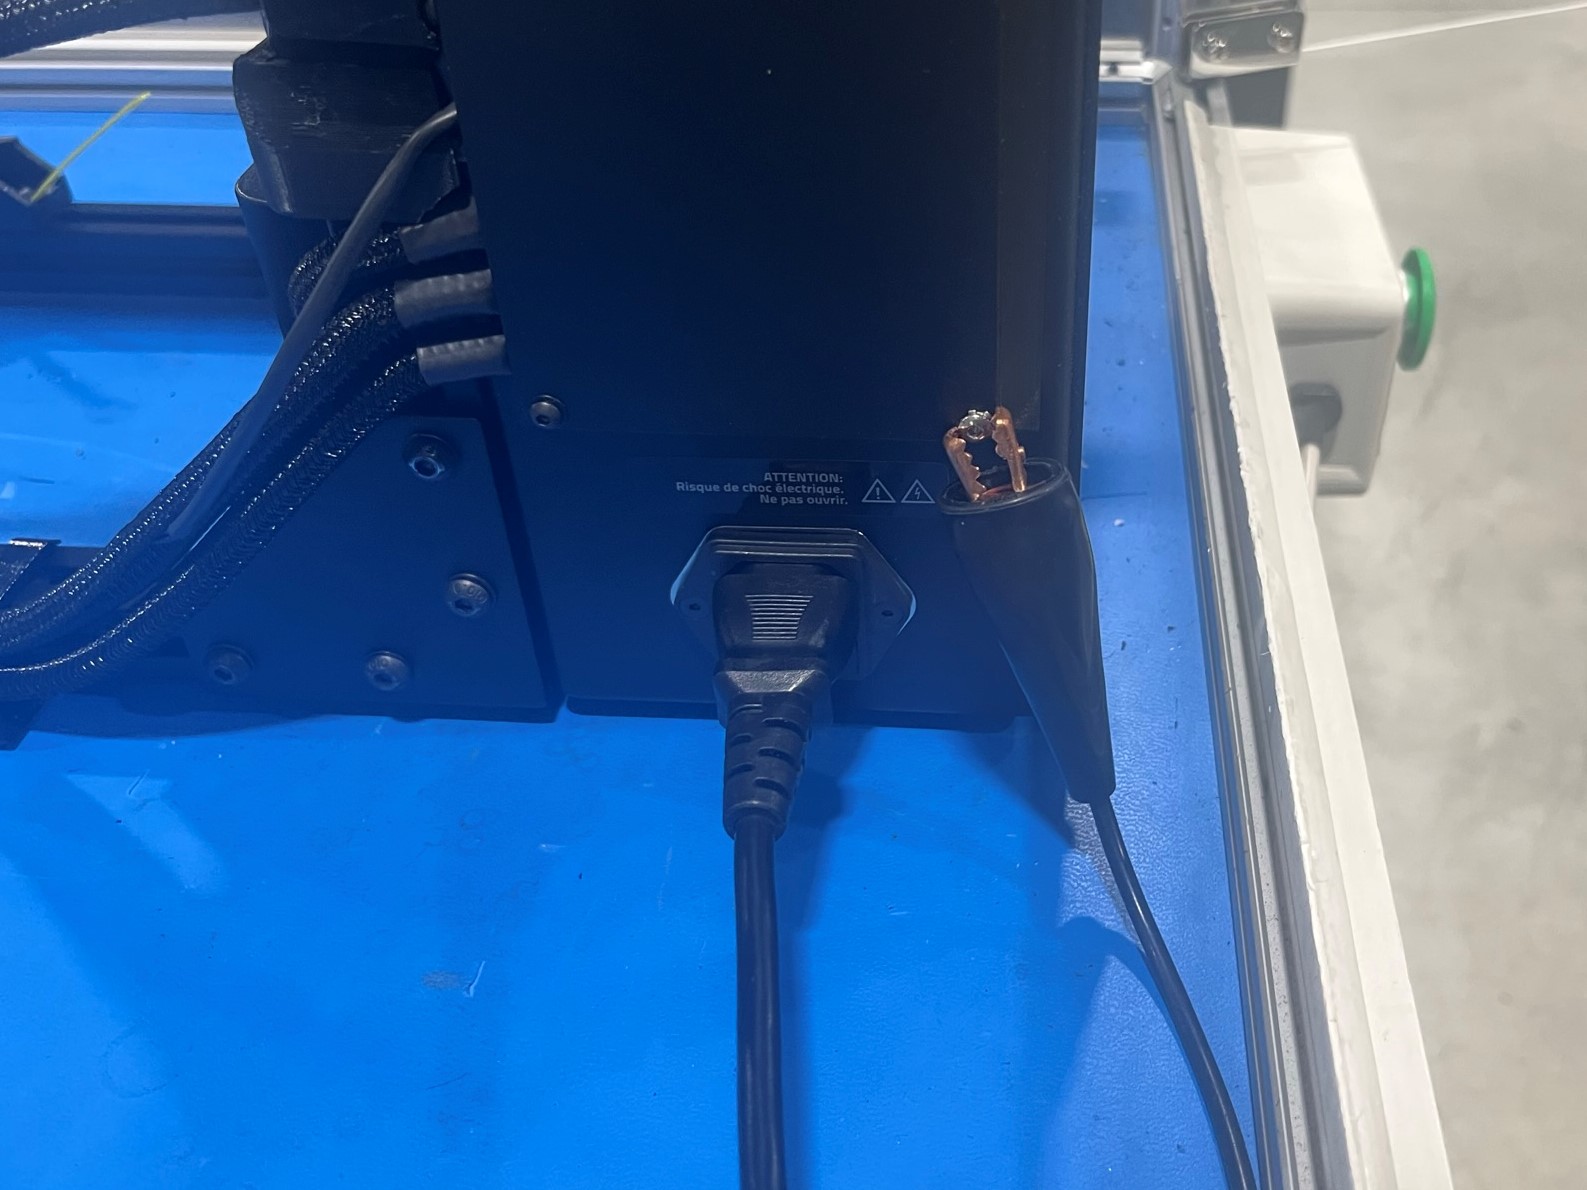
Then connect the power cord to the printer and place the wire clamp on the sliver ground bolt located near the power port.
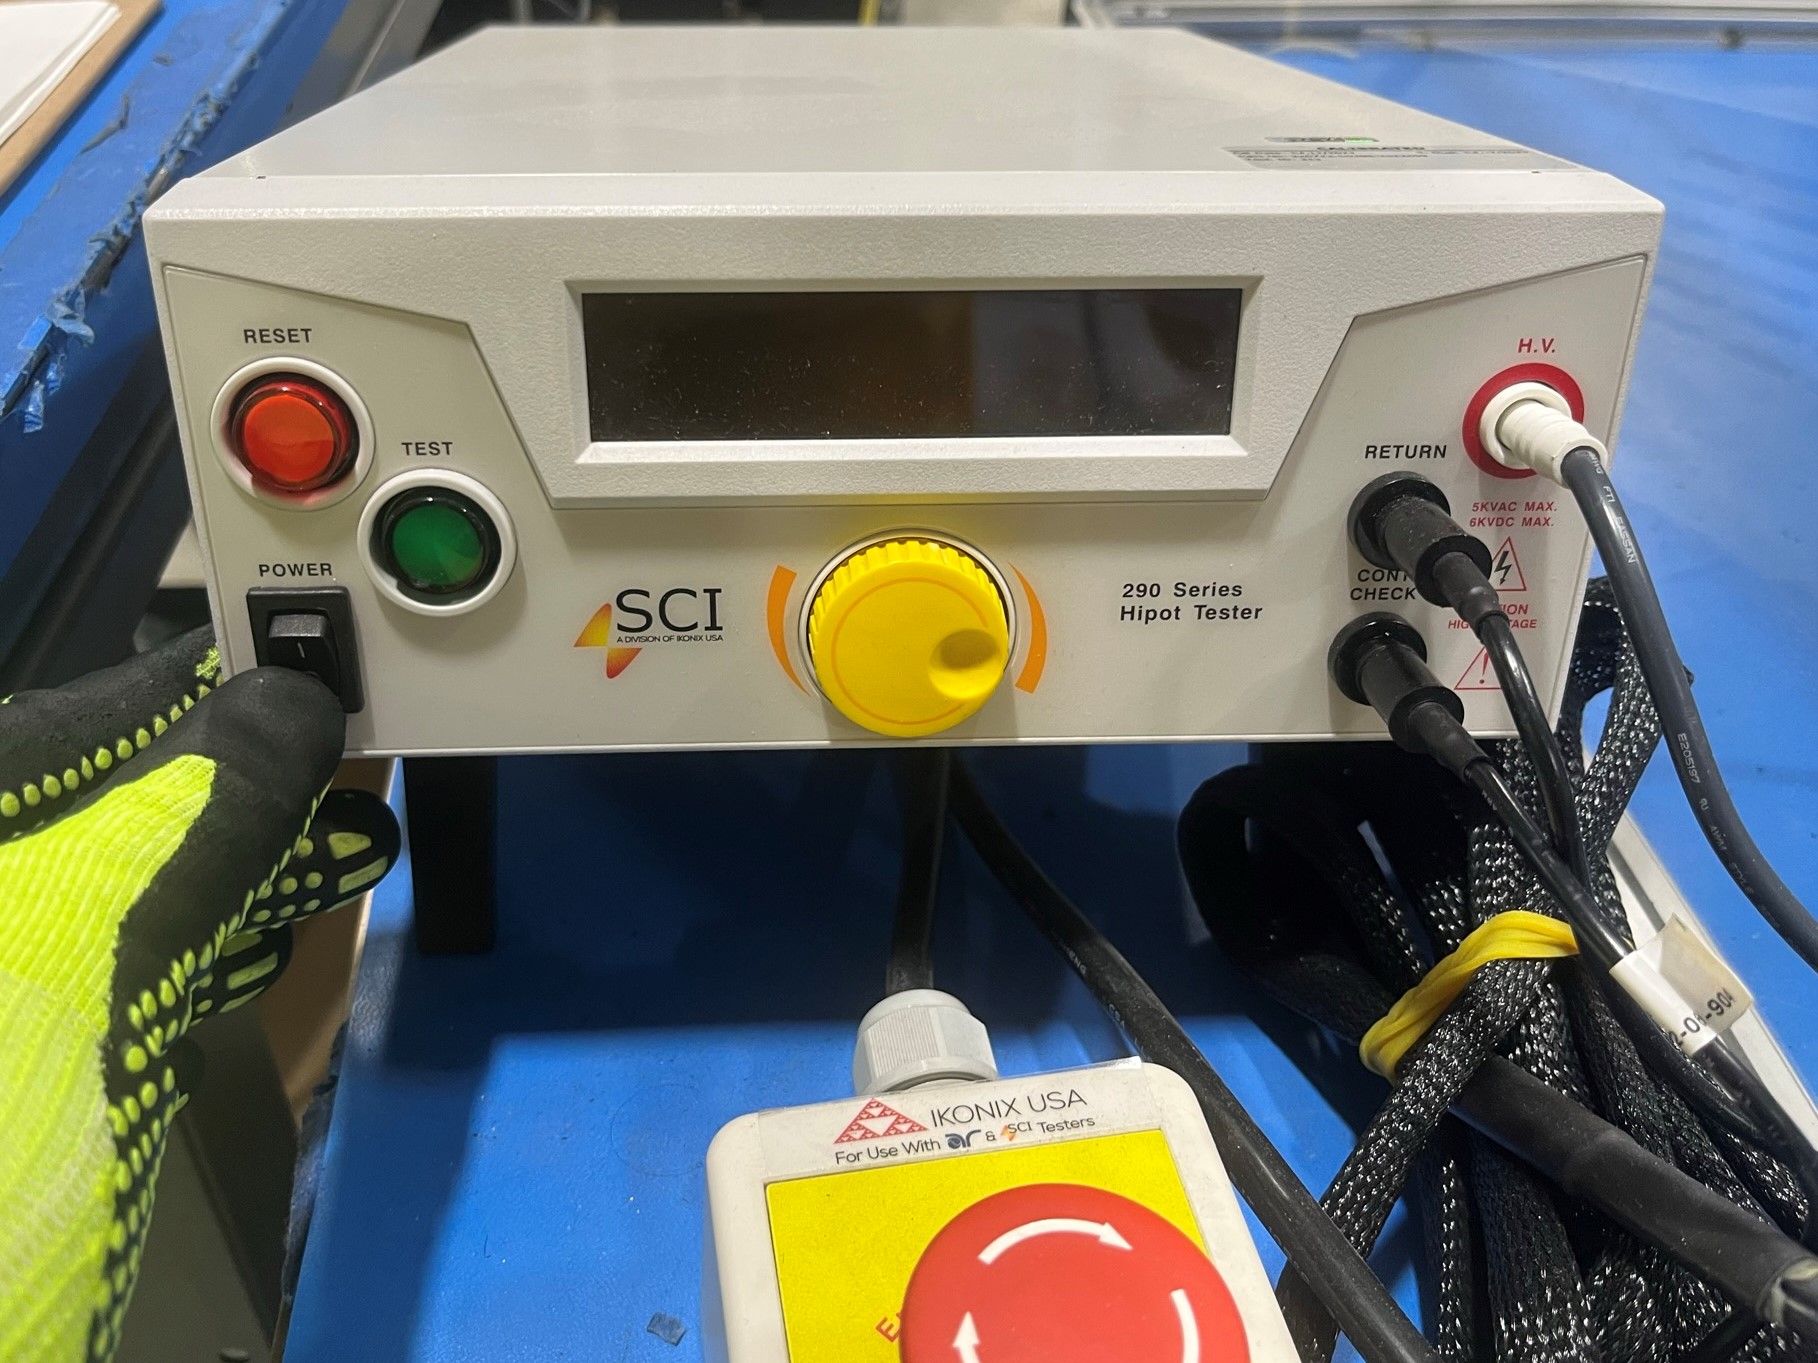
Once the printer is connected, turn on the Hipot Tester.
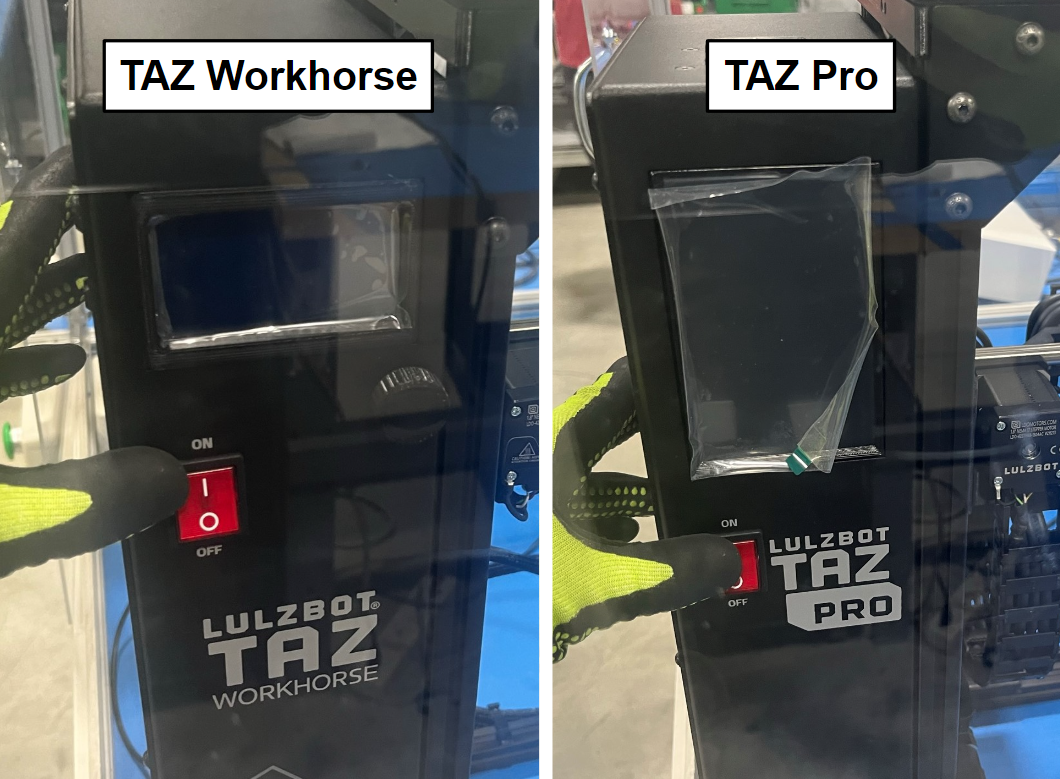
Then open the door to the clear testing box and turn the printer on.
Now shut the door and make sure they are fully closed.
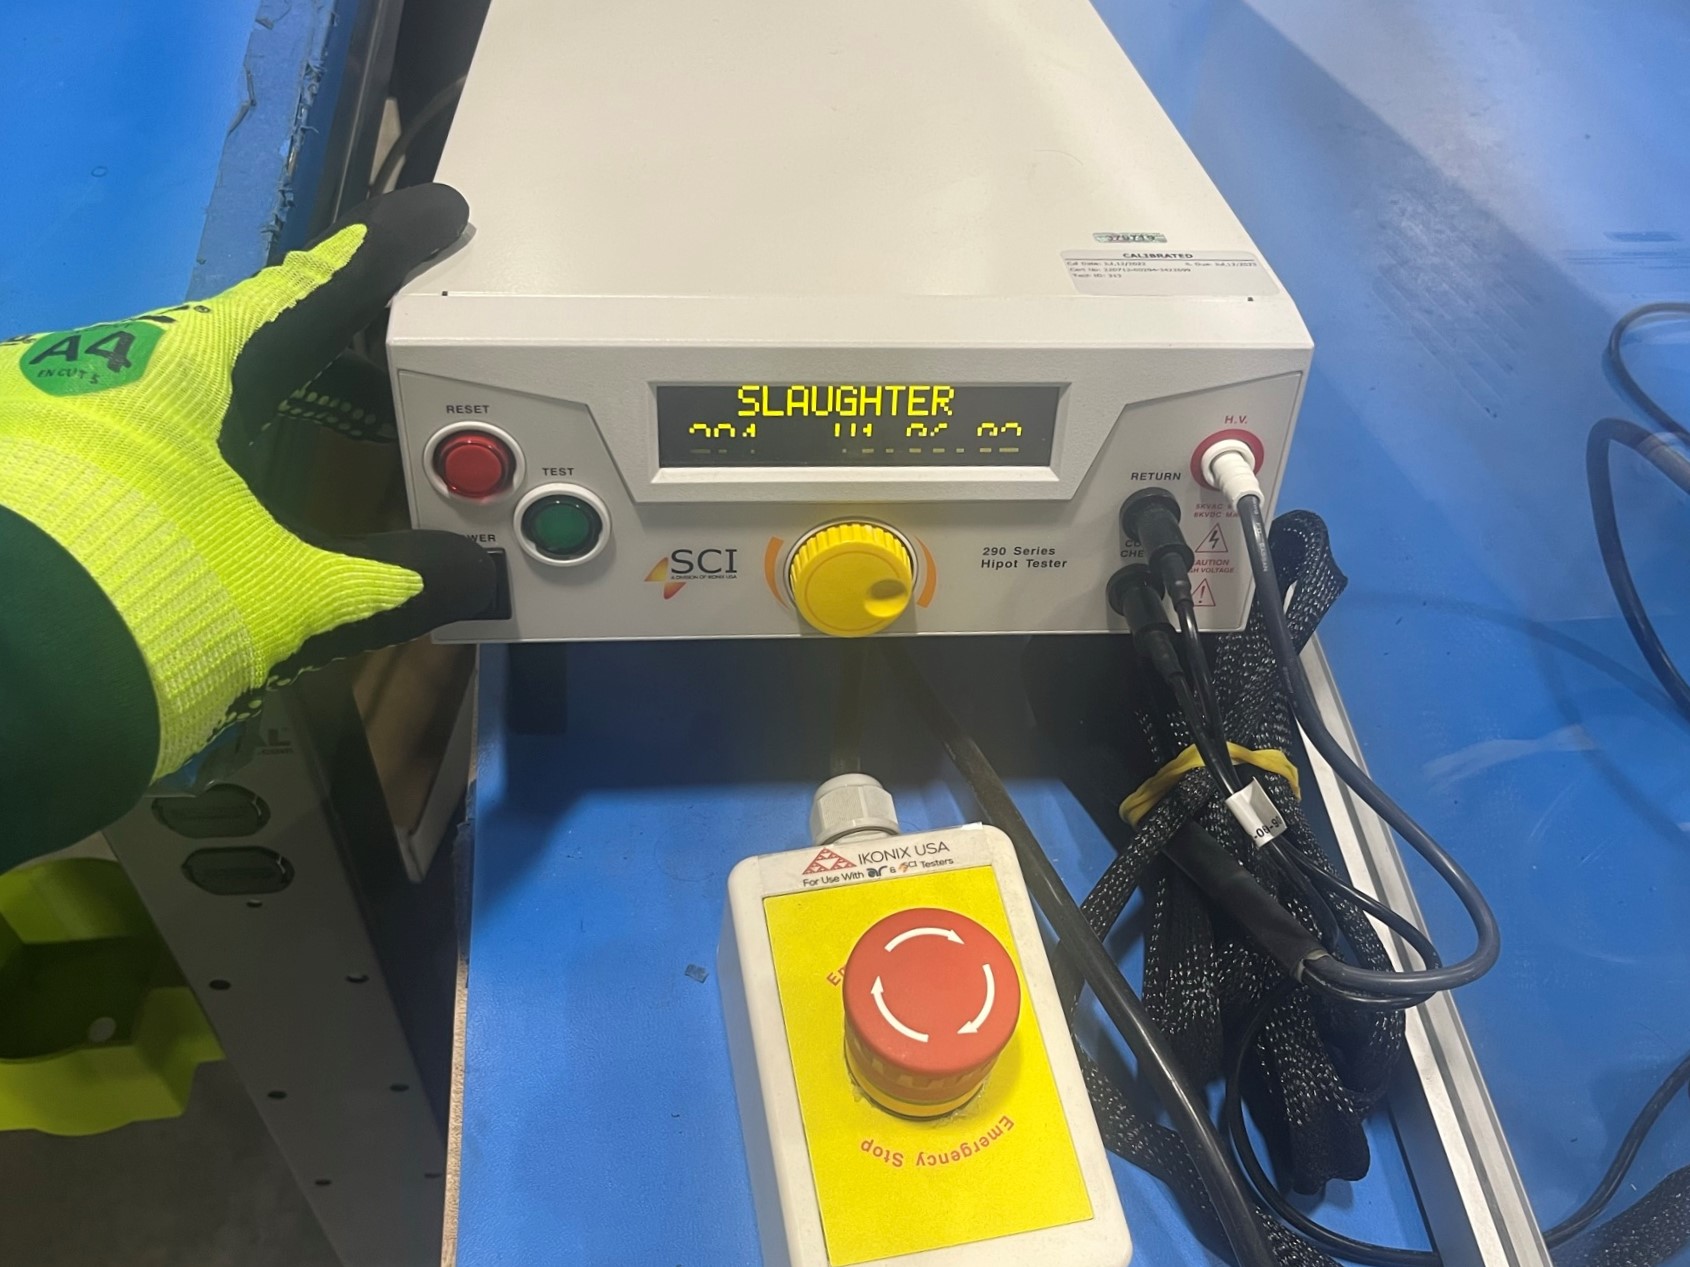
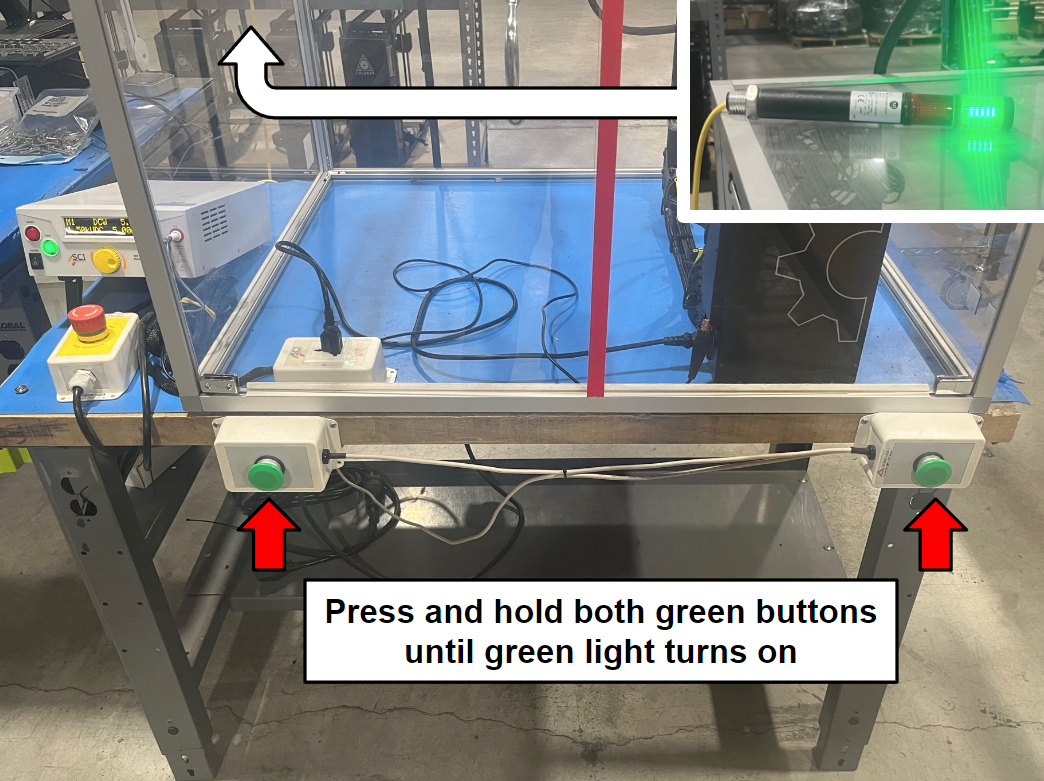
Make sure the doors on the testing box are closed, then press and hold the two green buttons until the green light turns on located above the testing box.
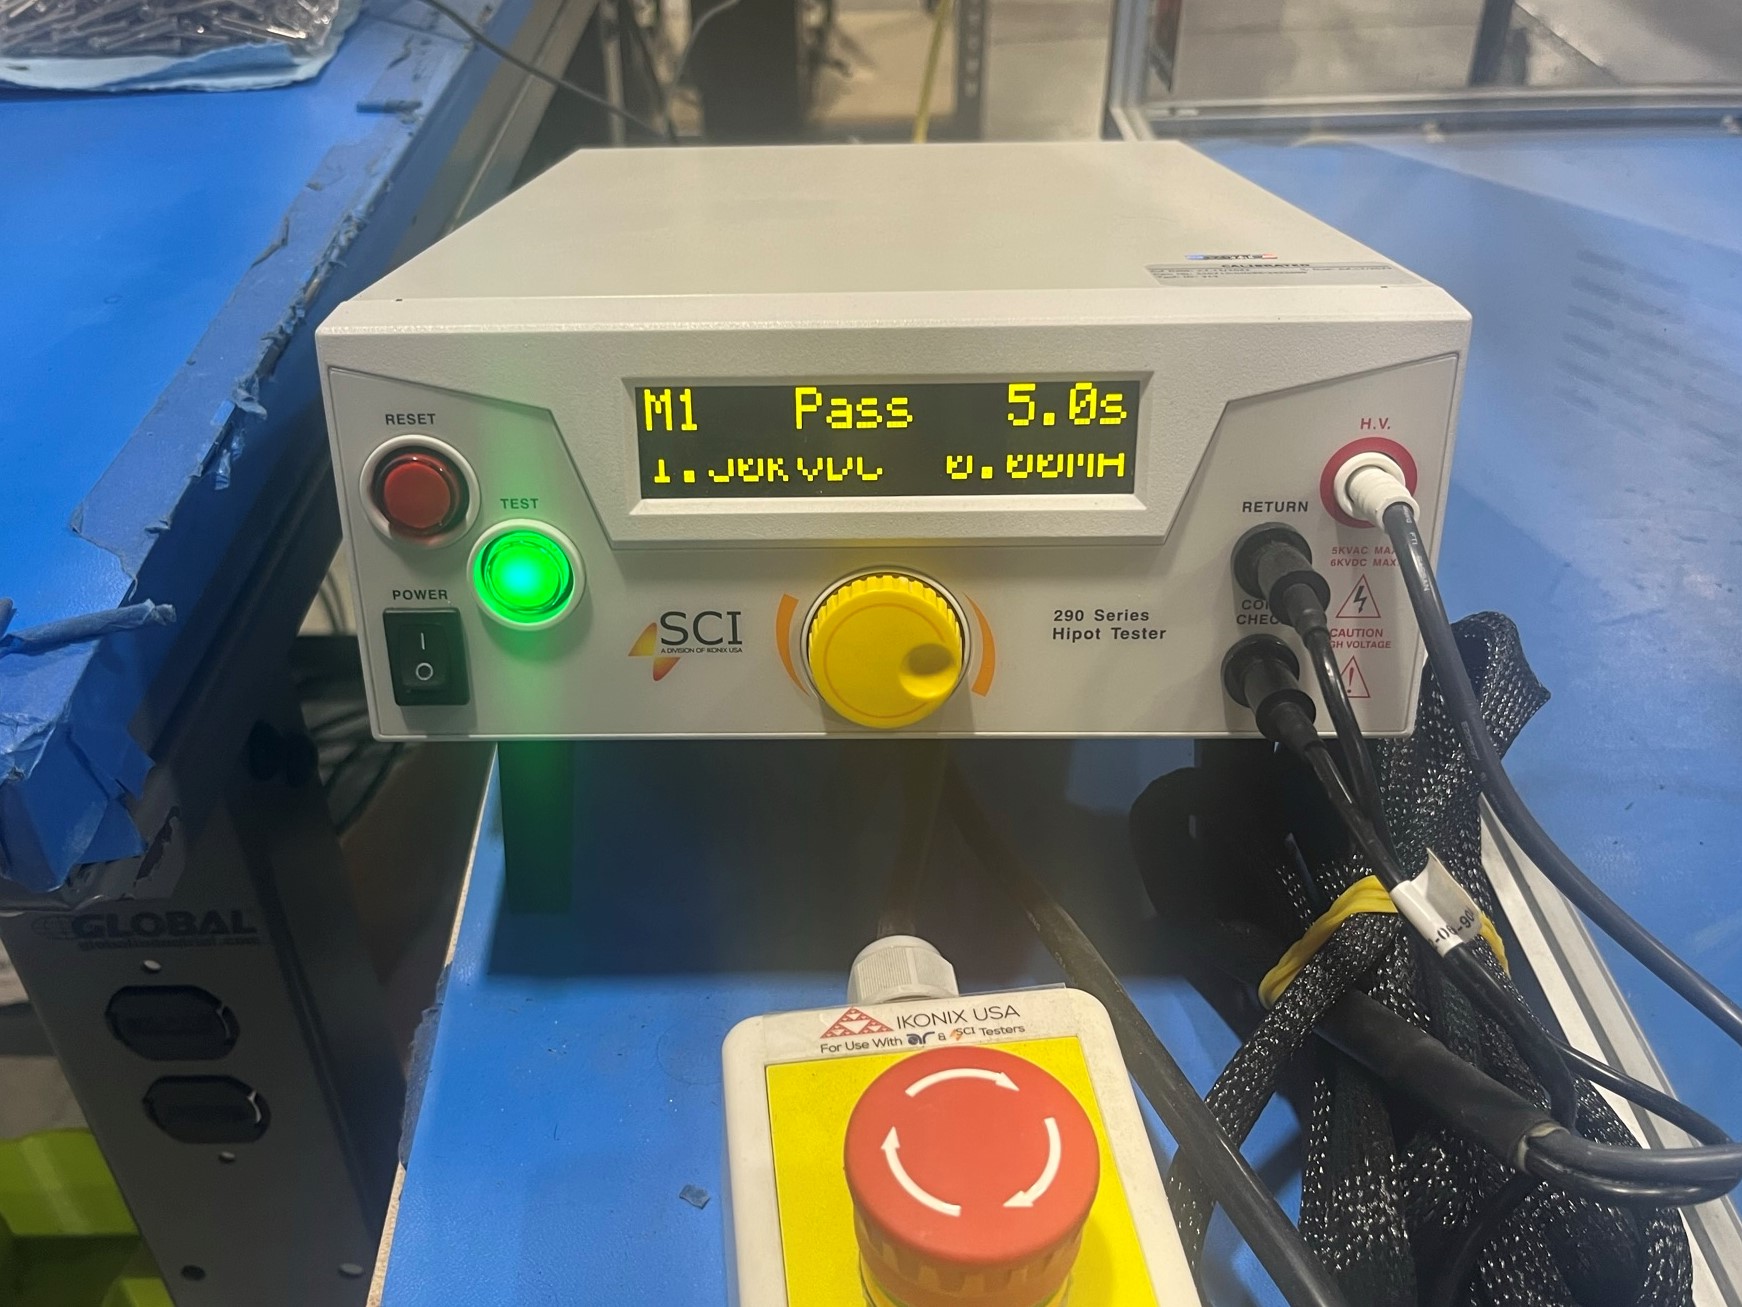
Verify that the Hipot Tester reads "PASS 5.0s".
If the Hipot Tester shows anything other than "PASS" or if it shows less than 5.0 seconds, notify your Line Lead.
Once the printer has passed the Hipot test, turn off the Hipot Tester and printer.
Then disconnect the printer from the Hipot Tester.
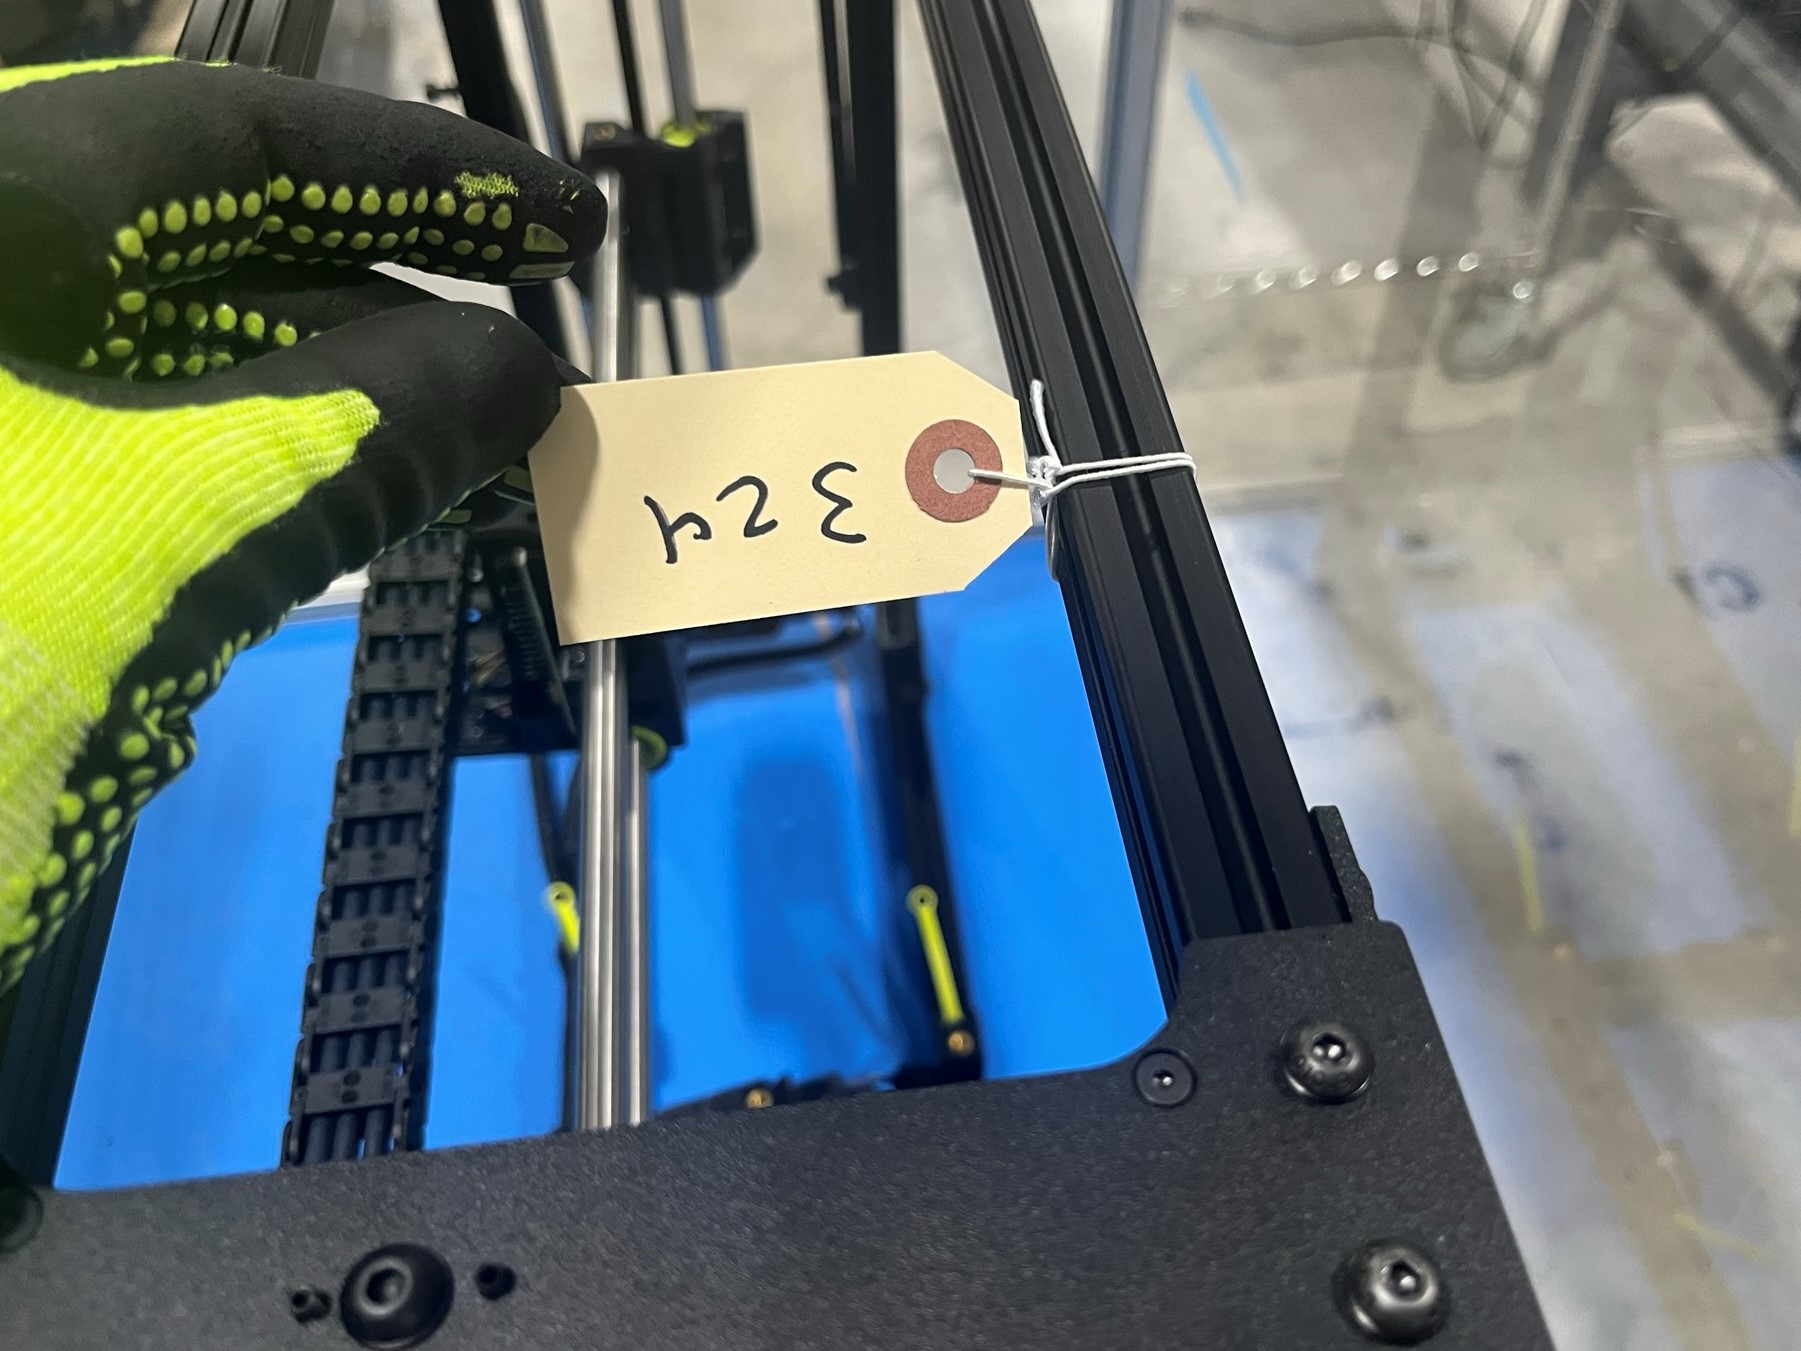
Now place a tag on the printer to show that it has passed the Hipot Test. Make sure to write the last 3 digits of the serial number on the tag