Open HardwareAssembly Instructions
Guides for installation and assembly of the LulzBot line of products made by FAME 3D LLC.
Guides for installation and assembly of the LulzBot line of products made by FAME 3D LLC.
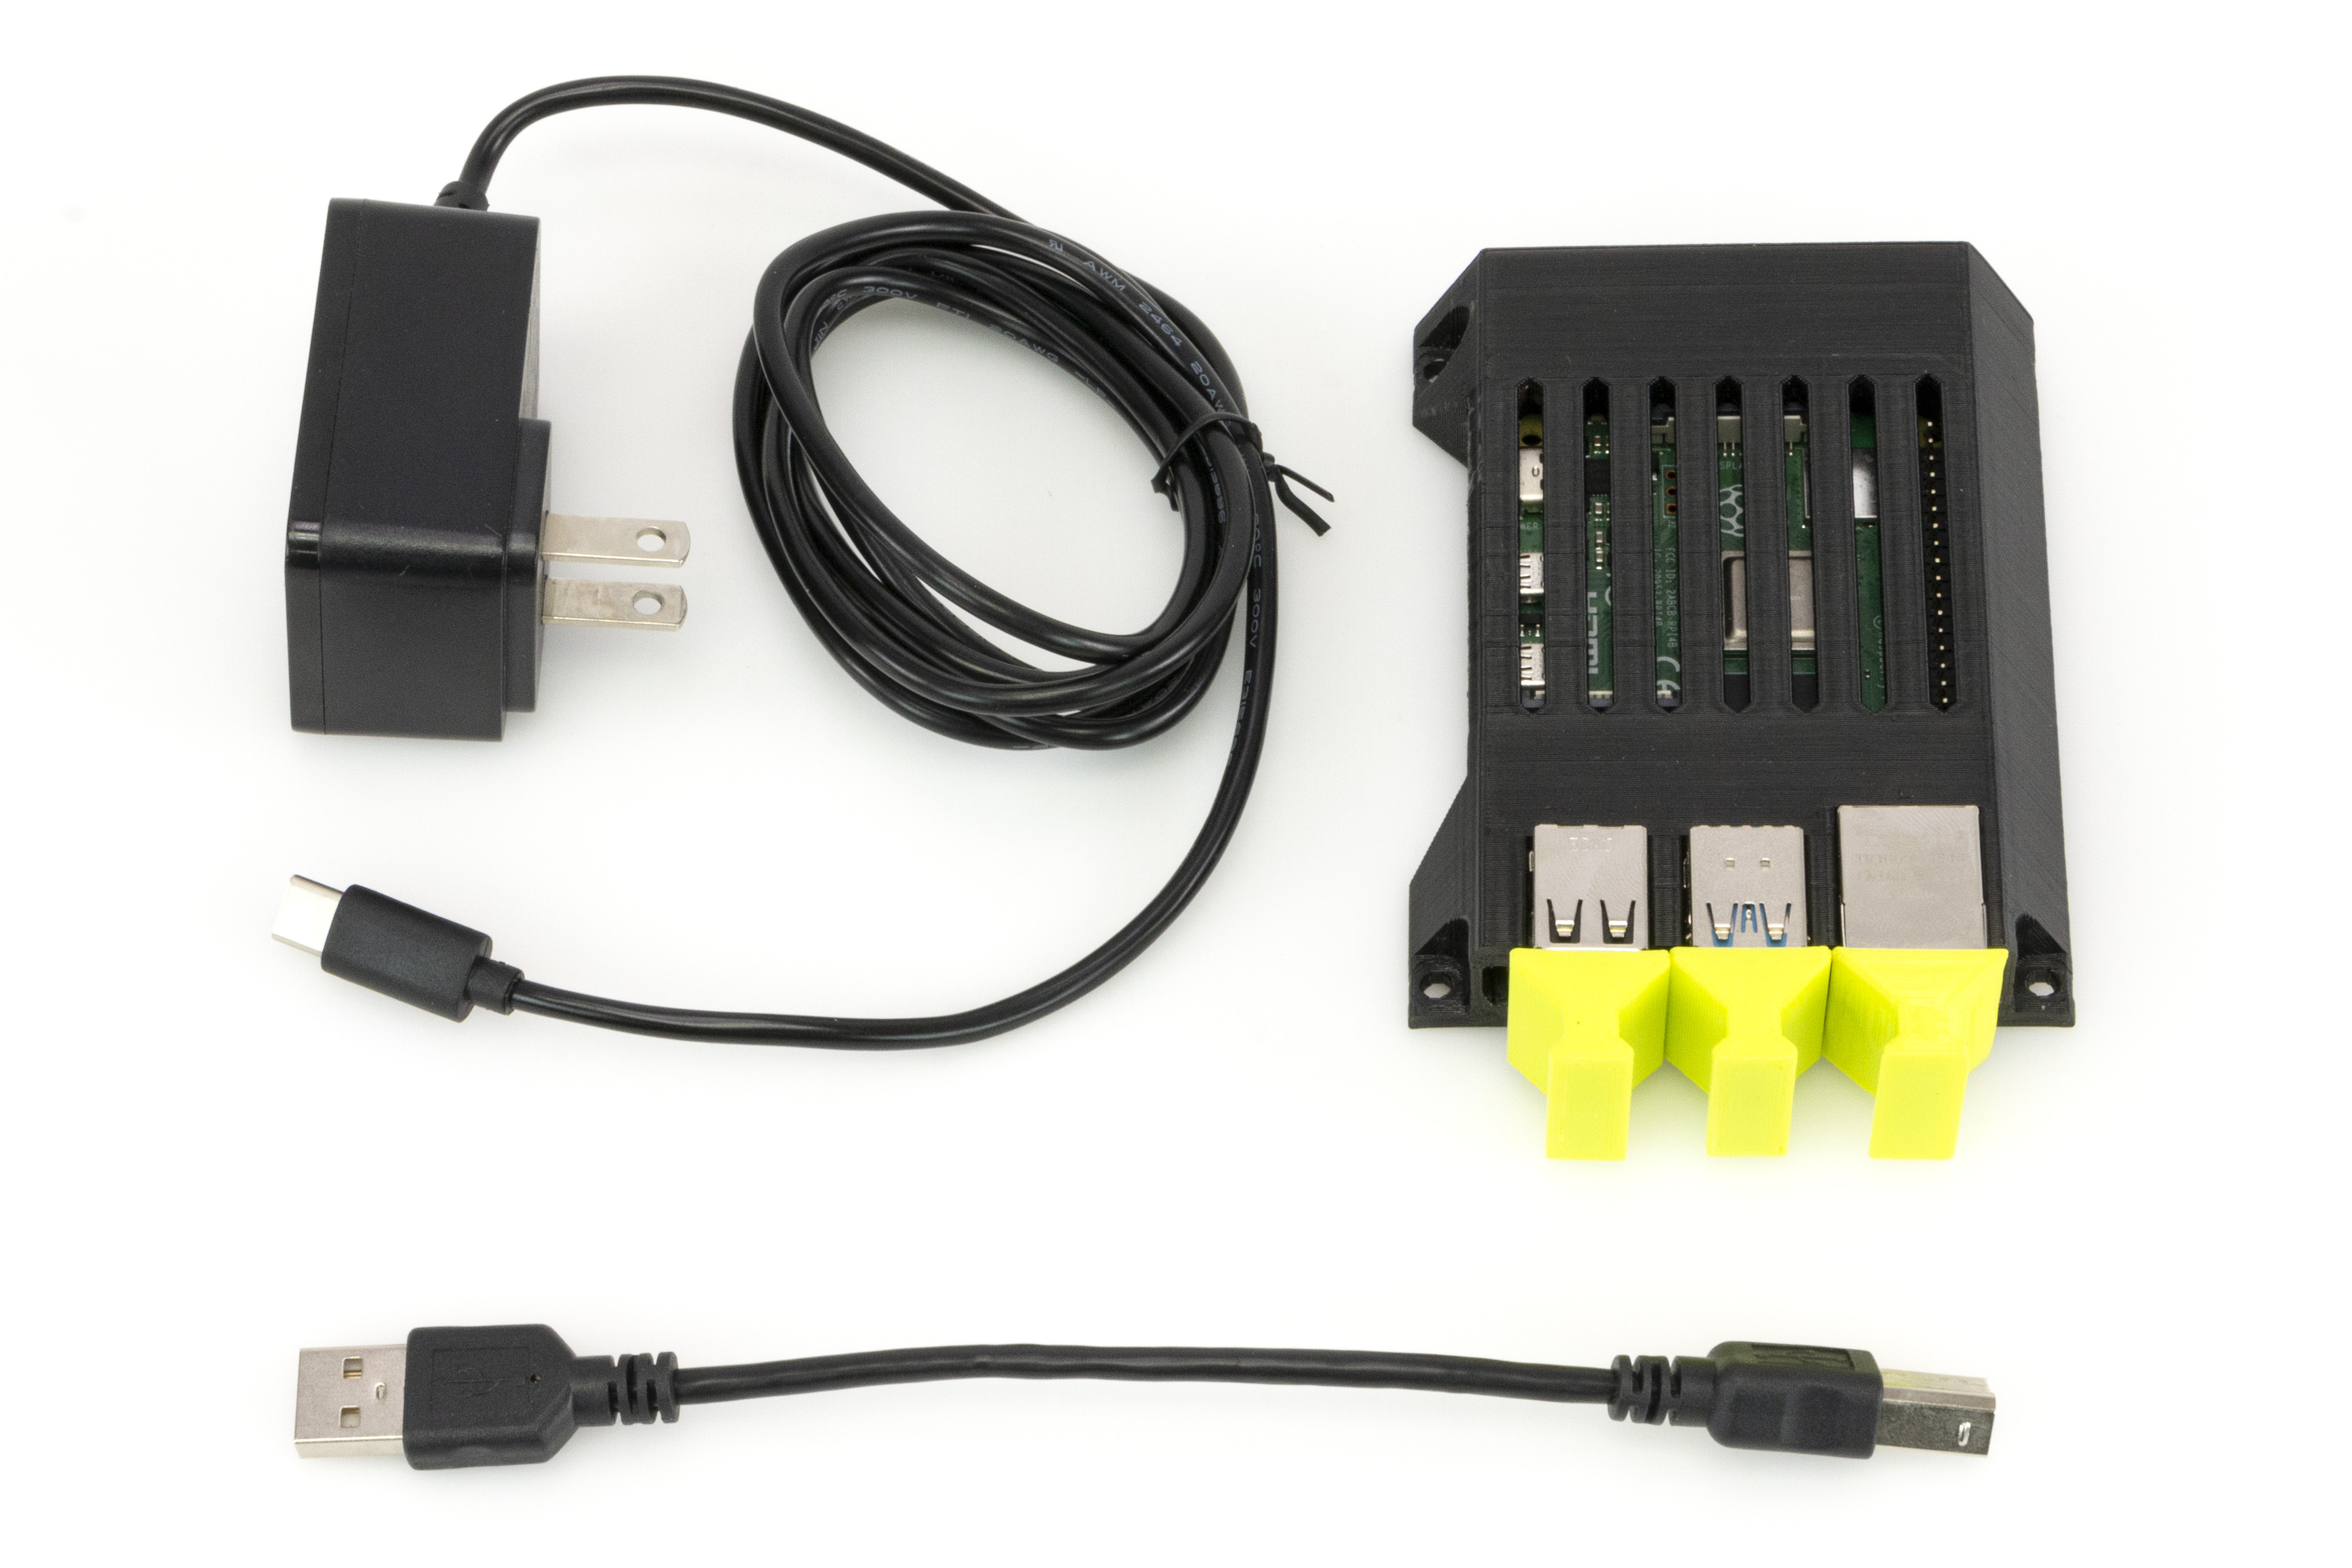
The TAZ Connectivity Kit comes with the following items:
1x Raspberry Pi with case
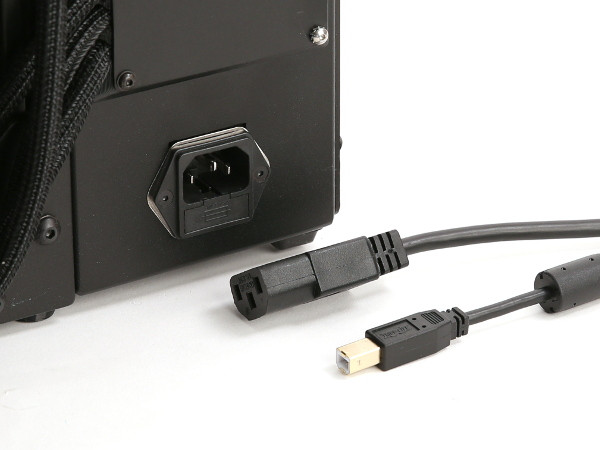
1x USB data cable
1x Raspberry Pi power cable (only required for the TAZ Worhorse/Pro)
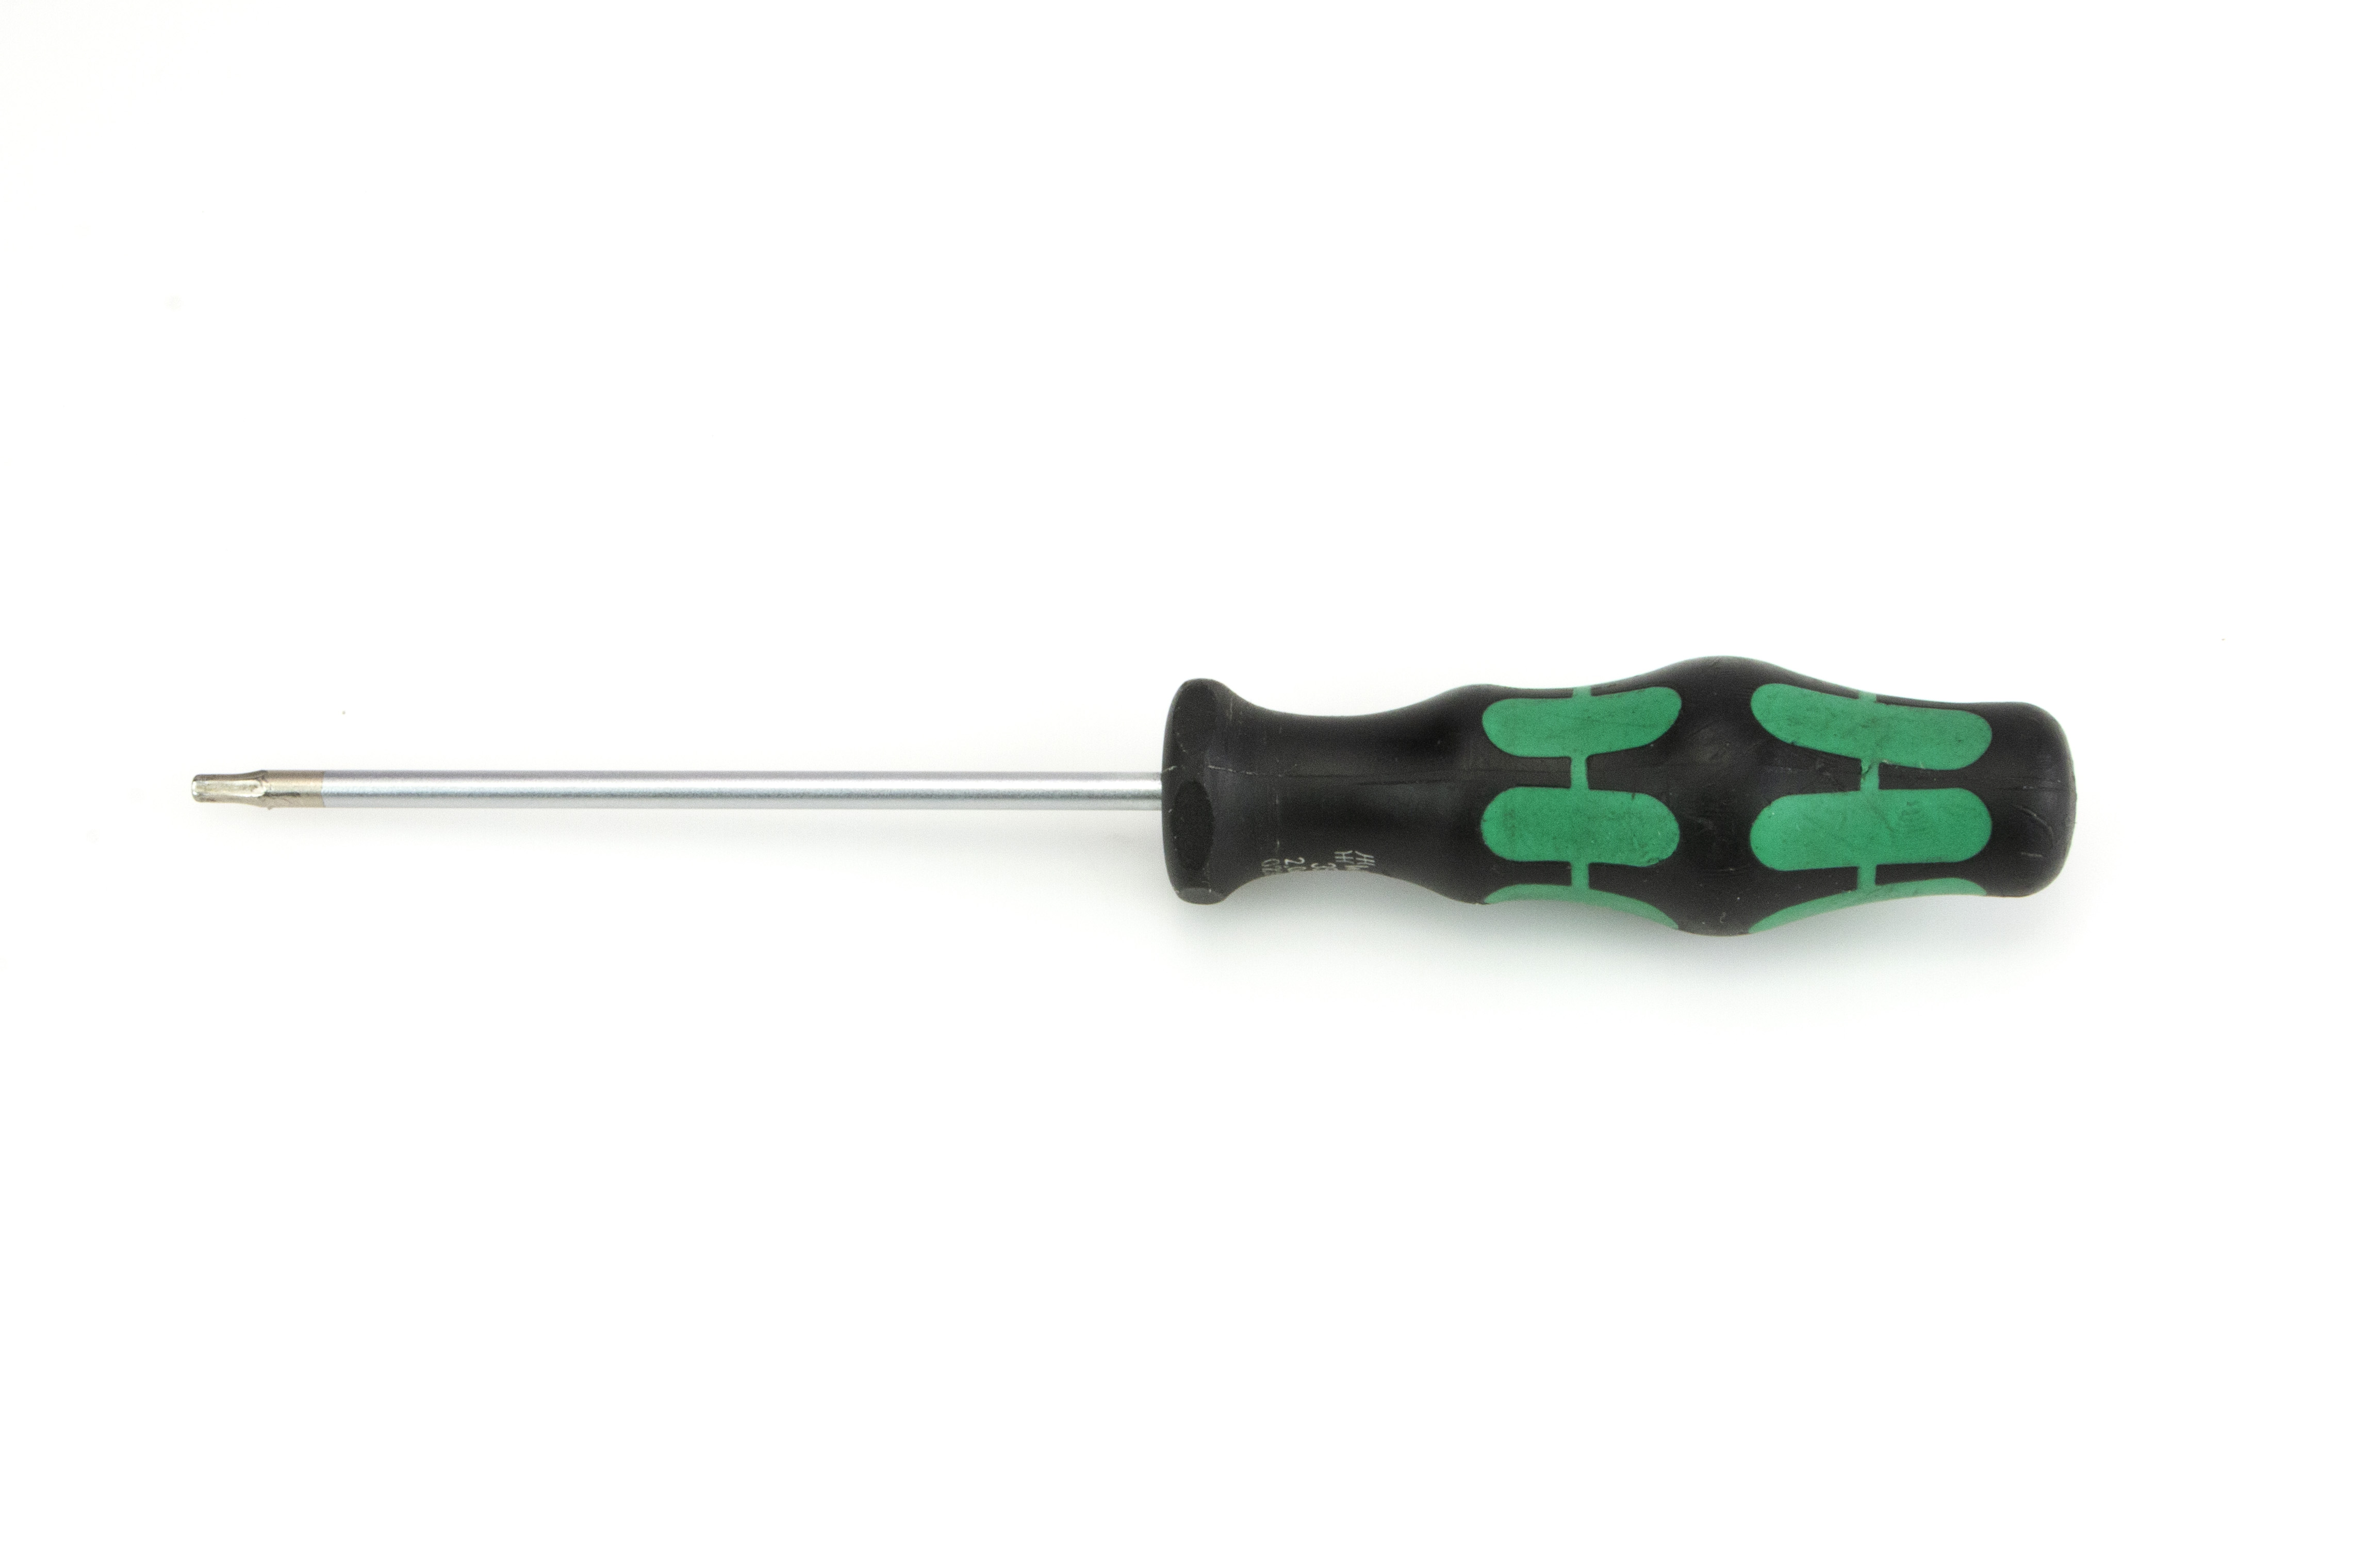
Tools Required:
2mm hex wrench
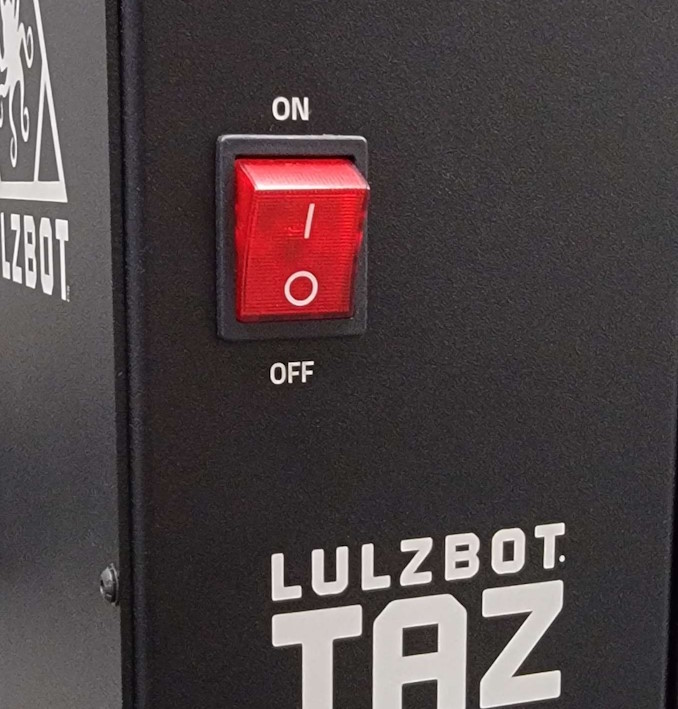
Power down and unplug your 3D printer.
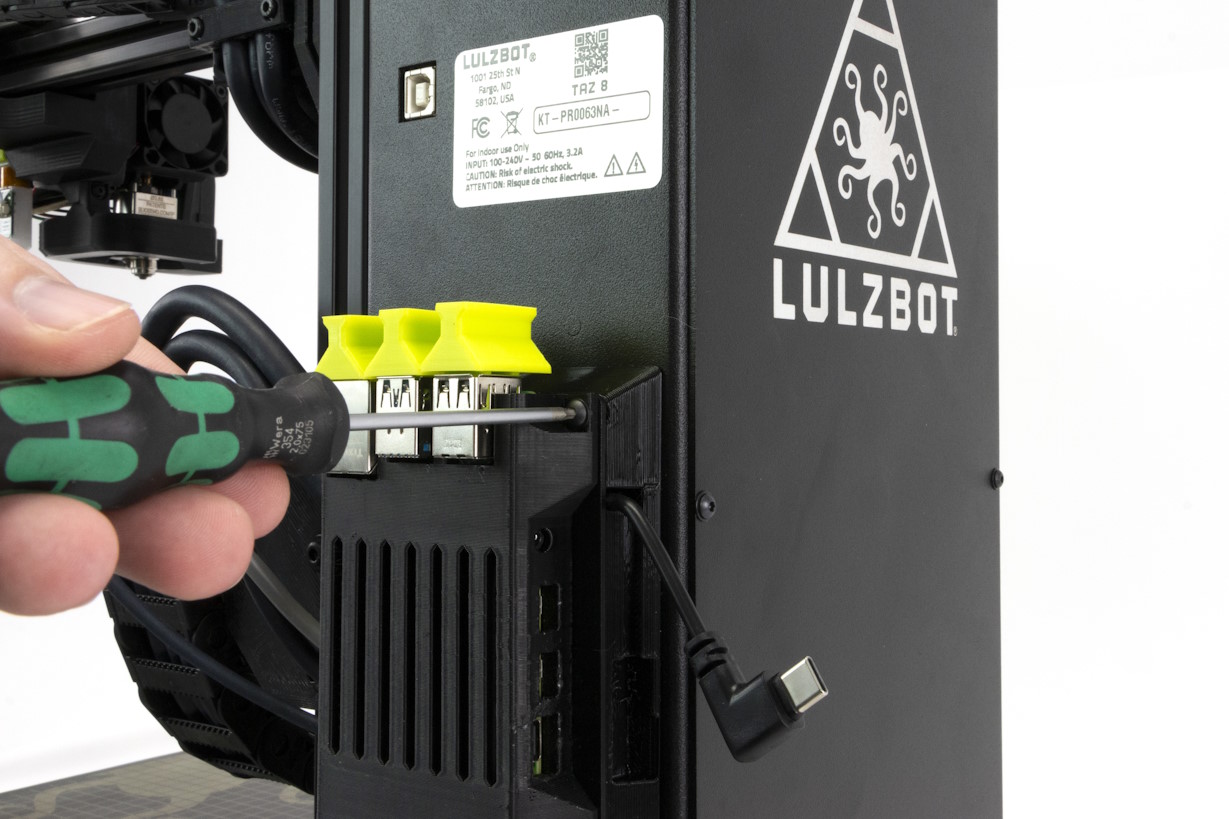
On the back of the control box, remove the top 2 screws from the interconnection box as well as the hex screw down on the right.

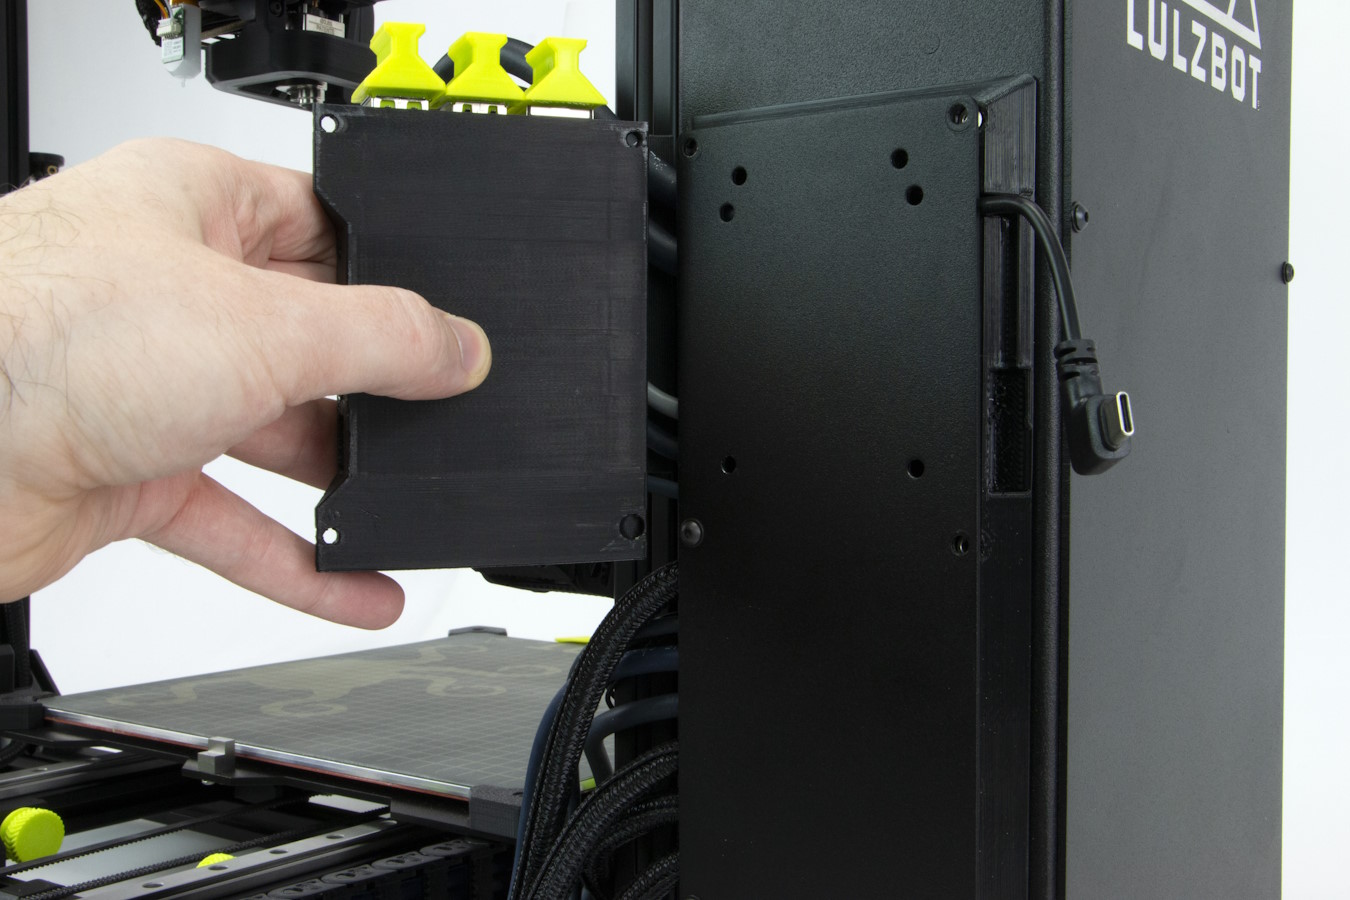
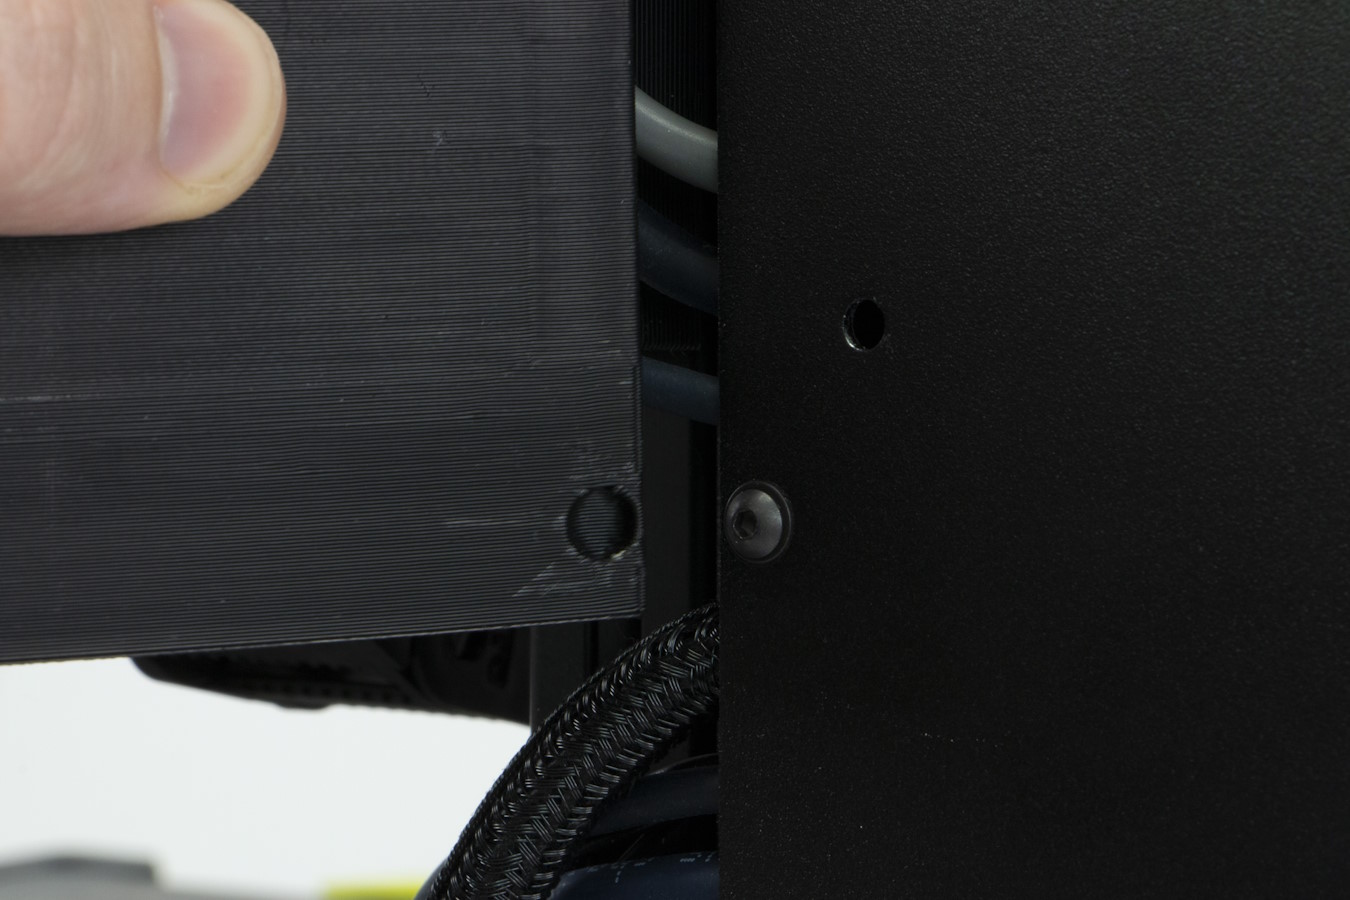
Align the Raspberry Pi case with the indexing screw on the lower right corner of the Pi case.
Install the 3 previously removed screws through the Pi case and into the printers control box.
Plug the power cable into the Raspberry Pi.
If connecting to a TAZ Pro or Workhorse printer, connect the provided power cable into the Pi.
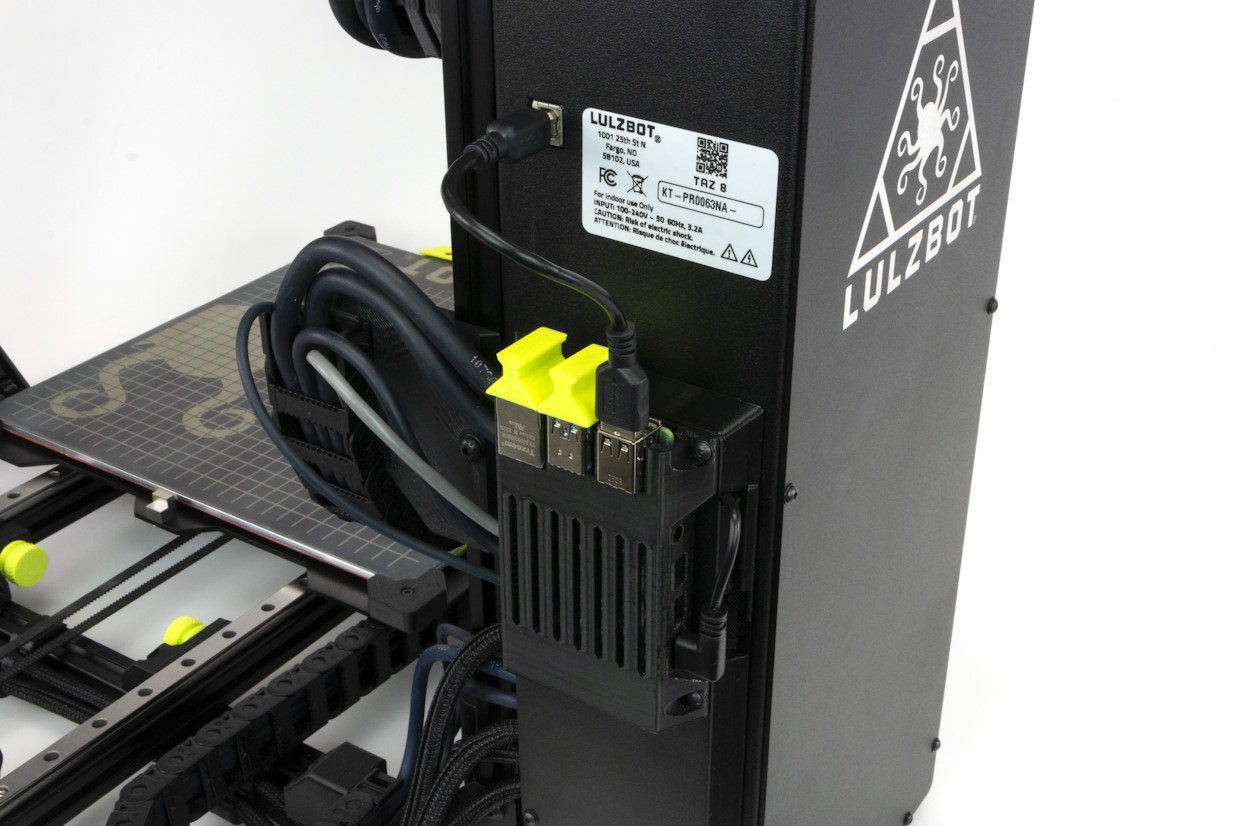
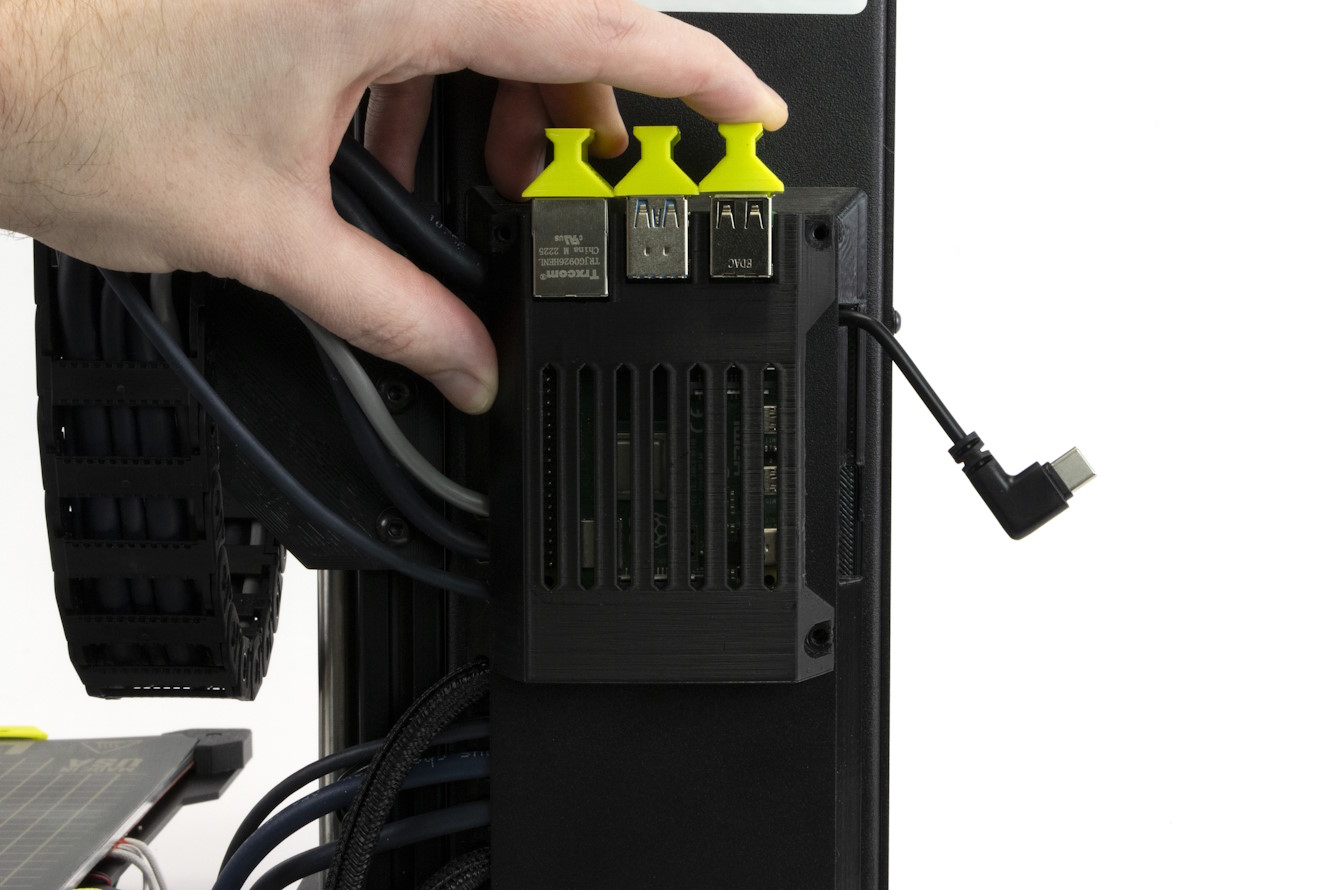
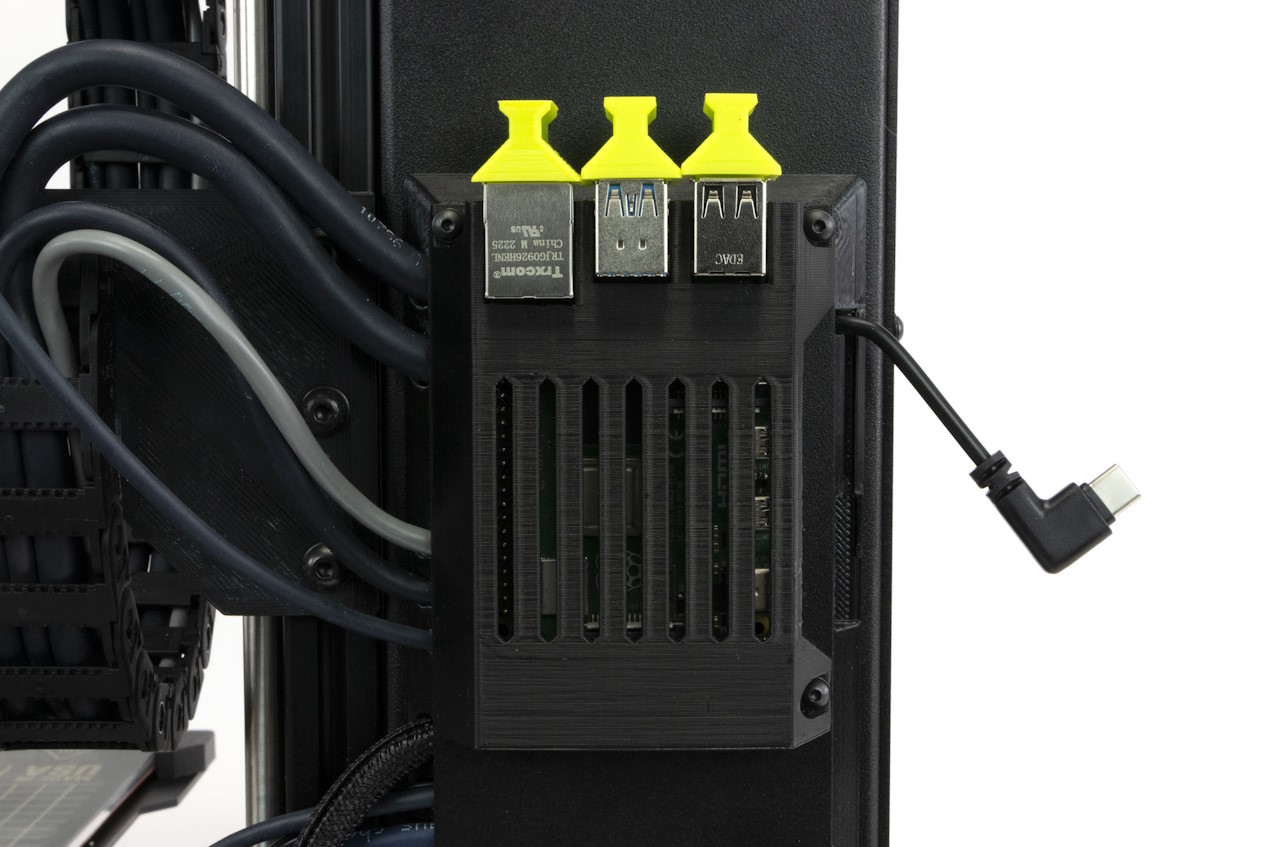
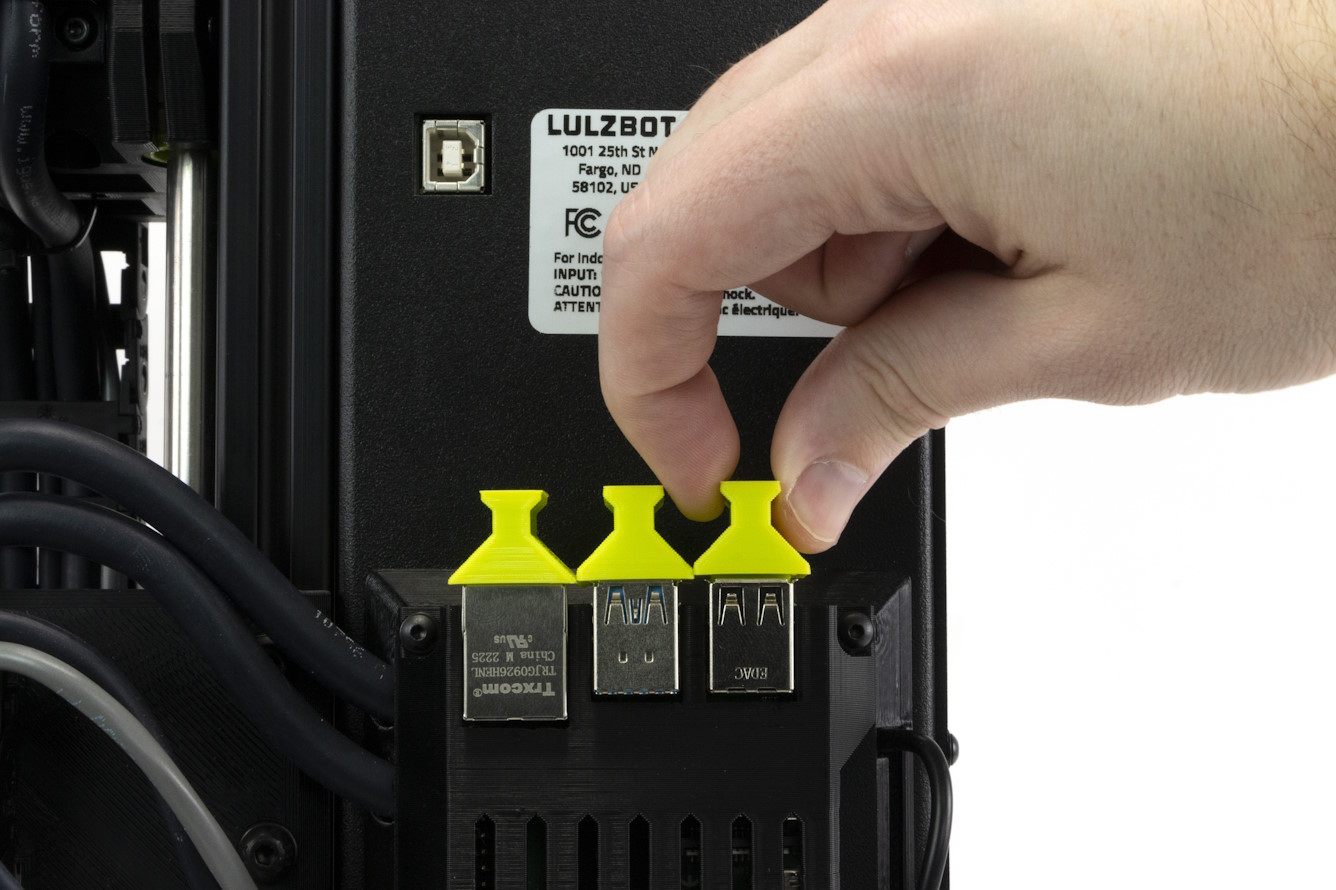
Remove the right cap from the top of the Raspberry Pi.
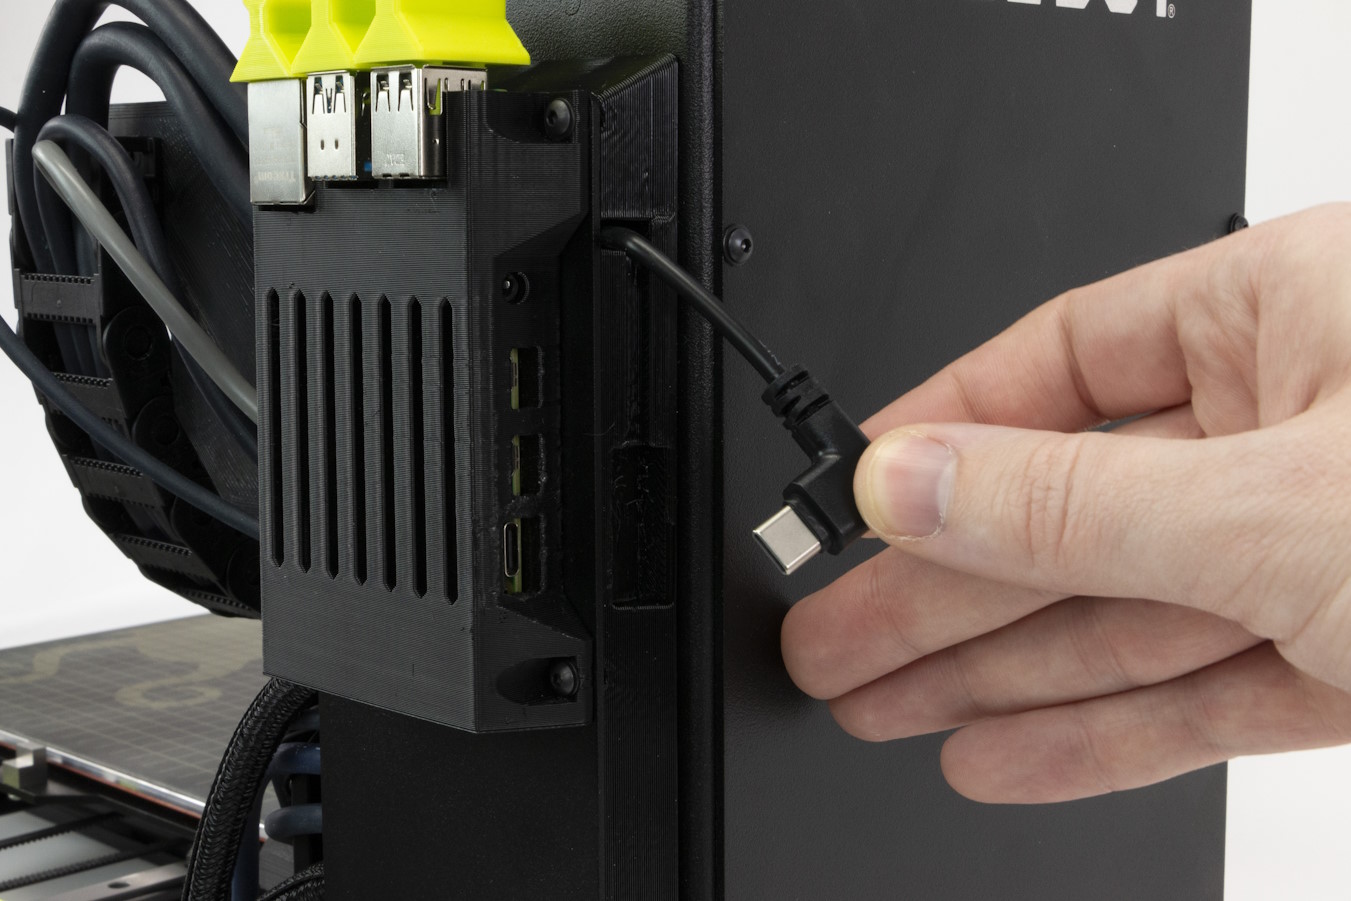
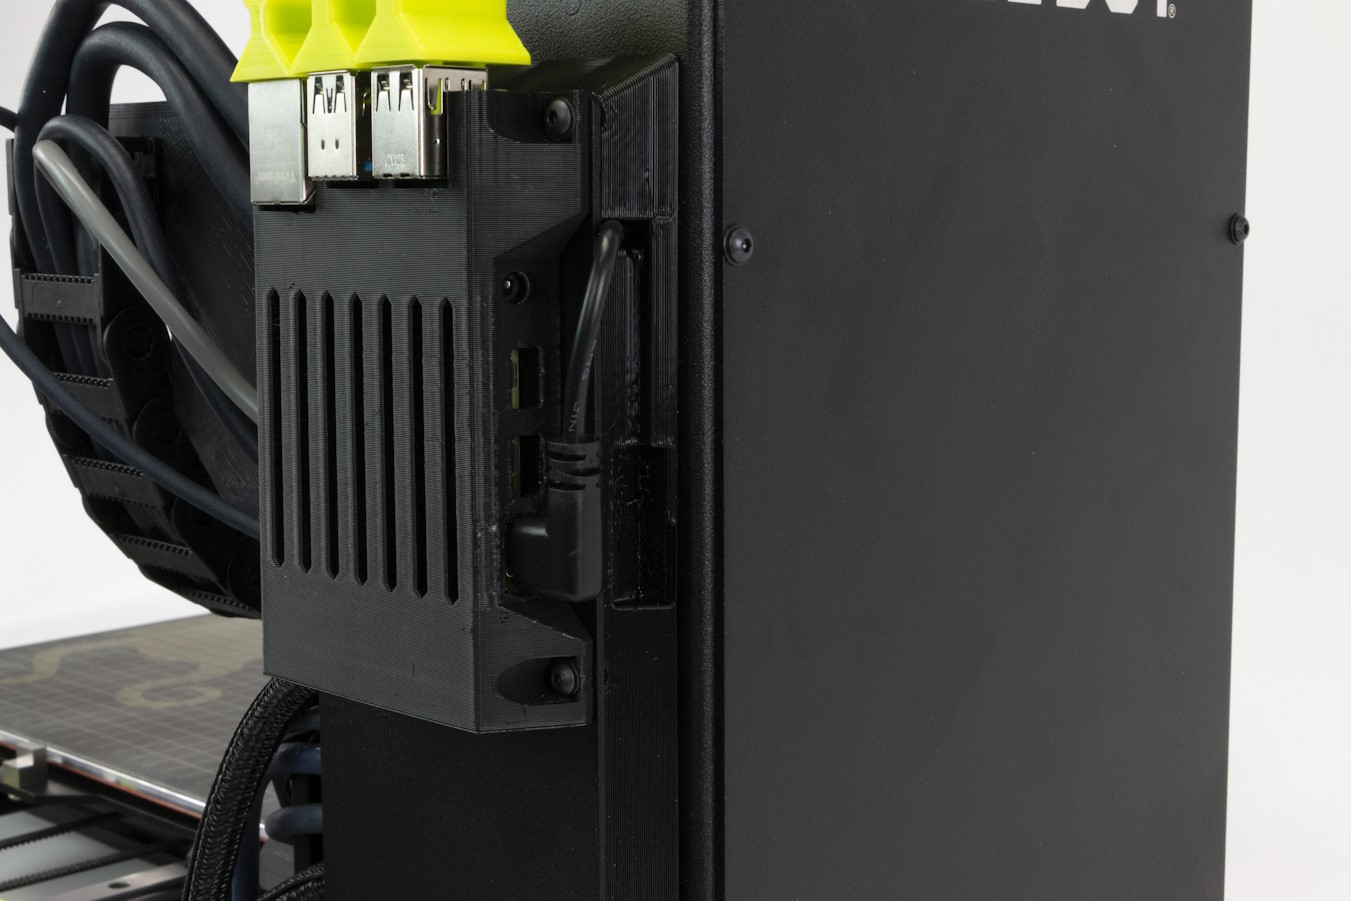
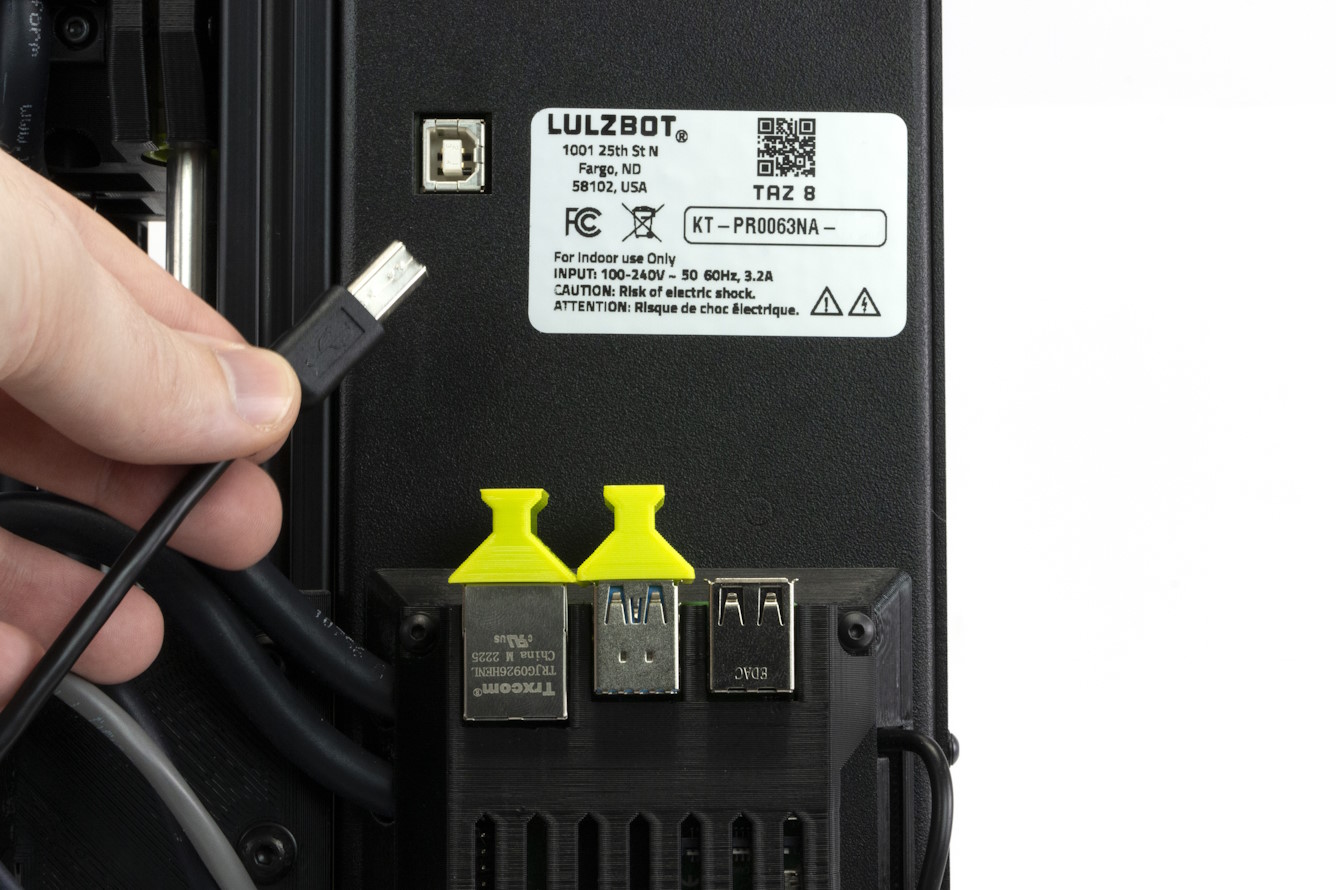
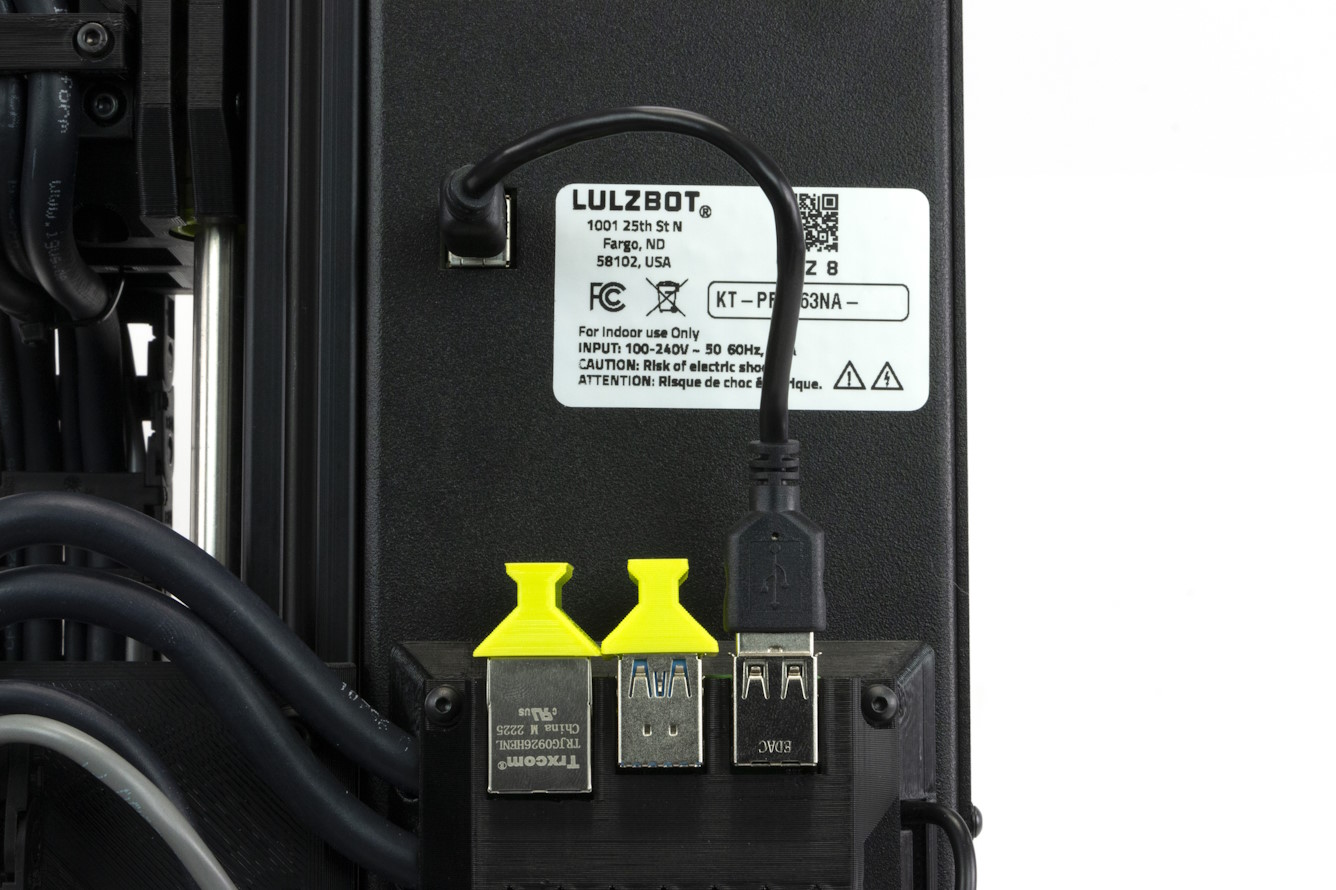
Using the provided data cable, plug the Type B side into the back of the printer.
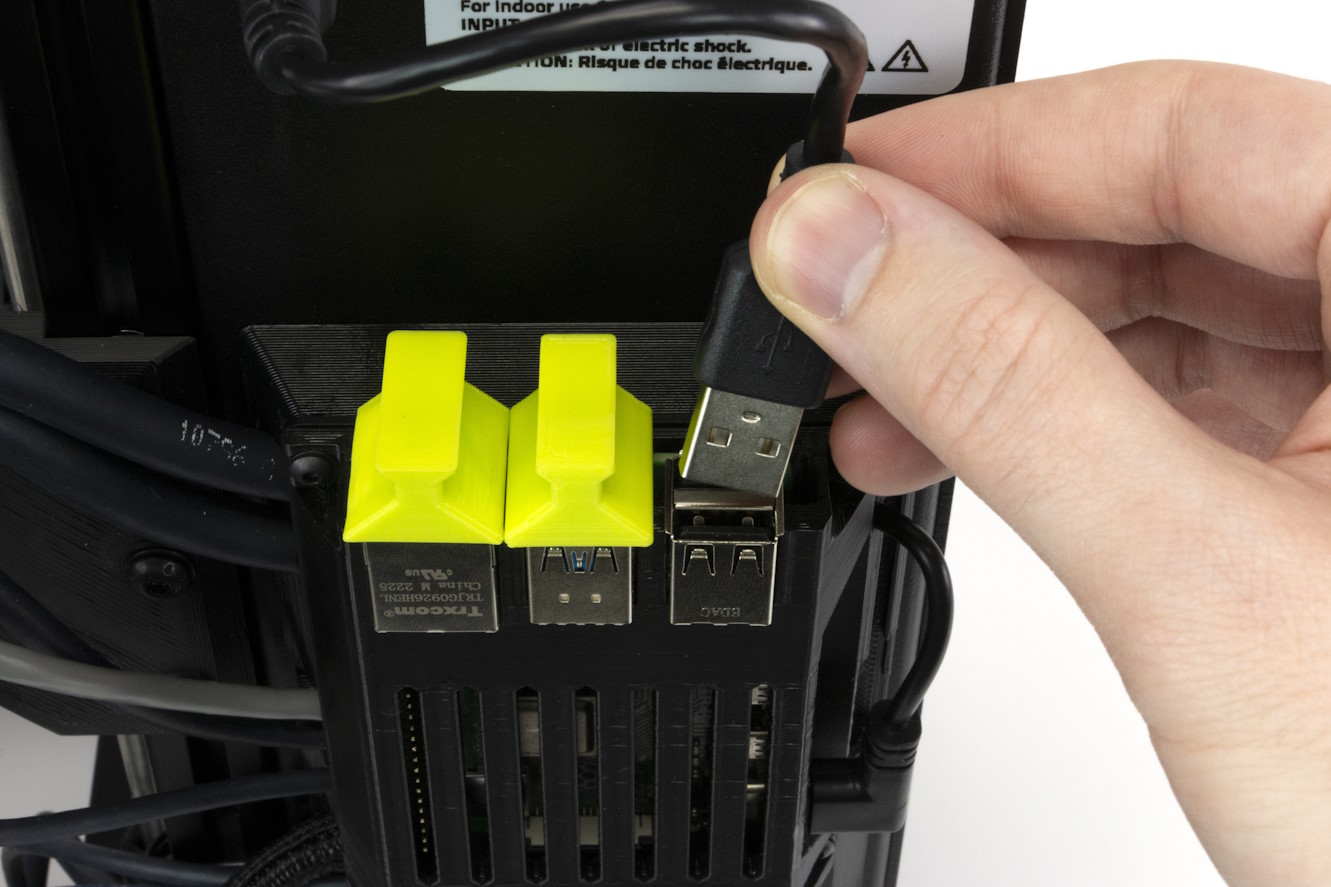
Plug the USB A side into the raspberry Pi.
You have now connected your Raspberry Pi to your LulzBot TAZ 3D printer!
For guidance on installing and setting up OctoPrint, please refer to the official OctoPrint documentation and installation guide:
OctoPrint Installation Guide
If you require support related to installing, configuring, or troubleshooting OctoPrint, we recommend visiting the OctoPrint Community Forums for assistance:
OctoPrint User Forums
Also available is a LulzBot-customized OctoPi SD card image for OctoPrint, preloaded with printer profiles, essential plugins (like Firmware Updater, Bed Visualizer, and UI Customizer), and tailored configurations to streamline setup and use with LulzBot printers.
Instructions for installing this image can be found here.