Open HardwareAssembly Instructions
Guides for installation and assembly of the LulzBot line of products made by FAME 3D LLC.
Guides for installation and assembly of the LulzBot line of products made by FAME 3D LLC.
Materials:
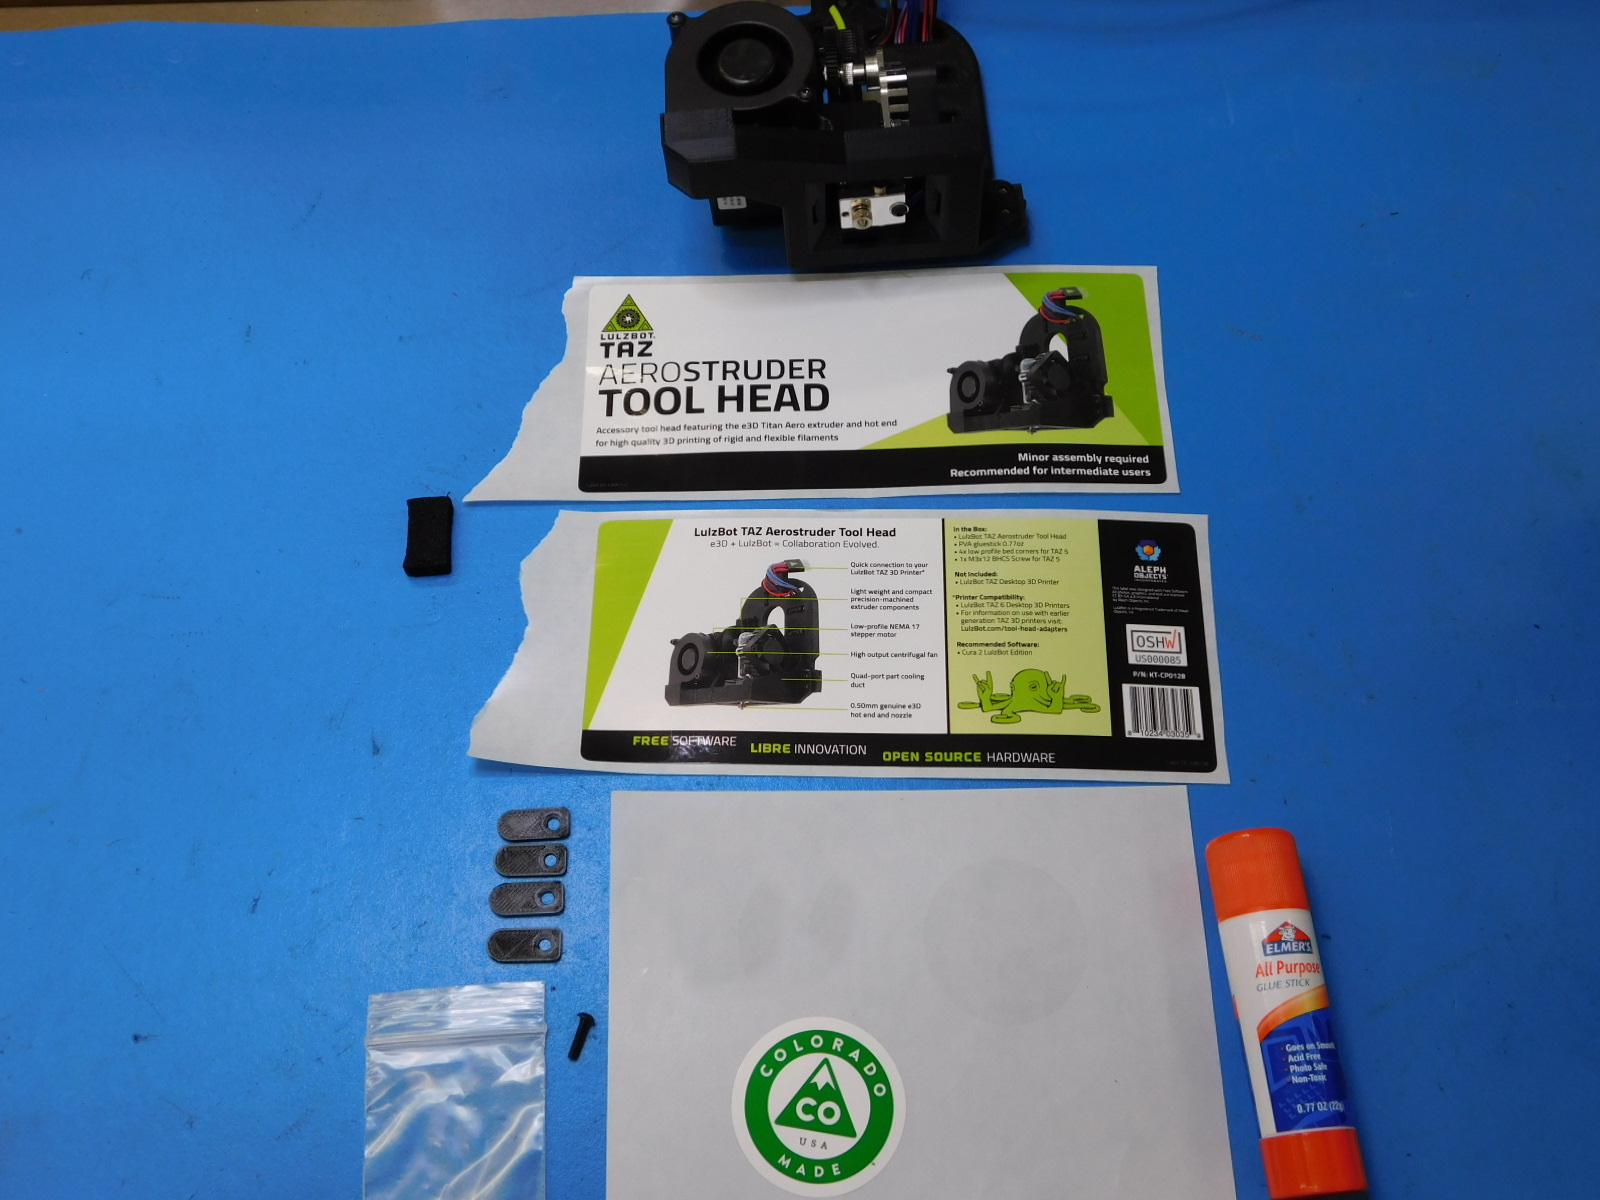
-TAZ Aerostruder assembly (AS-TH0059) x1
-Low profile bed corner, TAZ 5 (PP-GP0298) x4
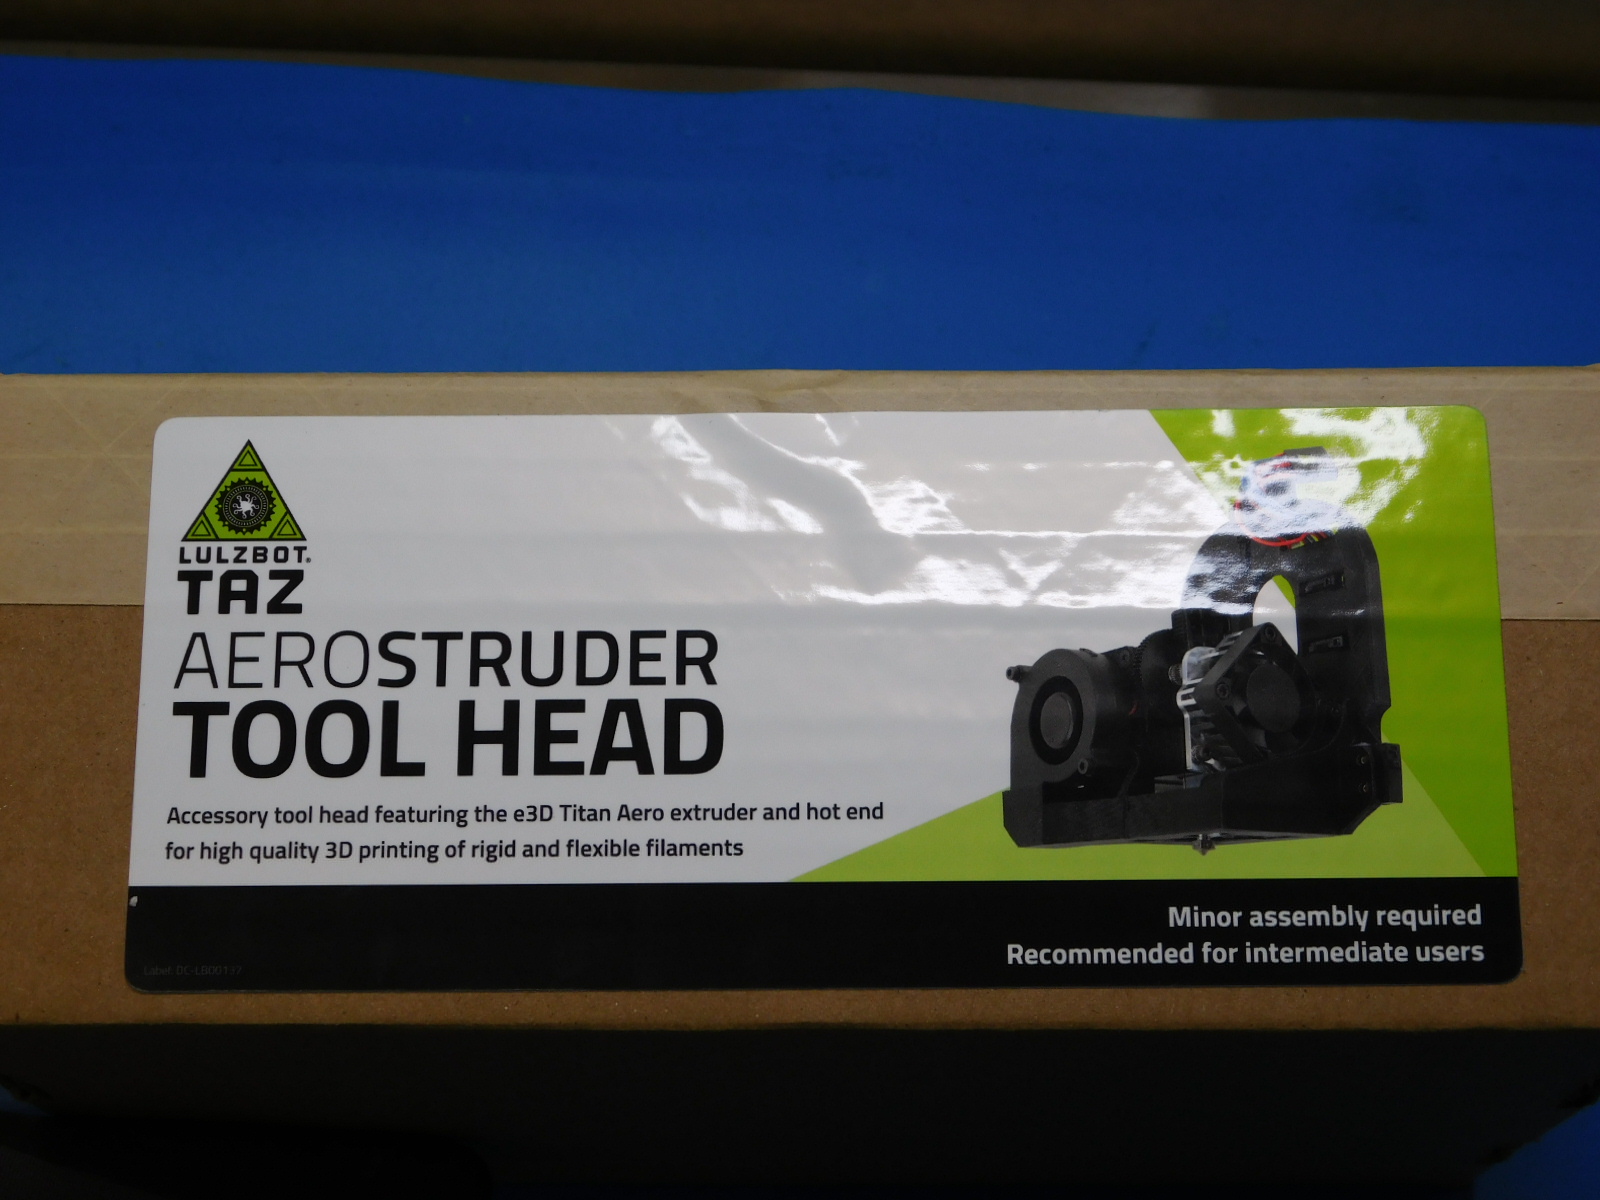
-Front Aerostruder Label (DC-LB0137) x1
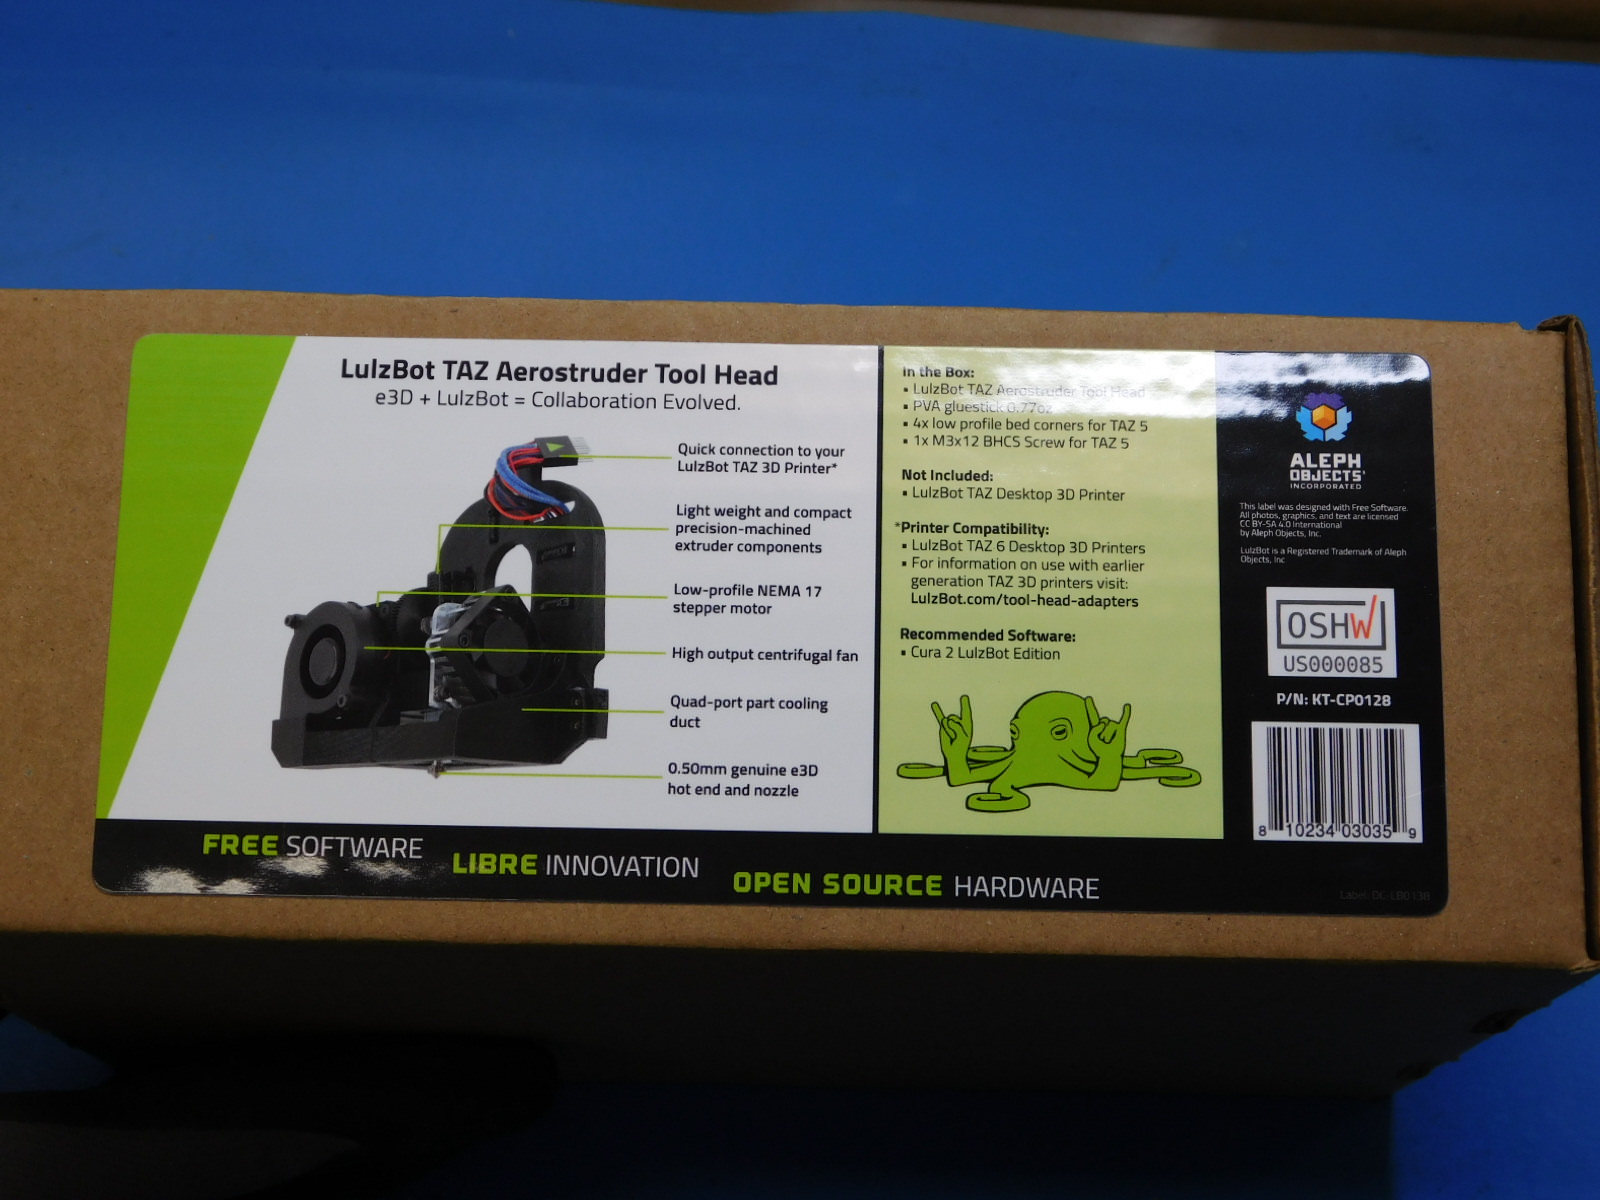
-Back Aerostruder Label (DC-LB0138) x1
-Colorado made sticker (DC-MS0037) x1
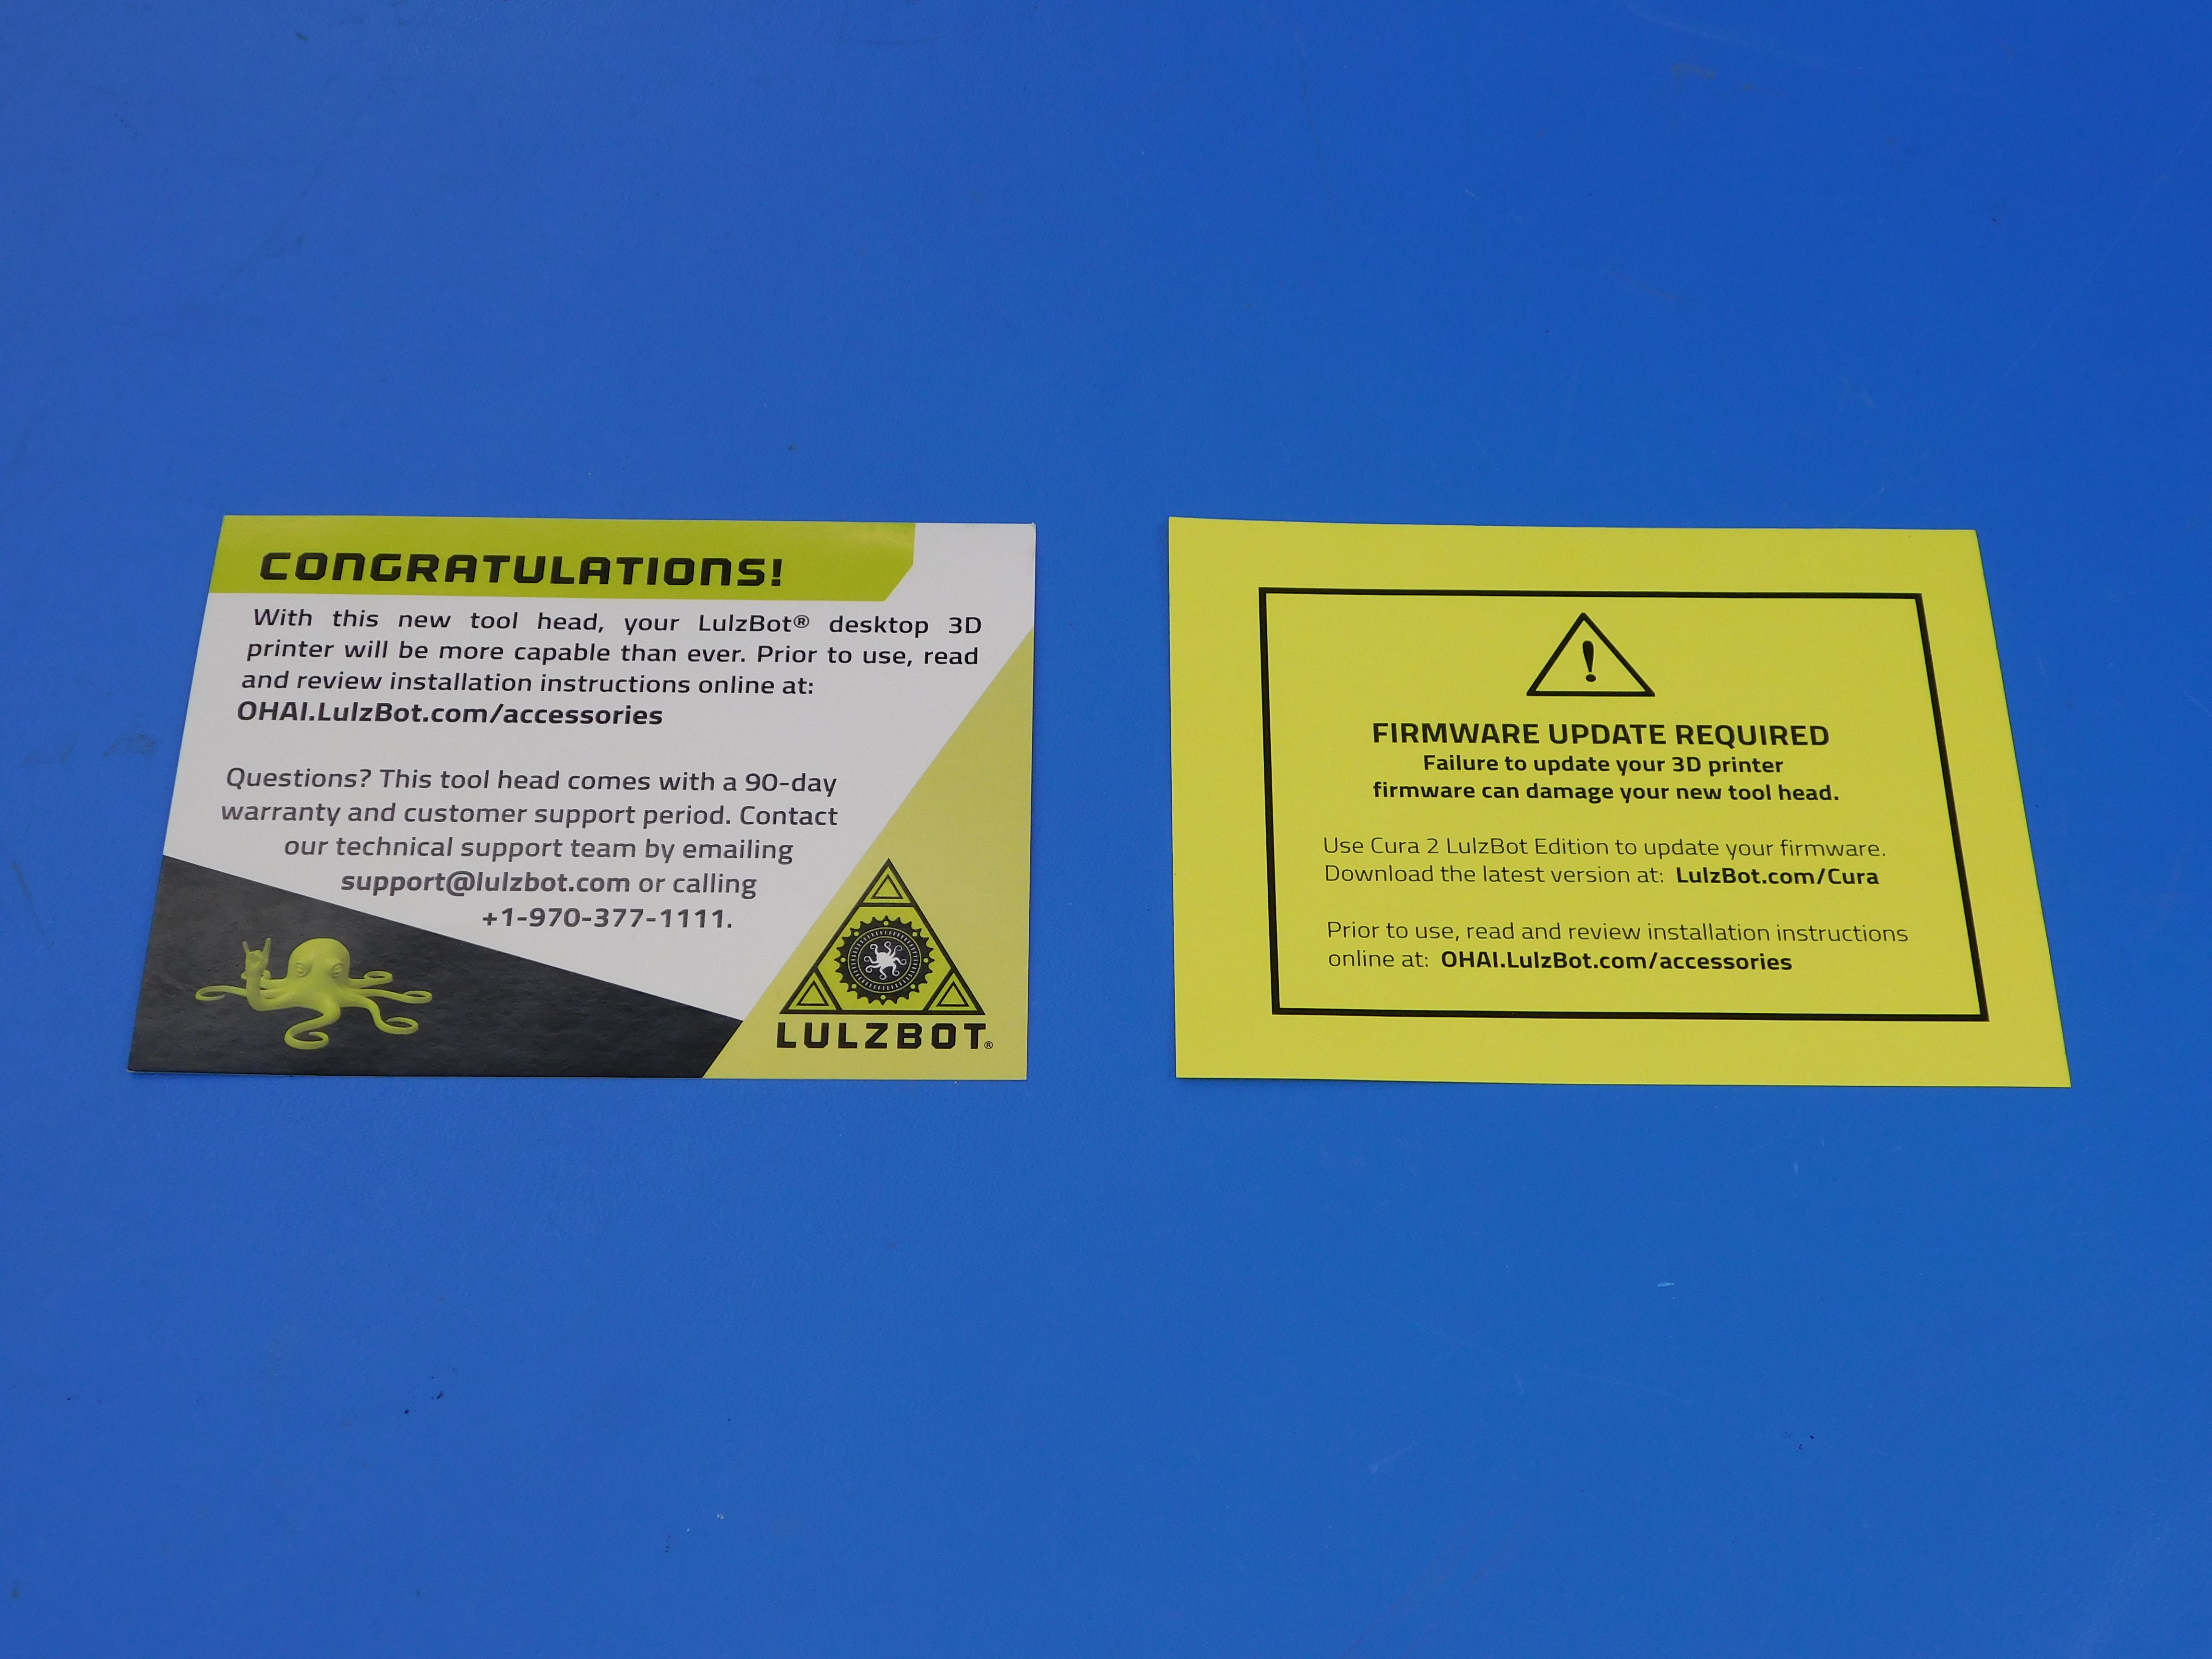
-Firmware Update card (DC-MS0054) x1
-CONGRATULATIONS!- Accessory Instruction Card x1
-M3x12 BHCS (HD-BT0146) x1
-ESD Foam (HD-MS0375) x1
-Tool head Box (SH-BX0055) x1
-Korrvu (SH-PA0049) x1
-Small bag (SH-PG0001) x1
-Packing Tape (SH-PG0056) x12"
-Glue Stick (TL-CS0117) x1
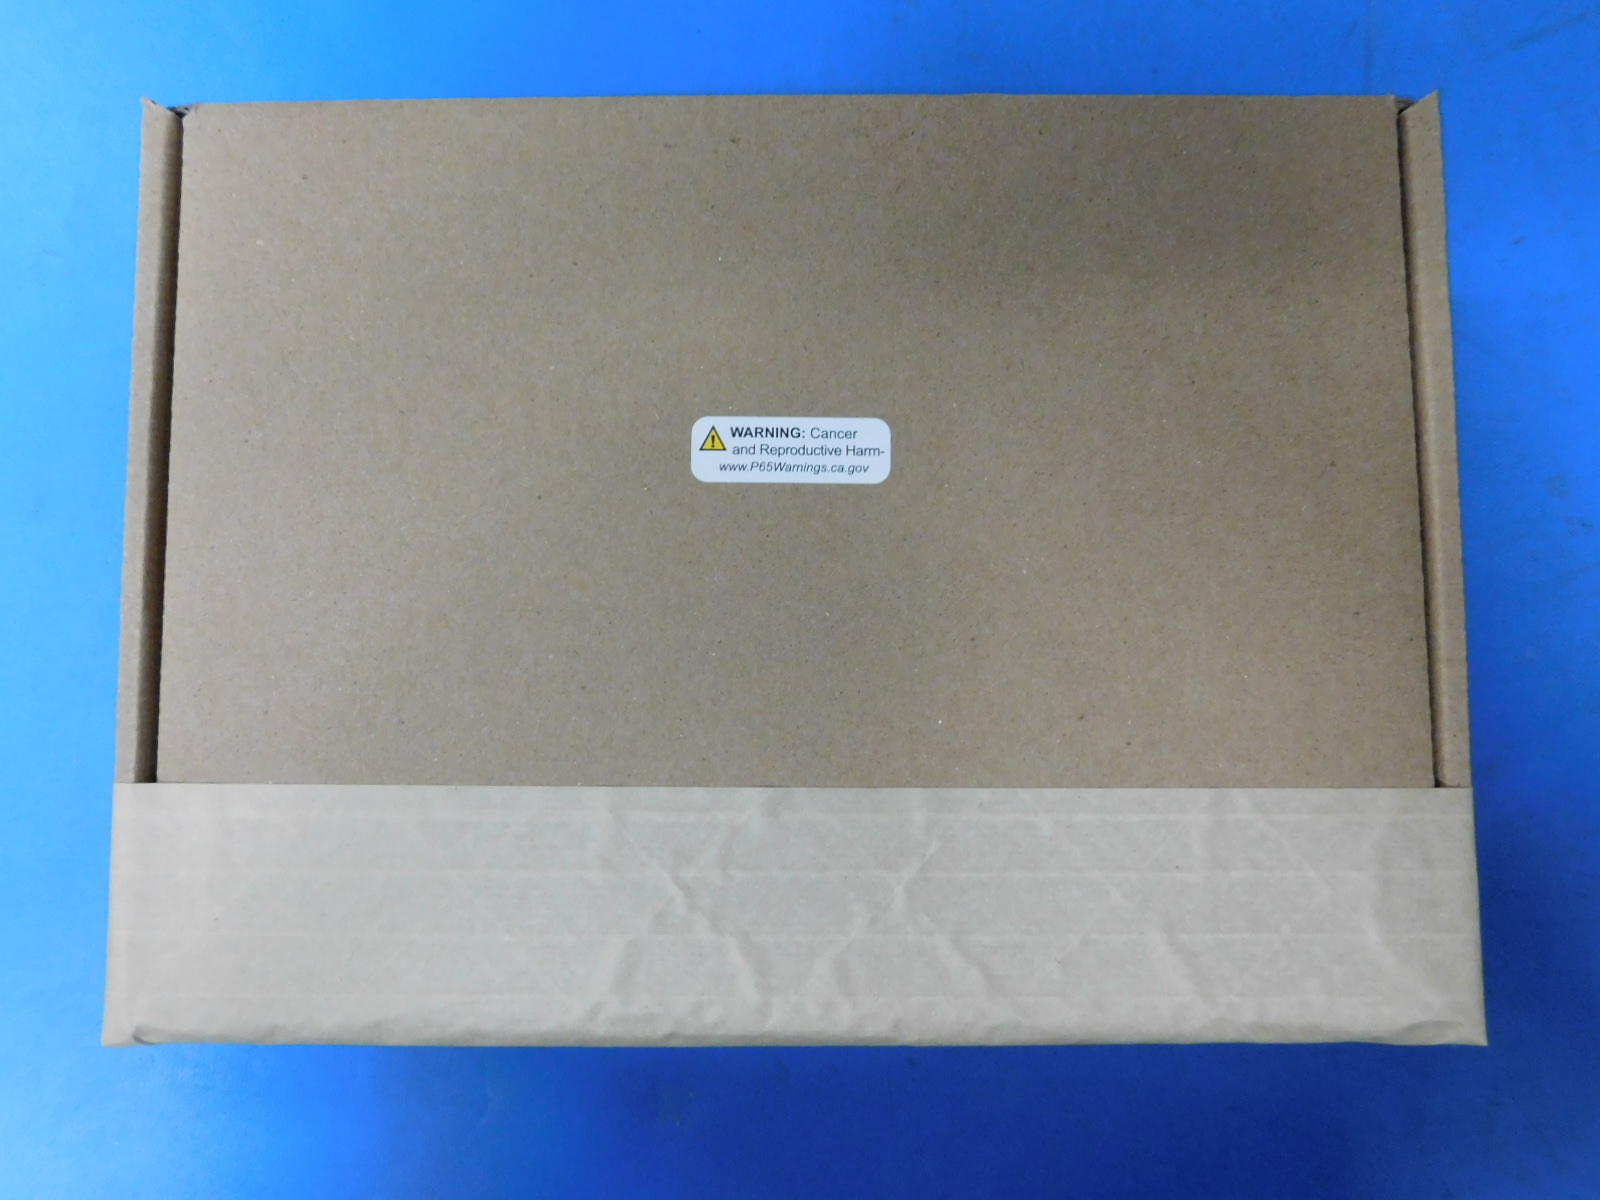
-P65 Warning Label (DC-LB0174) x1
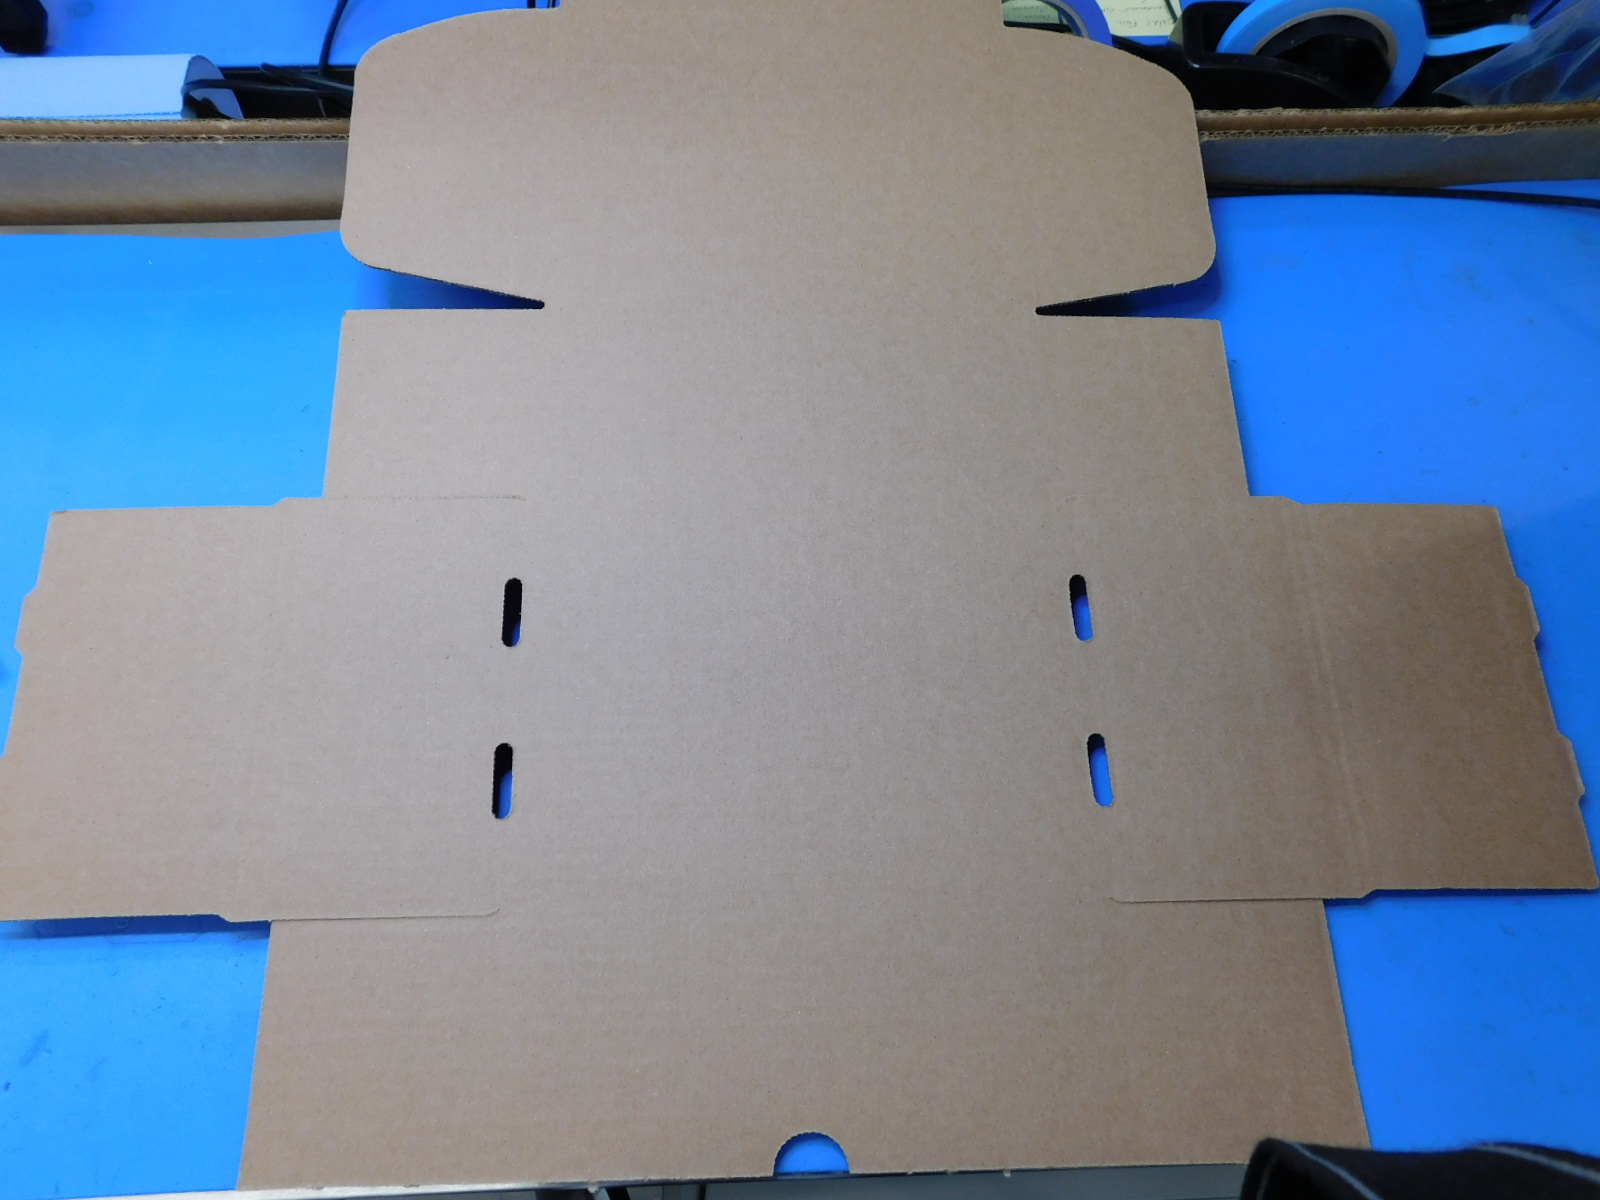
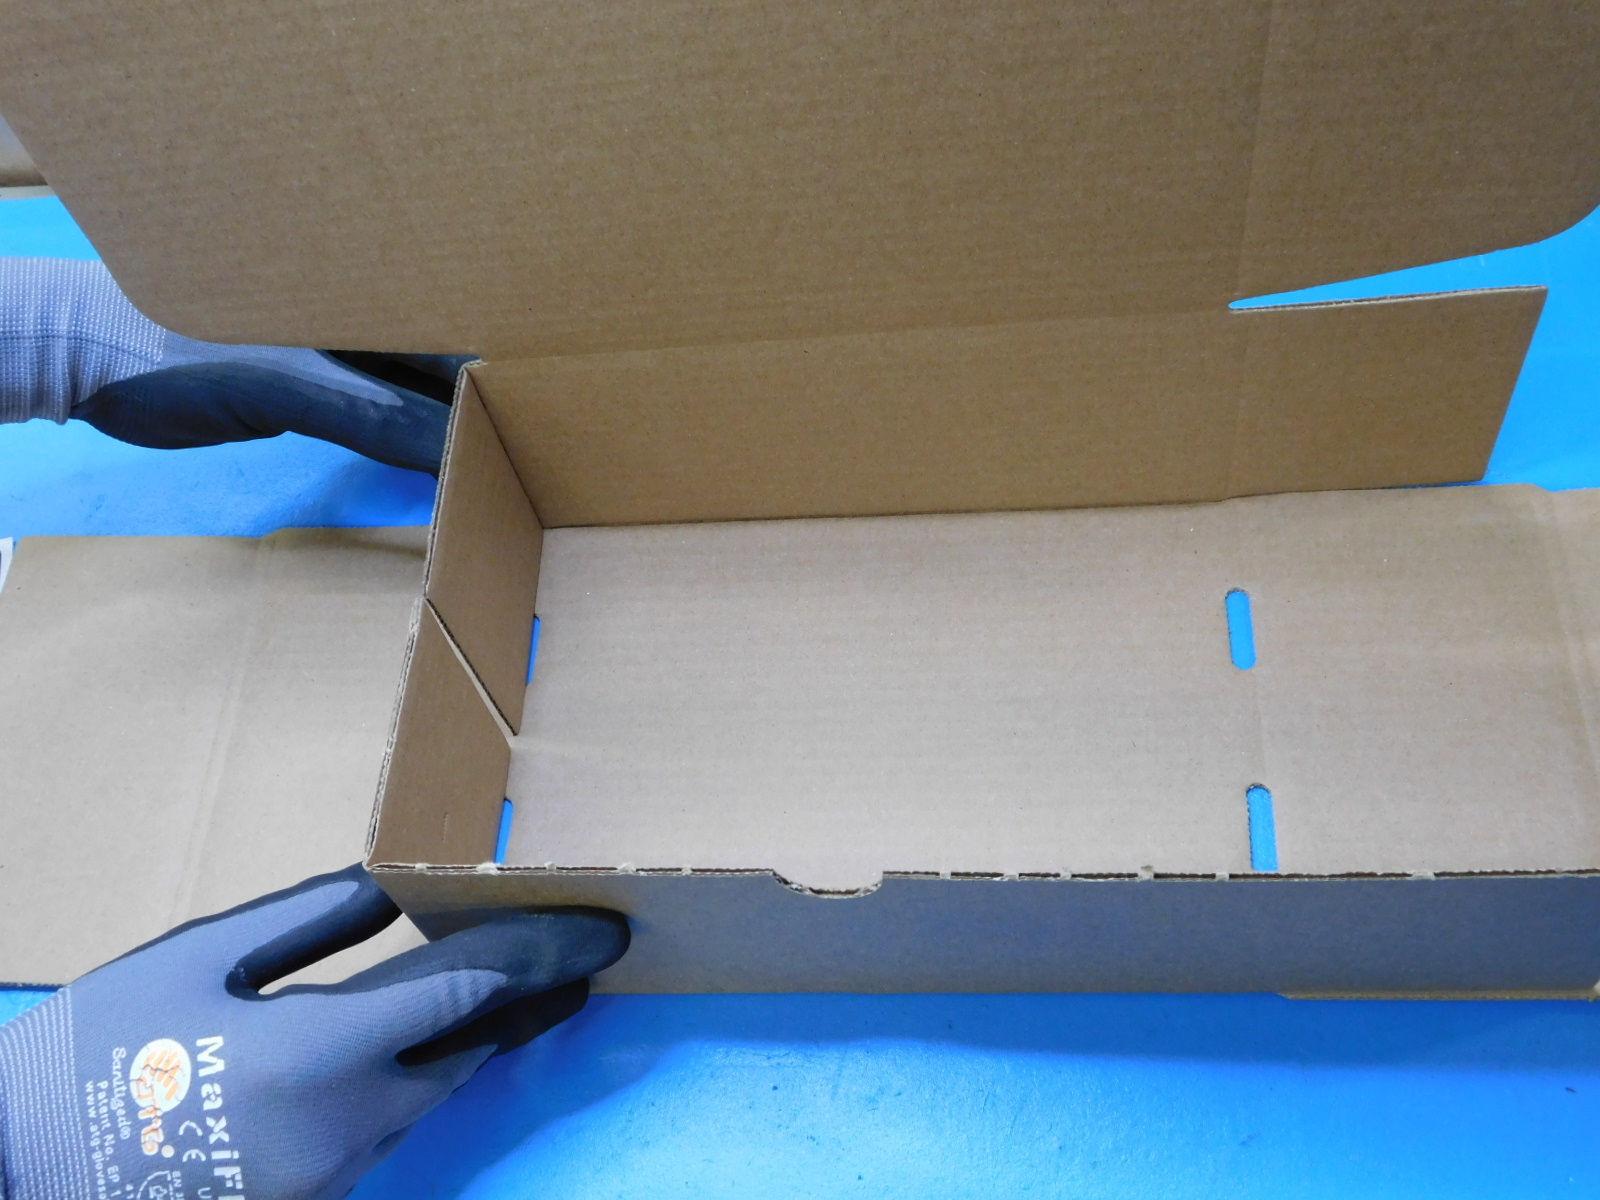
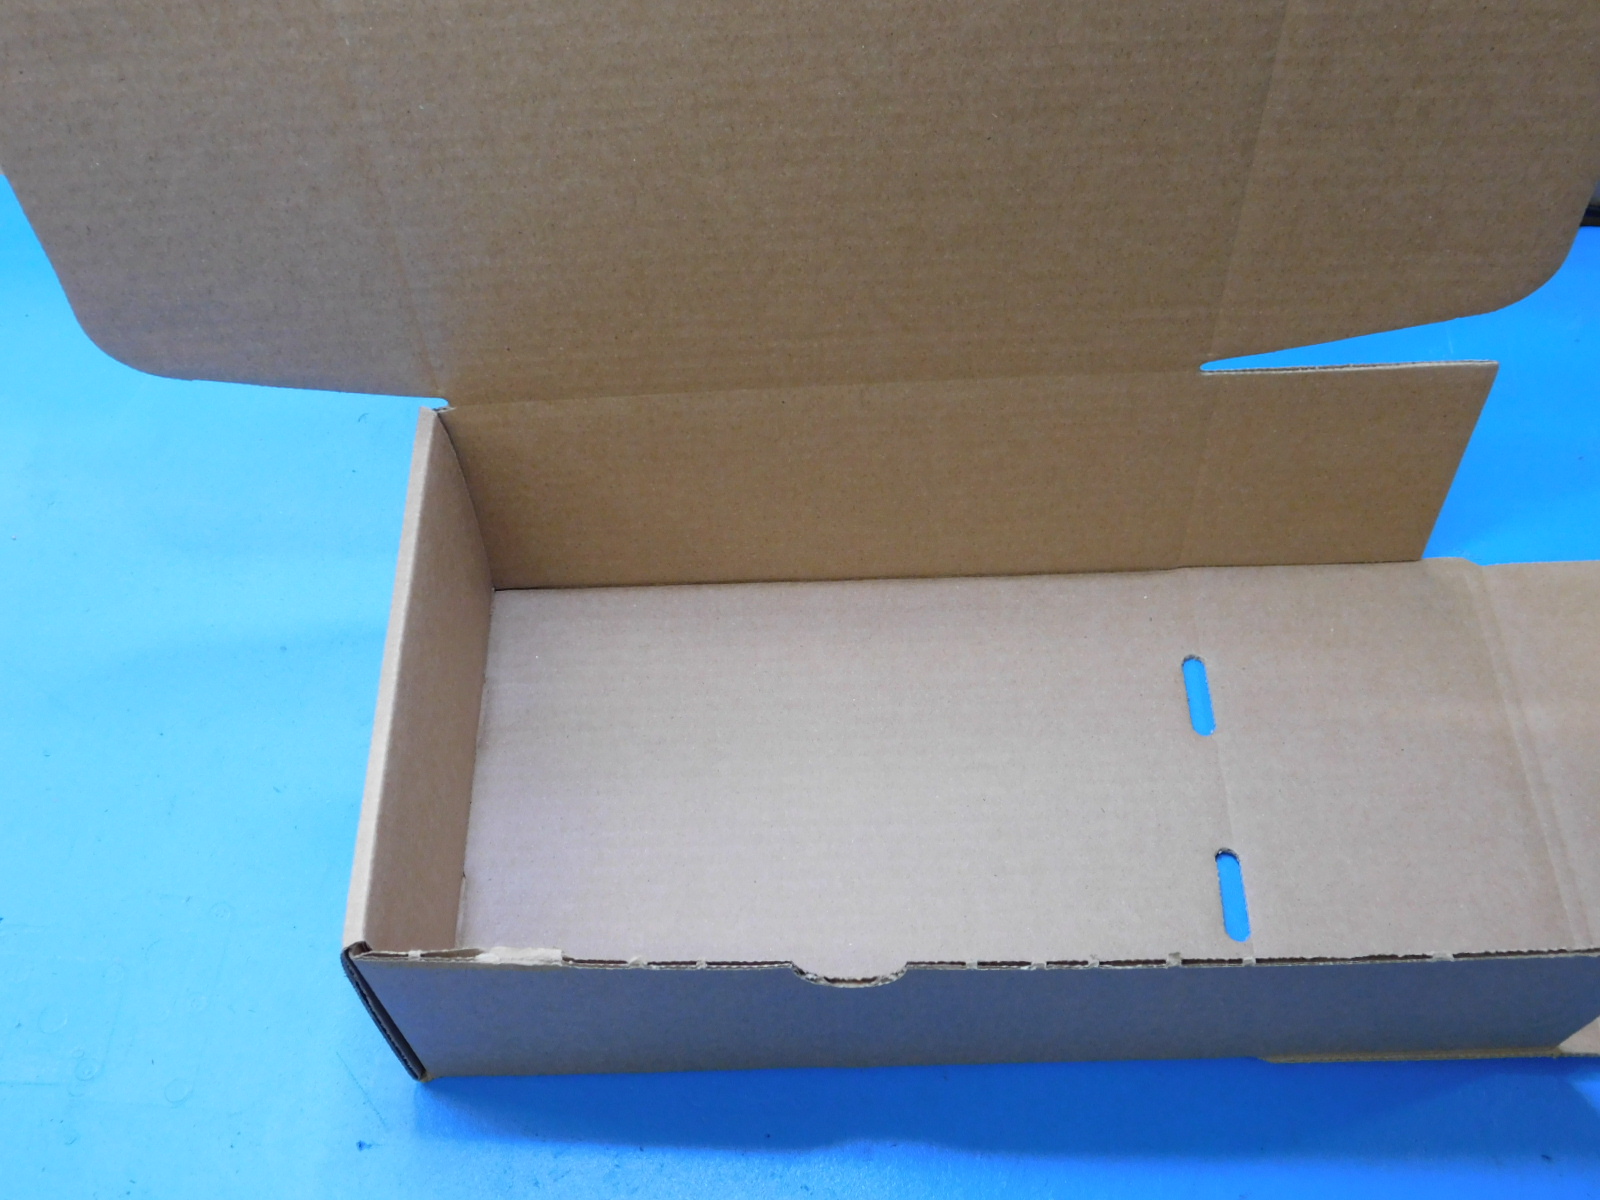
Take the tool head box (SH-BX0055) and fold all the corners together to create the box itself. Follow pics to fold together the left and right sides of the box.


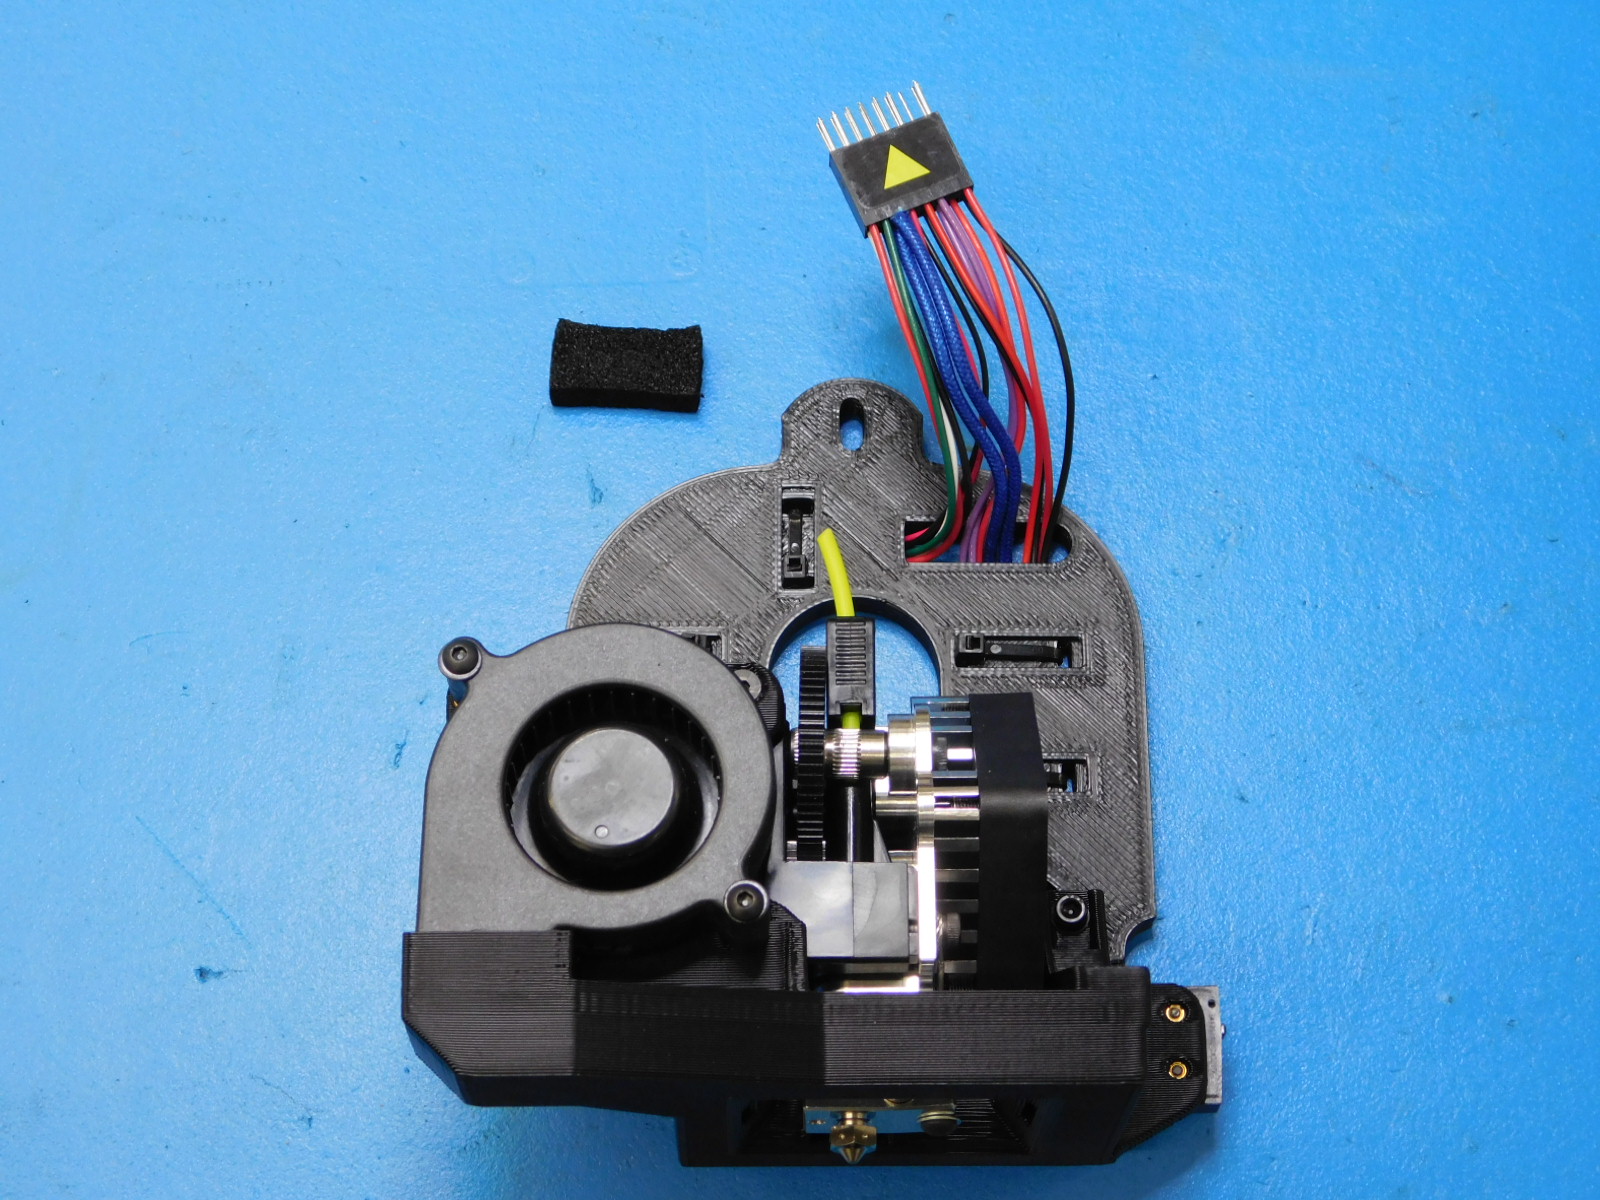
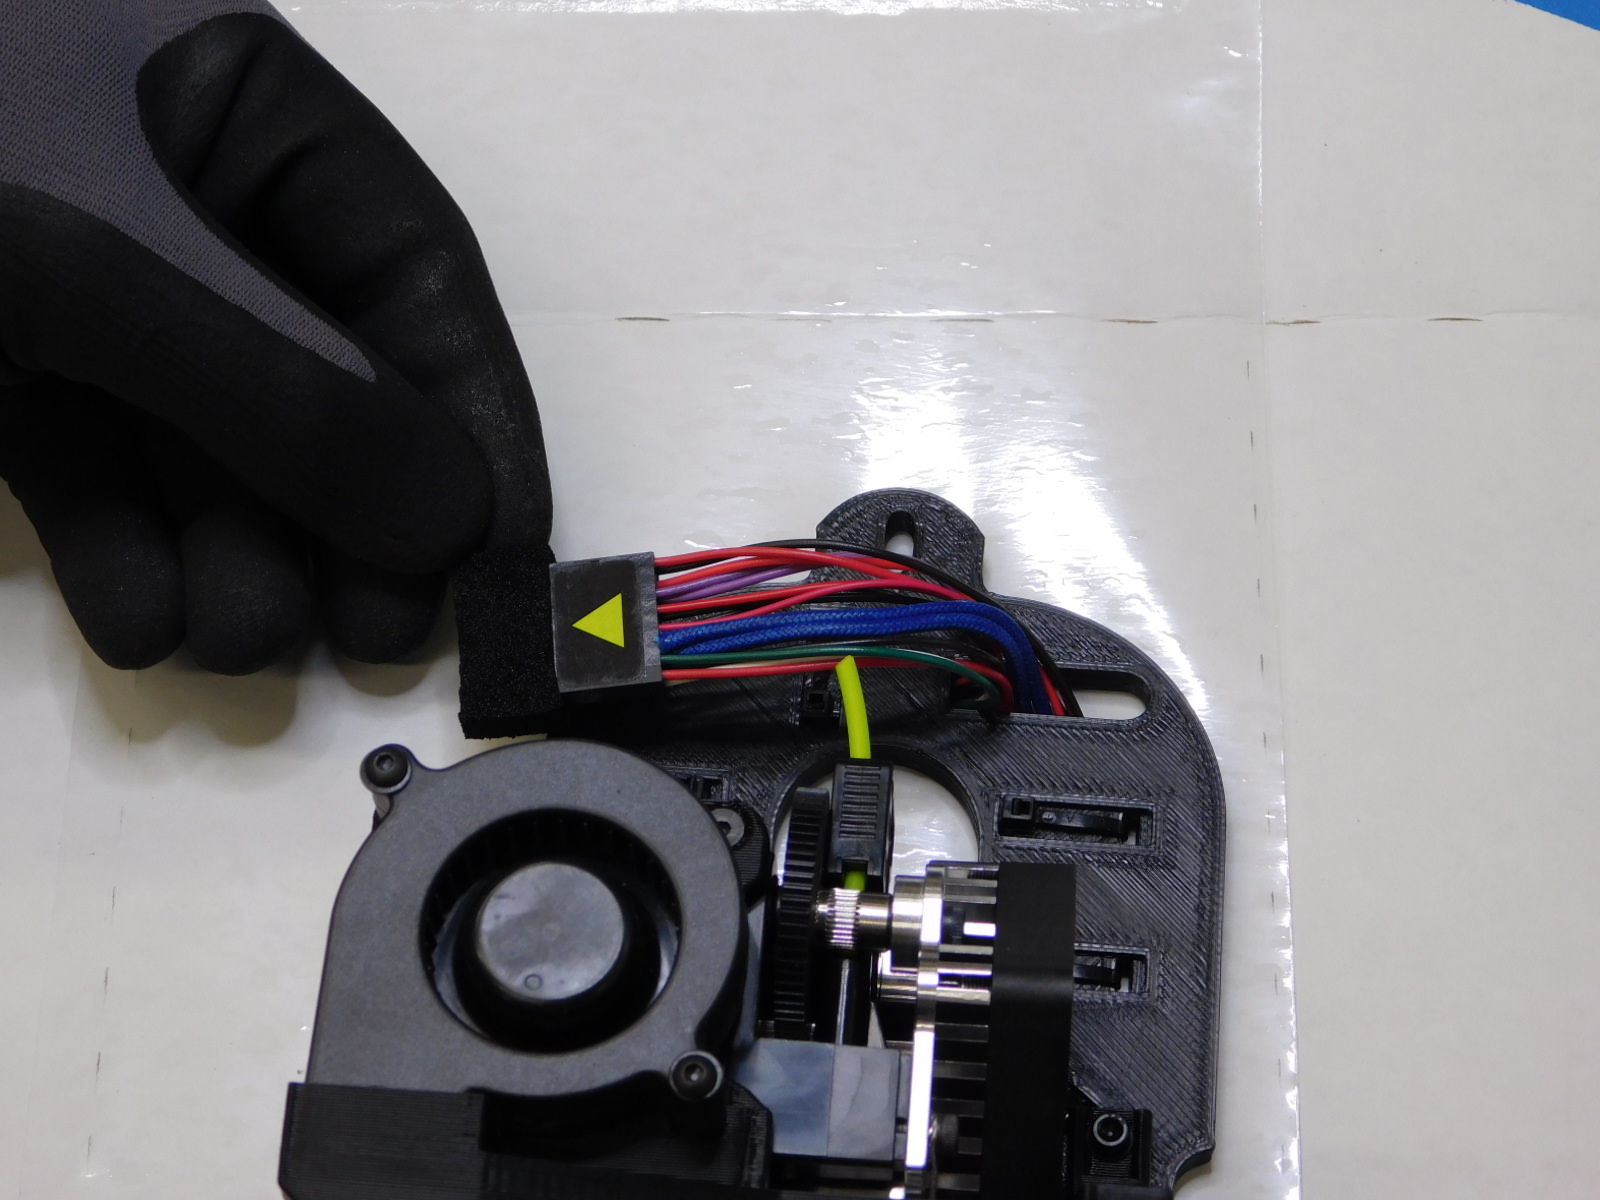
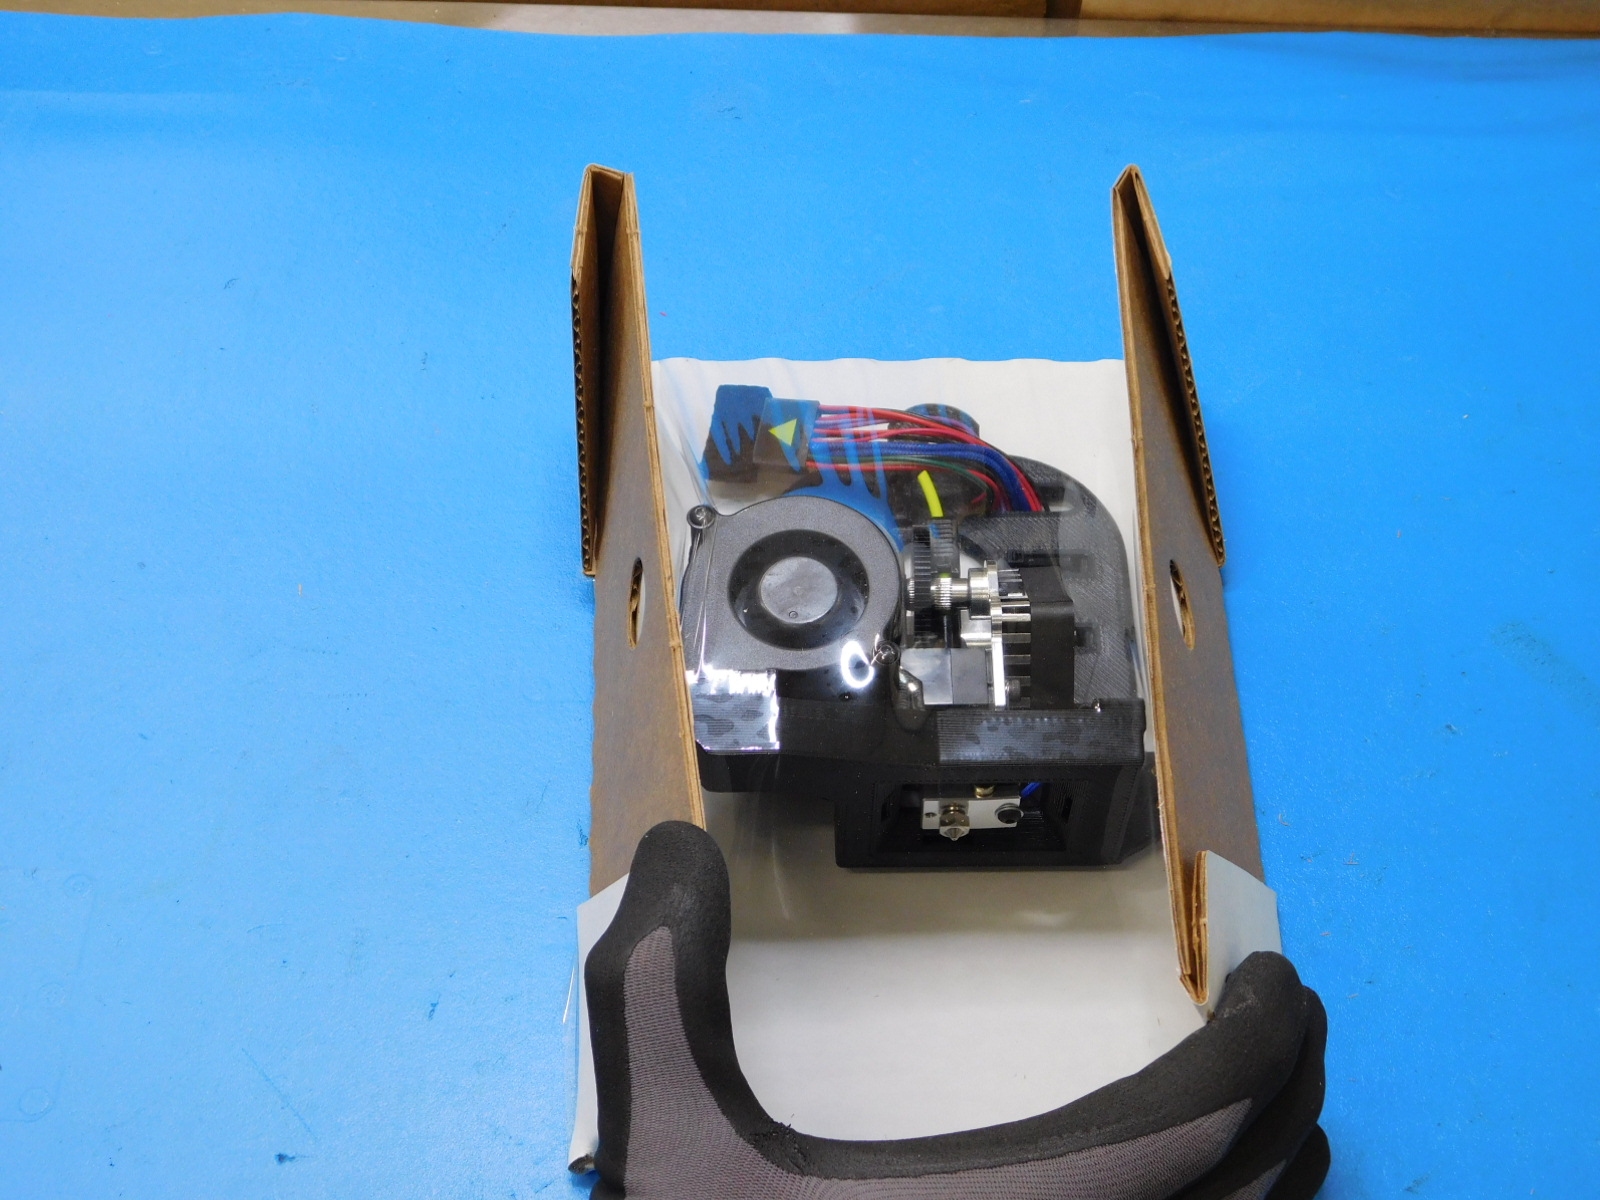
Take the small esd foam (HD-MS0375) and place it over the pins on the tool head.


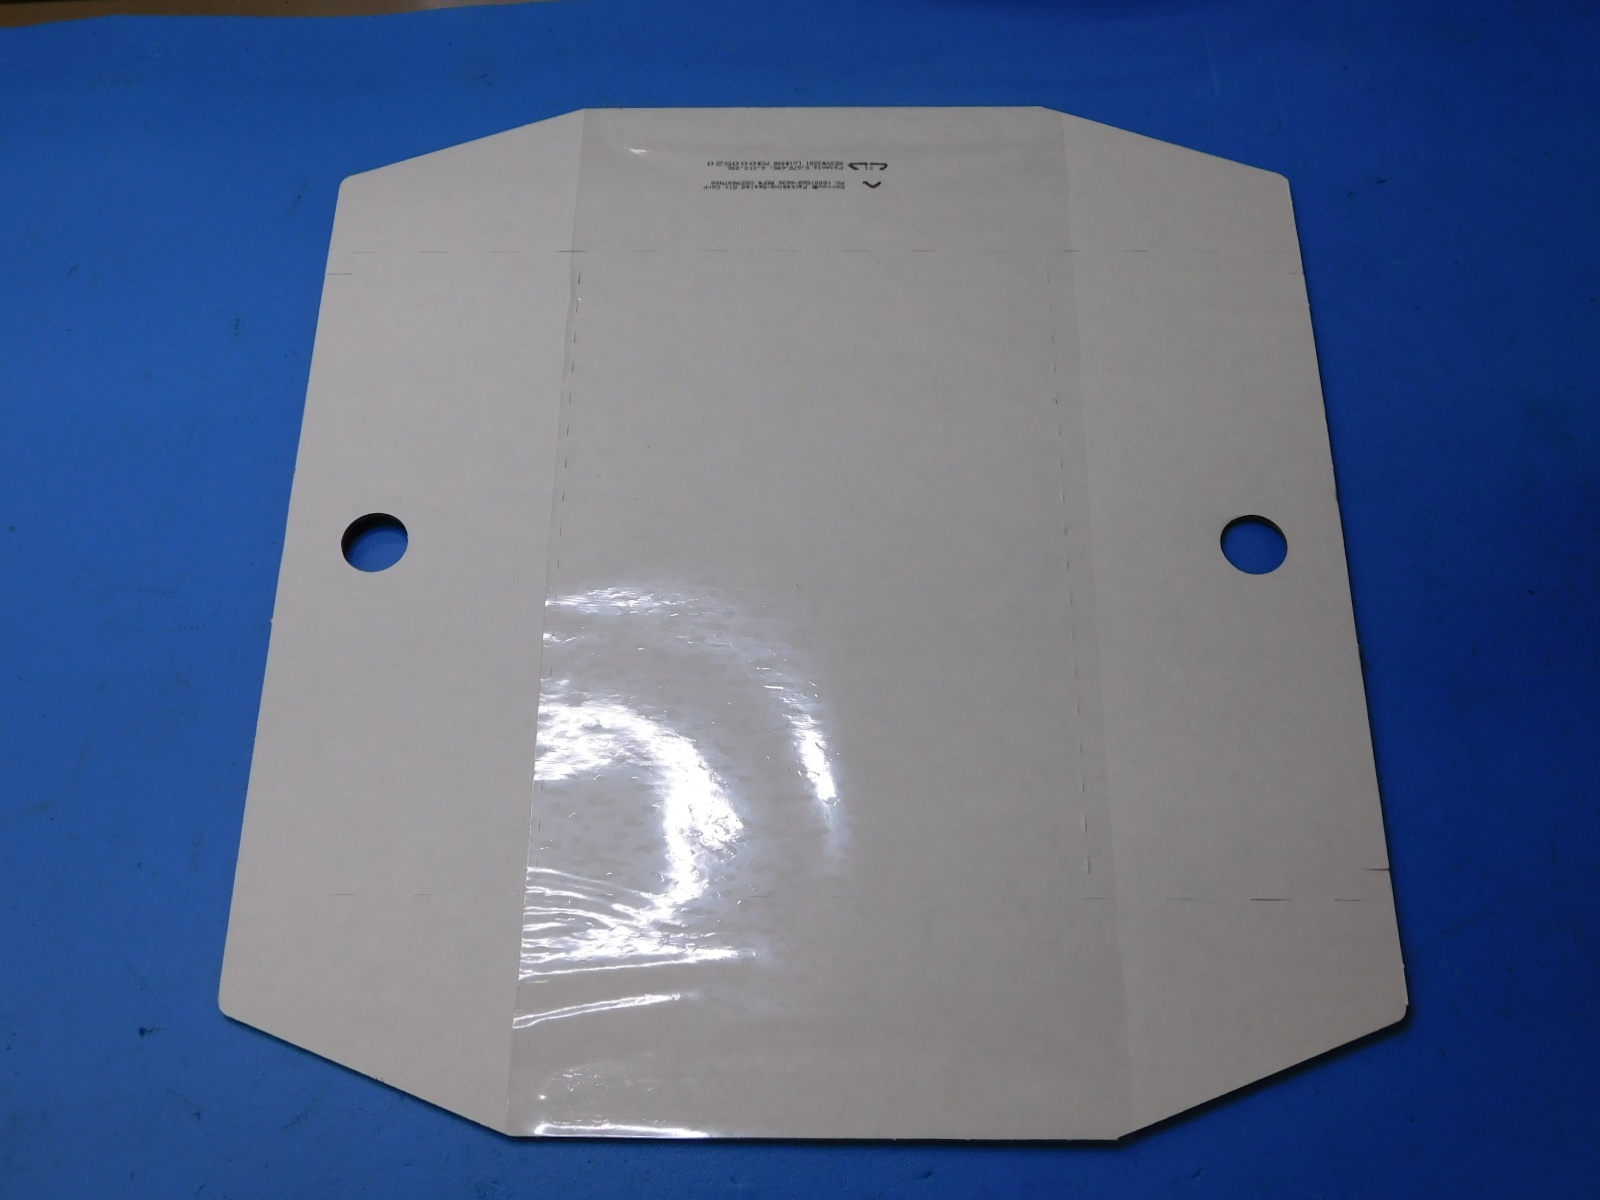
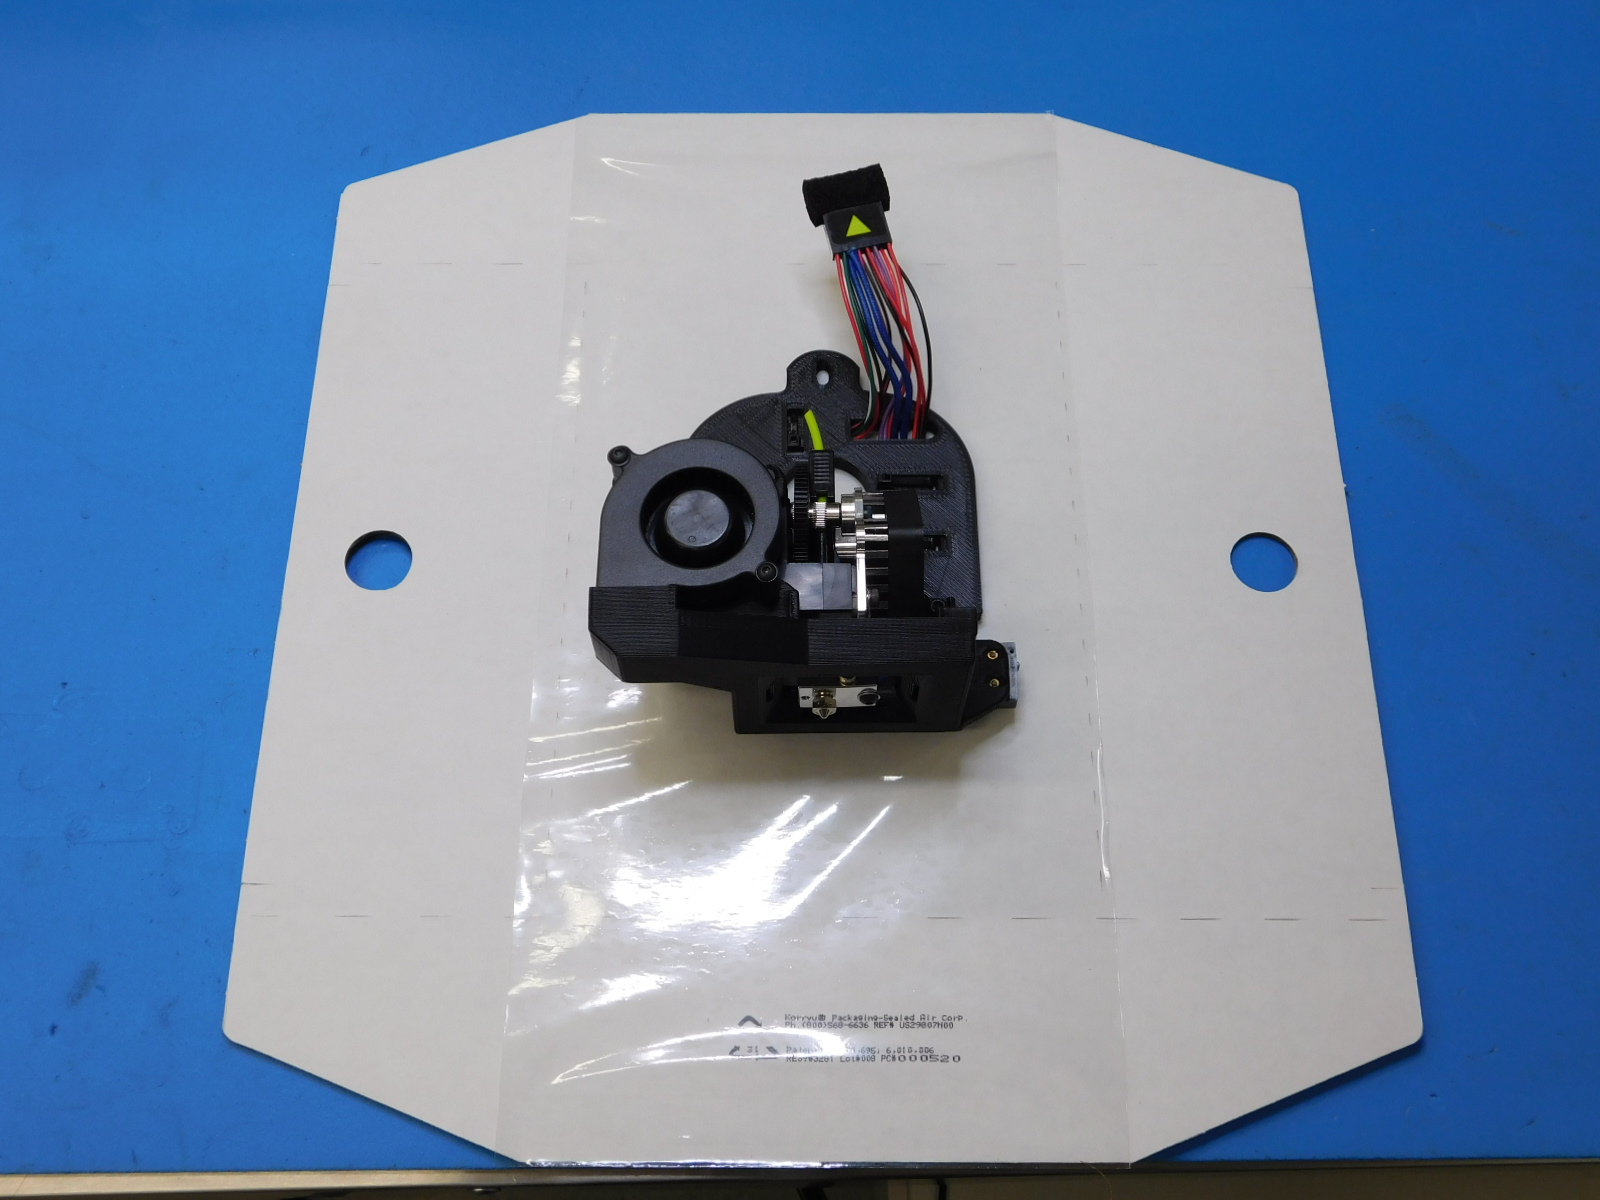
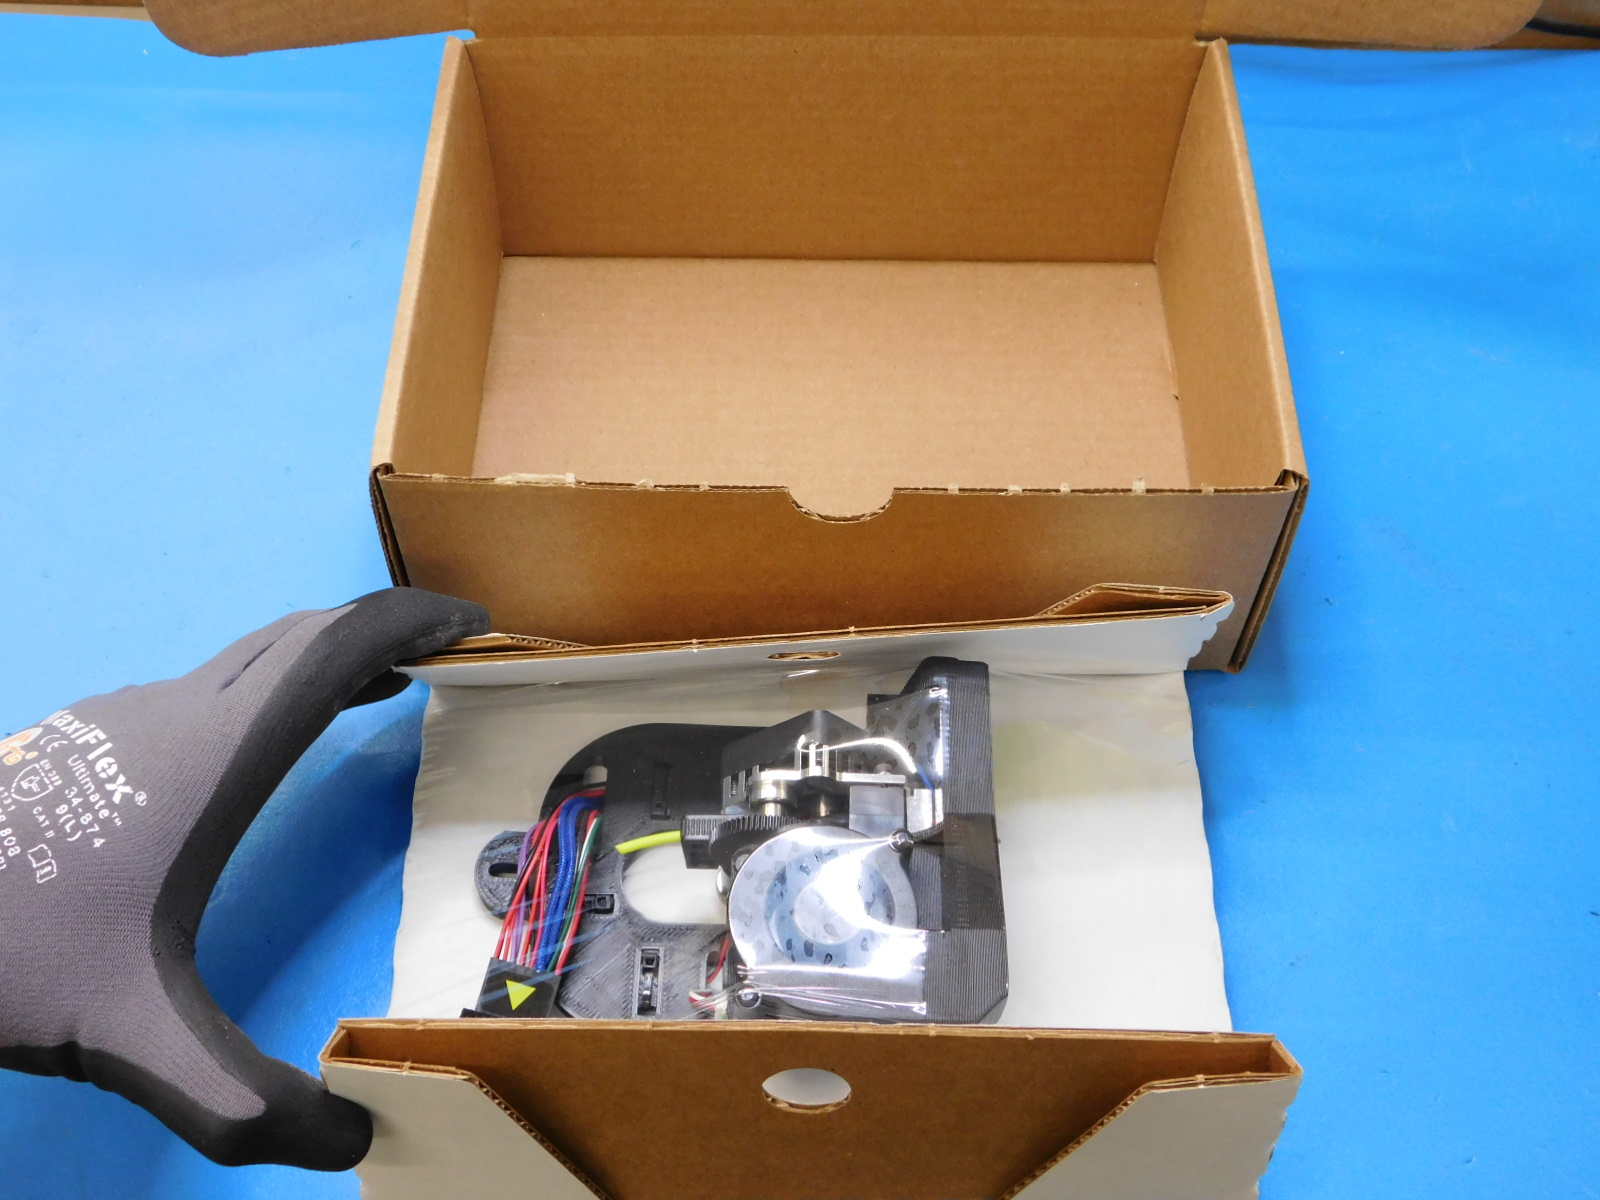
Take the tool head and place it into the korrvu packaging as shown. First fold up the sides of the korrvu, this will let you place the tool head under the clear plastic cover. Then fold down the same sides, this will tighten the clear plastic over the tool head holding it in place. Then we will fold up the sides with the finger holes so we can place the tool head in the box.


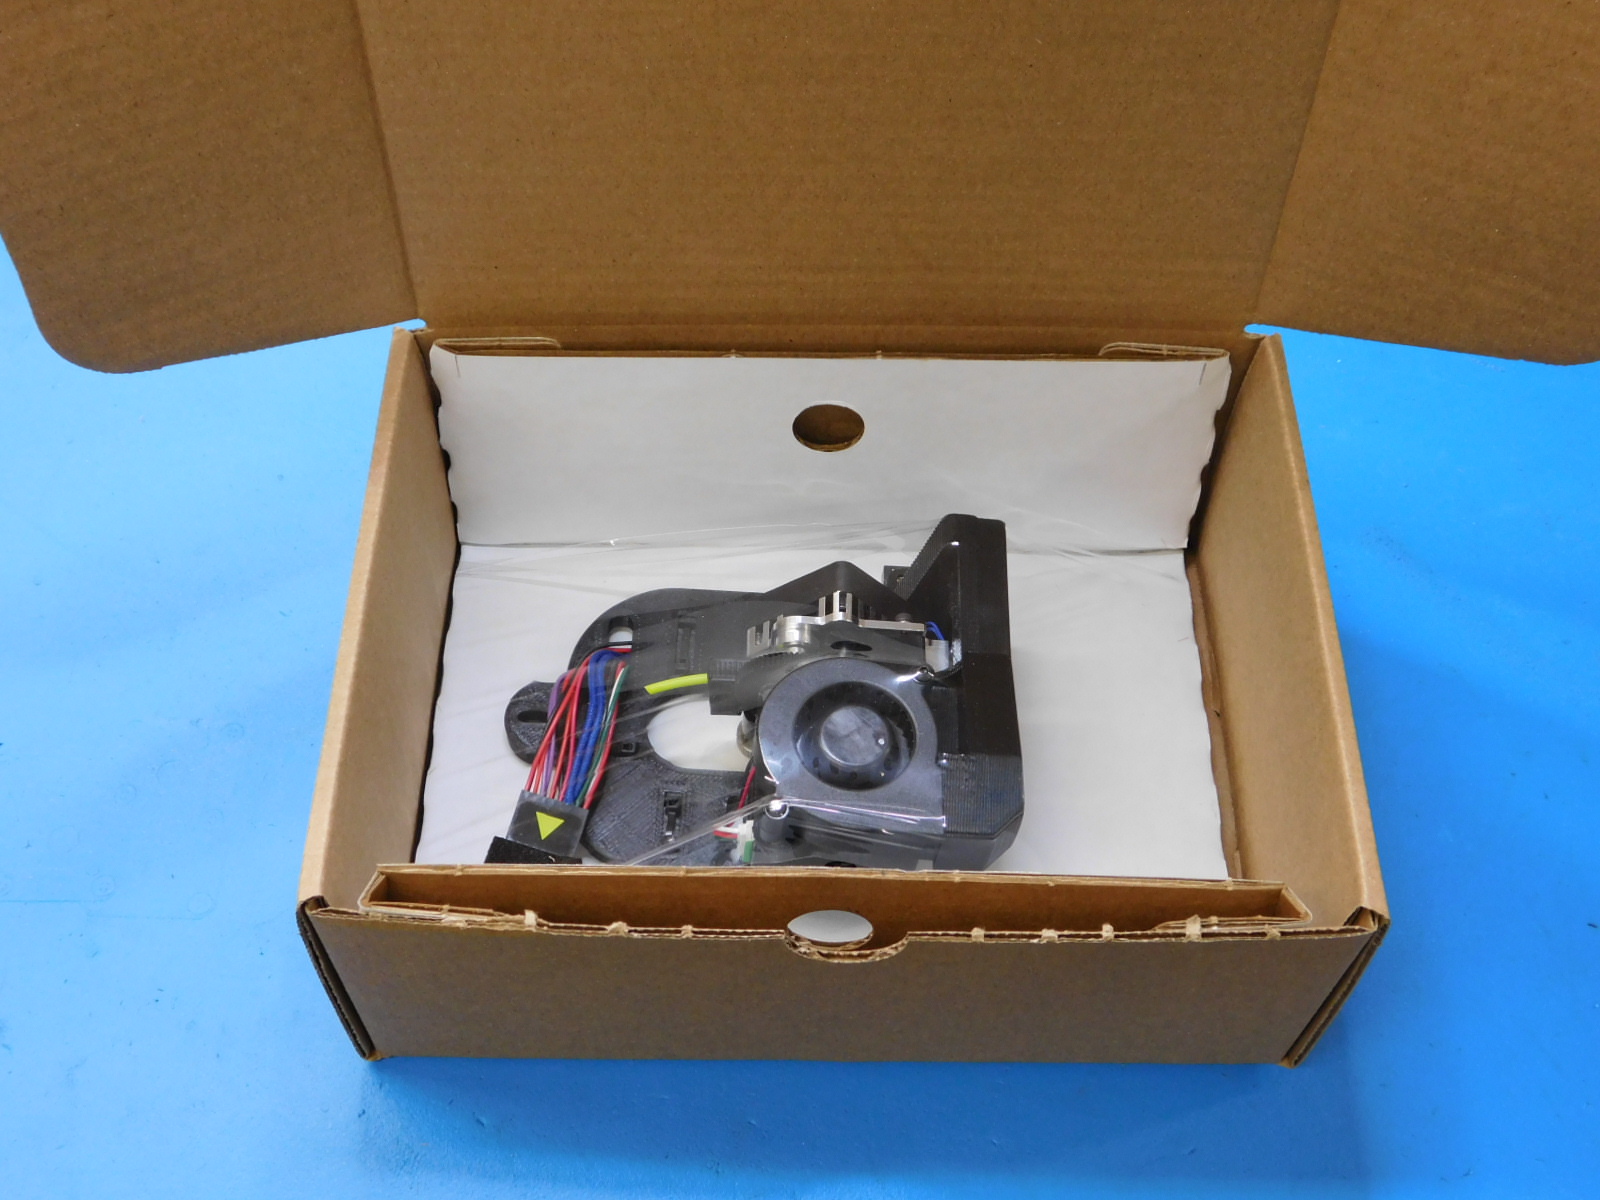
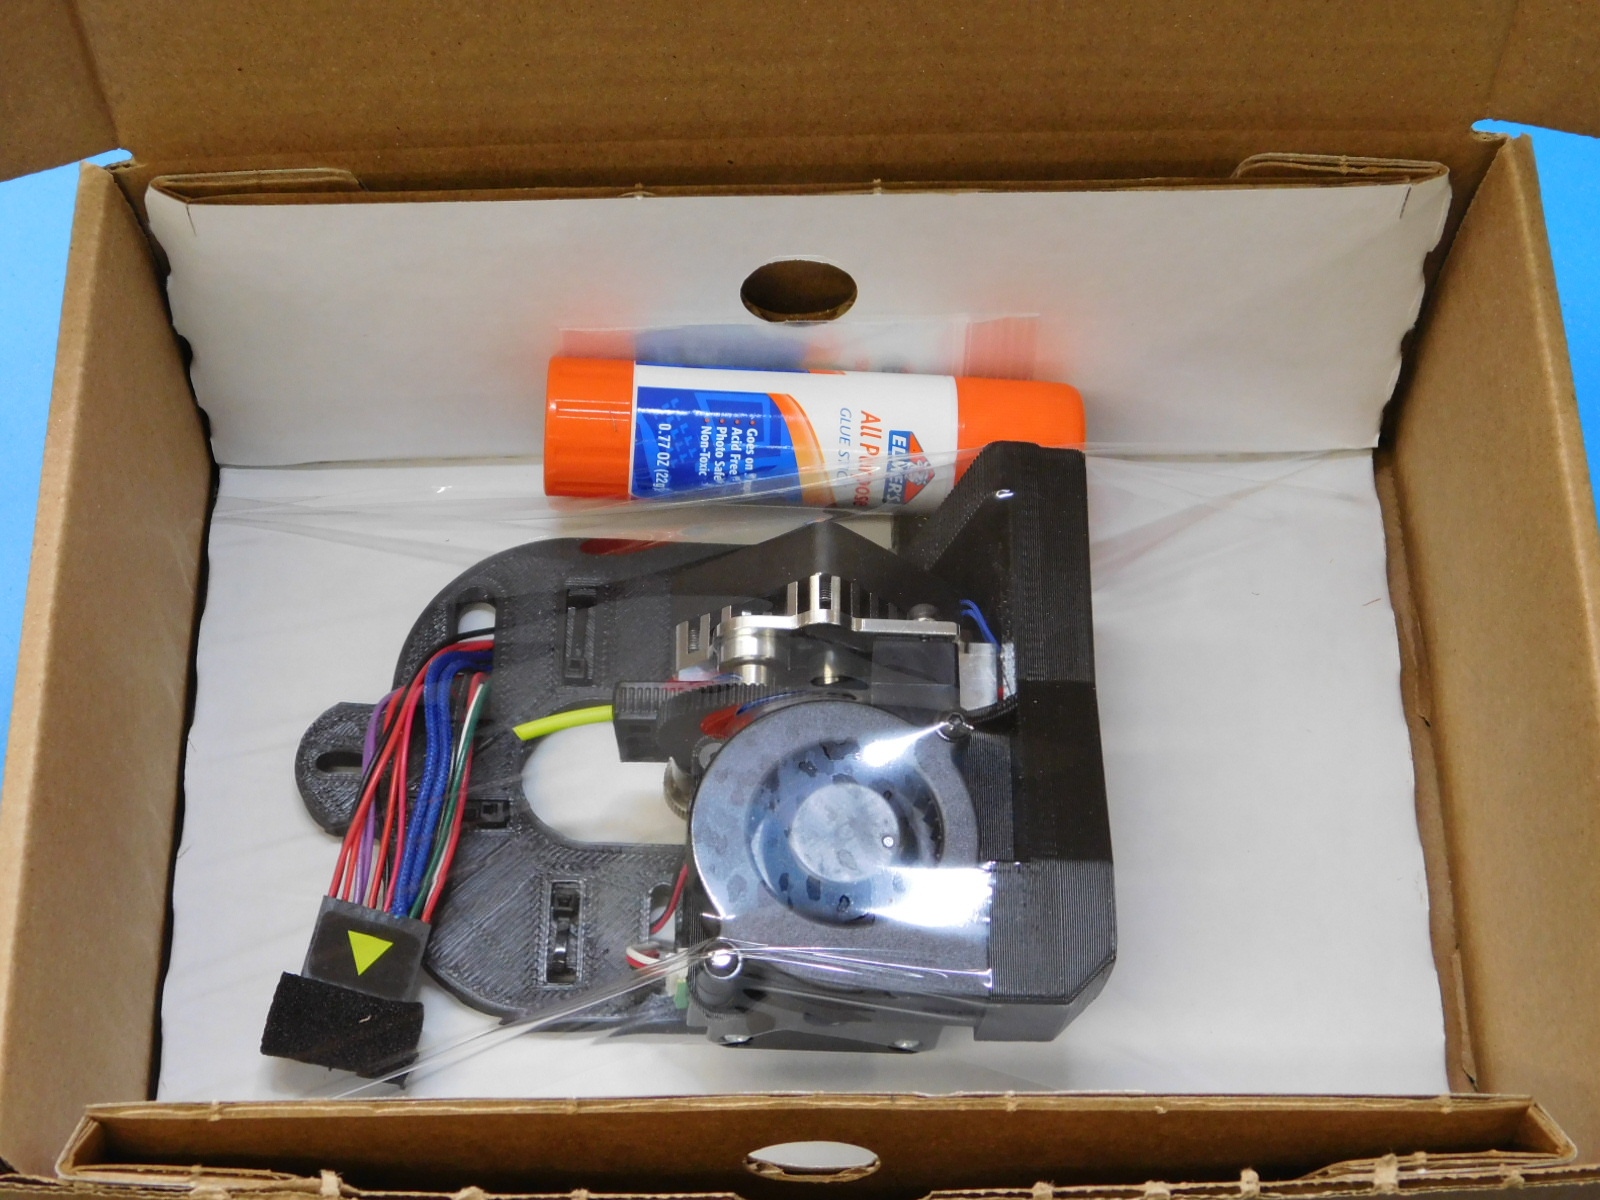
We will place the tool head and korrvu into the tool head box.
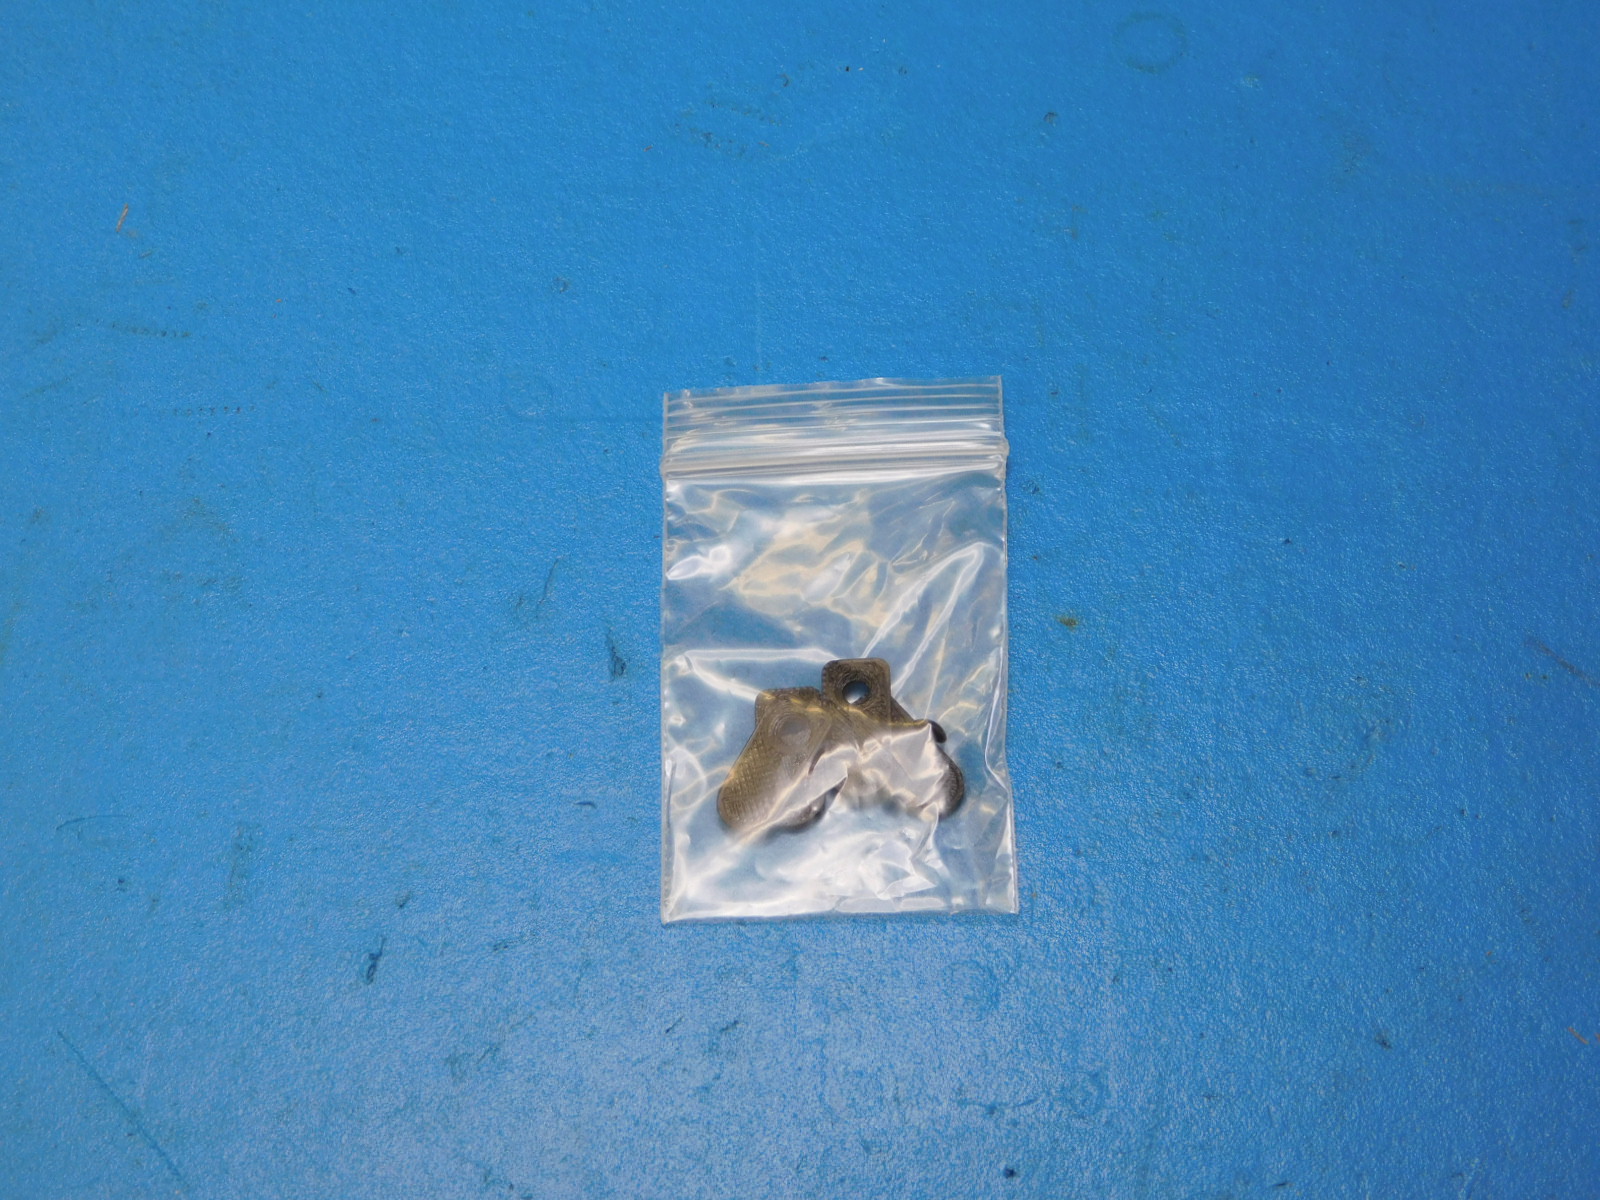
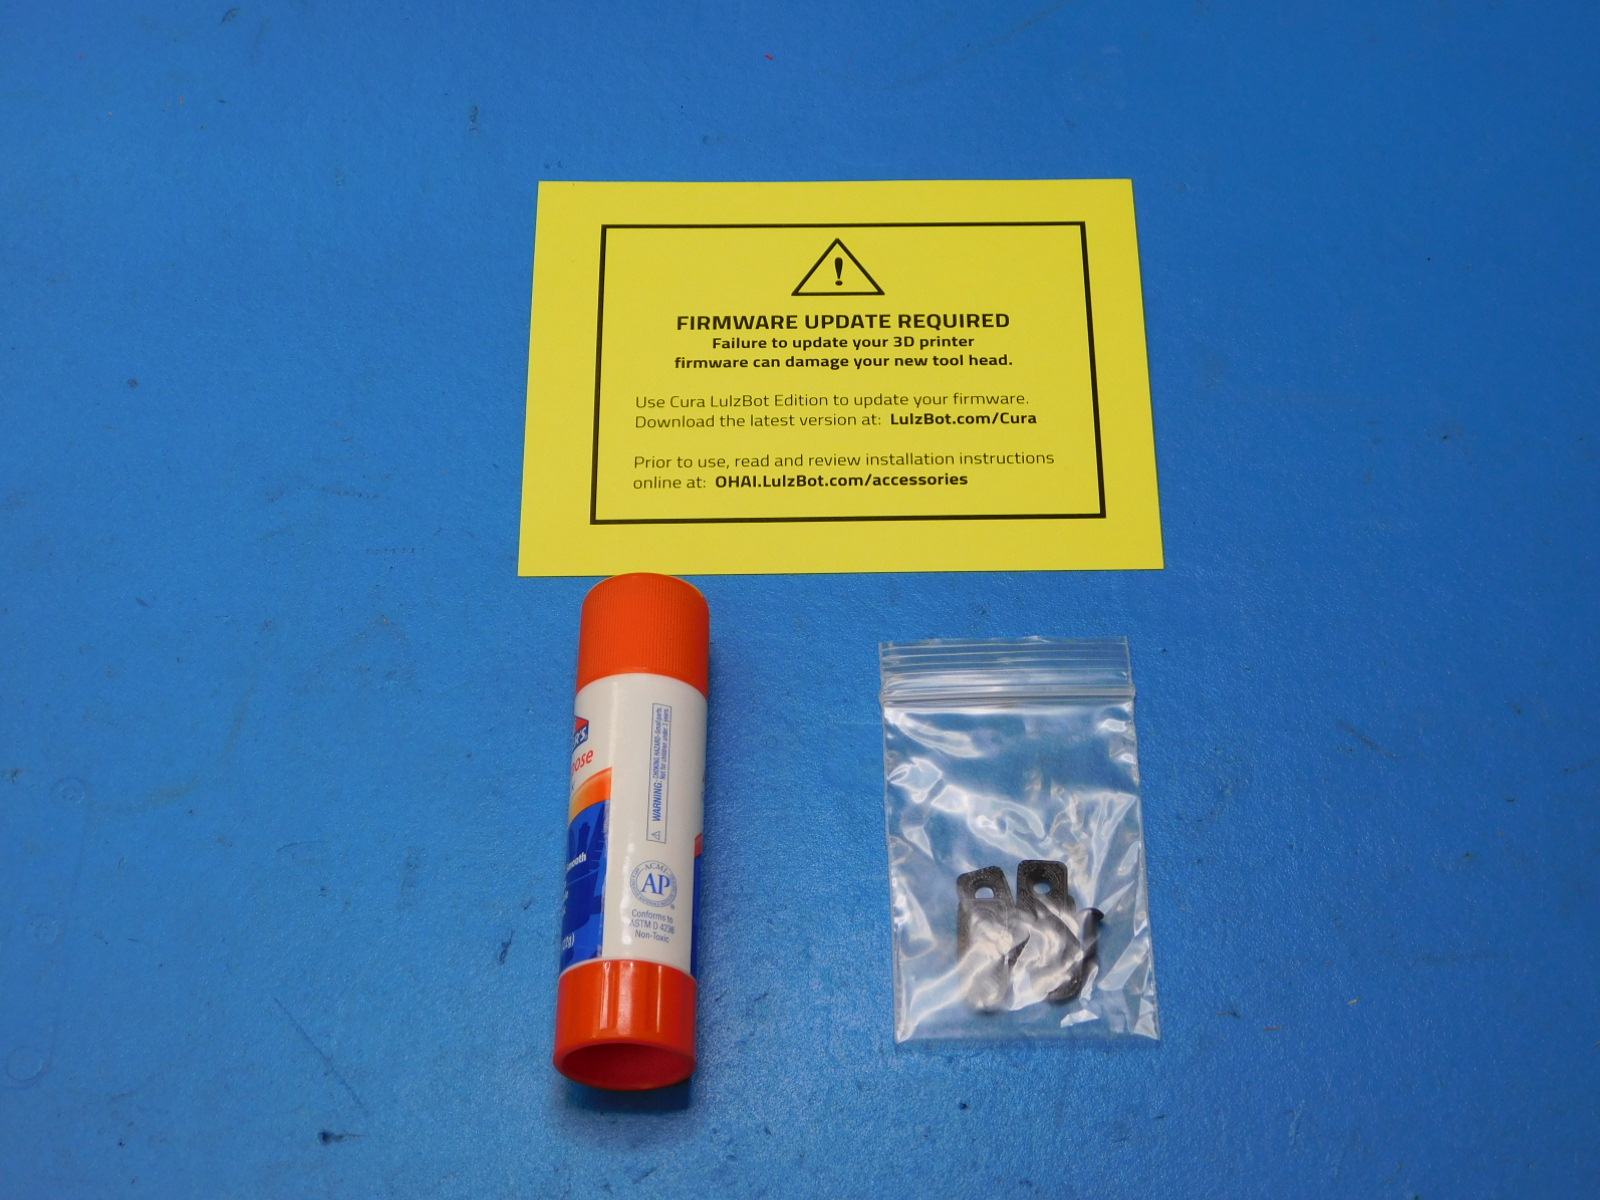
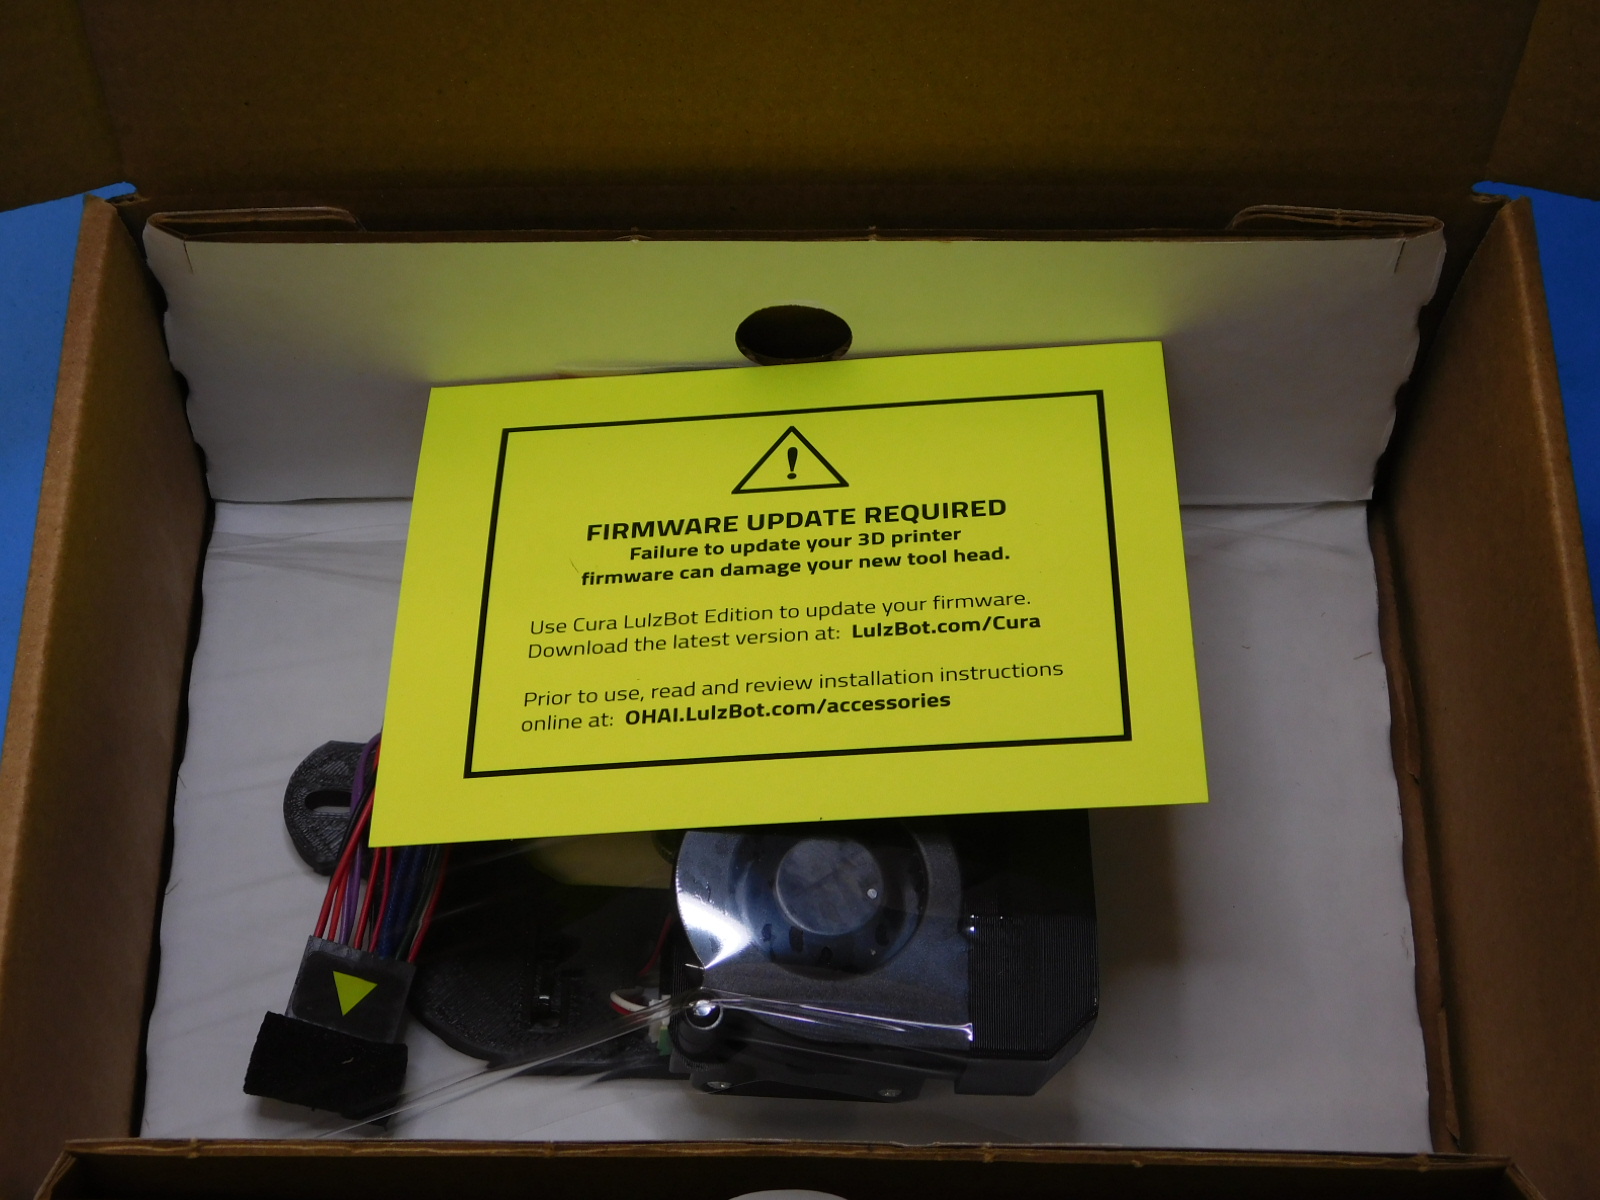
Now we will take the low profile bed corners (PP-GP0298), M3x12 BHCS (HD-BT0146) and place them into a bag (SH-PG0001). Place this in the box first towards the back of the box. Then place the glue stick (TL-CS0117) and finally the Congratulations card (DC-MS0060) and the firmware update (DC-MS0054) on top.


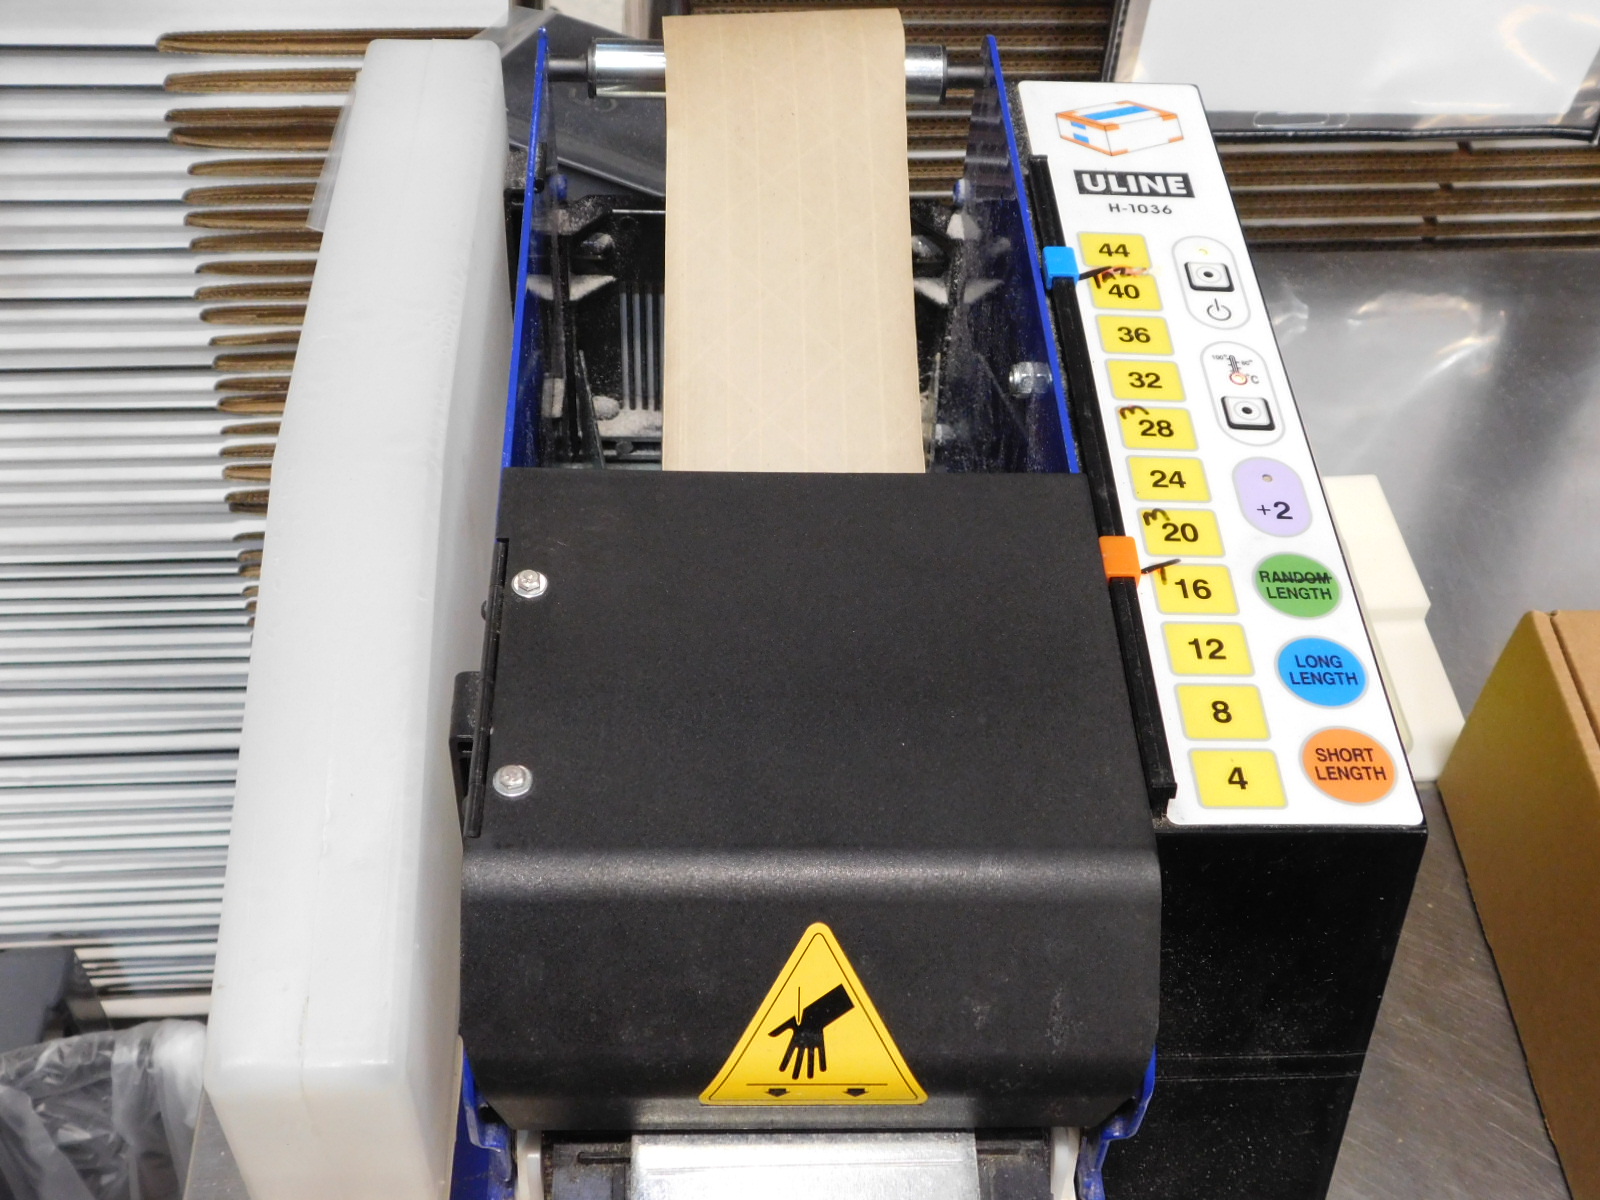
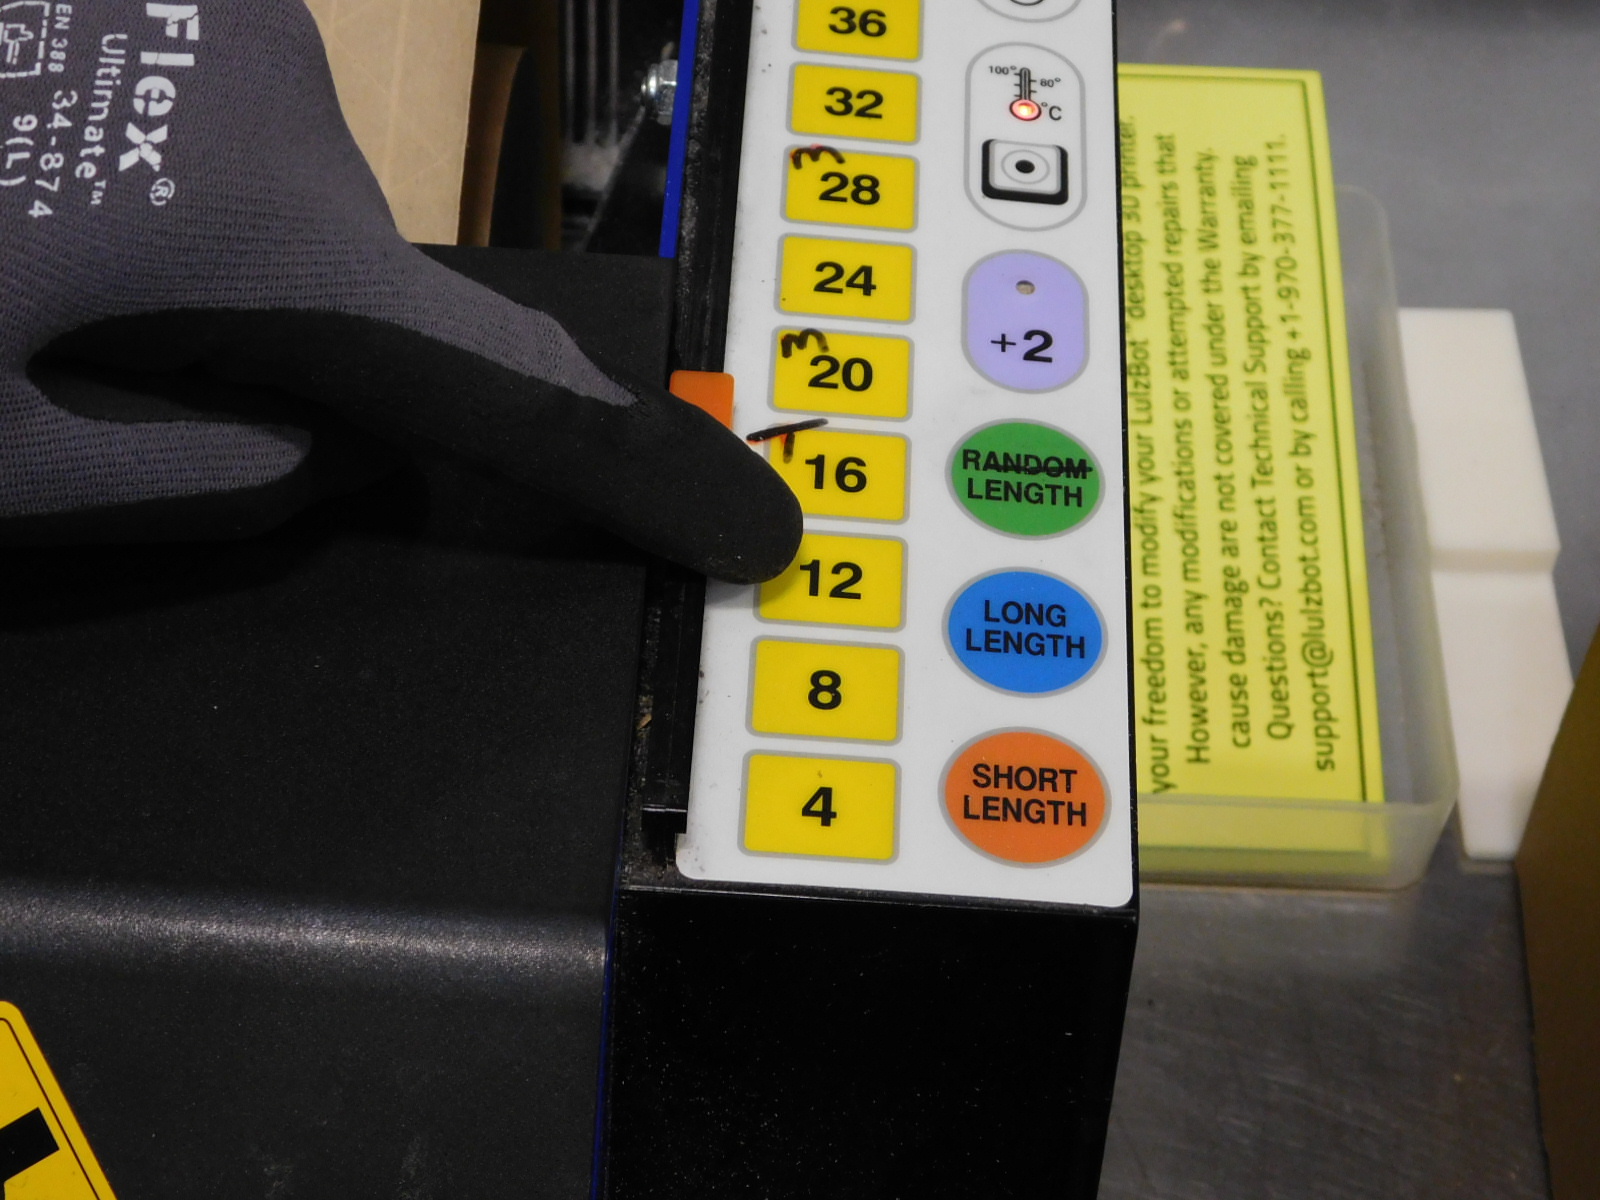
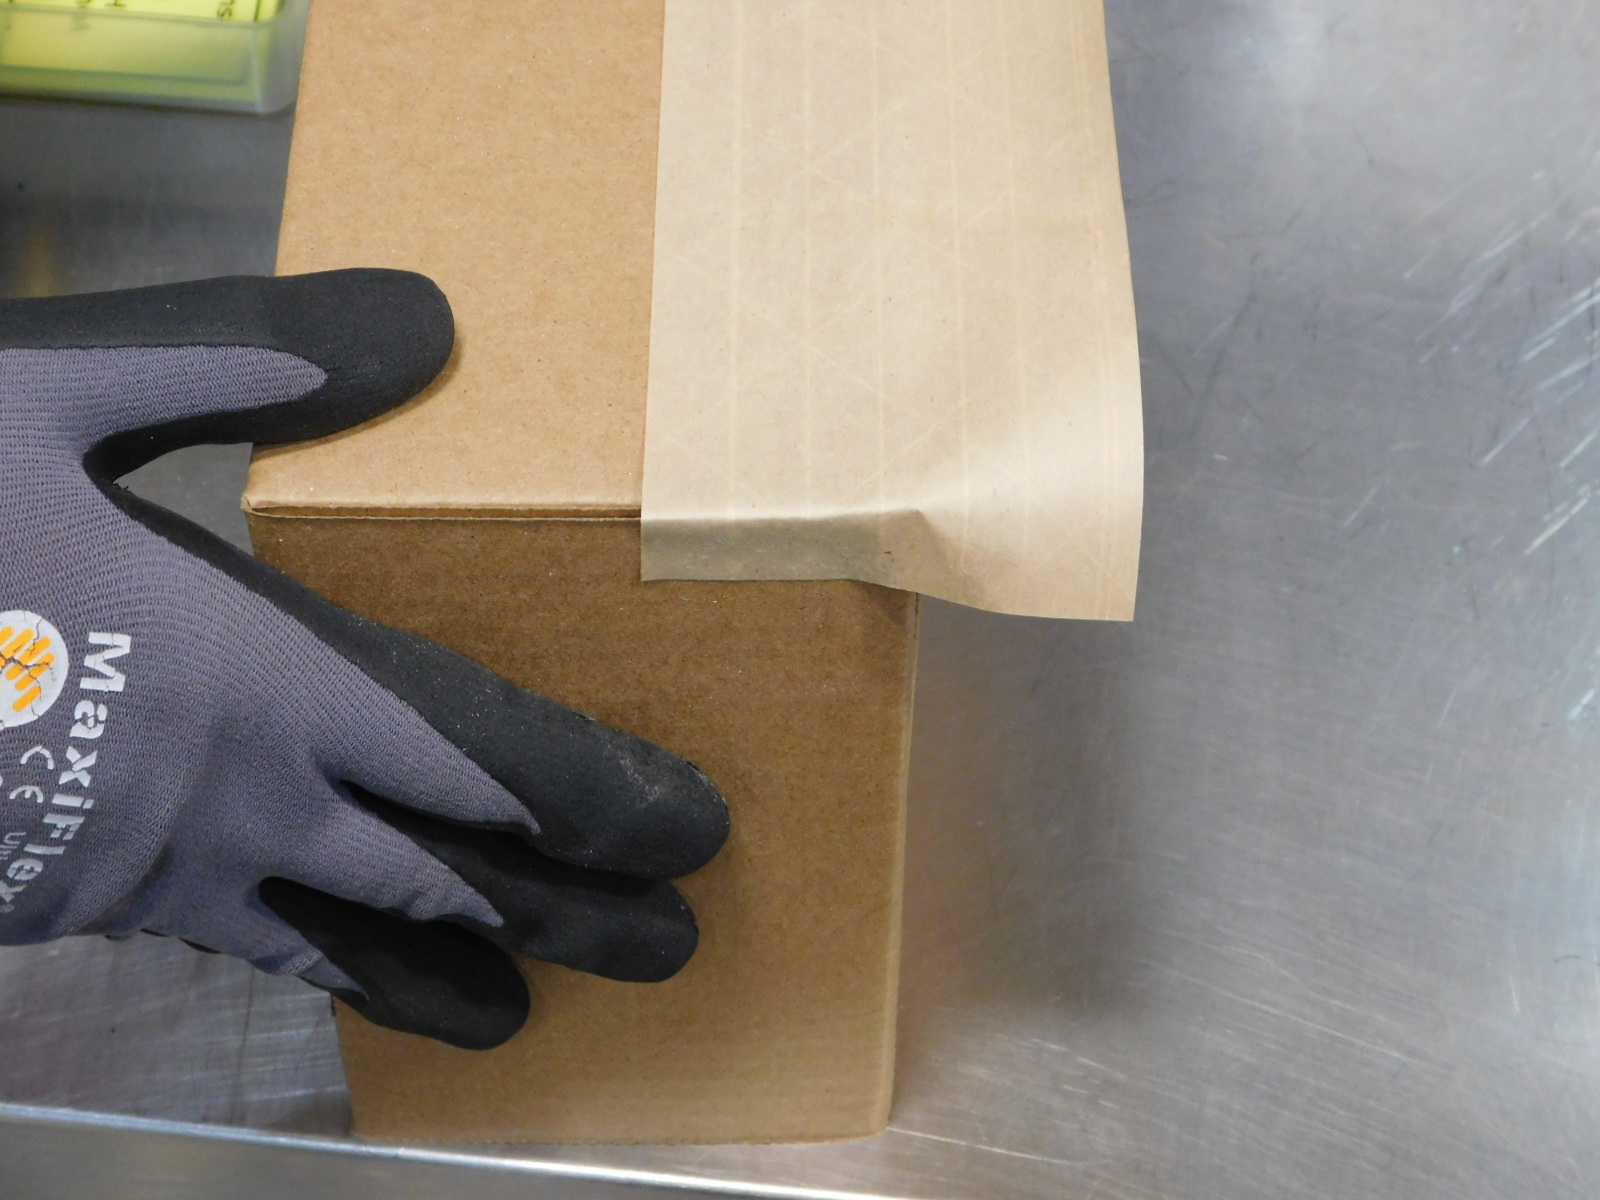
Take the box to one of the Uline tape machines. Take a 12" piece of tape and place it over the opening of the box and tape the box closed.

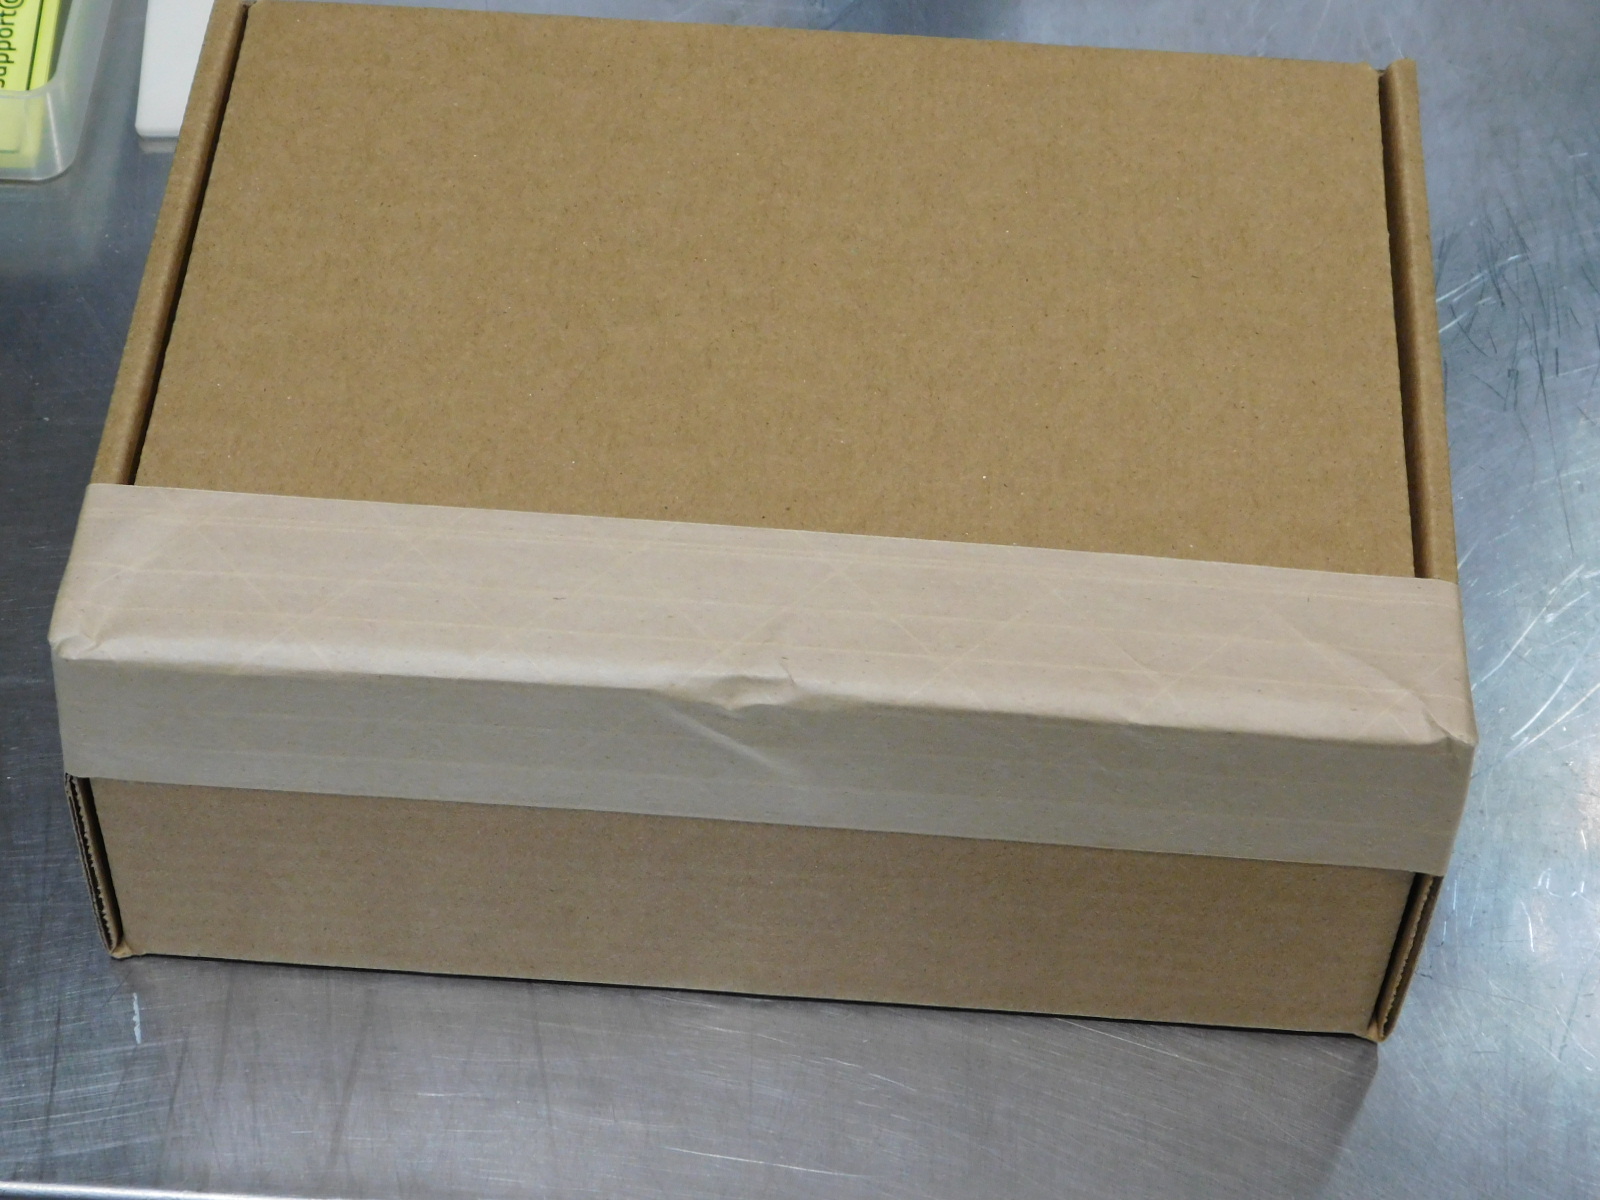
Now that the box is taped closed with all the accessories we can now add all the labels. There will be a label on the front of the box, one on the back and 1 sticker on the right side of the box. Lastly, place P65 Warning Label (DC-LB0174) on the top center of the box.