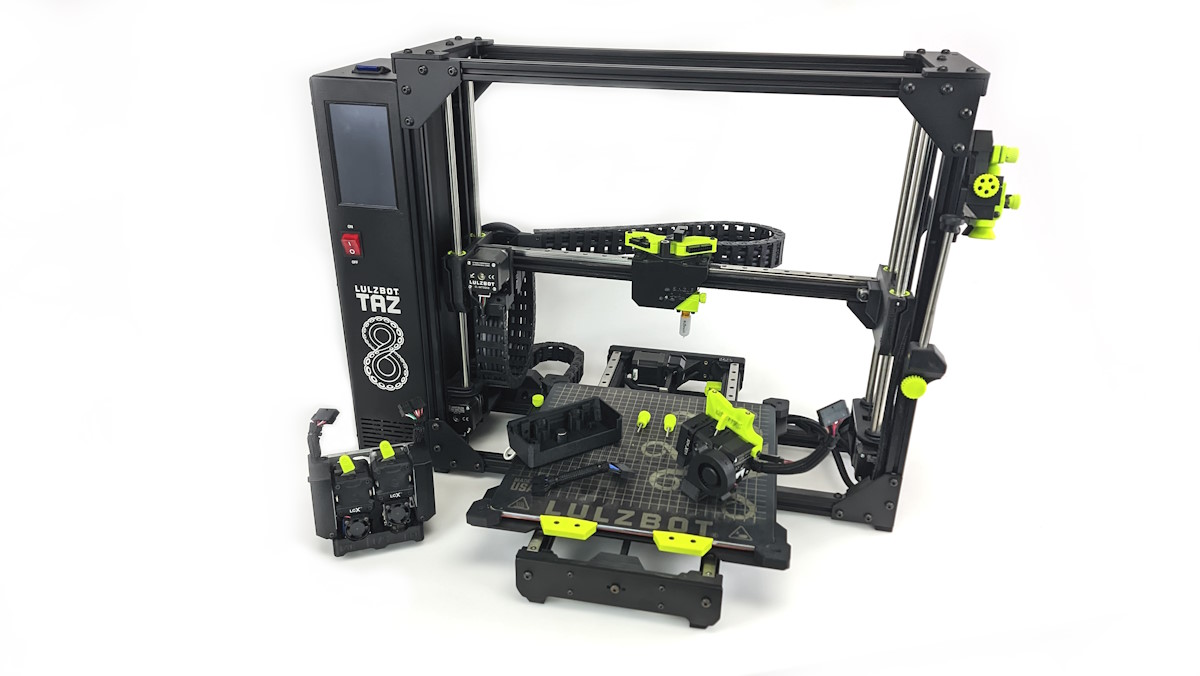
Open HardwareAssembly Instructions
Guides for installation and assembly of the LulzBot line of products made by FAME 3D LLC.
Guides for installation and assembly of the LulzBot line of products made by FAME 3D LLC.
No tools are required to swap the Tool Head on a TAZ 8 3D printer!
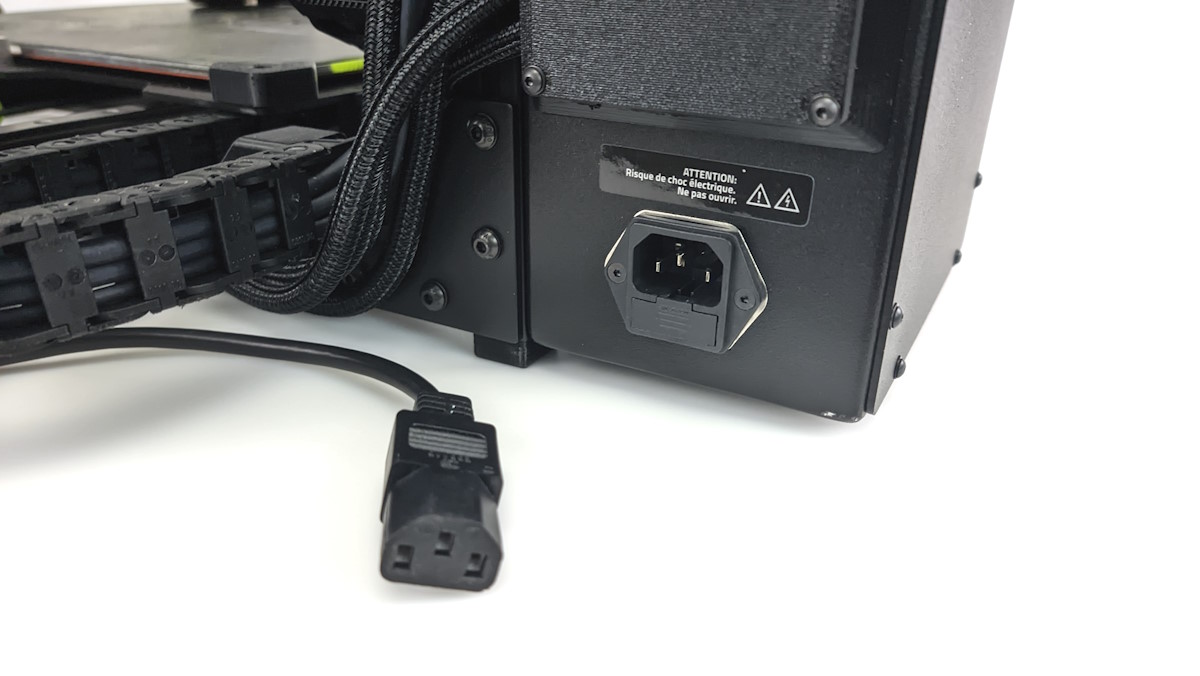
Begin be shutting the printer off and unplugging the power cable from the back of the printer.


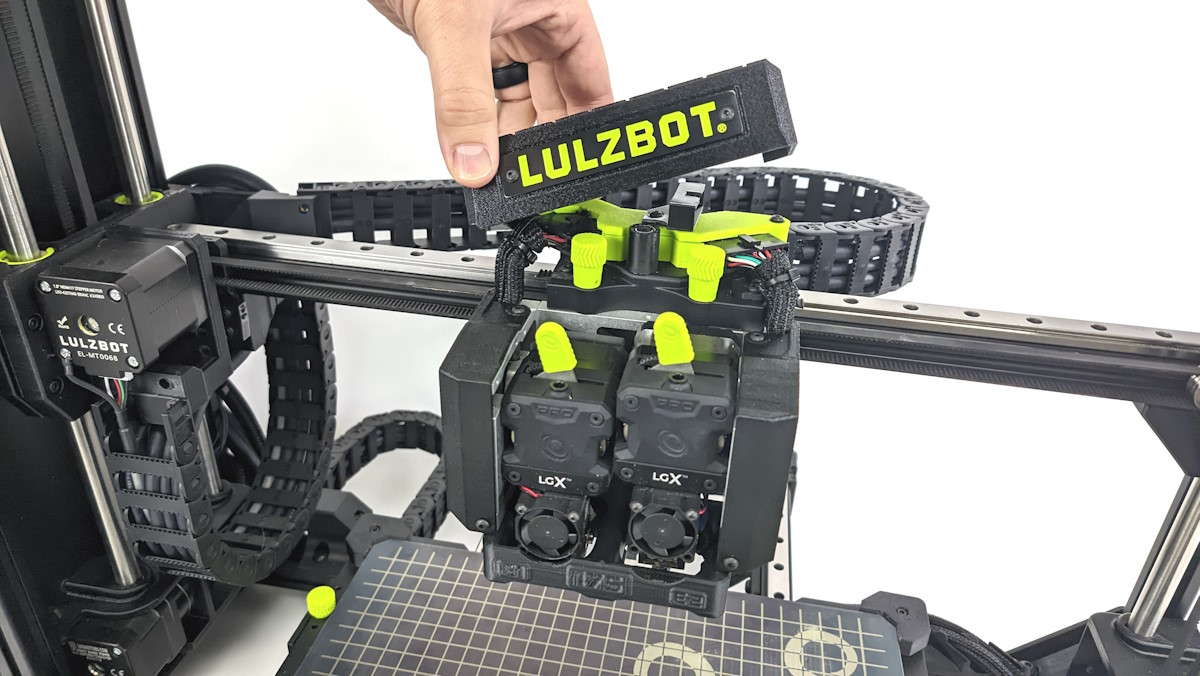
Remove the carriage cap by lifting it up off of the x-carriage.
It is held on using magnets.
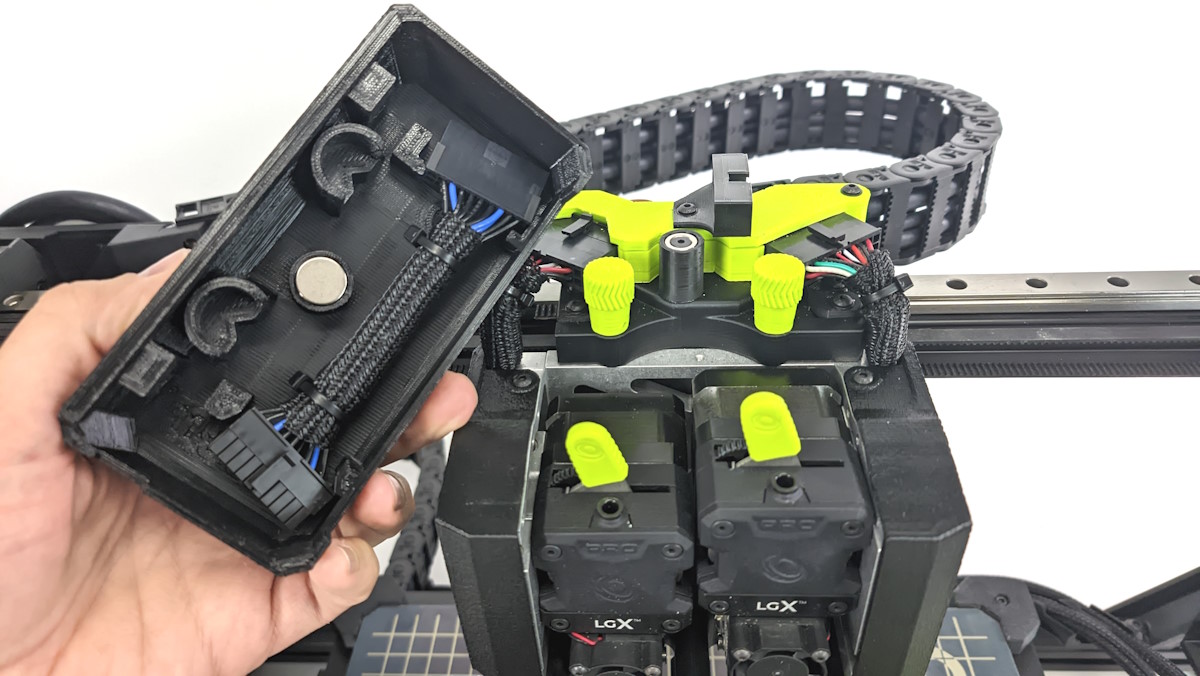
If going from a Twin Nebula to Asteroid or Meteor Tool Head, remove the extension harness from the inside of the carriage cap as this will be required when installing a single extruder Tool Head.
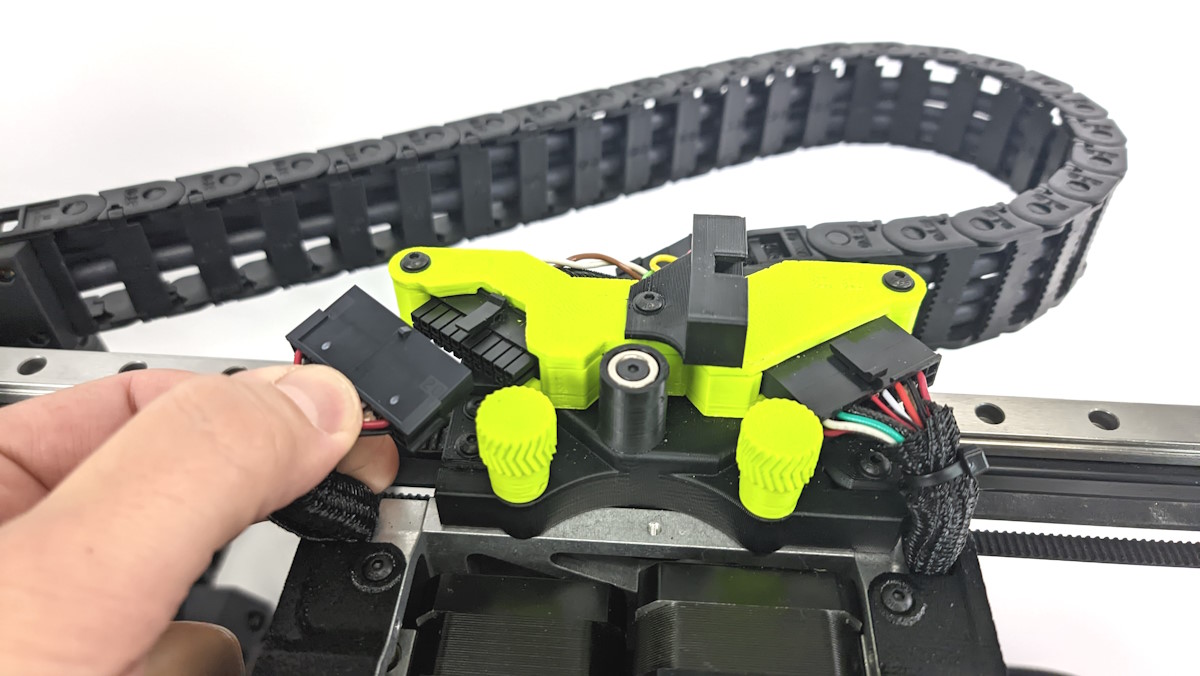
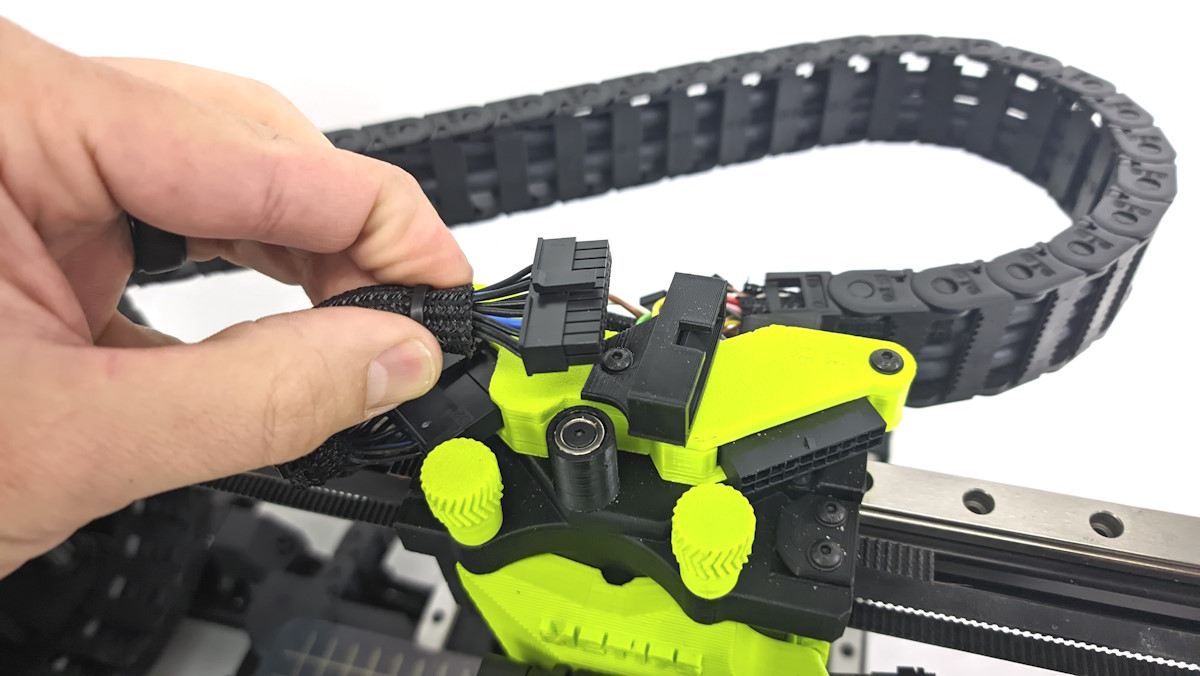
Unplug the Tool Head harnesses from the printer.
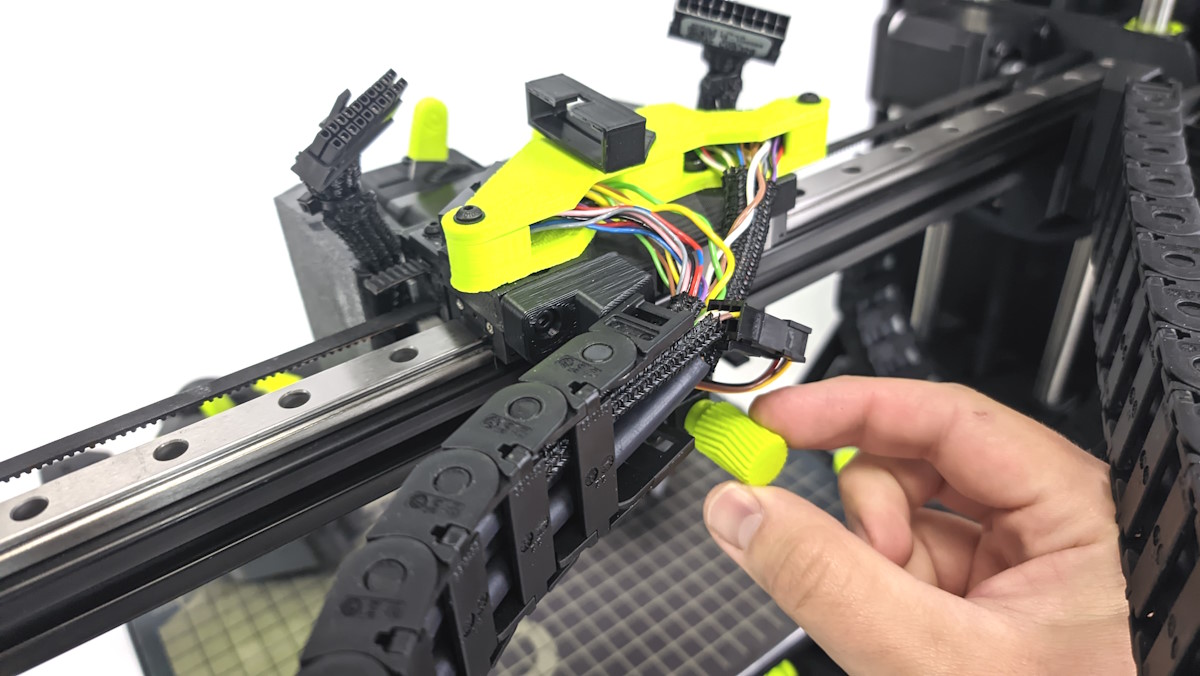
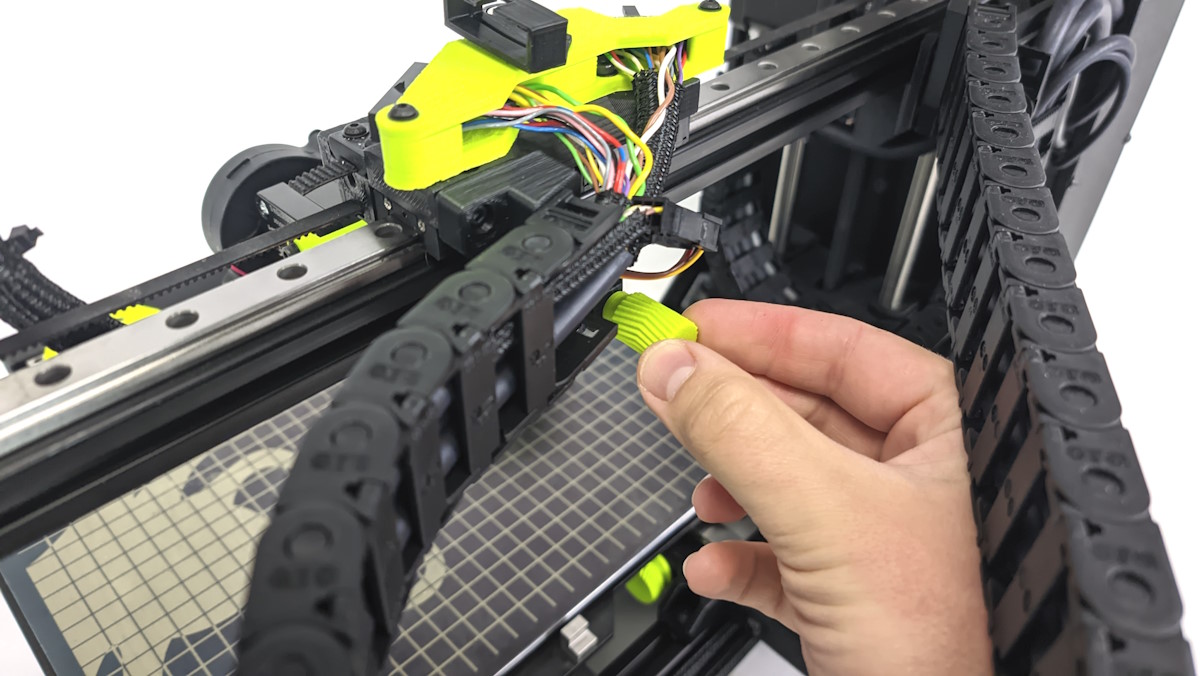
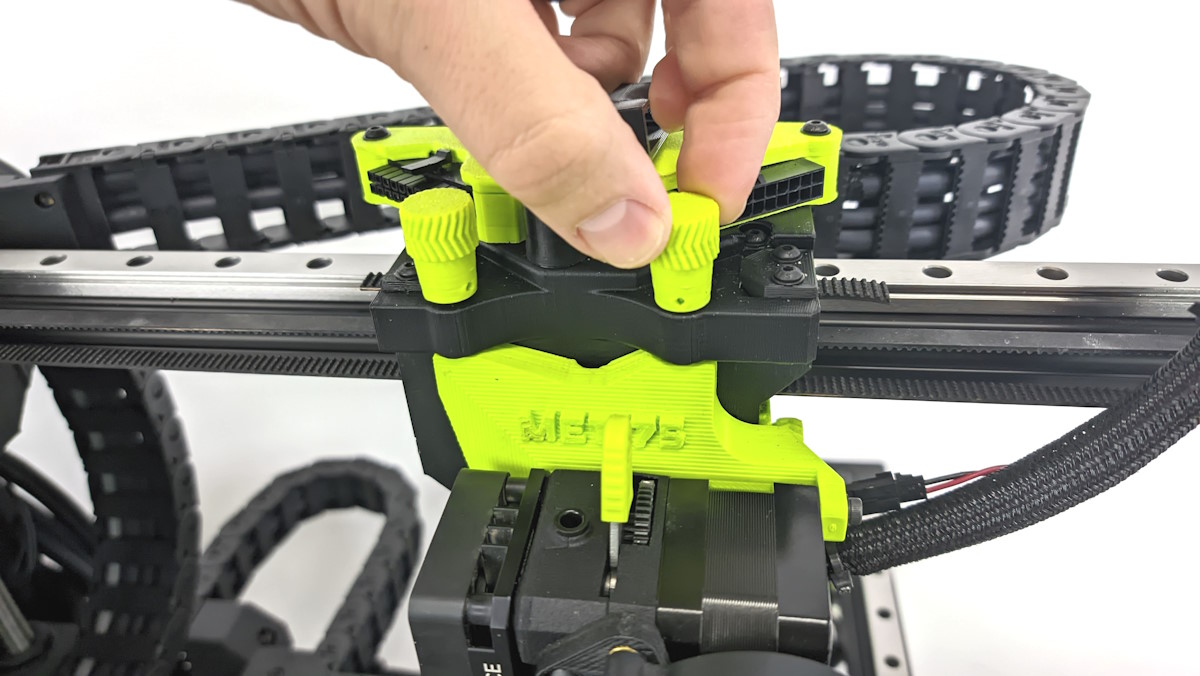
Remove the two thumb screws above the Tool Head.
Support the Tool Head with one hand while removing the thumb screw on the back of the printer.
This is the only screw holding it in place, so be sure that it does not fall when the final screw is removed.
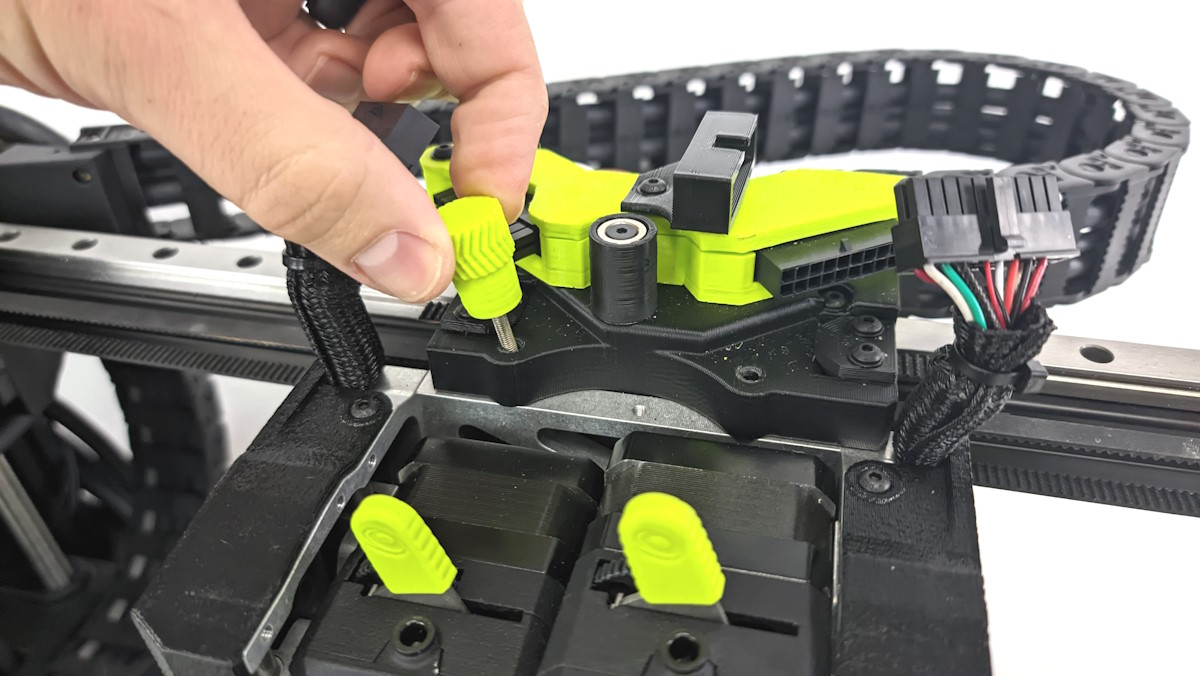
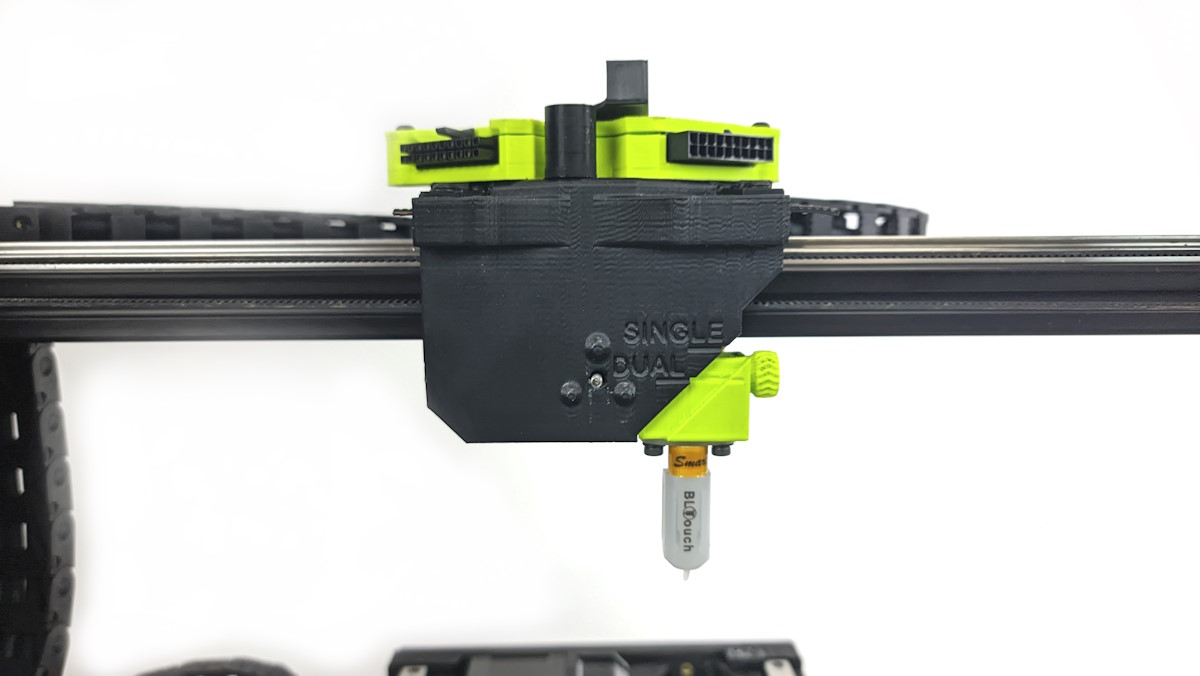
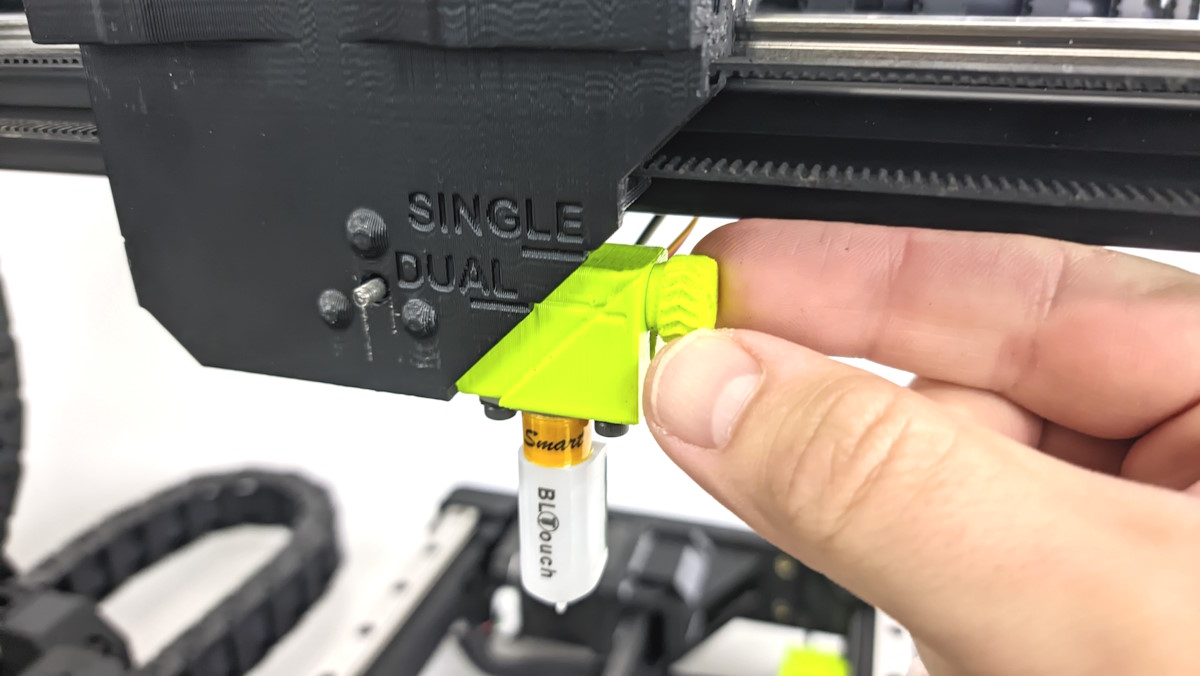
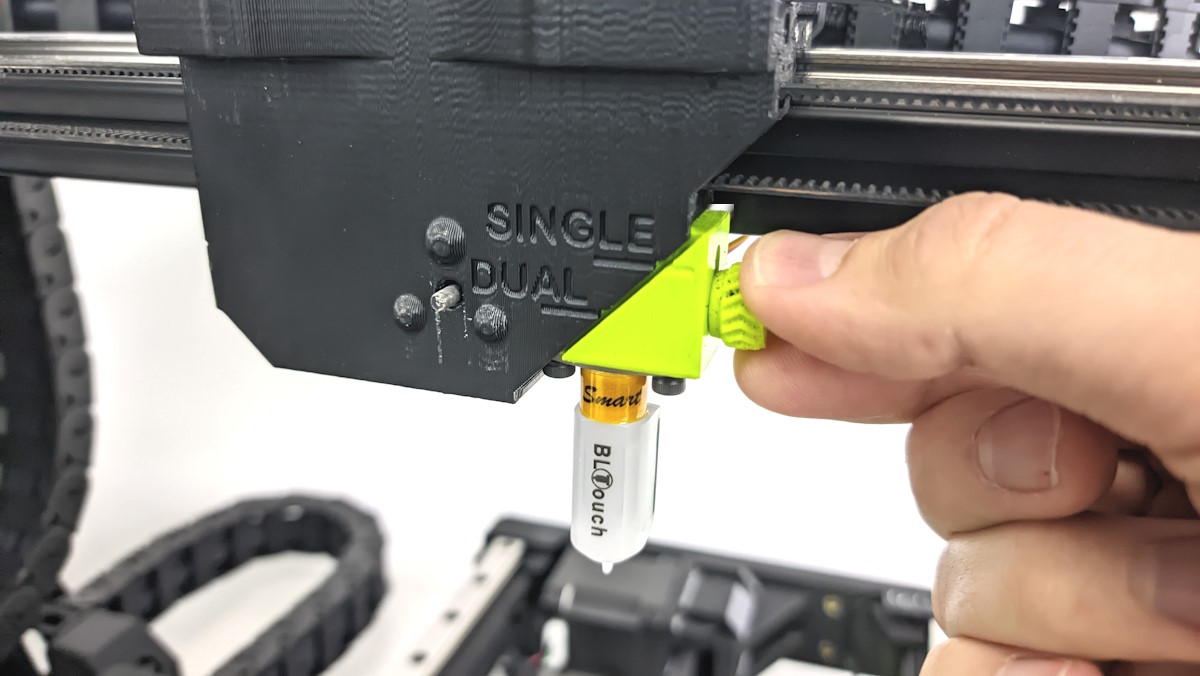
The BLTouch sensor needs to be adjusted when swapping between a single extruder Tool Head and a dual extruder Tool Head.
Loosen the green thumb screw to the right and adjust it to the correct position for the Tool Head you will be installing.
The lower position is for a Twin Nebula Tool Head.
The upper position is for a single extruder Tool Head.
Tighten the thumb screw back up to secure sensor in place.
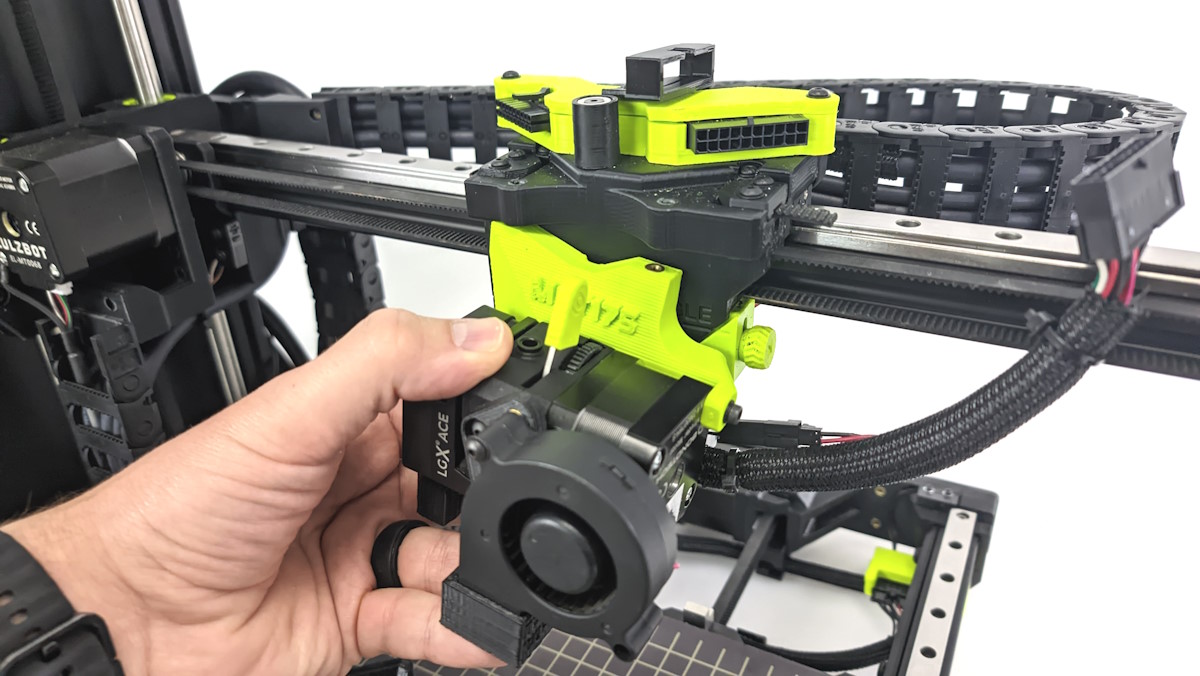
Place the Tool Head to be installed onto the printer and start be securing the back thumb screw to the Tool Head.
Do not completely tighten this screw.
Using the two smaller screws, secure the top of the Tool Head to the printer.
Fully tighten all 3 screws finger tight to secure Tool Head to printer.
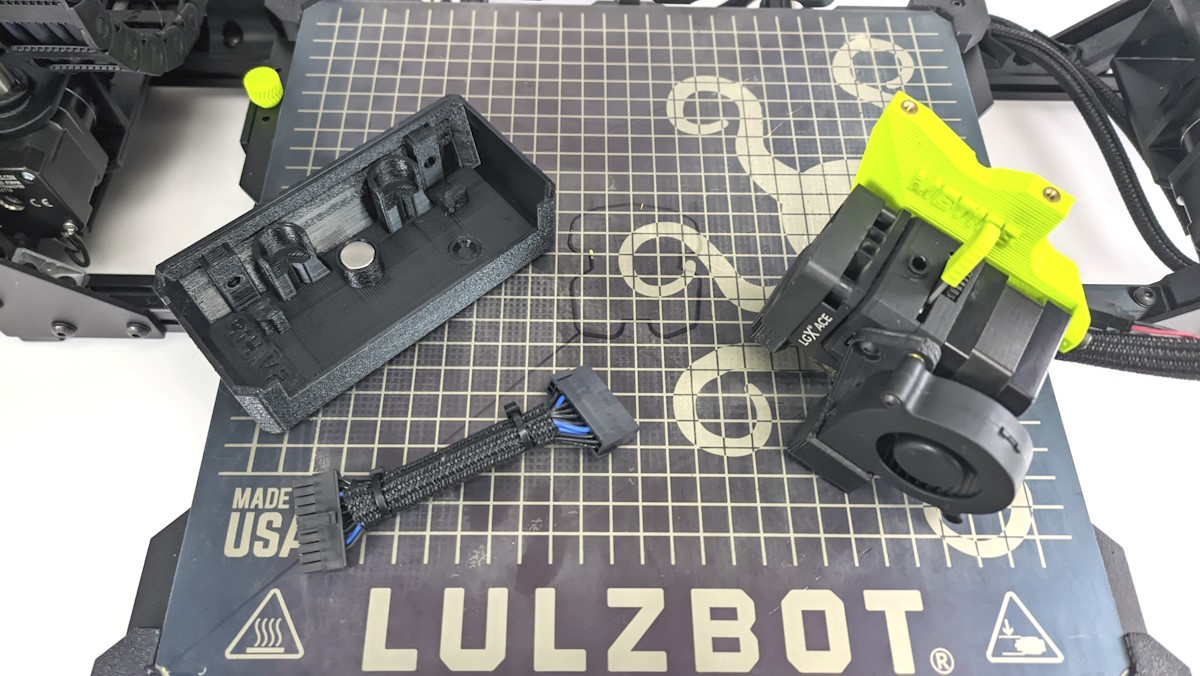
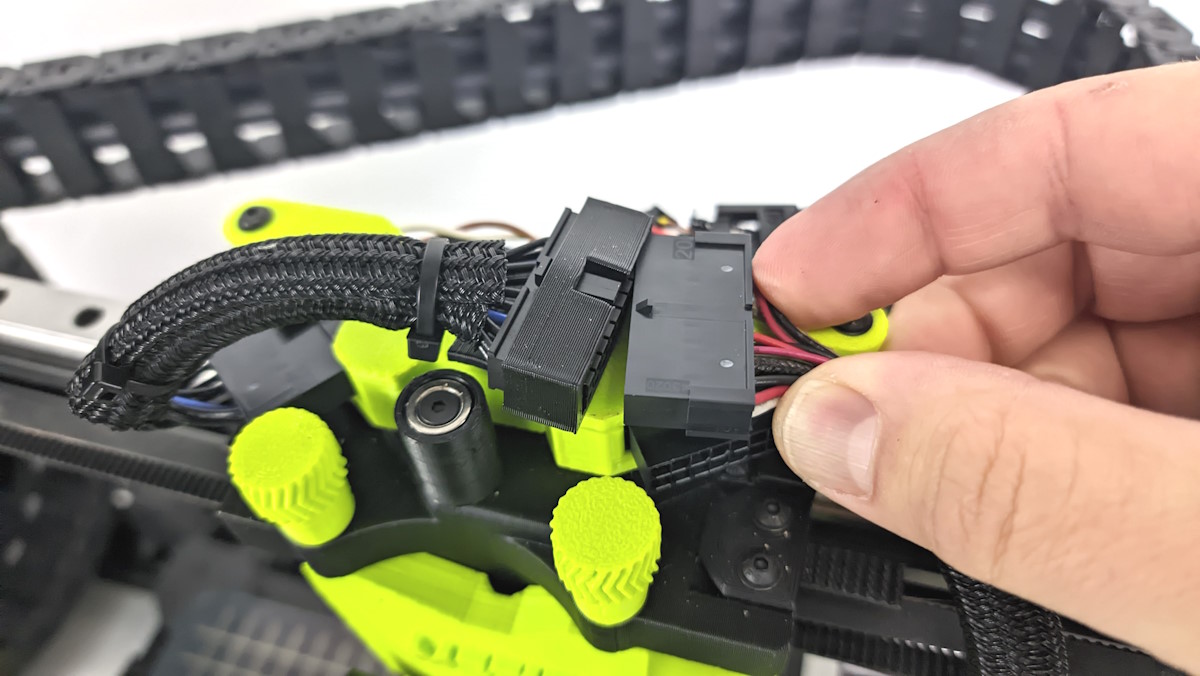
The Meteor Tool Heads, as well as the Asteroid Tool Head, require the use of the extension harness that was located under the carriage cap.
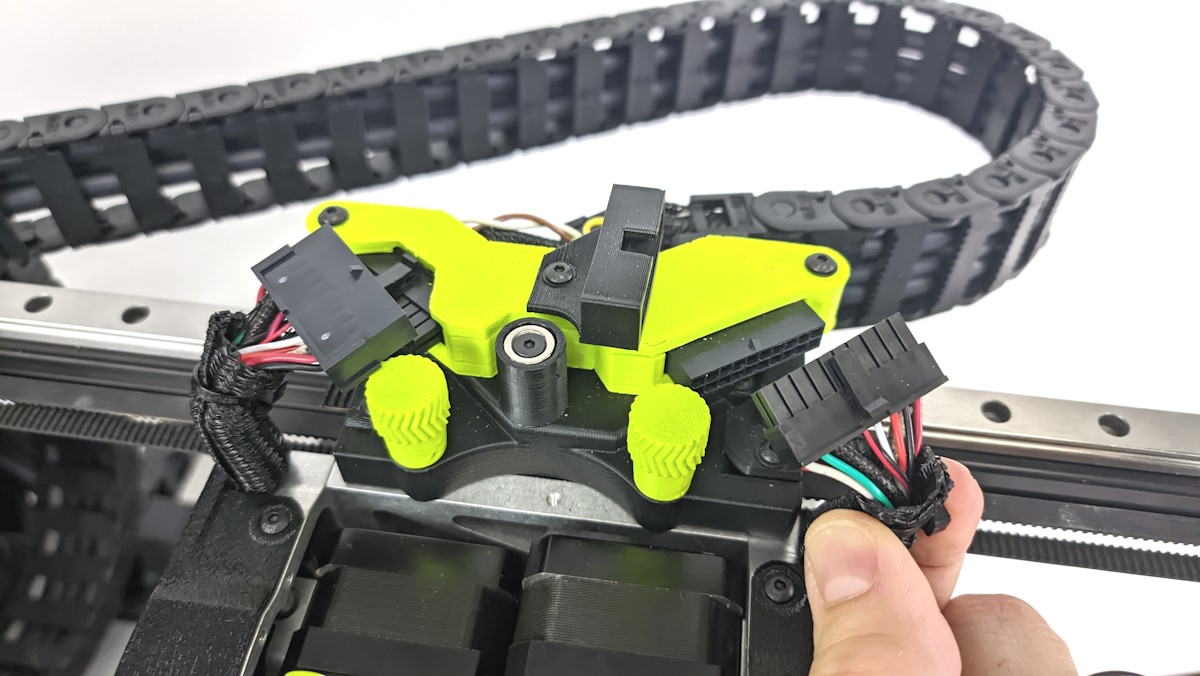
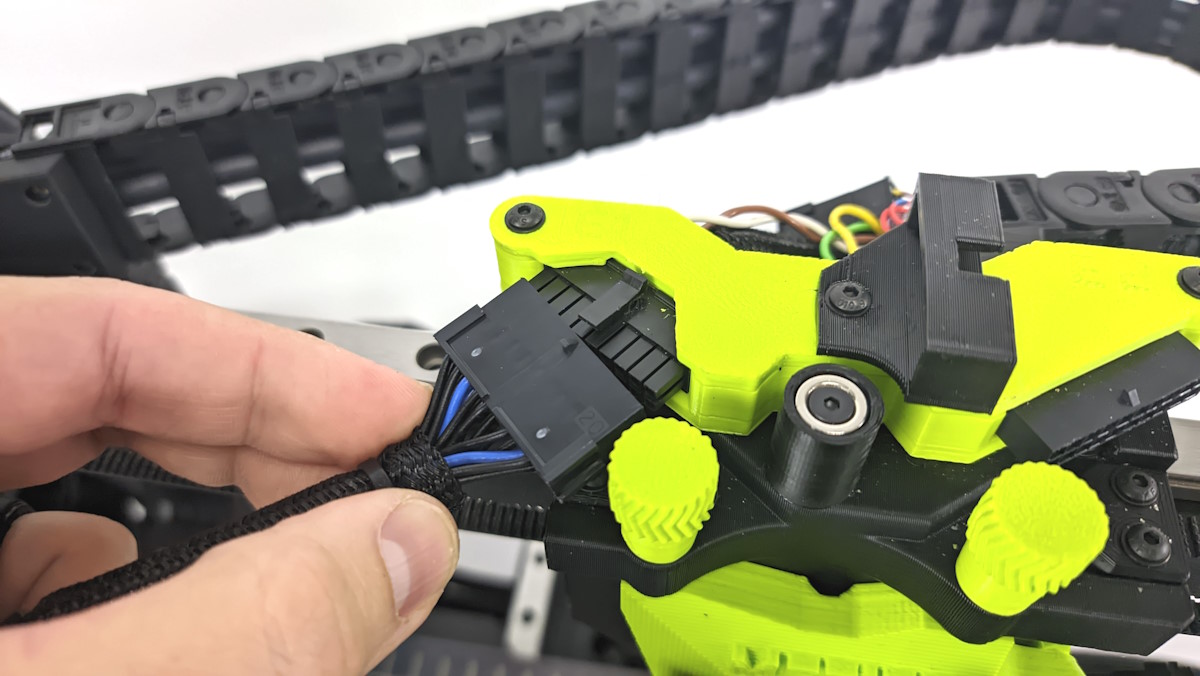
Plug the Tool Head into the Printer, using the extension harness as needed.
Note: If the connector is a bit tight, do not force the connectors together. Gently press the connectors together and wiggle them to allow all of the pins to mate to one another.
Forcing the connectors together can potentially push pins out of place, requiring repair/replacement.
If going from a single extruder Tool Head to the Twin Nebula, re-secure the extension harness under the carriage cap so it does not get misplaced.
Secure the carriage cap above the Tool Head.

Plug and and power on the TAZ 8 3D printer.
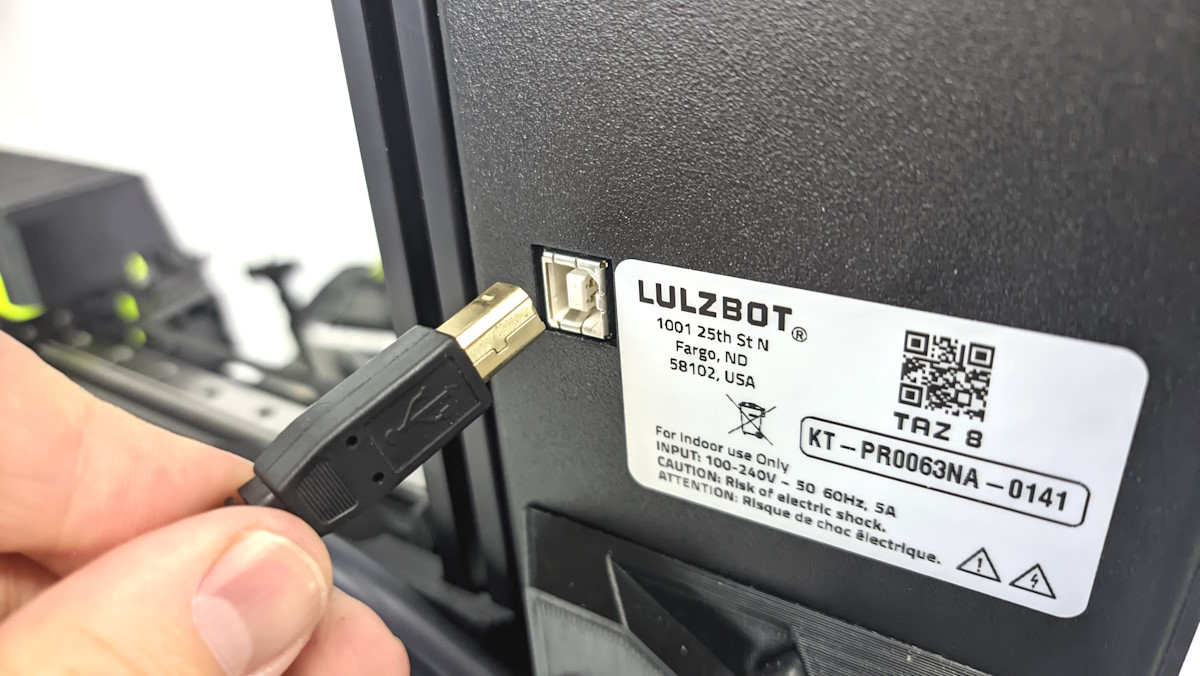
Using the USB cable that came with the printer, plug the printer into a computer and open Cura.
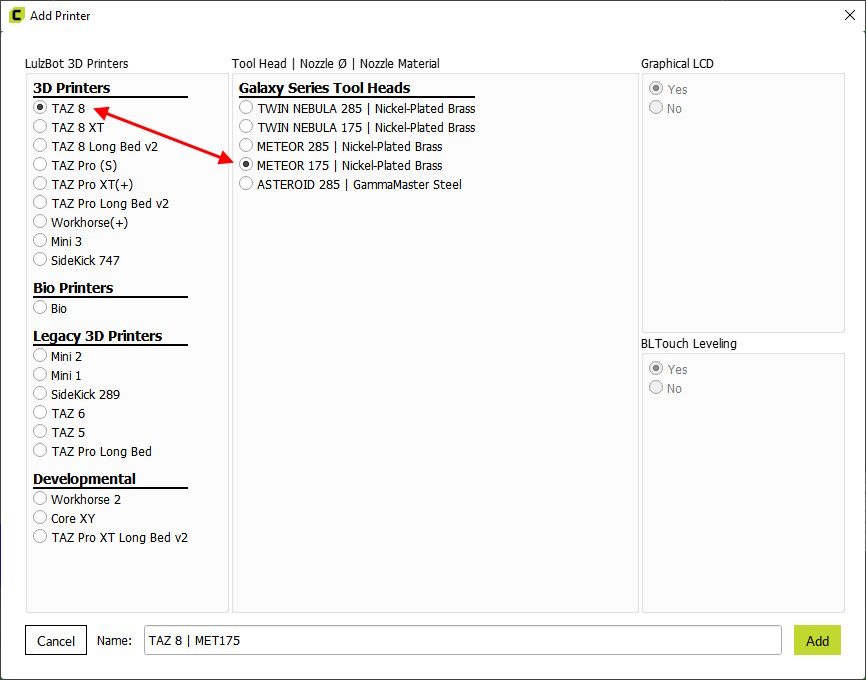
Add a new printer with the correct Tool Head in the software (this only needs to be done the first time you add a new Tool Head).
Settings > Printers > Add Printer.
Locate the firmware update button under manage printer window and click "update firmware".
Once complete, the printer will restart.
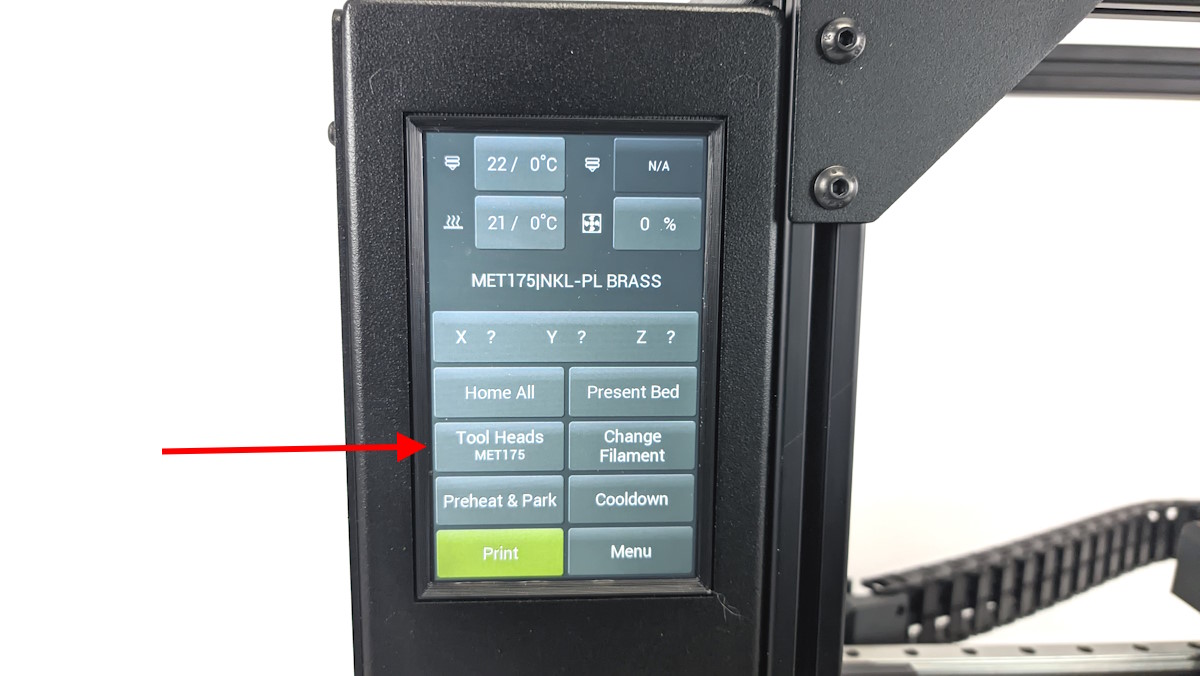
On the printers home screen, be sure the select the correct Tool Head via the Tool Head menu.


You have successfully swapped Tool Heads on the TAZ 8 3D printer.
One recommendation is when installing the Twin Nebula Tool Head, is to run an offset calibration for the nozzles.
This can be done through the printers nozzle offset menu on the LCD
