Project Dashboard Canceled Guides Replacing TAZ X Axis Motor Workflow

1 Getting Started

WARNING:

At Aleph Objects, Inc. we respect your freedom to modify your LulzBotā„¢ 3D printer. Any modifications or attempted repairs that cause damage are not covered under the Warranty.

Questions? Contact Technical Support by emailing Support@LulzBot.com, or by calling +1-970-377-1111.

2 Required Tools

  • Terminated TAZ X Axis Nema 17 Stepper Motor.
  • 2.5mm driver.
  • 1.27mm driver.
  • Zip Tie.
  • Flat Head Screwdriver.
  • Pliers.
Required Tools

3 Power off your 3D Printer

  • Power off your 3D printer.
Power Down

4 Release X Axis Belt

  • Using your 2.5mm driver remove the right X axis belt clamp screw.
  • Remove belt.
Remove Belt
Remove Belt

5 Cut Zip Tie

  • Cut the zip tie holding the X axis motor wire.
Cut Zip Tie

6 Unplug Connector

  • Unplug the 4 pin connector for the motor.
Unplug Connector

7 Remove Motor

  • Using your 2.5mm driver remove the 4 screws securing the motor.
  • When removing the final screw, be sure to support the motor.
Screws to Remove
Screws to Remove

8 Remove Pulley

  • Using your 1.27mm driver loosen the two set screws securing the pulley.
  • Remove the pulley.
Set Screw Locations
Remove Pulley

9 Install Pulley

  • Align one set screw with the flat of the motor shaft, and tighten.
  • Tighten second set screw.
  • Be sure both set screws are tight.
Align Pulley
Tighten Set Screws

10 Install Motor

  • Align the motor so the wires are coming out of the bottom.
  • Using your 2.5mm driver, install the 4 screws removed in Step 7.
Motor Alignment
Install Motor

11 Plug In Connector

  • Plug in 4 pin motor connector.
Plug in Motor

12 Secure Wires

  • Secure motor wires using a zip tie.
Secure Wires

13 Route X Axis Belt

  • Route belt around X axis pulley.
Route Belt Around Pulley

14 Install X Axis Belt

  • Using a flat head screwdriver, route and install the belt into the clamp.
  • We want the belt to be slack right now, leave as little excess belt extending from the clamp as possible.
  • Replace the belt clamp screw.
Route Belt
Install Belt Clamp

15 Tighten Belt

  • Loosen the left belt clamp (when facing rear of printer.)
  • Using pliers, grab the excess belt from the clamp and twist the pliers counter clockwise.
  • While maintaining tension with the pliers, tighten the belt clamp.
Loosen Belt Clamp
Tighten Belt

16 You're Done!

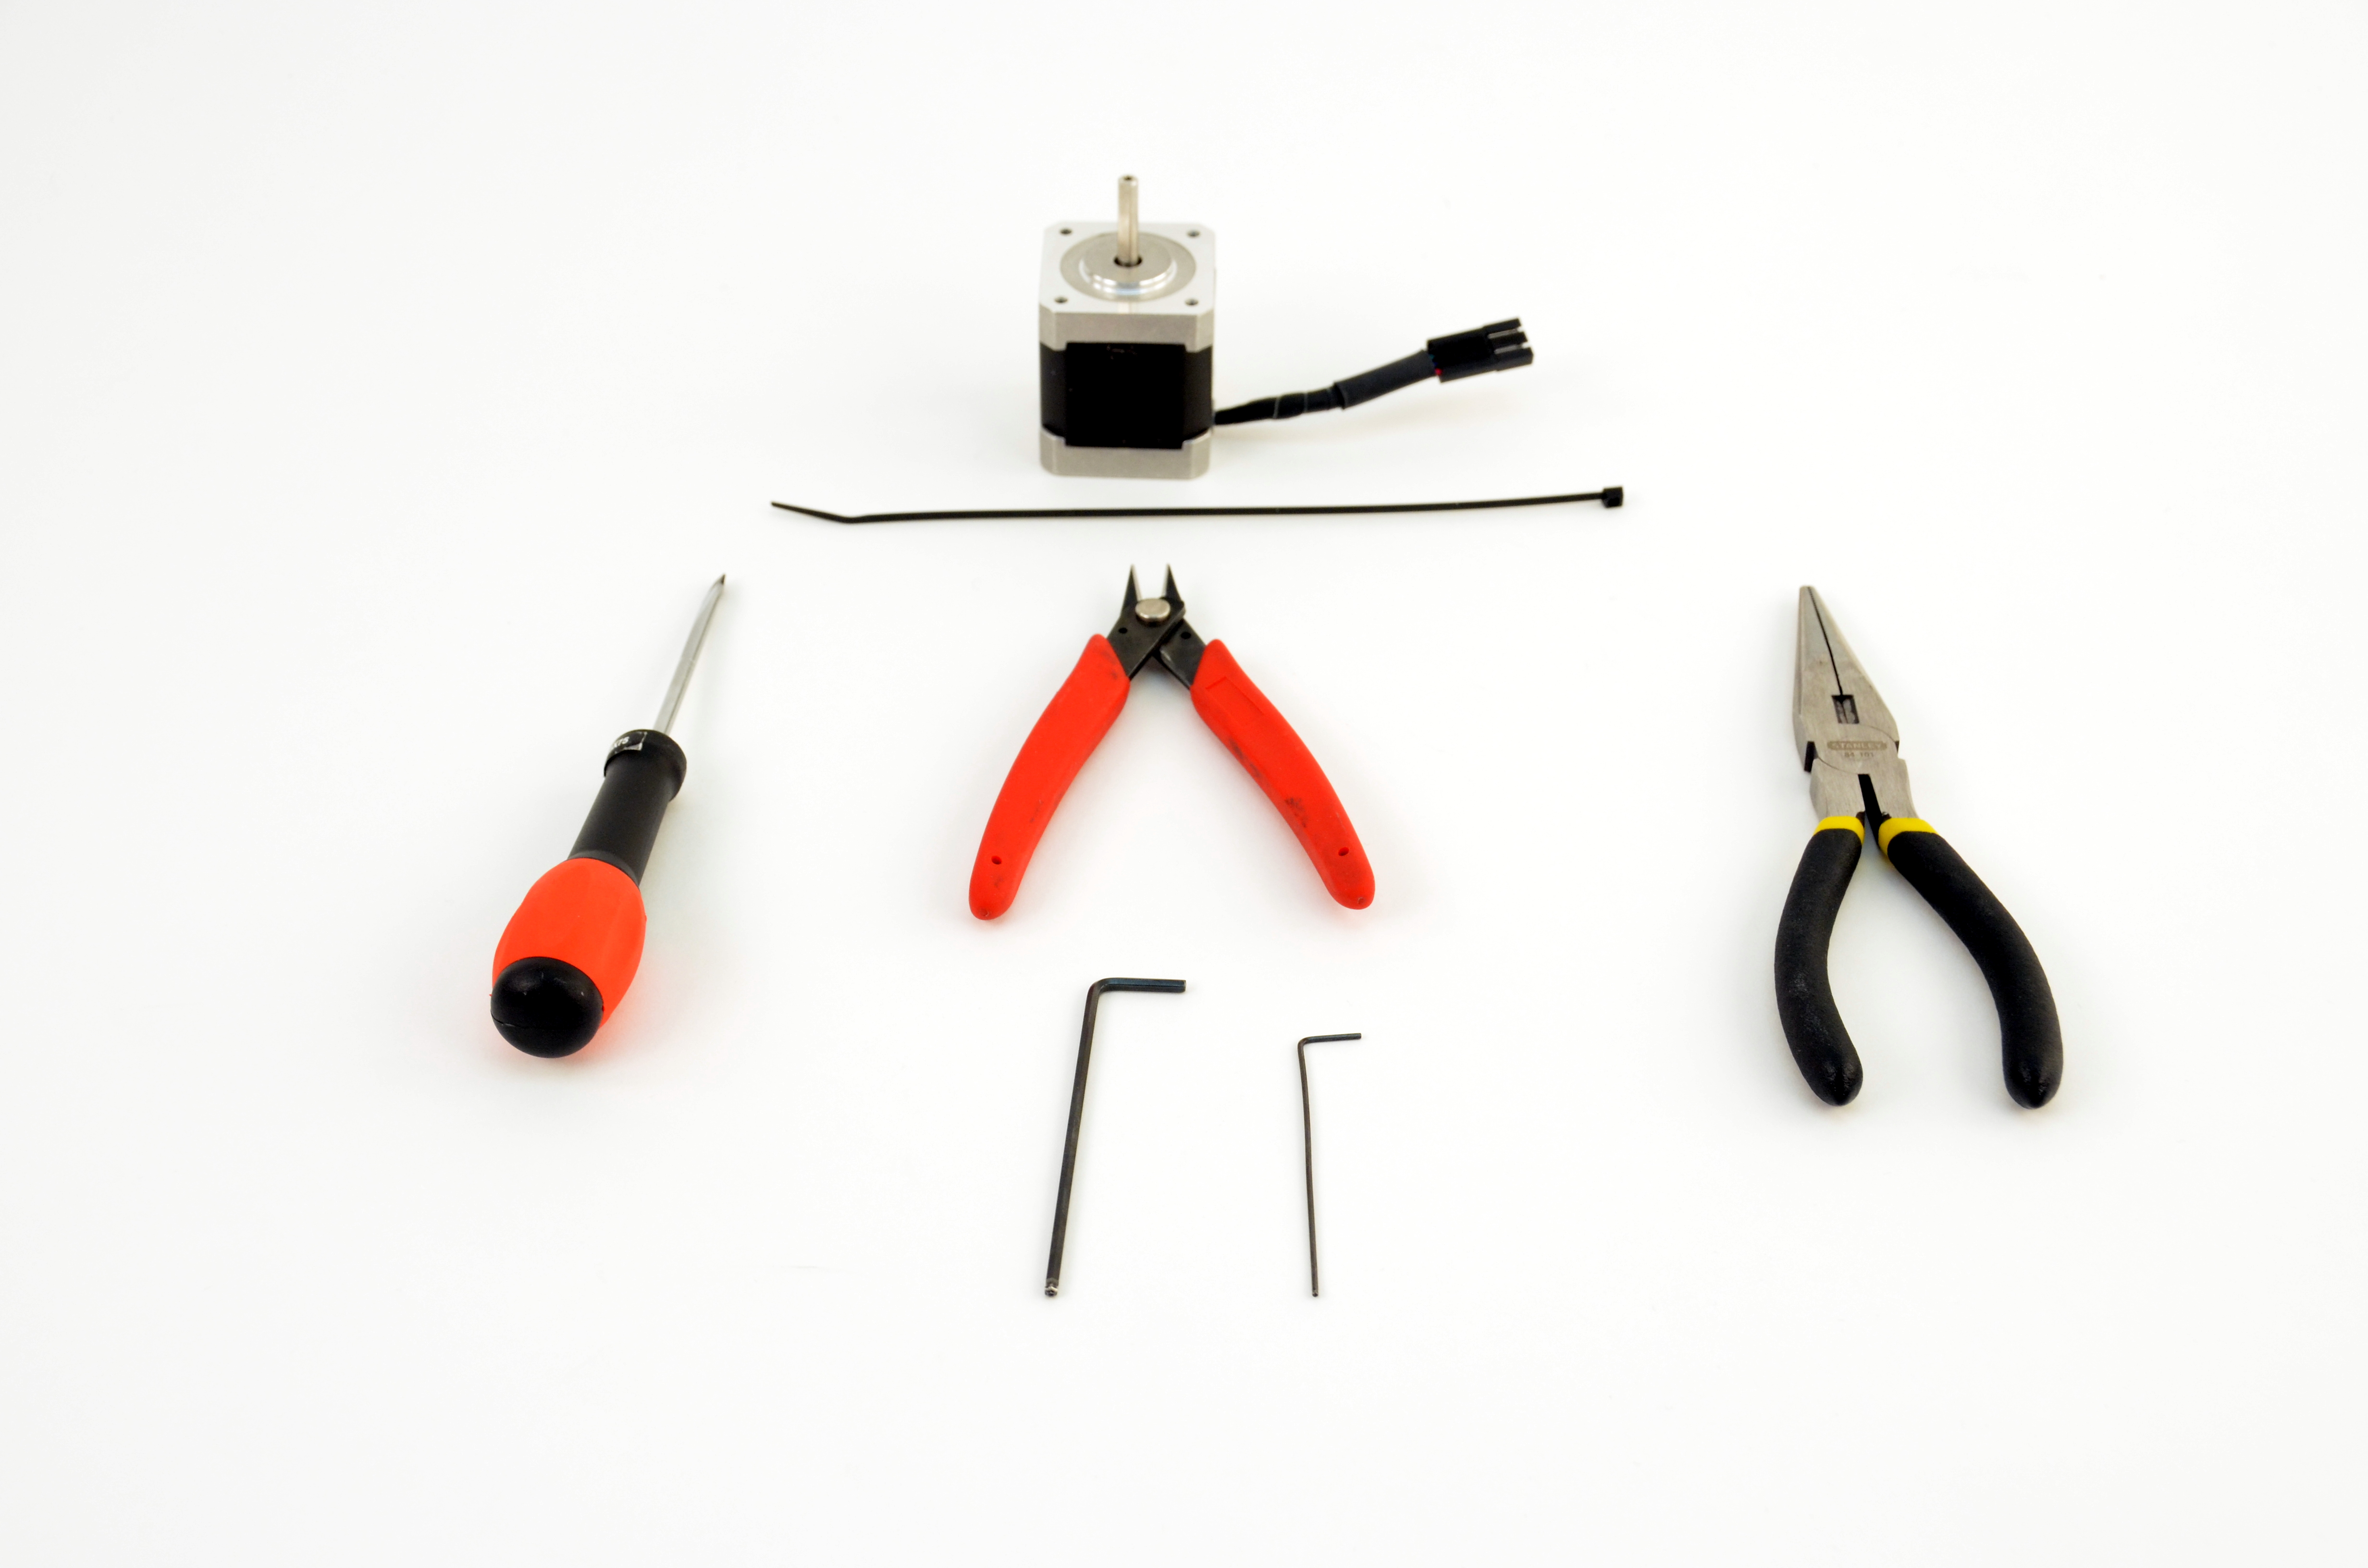
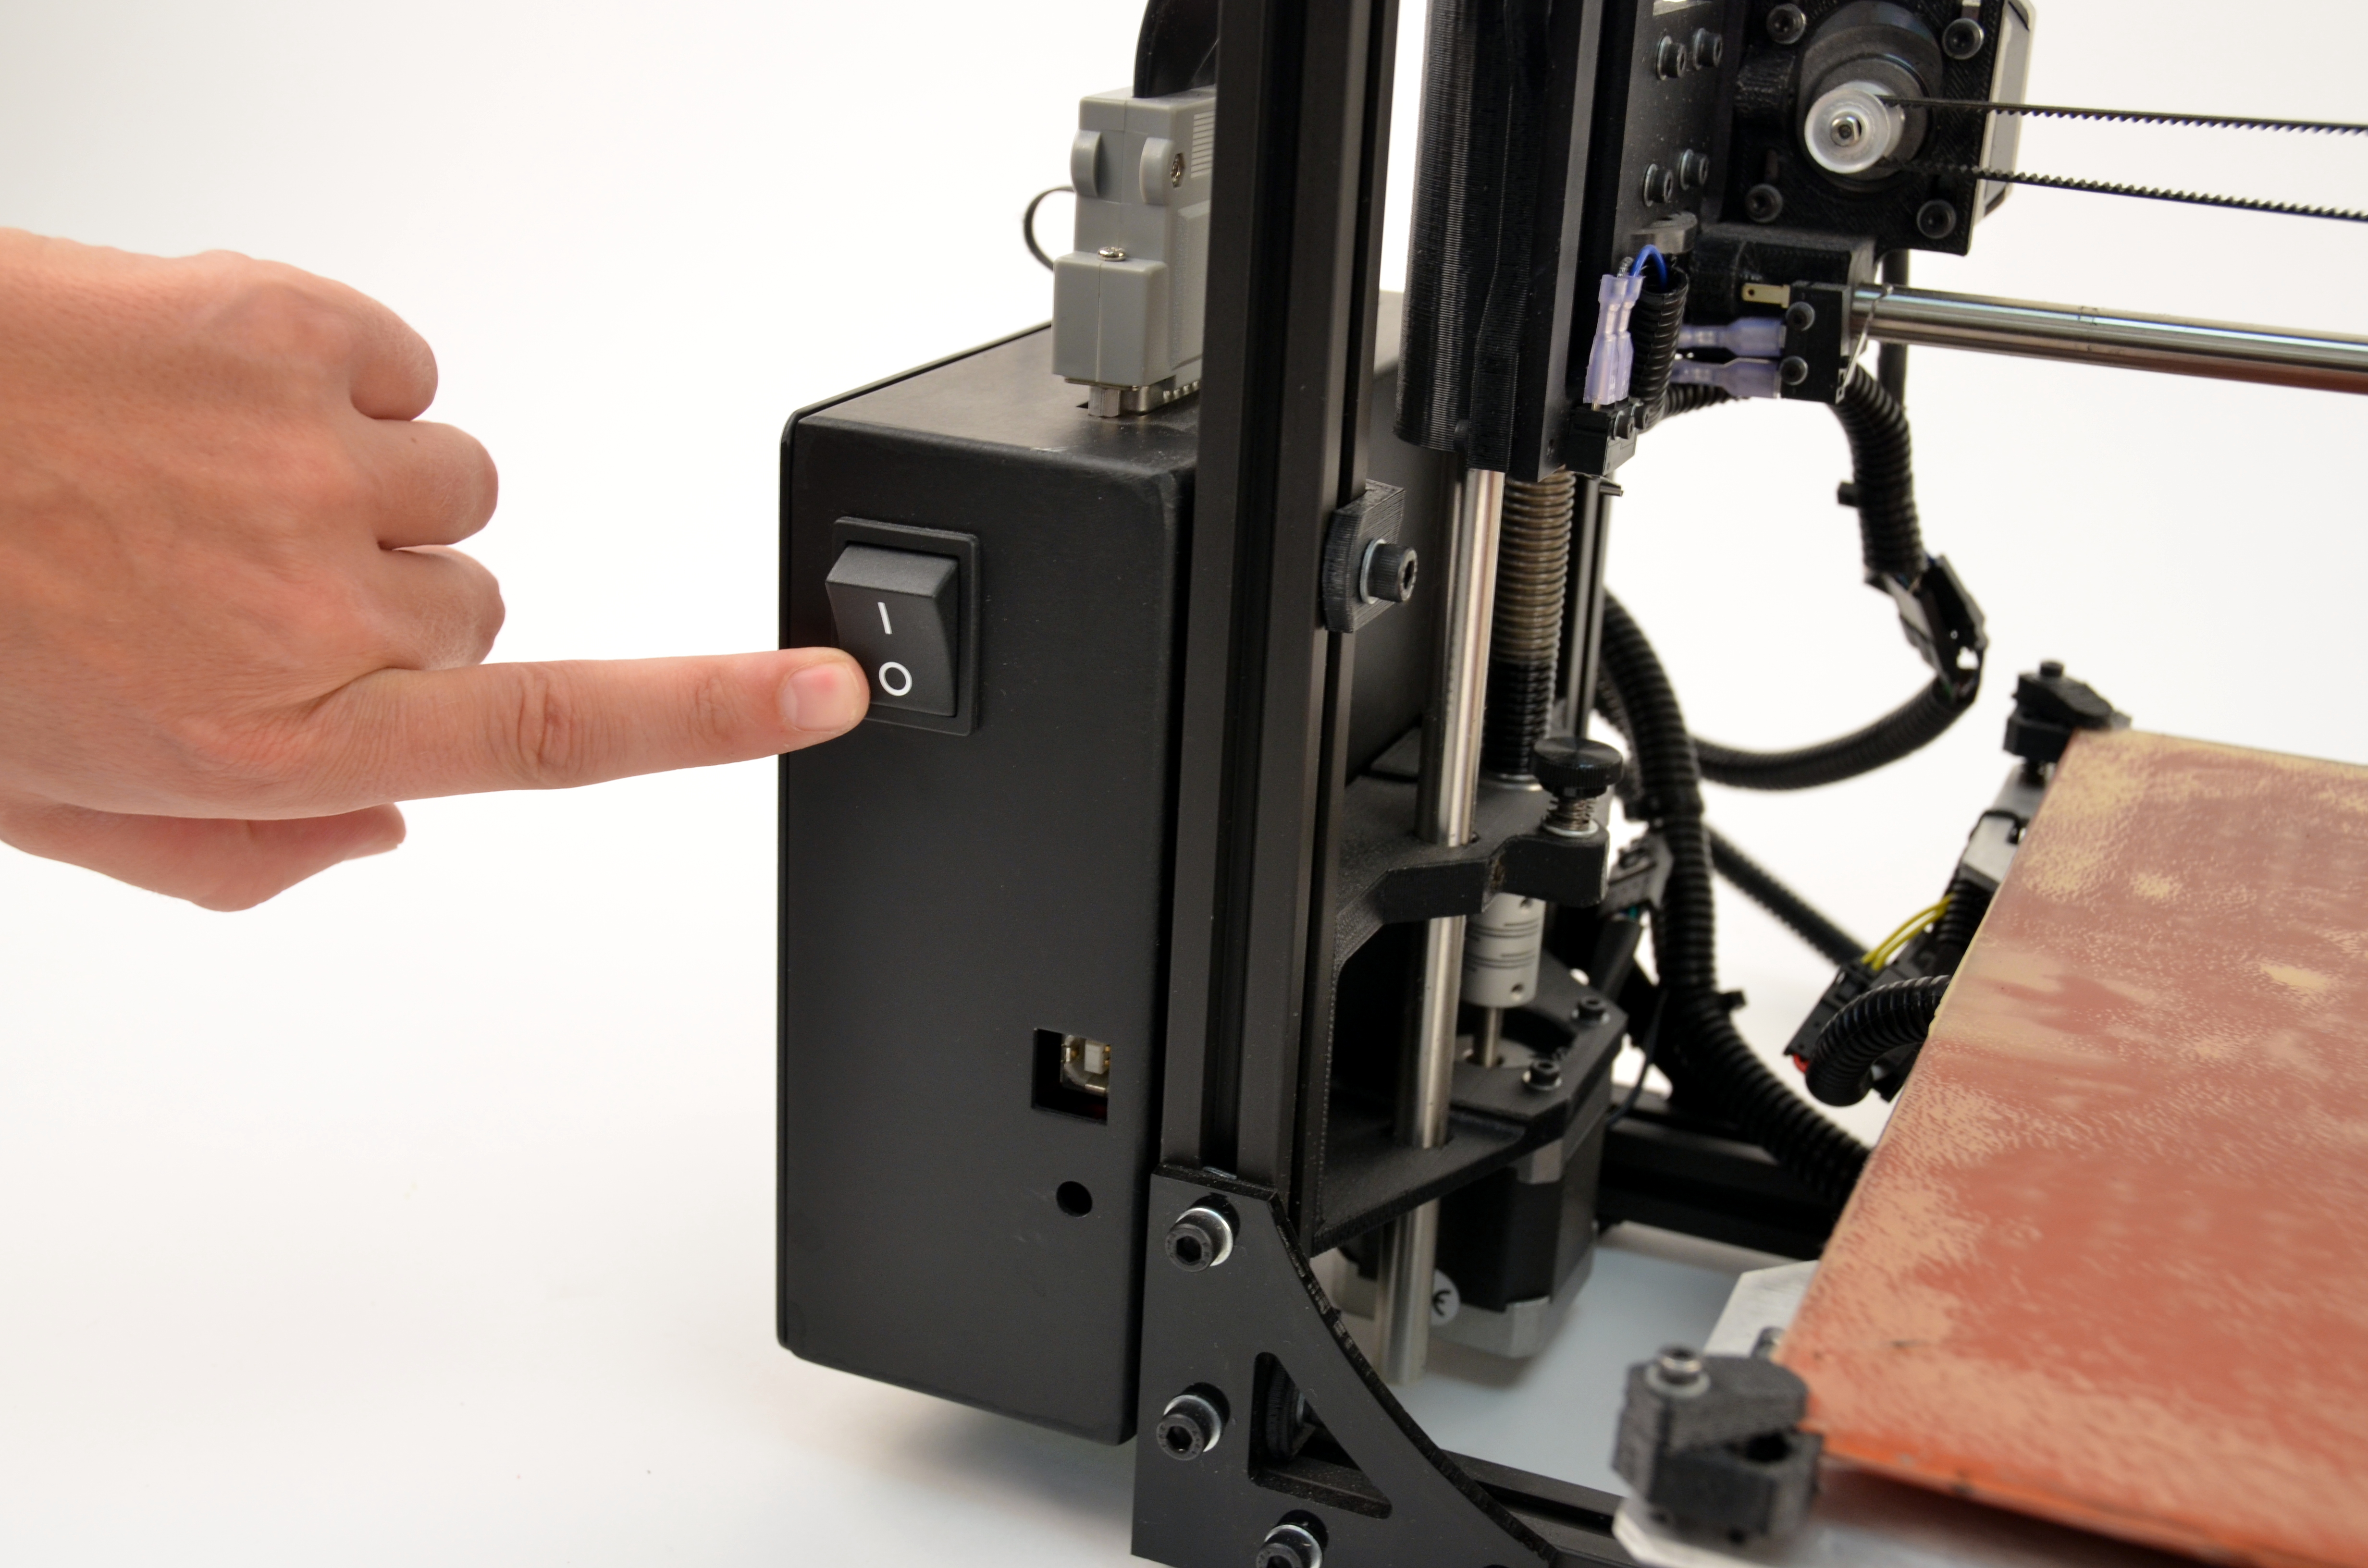
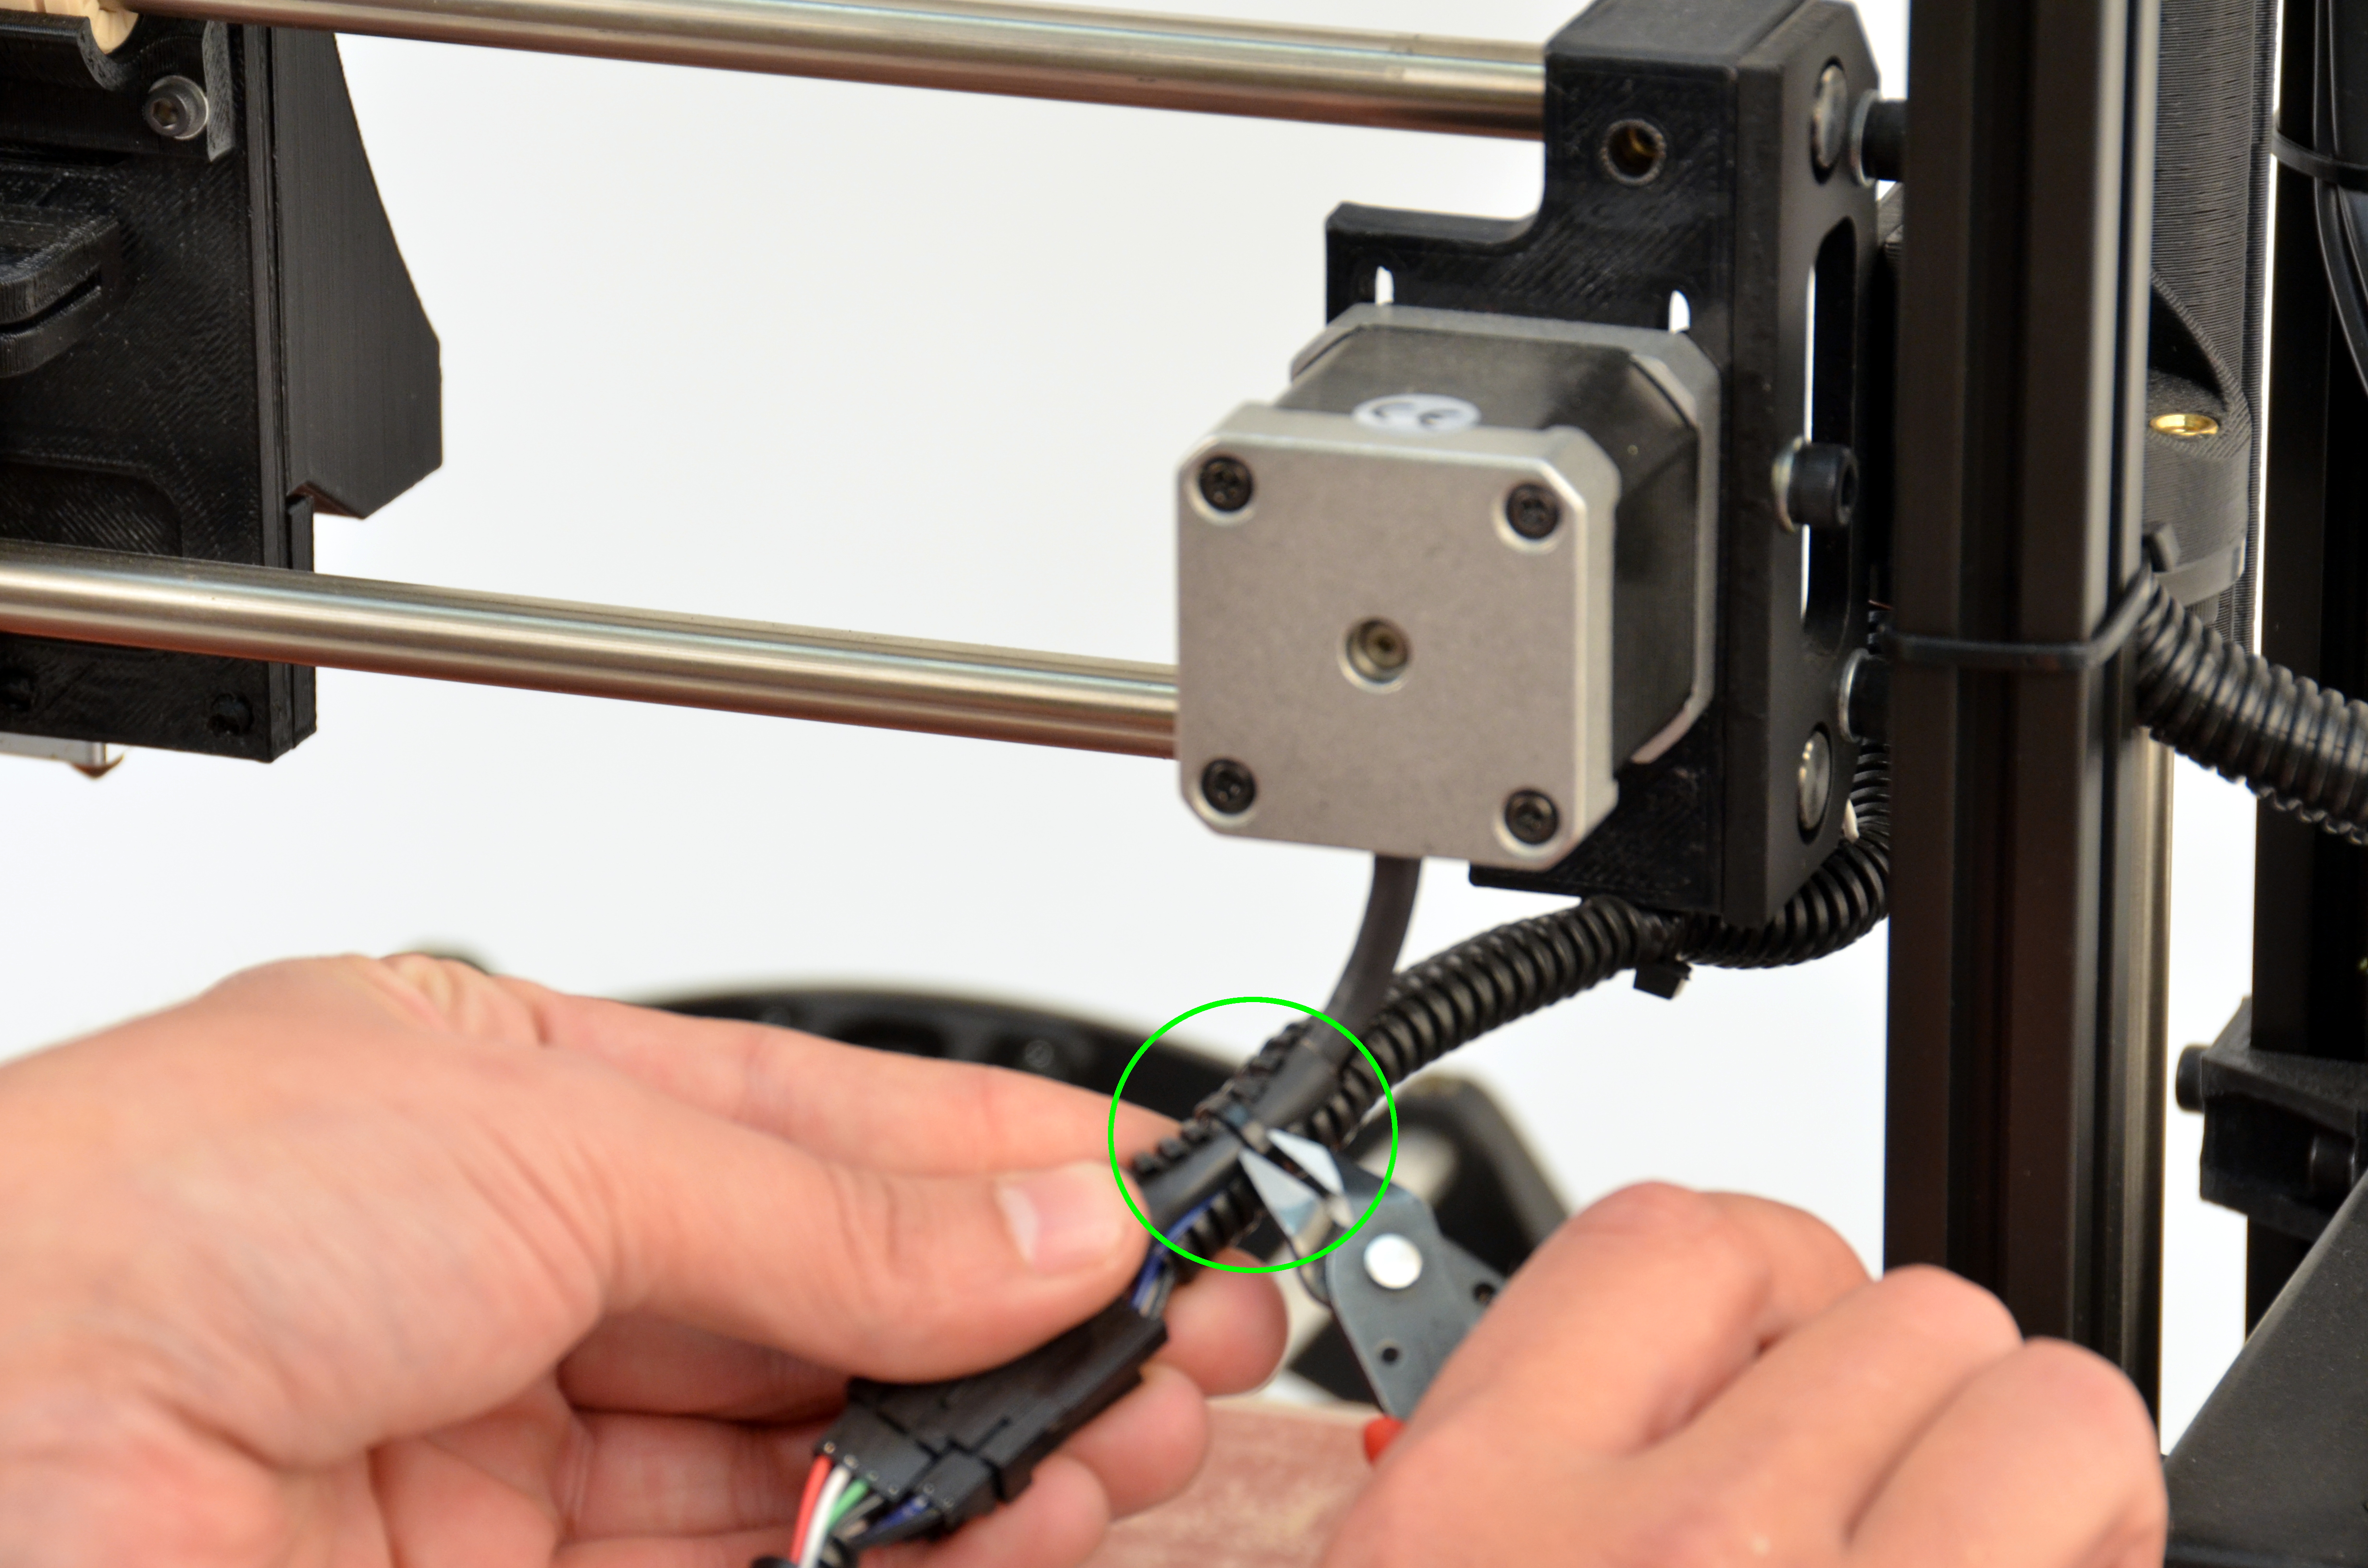
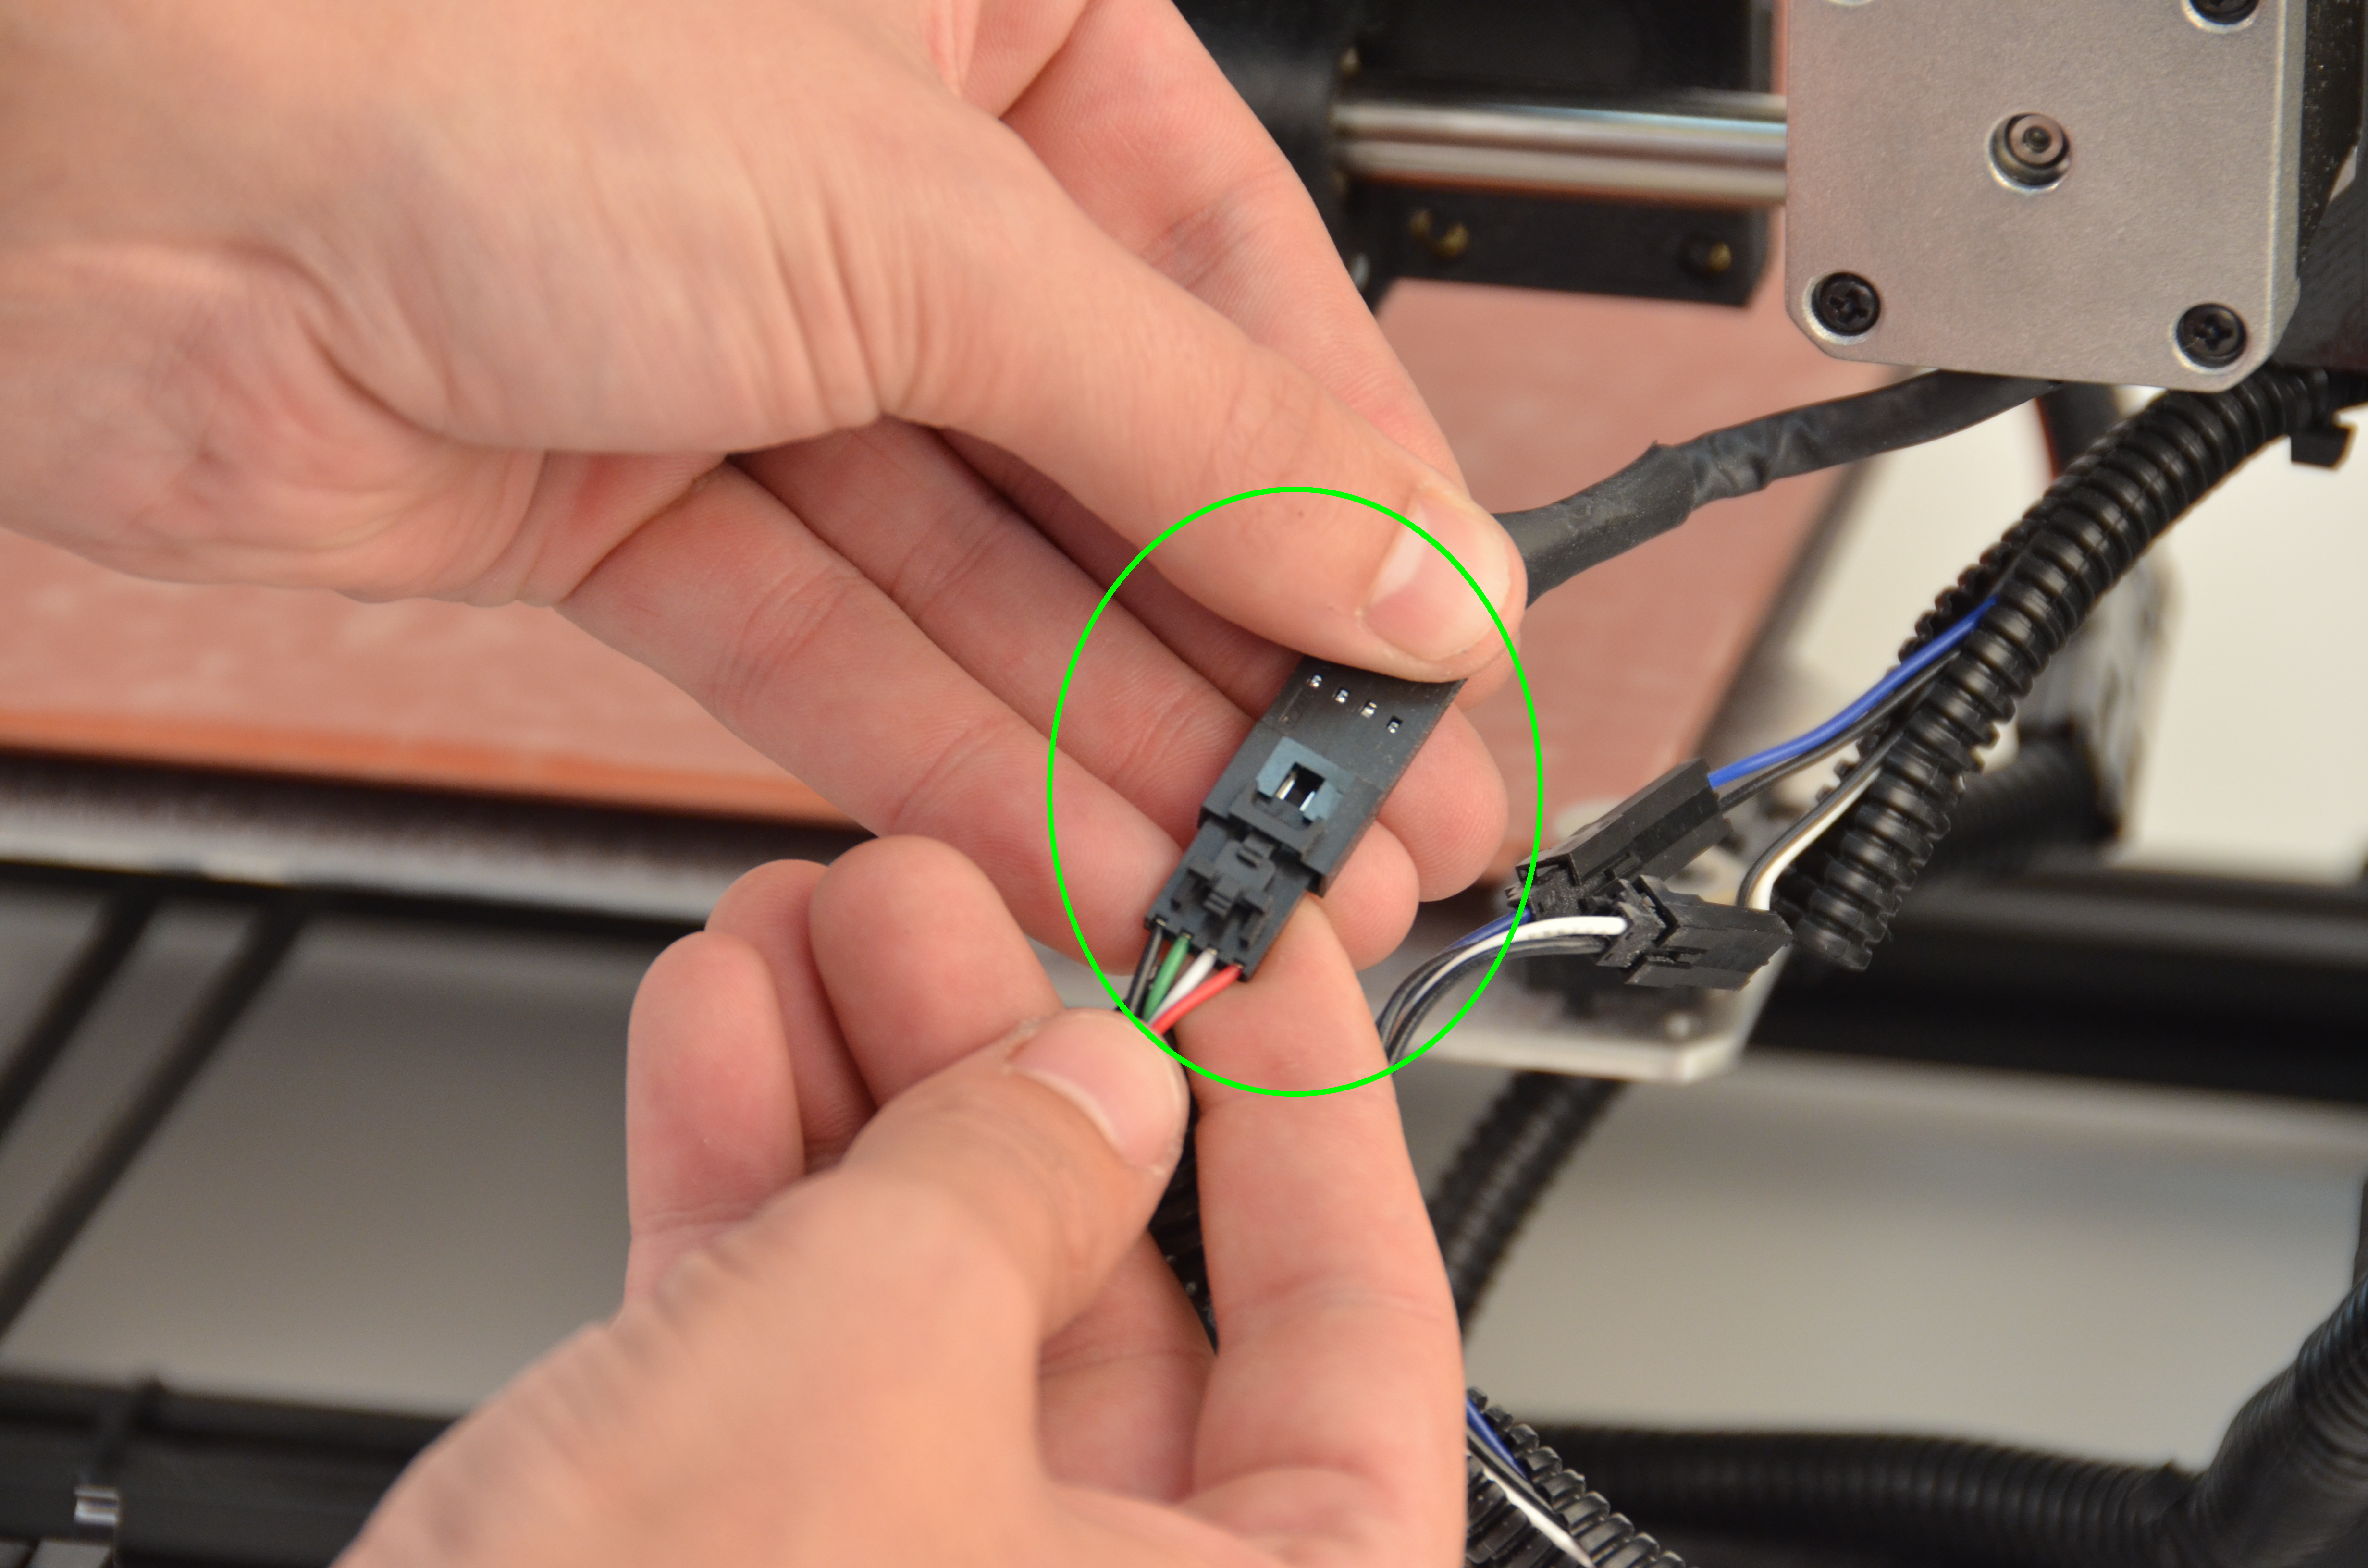
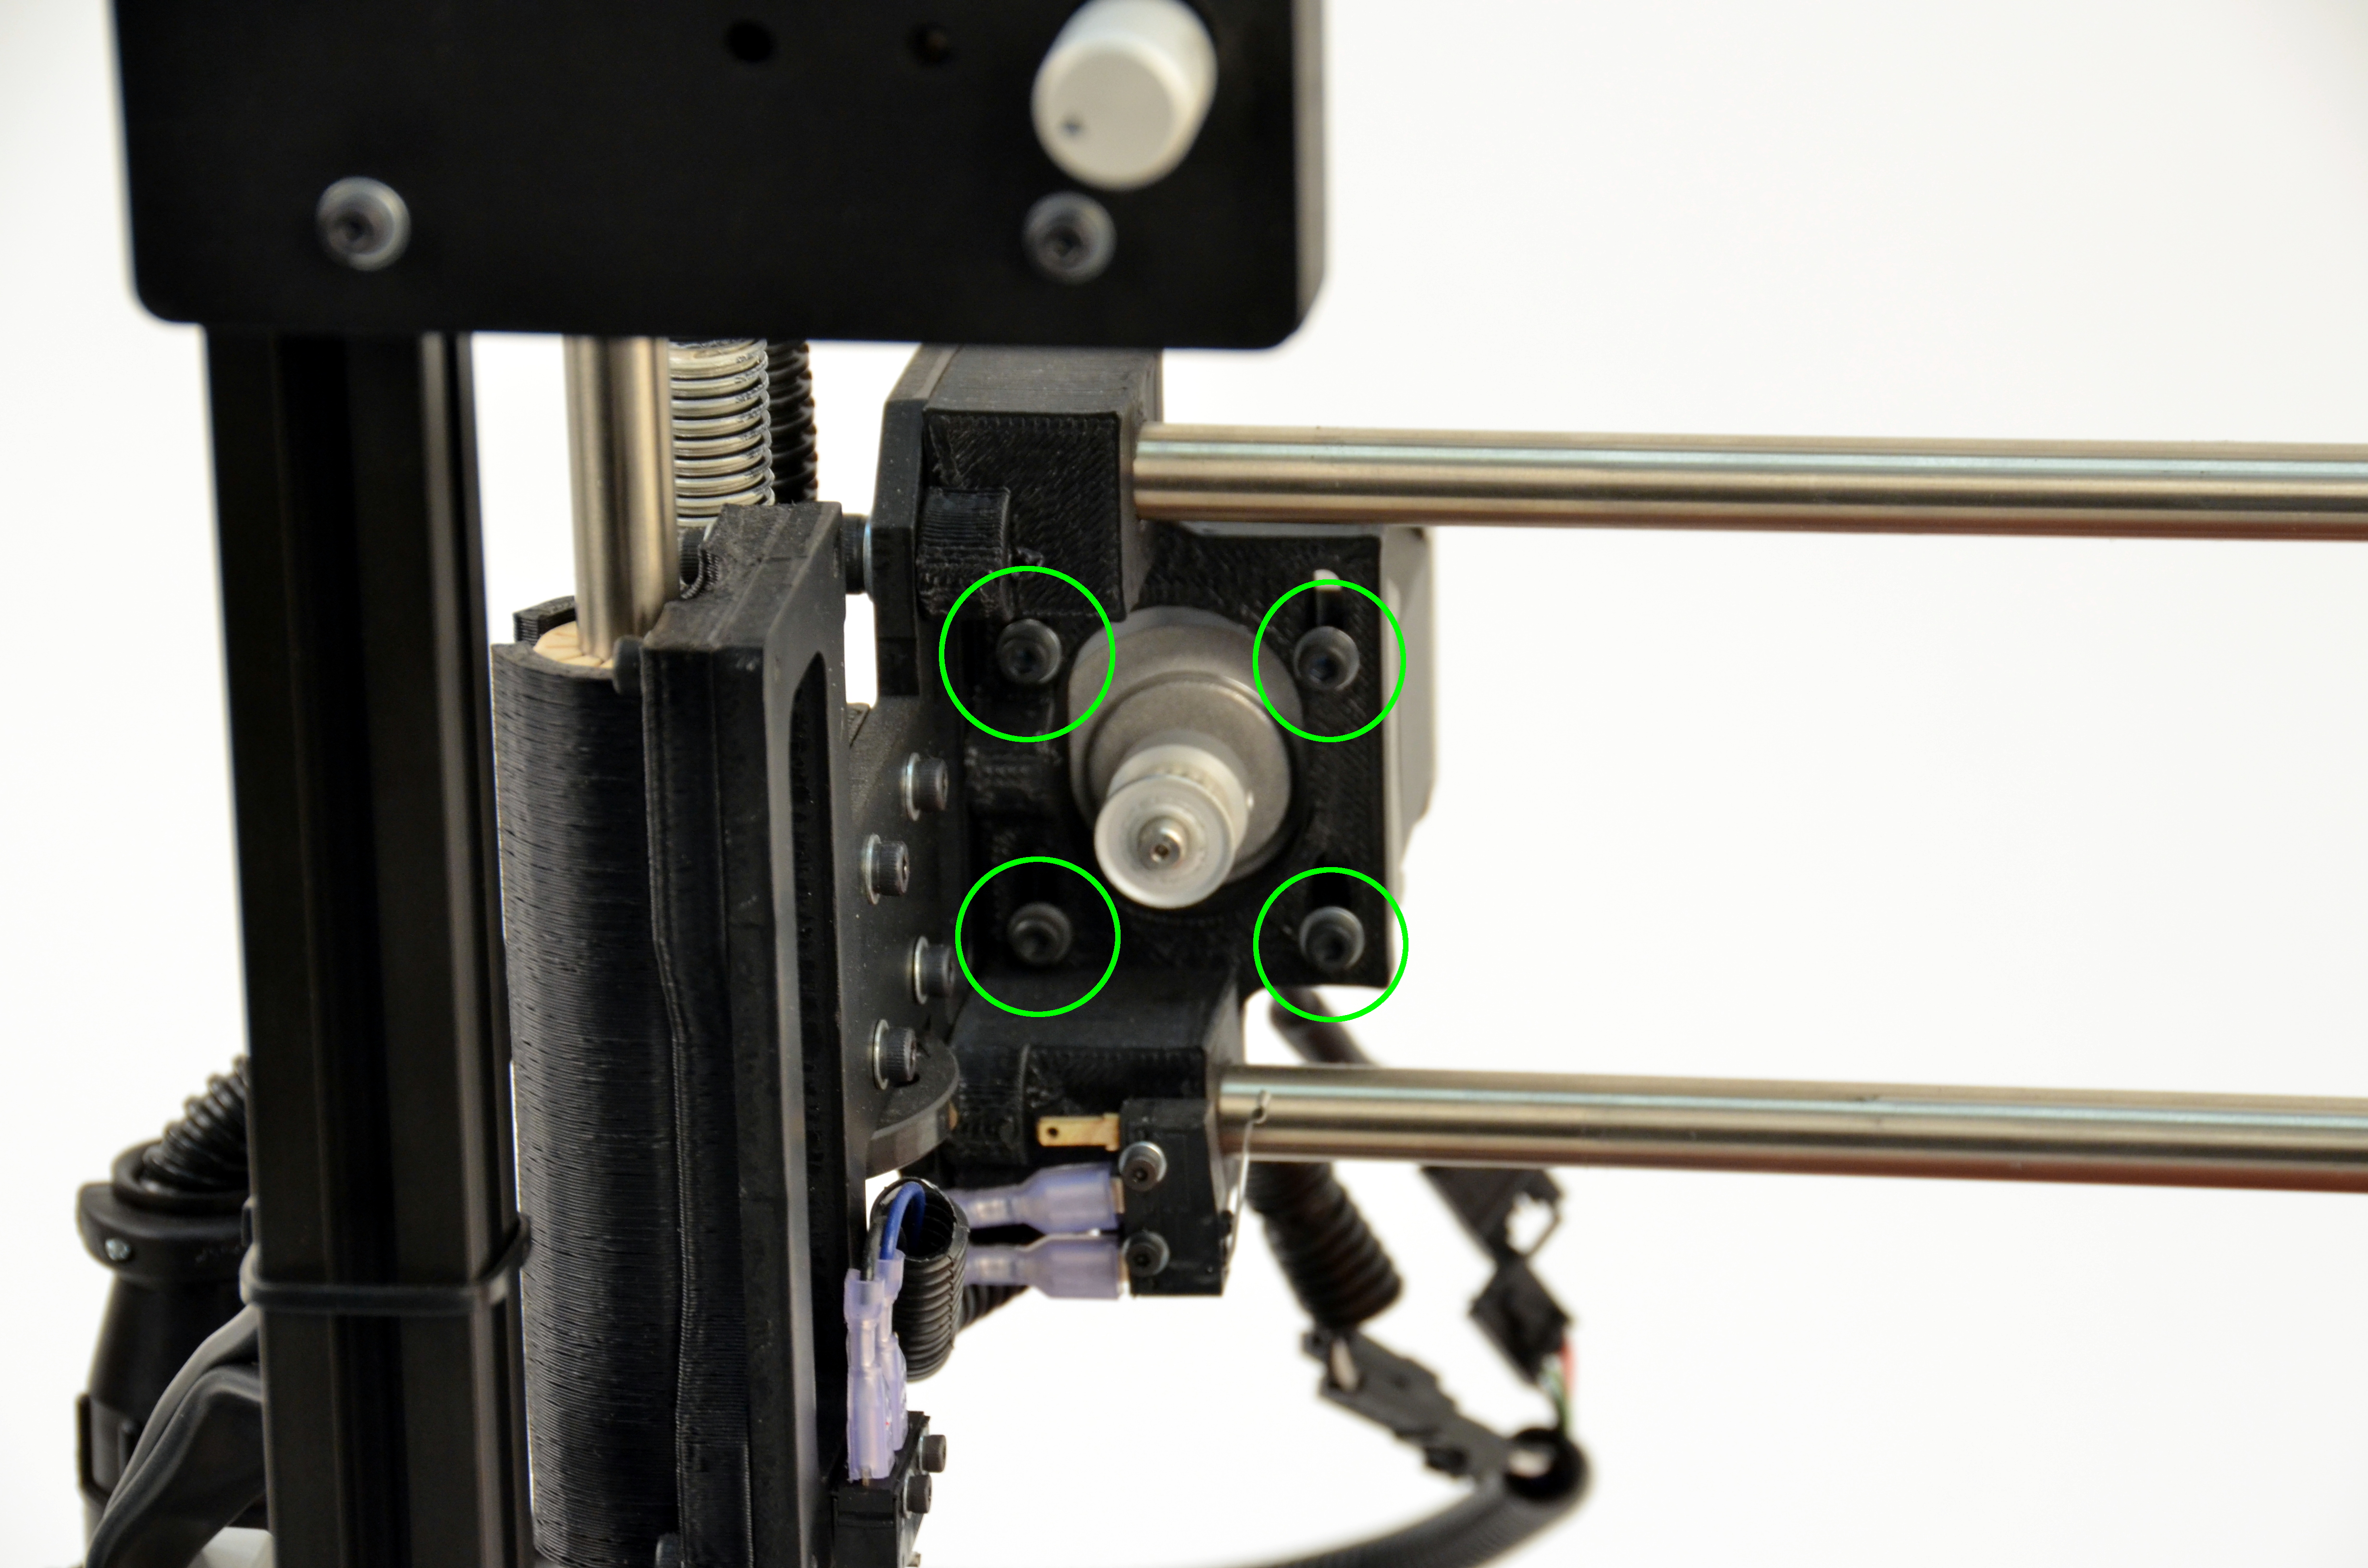
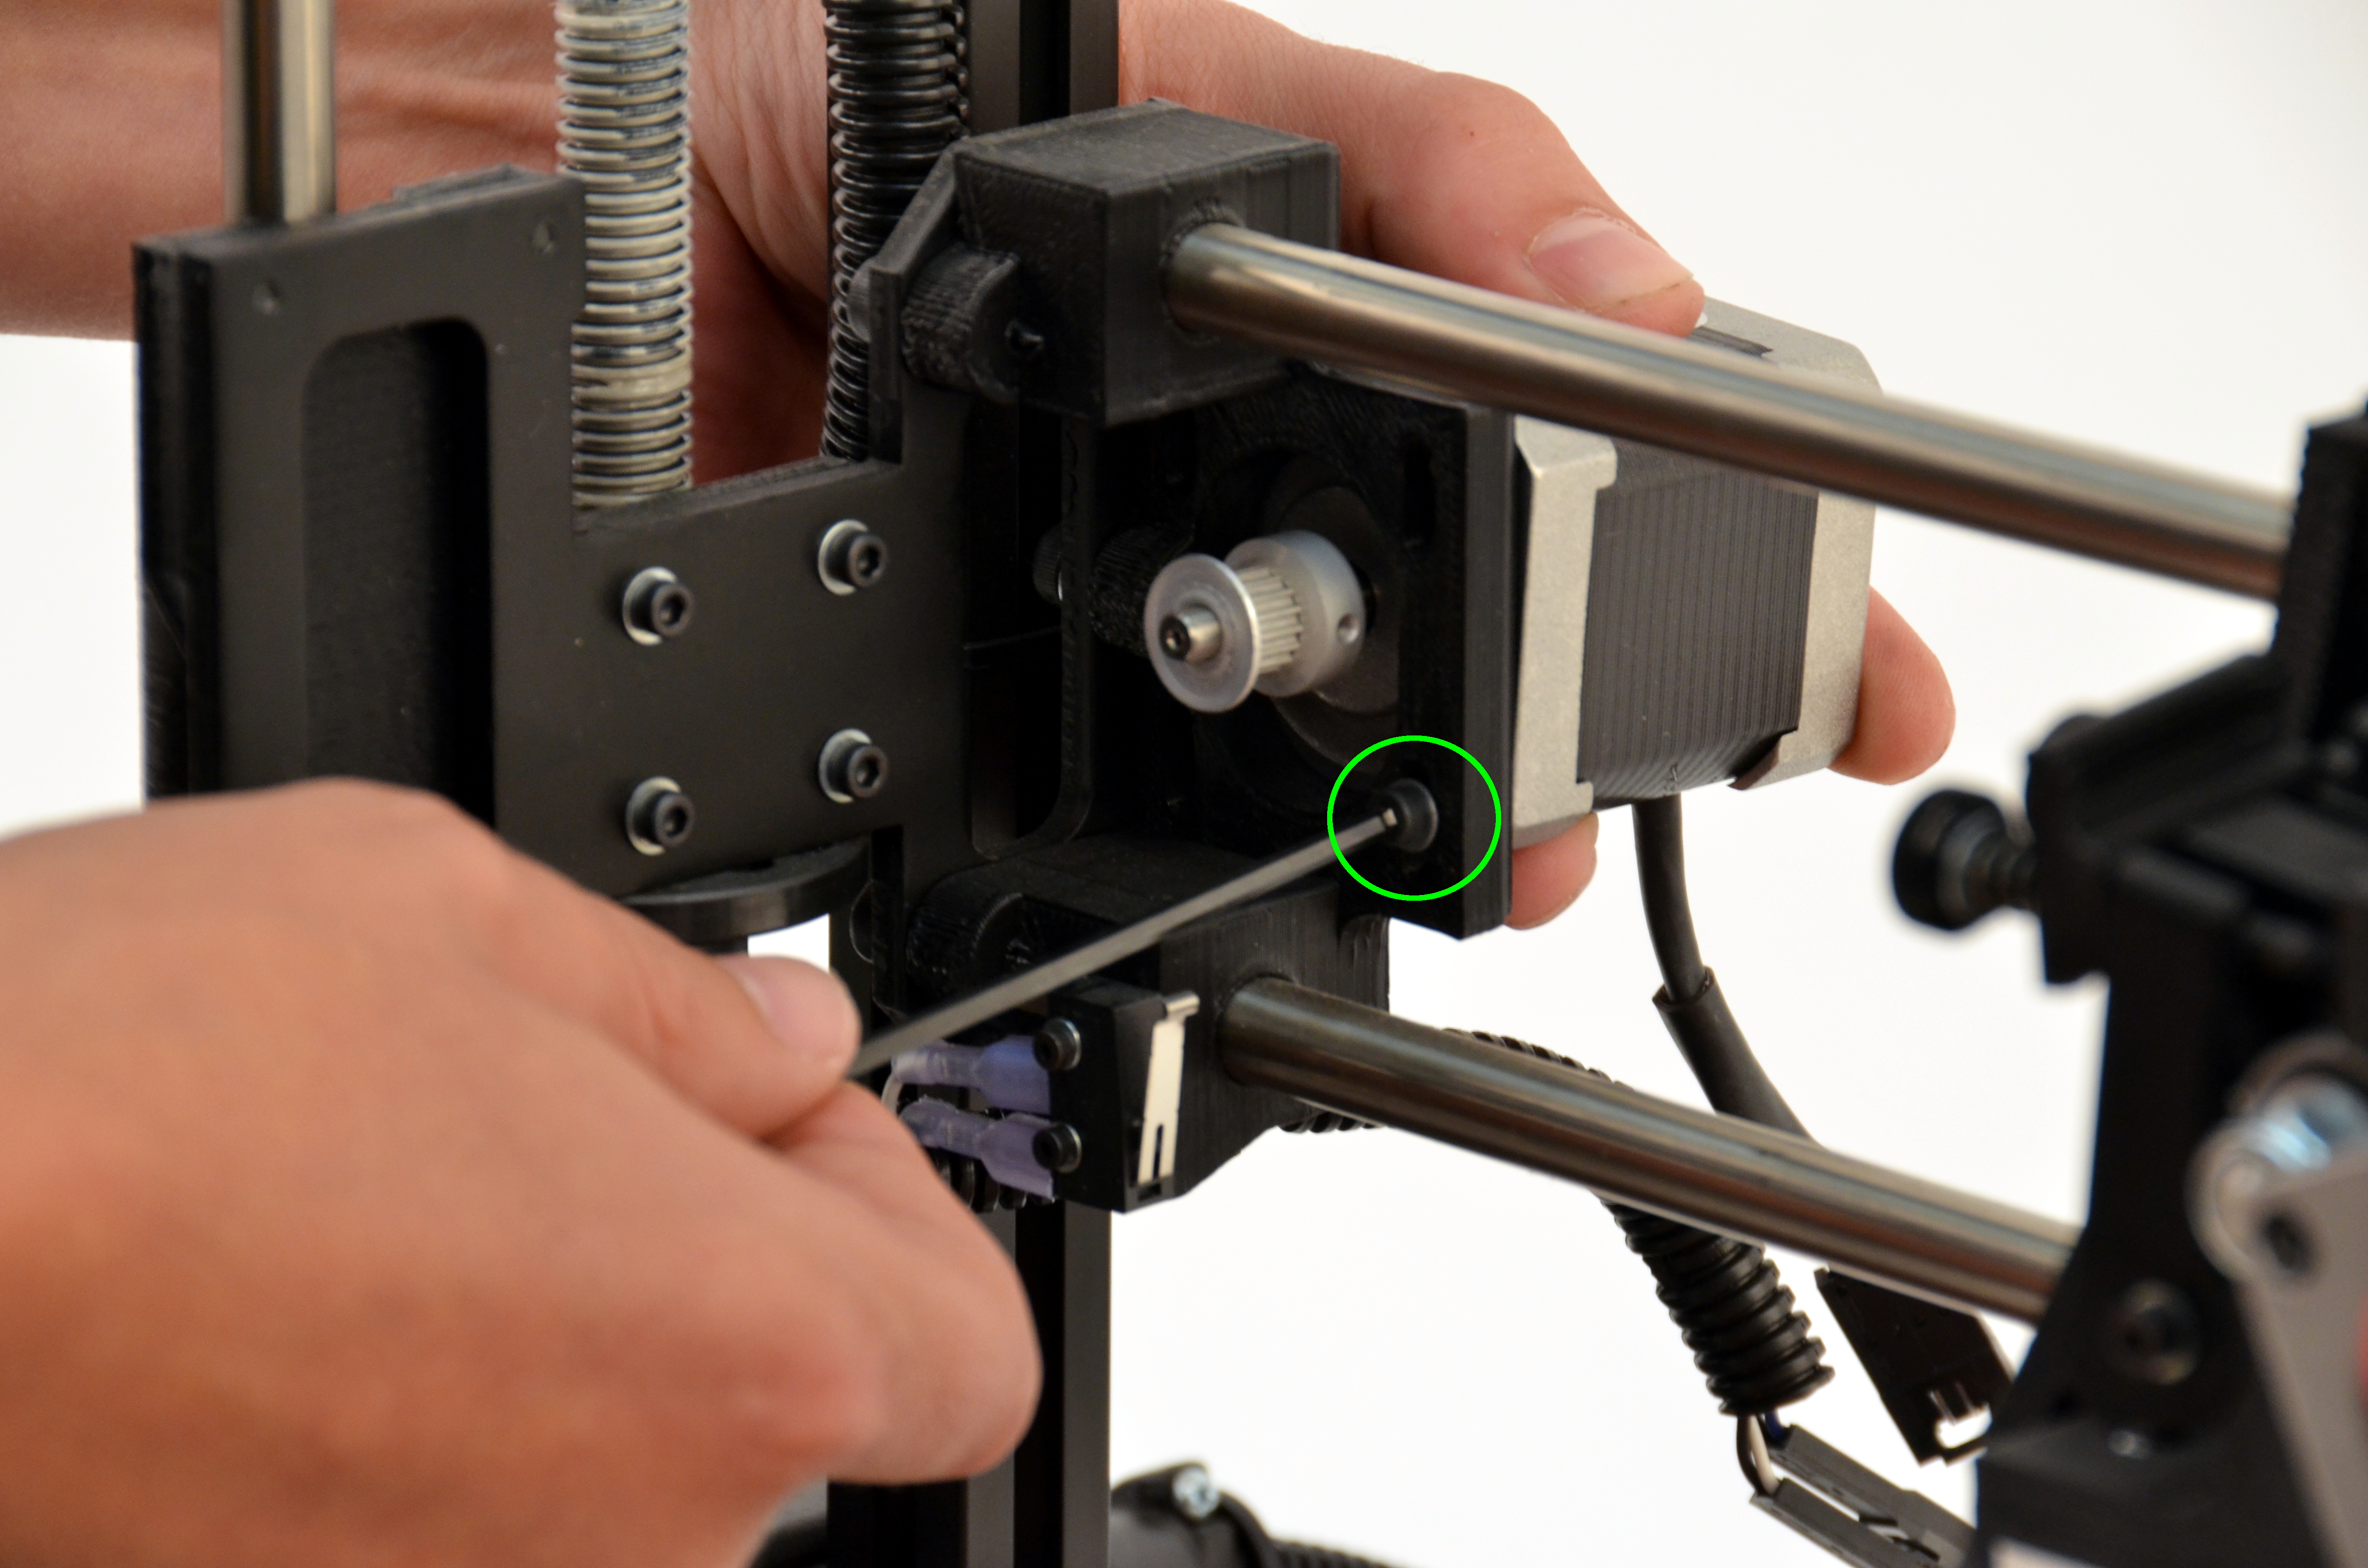
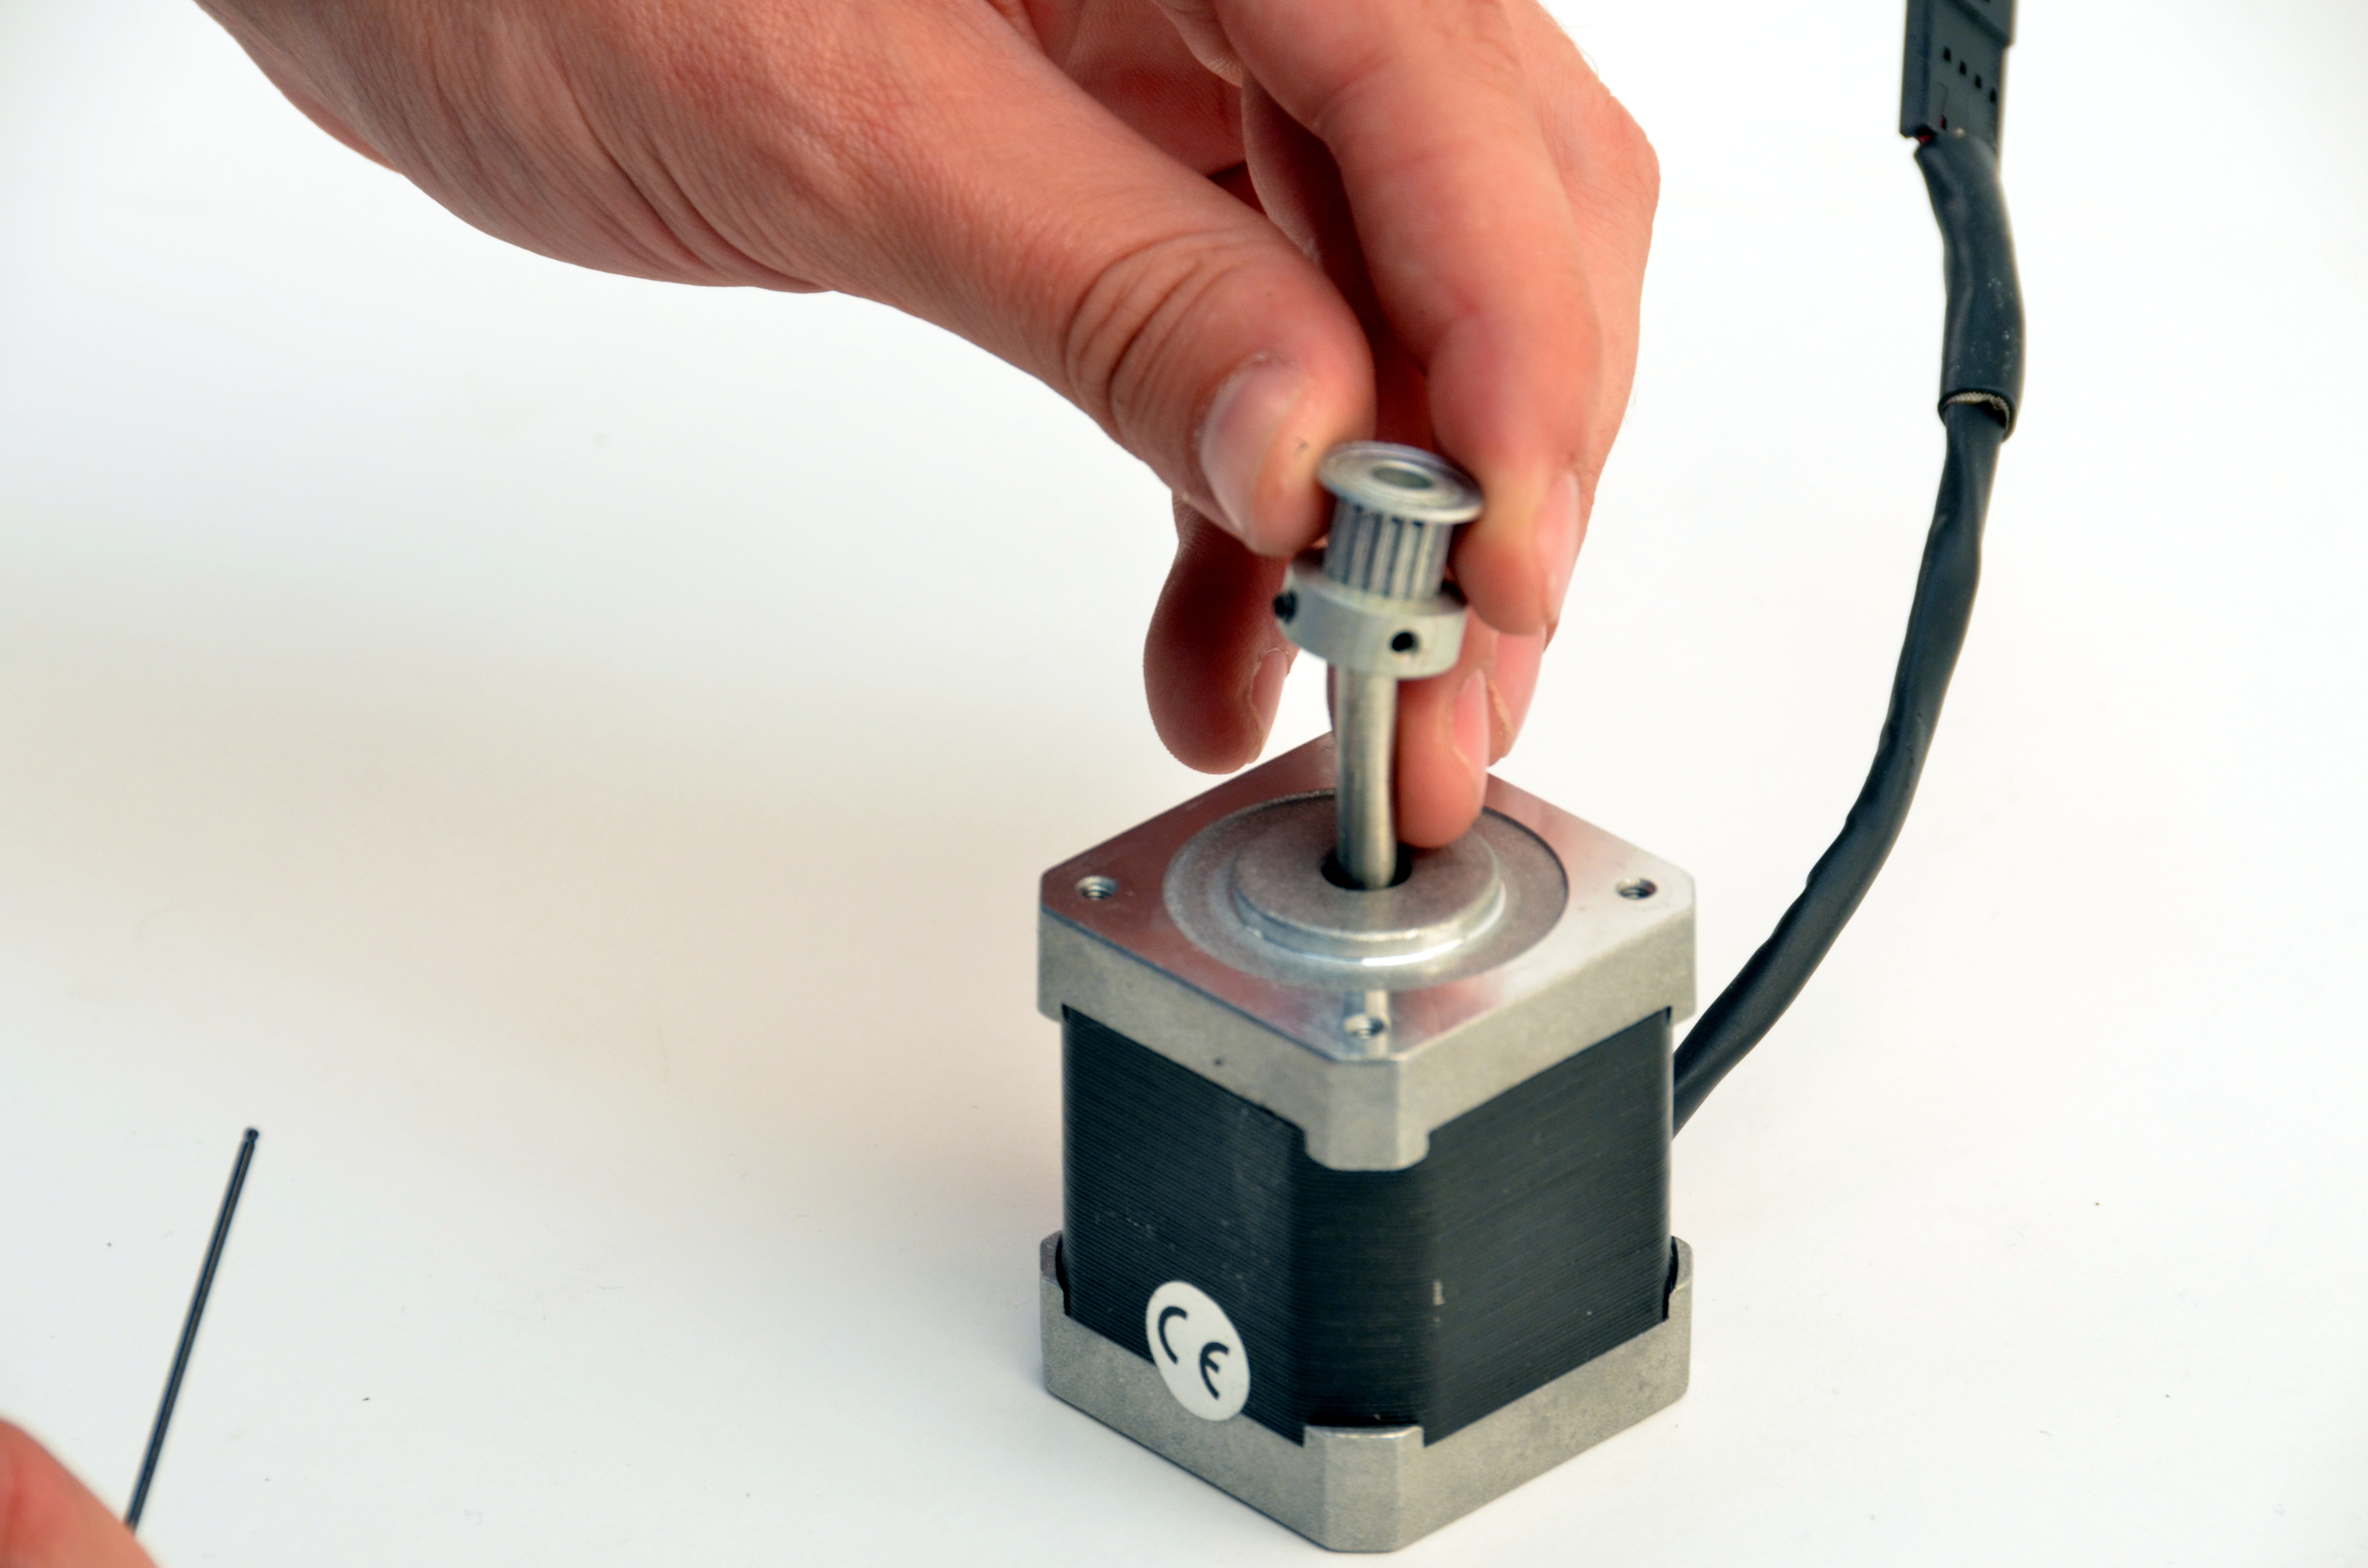
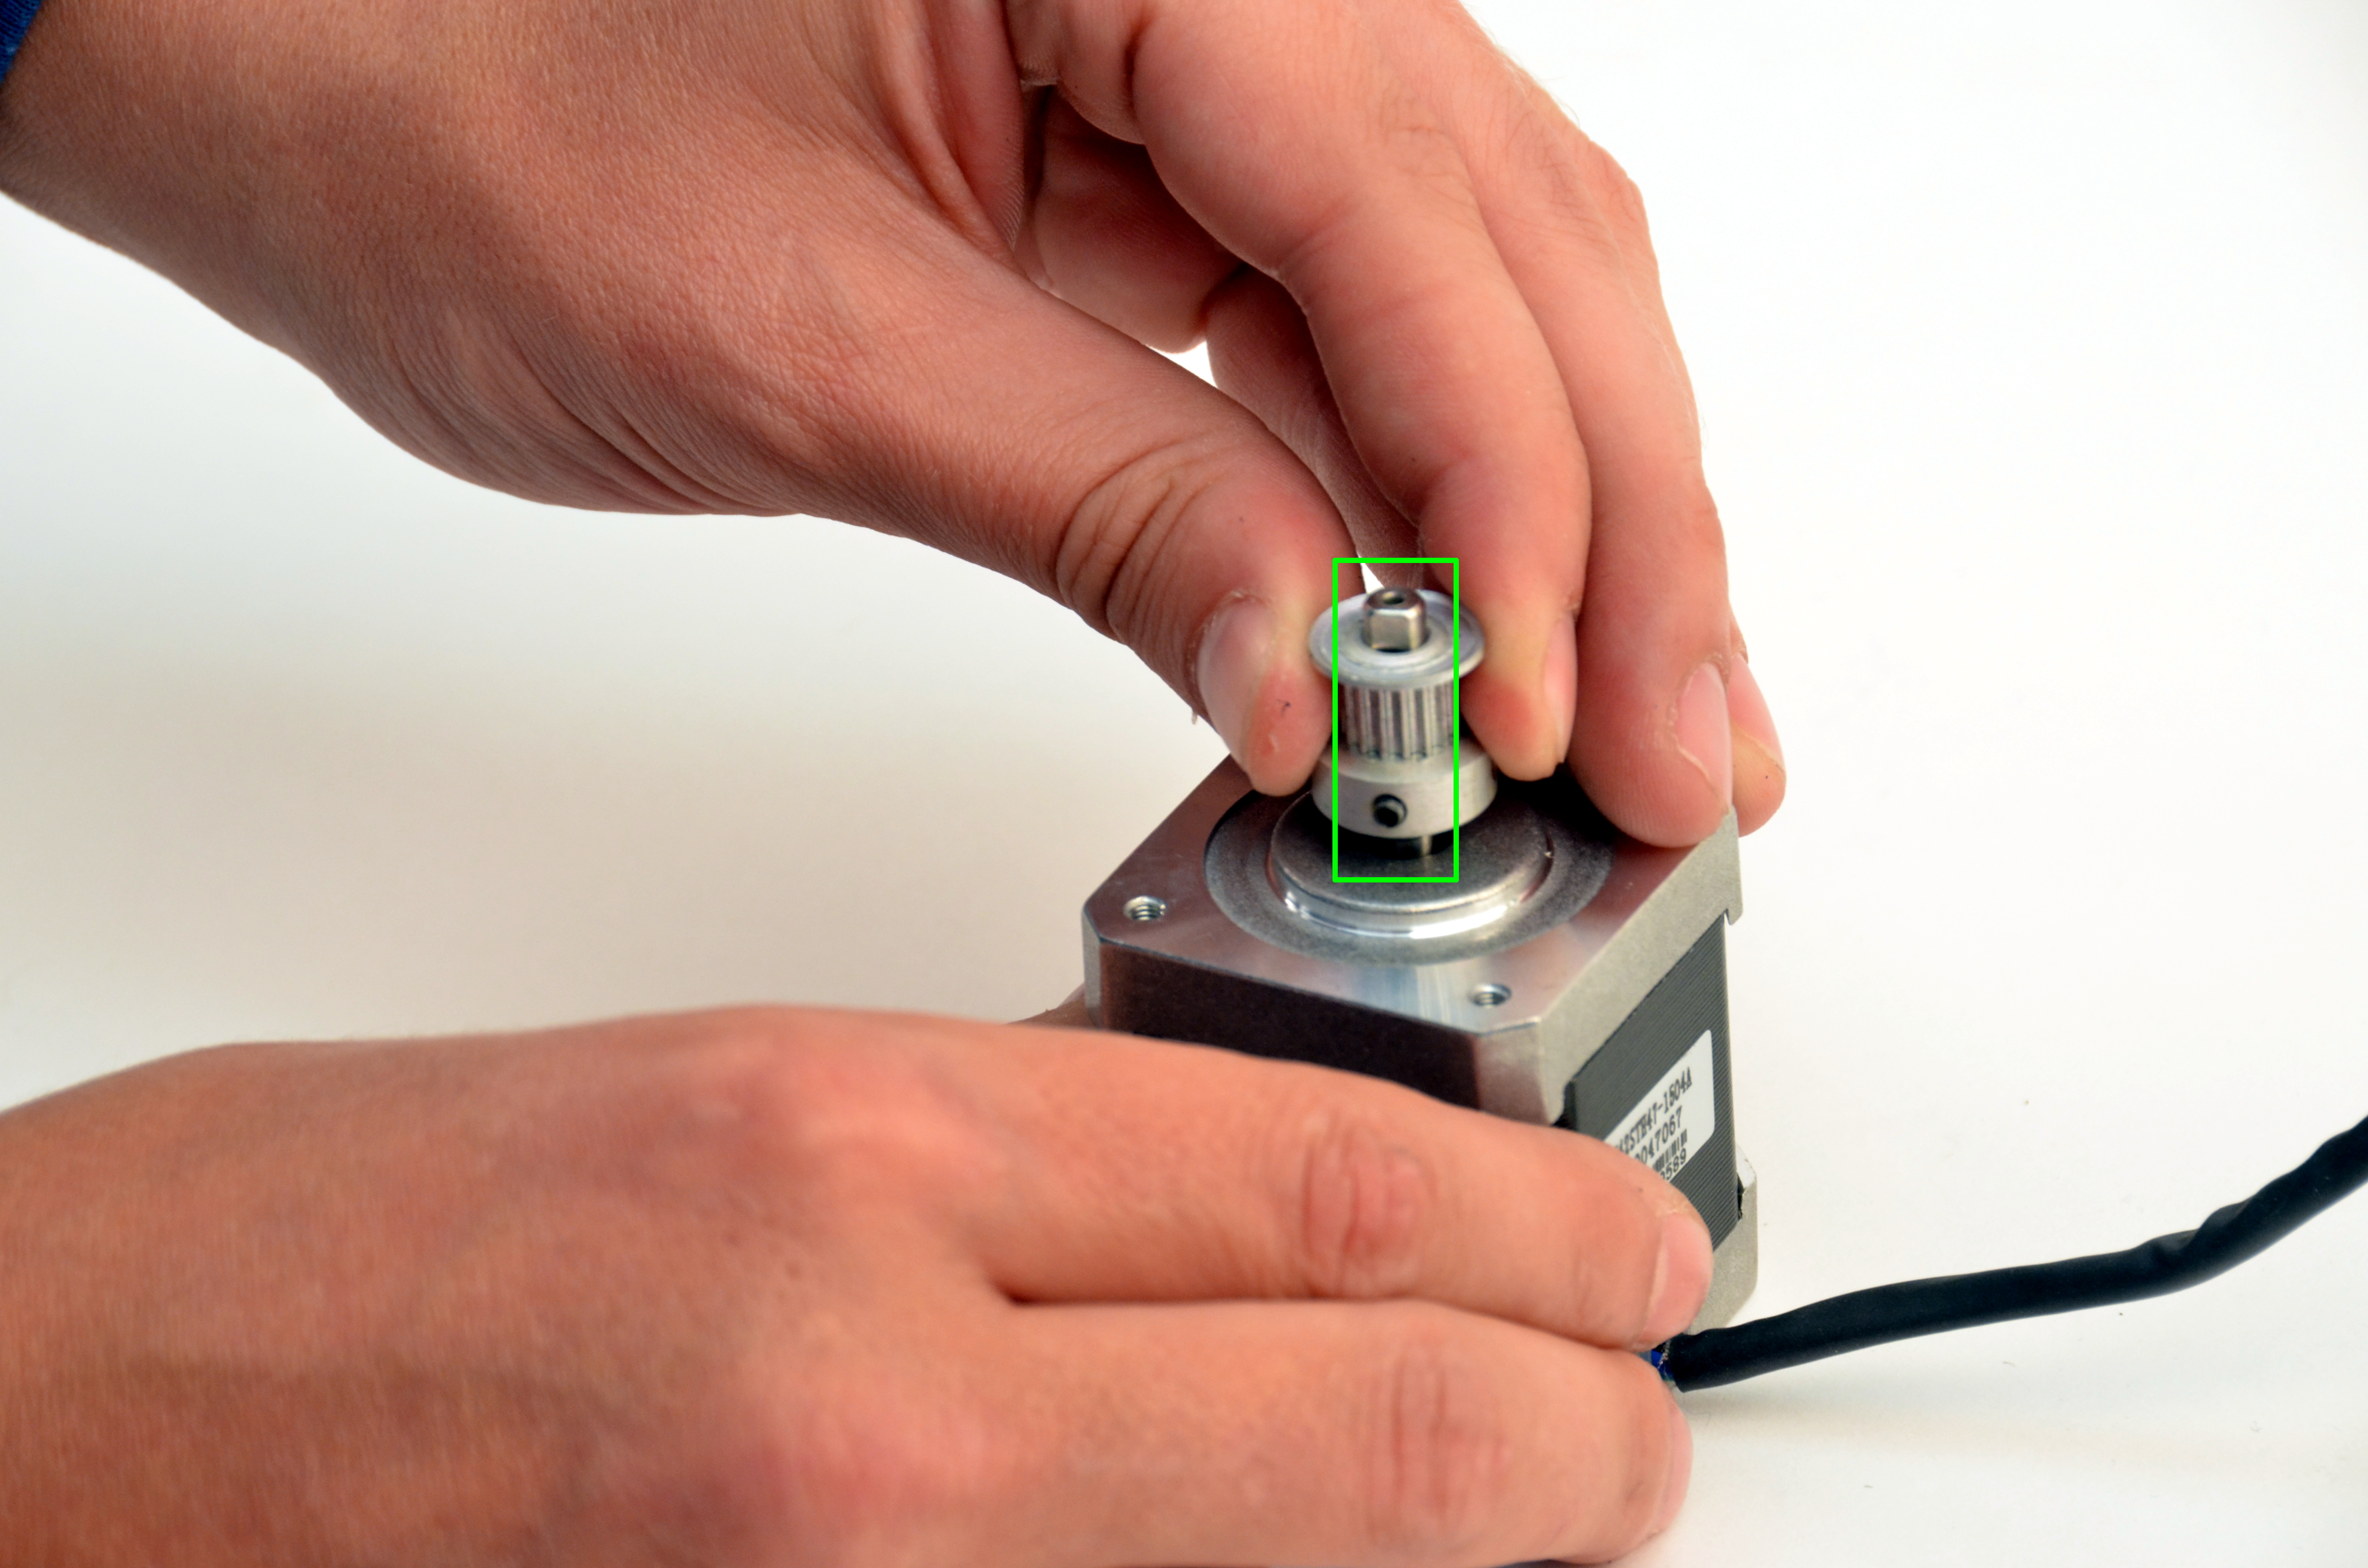
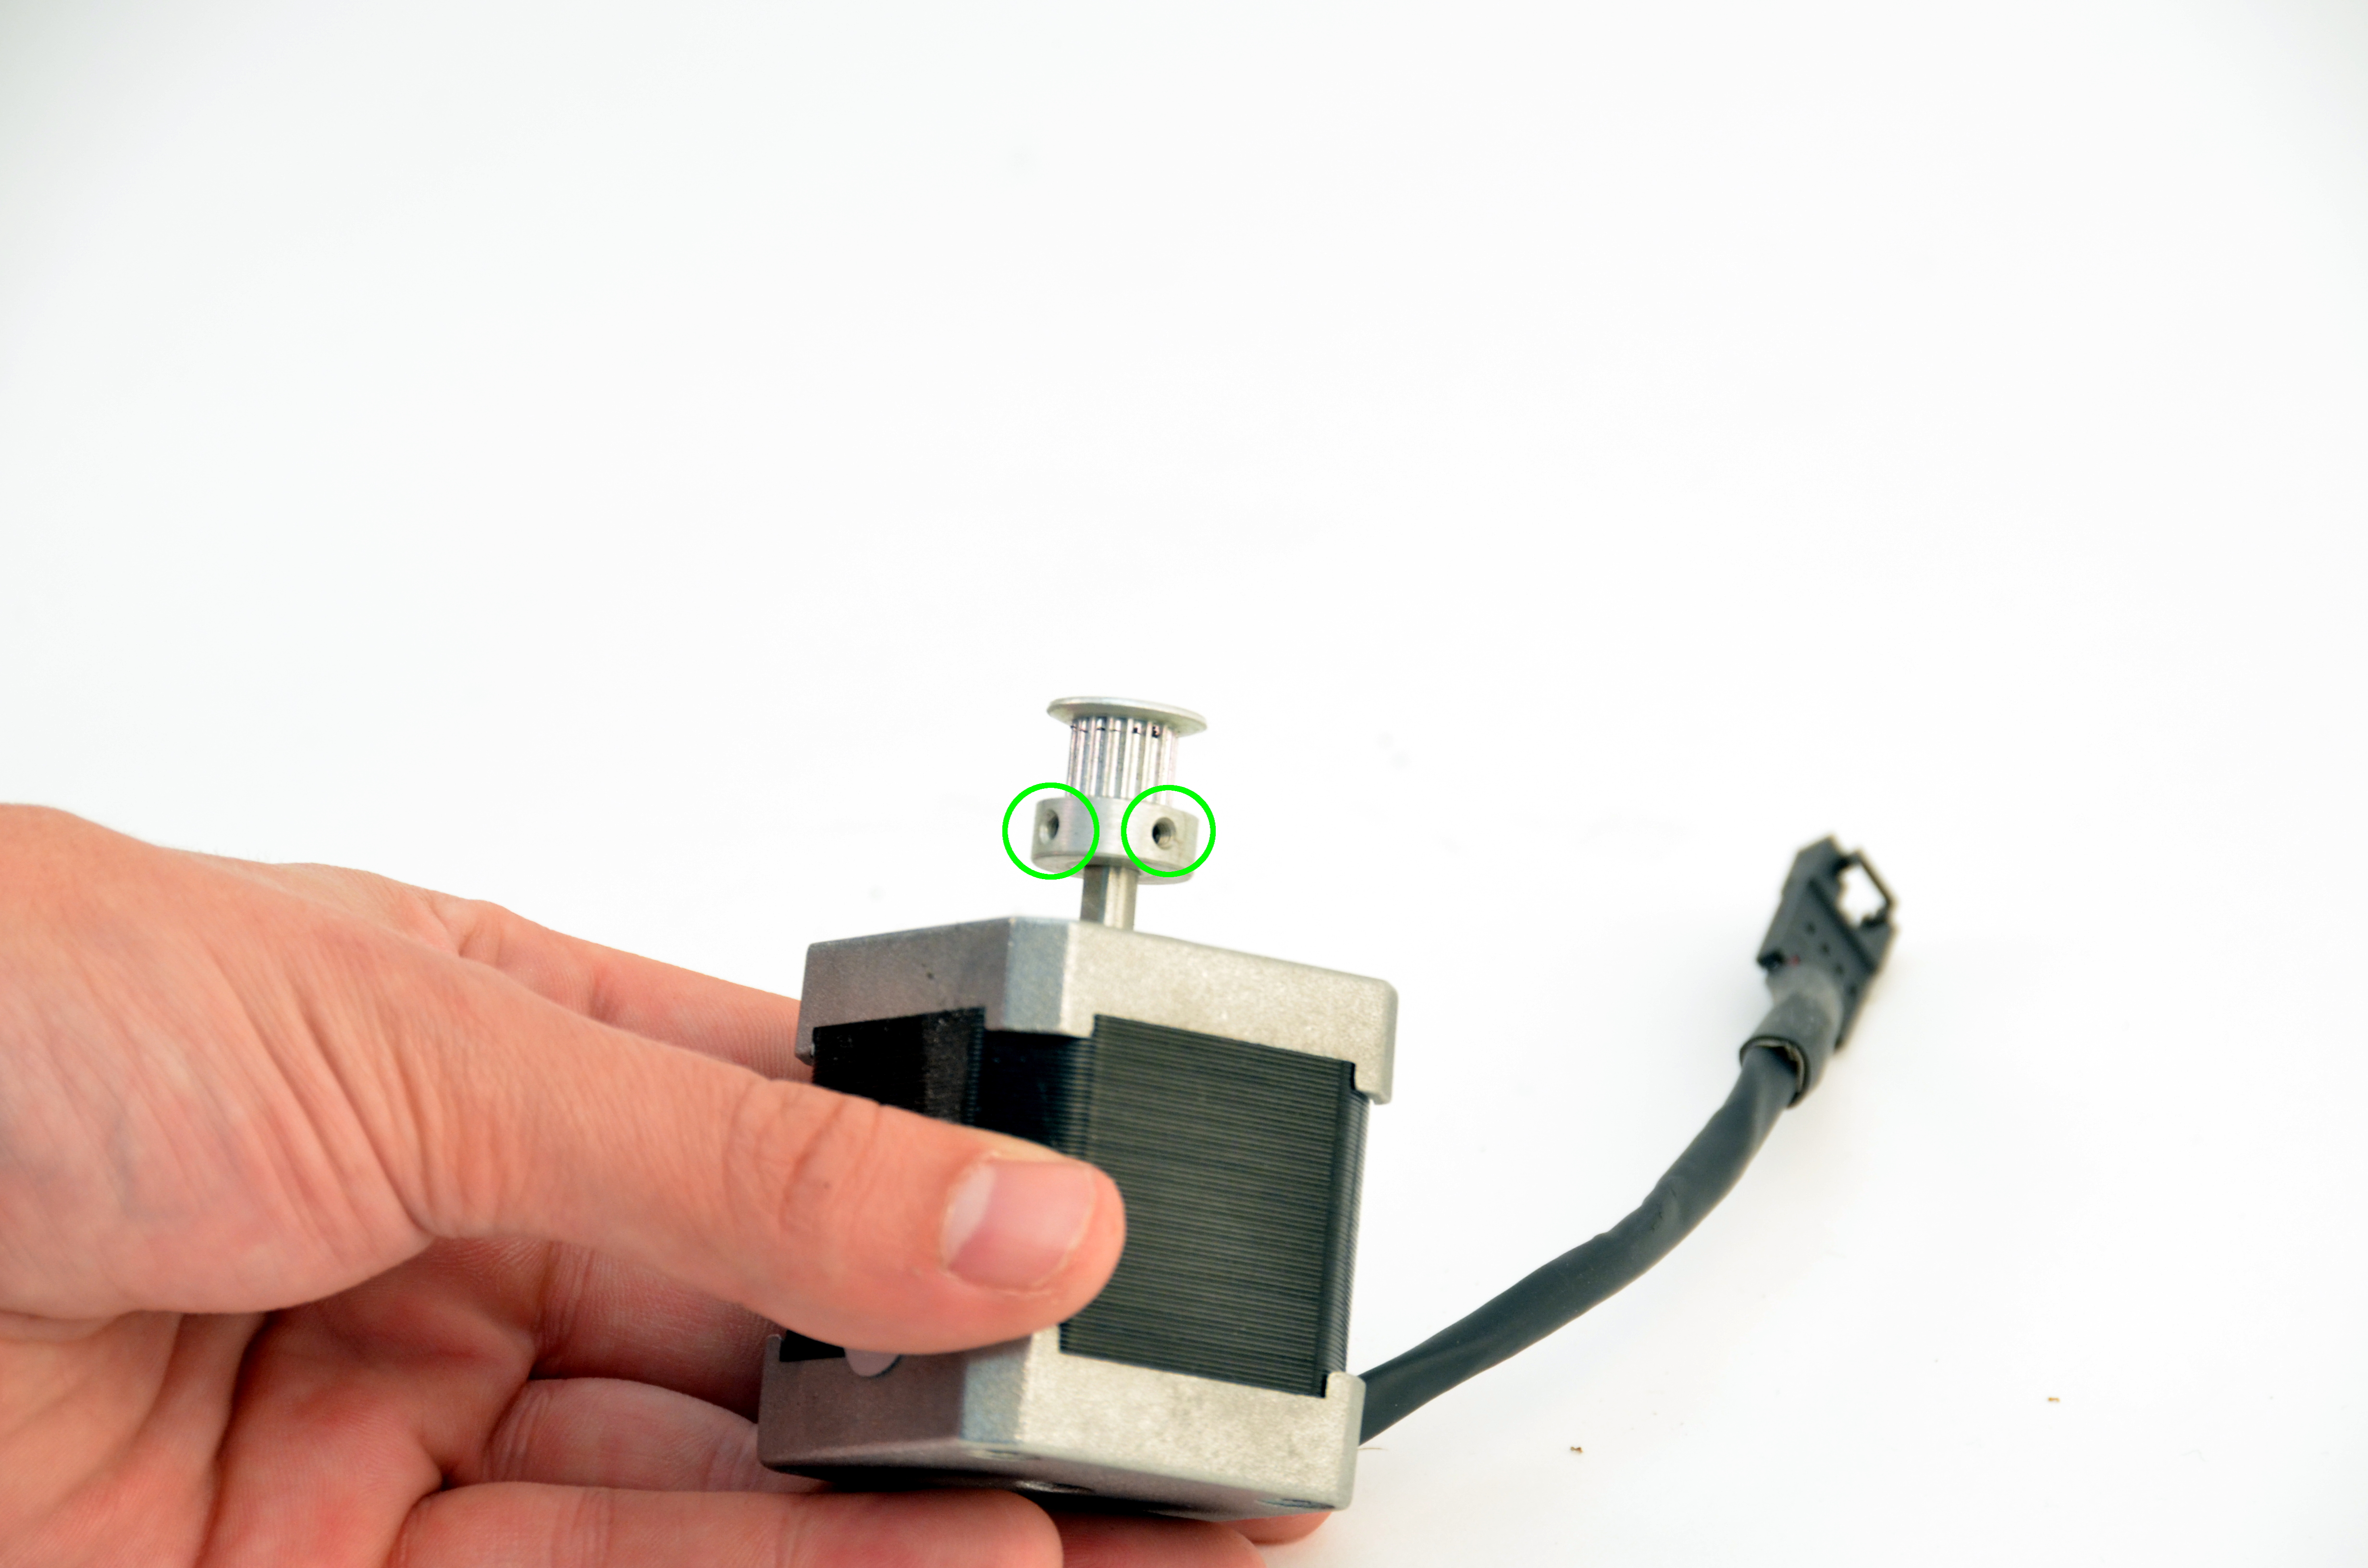
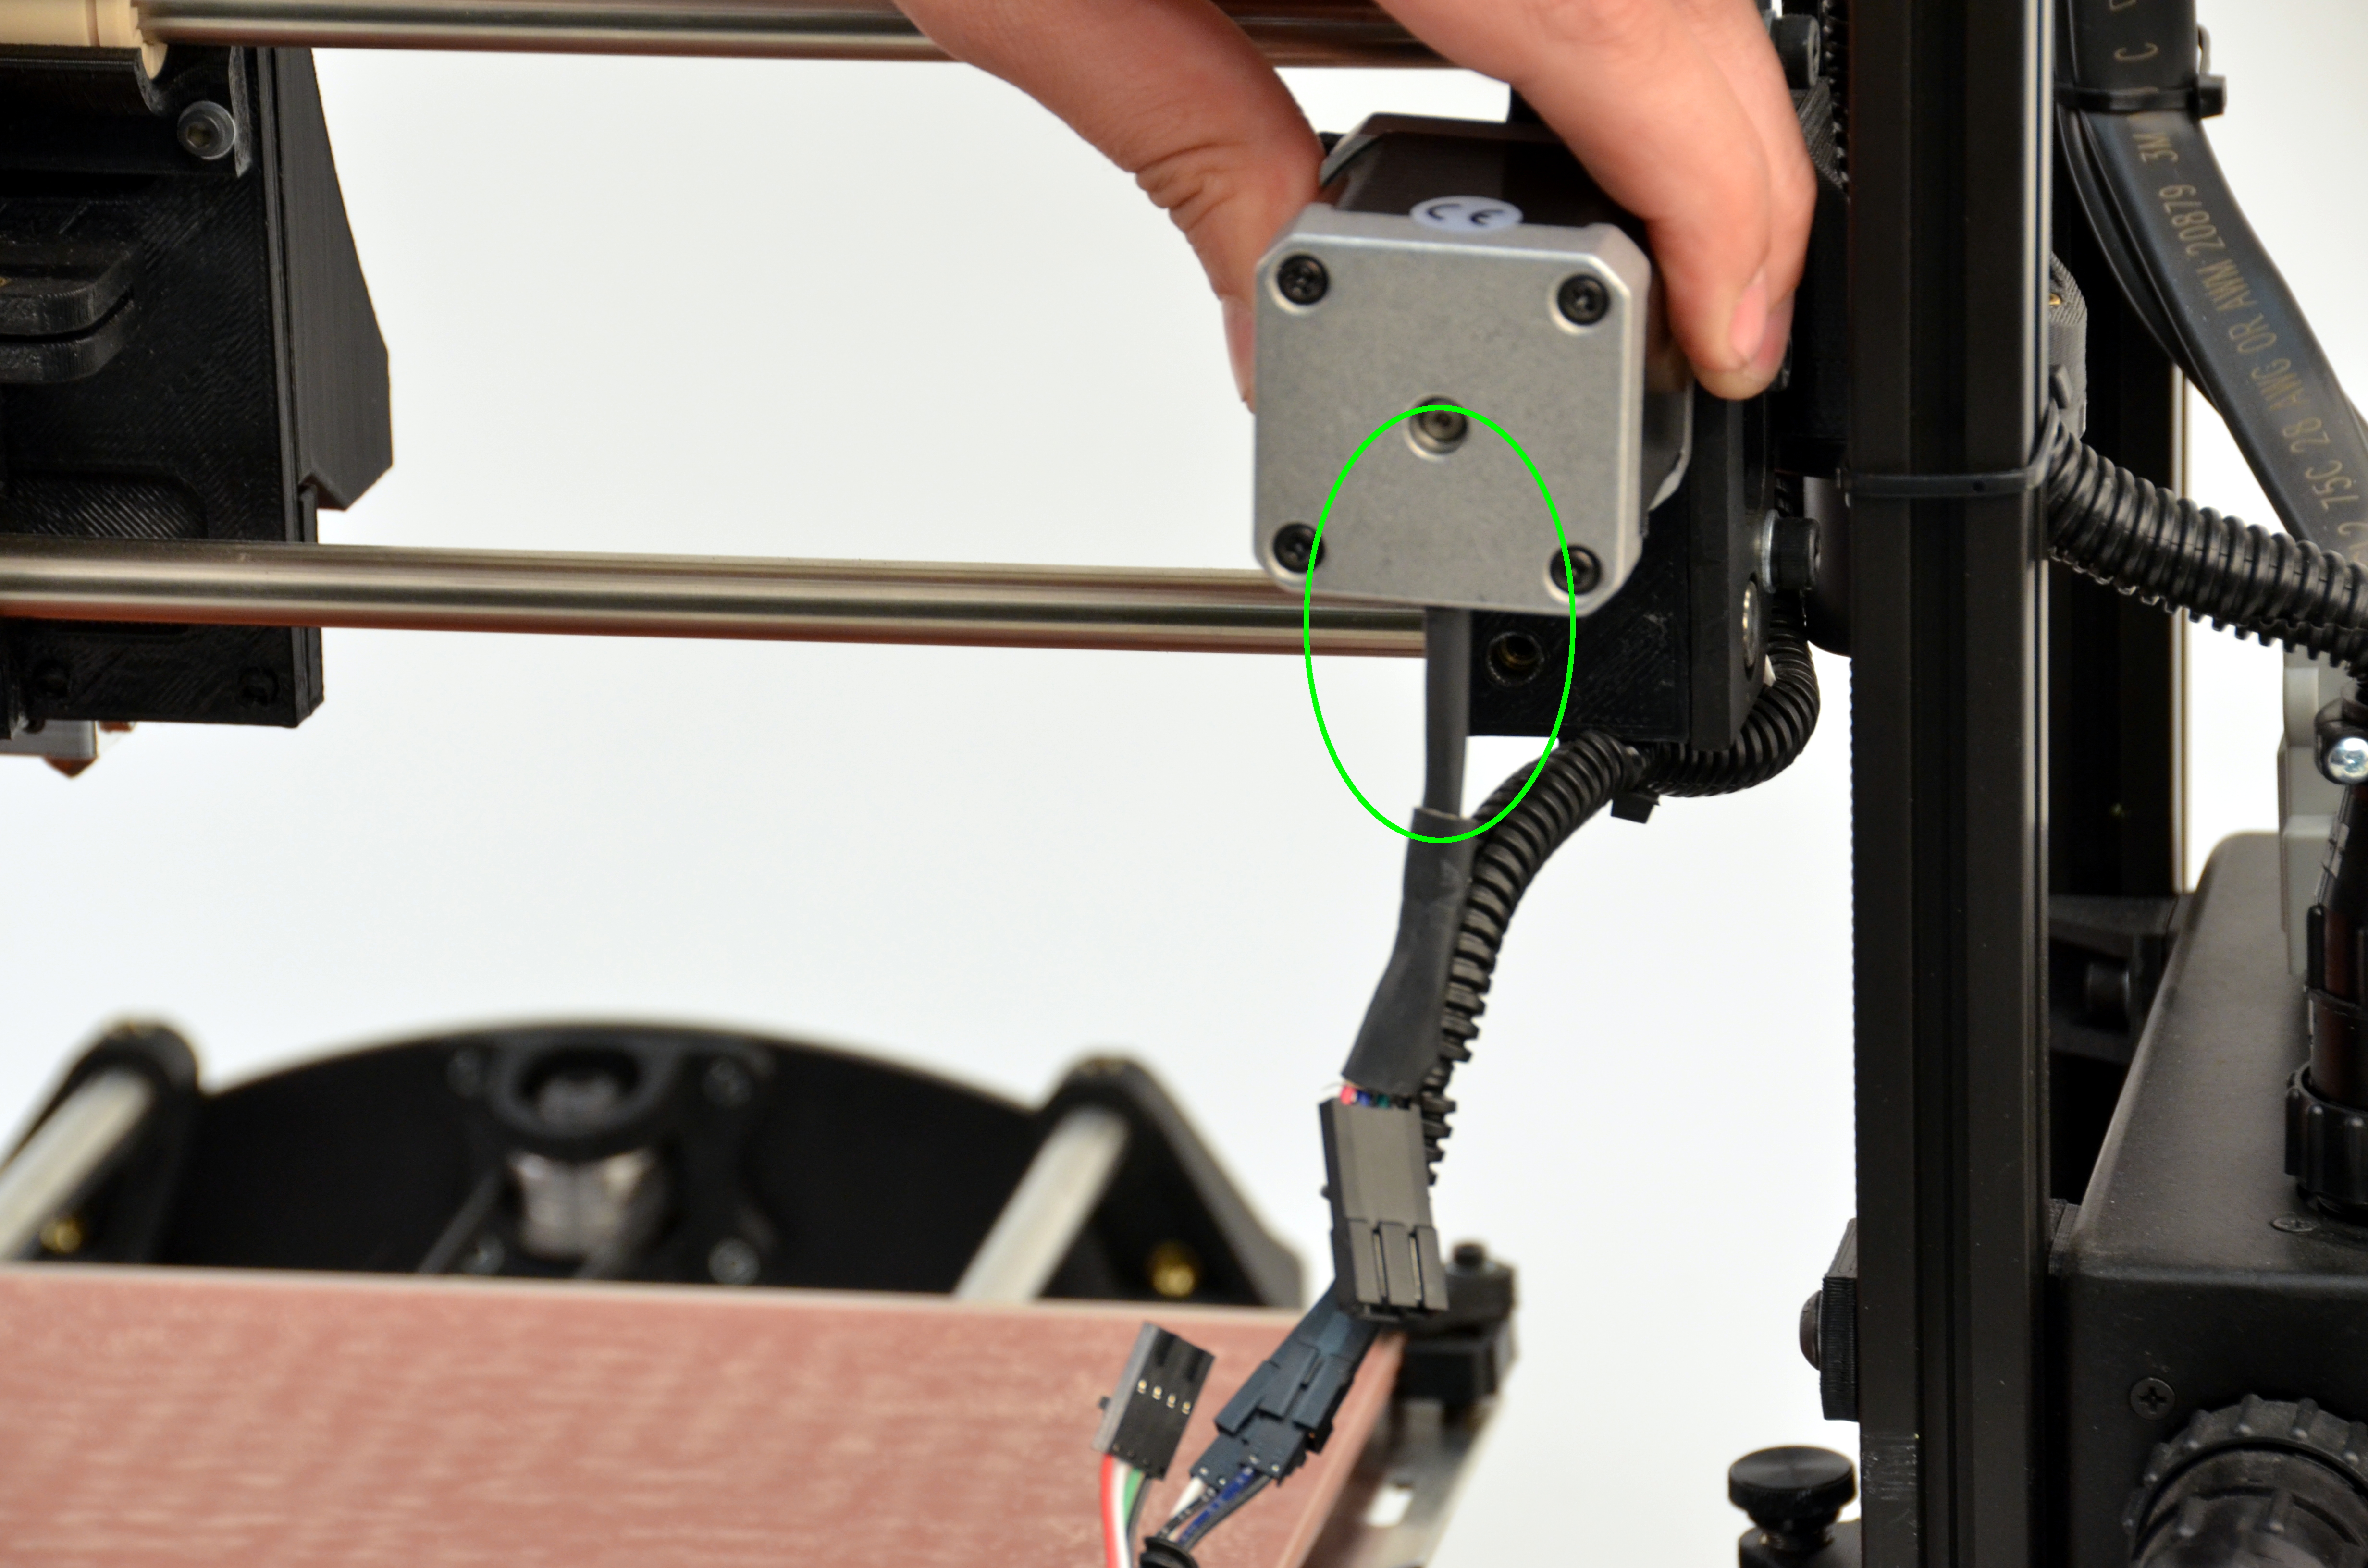
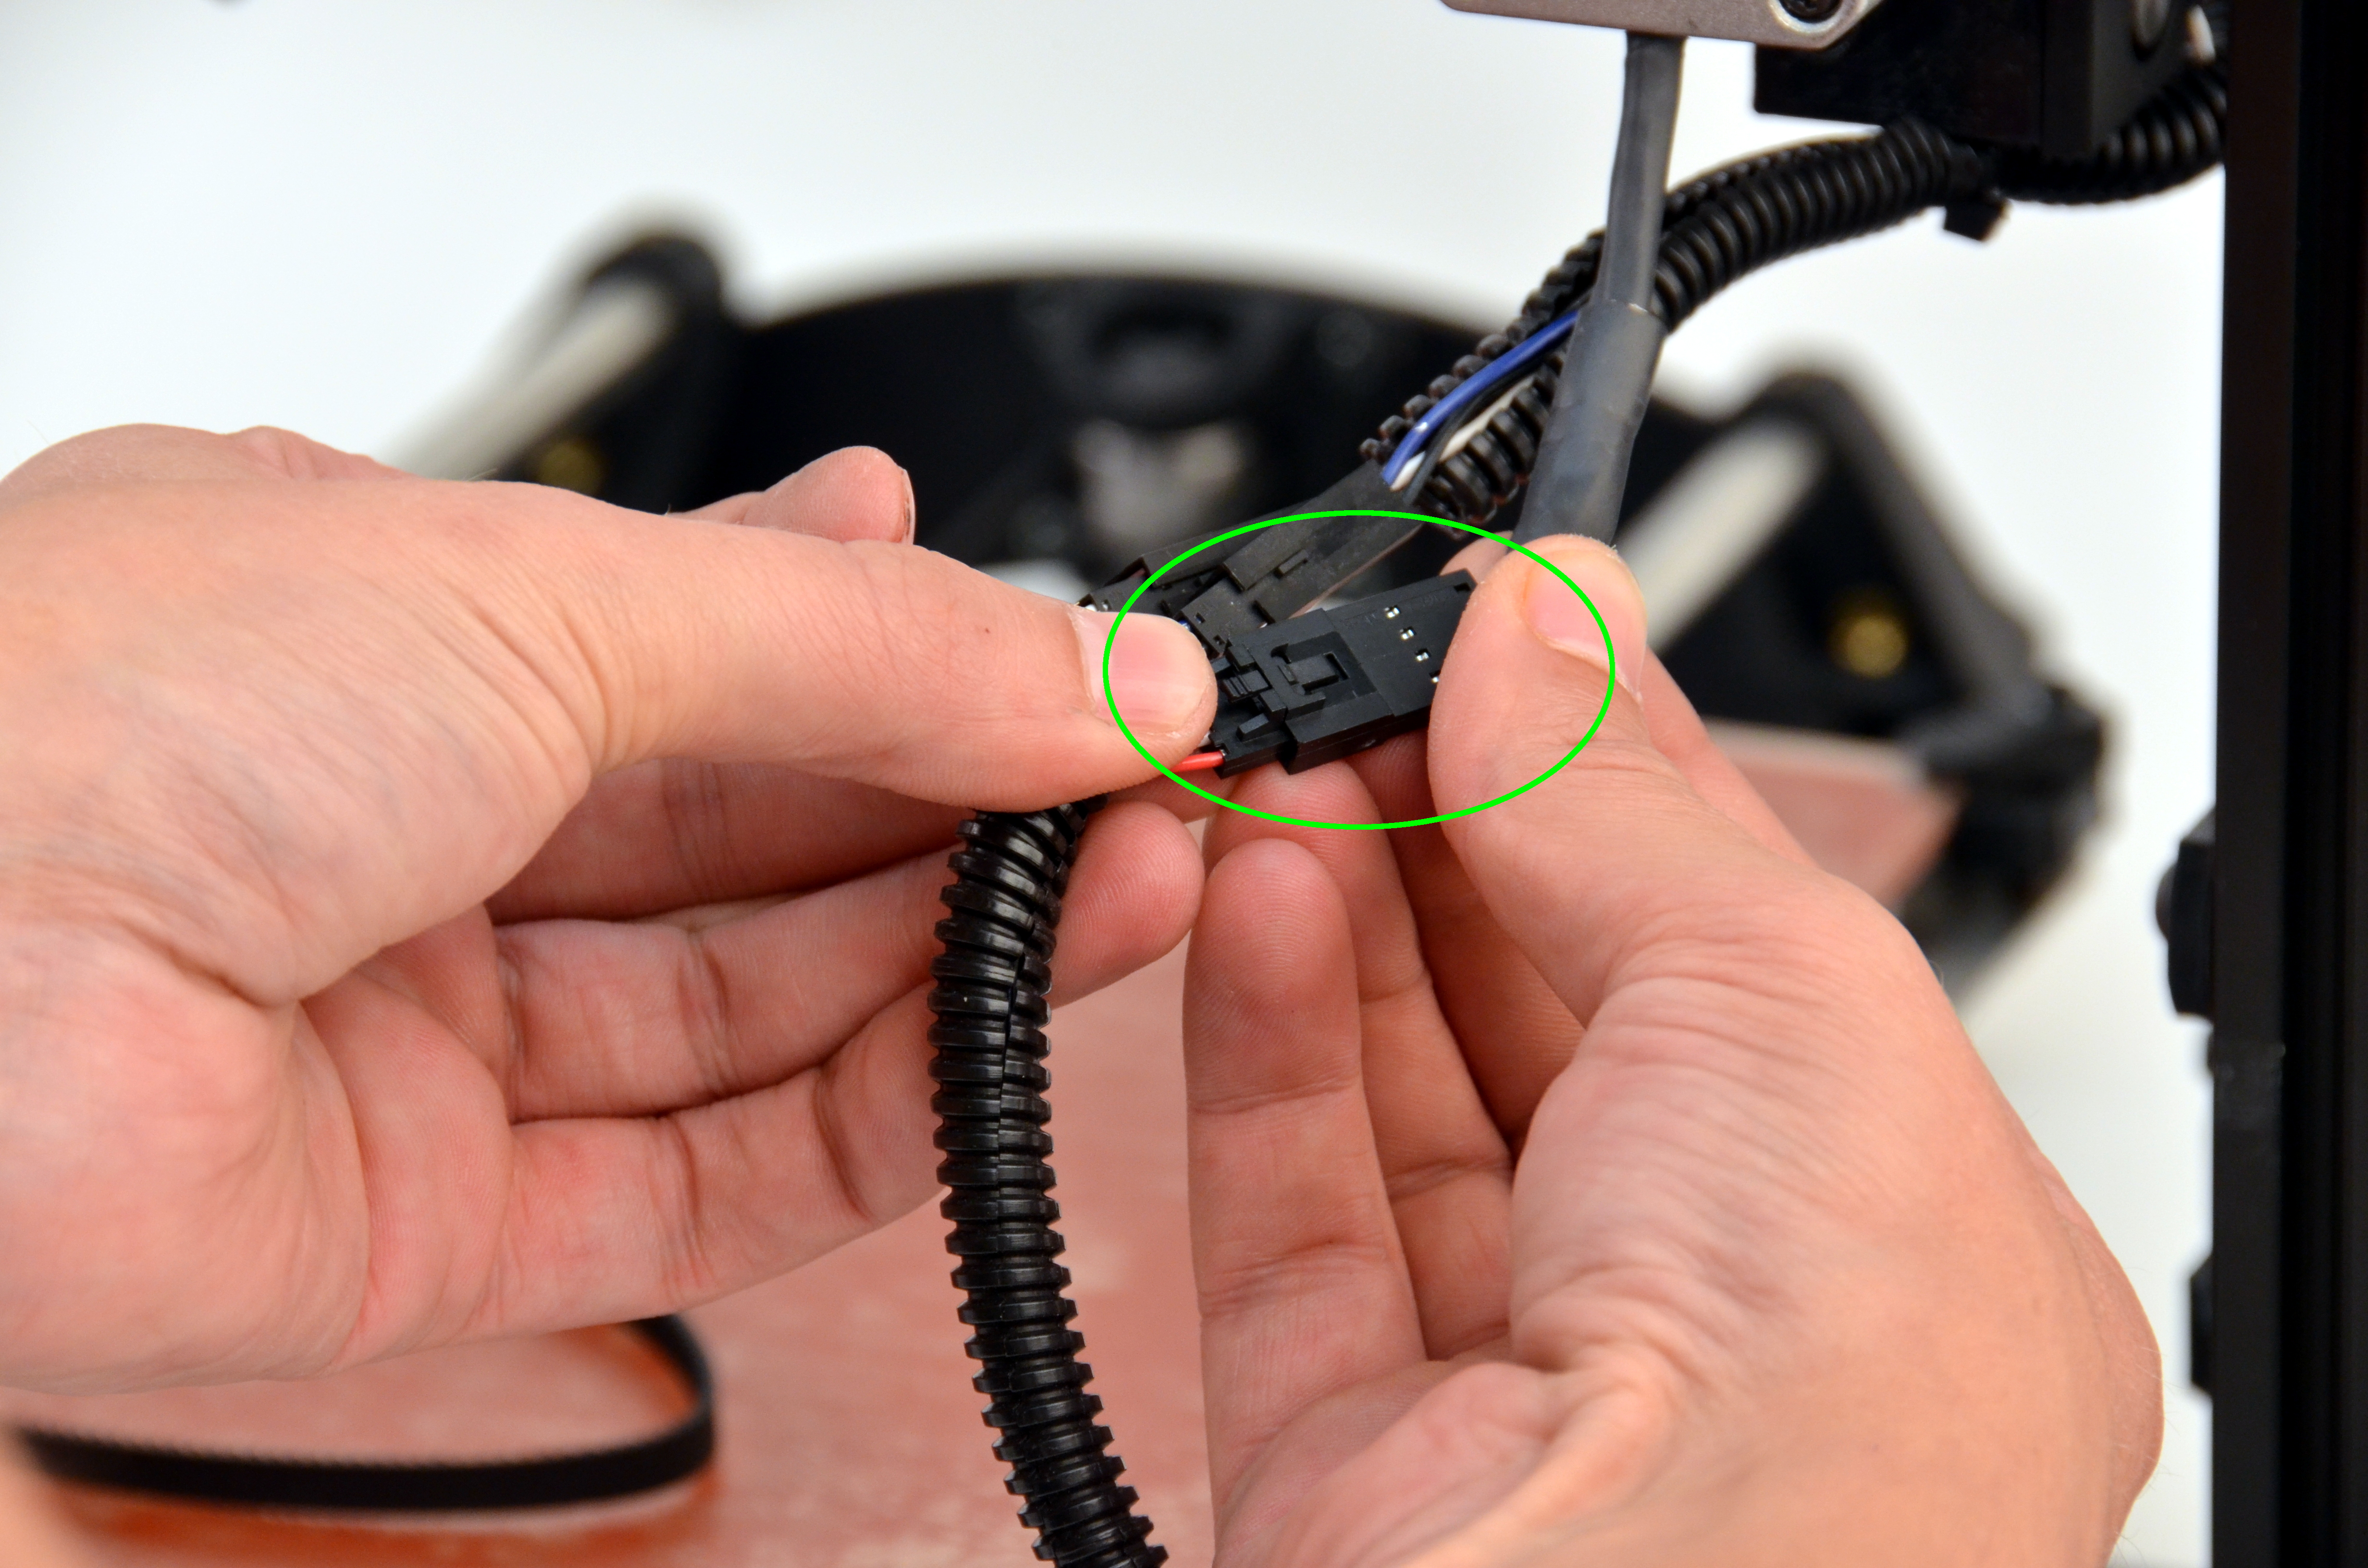
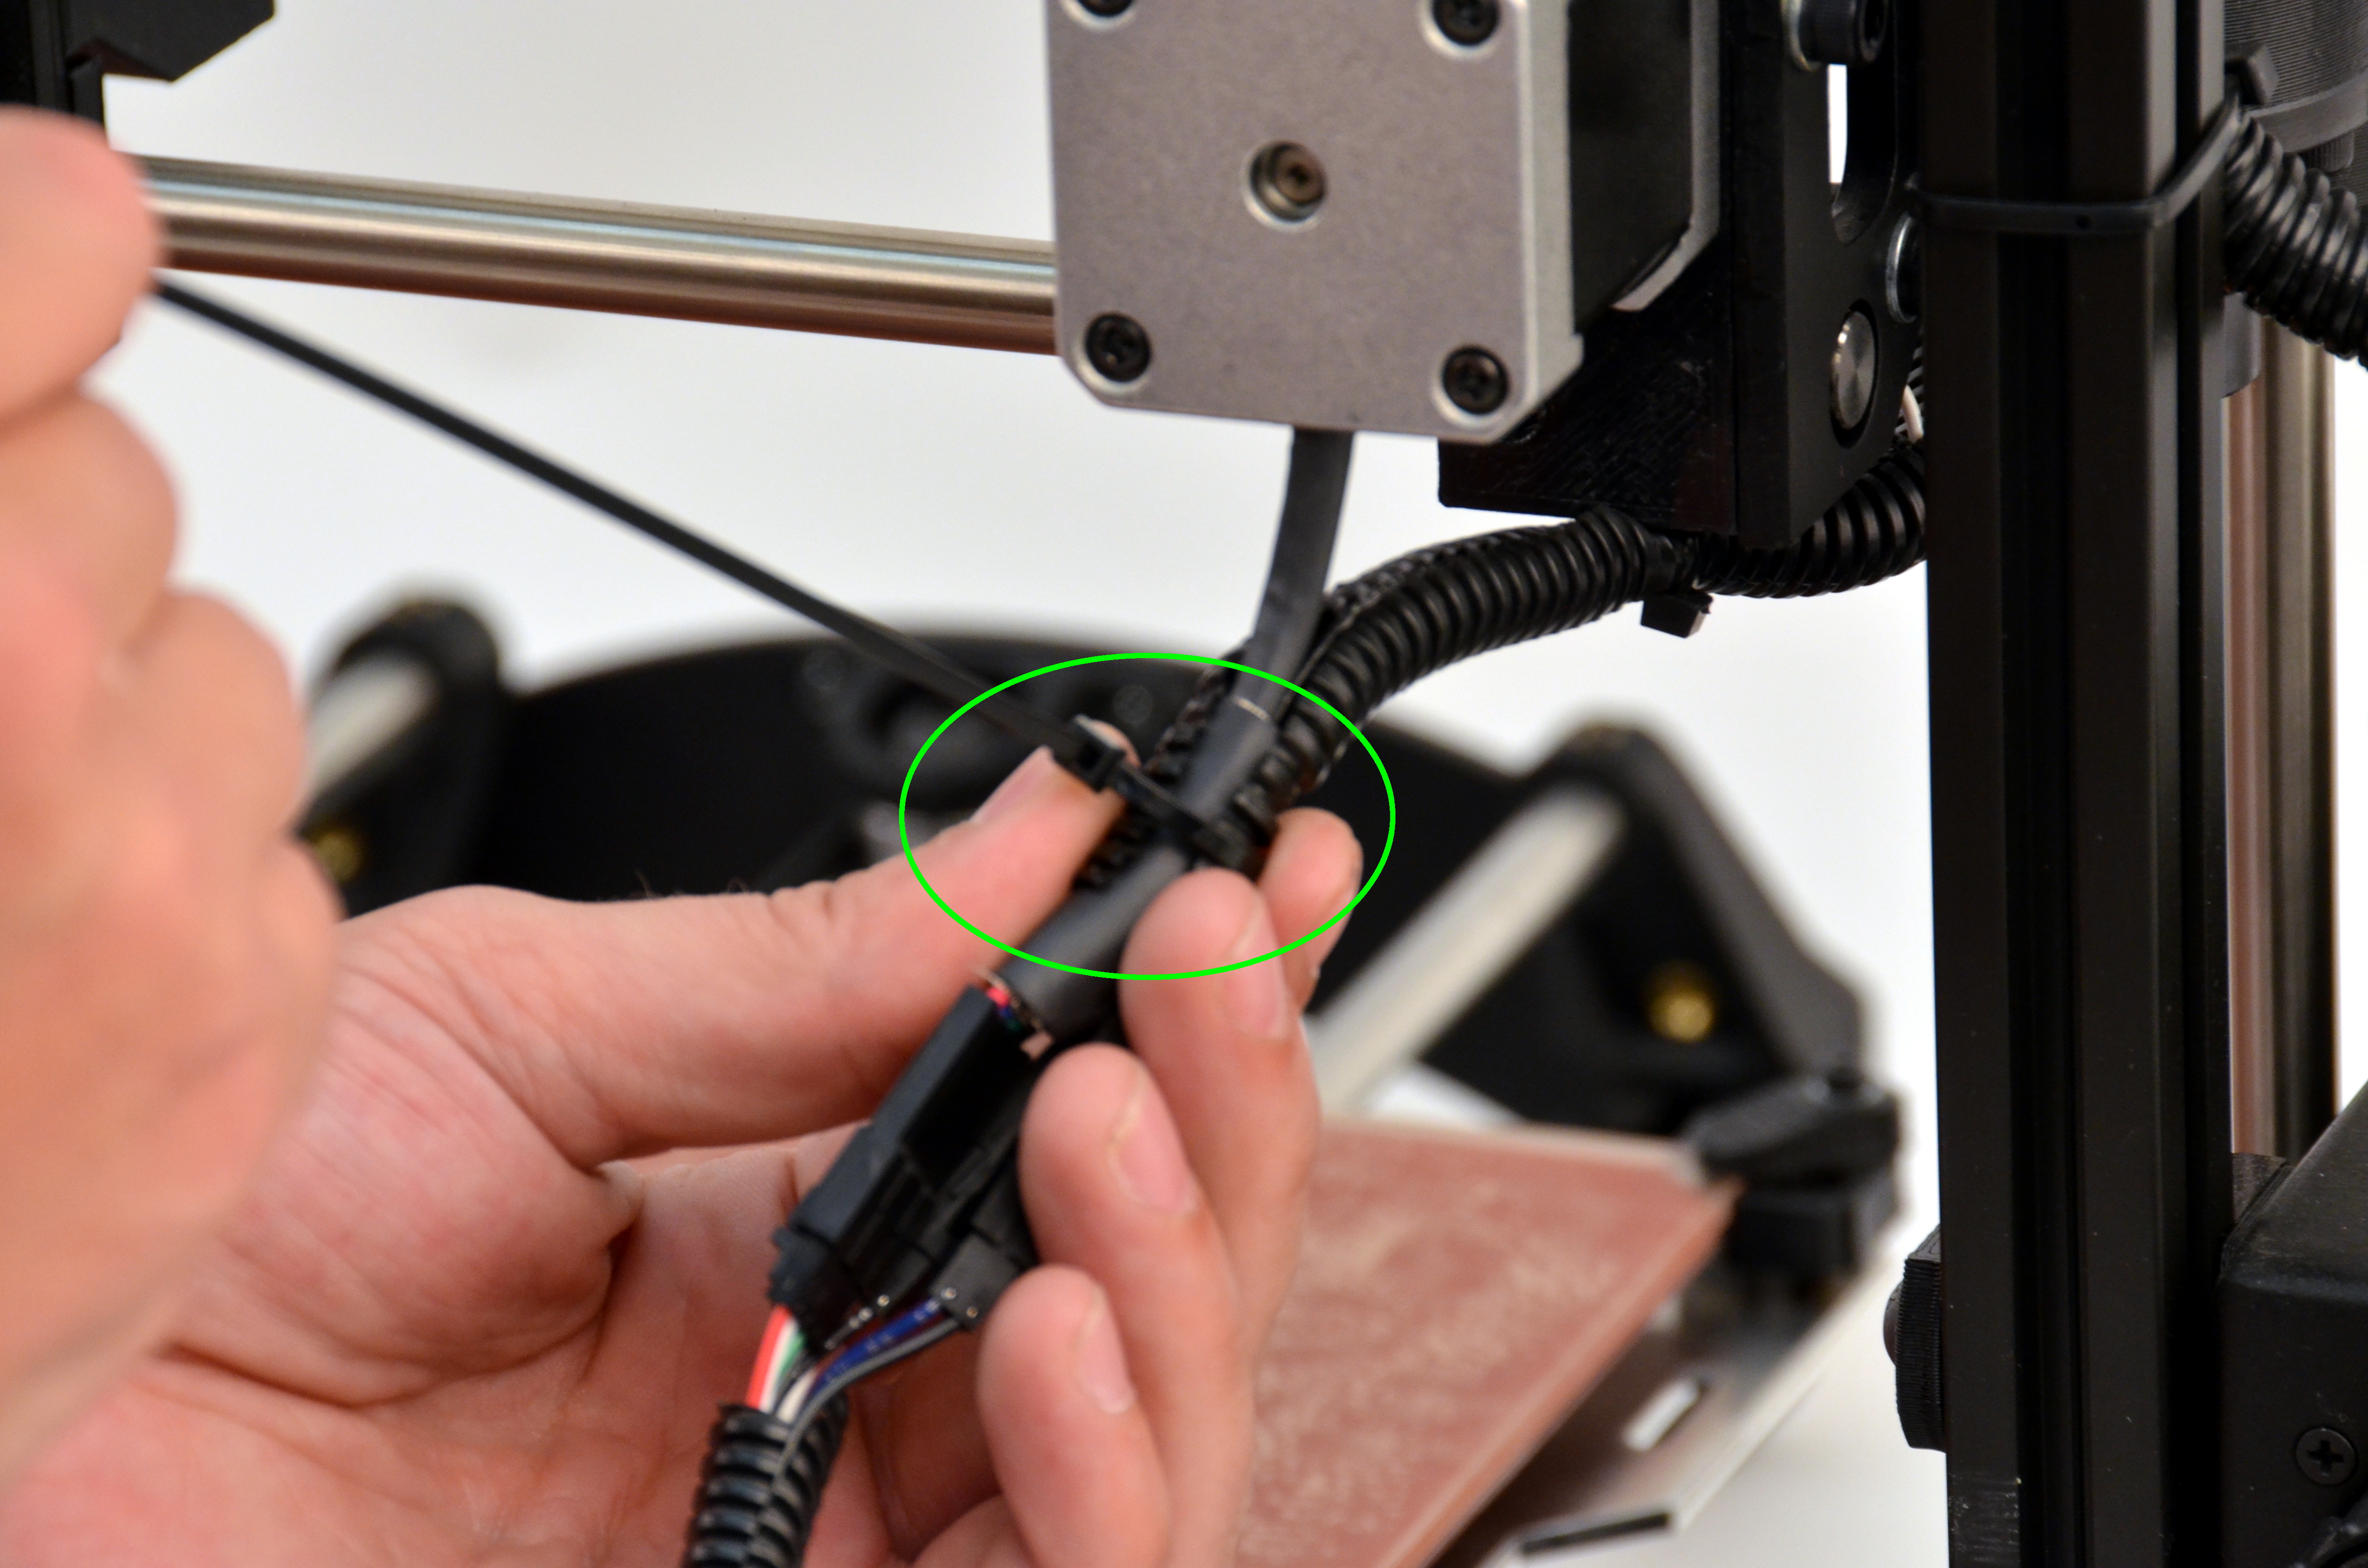
Verify everything is working properly:

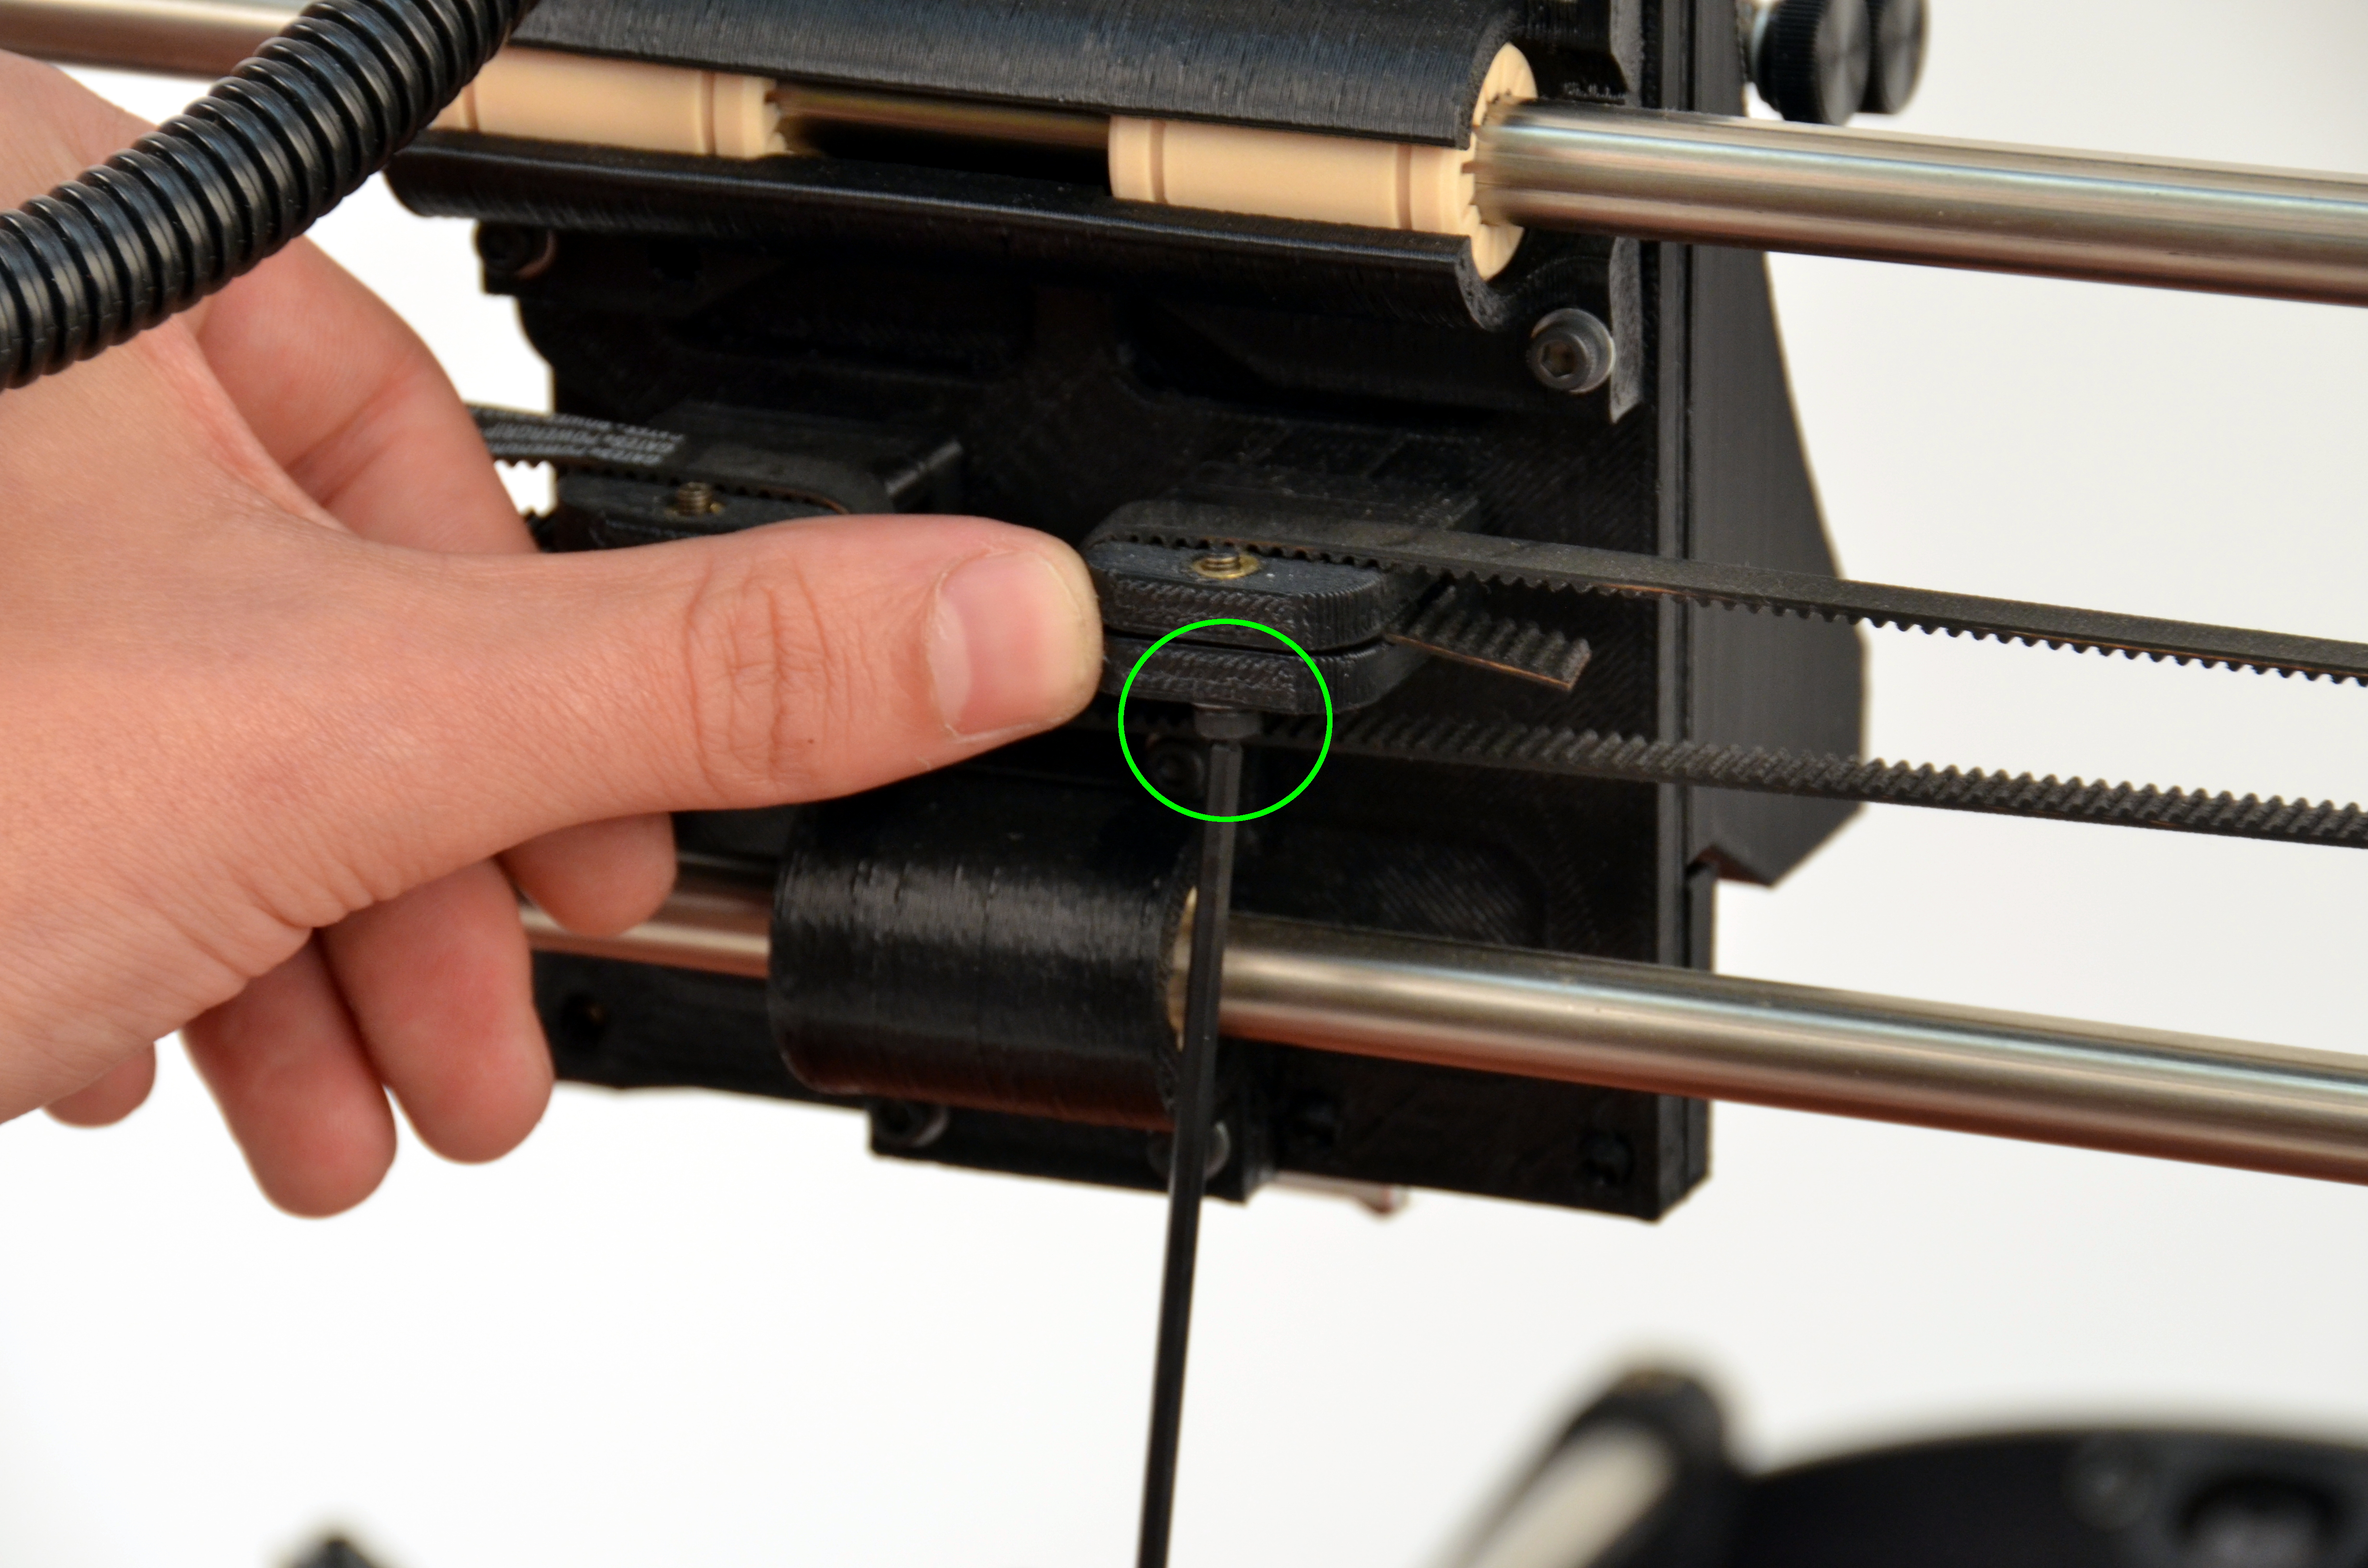
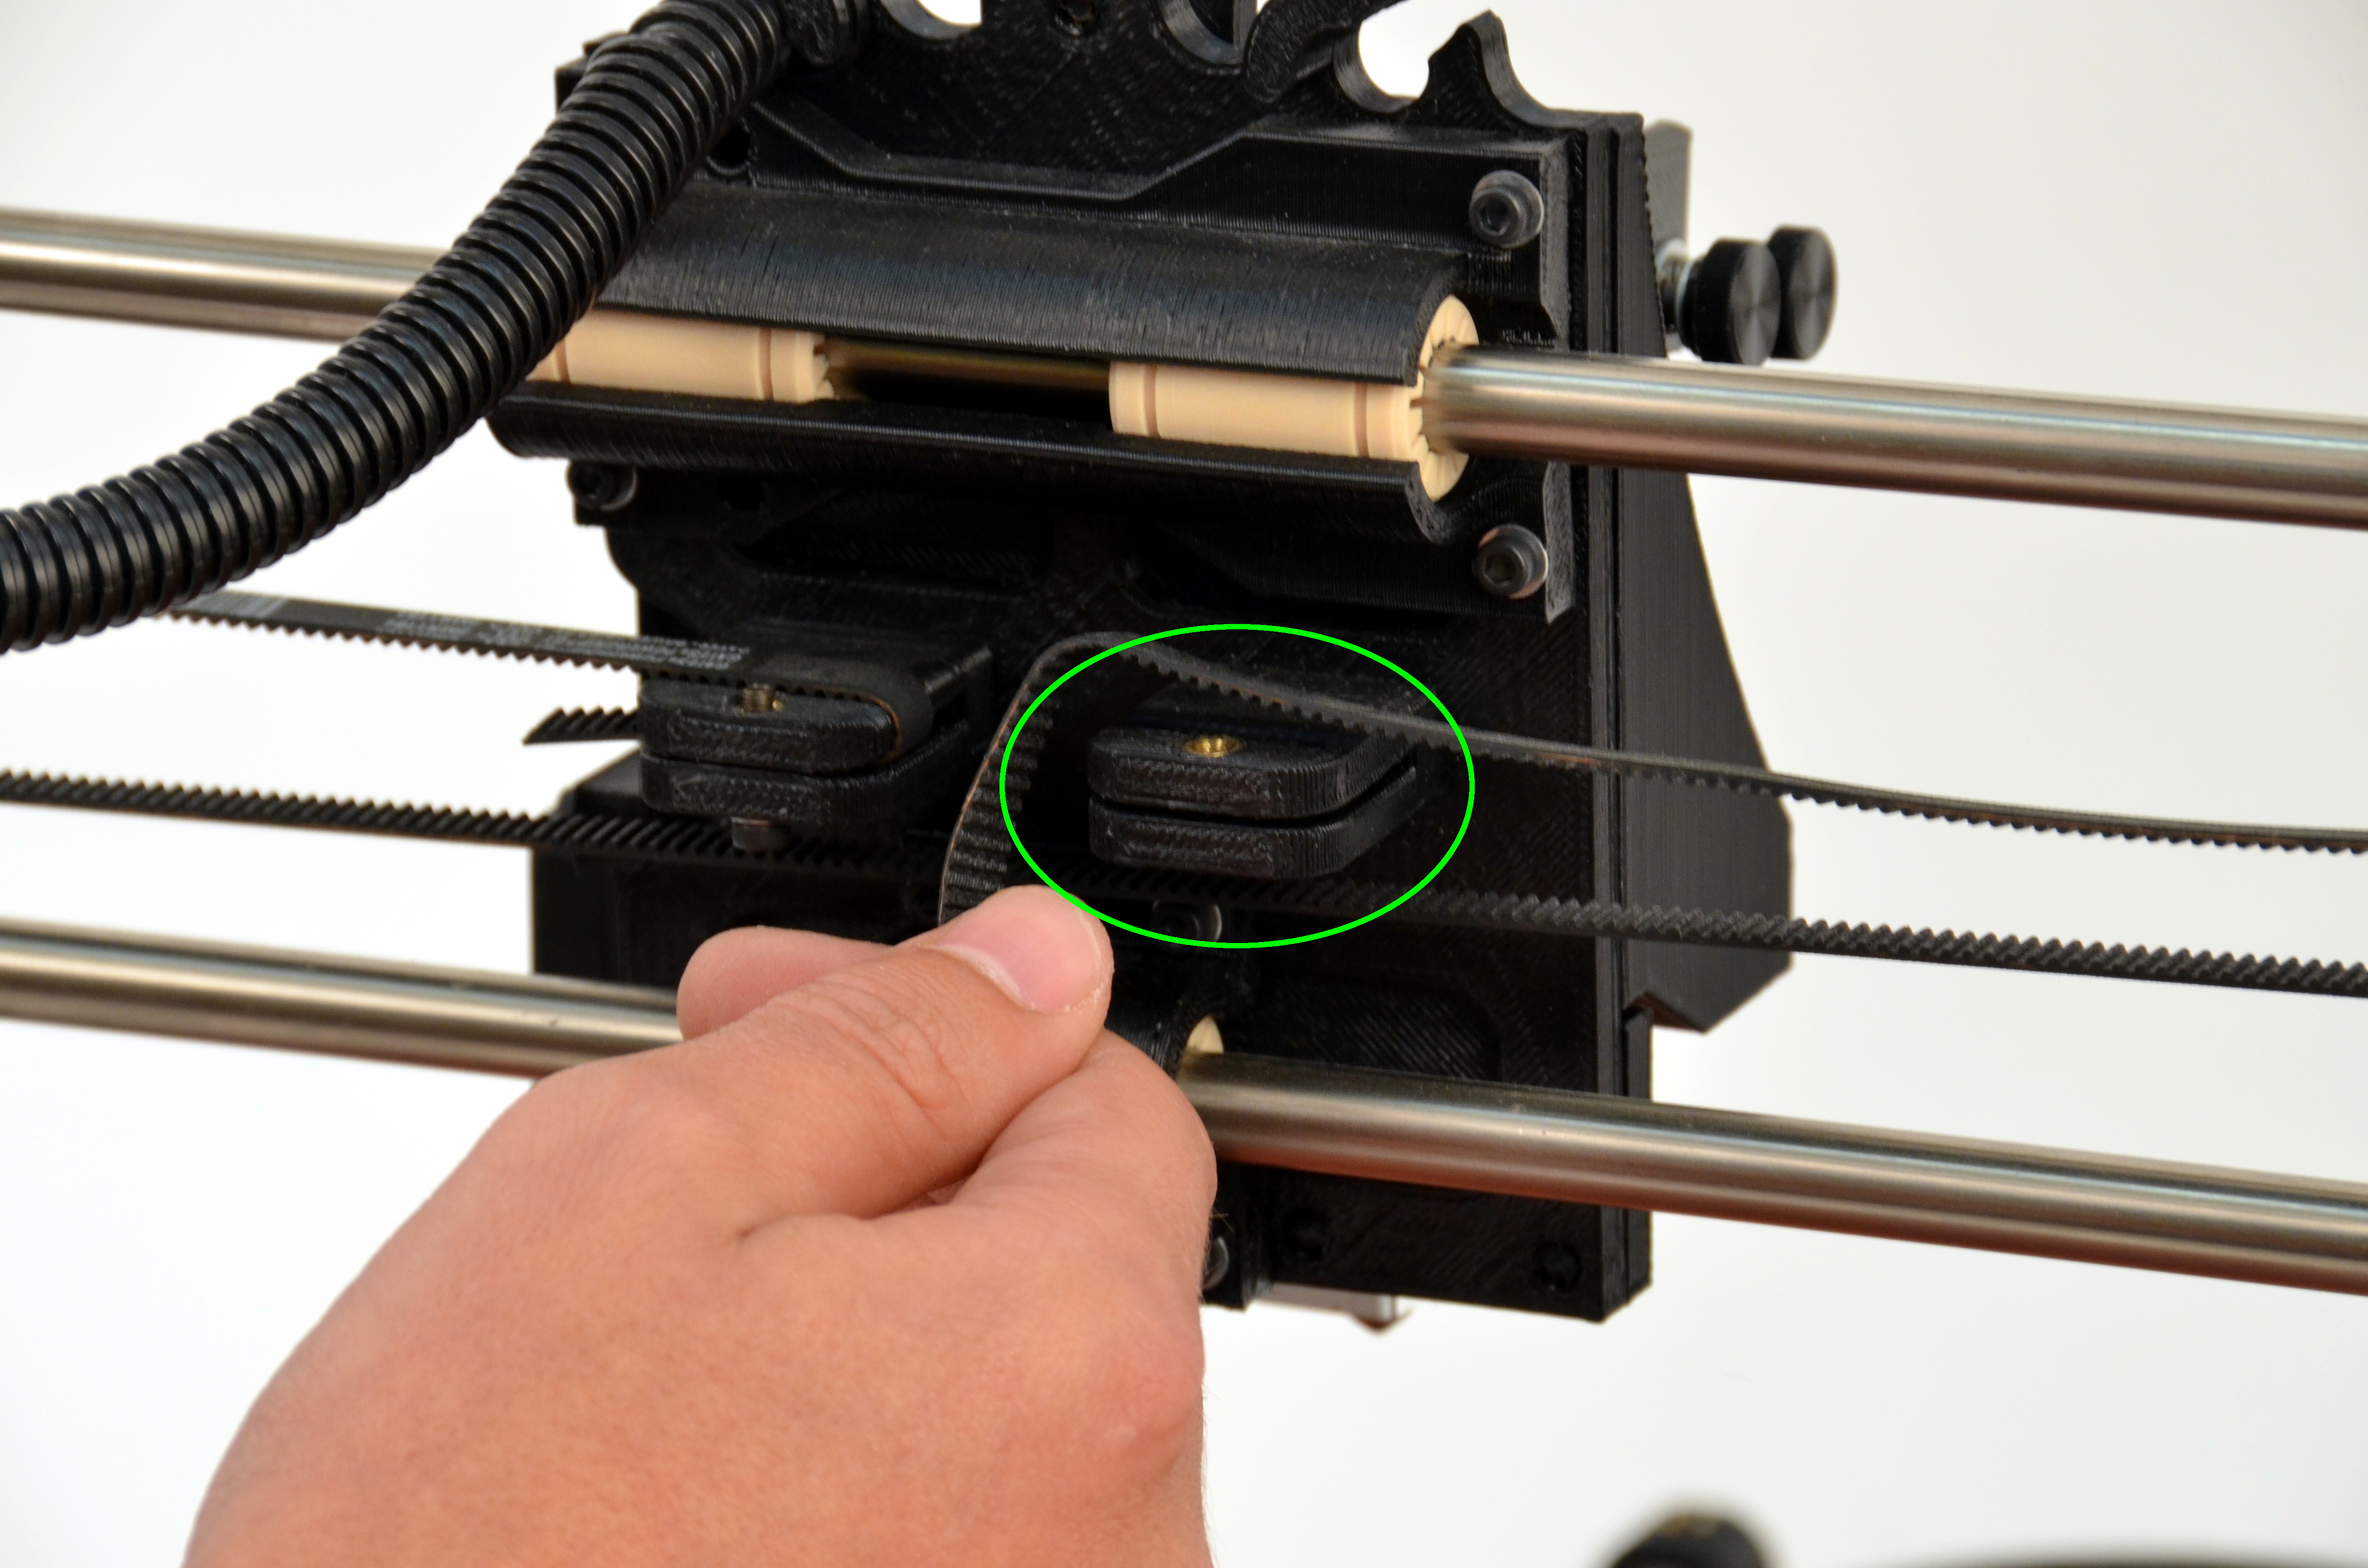
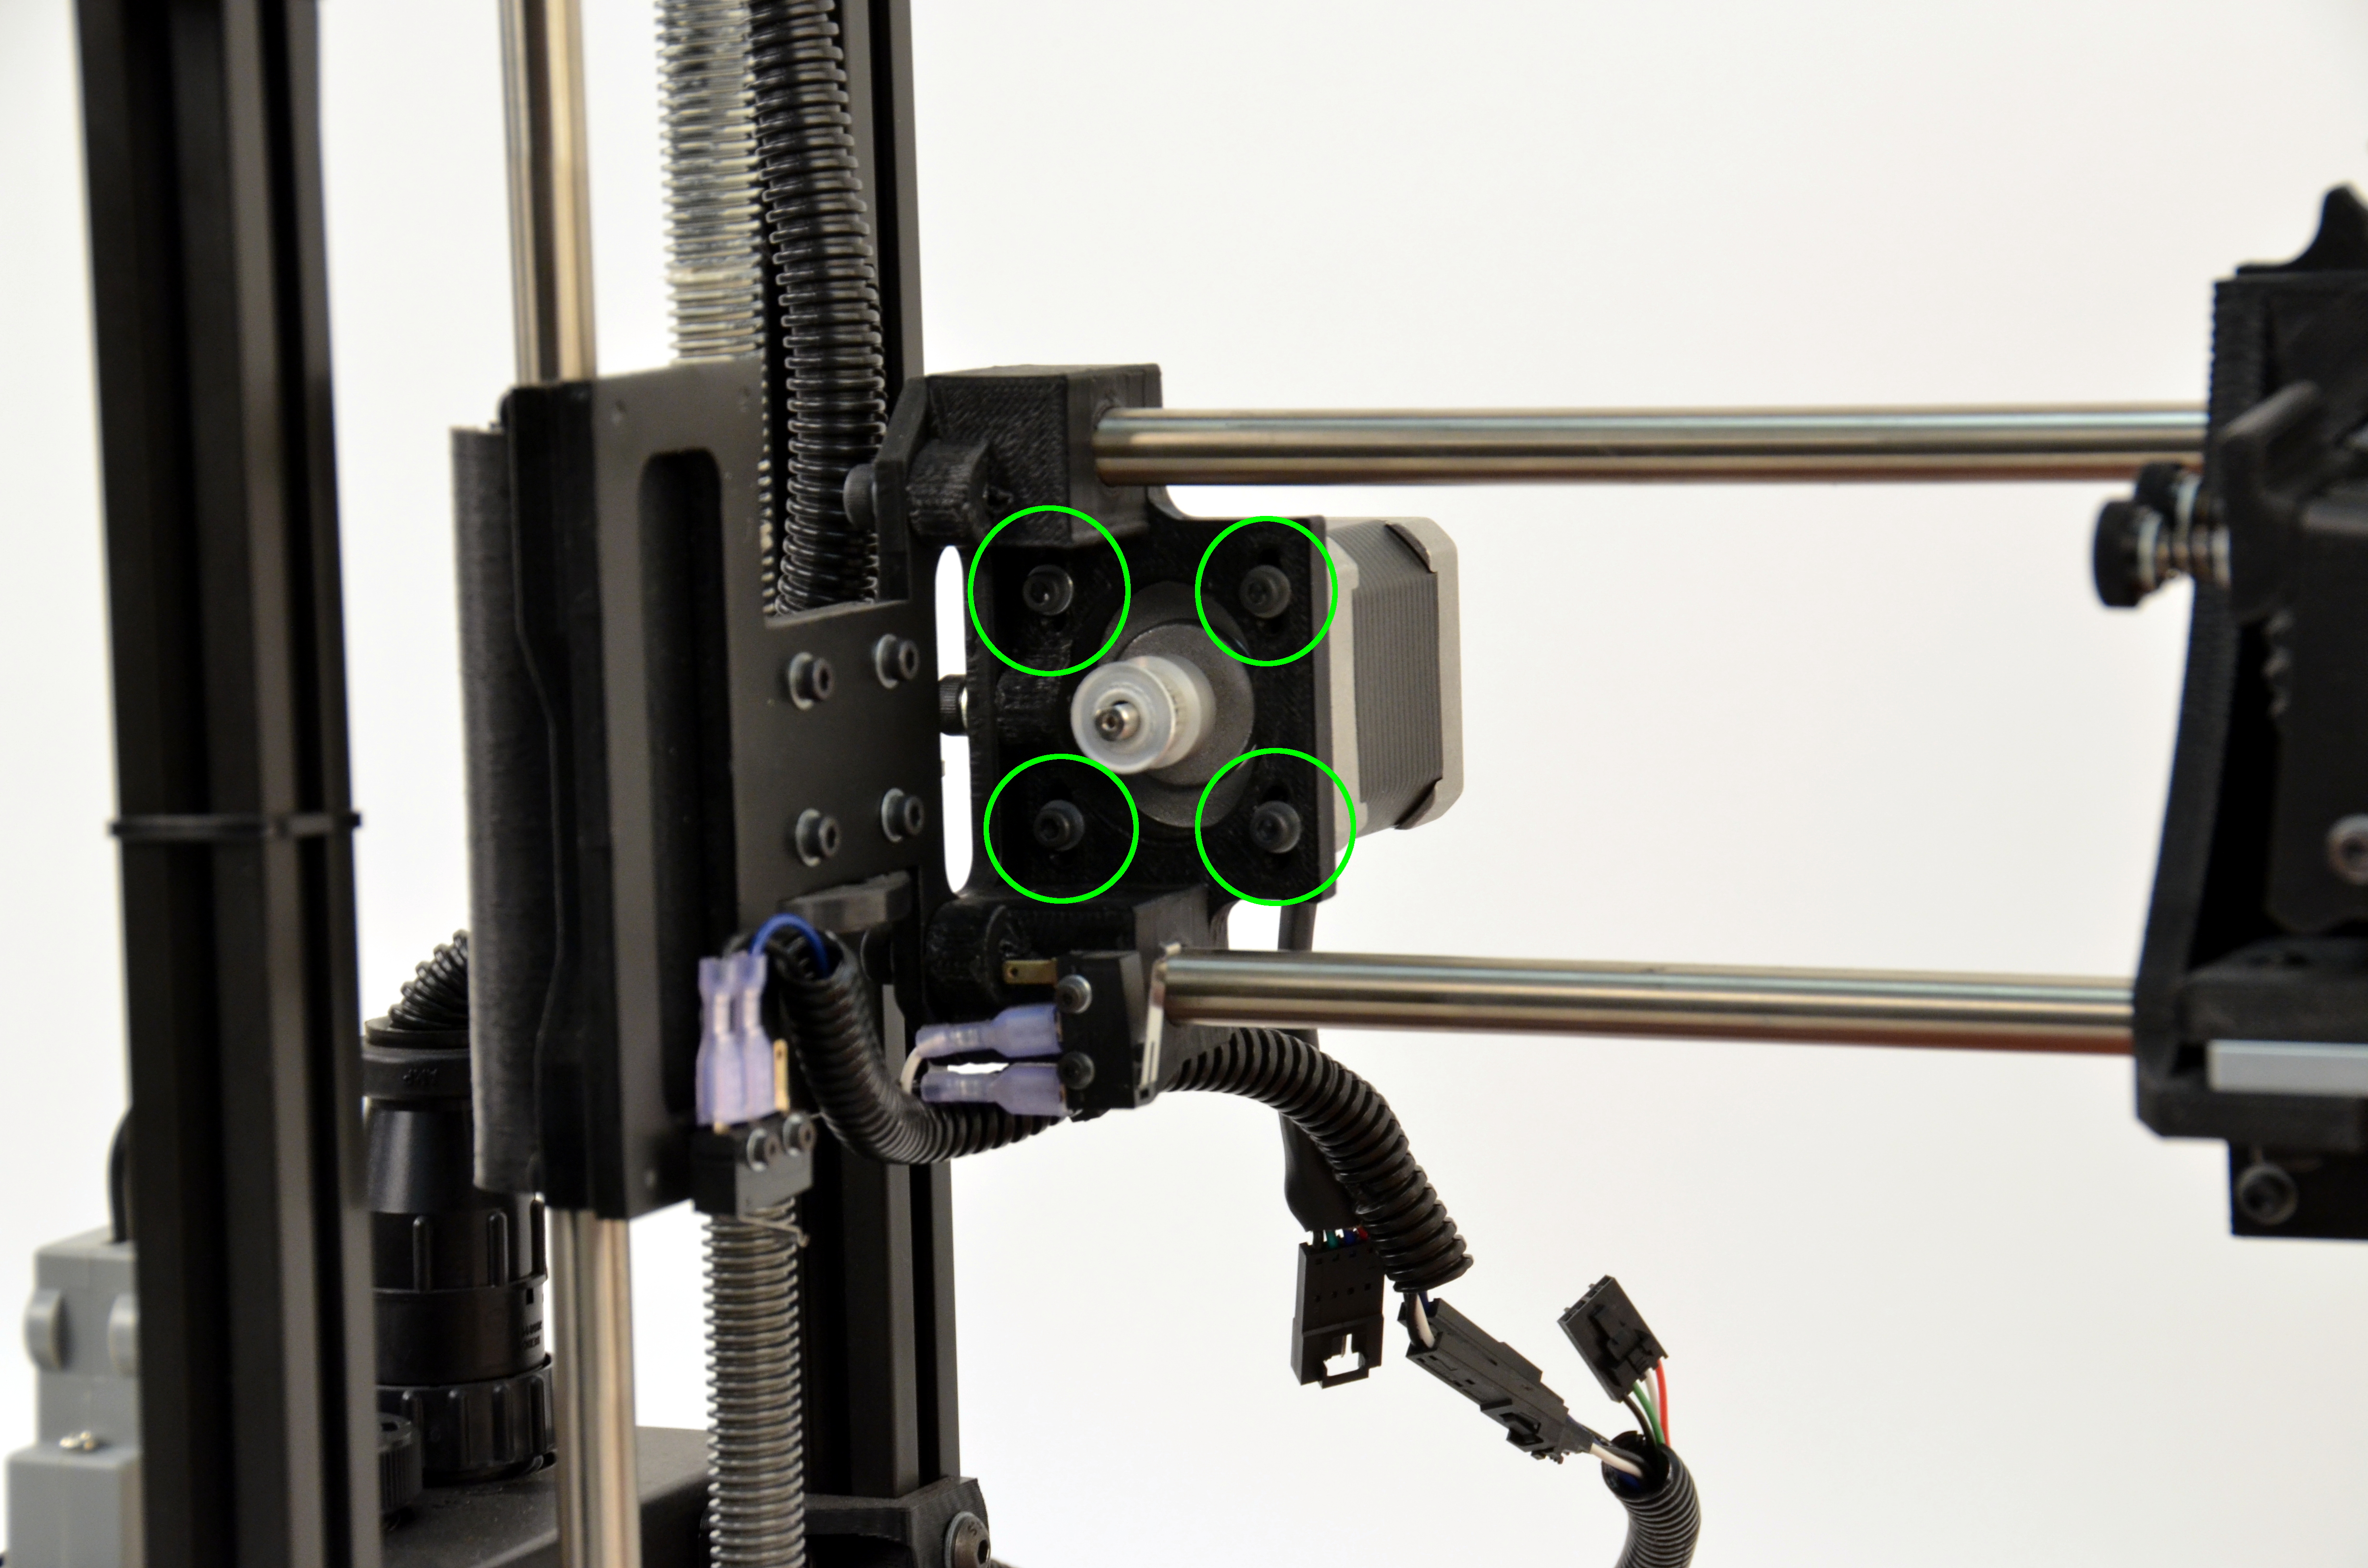
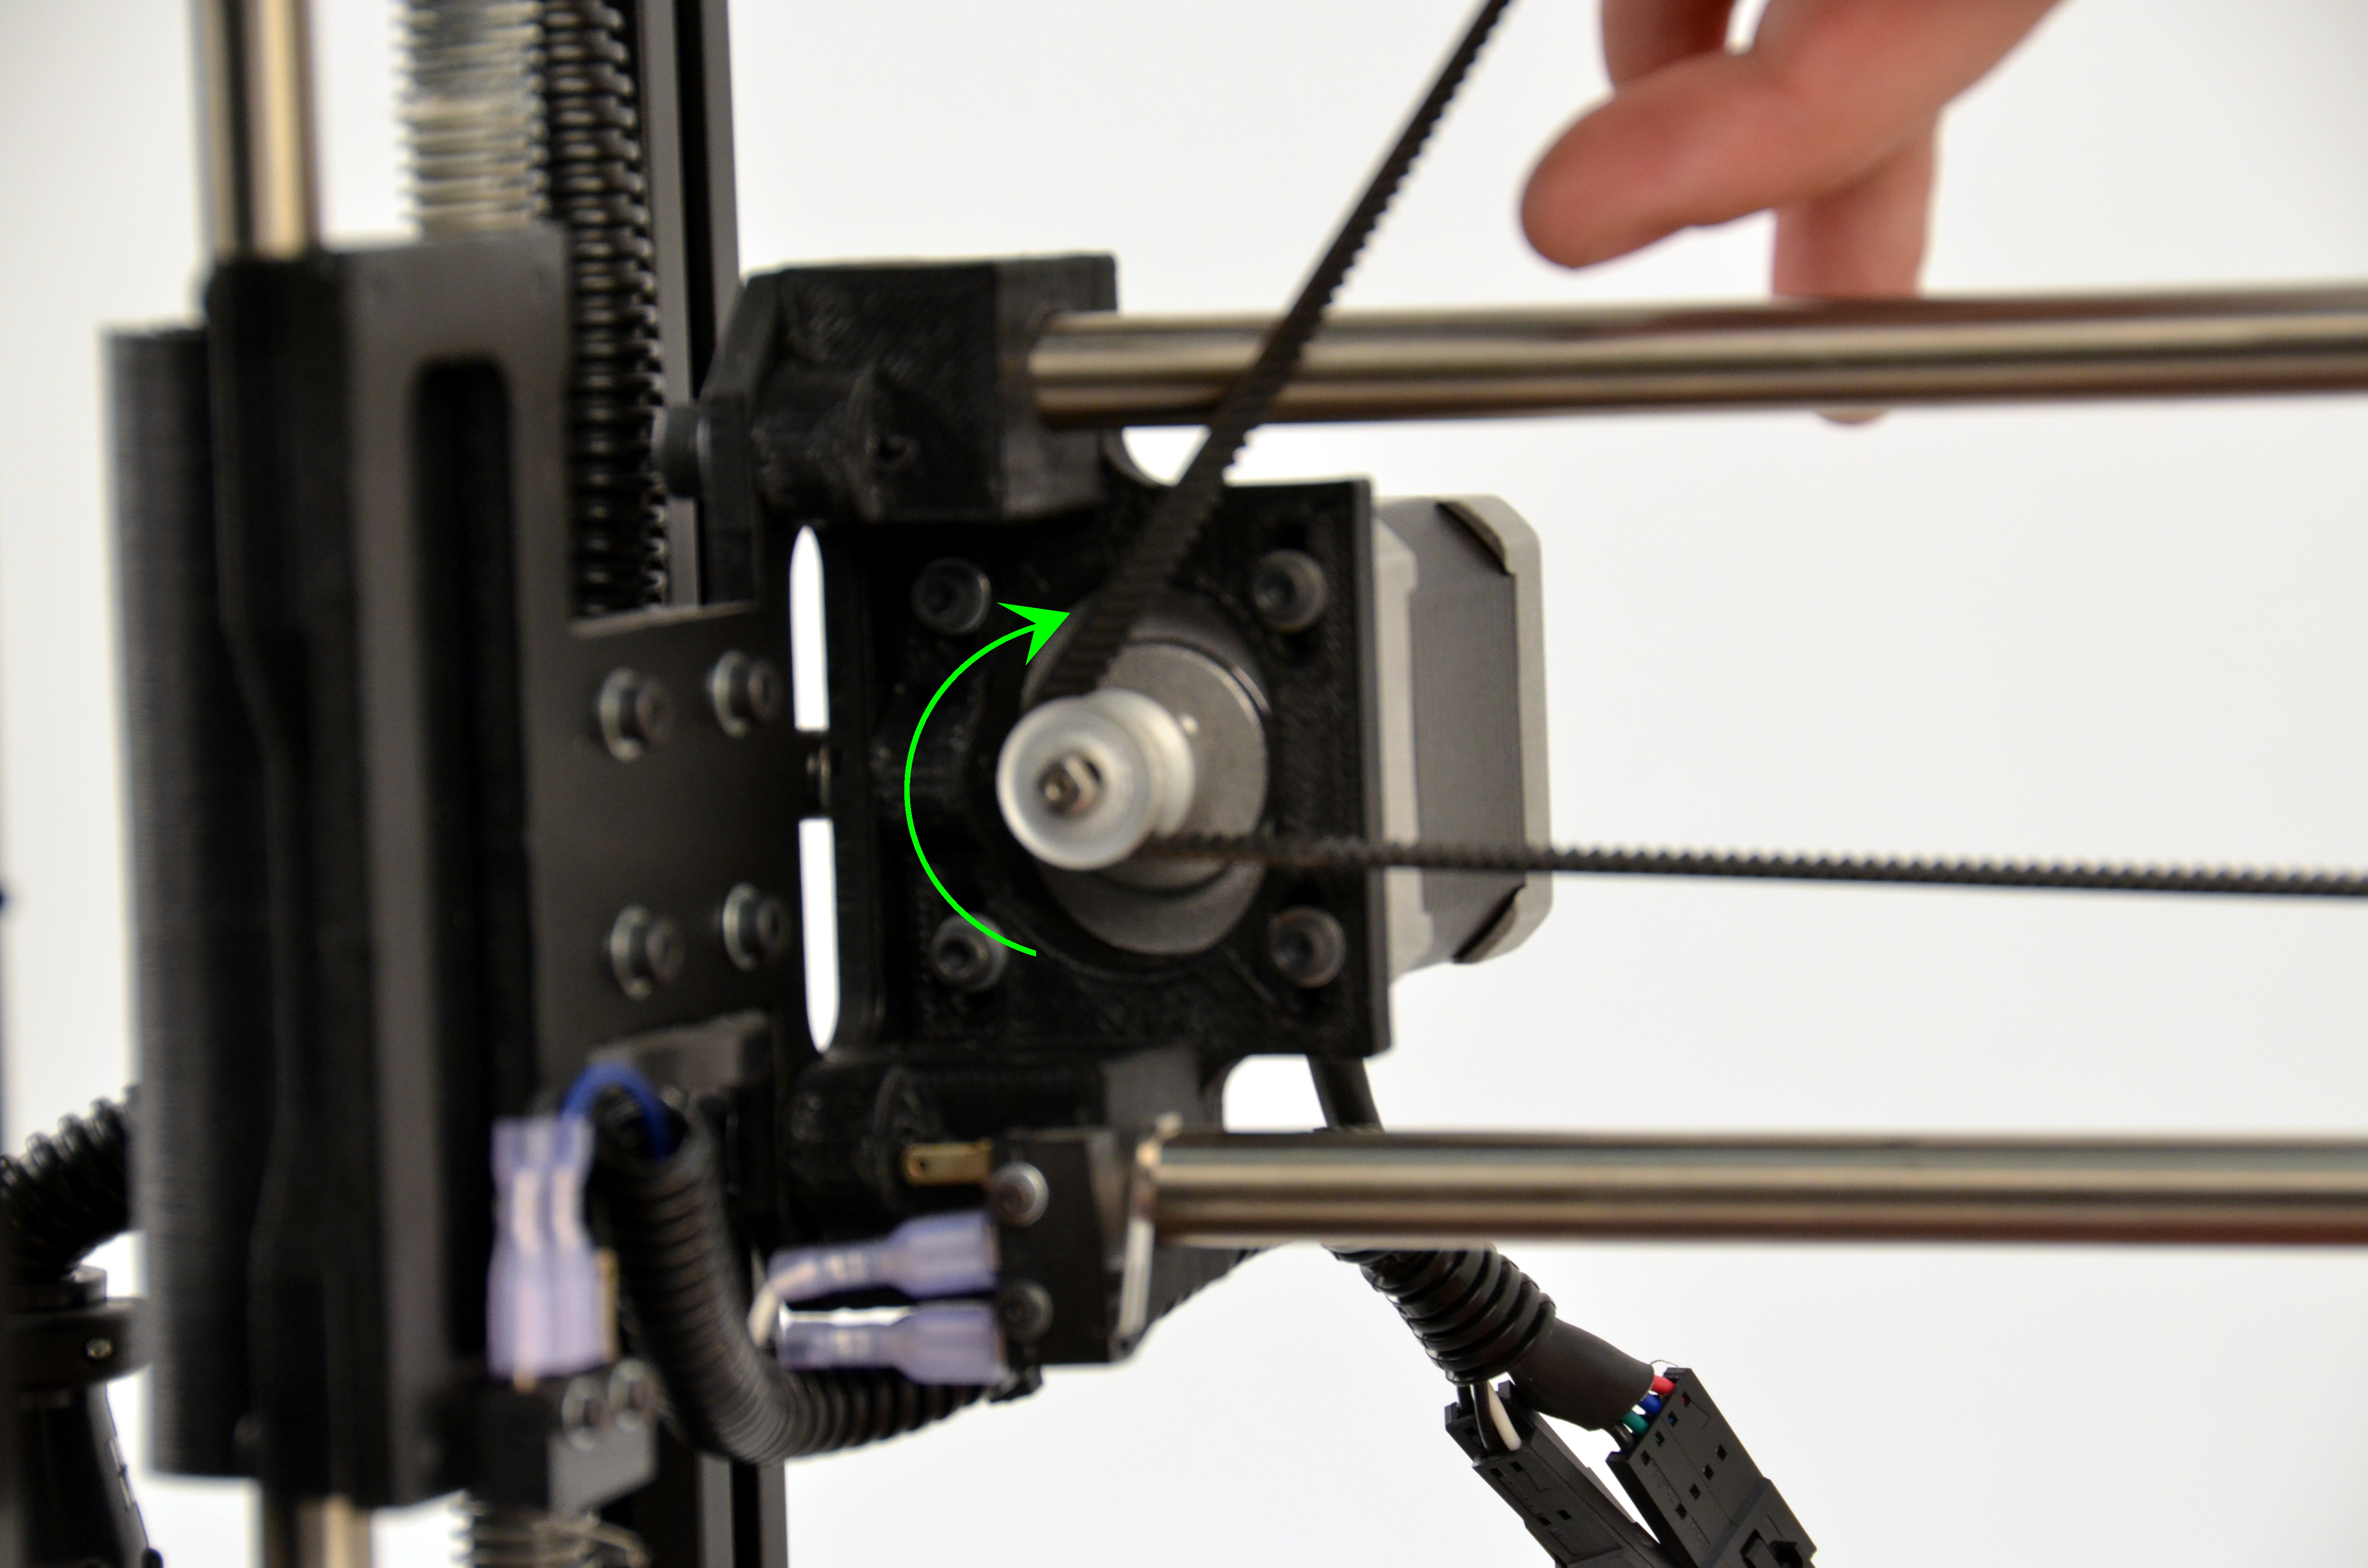
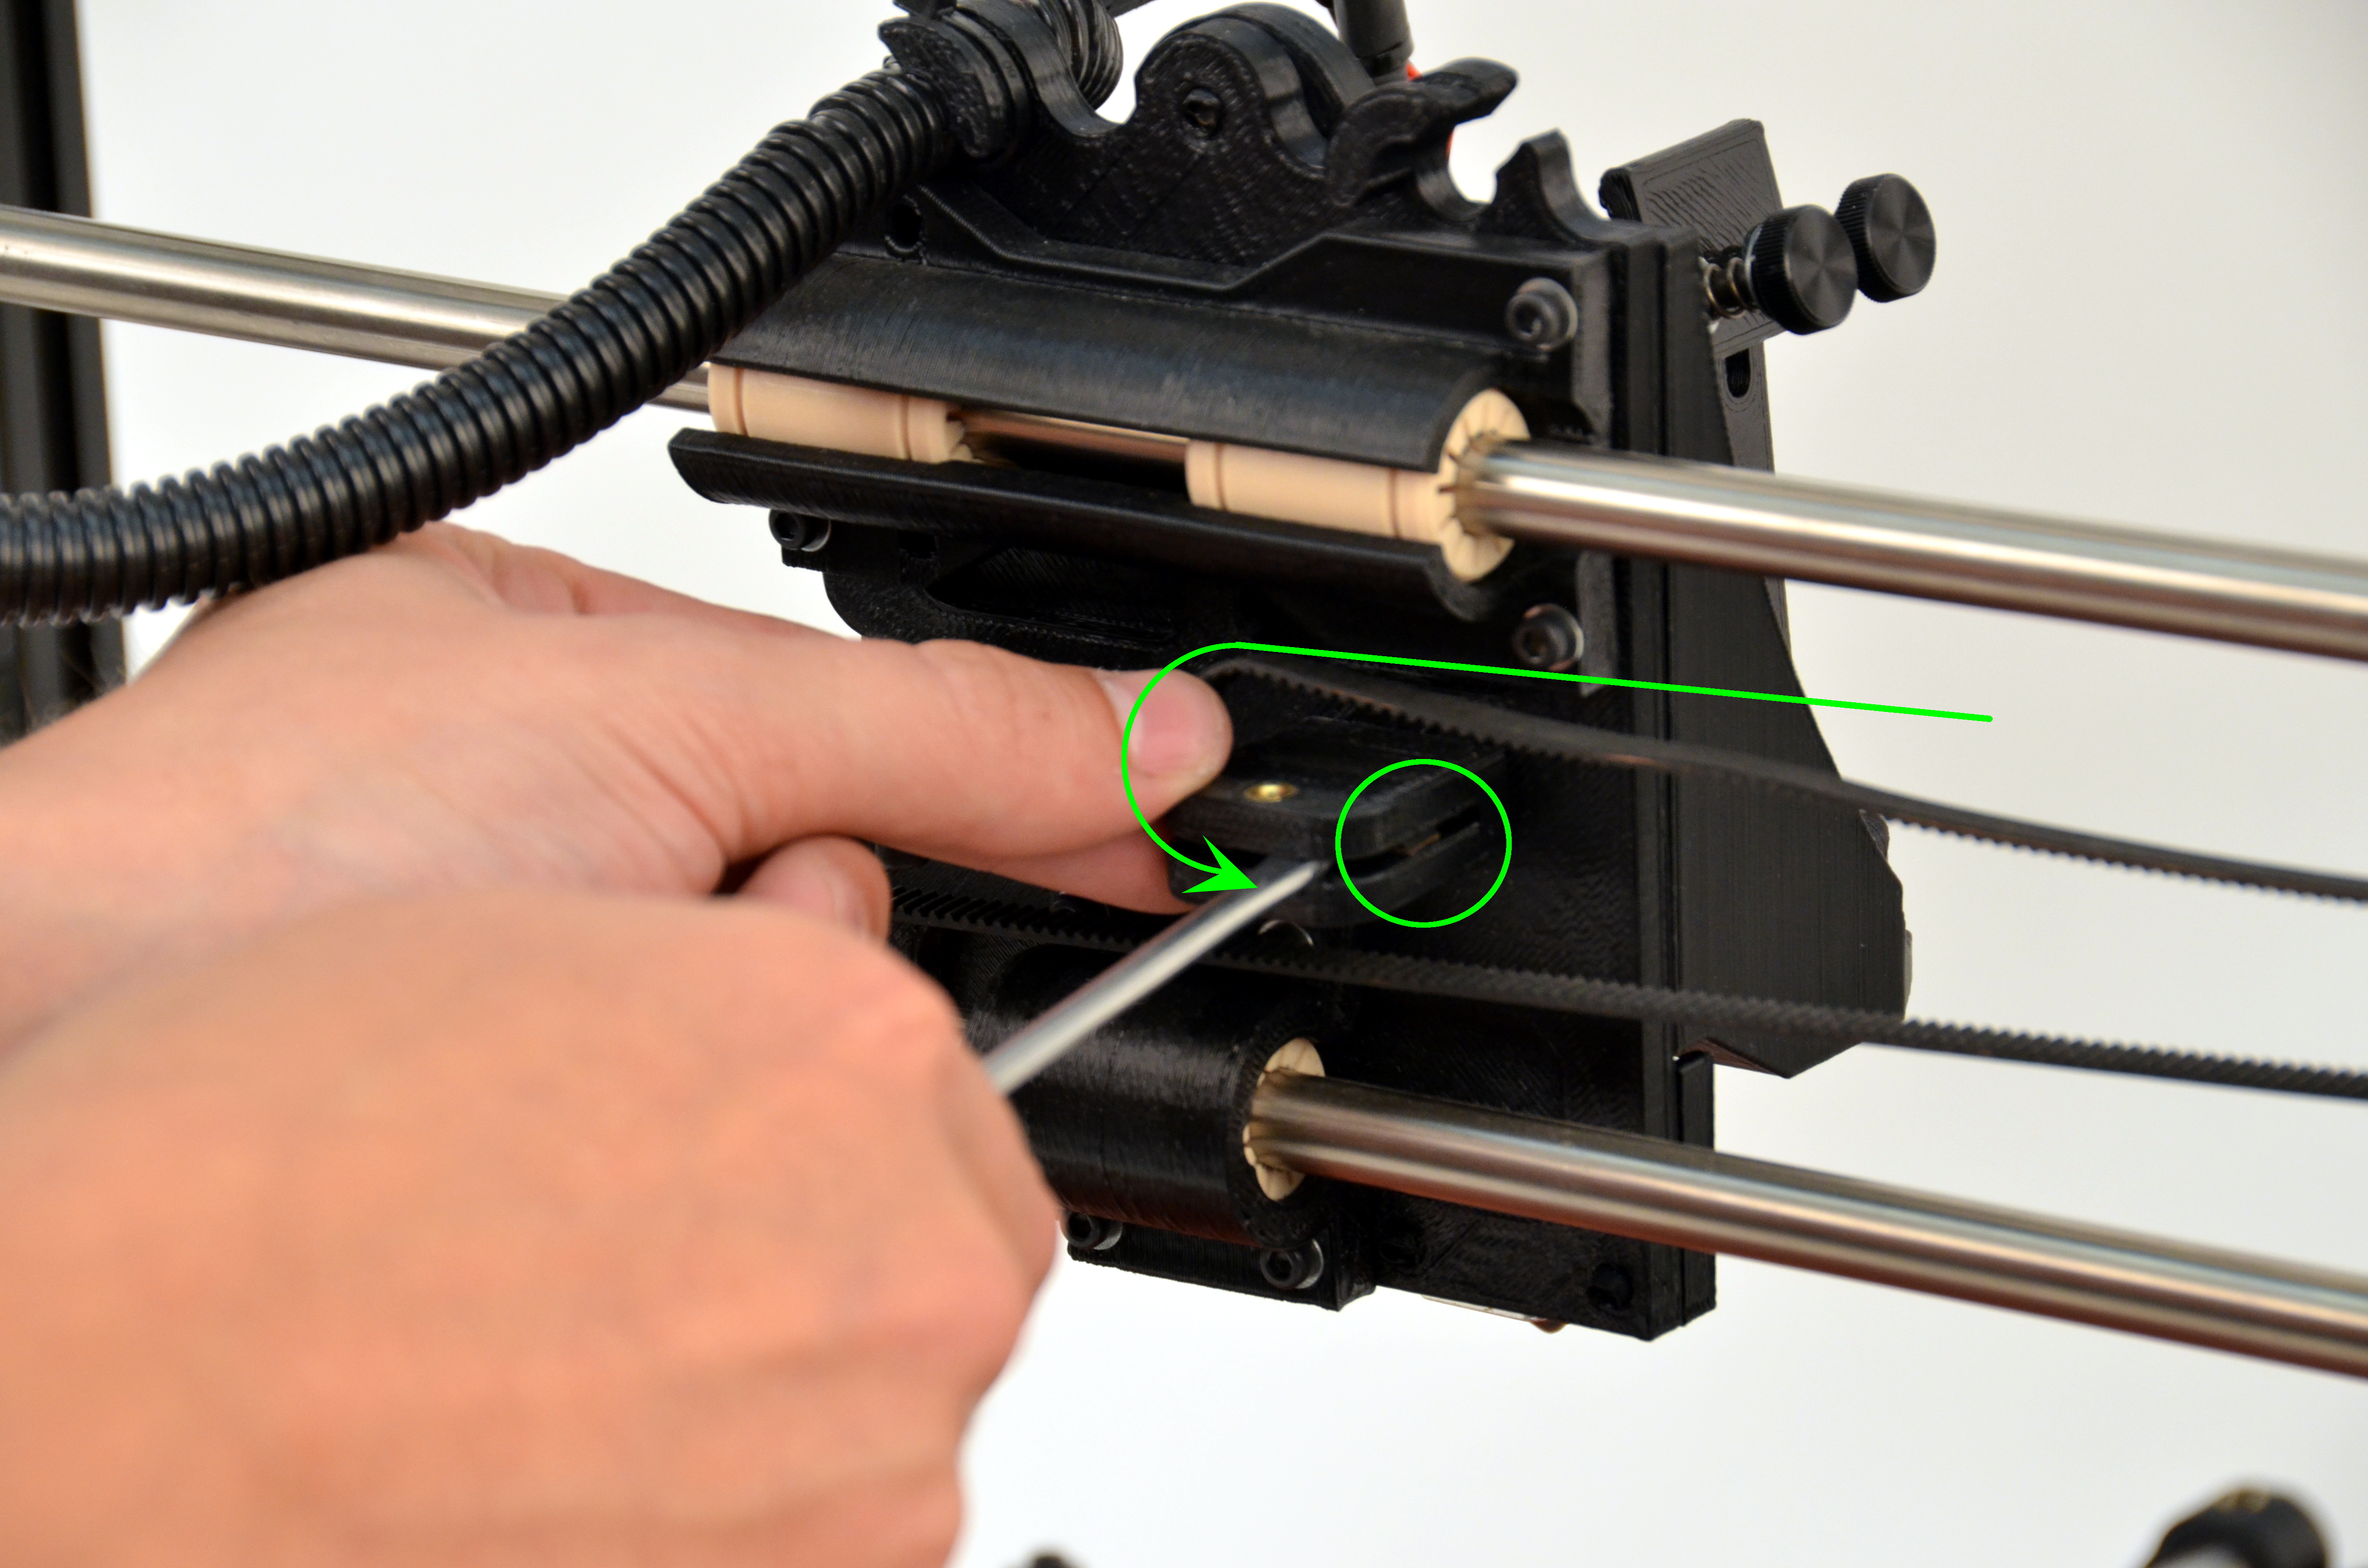
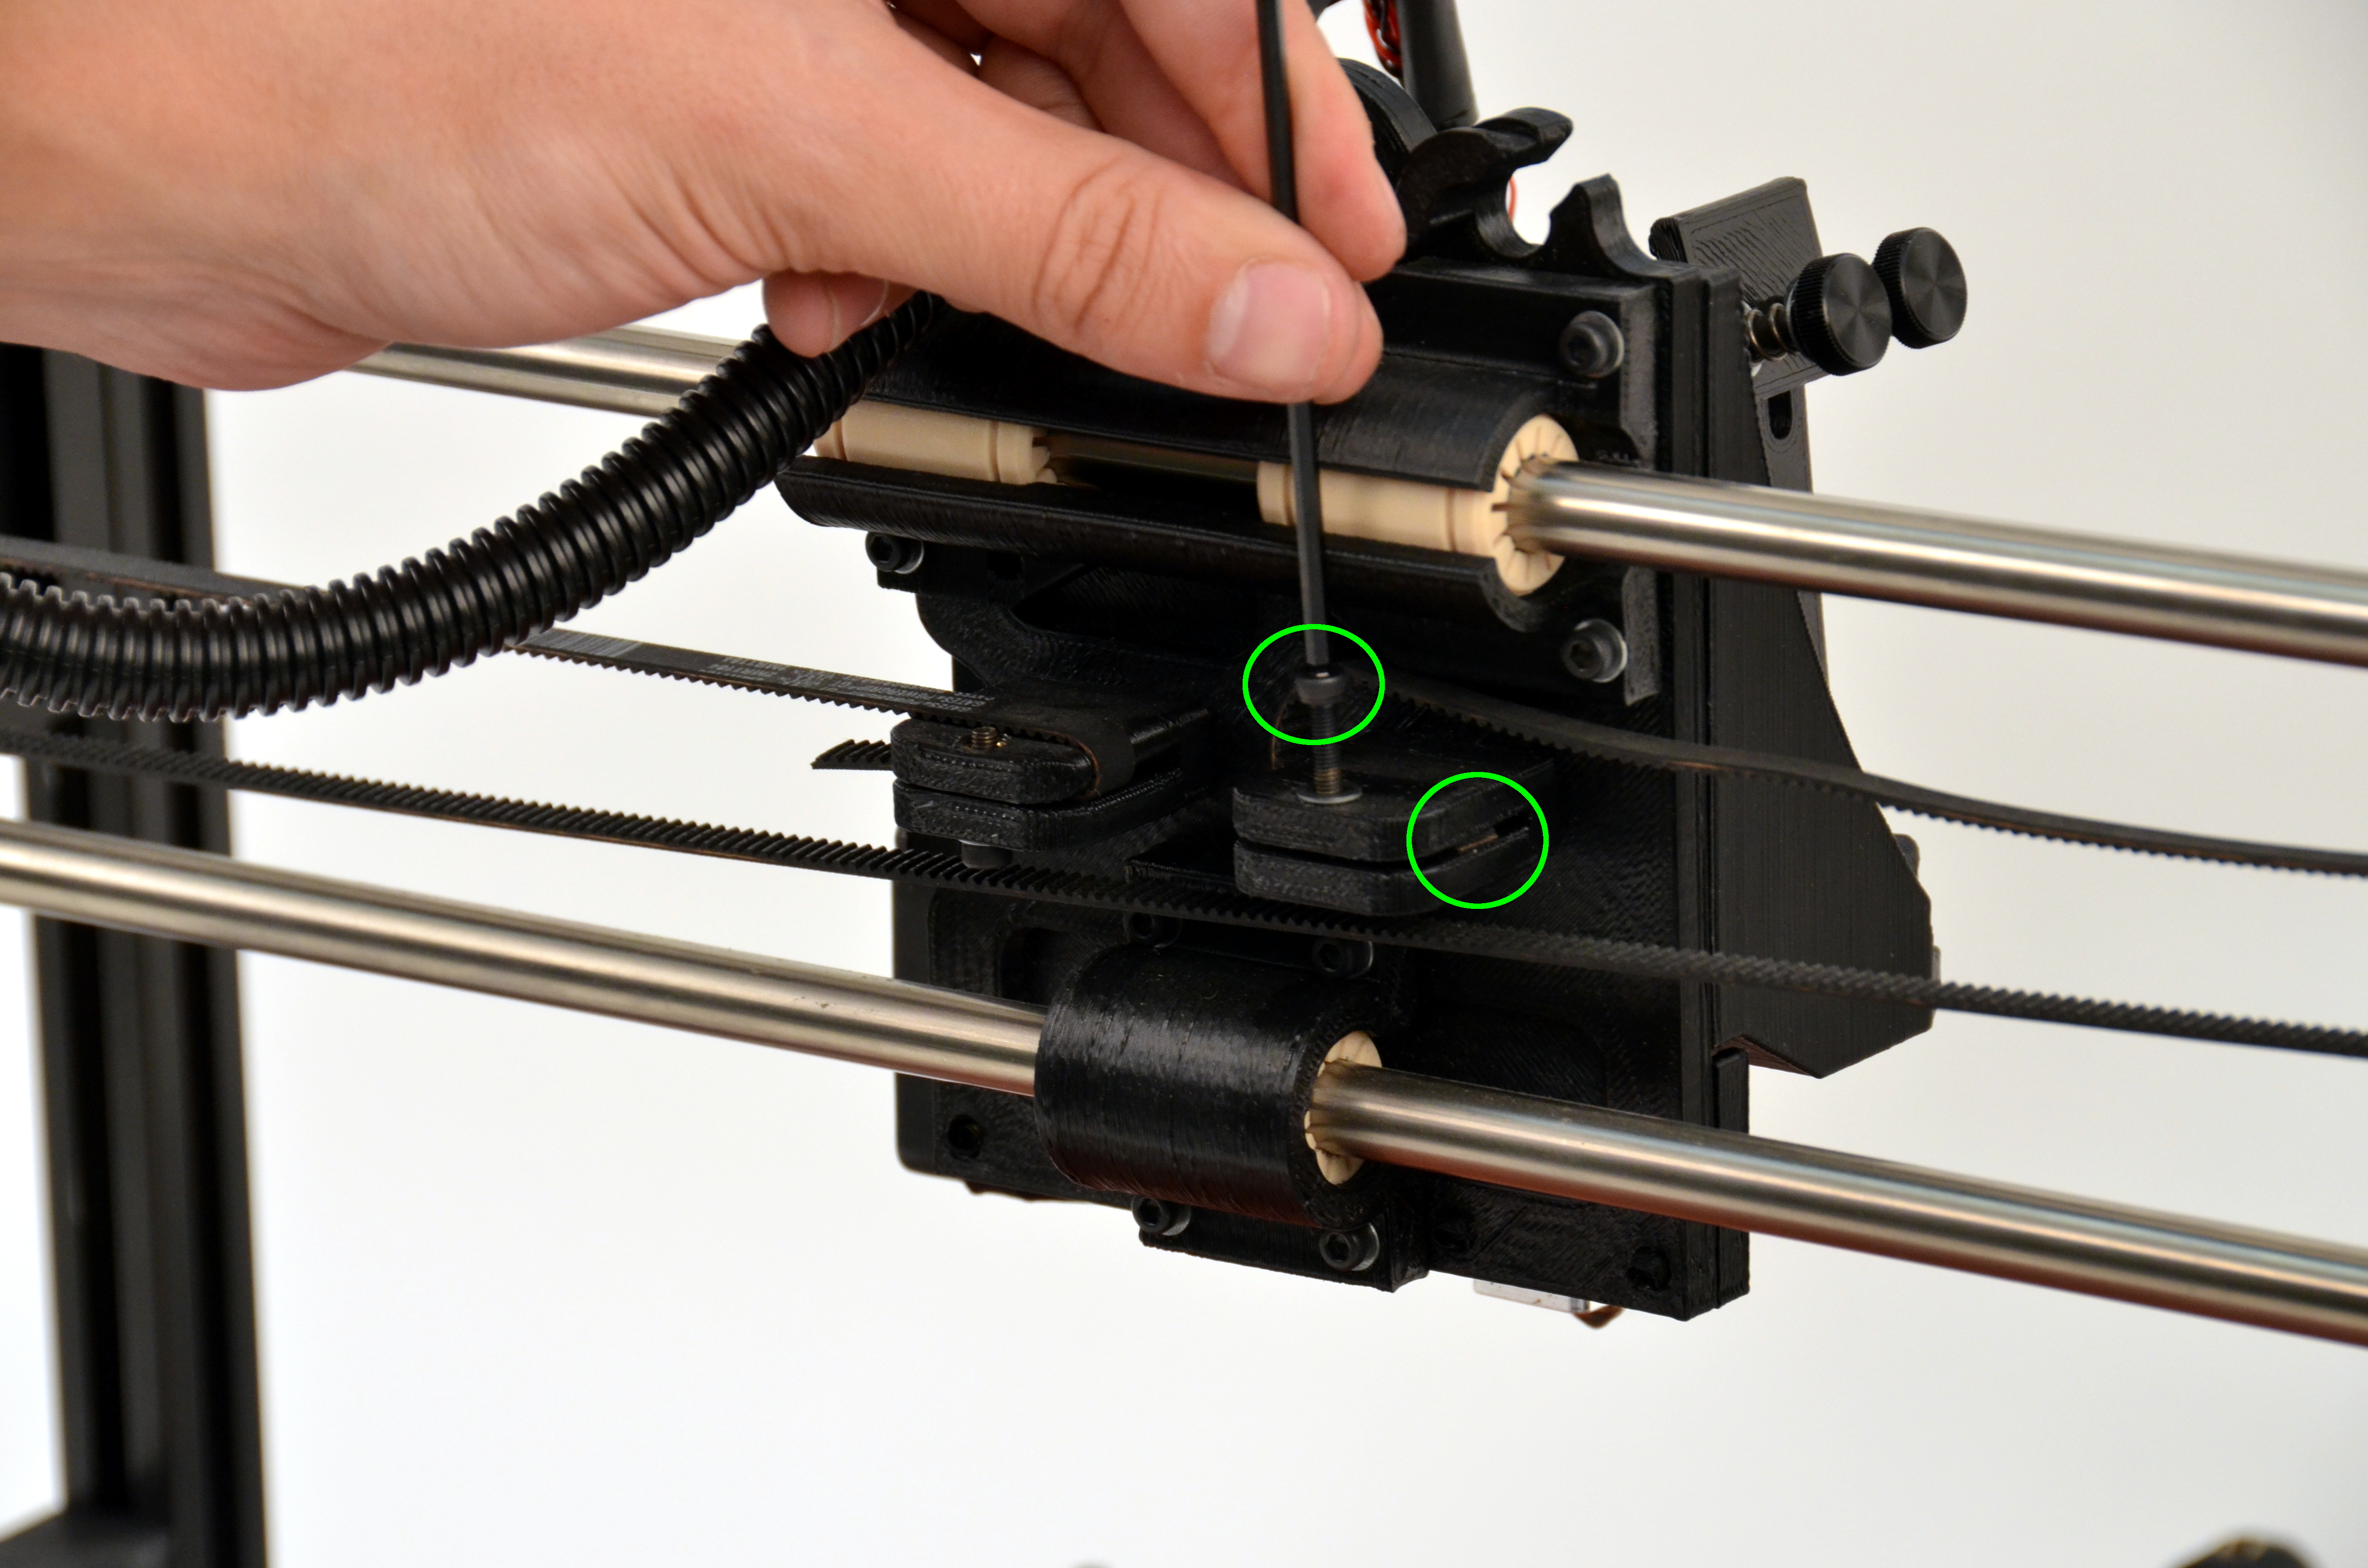
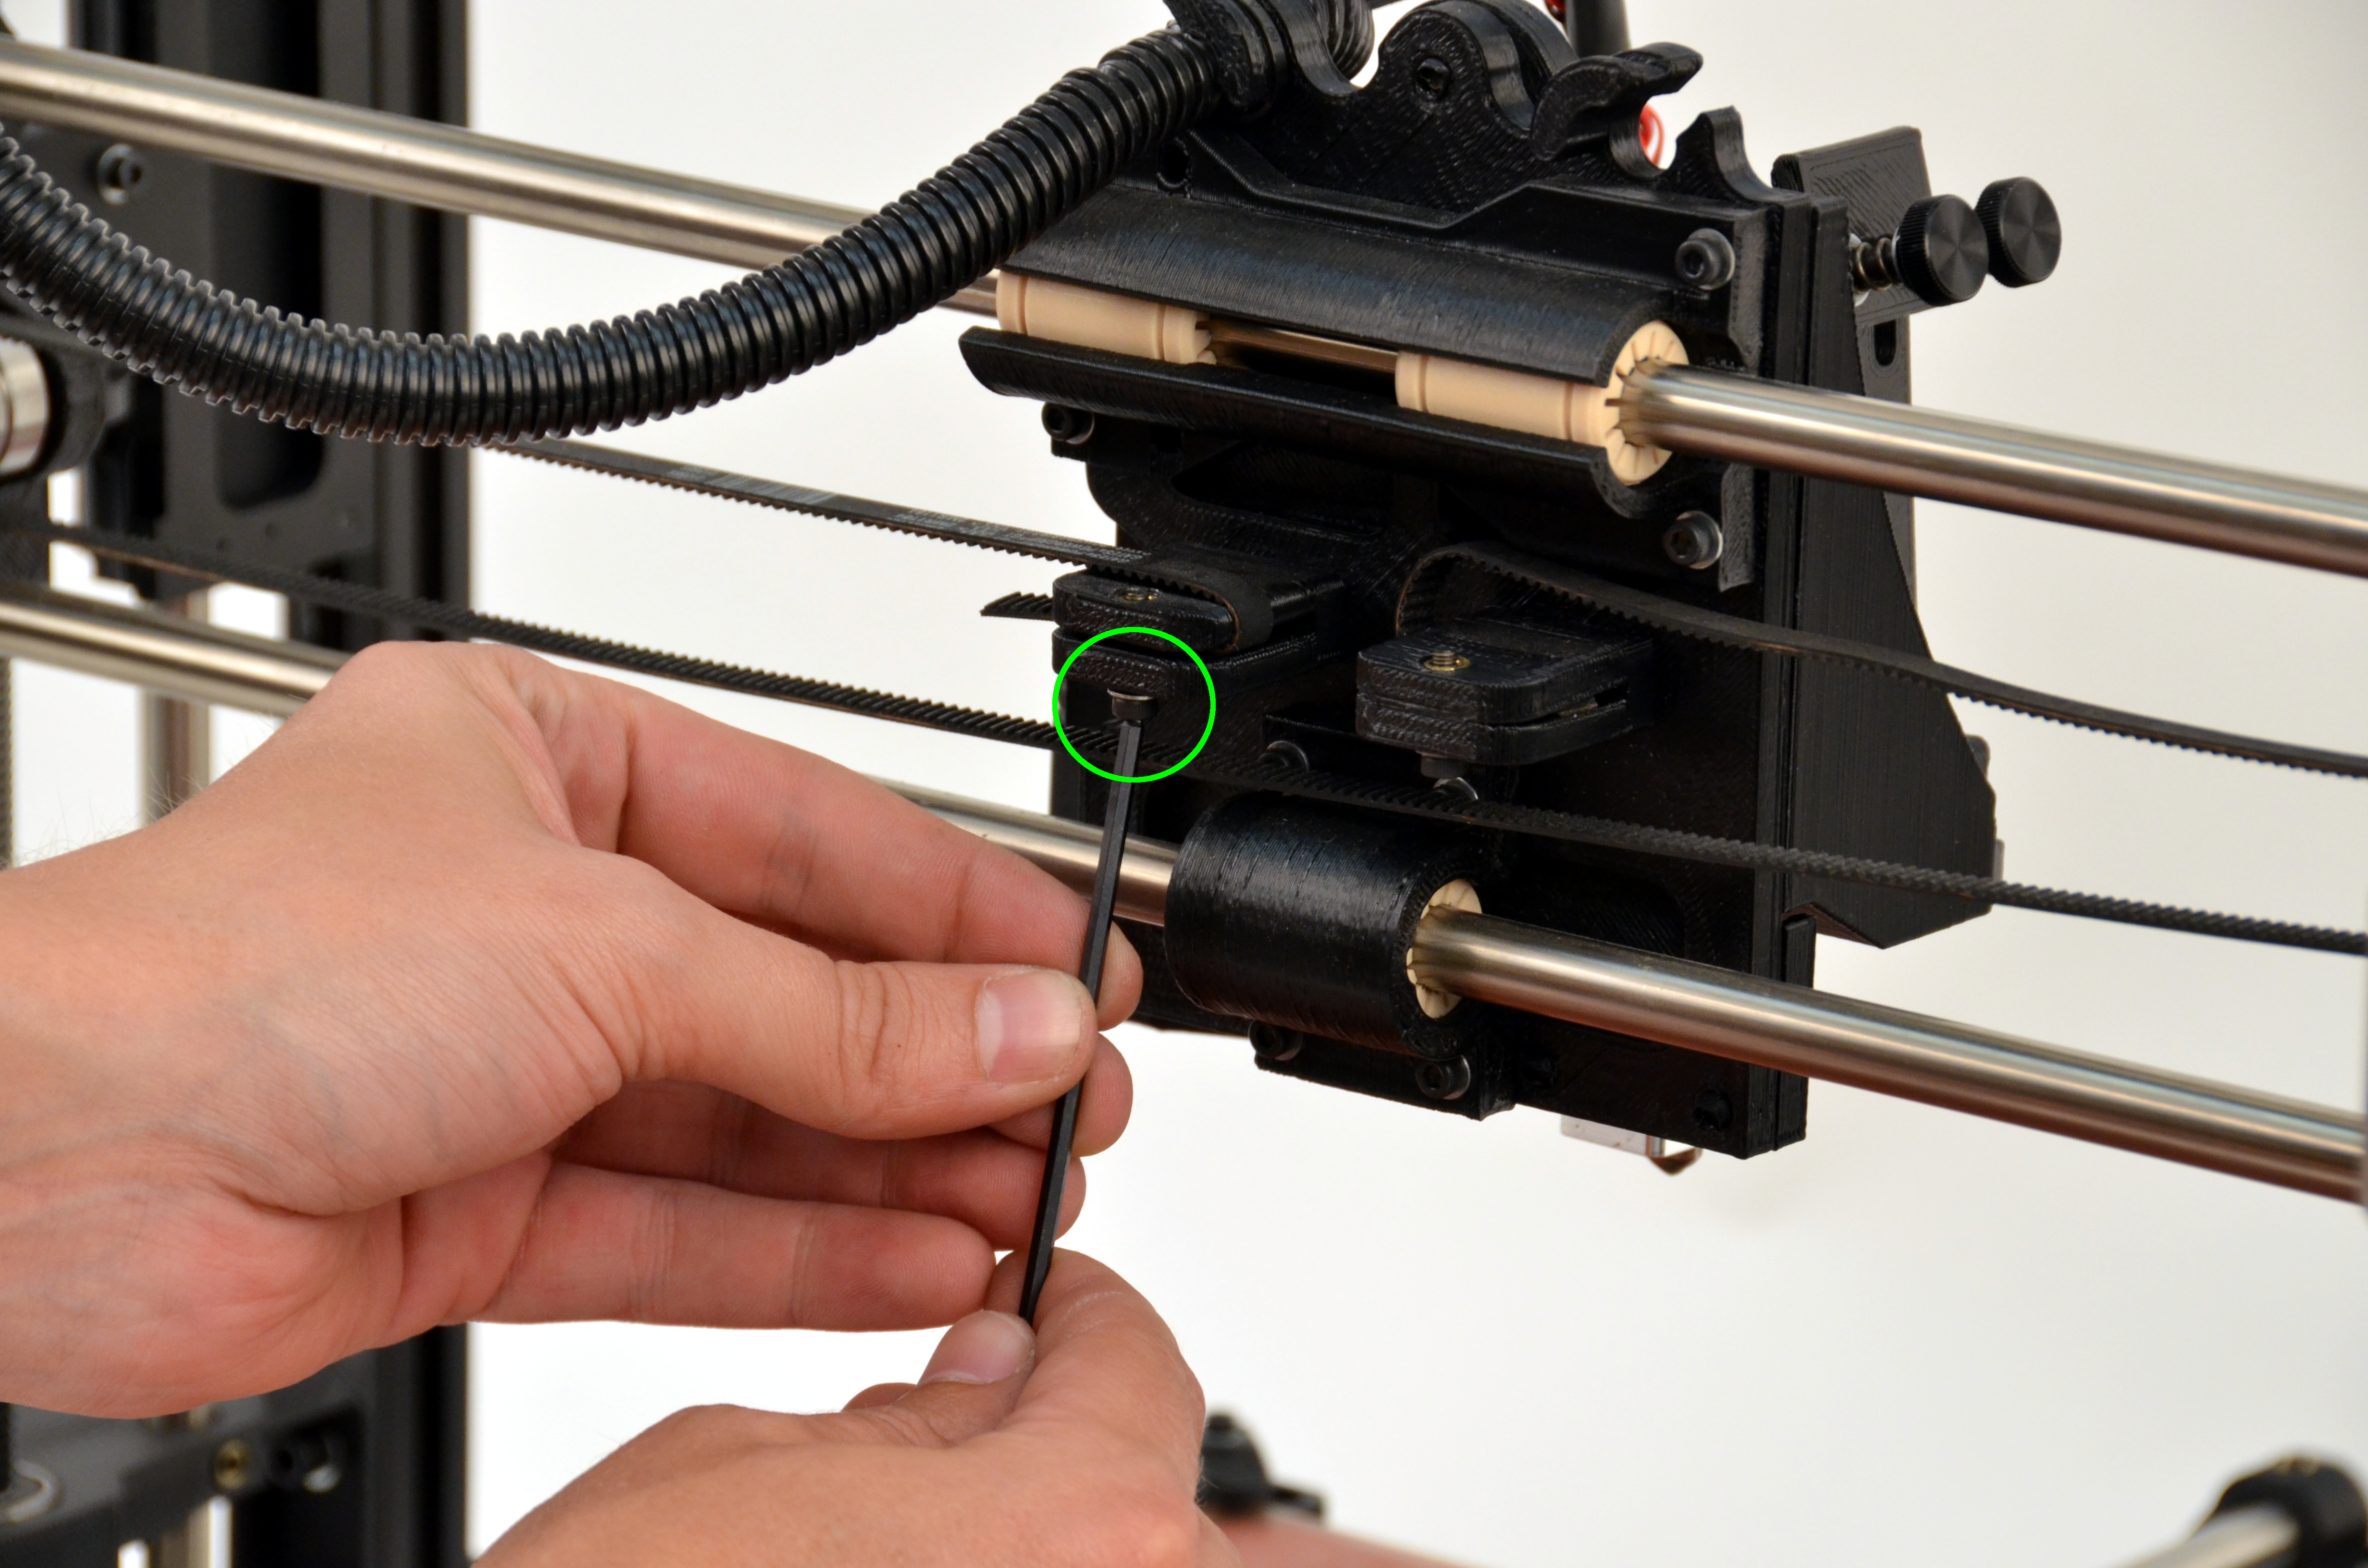
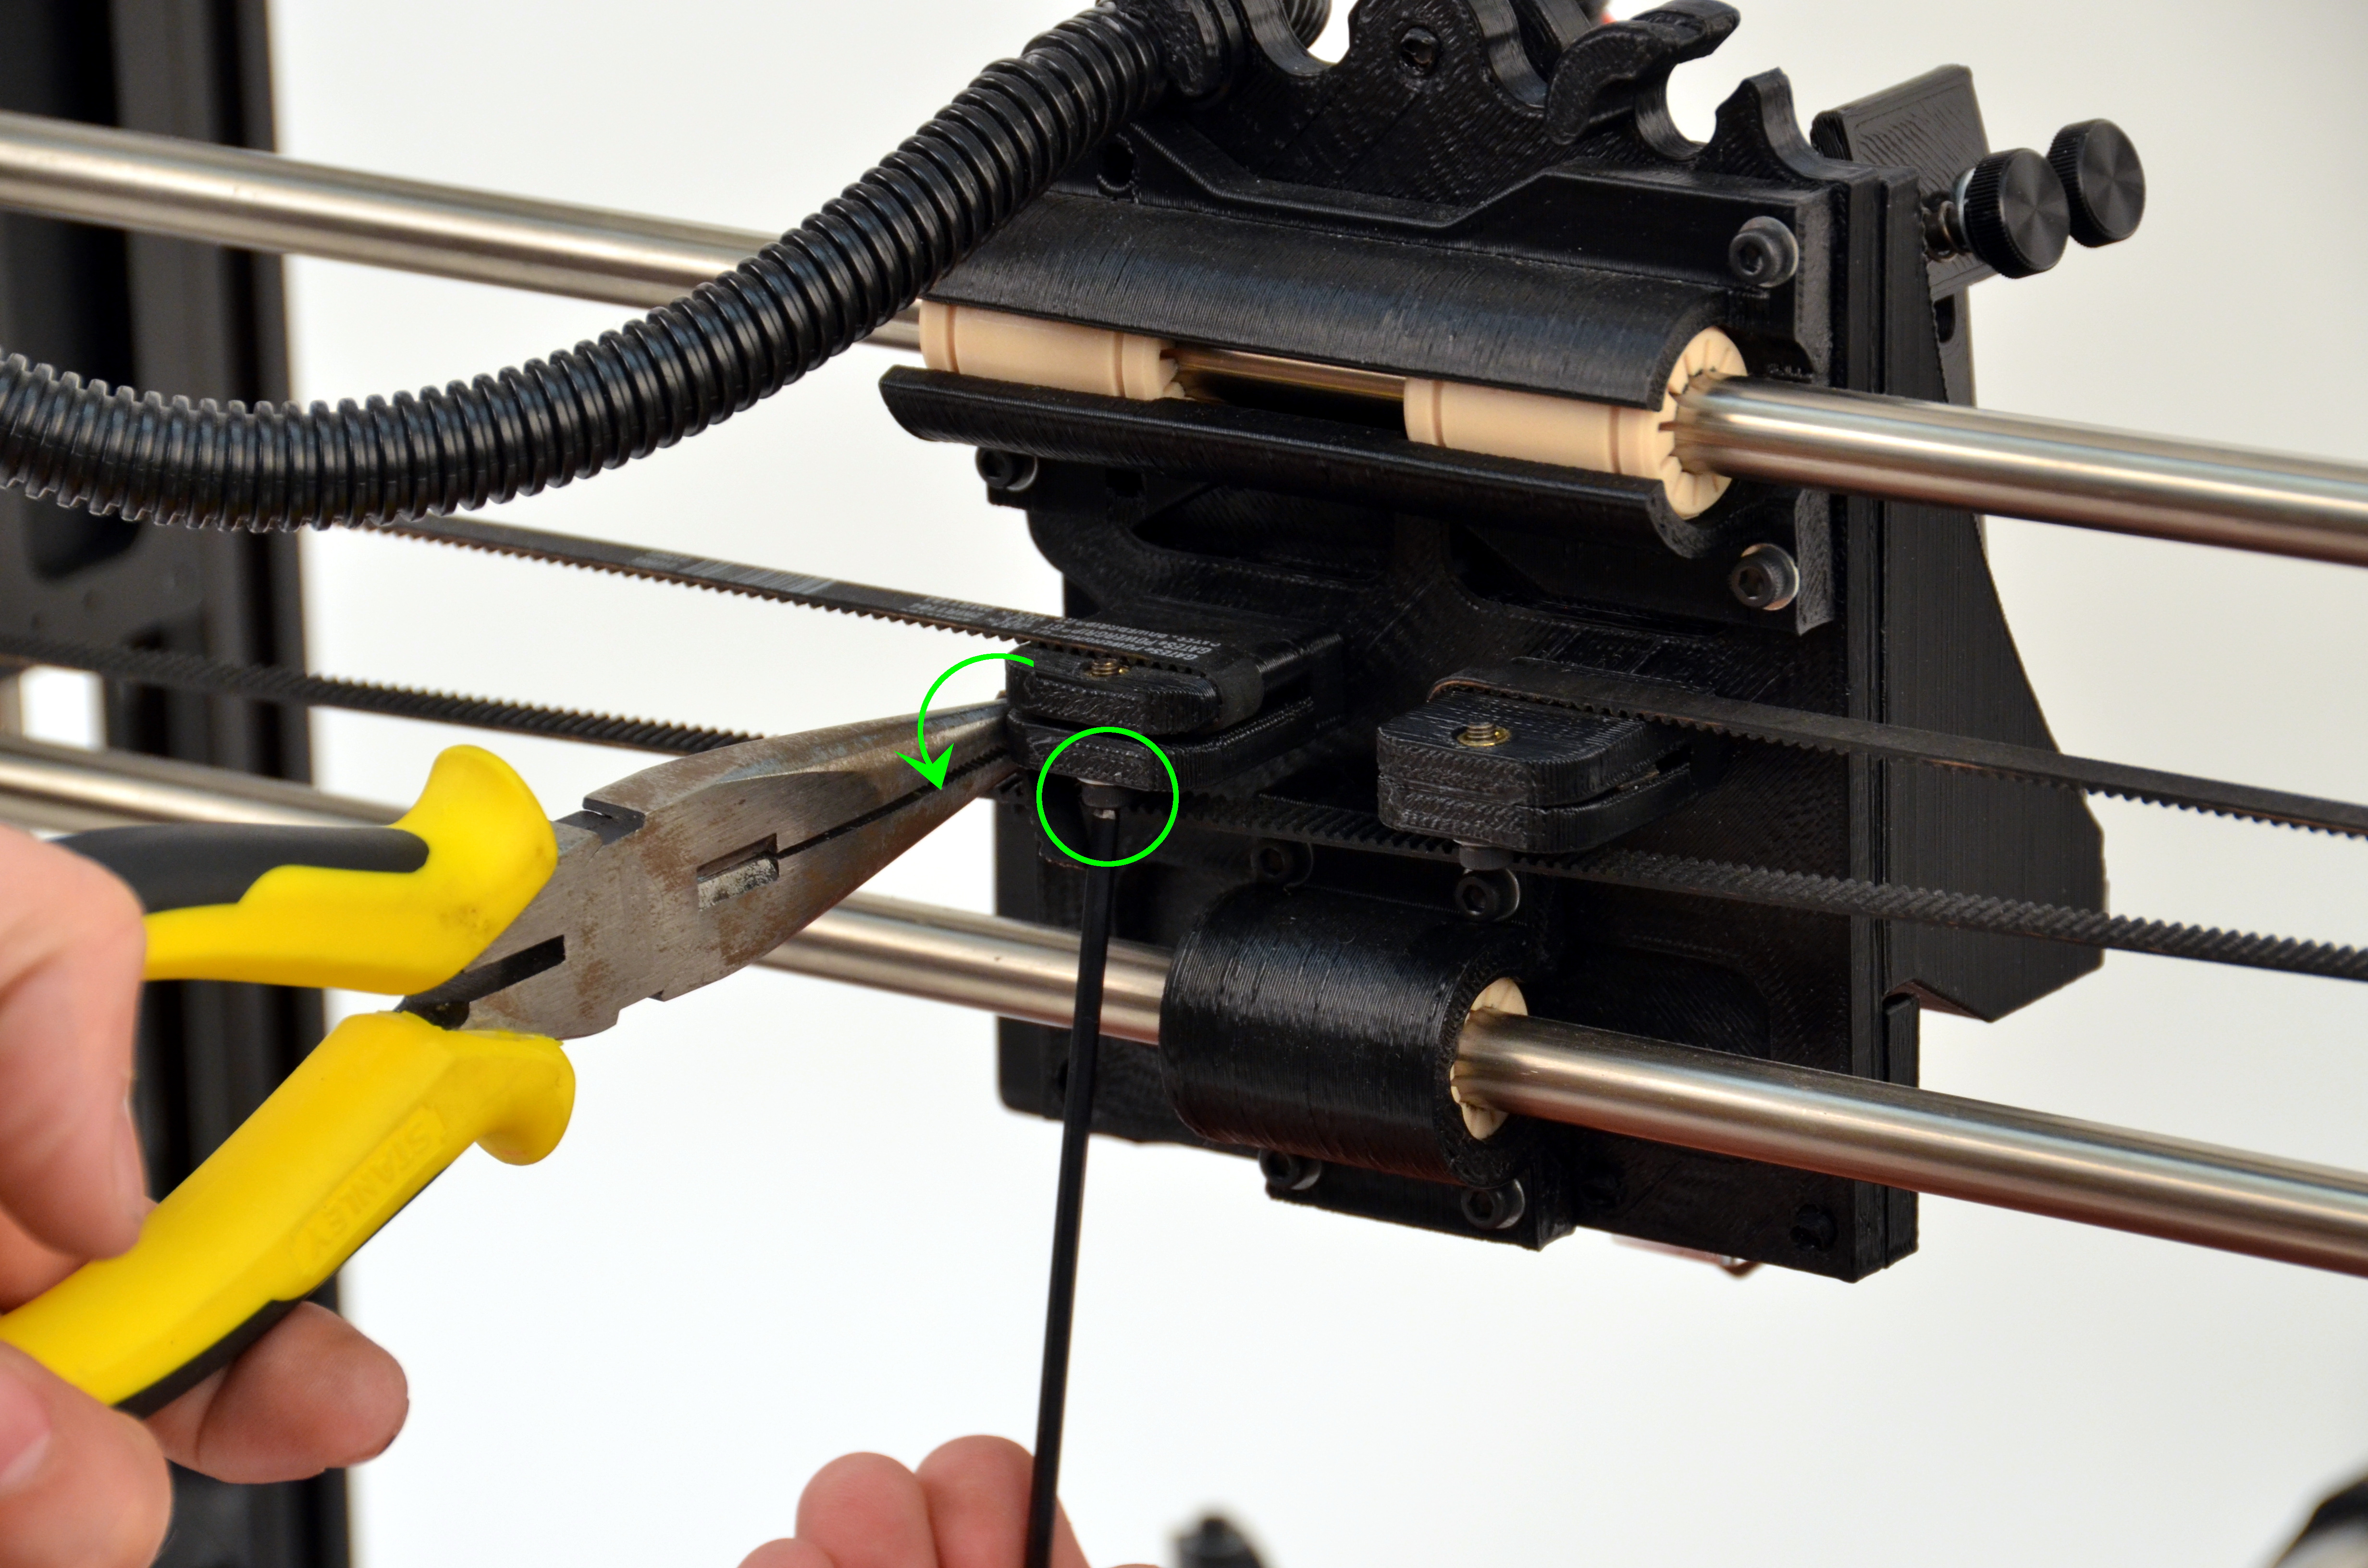
  • Does your X axis move freely back and forth?

  • Do you feel any rubbing of the belt during movement?

  • Print your favorite test object to verify functionality.

Done! Take me home