Open HardwareAssembly Instructions
Guides for installation and assembly of the LulzBot line of products made by FAME 3D LLC.
Guides for installation and assembly of the LulzBot line of products made by FAME 3D LLC.
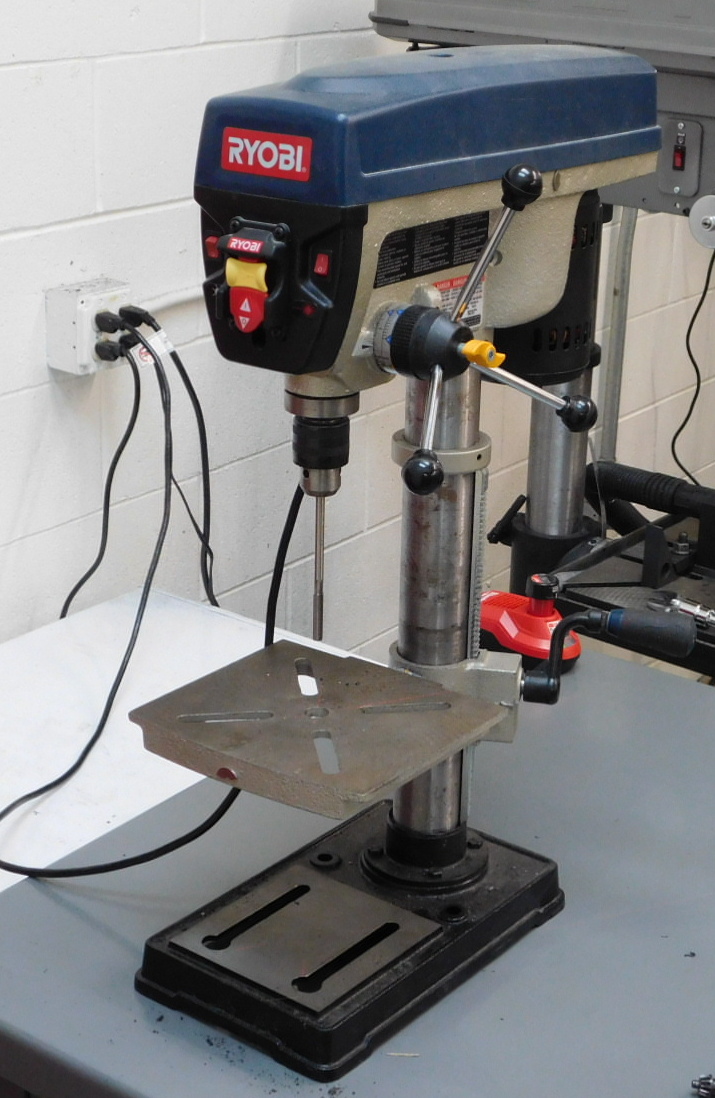
We use a drill press that can be very dangerous if used improperly. Make sure to follow the safety rules while using the drill press.

Using the chuck key, tighten the 16mm reamer into the chuck.
Do not leave the chuck key in the chuck
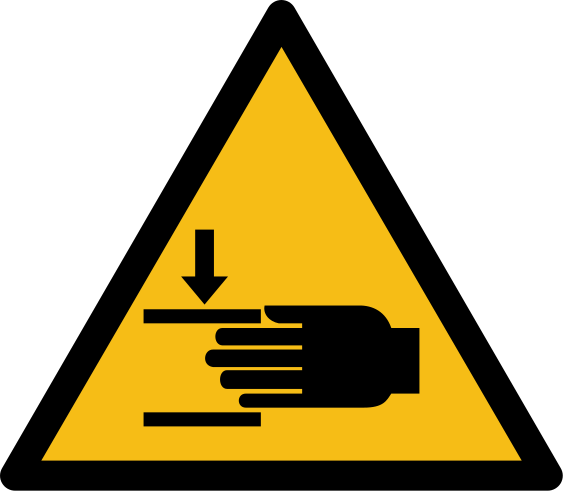
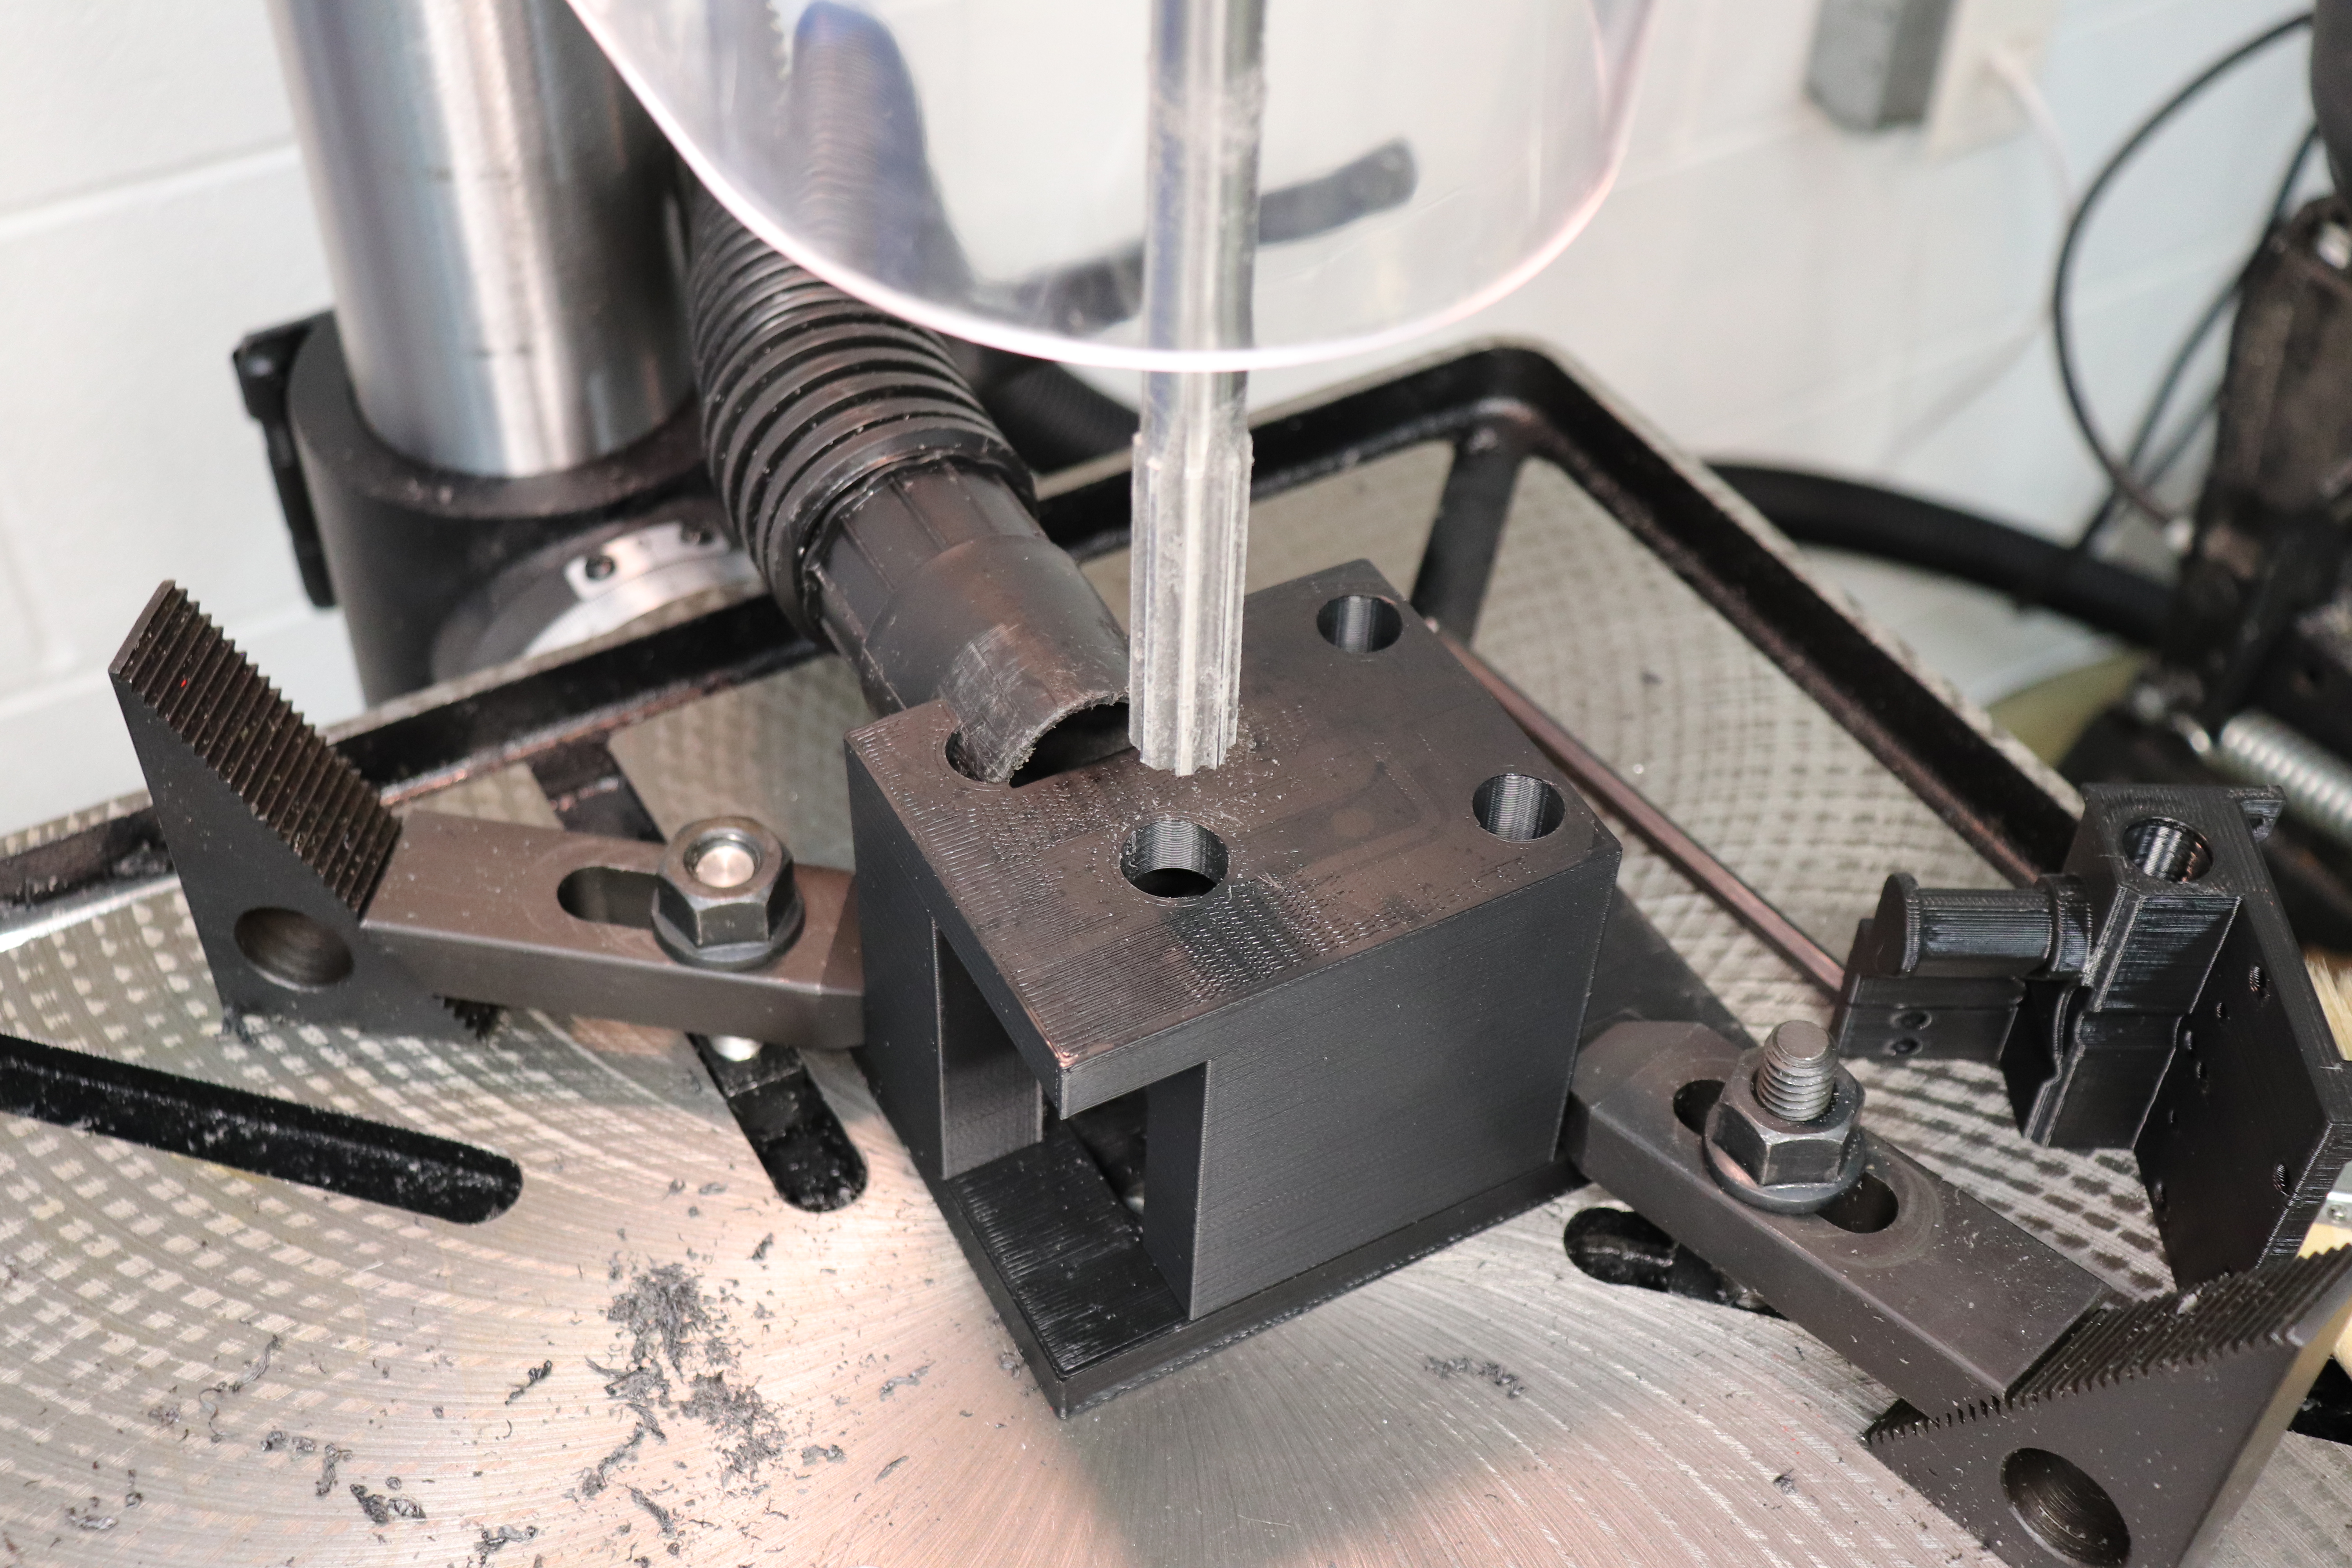
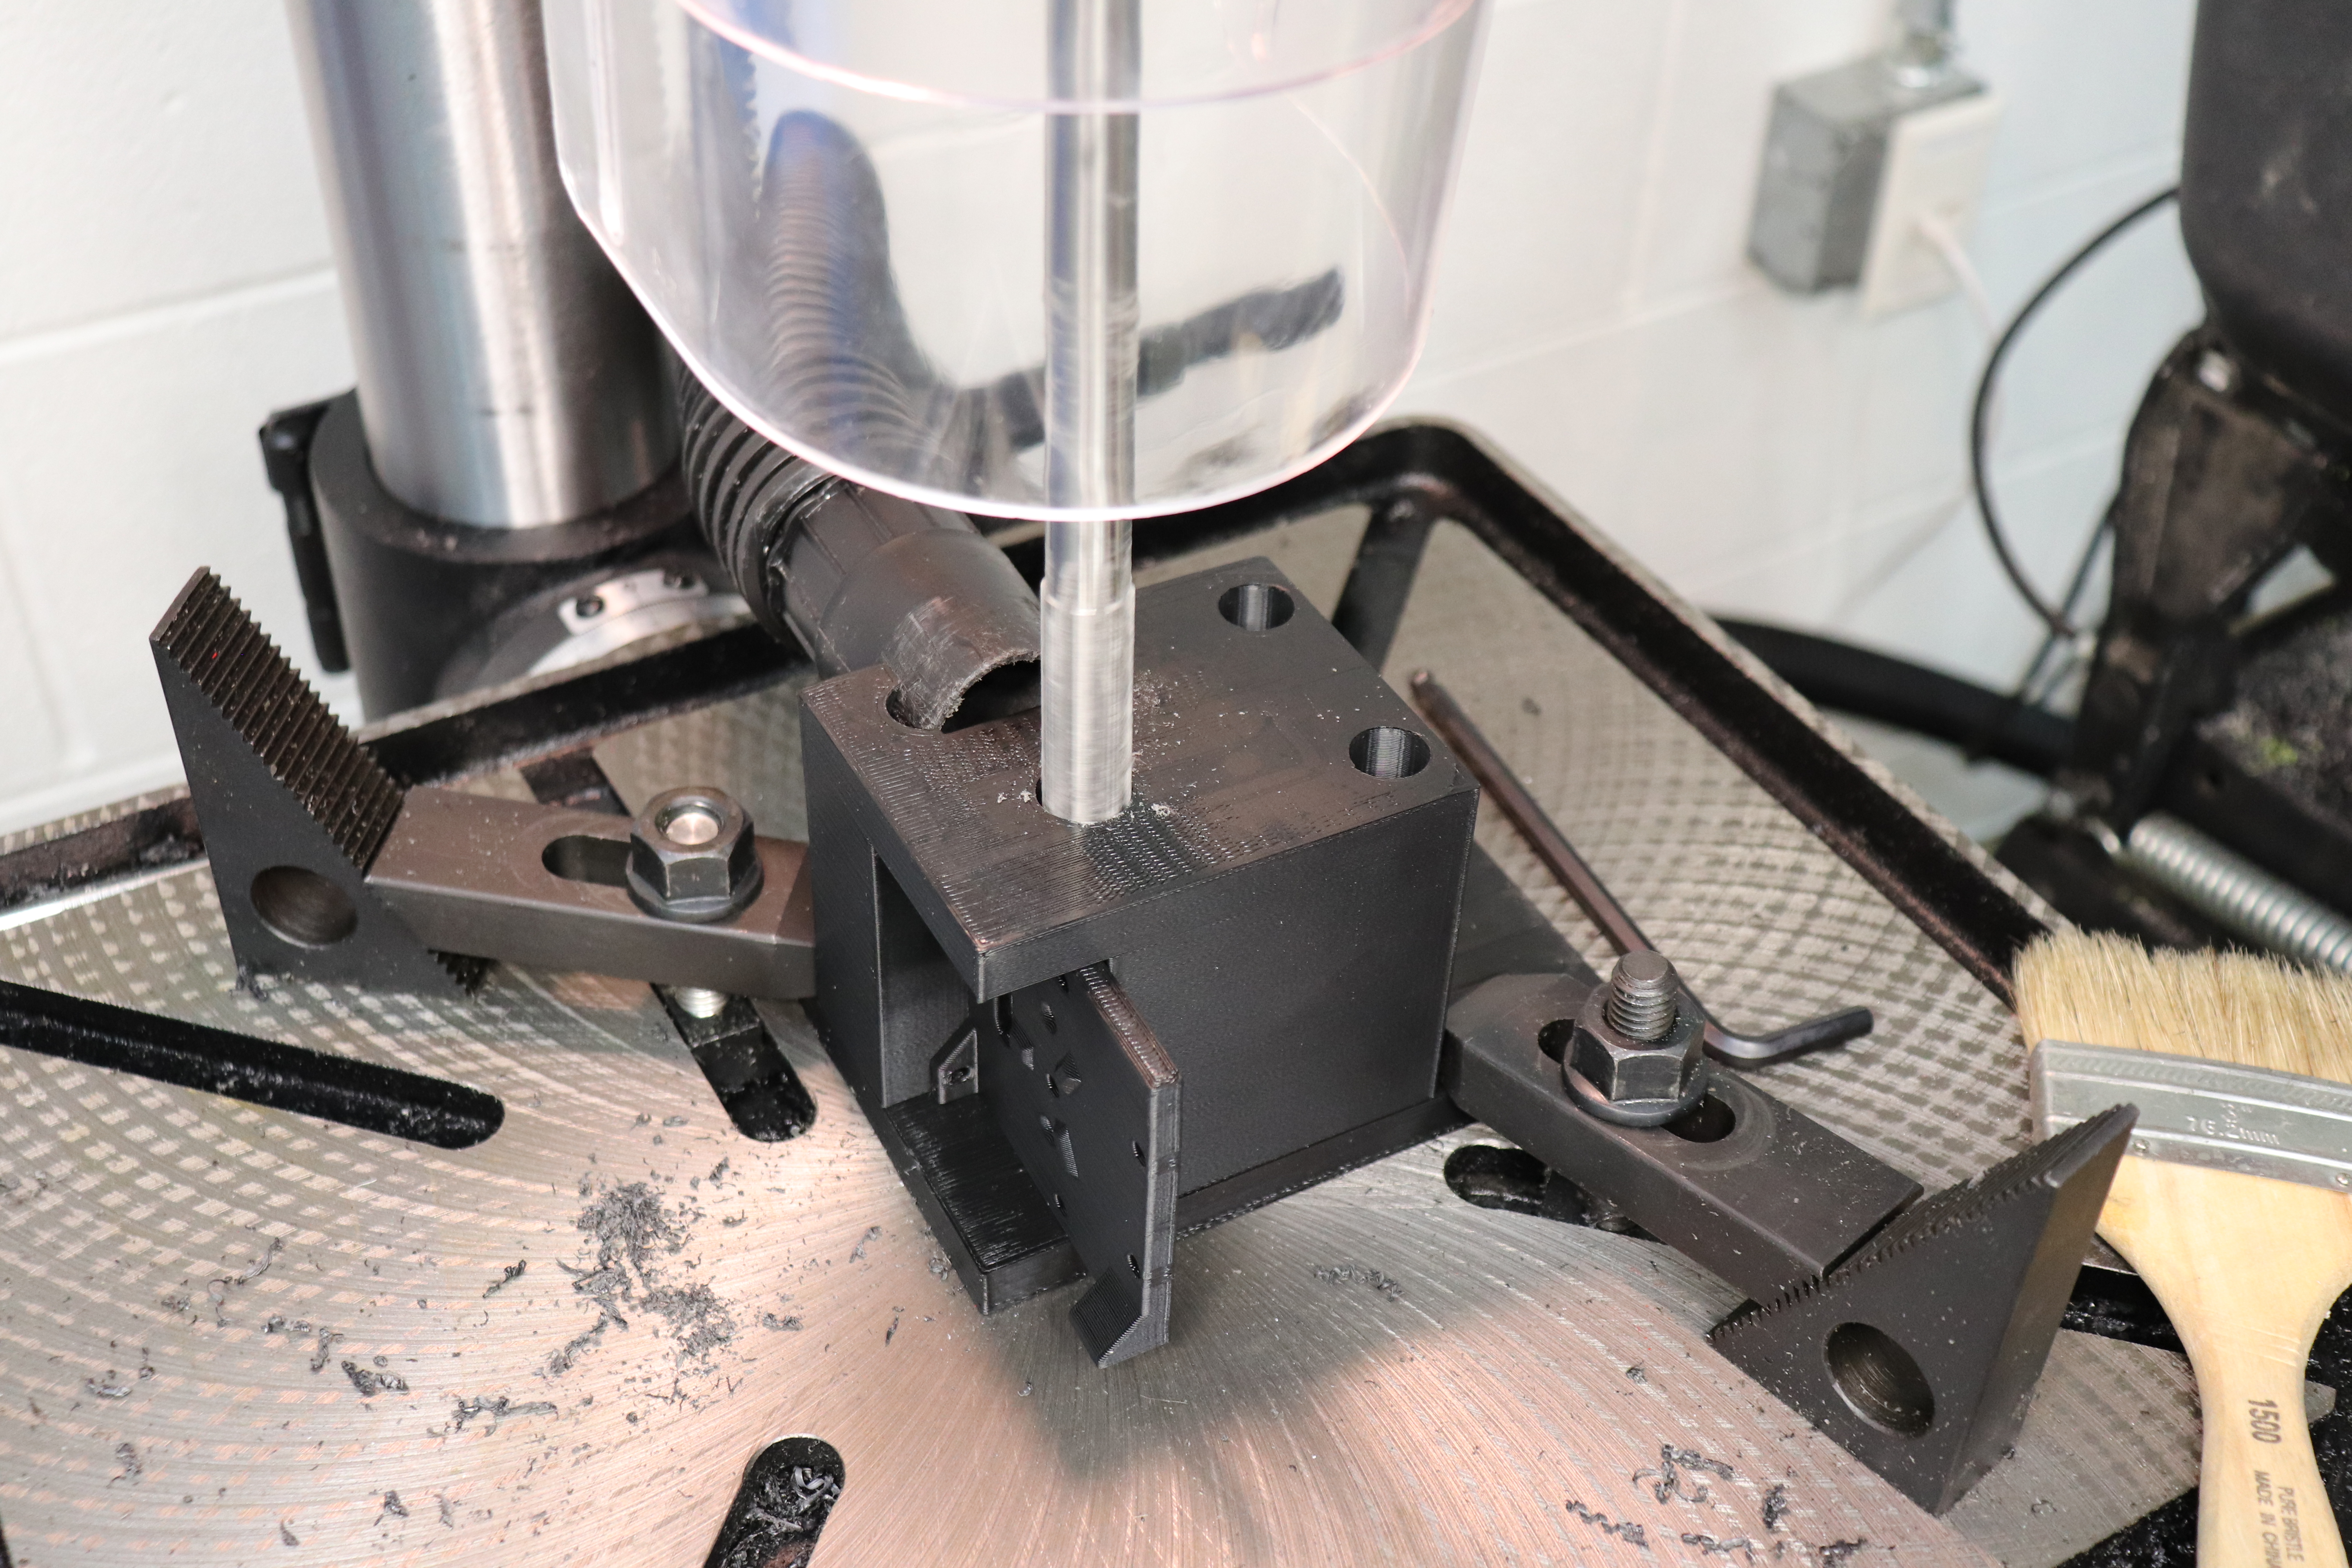
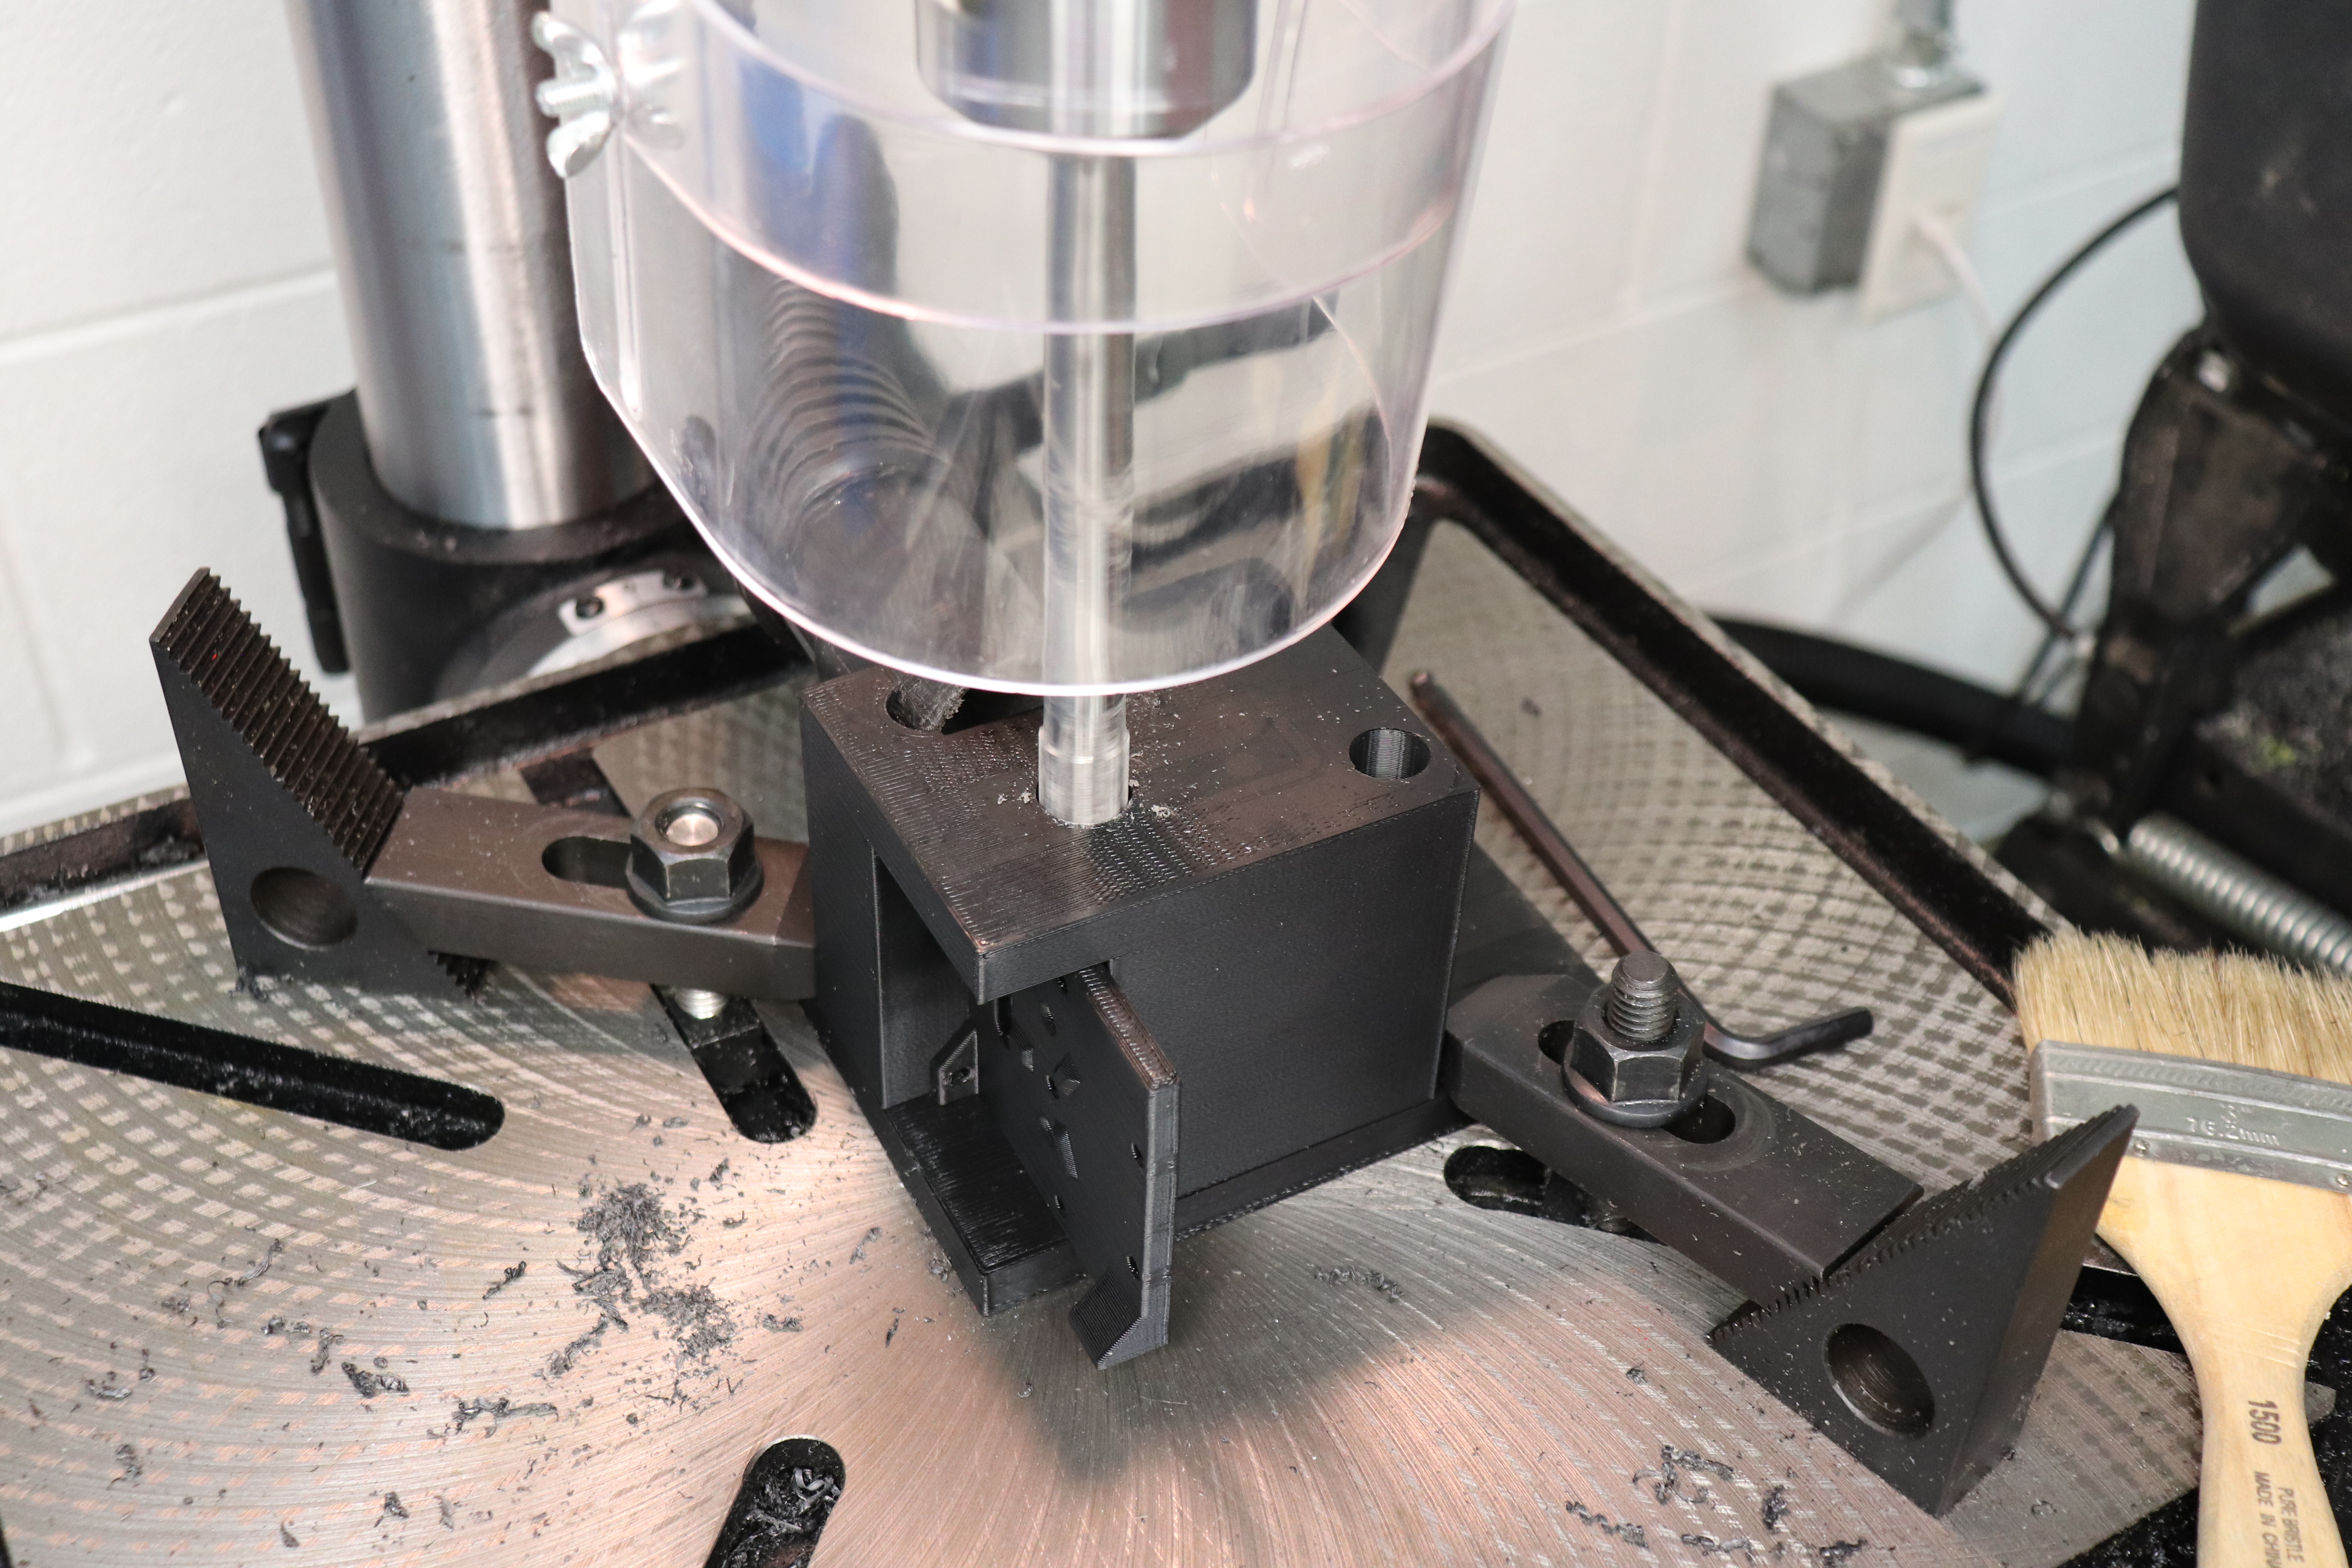
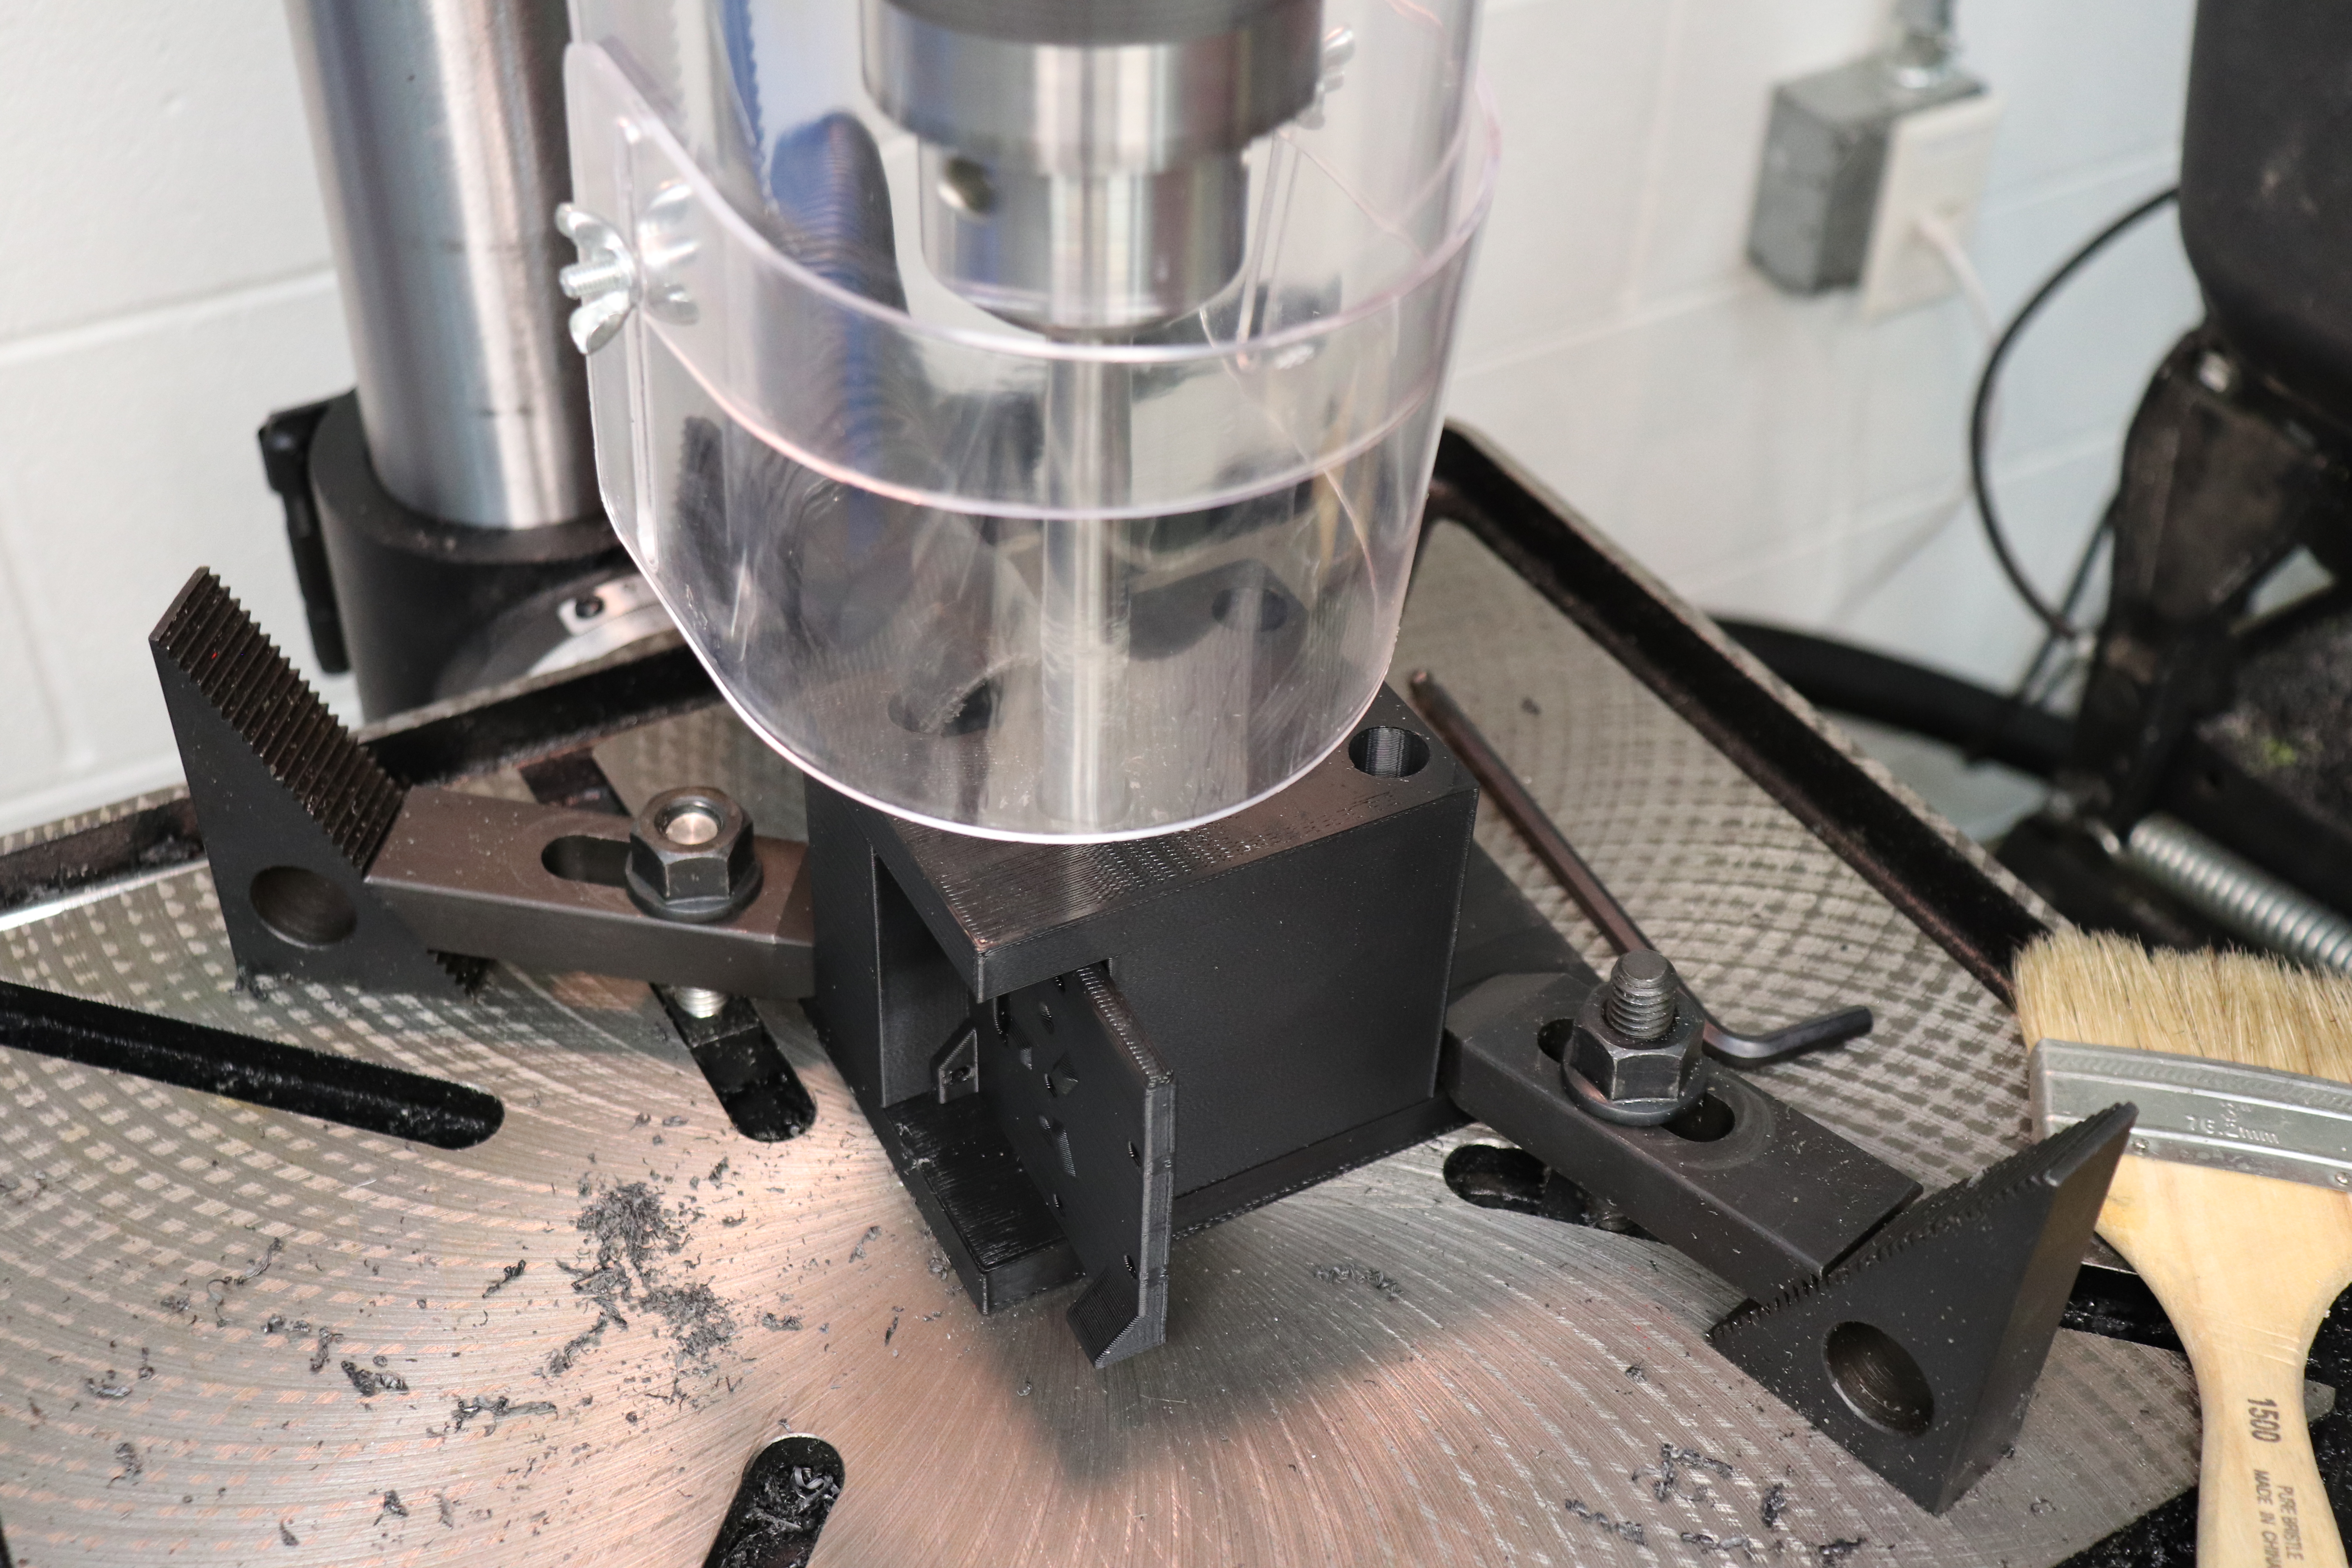
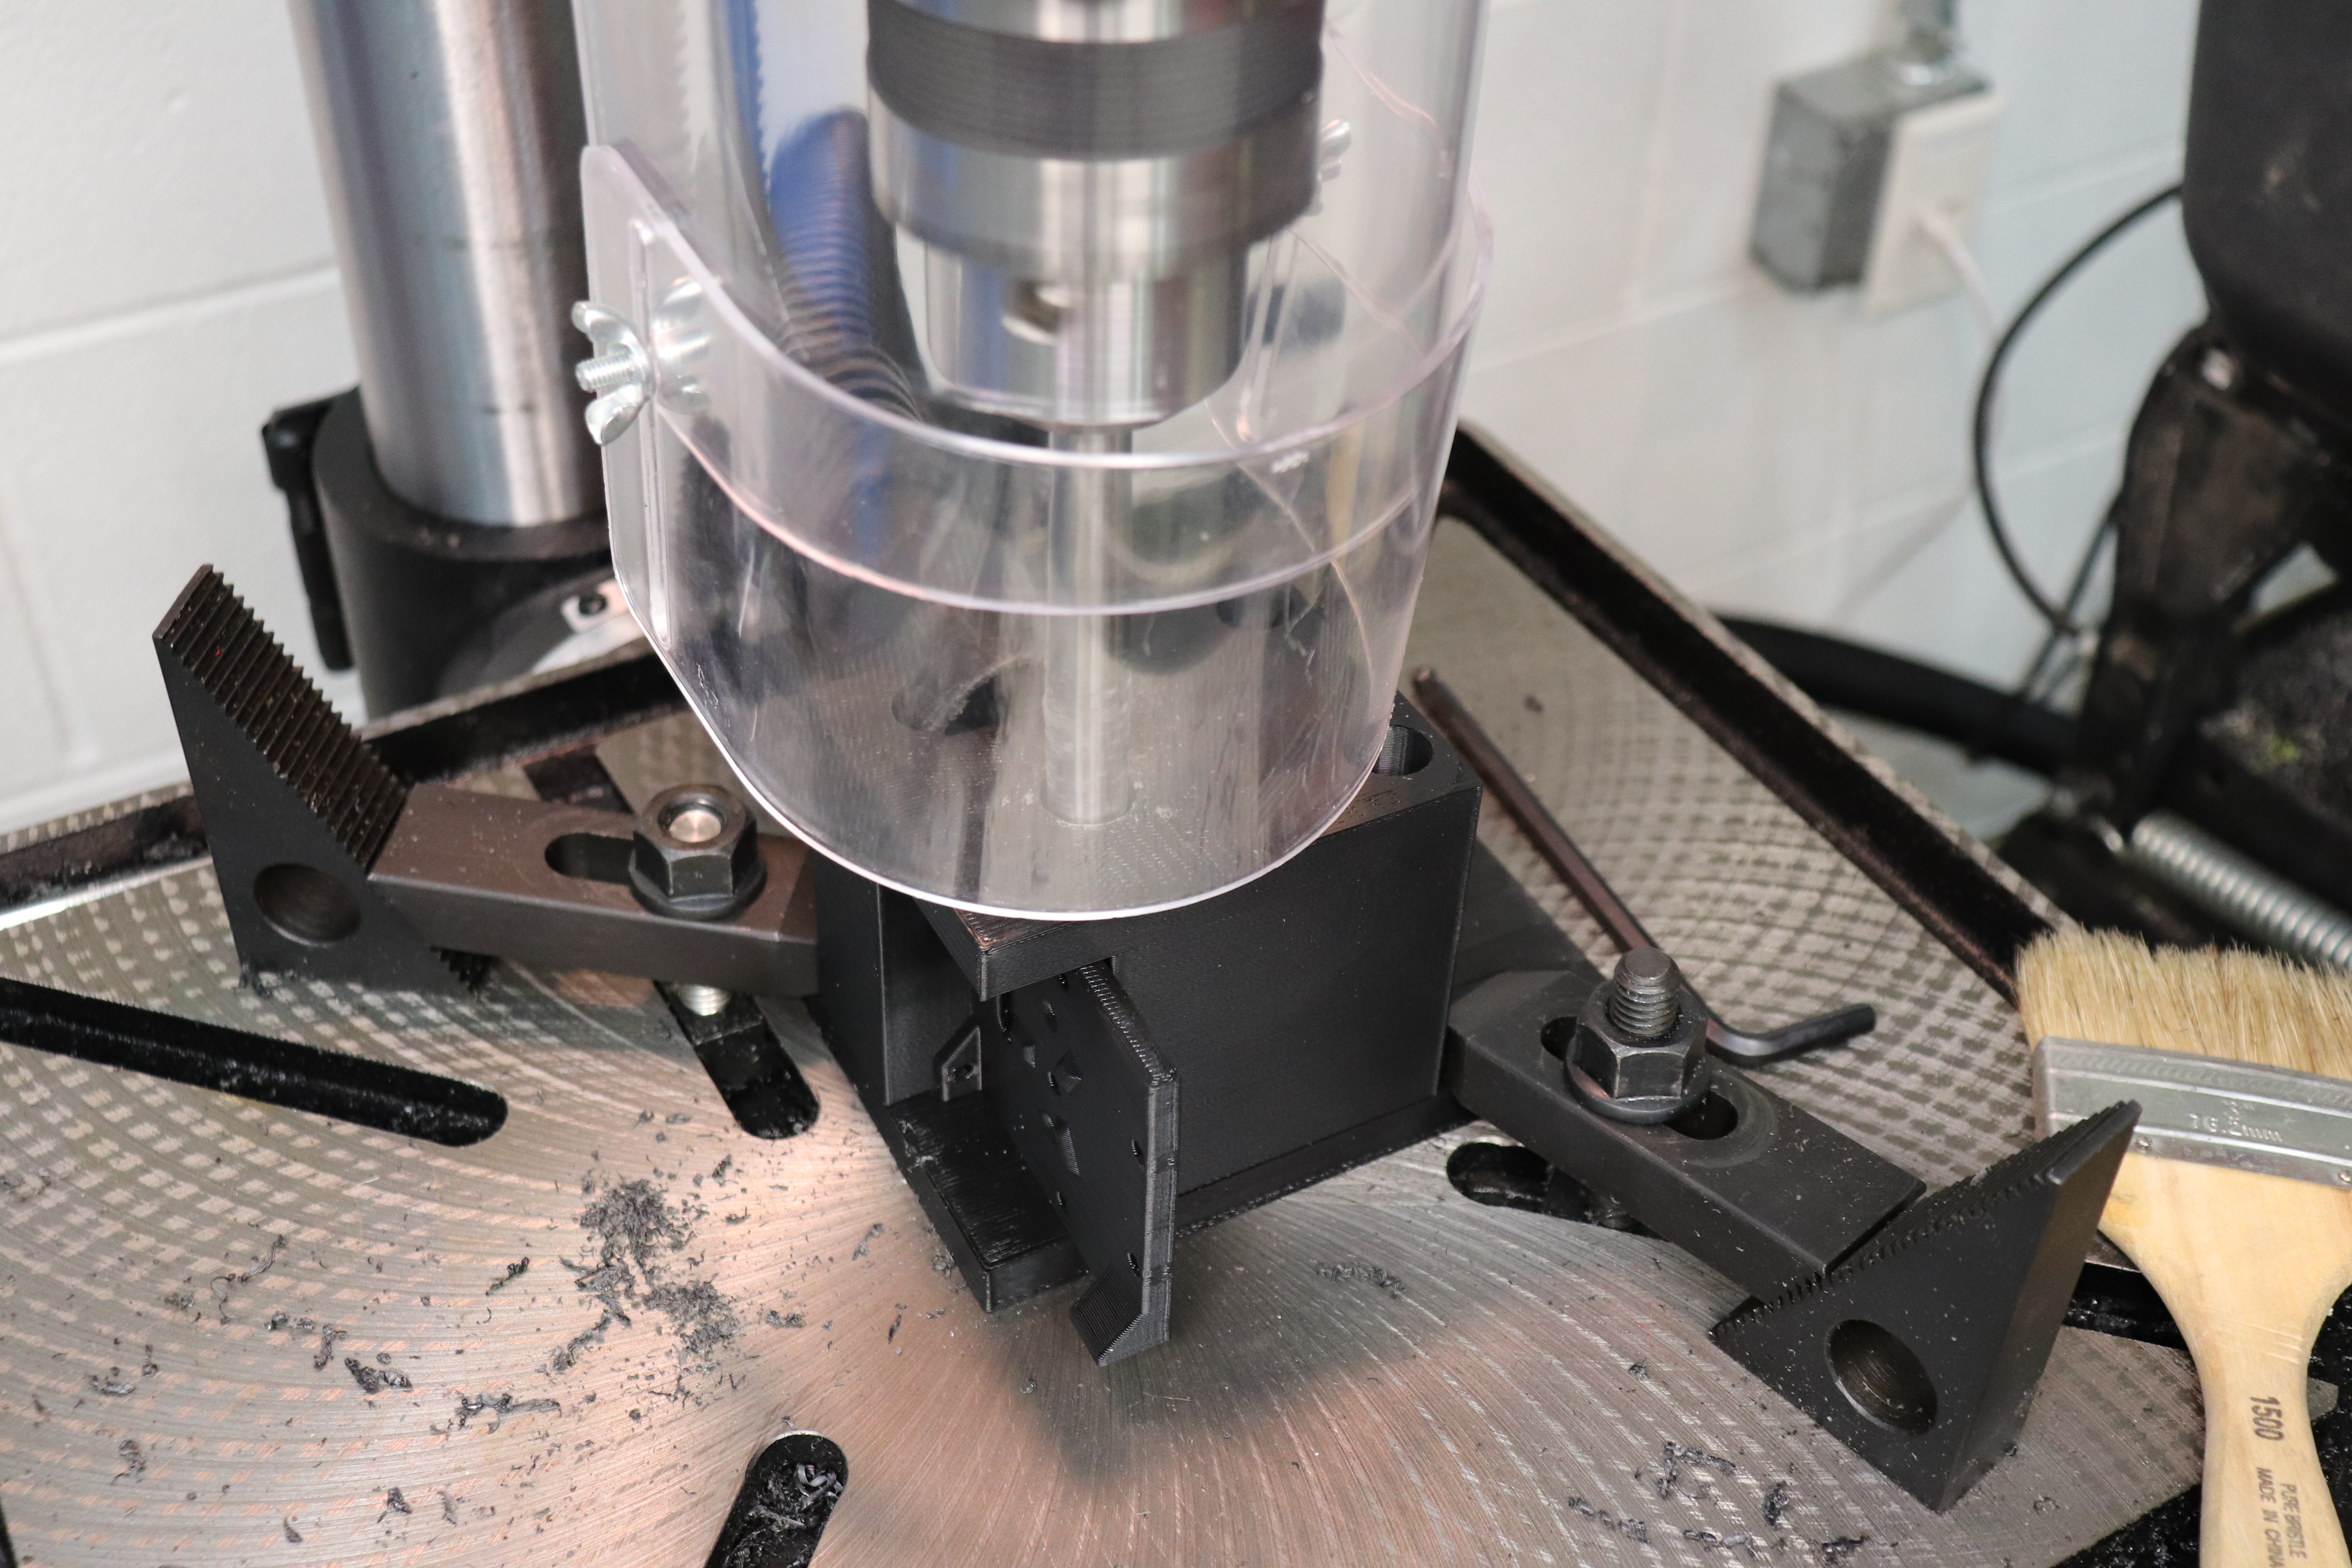
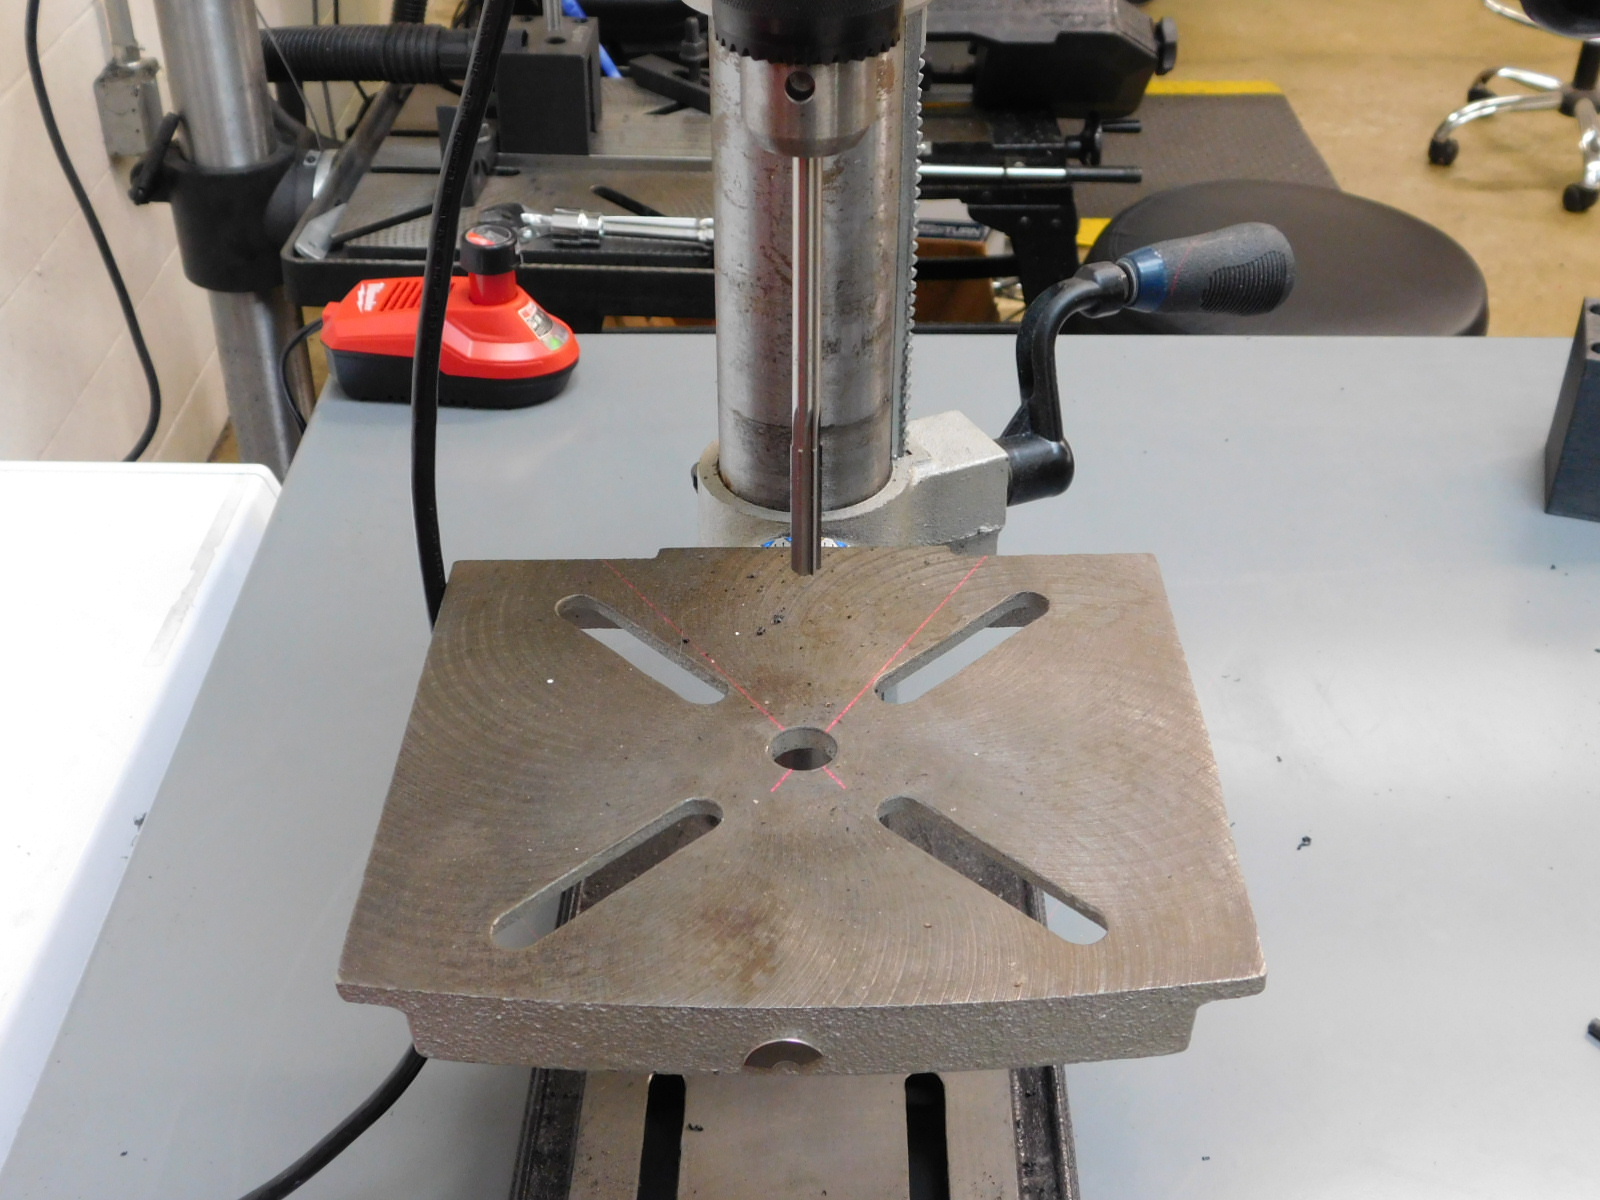
Make sure the table is clean and free of debris, then using the serrated strap clamps, clamp the modular base to the drill press table. The biggest hole in the base should be centered on the reamer.
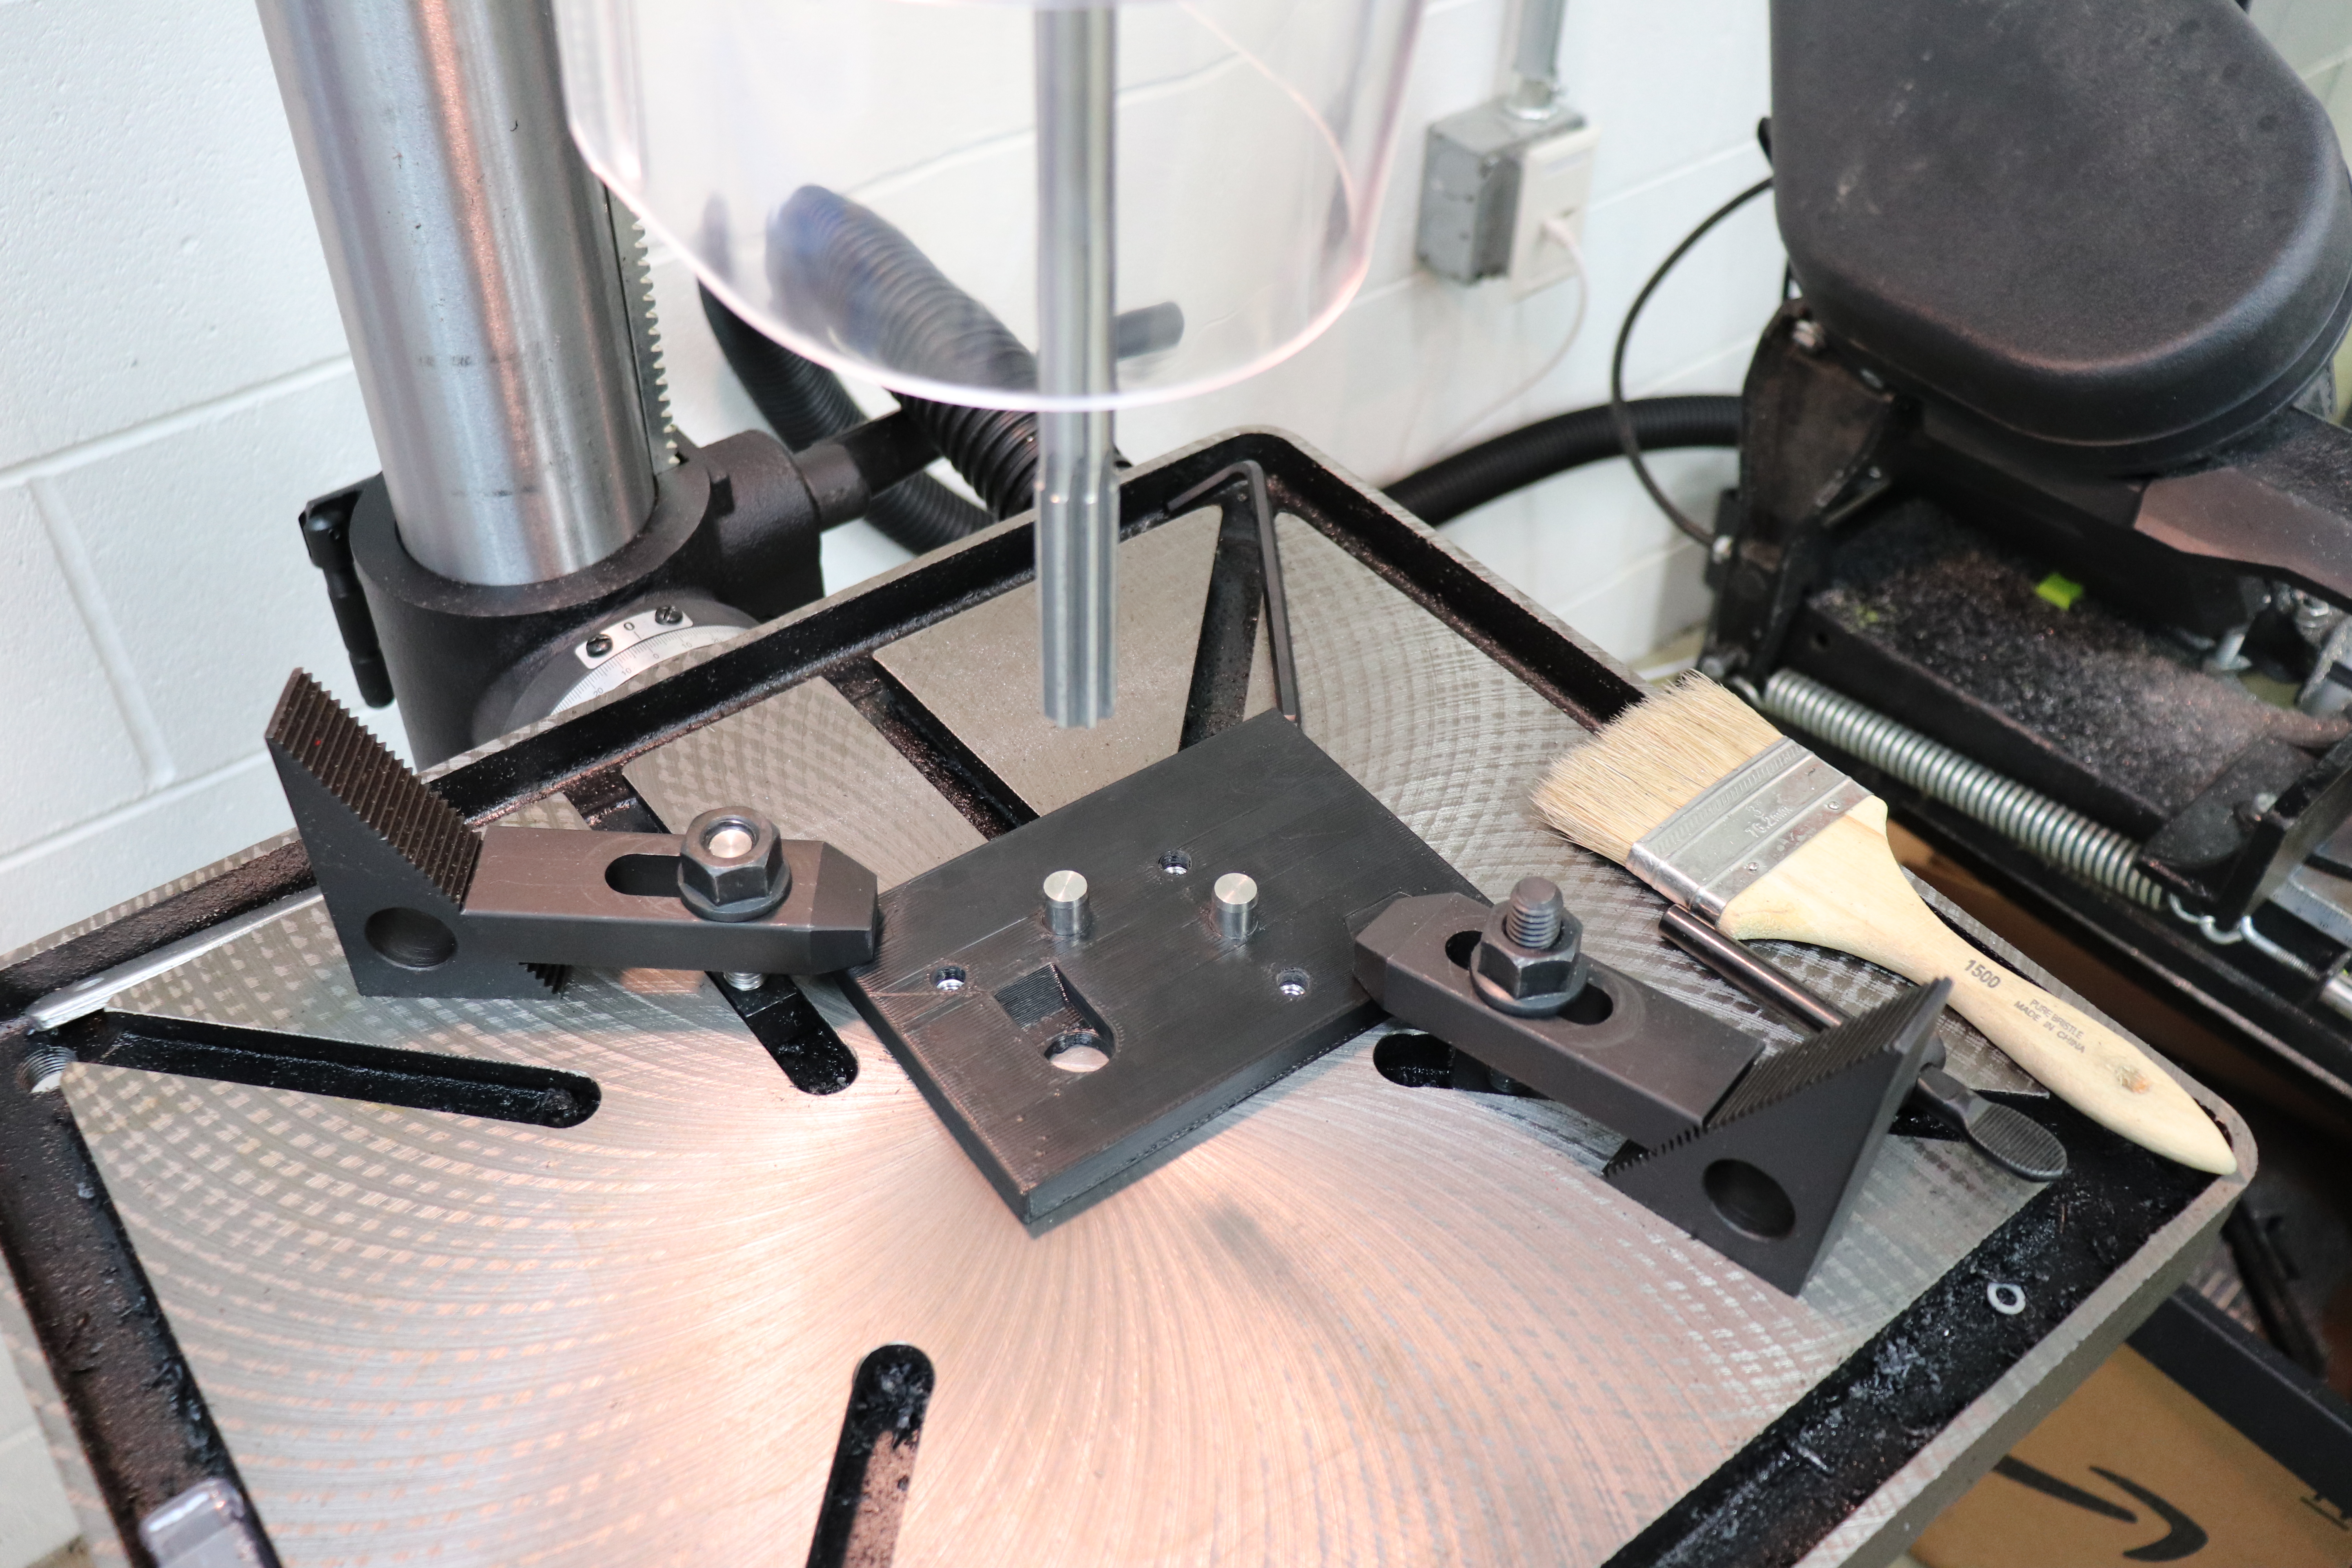
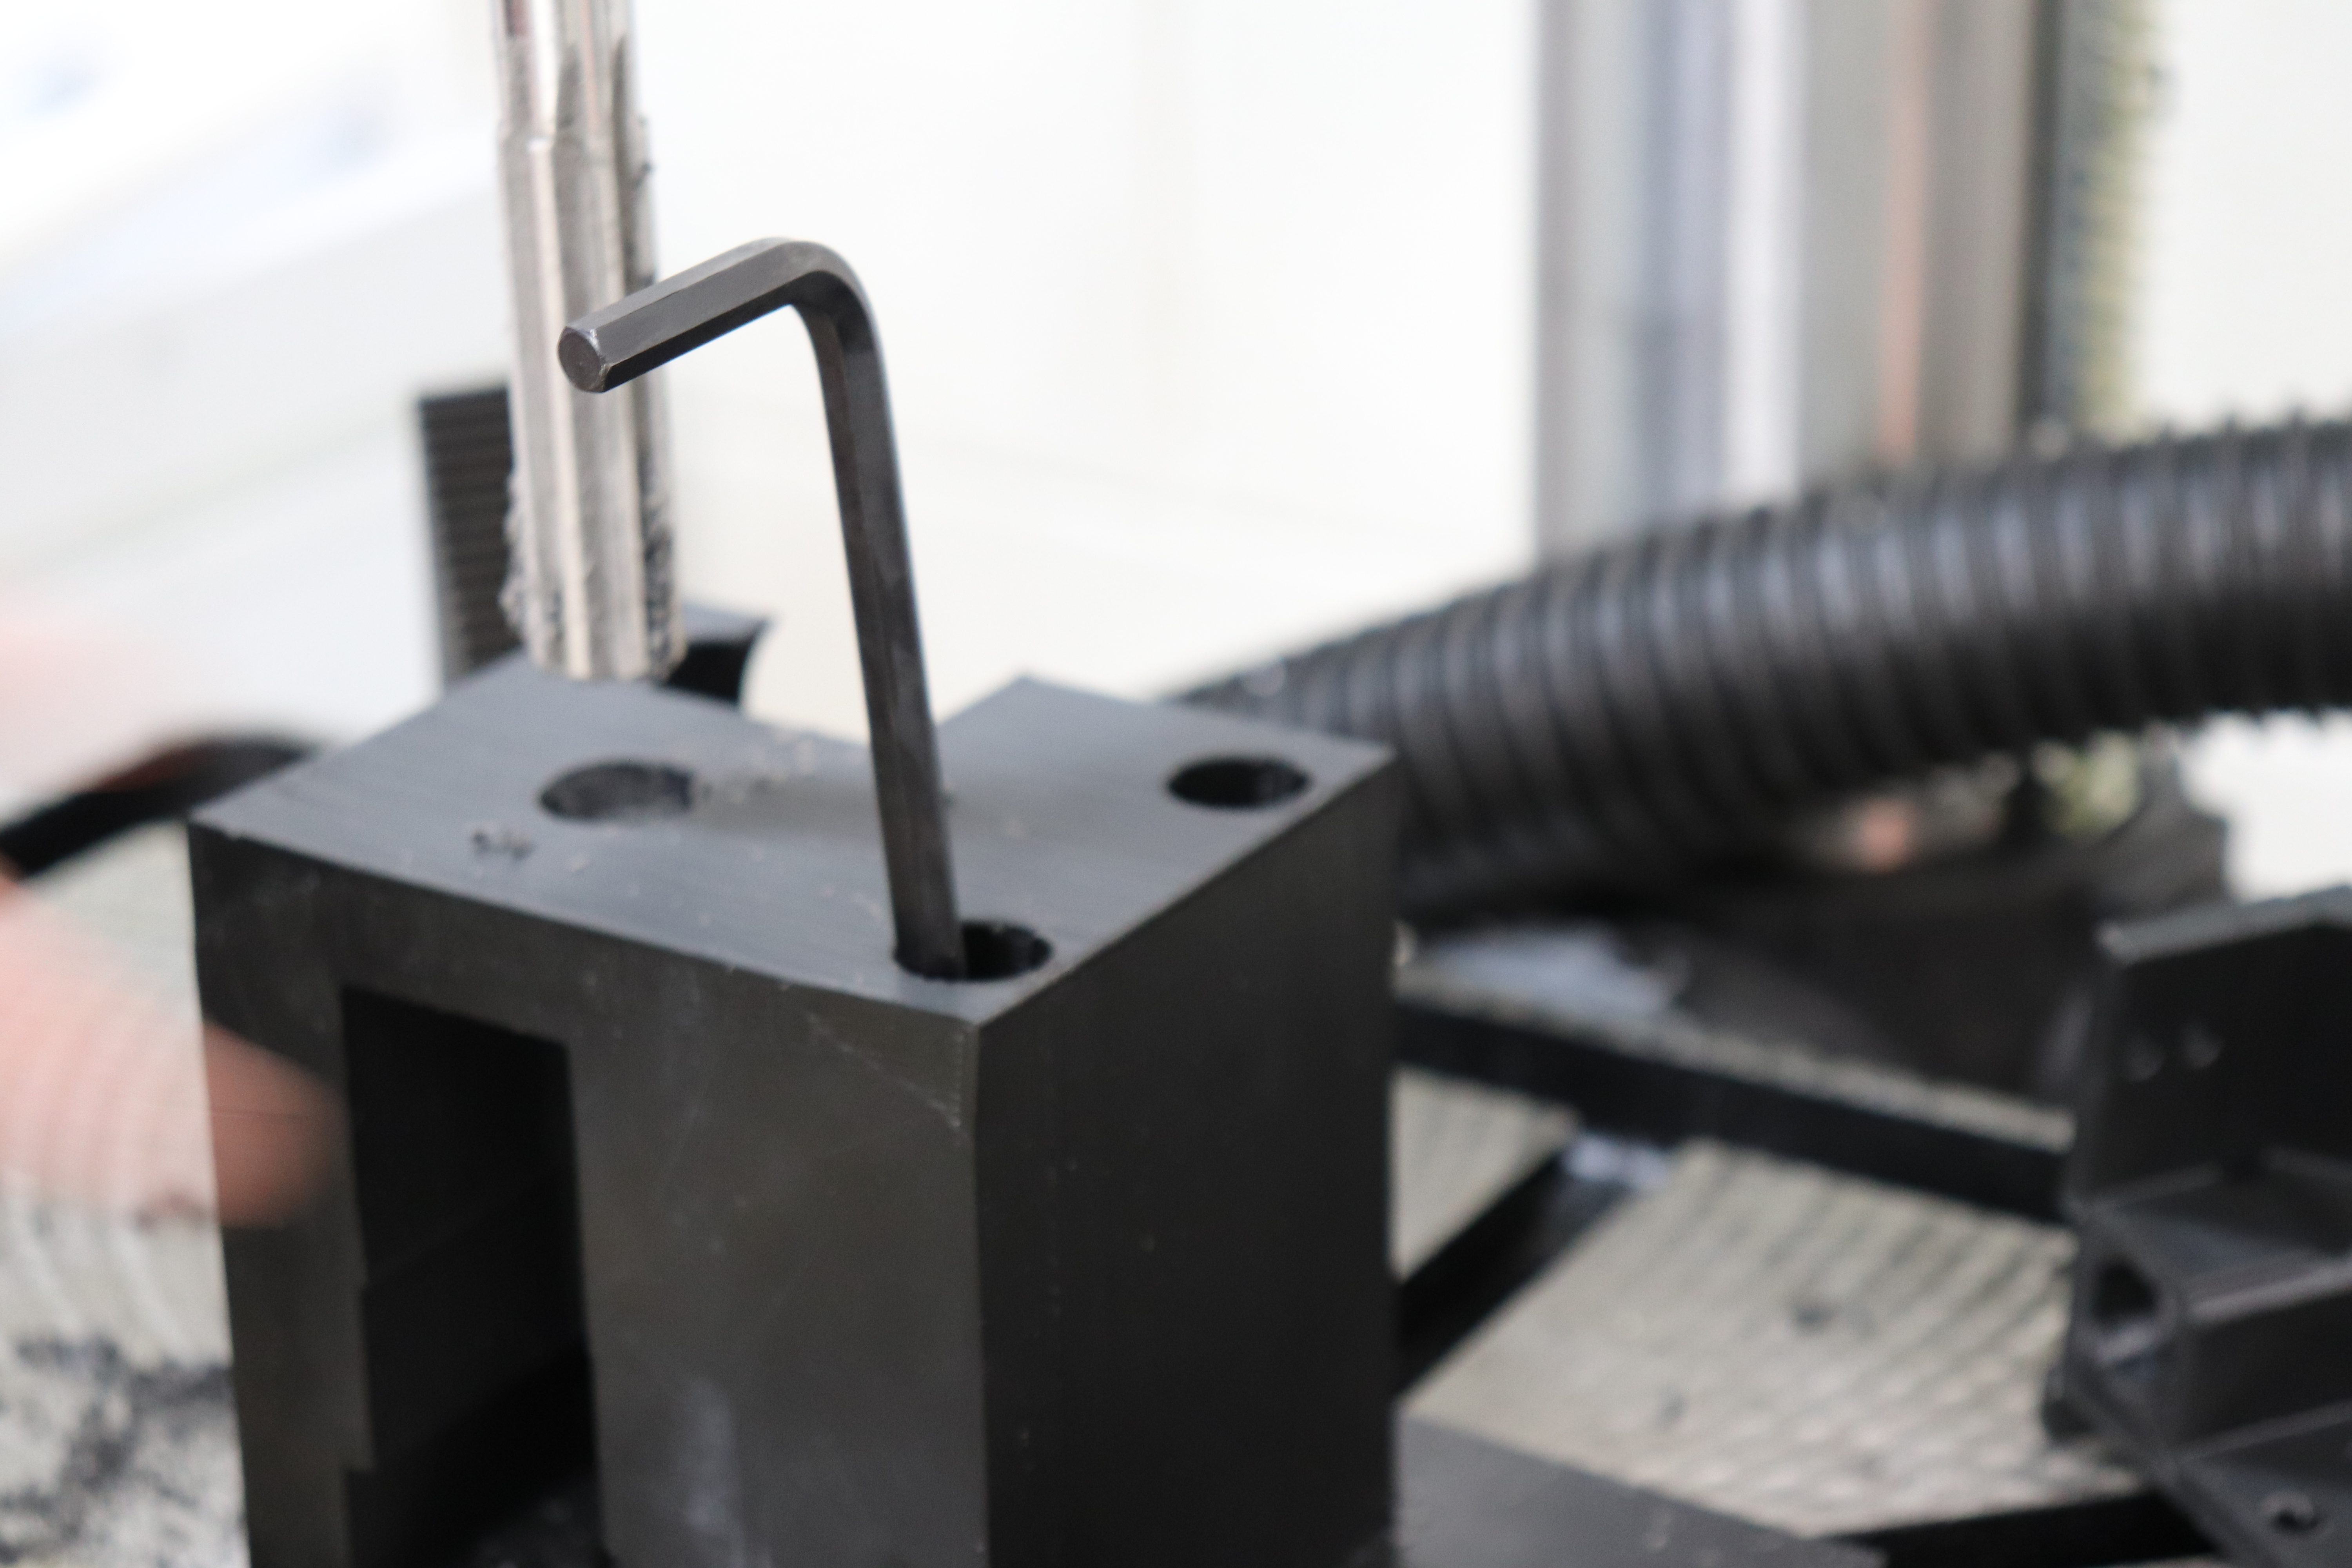
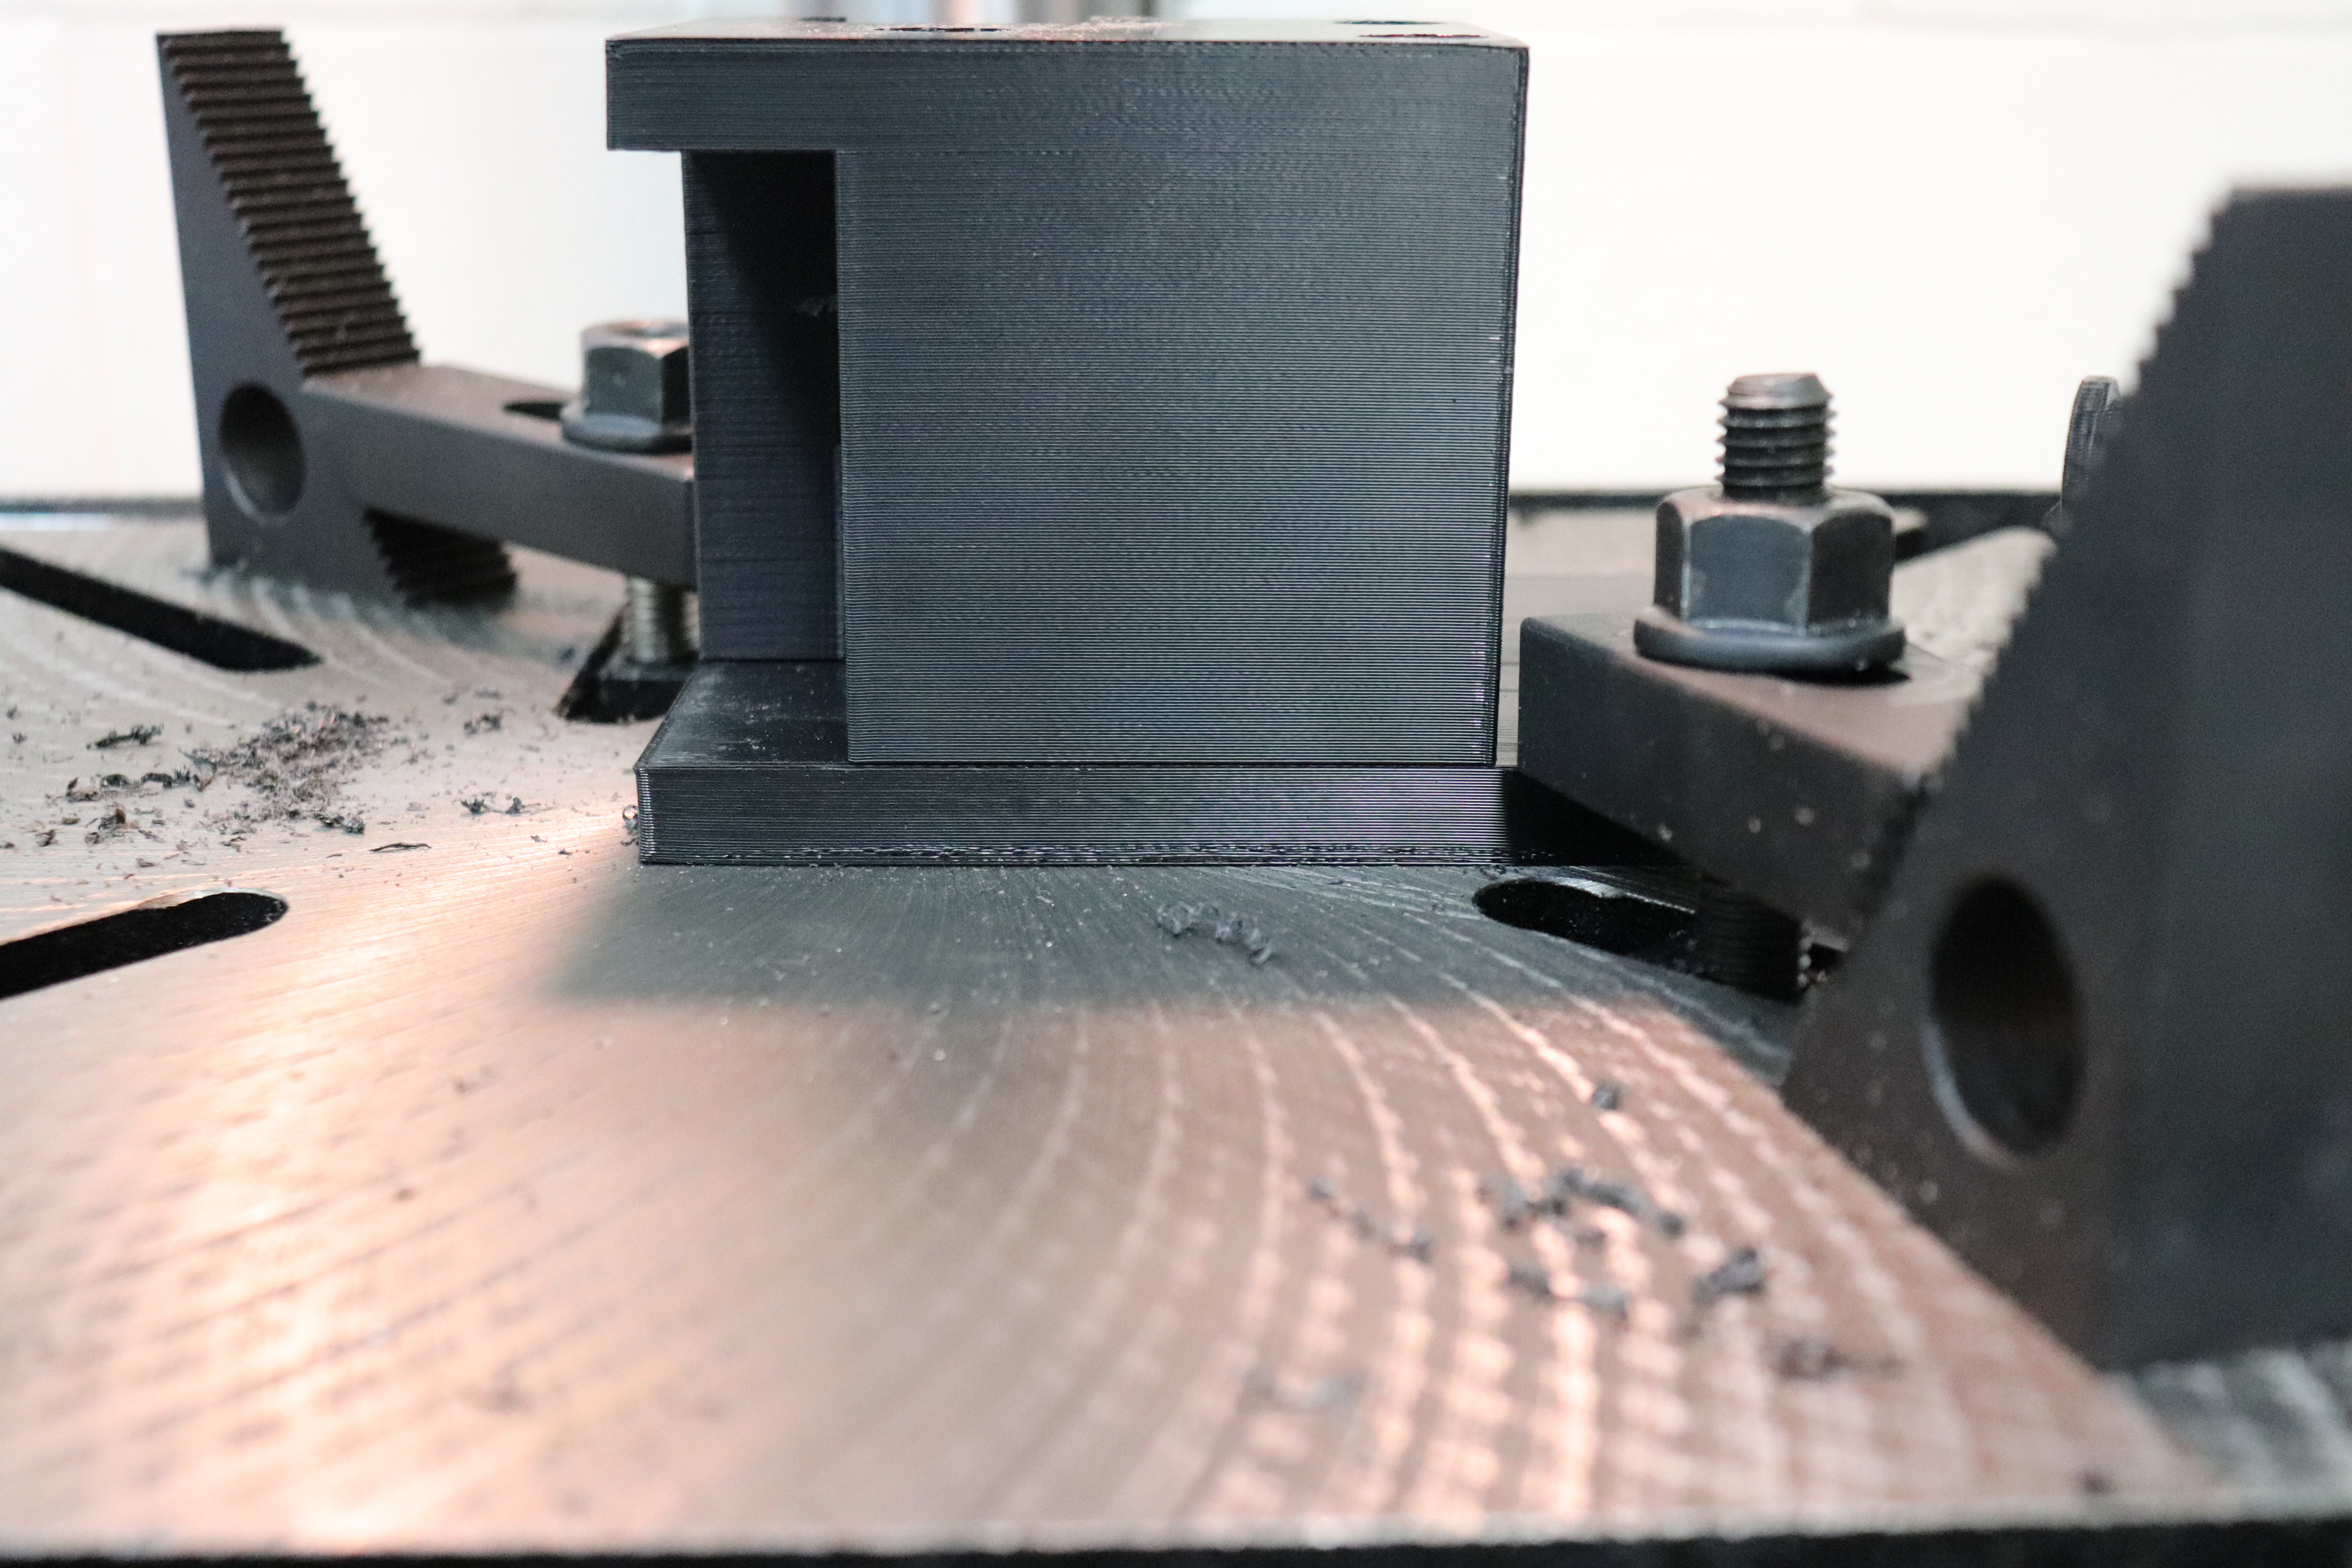
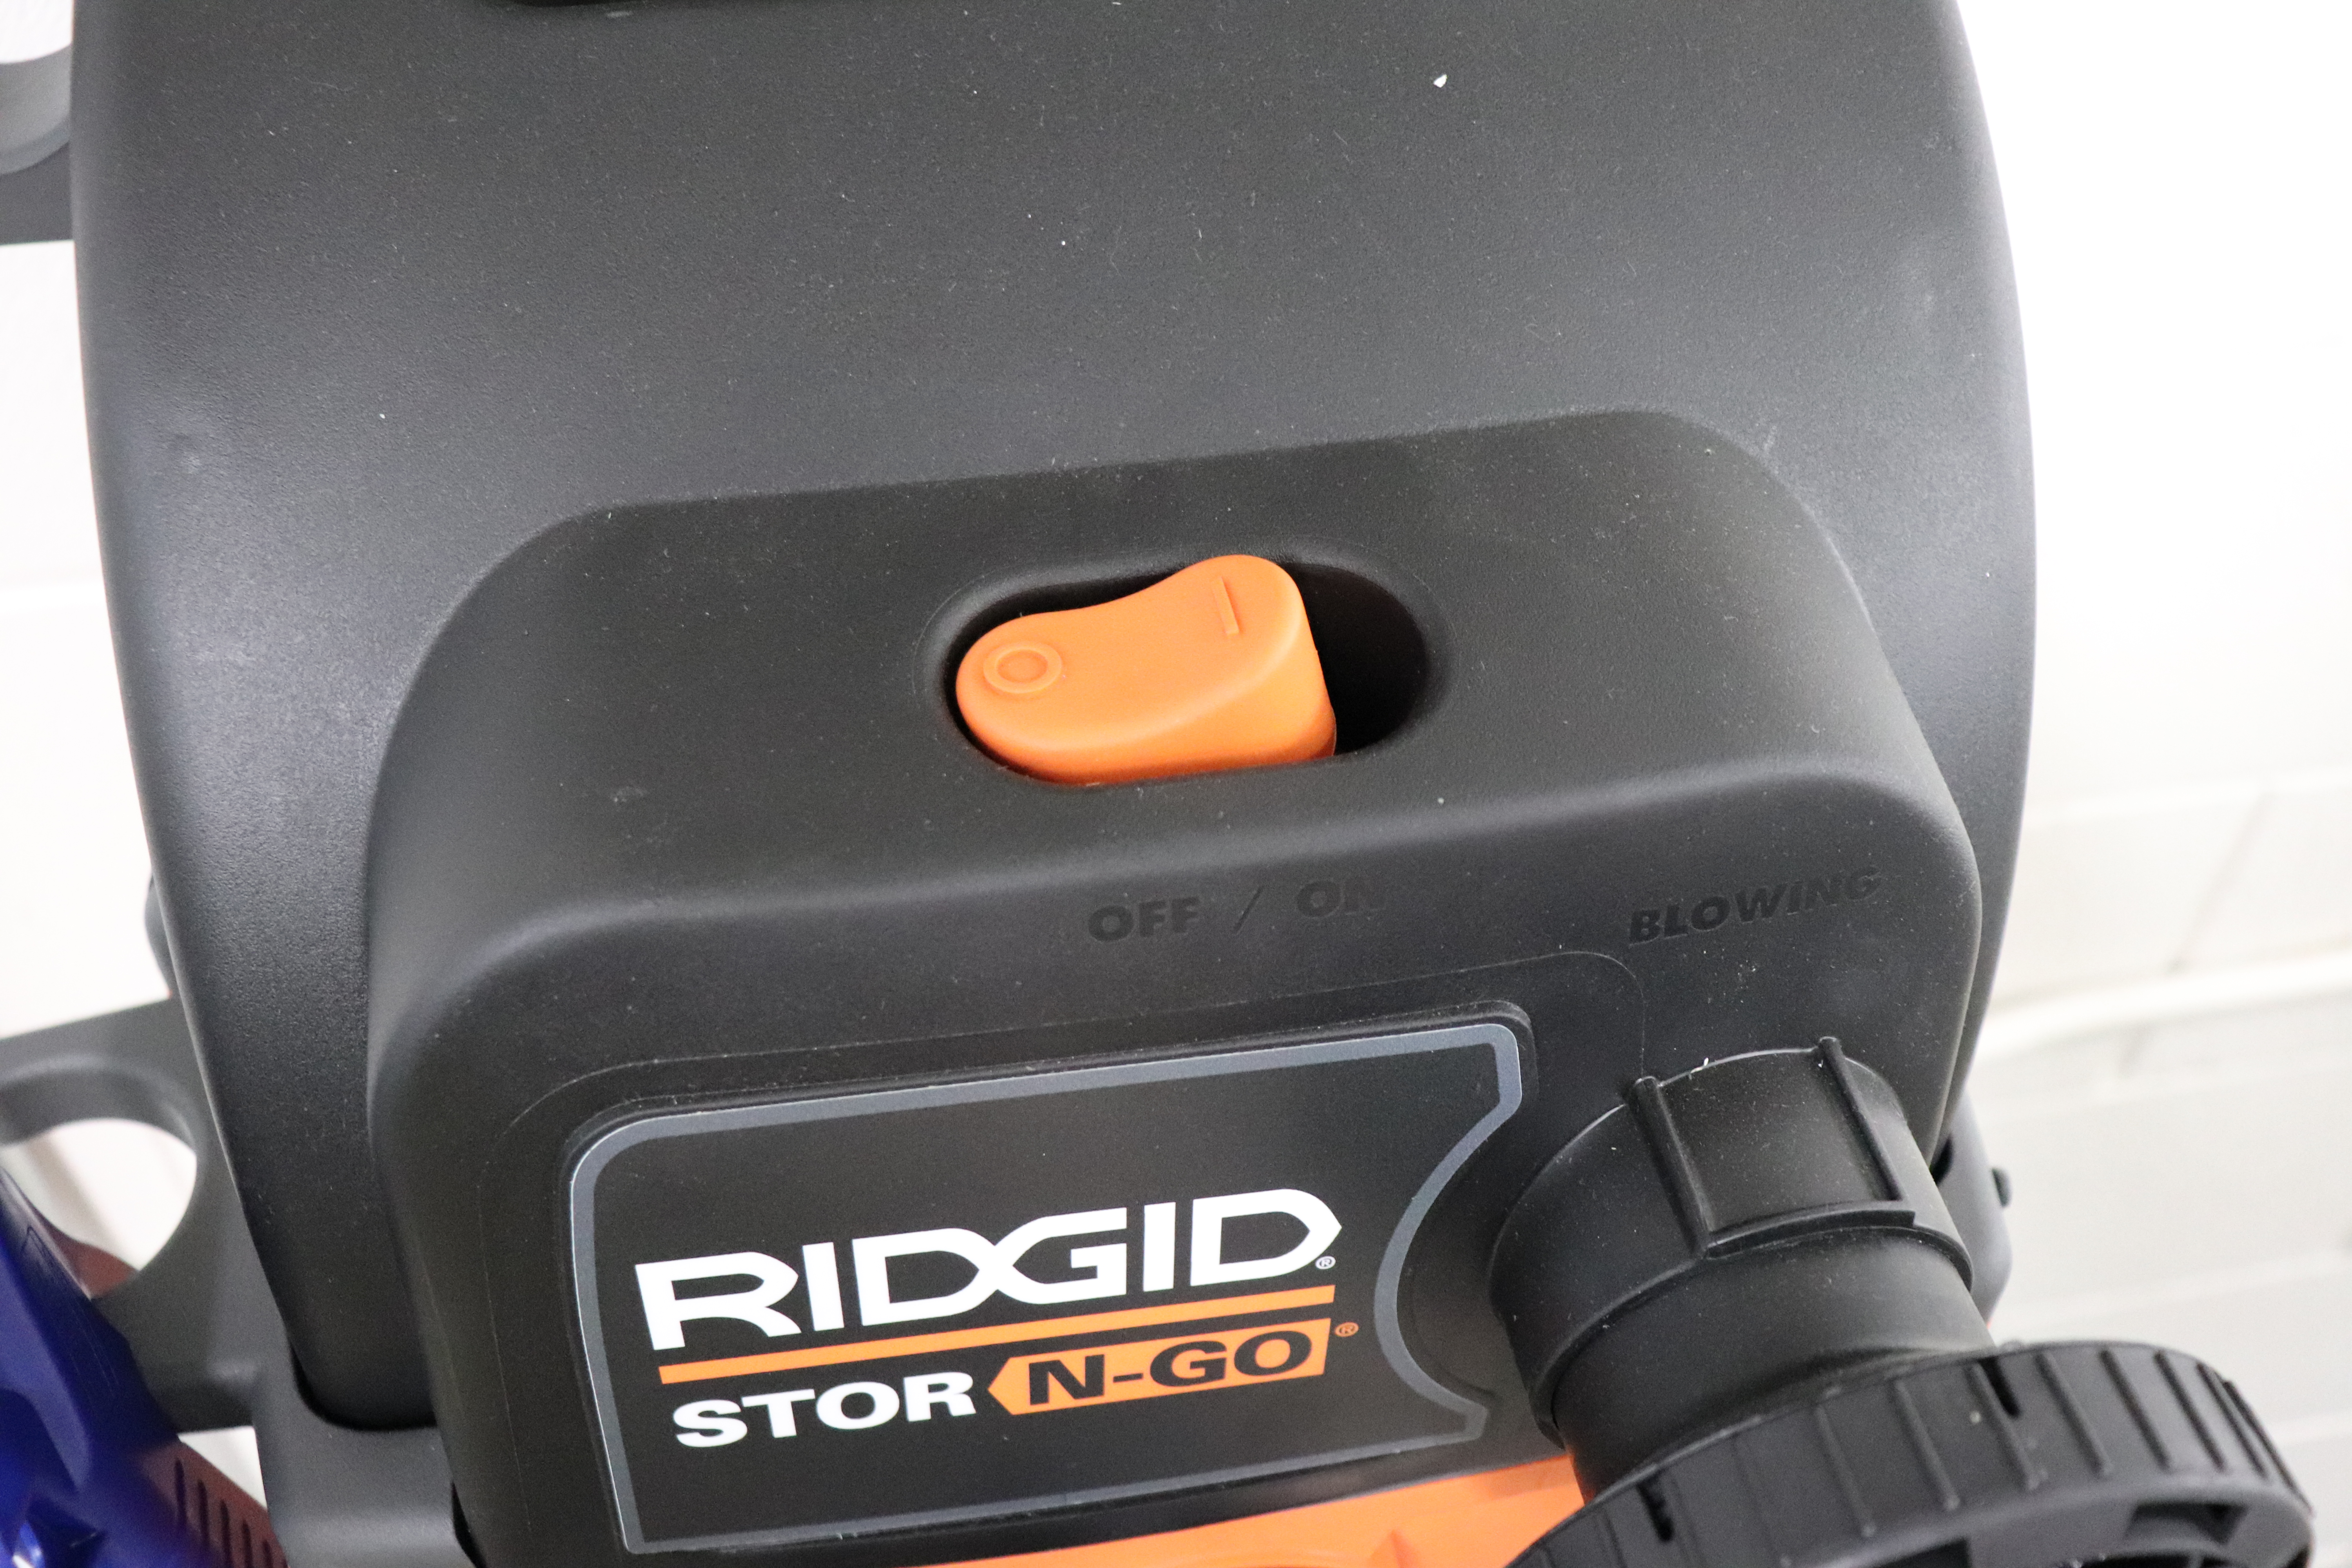
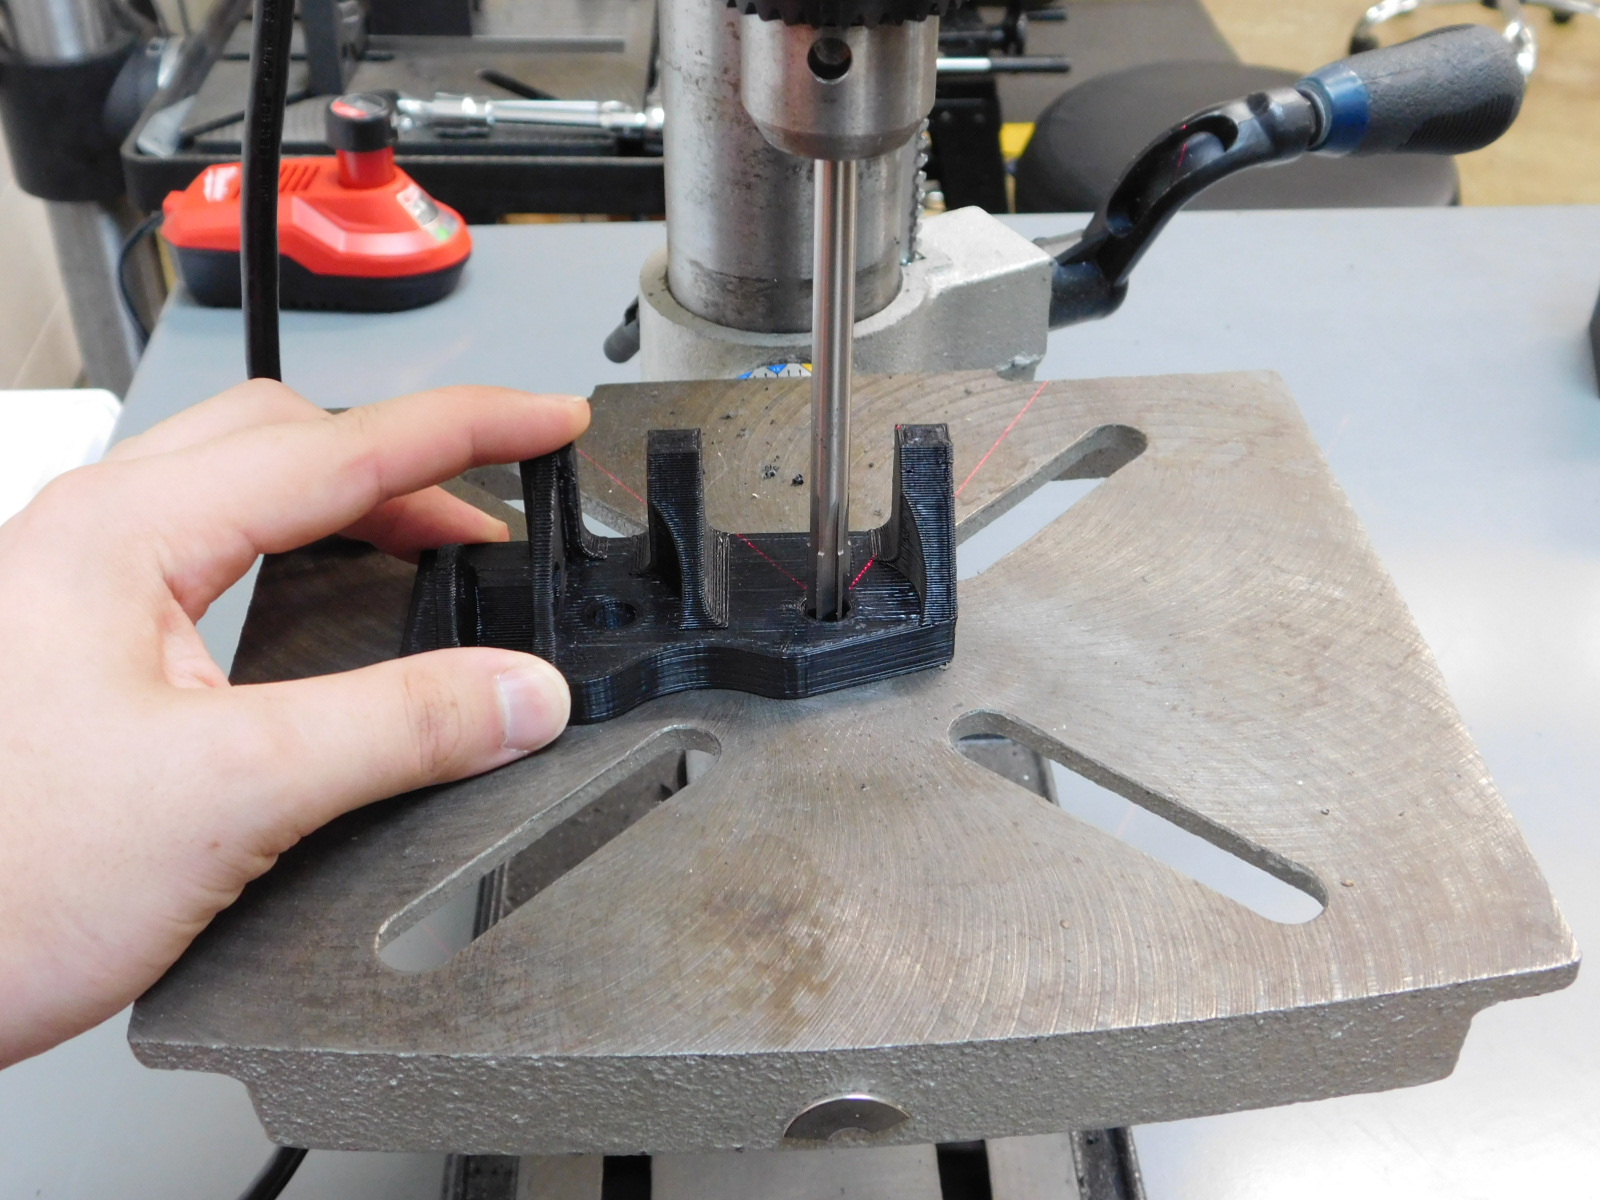
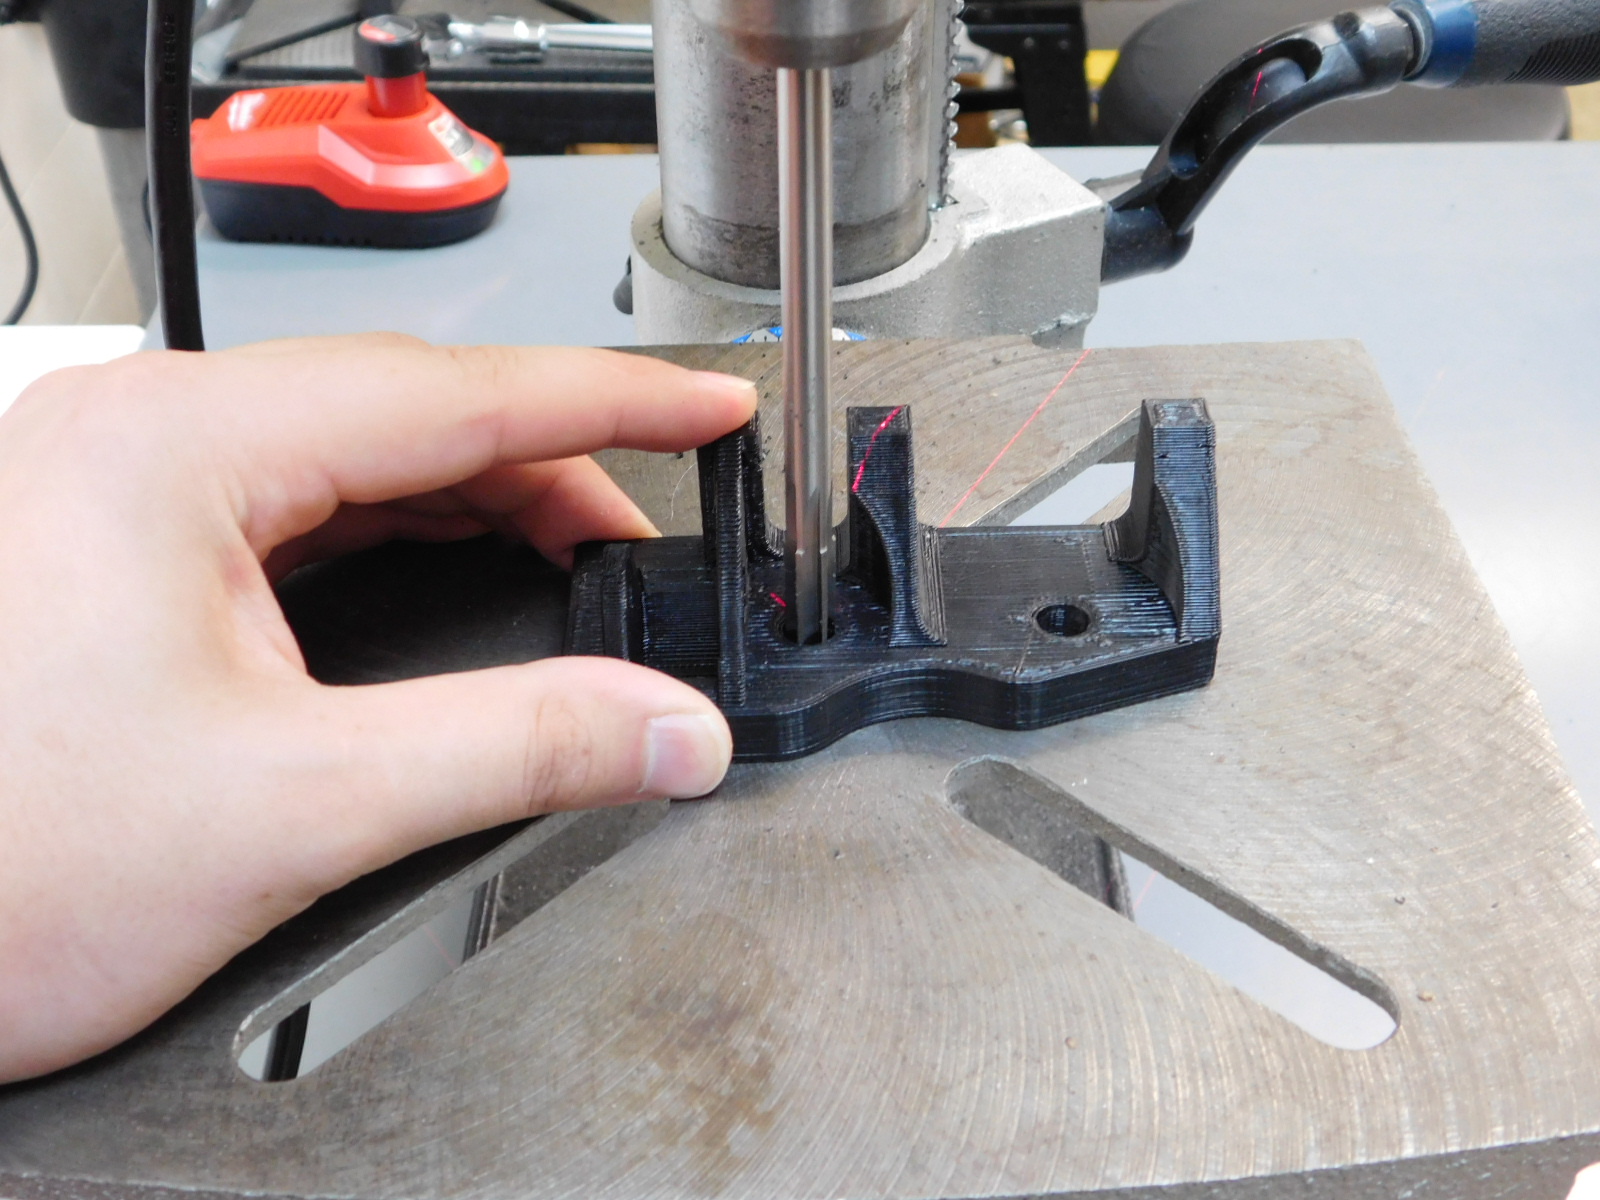
Blow off any debris from the base using compressed air, then, using the three M8 x 30 SHCS, fasten the relevant reaming jig to the modular base. Make sure the jig is flush with the base and that there is no debris trapped in between the jig and the base.


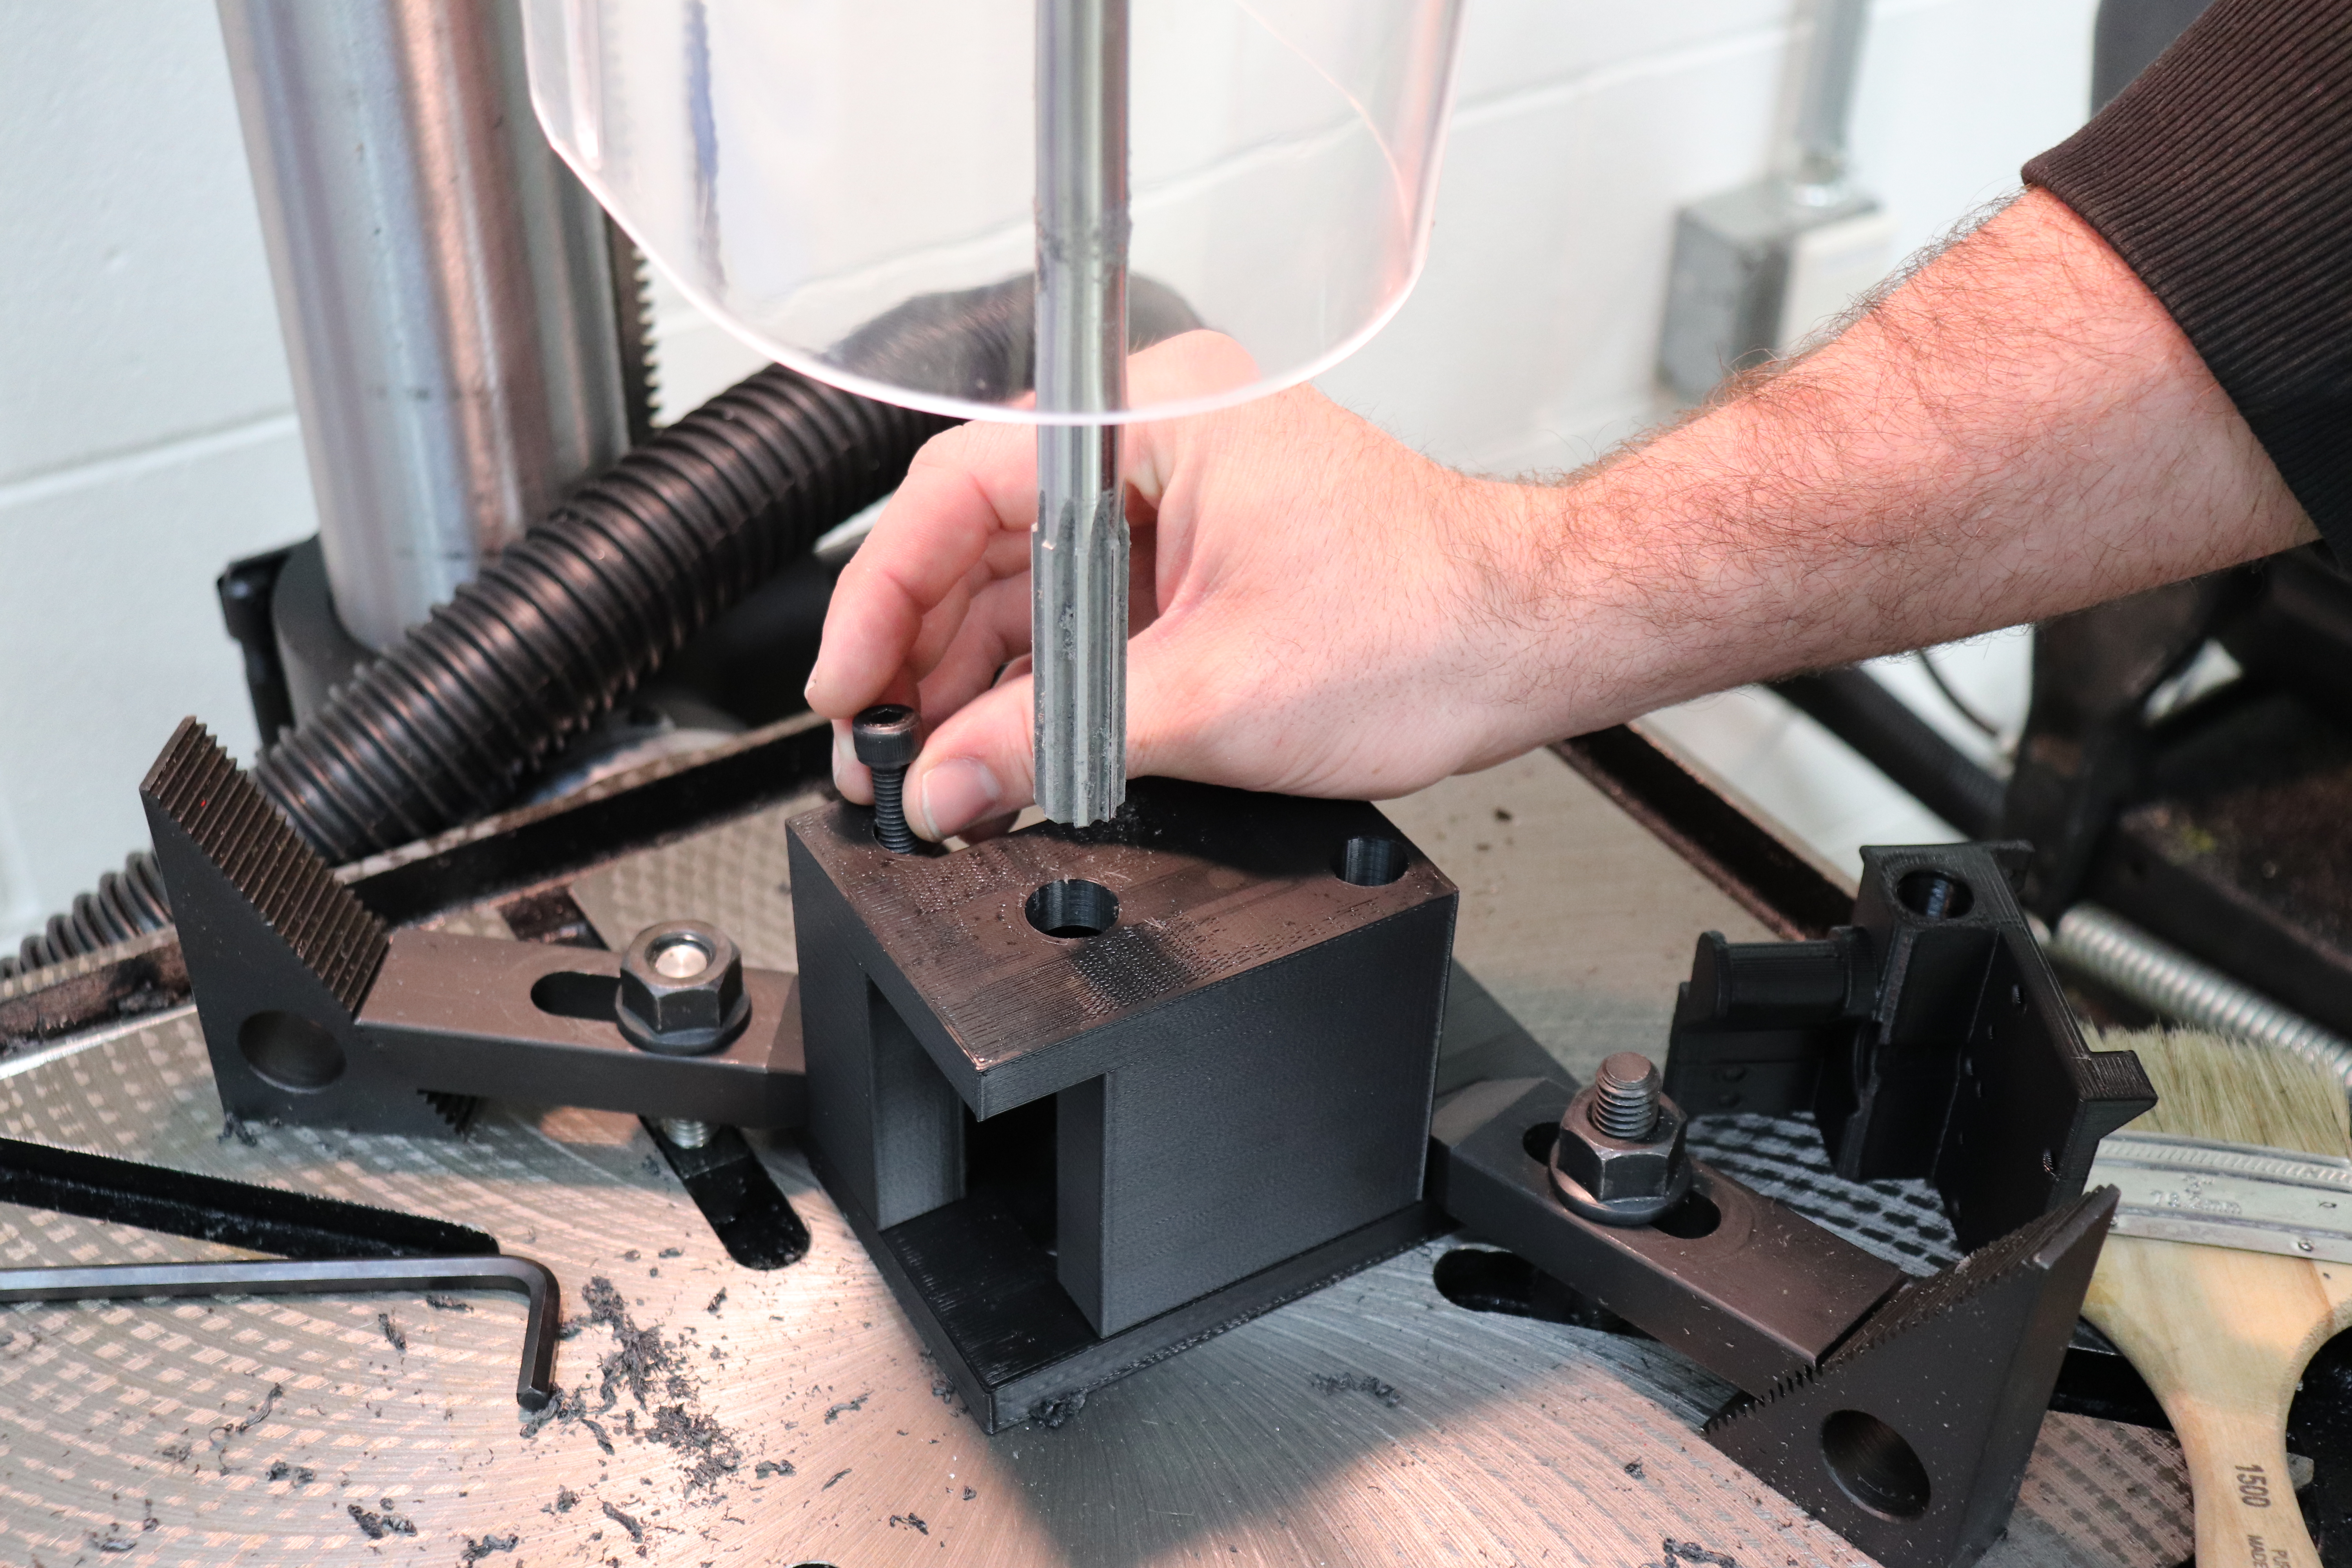
Each jig has a feature to receive the end of the vacuum hose. Push the end of the vacuum hose into that feature.
Things are about to get loud, so put on the earmuffs.
Run though a quick checklist of things:
If the answer to all items on this list is "yes", then turn on the vacuum and drill press
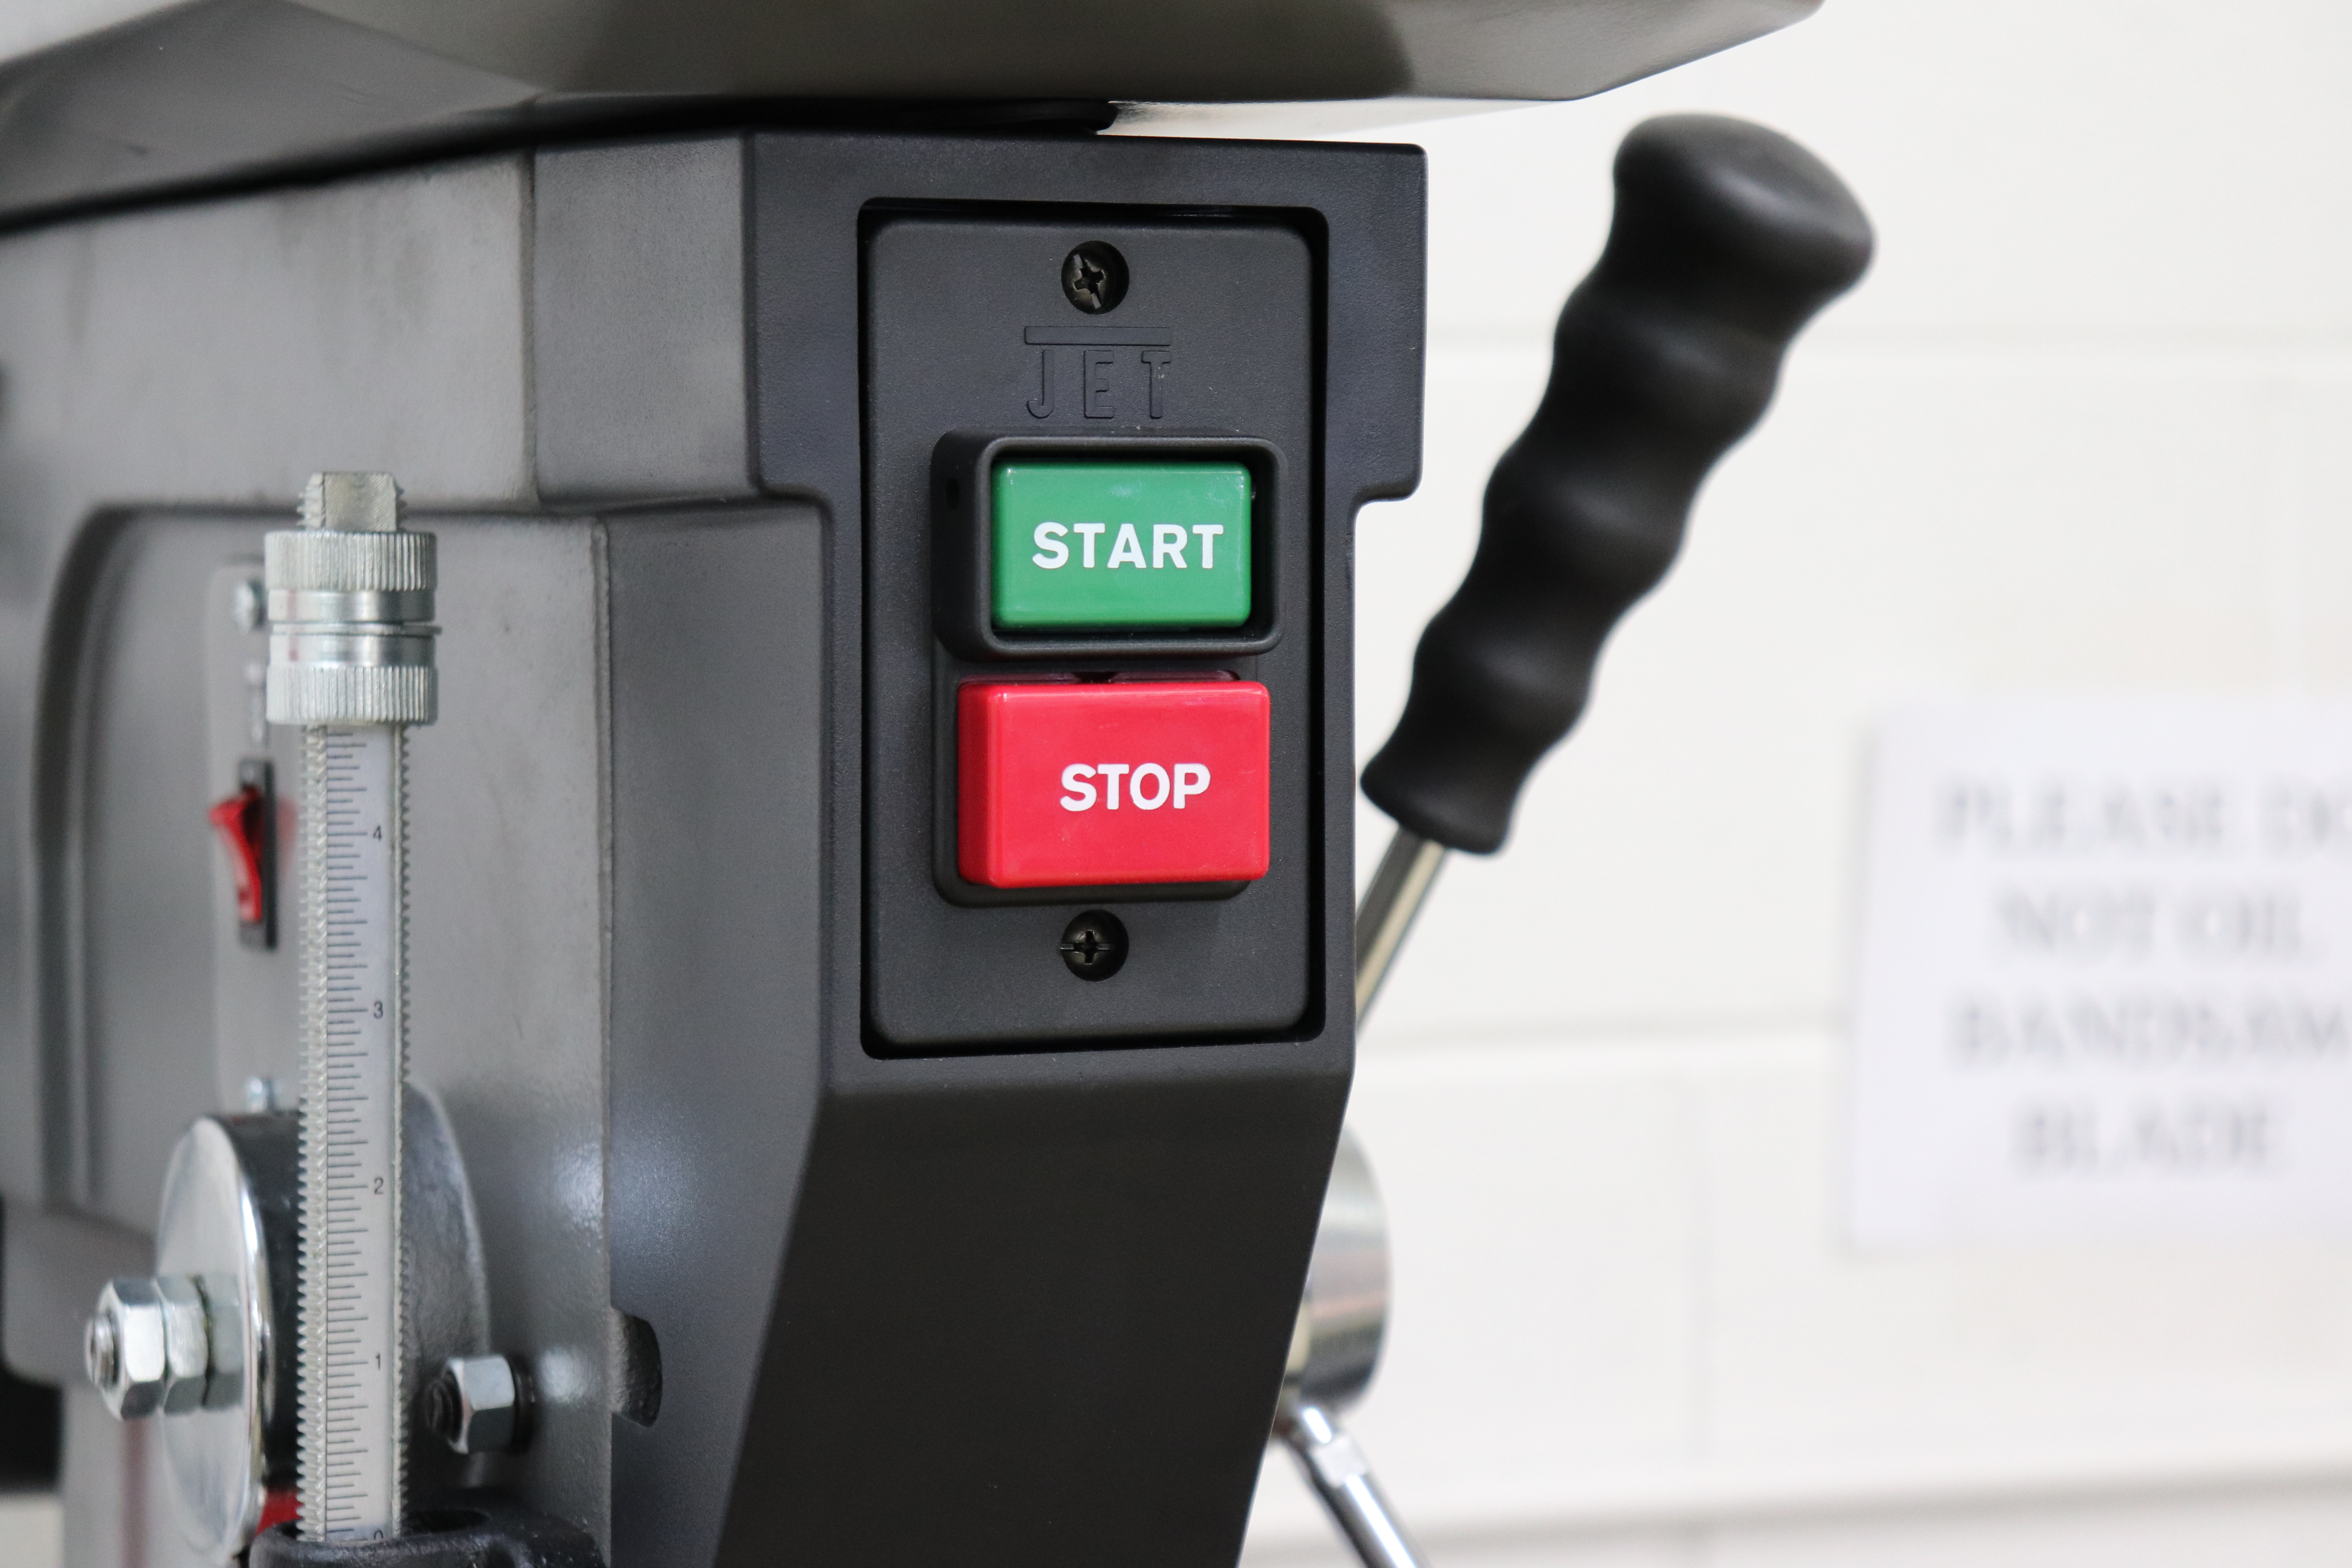
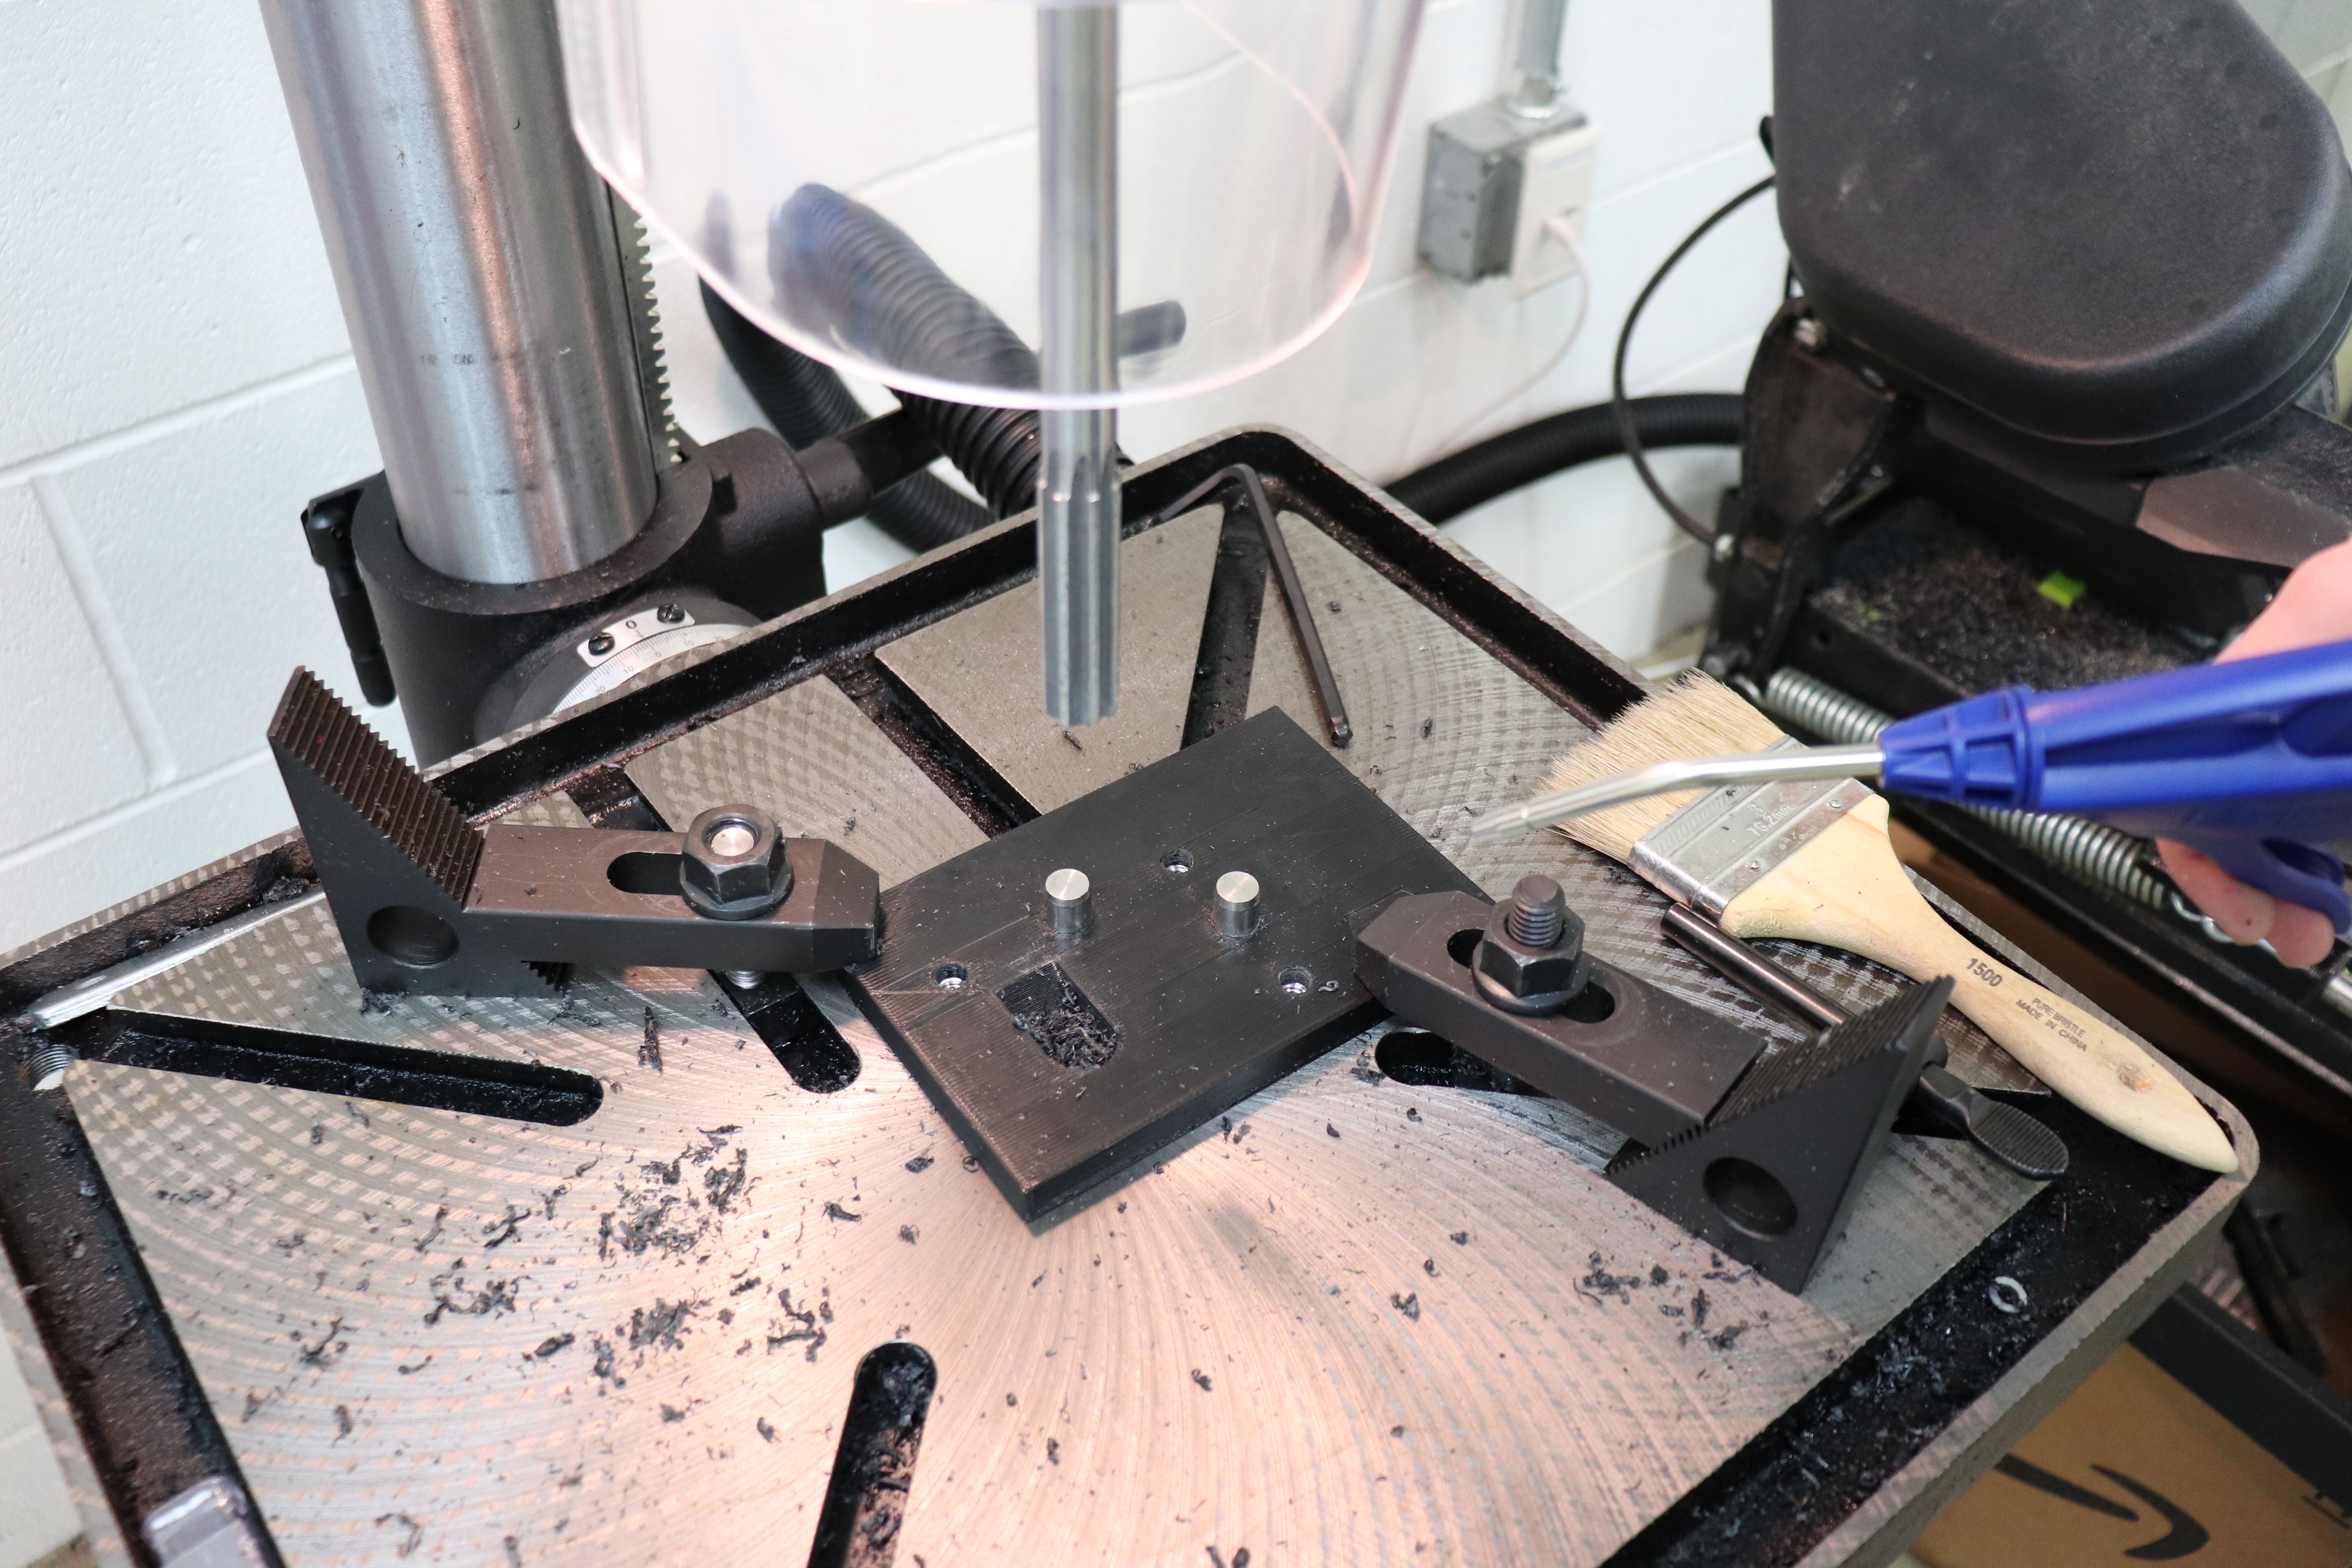
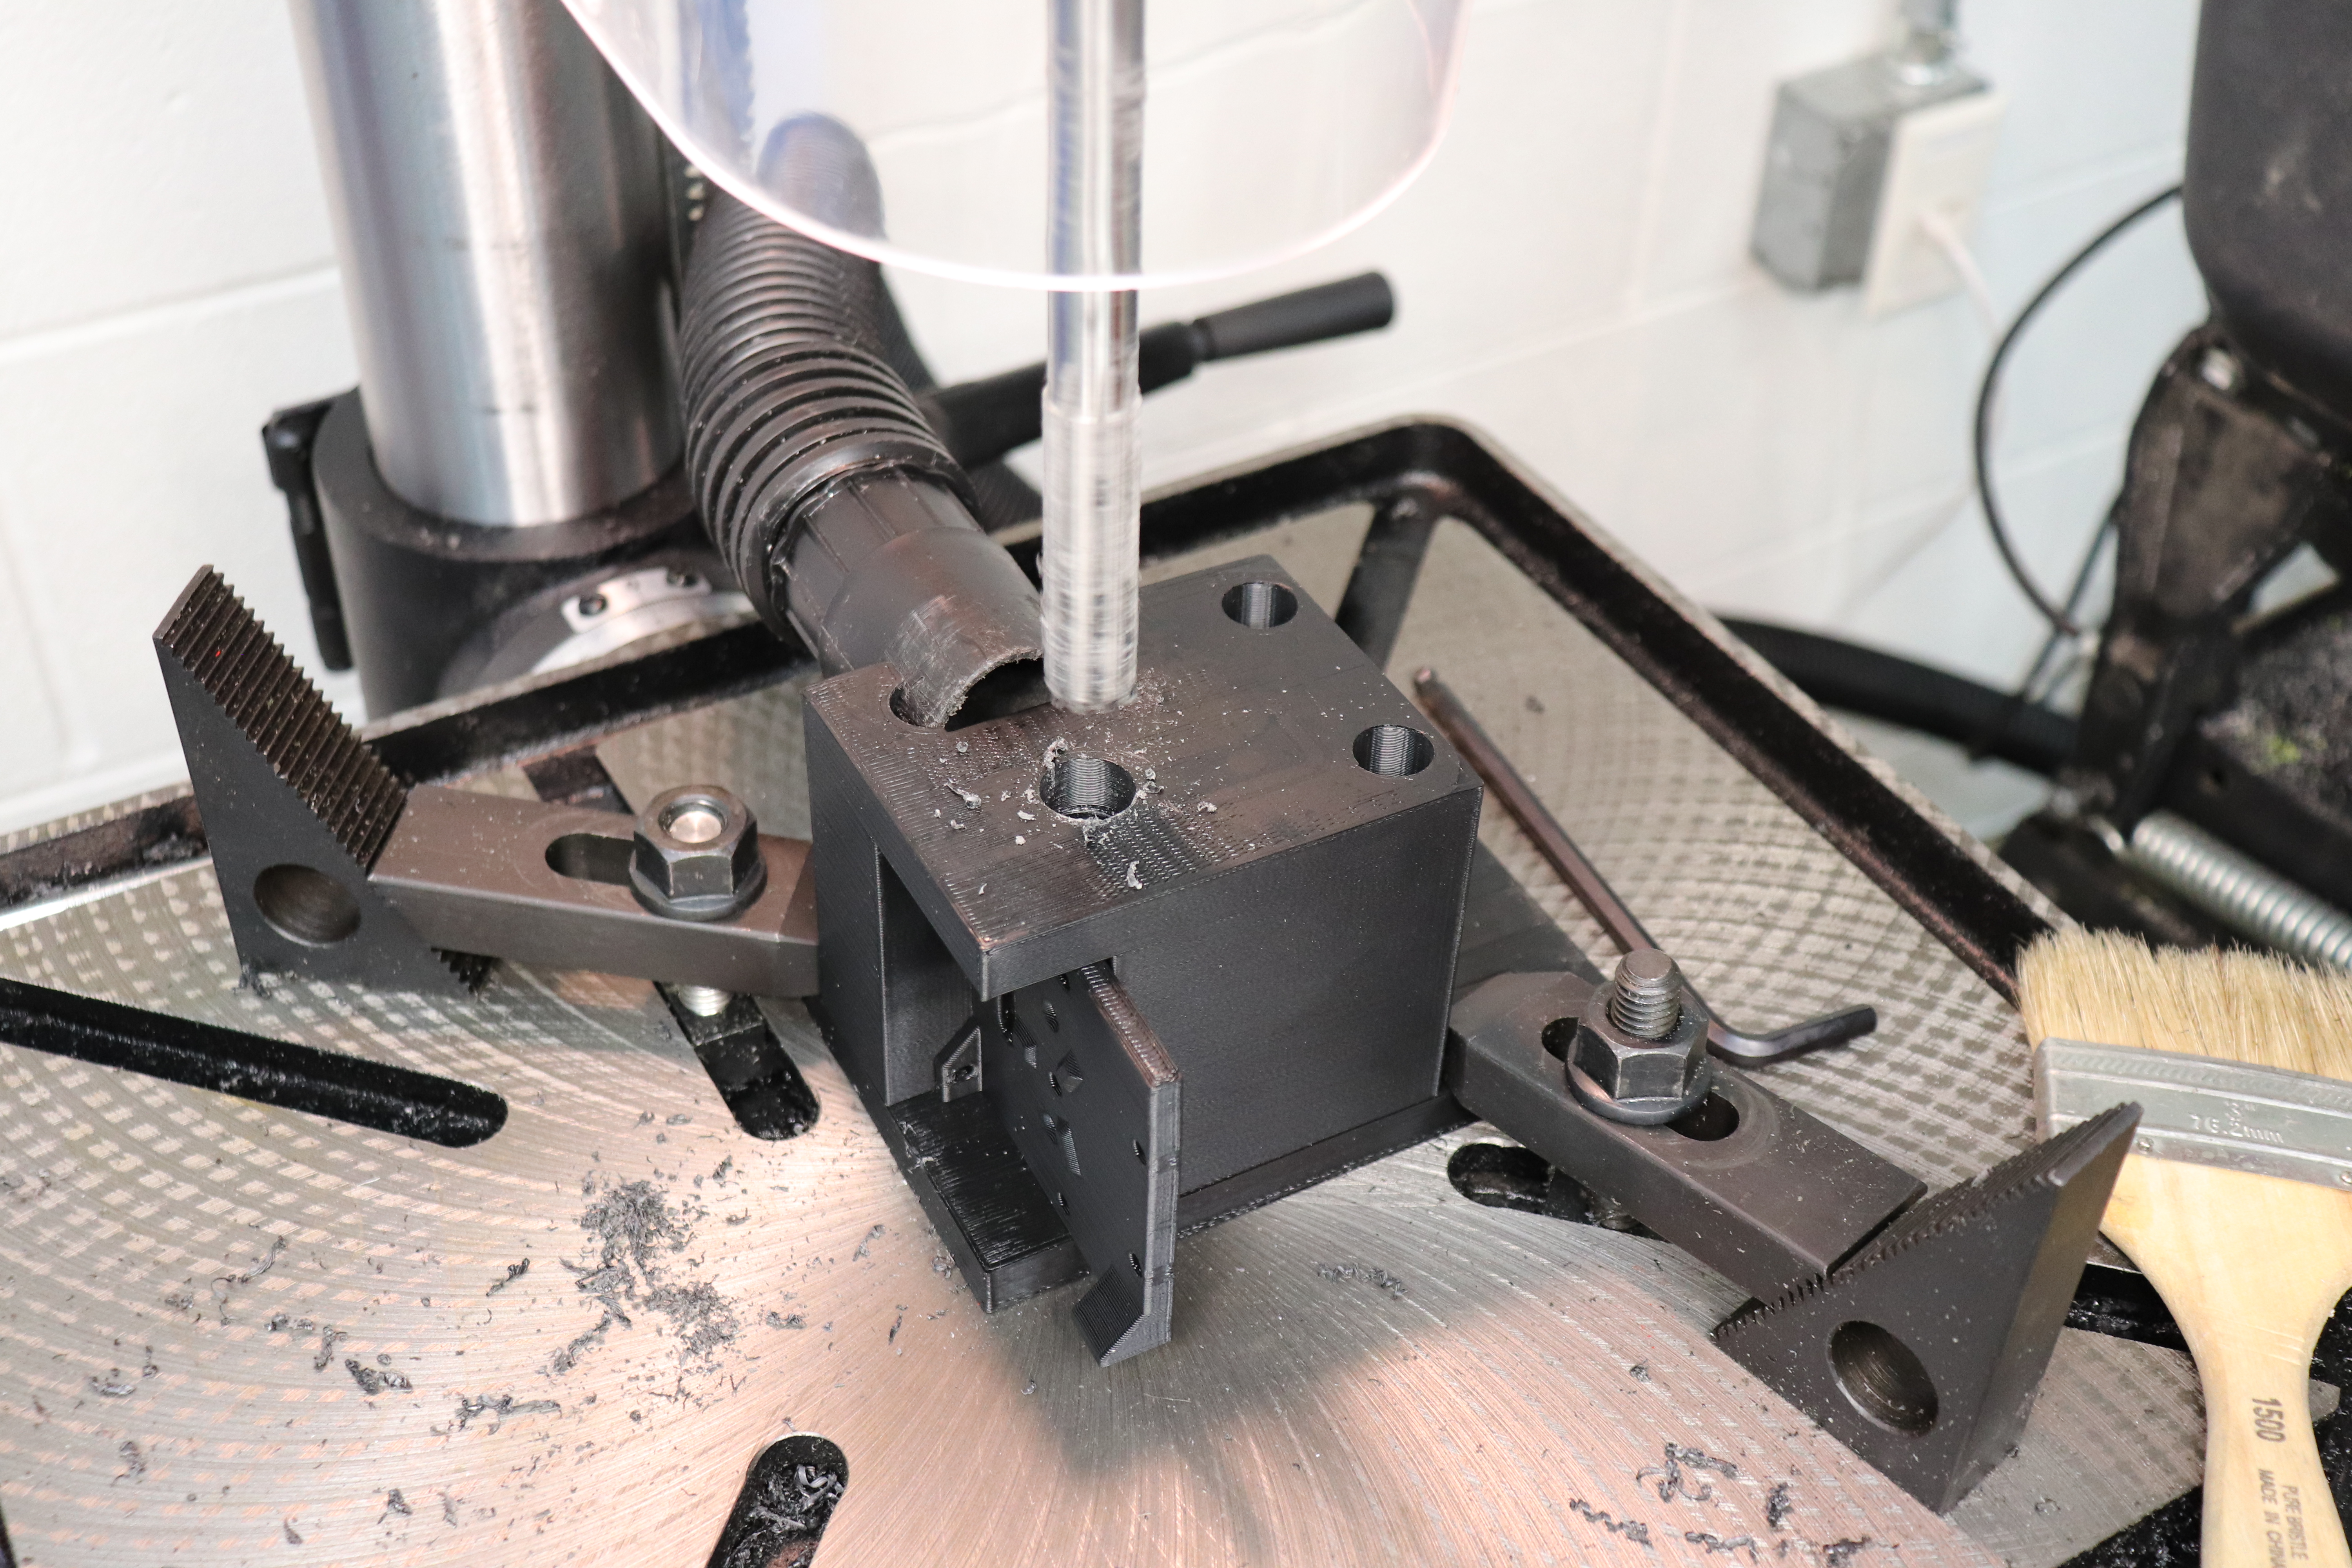
Put a part into the reaming jig and make sure that it seats fully. Then, pull on the drill press handle and bring the reamer down to the part and make sure that the reamer and the holes are lined up. If they are not, then turn off the drill press and adjust the base plate. Once the alignment has been verified, slowly but firmly push the reamer into the bore. If you go too fast, the drill press may stall which can wear out the belts, so go at a speed that does not stall the press. Keep reaming until the press bottoms out on the depth stop and then bring the reamer up out of the part. If this is the last part in the batch, turn off the drill press and vacuum. Otherwise, take out the part and put in another part and repeat.
Before starting the reaming process: - Ensure that the bed plate is clean and secure. - Ensure the drill is straight and will go all the way through the part and will not hit the bed.
Make sure that you have a firm grip on the part before you start reaming and double check that the drill is properly aligned with the holes.
Make sure to take it slow and follow through with multiple passes.
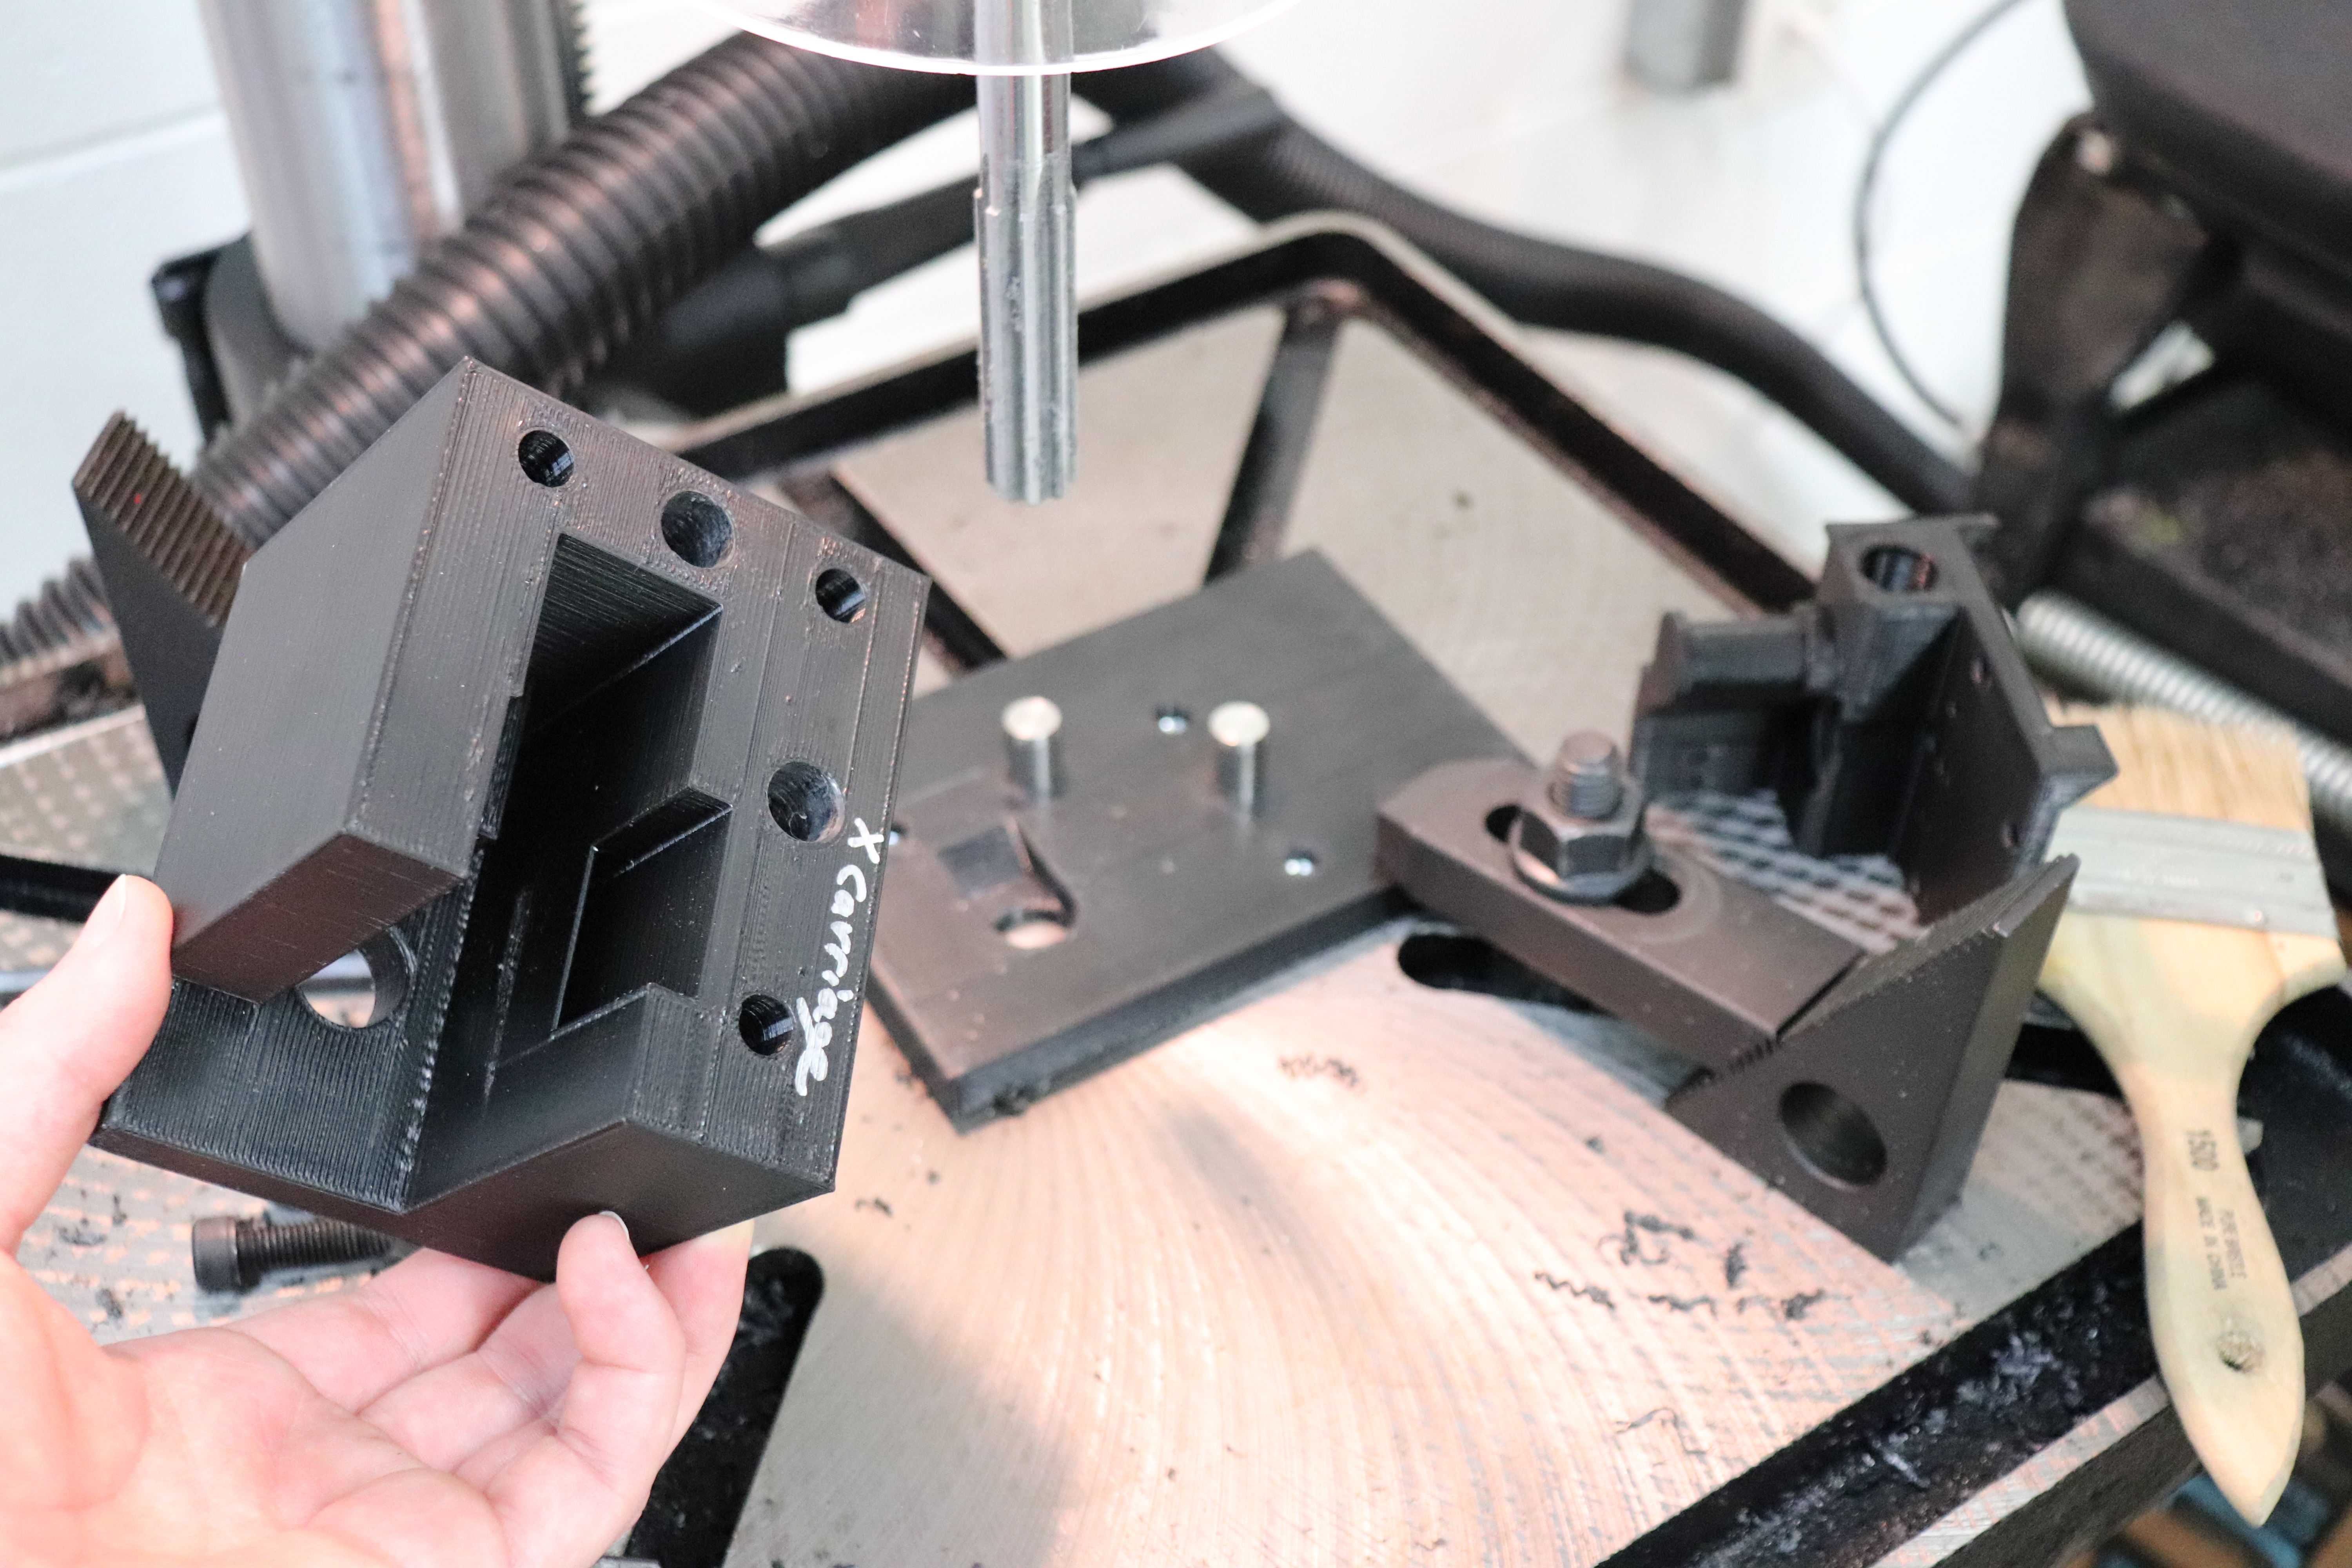
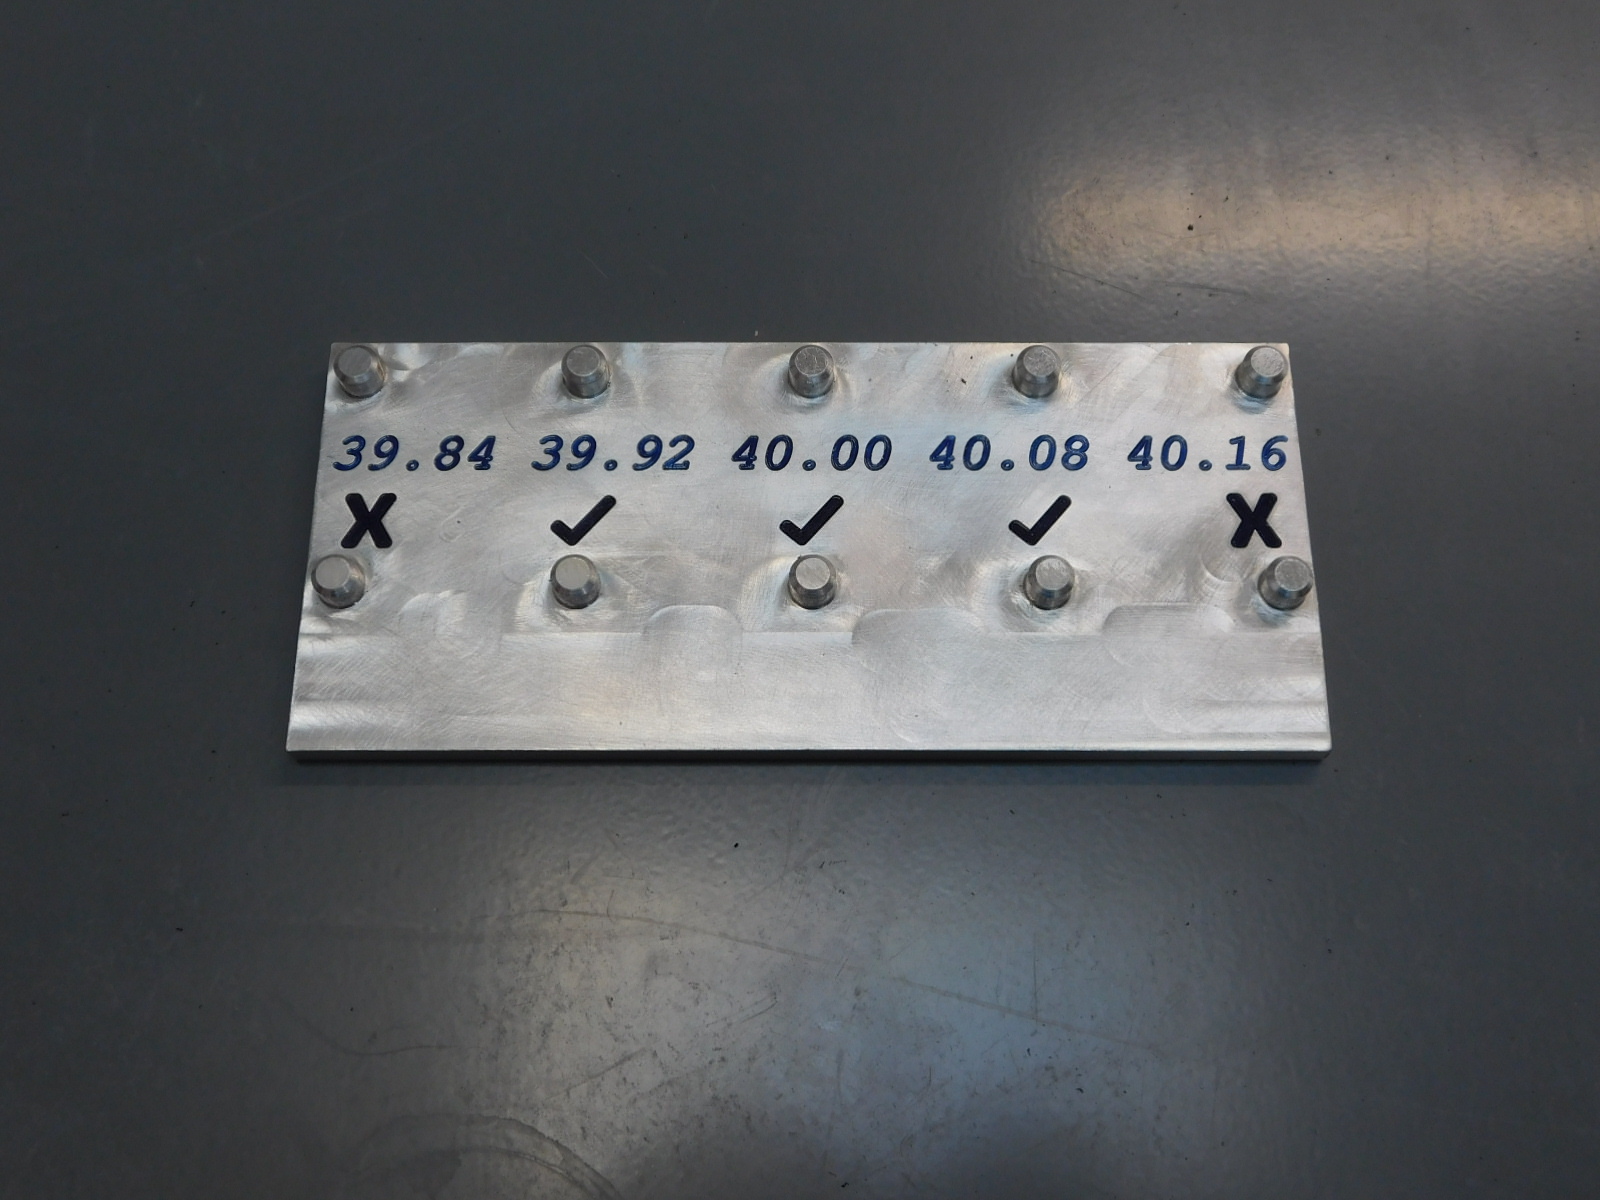
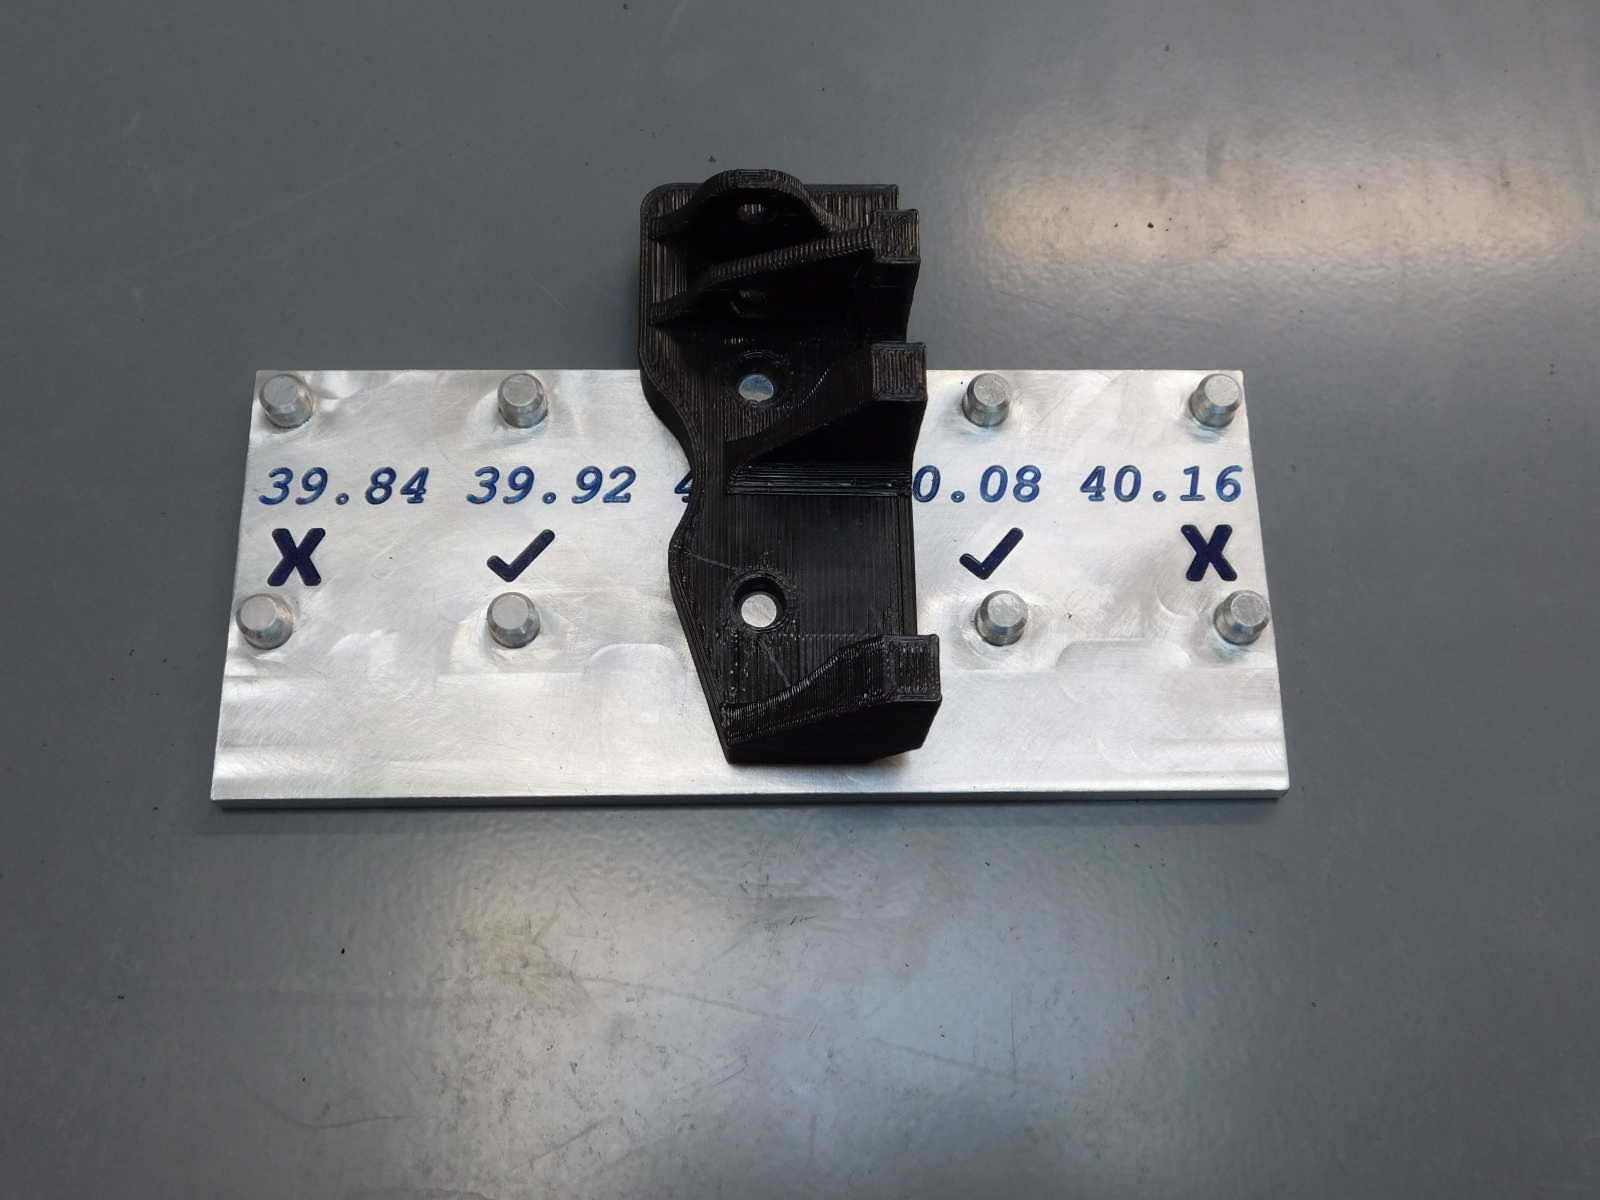
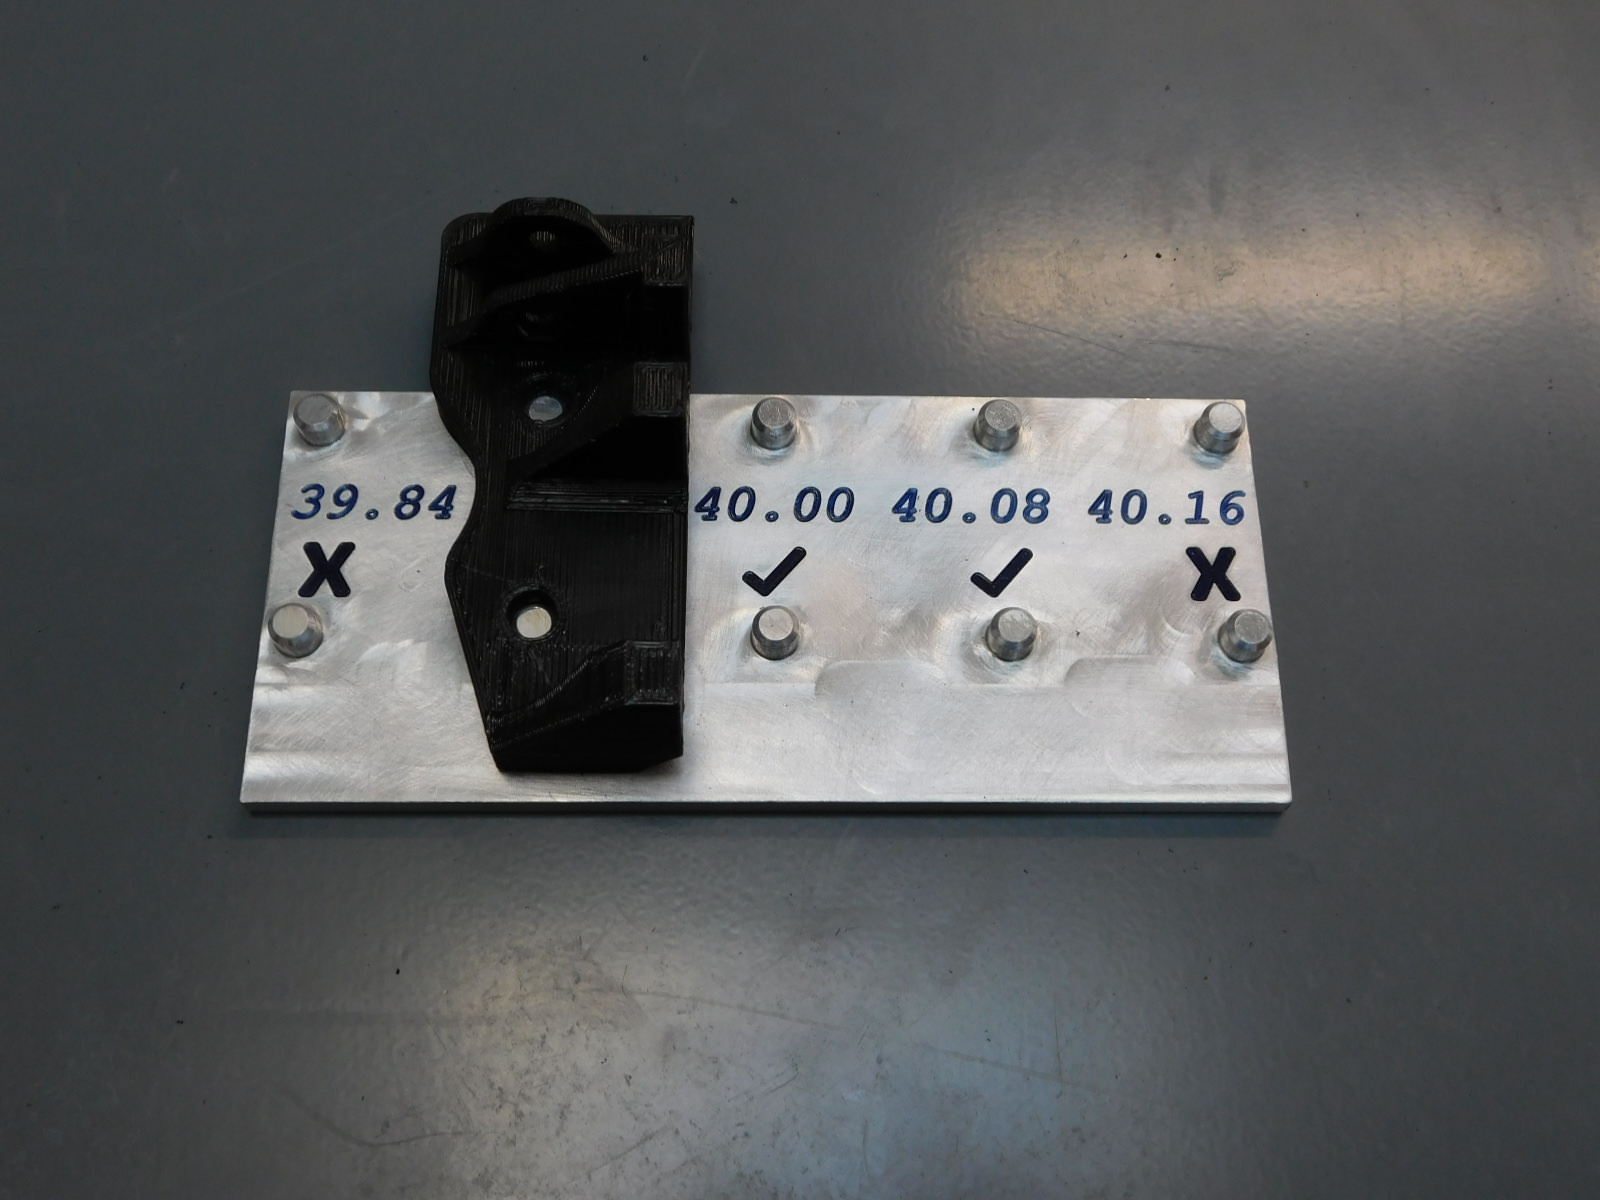
After the holes have been reamed, double check to make sure that the z-uppers are within tolerances. They just have to fit on at least on of the spots marked with a check.
When you are finished reaming the batch of parts, use the vacuum to clean up any plastic shavings. Return all tools to where they belong.