Open HardwareAssembly Instructions
Guides for installation and assembly of the LulzBot line of products made by FAME 3D LLC.
Guides for installation and assembly of the LulzBot line of products made by FAME 3D LLC.
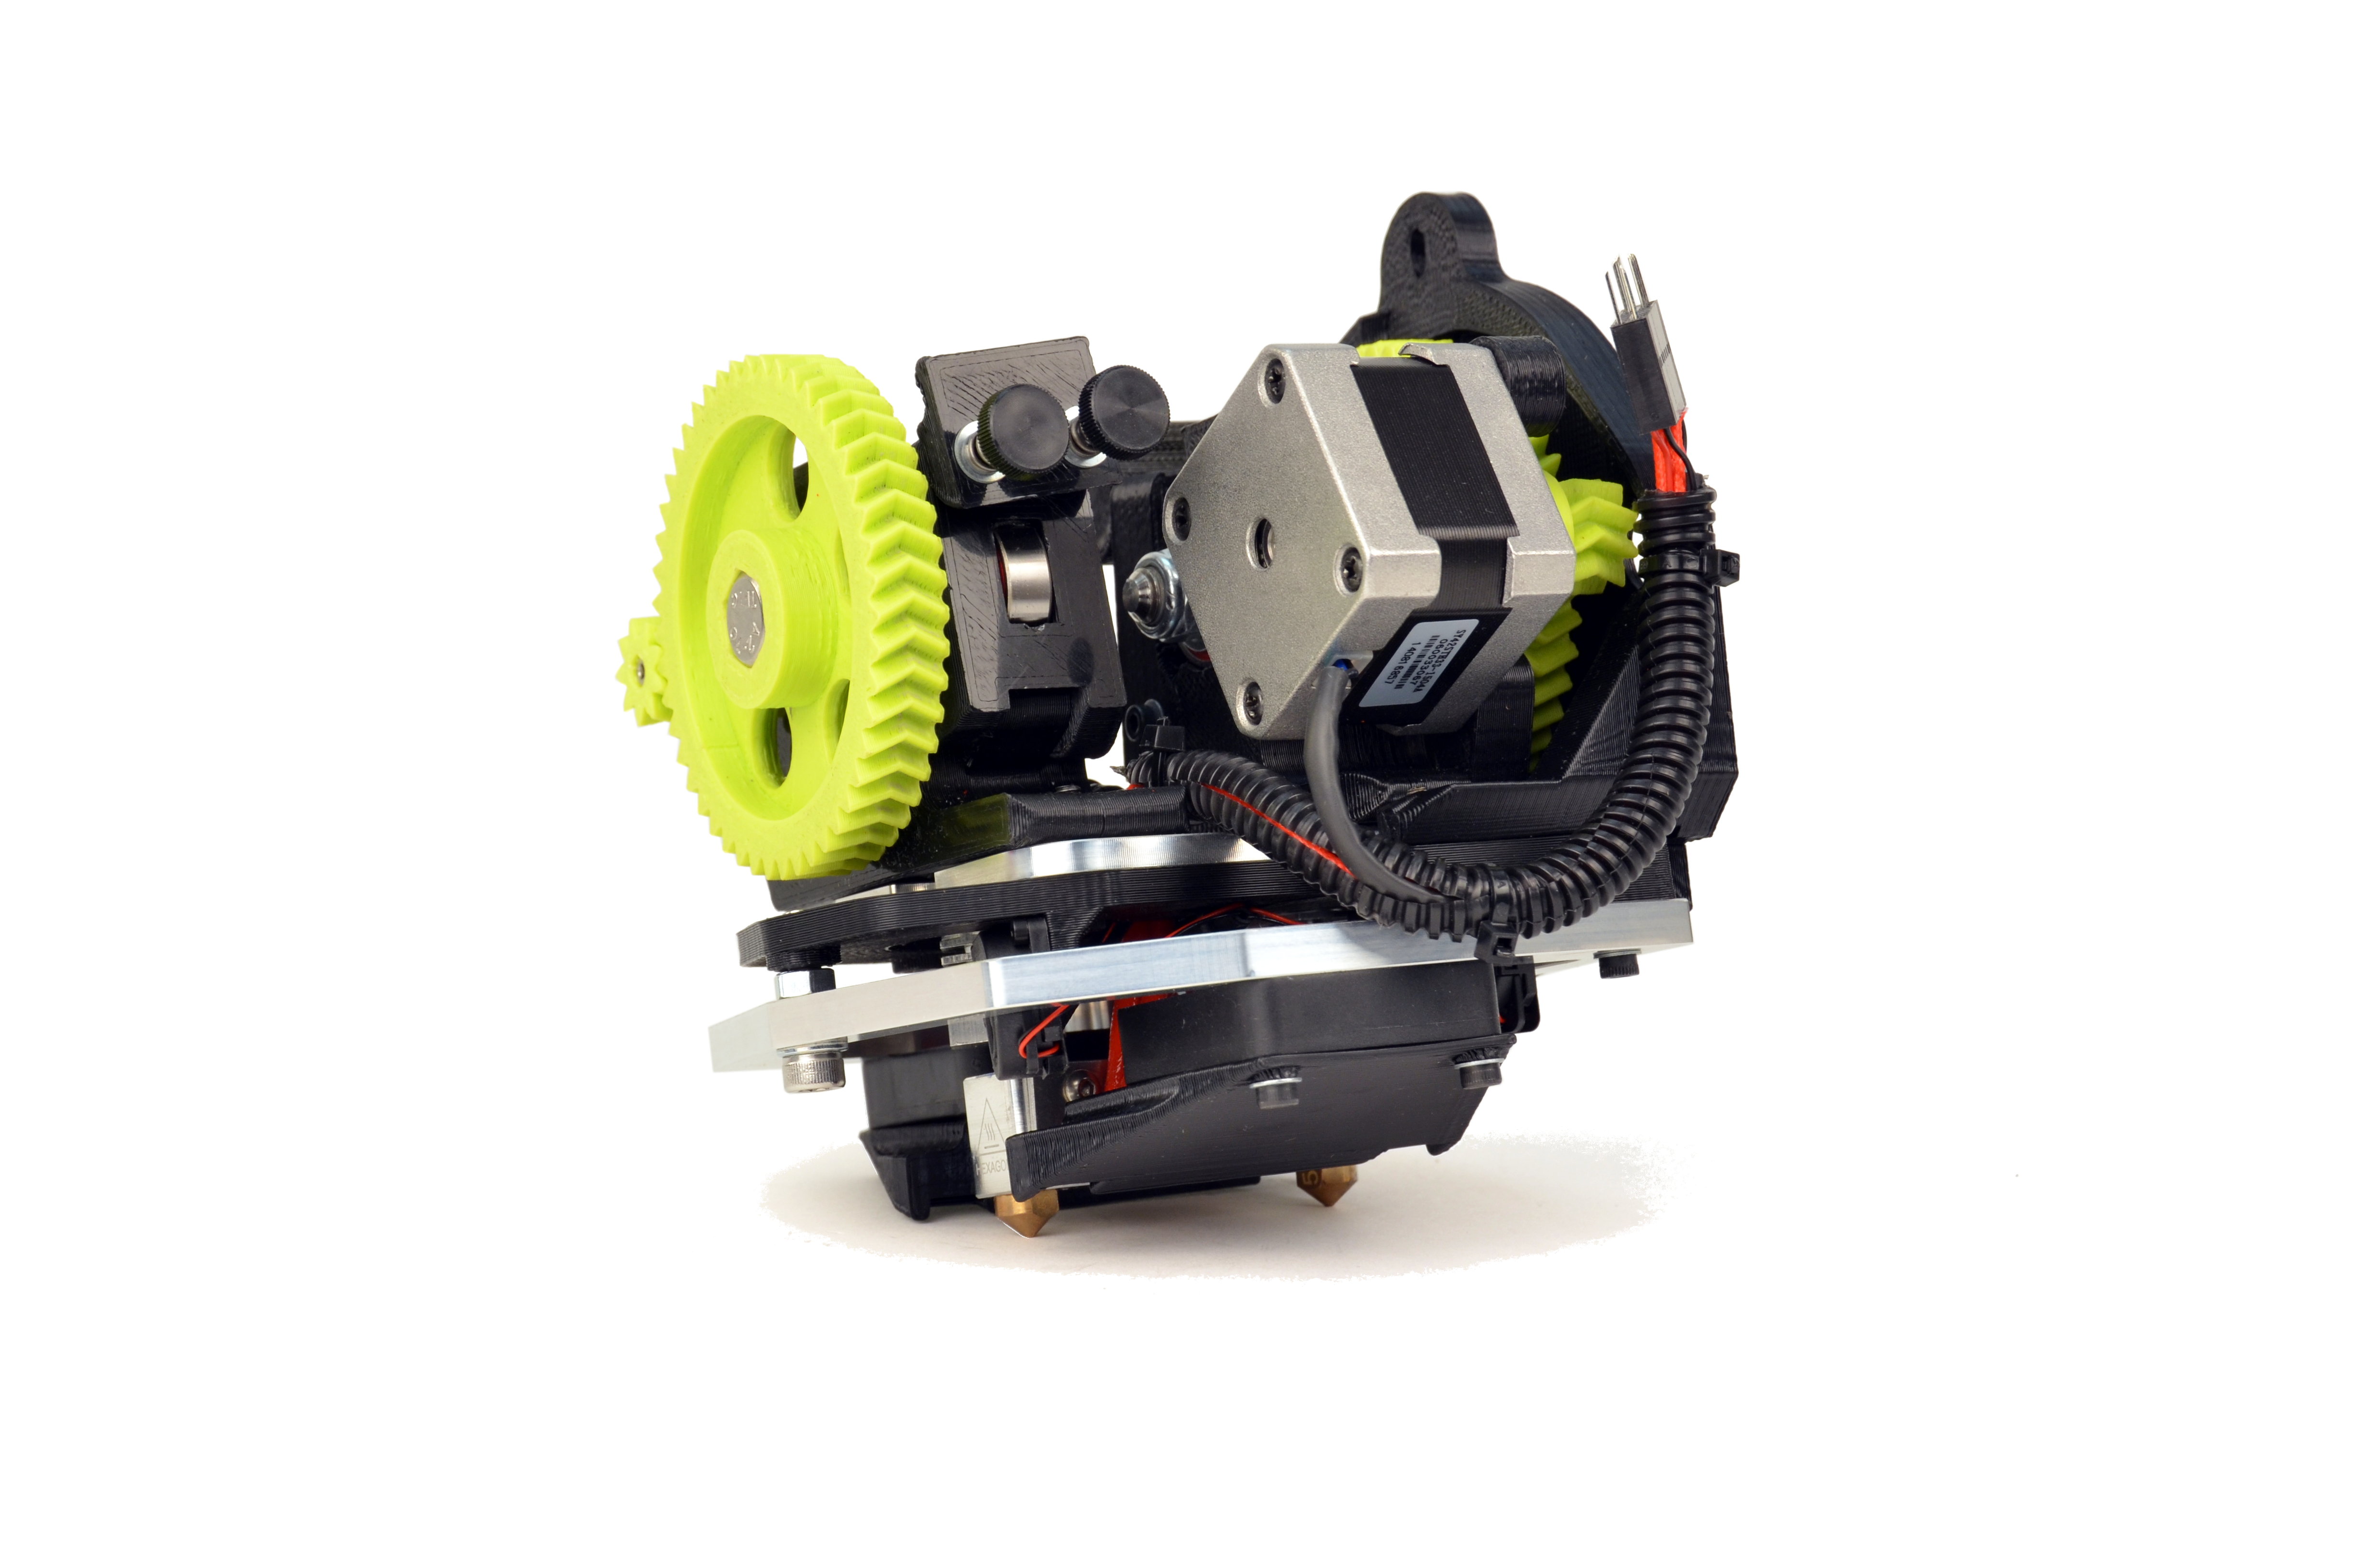
Your LulzBot® TAZ 4 3D printer needs to have an additional wiring jumper installed to be compatible with our upgraded v2 dual extruder tool heads.
This jumper will power the 5v fan that cools the second LulzBot Hexagon Hot End.

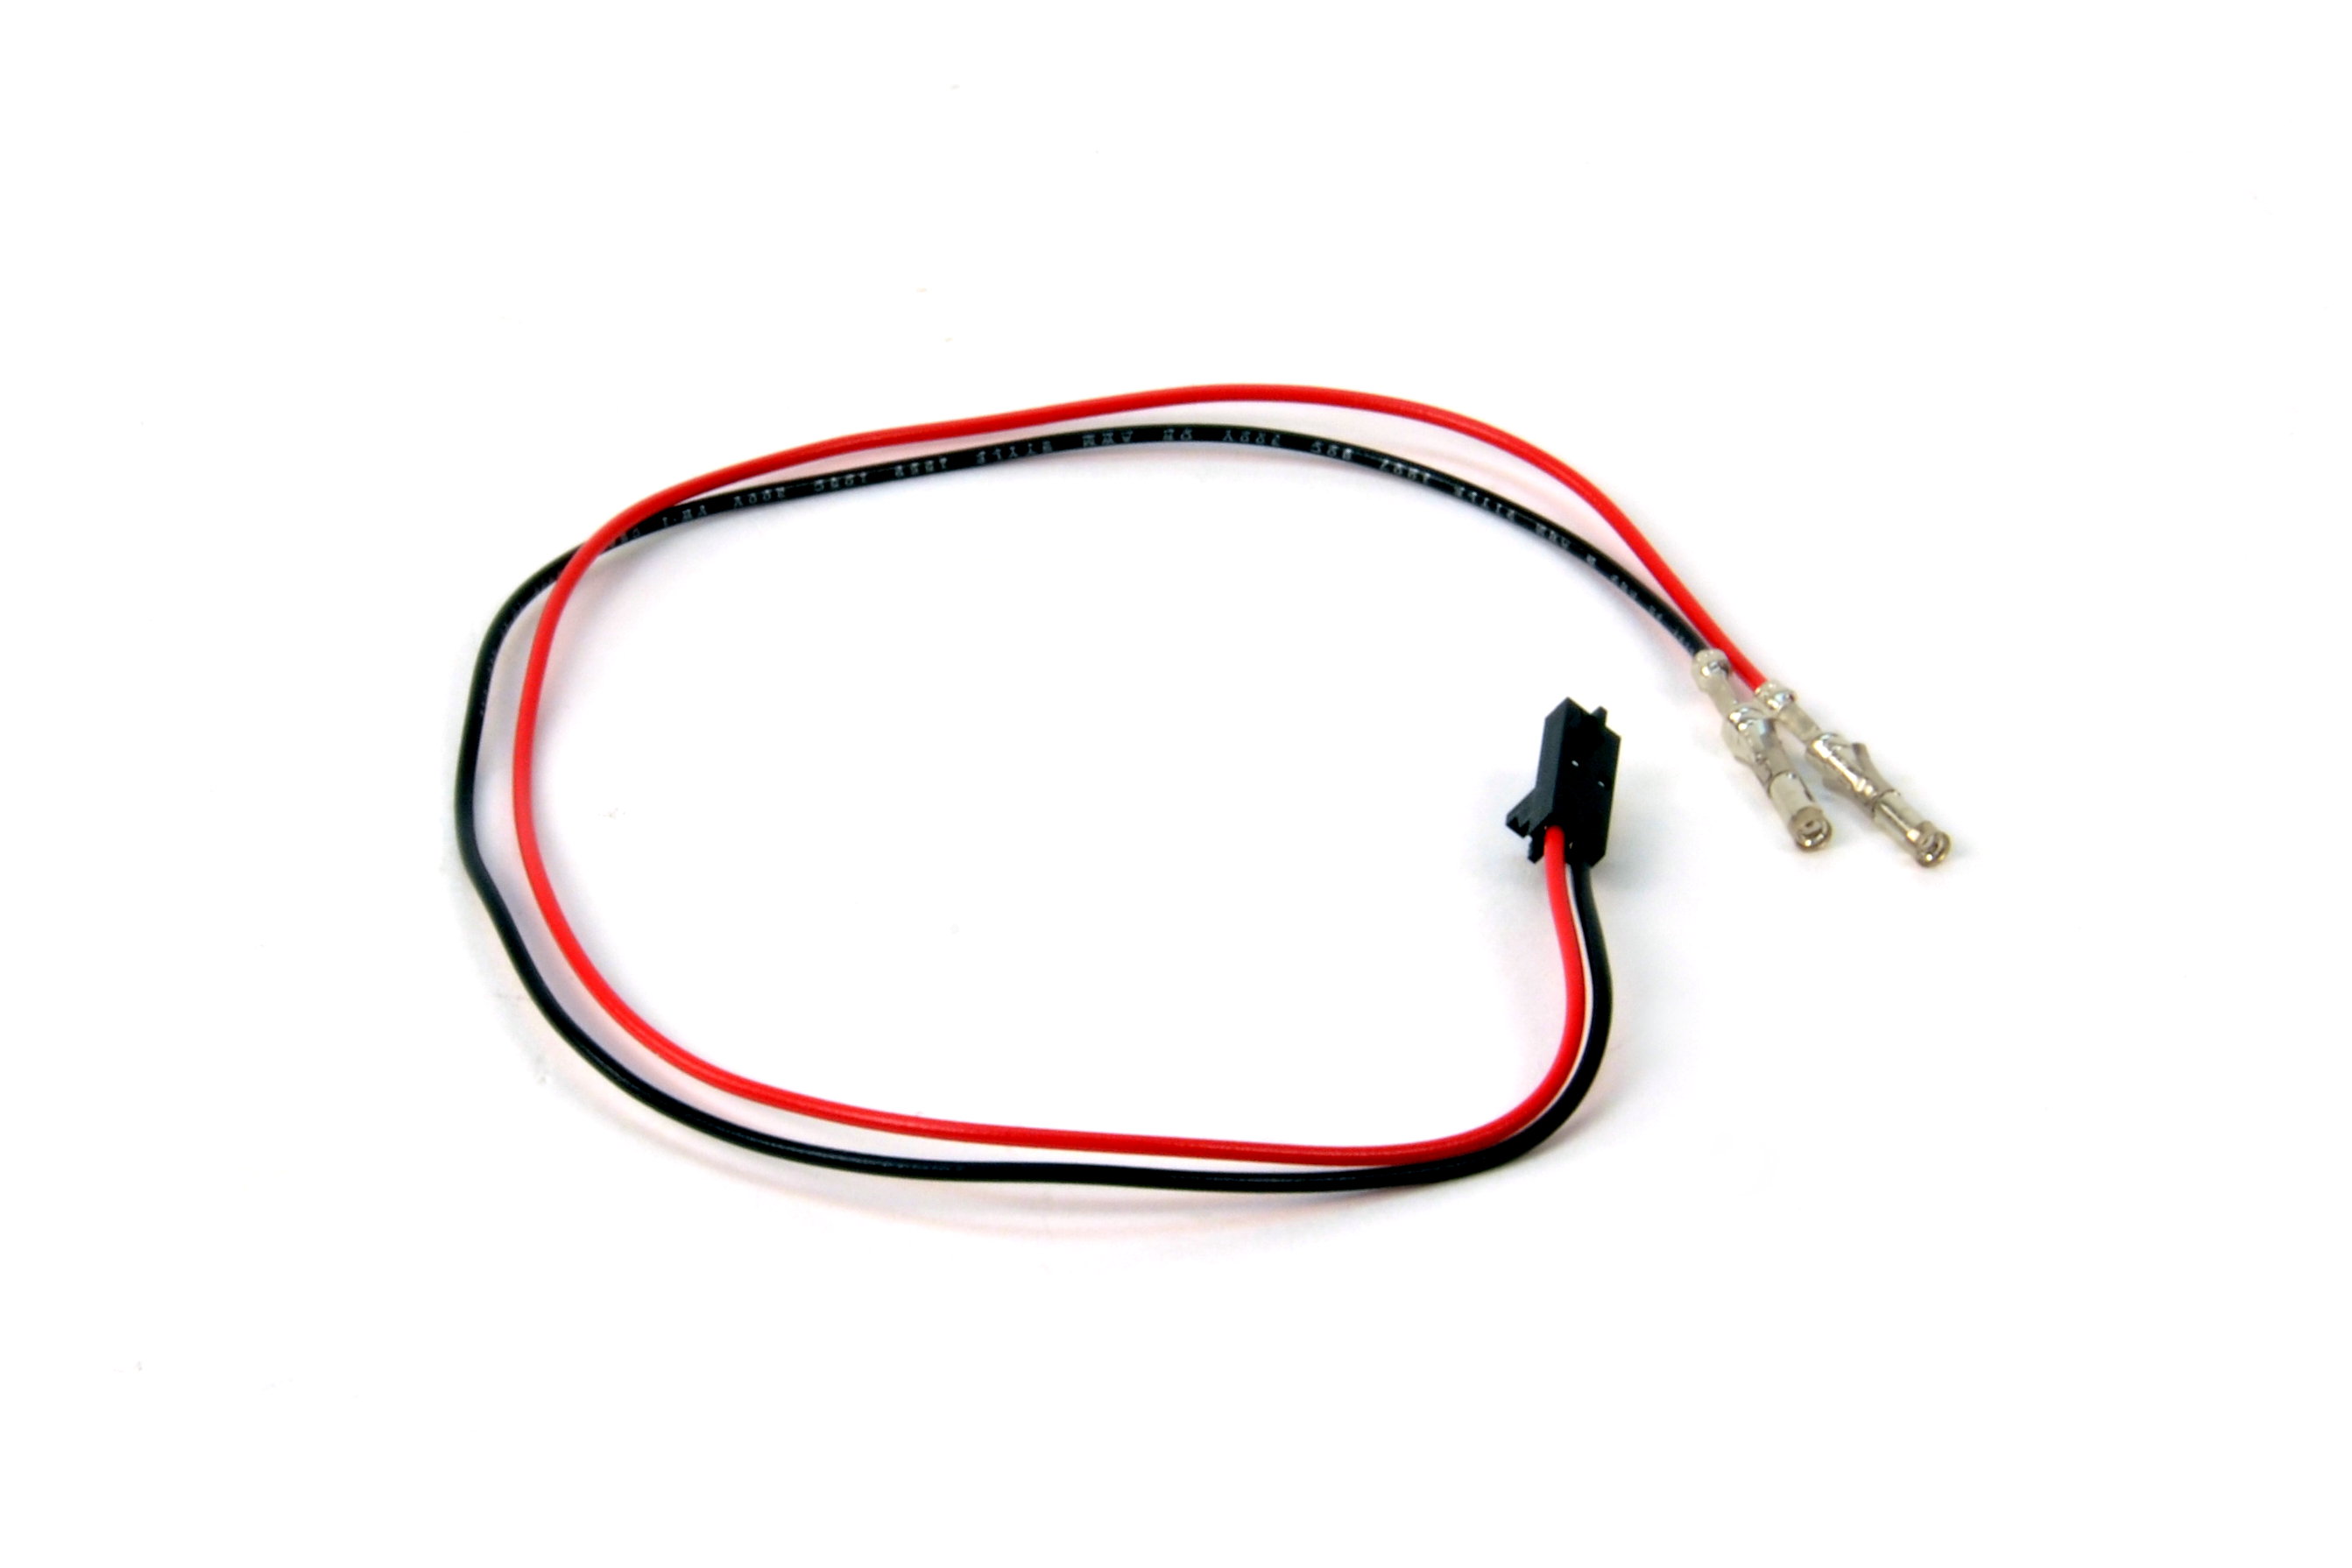
You may also need an additional tool head adapter to bridge between the 2 wire/2 pin fan connector and the 2 wire/3 pin connector.
Contact our Support Team for more information by sending an email to Support@LulzBot.com.
Completely power off your LulzBot 3D printer, unplug the USB cable, and unplug the power supply before proceeding.
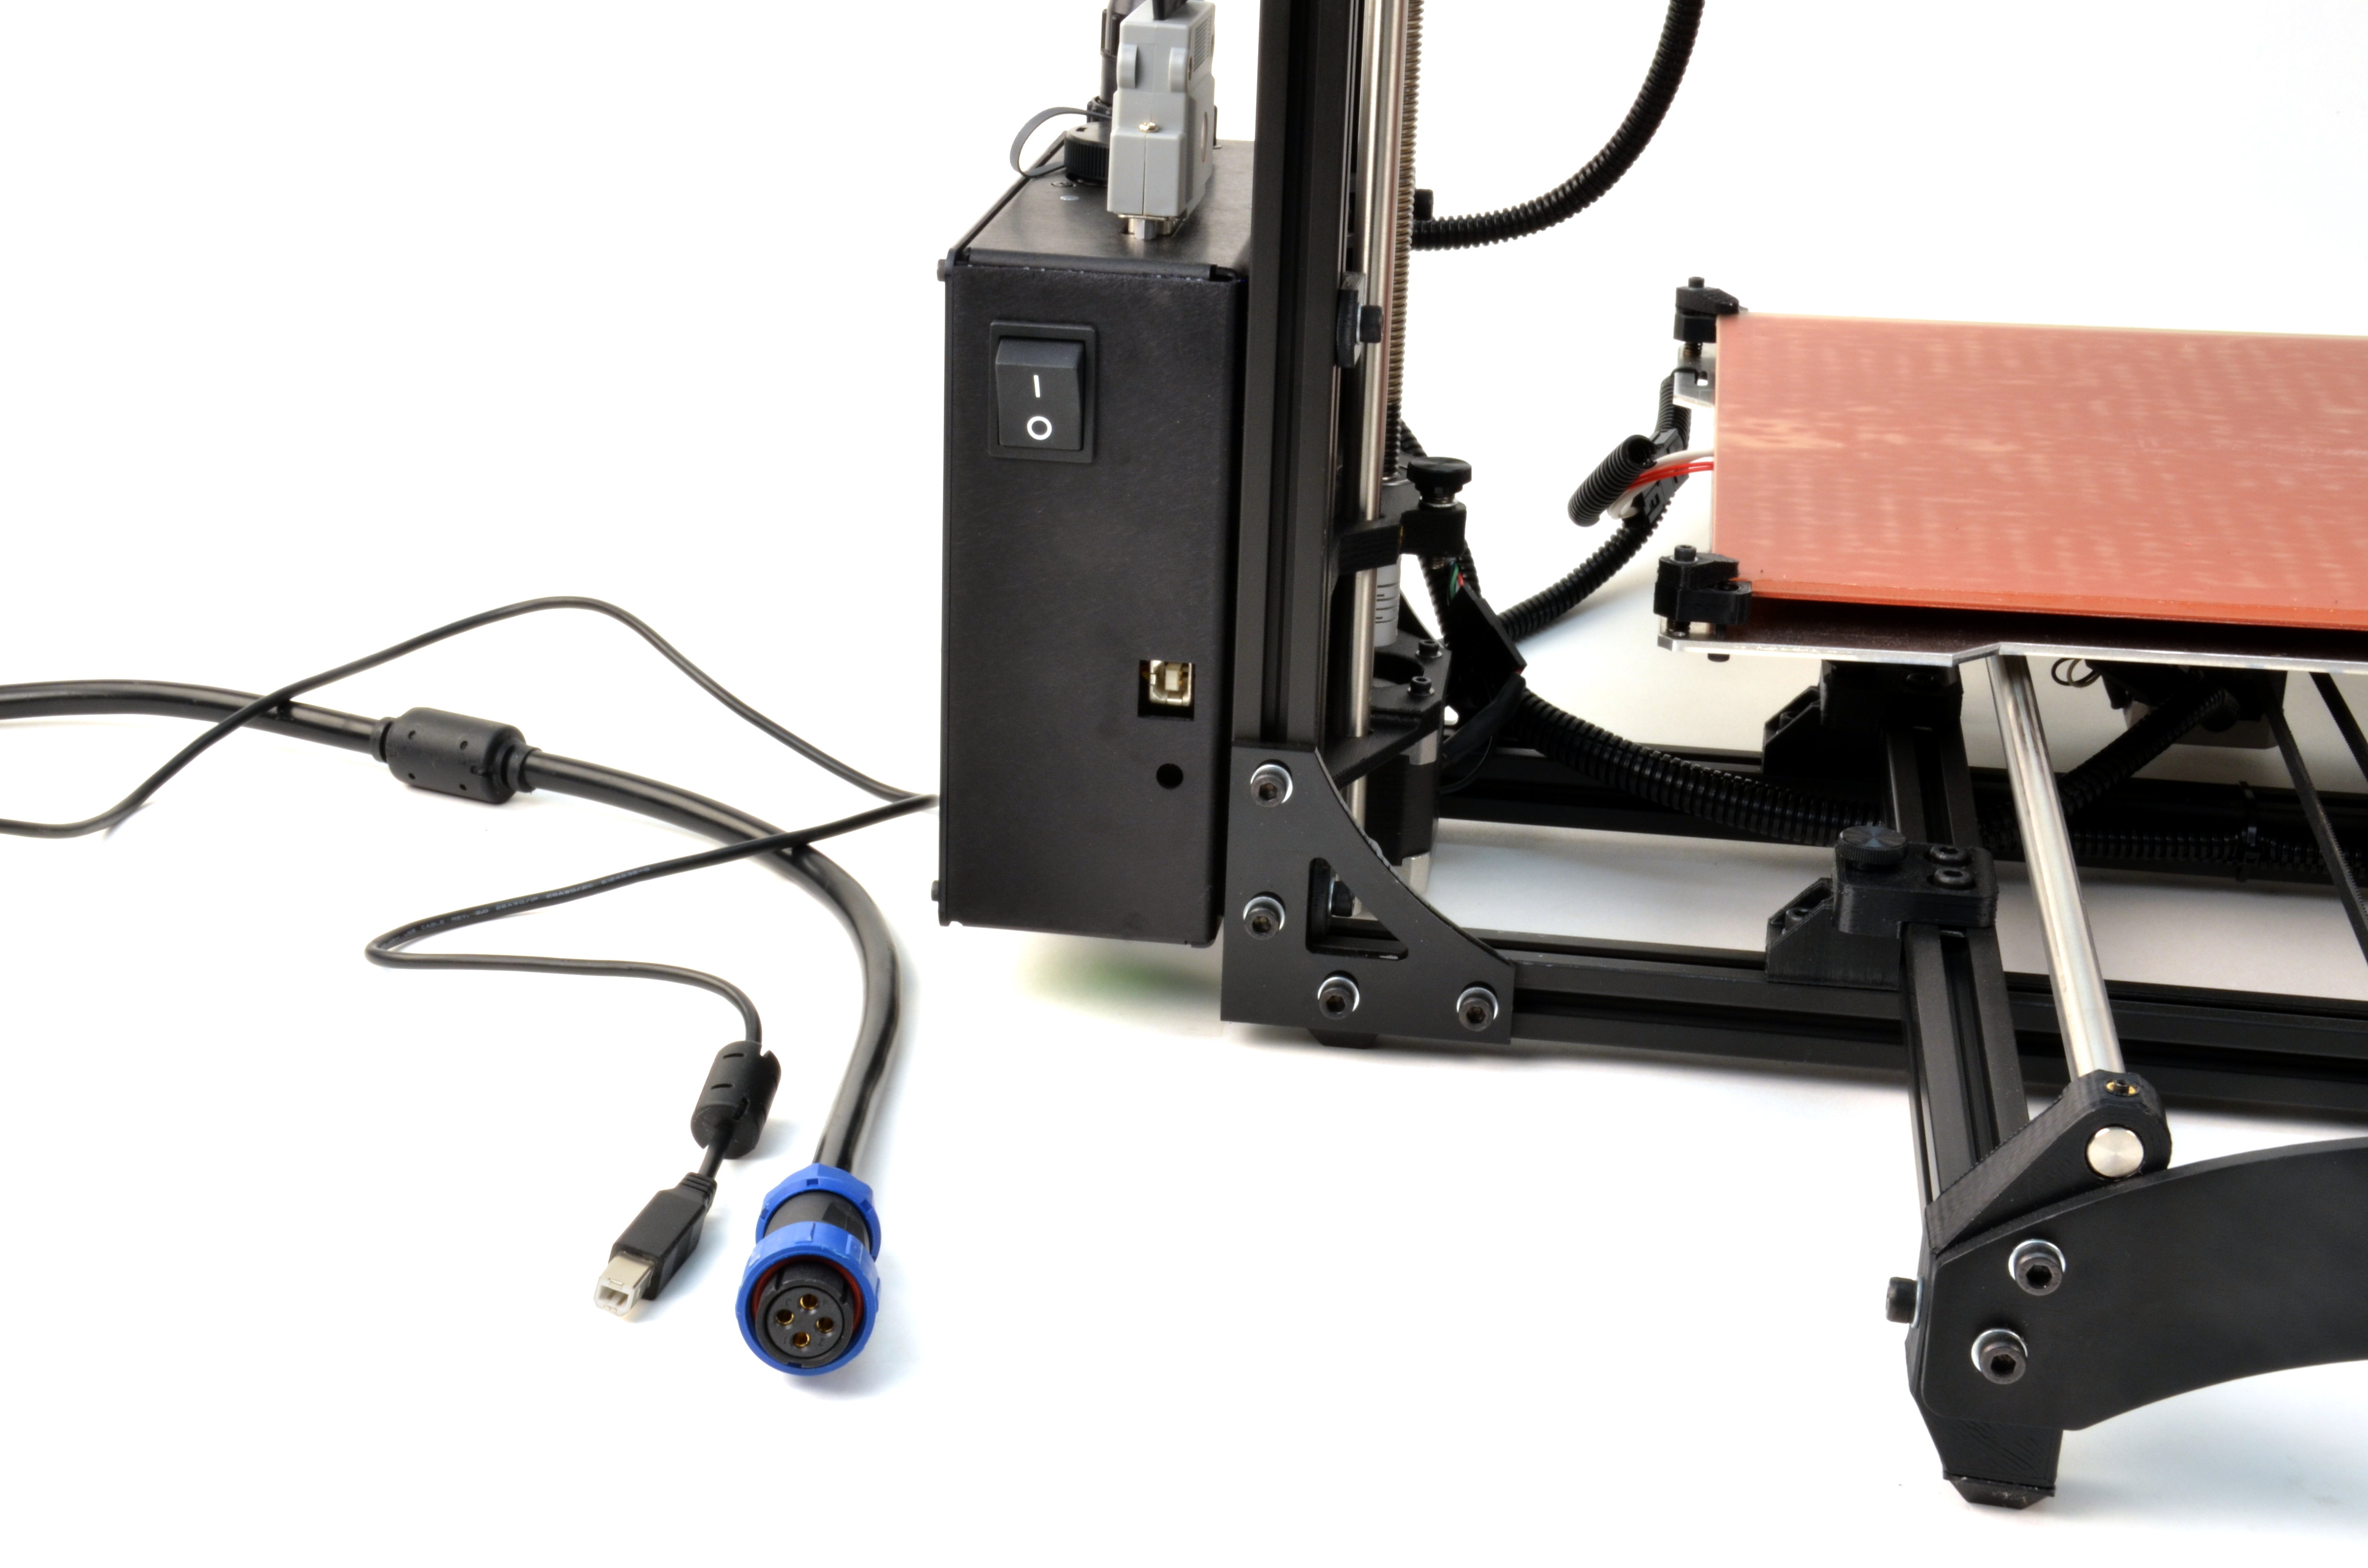
Unscrew the cap on the second connector cover found on the top of the control box.
5A
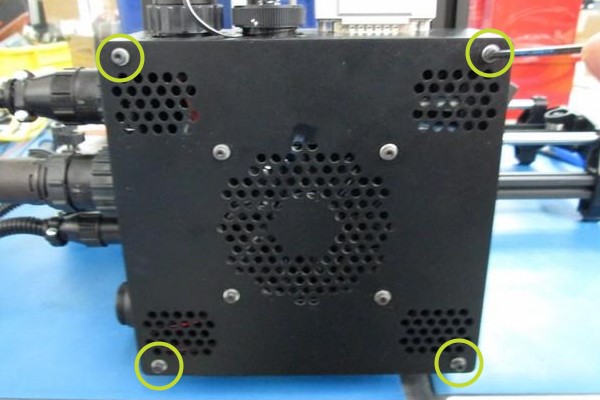
Remove the four (4) M3 screws on each corner of the control box.
5B
The control box cooling fan is mounted to the cover. Take care when removing the lid.
6A
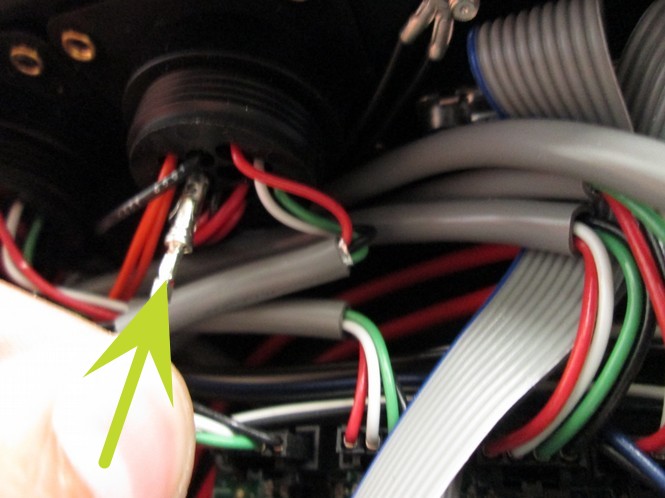
Note the fan wiring polarity.
6B
Unplug the fan and set the lid aside.

7A
In step 8 we will use a 2mm hex key to guide the new connector pin into the connector socket.
7B
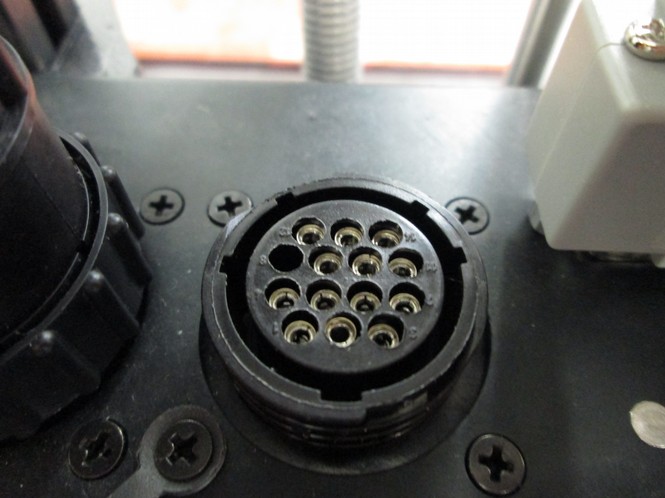
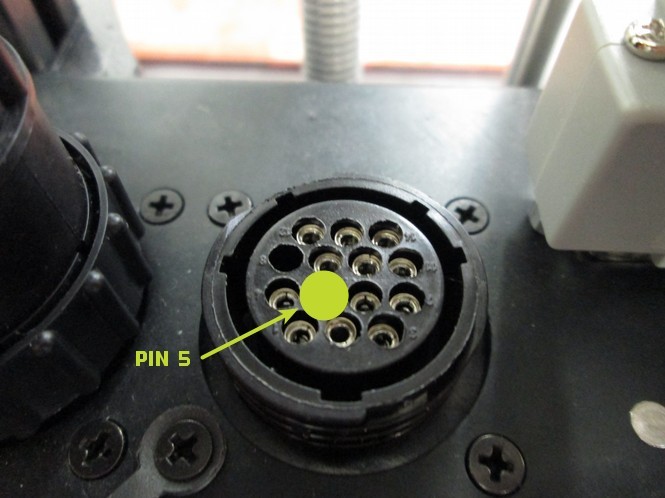
Insert the long side of the 2 mm hex key into the pin socket indicated by the green dot in the image.
8A
Use the hex key as a guide to insert the red wire connector into pin 5 of the connector socket.
8B
Place the red wire connector pin over the exposed tip of the hex key.
8C
Slide the connector firmly upwards. You may need to rotate the pin slightly to allow it to slide into place.

Insert the long side of the 2 mm hex key into the pin socket indicated by the green dot in the image.

10A
Use the hex key as a guide to insert the black wire connector into pin 6 of the connector socket.
10B
Place the black wire connector pin over the exposed tip of the hex key.
10C
Slide the connector firmly upwards. You may need to rotate the pin slightly to allow it to slide into place.
11A
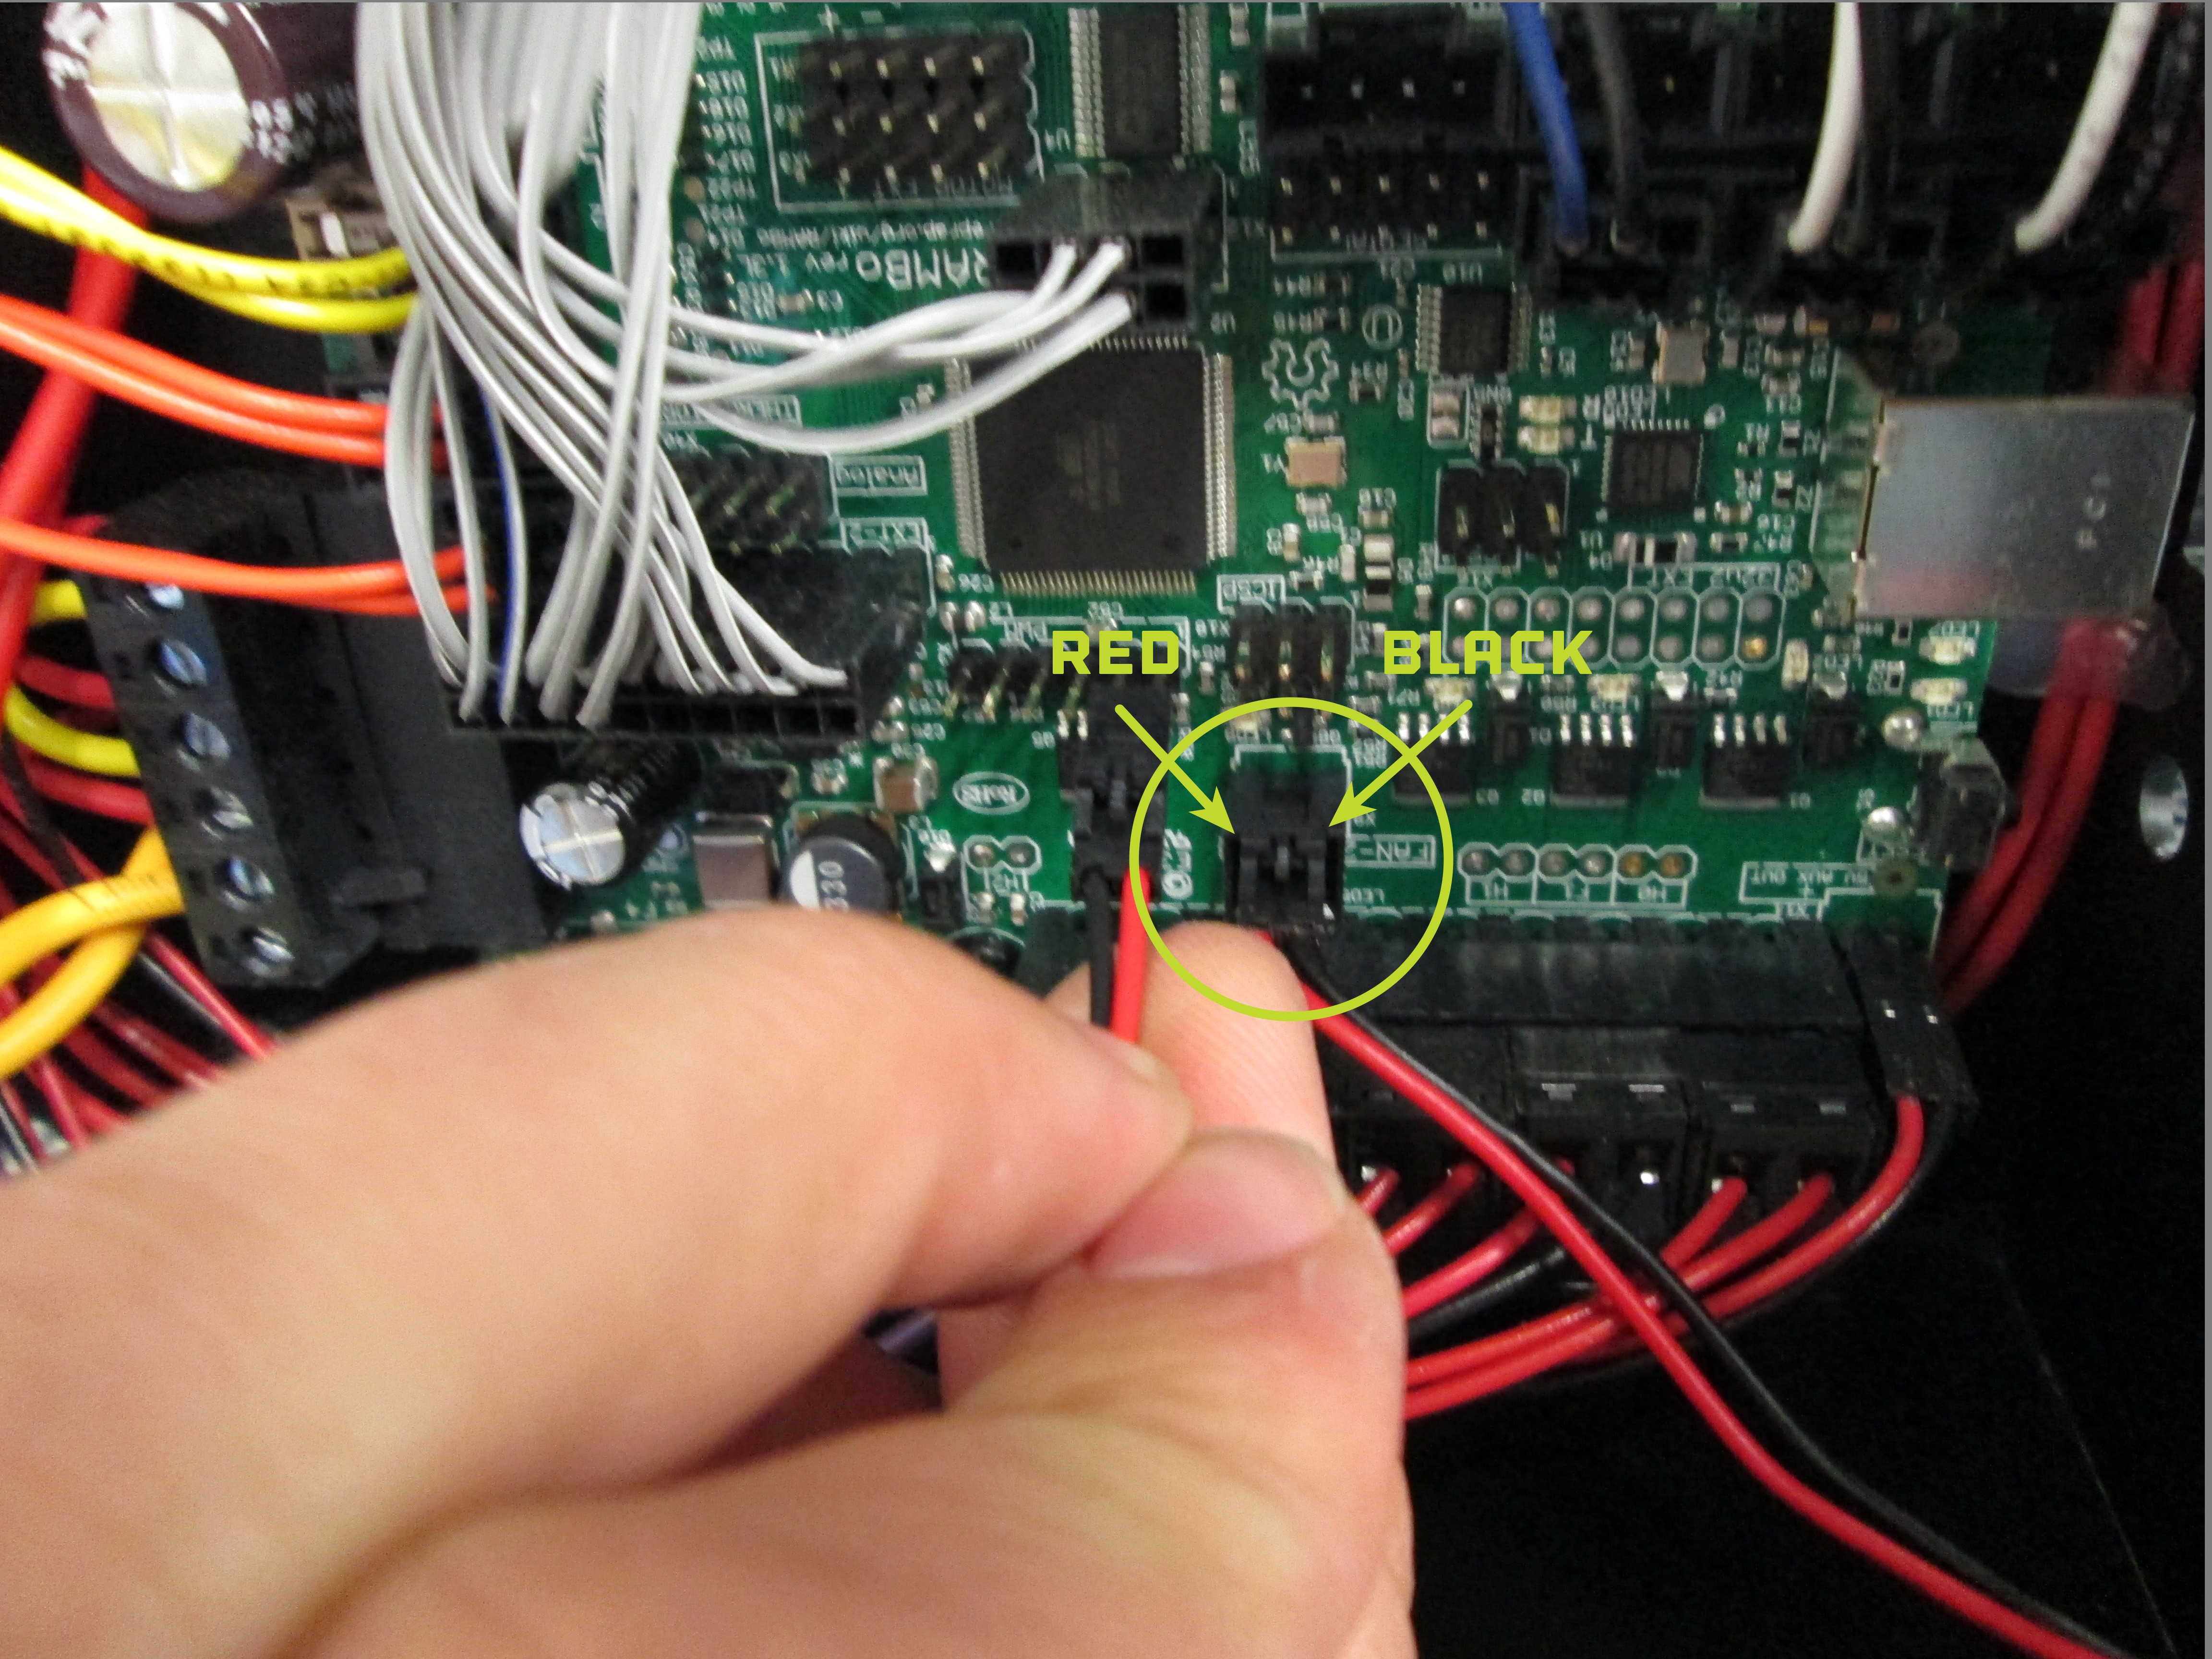
Insert the two-pin connector on the pins on the RAMBo as shown, making sure that the latching side of the connector is facing upwards.
11B
Note: If you have previously used a tool head equipped with a LulzBot Hexagon Hot End on your LulzBot 3D printer, unplug the micro-blower fan wires from the RAMBo and plug in the new jumper.

Plug in the control box cover, making sure to orient the connector so the red wire is to the left, and the black wire is to the right.
13A
Replace the control box cover, making sure that none of the wires are interfering with the control box fan.
13B
Secure the control box cover with four M3 screws, one in each corner.

Now that your second extruder connector is ready, continue with our TAZ 5 install guide:
Ready to fully upgrade your LulzBot TAZ 4 into a LulzBot TAZ 5?
Upgrade your print surface with our replacement LulzBot TAZ PEI sheet!
