Open HardwareAssembly Instructions
Guides for installation and assembly of the LulzBot line of products made by FAME 3D LLC.
Guides for installation and assembly of the LulzBot line of products made by FAME 3D LLC.
For this guide you will need the following materials:
[AS-PR0002] TAZ6, Print Bed Assembly
[SH-BA0008] 16 x 16" 6 Mil Reclosable Bags
[SH-BX0075] TAZ Heat Bed: 14-3/4 x 14-3/4 x 1/2 44 ECT B Brown Die Cut One Piece Folder
[SH-PA0048] TAZ Heat Bed: 18 x 18 Die Cut Pad (insert)
[SH-PG0019] Avery® White Shipping Labels for Laser Printers with TrueBlock Technology
[SH-PG0099] Disposable Desiccant Bag, Silica Gel, for 24 Cubic Inches
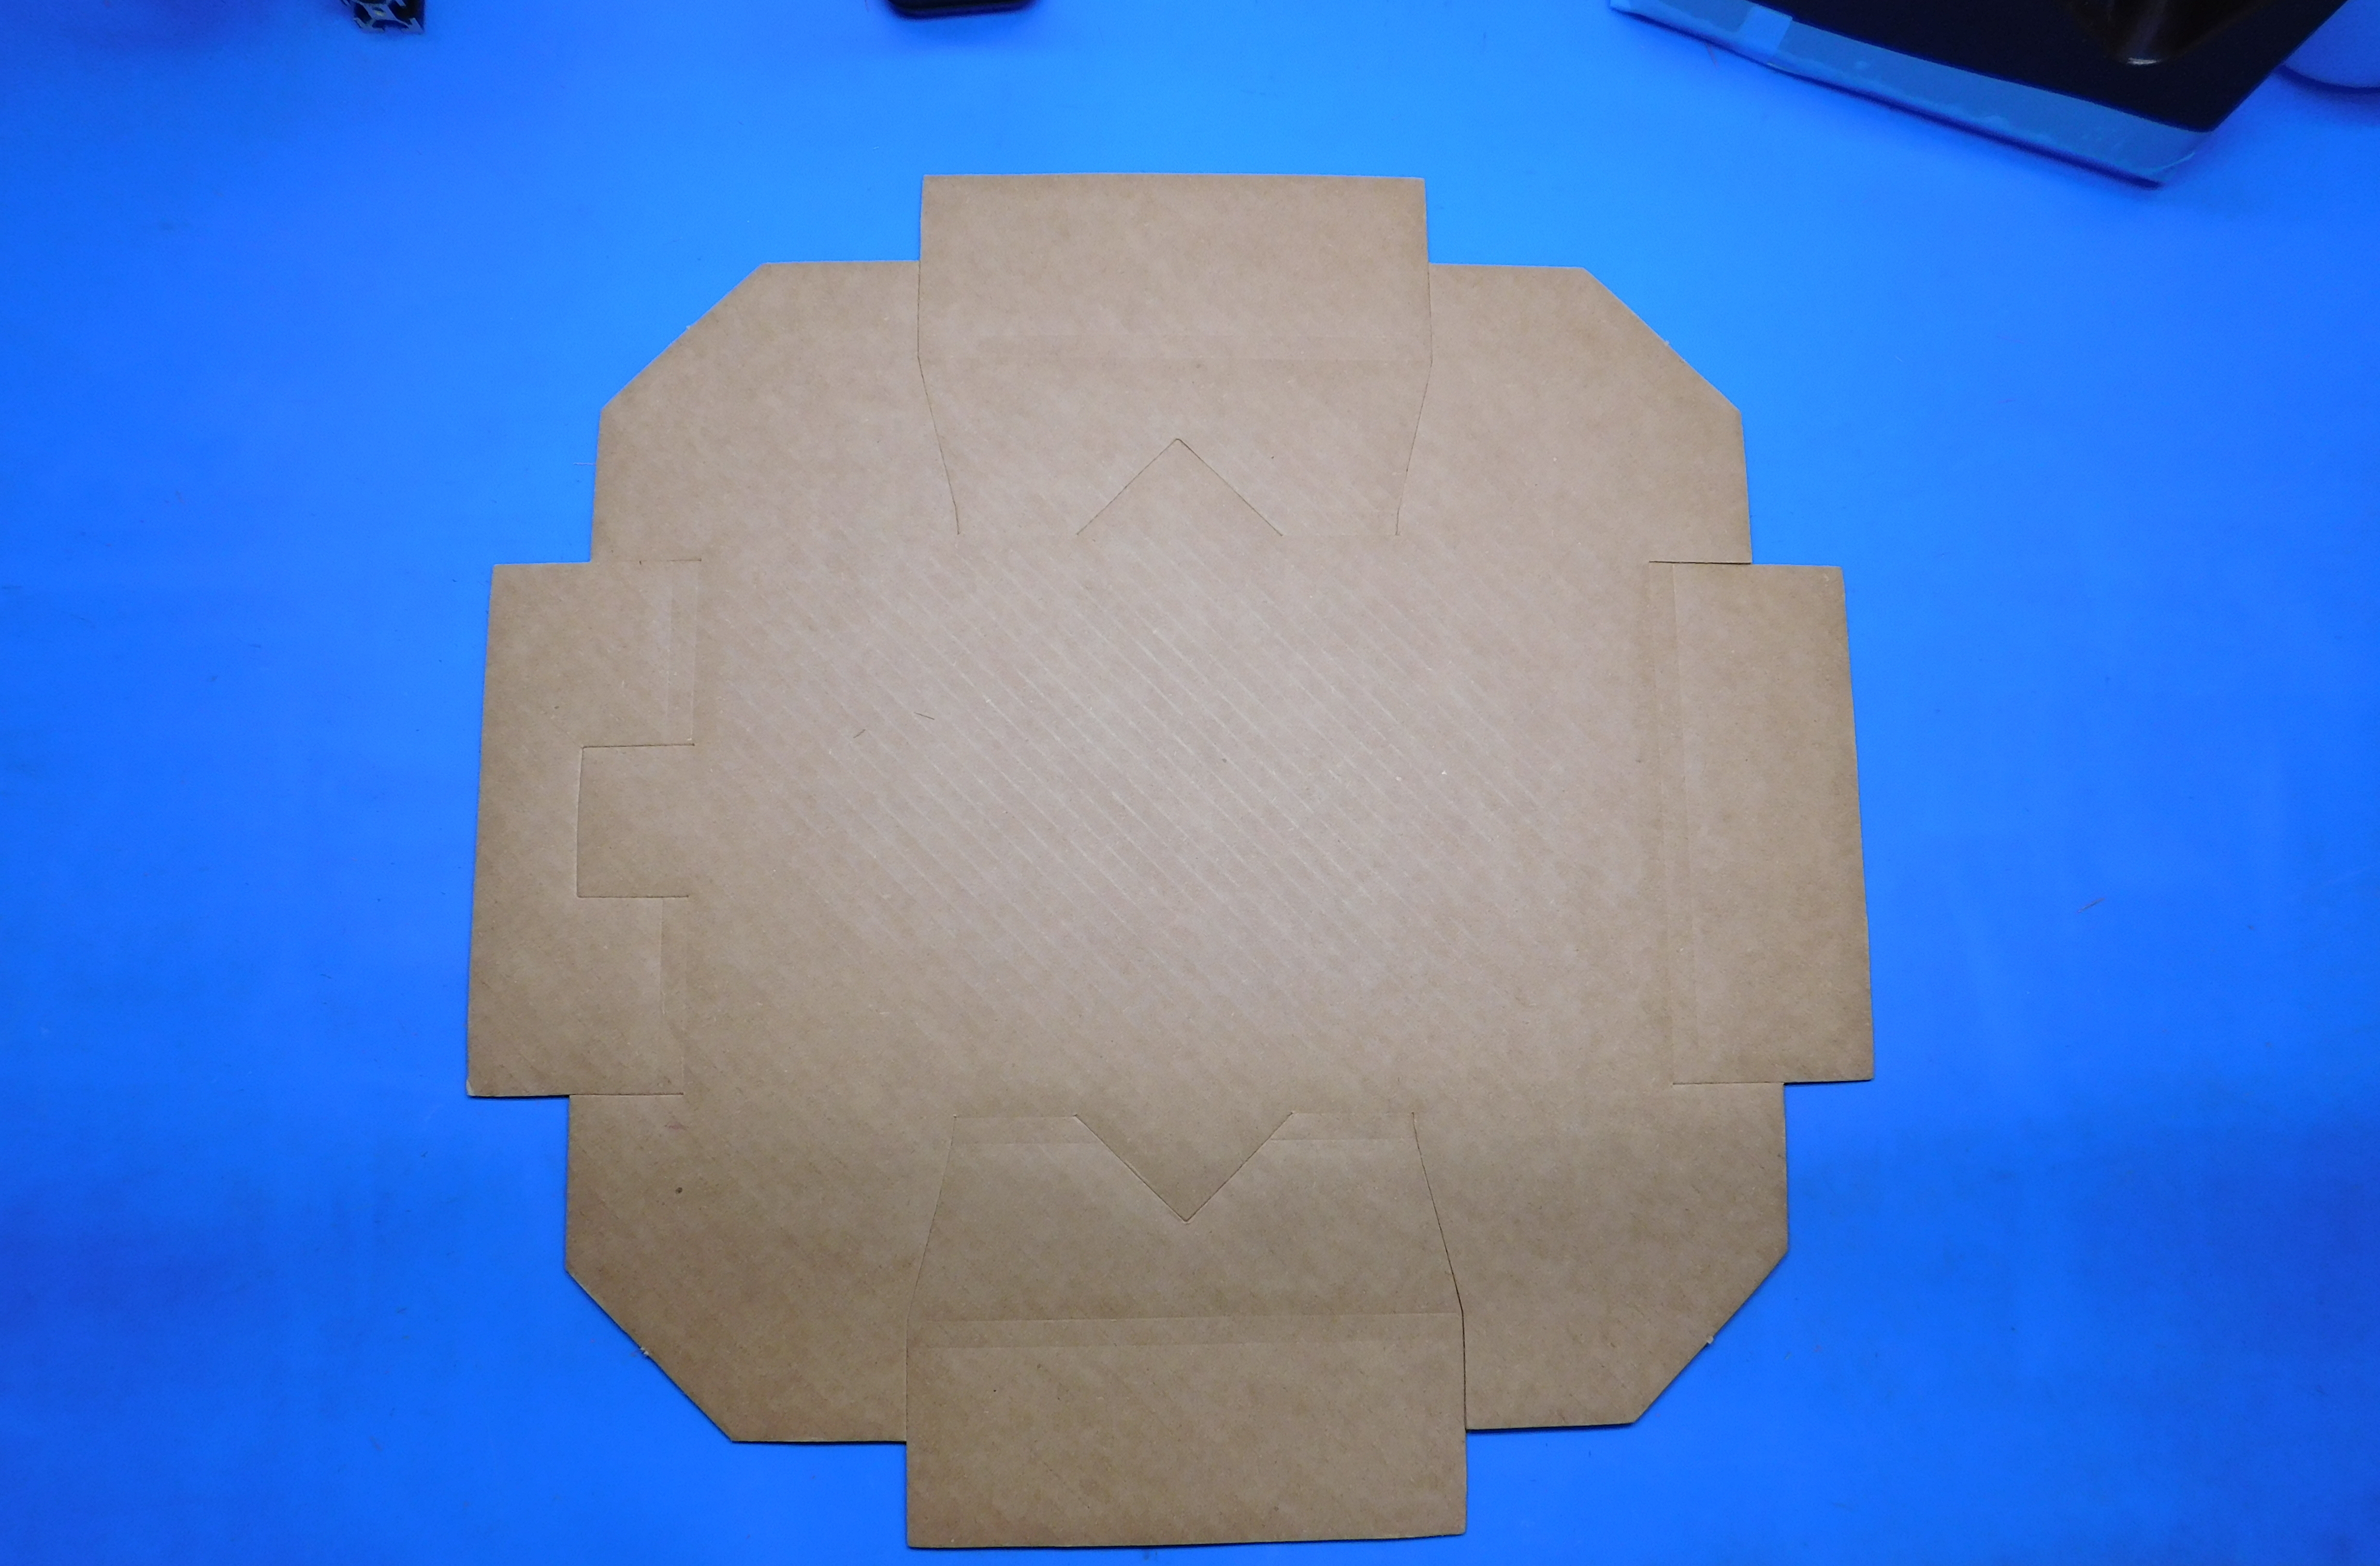
First, fold the [SH-PA0048] TAZ Heat Bed: 18 x 18 Die Cut Pad (insert) with creased side up, folding all four sides.
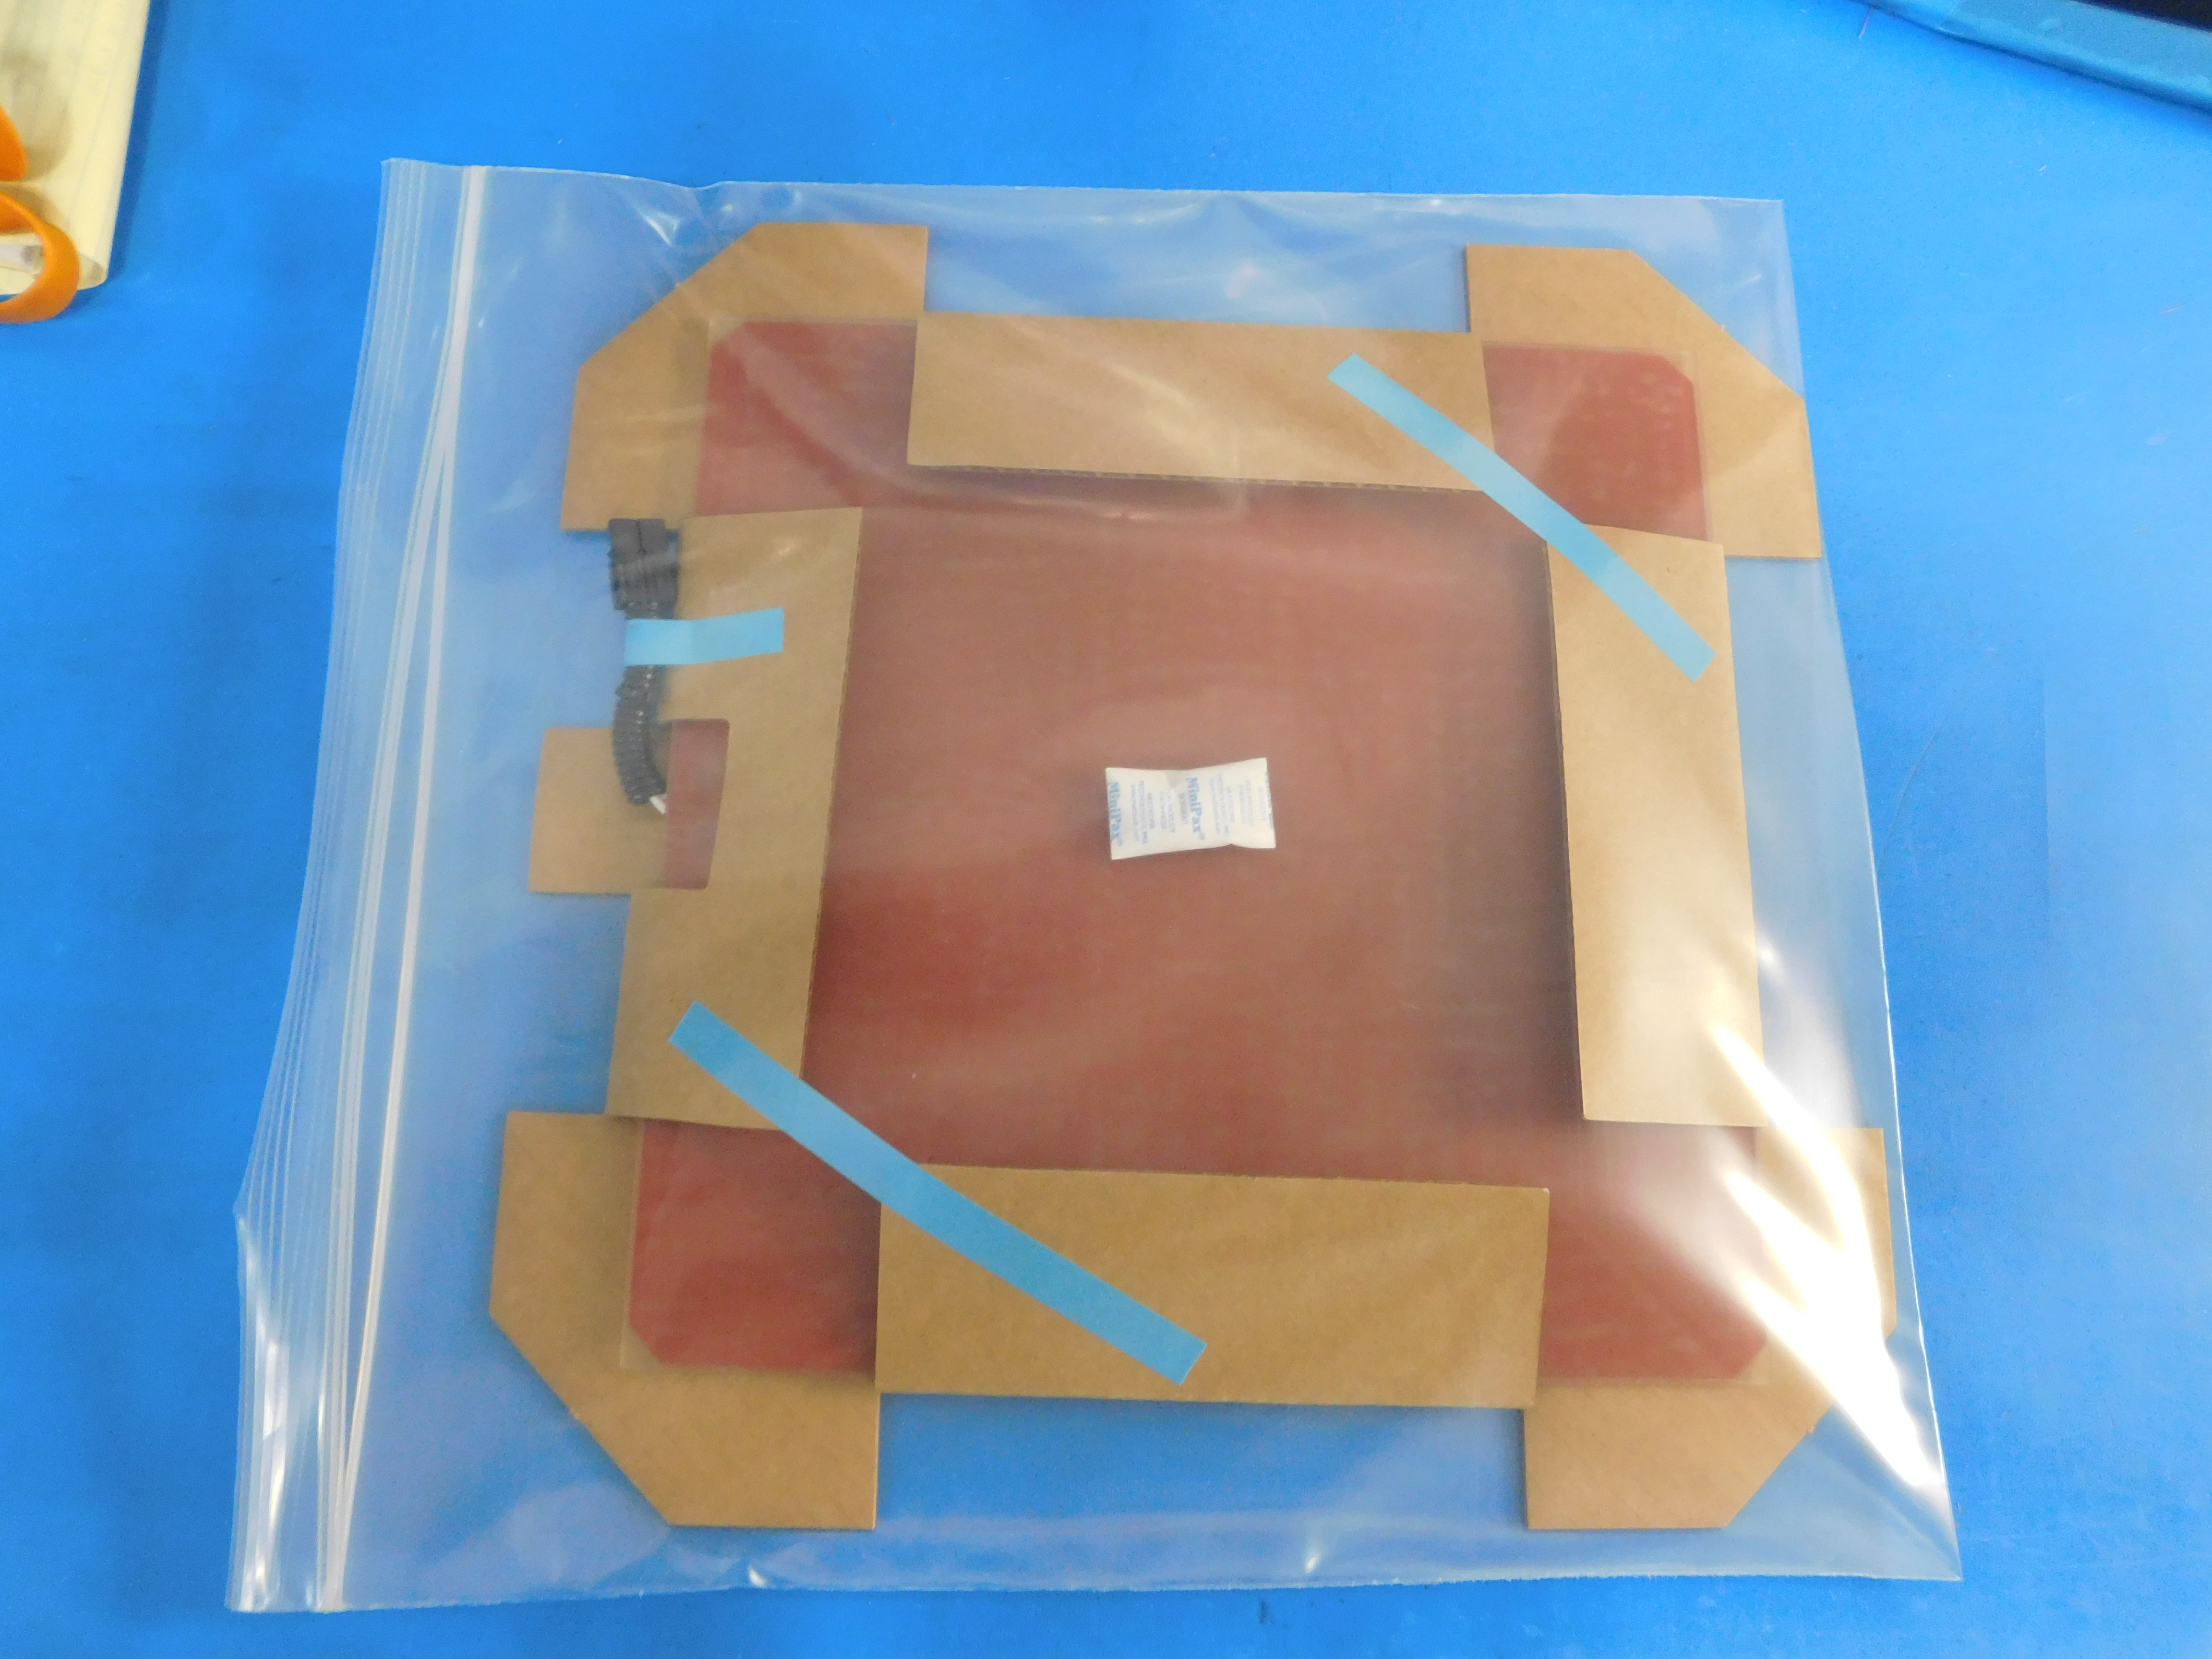
Next, place the TAZ 5/6 Heat Bed Kit into the insert by feeding the wire harness through the cutout in the insert as shown.
Then, fold and tape the two flaps as shown.
Lastly, tape the wire harness to the flap as shown.

Place the Heat Bed Kit into the [SH-BA0008] 16 x 16" 6 Mil Reclosable Bag.
Insert one [SH-PG0099] Disposable Desiccant Bag as shown.
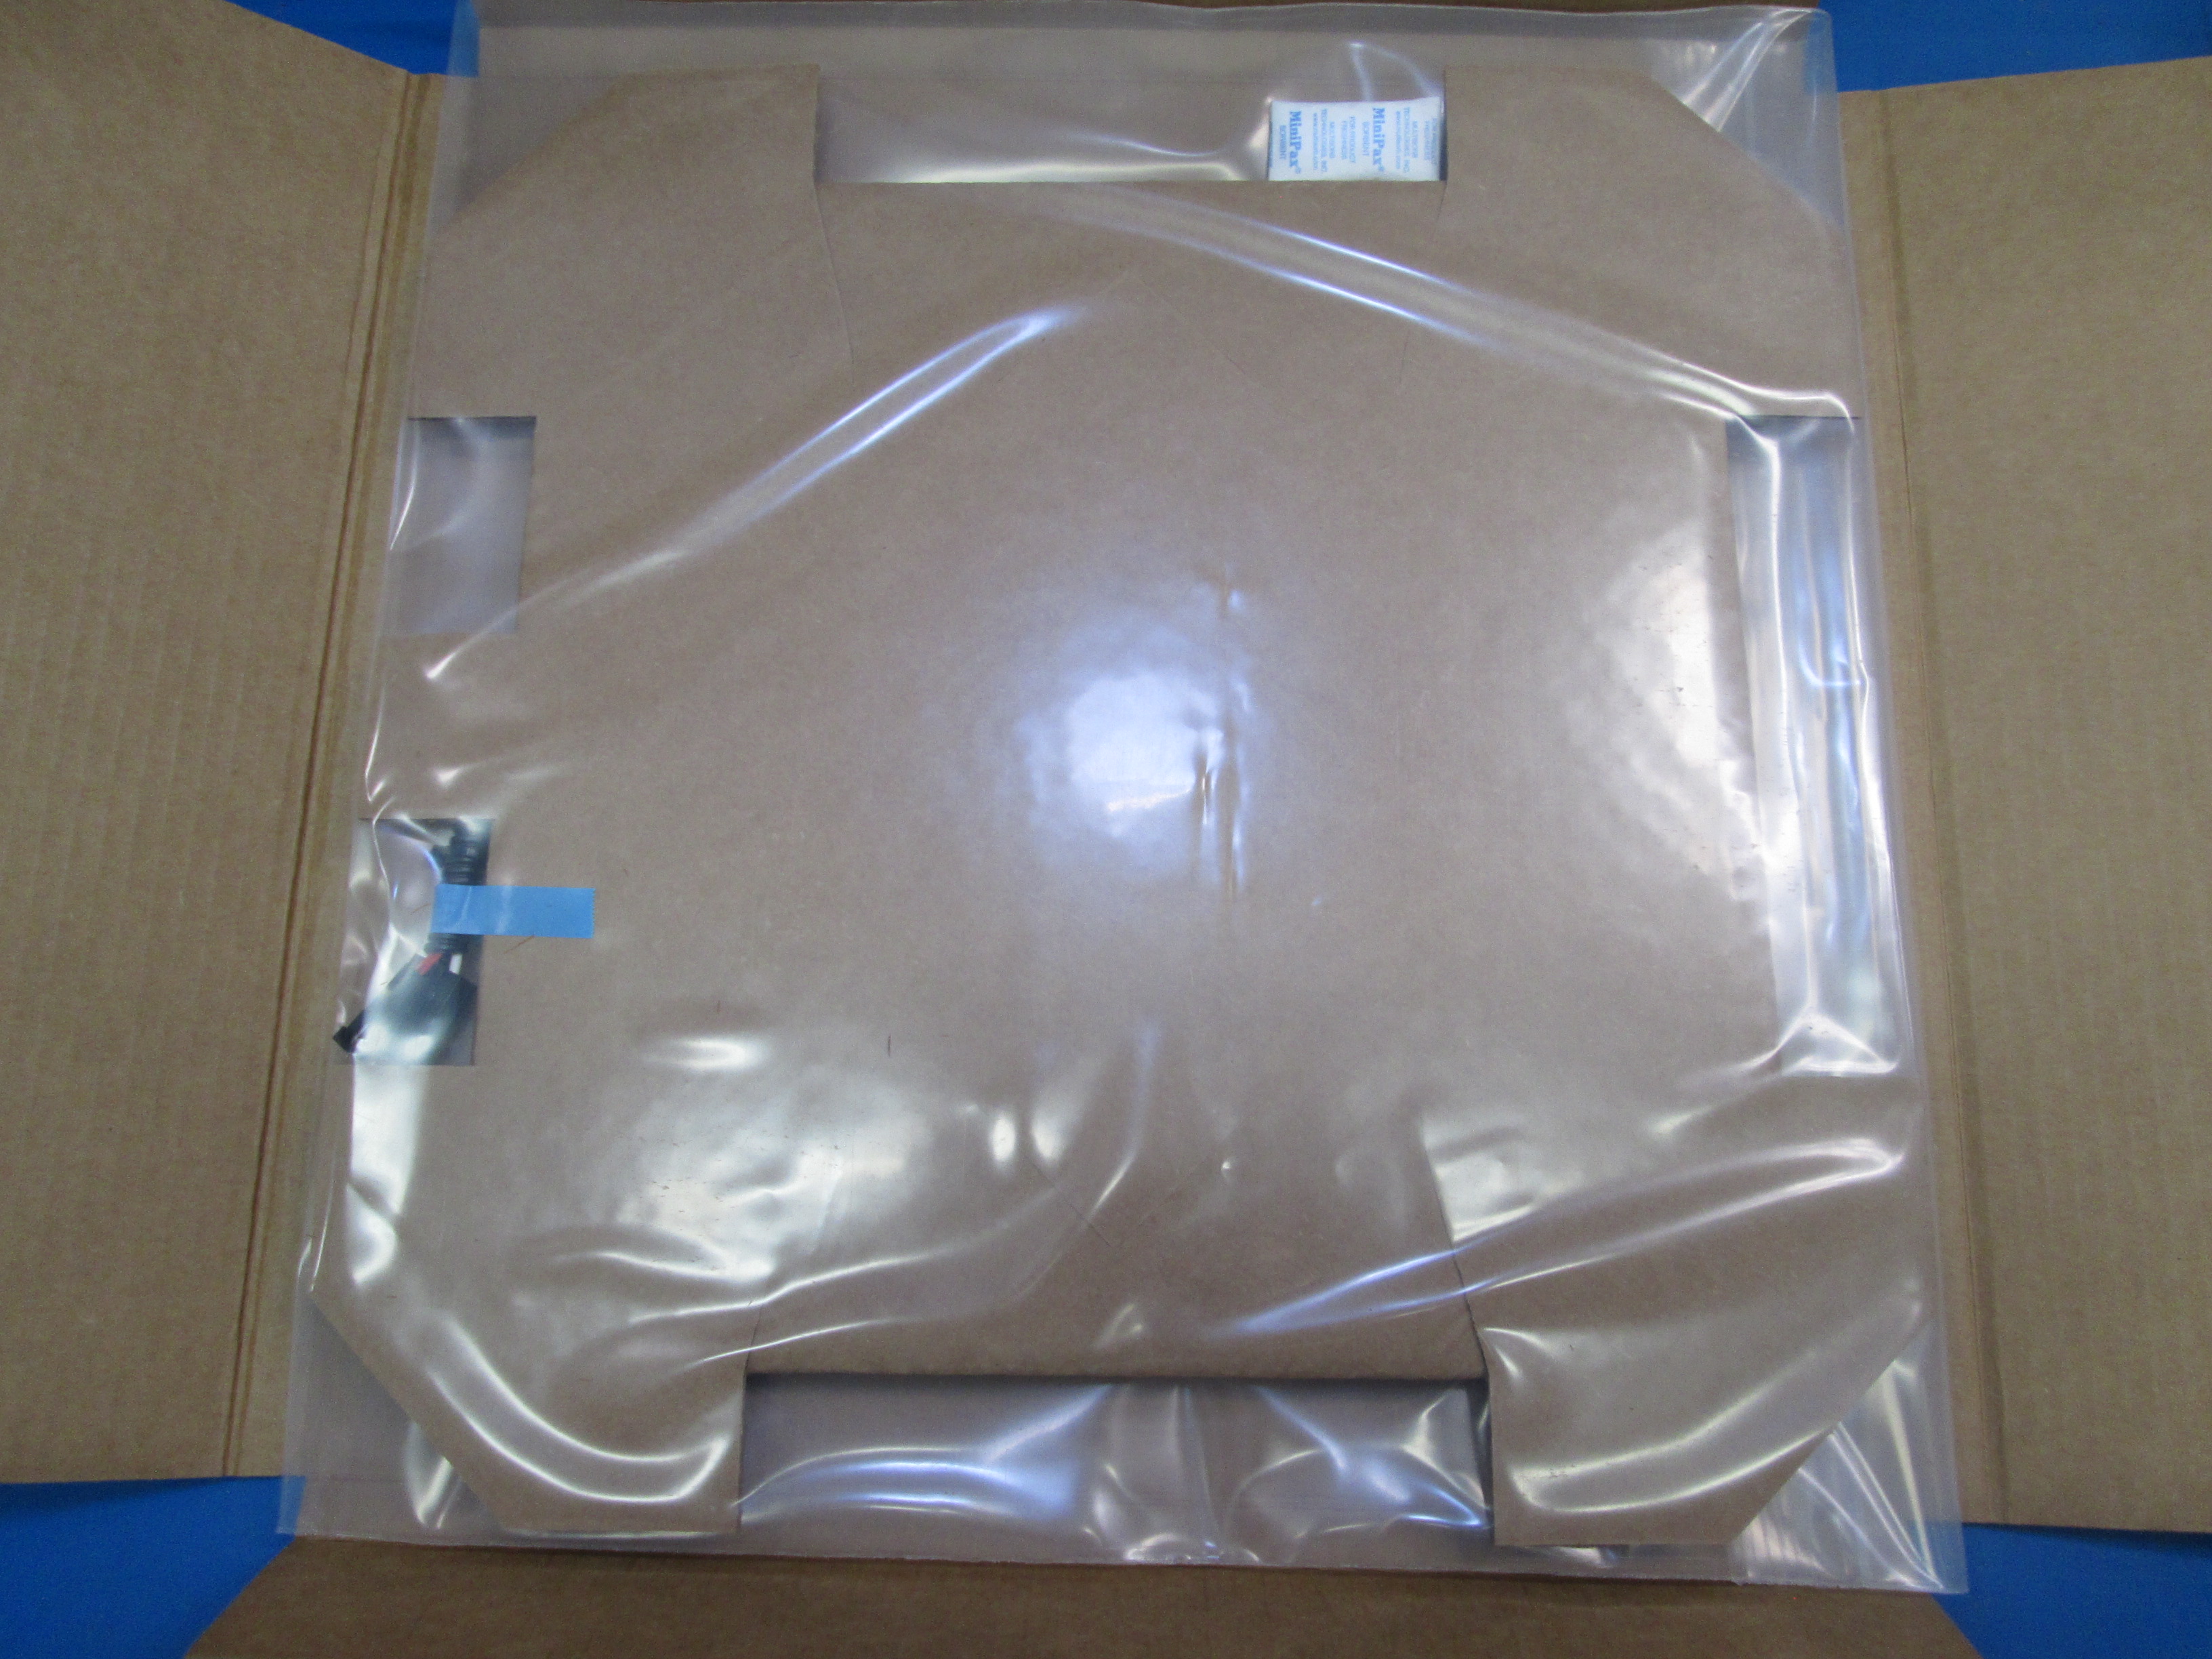
First, place Heat Bed Kit into Die Cut folder and fold small flaps inward as shown.
Next, fold larger flaps to secure the smaller flaps as shown.
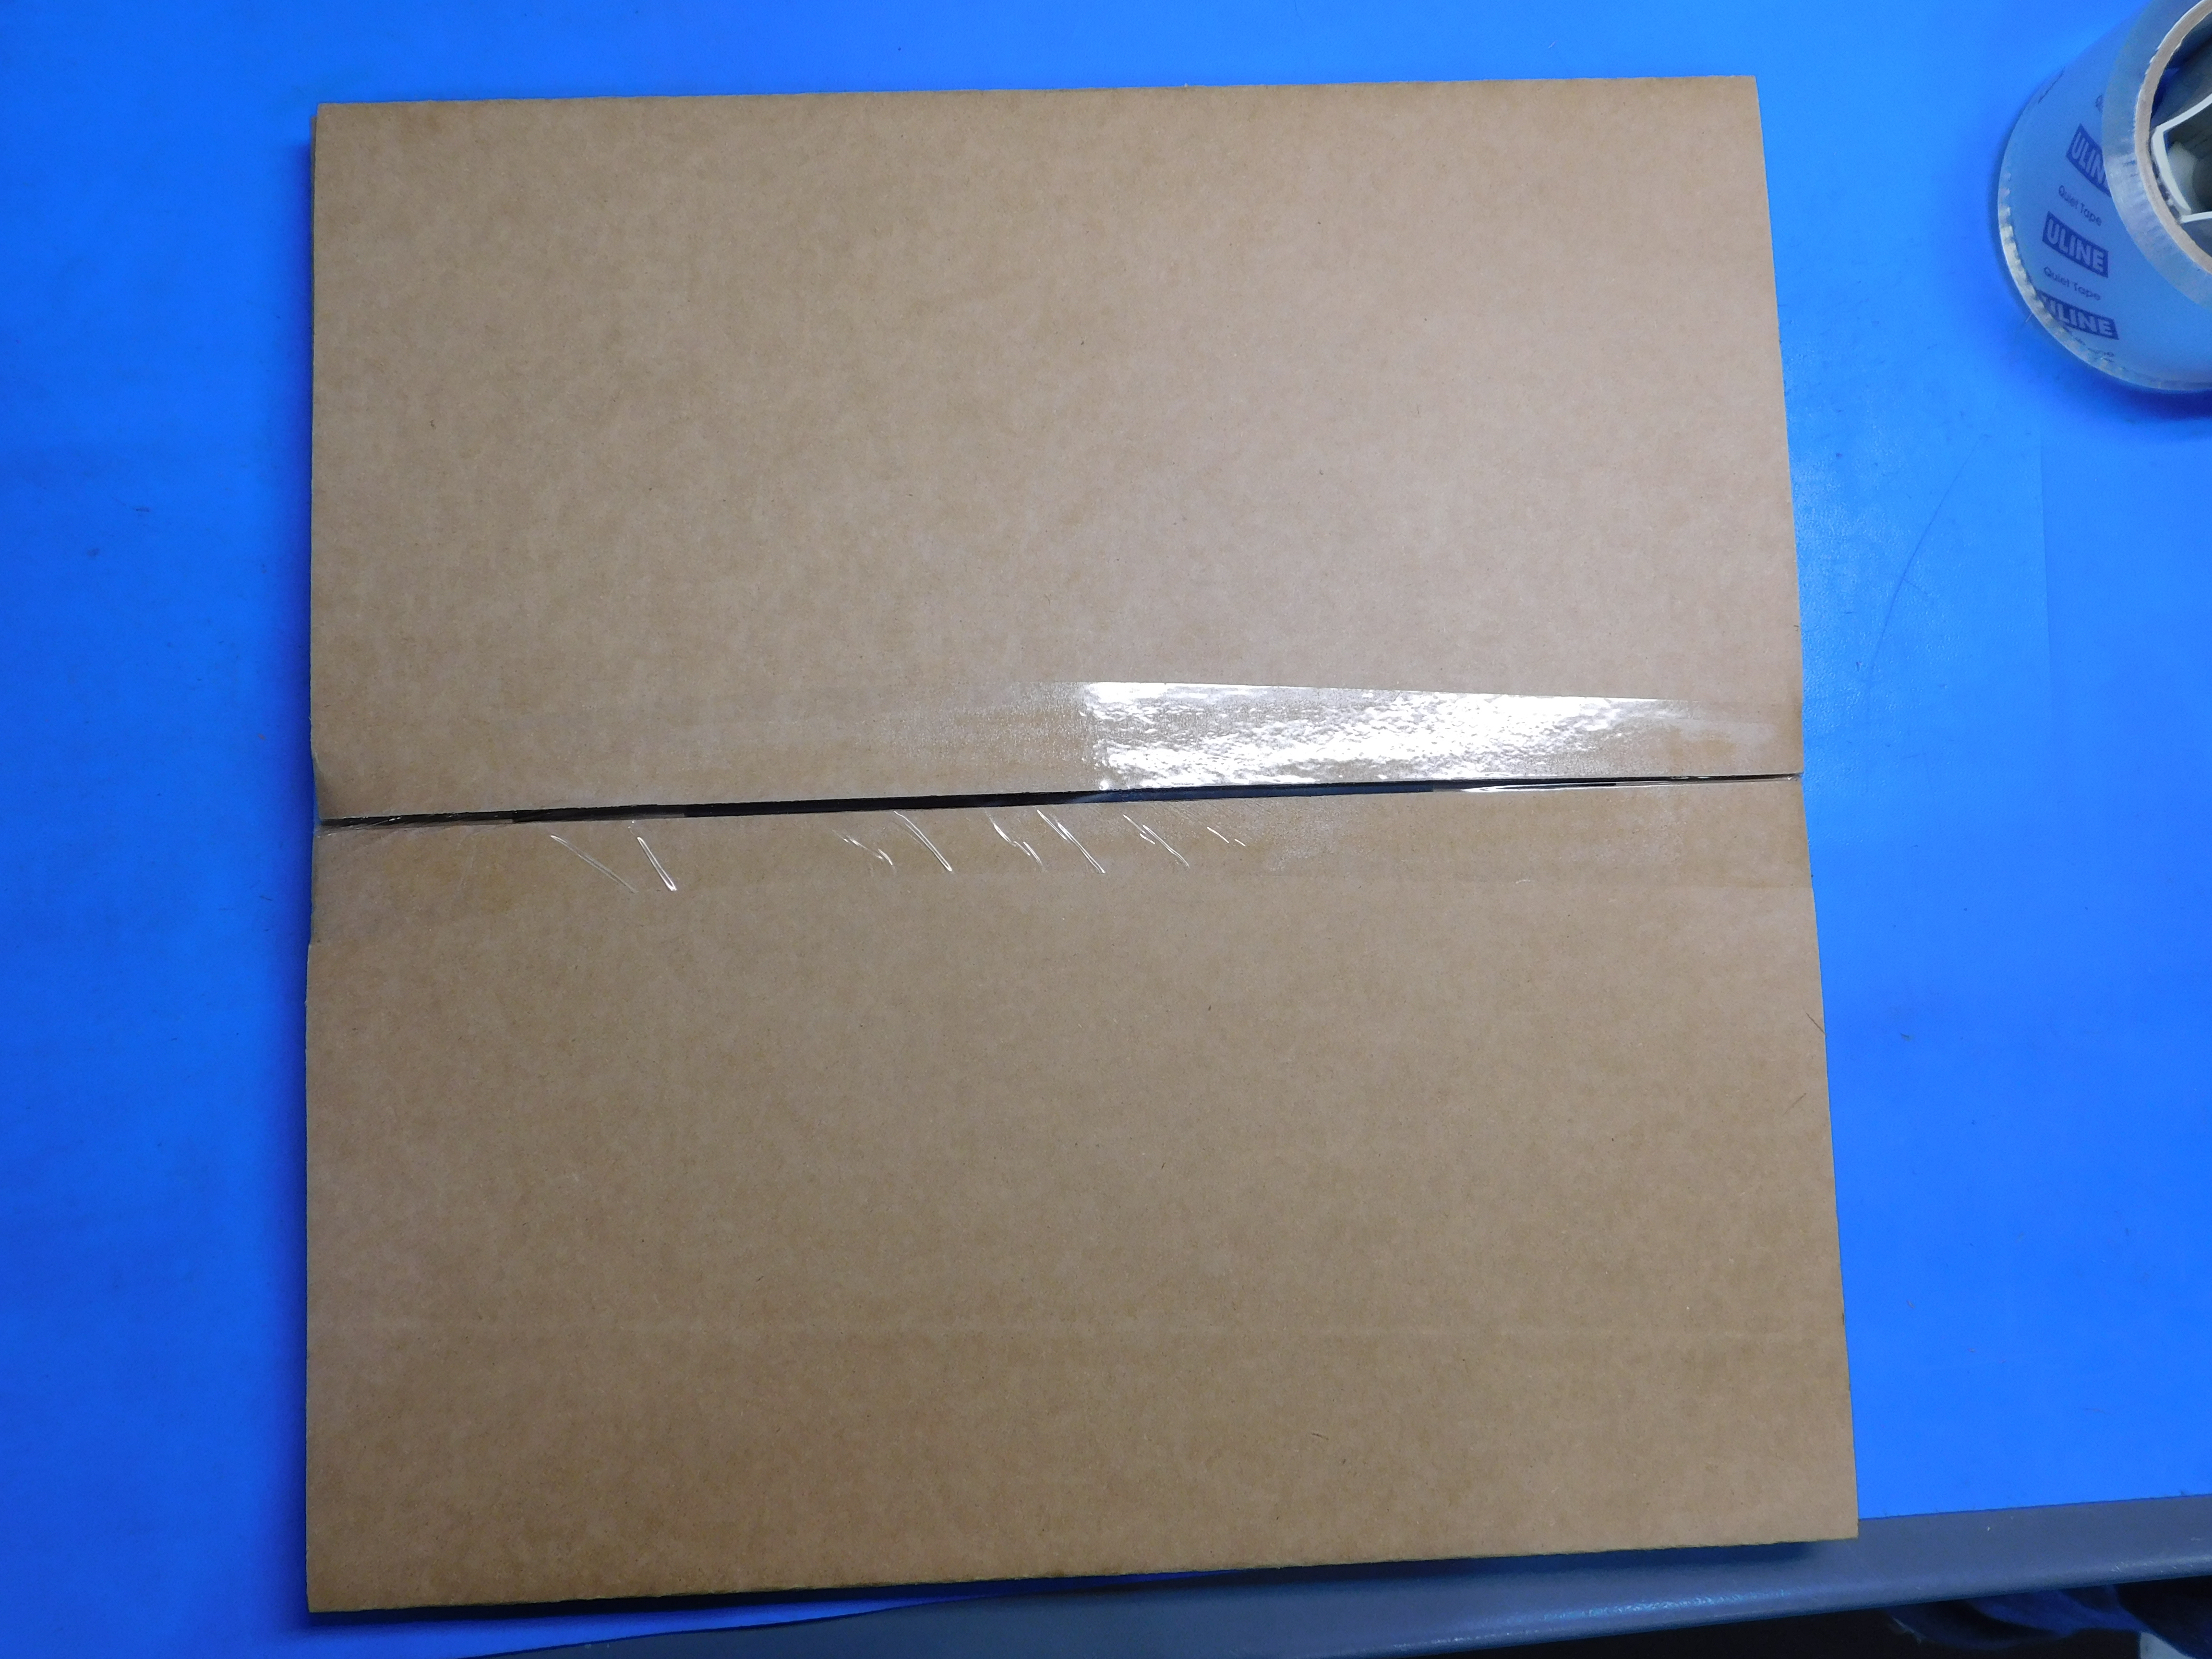
Then, tape the larger flaps ensuring the tape is centered on the folder as shown.
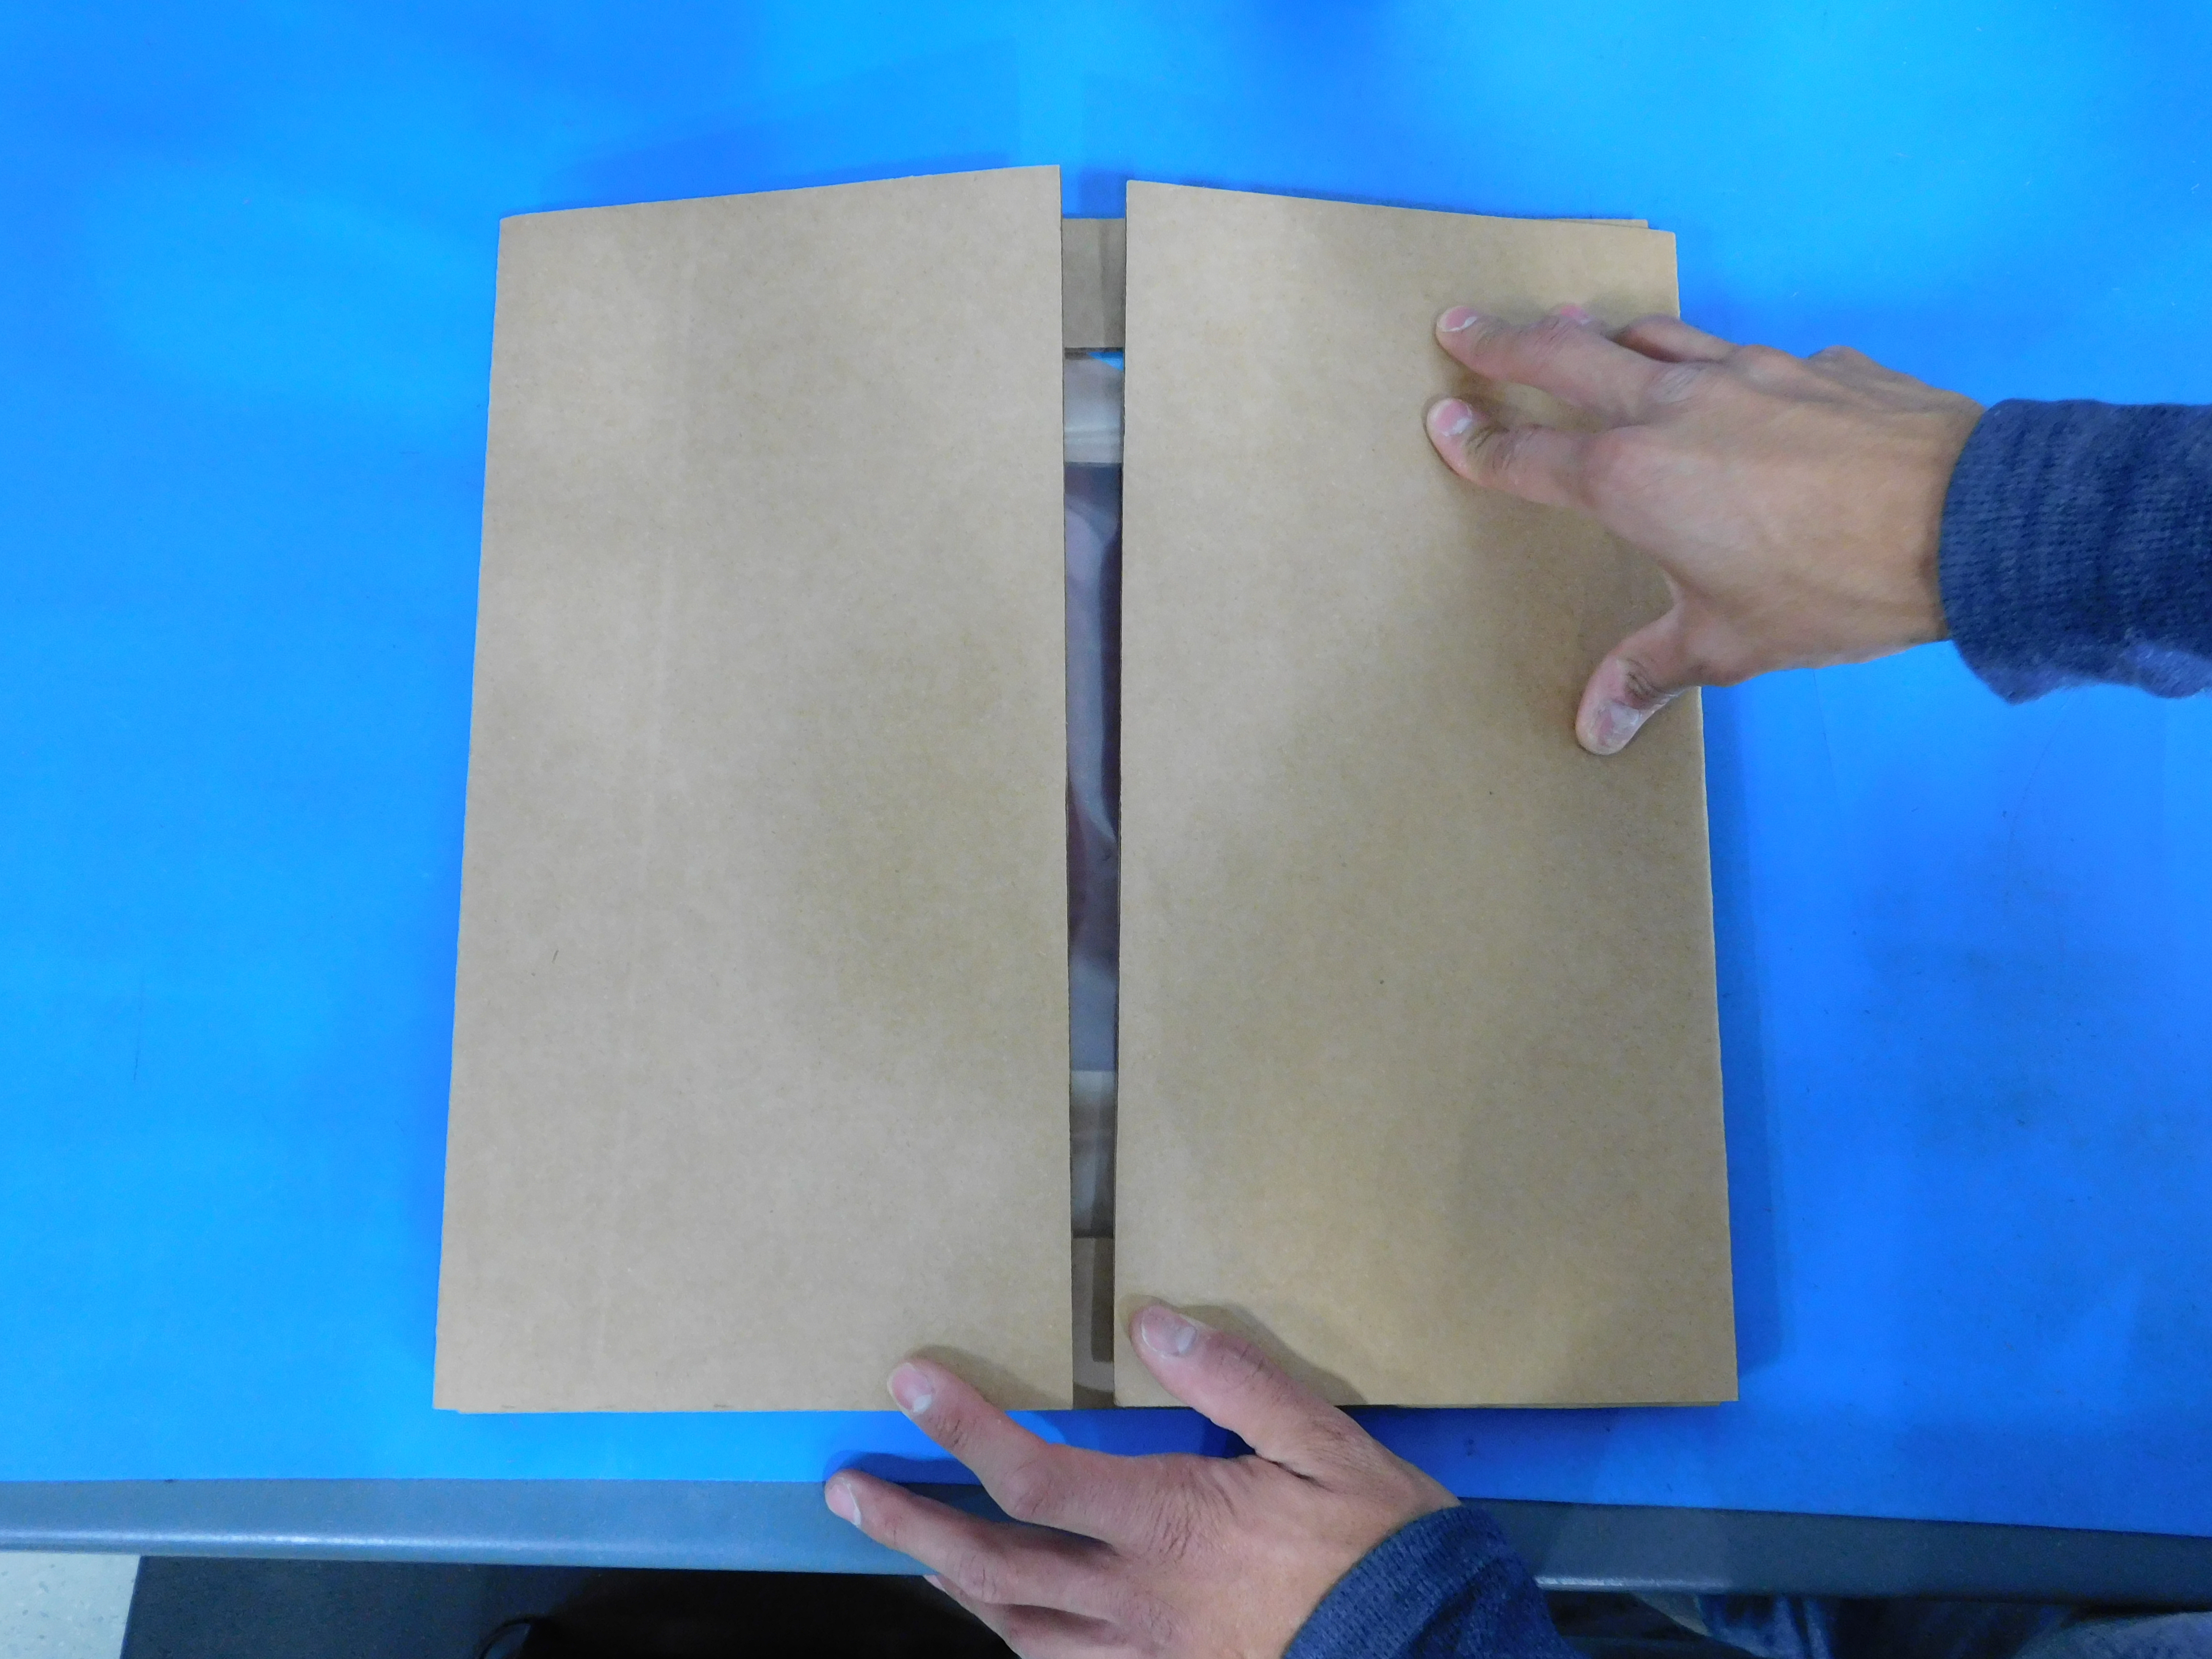
Center the [SH-PG0019] TAZ 5/6 Heated Bed Kit label as shown.
