Open HardwareAssembly Instructions
Guides for installation and assembly of the LulzBot line of products made by FAME 3D LLC.
Guides for installation and assembly of the LulzBot line of products made by FAME 3D LLC.
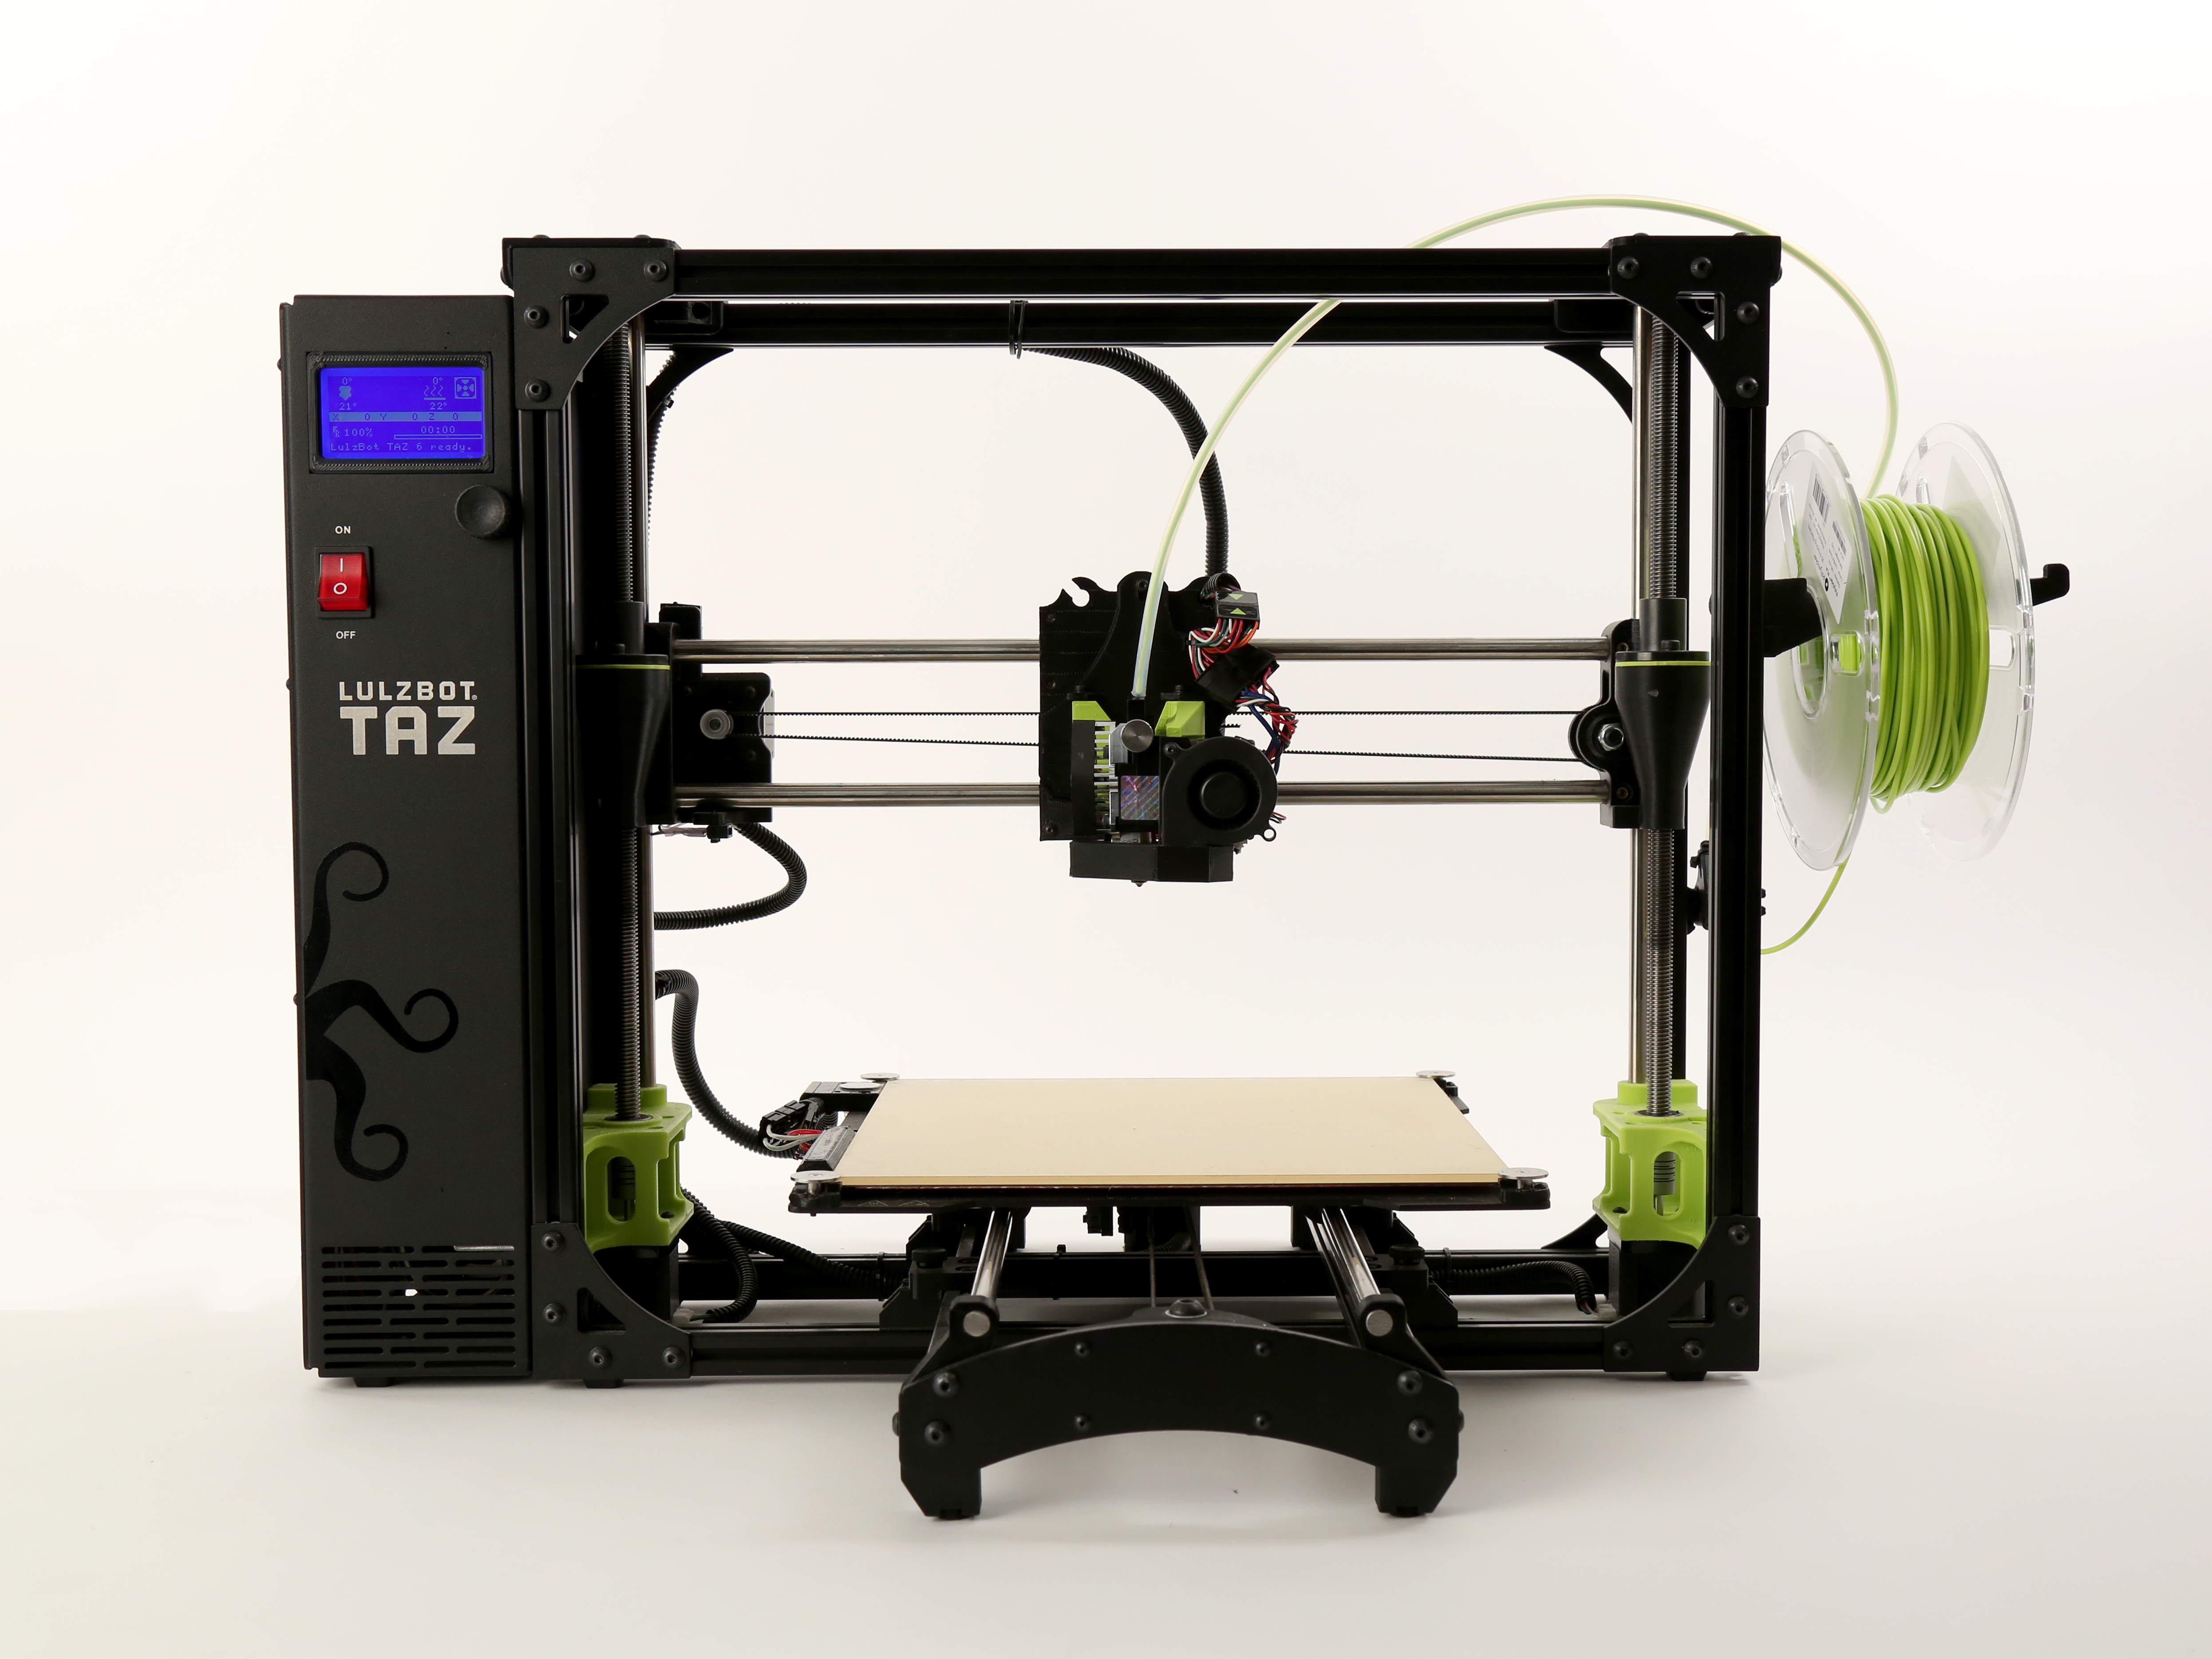
Follow the instructions below to install the Universal Mount Adapter onto your LulzBot TAZ 6 and TAZ 5 to take advantage of the latest generation of LulzBot Tool Heads:
SL Tool Head | Small Layer | 0.25 mm
SE Tool Head | Single Extruder | 0.5 mm
HS Tool Head | Hardened Steel | 0.8 mm
HS+ Tool Head | Hardened Steel | 1.2 mm
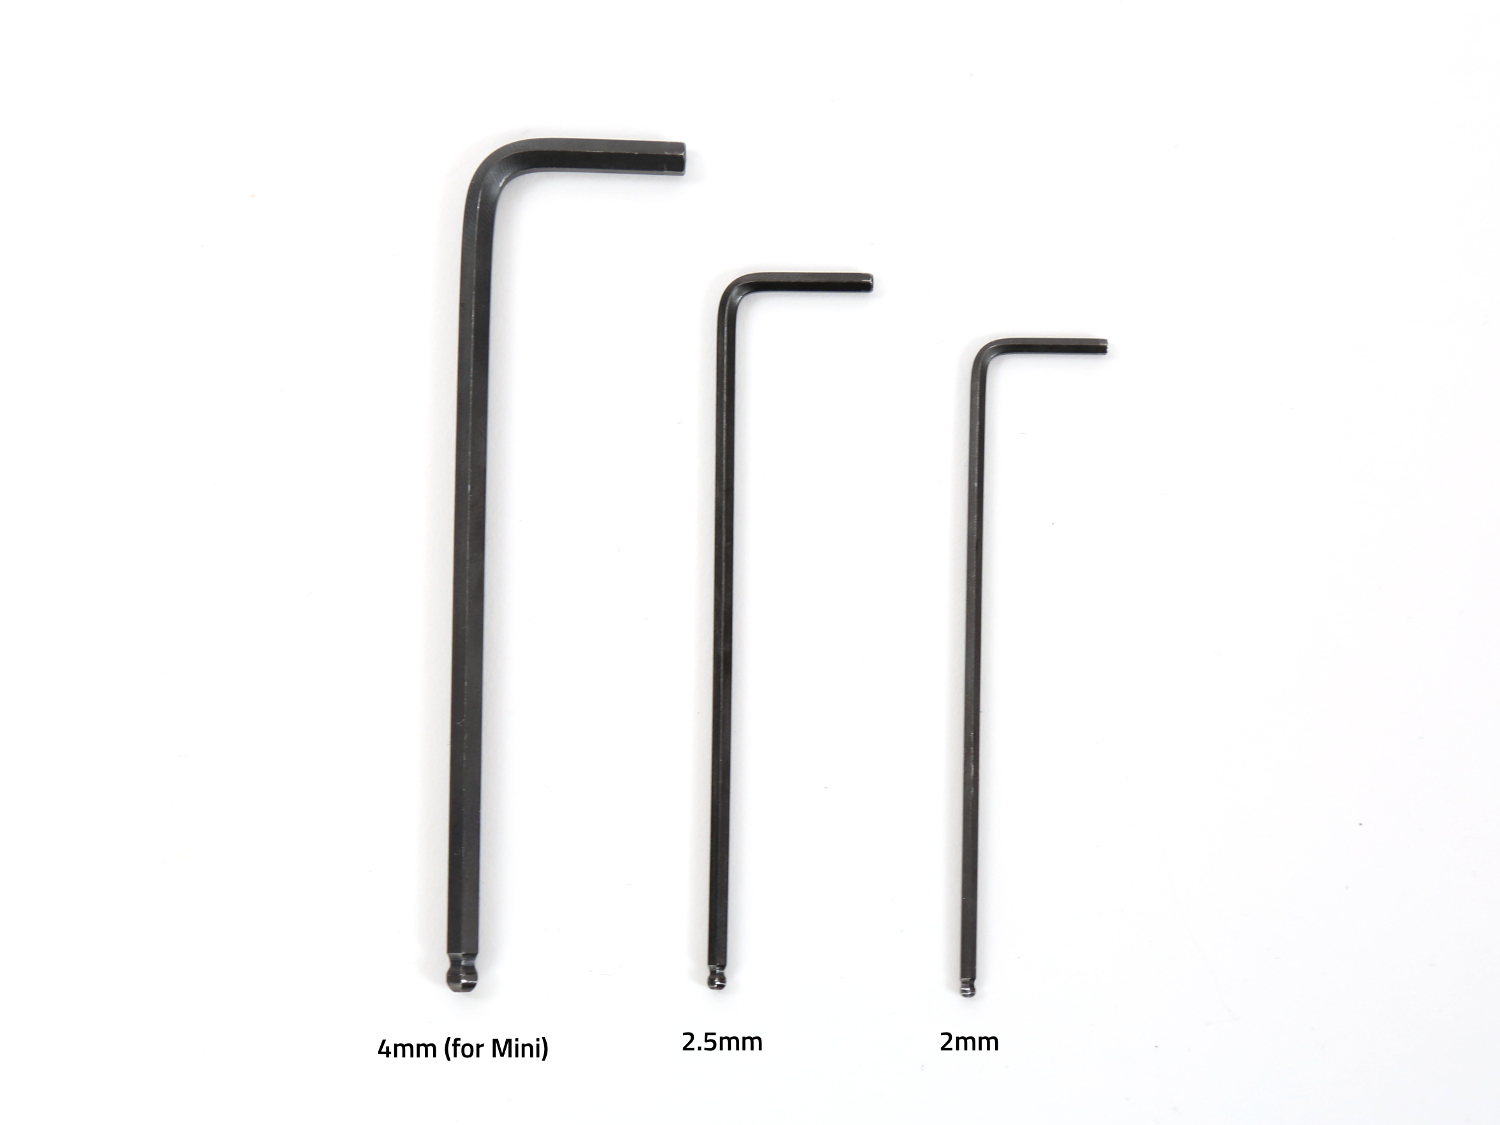
You will also need
Power off and unplug the power cord from the rear of the printer.

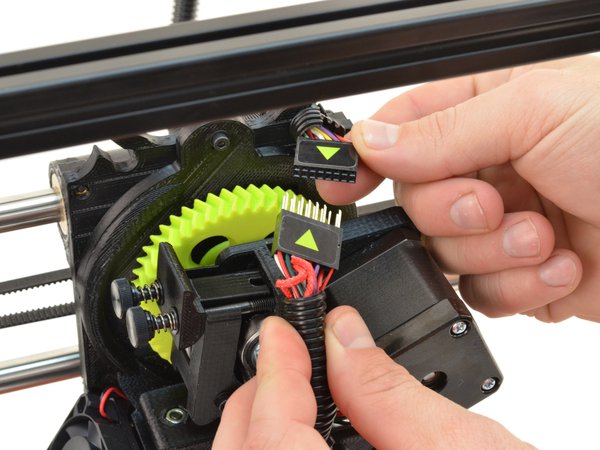
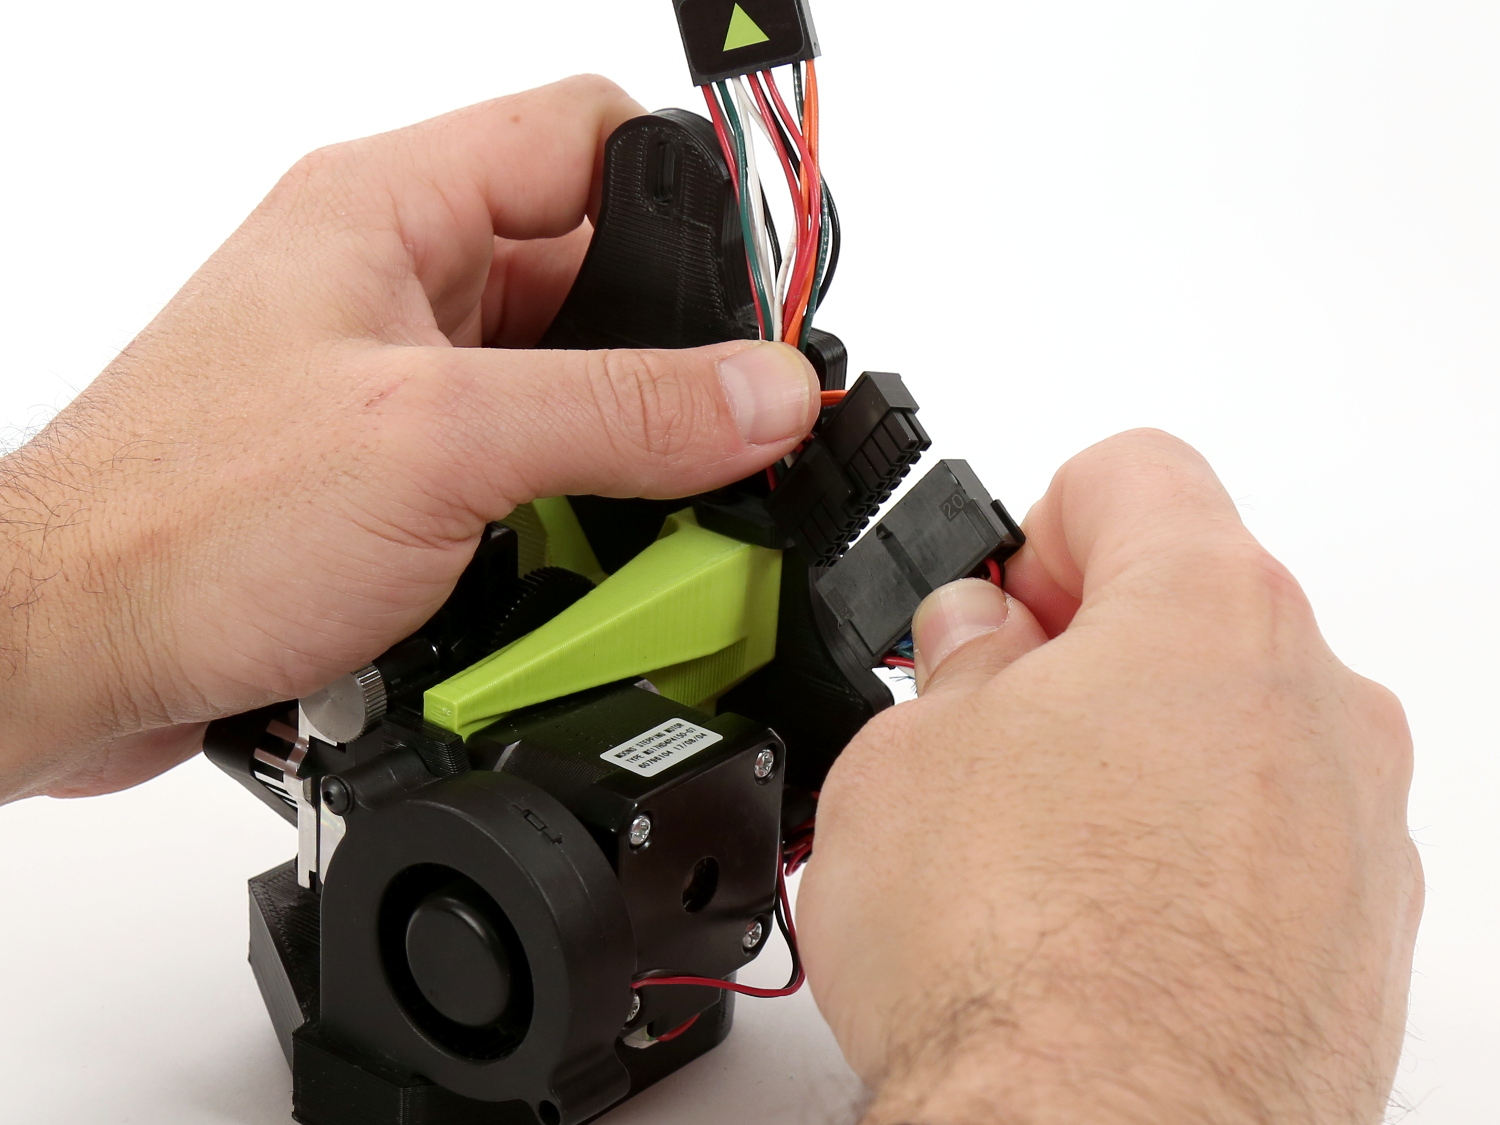
Holding both connector housings, gently wiggle the connector free. Do not pull on the wires, only the connector housing.
6A
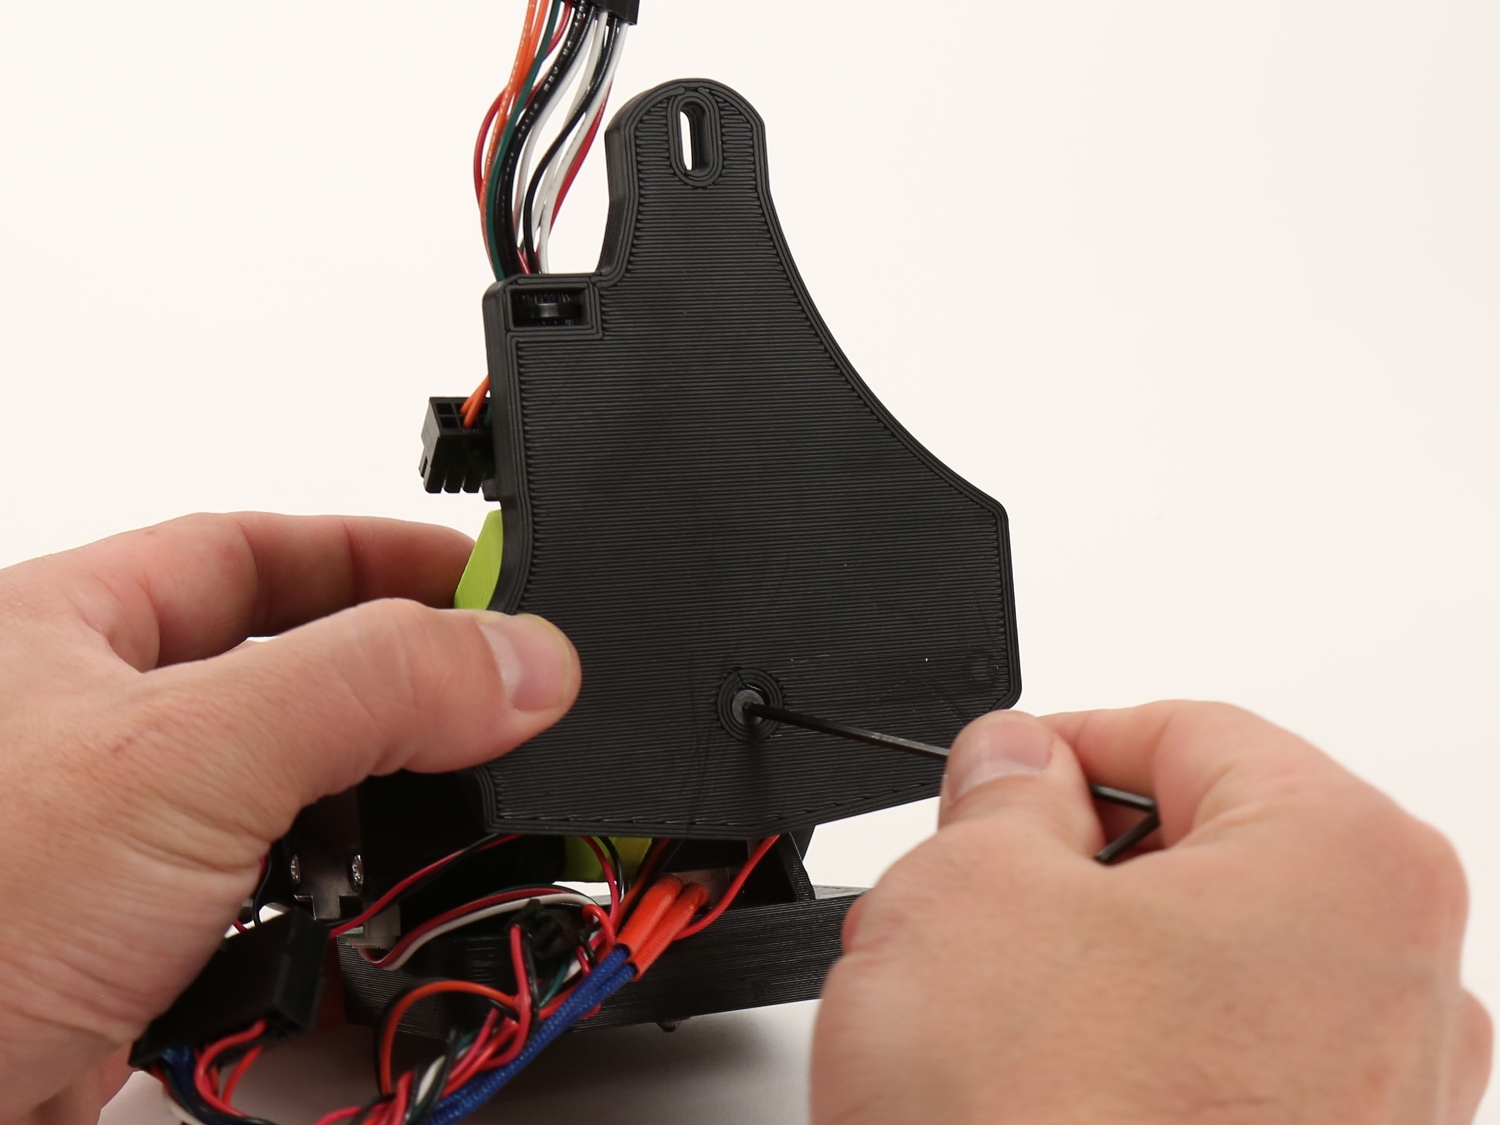
Using the 2.5 mm hex key, unscrew the M3 socket head screw securing the tool head to the X-axis carriage. Ensure that you are holding the tool head to prevent it from falling onto the bed after the screw has been removed.
6B
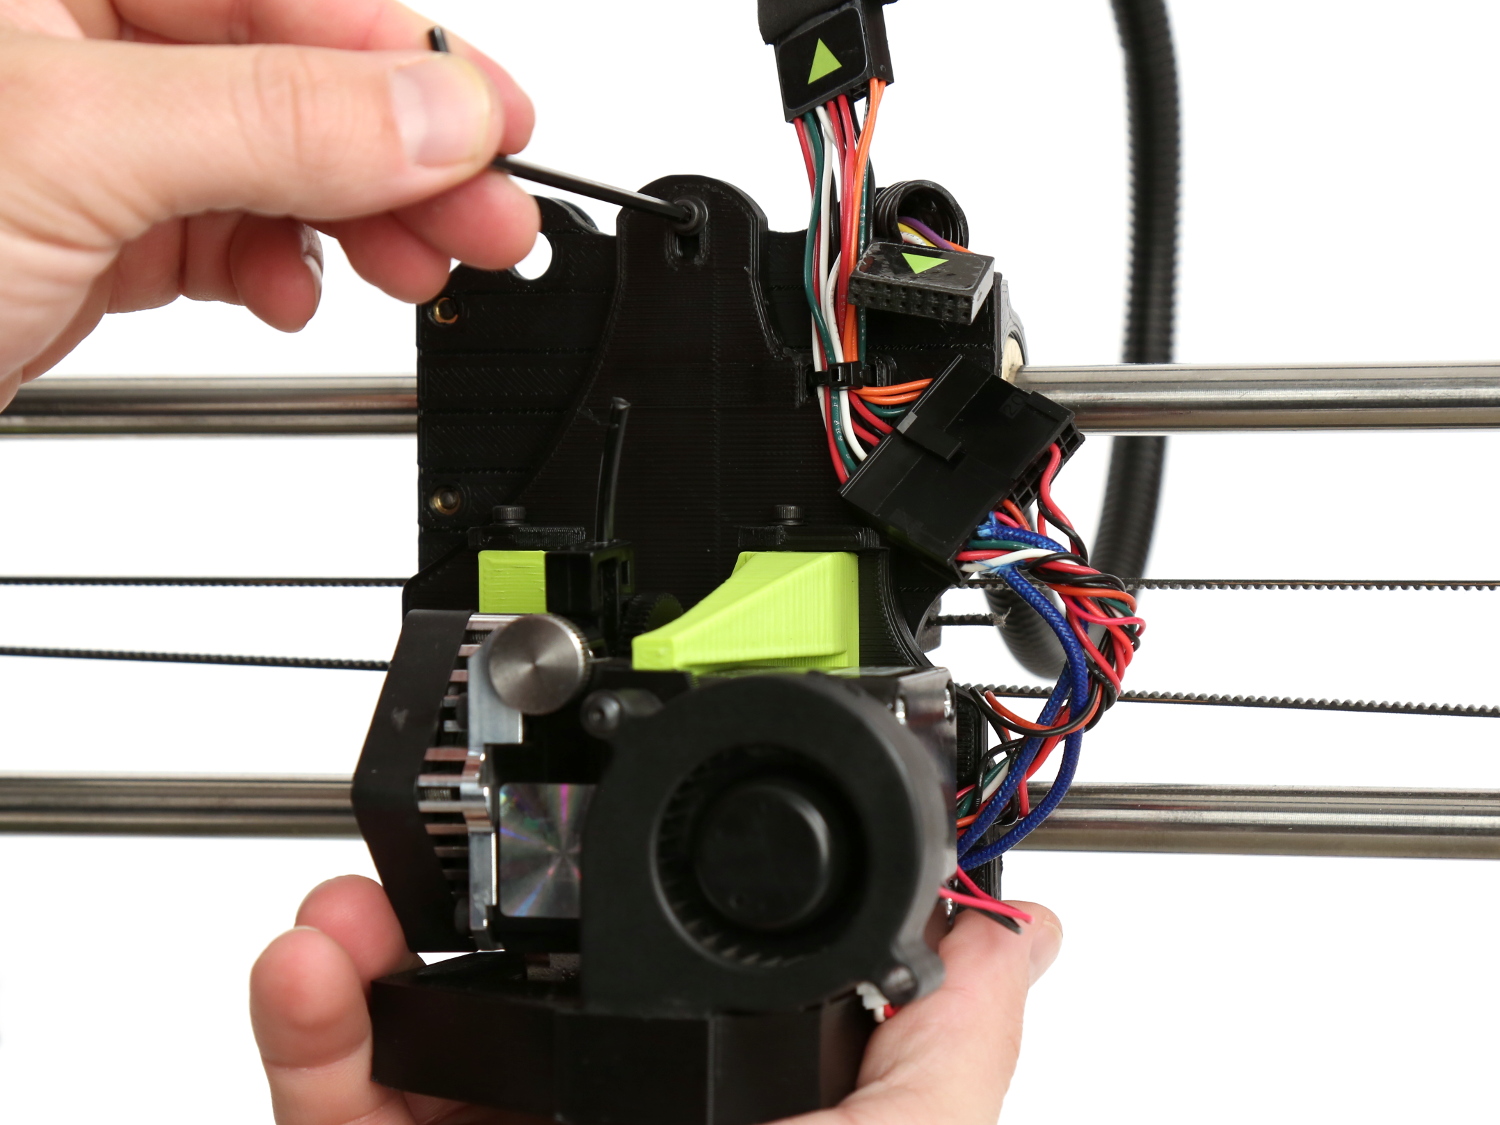
Remove the tool head from the printer by lifting the tool head away from the printer.

7A Screw in the M3 flat head screw from the back into the tool head.
7B Screw in the two M3 socket head screws into the top of the mount.
7C Connect the adapter and tool head connectors, making sure to fully seat the connectors until they lock.

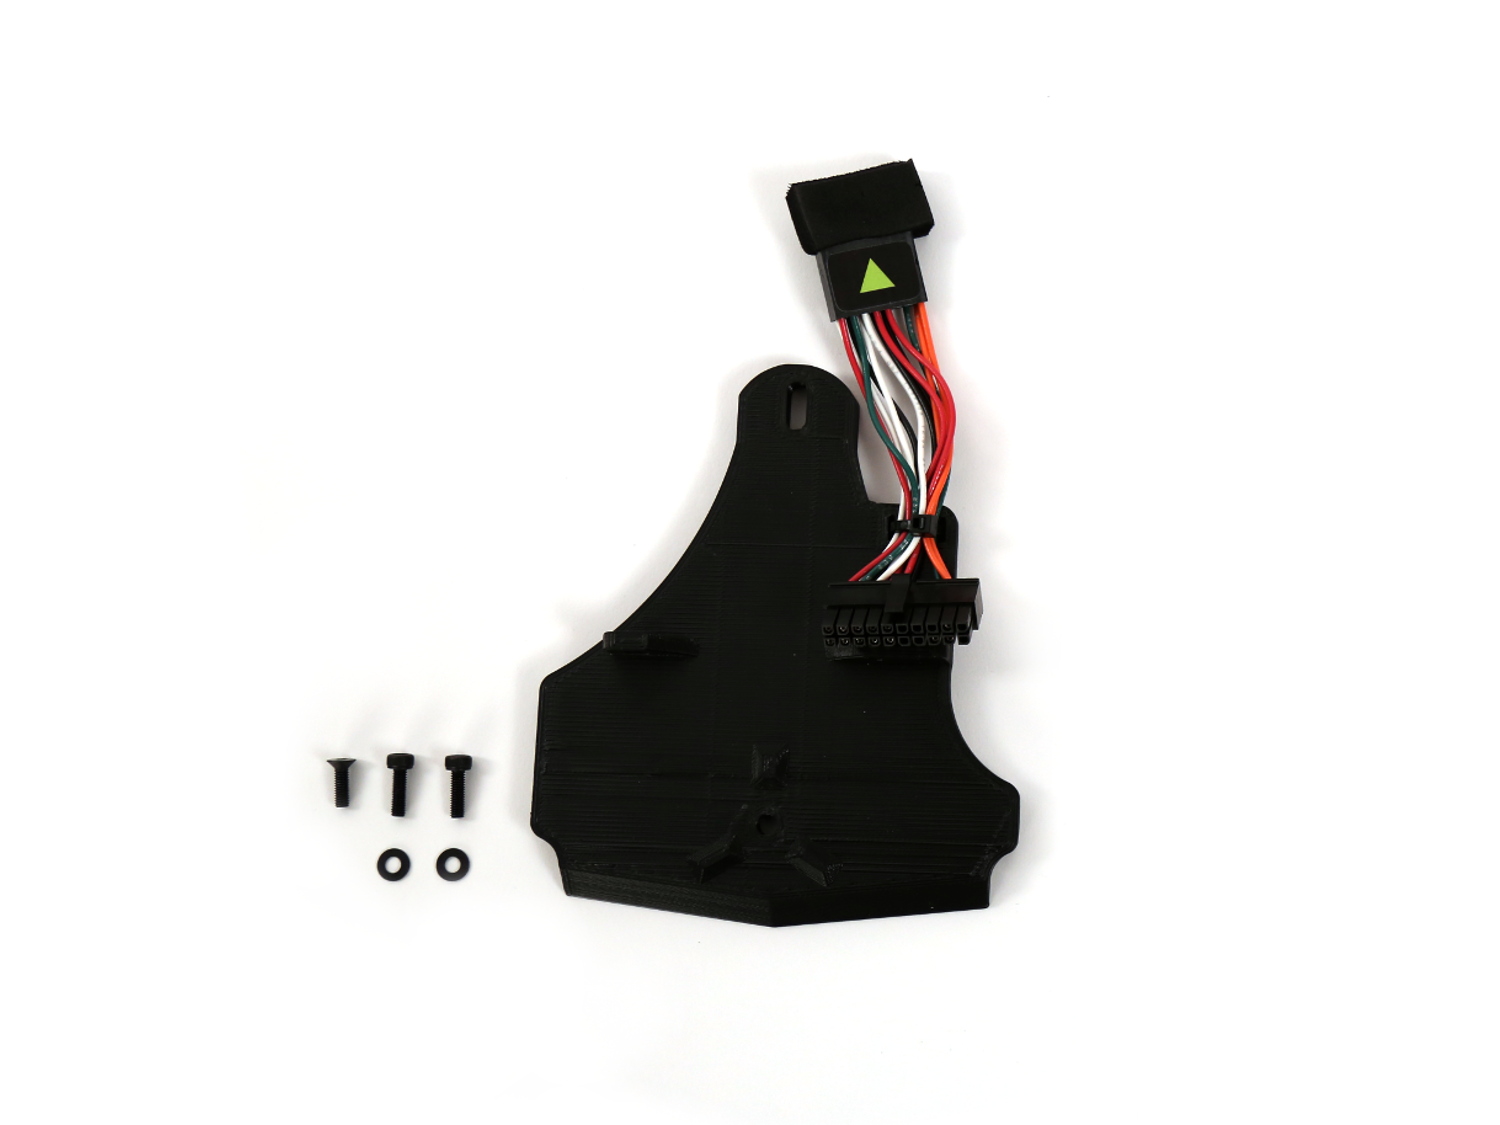
Mount adapter with tool head attached to TAZ 6 using the M3 socket head screw.
Connect the two 16-pin connectors, making sure to match them based on the pins in the connector.

Once installed, a required firmware update is necessary for the printer to be configured correctly.
Depending on your version of Cura LE, you can use one of the guide below.