Open HardwareAssembly Instructions
Guides for installation and assembly of the LulzBot line of products made by FAME 3D LLC.
Guides for installation and assembly of the LulzBot line of products made by FAME 3D LLC.
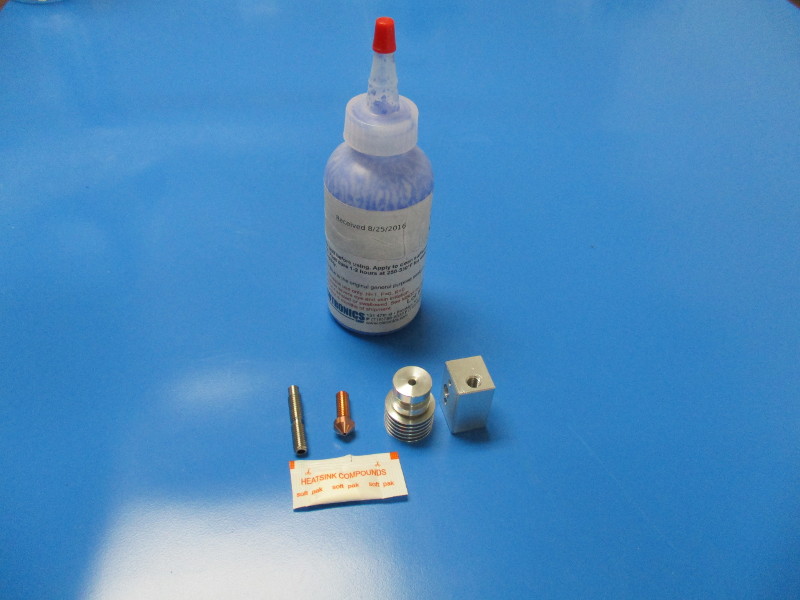
Gather parts:
Thread locker compound
Heater block (PP-MP0154)
1.2mm nozzle (PP-MP0155)
Heat break (PP-MP0152)
Heat sink (PP-MP0151)
Heat sink compound, E3D (PP-MP0162)
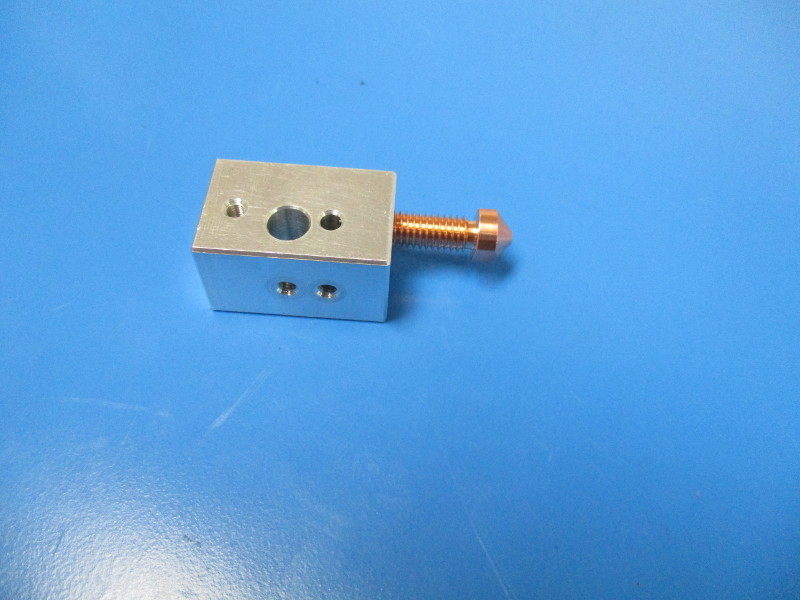
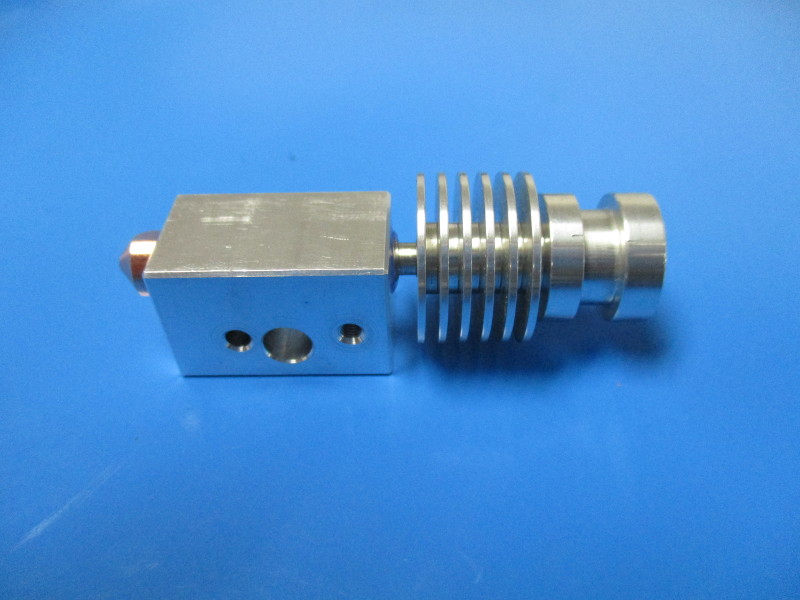
(Note orientation of block)
Thread nozzle all the way in.
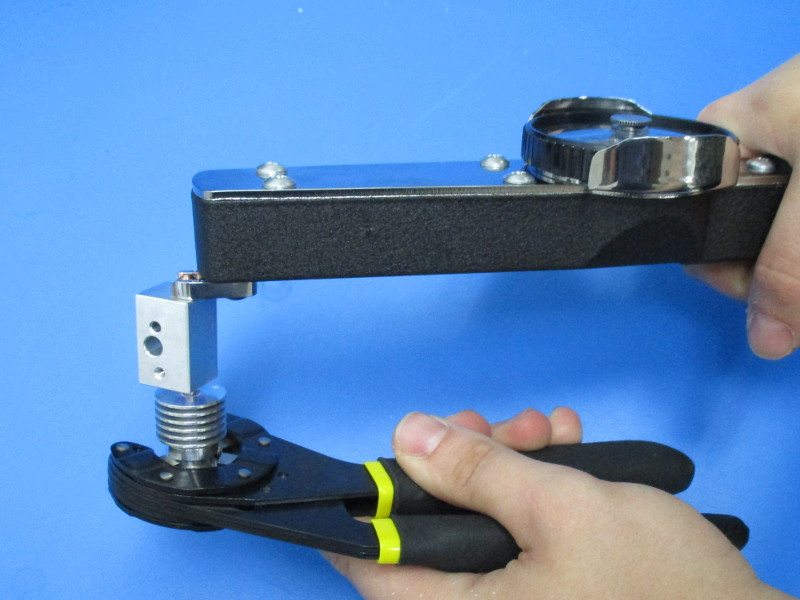
Torque down to 30in*lbs using a torque wrench with a 7mm wrench attachment on the nozzle and a 18mm wrench on the heater block.

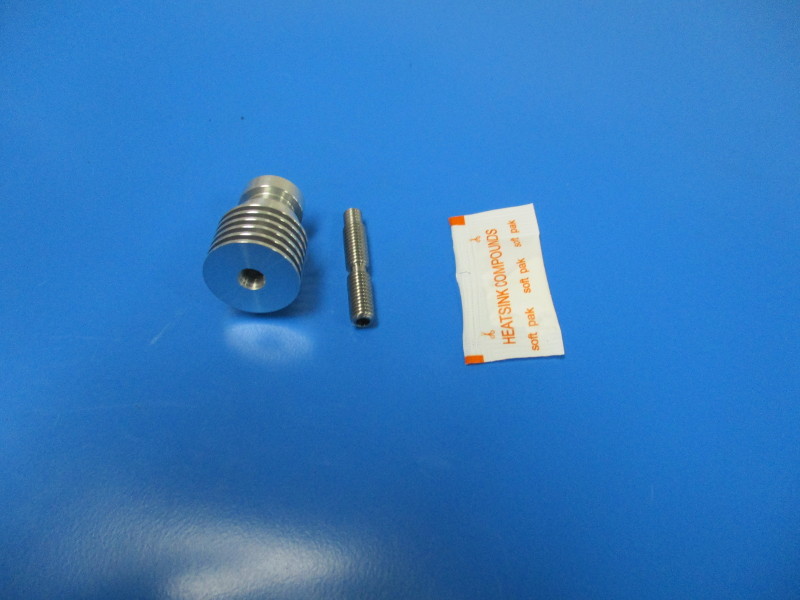
Gather parts:
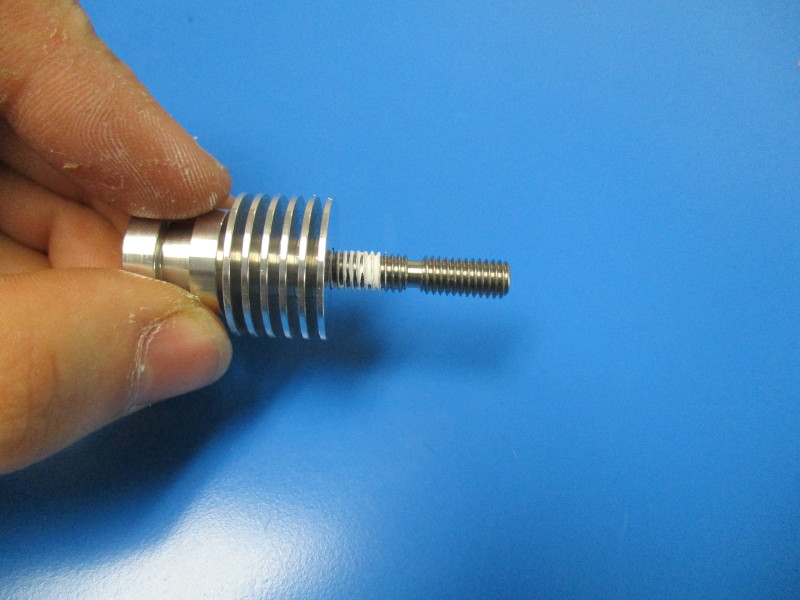
Heat sink
Heat break
Heat sink compound
Tools needed:
Bionic grip
Torque wrench
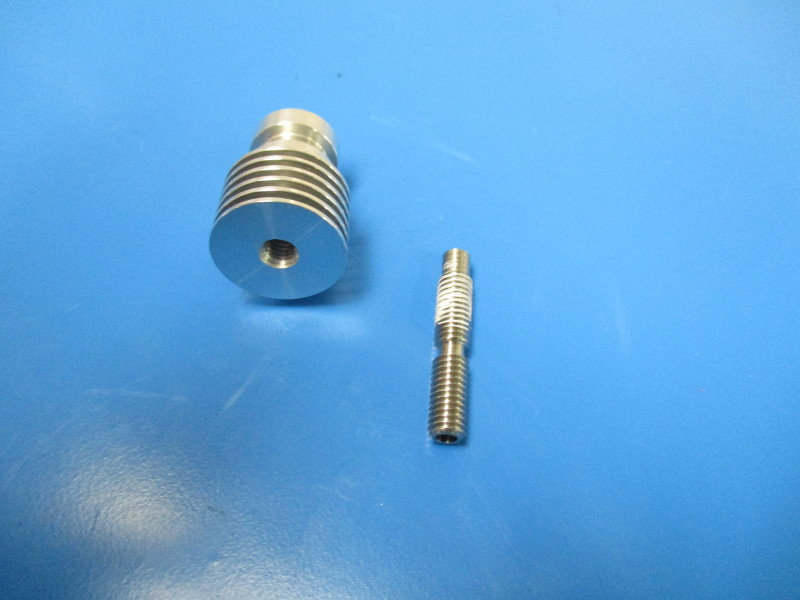
(note orientation of heat break, and the side the compound is applied to)
Apply heat sink compound to the heat break
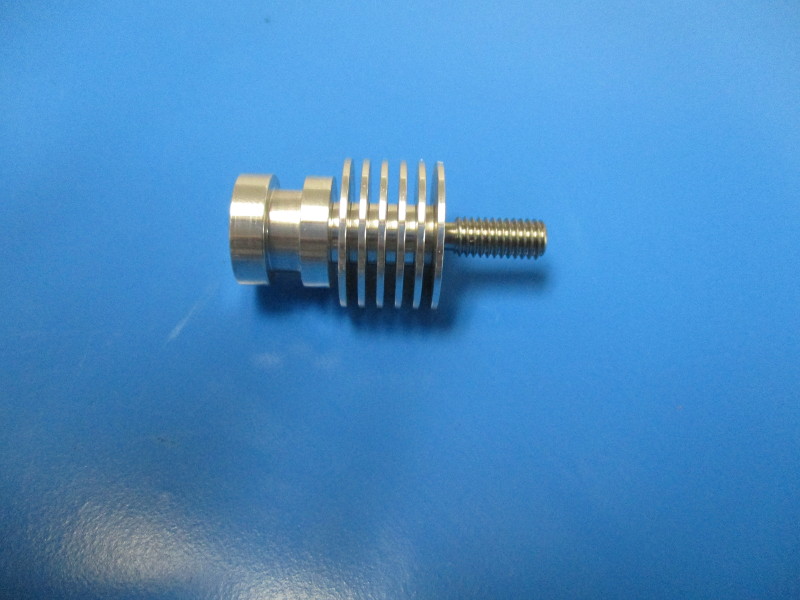
Install heat break into the heat sink
Finger tighten into the heat sink
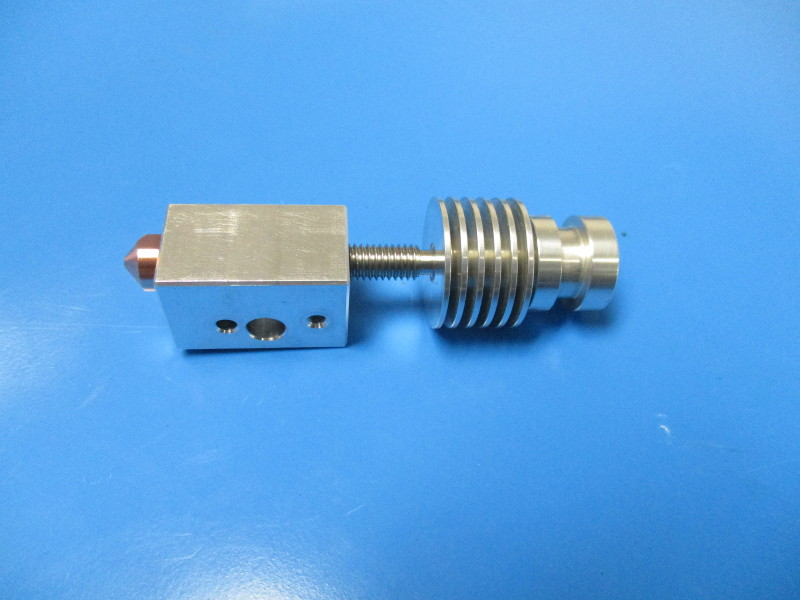
Thread 2 threads into the heat block
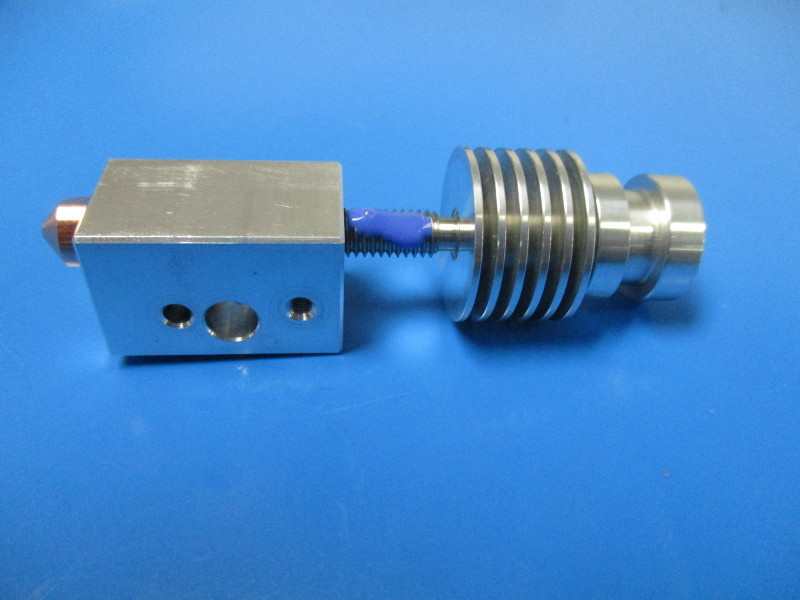
Apply thread lock compound on the exposed threaded surface
Thread into the heater block until it stops
Torque to 25in*lbs by using the nozzle and the opposite end of the heat sink
Gather parts:
Heater cartridge (AS-CB0013)
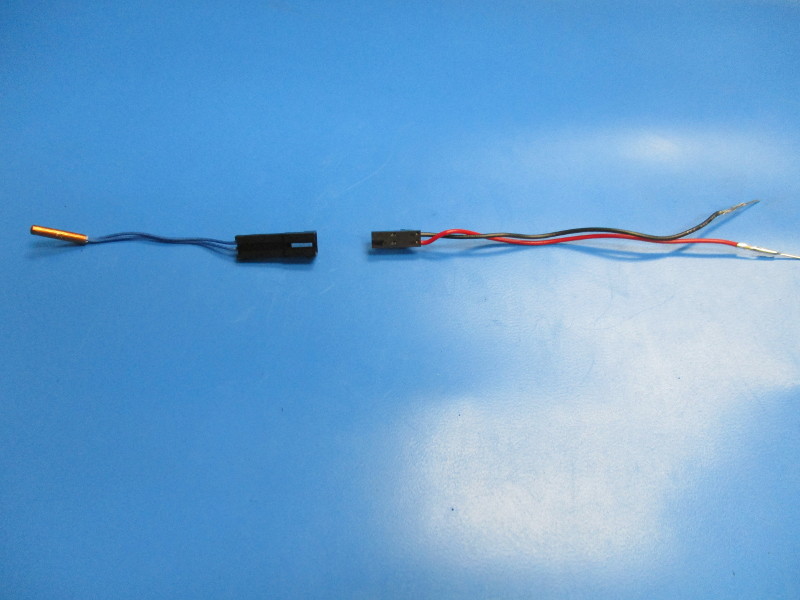
Thermistor Assembly (EL-HR0100)
Thermistor extension (AS-CB0014)
Hot end (assembled)
Retention plate (PP-MP0153)
M3x8 BHCS (HD-BT0104)
2x- M3x4 set screw (HD-BT0162)
Tools needed:
2mm hex driver
1.5mm hex driver
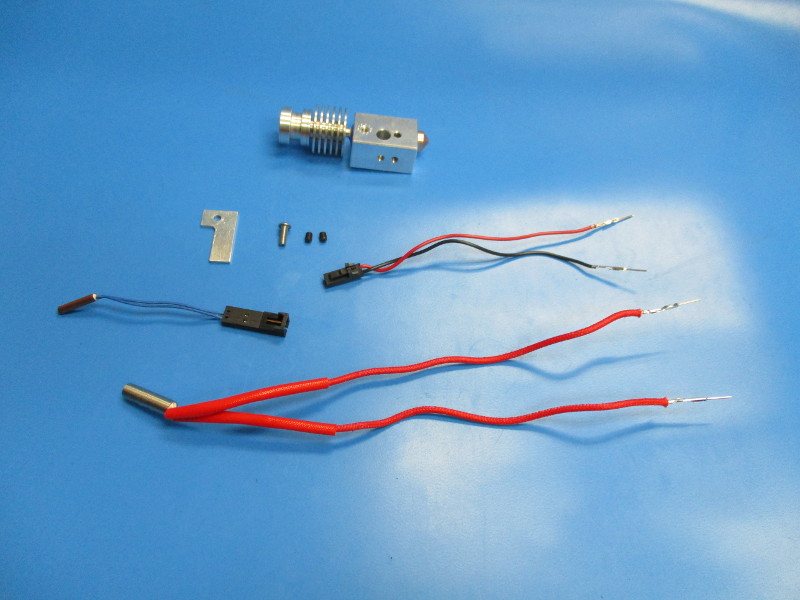
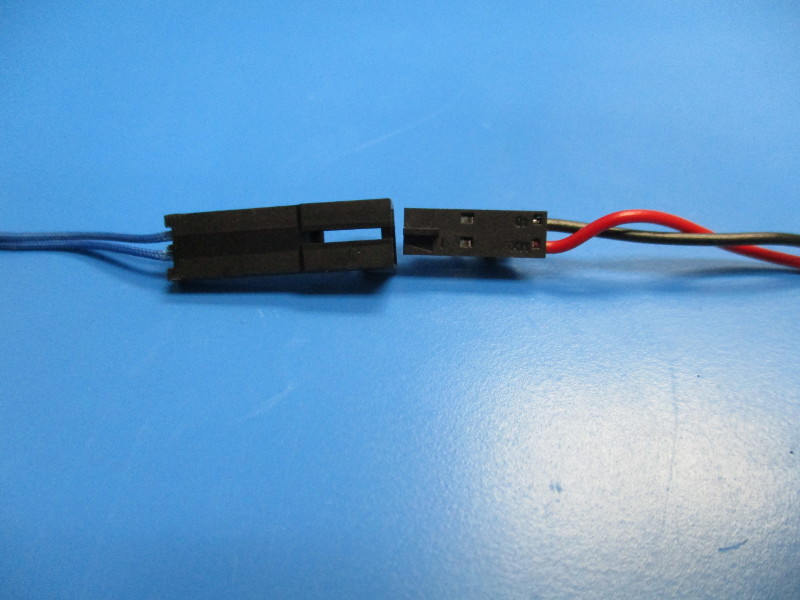
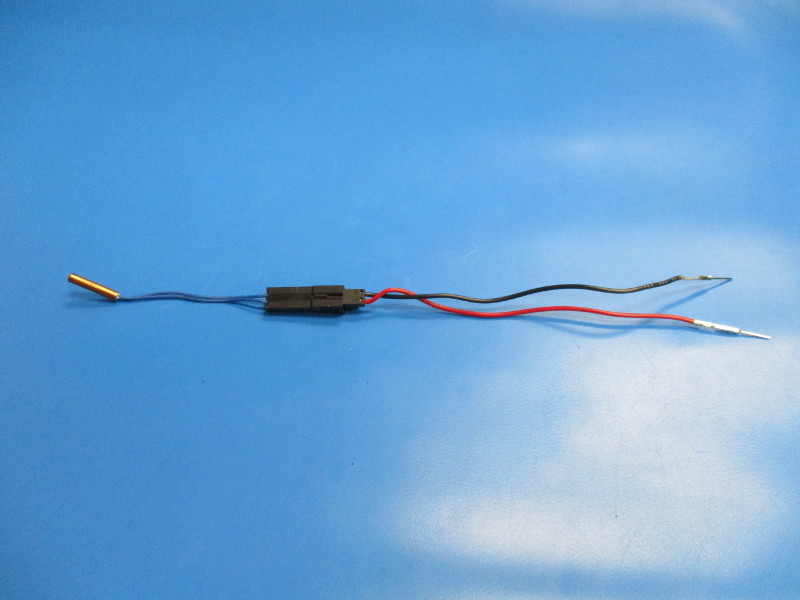
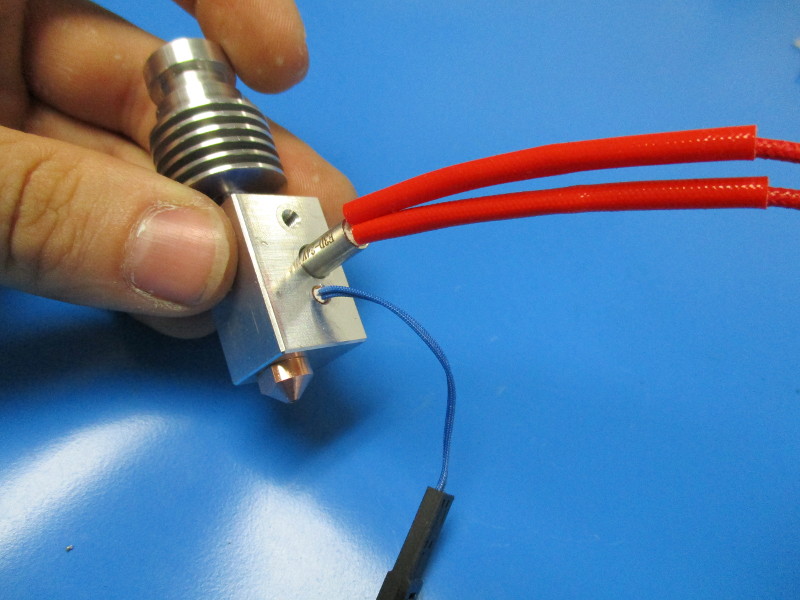
Connect the thermistor assembly to the thermistor extension. (note orientation of the connector on the thermistor assembly and on the thermistor extension)
Slide the connectors together until there is a “click” noise.
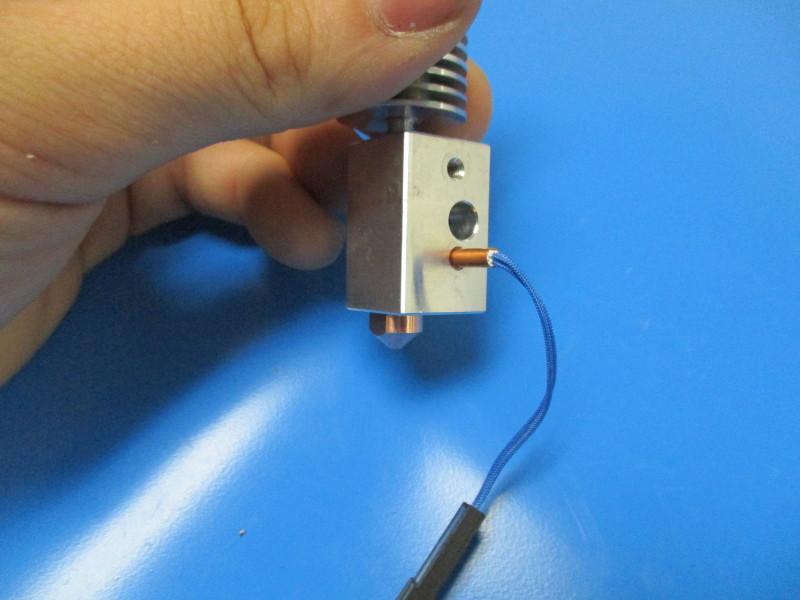
Install thermistor into bottom hole. The wire end should be flush with the block(note orientation of the heater block)
Install heater cartridge into middle hole of block. Wire end should be flush with the block (note orientation of the Heater block)
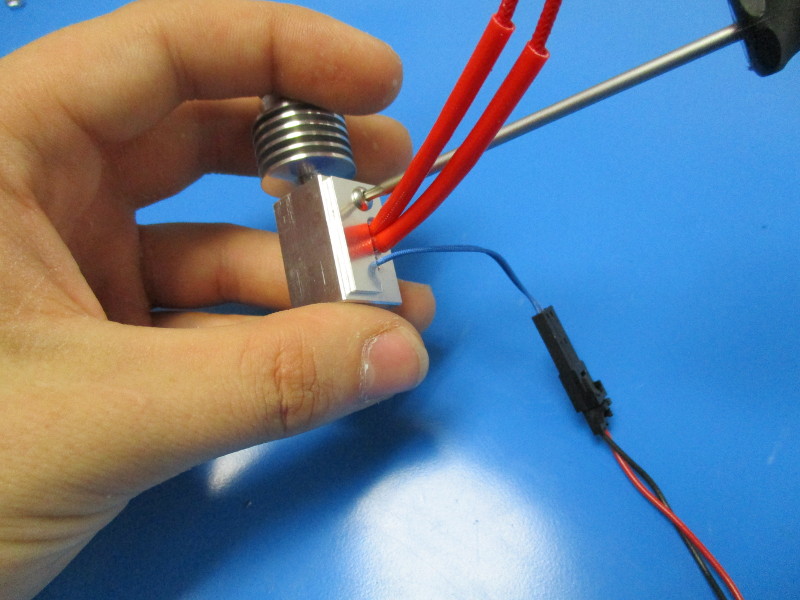
Attach the retention plate with the M3X8 BHCS screw and torque to 8 in/lbs
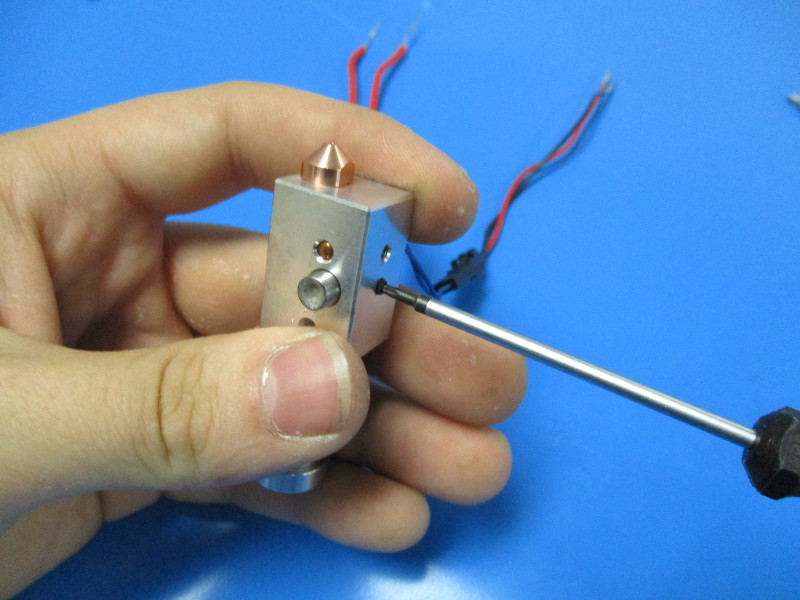
Install M3x4set screw into the threaded hole aligned with the Heater block and tighten
NOTE: M3x4 set screw is overtightened, the thermistor will be crushed.
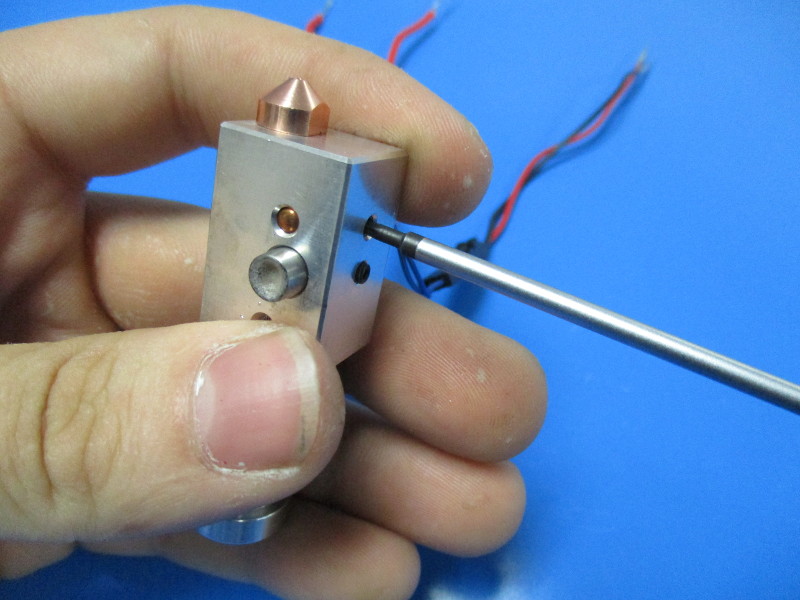
Install M3x4 set screw into the threaded hole aligned with the thermistor, tighten until the screw is touching the thermistor