Open HardwareAssembly Instructions
Guides for installation and assembly of the LulzBot line of products made by FAME 3D LLC.
Guides for installation and assembly of the LulzBot line of products made by FAME 3D LLC.
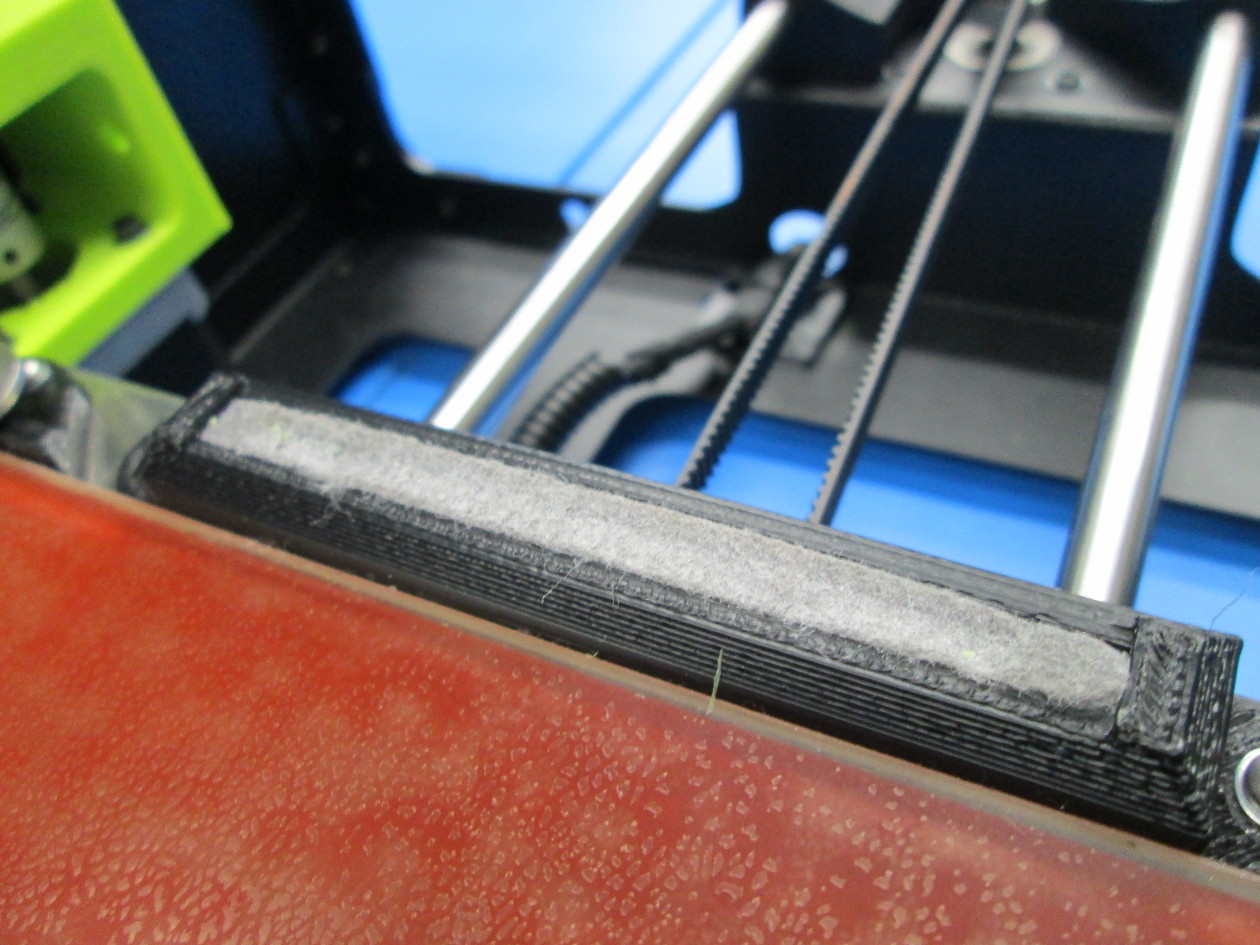
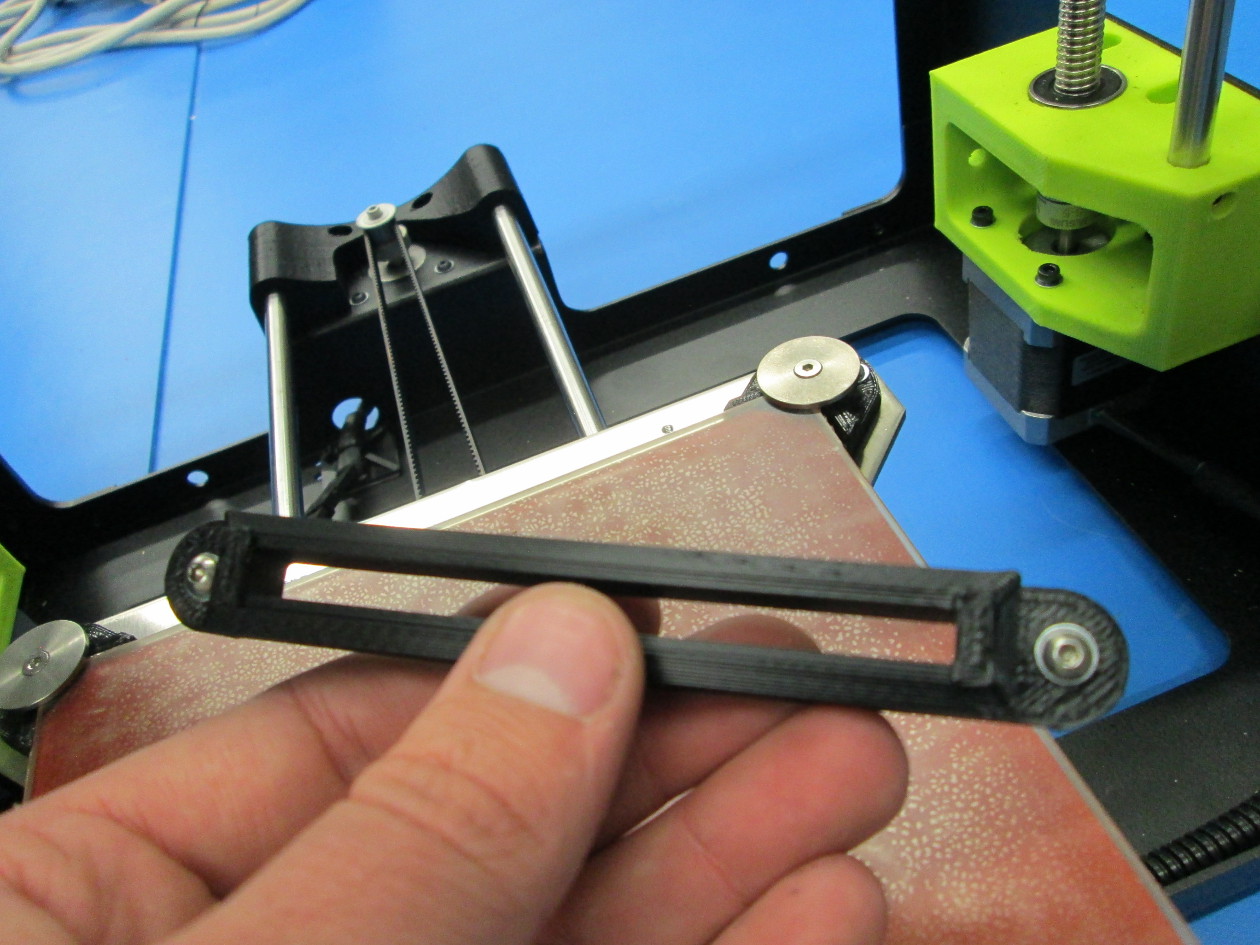
In order to replace a work or dammaged wiper mount, you'll need the following:
New wiper mount (you can print your own from the source file on the Mini's USB drive, or buy a replacement wiper pack from our store)
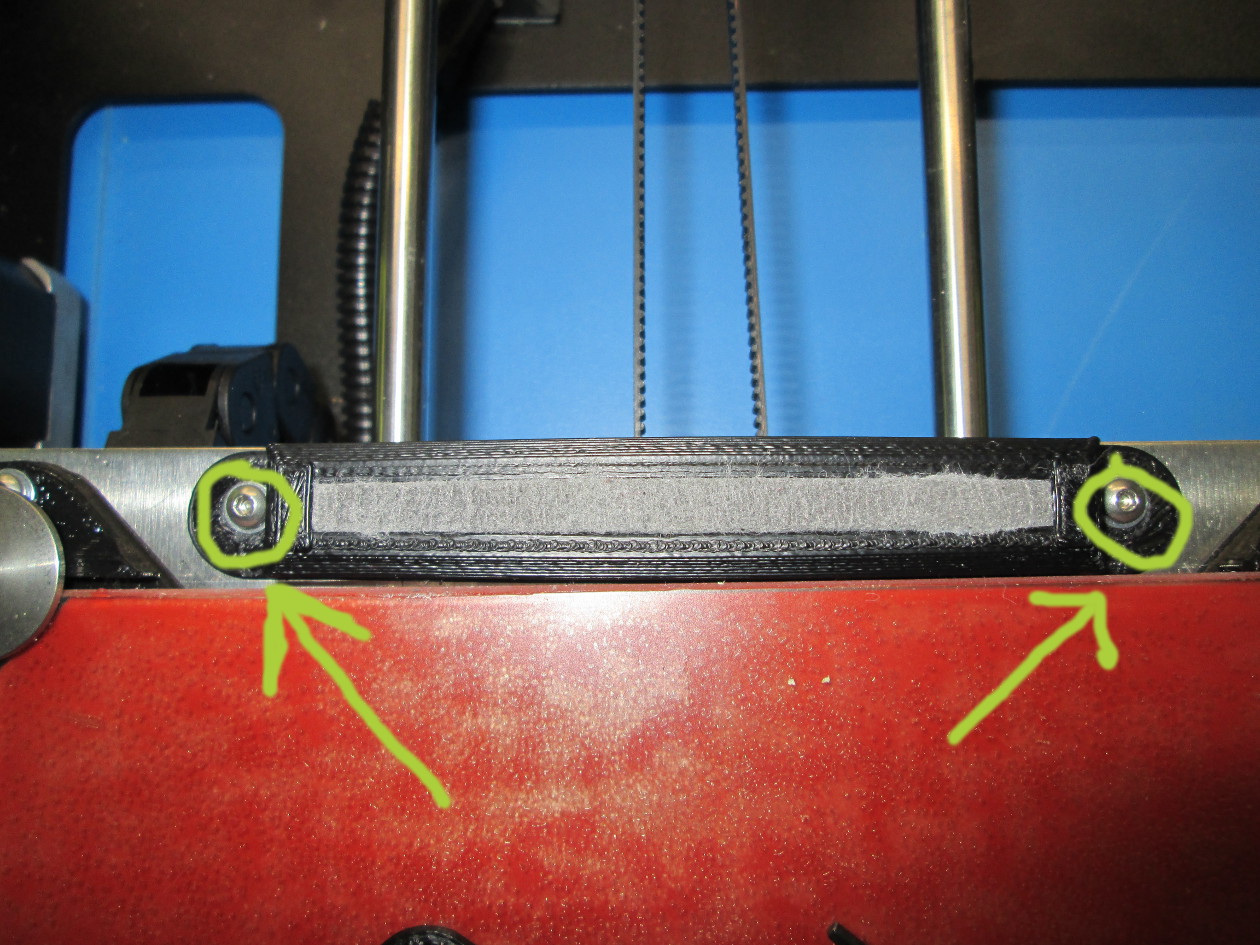
Allen key from the Mini's toolkit (2 mm)
Optional:

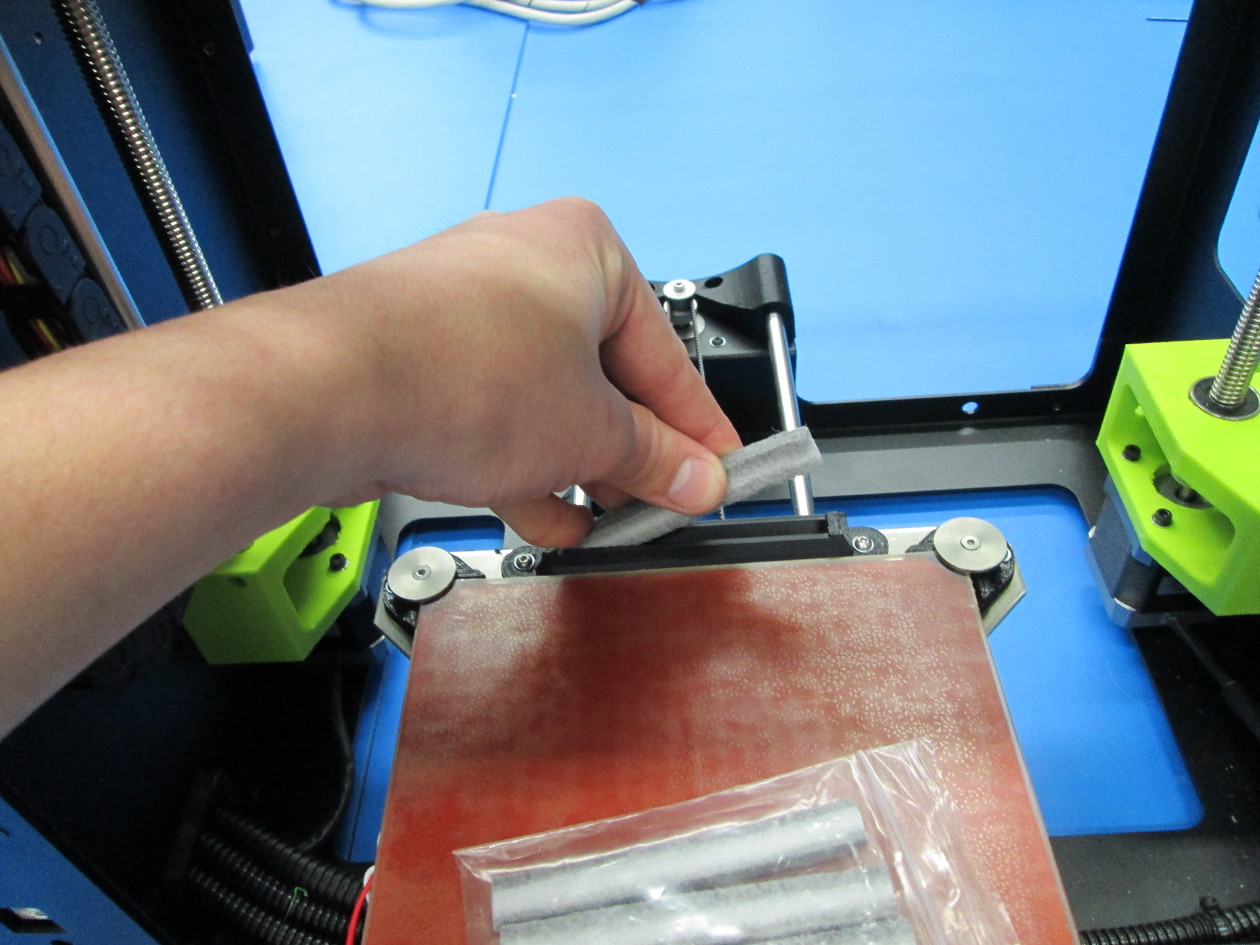
Using the 2mm allen key, unscrew both of the hex screws on the base of the wiper mount
Save the screws, you'll be using them in the next step. If the wiper pad in your old wiper mount is still fresh on the top or bottom, you can reuse it with the new wiper mount.
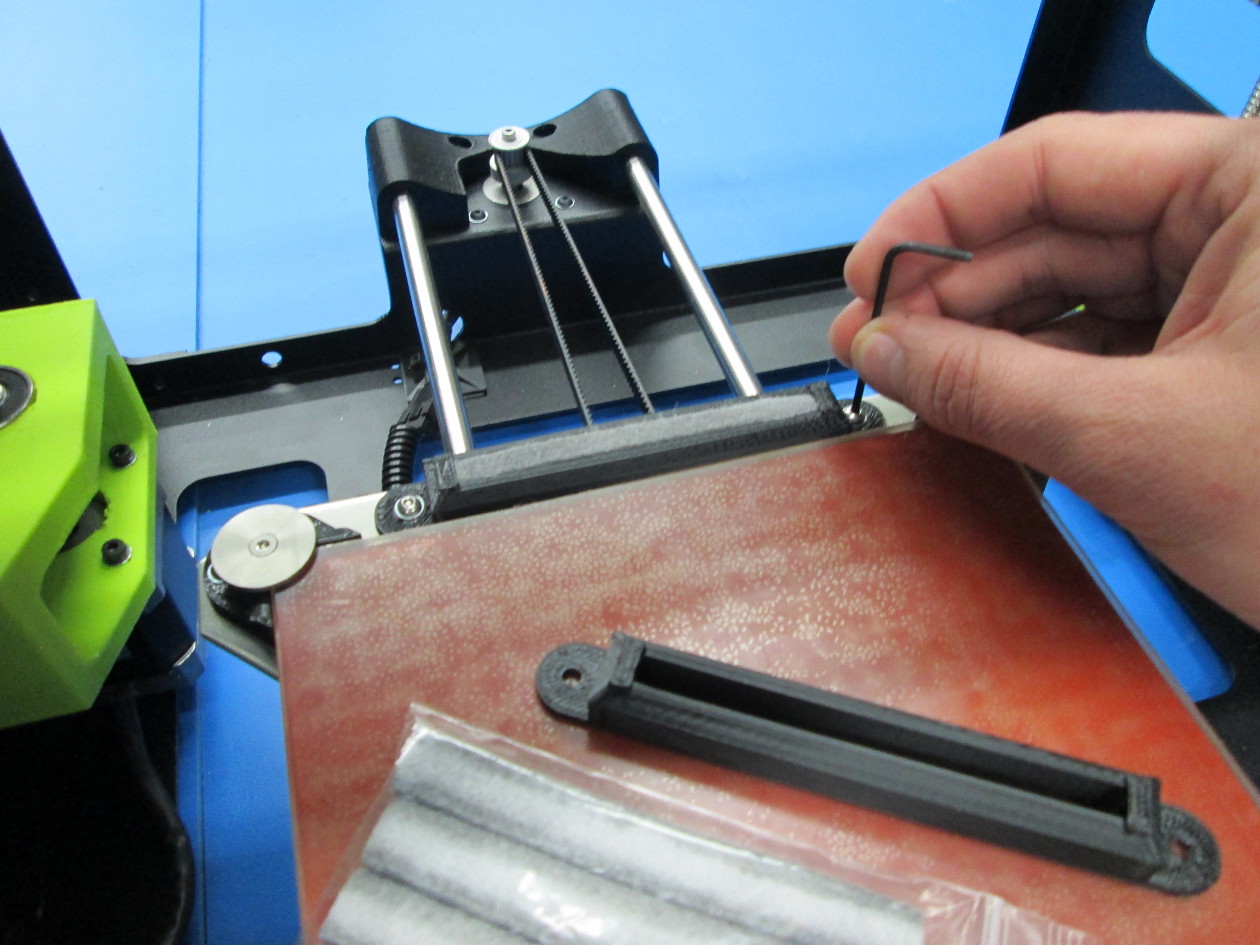
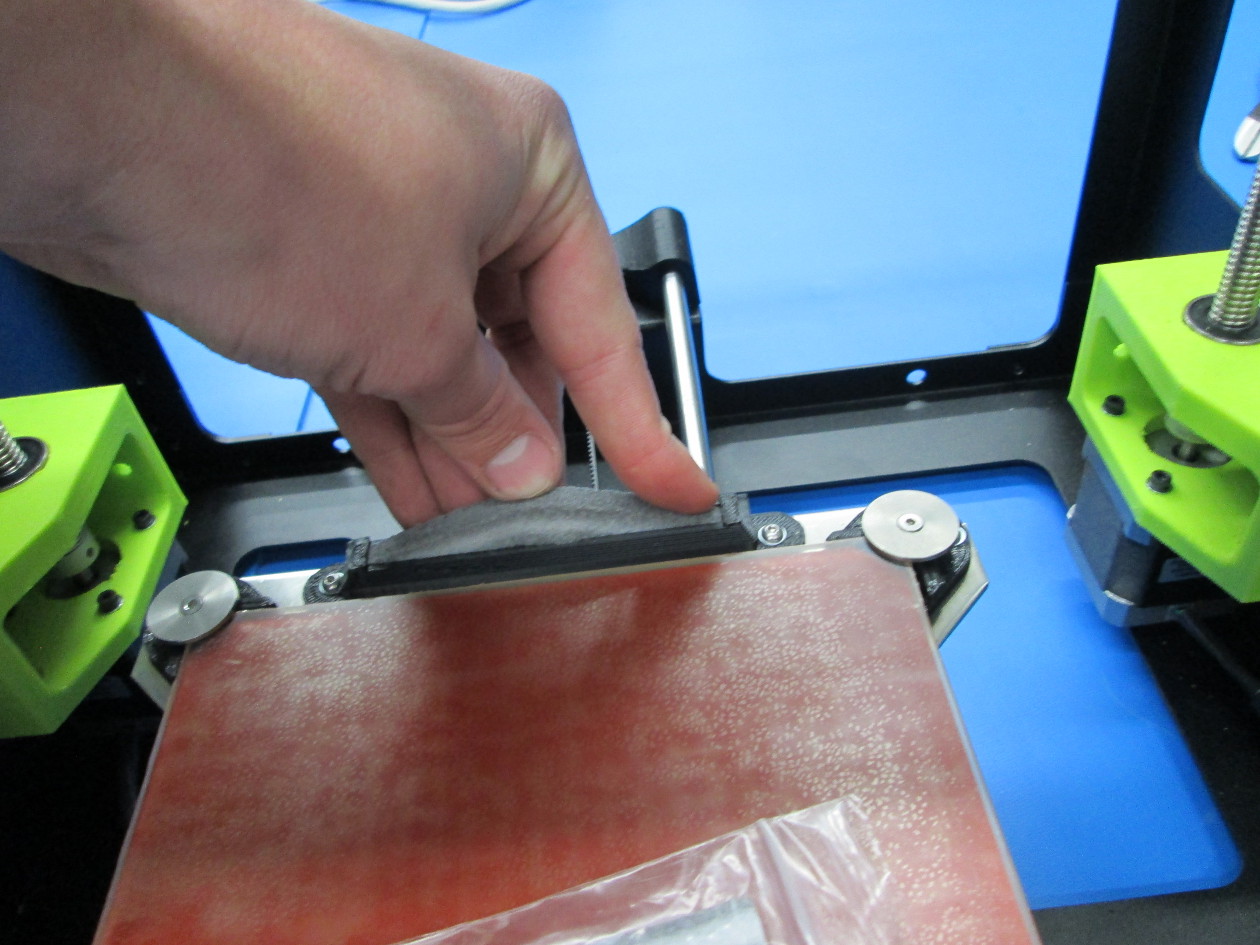
Using the 2 m3 screws removed in the last step, fasten the new wiper mount to the bed plate but don't screw either side tight yet.
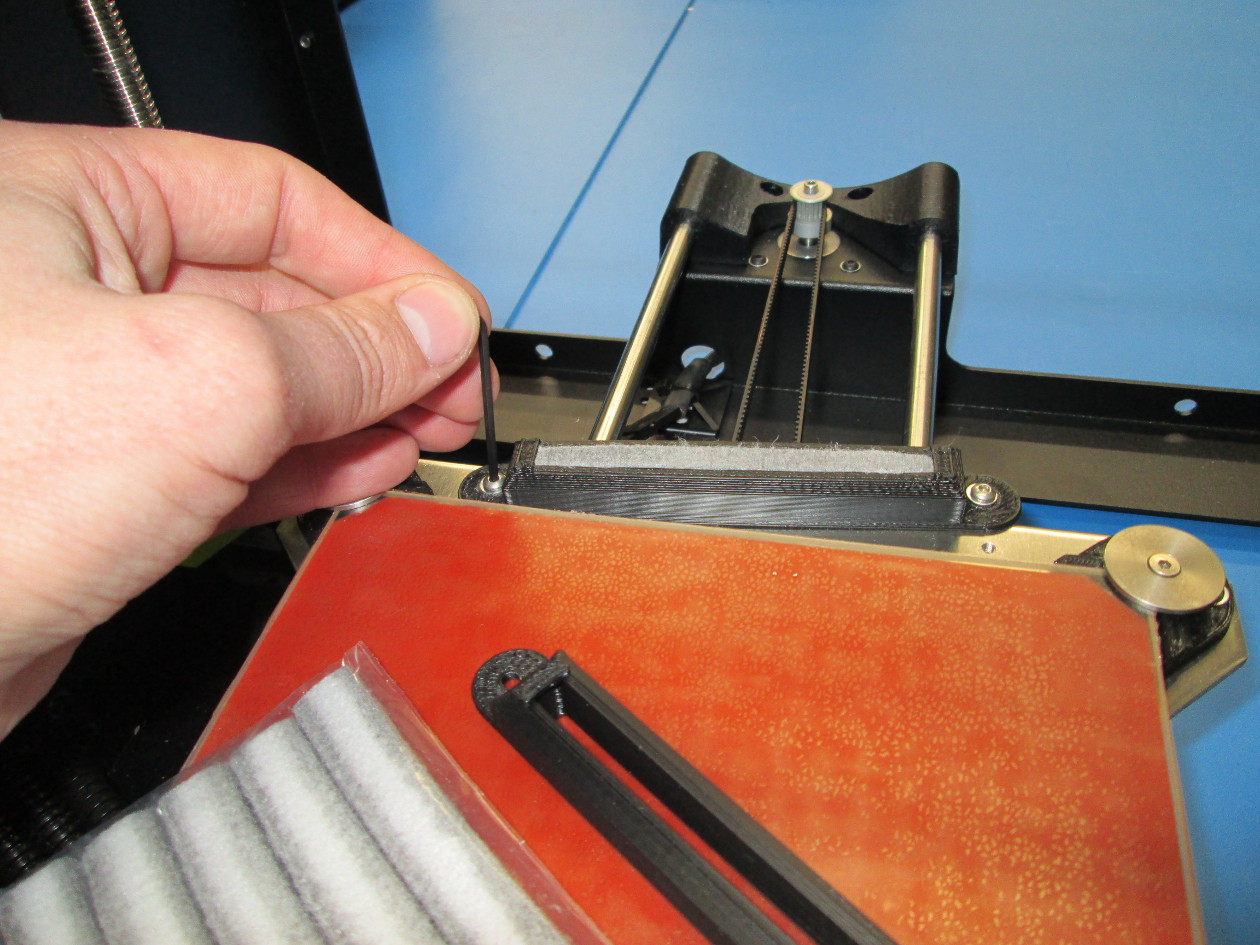
Pull the wiper mount forward (toward the middle of the bed) while tightening the screws completely, this ensures that the wiper pad will be positioned properly.

The pads are double sided, so if the bottom side of the pad is still fresh, you can simply flip it over and reuse. Otherwise you'll need a new wiper pad to install. We include a 5 pack of wiper pads with each Mini, and they're also available on Lulzbot.com.
Take the new pad and slip one end of it into the wiper mount as shown.
Bend the wiper pad to get the second side inserted into the wiper mount
Press the wiper pad into the wiper mount using your fingers, make sure that it's just about flush with the top surface.

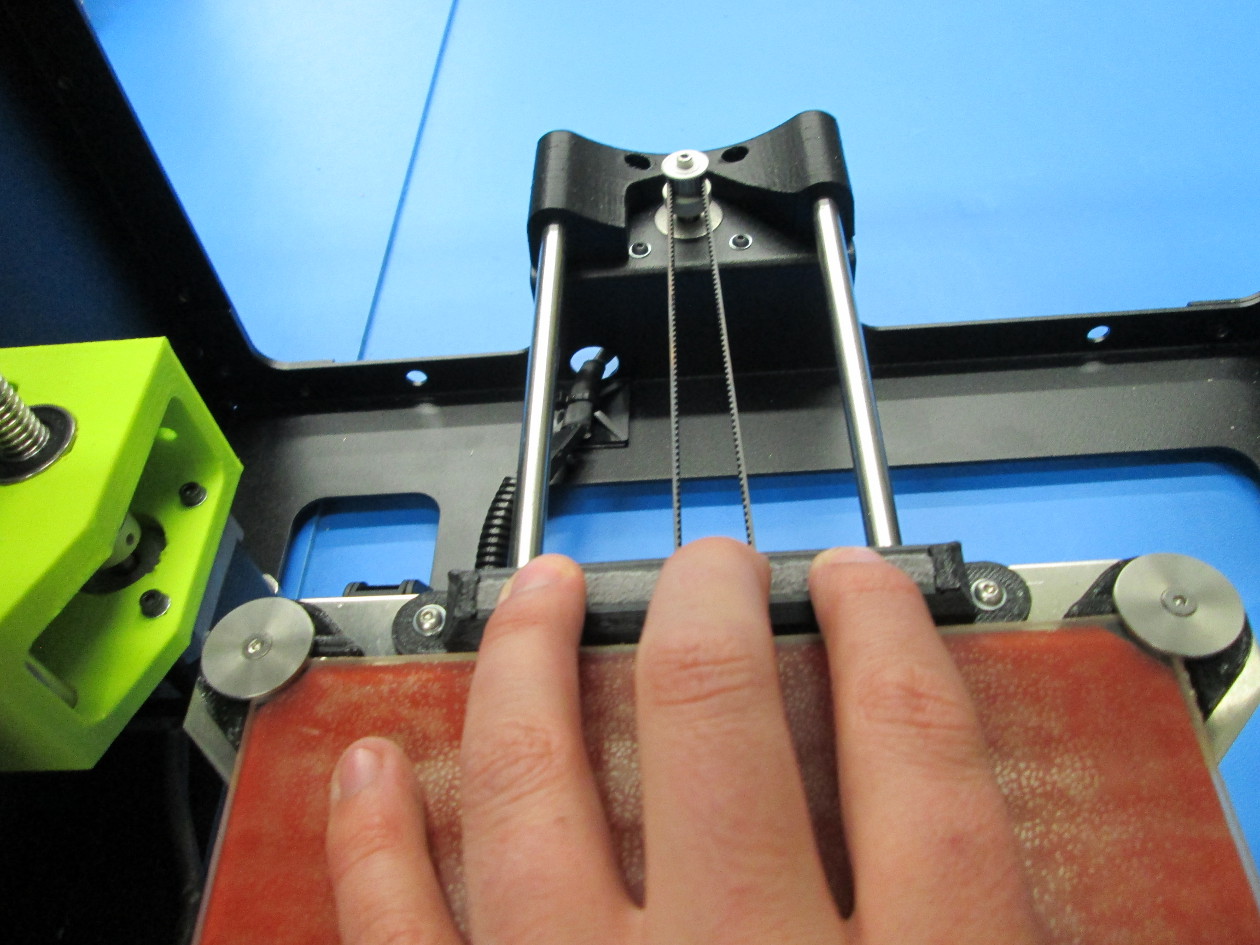
You're done! Load up a file and get printing again, the first couple prints will help settle the wiper pad into place.