Open HardwareAssembly Instructions
Guides for installation and assembly of the LulzBot line of products made by FAME 3D LLC.
Guides for installation and assembly of the LulzBot line of products made by FAME 3D LLC.
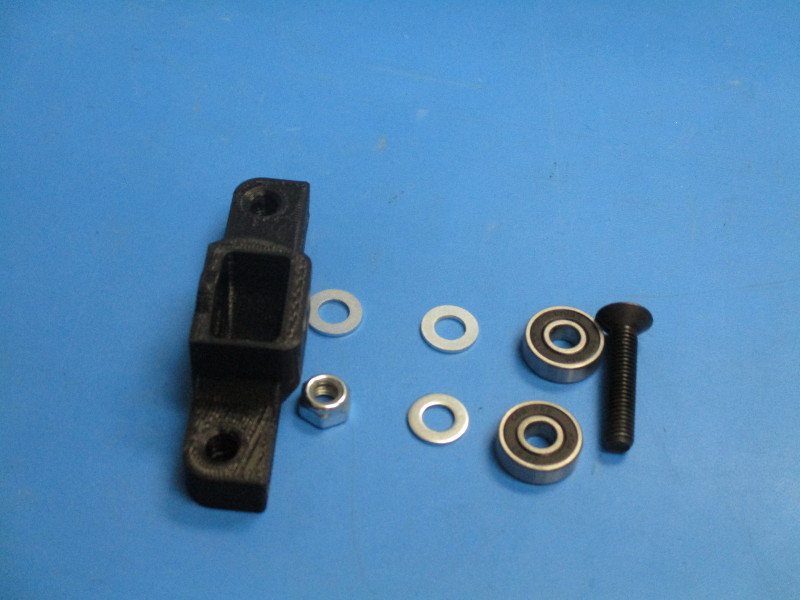
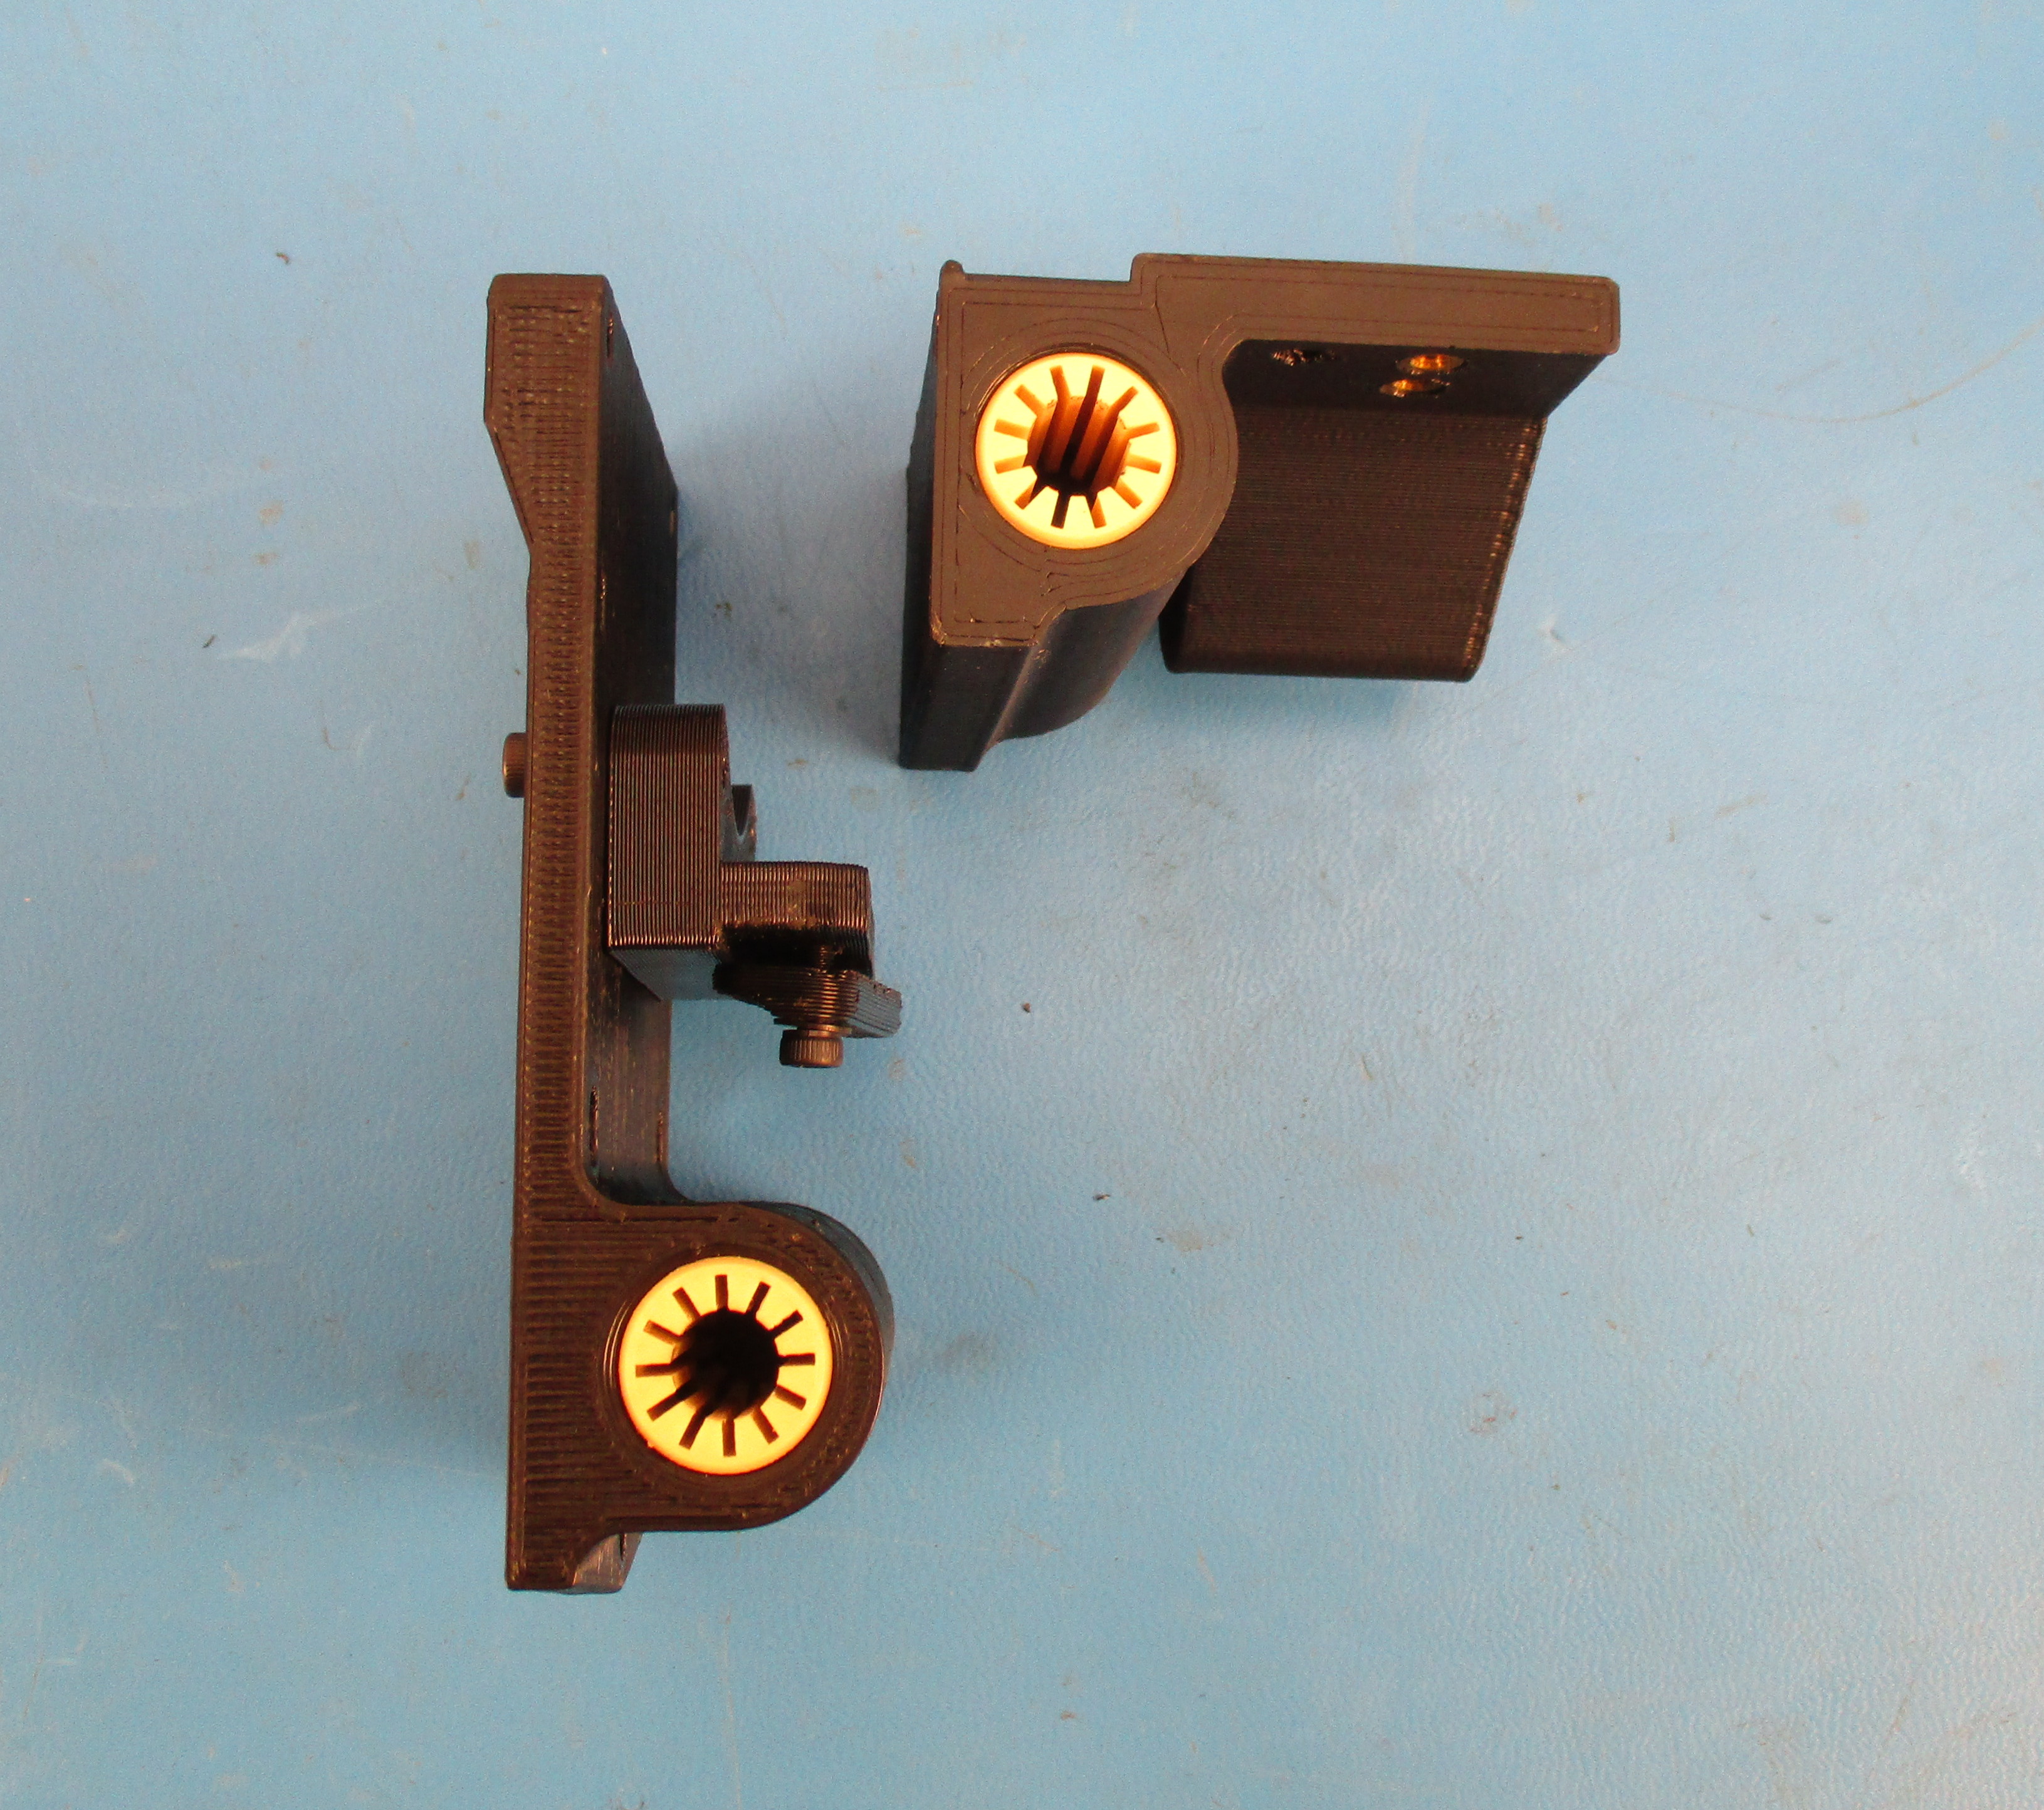
Gather parts:
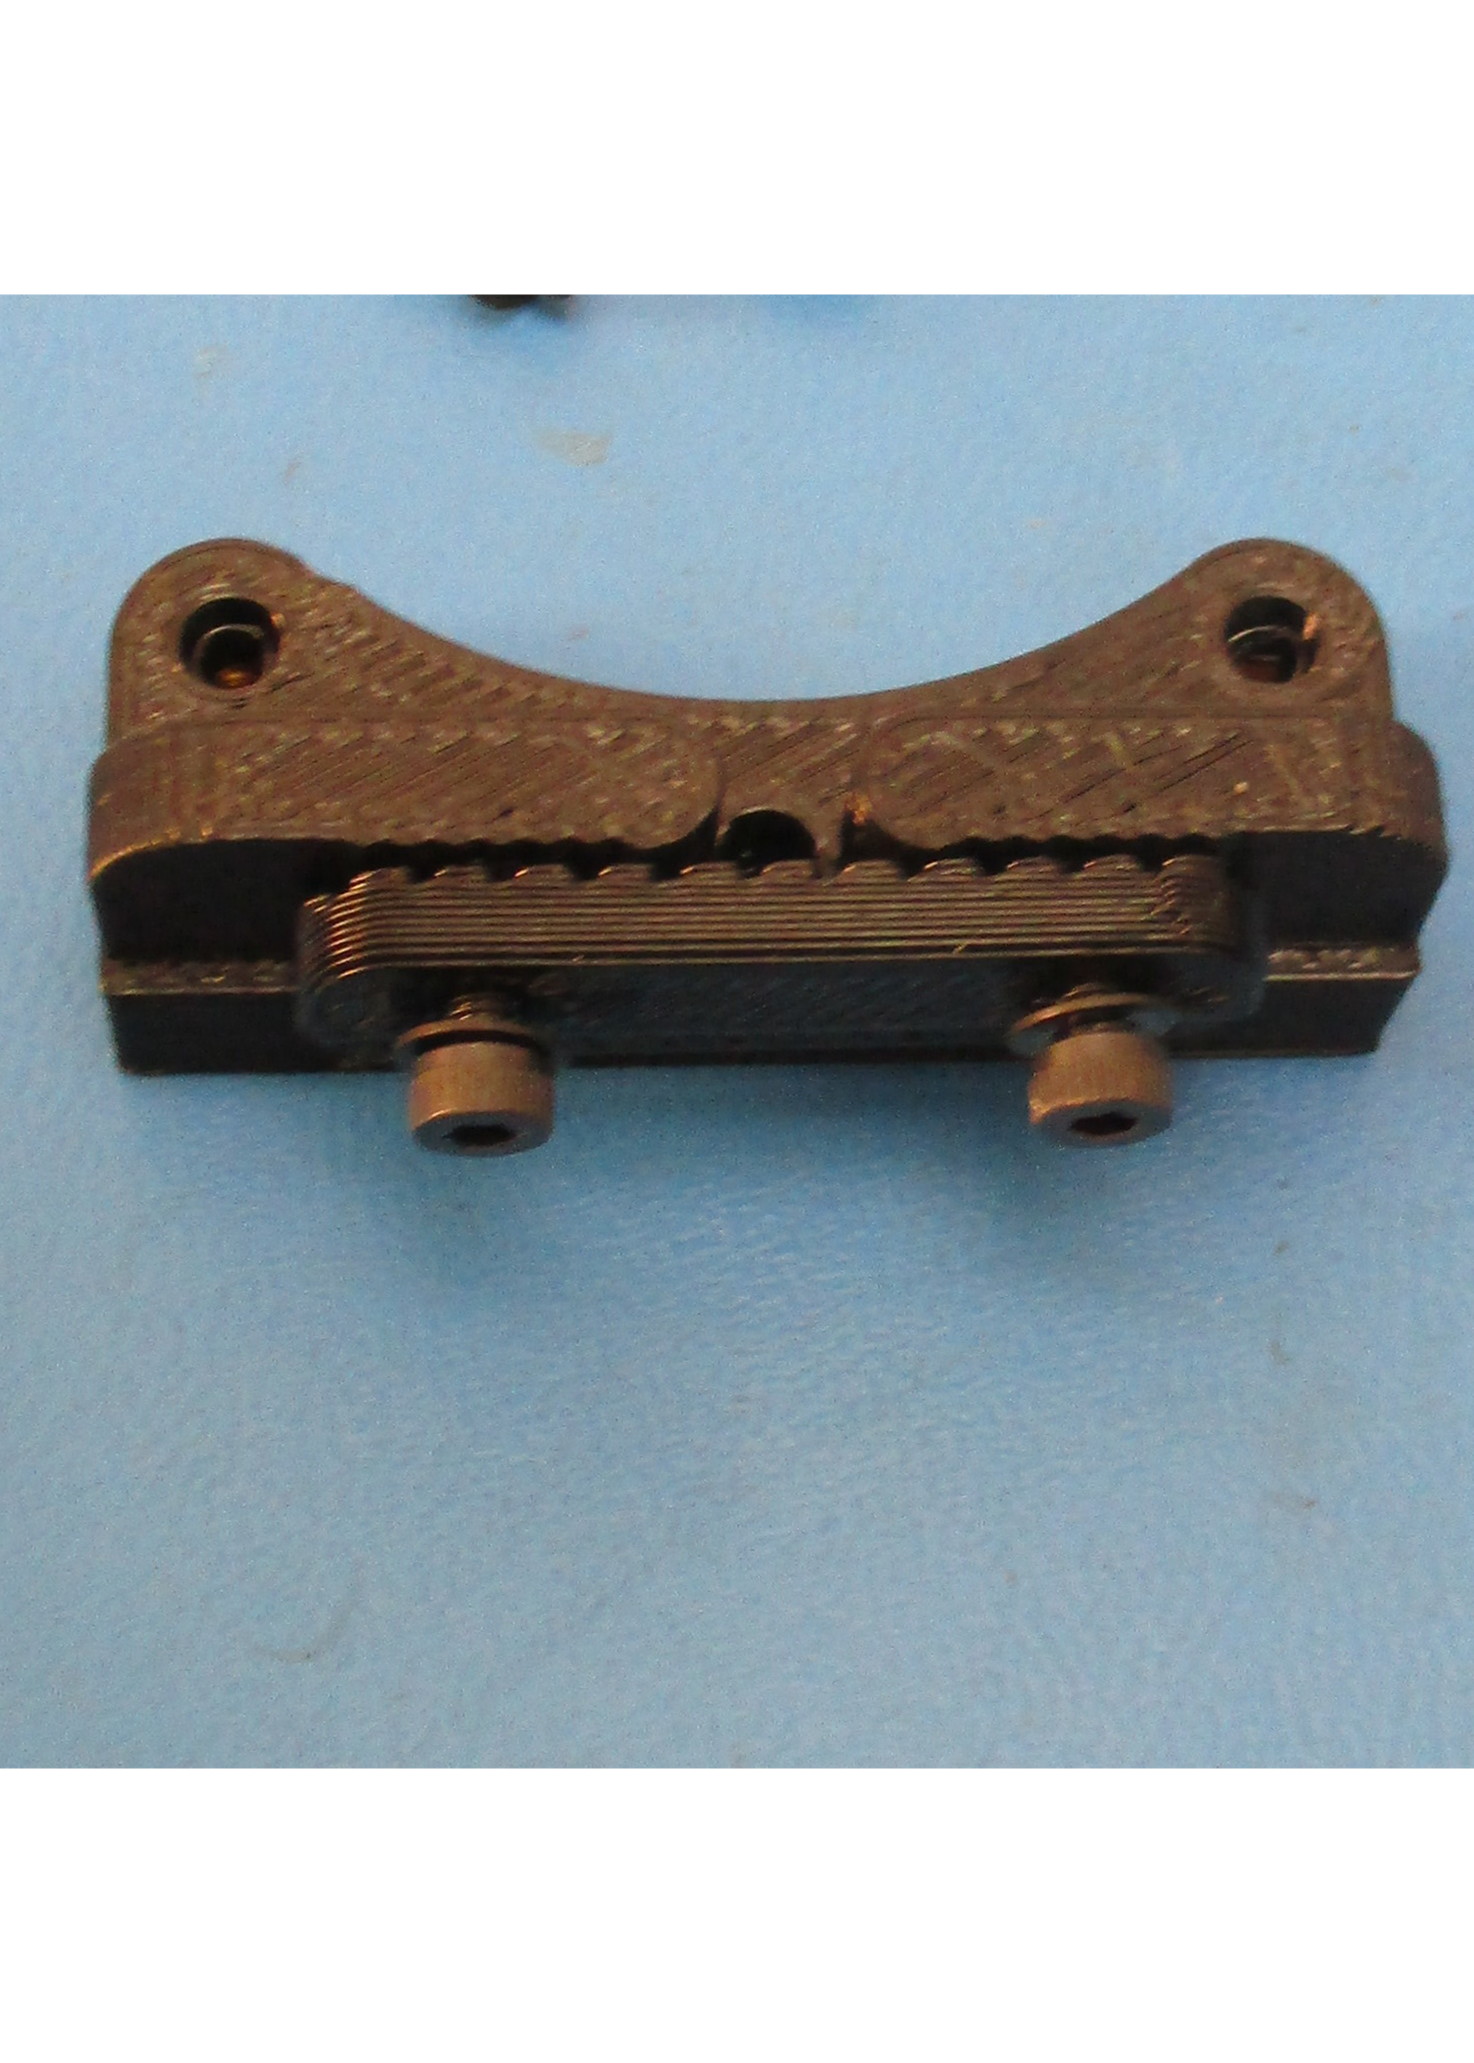
1x- Spool hinge (AS-PR0062)
1x- Spool Mount A w/ Inserts (PP-IS0044)
1x- Spool Mount B w/ Inserts (PP-IS0045)
1x- Spool arm (PP-GP0255_v1.4)
2x- M5x14 SHCS (HD-BT0049)
2x- M5x20 SHCS (HD-BT0151)
4x- M5 black oxide washer (HD-WA0040)
2x- M5x10 shoulder screw (HD-BT0120)
Tools needed:
4mm hex driver
3mm hex driver
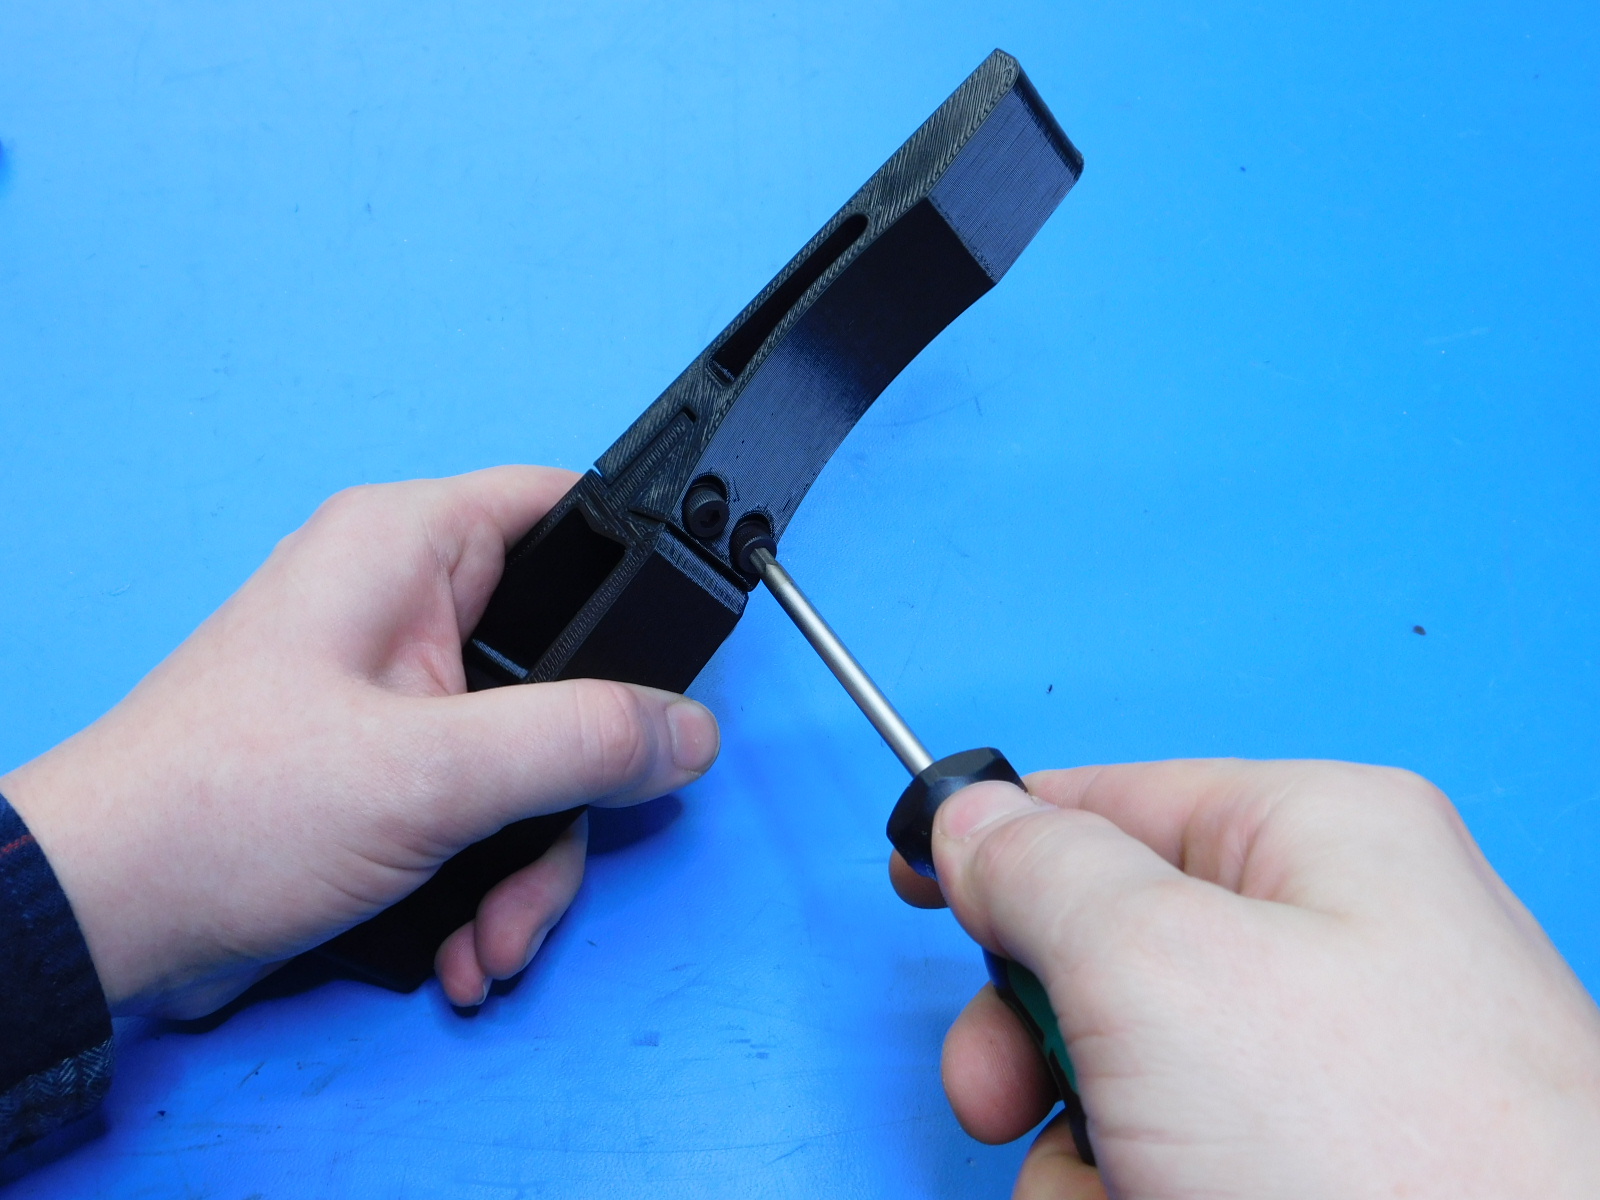
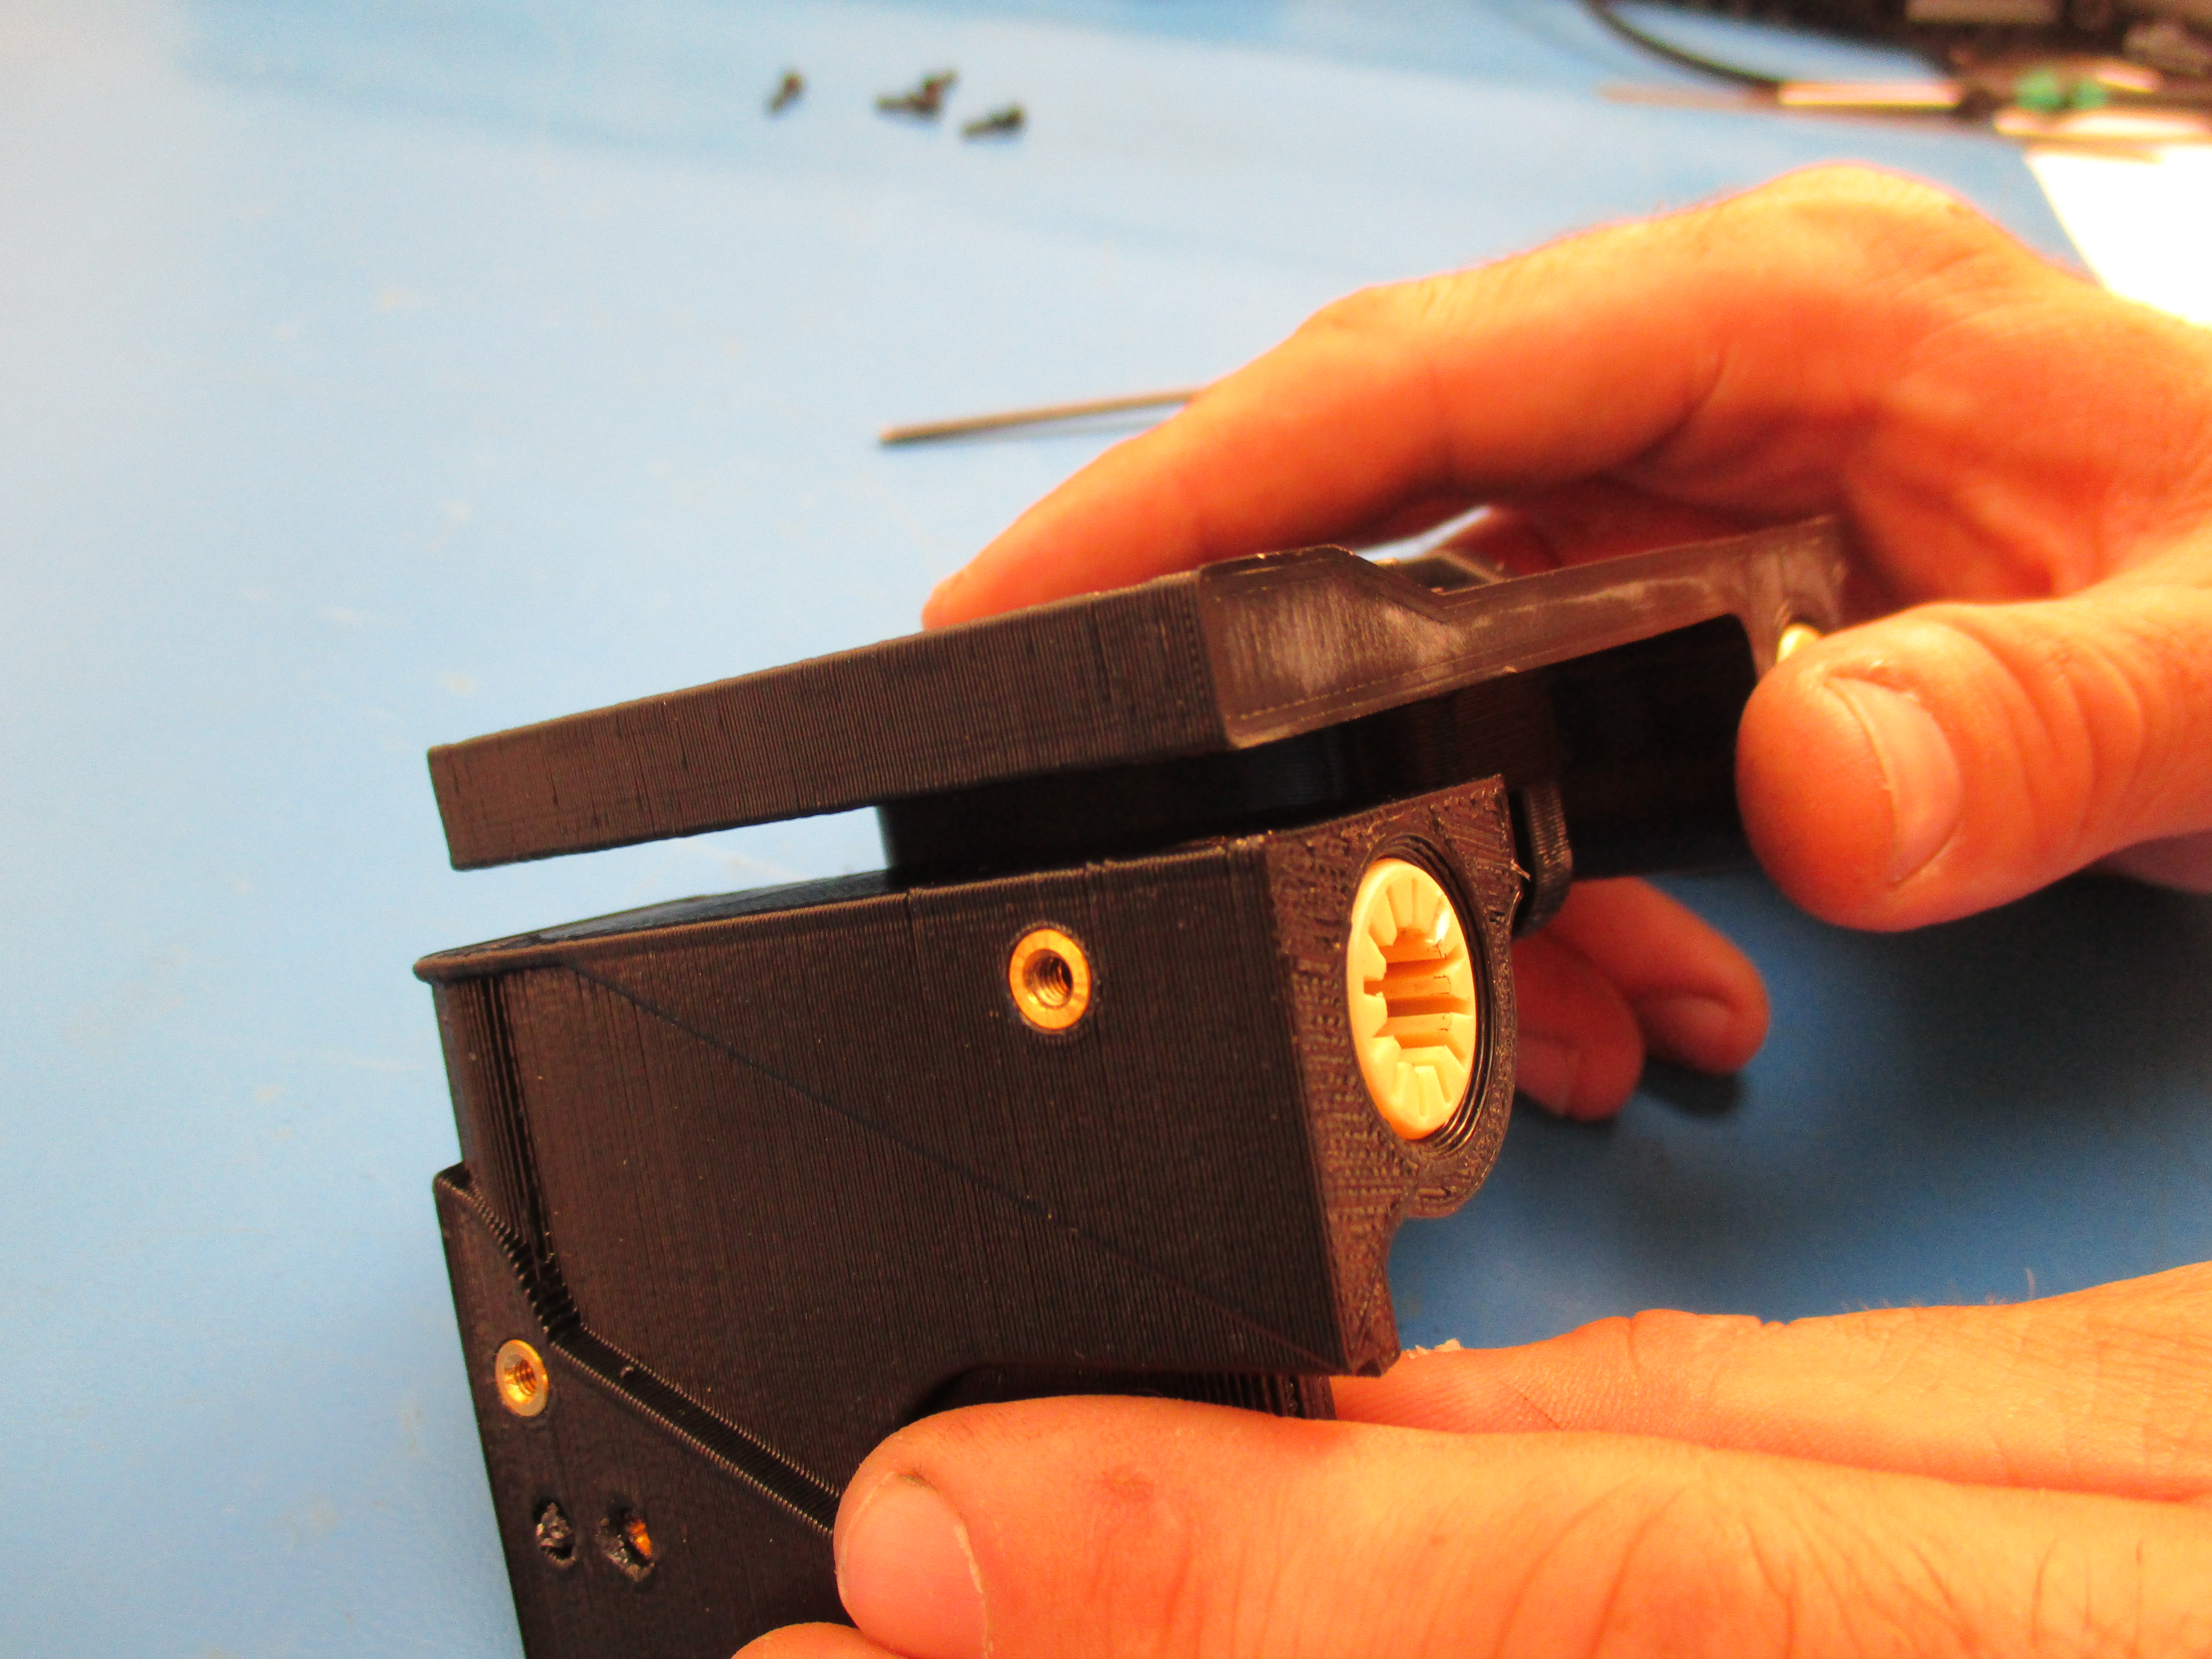
Fasten the Spool Mount A to Spool Mount B using two M5x20 SHCS [HD-BT0151] with washers [HD-WA0040]
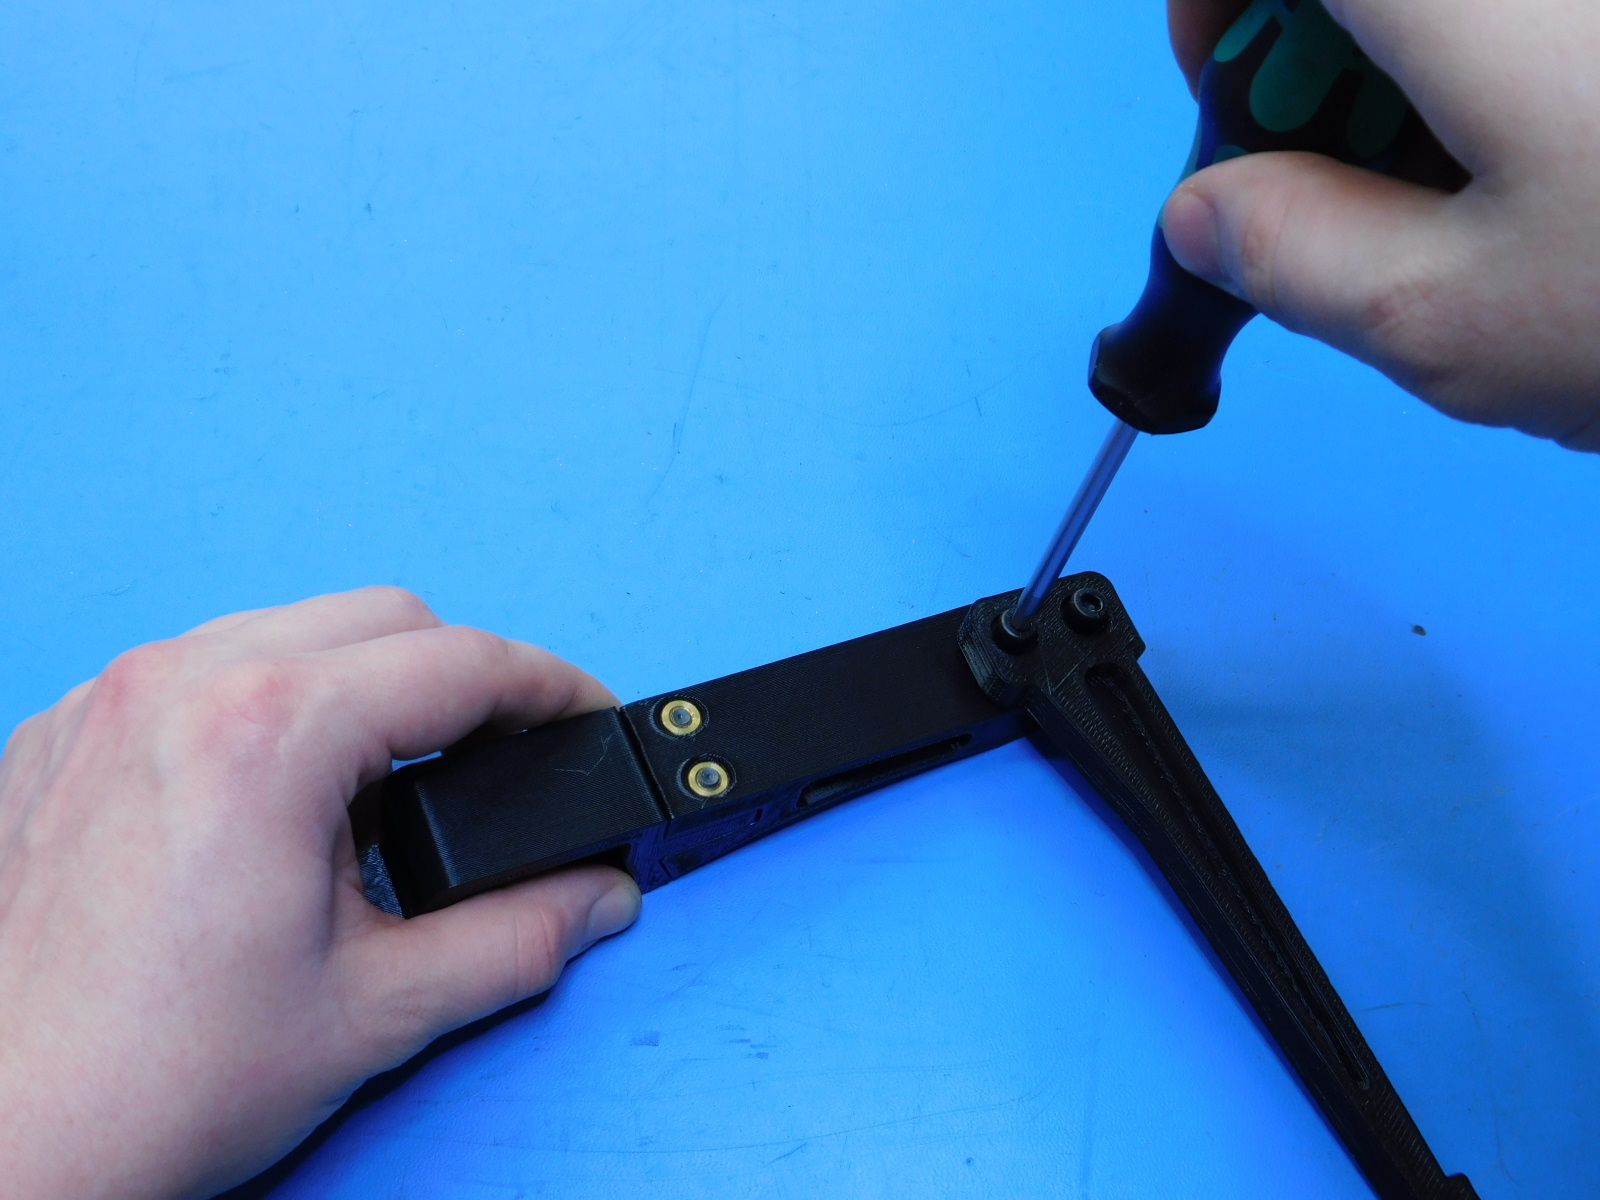
Fasten the spool arm to the Spool Mount Assembly using two M5 x 14mm Socket Head Cap Screws, tighten to 8 in*lbs
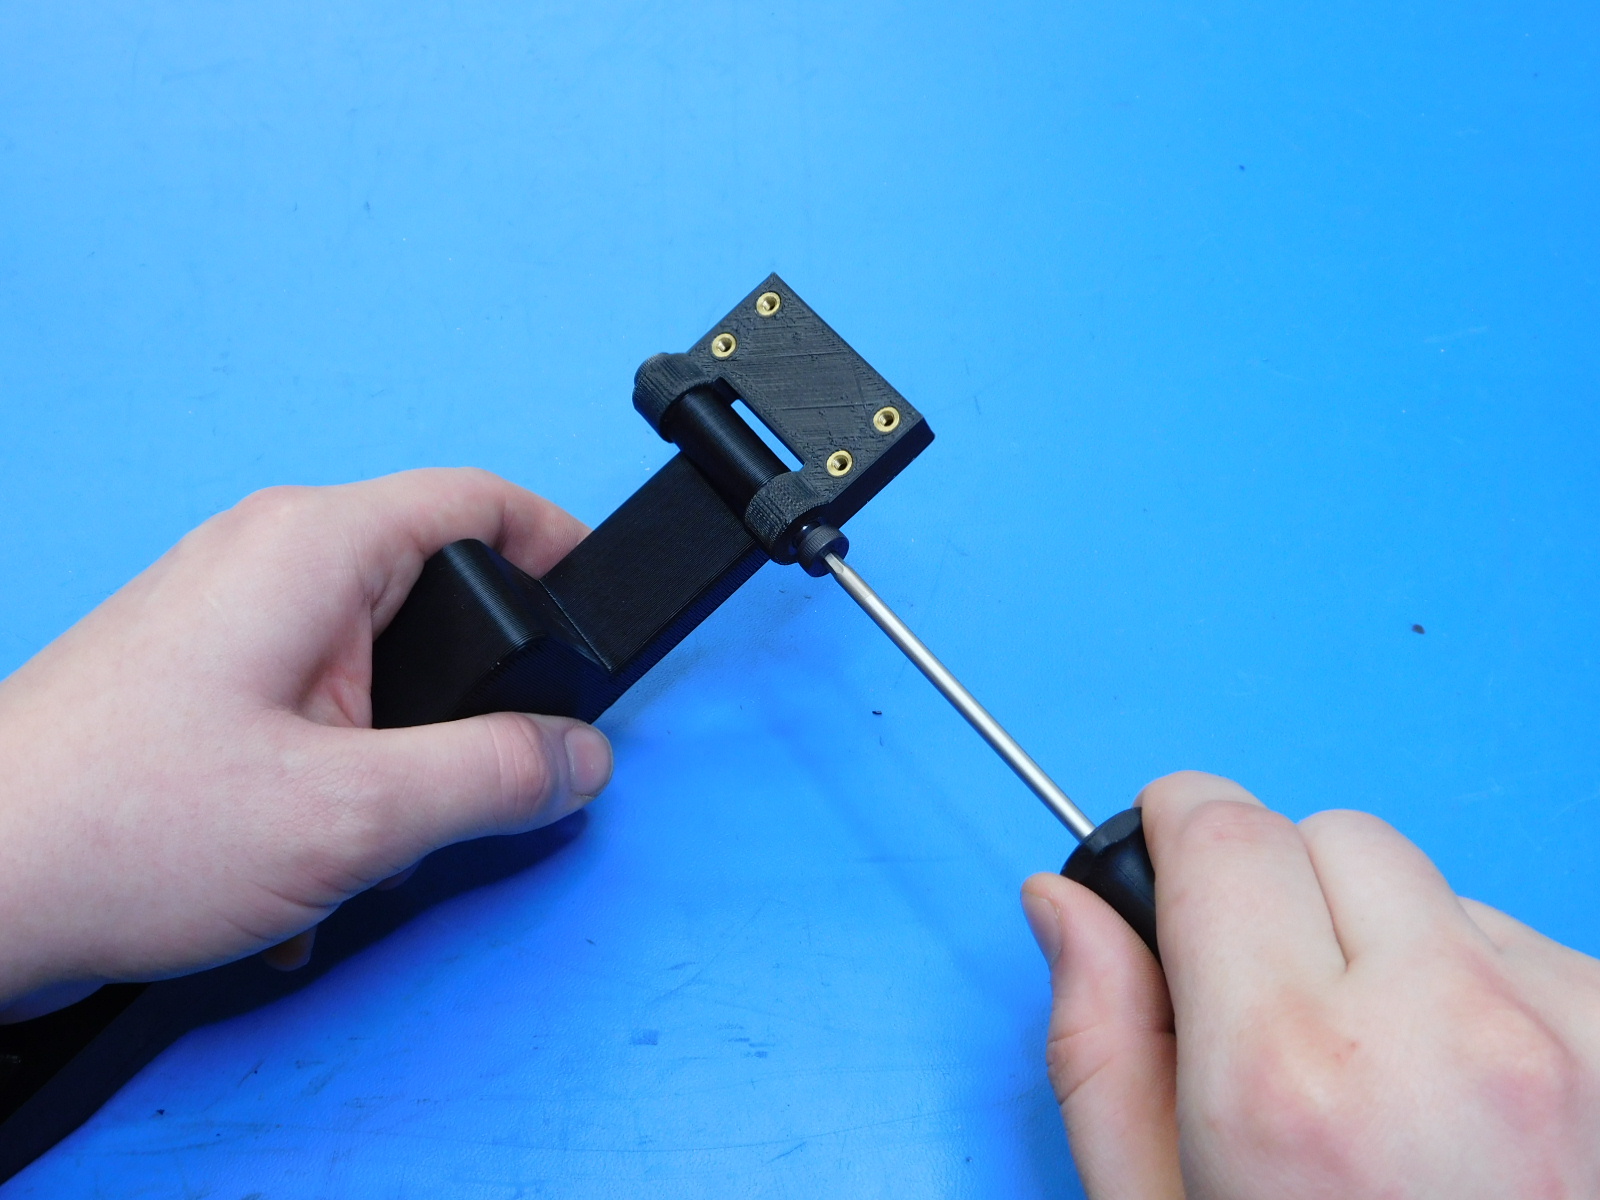
Fasten the Spool Mount Assembly to the Spool Arm Hinge using two M5 x 10 Shoulder screws, tighten to 8 in*lbs

Parts needed:
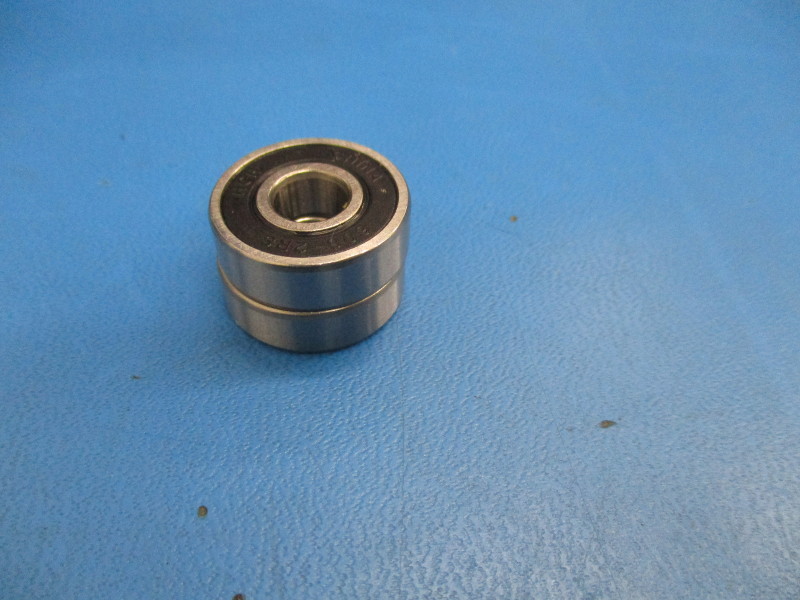
1x- HD-MS0282 608-2RS ABEC3/C3 Rubber Sealed Bearing – BLACK
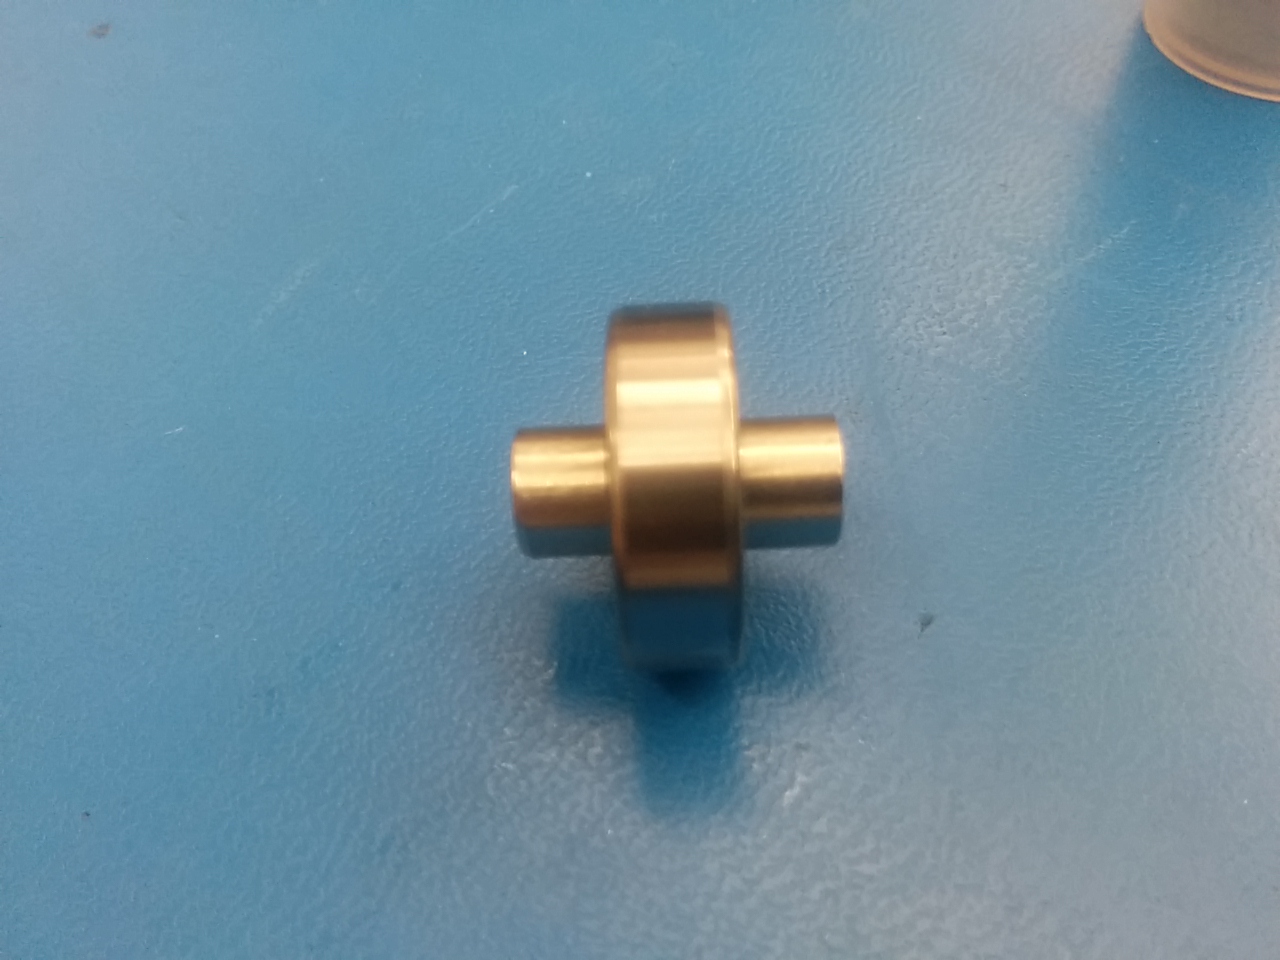
1x- HD-RD0004 8mm Smooth Rod x 18-19mm, Stainless Steel (Nubbin)
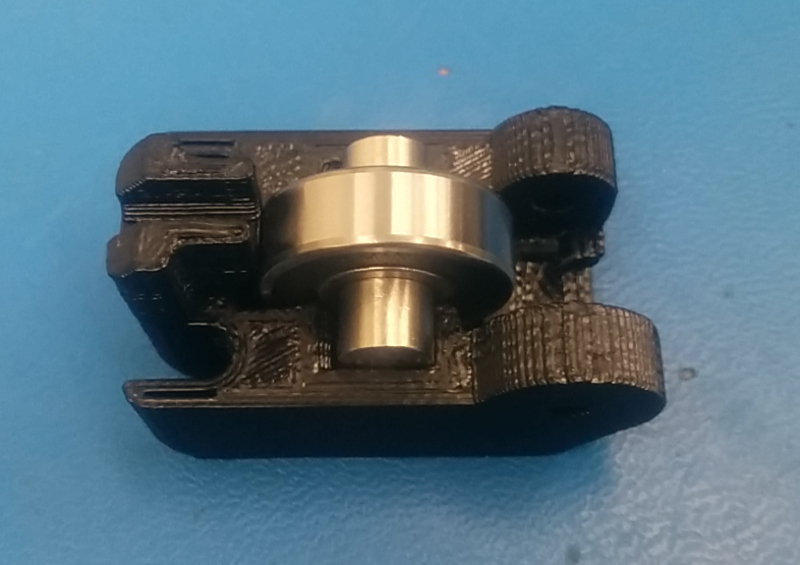
1x- PP-GP0241 Beefy Extruder Idler v0.3
Press Smooth rod into the inner race of the 608 bearing, position the bearing so that equal amounts of the rod extend from both sides of the bearing
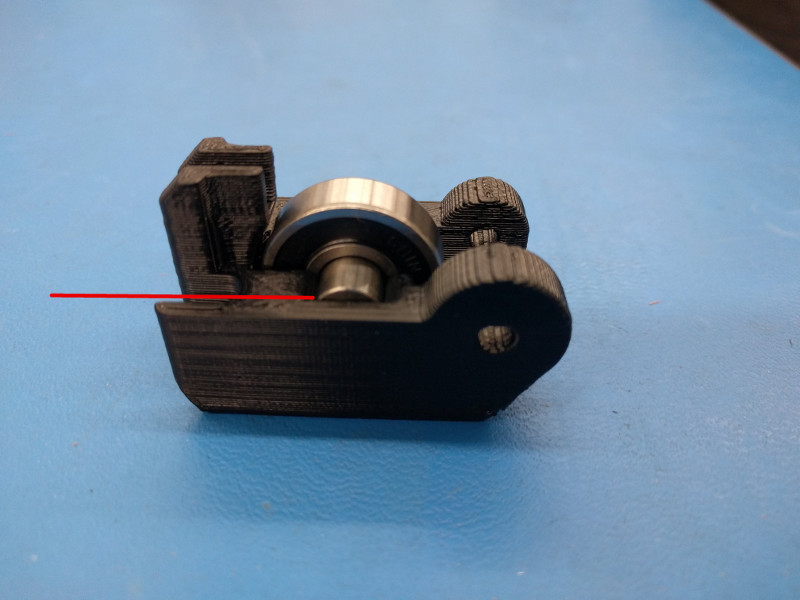
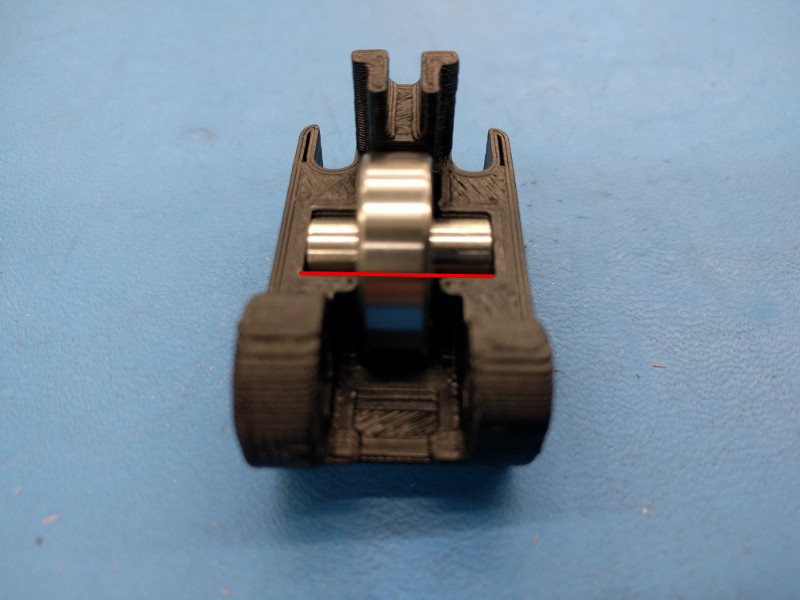
Beefly idler block locate the round mount points for the rod, press the bearing/ rod pair into the rod mount locations. The rod/ bearing pair must remain secure in the beefly idler block and the bearings must be able to rotate with little to no resistance and must be level.
Parts needed:
1x- TBD Mini, Y Axis Mount Idler Insert Assembly
1x- HD-BT0117 Black Alloy Steel Flat-Head Socket Cap Screw, Class 10.9, M8 Size, 40mm Length, 1.25mm Pitch
2x- HD-MS0282 608-2RS ABEC3/C3 Rubber Sealed Bearing – BLACK
1x- HD-NT0002 M8 Nyloc Nut, Zinc Plated
3x- HD-WA0006 M8 Washer, Steel, Zinc Plated
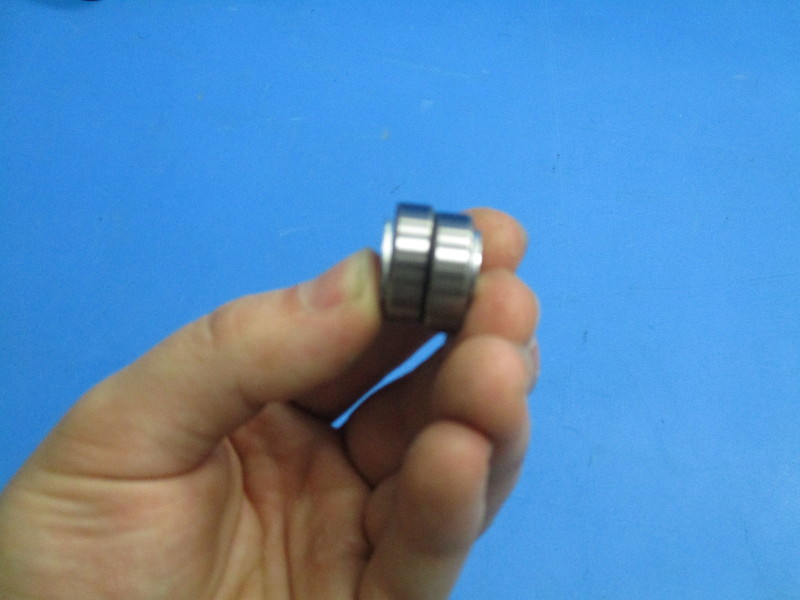
Stack two of the 608 bearings on top of each other
Place one M8 washer onto each side of the stacked 608 bearings
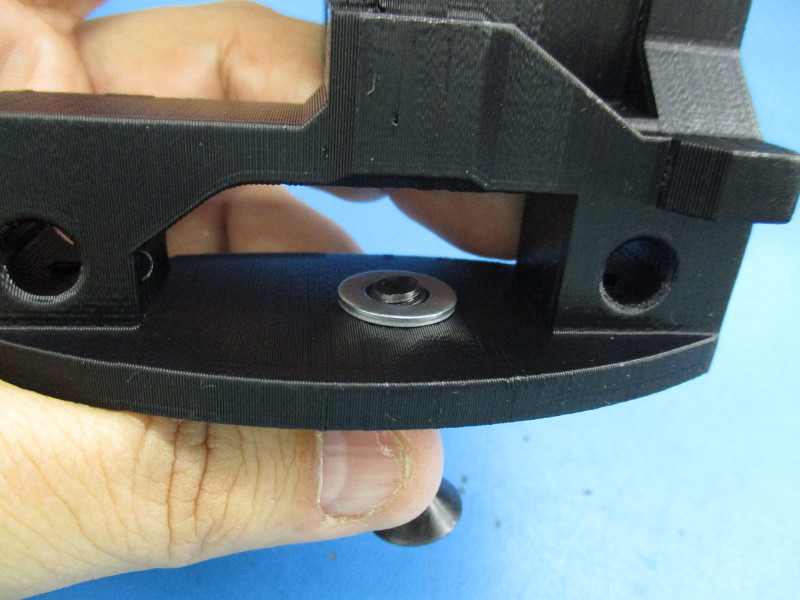
Place the stacked items into the Y idler printed parts
Locate the countersink for the M8 flathead screw on the printed part then install the M8 flathead screw ensuring both washers and 608 bearings are captured by the M8 screw
Place a M8 washer onto the M8 screw, install a M8 Nyloc nut onto the M8 screw and tighten until the M8 screw no longer can move in its countersink area and the bearings still freely rotate


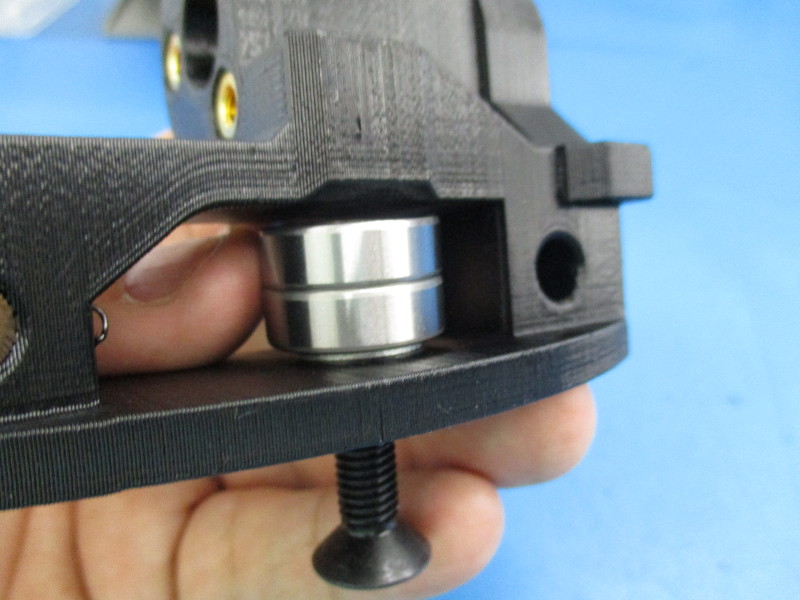
Parts needed:
1x- PP-GP0XXX, Z carriage idler
1x- HD-BT0131 Black Alloy Steel Flat-Head Socket Cap Screw, Class 10.9, M8 Size, 45mm Length, 1.25mm Pitch
2x- HD-MS0282 608-2RS ABEC3/C3 Rubber Sealed Bearing – BLACK
1x- HD-NT0002 M8 Nyloc Nut, Zinc Plated
3x- HD-WA0006 M8 Washer, Steel, Zinc Plated
Stack two of the 608 bearings on top of each other
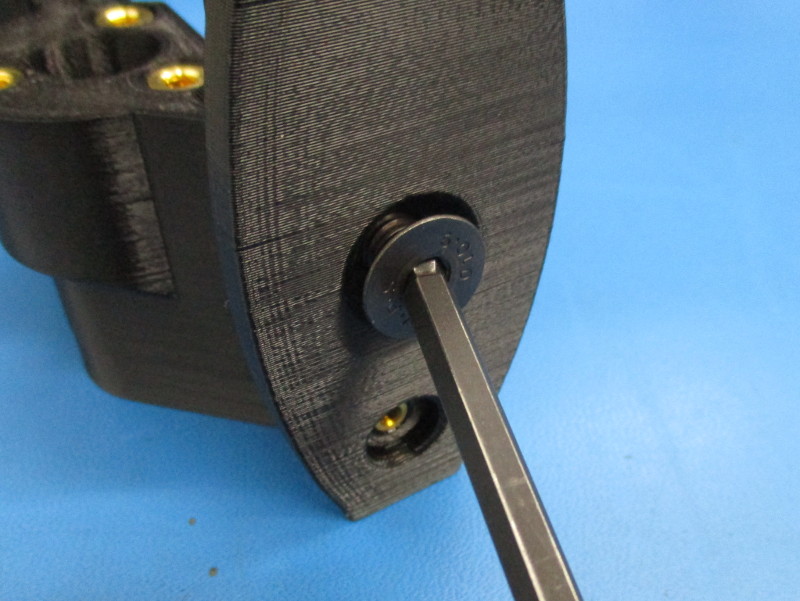
Align the M8 Flathead screw with M8 countersink in the Z carriage idler printed part
Place one M8 washer into the idler area of the Z carriage idler printed part, capture the M8 washer with the M8 FHS
Place the stacked items into the Z carriage idler printed part and capture them with the M8 screw
Install the last M8 washer
Locate the countersink for the M8 flathead screw on the printed part then install the M8 flathead screw ensuring both washers and 608 bearings are captured by the M8 screw
Place a M8 washer onto the M8 screw, install a M8 Nyloc nut onto the M8 screw and tighten until the M8 screw no longer can move in its countersink area and the bearings still freely rotate


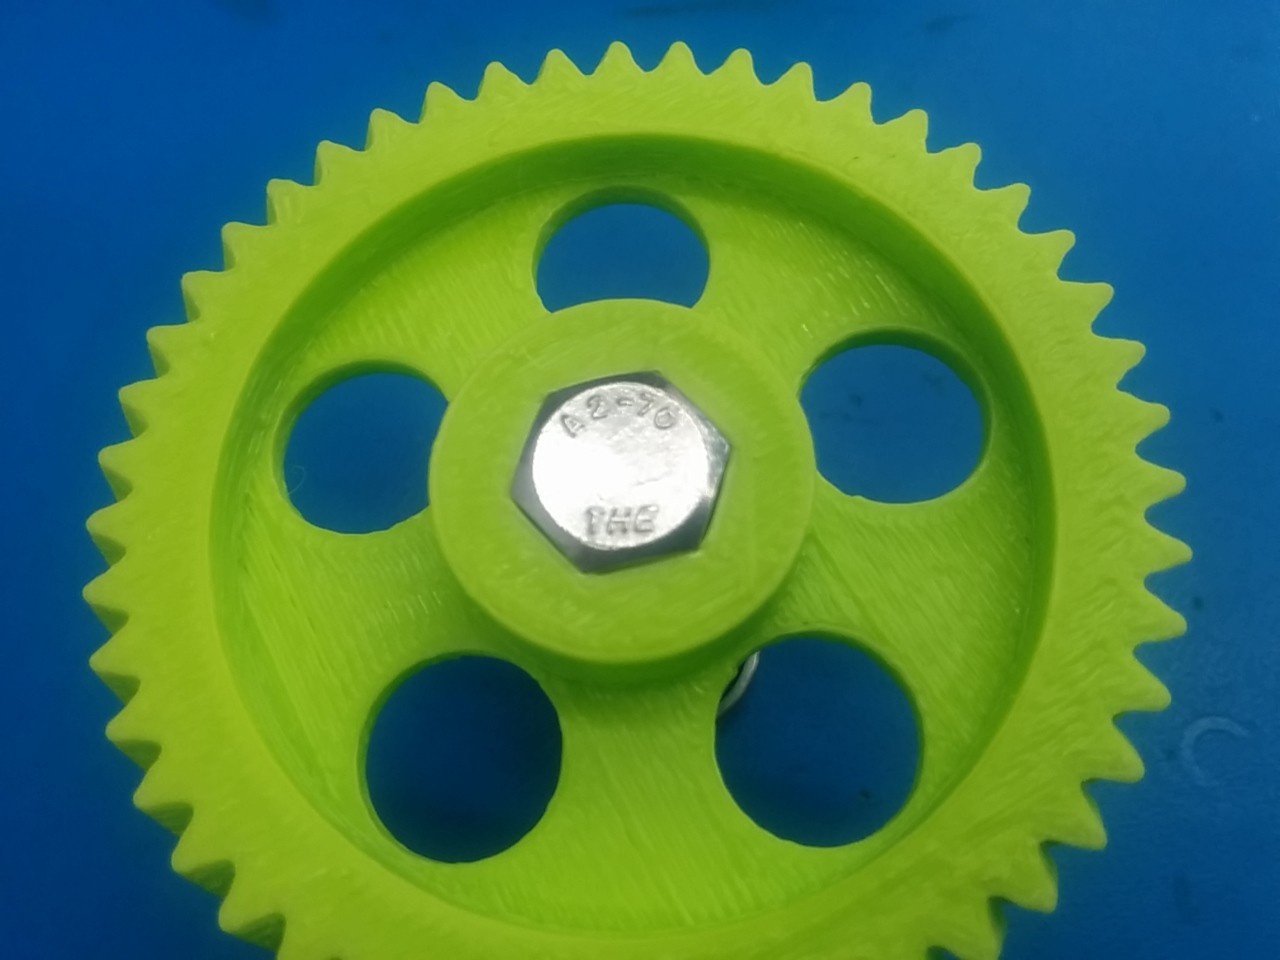
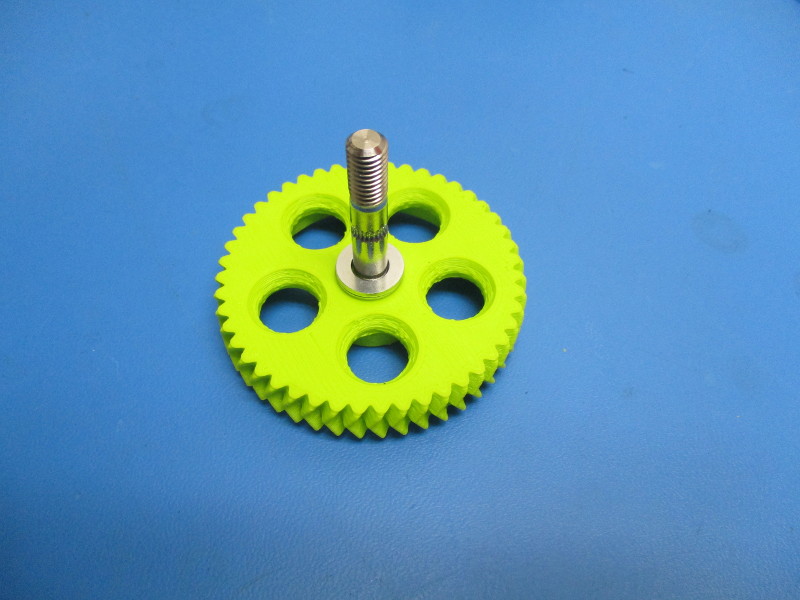
Parts needed:
1x- PP-GP0191 Herringbone Large Gear v1.3, Lulzbot green
1x- HD-BT0108 Hobbed Bolt, M8 x 50mm Hex head, 26mm offset, Stainless Steel
Locate the recessed bolt head mount located on one side of the Large Herringbone gear,
Insert the hob bolt into the M8 opening in the recess, align the bolt head pattern with the recessed bolt mount pattern
Press the bolt into the bolt mount until the bolt head is flush or nearly flush with the top of the recessed mount
Gather parts:
1x- Mini, Belt Clamp Assembly
1x- Mini, X Motor Carriage with Bearings Assembly
1x- Mini, Upper Bearing Holder Assembly
7x- HD-BT0039 M3x 12 SHCS, Black7x- HD-WA0038 18-8 SS Flat Washer, M3 Screw Size, 3.2mm ID, 7.0mm OD
Attach Mini, Belt clamp assembly to X carriage with 3x- M3x 12 SHCS Black and M3 washers, tightened to 5in*lbs
Attach Upper bearing holder to X carriage with 4x- M3x 12 SCHS Black and M3 washers, tightened to 5in*lbs

Gather parts:
1x- Mini, Printed belt clamp assembly
1x- PP-GP0260 Belt -clamp_black
2x- HD-BT0039 Me3x 12 SHCS, Black
2x- HD-WA0038 18-8 SS Flat Washer, M3 Screw Size, 3.2mm ID, 7.0mm OD
Install a M3 washer onto a M3x 13 SHCS
Orient the clamp for the serrated features of the clamp align with the tabs of the mount
Pass each of the screws through the M3 sized holes in the clamp, loosely secure the clamp