Open HardwareAssembly Instructions
Guides for installation and assembly of the LulzBot line of products made by FAME 3D LLC.
Guides for installation and assembly of the LulzBot line of products made by FAME 3D LLC.
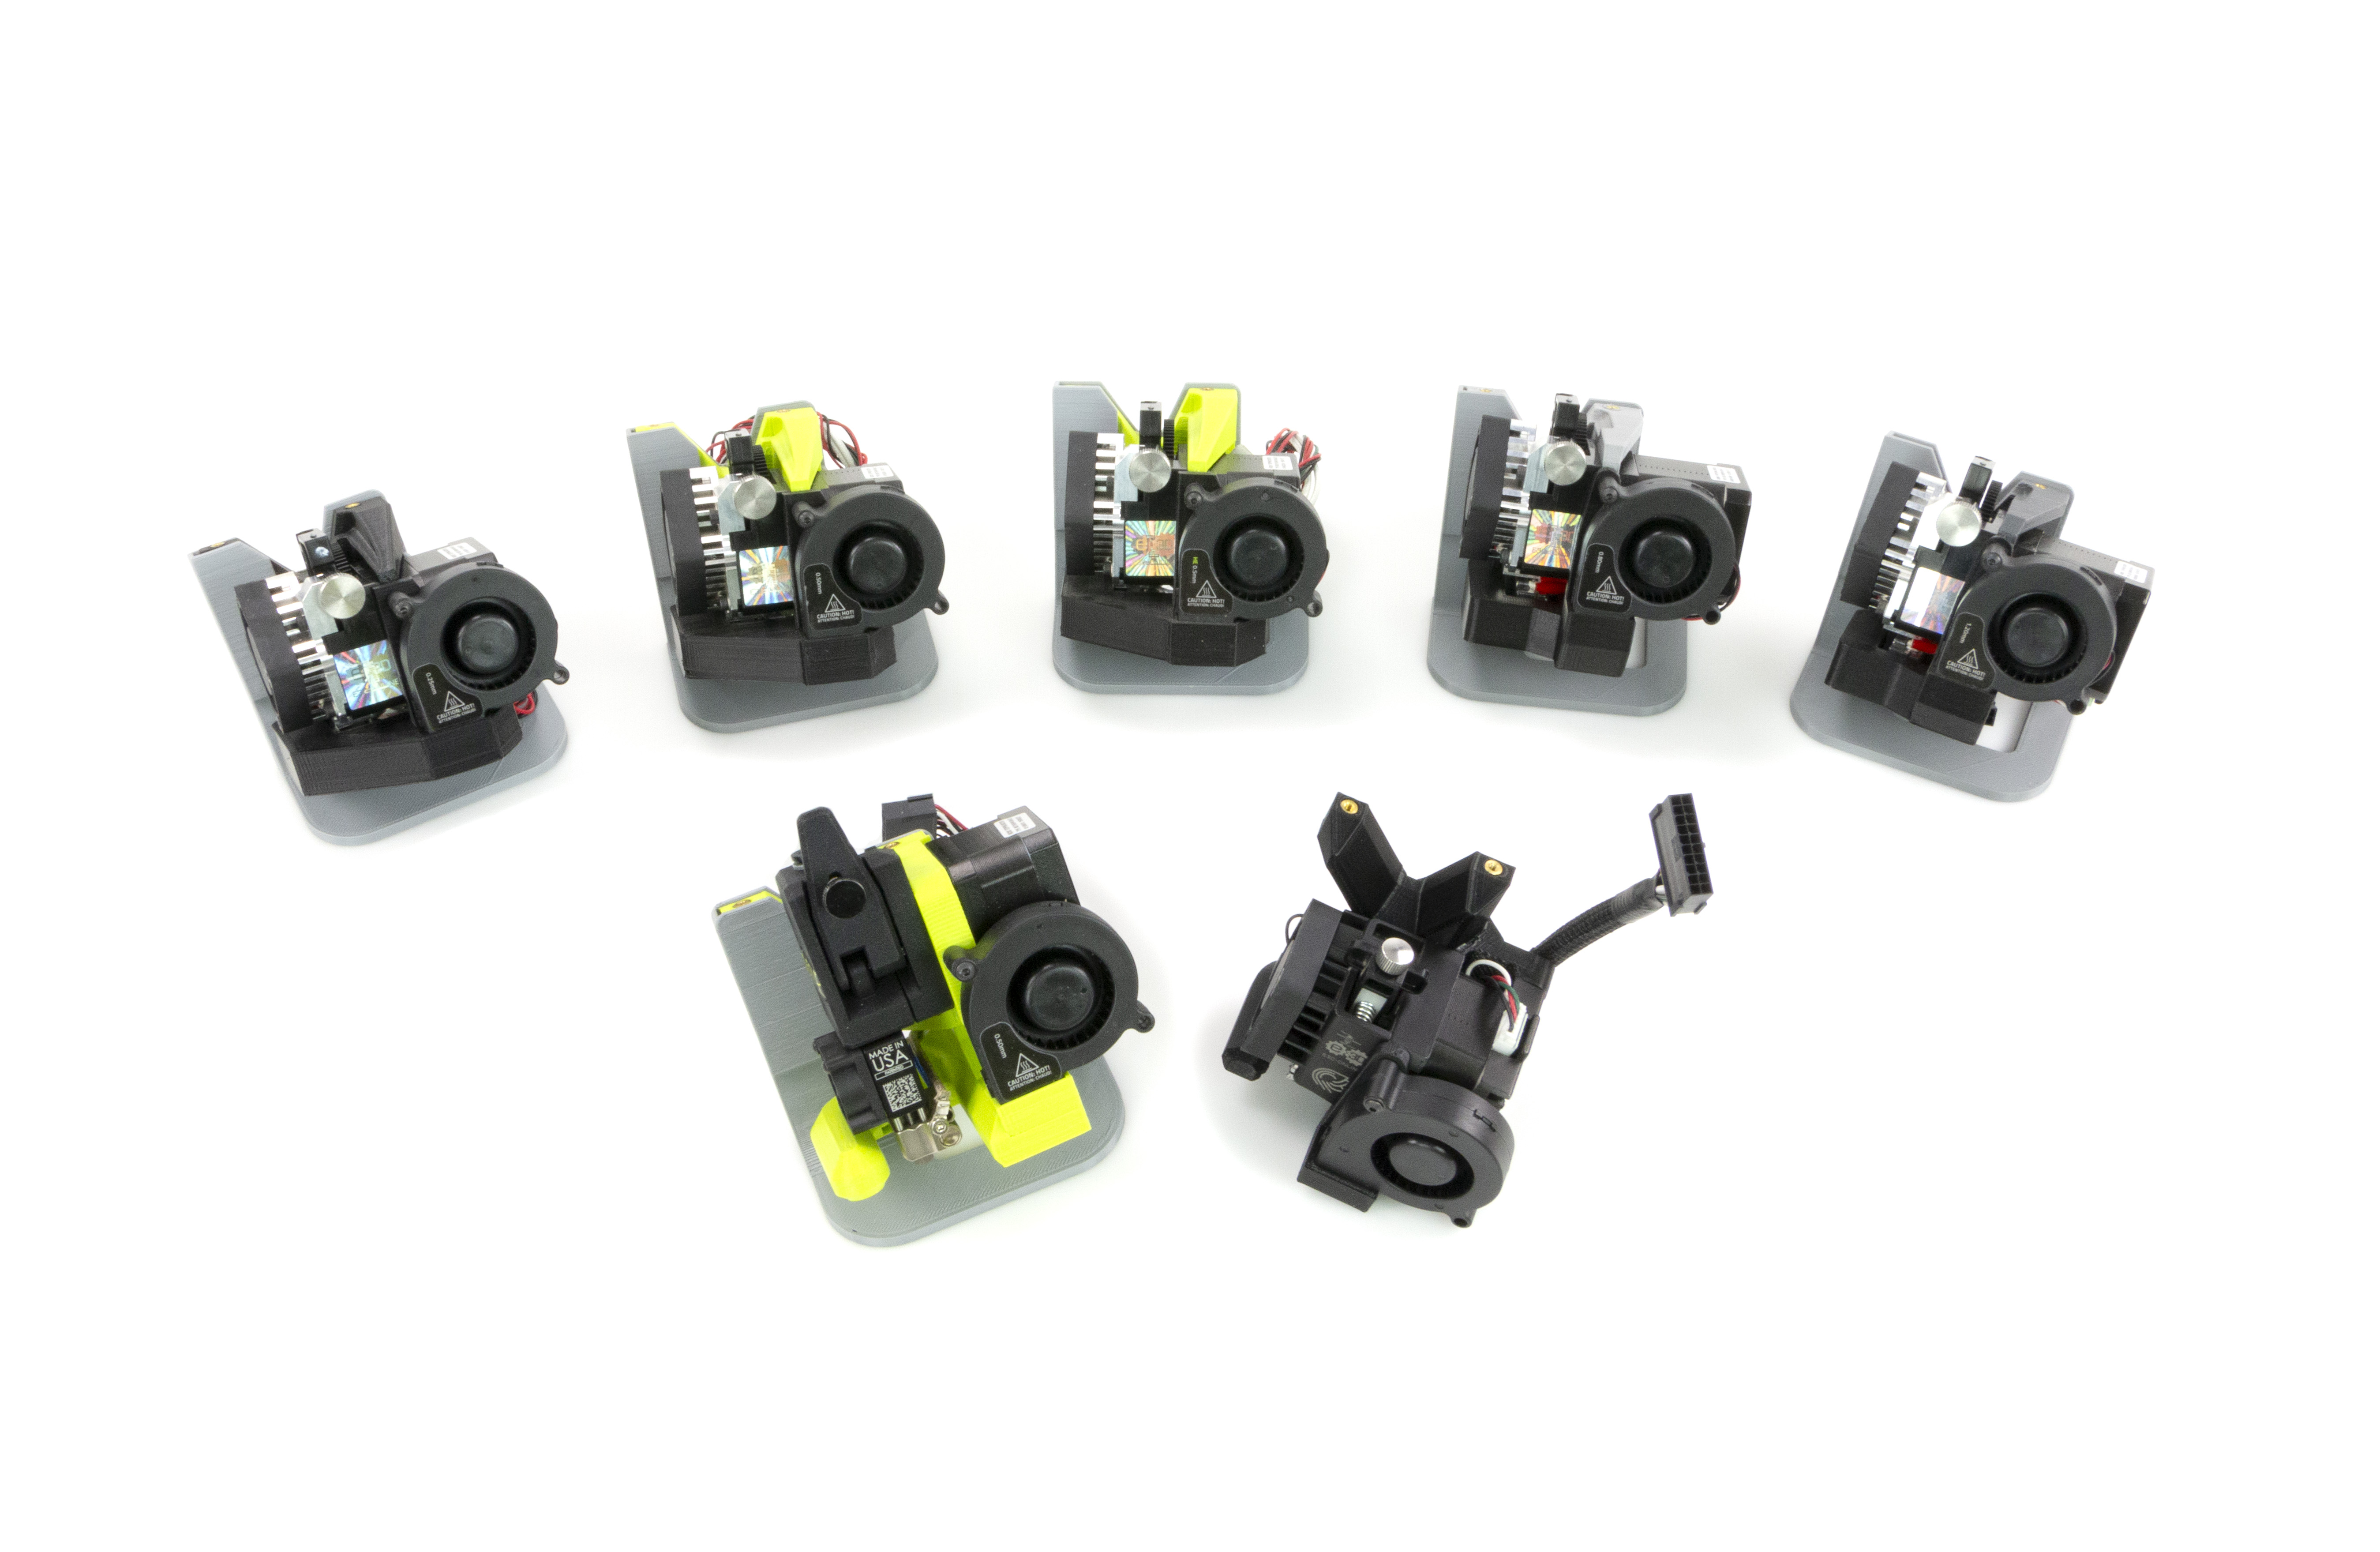
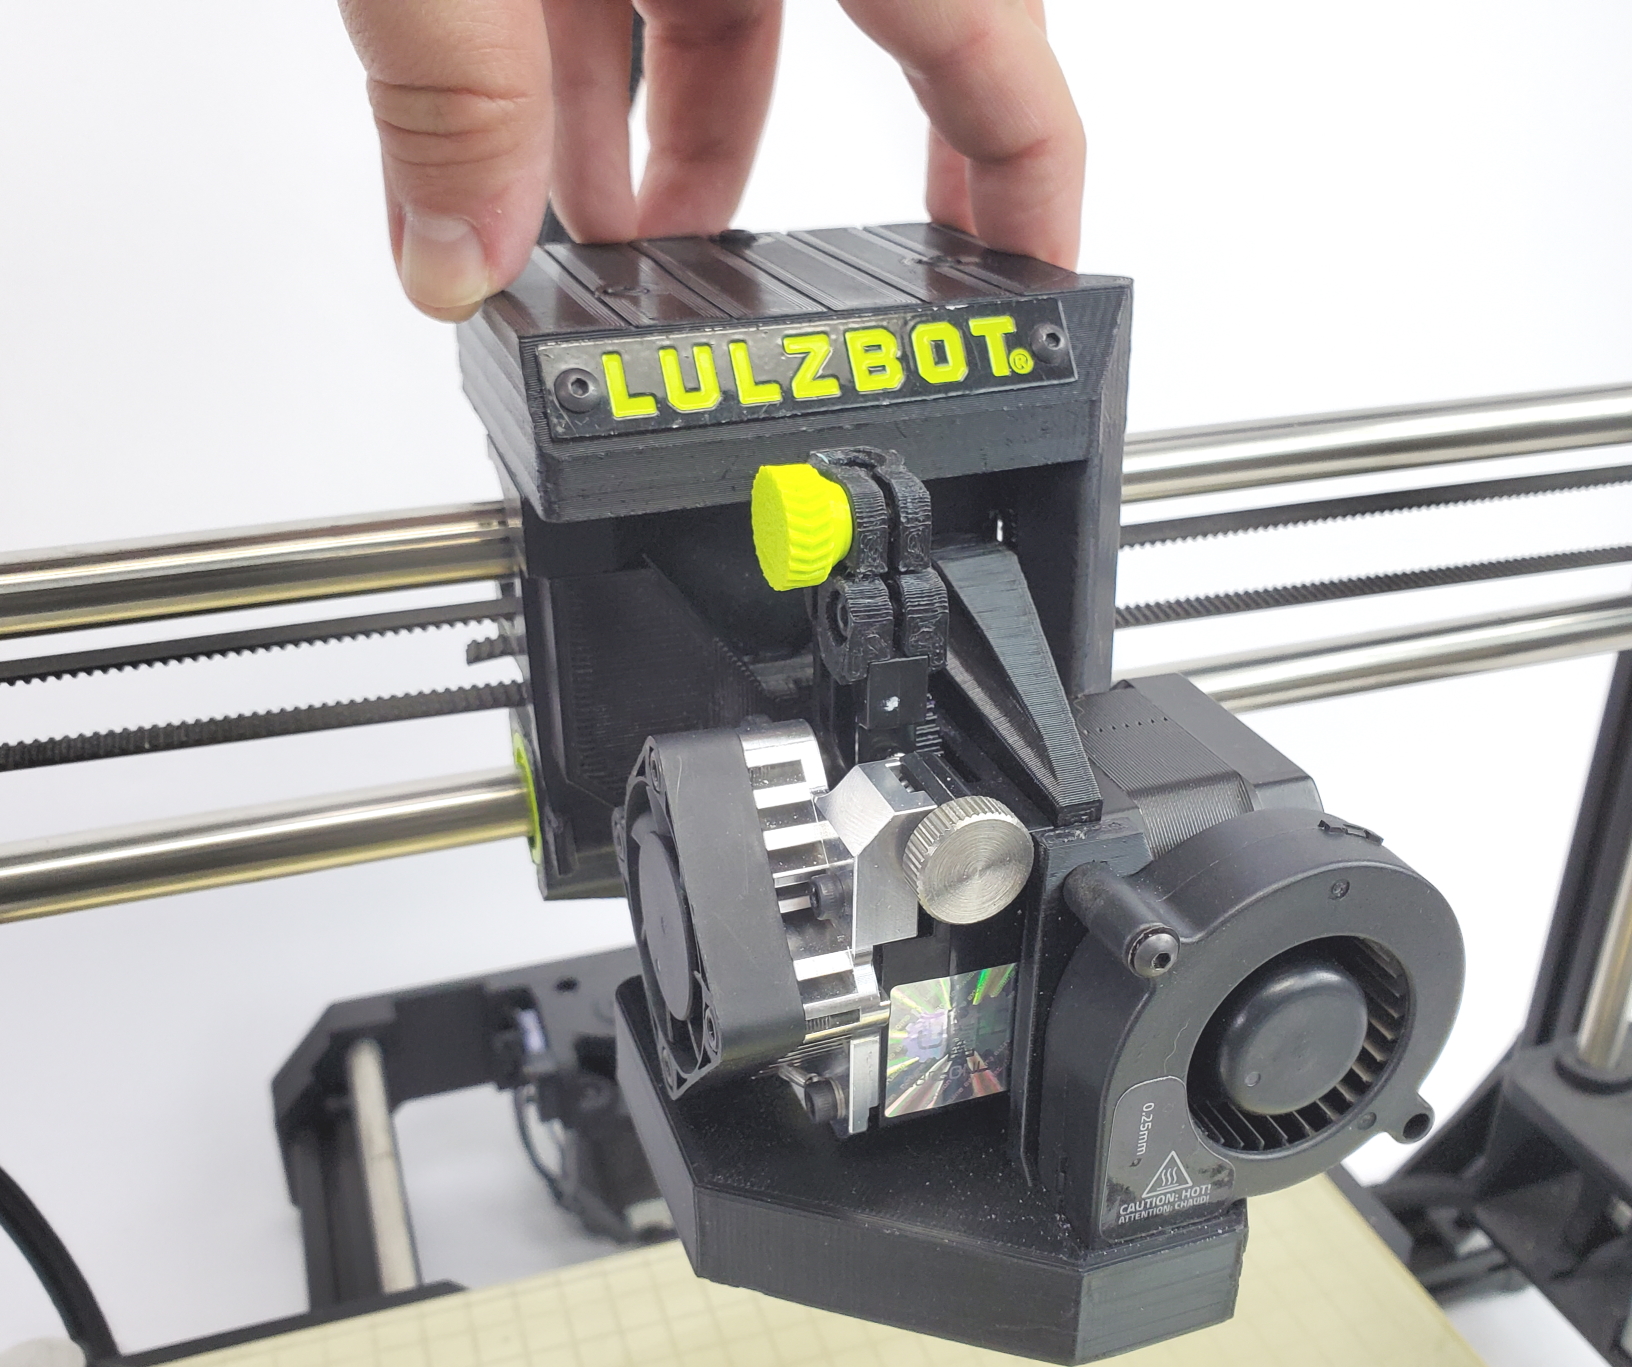
Follow the instructions below to quickly install your new Universal Tool Head on a LulzBot 3D Printer.
Included materials vary depending on tool head. See the links below for materials included with each compatible tool head.
Additional Items Required

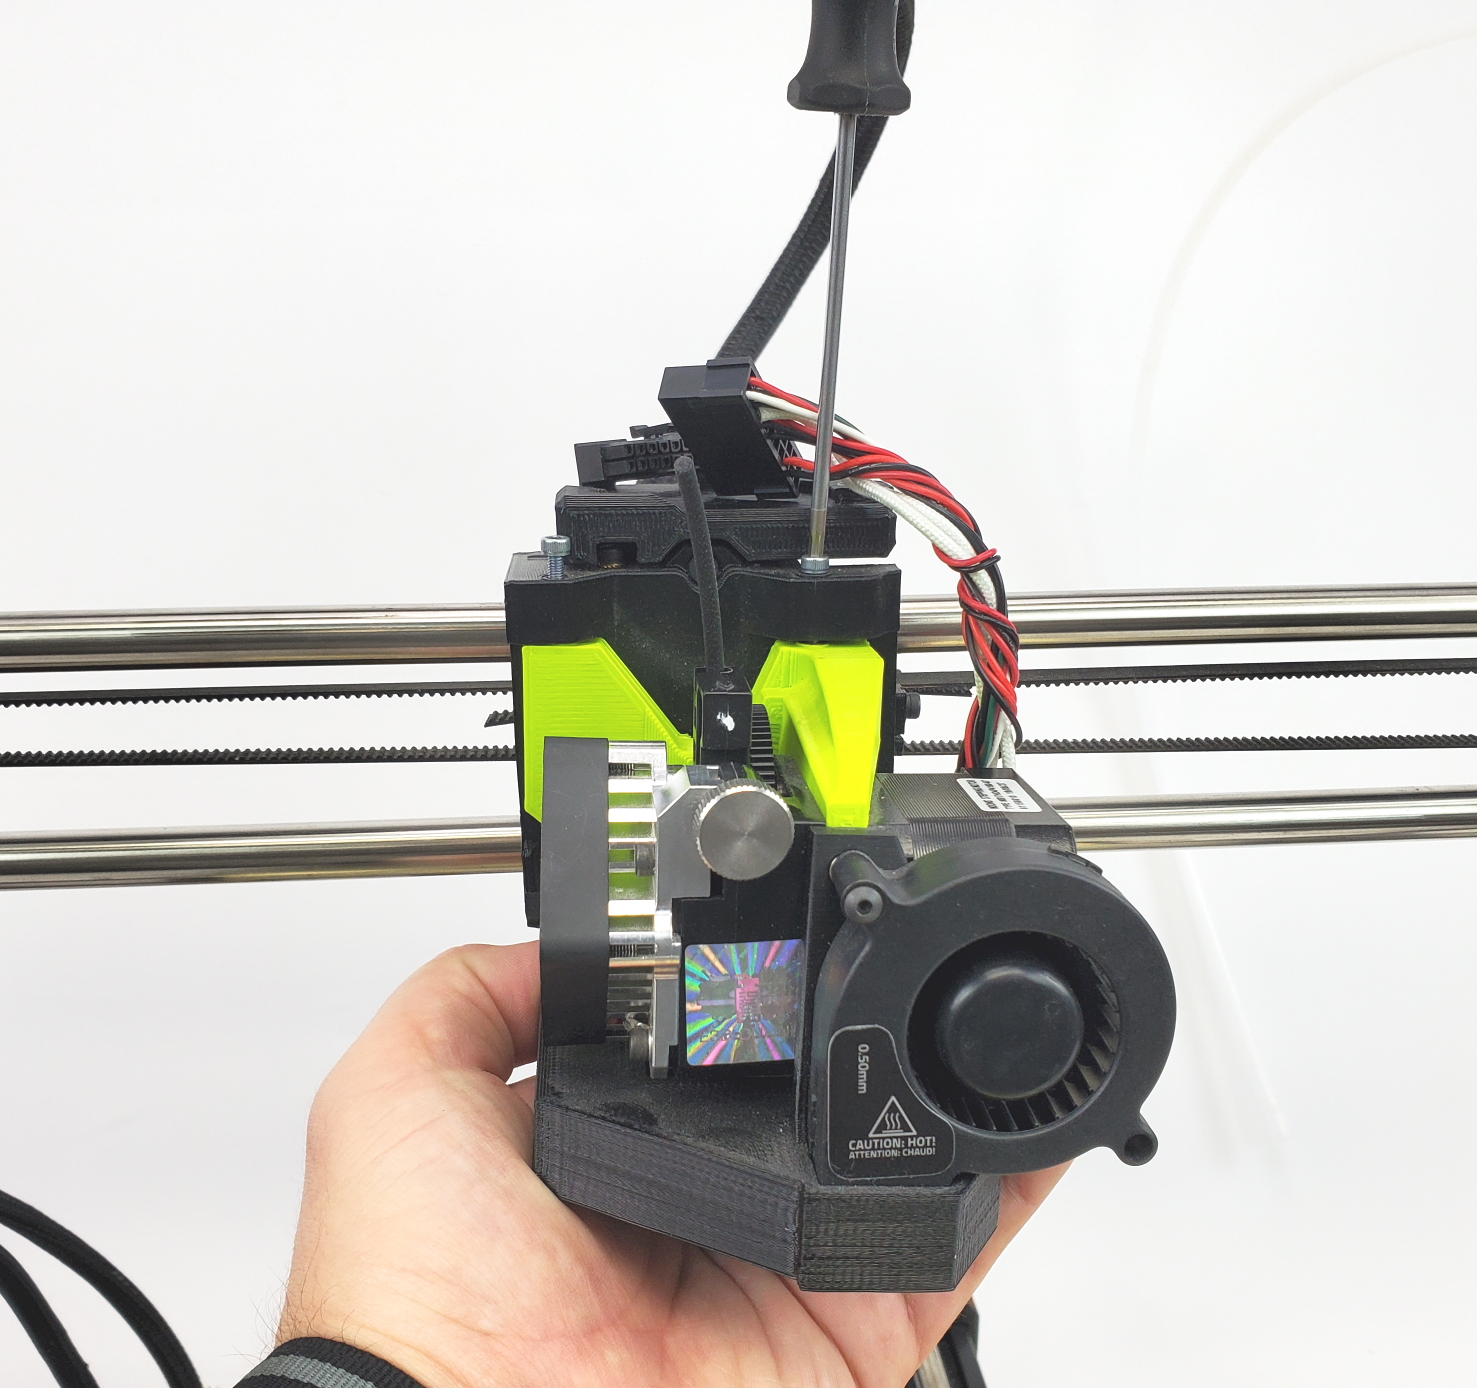
4A
Power down
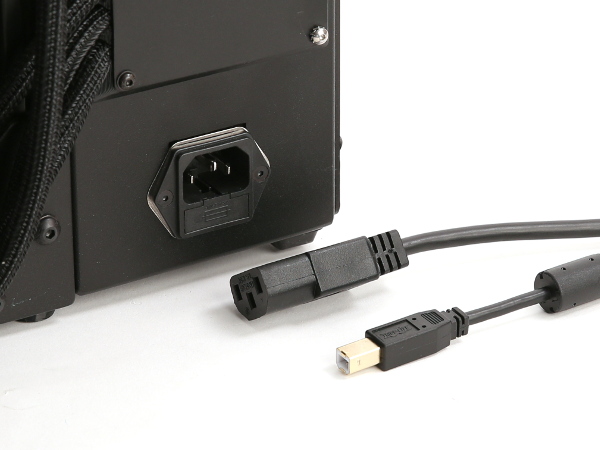
4B
Unplug

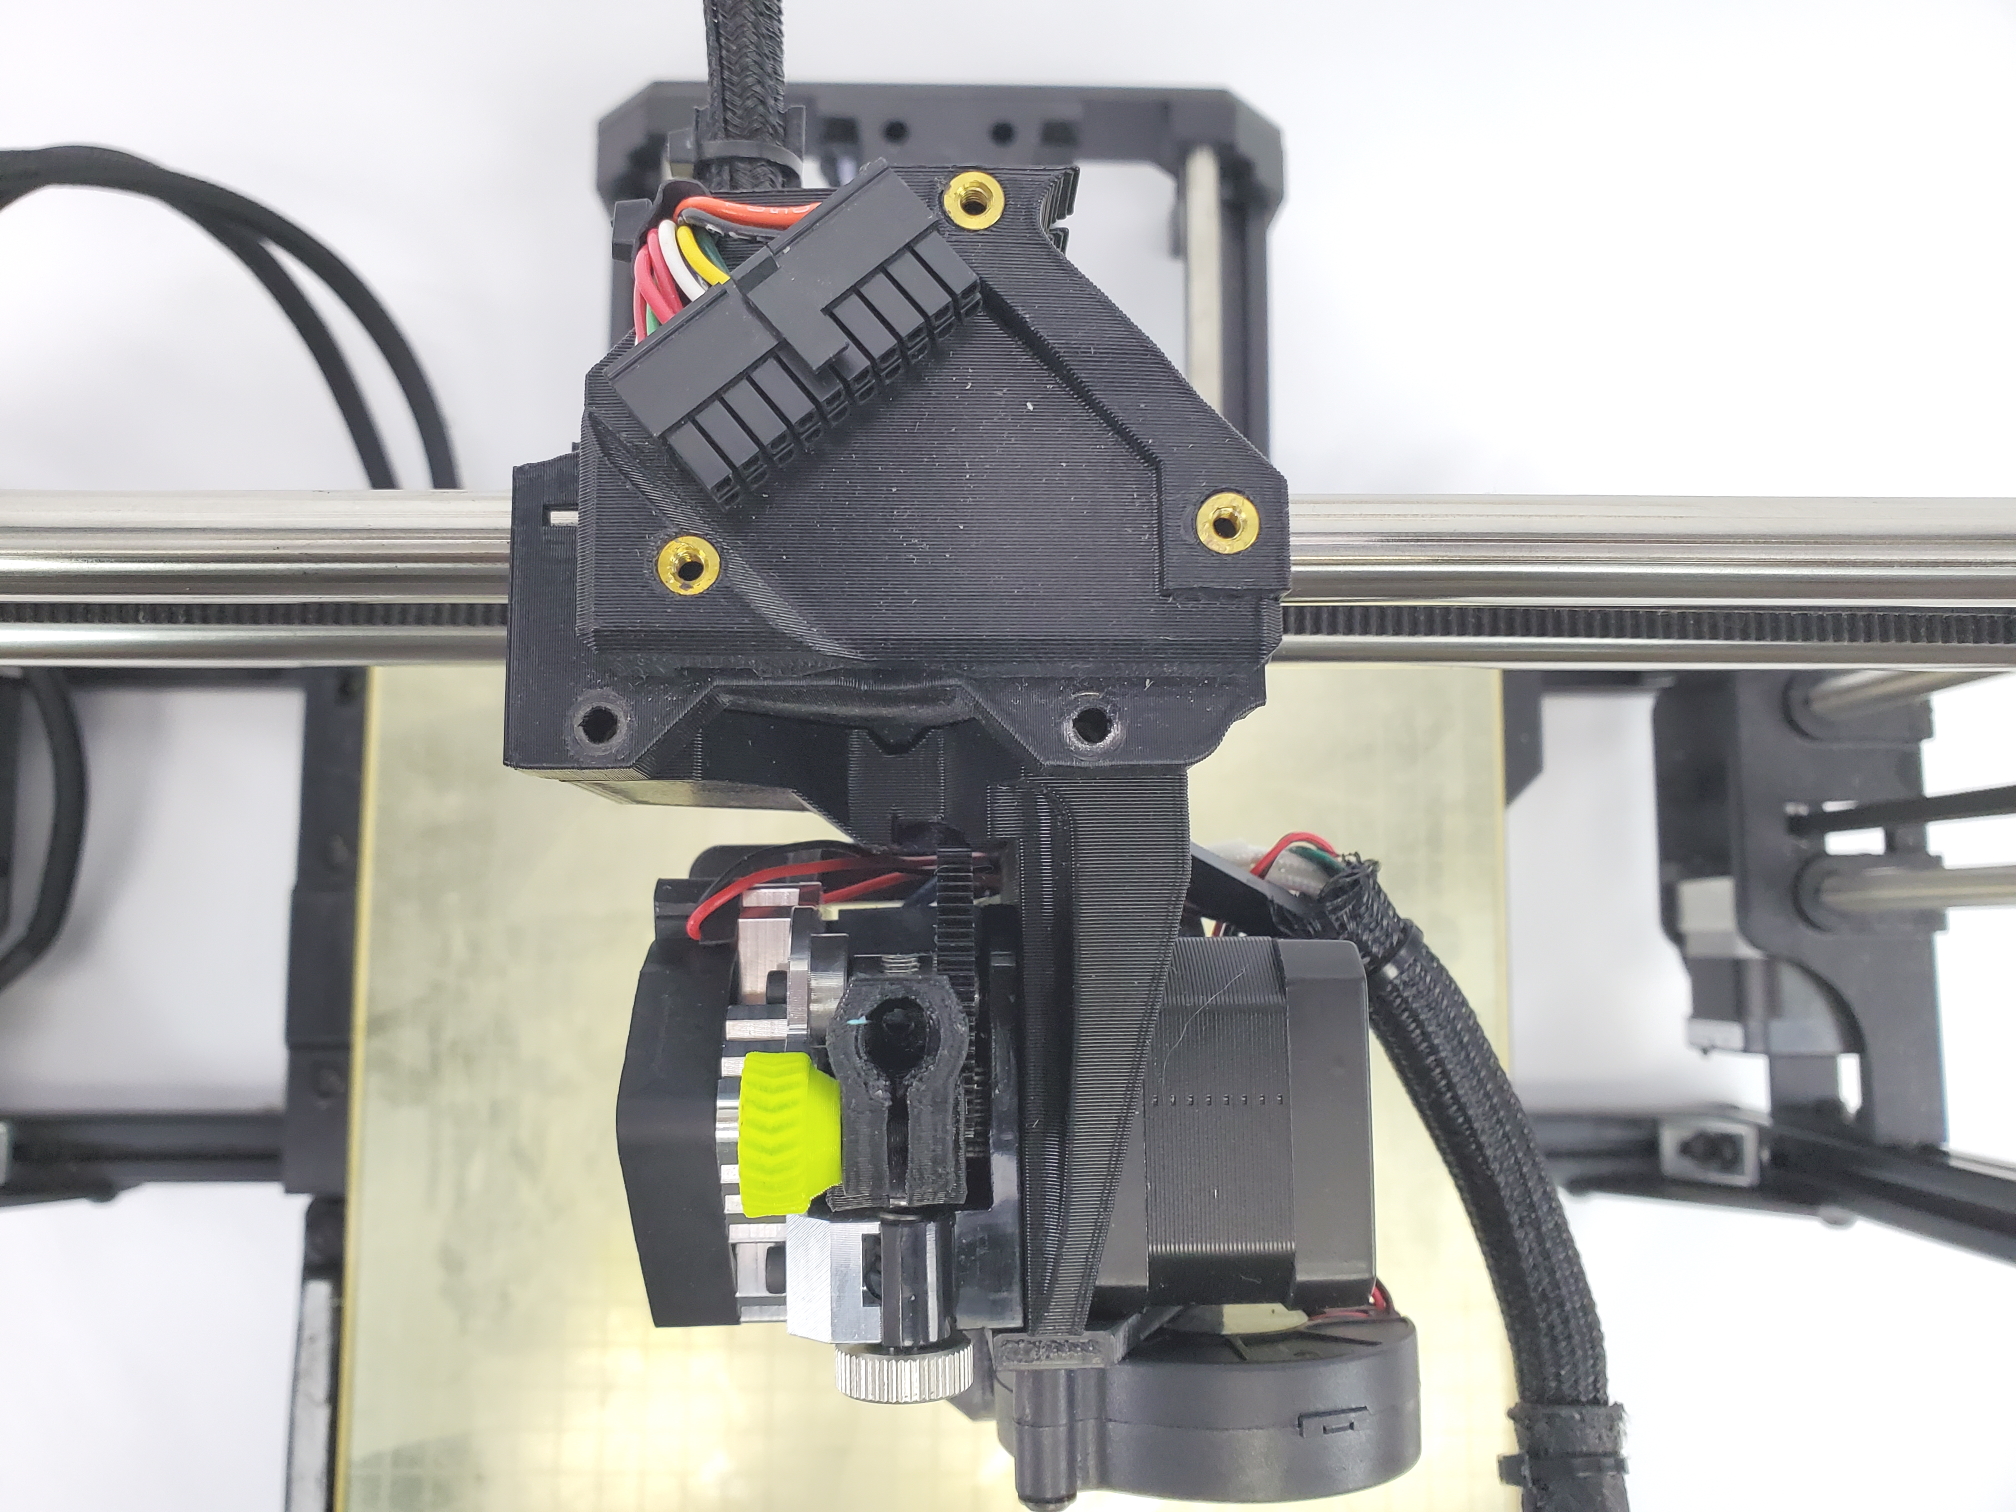
5A Remove screws
5B Lift cap

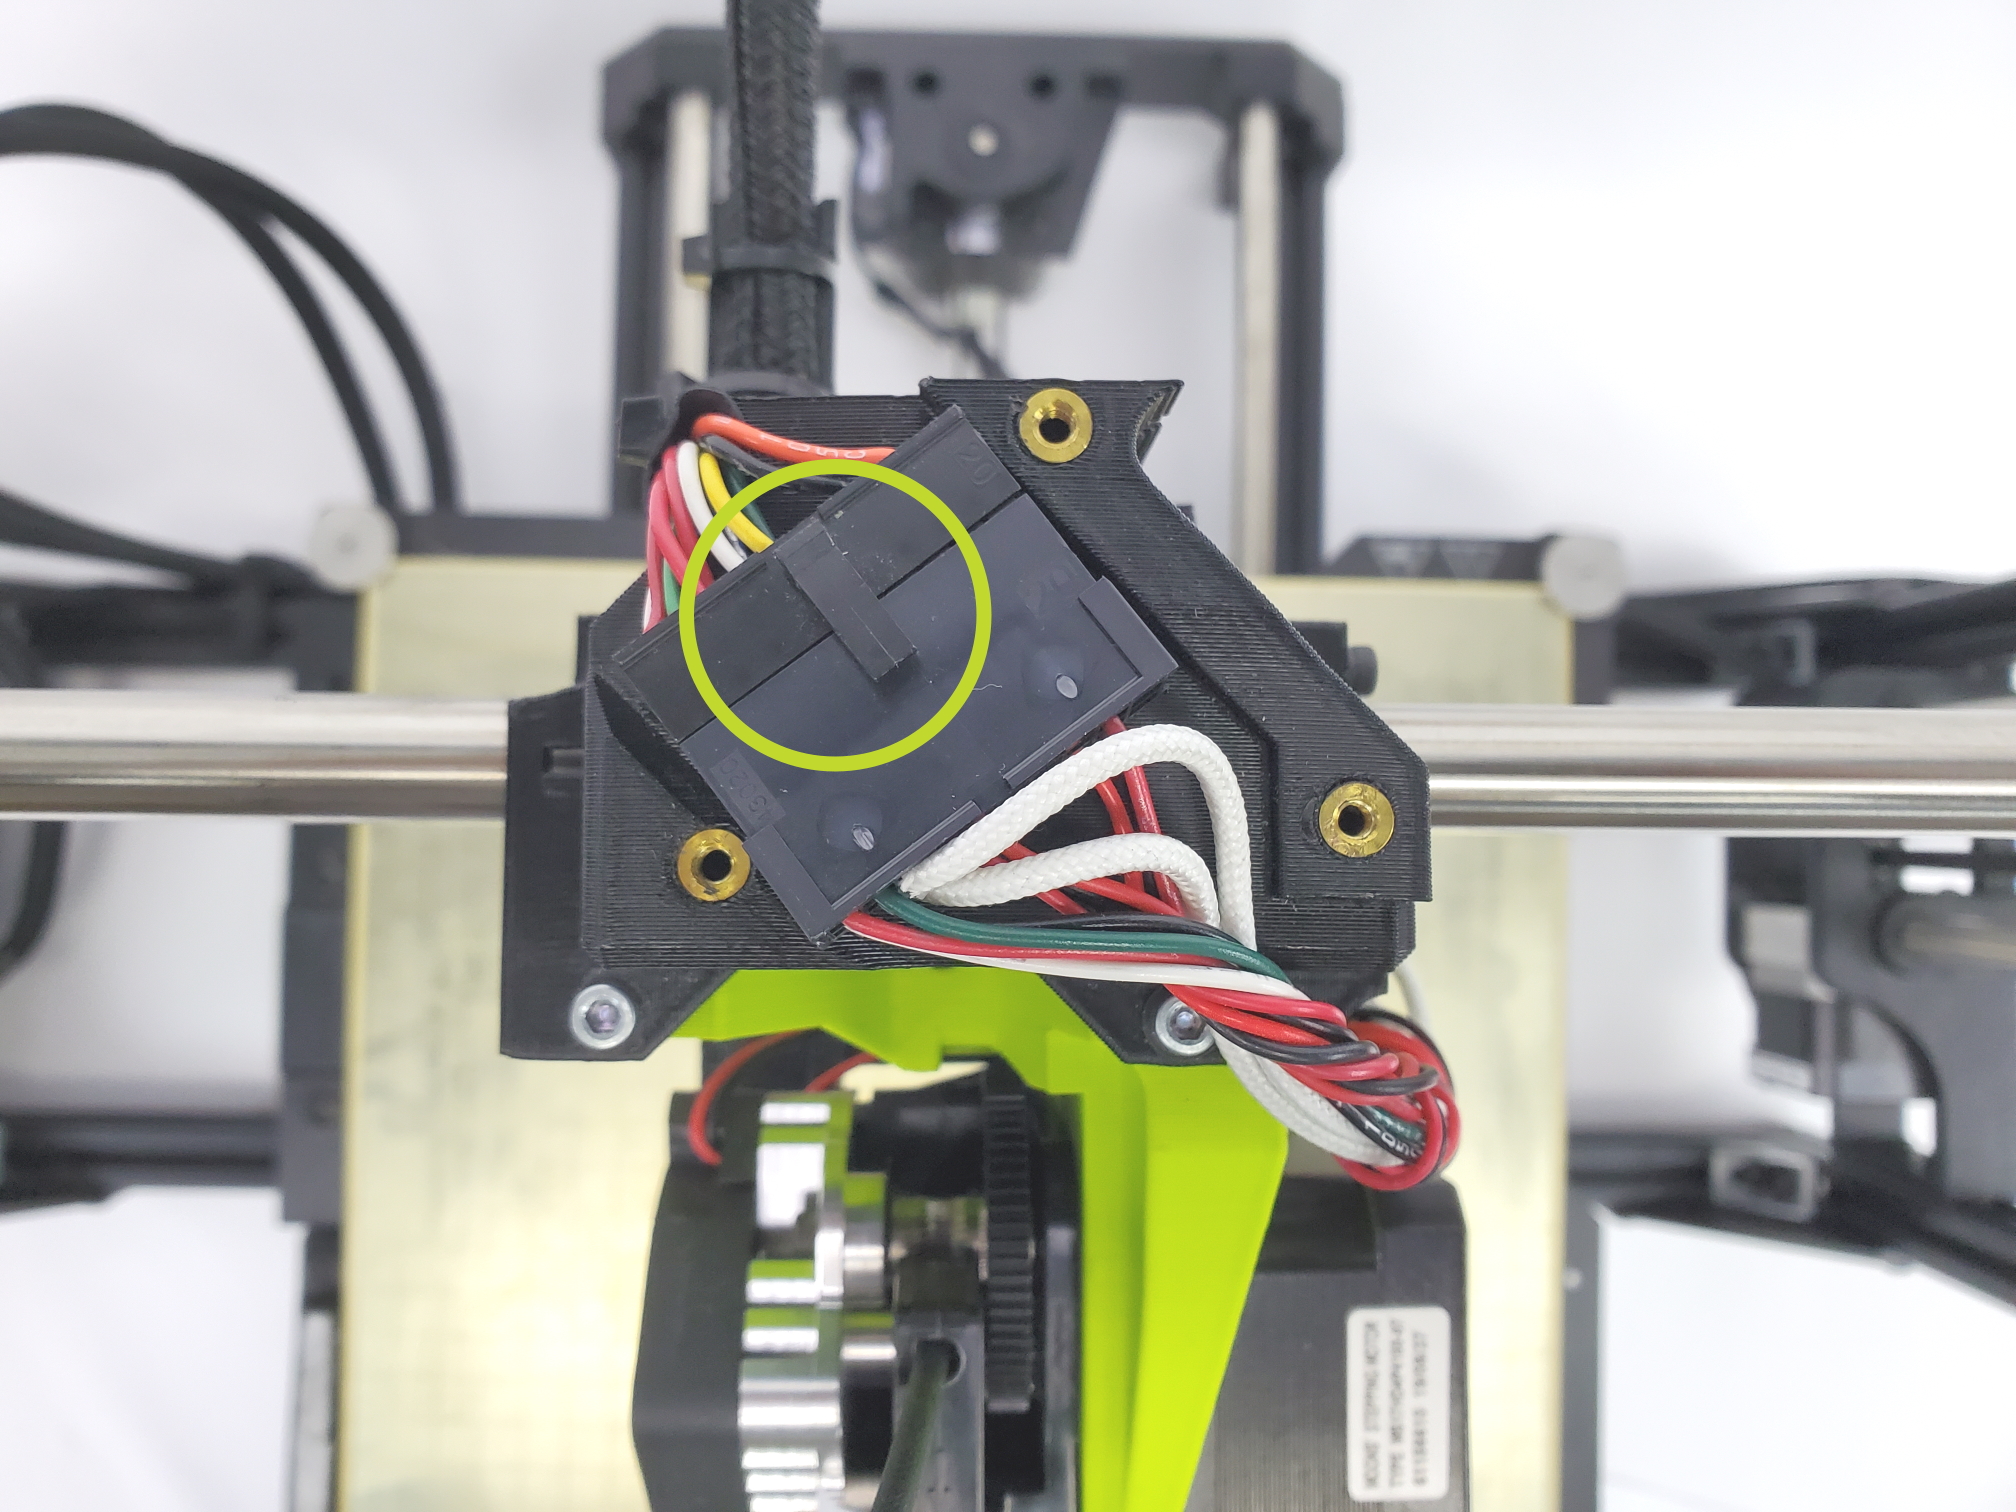
Depress the retaining tab on the connector housing and gently wiggle the connector free.
Do not pull on the wires, only the connector housing.
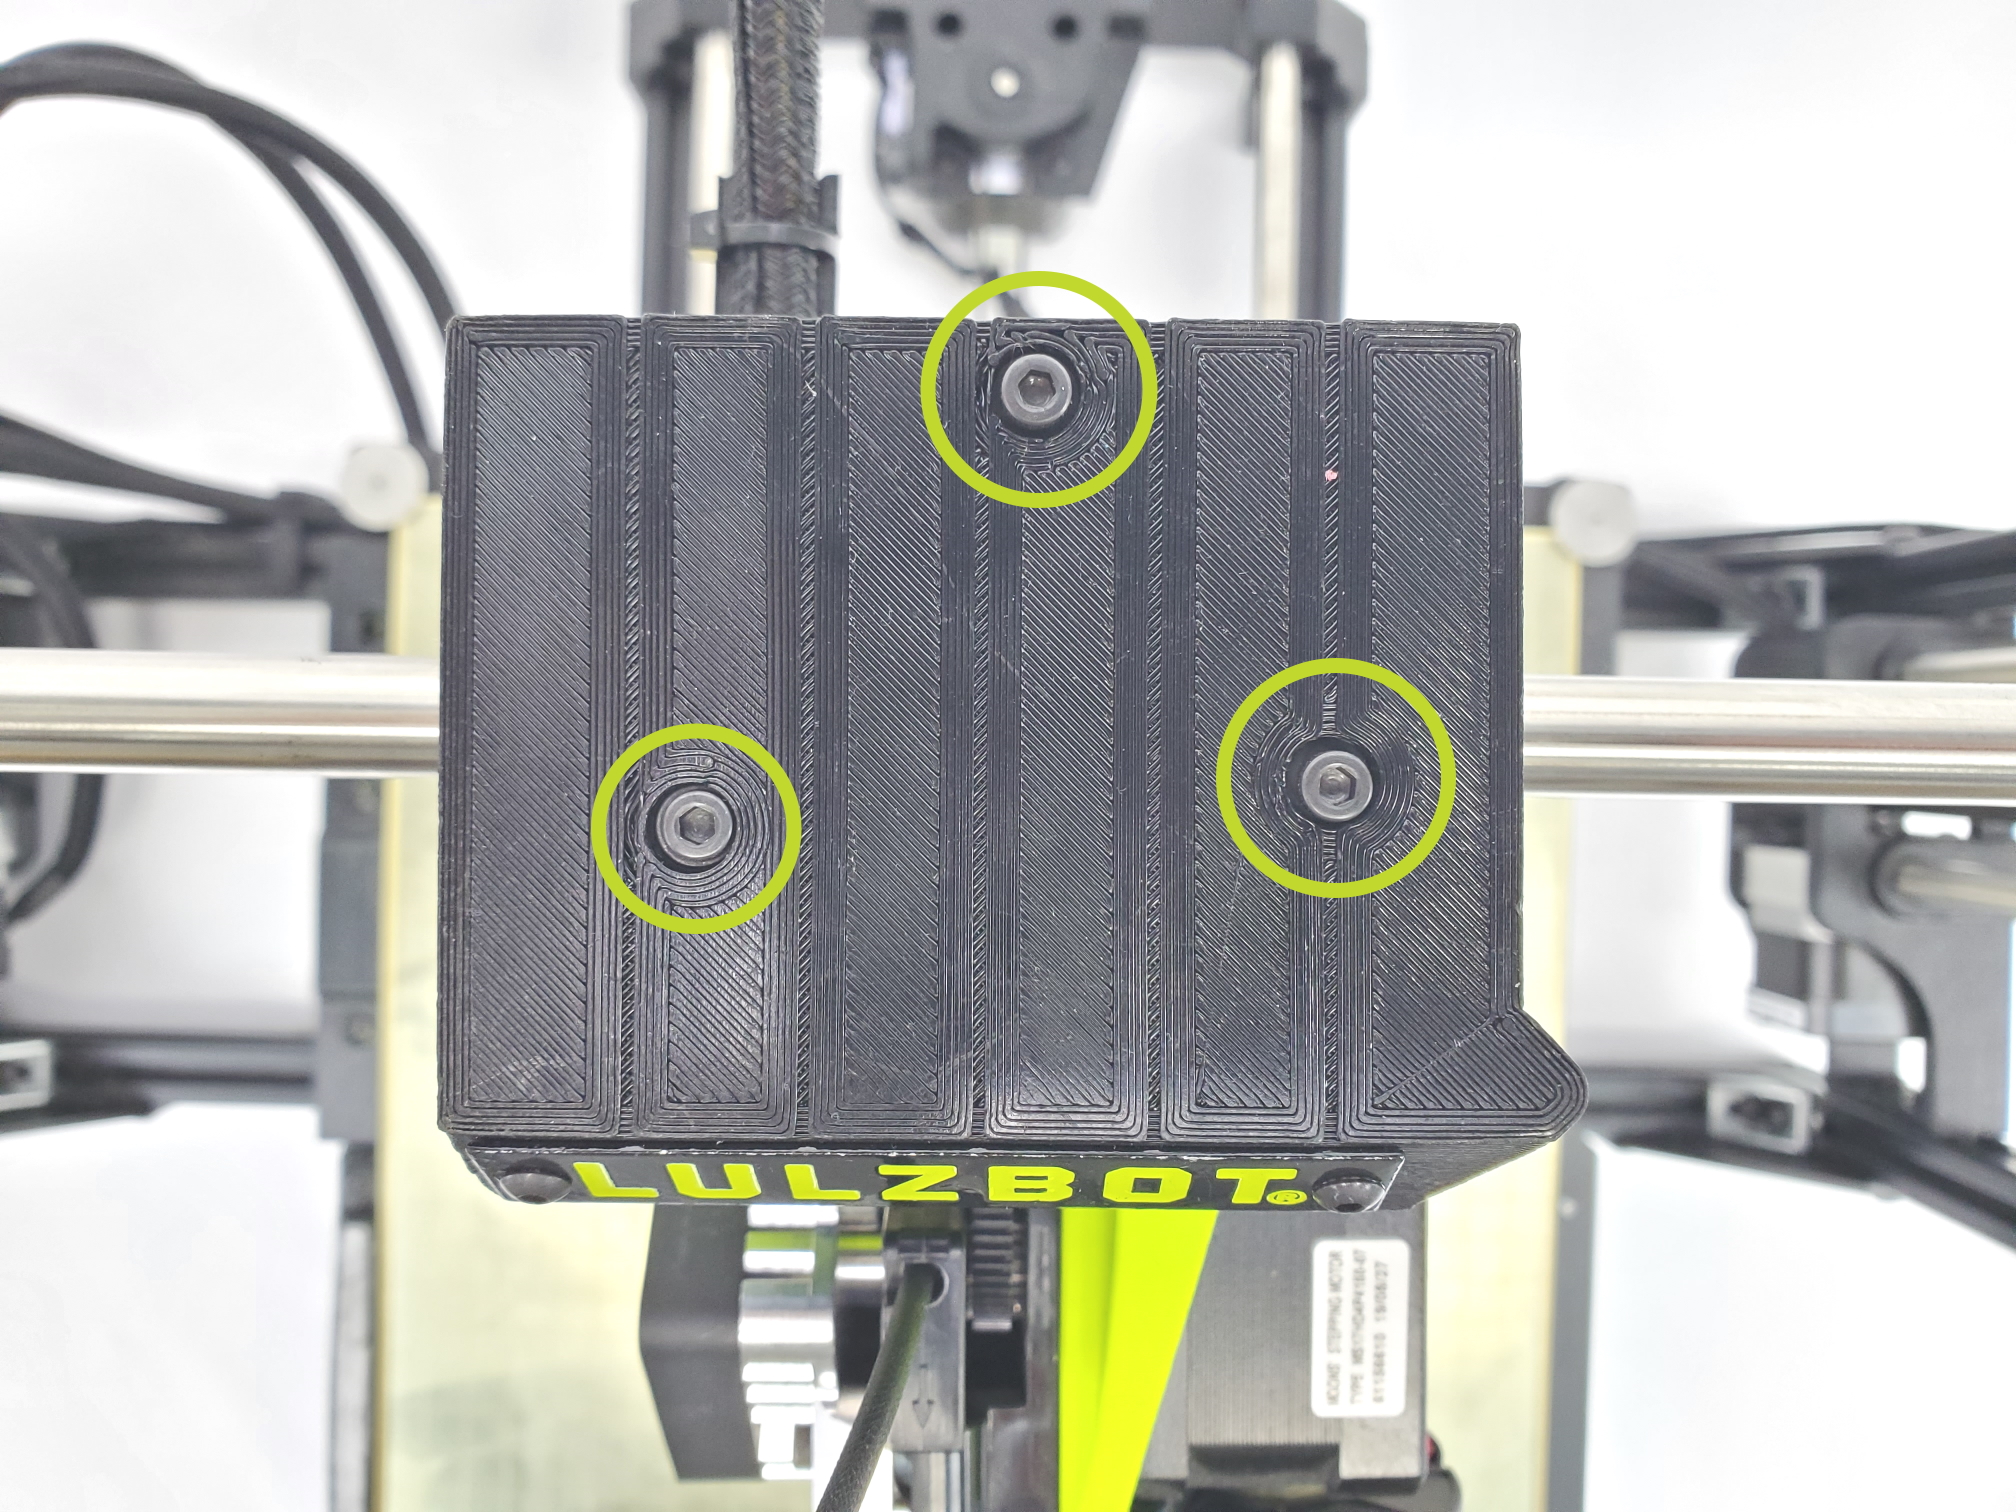
7A
The tool head is attached with three screws. The print surface can be damaged if the tool head is allowed to fall onto the print surface. With one hand, support the tool head while following removal steps below.
7B
Using the 2.5mm hex key, unscrew the three M5 screws securing the tool head to the X-axis carriage. Remove the rear screw first, followed by the remaining top two screws.
7C
Remove the tool head from the printer by moving the tool head away from the printer.


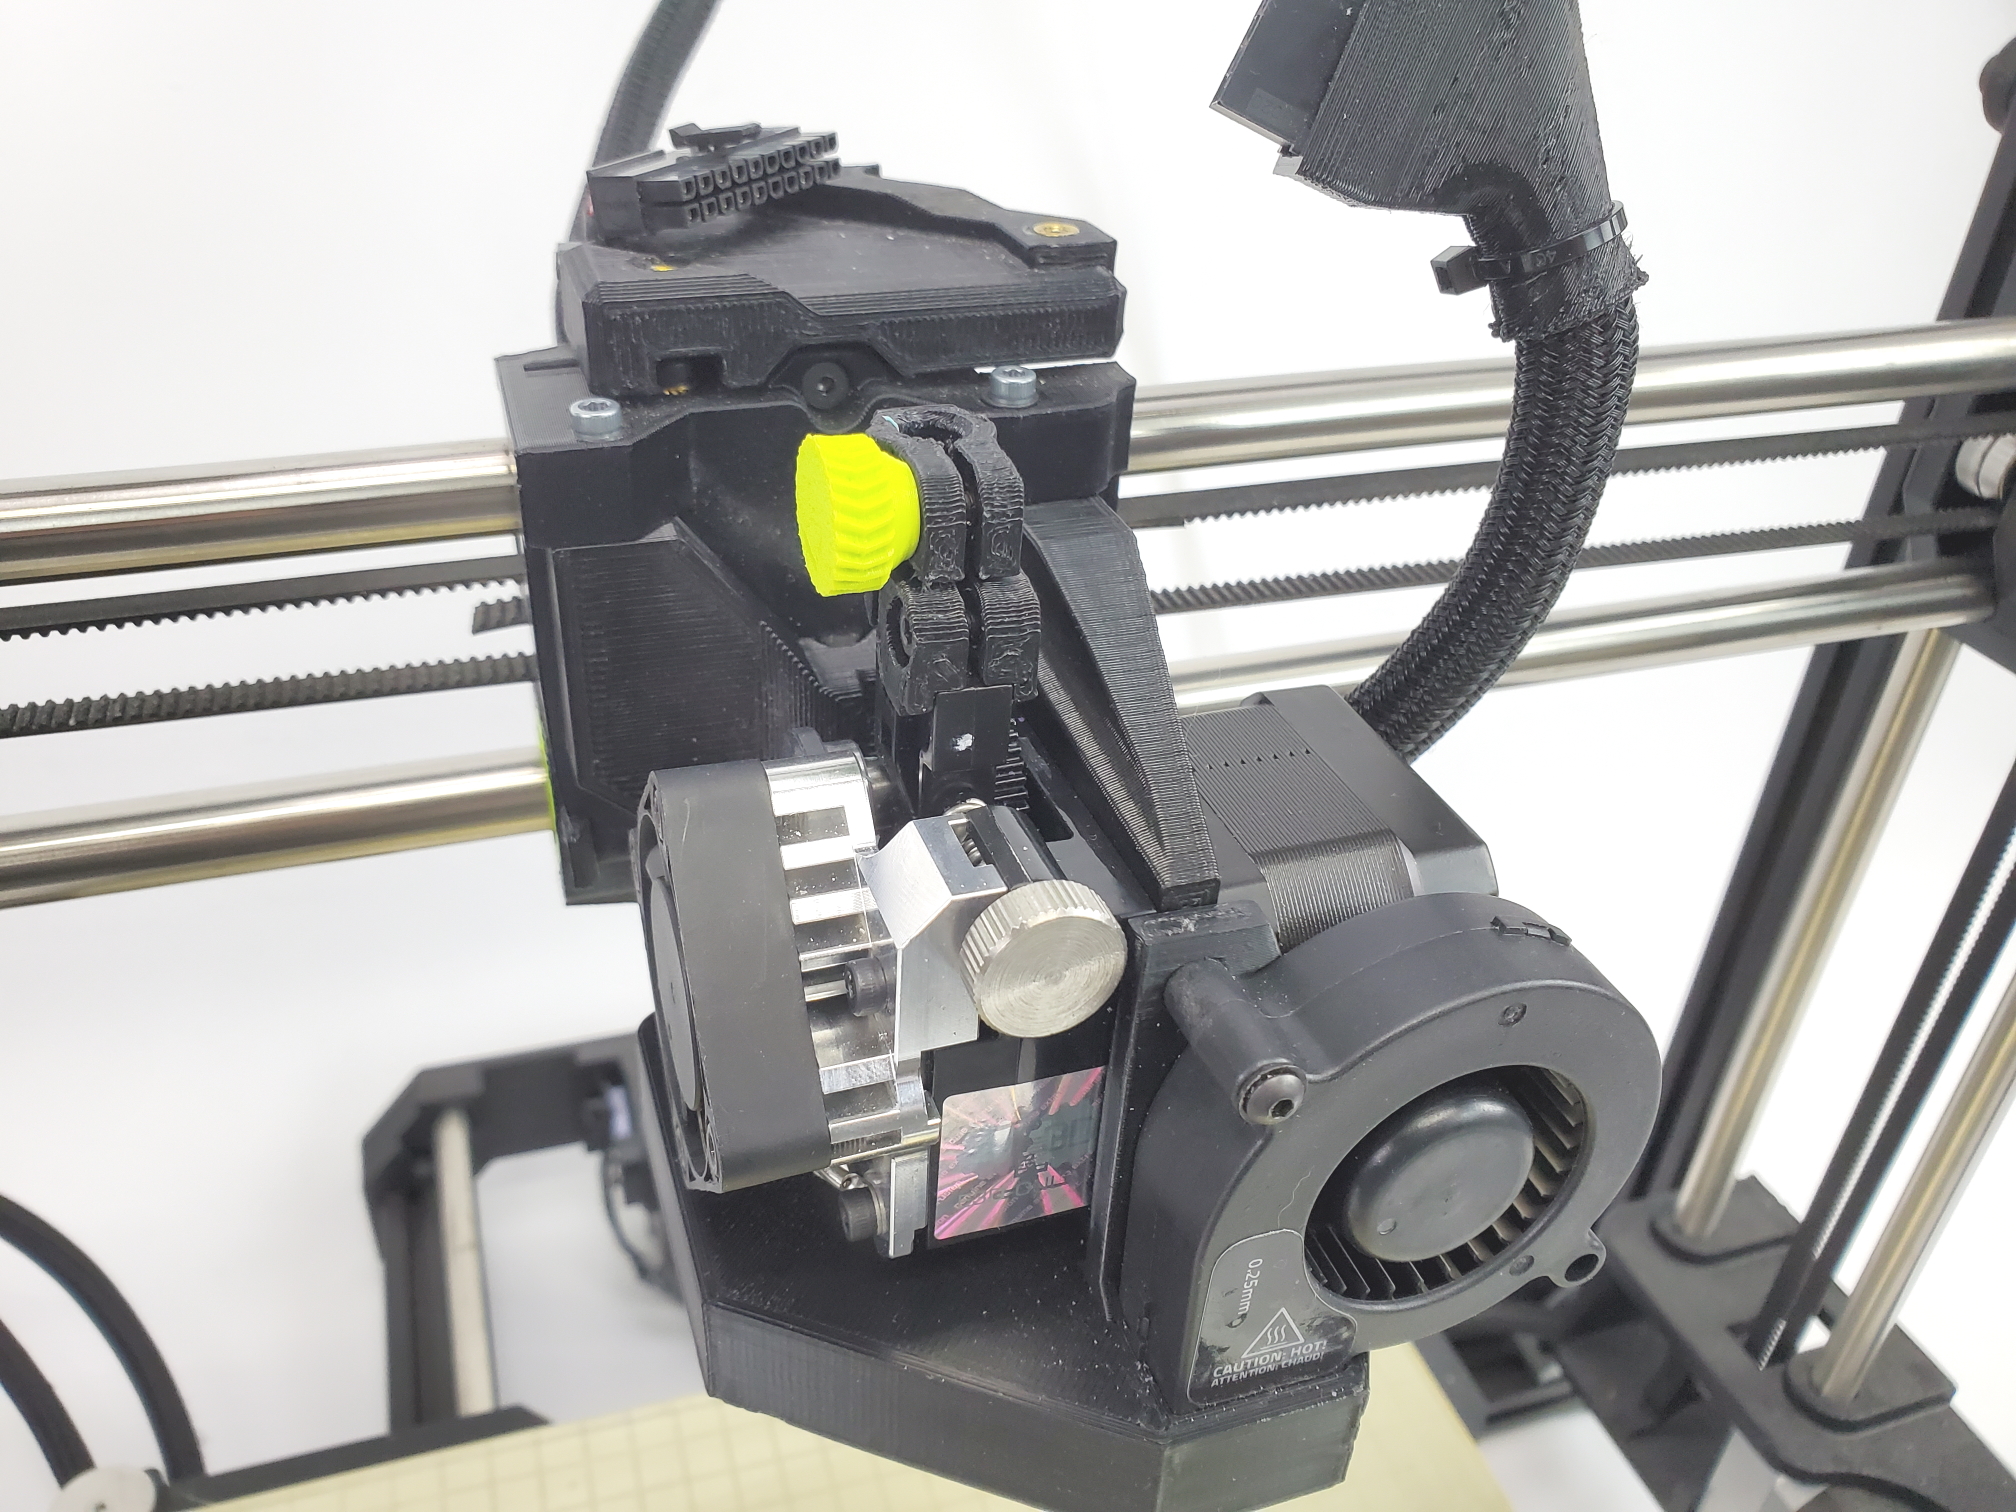
8A
Press the tool head onto the X-axis carriage, aligning the cutouts on the back of the new tool head. Do not pinch any wires between the mount and the carriage.
8B
Secure it to the X-axis carriage by loosely screwing in the top two screws. Leave the top two screws loose.
8C
Loosely screw in the last screw through the rear of the X-axis carriage.
8D
Tighten the top two screws.
8E
Tighten the rear screw.

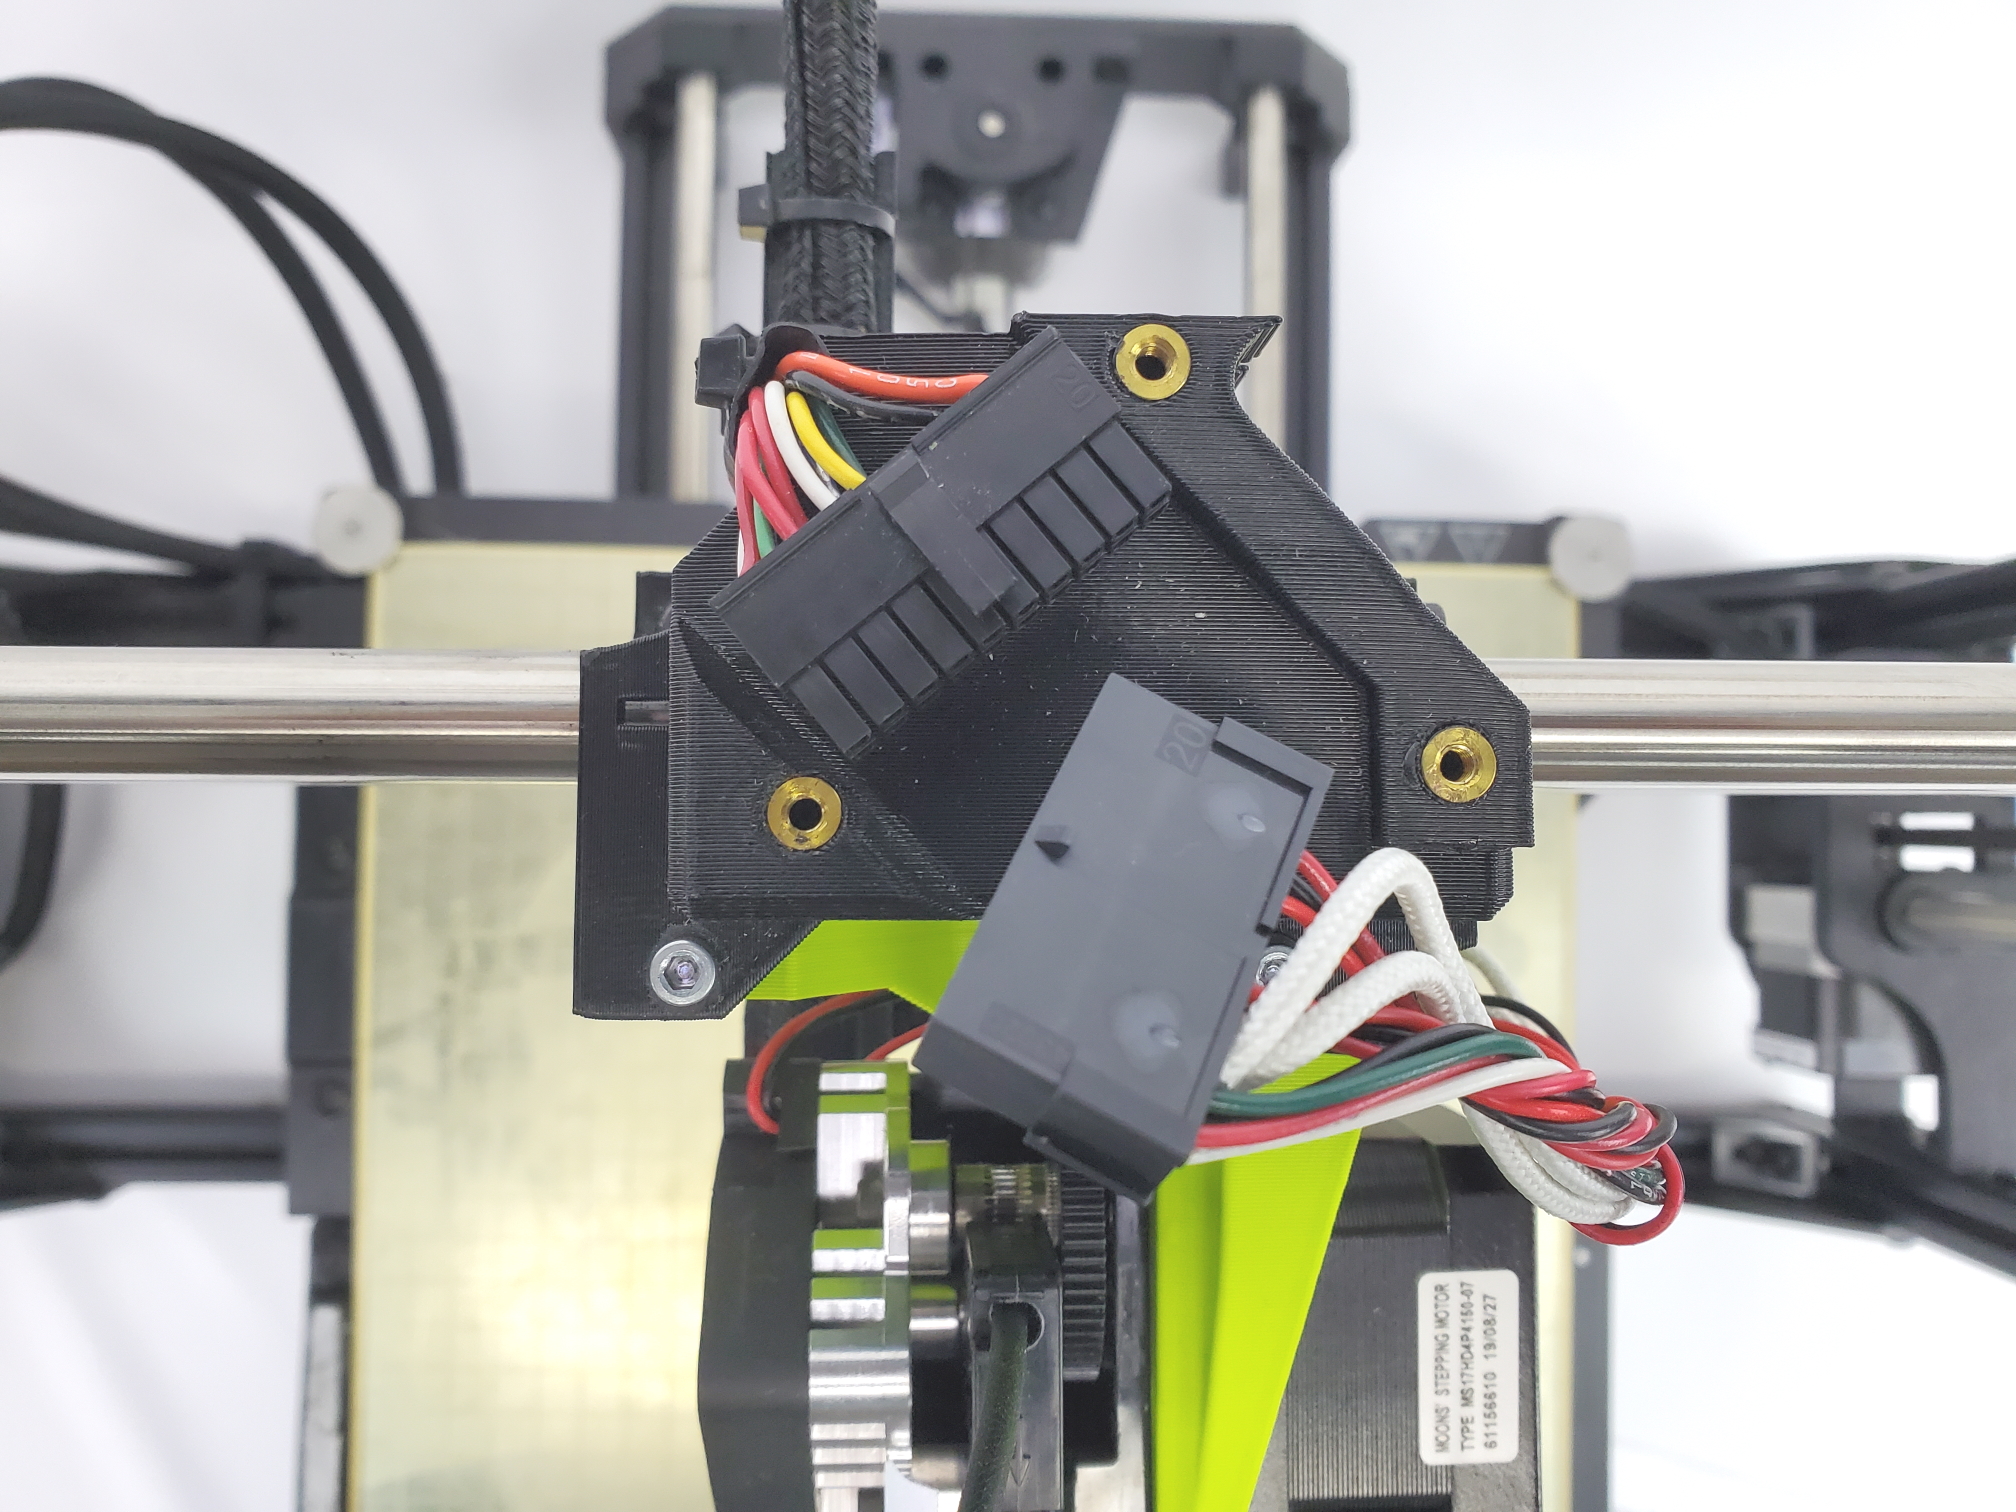
Connect the two connectors, making sure to fully seat the connectors until they lock.

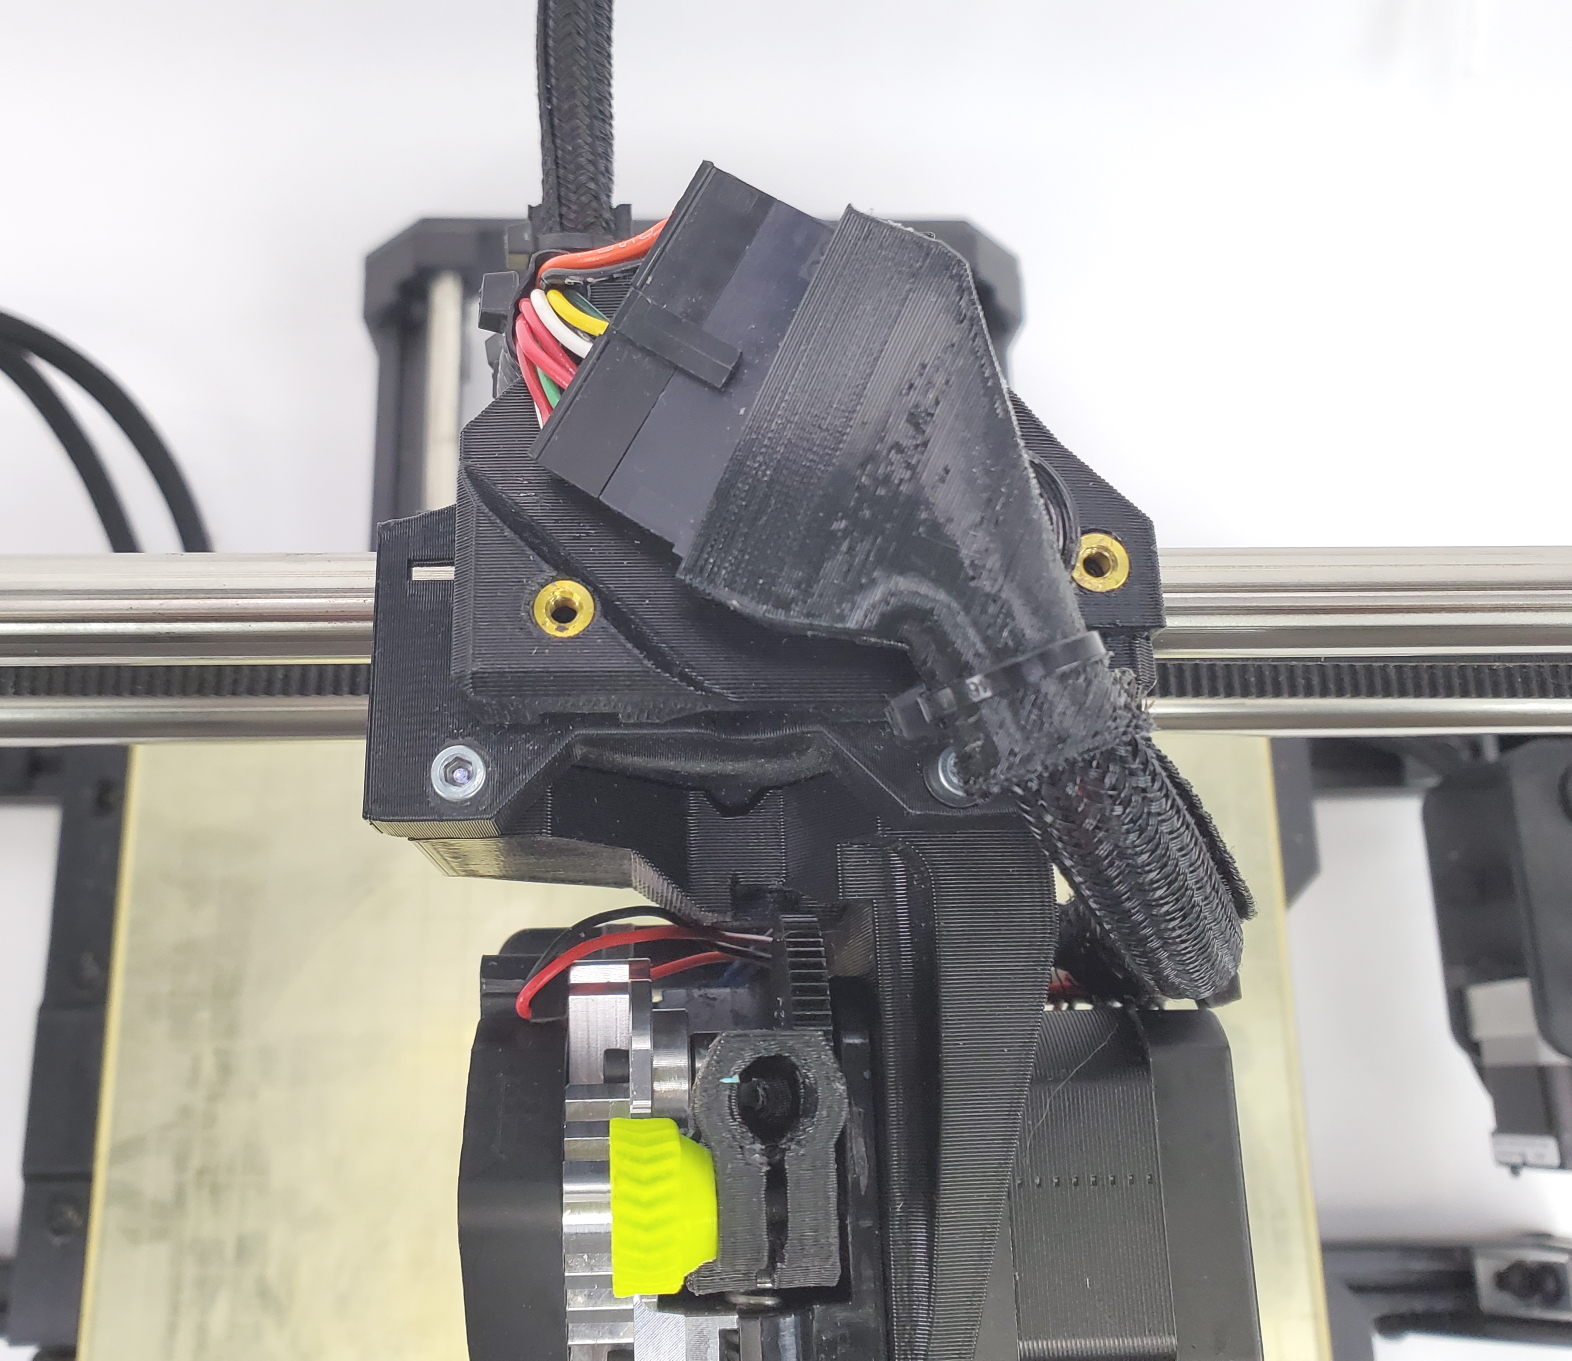
10A
Cover the connector with the carriage cap and attach it to the X-axis carriage using the three M3 screws and the 2.5 mm hex key.
10B
Channel the wires together going to down the vertical pathway on the cover mount, and try not to pinch any of the wires when securing the cover. Slide down carefully into place, and hold while screwing in.
Note: The cover may not fit on certain tool heads such as the Meteor 175/285, Asteroid 285, M175 v2.
For an updated carriage cap, you can download and print the updated version available HERE.
11A
Install the latest version of Cura LulzBot Edition. It is important to have the LulzBot Edition of Cura, as it has preset machine configuration profiles built into it.
11B
Go here to install http://LulzBot.com/Cura.
11C
Plug in your LulzBot 3D printer to the power supply and power on your 3D printer.
11D
Once powered on, connect your 3D printer to your computer using the USB cable.
11E
Open Cura LulzBot Edition.
12A
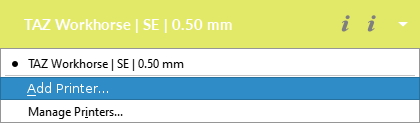
In the top right-hand menu for Cura LE, Select the Settings drop-down arrow > Printer > Add Printer
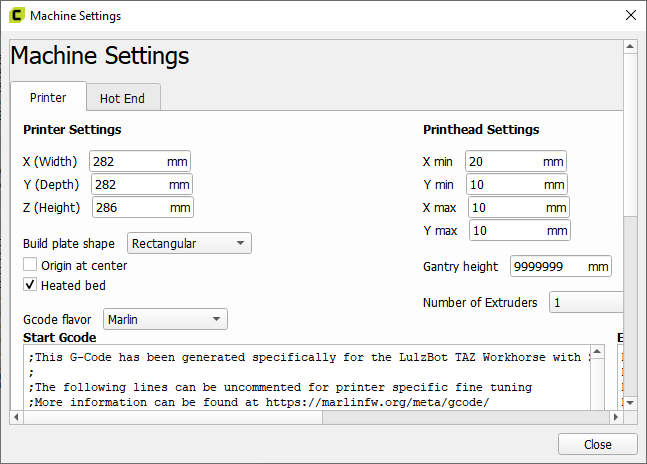
12B
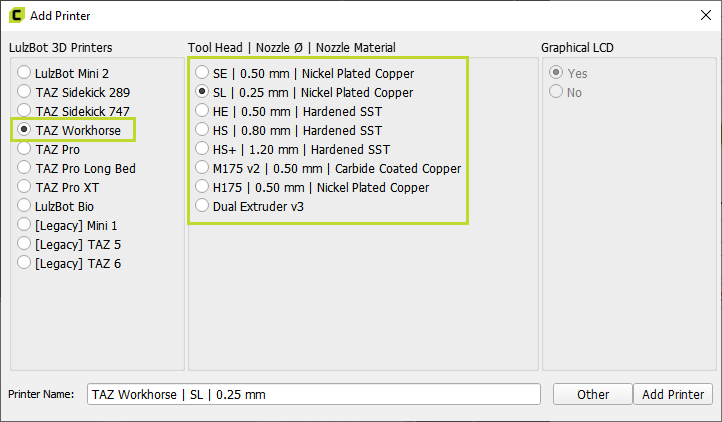
Select LulzBot TAZ Workhorse, SL | 0.25 mm, and click Add Printer.
(if you are using a different tool head, select the corresponding option)
12C
Select Finish.
13A
From the drop-down menu at the top right-hand side of Cura LE, Select Manage Printers.
13B
Confirm that the LulzBot TAZ Workhorse, SL | 0.25mm is selected, and click Upgrade Firmware.
(if you are using a different tool head, confirm the corresponding option)
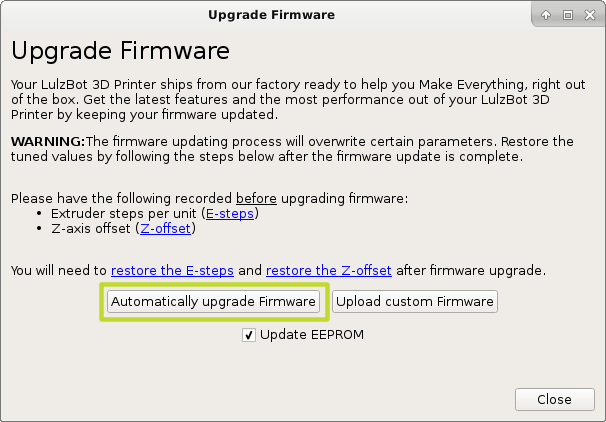
13C
Select Automatically Update Firmware. The Update EEPROM checkbox should be checked by default. Close any dialog windows after the firmware has been updated.
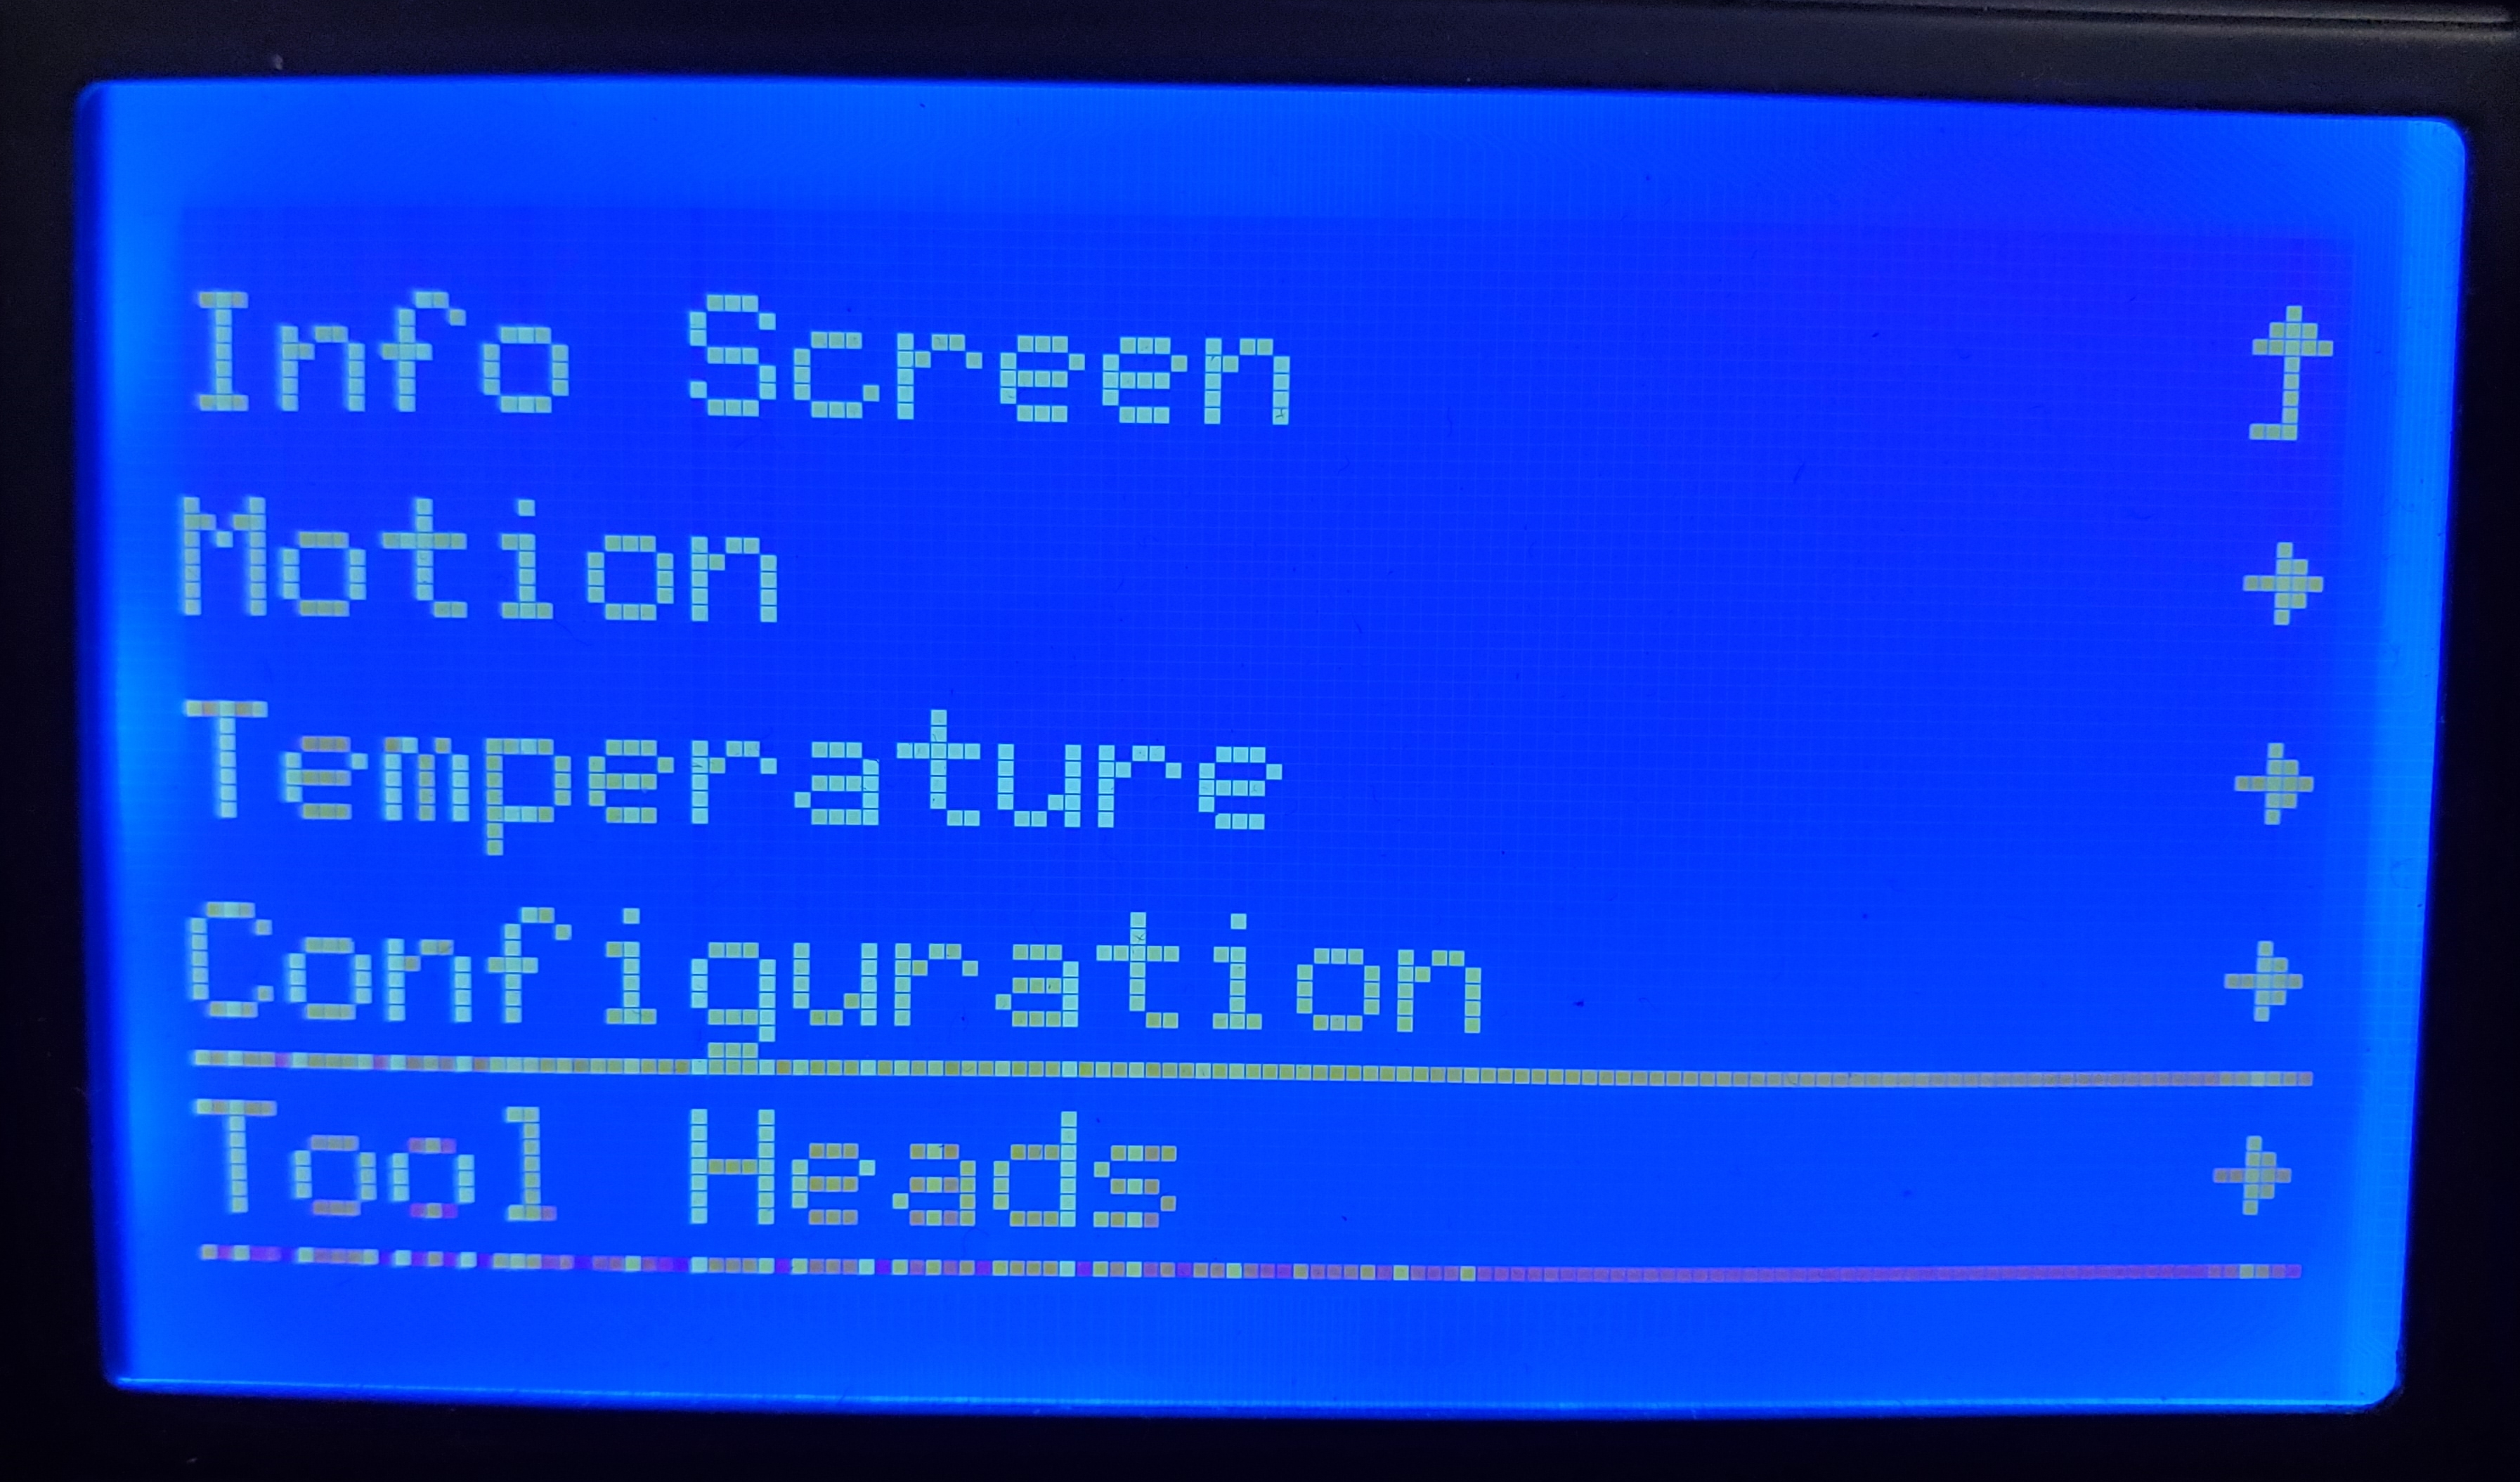
Navigate to the first menu screen on your printers LCD and select the Tool Heads menu.
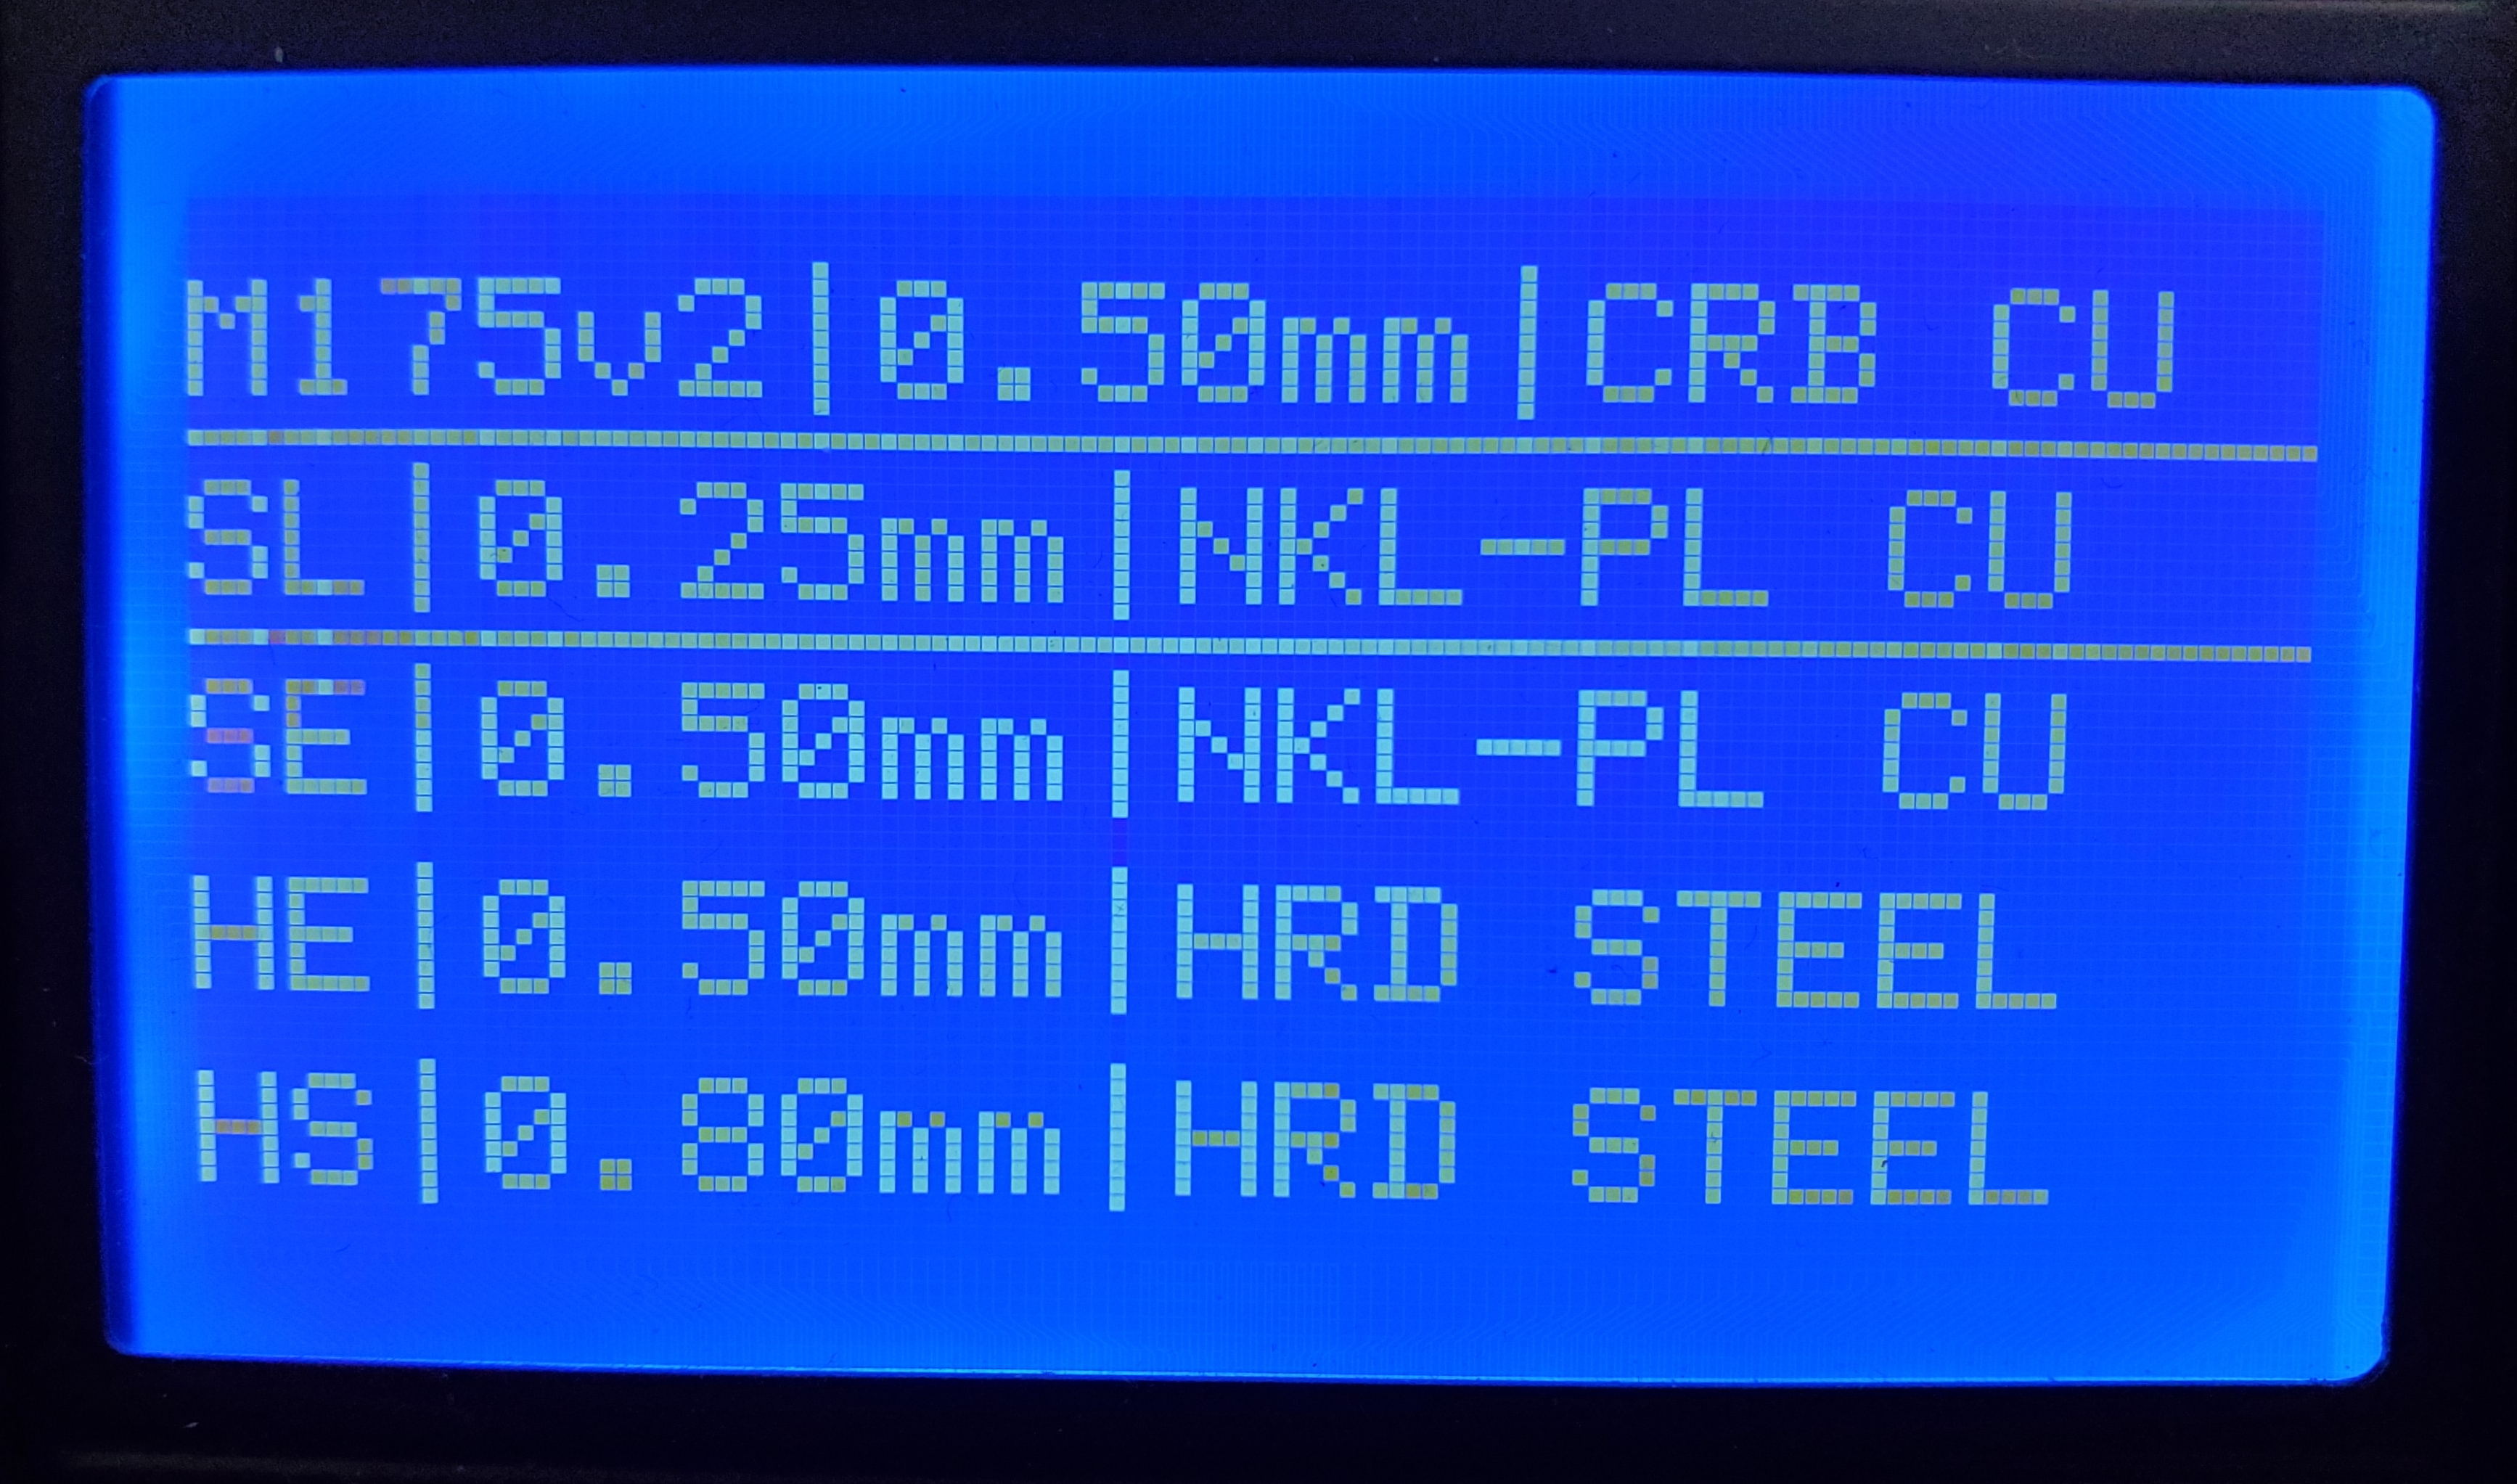
Scroll down until you find the correct tool head that corresponds with the tool head installed on your printer and select it.
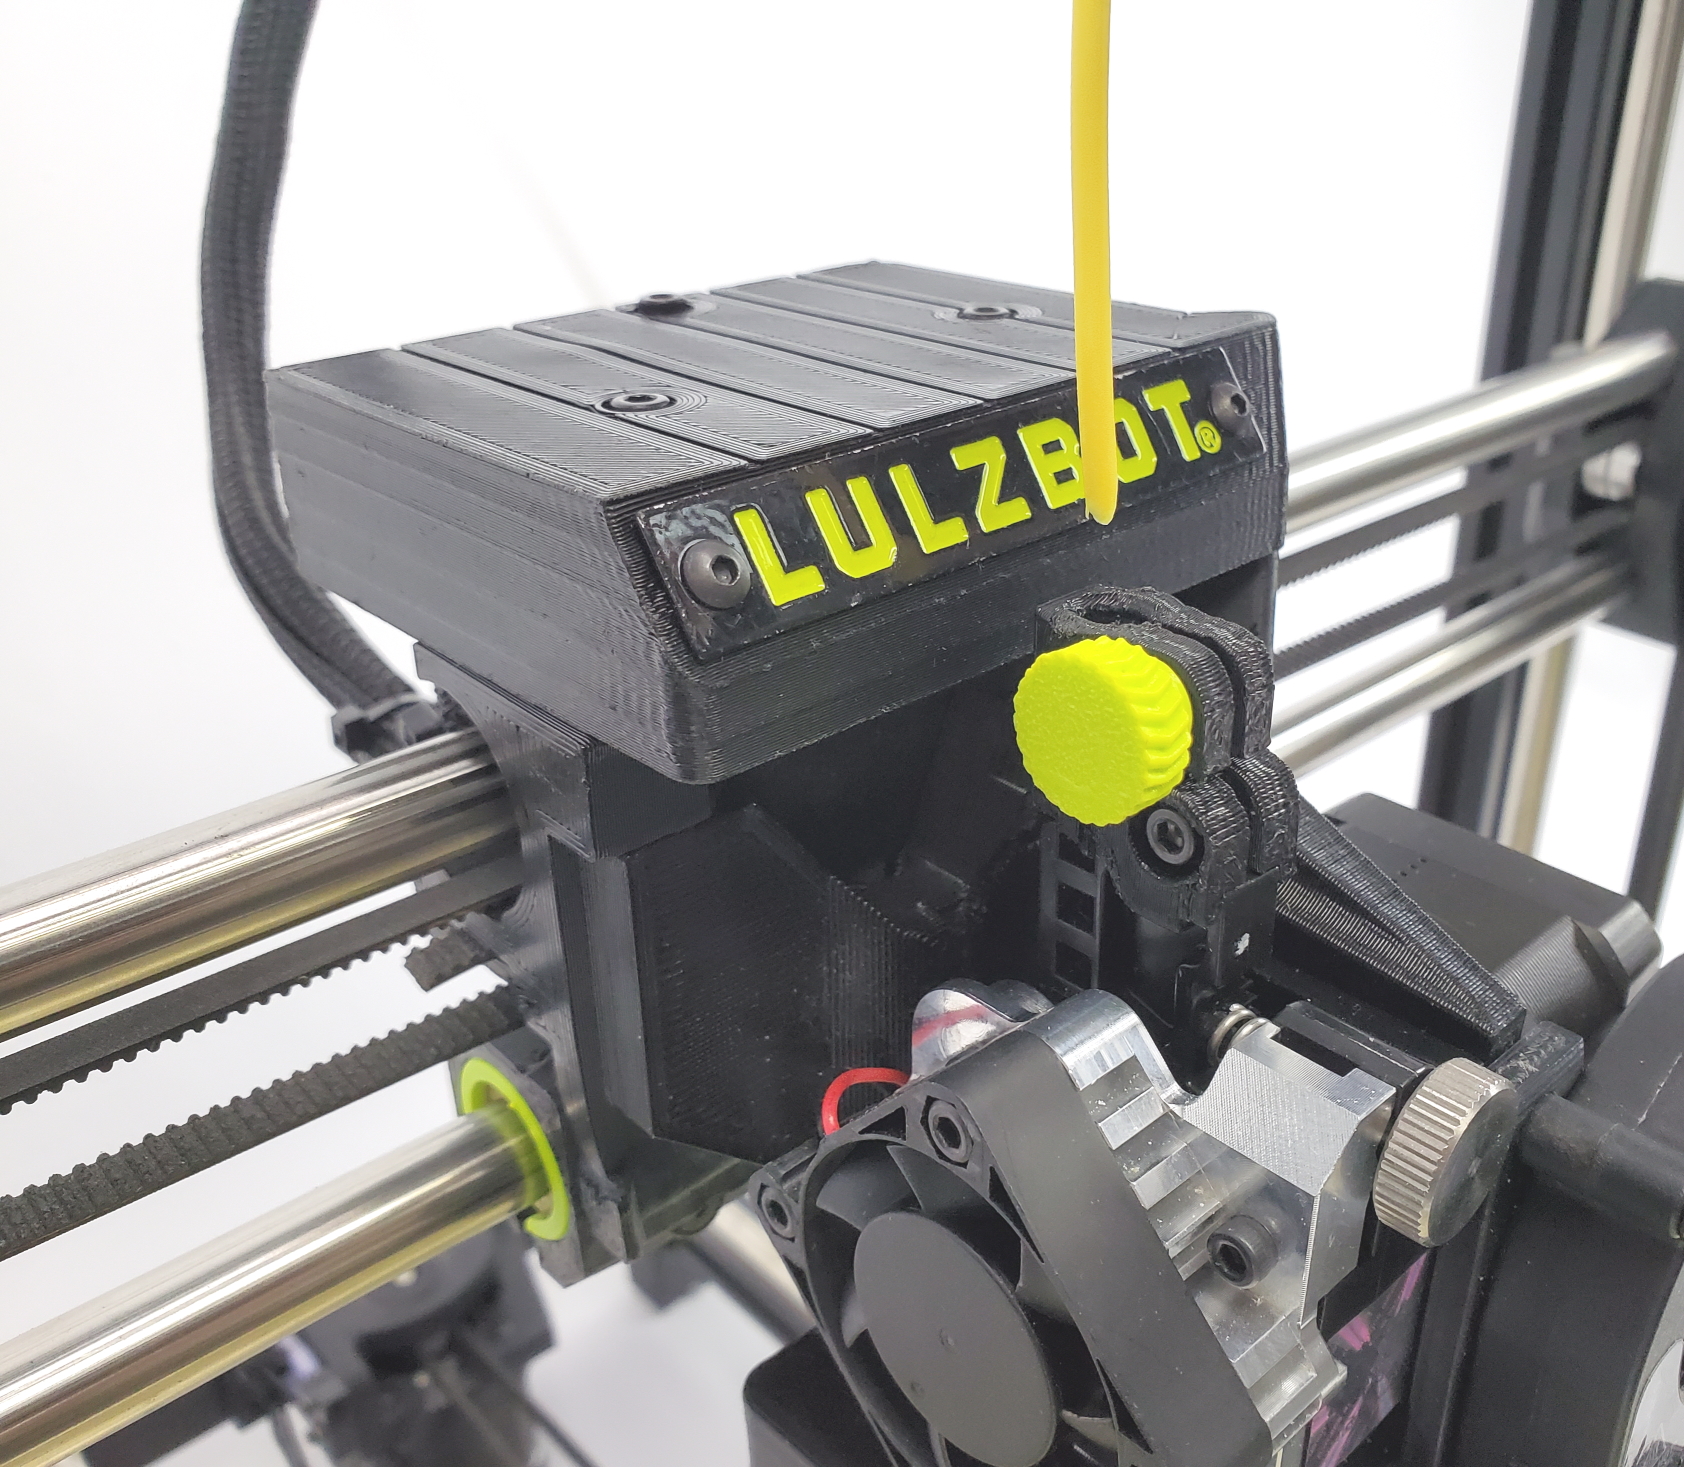
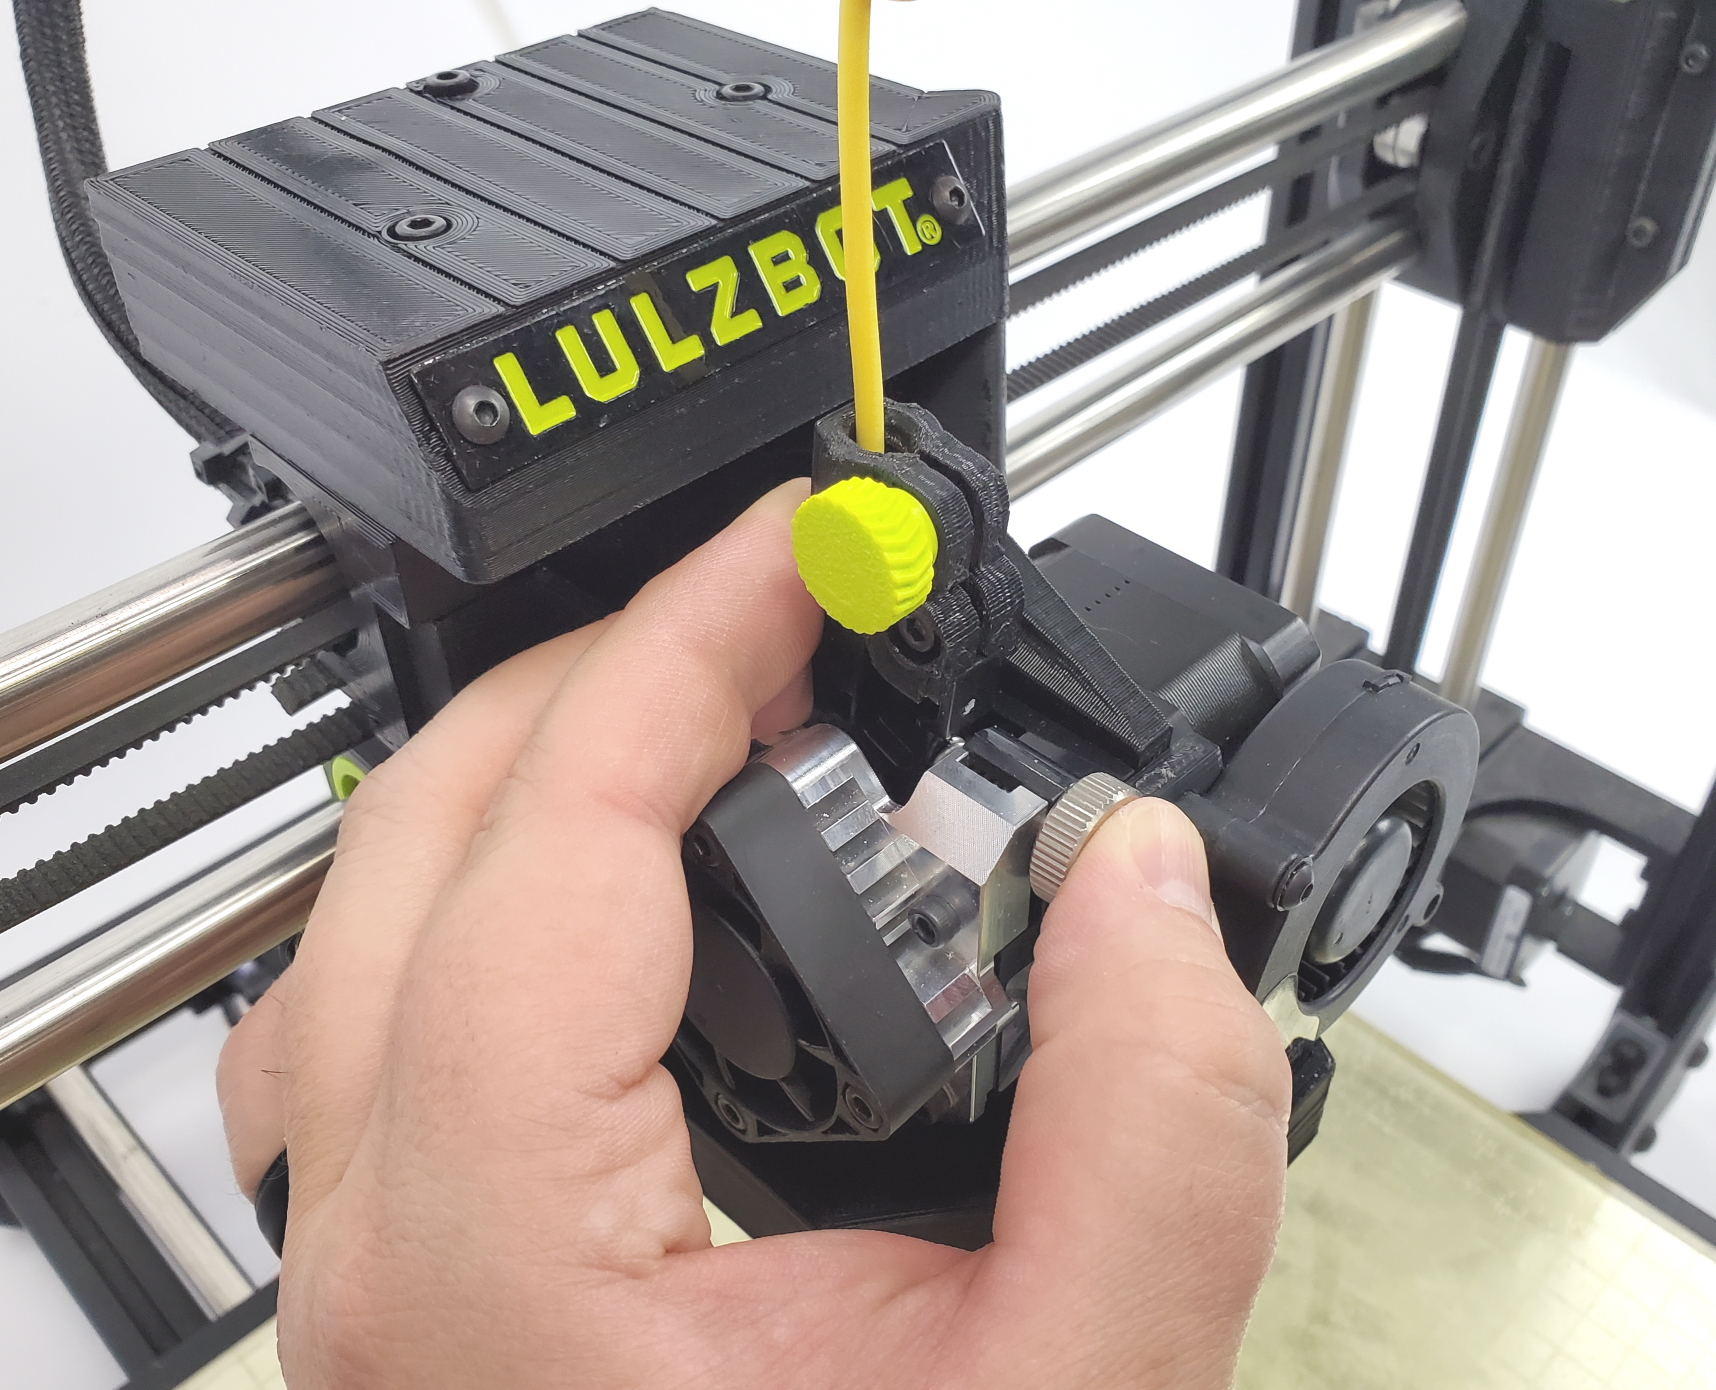
Filament Loading Tip: Cutting the filament at an angle will help with inserting into the extruder.
15A
Load the sample filament into the extruder. Squeeze the idler arm inward and insert the filament into the extruder filament guide.
15C
Extrude filament until you see the filament extruding from the nozzle
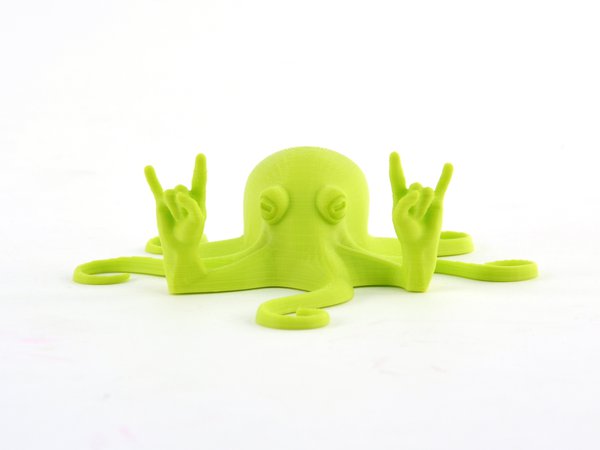
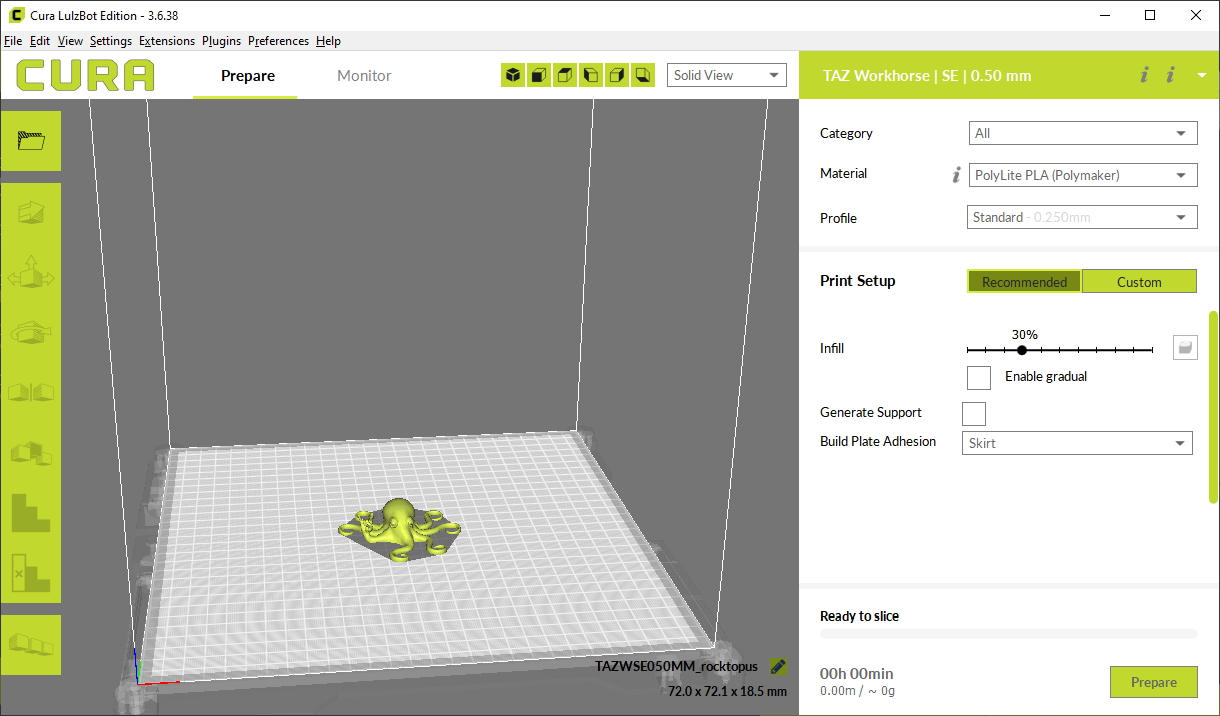
You've now finished installation and are ready to start printing! Try performing a test print, such as the Rock2pus.
If you encounter issues please contact Technical Support by emailing Support@LulzBot.com, or by calling +1-701-809-0800.