Open HardwareAssembly Instructions
Guides for installation and assembly of the LulzBot line of products made by FAME 3D LLC.
Guides for installation and assembly of the LulzBot line of products made by FAME 3D LLC.
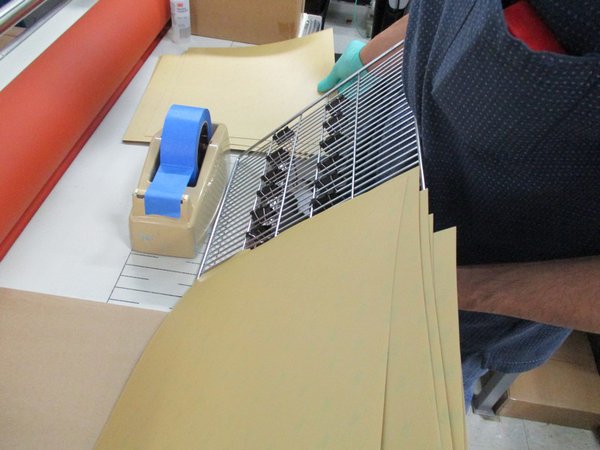
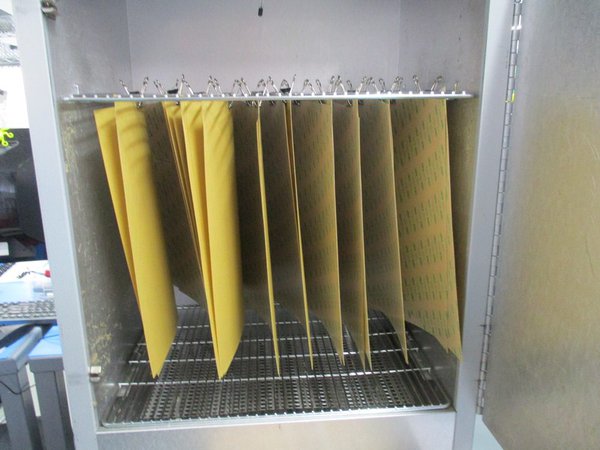
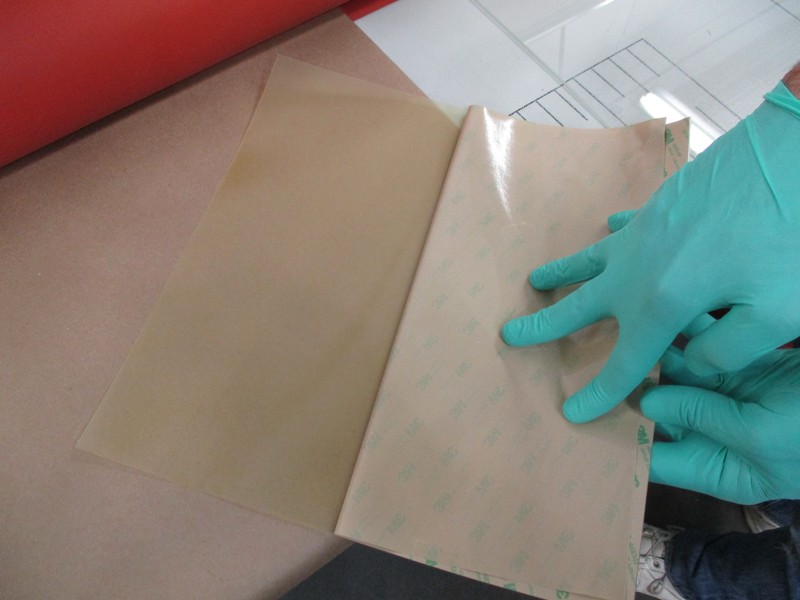
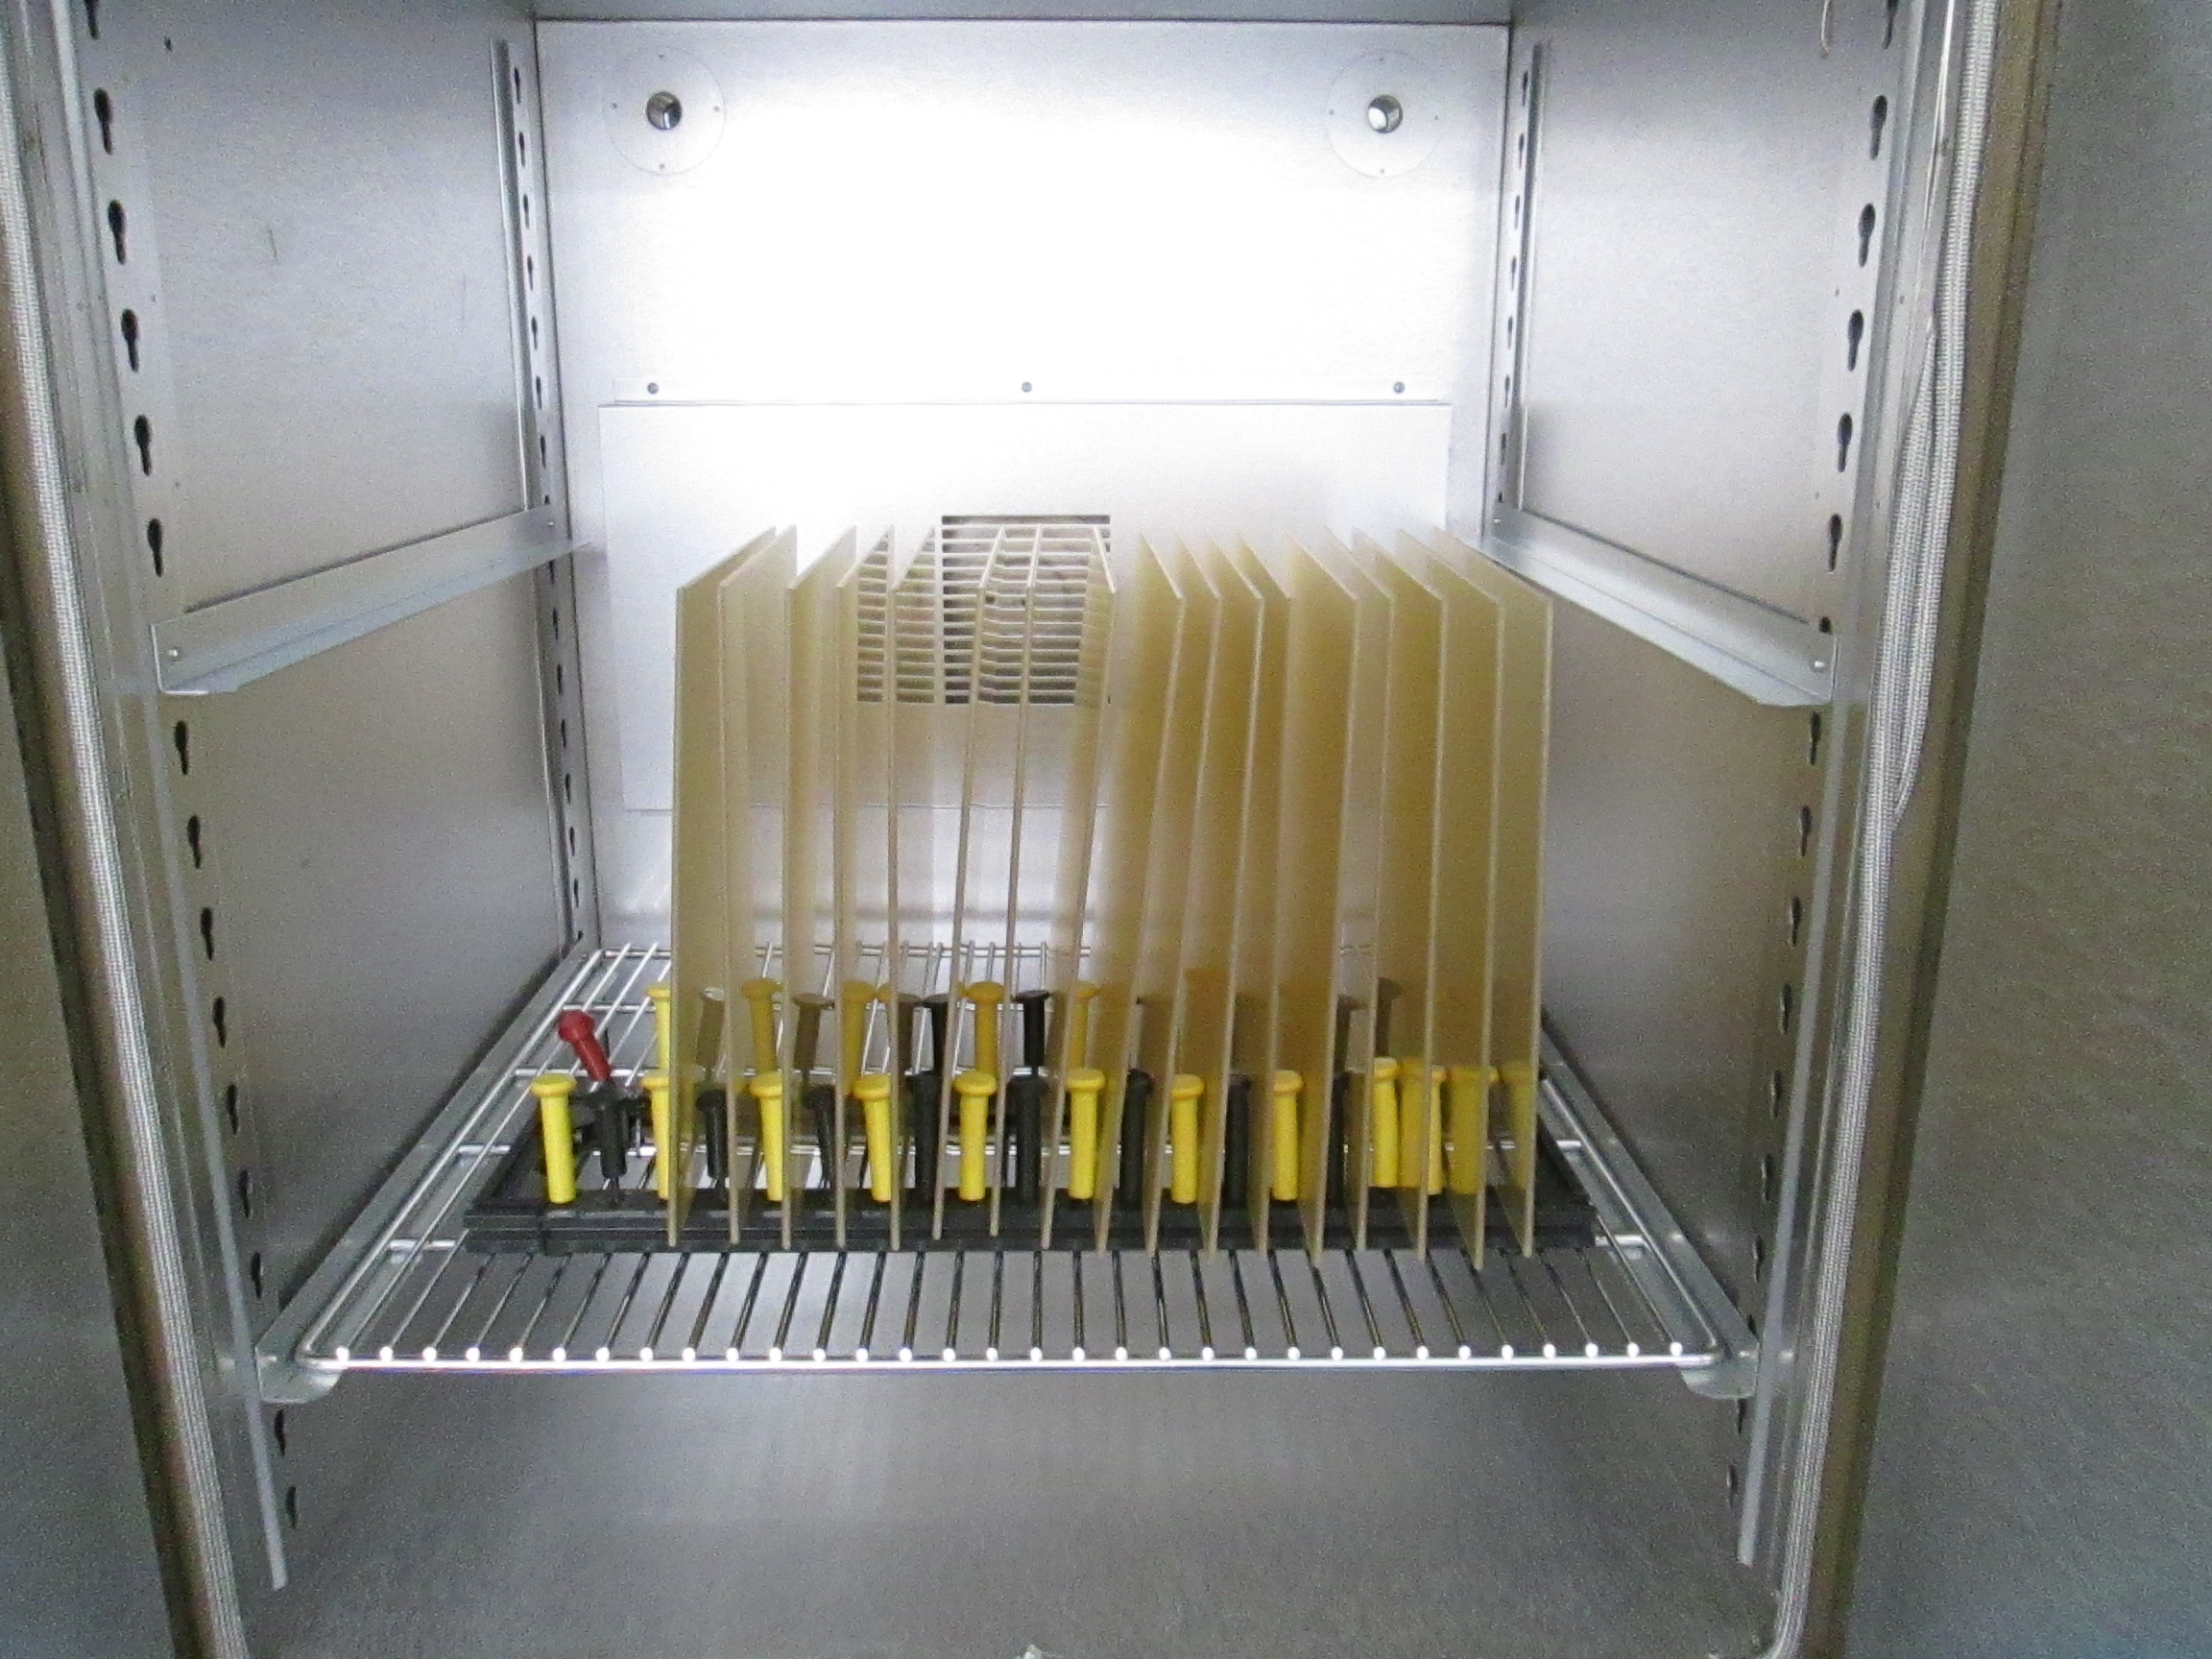
First we will prep the PEI to be attached to the borosilicate glass bed. Open a precut package of PEI sheets and attach to the oven rack via binder clips (see picture). These need to be hung so that the natural curvature of the PEI allows heat to rise to the top of the oven for an even bake (see images). Once the oven rack is full we will bake the PEI for a set amount of time depending on weather conditions. Check the humidity to determine the bake time.
Humidity:
0%-69% - 1 hour and 30 minutes
70%-85% - 1 hour and 45 minutes
85%-100% - 2 hours max
NOTE: Do not exceed 2 hours when baking the PEI it can cause the adhesive to run and create bare patches lacking adhesive, as well as introduce microbubbles that will cause "silvering" during post bake.
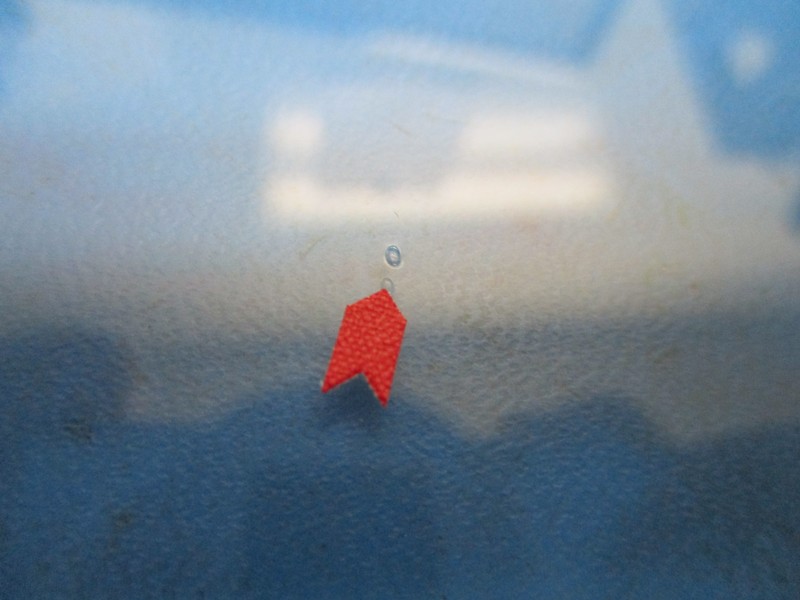
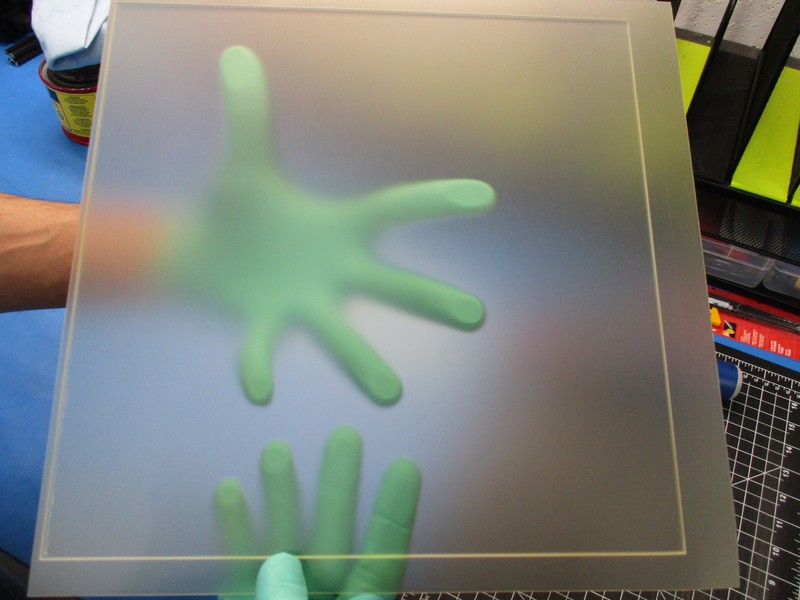
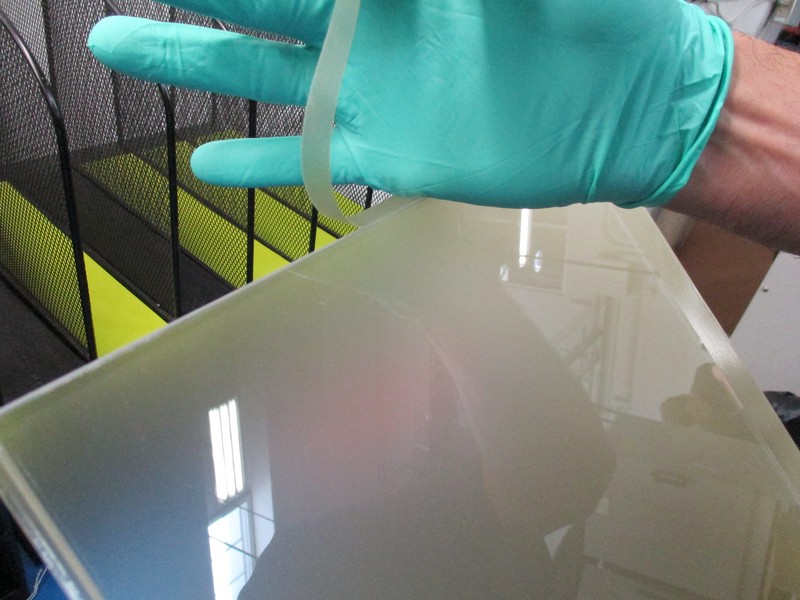
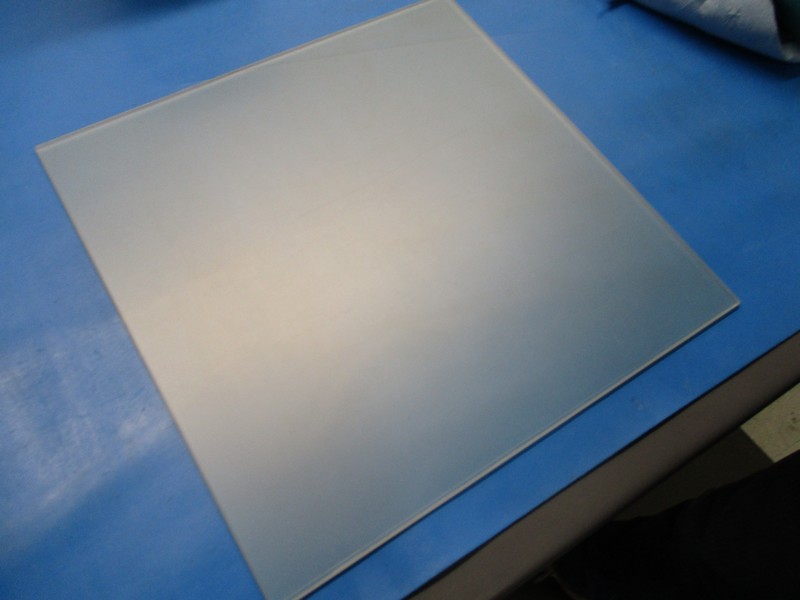
Once the PEI has finished baking we are ready to apply it to a borosilicate glass bed. To start we will inspect the glass bed for chips and trapped air bubbles (see images). Do not use glass with trapped air bubbles. Some minor chips can be cleaned up with a glass file, but if they are too bad do not use the glass. Now we will spray the glass with some AP115 Silane Glass Treatment. This allows the adhesive to flow/spread across the surface of the glass for optimal adhesion. Use 3-4 squirts covering the entire surface area of the glass and wipe til dry with a clean paper towel.


Now that the borosilicate glass is prepped we are ready to apply the PEI sheet to the glass. First grab a sheet of baked PEI from the oven and do an initial inspection of the PEI. Look for small microbubbles or patches that no longer have adhesive. If you find some PEI with patches of adhesive missing, you may be able to still use some of the PEI on a mini heat bed, avoiding the missing patch of adhesive. Do not use if there are microbubbles present throughout the sheet or the PEI will "silver" in post bake.
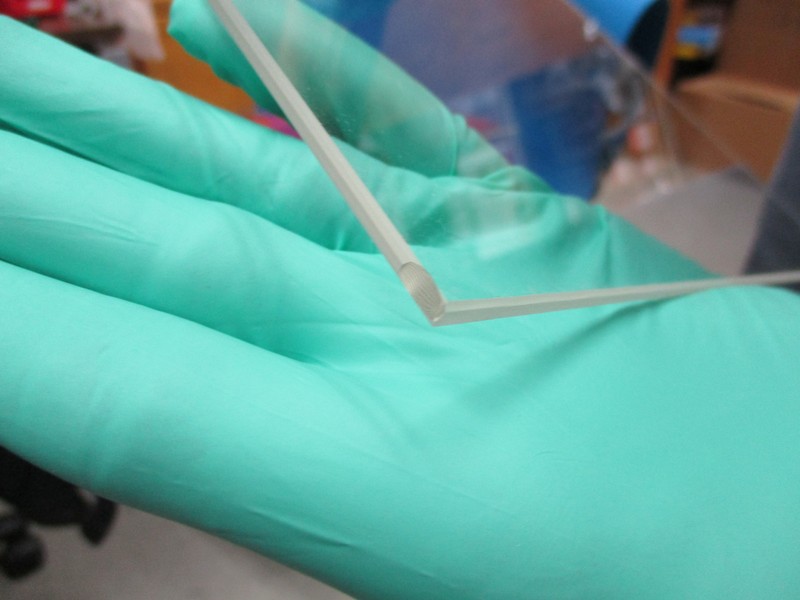
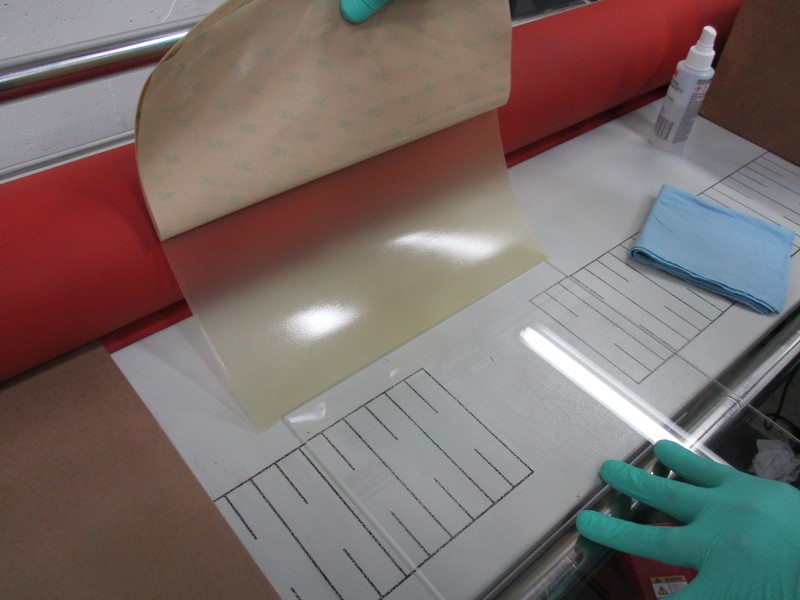
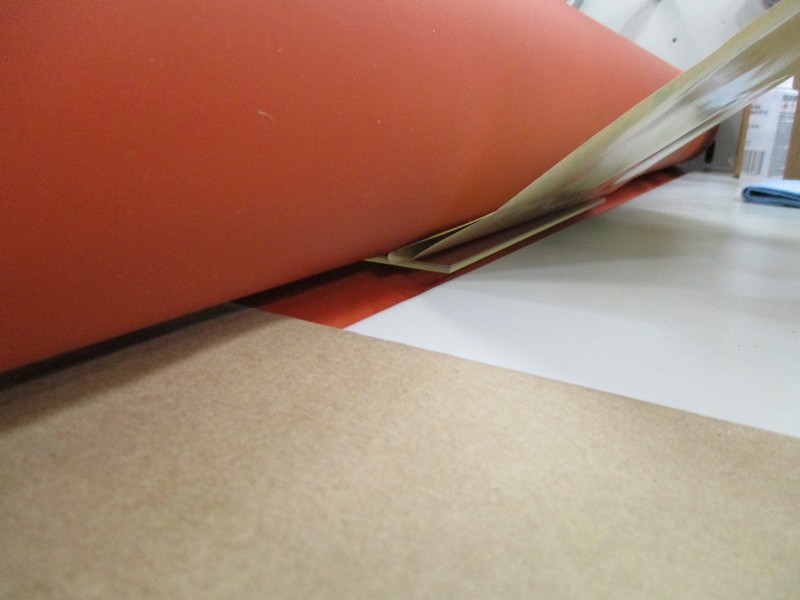
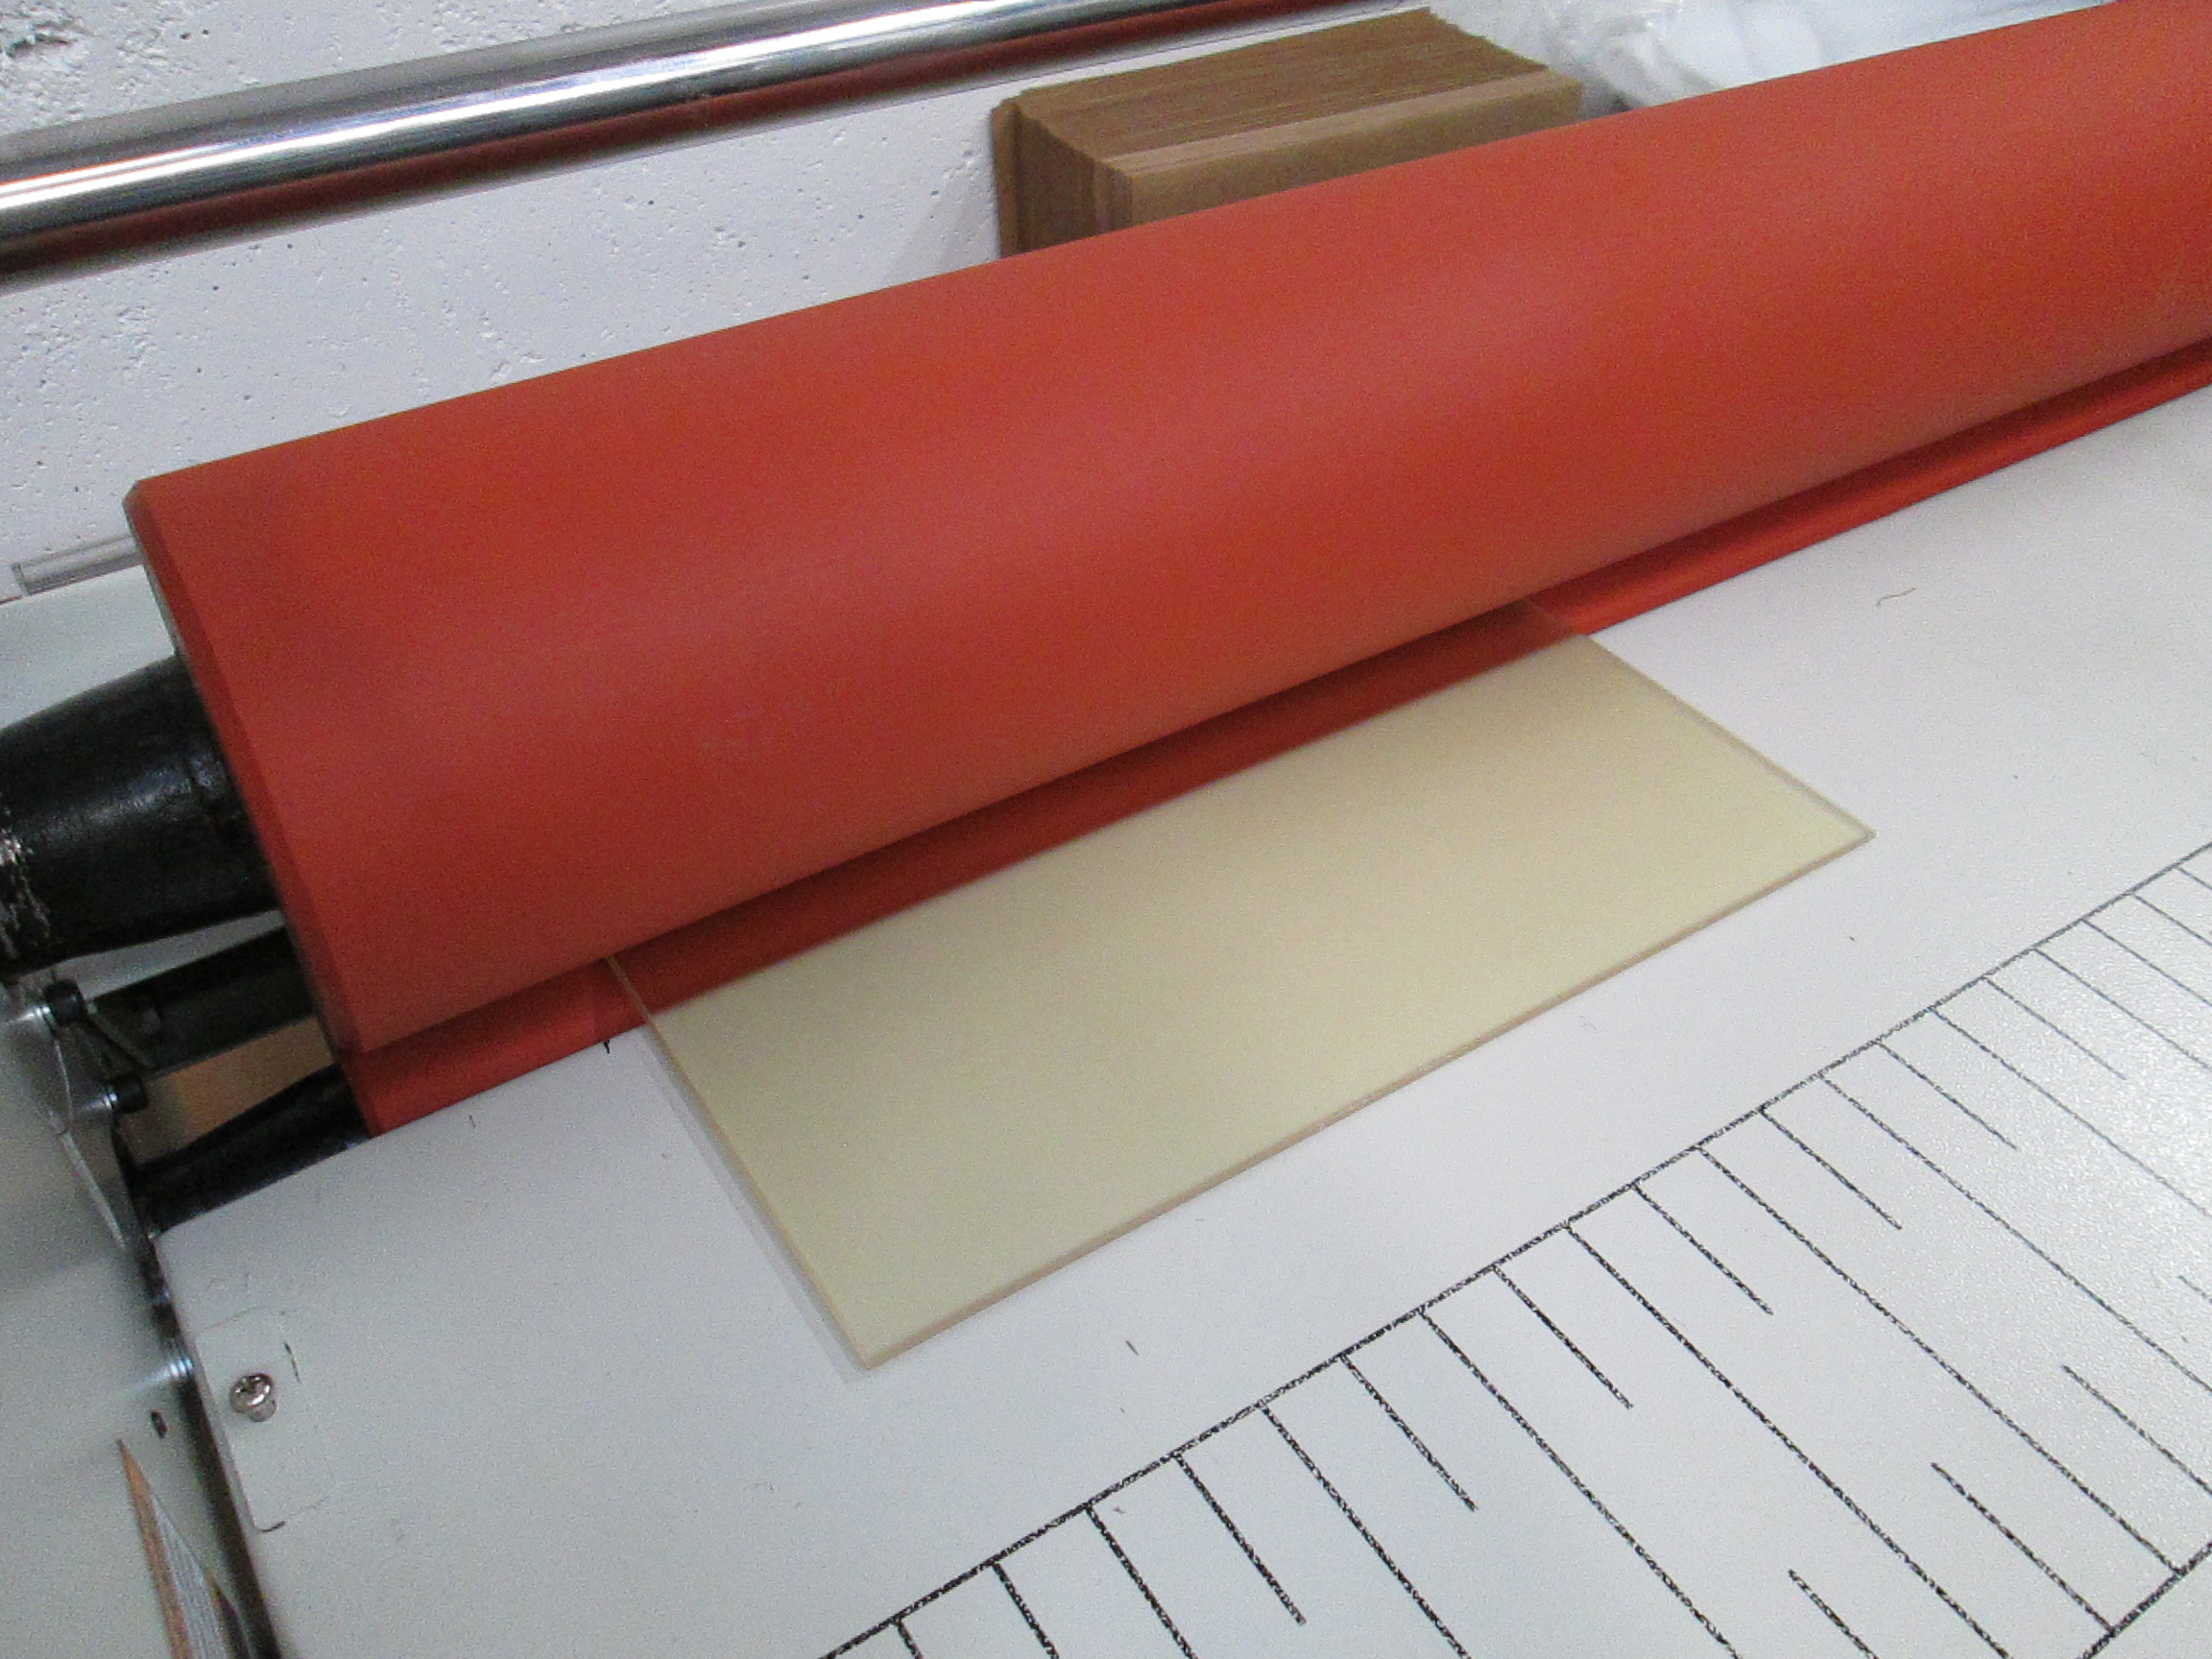
Now we will attach the PEI to the glass. Pull the adhesive backing about halfway off the PEI sheet. Attach the PEI to the edge of the glass with the PEI sticking nearly straight up, about 90 degrees from the surface of the glass (see images). Next, feed the glass with the PEI attached to the edge into the roller to ensure no air bubbles are trapped during the lamination process. Keep the PEI at about a 45 degree angle to the glass when feeding through the rollers and peel the backing as the roller pulls the glass and PEI through (see images). Try and keep the backing on as long as possible. Dont peel too much because if the PEI falls and touches the glass you will end up with trapped bubbles. Feed all the way through the laminator and you will have a piece of glass with PEI attached and no trapped air bubbles.
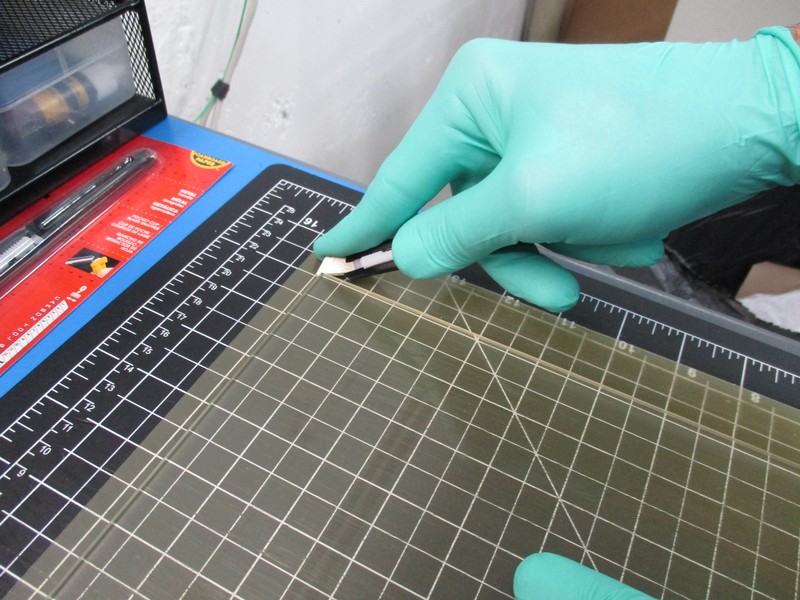
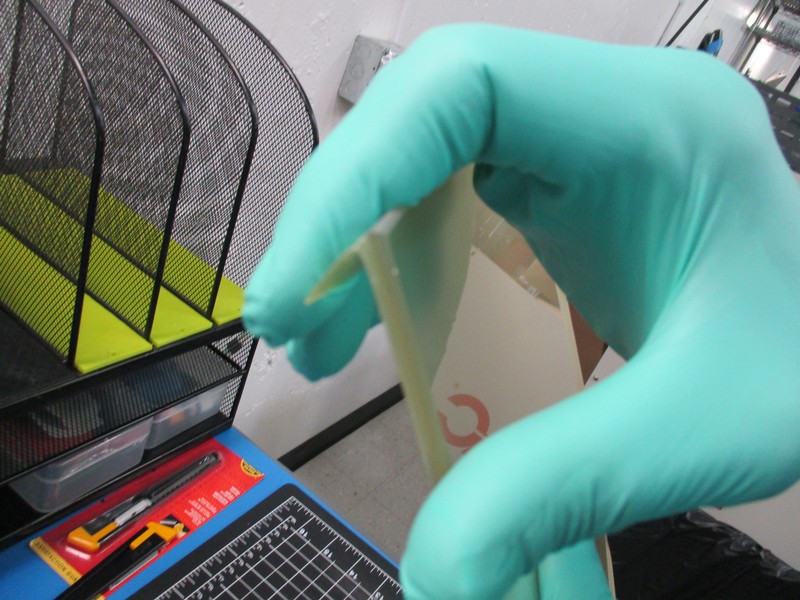
Now we need to trim the excess PEI off the glass bed. Using the adjustable razor blade and cutting mat, push two blade sections out of the razor to allow enough clearance from the edge of the glass to trim the PEI (see picture). Run the blade along the edge of the glass just enough to "score" the PEI. Now fold the edge of the PEI forward and it will snap free (see picture) and you can remove the trimmed edge (see picture).


Now that the second press is complete it is time to run the bed through the post bake cycle. Fill the rack in the post bake oven as pictured.
Run the post bake cycle for 1 hour and the post bake will be complete
After the post bake, while the bed is still hot, put it through the laminator rollers again the same as in step 3 .
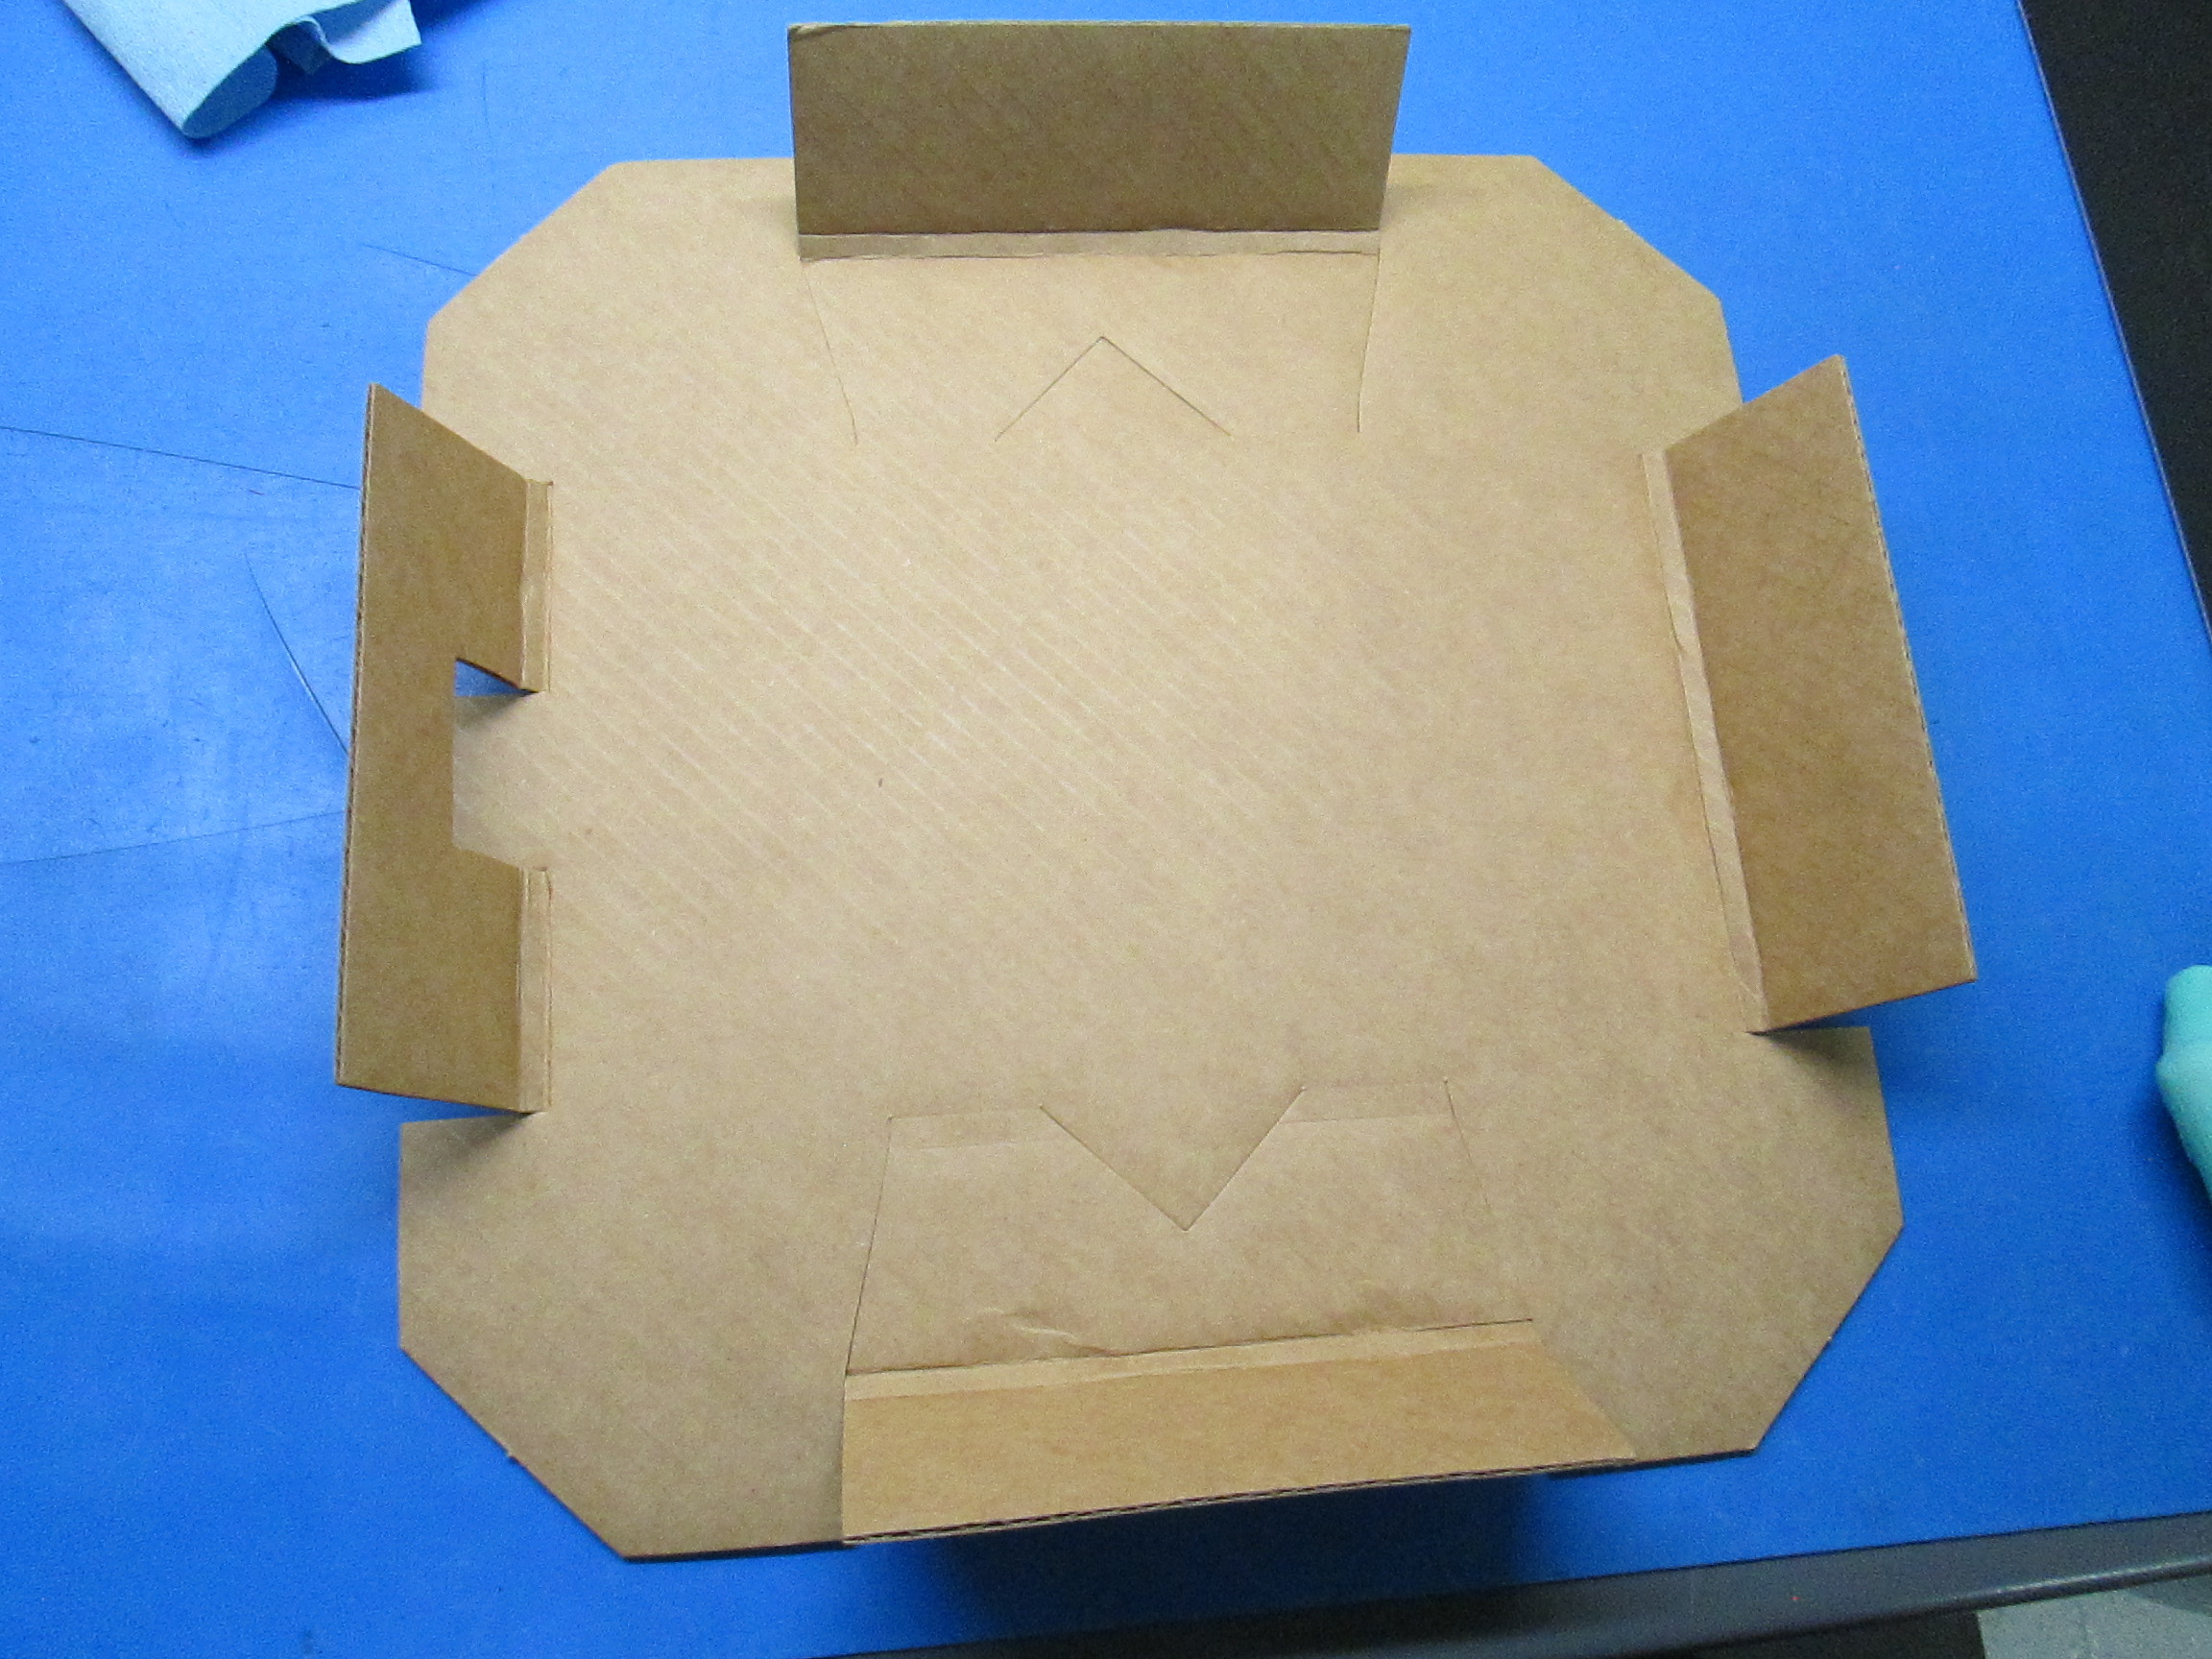
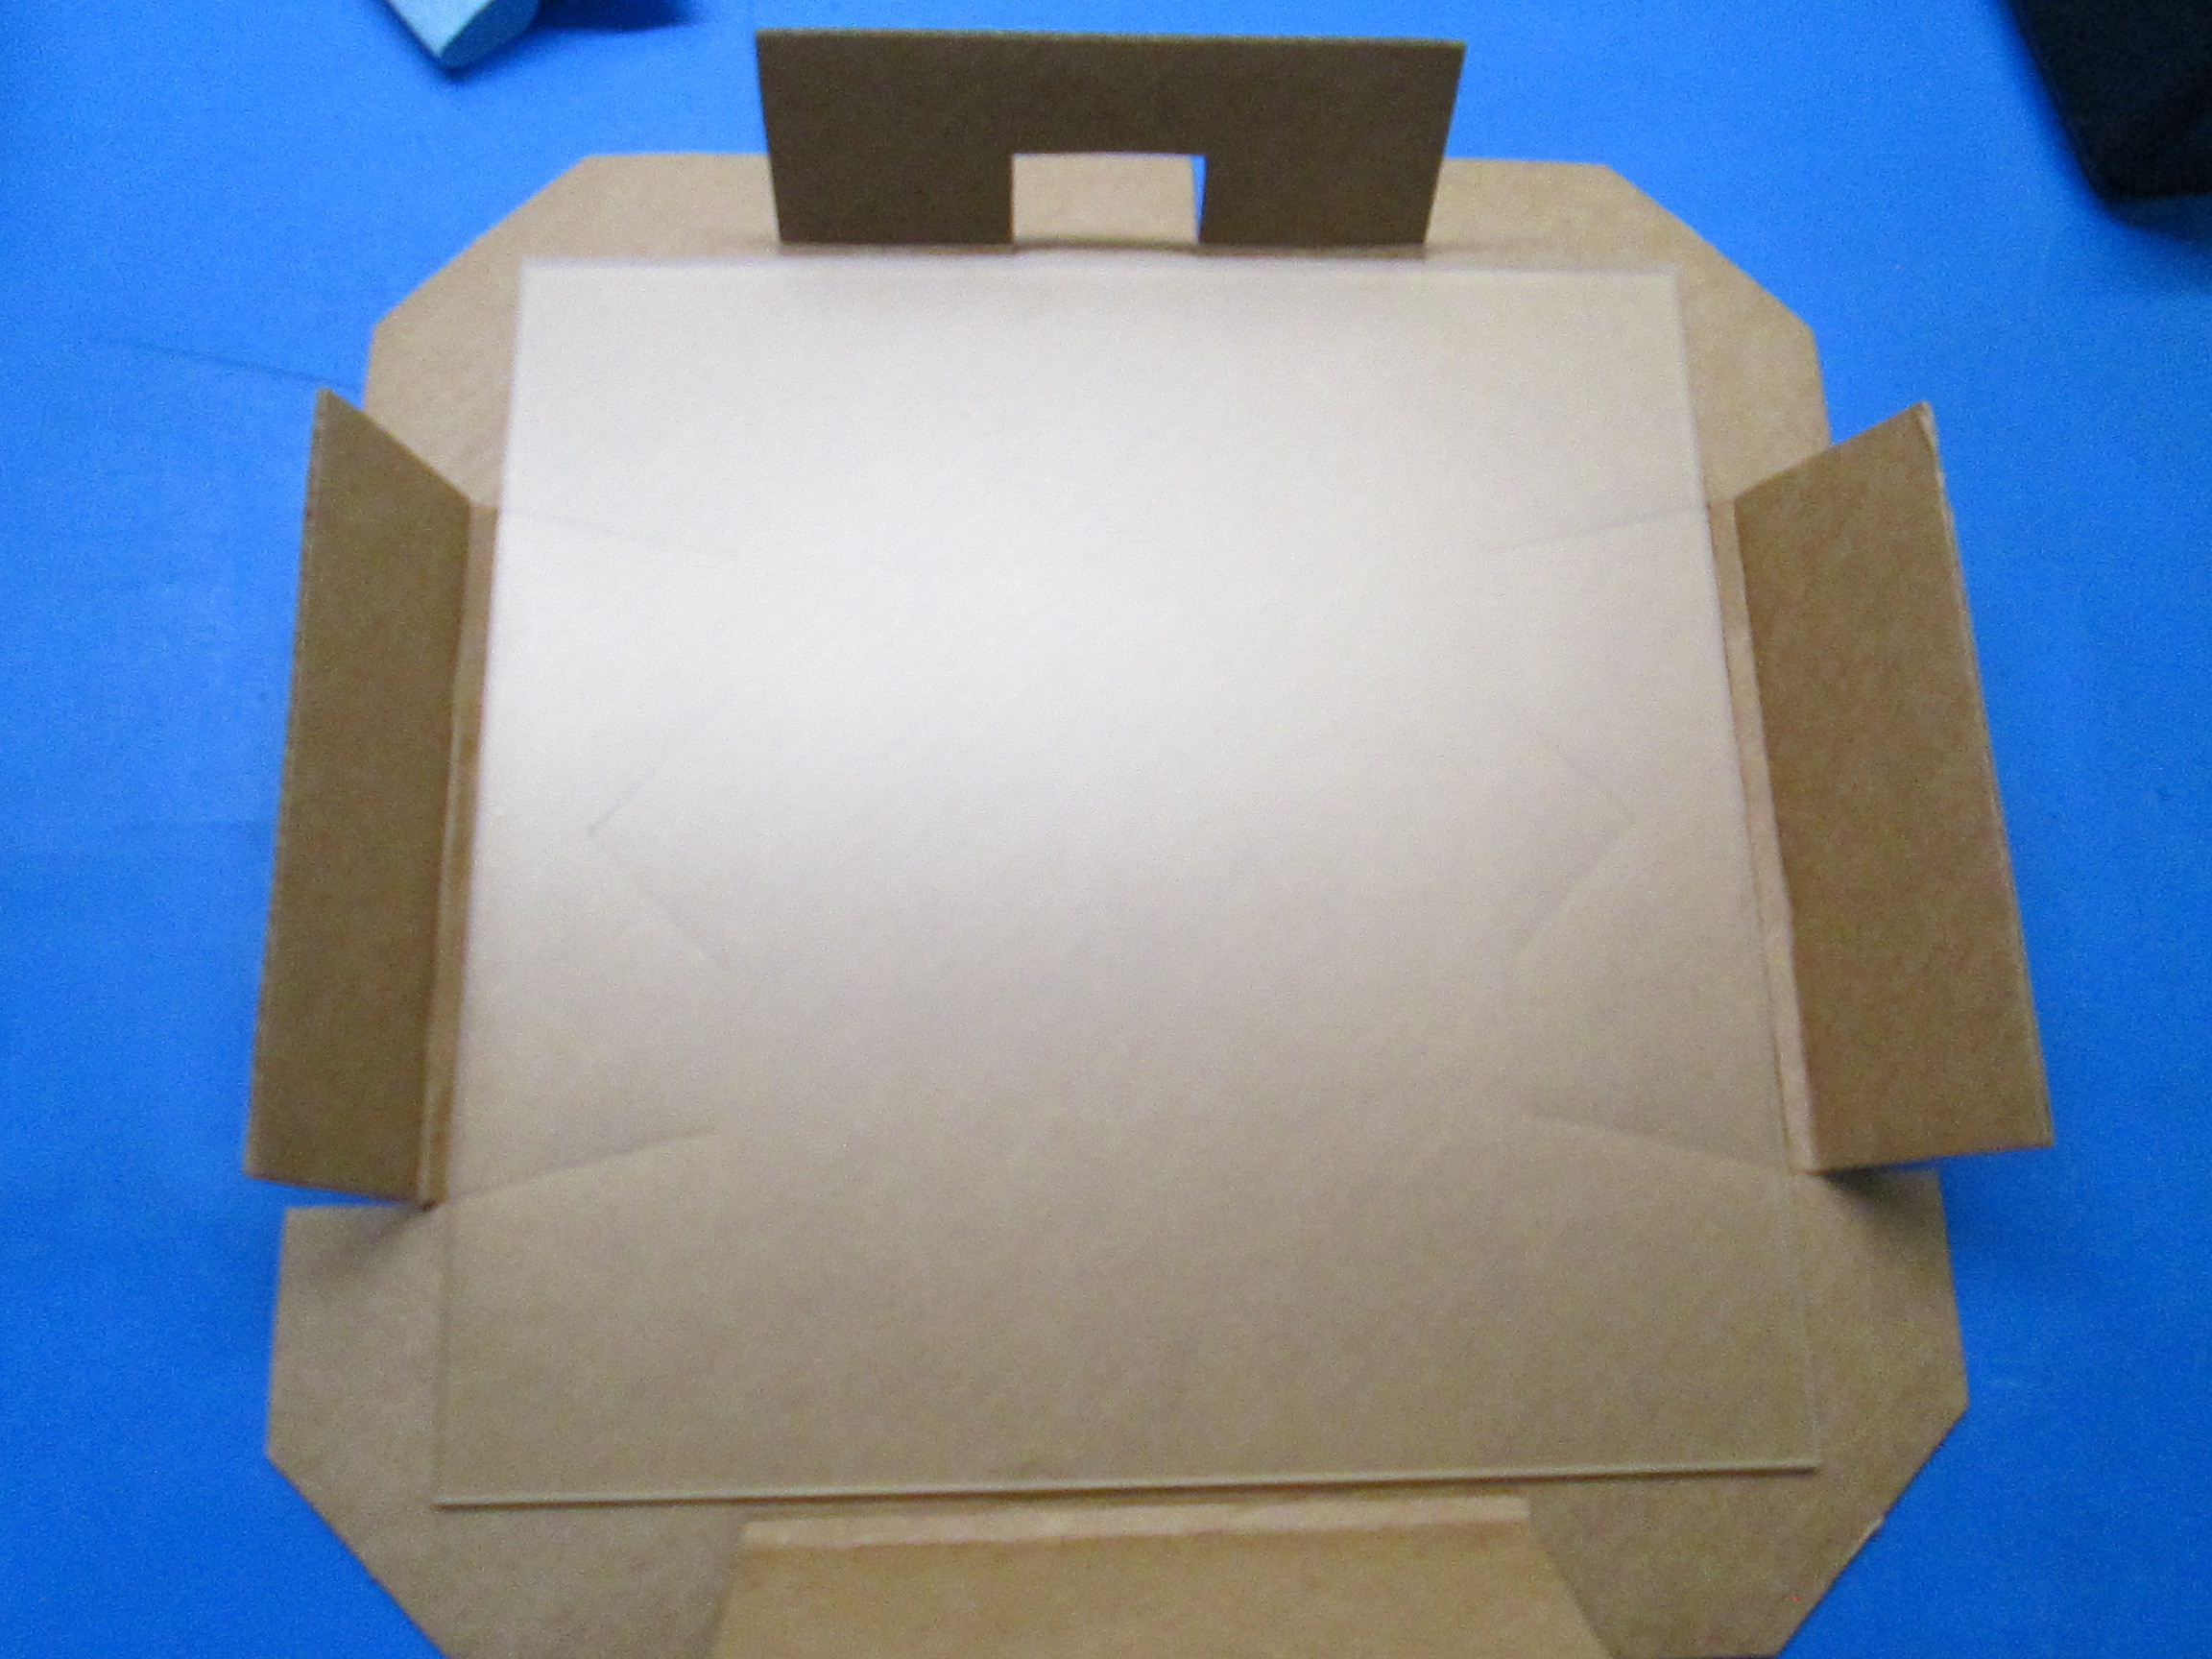
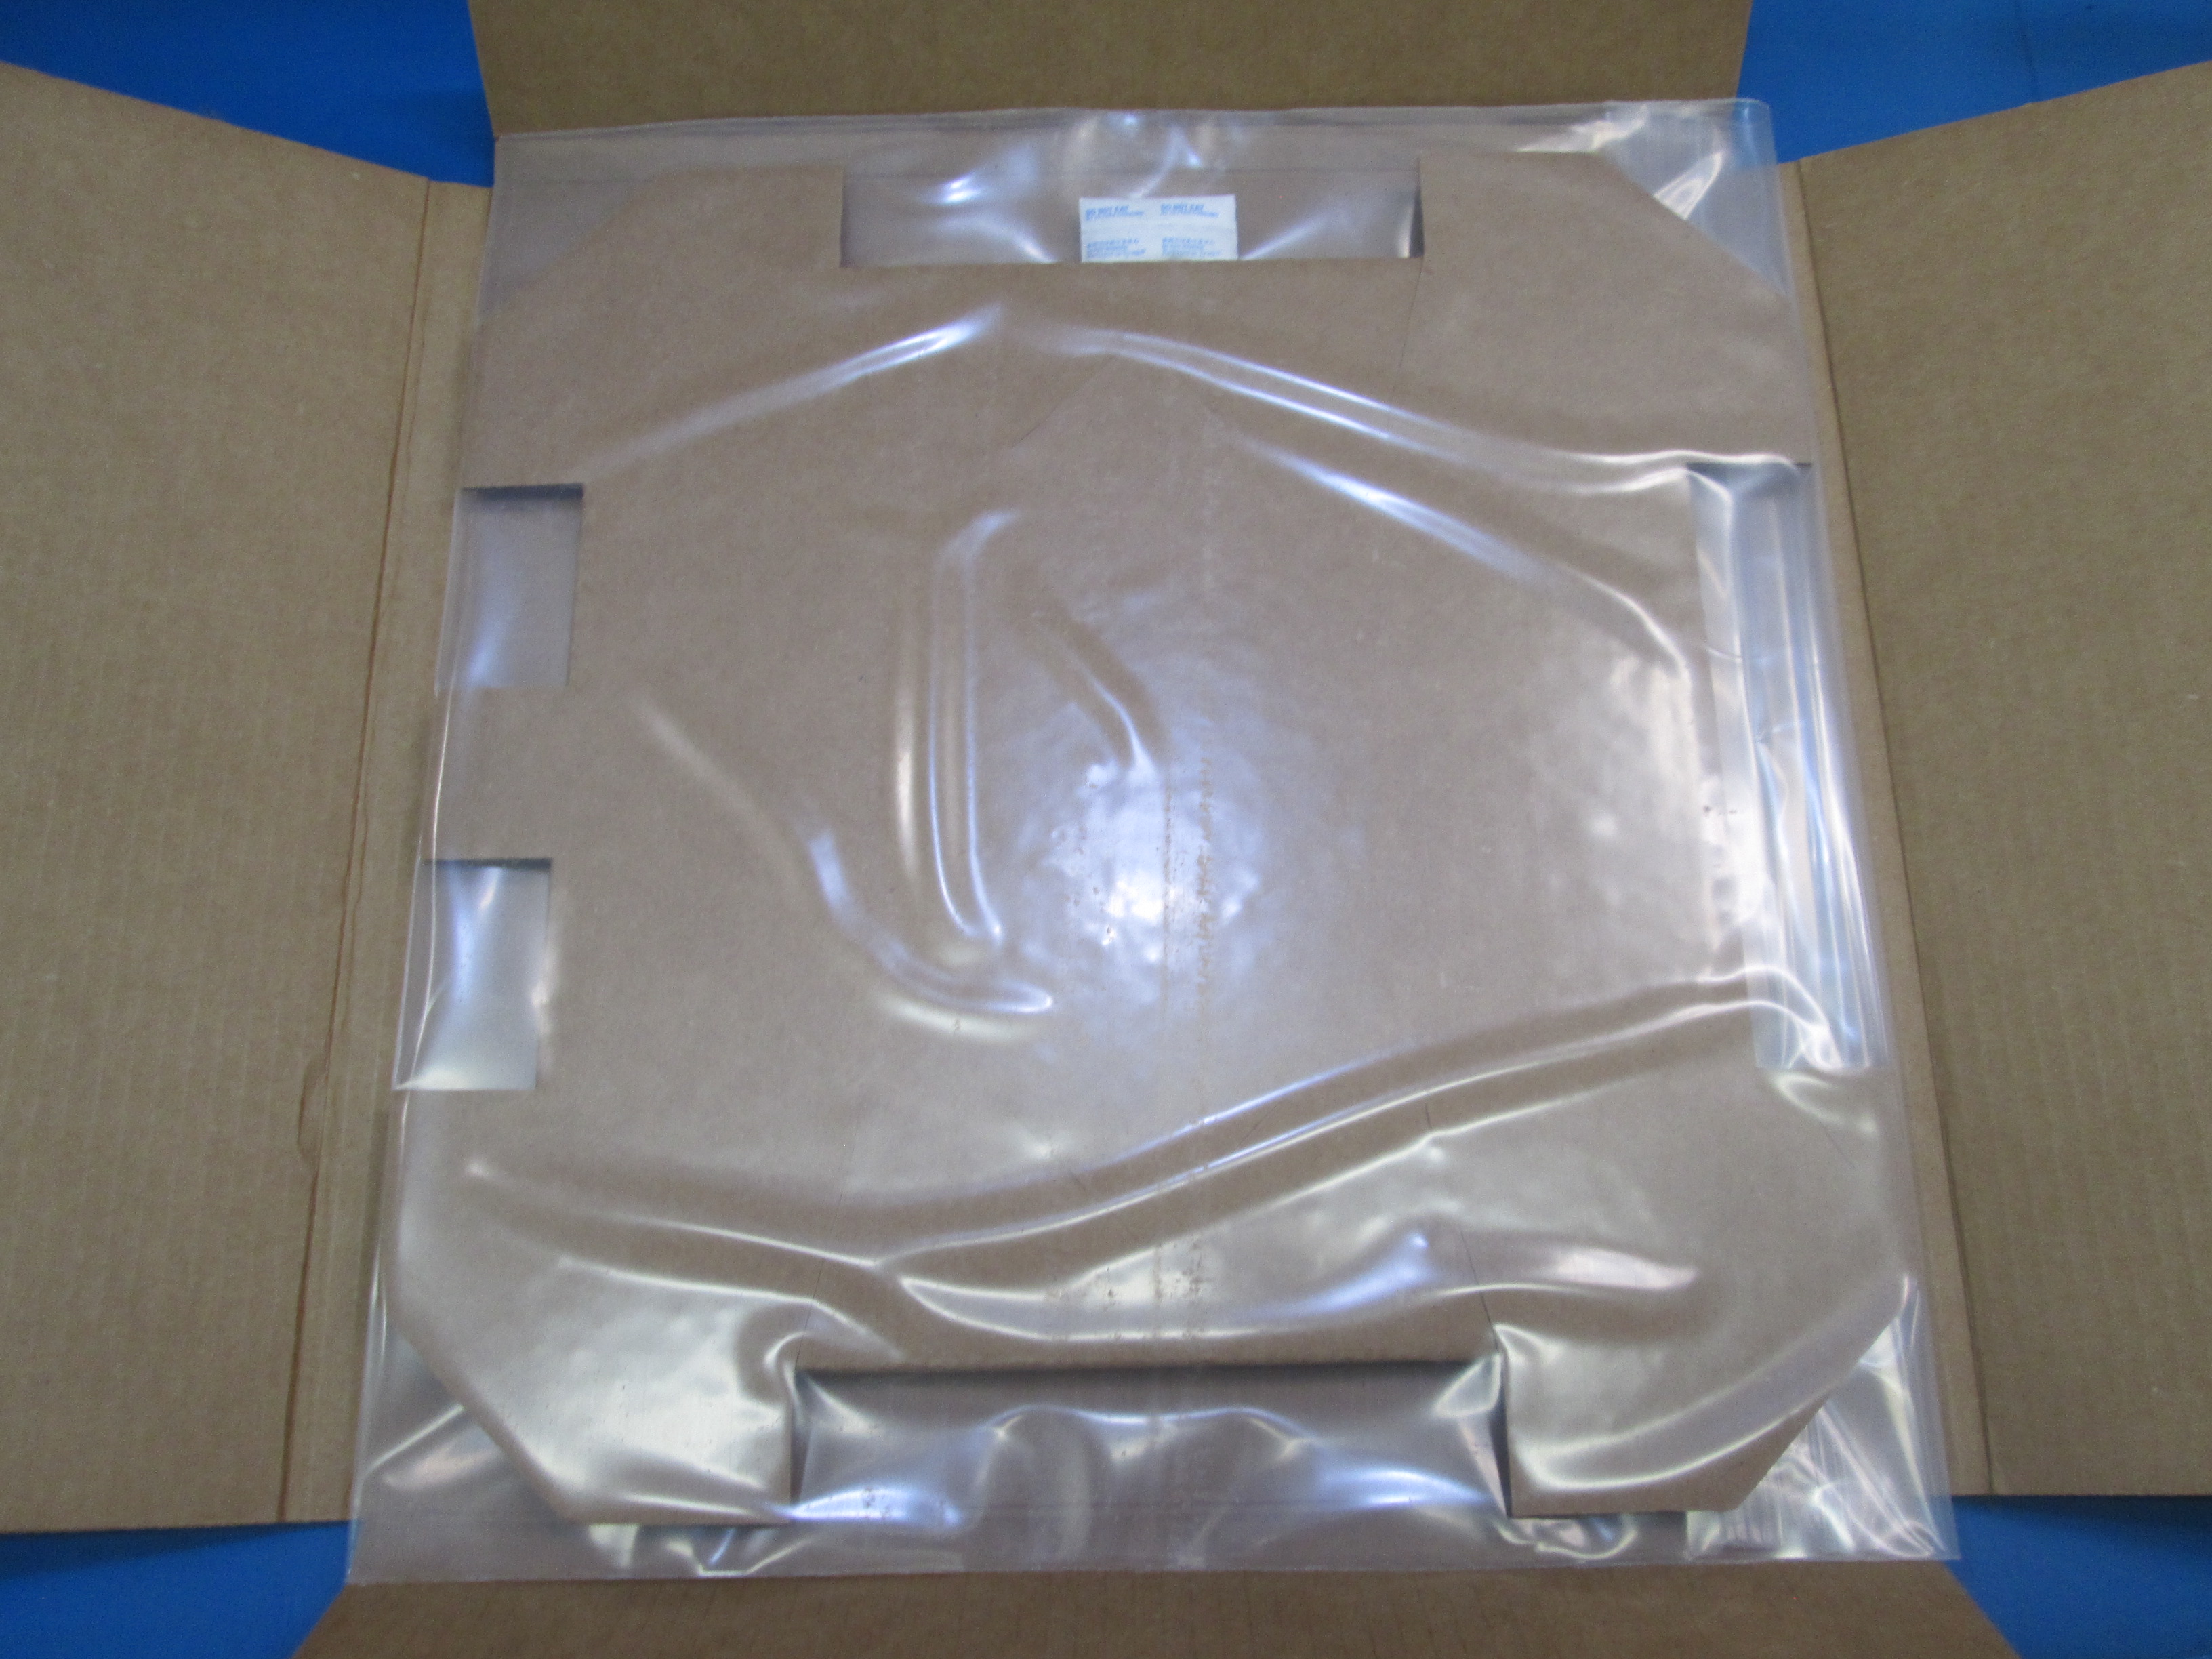
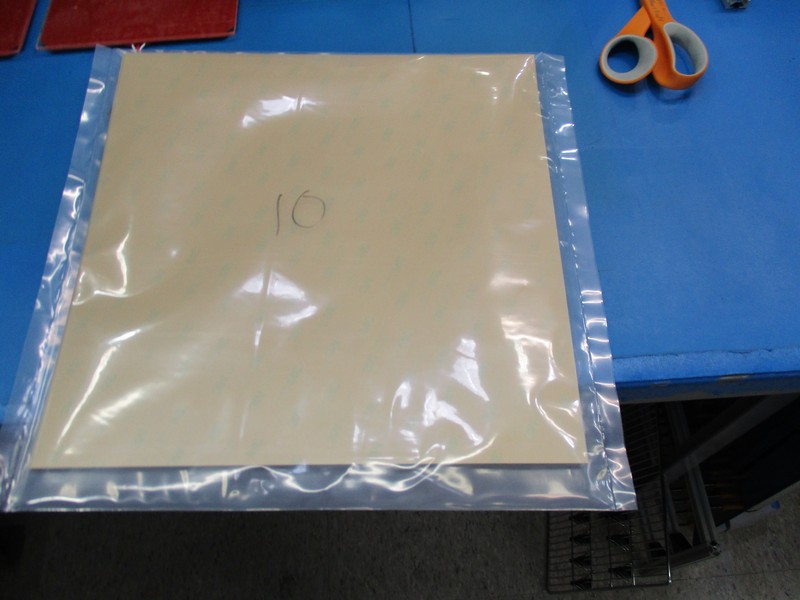
First, obtain the [SH-PA0048] TAZ Heat Bed: 18 x 18 Die Cut Pad (insert) with creased side up, folding four sides (See images) Put glass with PEI between the four folded sides, tape two pairs of flaps together. Second, grab a [SH-BA0008] 16 x 16" 6 Mil Reclosable Bags to place the taped glass/PEI inside. Once you have completed this task, please add [SH-PG0099] Disposable Desiccant Bag, Silica Gel, for 24 Cubic Inches.(This is for moisture control).
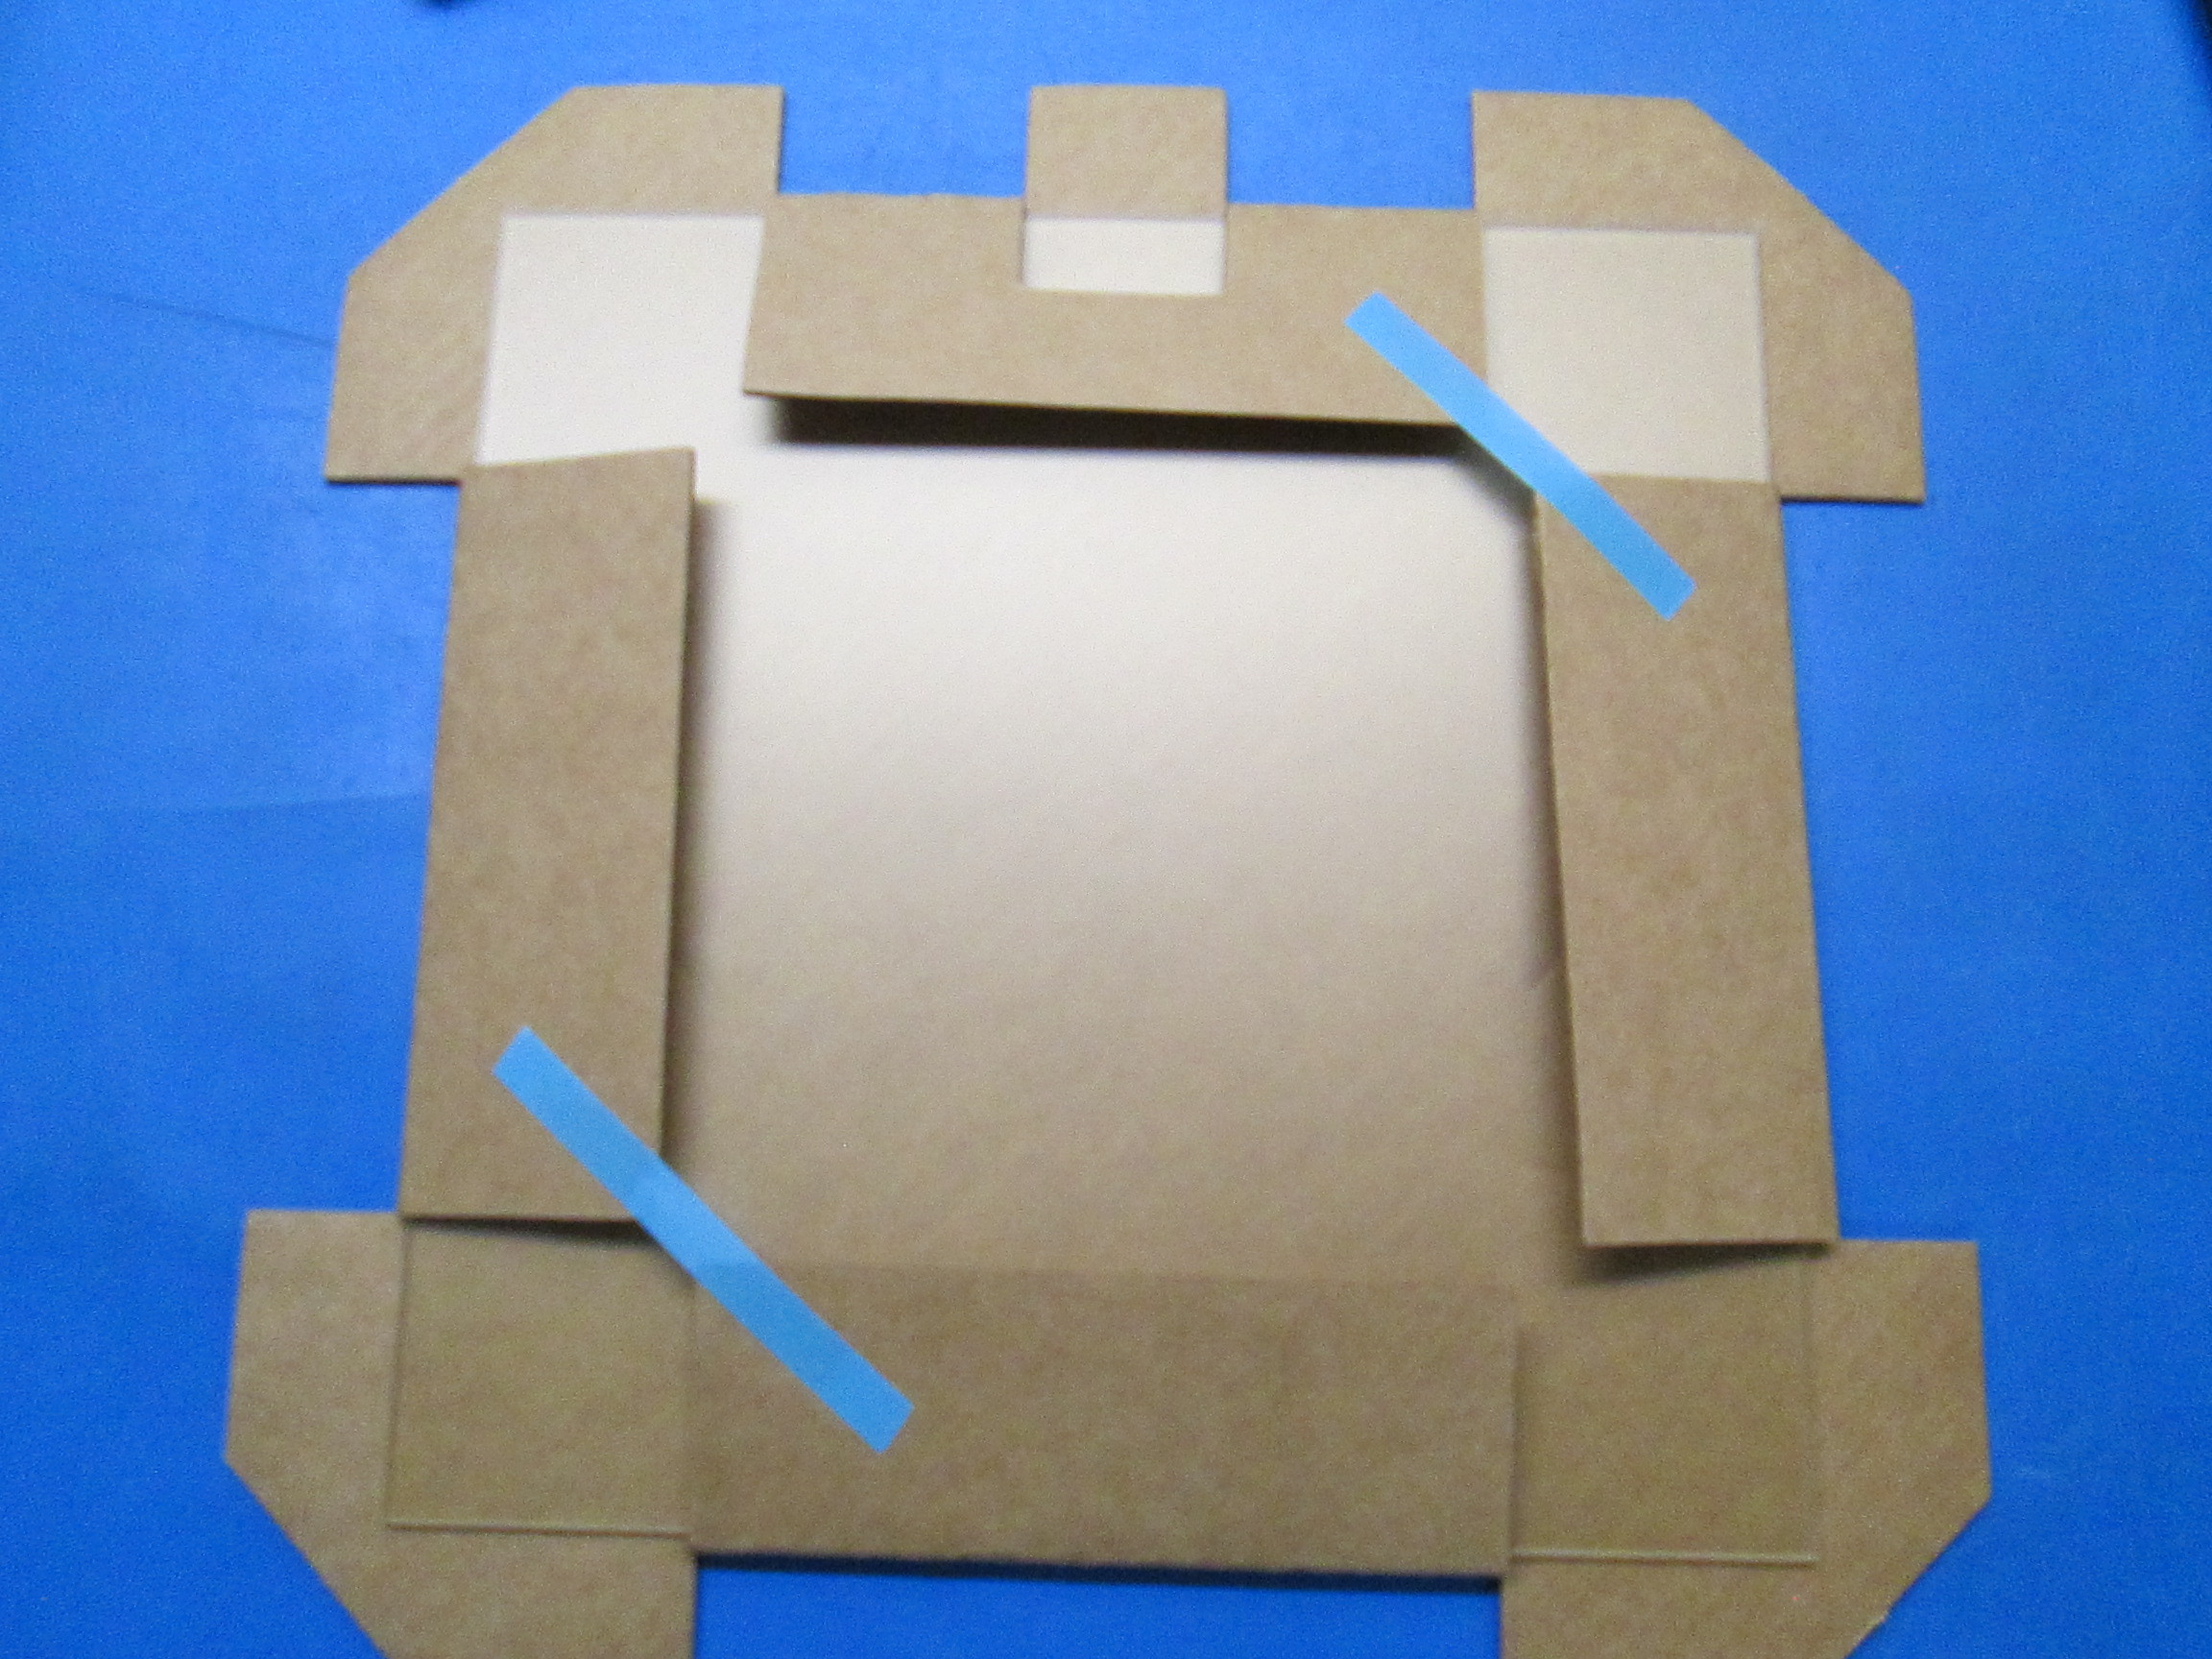
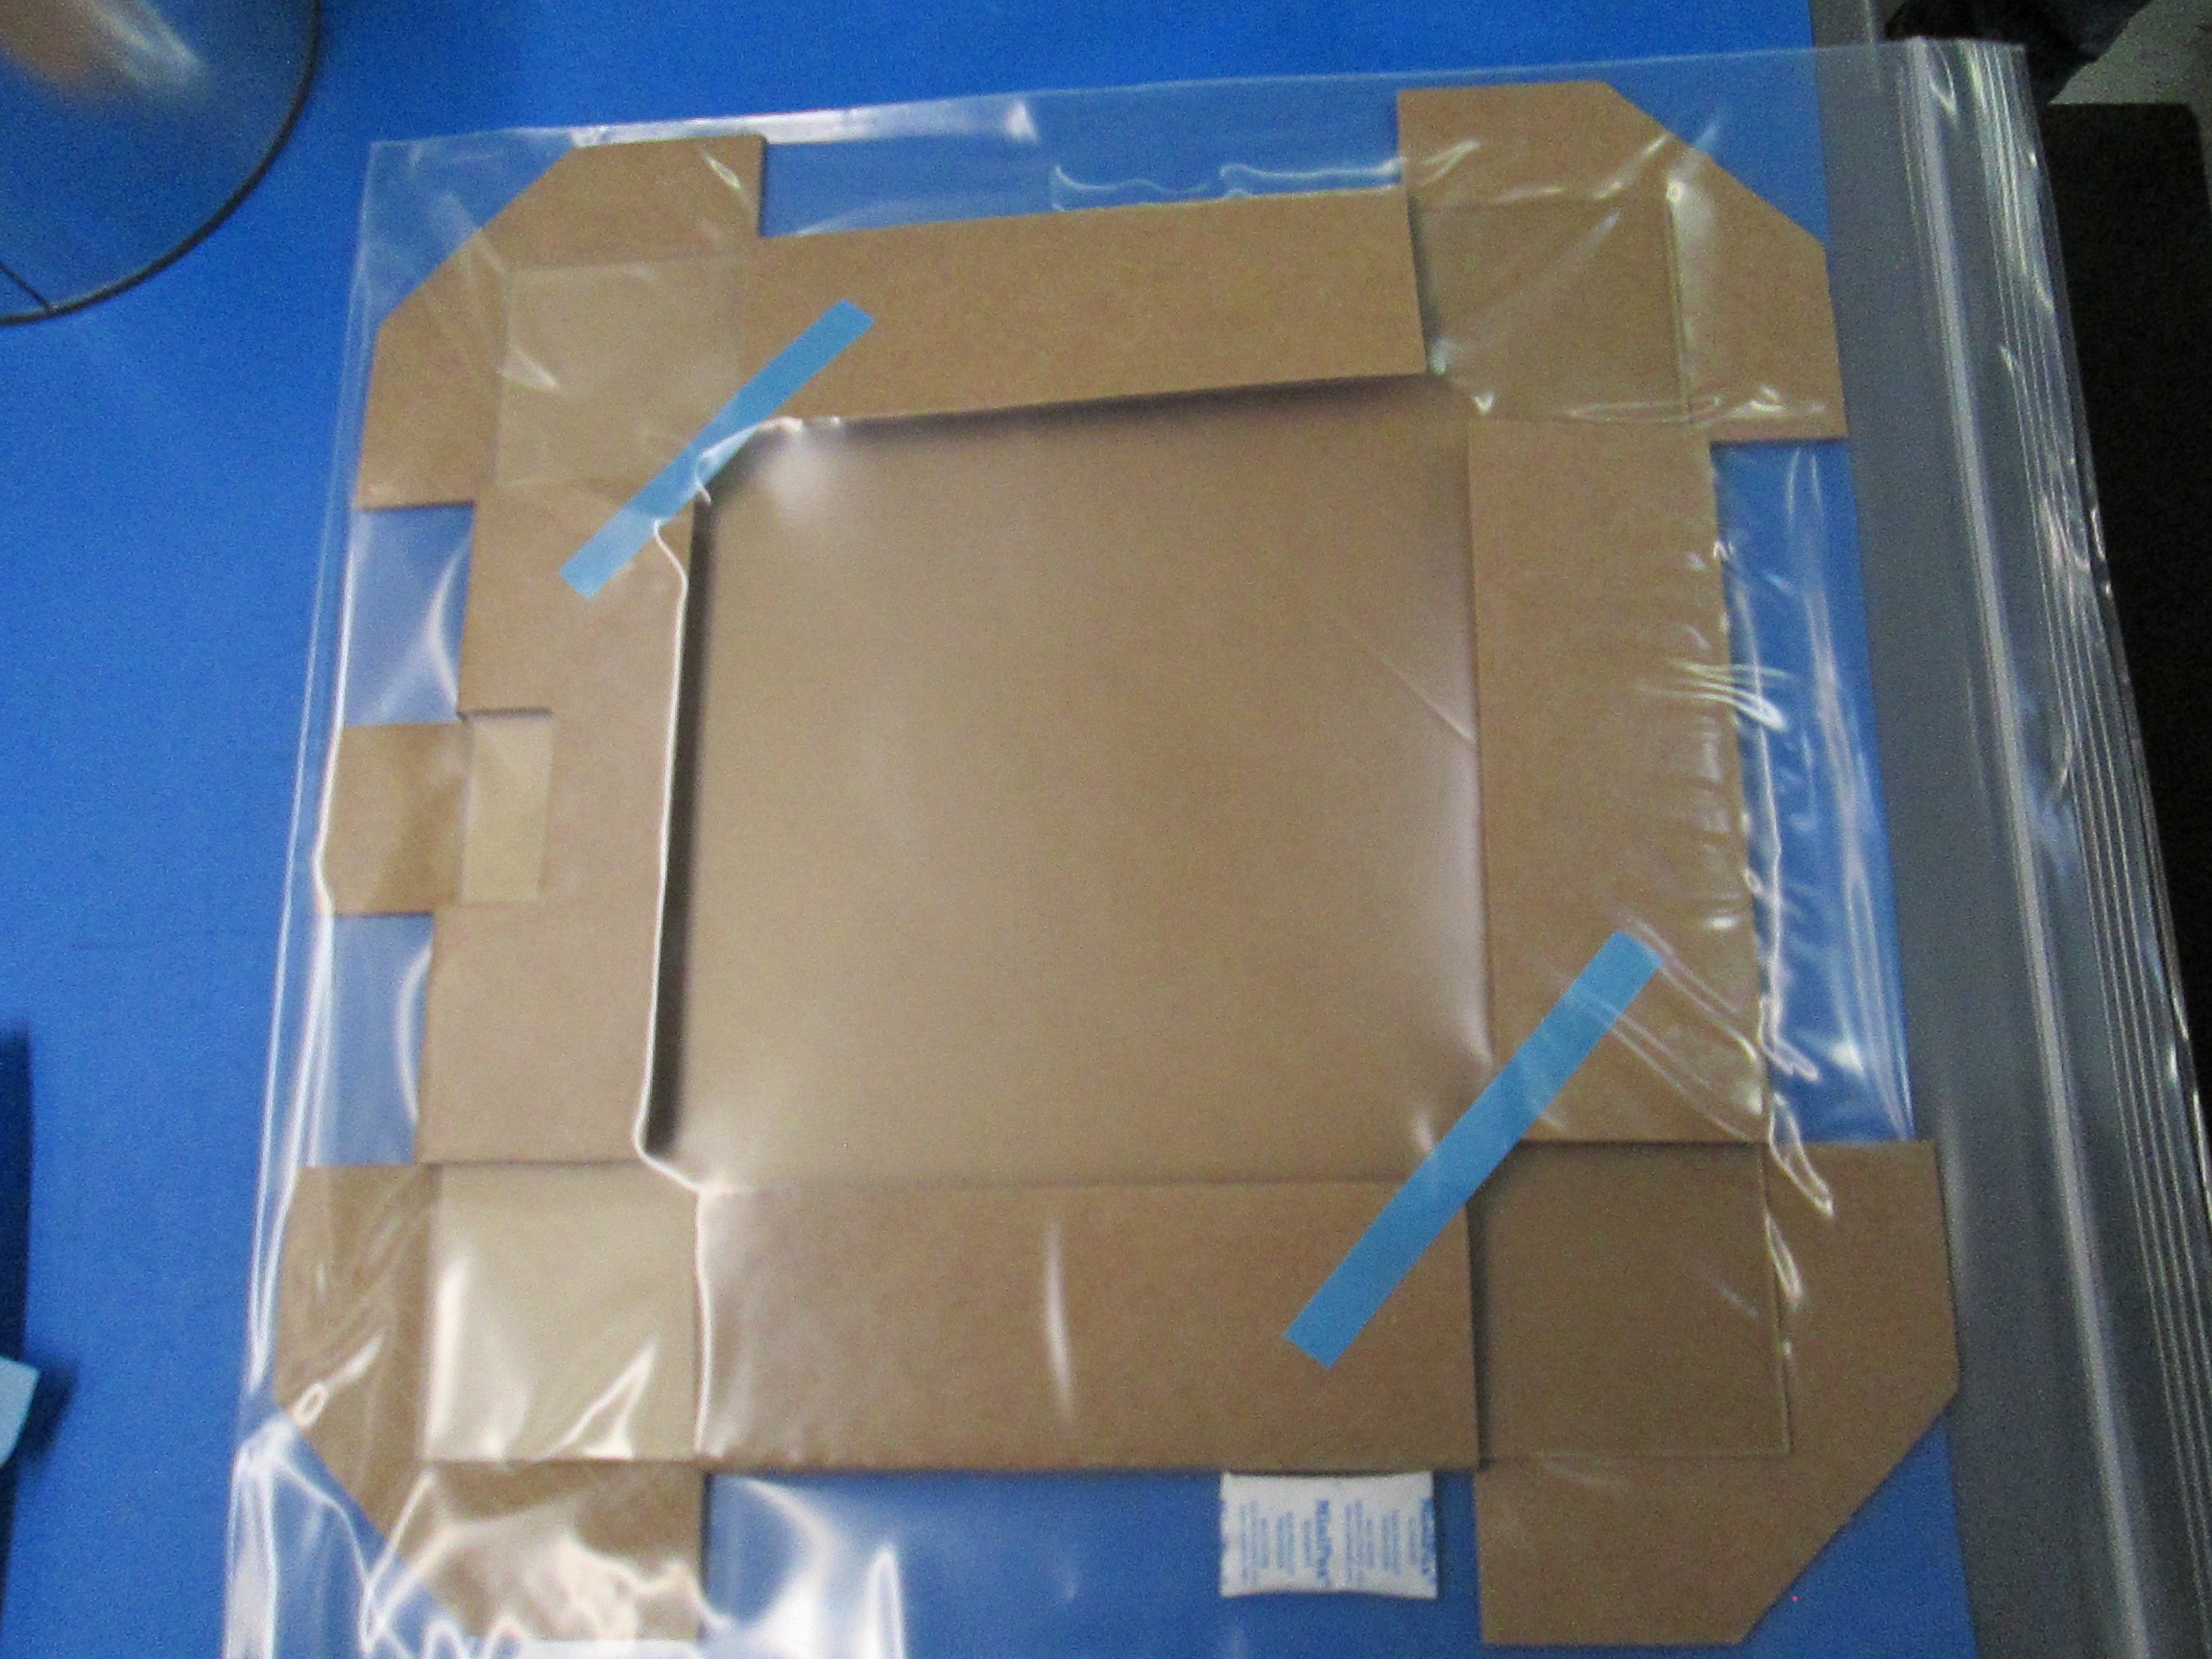
Next, proceed to grab [SH-BX0075] TAZ Heat Bed: 14-3/4 x 14-3/4 x 1/2 44 ECT B Brown Die Cut One Piece Folder with creased side of box should face up while larger flaps are opening left to right (See images). Before placing bagged Glass/PEI, at the zipped part of the bag, fold once behind glass and continue to set in shipping box. Fold top two corners of the bag then hold with the top small flap, fold bottom two corners of the bag then hold with bottom flap. Then, fold the last two larger flaps followed by taping close using clear packaging tape.
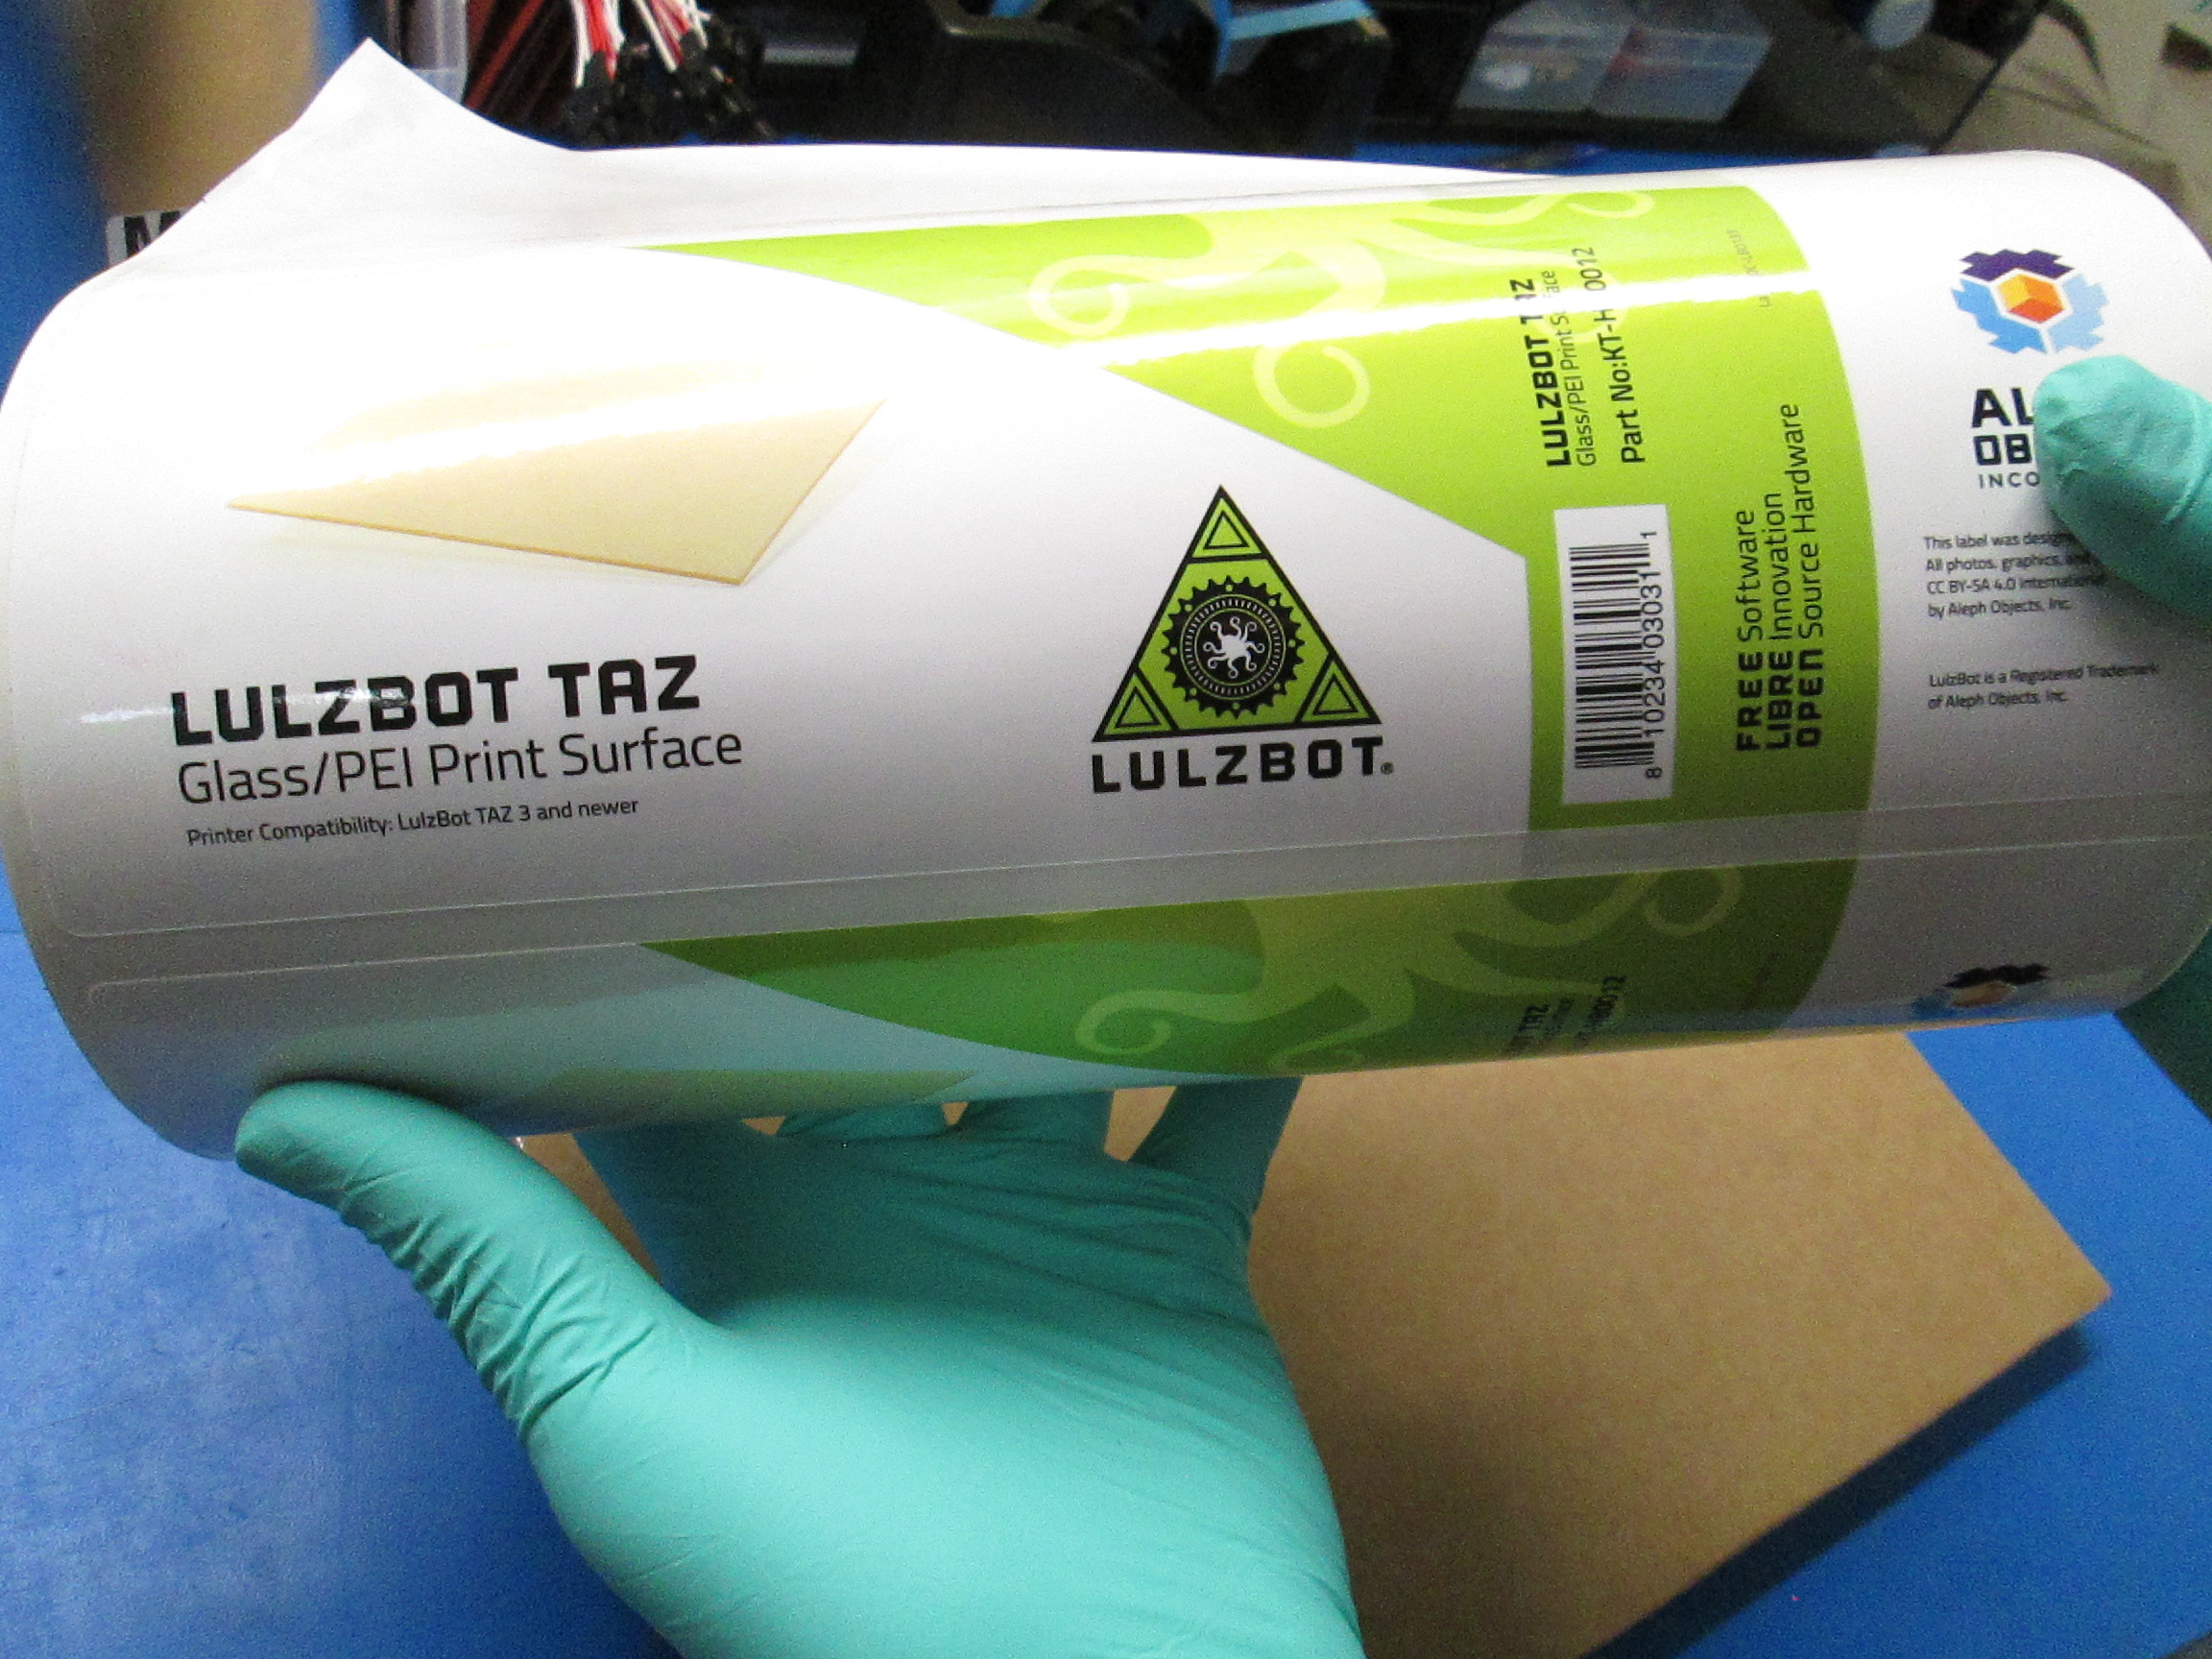
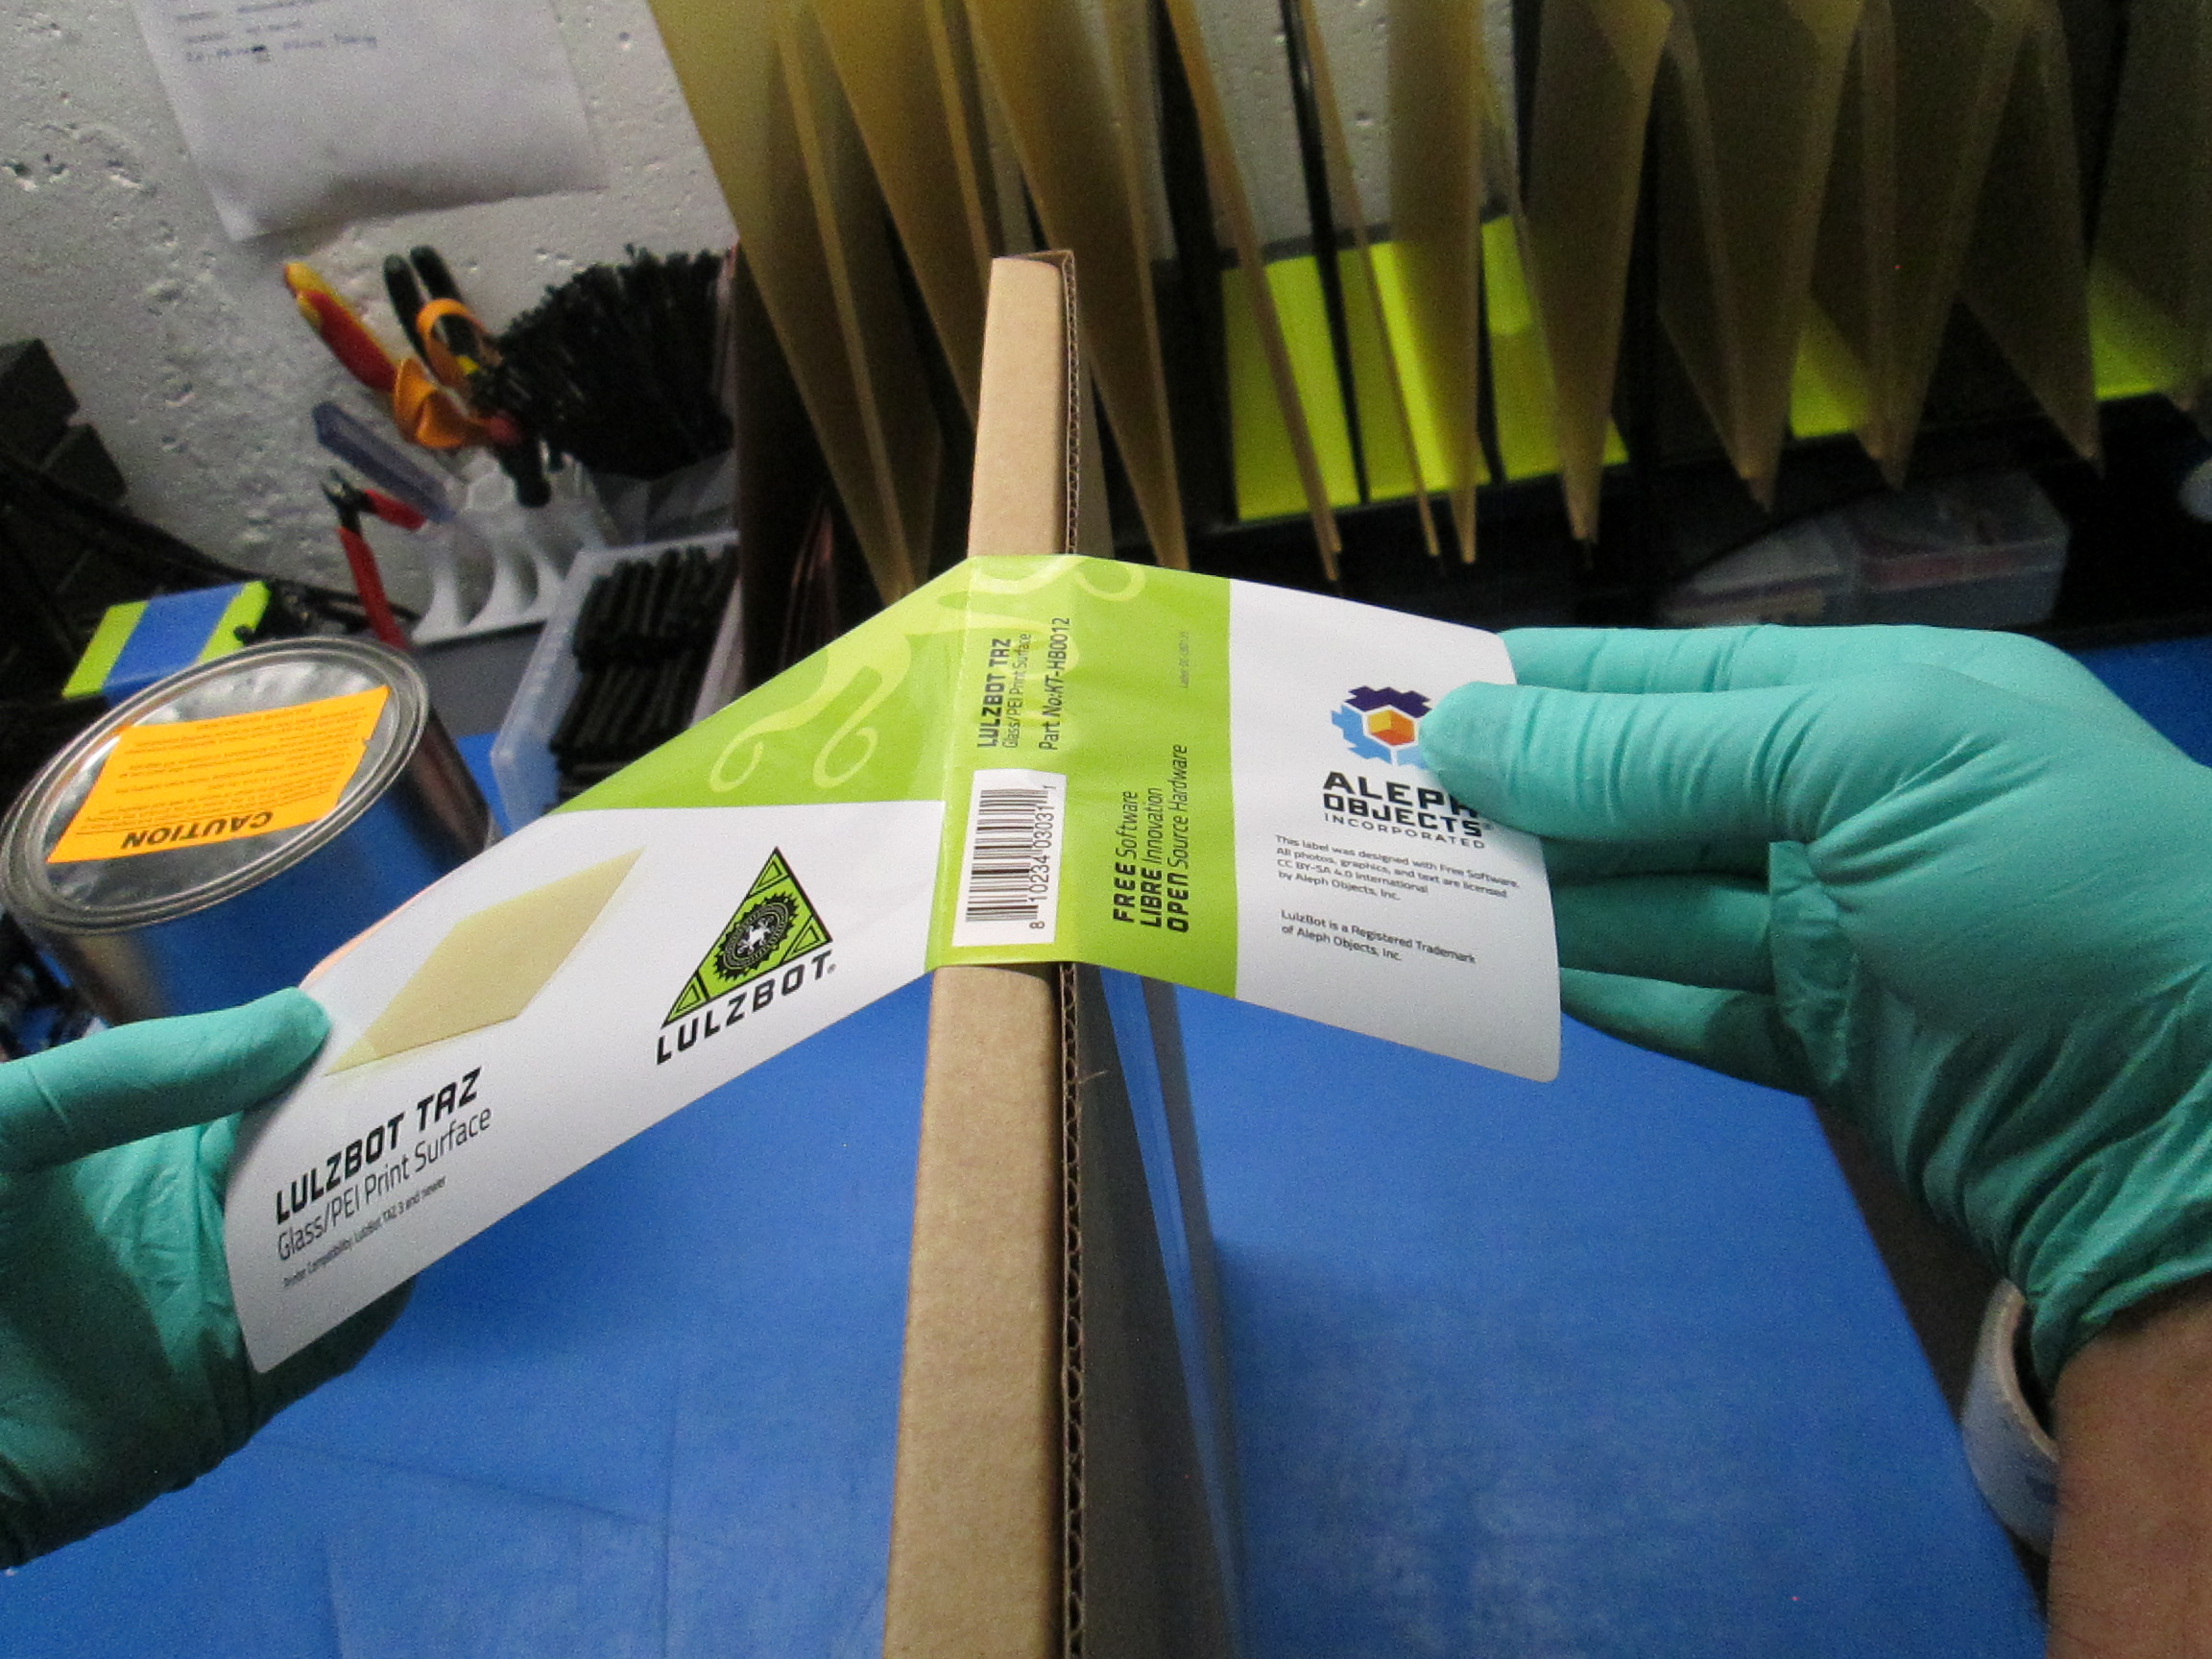
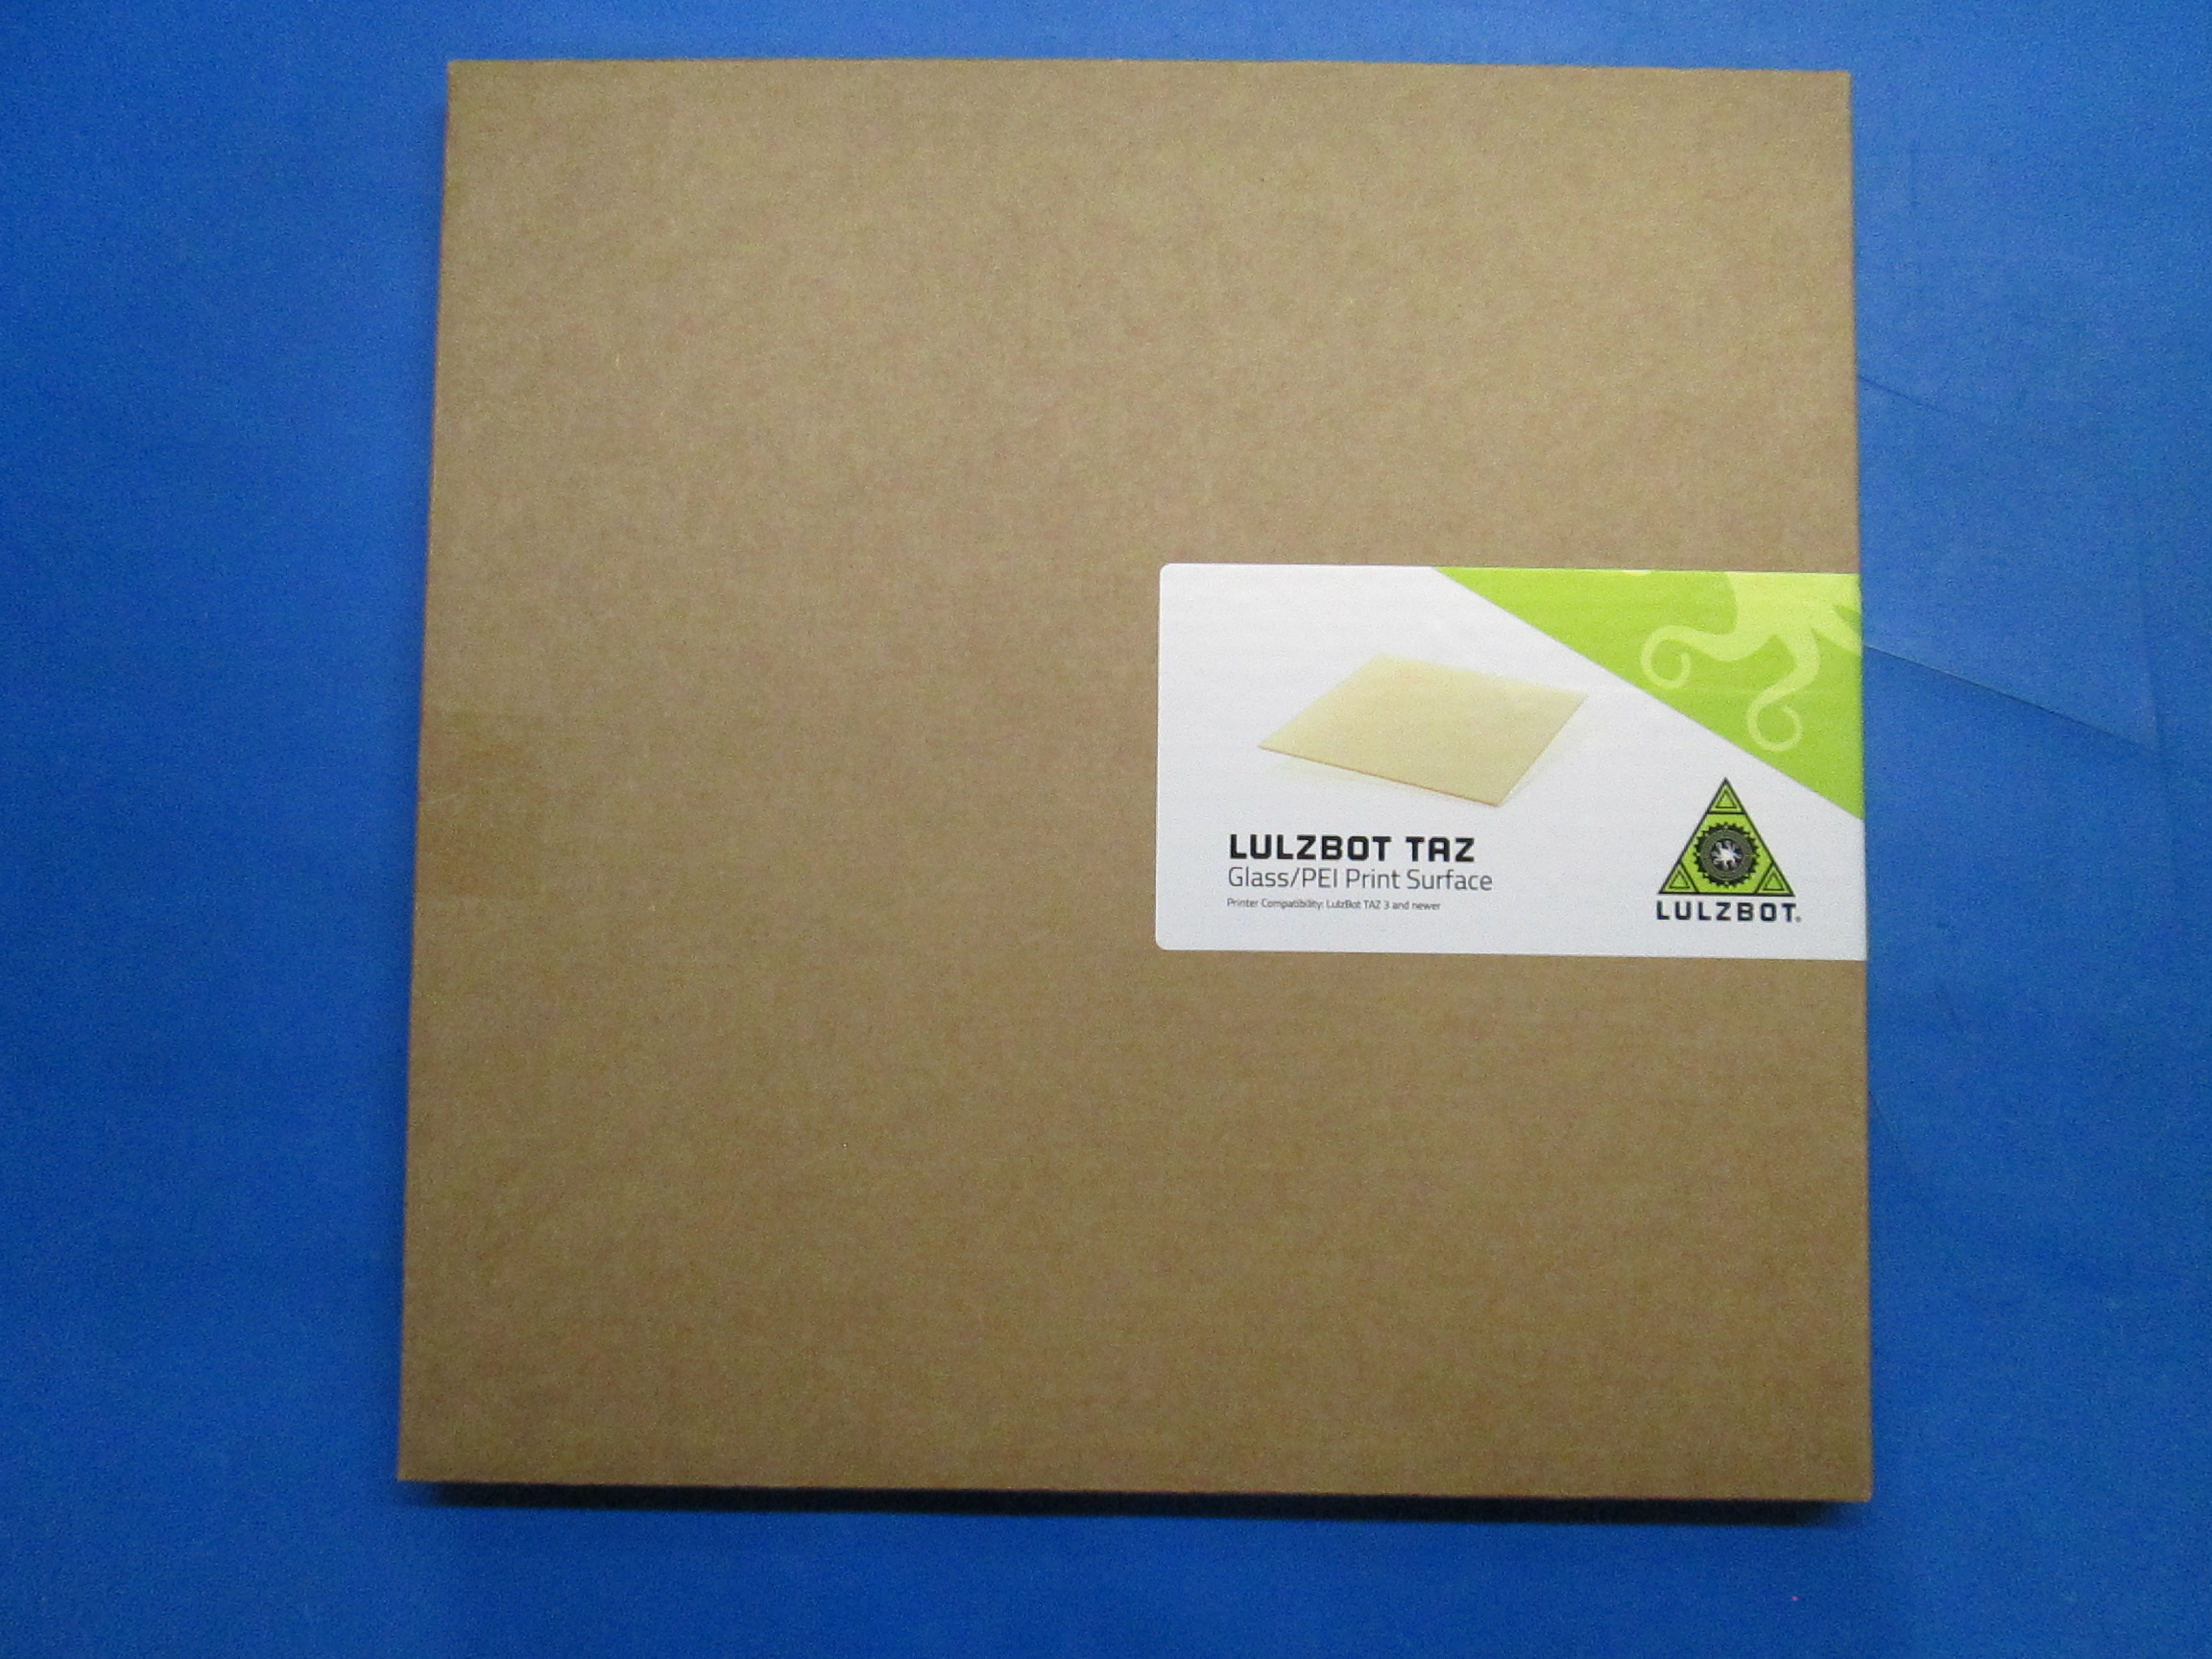
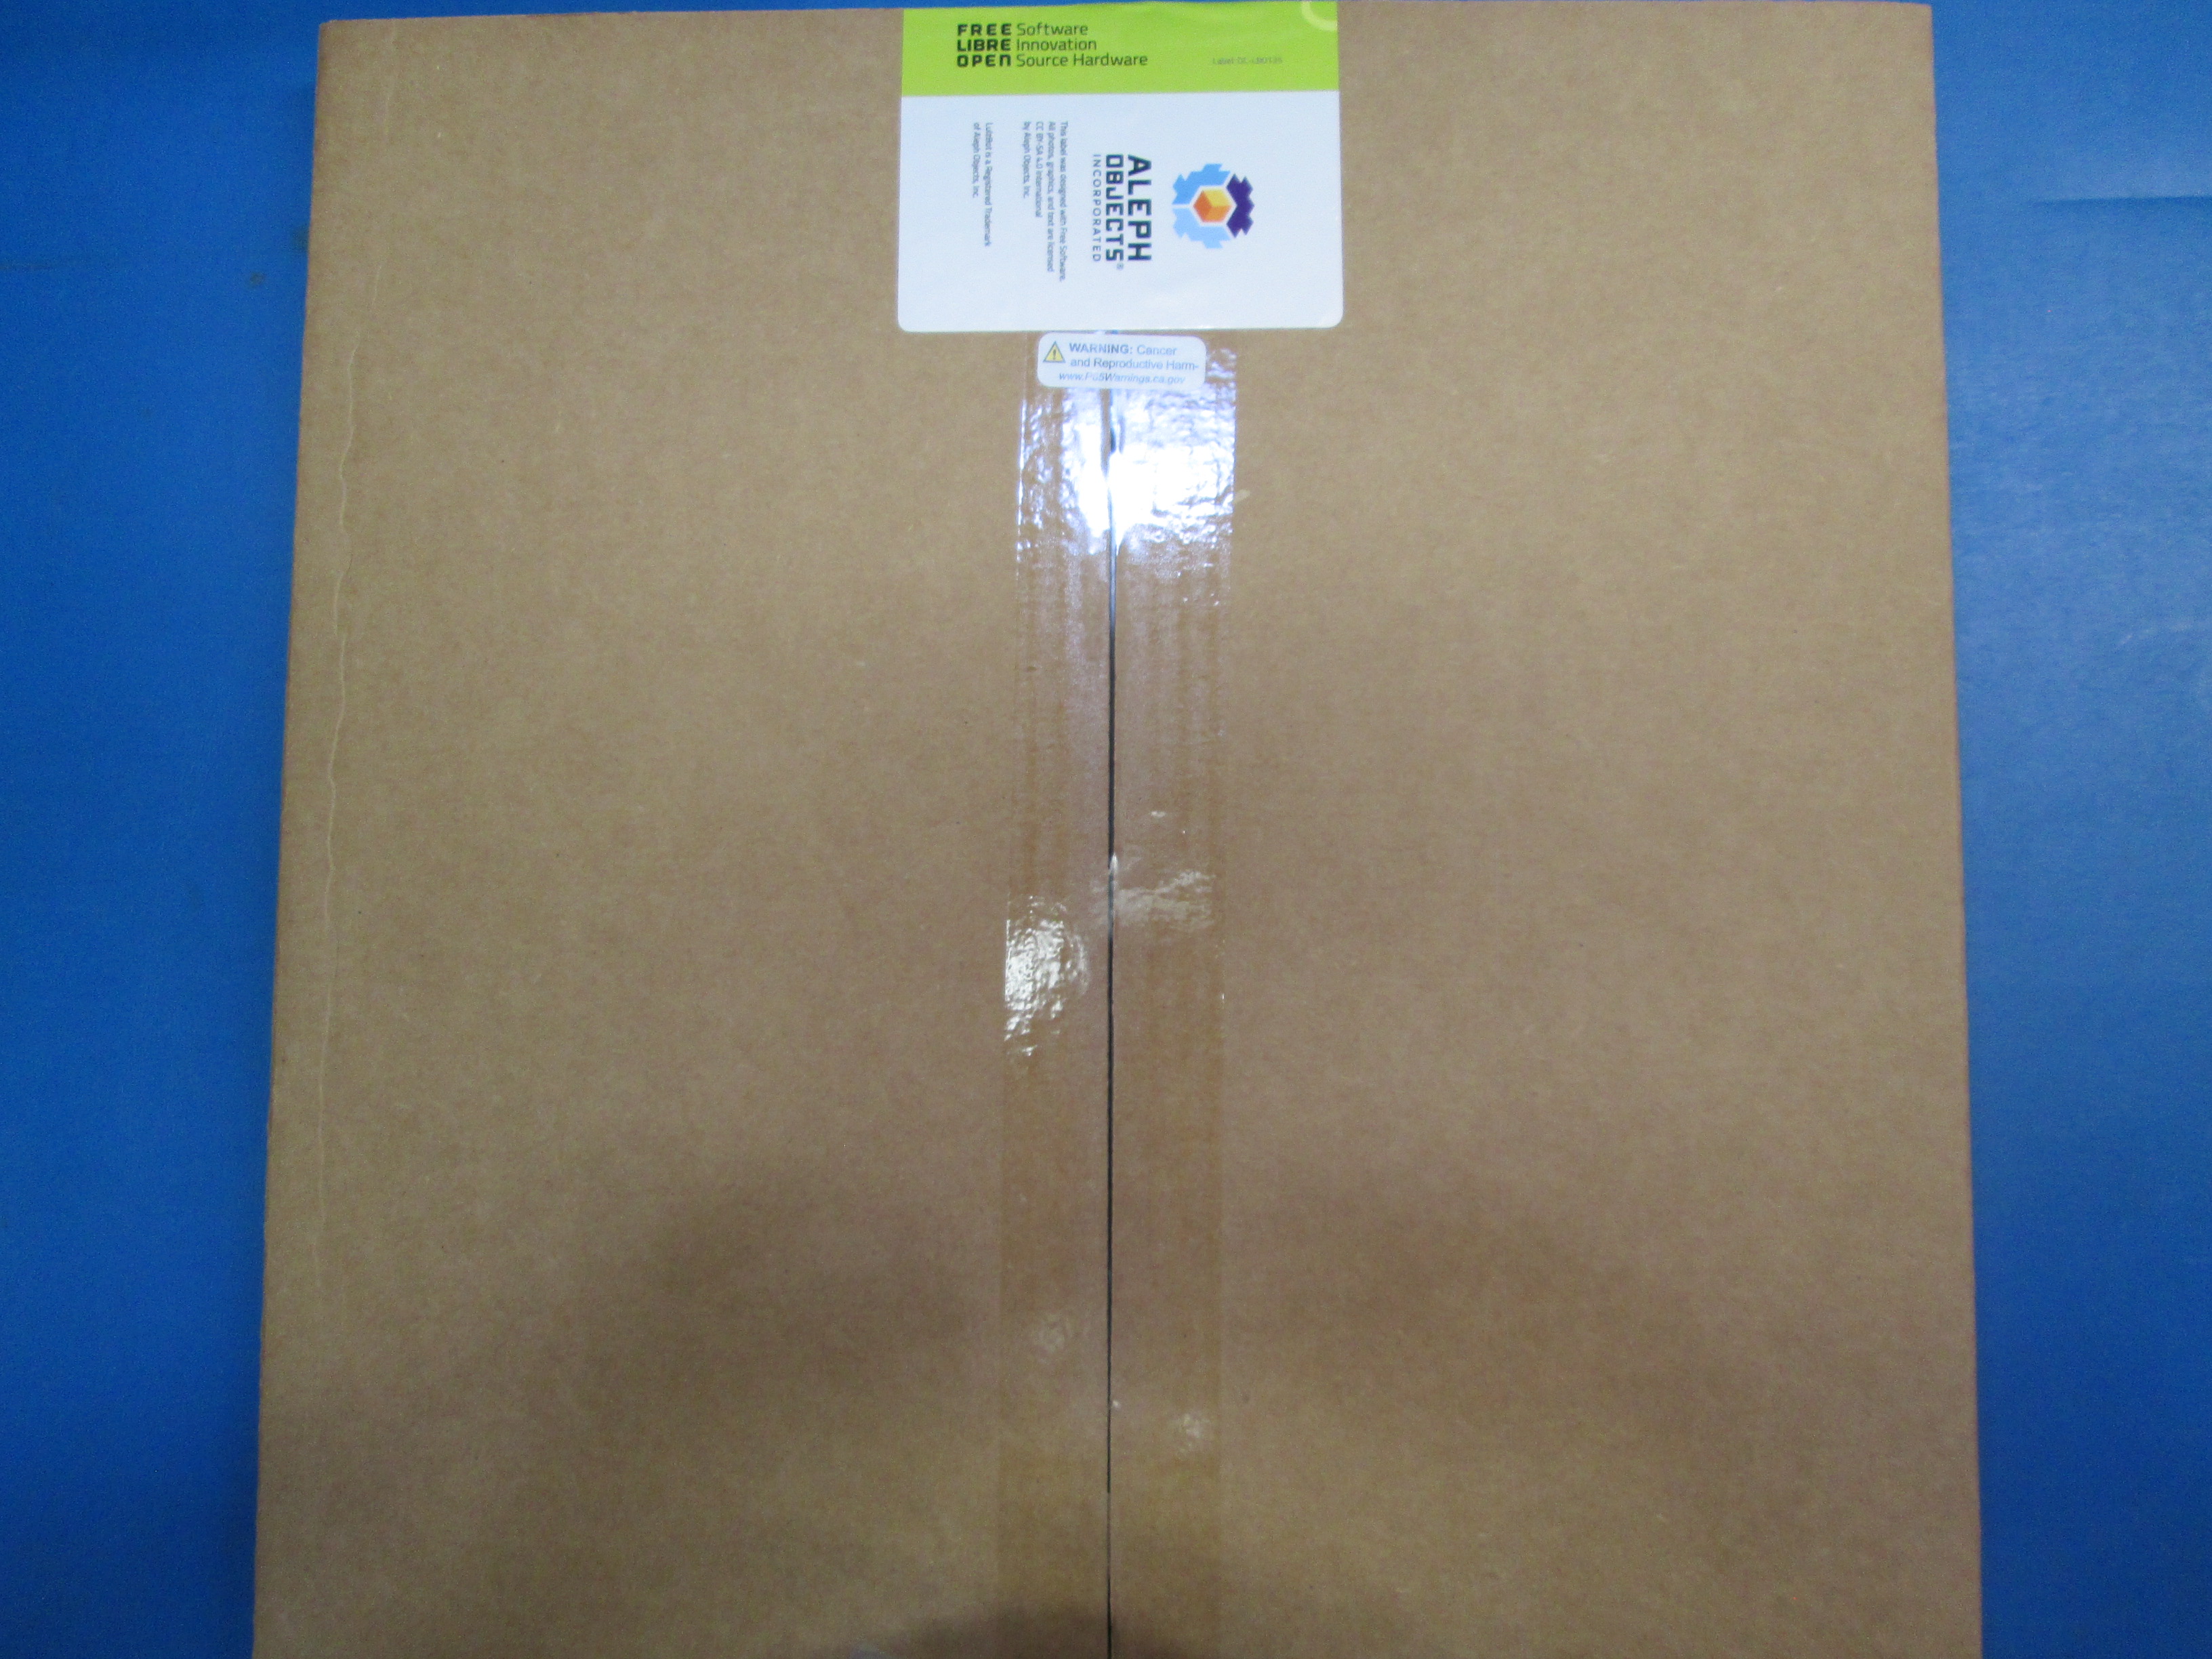
Finally, Proceed to labeling box with the [DC-LB0135] Label, TAZ Modular Glass/PEI. Please note when applying label, box should be standing straight up. Opening of box(taped side) must be on the right with packaging tape vertical. Line barcode with the top middle narrow side of the box. Please do not place label at an angle and must be free of bubbles.(See Images)