Open HardwareAssembly Instructions
Guides for installation and assembly of the LulzBot line of products made by FAME 3D LLC.
Guides for installation and assembly of the LulzBot line of products made by FAME 3D LLC.
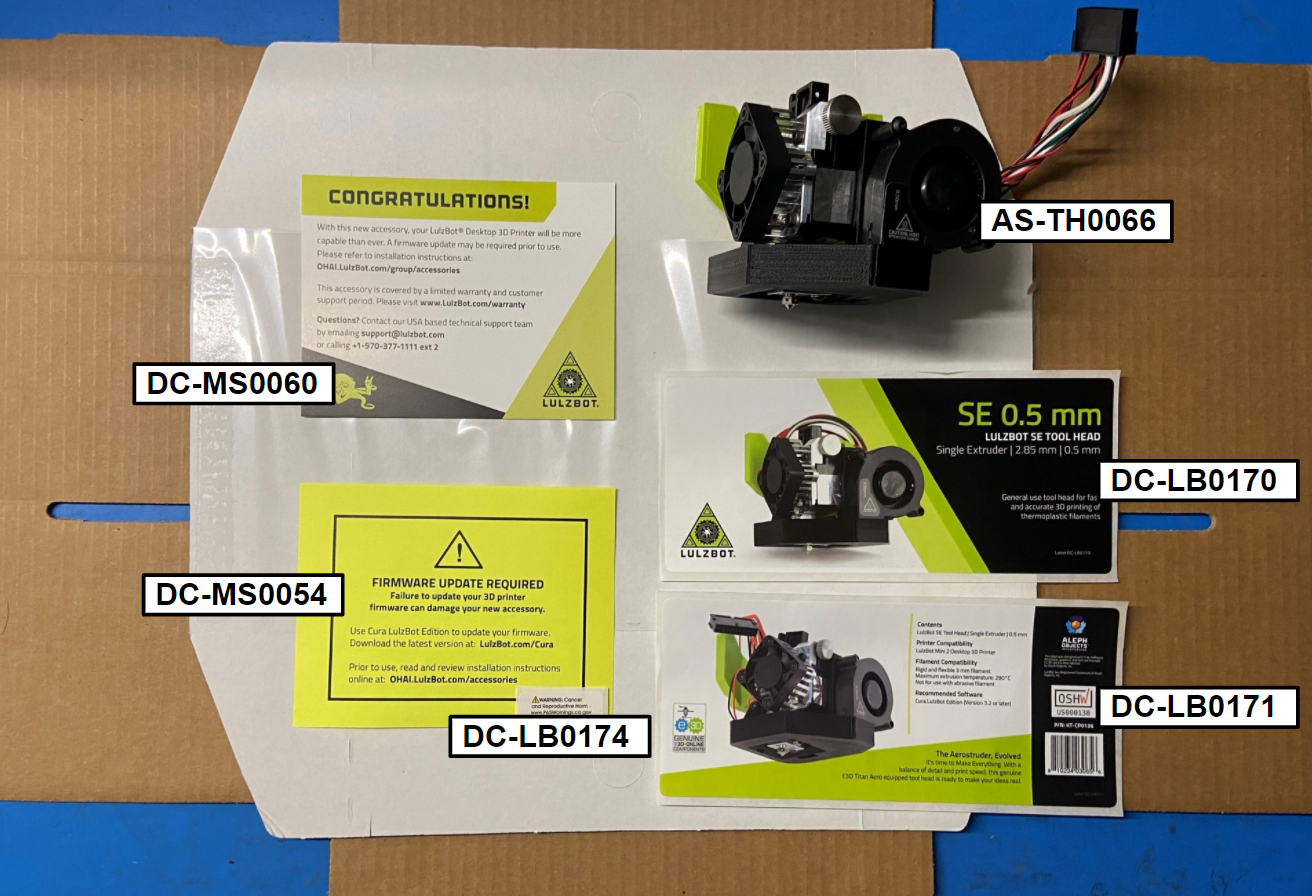
1x- [AS-TH0066] Titan Aero Assembly, Mini 2
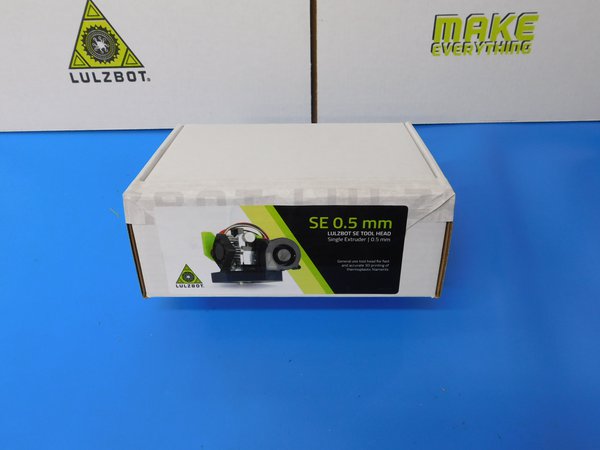
1x- [DC-LB0170] SE Tool Head | Single Extruder | 0.5 mm, Front
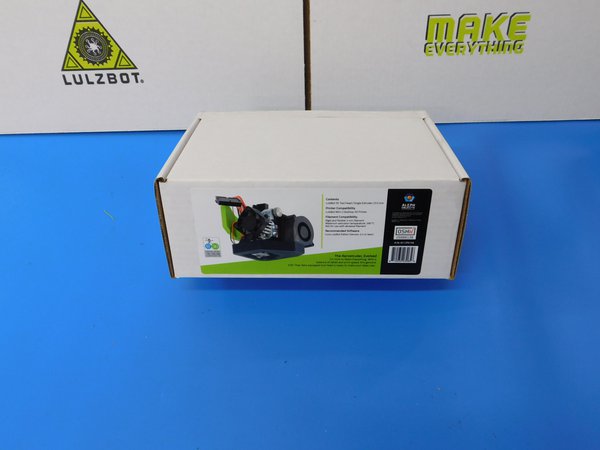
1x- [DC-LB0171] SE Tool Head | Single Extruder | 0.5 mm, Back
1x- [DC-MS0054] Firmware Update Warning Cards
1x- [DC-MS0060] CONGRATULATIONS!- Tool Head Instruction Card
1x- [SH-BX0088] Accessory Tool Head Box: 9-1/2 x 7 x 3-7/8 Die Cut, 32 ECT, B Flute, Kraft, White
1x- [SH-PA0049] Korrvu Medium Retention Pack for Standard Tool Heads
1x- [SH-PG0131] #260 White Reinforced Gummed Tape with LulzBot Printed Logo
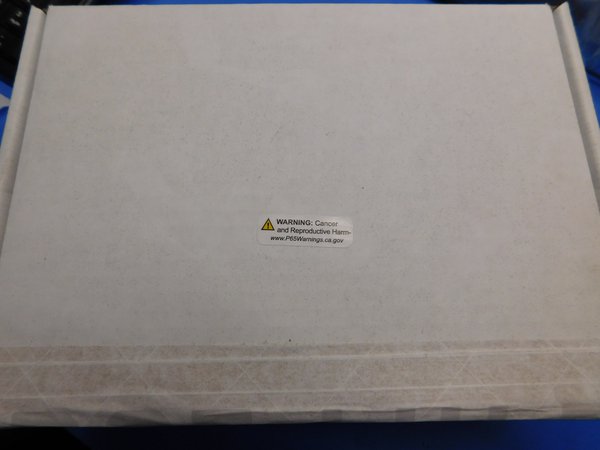
1x- [DC-LB0174] P65 Warning Label
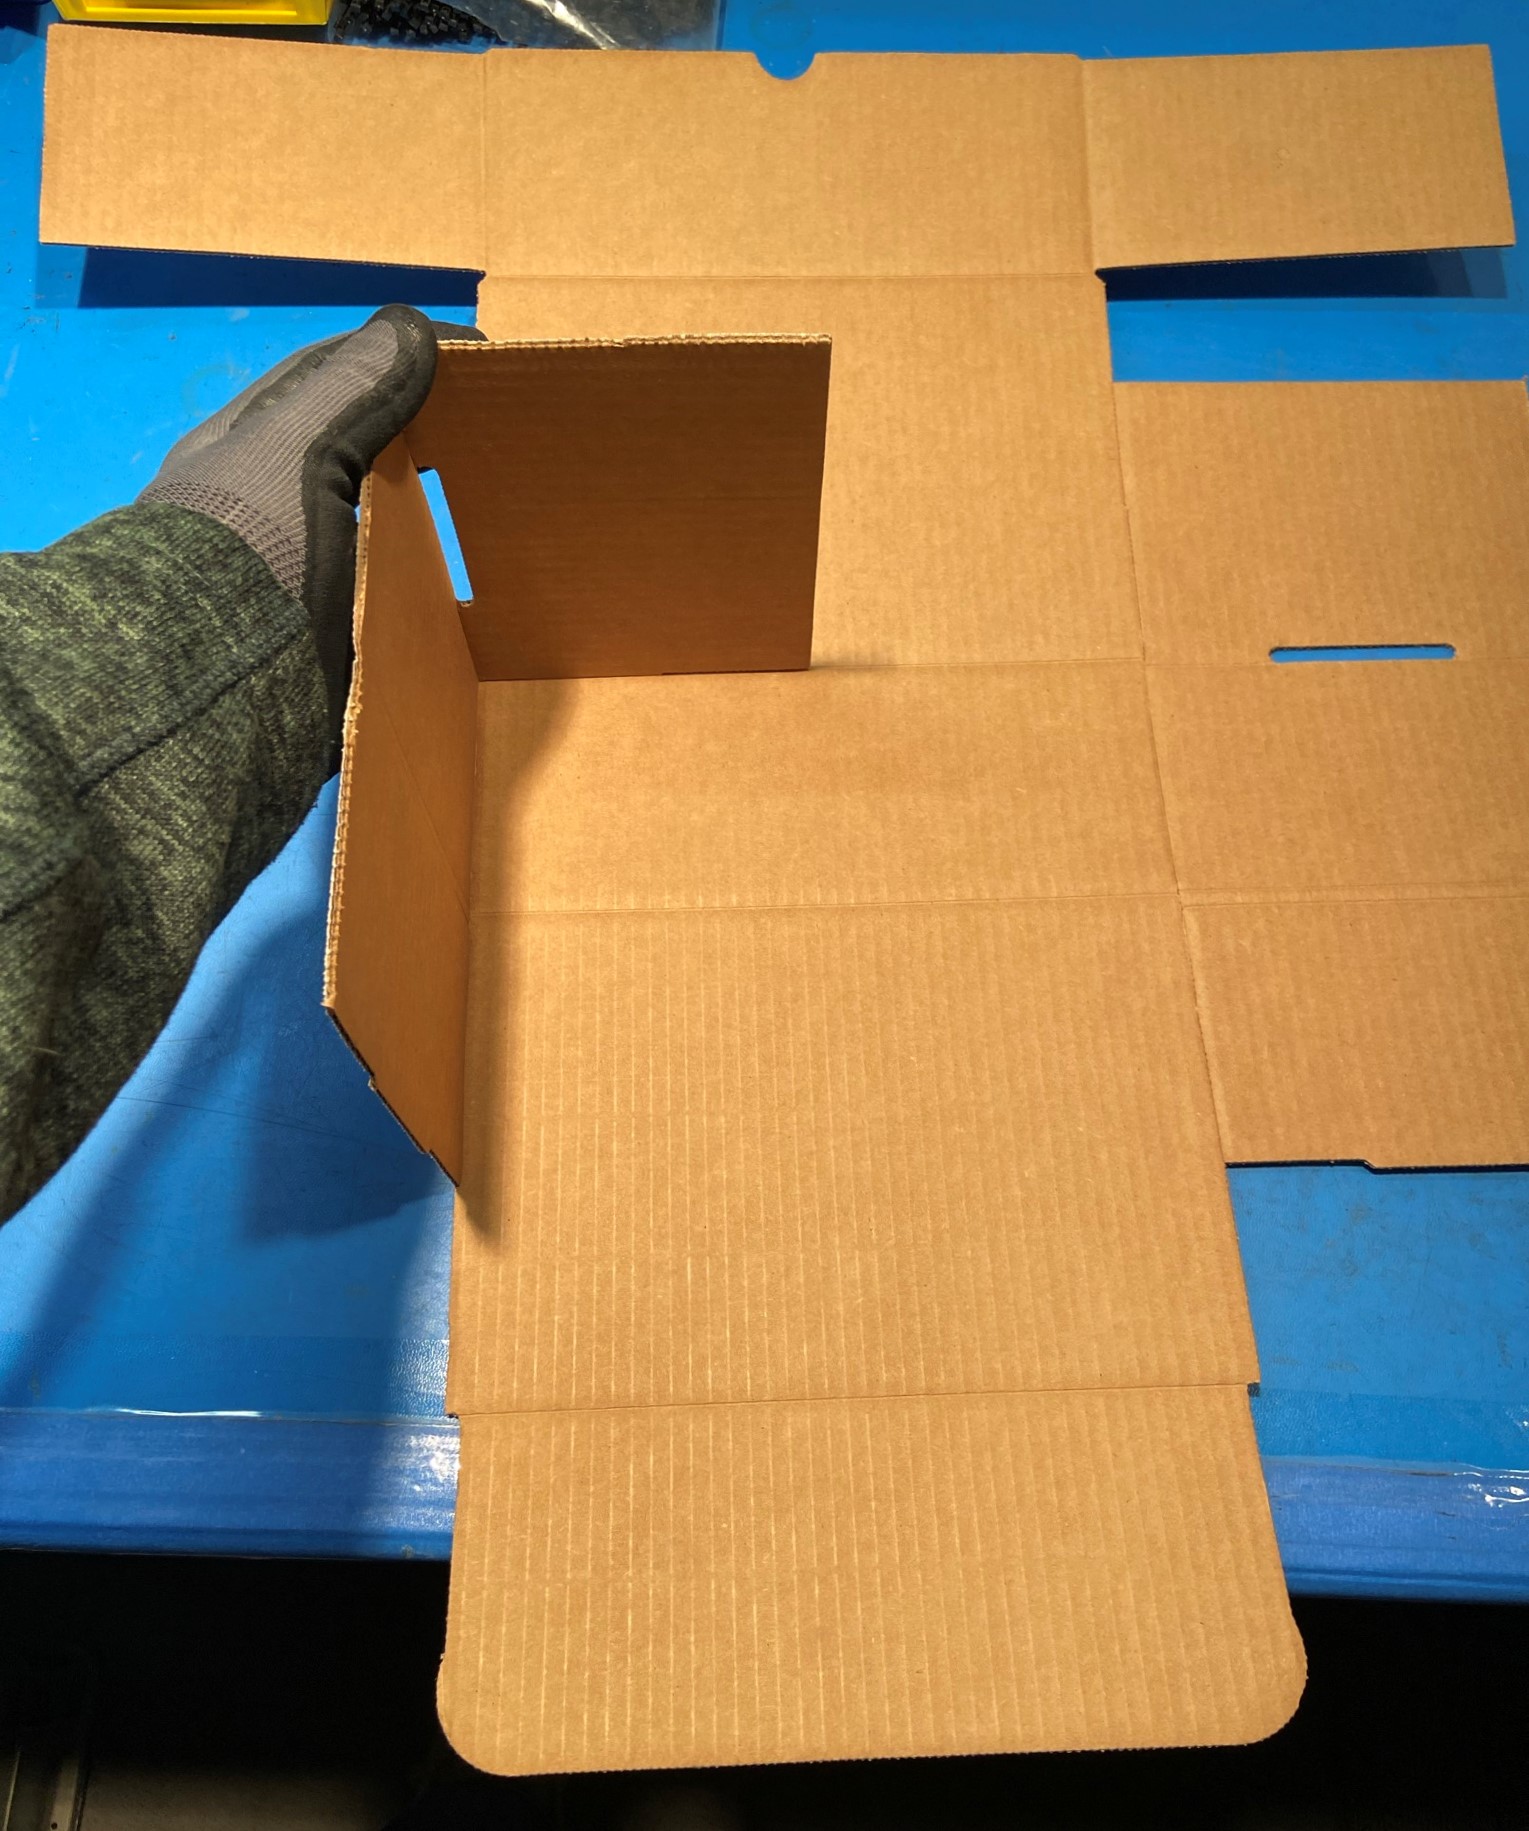
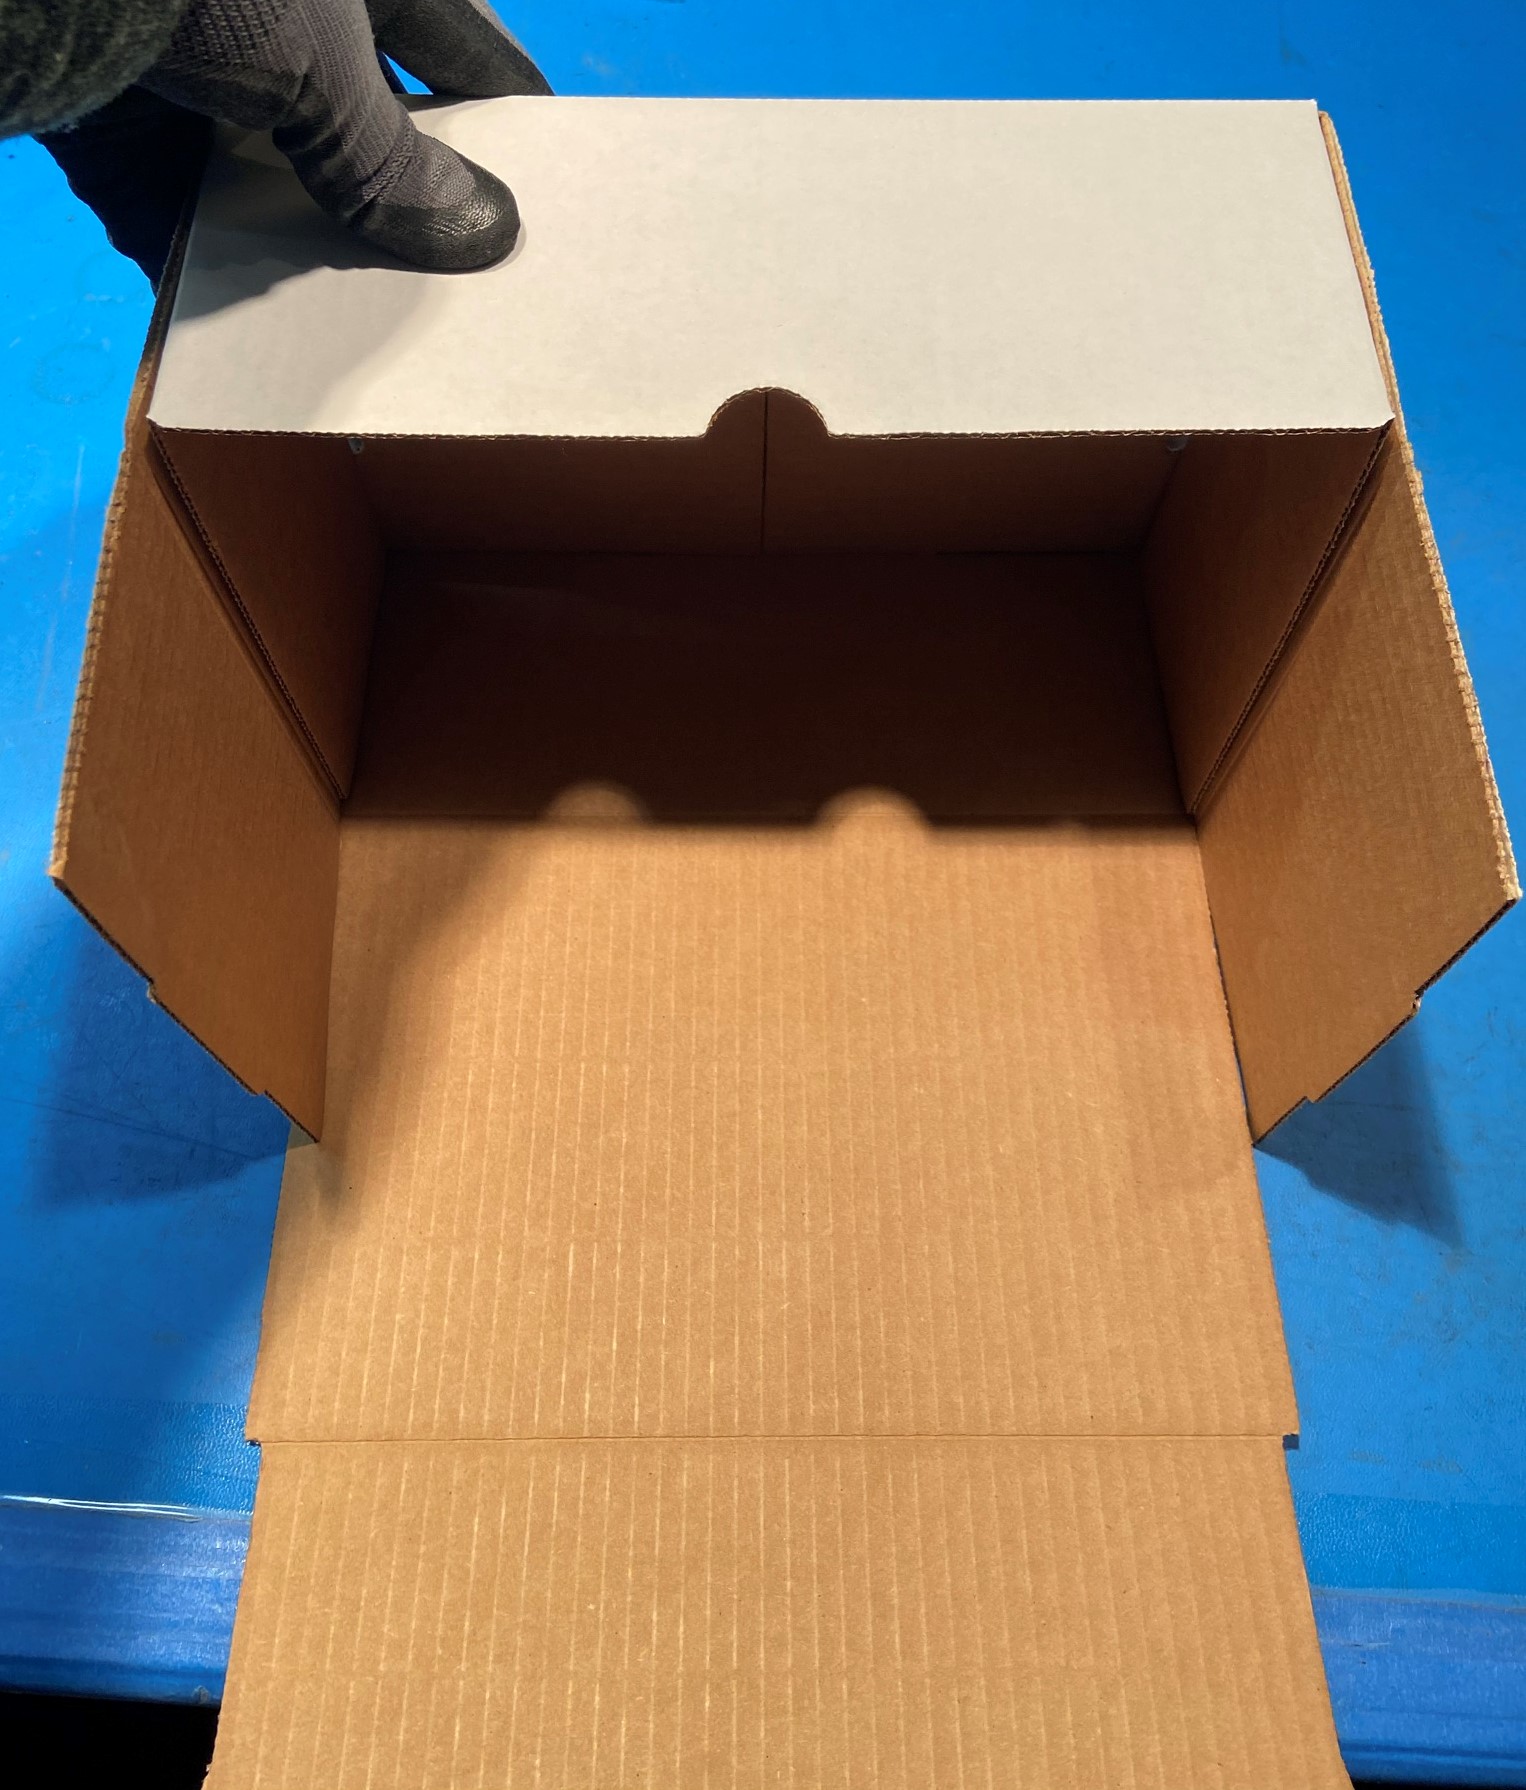
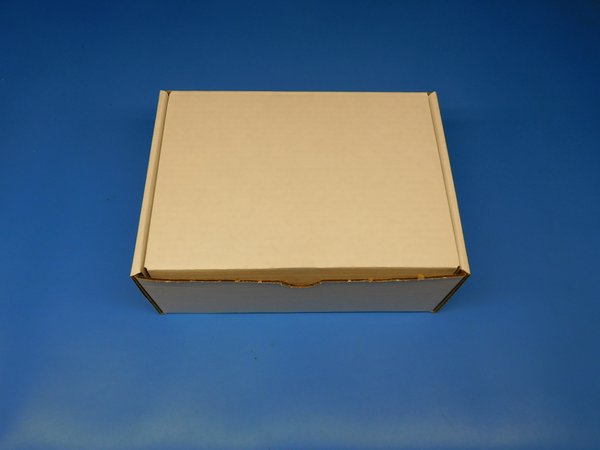
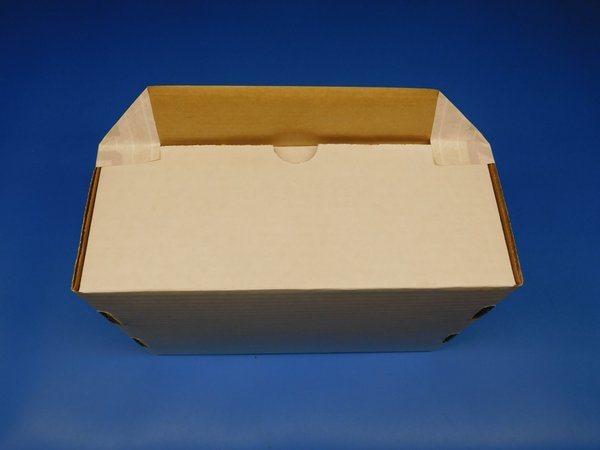
Take your unfolded box [SH-BX0088] placing so that the brown side is facing you and start by folding up the flaps on the left and right sides of the box as shown.
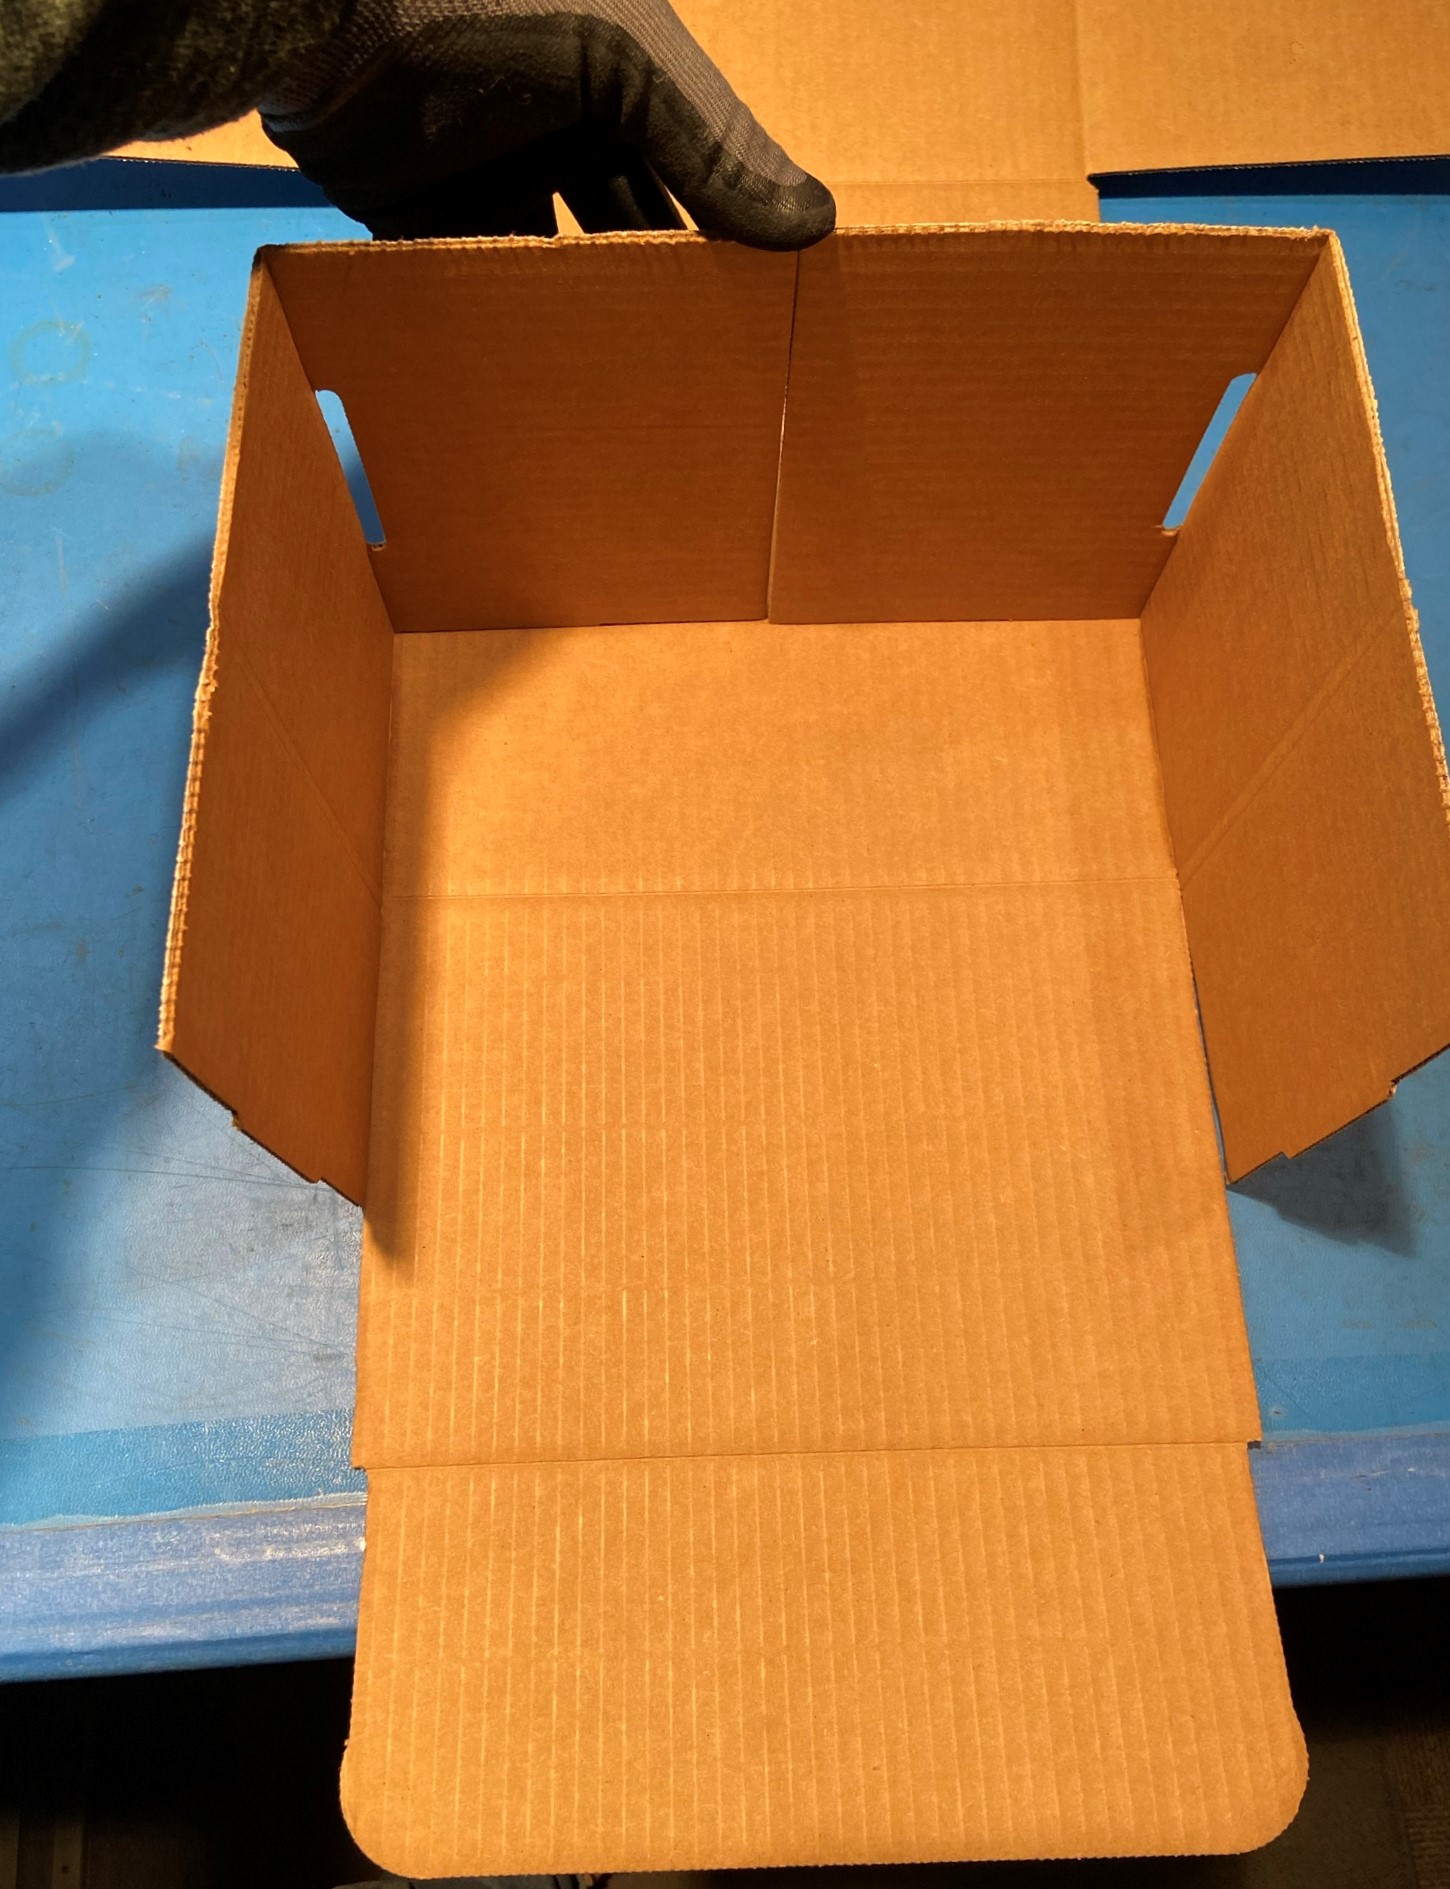
Next fold the bottom side (side with the semicircle cut) up, as shown.
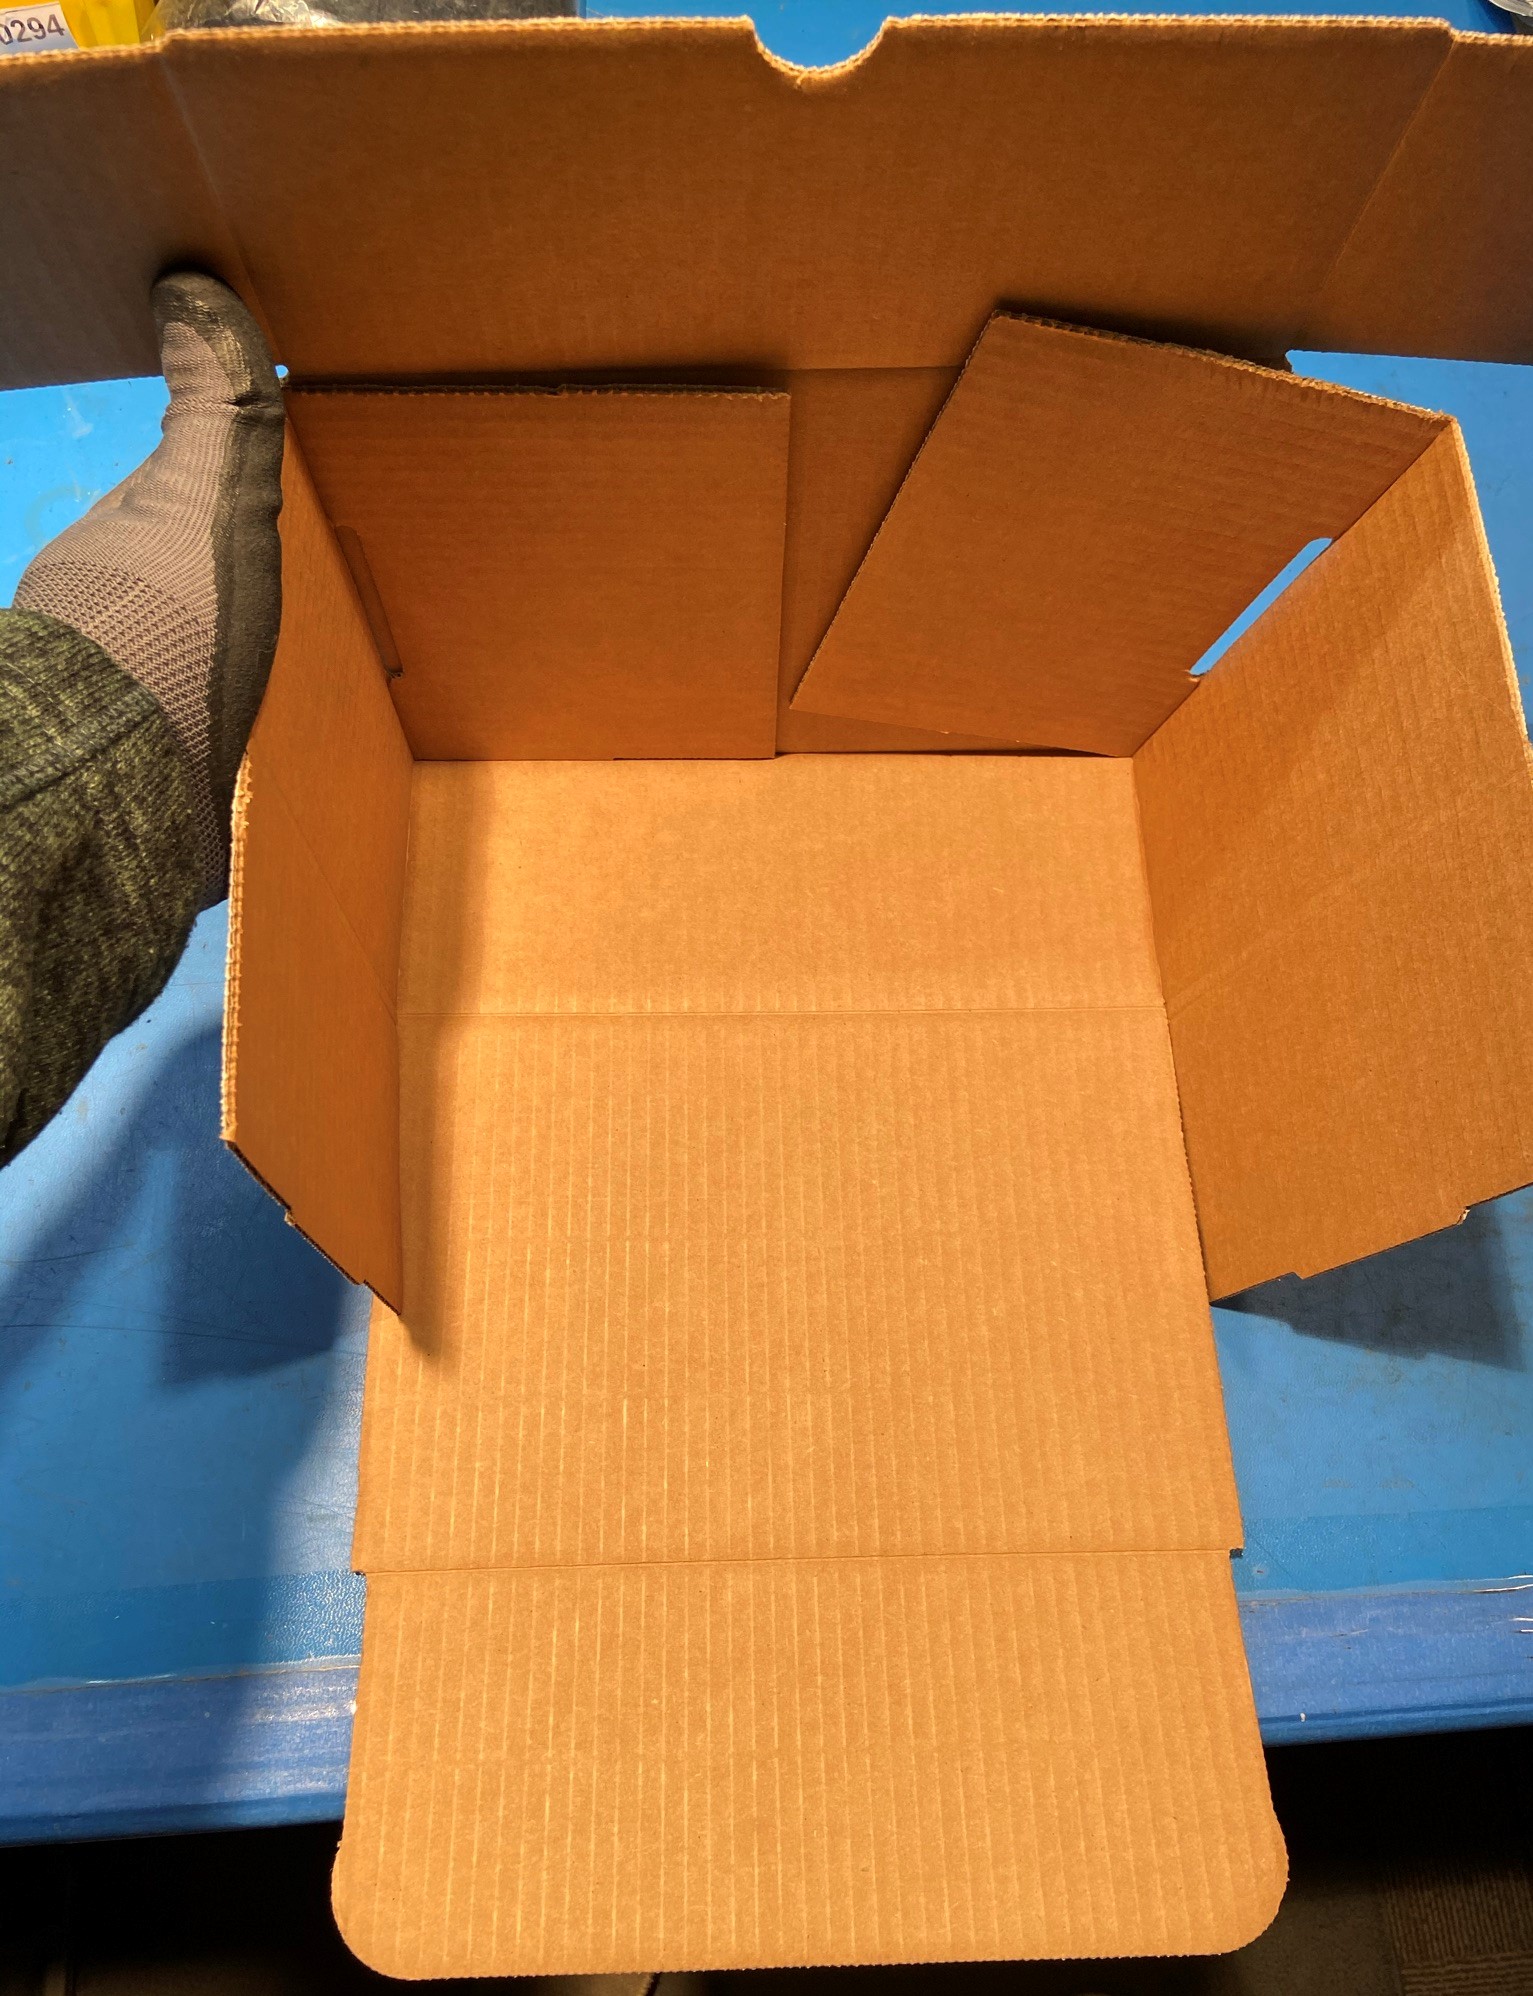
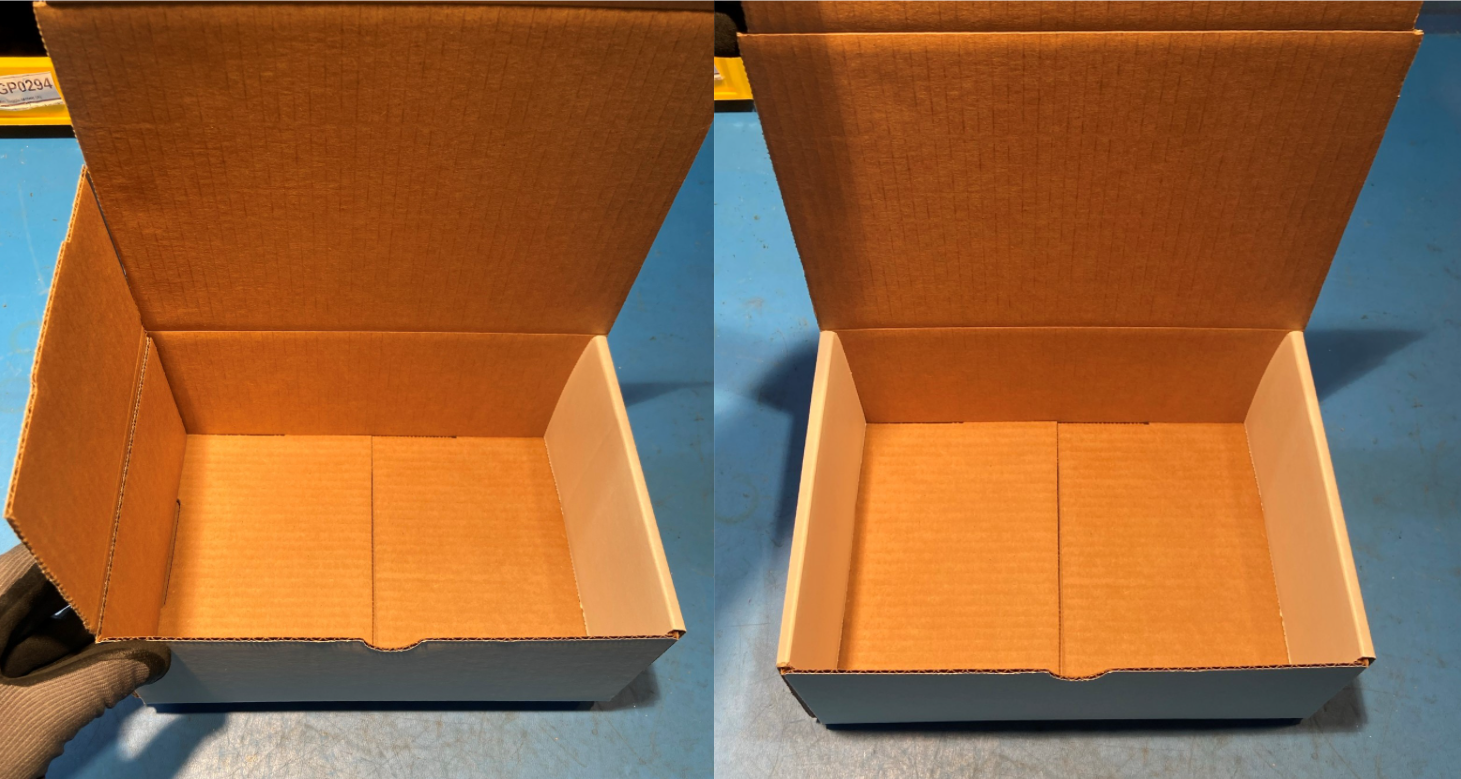
Now take the left flap on the bottom side and fold it then repeat for the right flap and fold the top flaps toward the middle of the box, as shown.
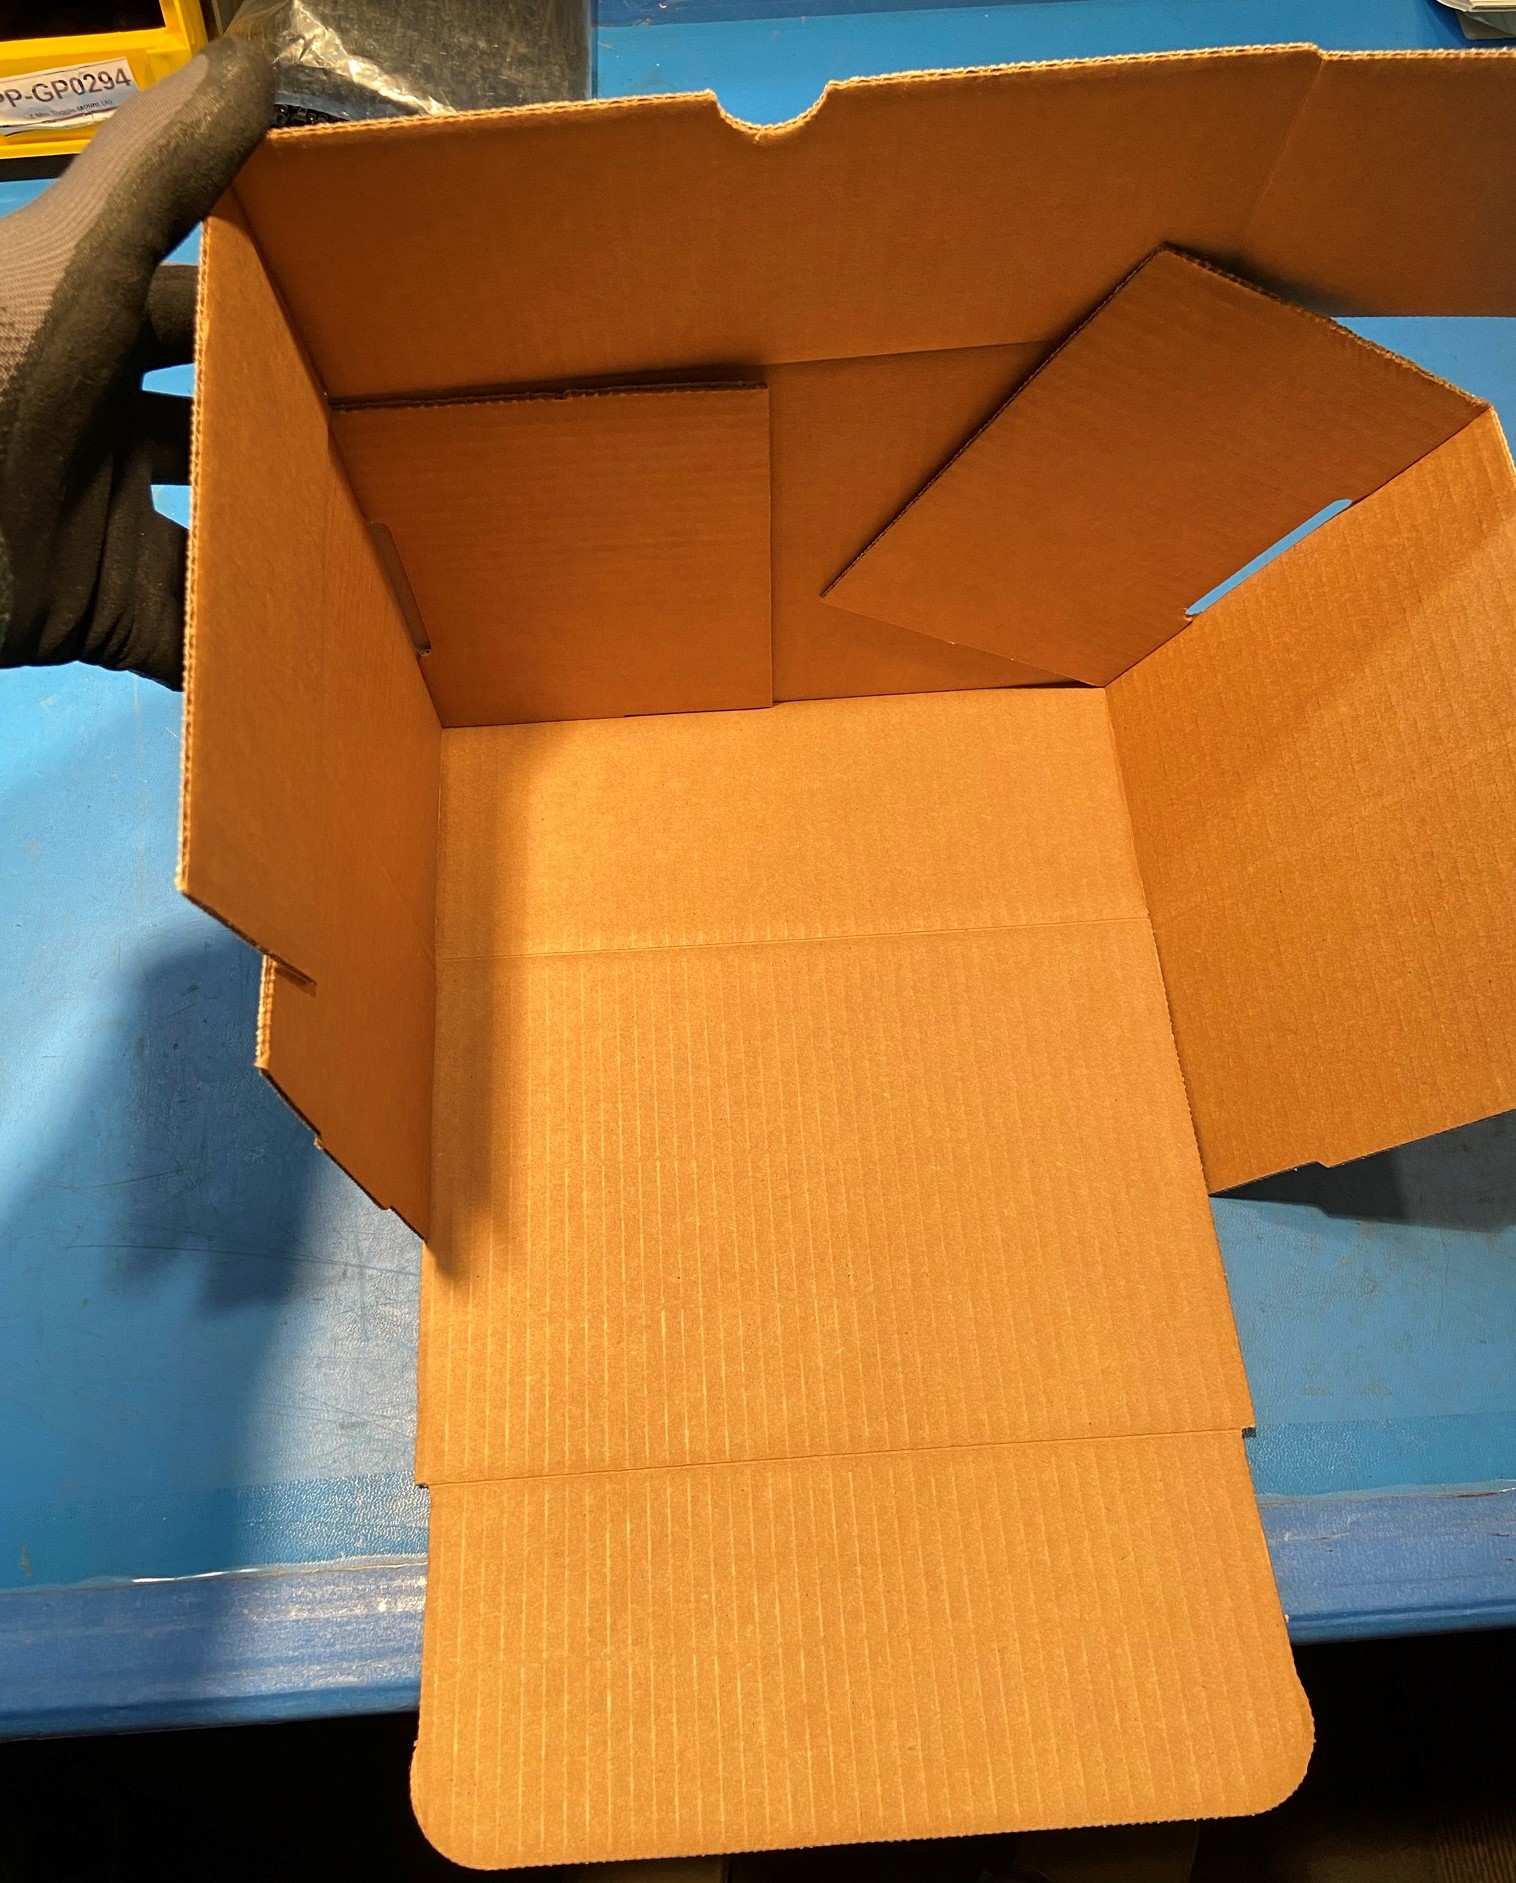
Then fold the left and right flaps over the flaps on the bottom side of the box and make sure they are secured in the two open slots, as shown
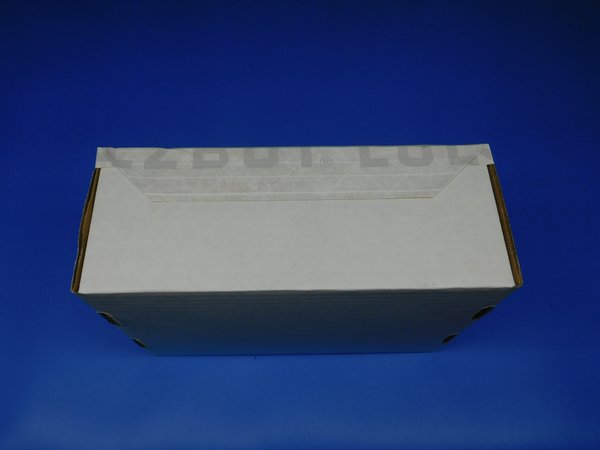
Lastly fold the top flap backwards

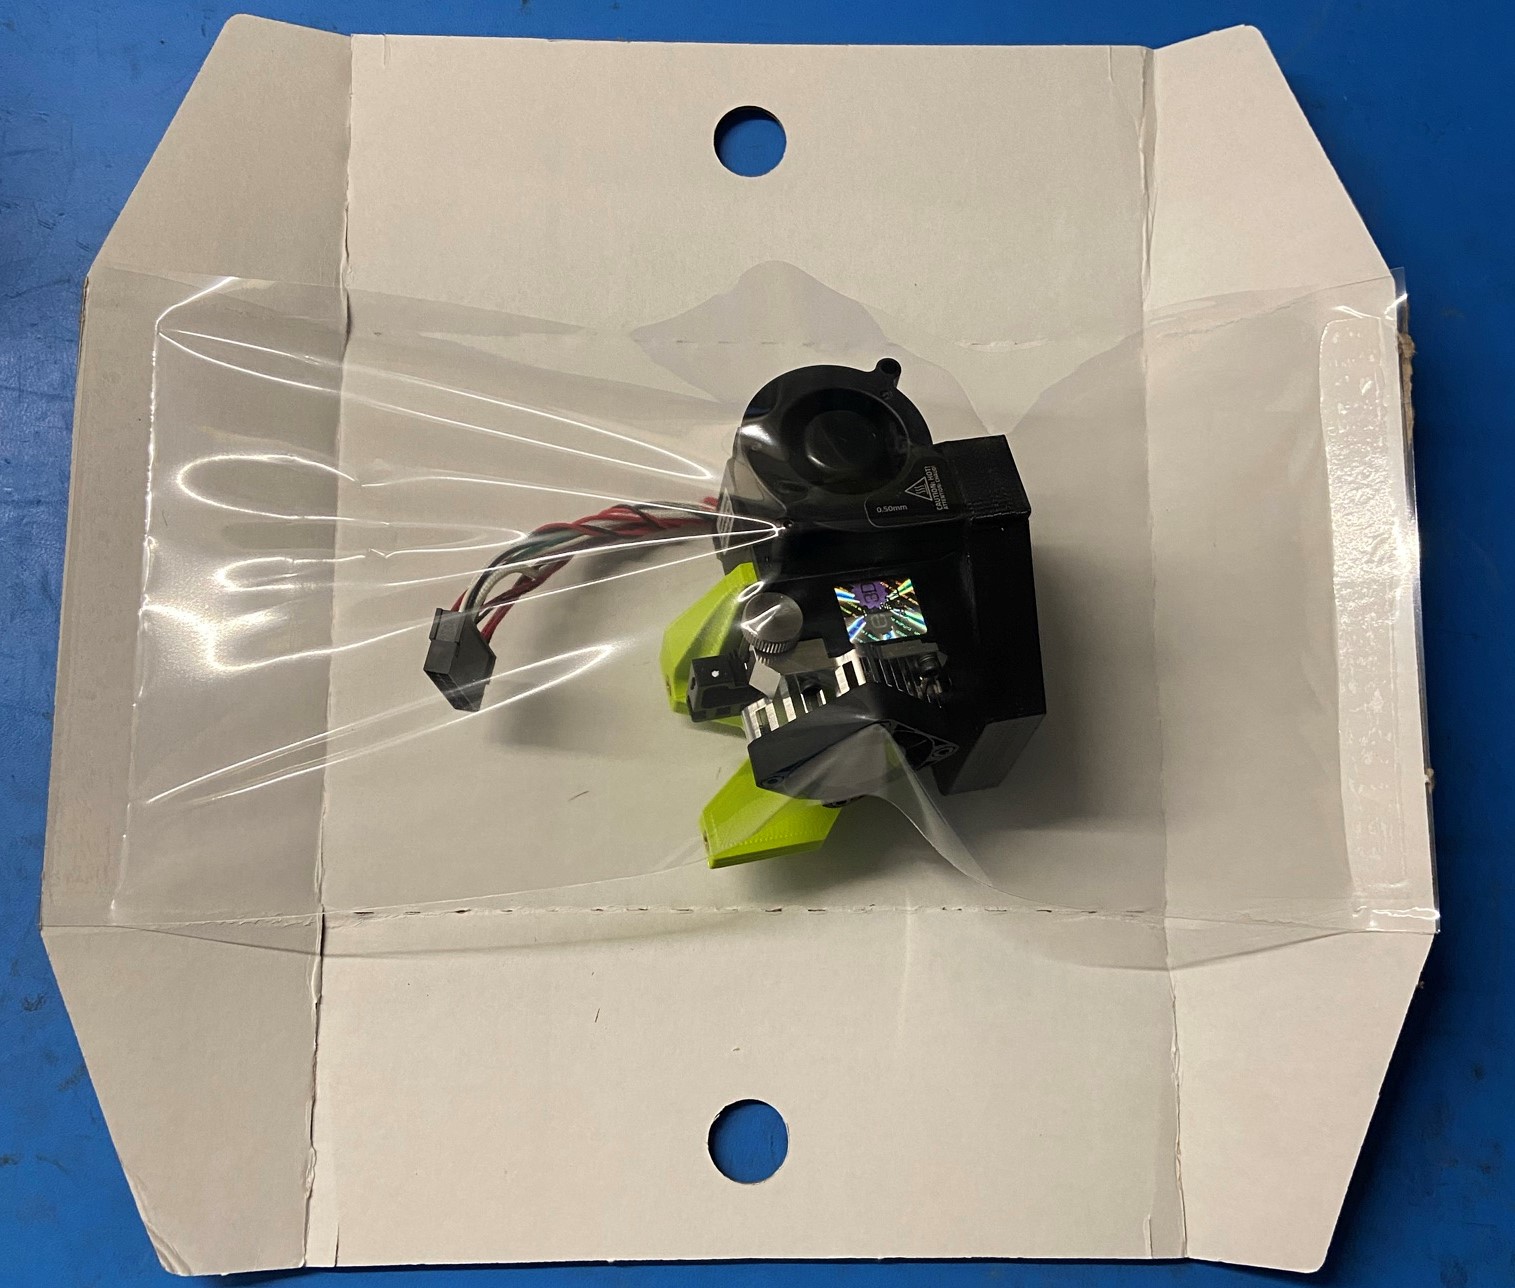
Fold the two sides without the finger holes up so that there is space for the tool head under the plastic wrap
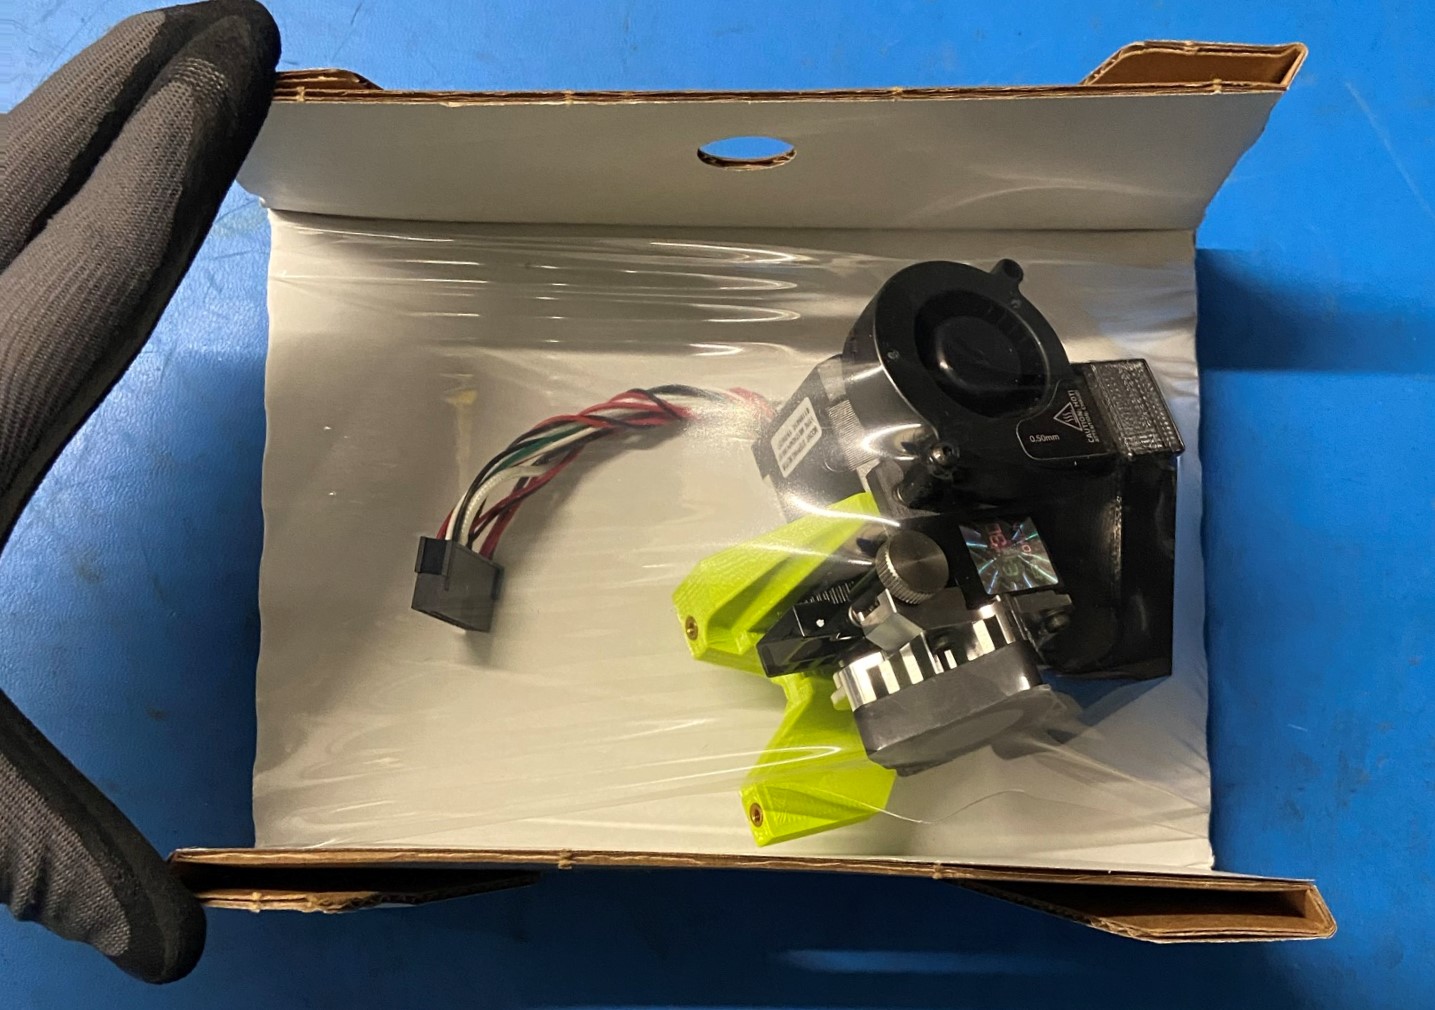
Place the Titan Aero HS Tool Head [AS-TH0066] under the plastic wrap on the Korrvu [SH-PA0049]
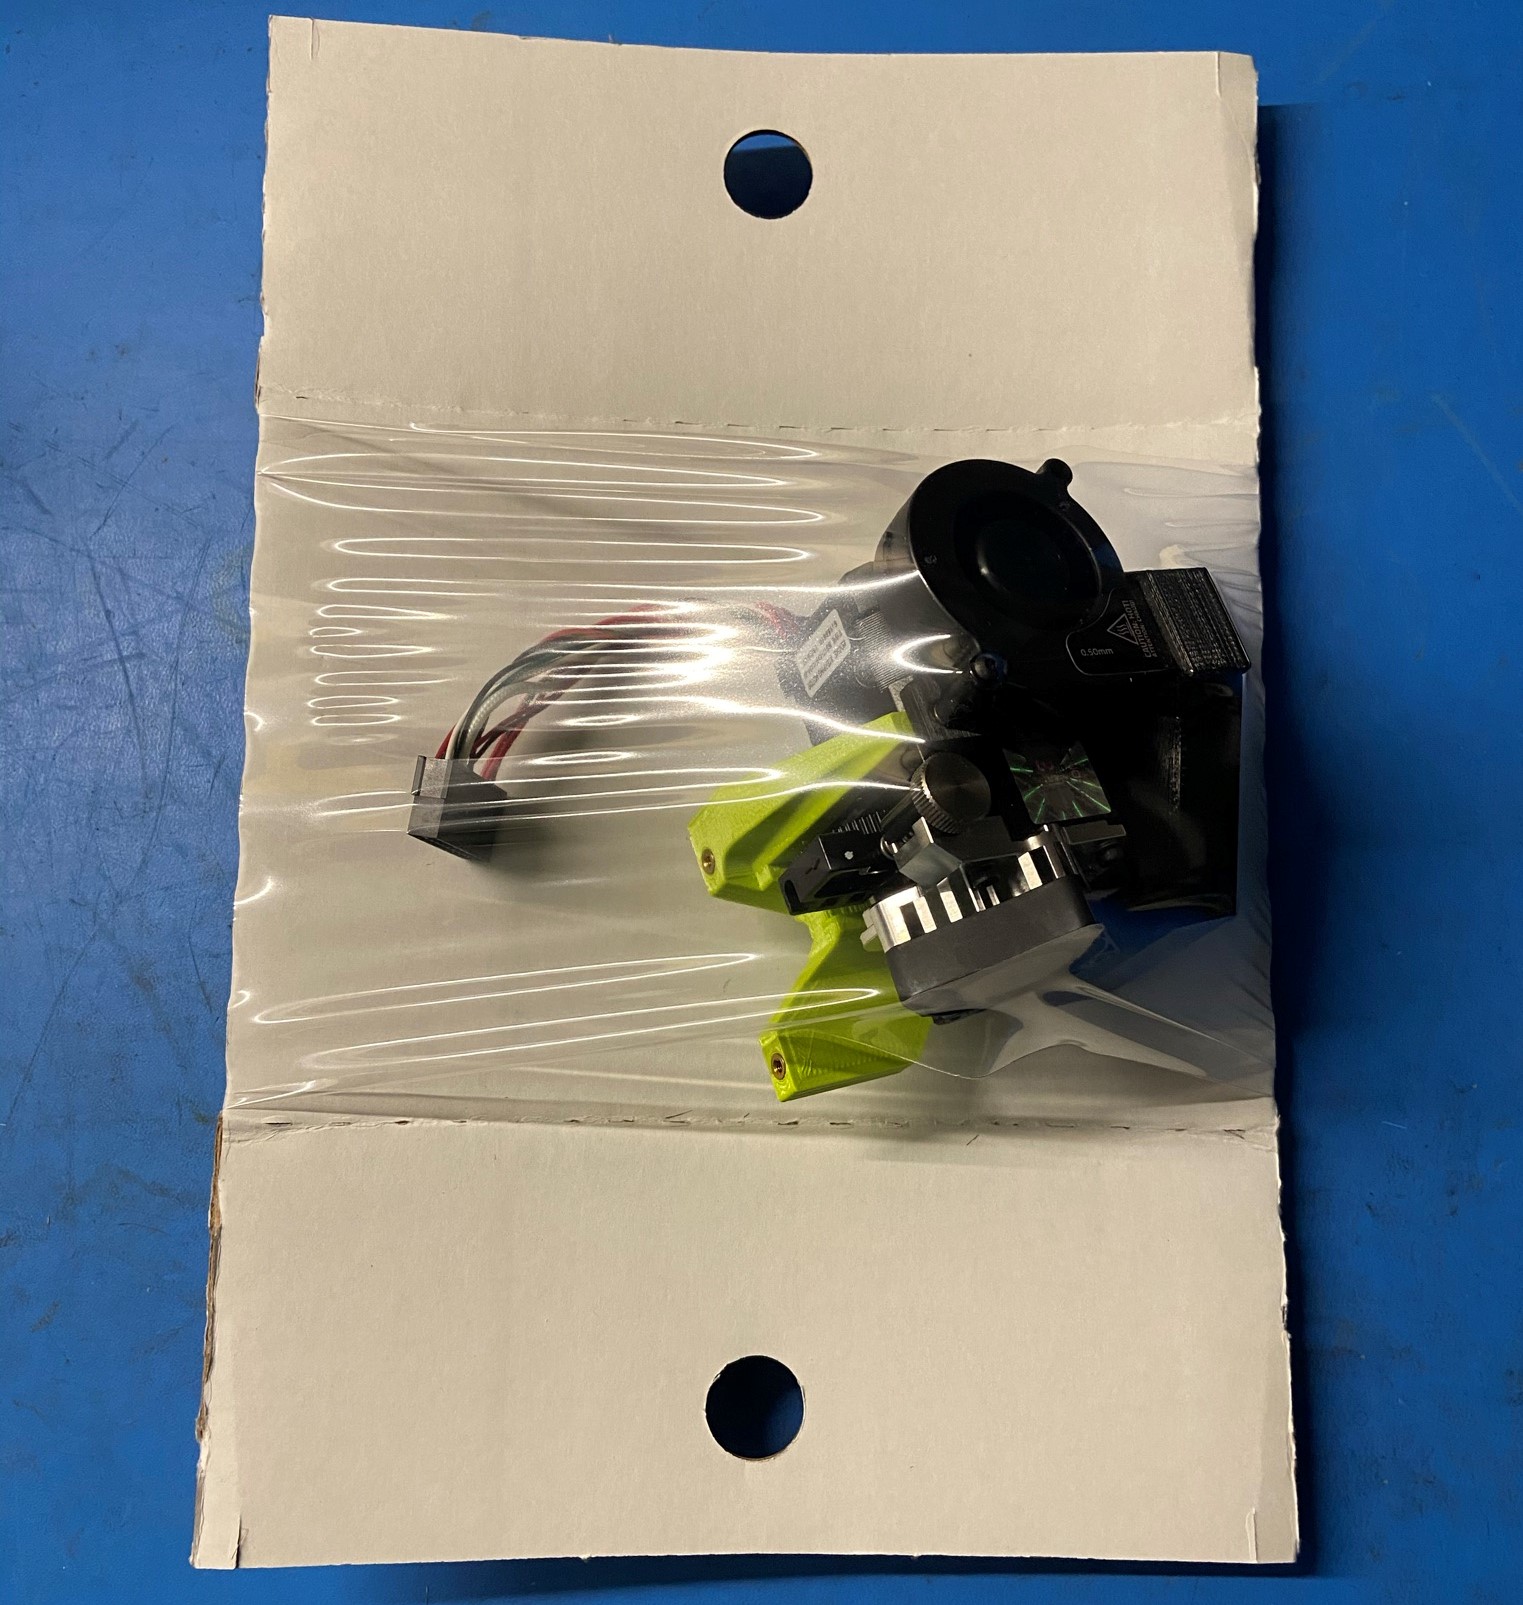
Fold the left side of the Korrvu back then fold the right side back then fold the top and bottom side up so it holds the left and right sides folded back so the plastic wrap is stretched around the tool head
Then place the Korrvu and tool head inside the box


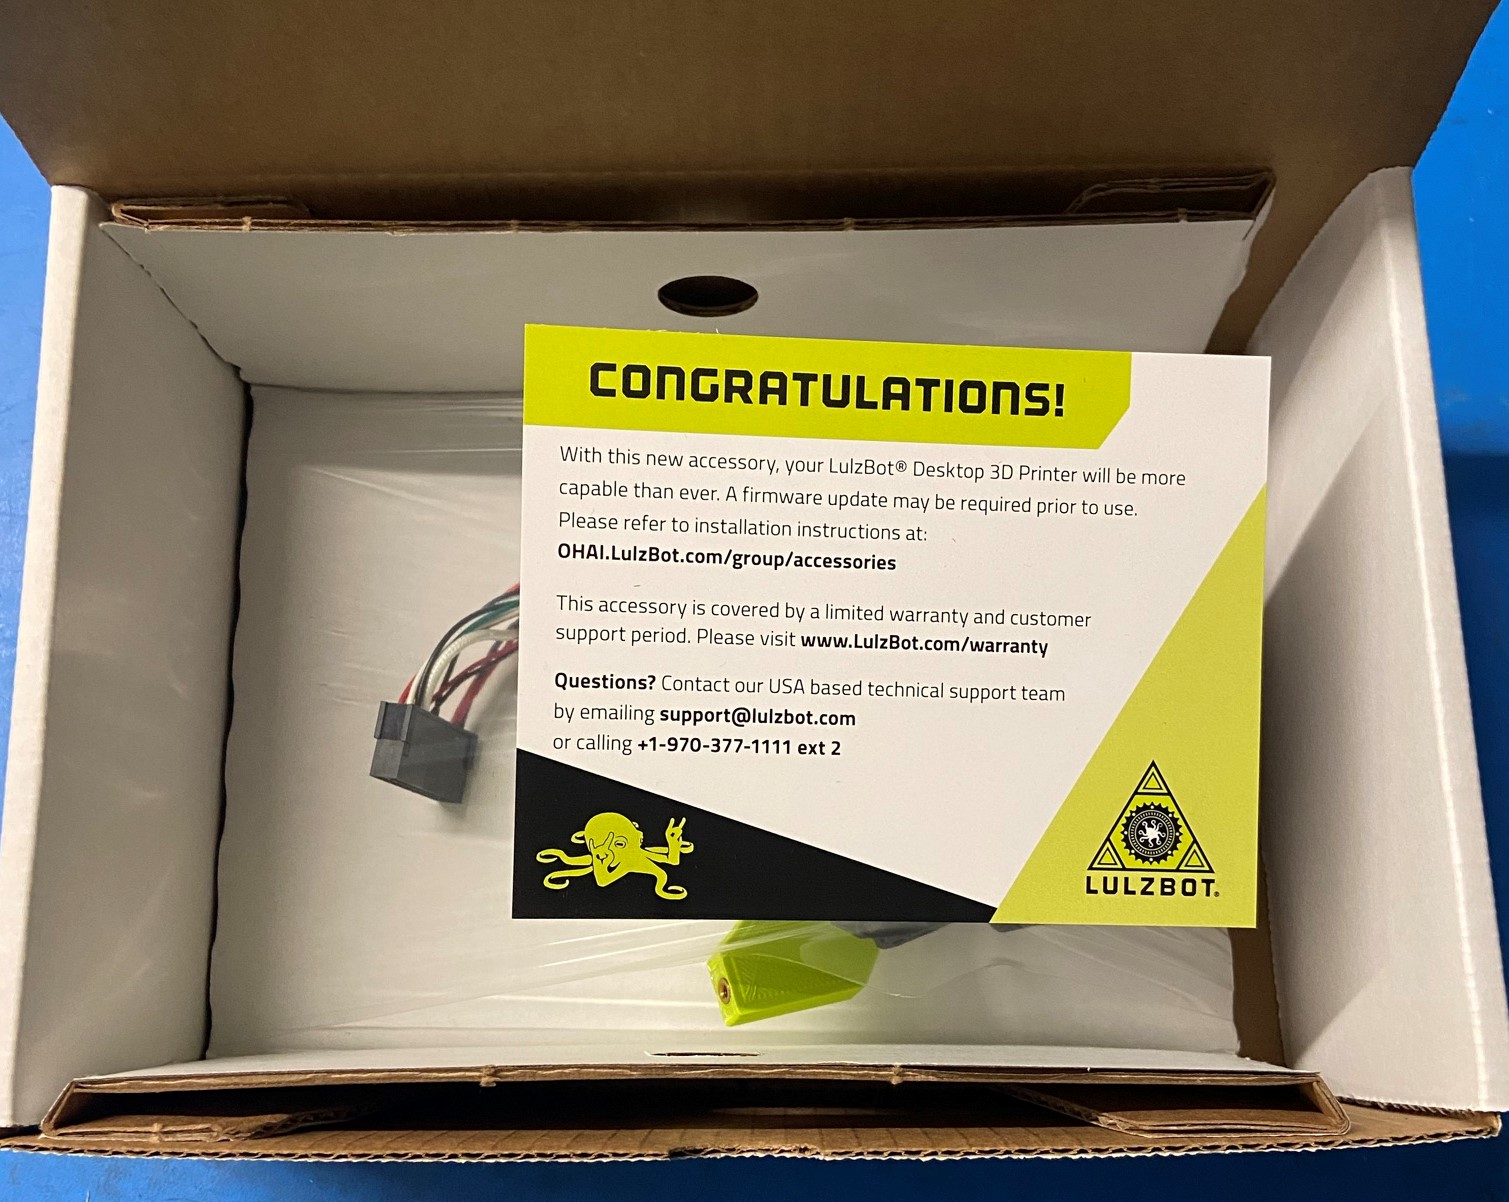
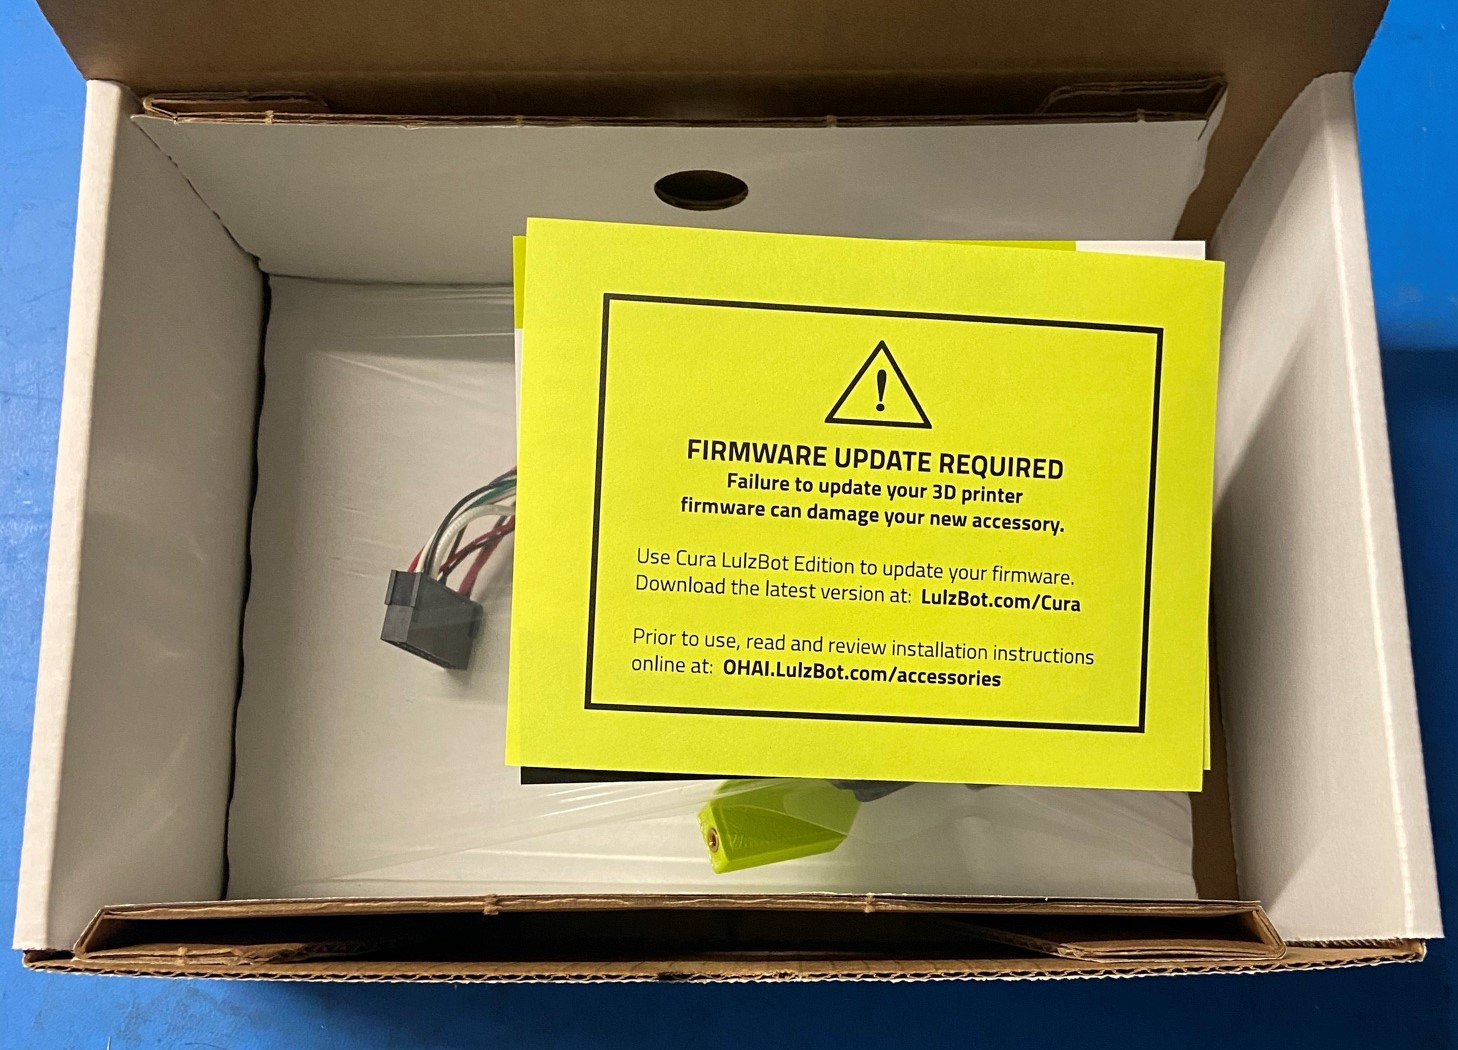
Place the CONGRATULATIONS! Accessory Instruction Card [DC-MS0060] on top of the tool head and place the Firmware Update Warning Card [DC-MS0054] over the congratulations card
Now close the box and take it to the Uline tape machines.
Use [SH-PG0131] #260 White Reinforced Gummed Tape with LulzBot Printed Logo, 10 Pack.
Select the 12" length on the machine.
Place the tape with slightly more depth on the top of the box.
Now we will fold the sides inward.
Lastly, fold the tape down securing the lid of the box closed.

First place the Front label [DC-LB0170] to the front of the box. Next place the back label [DC-LB0171] to the back of the box. Than, add the [DC-MS0037] Colorado Made Green Sticker to the right side of the box, positioned in the top right corner. Finally, place the [DC-LB0174] P65 Warning Label on top.