Open HardwareAssembly Instructions
Guides for installation and assembly of the LulzBot line of products made by FAME 3D LLC.
Guides for installation and assembly of the LulzBot line of products made by FAME 3D LLC.
Inspect [AS-HB0002] Mini Modular Print Bed Heater for bent corners and major scratches on the metal.
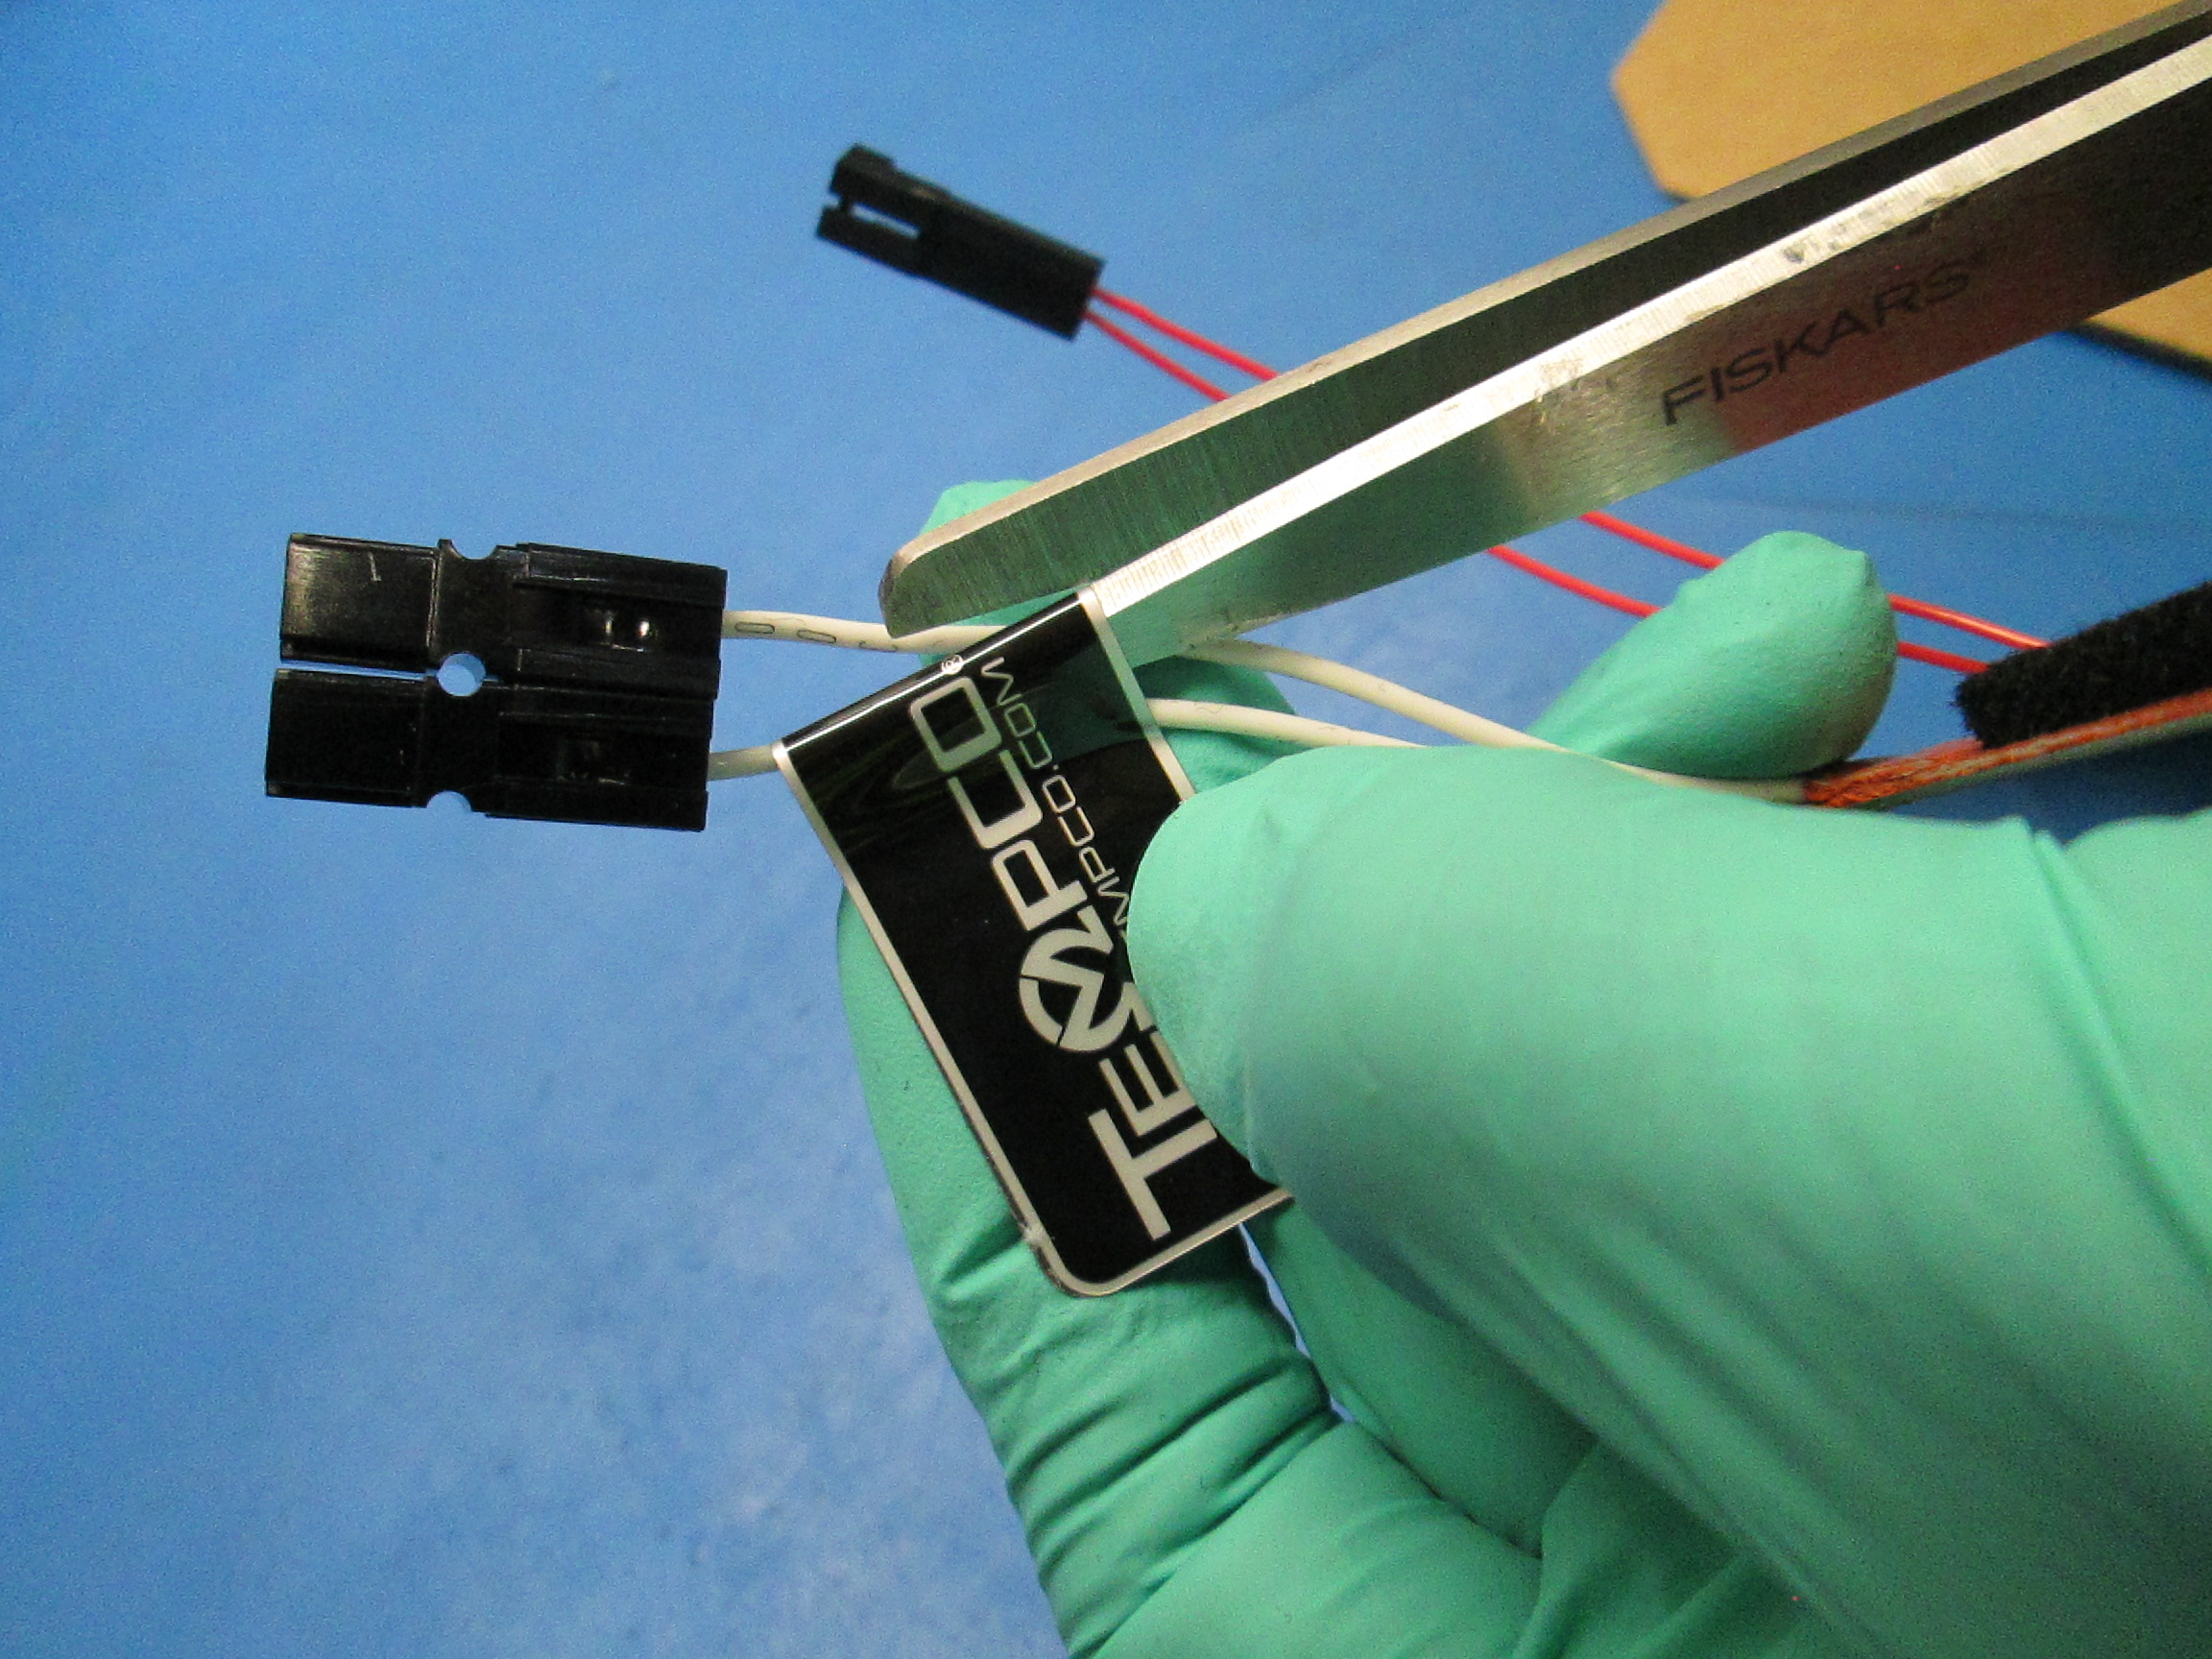
Wires lengths should be 75mm +/- 6mm. Make sure connectors aren’t loose or falling off by doing a light pull test.
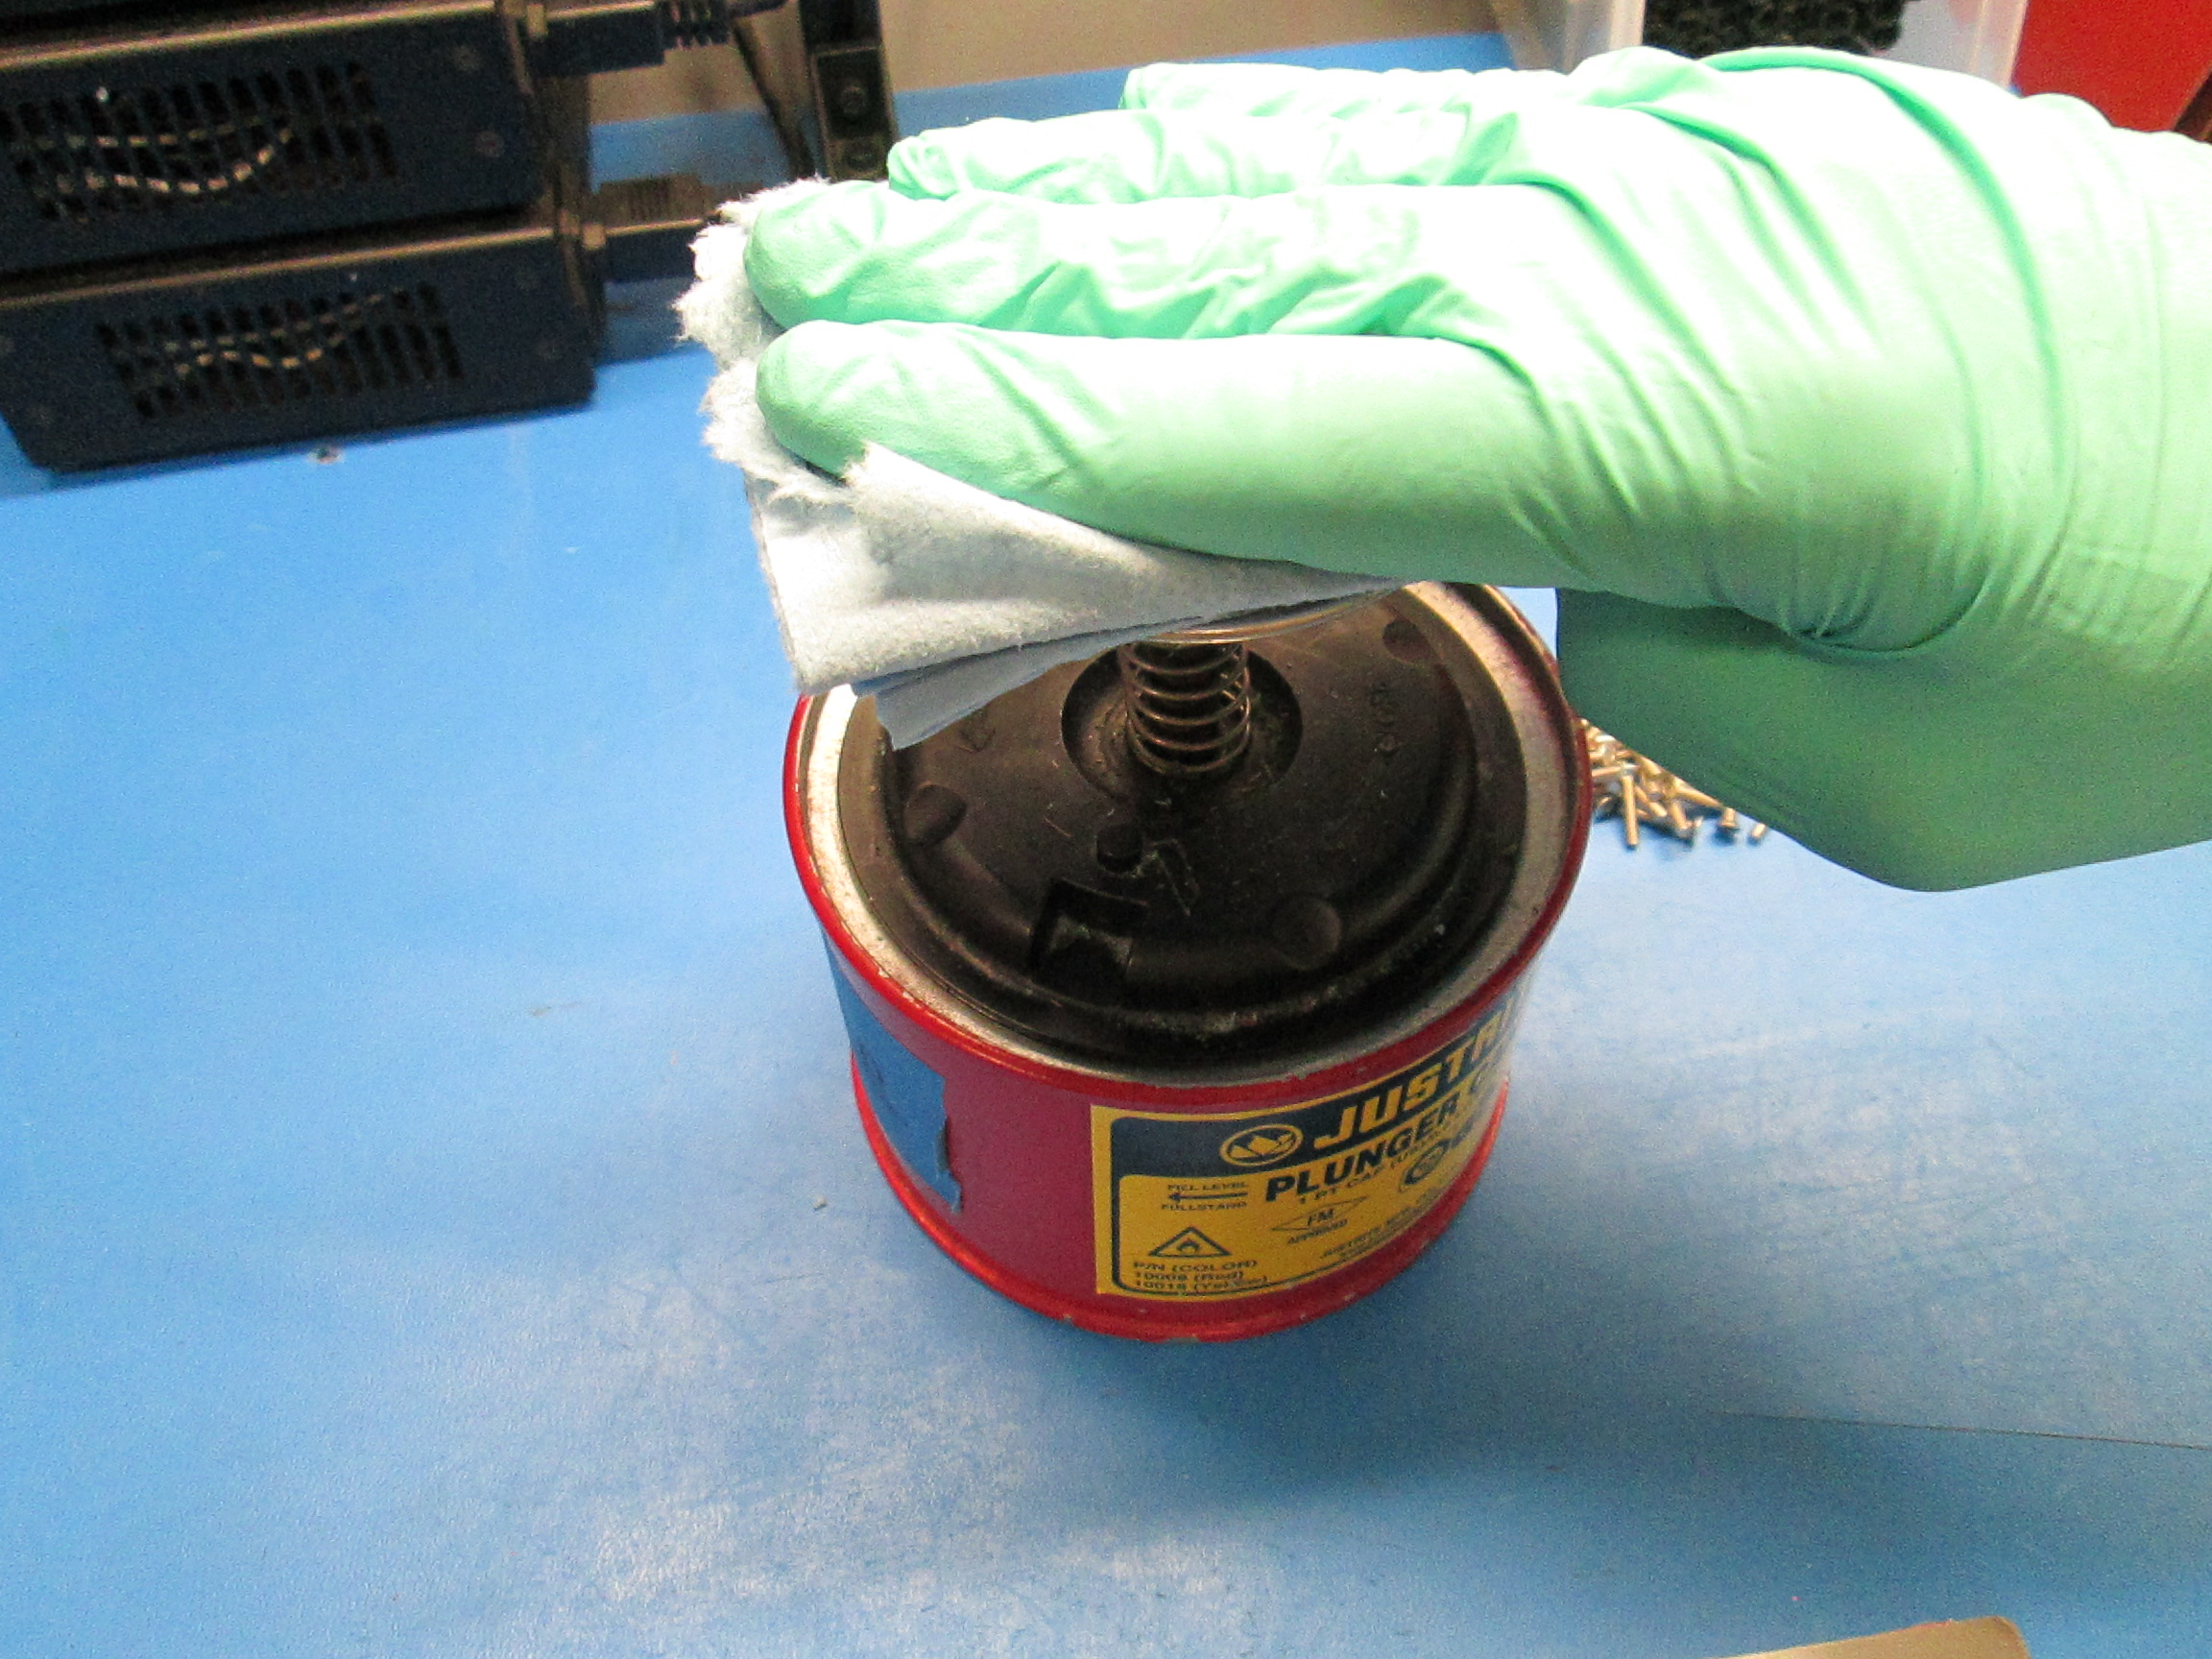
Use Acetone on a shop towel to remove any smudges or debris that could be on the surface of the bed heater.
Remove the "TEMPCO" tab.

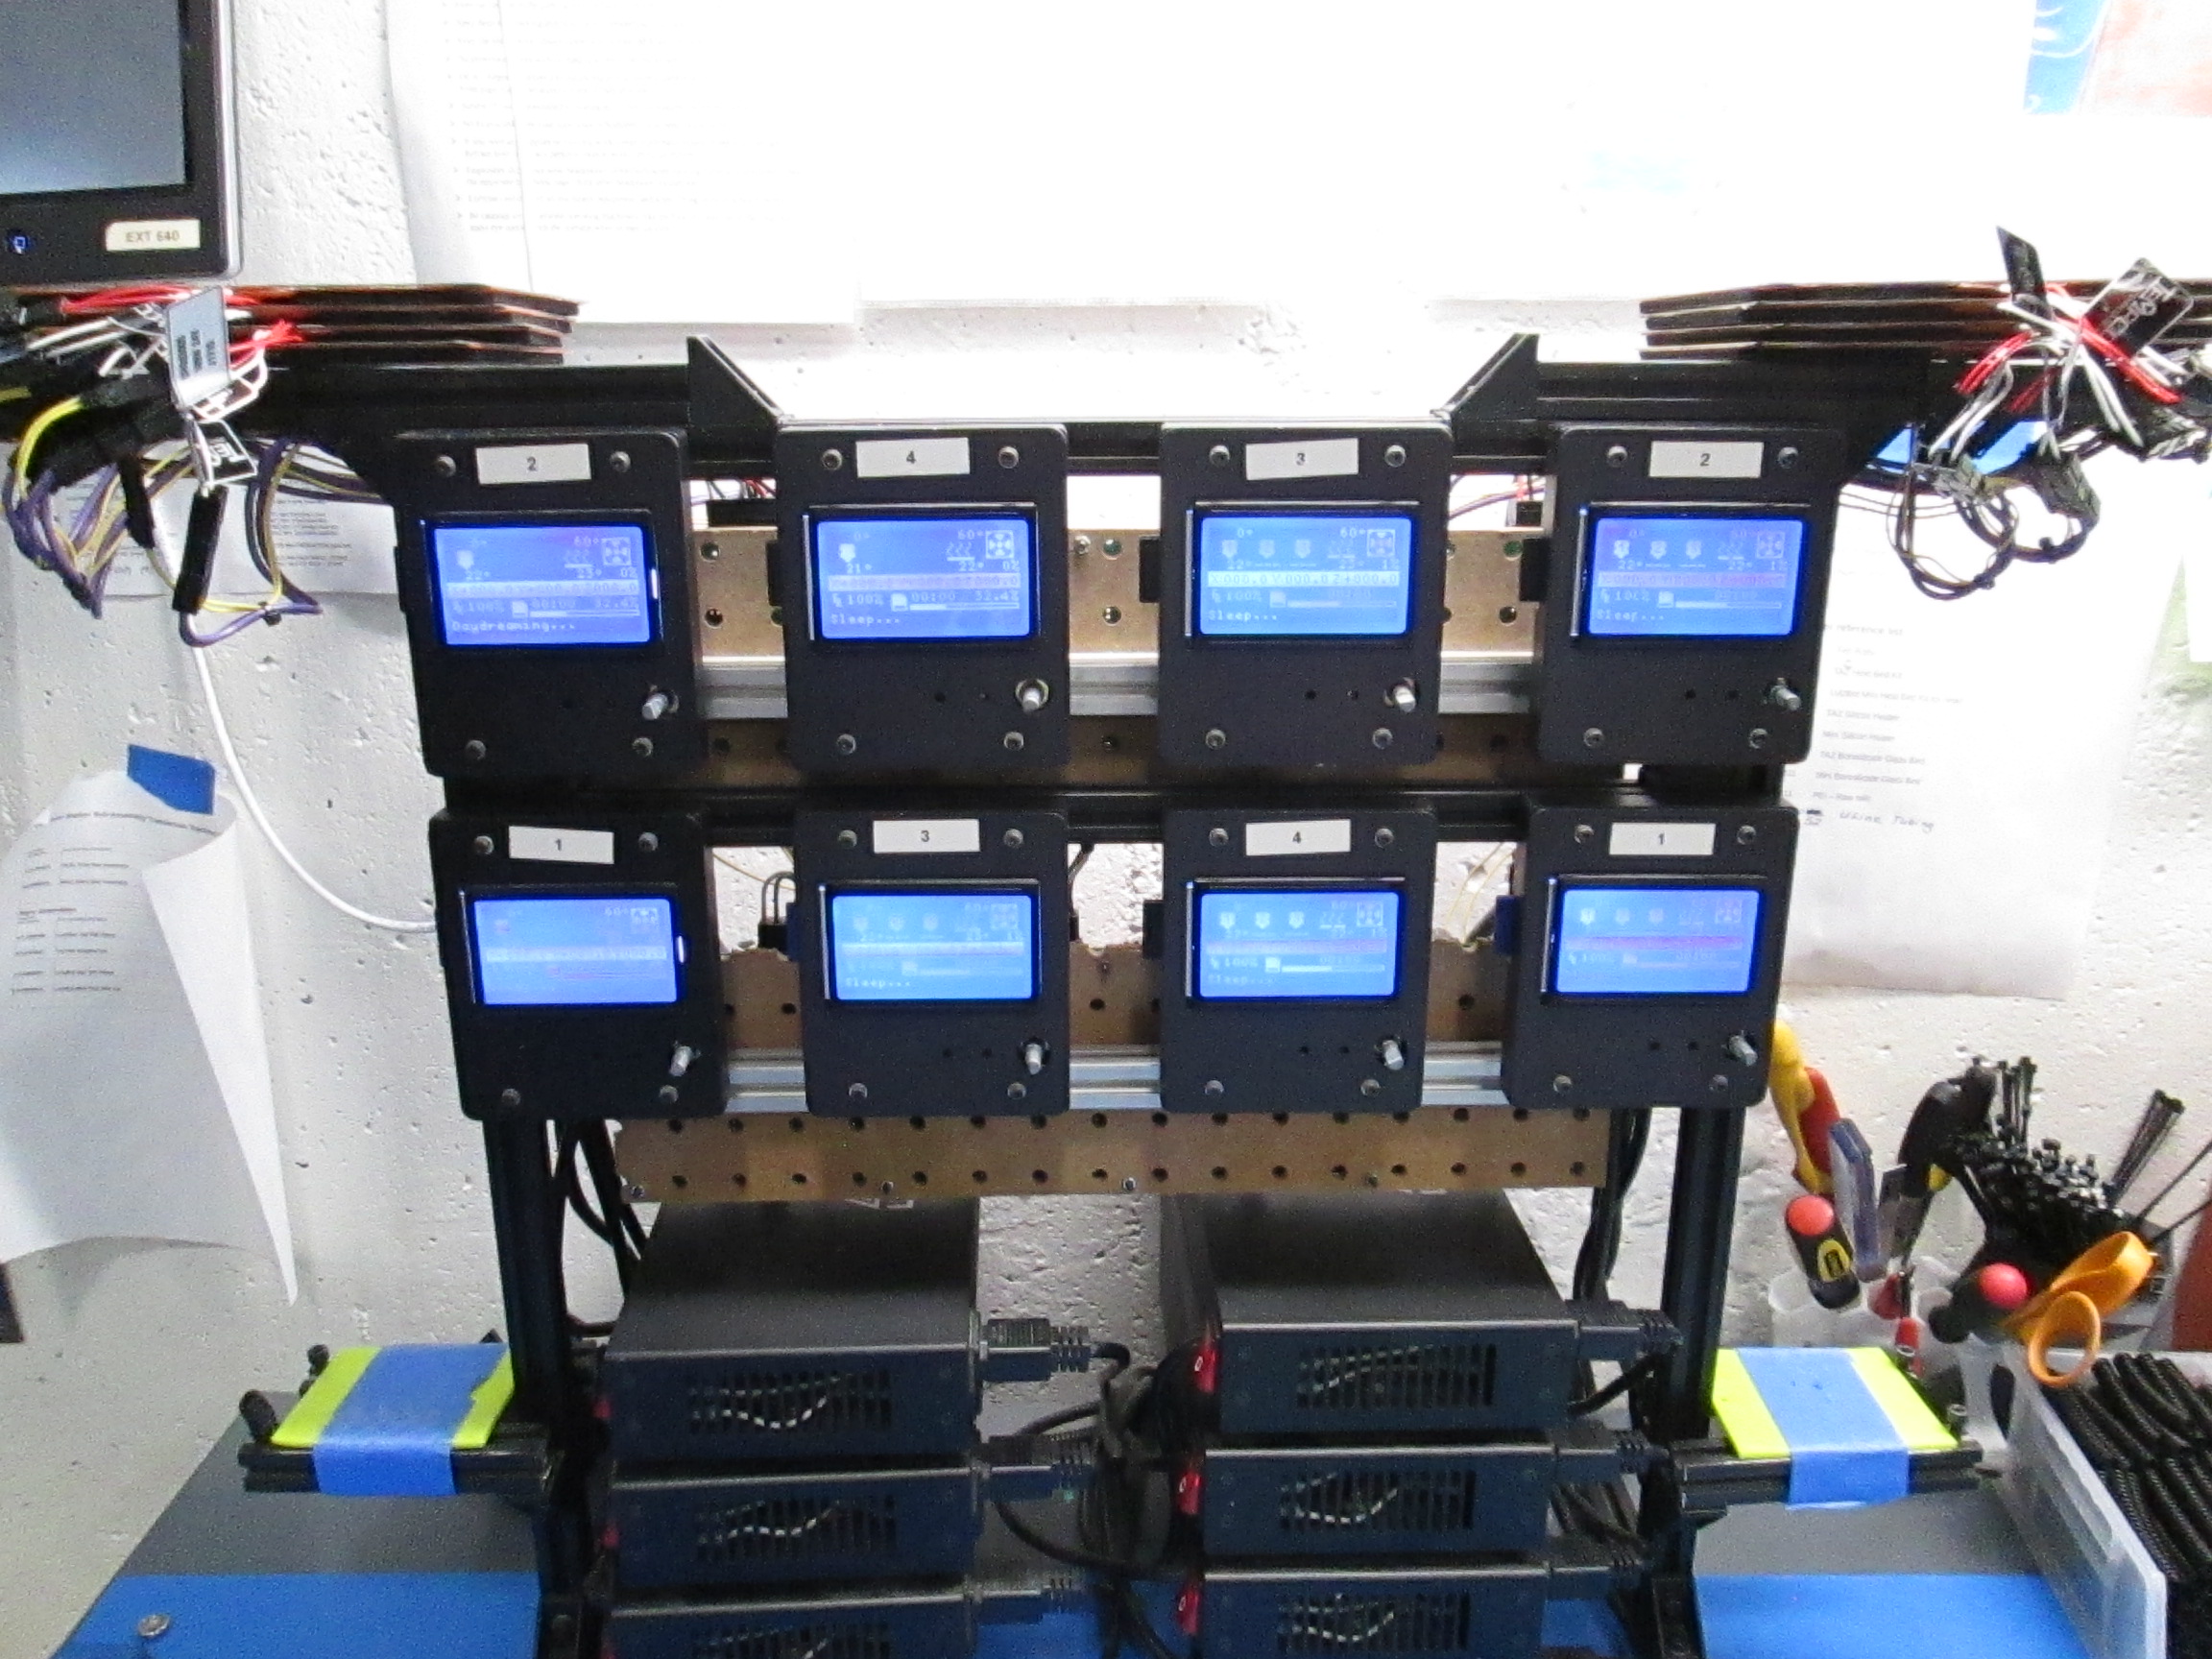
Connect Mini Modular Print Bed Heater as shown. Turn on power supply to test.
Test bed heaters for 30 minutes.
Note: On the right side of the LCD the target temperature (top) gradually reaches 110C, and the actual bed temperature (bottom) should increase until it reaches 110C as shown.

Materials needed for [AS-PK0021] Mini Modular Bed Corners Kit:
[PP-GP0335] Flexy Bed Corner for Mini 2 part bed, black v2 (4)
[PP-GP0336] Mini 1.00-1.03 Flexy Bed Corners, 2pc bed, black v2 (4)
[HD-MS0287] Metric 18-8 Stainless Steel Unthreaded Spacer, 8mm OD, 10mm Length, M3 Screw Size (4)
[HD-BT0082] Metric 18-8 SS Flat Head Socket Cap Screw M3 Size, 16mm Length, .50mm Pitch (4)
[HD-MS0433] Aluminum Unthreaded Spacer, 4.5 mm OD, 10 mm Length, for M3 Screw Size (4)
[SH-PG0002] 3 x 4" 2 Mil Reclosable Polypropylene Bags (2)
[SH-PG0003] 4 x 6" 2 Mil Reclosable Polypropylene Bags 1,000/carton (1)
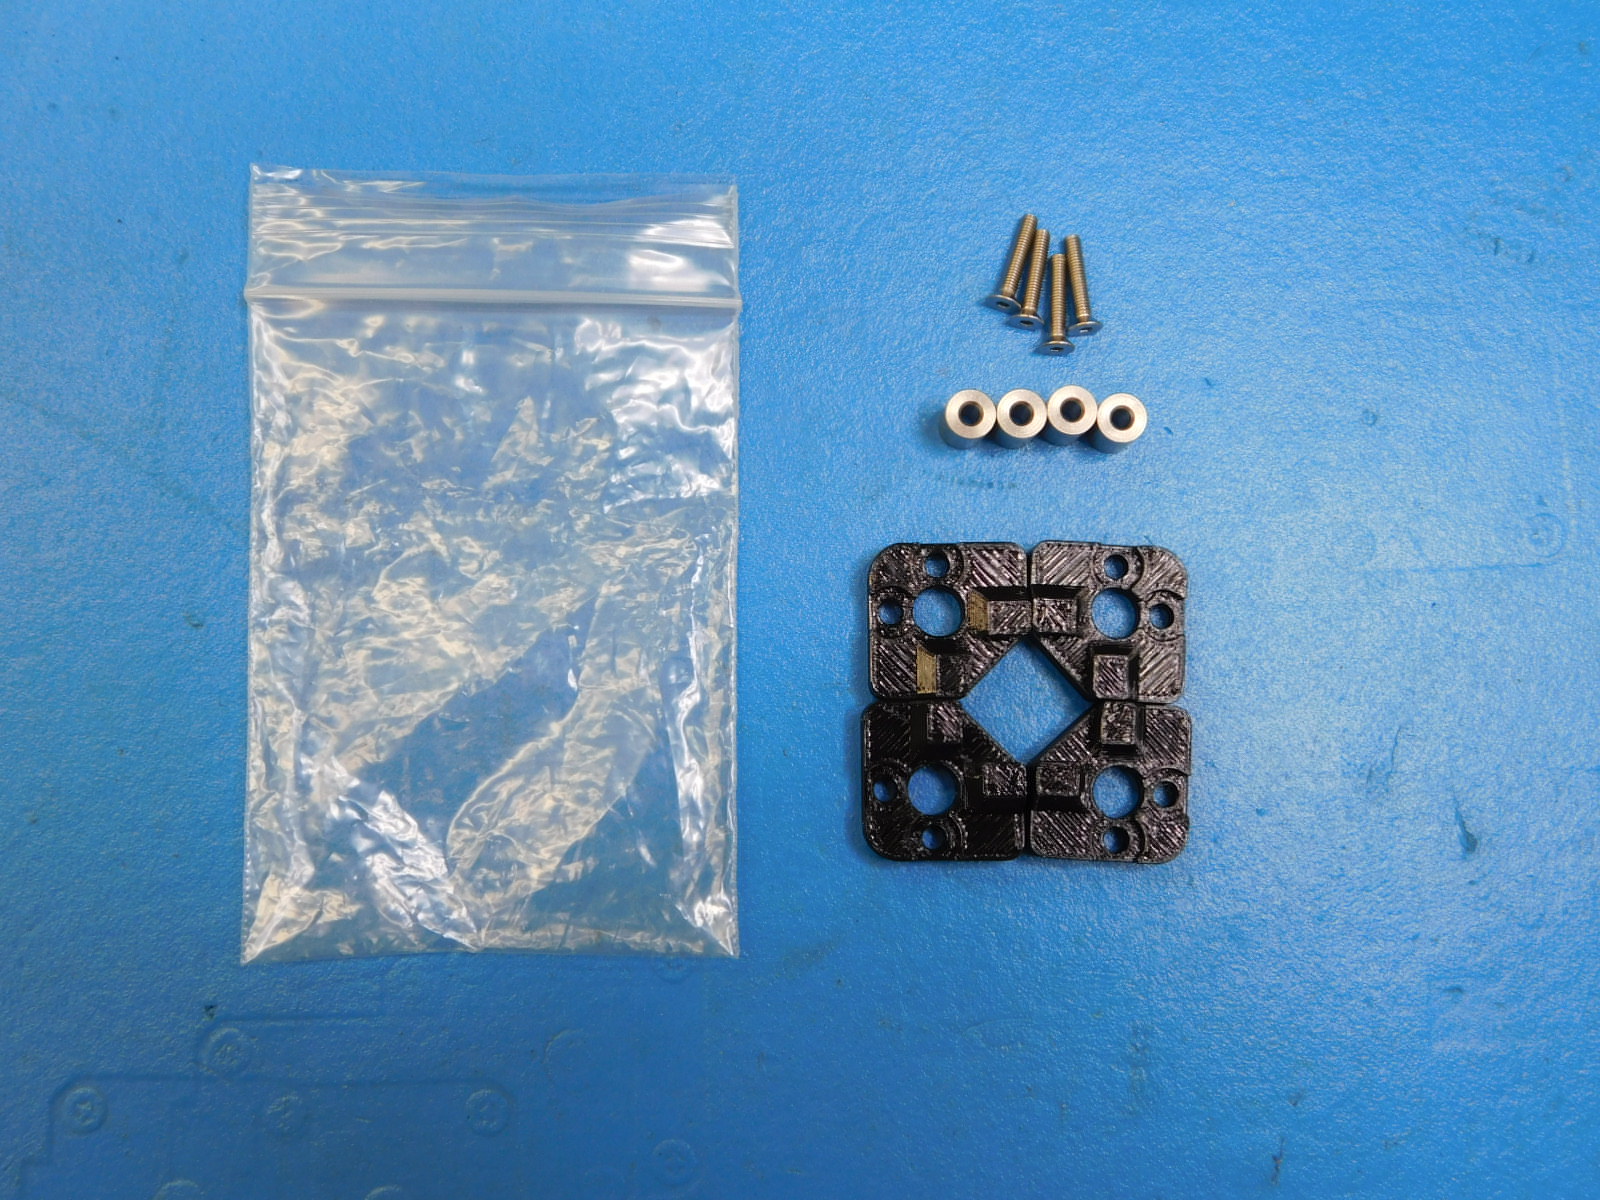
Prep [SH-PG0002] 3 x 4" 2 Mil Reclosable Polypropylene Bag by placing (4) [PP-GP0336] Flexy Bed Corners and (4) [HD-MS0433] M3 Aluminum Unthreaded Spacers as shown.
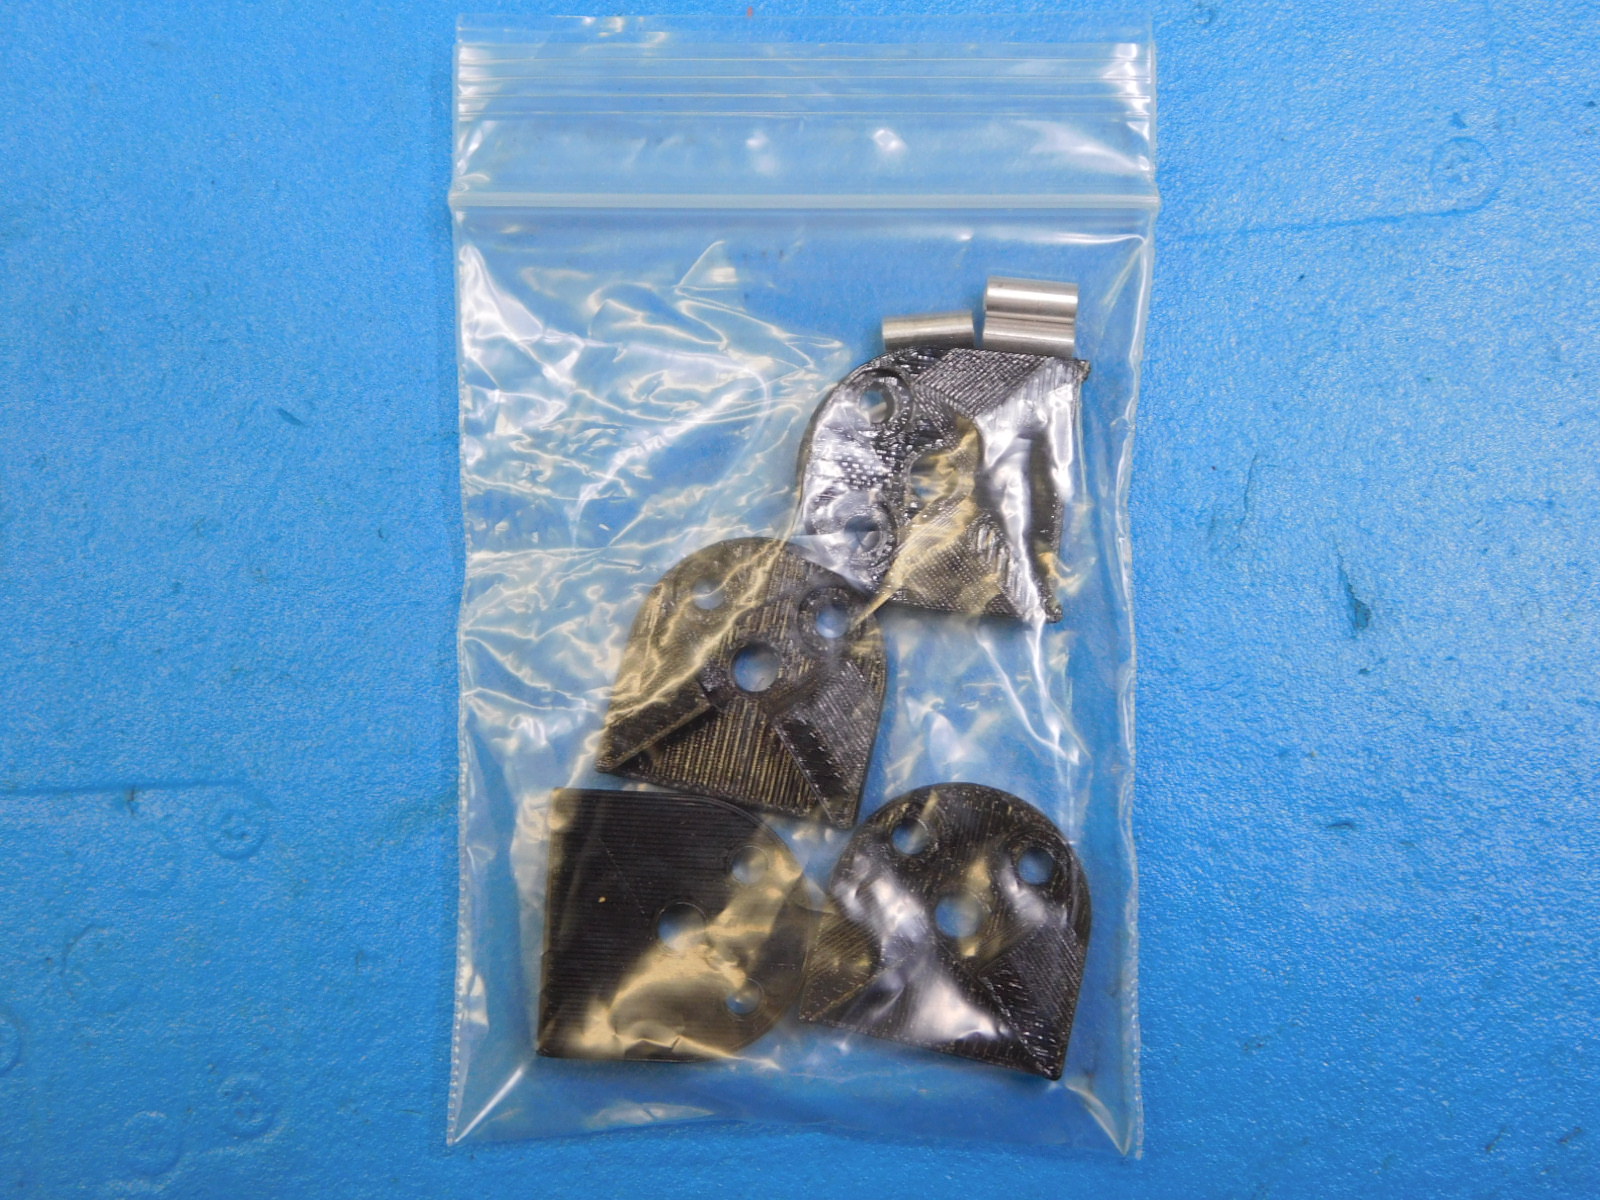
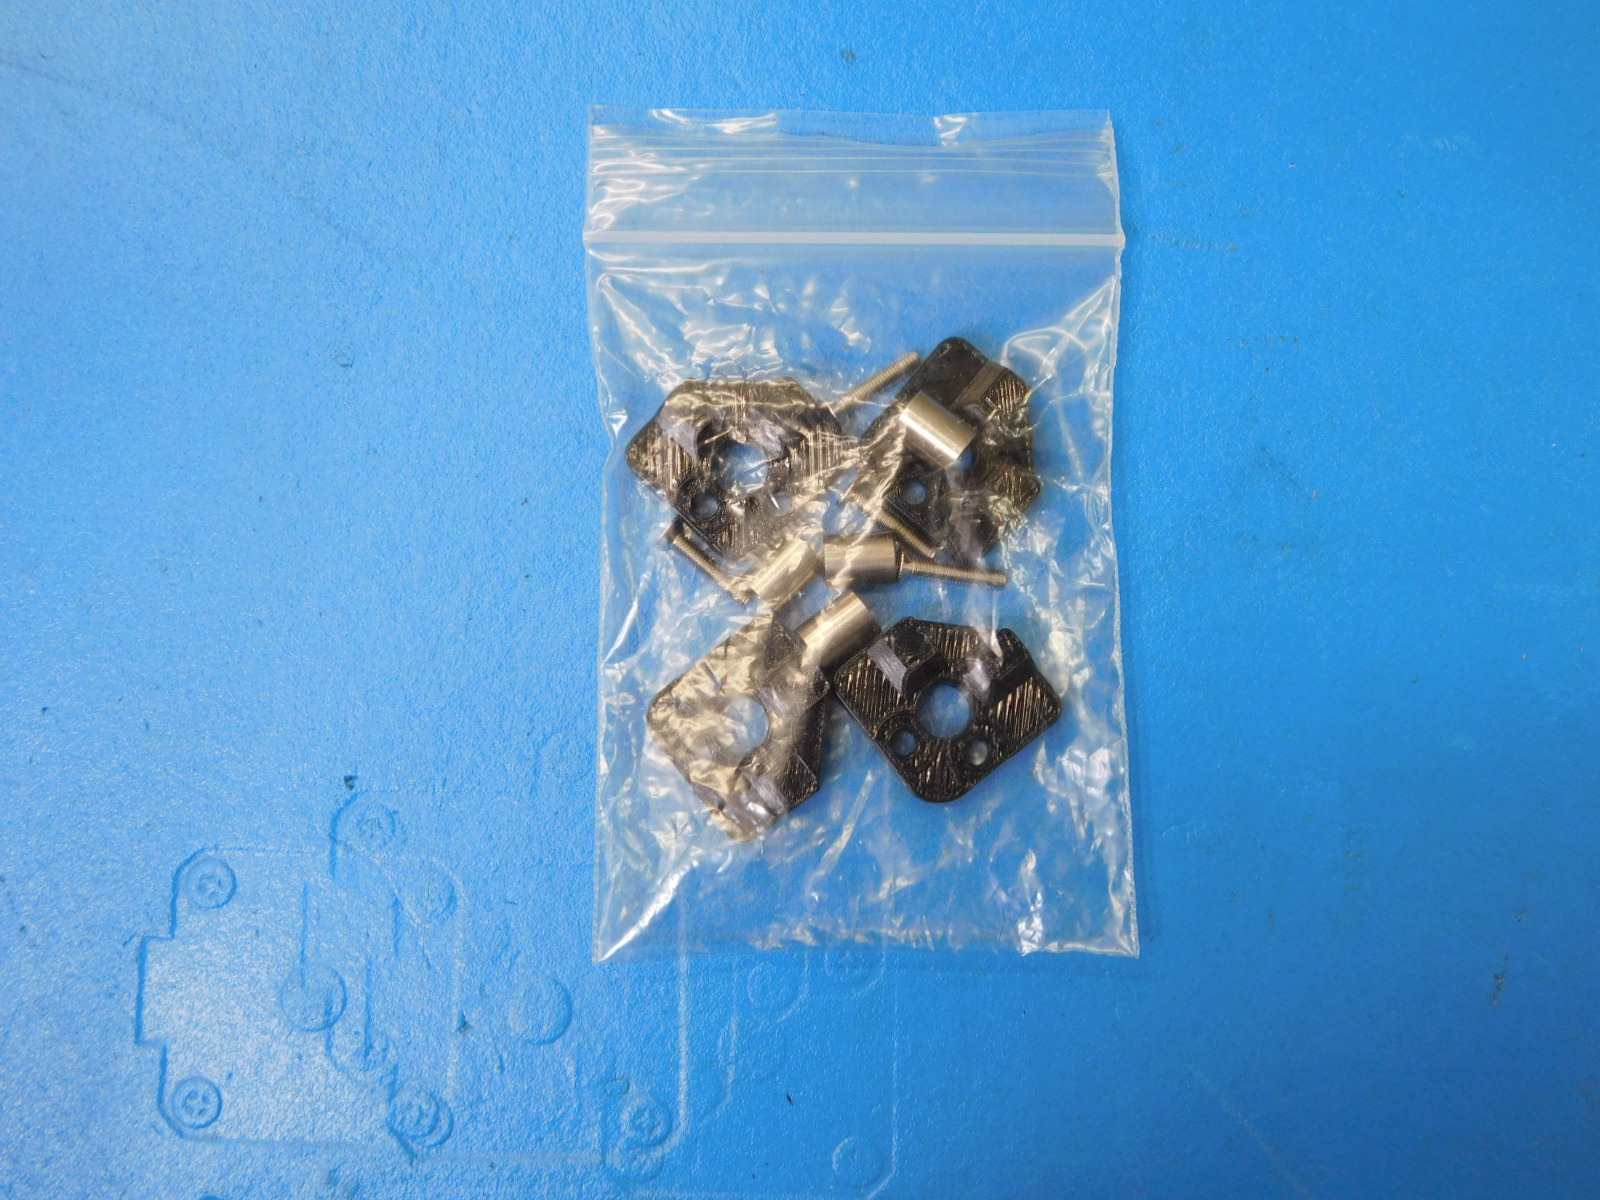
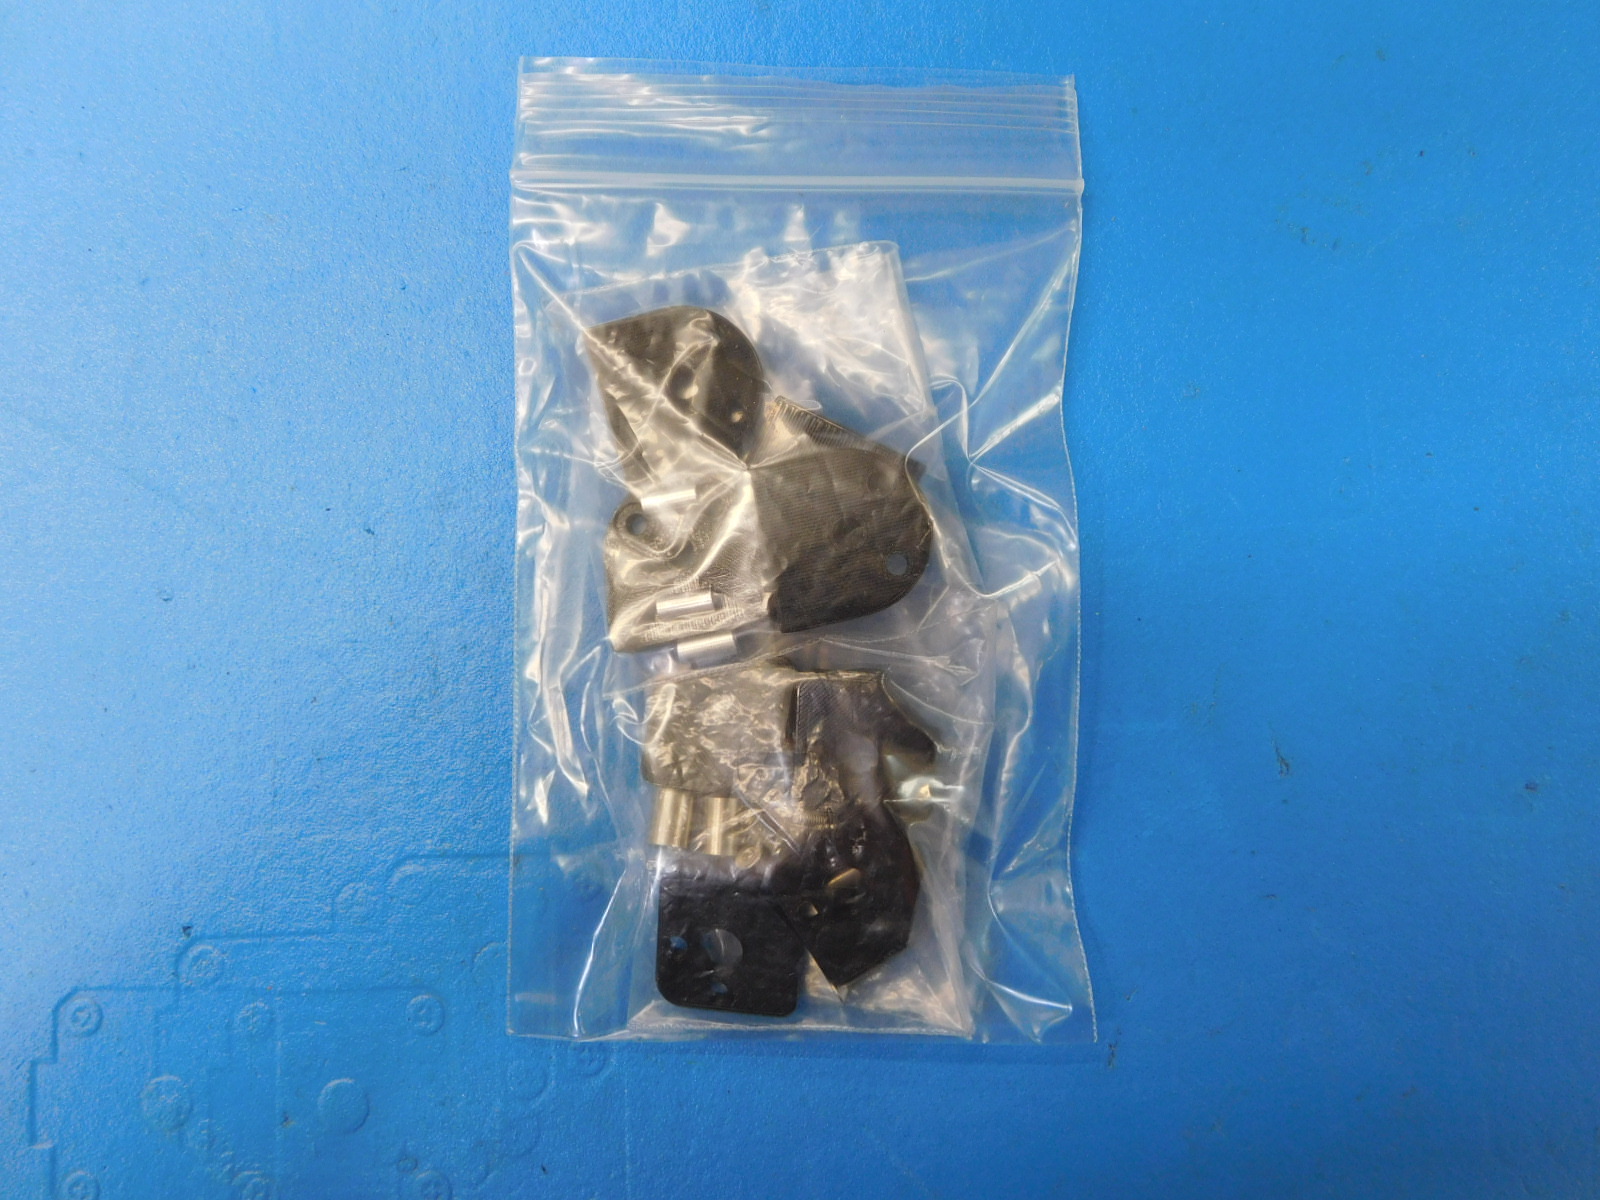
Prep [SH-PG0002] 3 x 4" 2 Mil Reclosable Polypropylene Bag, insert (4) [PP-GP0335] Flexy Bed Corners, (4) [HD-BT0082] M3 flat Head Socket Cap Screws, and (4) [HD-MS0287] M3 Stainless Steel Unthreaded Spacer as shown.
Place the 3 x 4” Polypropylene Bags inside the 4 x 6” Polypropylene Bag as shown.

Materials needed:
[AS-HB0002] Mini Modular Print Bed Heater
[AS-PK0021] Mini Modular Bed Corners Kit
[DC-LB013] Label, Mini Modular Heat Bed
[SH-PG0099] Disposable Desiccant Bag, Silica Gel, for 24 Cubic Inches
[SH-PA0047] Mini Heat Bed: 16 x 16 Die Cut Pad (insert)
[SH-BX0074] Mini Heat Bed: 12-1/8 x 12-1/8 x 1/2 44ECT B Brown Die Cut One Piece Folder
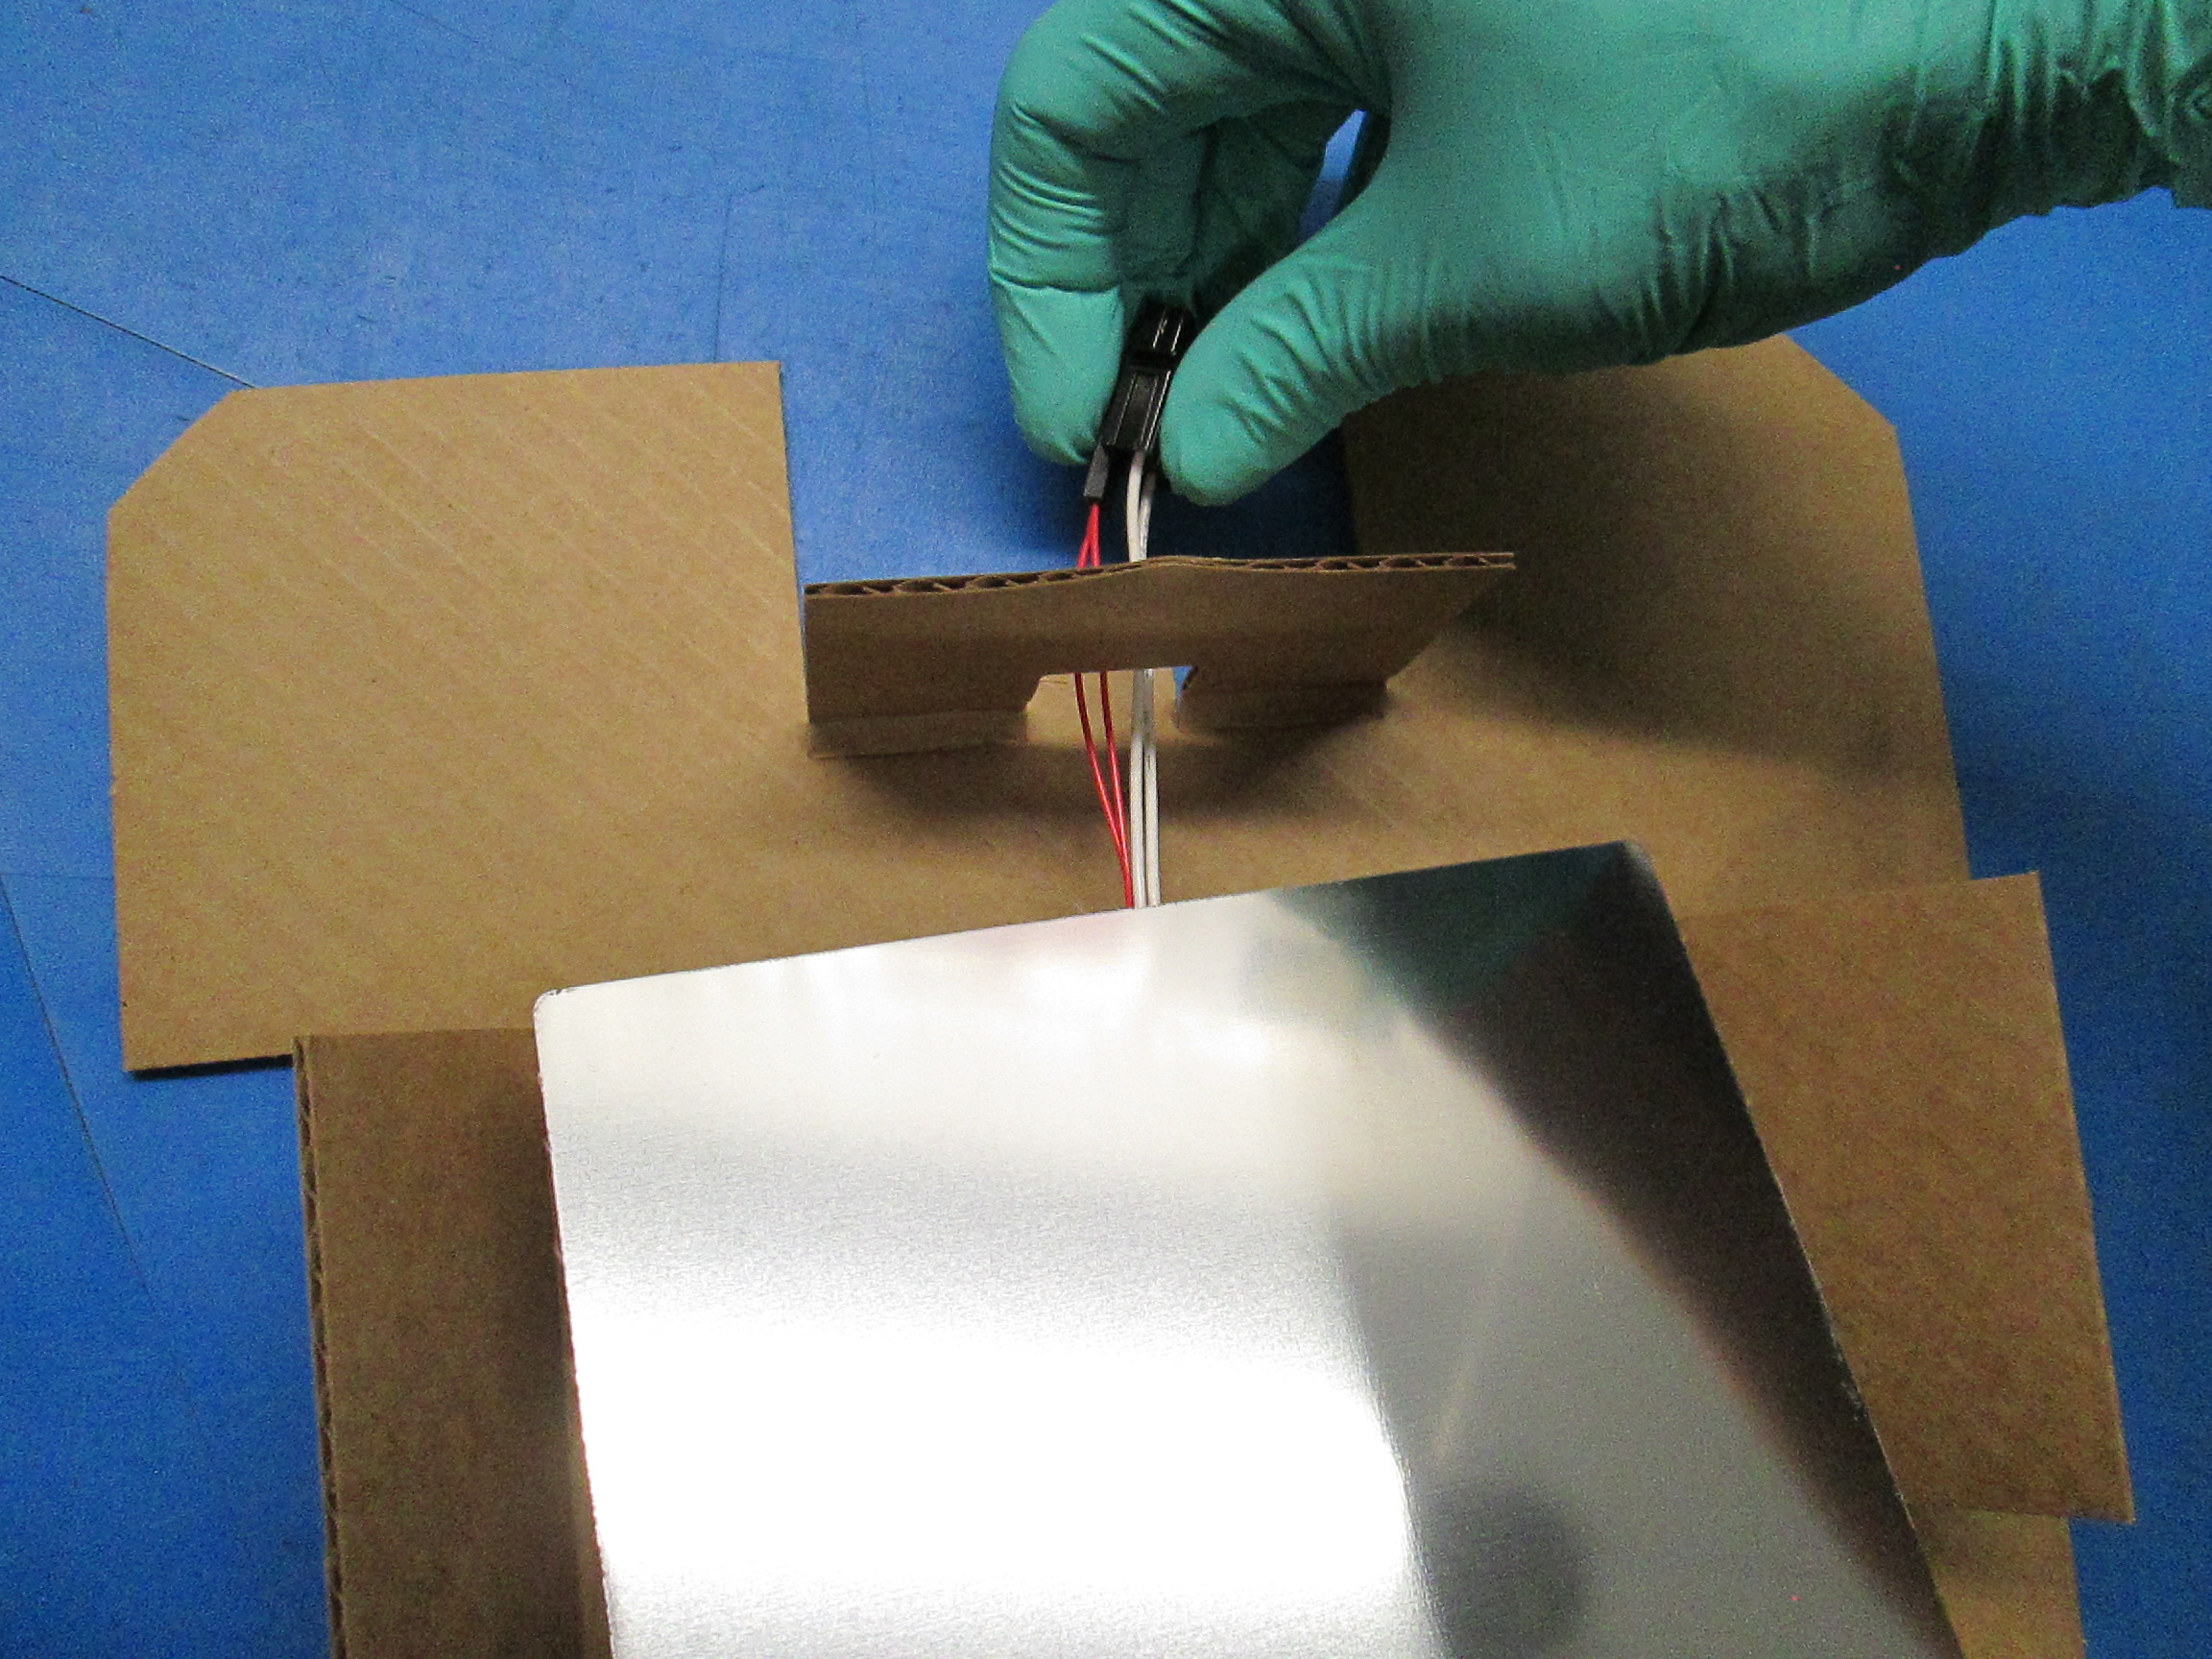
First, fold the [SH-PA0047] 16 x 16 Die Cut Pad (insert) with creased side up, folding all four sides as shown.
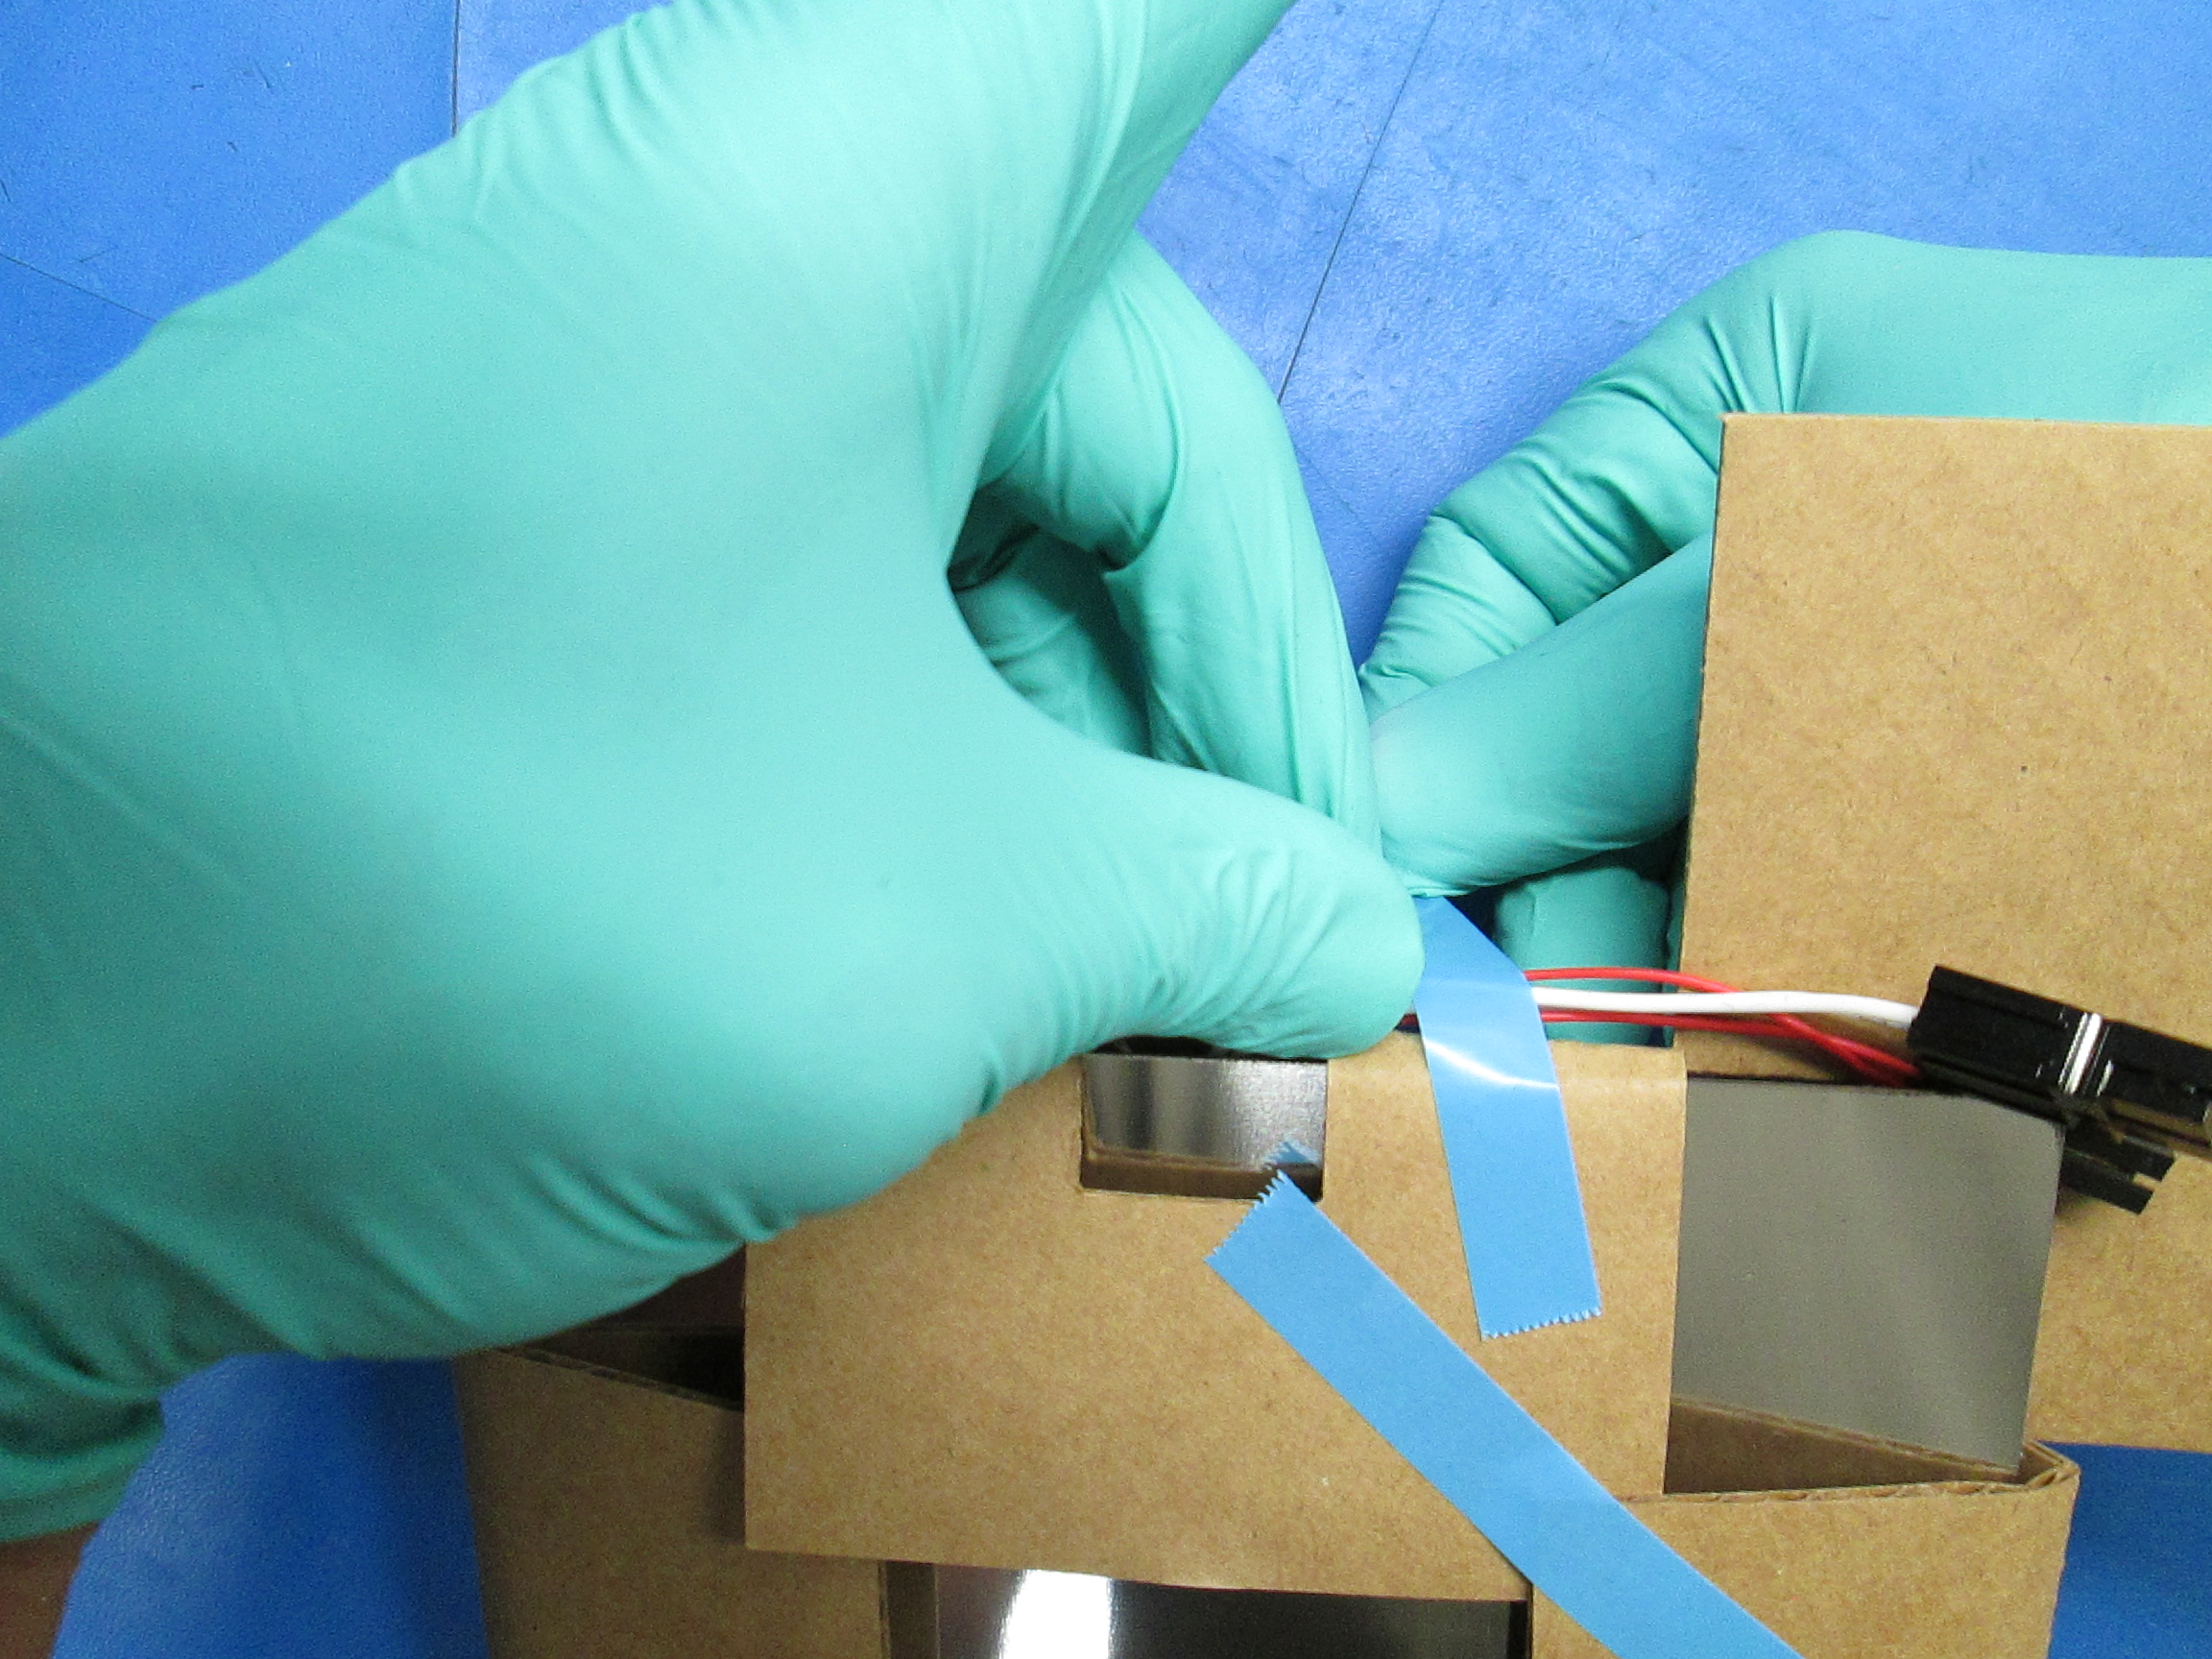
Place the Mini Modular Print Bed Heater in the insert by feeding the wire harness through the cutout in the insert as shown then, fold and tape the two flaps as shown. Tape the wire harness to the flap as shown.
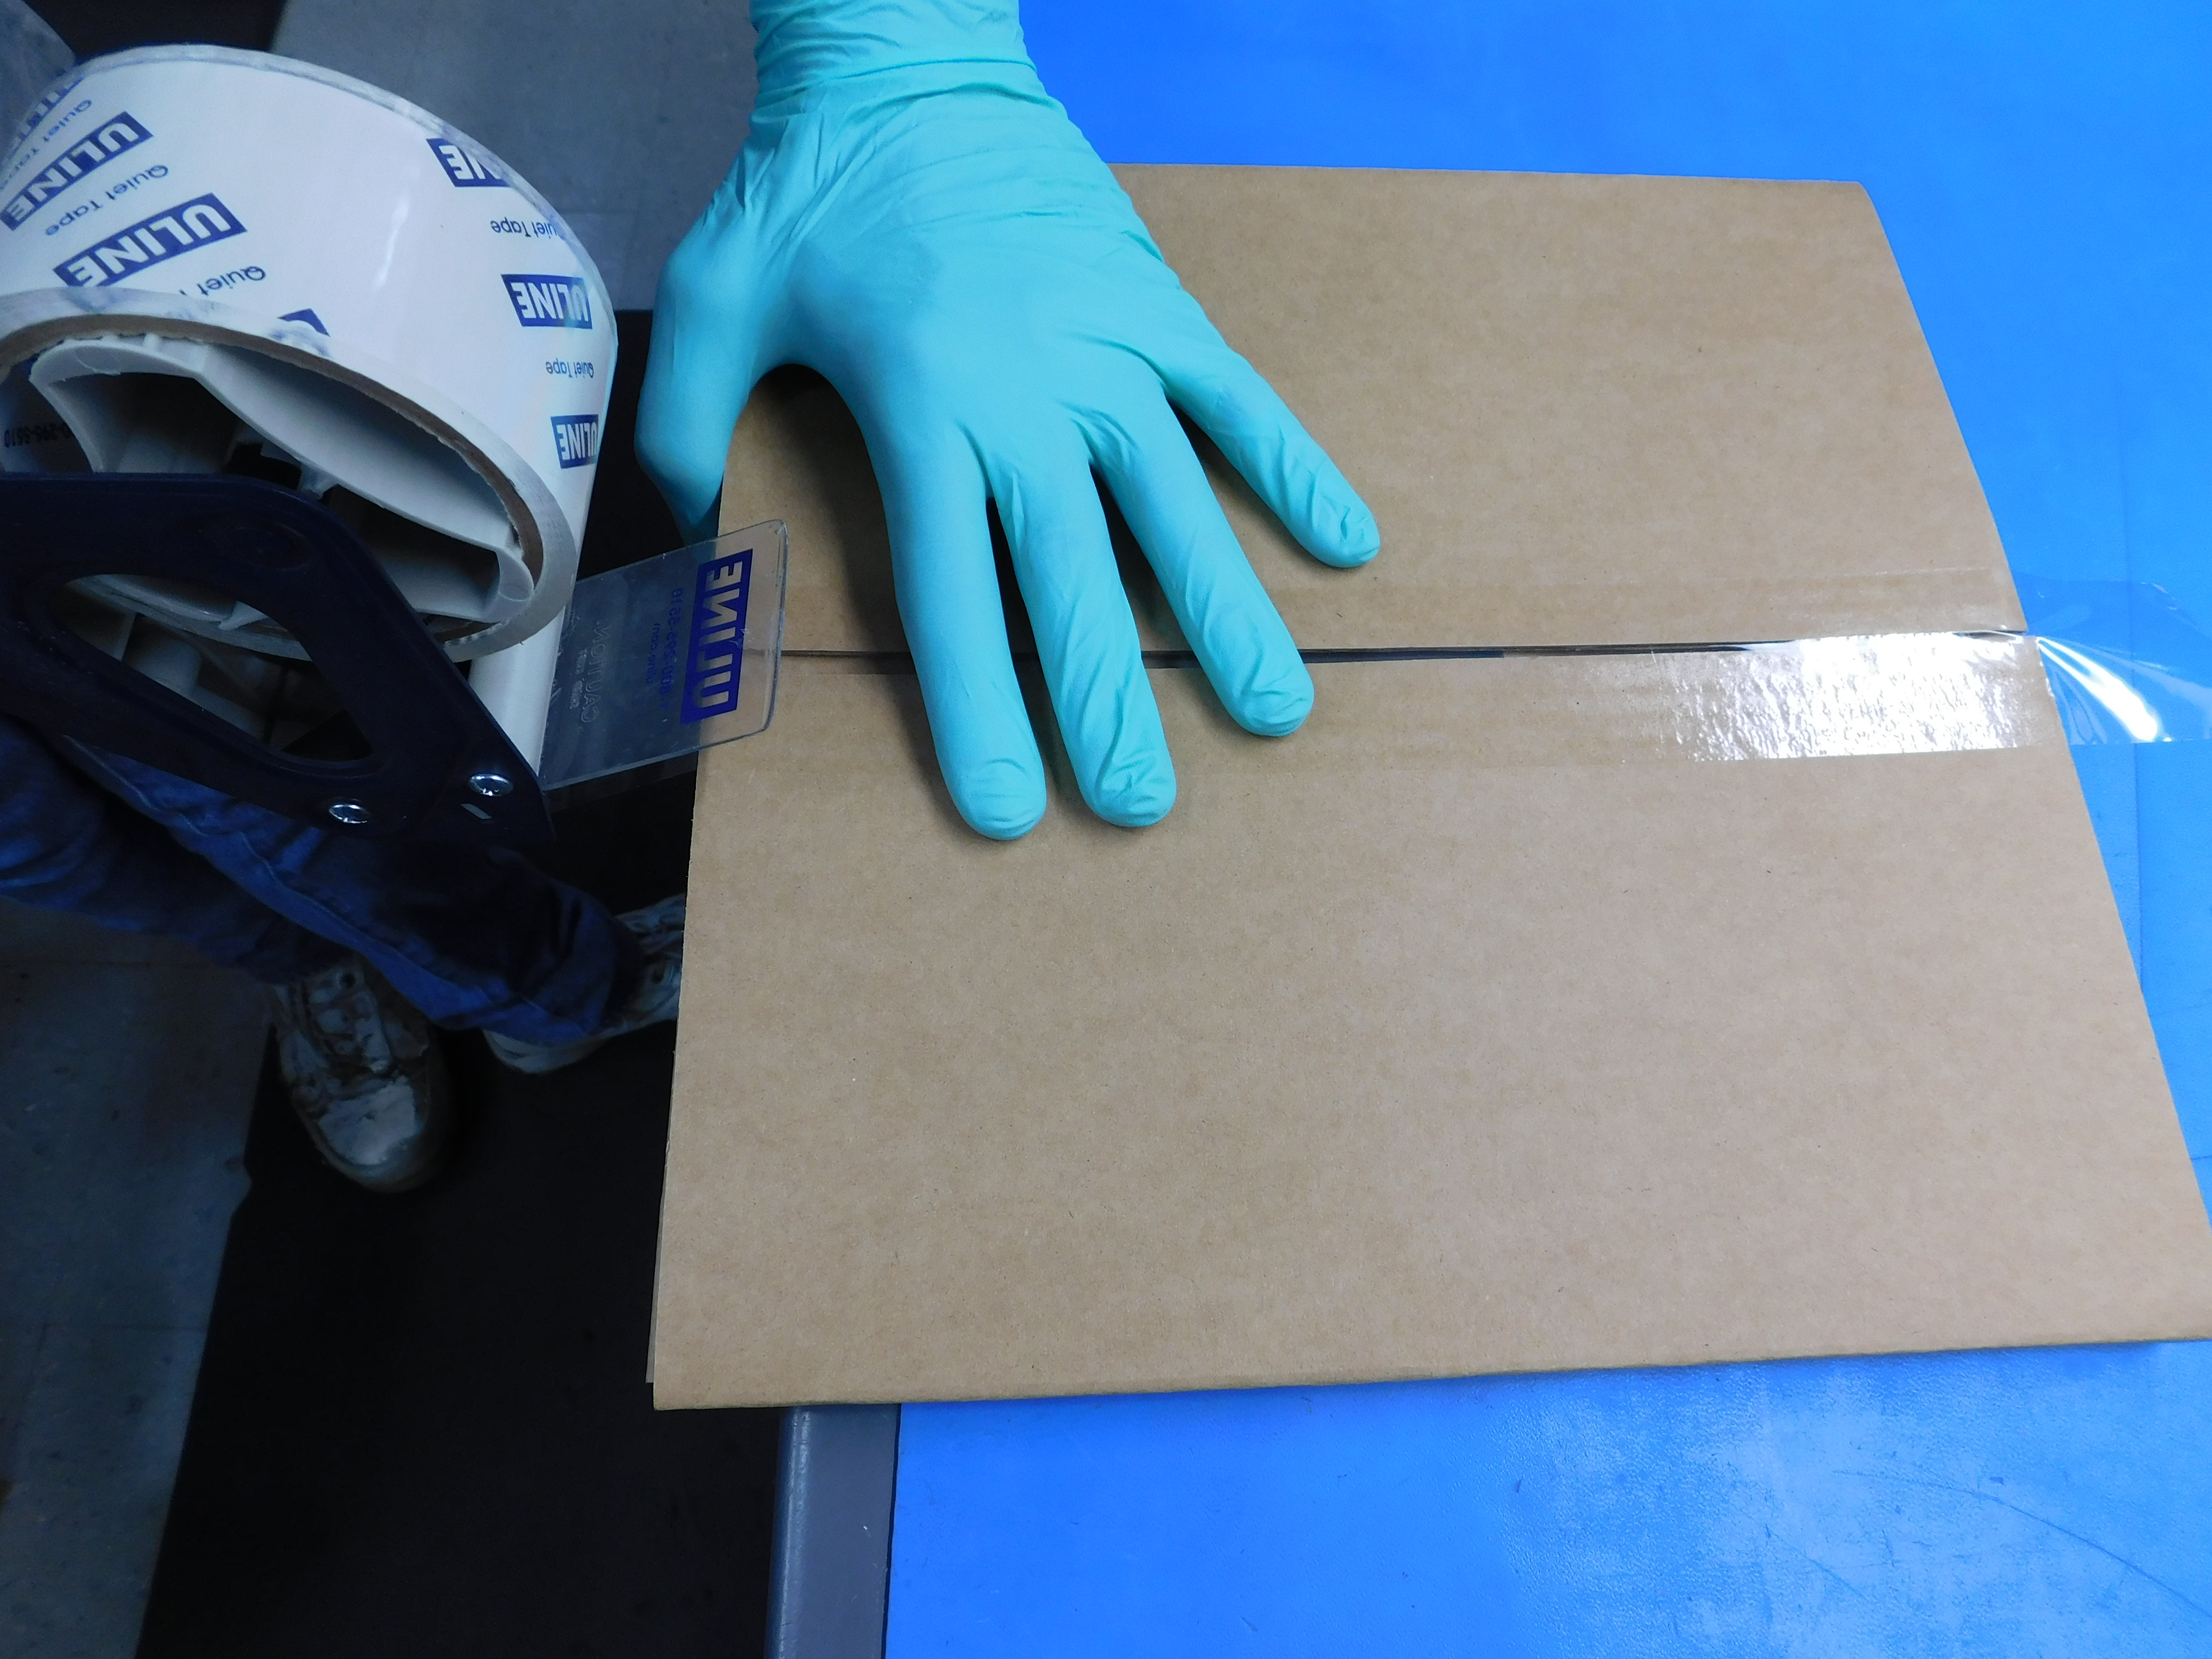
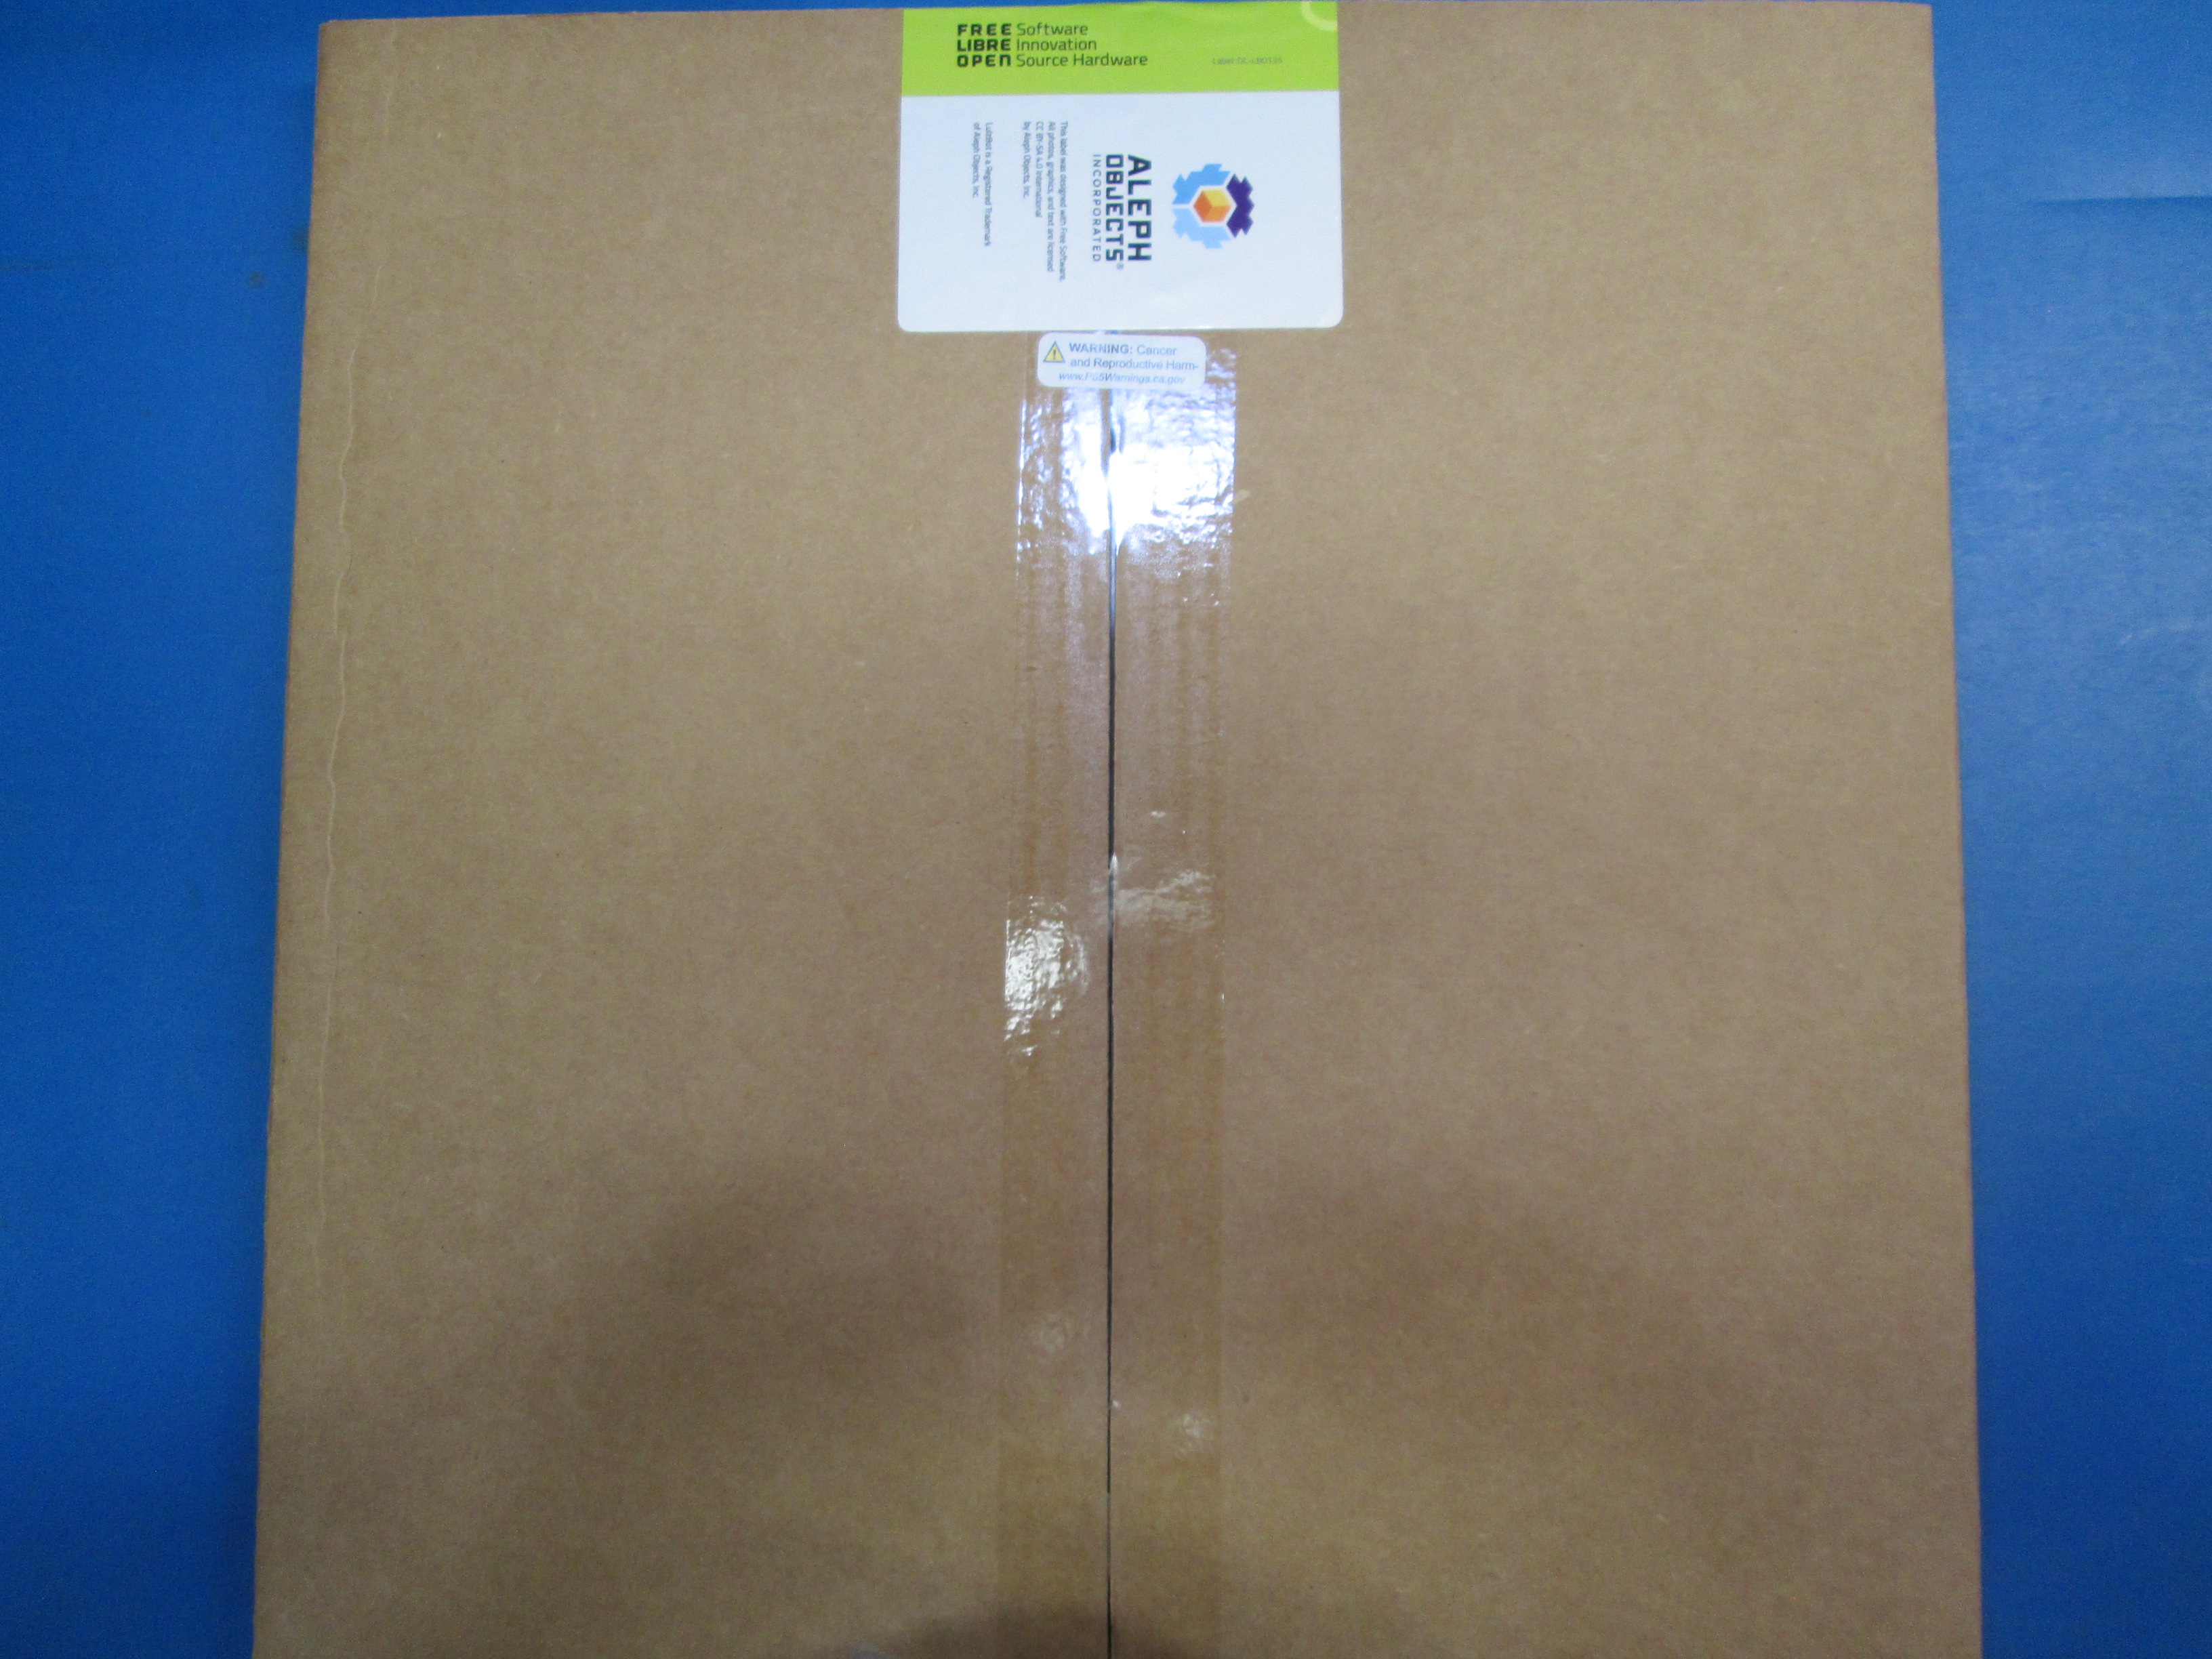
Place the Bed Heater inside of [SH-BX0074] Mini Heat Bed: 12-1/8 x 12-1/8 x 1/2 44ECT B Brown Die Cut One Piece Folder as shown. Insert [AS-PK0021] Mini Modular Bed Corners Kit laying it flat as shown. Fold the smaller flaps then, fold the larger flaps as shown. Seal the larger flaps using clear packing tape while making sure the tape is centered.
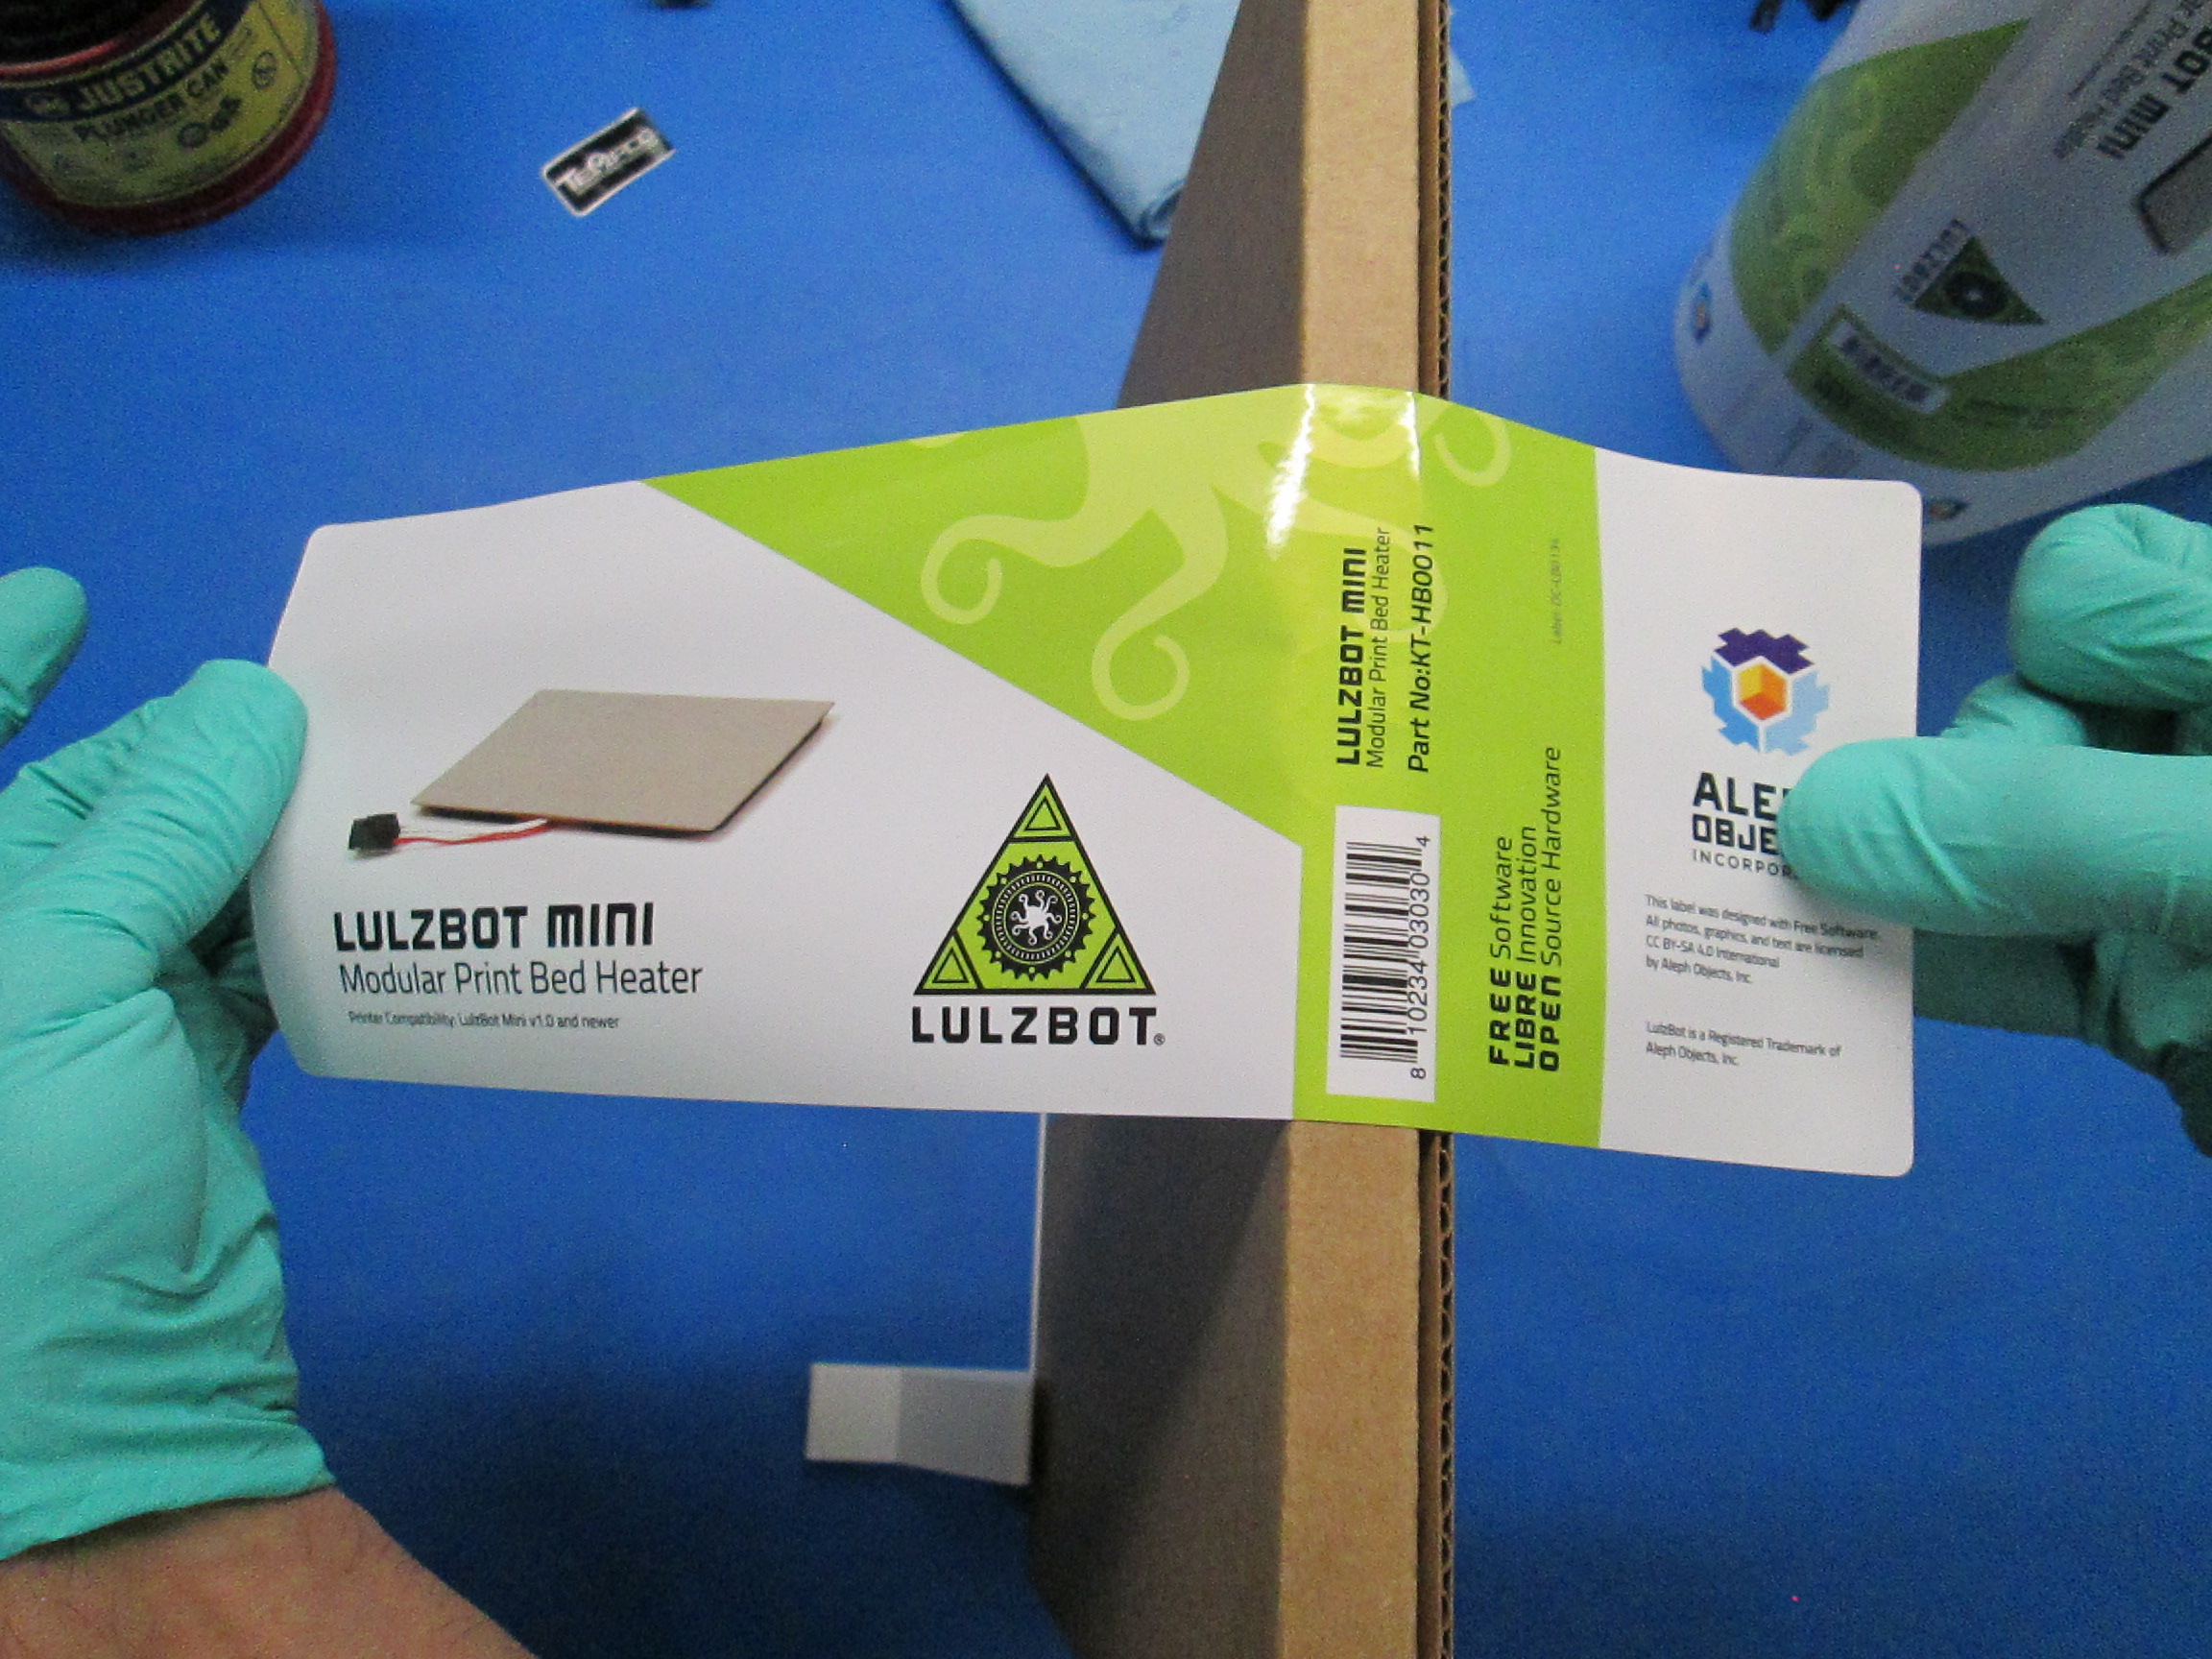
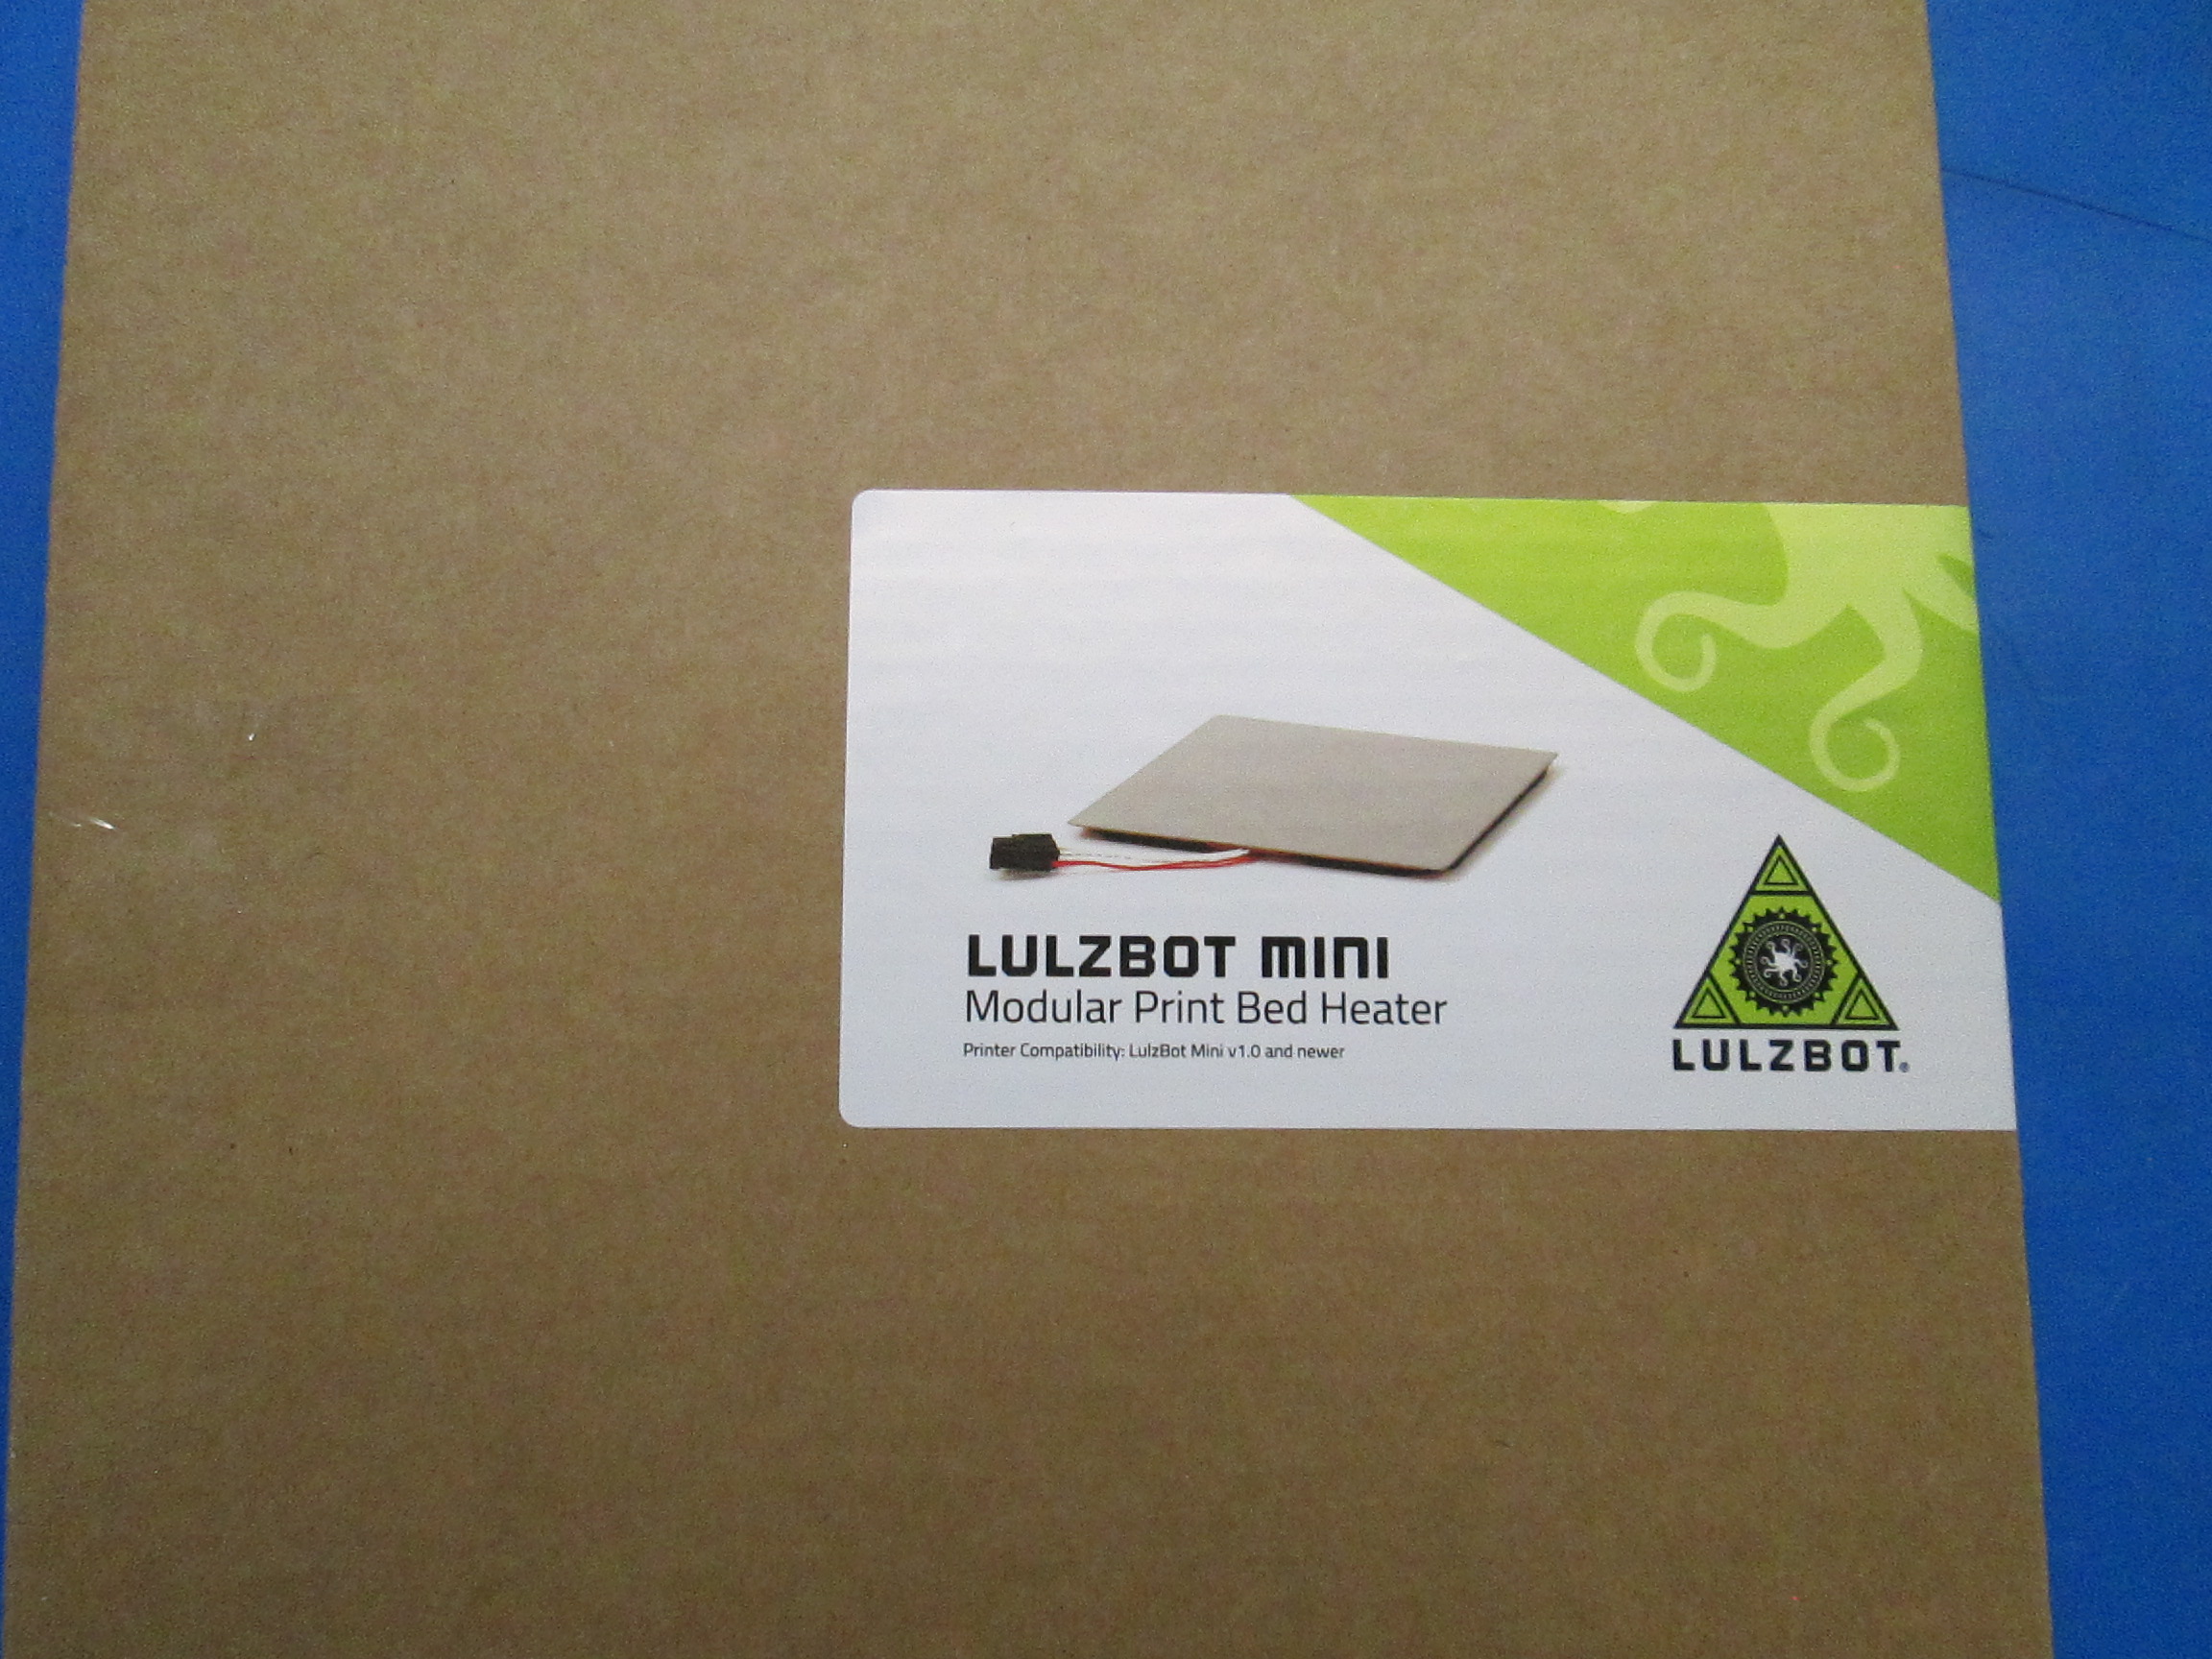
Label the package with [DC-LB013] Label, Mini Modular Heat Bed as shown.
Note: When applying label, ensure bar code is centered on narrow side of the box.