Open HardwareAssembly Instructions
Guides for installation and assembly of the LulzBot line of products made by FAME 3D LLC.
Guides for installation and assembly of the LulzBot line of products made by FAME 3D LLC.
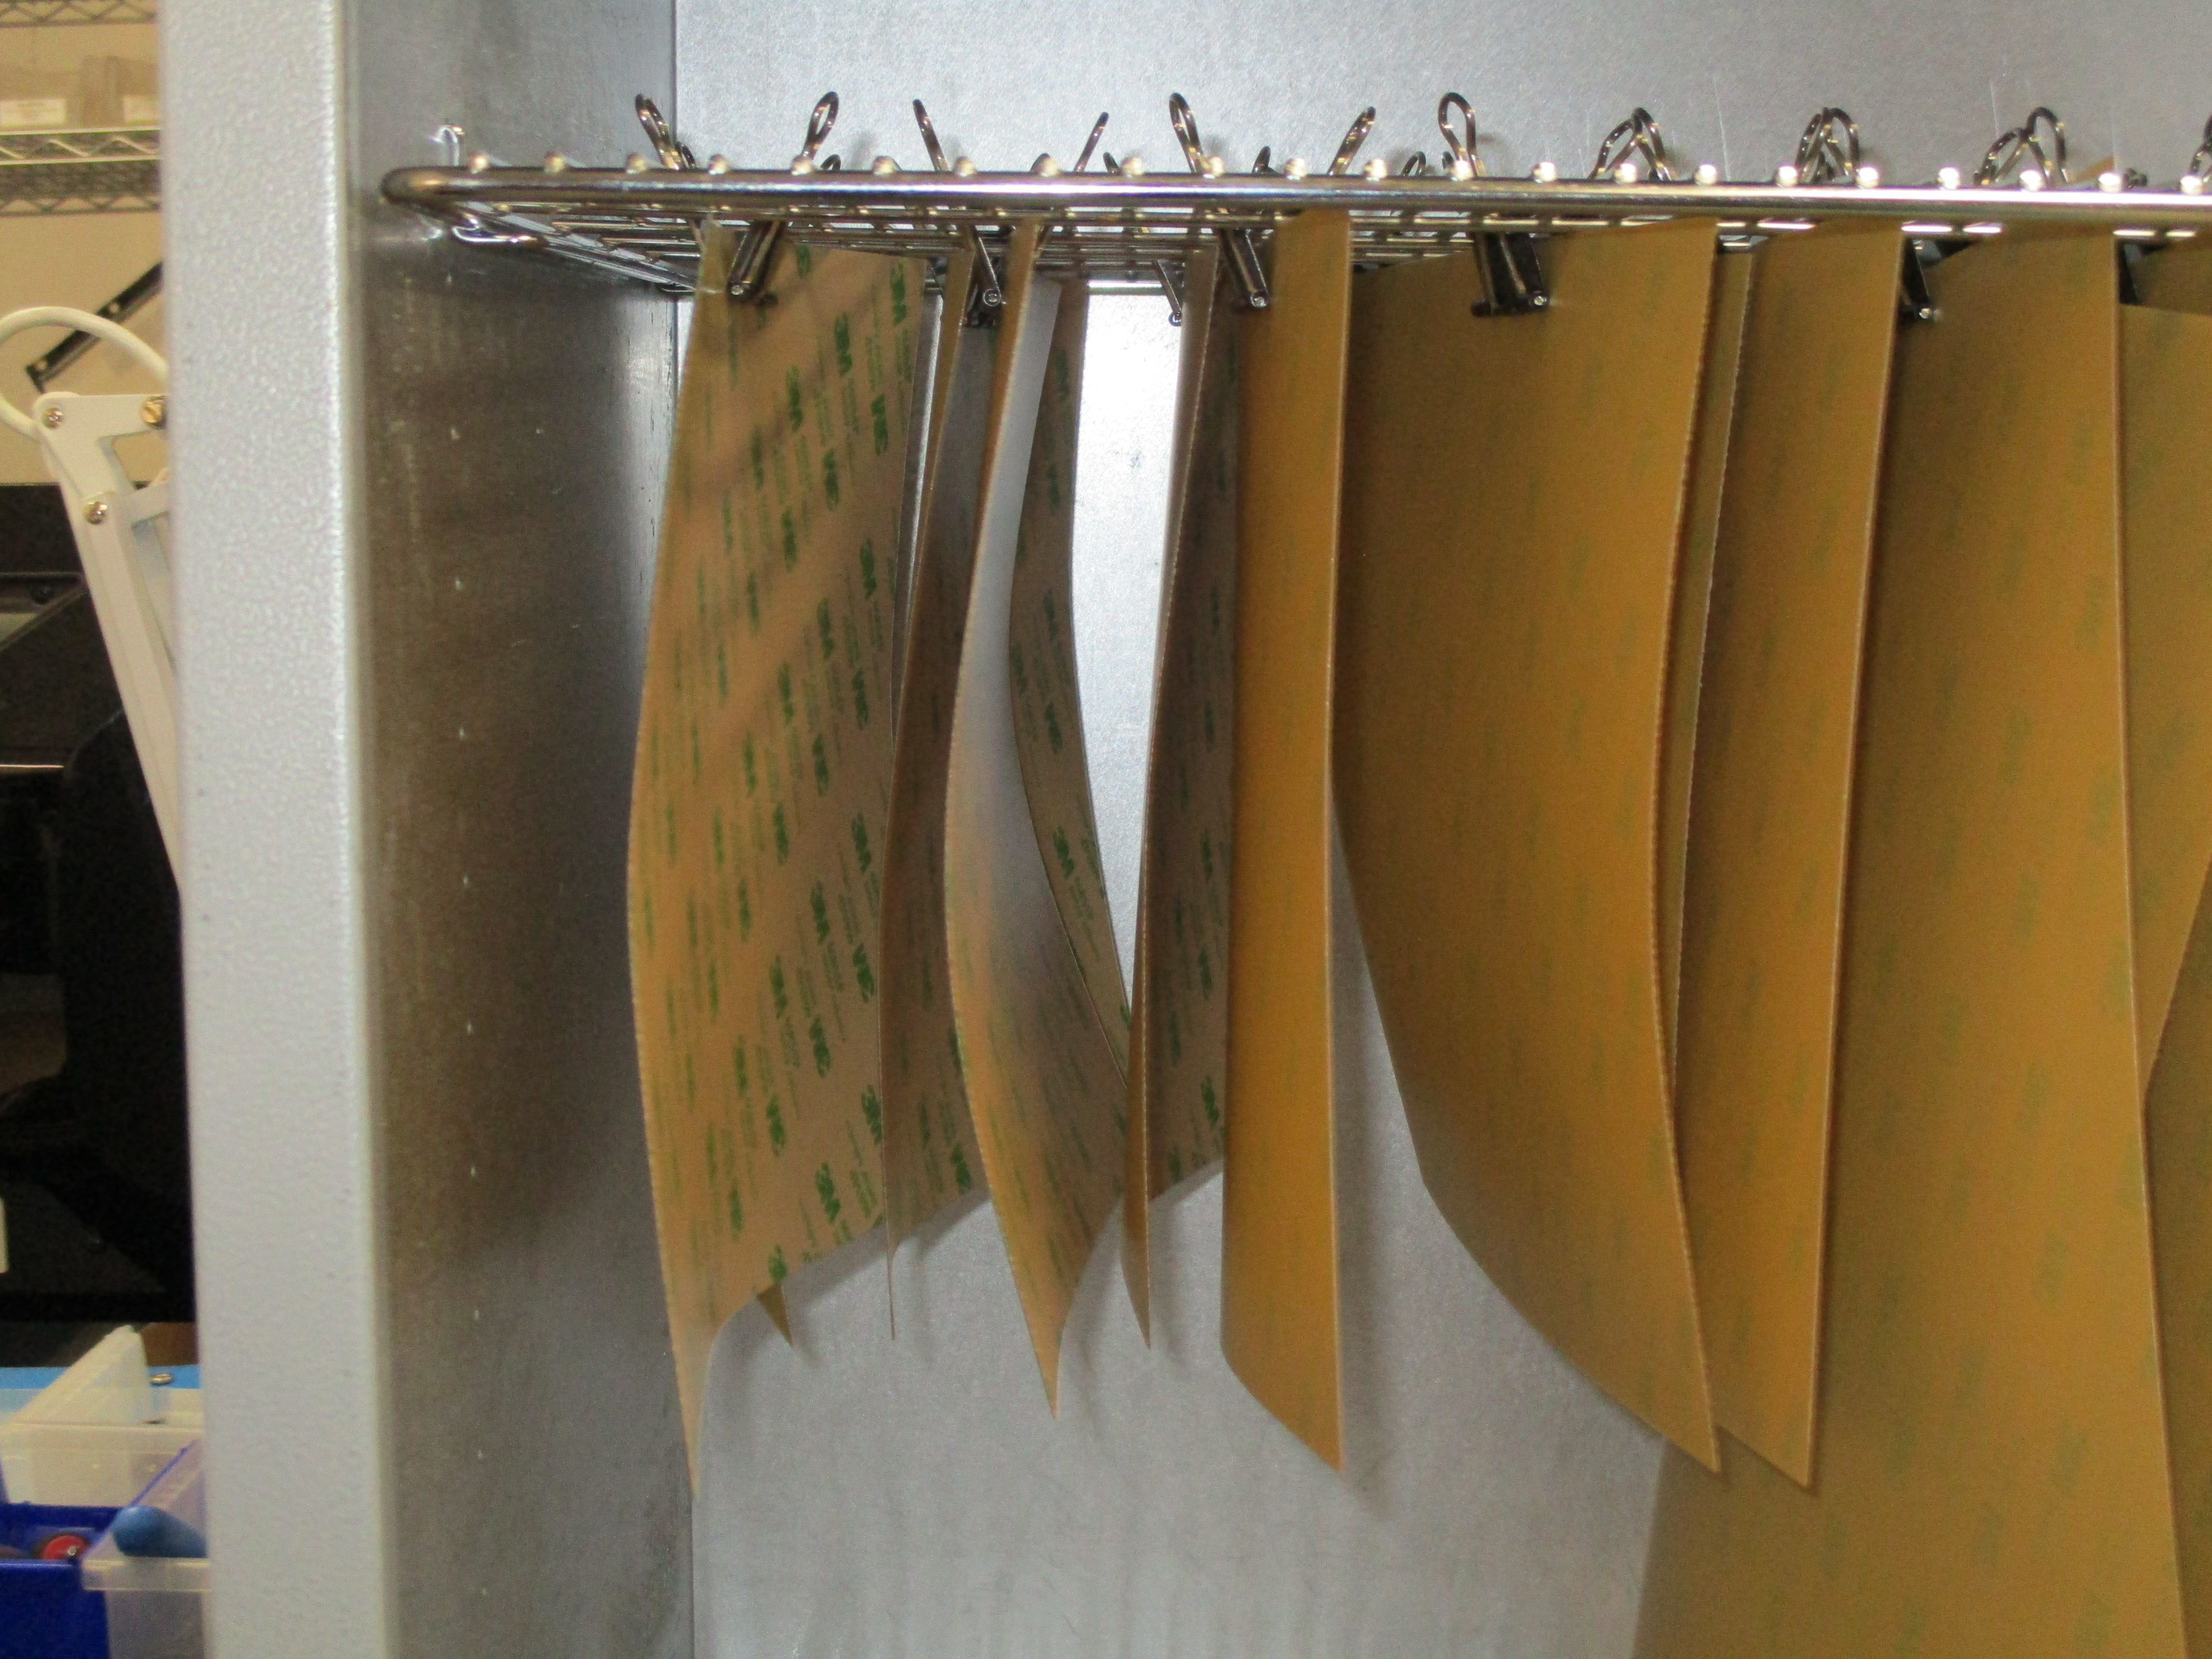
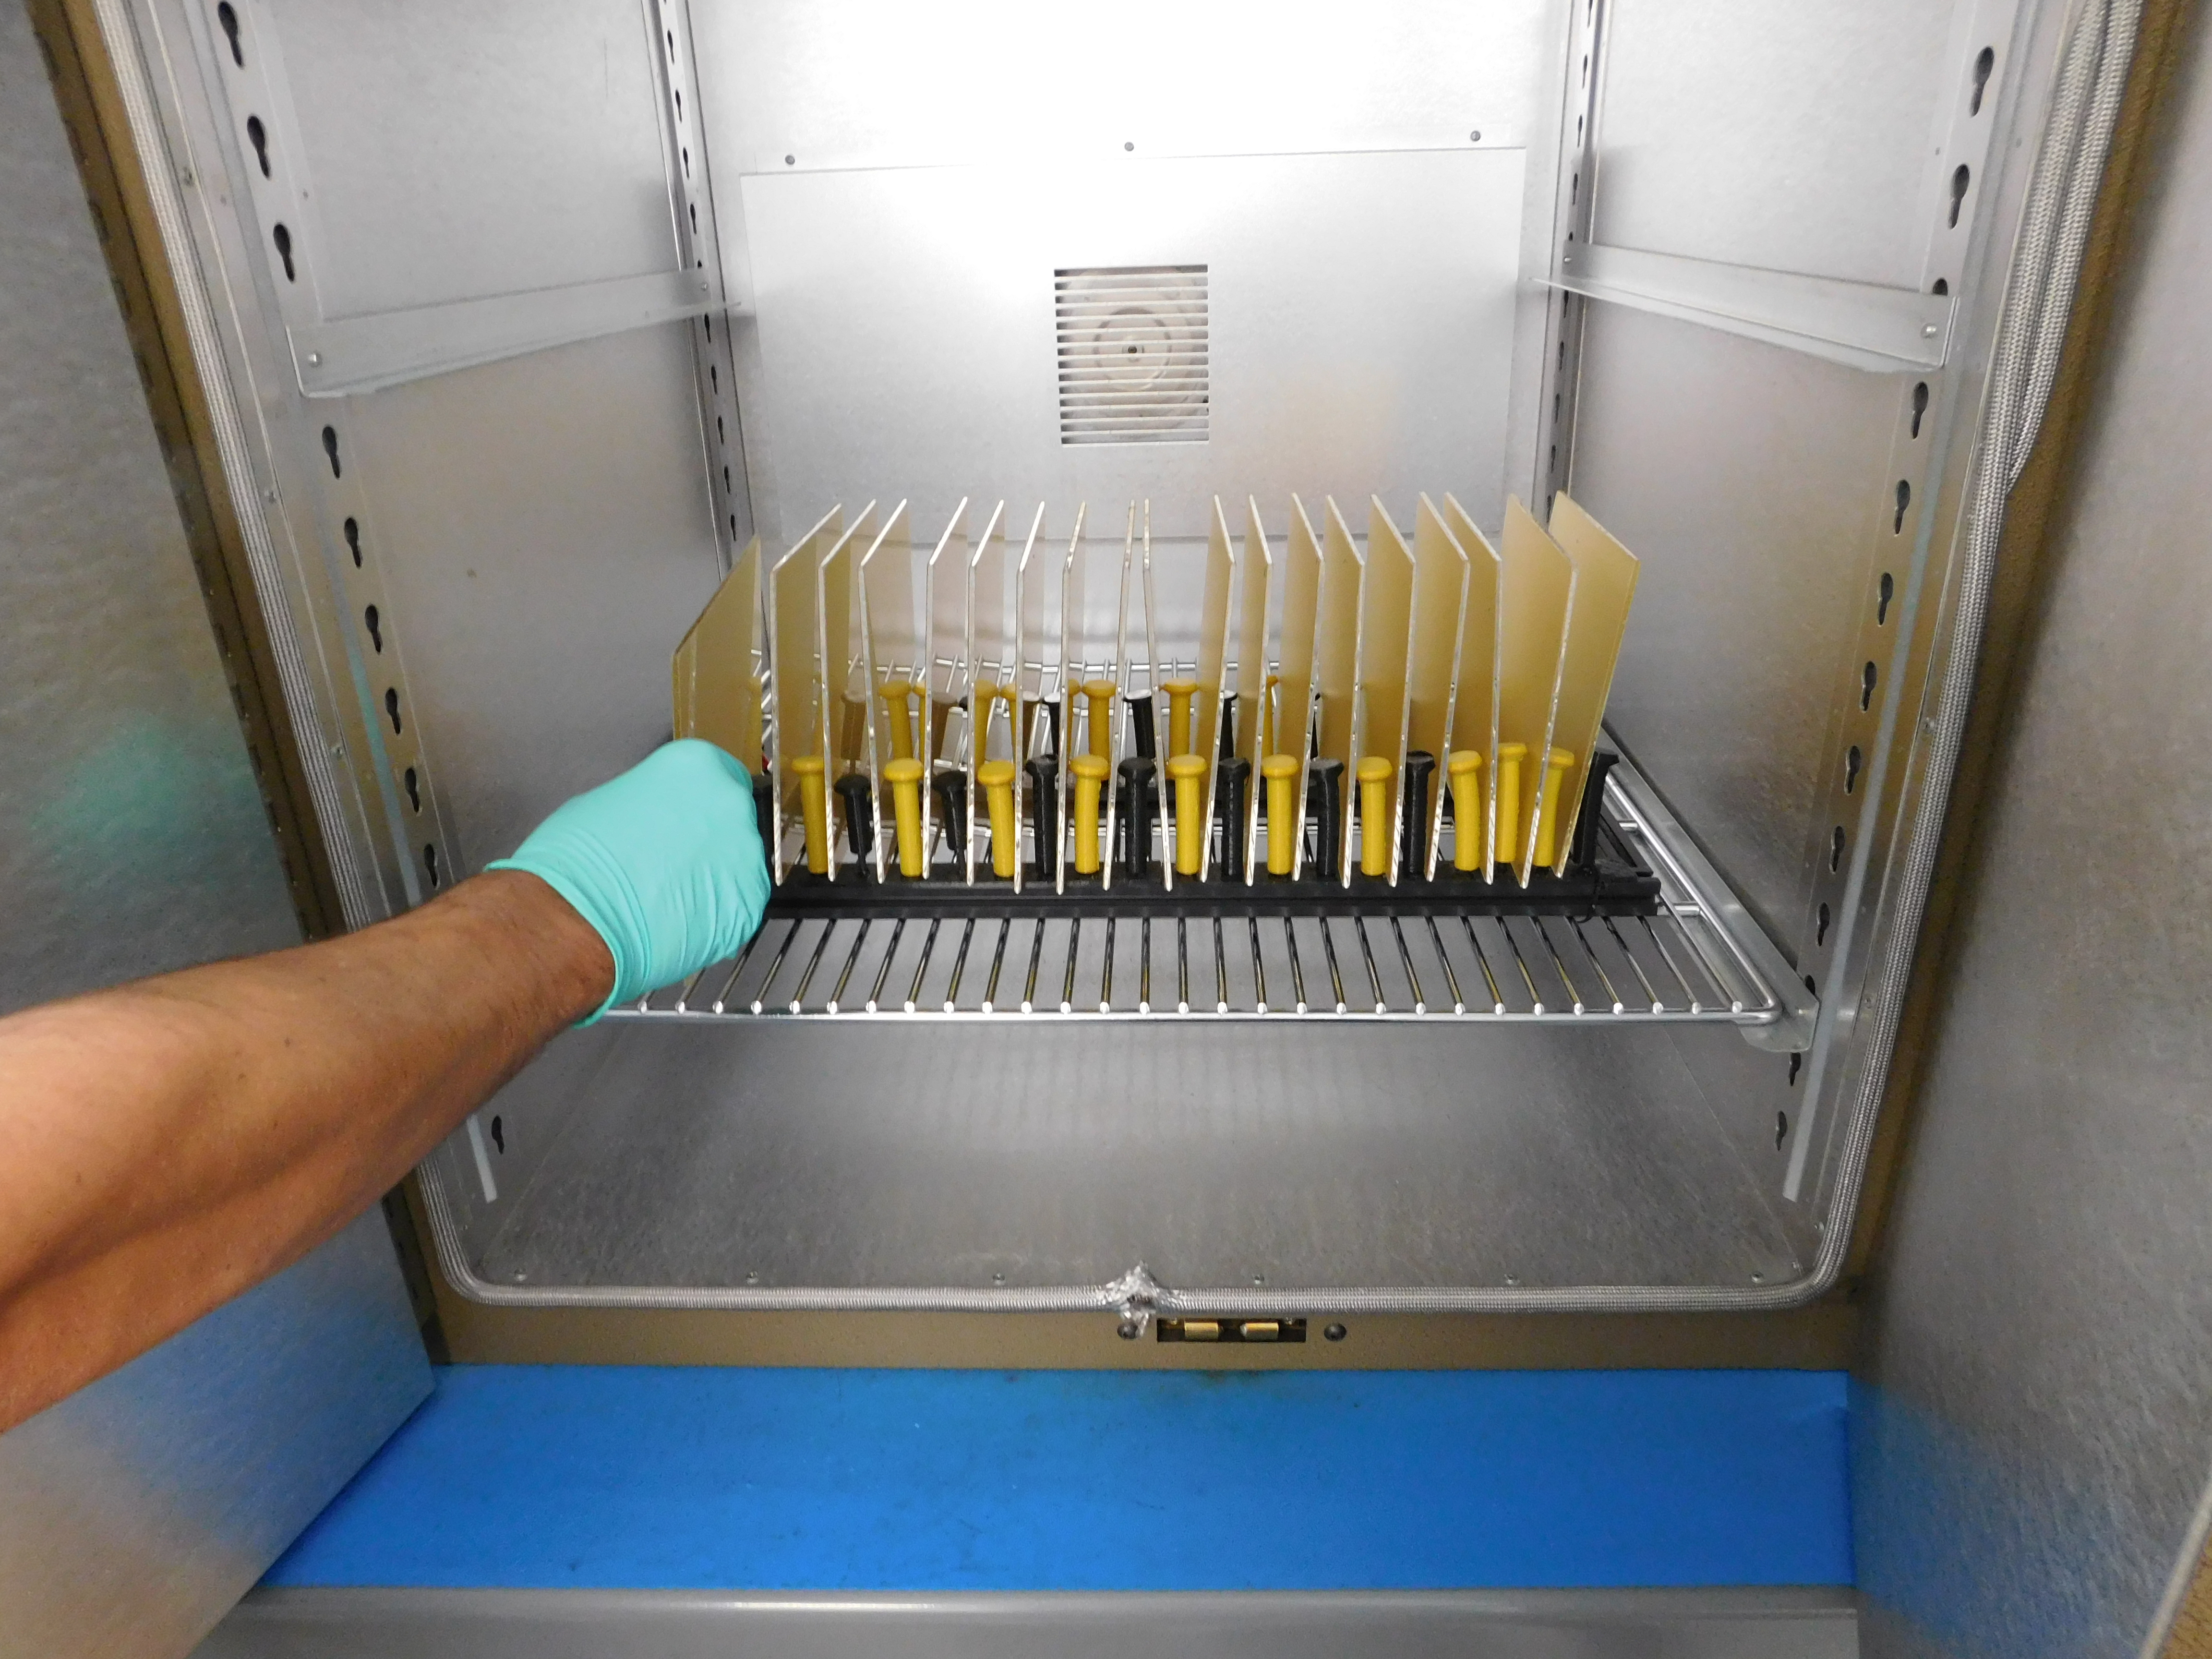
Prep the PEI to be attached to the glass bed. Open a precut package of PEI sheets for Mini and attach to the oven rack via binder clips as shown.
Note: These need to be hung so that the natural curvature of the PEI allows heat to rise to the top of the oven for an even bake as shown.
Once the oven rack is full, bake the PEI for a set amount of time based on weather conditions. Check the humidity to determine the bake time.
Humidity:
0%-69% - 1 hour and 30 minutes
70%-85% - 1 hour and 45 minutes
85%-100% - 2 hours max
Note: Do not exceed 2 hours when baking the PEI. It can cause the adhesive to run and create bare patches lacking adhesive, as well as create microbubbles that will cause "silvering" during post bake.
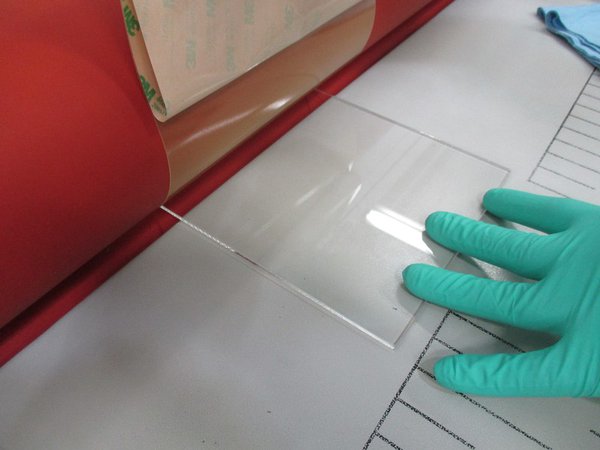
First, inspect glass for chips and trapped air bubbles.
Note: Do not use glass with trapped air bubbles. Using a glass file, minor chips can be fixed.
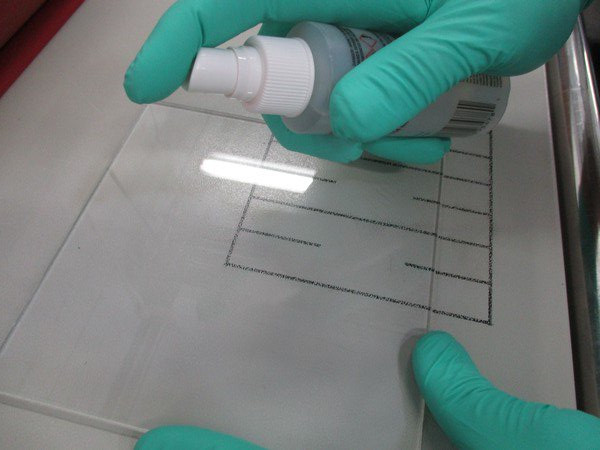
Spray the glass with AP115 Silane Glass Treatment. Ensure the adhesive is spread as evenly as possible across the surface of the glass. This allows optimal adhesion between the glass and PEI.
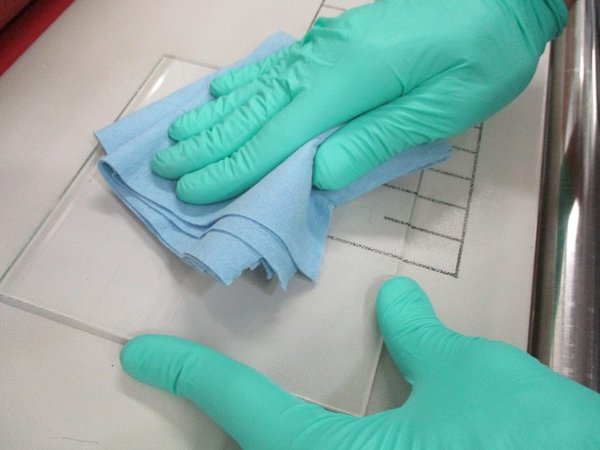
Use 3-4 squirts covering the entire surface area of the glass and wipe until dry with a clean paper towel.

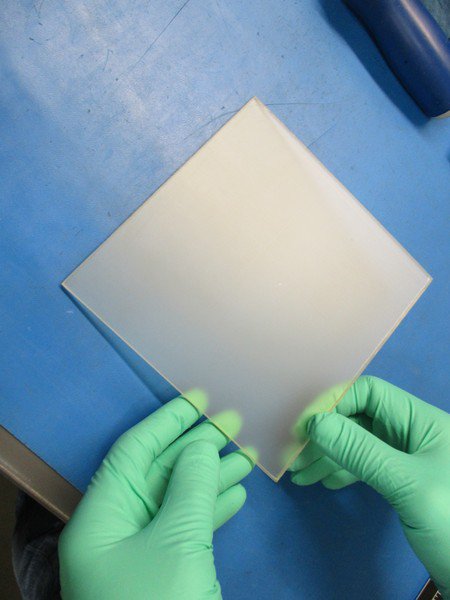
Next, get a sheet of baked PEI from the oven and do an initial inspection of the PEI.
Inspect PEI for small microbubbles or patches that no longer have adhesive.
Note: Do not use if there are microbubbles present throughout the sheet or the PEI will "silver" in post bake.
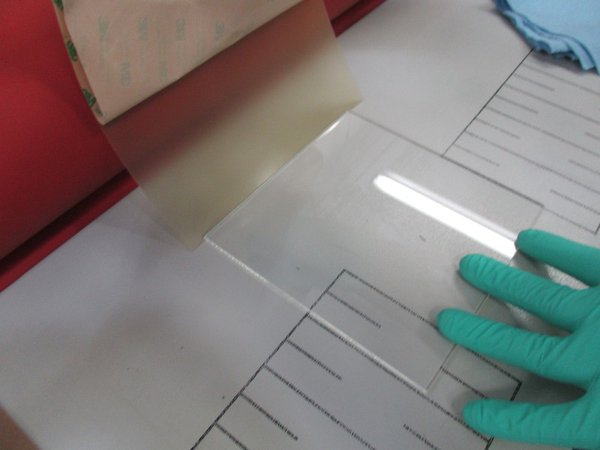
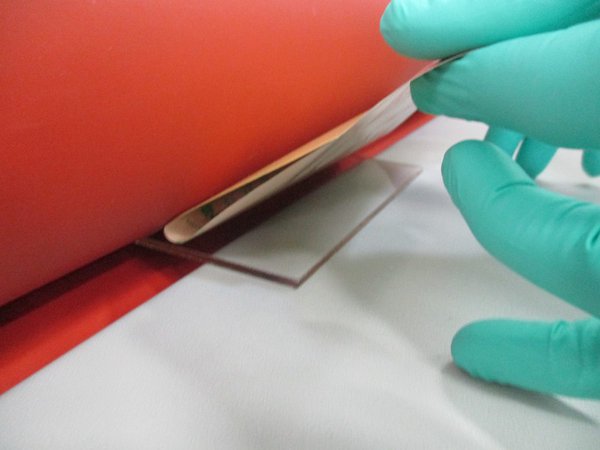
Next, to attach the PEI to the glass, pull the adhesive backing about halfway off the PEI sheet. Attach the PEI to the edge of the glass with the PEI sticking nearly straight up, about 90 degrees from the surface of the glass as shown.
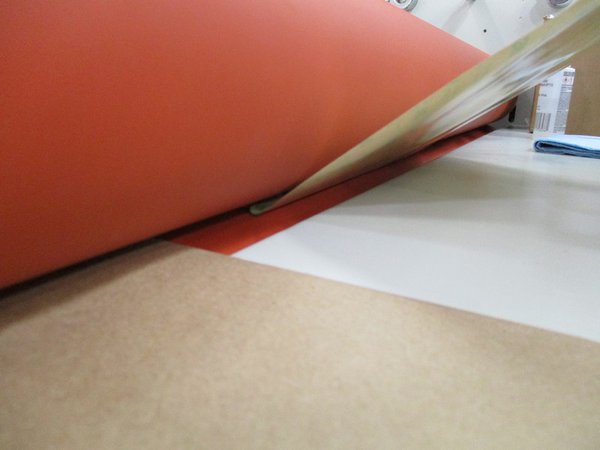
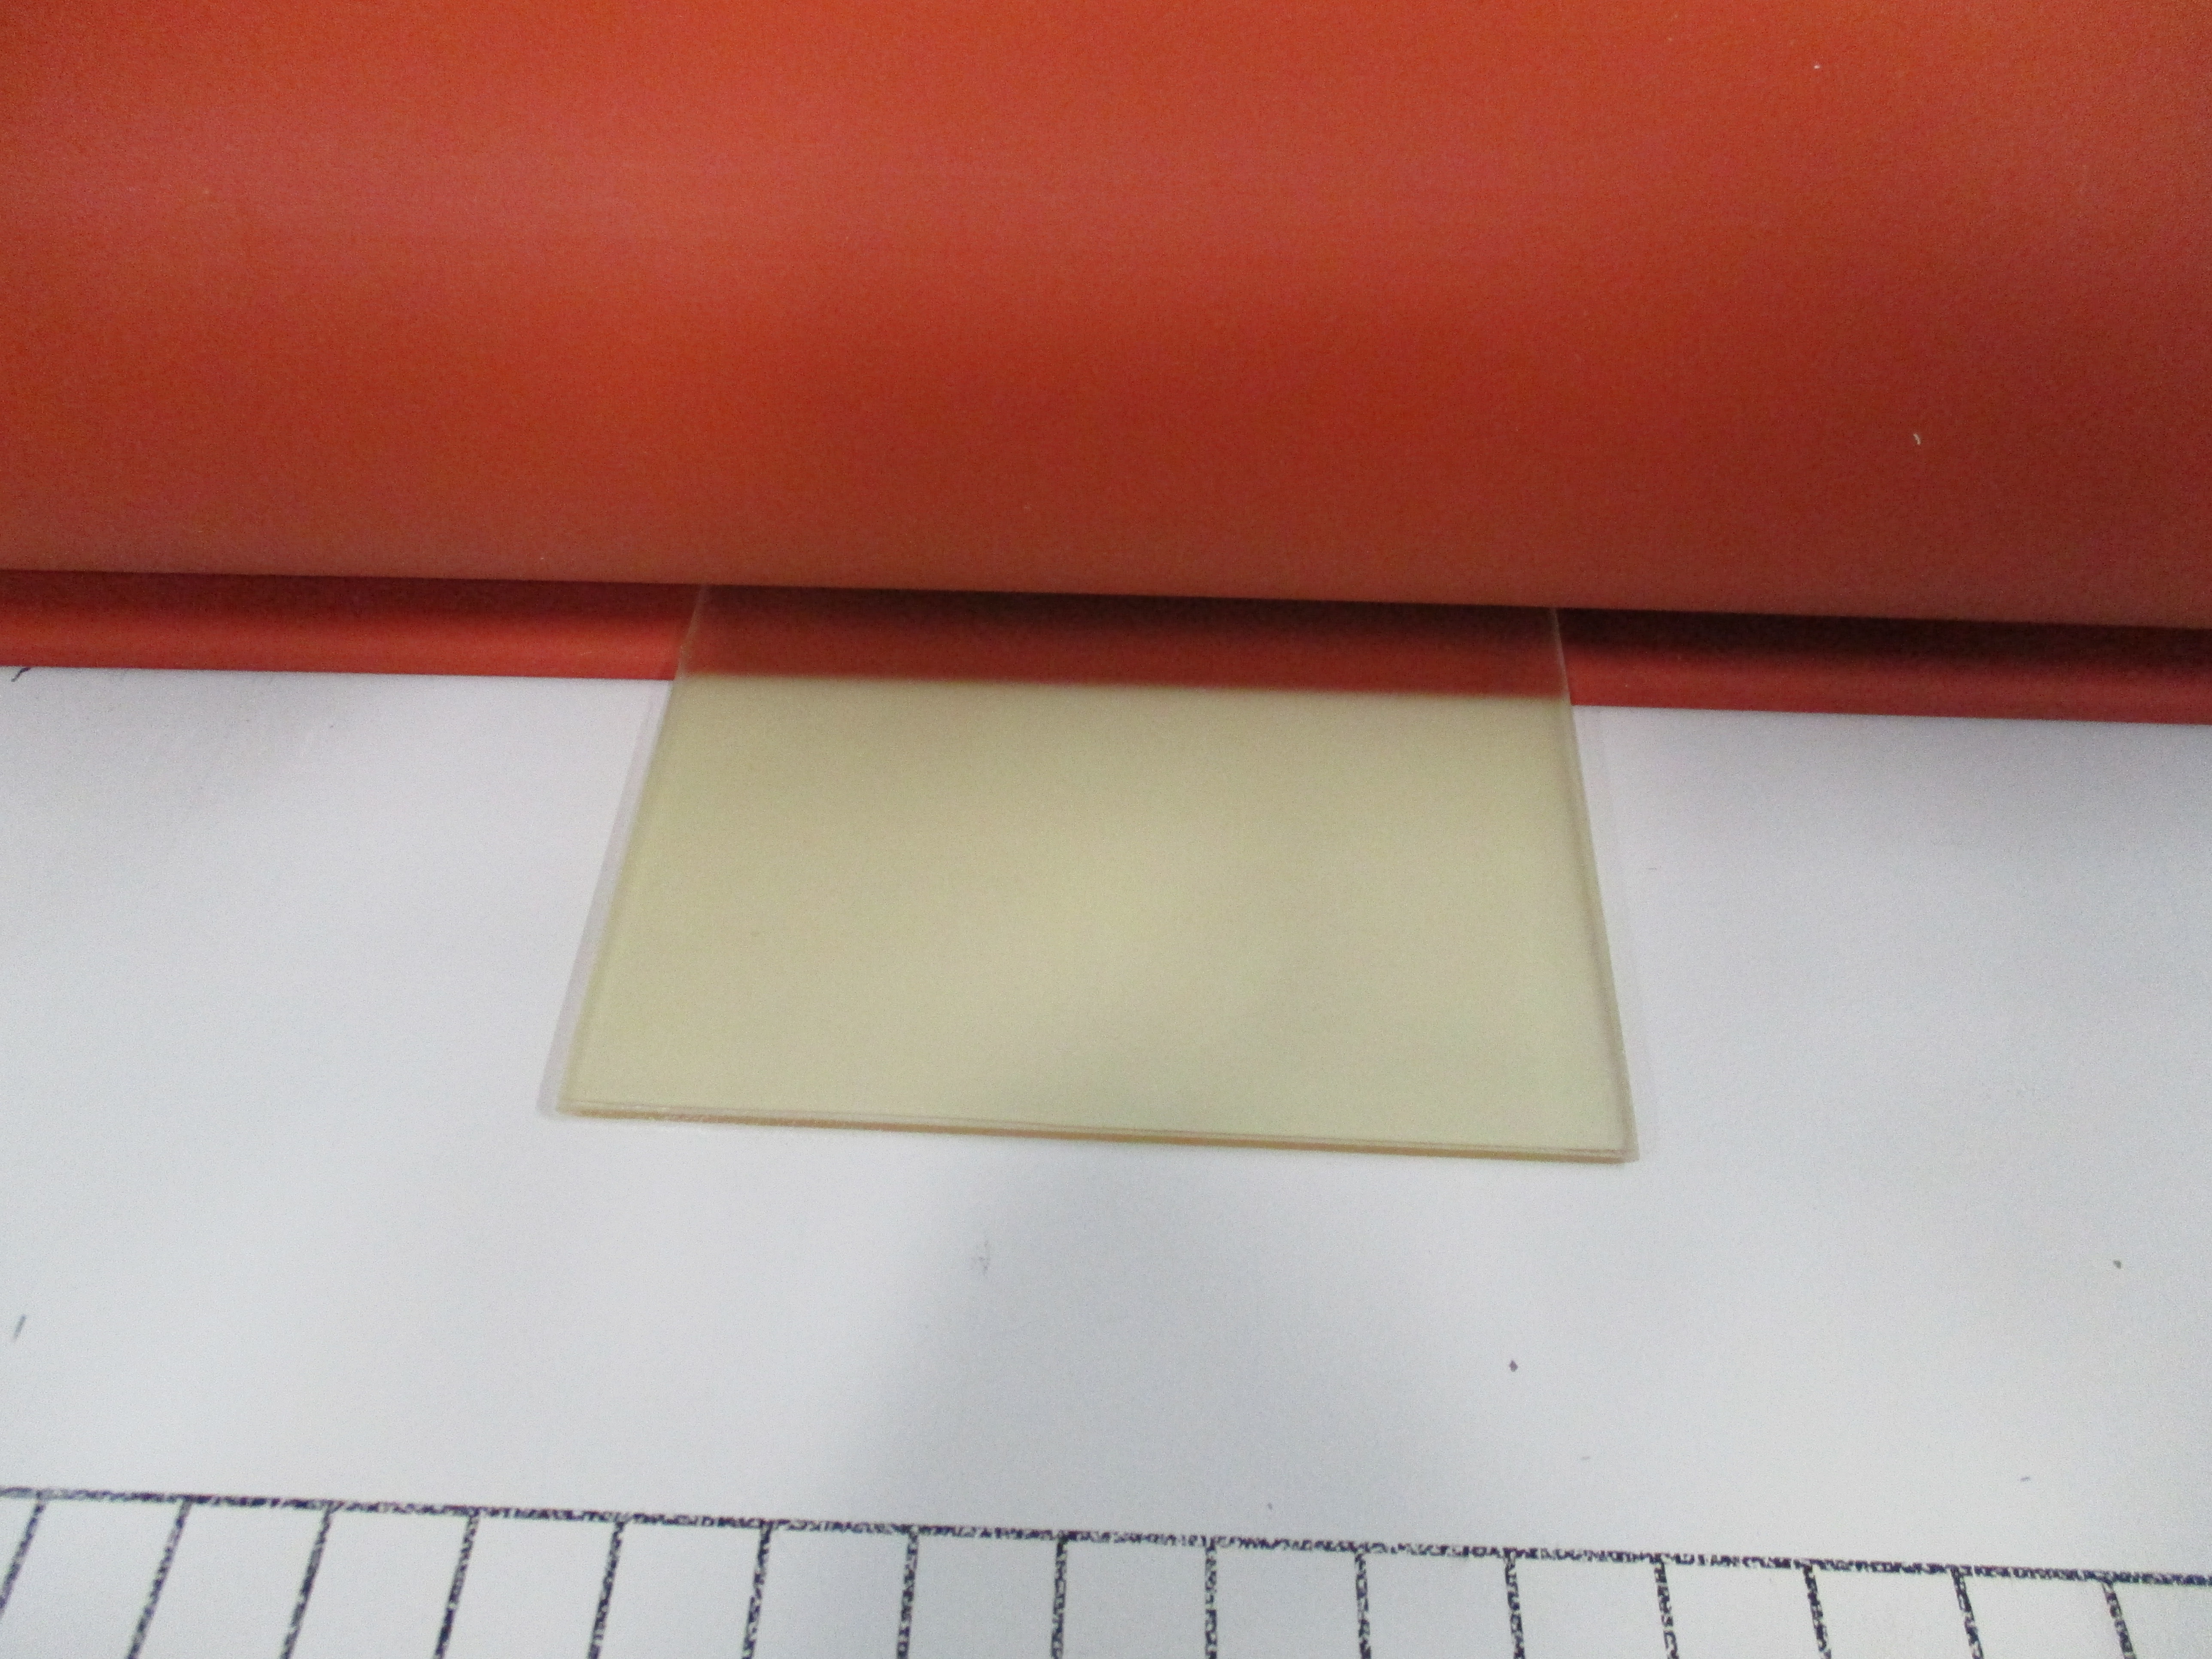
Feed the glass with the PEI attached to the edge into the roller to ensure no air bubbles are trapped during the lamination process. Keep the PEI at about a 45 degree angle to the glass when feeding through the rollers and peel the backing as the roller pulls the glass and PEI through as shown. Try and keep the backing on as long as possible. Using the foot peddle, feed the glass/PEI all the way through the laminator.
Note: Do not peel too much of the backing off of the PEI to ensure the PEI doesn’t fall and touches the glass before it goes through the roller because you will have trapped air bubbles on the surface of the glass.
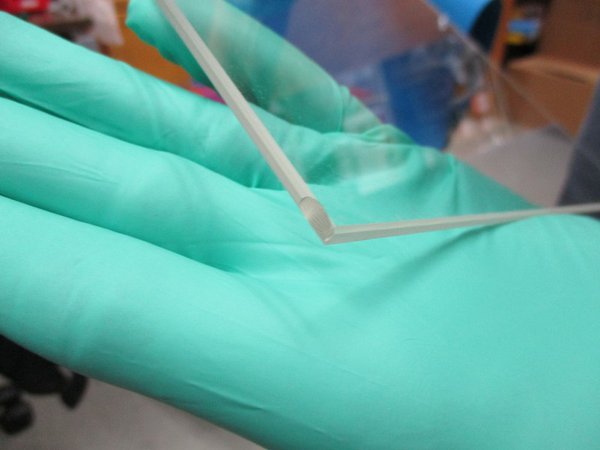
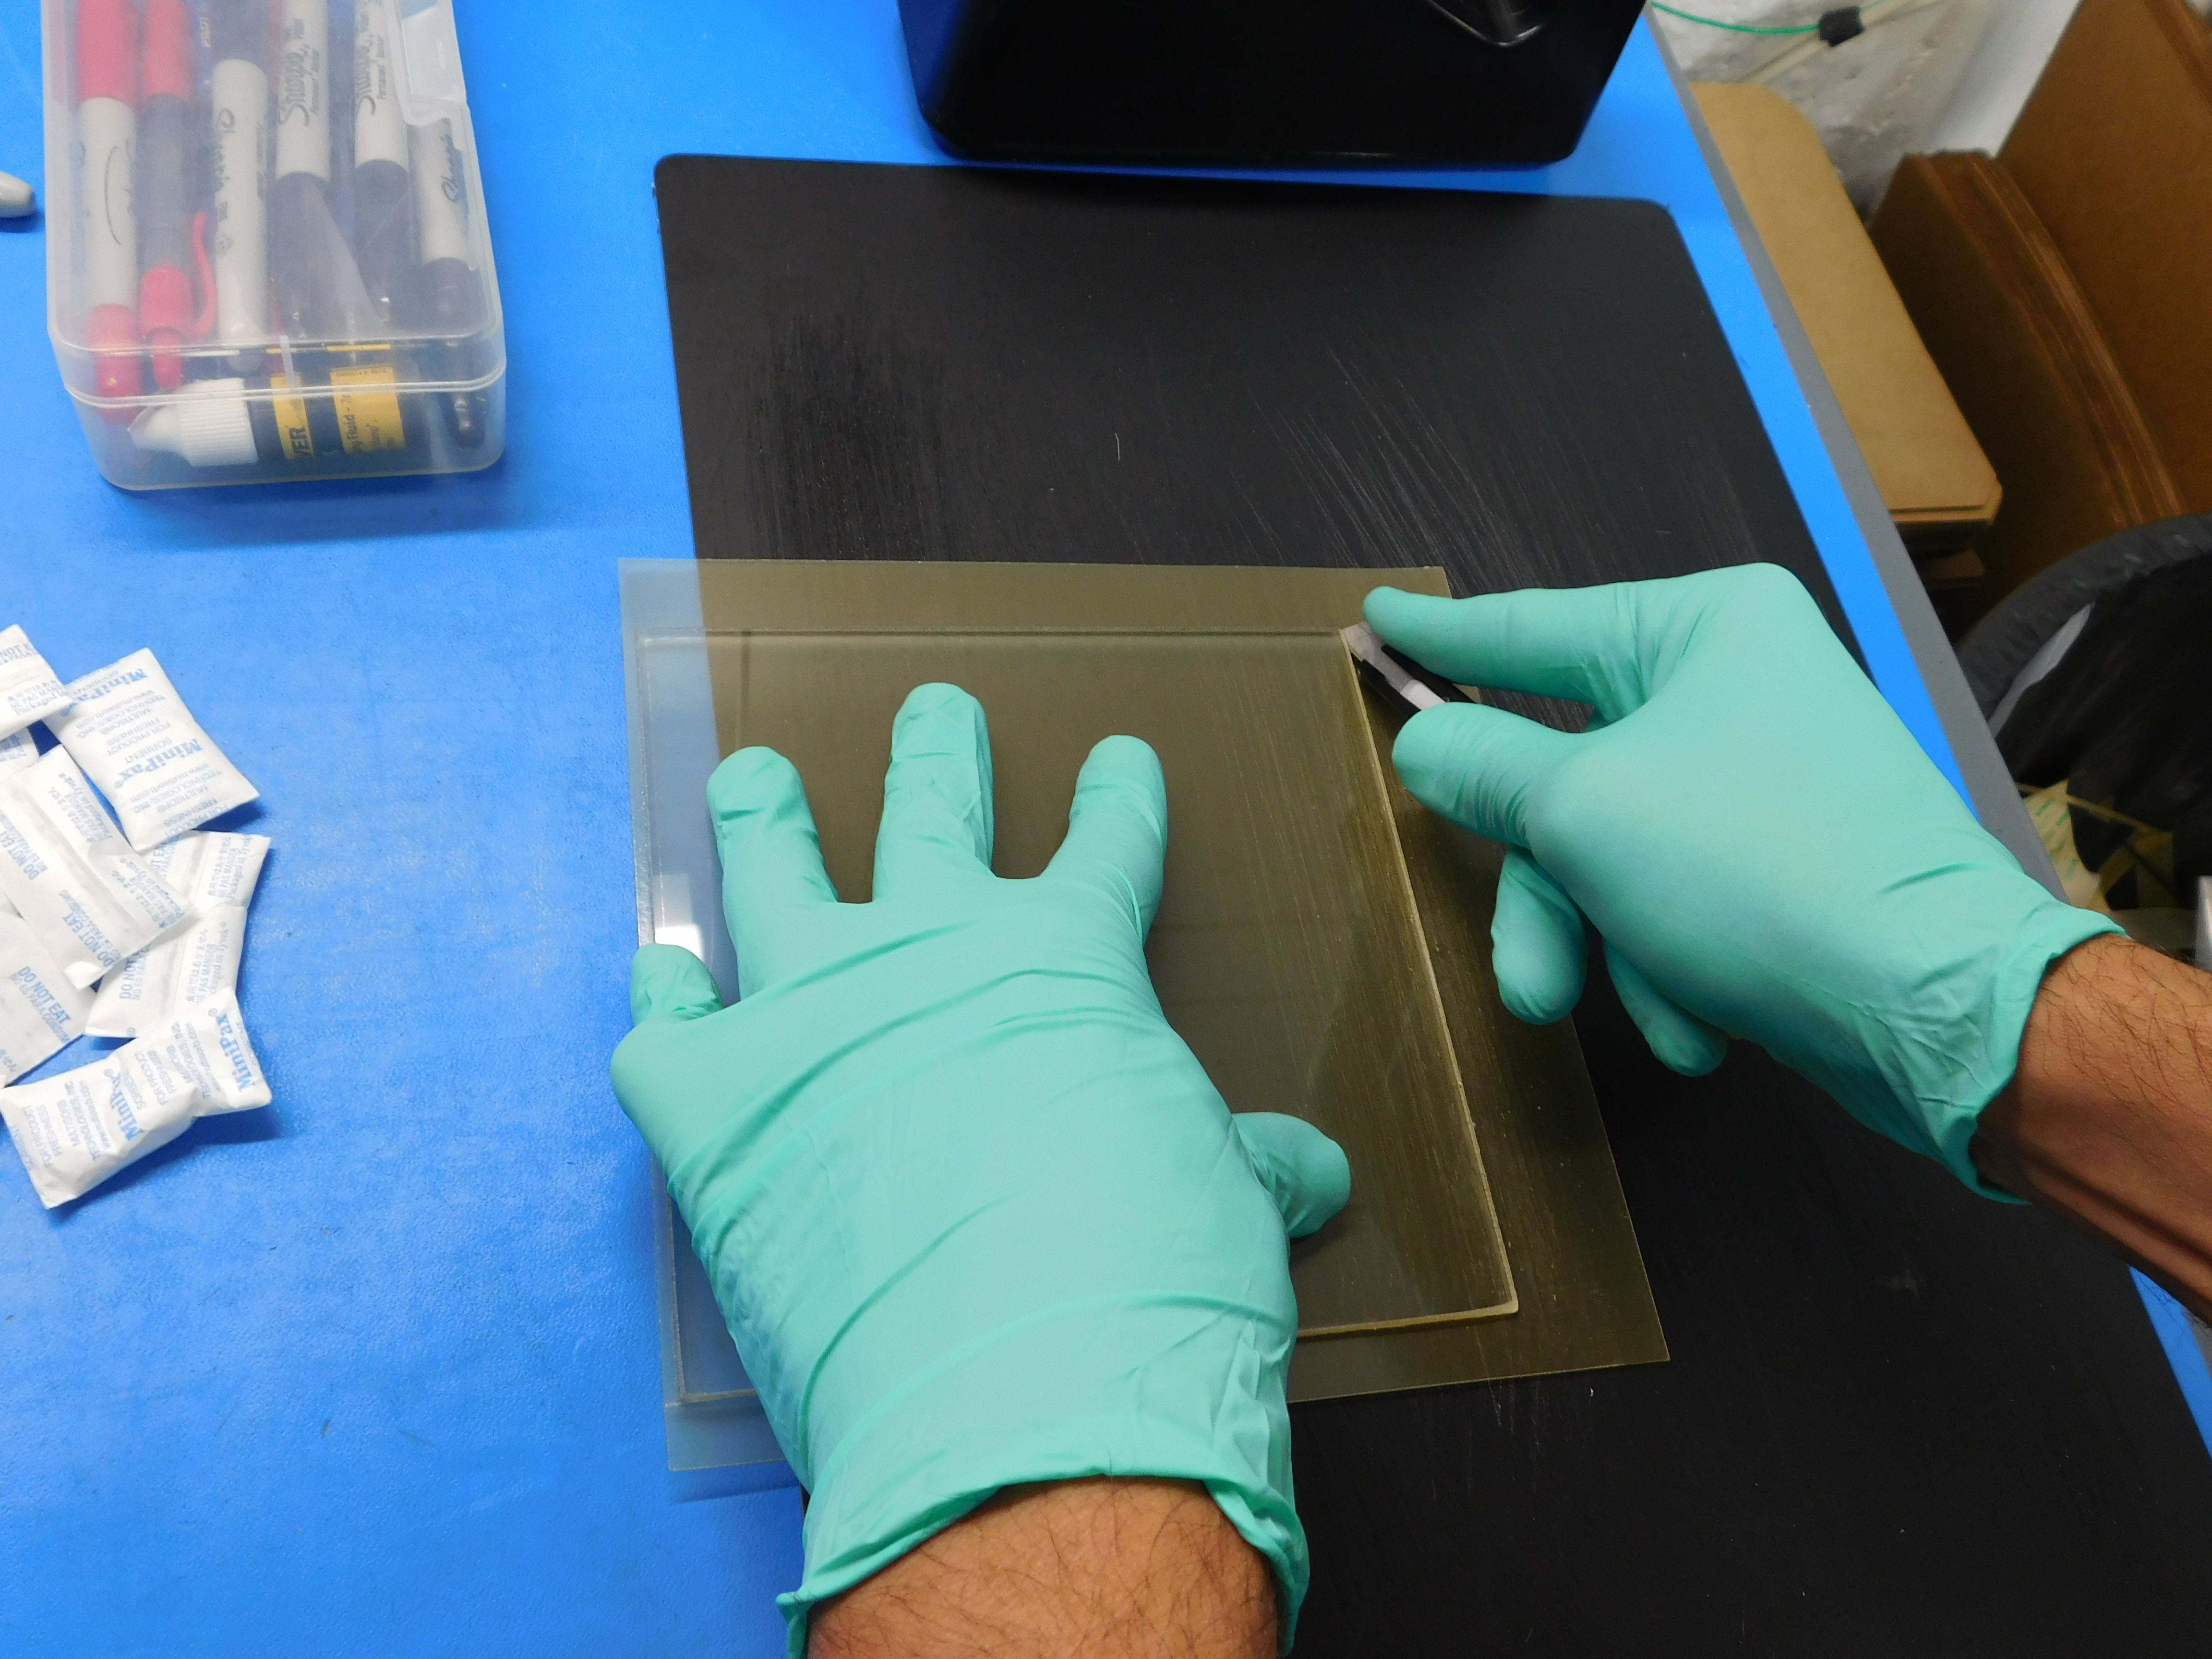
To trim the excess PEI off the glass bed, place the print bed surface on the cutting mat (PEI side down) as shown.
Using the adjustable razor blade, push two blade sections out of the razor to allow enough clearance from the edge of the glass. Run the blade along the edge of the glass just enough to "score" the PEI. Fold the edge of the PEI forward and it will break free. Remove the trimmed edge, and repeat for all remaining edges.


Place print bed surface in oven rack as shown. Fill the rack in the post bake oven as desired.
Run the post bake cycle for 1.5 hours.
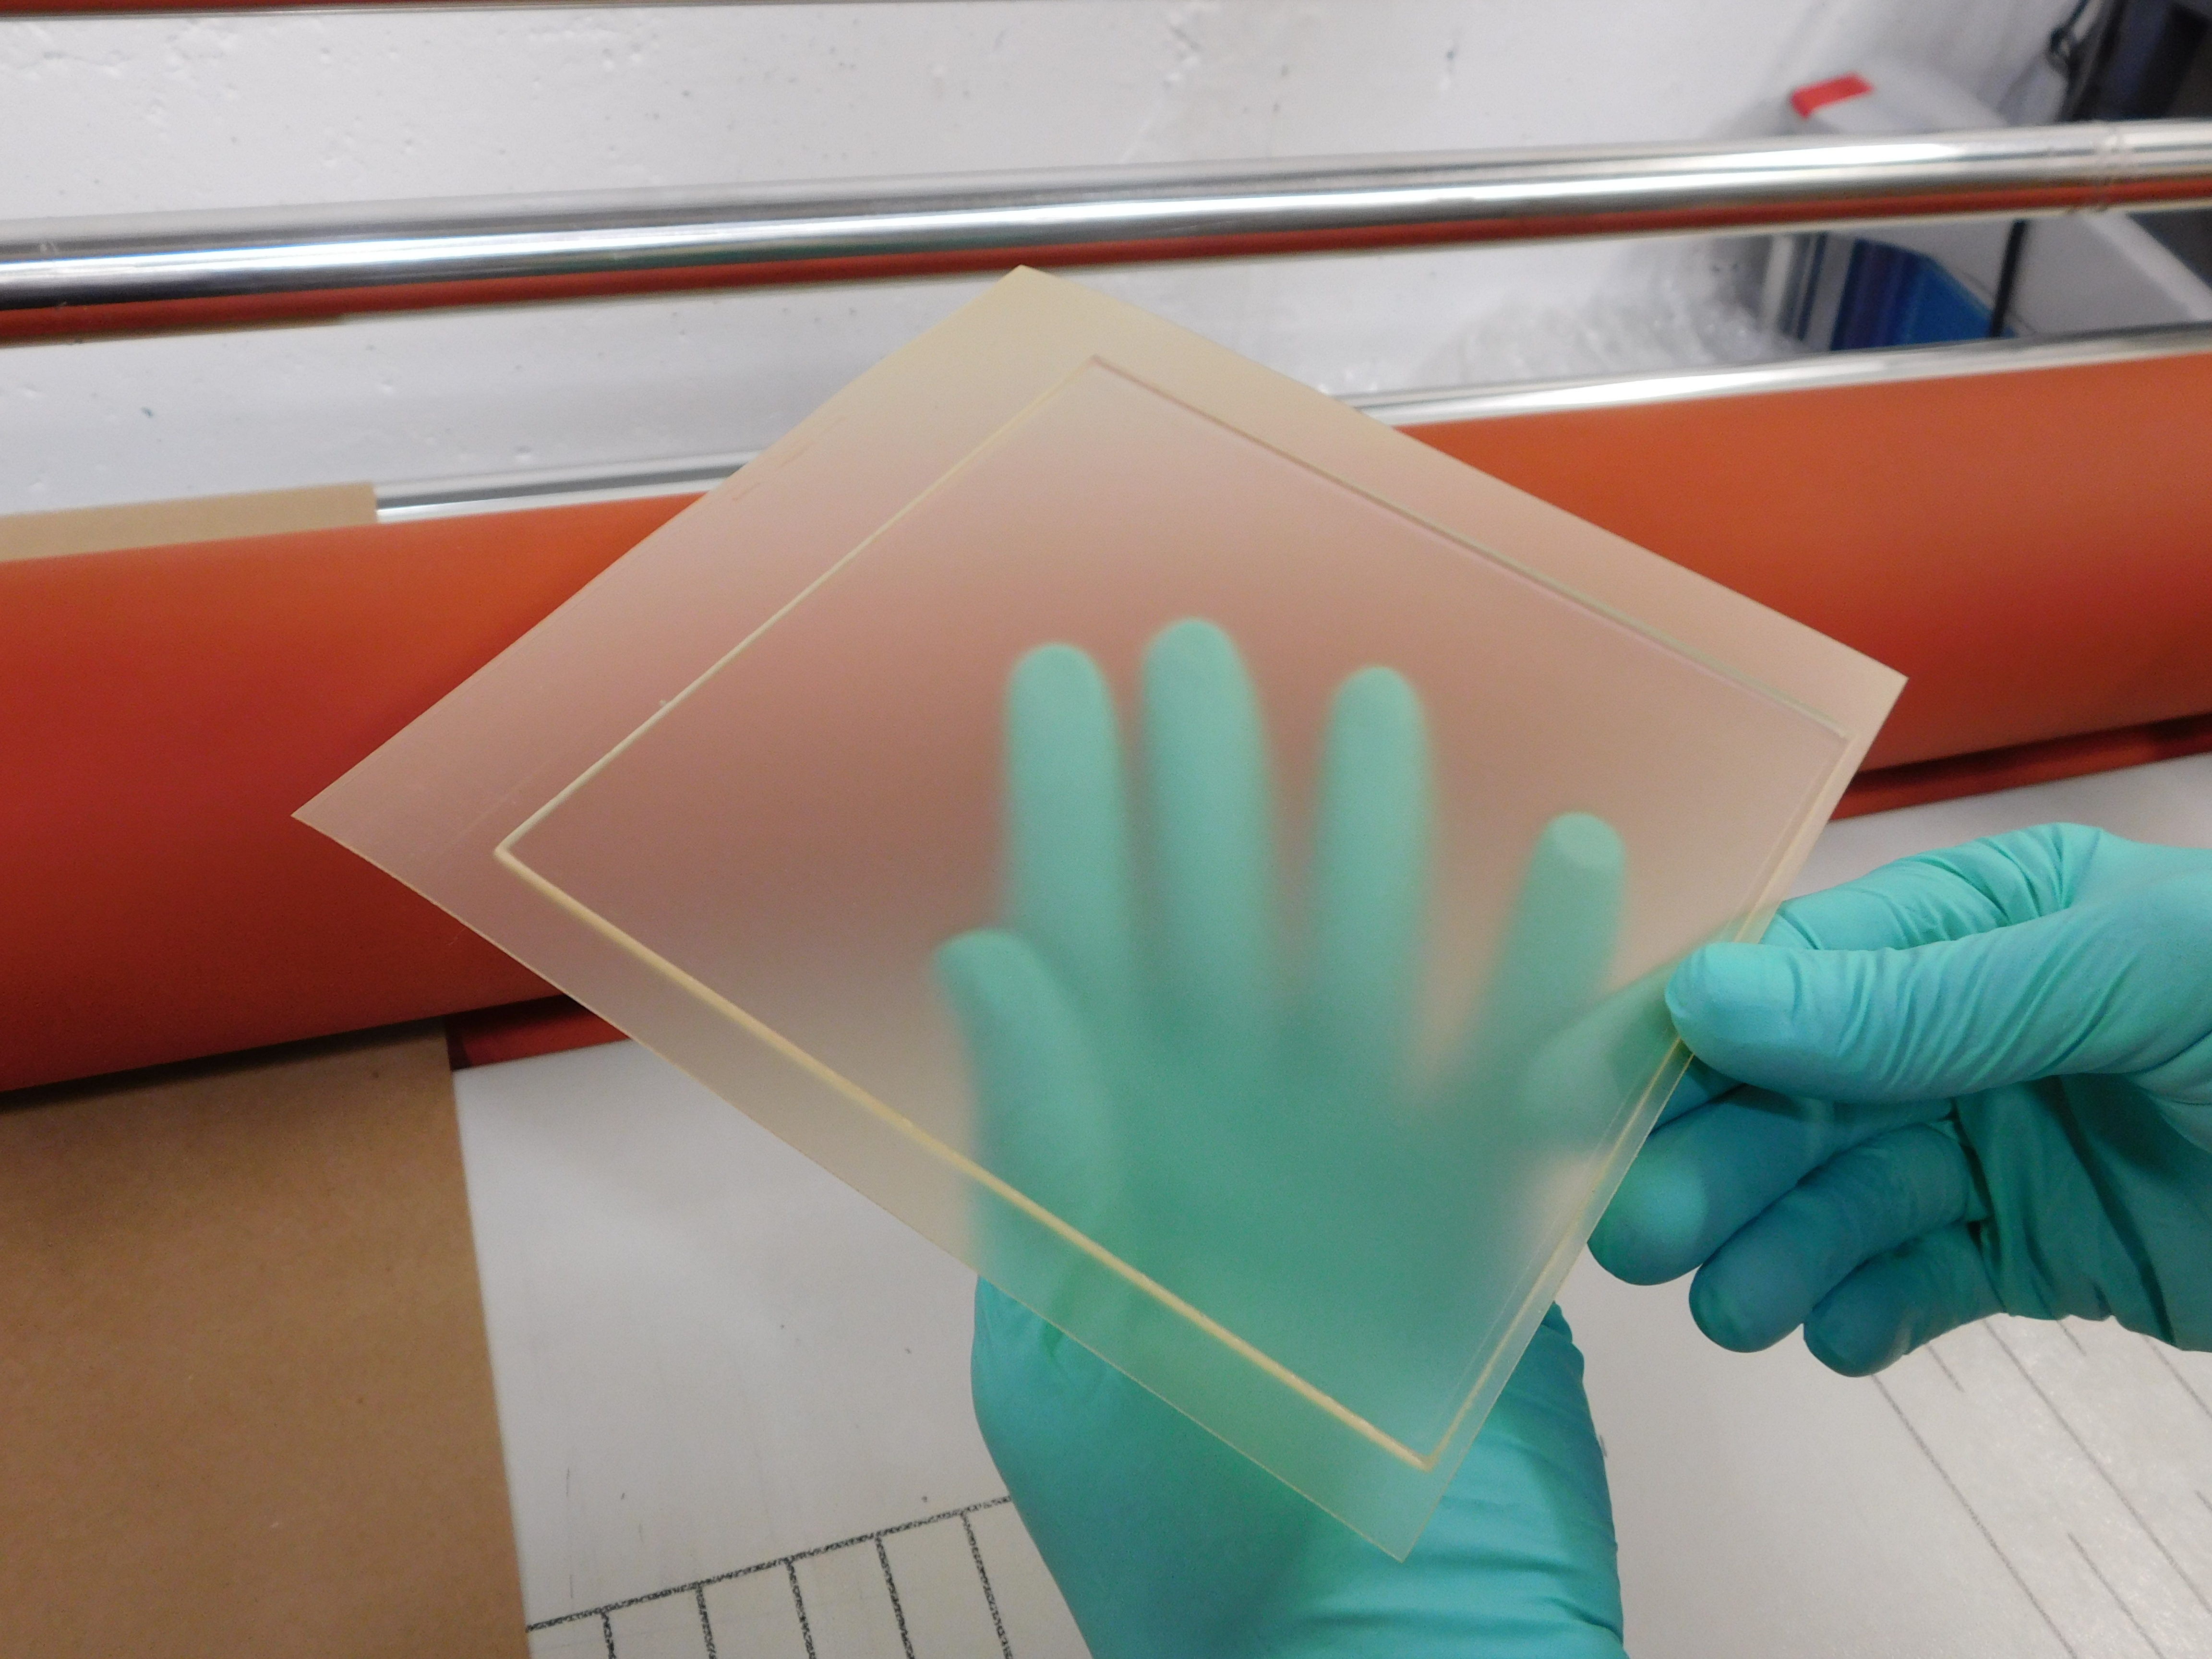
After post bake, while still hot, feed the glass/PEI through laminator to ensure print bed surface doesn’t “silver” as shown.
Materials needed:
[KT-HB0010] LulzBot Mini Glass/PEI Print Surface
[SH-PA0047] Mini Heat Bed: 16 x 16 Die Cut Pad (insert)
[SH-BX0074] Mini Heat Bed: 12-1/8 x 12-1/8 x 1/2 44ECT B Brown Die Cut One Piece Folder
[SH-PA0052] 6 Mil Heavy Duty Poly Tubing Roll - 14" x 500'
[SH-PG0099] Disposable Desiccant Bag, Silica Gel, for 24 Cubic Inches
[DC-LB0133] Label, Mini Modular Glass/PEI
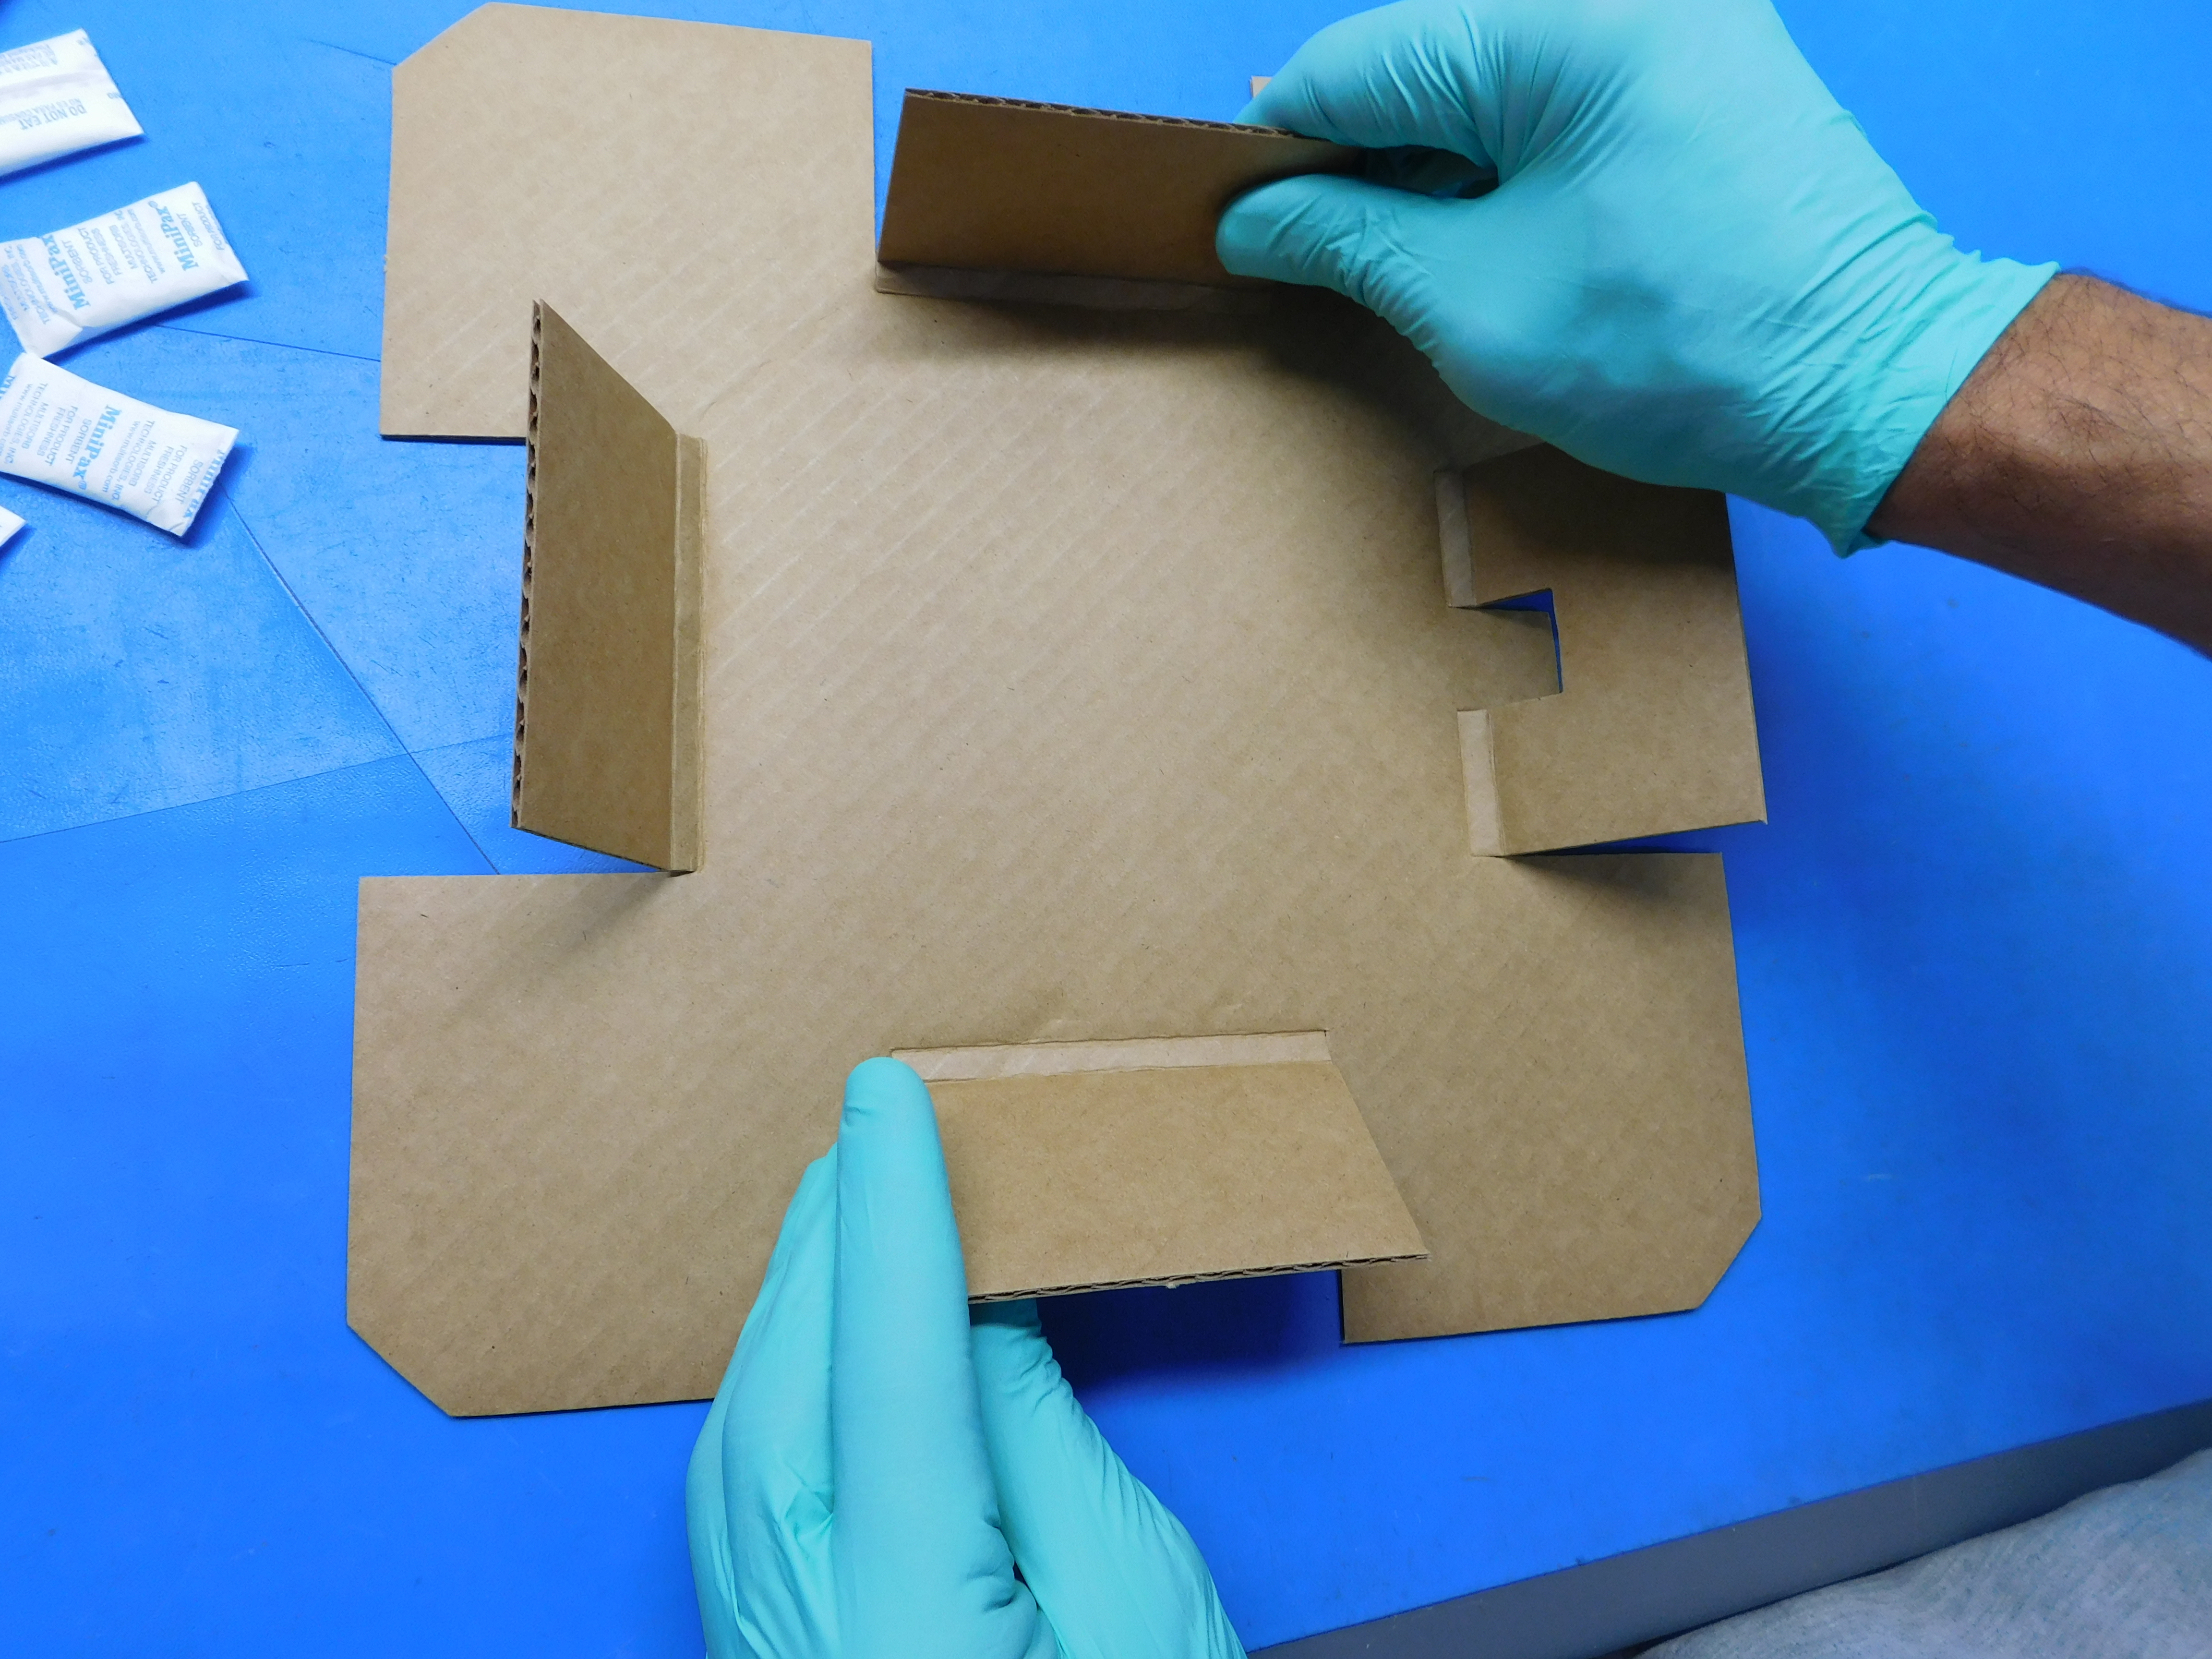
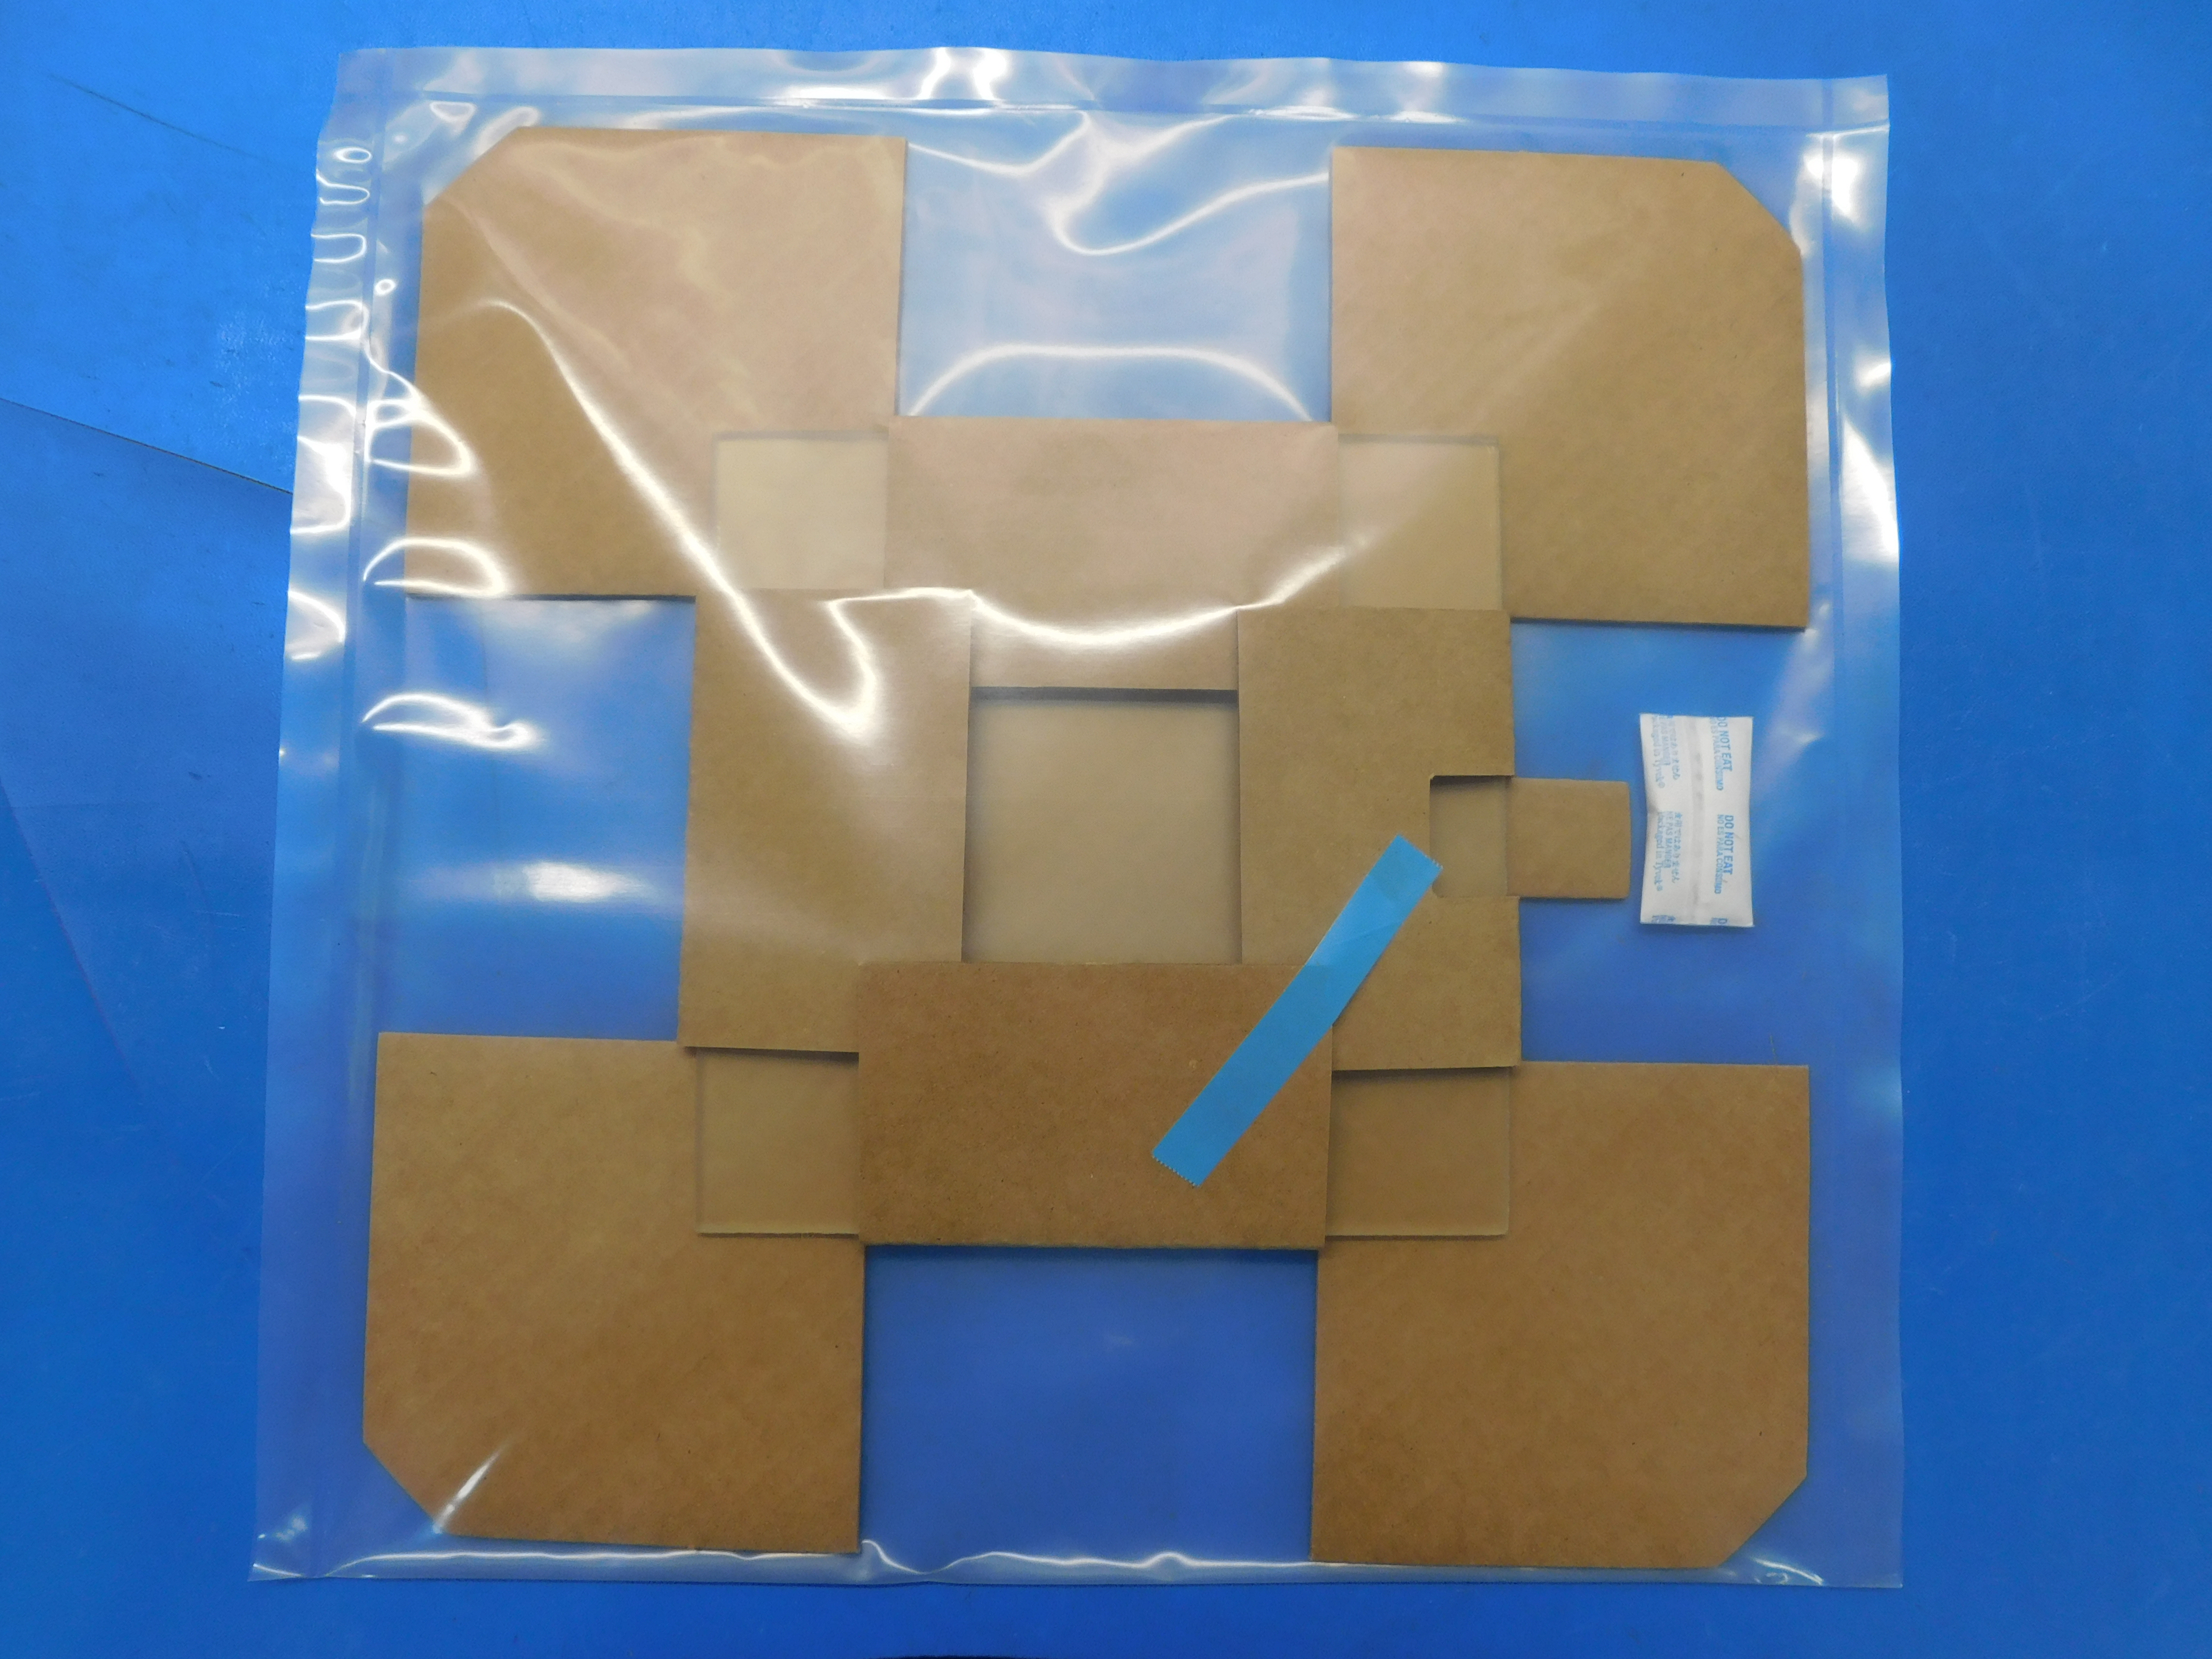
Fold the [SH-PA0047] 16 x 16 Die Cut Pad (insert) with creased side up, folding all four sides as shown.
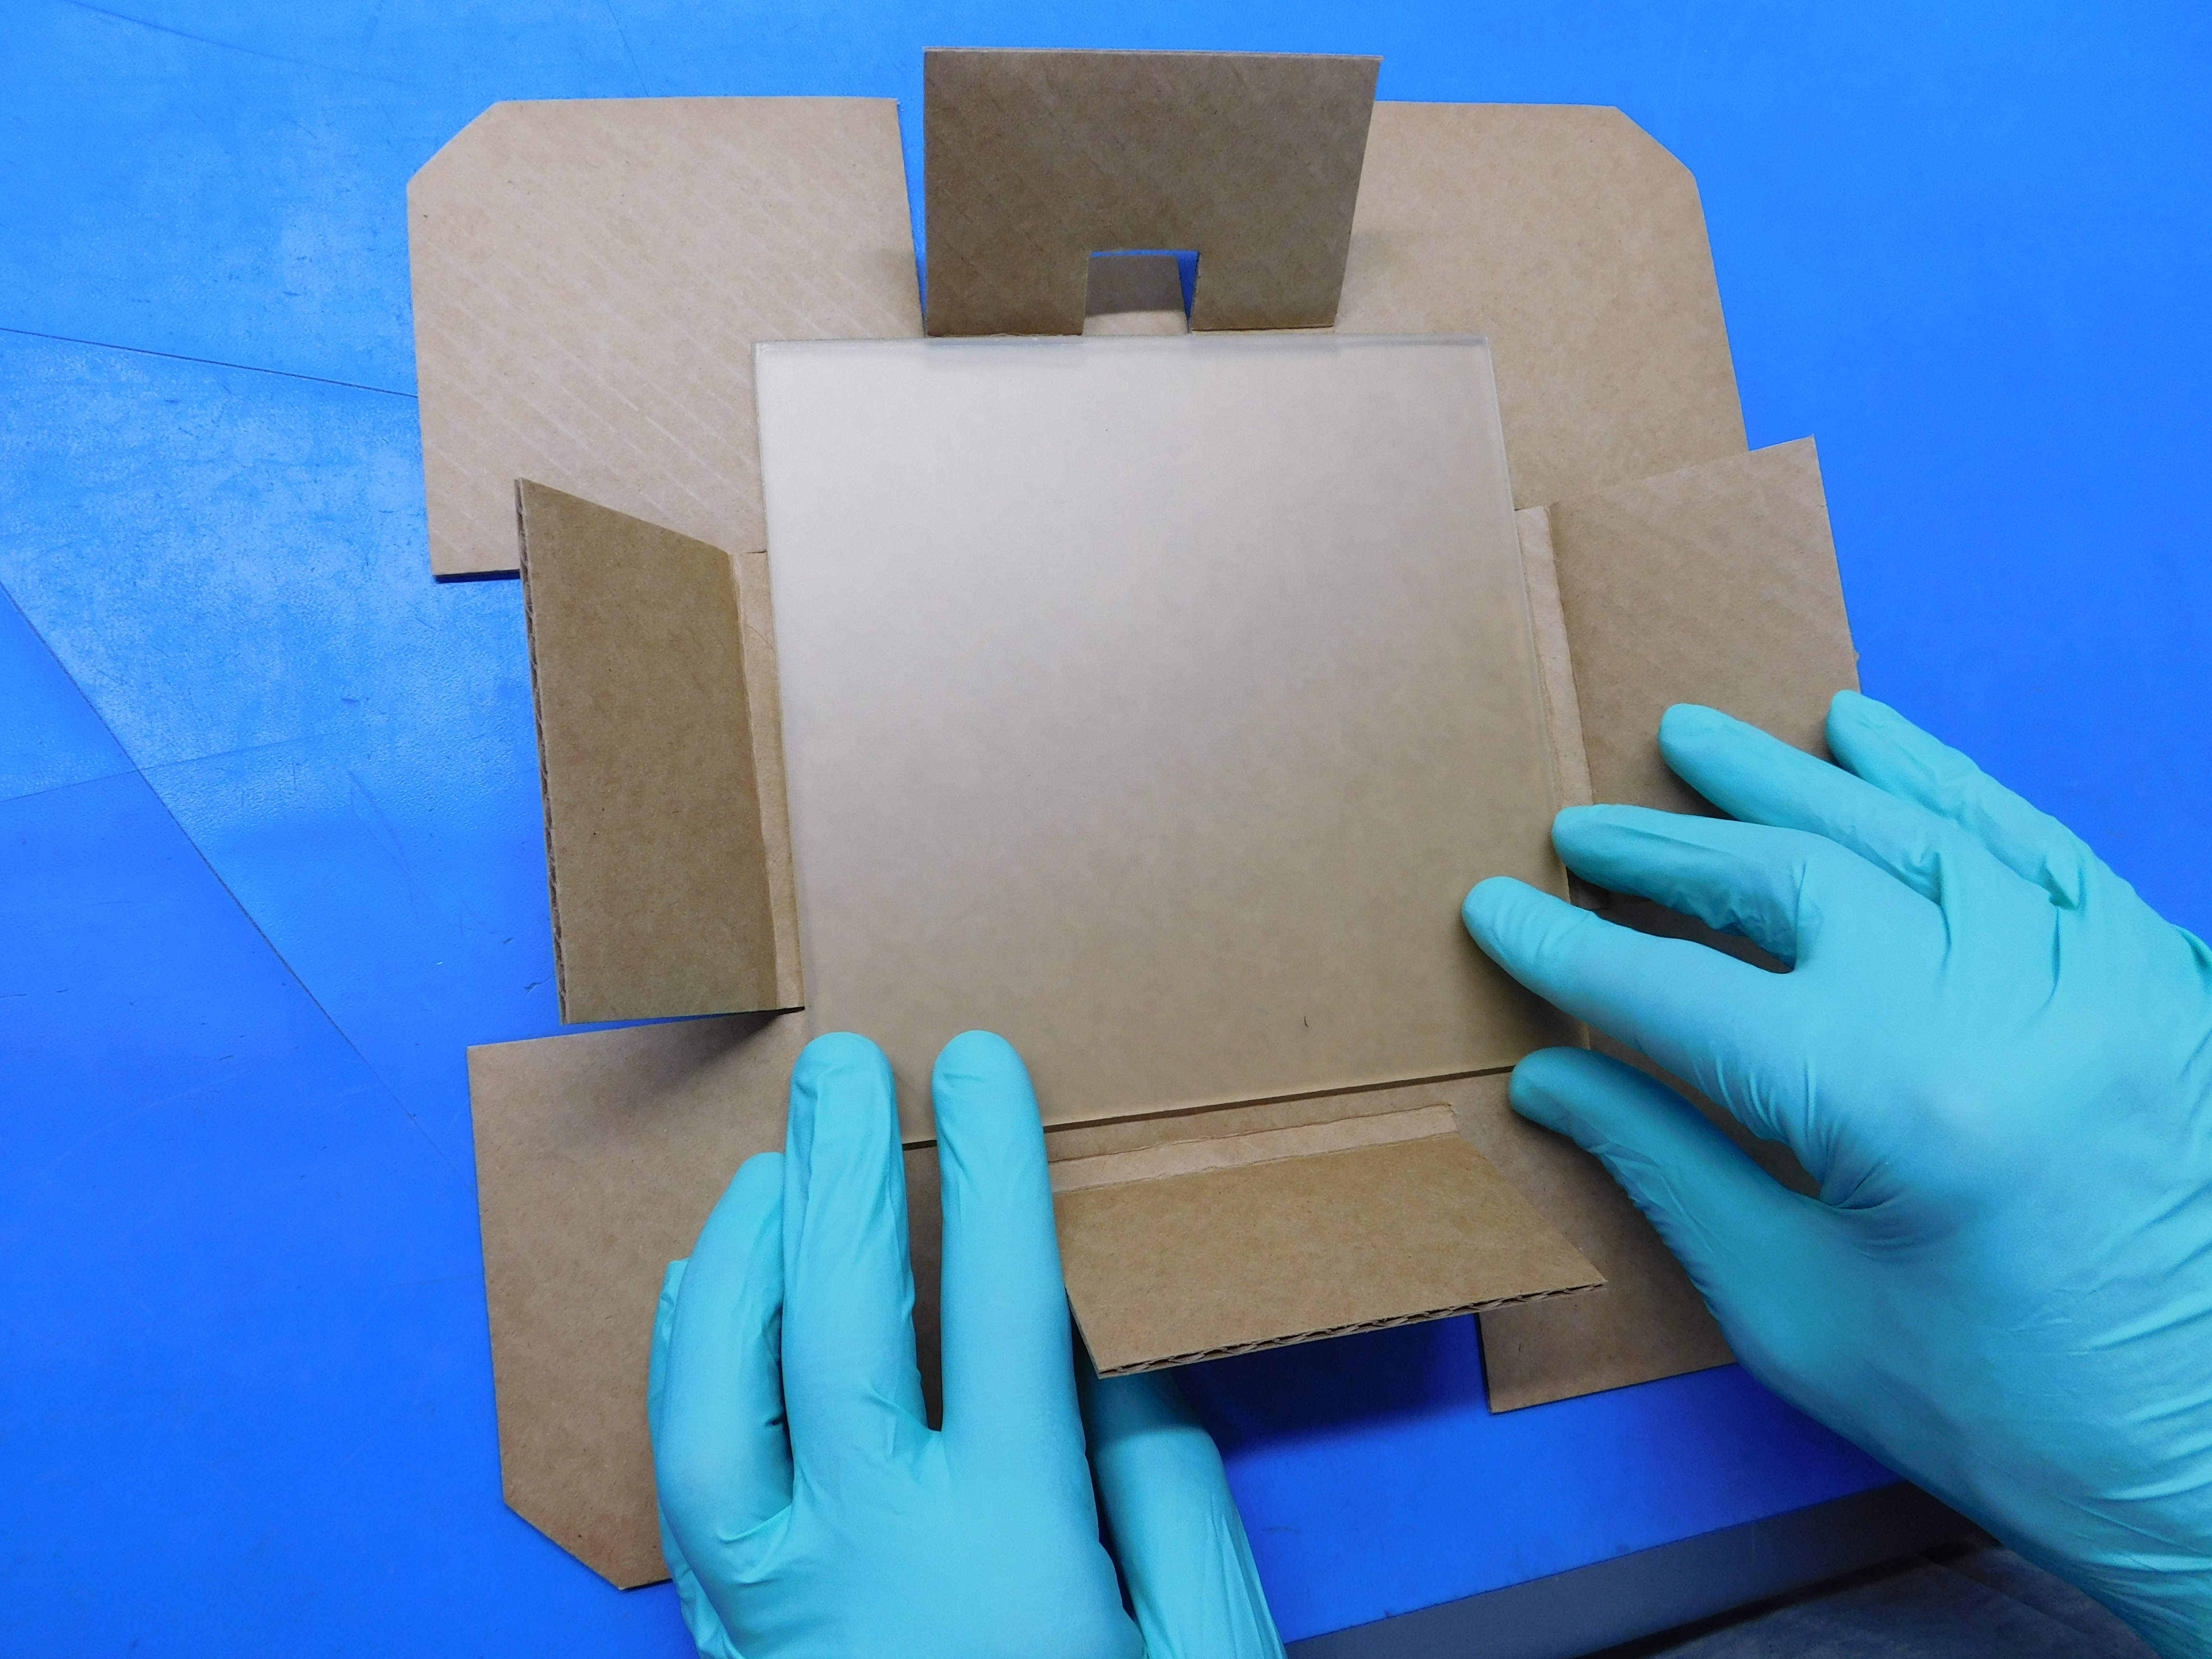
Center the Mini Glass/PEI Print Surface in the insert as shown. Then, fold and tape flaps as shown.
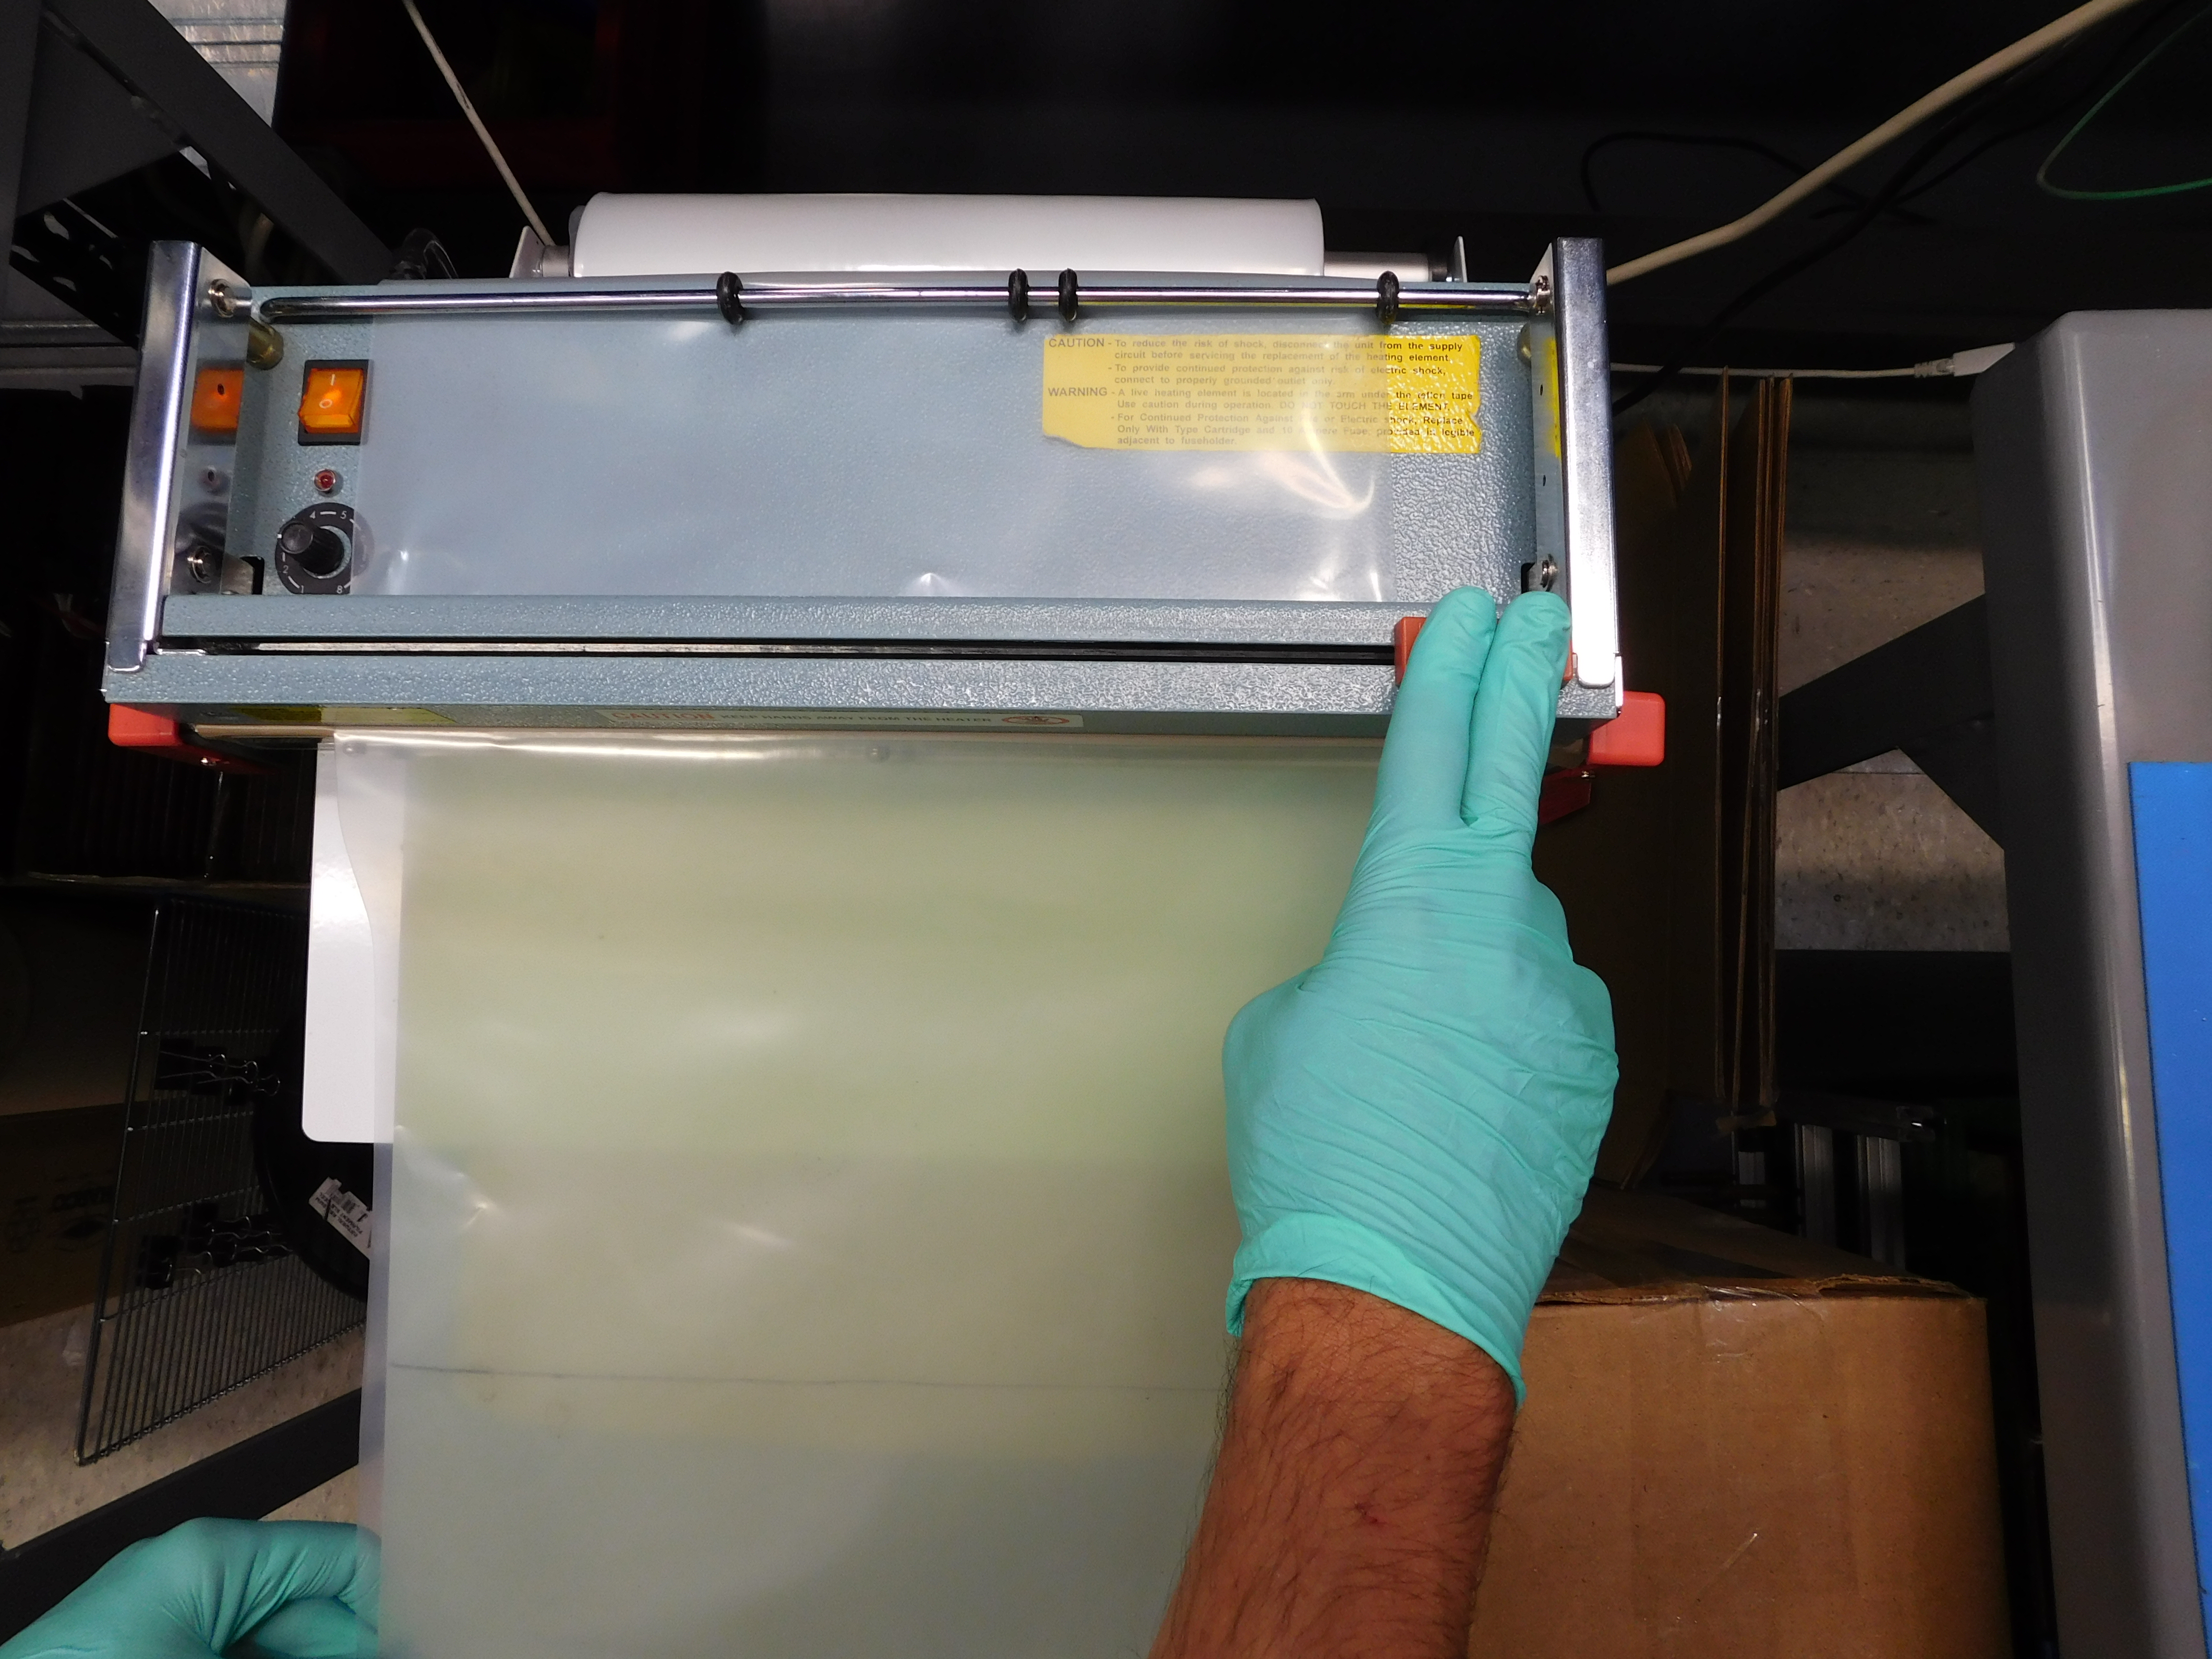
Using the Foot Operated Single Impulse Bag Sealer, prep the insert packaging by placing the Heavy Duty Poly Tubing Roll through the bag sealer as shown. Cut to (Desired length) by sliding red knob across the cutter as shown. Use the foot peddle to heat the plastic and seal the far edge of the packaging as shown. Cut excess plastic.
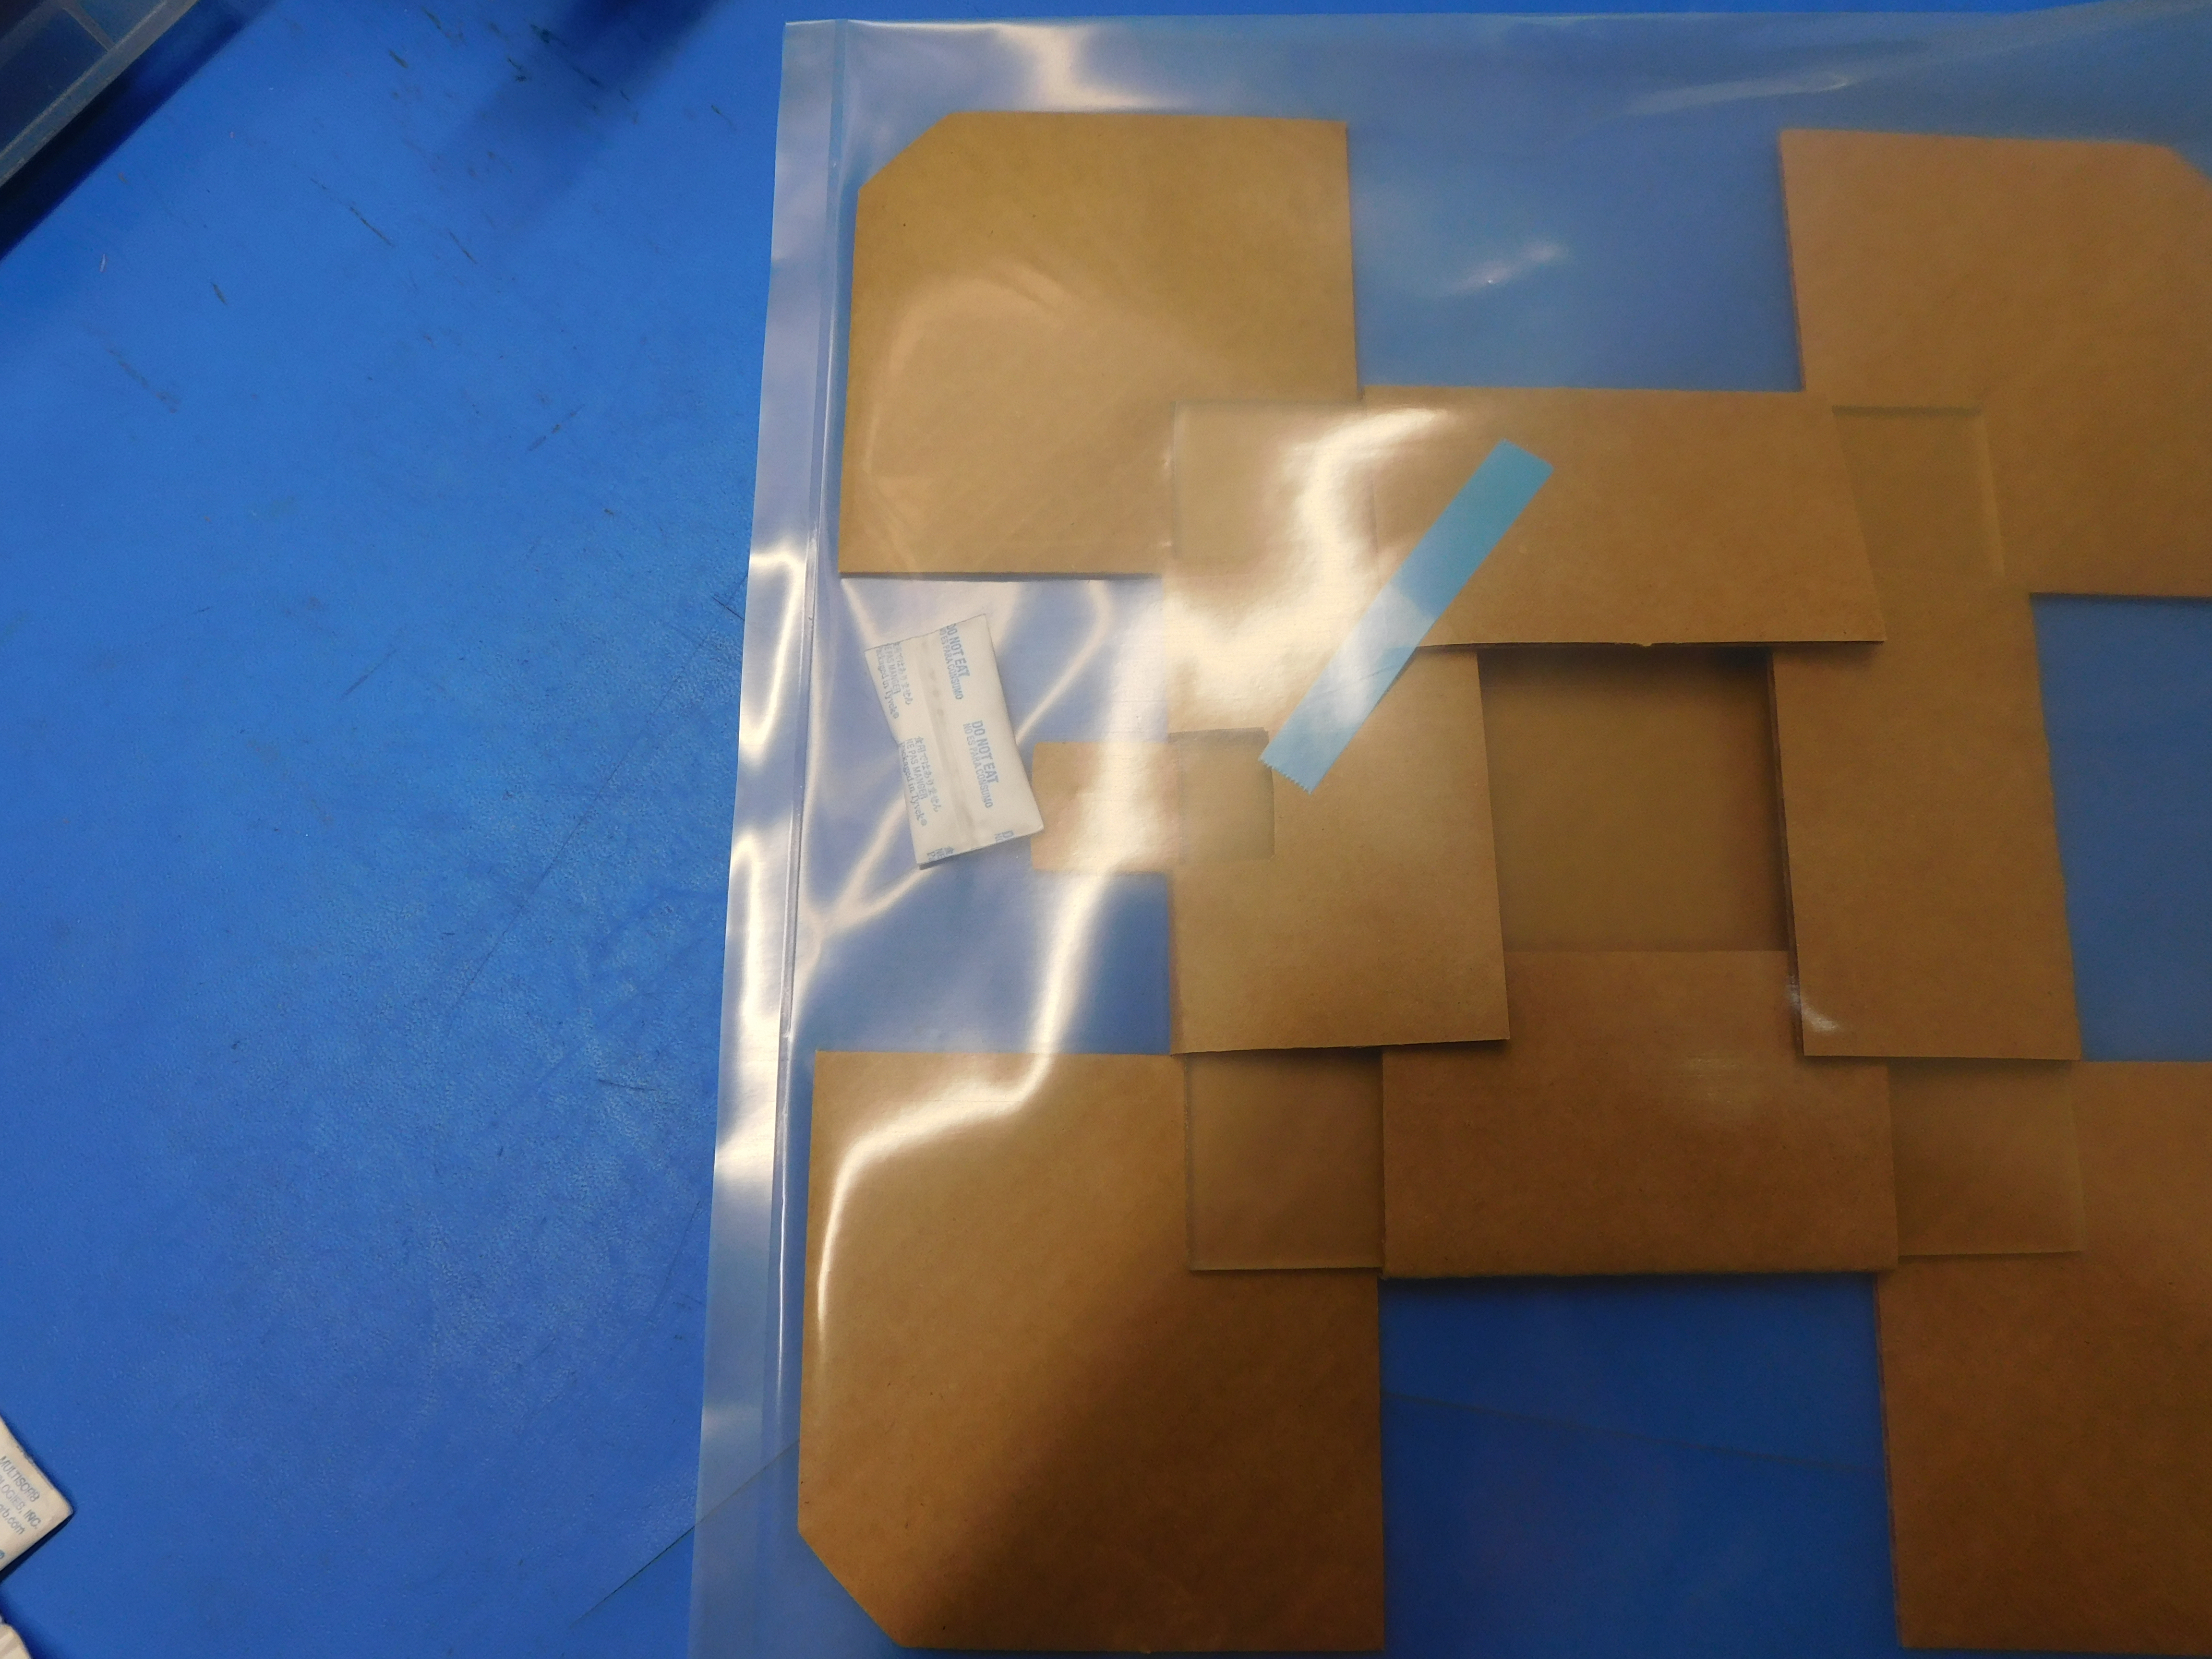
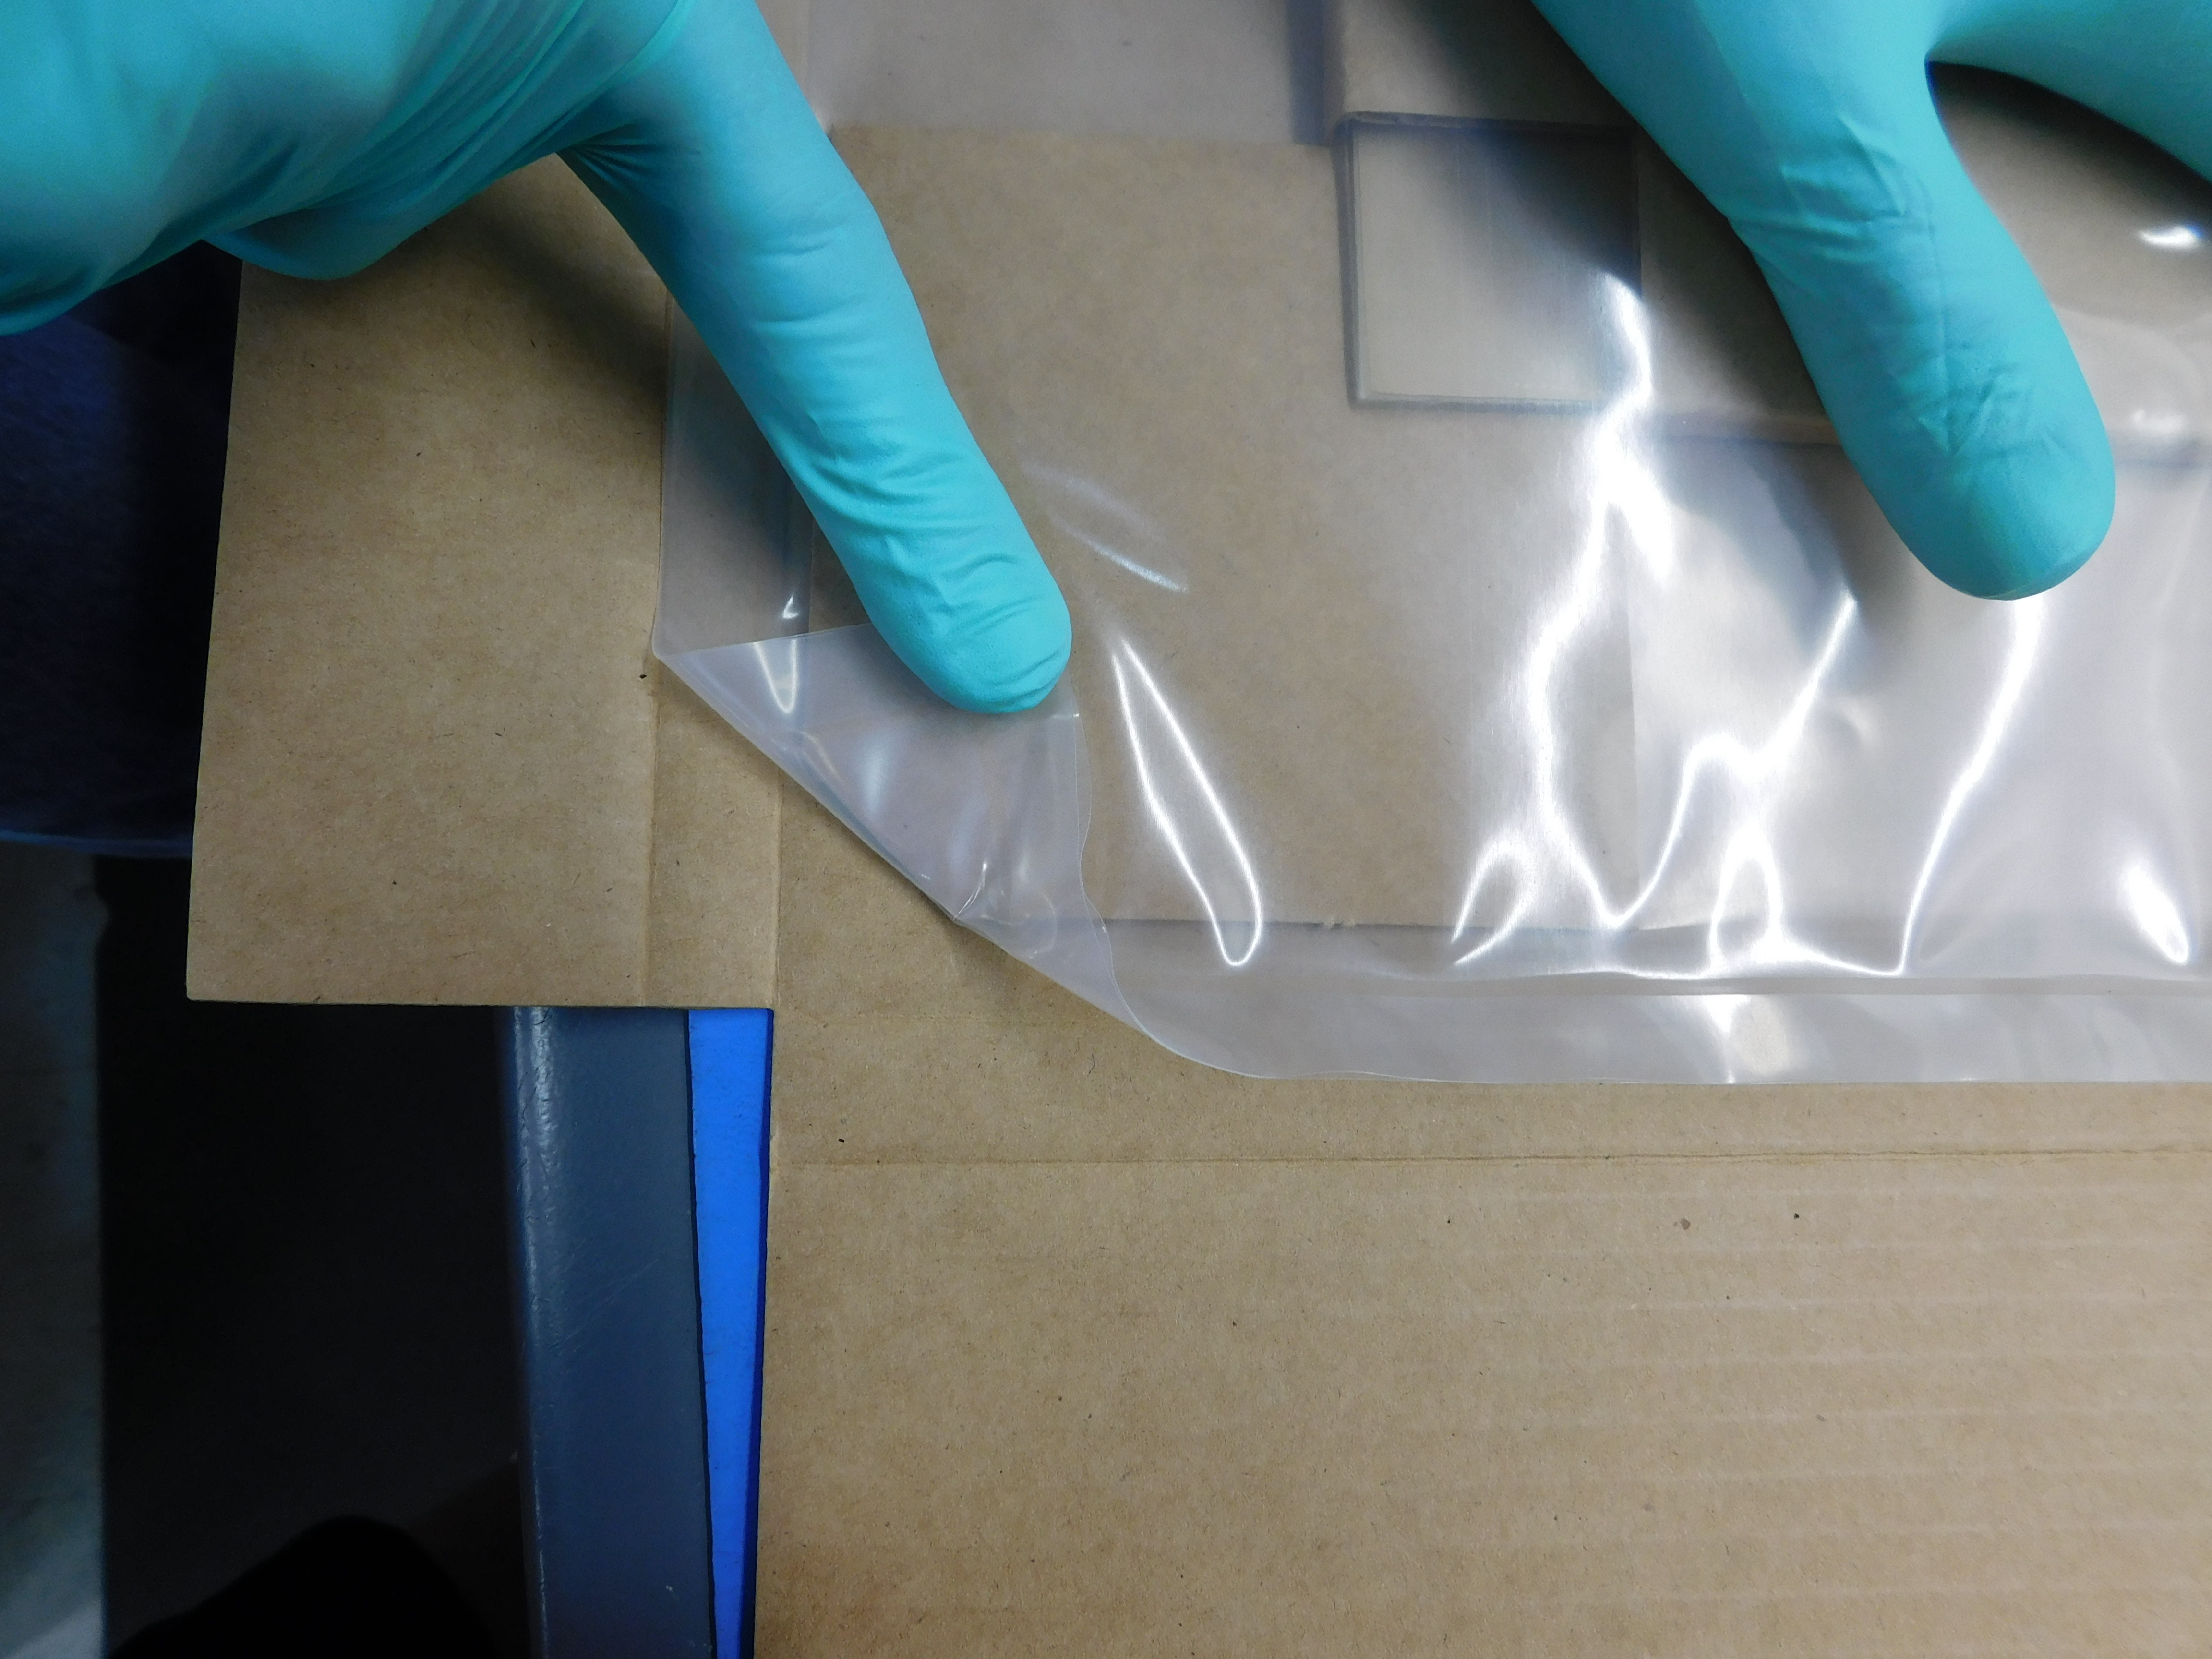
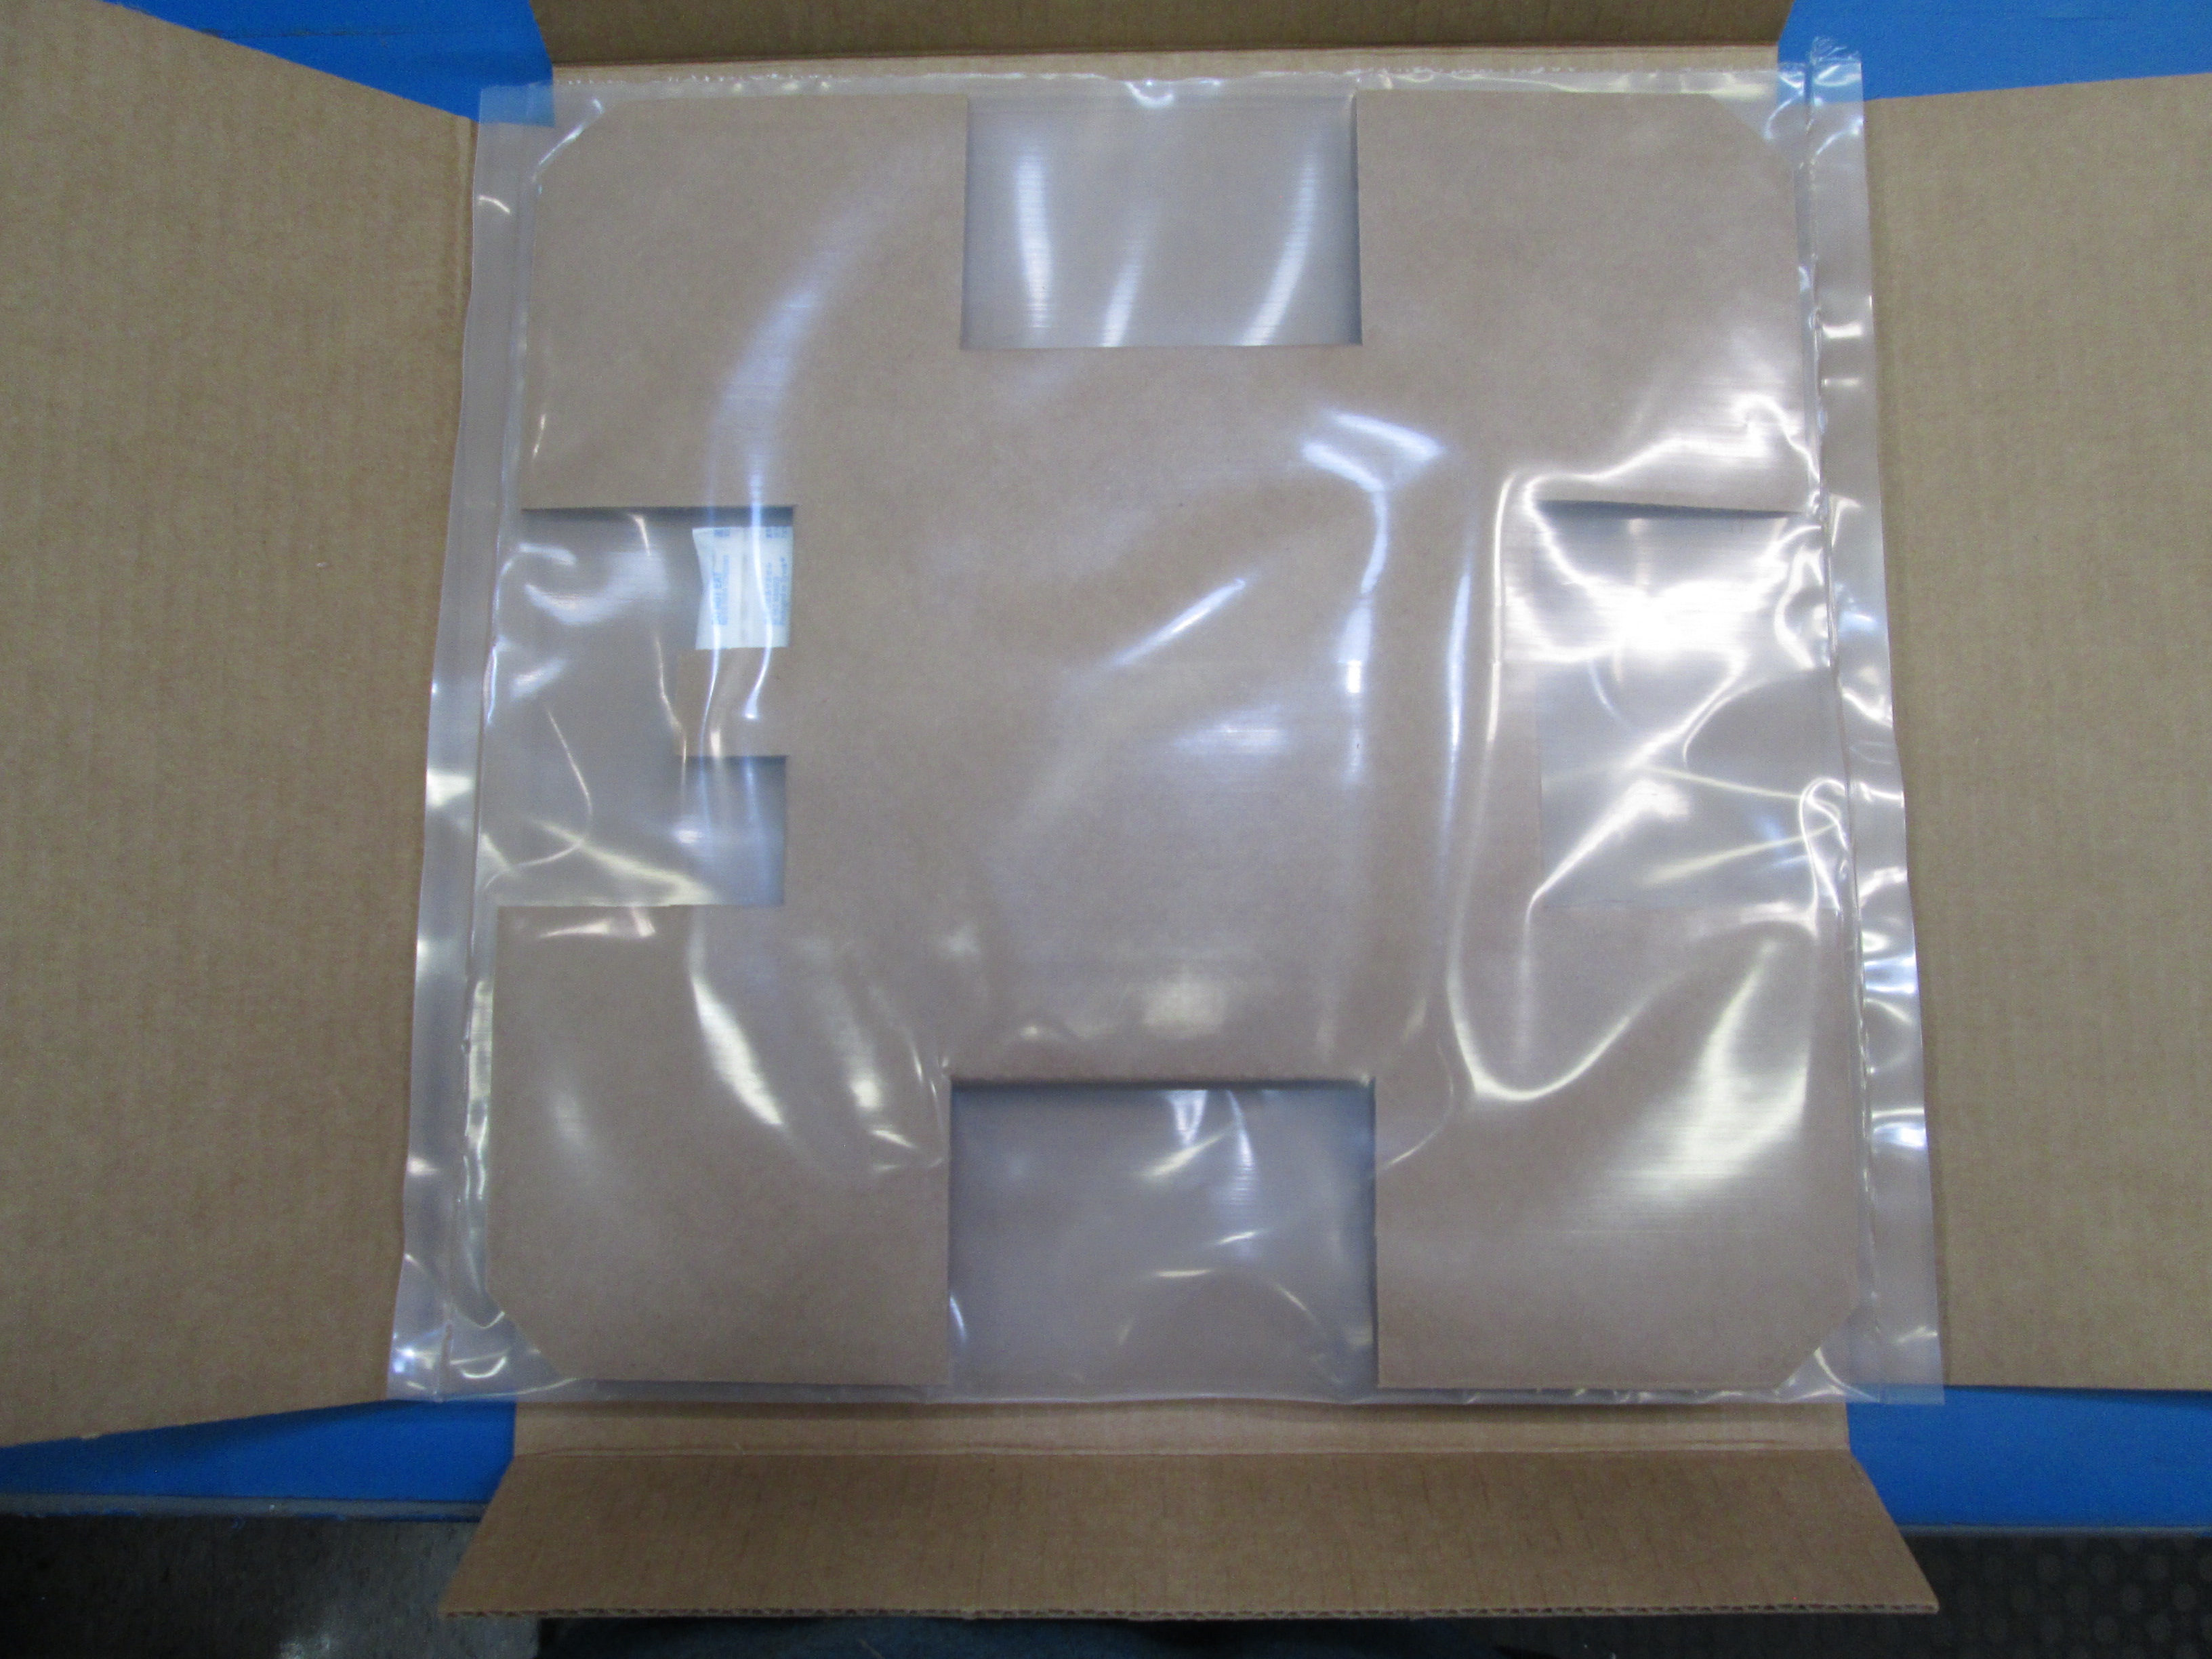
Place the Die Cut Pad (insert) inside of tubing, and add [SH-PG0099] Disposable Desiccant Bag as shown. Heat seal 3 sides while cutting off excess plastic.
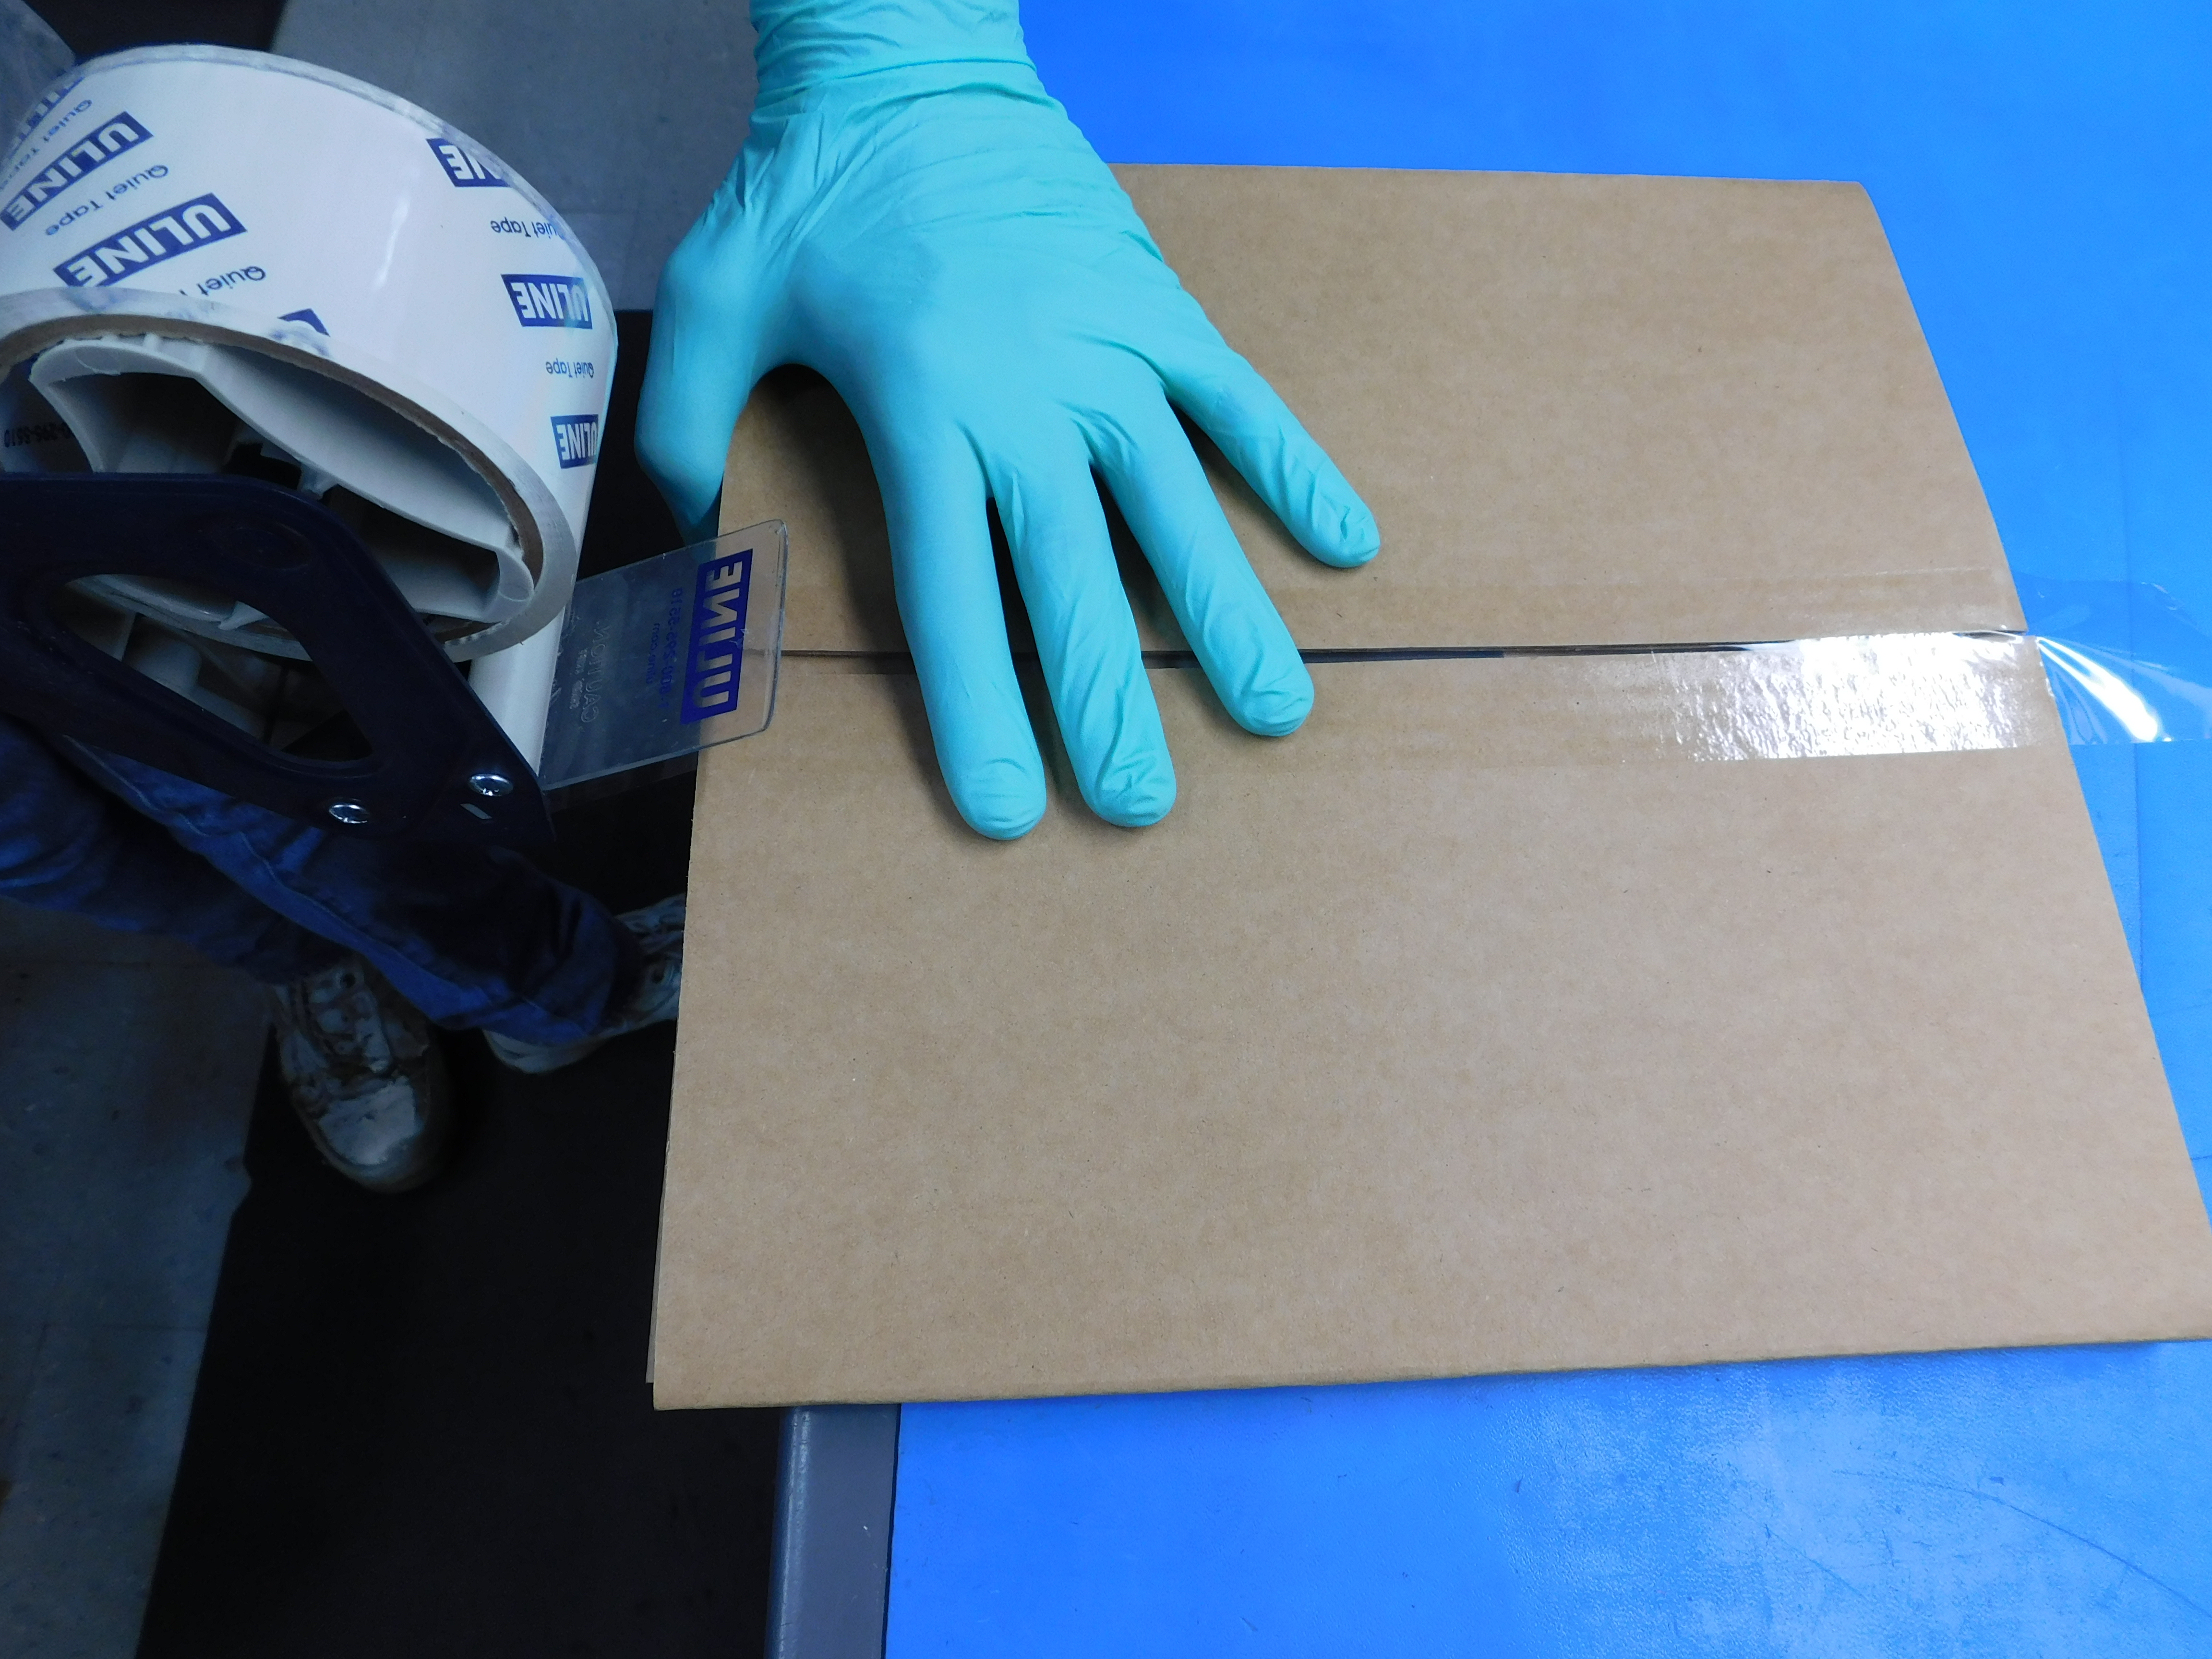
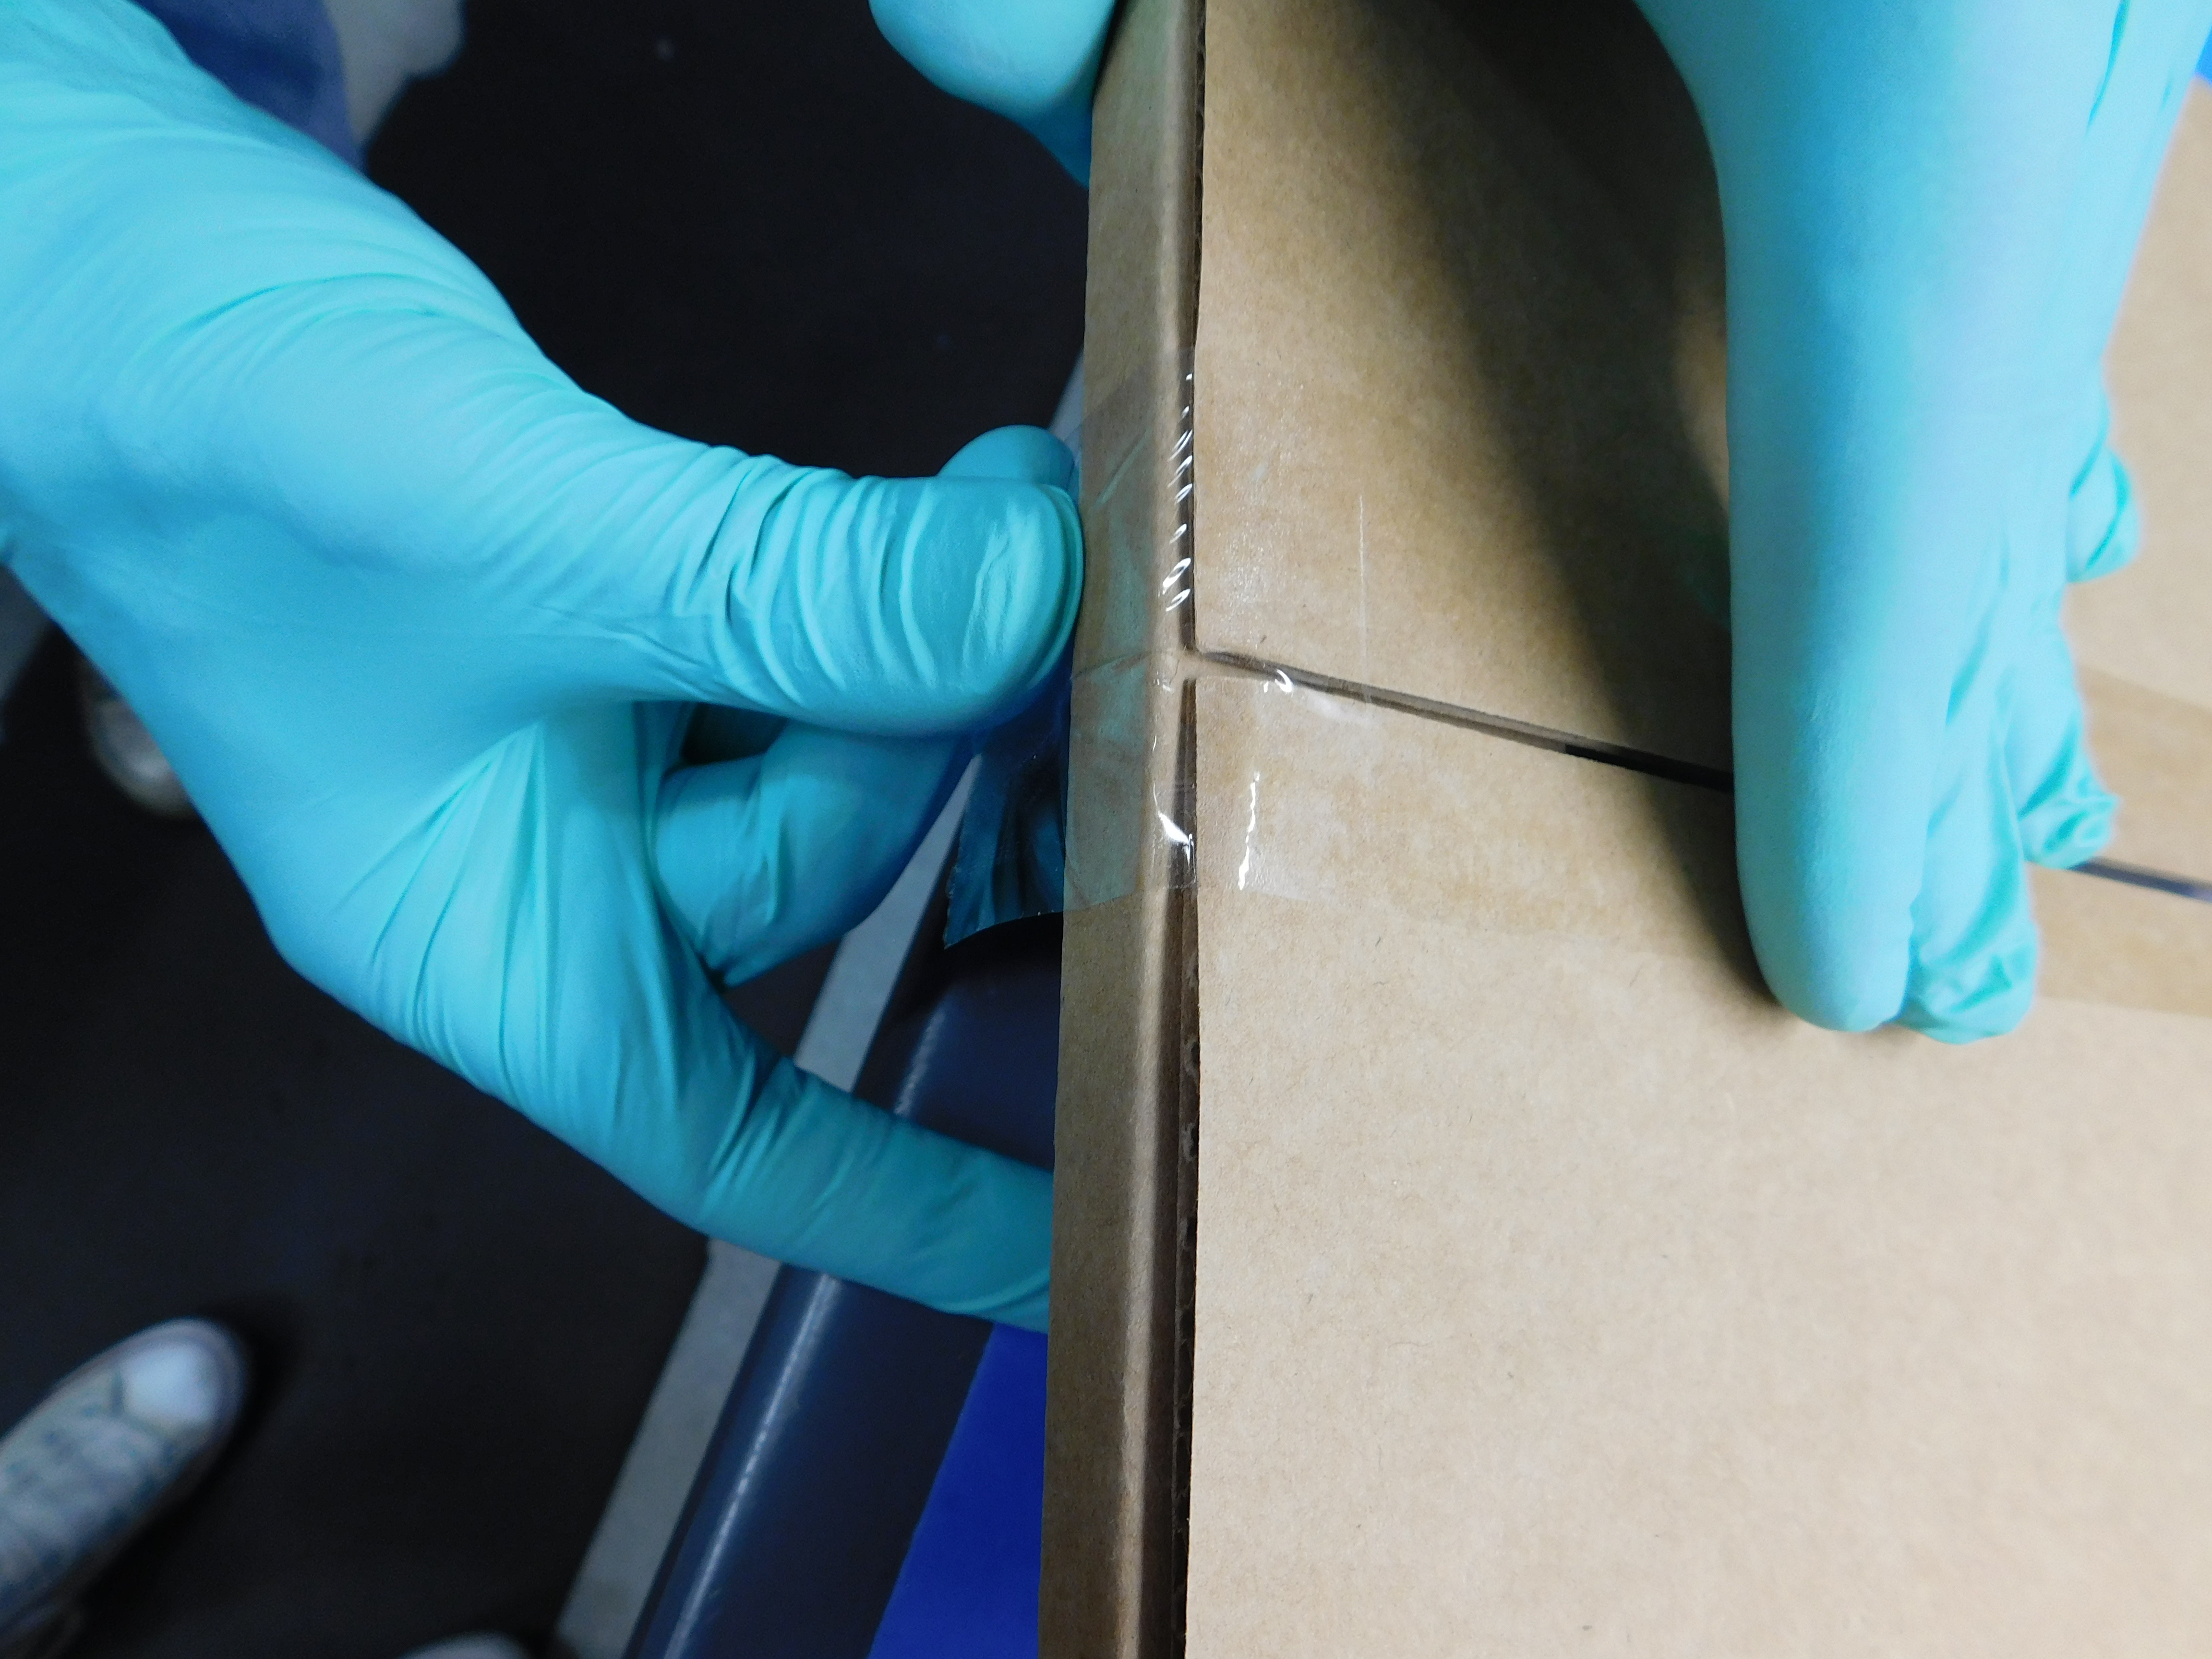
Place sealed bag inside of [SH-BX0074] Mini Heat Bed: Brown Die Cut One Piece Folder. Fold corners of the tubing when folding smaller flaps as shown. Repeat for the opposite side, then fold the larger flaps to secure the small flaps as shown. Seal the larger flaps using clear packing tape while making sure the tape is centered.
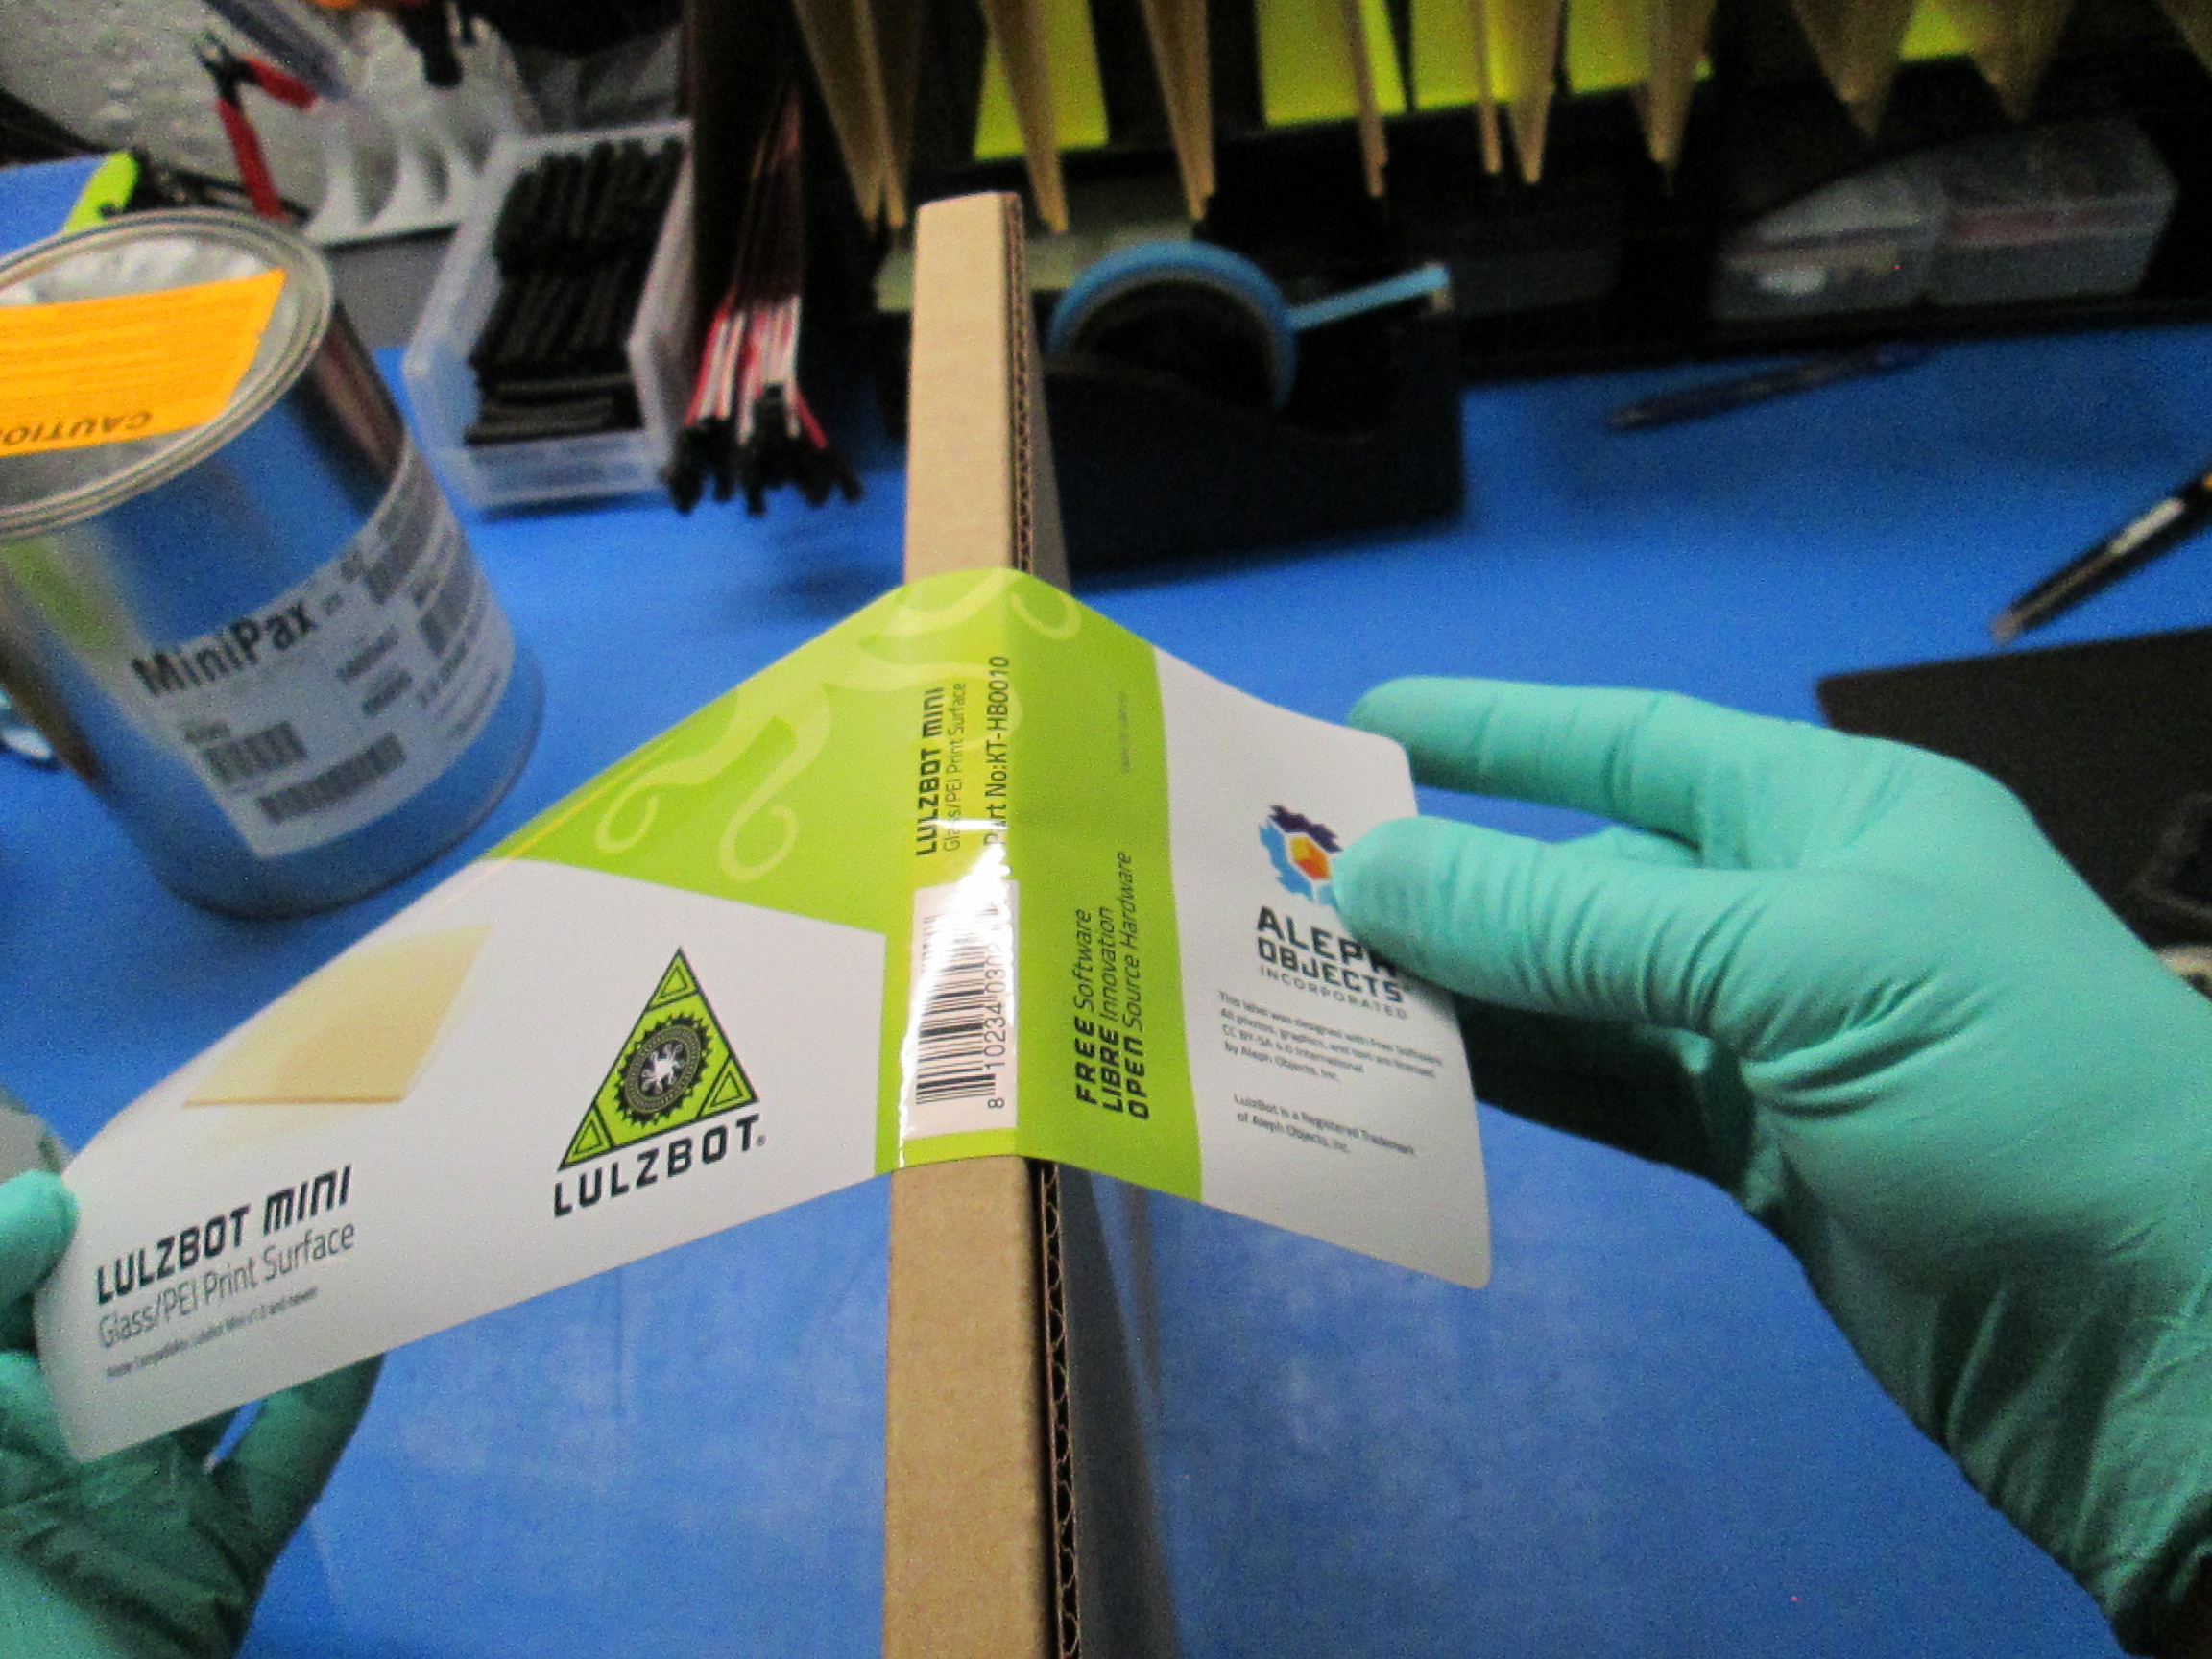
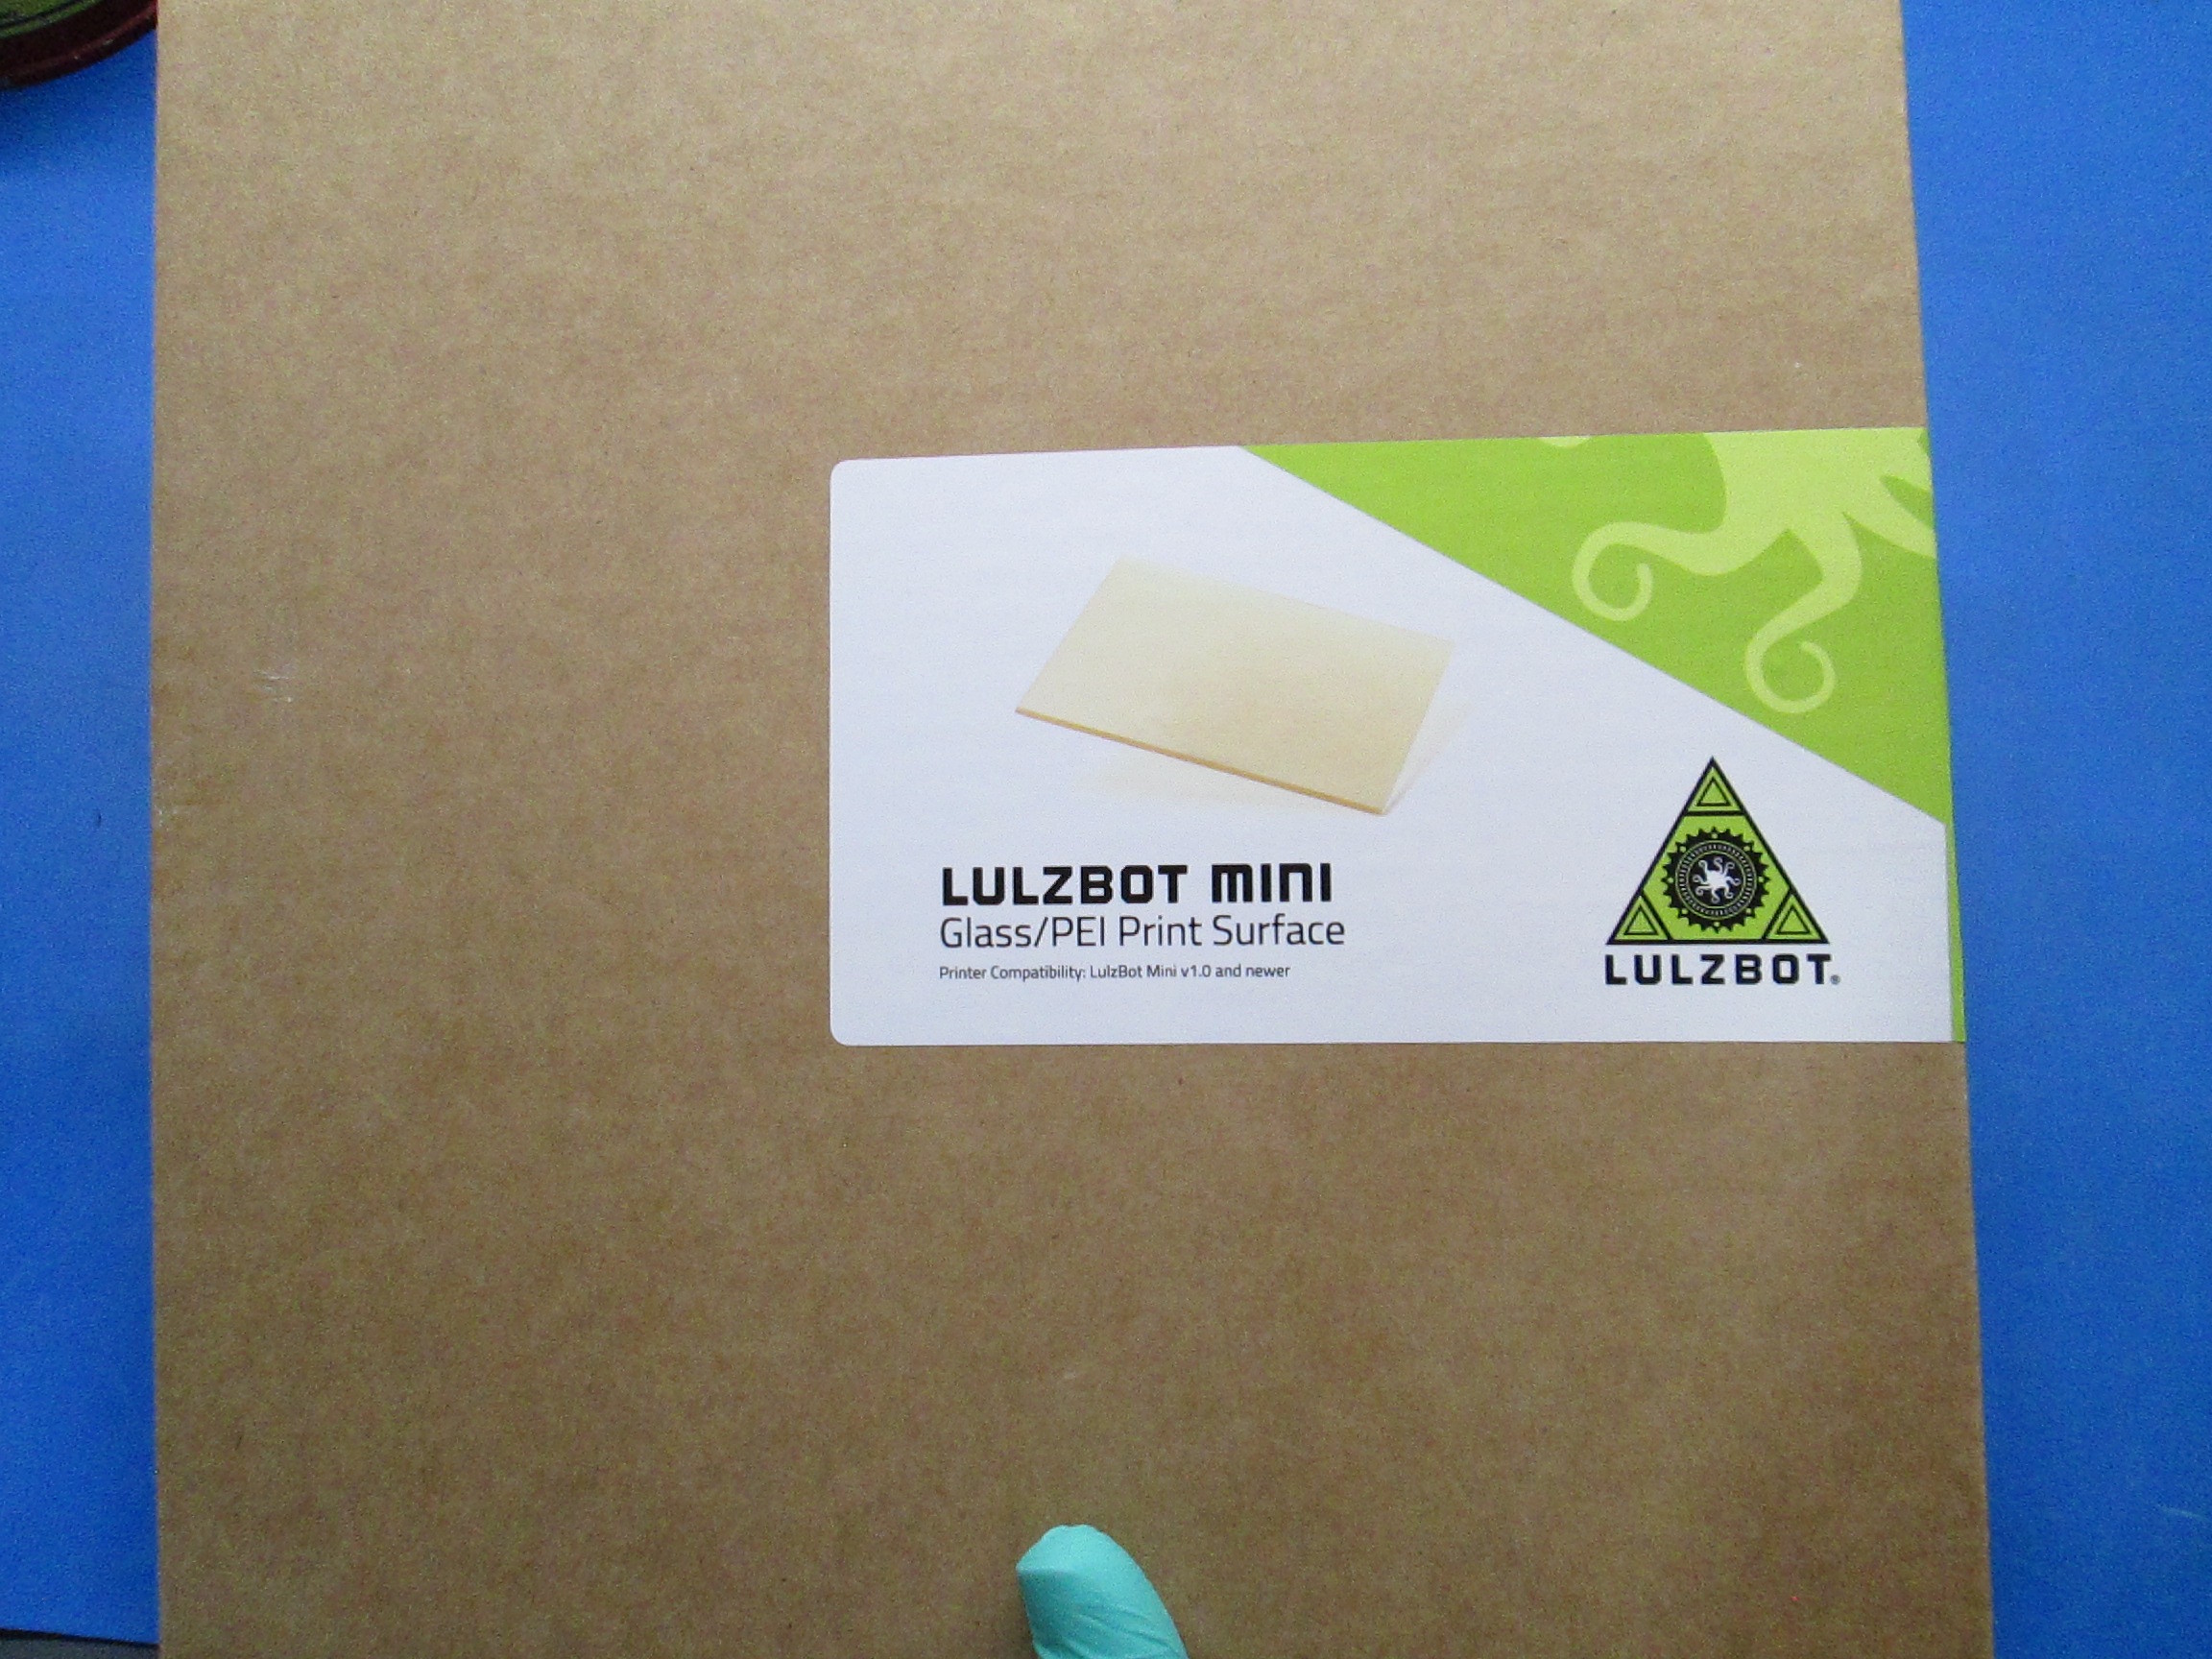
Label the package with [DC-LB0133] Mini Modular Glass/PEI Label as shown.
Note: When applying label, ensure bar code is centered on narrow side of the box.