Open HardwareAssembly Instructions
Guides for installation and assembly of the LulzBot line of products made by FAME 3D LLC.
Guides for installation and assembly of the LulzBot line of products made by FAME 3D LLC.
Components:
1x- Extruder body assembly (Link)
1x- Lulzbot hexagon with .35 nozzle (Link)
1x- Aluminum mounting plate
1x- TAZ mounting bracket
6x- M3x12 SHCS
2x- M3 washer
2x- M4x20 SHCS
2x- M4 washer
2x- M4 hex nuts
1x- M2x6 SHCS
1x- Zip tie
1x- Mini blower
1x- 40 mm fan
1x- Fan duct
1x- Switch
1x- 16 pin Connector
1x- Black wire, terminated (PN?)
1x- Purple wire, terminated (PN?)
1x- 42mm NEMA motor, wires cut to XX length and terminated (PN?)
1x- Mini blower fan, wires cut to XX length and terminated (PN?)
1x- 40mmx40mm fan, wires cut to XX length and terminated (PN?)
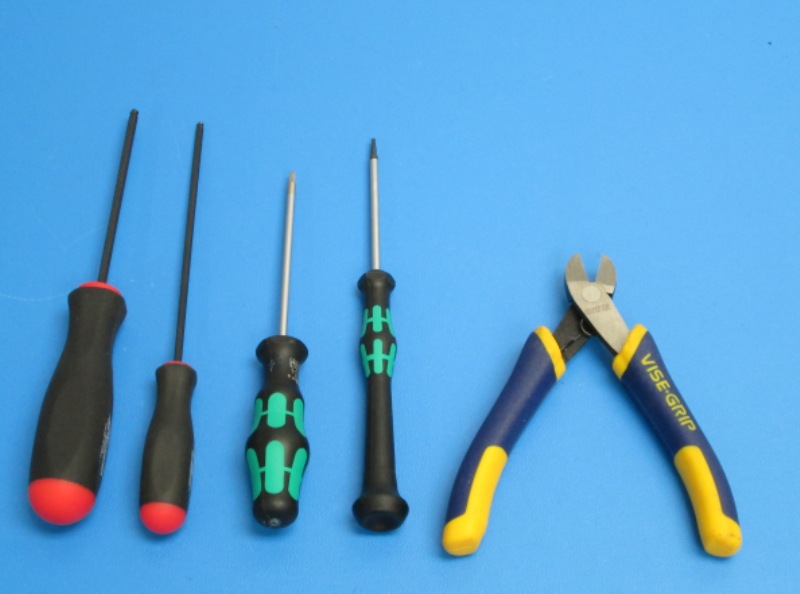
Tools:
1.5mm allen driver
2.5mm allen driver
3mm allen driver
Flush wire cutter

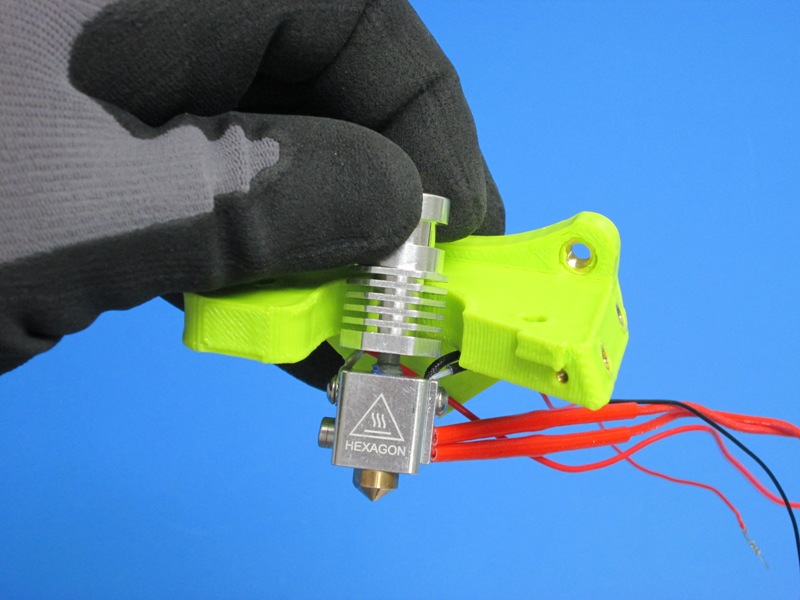
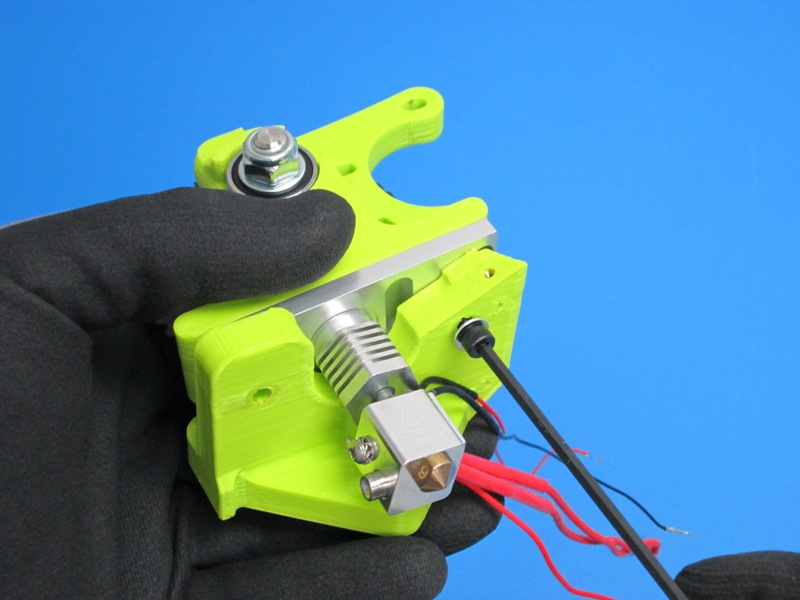
Attach red terminated wire to heater block, tighten screw to hand tight
Secure Hot End Assembly to tool head bracket with adapter plate
Attach Extruder body assembly to bracket, tighten screws to hand tight.

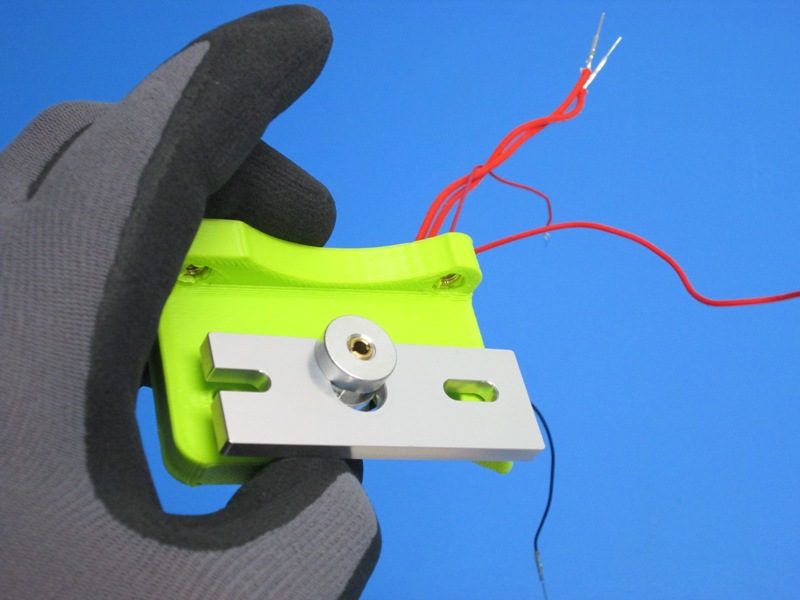
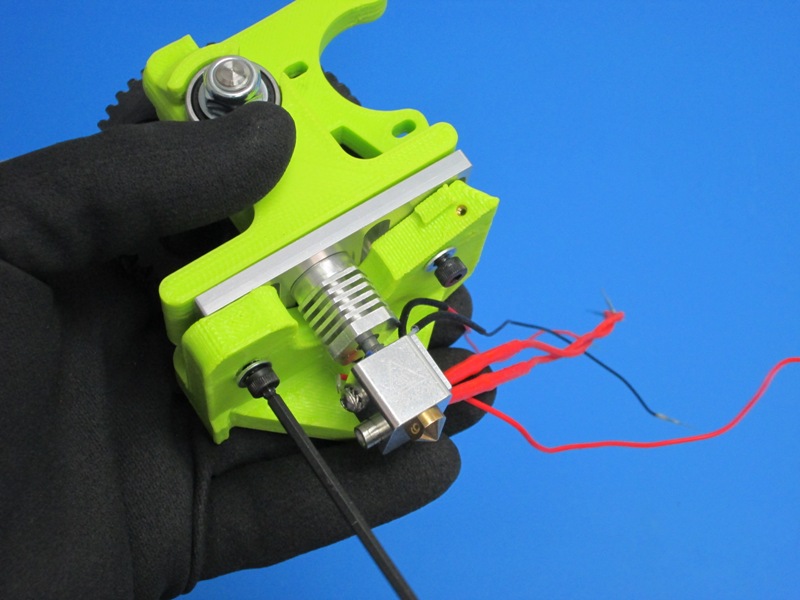
Place aluminum adapter plate onto hex nozzle grooves, then place items onto the extruder body
Place extruder mount on the top of hex nozzle
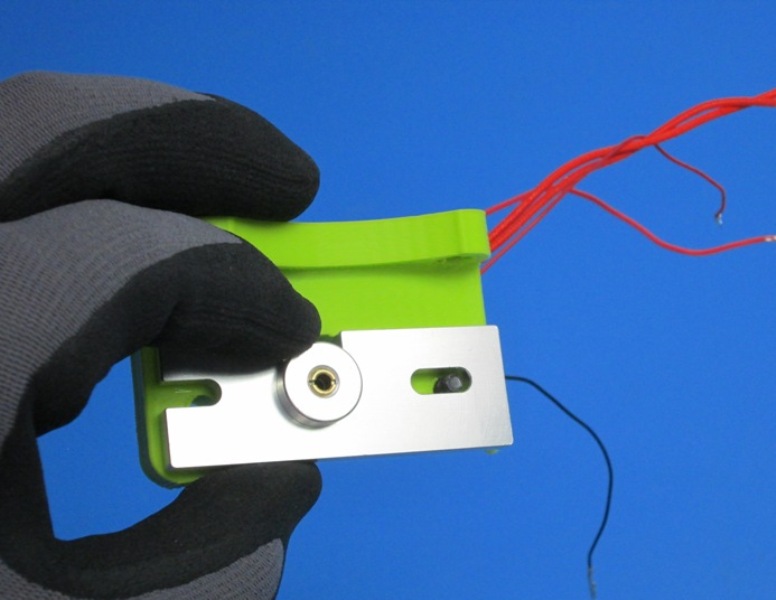
Using the the M3 allen, screw 2 M4x20's with washers into the 2 M4 nuts held by your finger on the extruder mount (leave these to M4 screws loose for now)
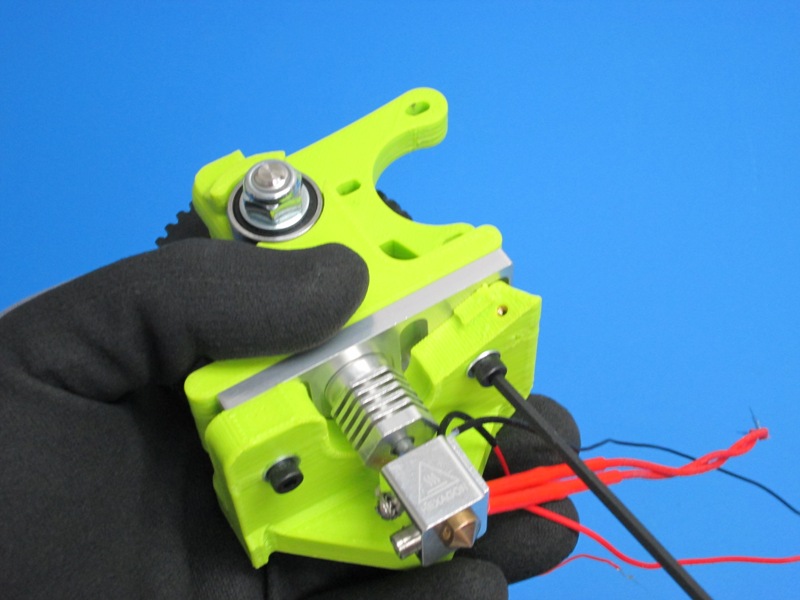
Face hex nozzle forward, tighten M4 screws, check that filament feeds through body and into hex nozzle without catching (you may need to push the aluminum plate to the right while tightening the M4's, so that the filament does not catch).

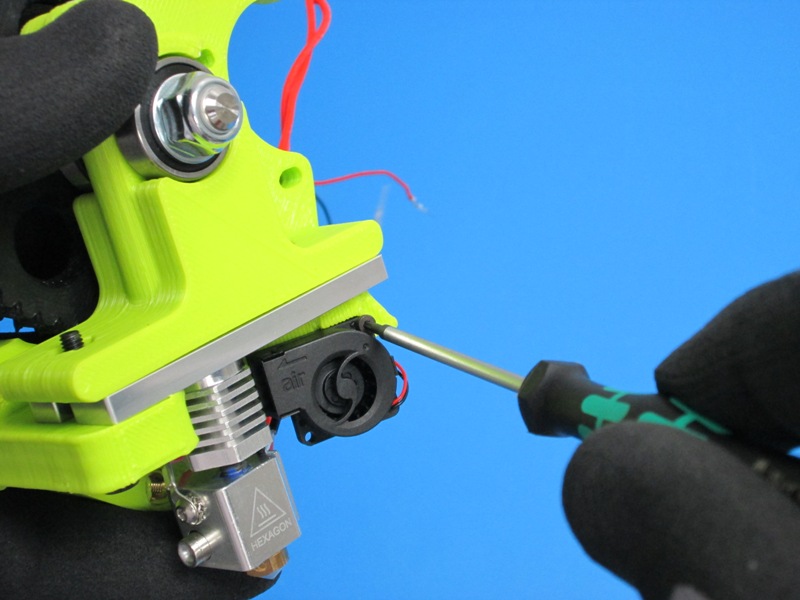
Orientation critical- Attach the mini blower to the mount bracket with screw (x1- M2x6) using 1.5mm allen, tightened to finger tight
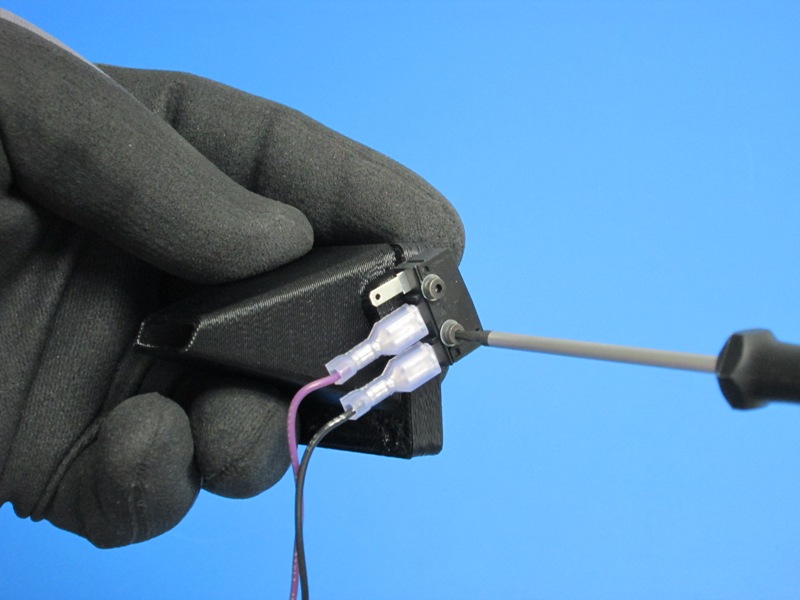
Connect plug wires to switch, mount switch to hood with screws (x2- M2x6) using 1.5mm allen, tighten to finger tight
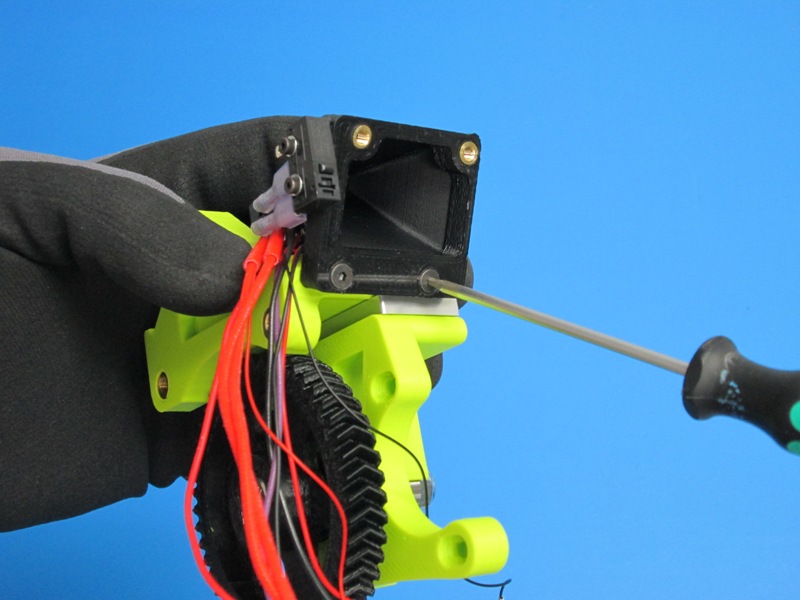
Verify orientation- Attach fan hood to mount bracket with screws (x2- ?0118 screws) tighten to hand tight
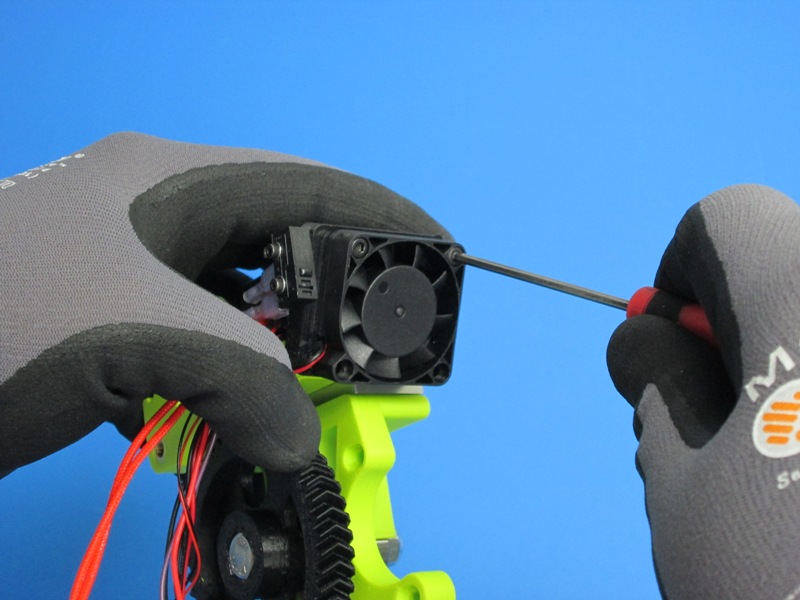
Orientation critical-Attach 40mm fan to fan with screws (x2- M2x12 screws) tightened to hand tight
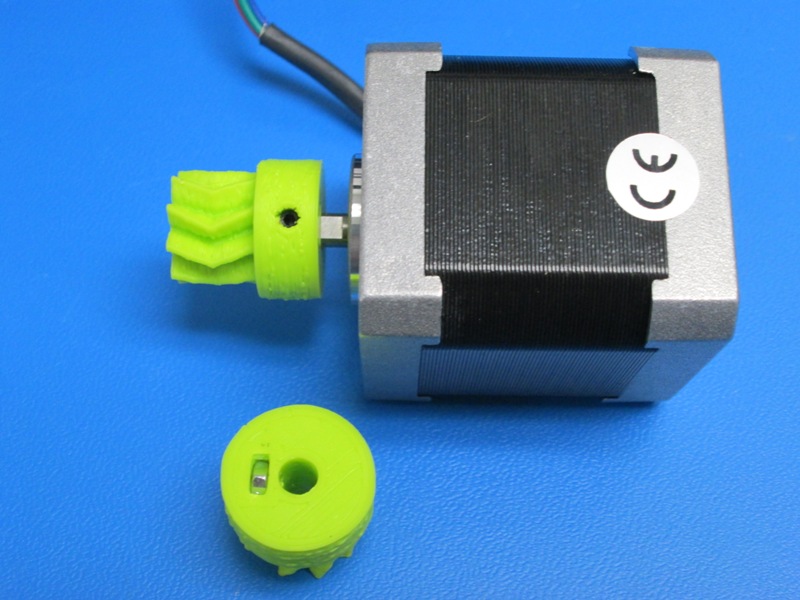
Install and secure small herringbone gear into motor shaft with 1x- M3x6 set screw and M3 nut (nut is pressed into slot on small herringbone gear bottom), tighten to hand tight
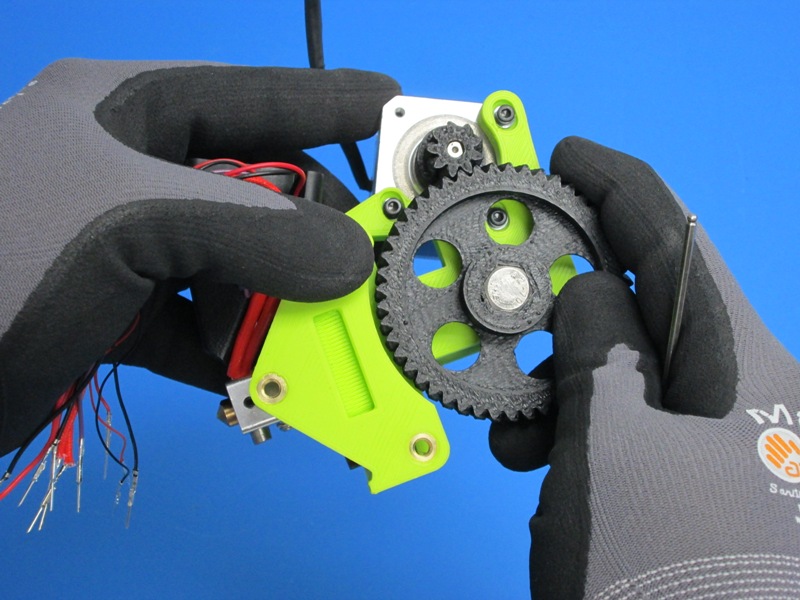
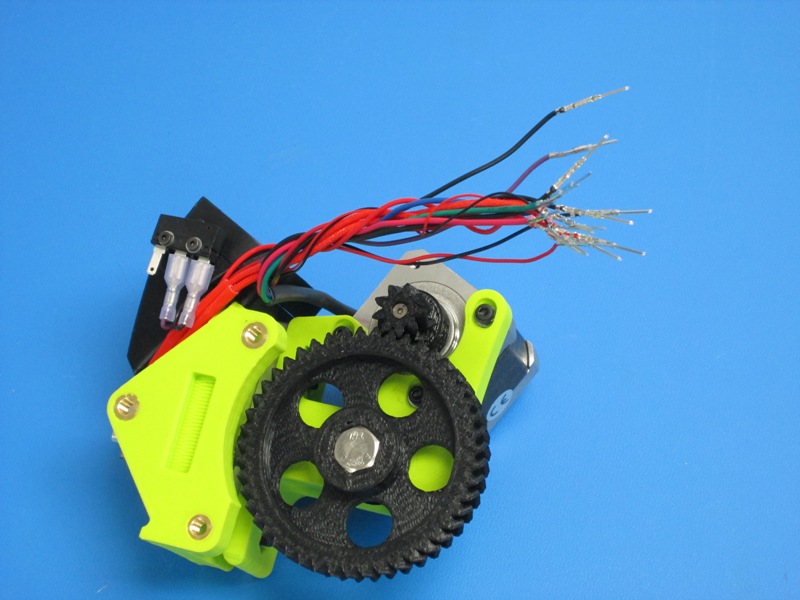
Orientation critical- Install motor with 3x- M3x12 SCHS and 3x- M3 washer; align small and large hearing bone gear V grooves to ensure smooth/ non-binding movement, tightened screws to hand tight
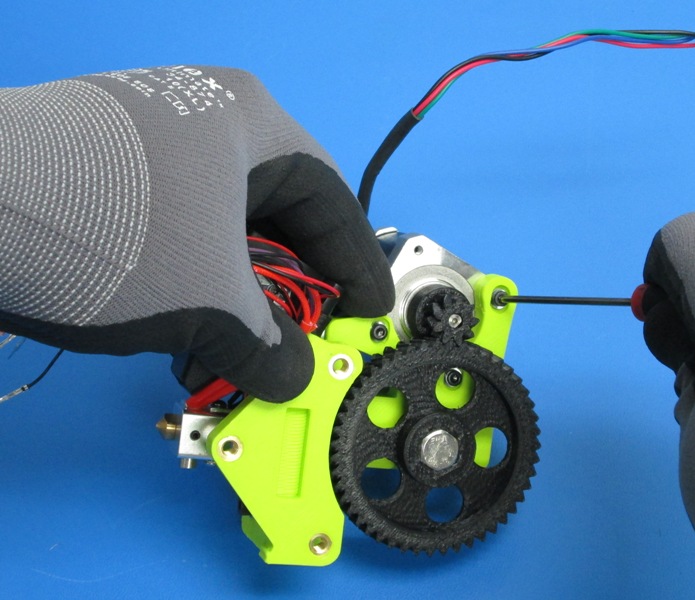
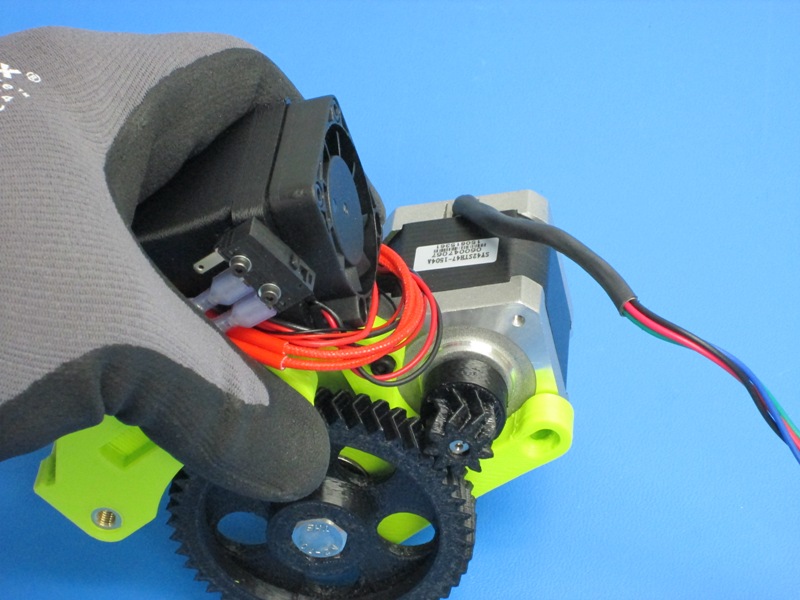
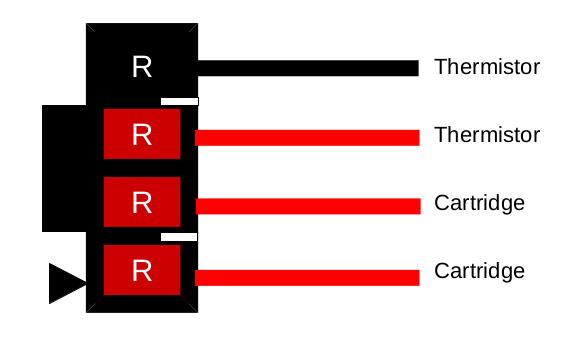
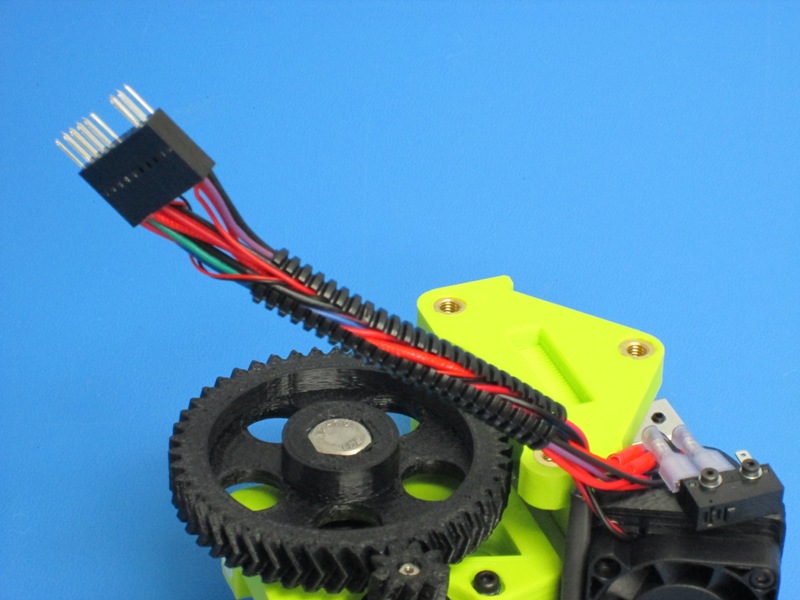
Route wires around motor; Plug in wires into 16 position connector
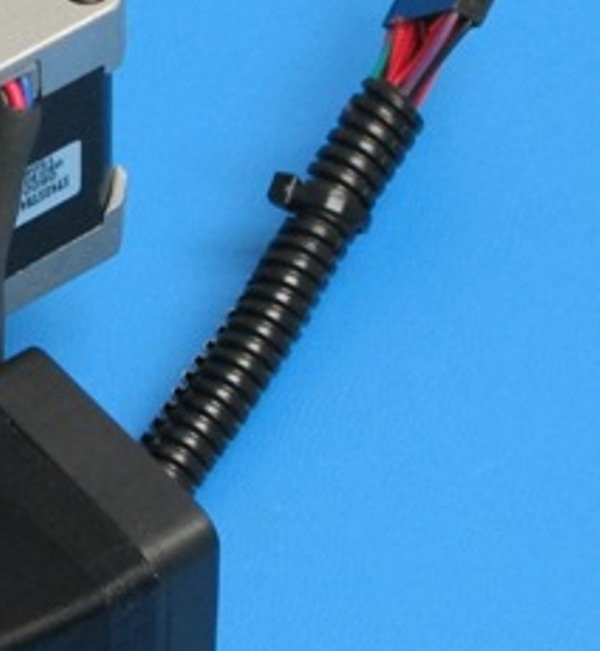
Install conduit cover over wires, position a tie wrap just onto the conduit cover nearest the connector end; Tighten and clip zip tie using flush cutters.
Attach XXX label to box front, XXX label to back of box
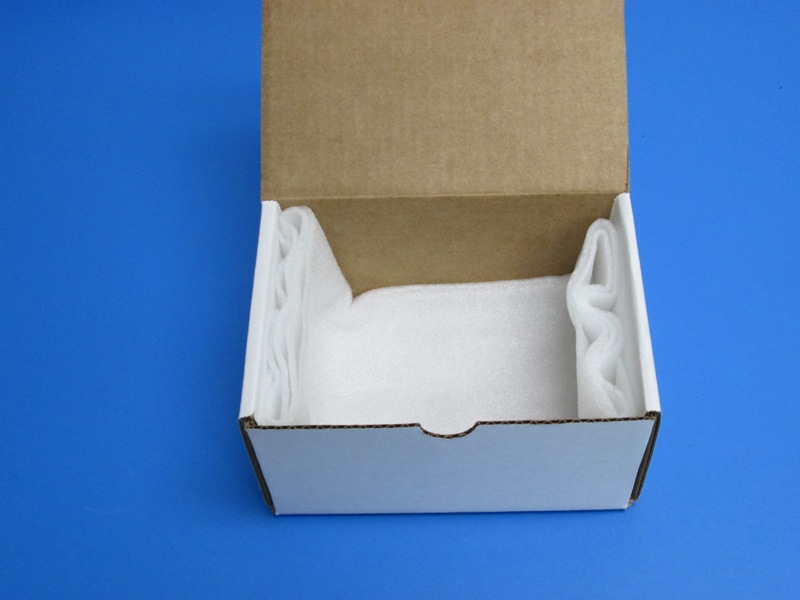
Fold XXX x XXX wide white foam into 65mm wide rectangle
Place folded foam into box so that foam lines the entire bottom and two sides of the box
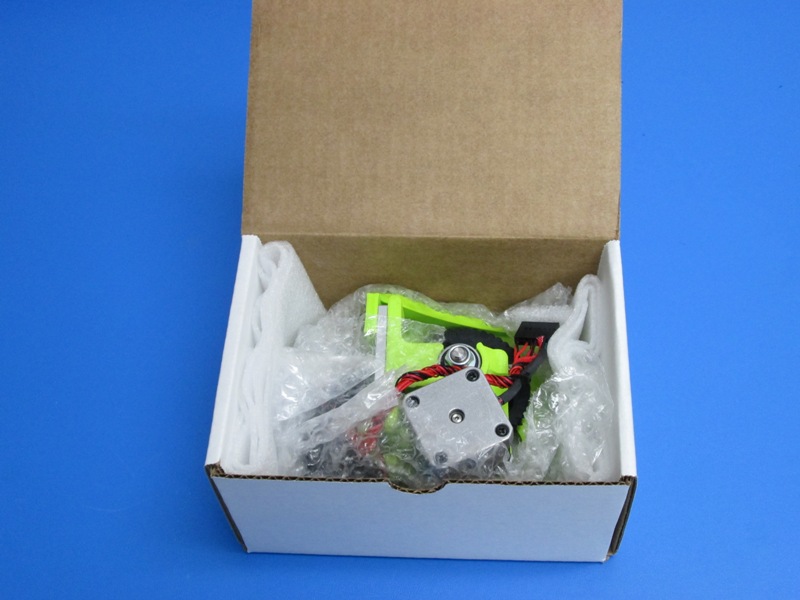
Wrap Flexystruder in XXX x XXX sheet of bubble wrap
Place assembly into box with the motor positioned closest to the front of the box, motor up
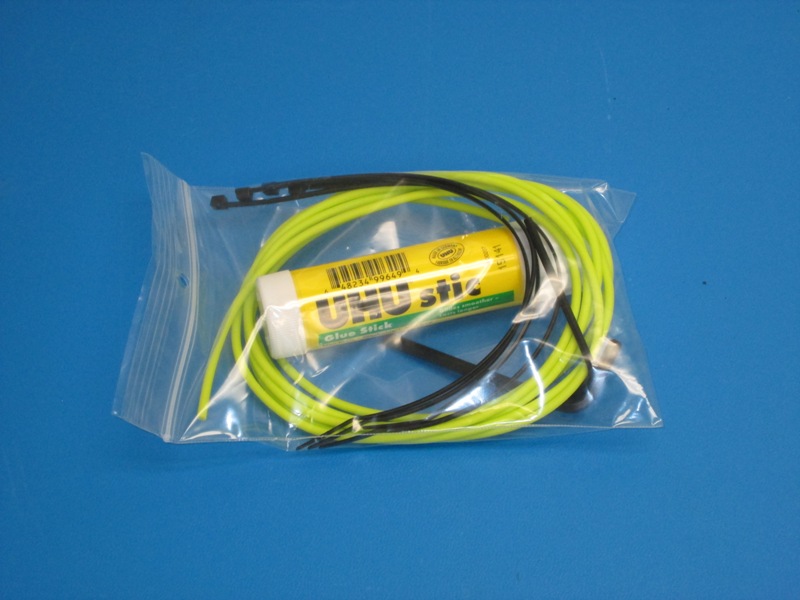
Place glue stick, 4 tie black tie wraps, and 3m of NinjaFlex filament into a resealable 50mm x 75mm plastic bag, seal bag; place on top of wrapped assembly
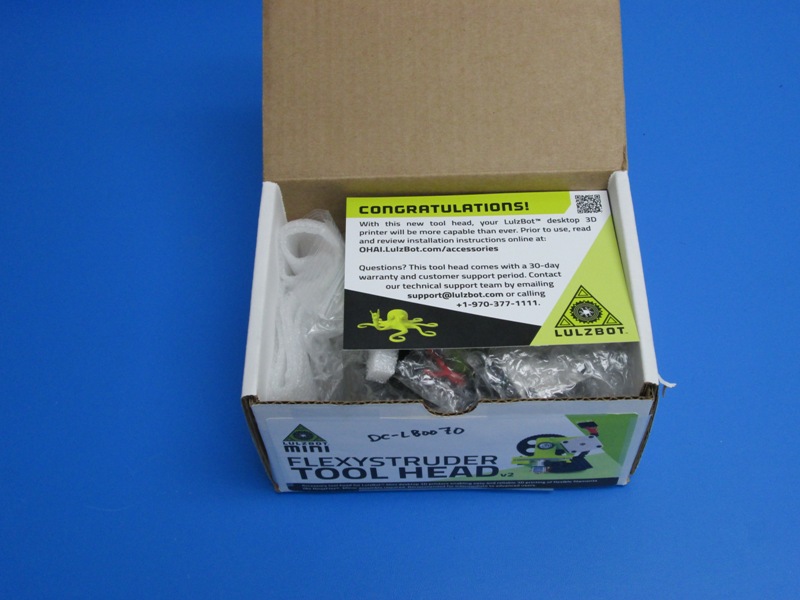
Place a Lulzbot “congratulations” note card onto the bagged parts with “congratulation” upward to be read when the box is opened
Place foam block on top of card
Close lid