Open HardwareAssembly Instructions
Guides for installation and assembly of the LulzBot line of products made by FAME 3D LLC.
Guides for installation and assembly of the LulzBot line of products made by FAME 3D LLC.
The source for the PCB in this kit can be found here: https://code.alephobjects.com/diffusion/DOLORES/repository/master/
1x [PC-BD0096] Z Brake, Assembly
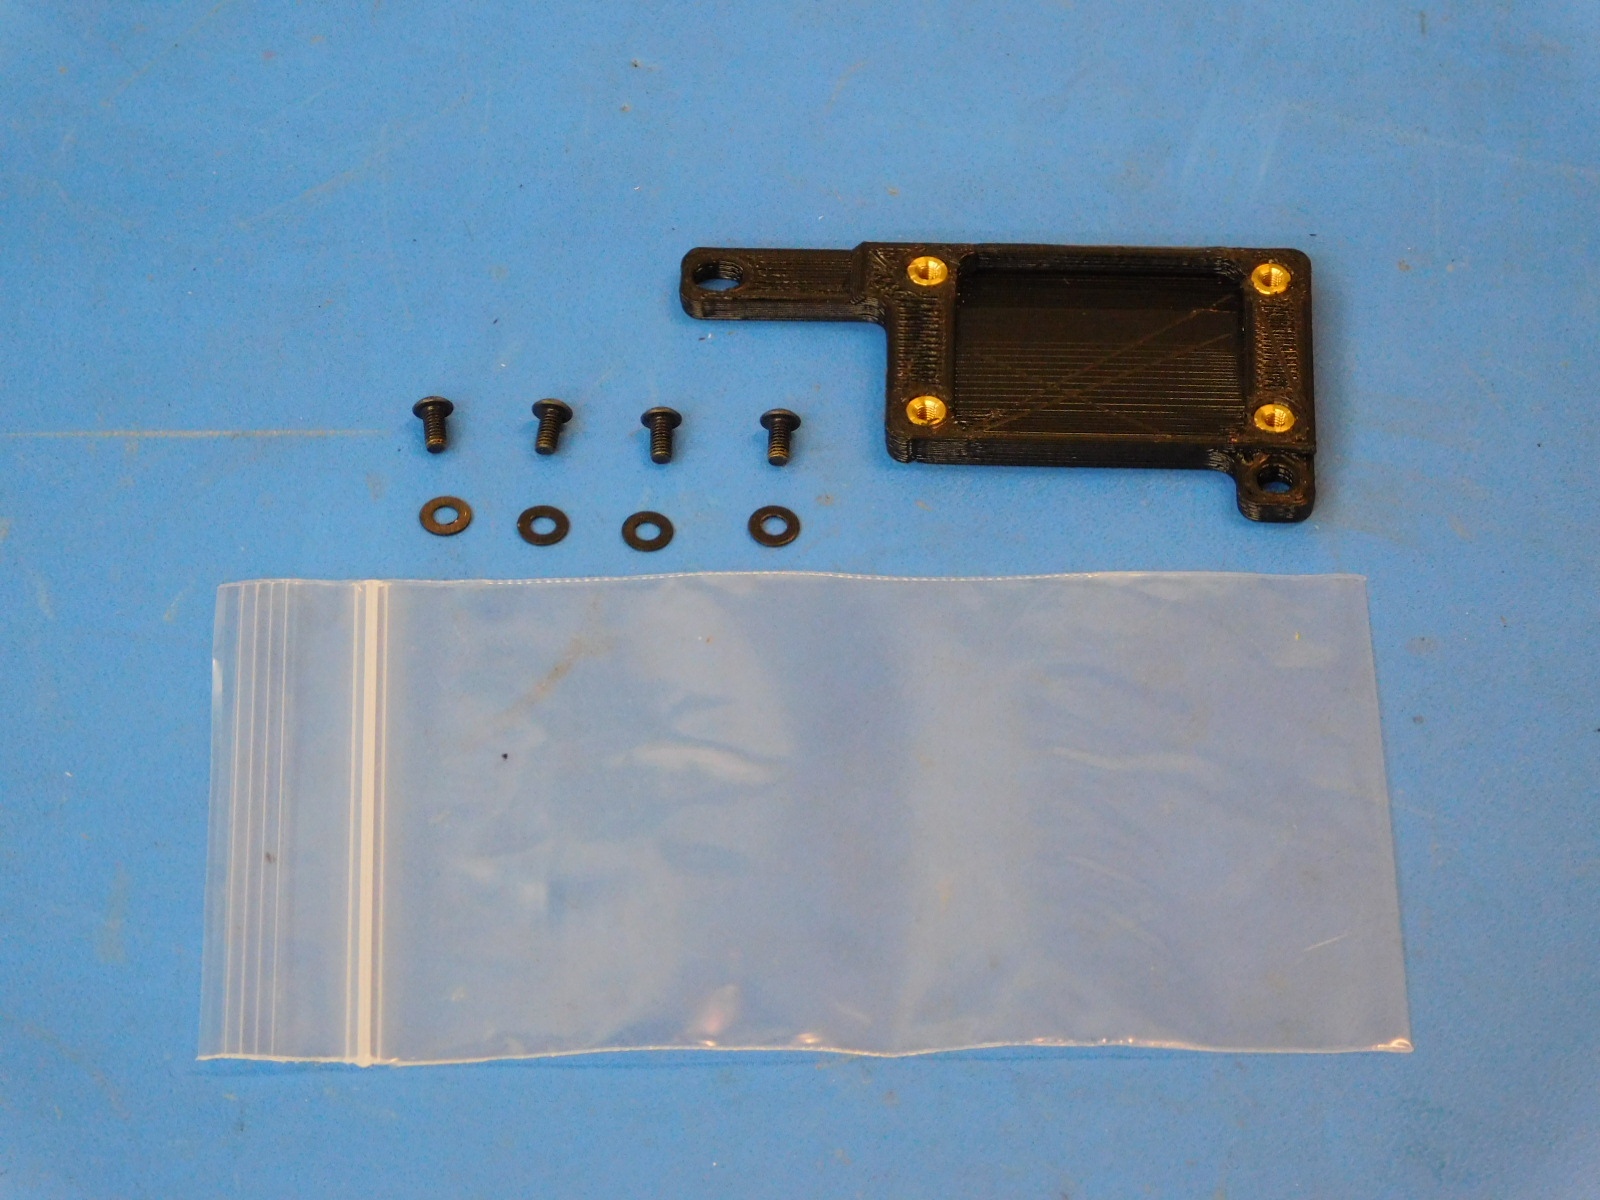
4x [HD-WA0038] Black-Oxide 18-8 Steel Flat Washer, M3 Screw Size, 3.2mm ID, 7.0mm OD
4x [HD-BT0140] M3 x 6 Bolt, BHCS Black-Oxide
1x [PP-IS0058] Z-Brake Mount w/ Inserts, Mini 2
1x [SH-PG0022] 4 x 3 x 3" Indestructo Mailers
1x [SH-PG0159] Bubble Wrap 3/16", 24" x 750' Perforated
1x [SH-PH0005] 4 x 6" 2 Mil Reclosable Polypropylene Bags
1x [SH-PG0130] Laser Labels -White, 2 1/2 x 1 1/2"
1x [SH-PG0135] 4 x 6" Reclosable Static Shielding Bags - ESD
1x [DC-LB0174] P65 Warning Label
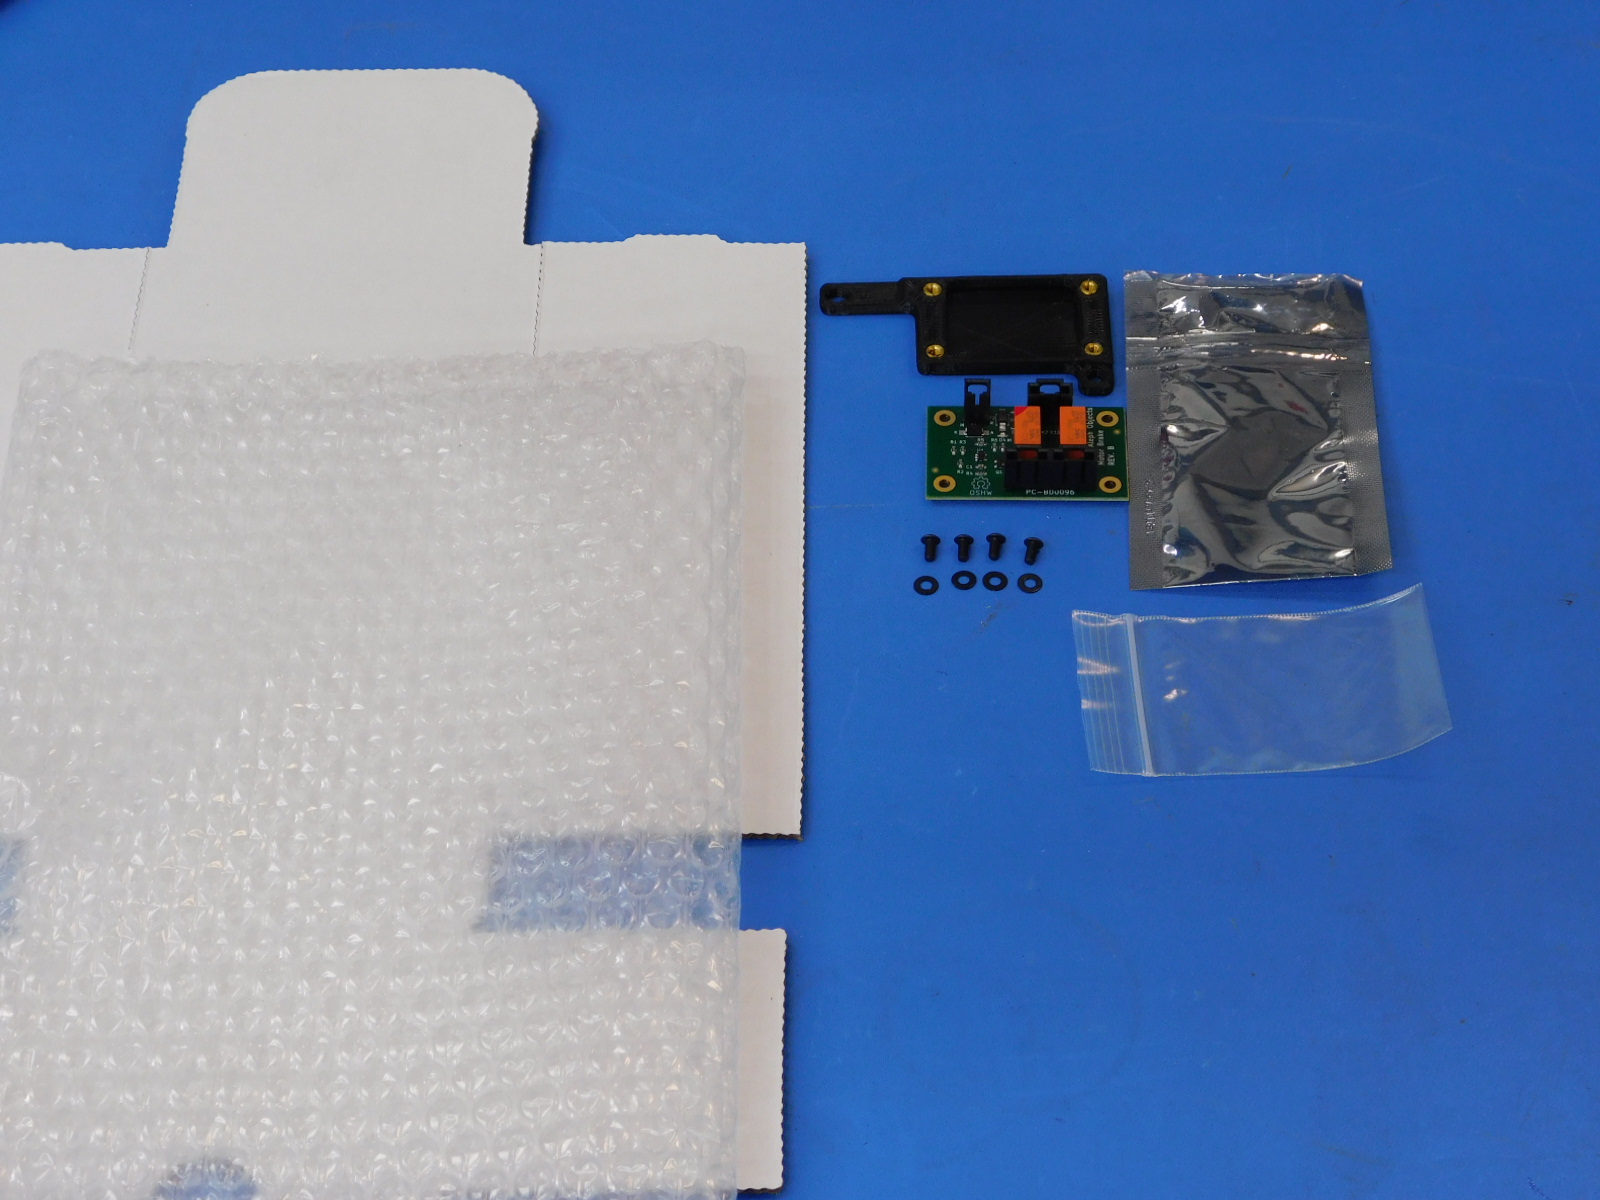
Place the Z-Brake Mount [PP-IS0058] in the 4x6 " bag with the 4 M3x6 bolt [HD-BT0140] and the 4 M3 Washers [HD-WA0038].
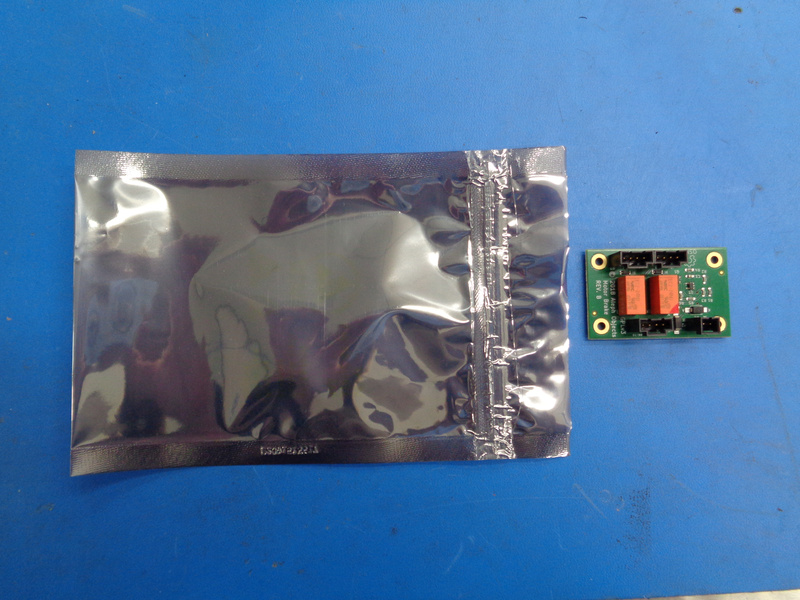
Next place the Z Brake board, assembly in the ESD bag [SH-PG0135] and place [DC-LB0174] P65 Warning label as shown.


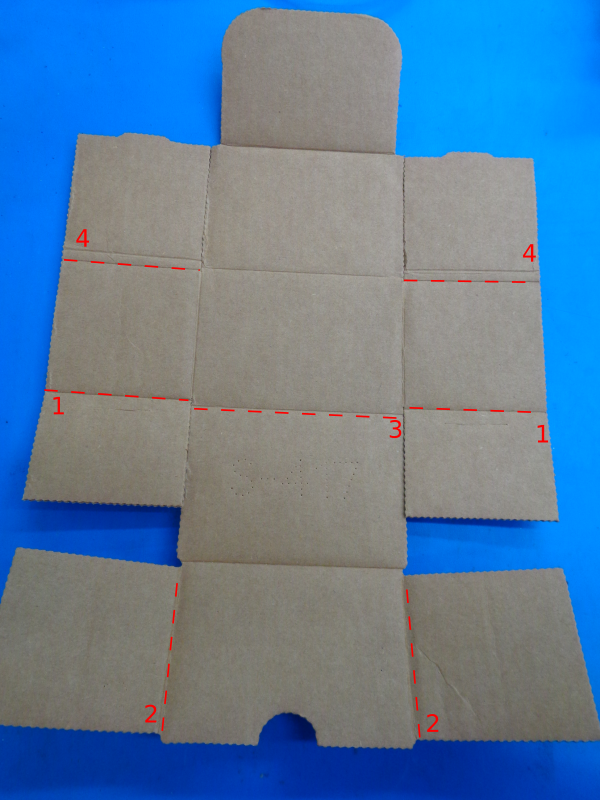
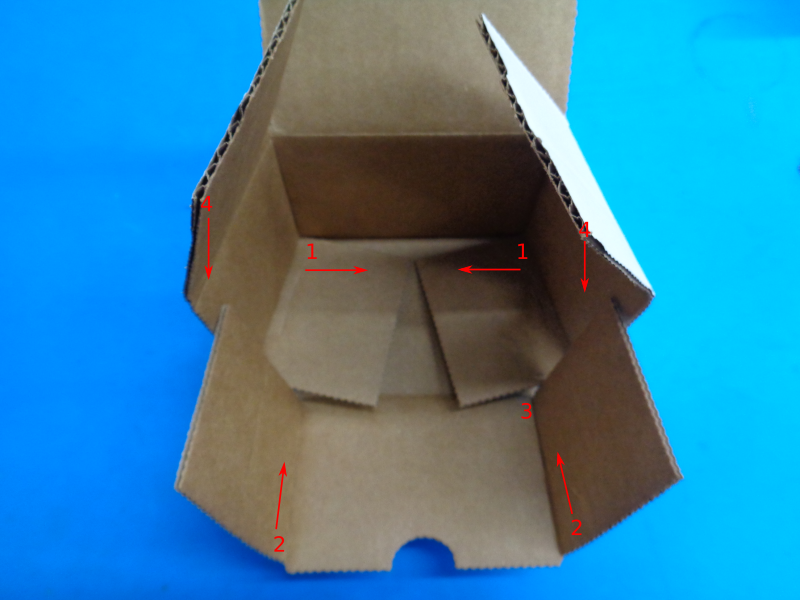
Fold the flaps along line 1 and pull them inward so they line up with line 3.
Fold the flaps at line 2 and bring them over line three.
Fold the last flaps at line 4 over the flaps from the previous step.

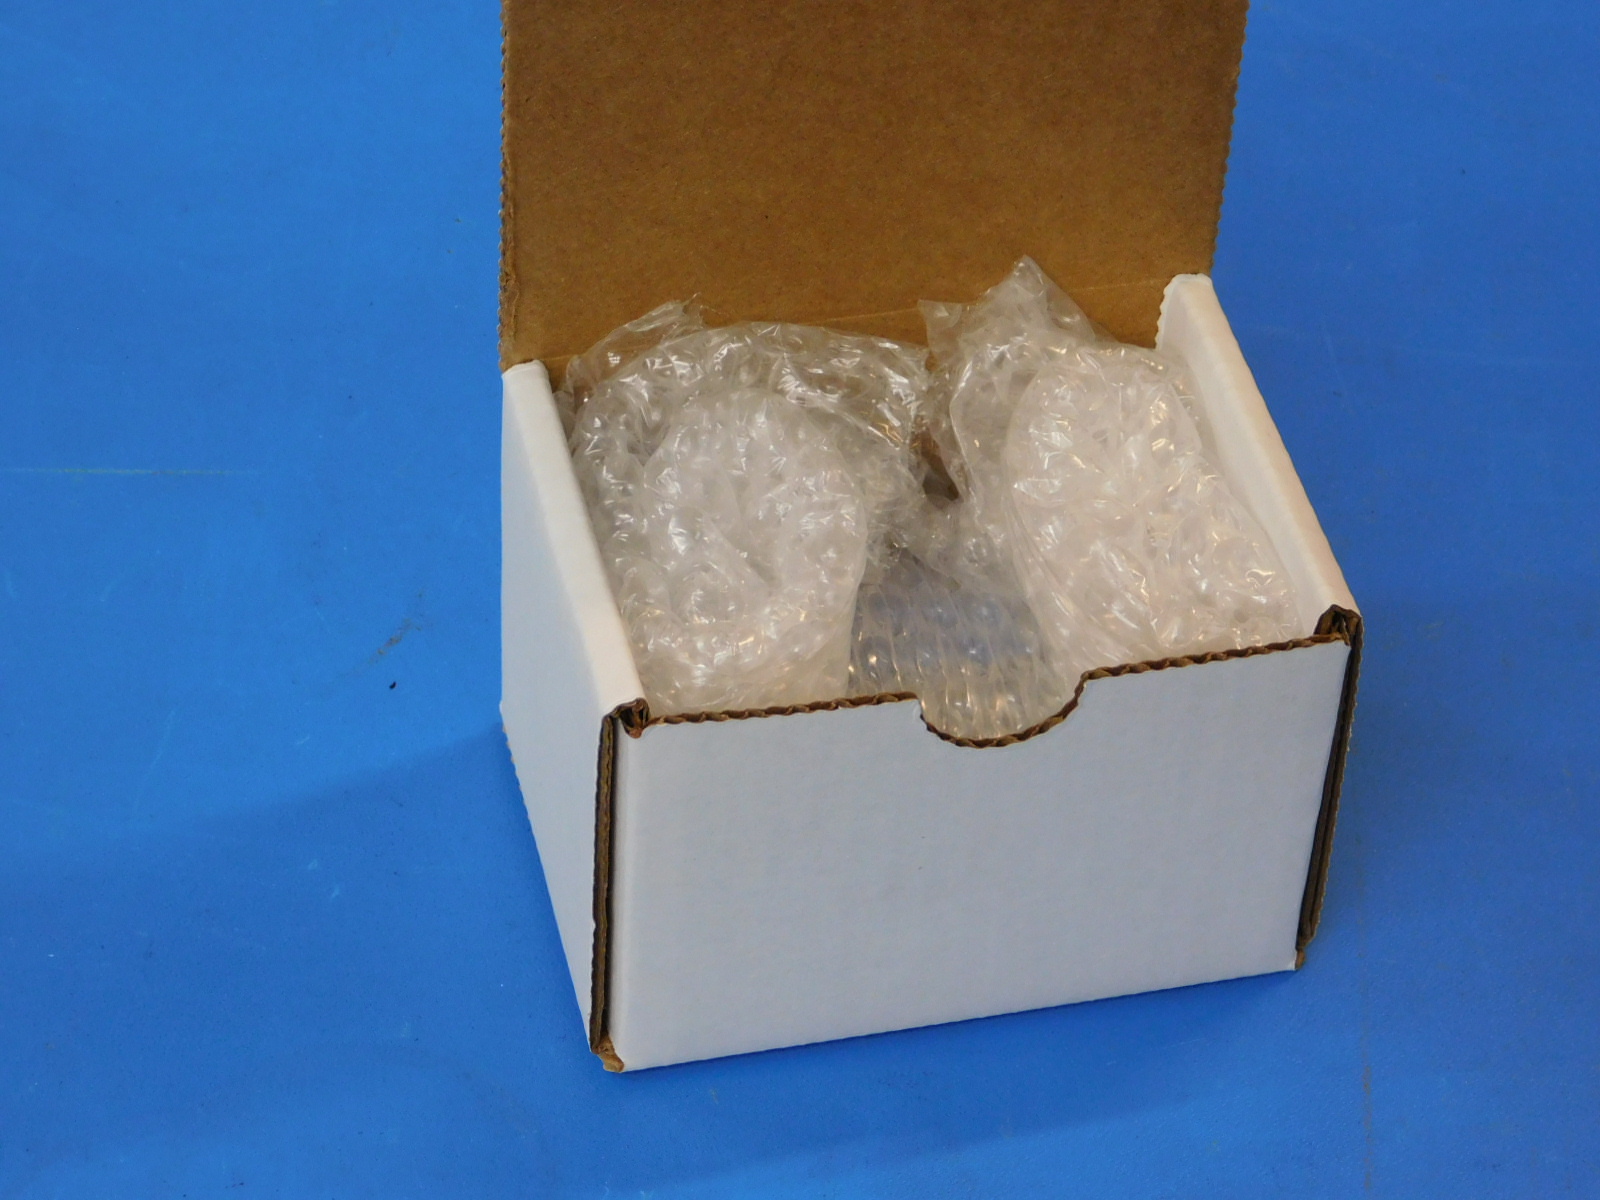
Place the 2 prepared bags next to each other and carefully roll it up in the bubble wrap.
Carefully fold in the two ends and set the now rolled up bubble wrap into the box.
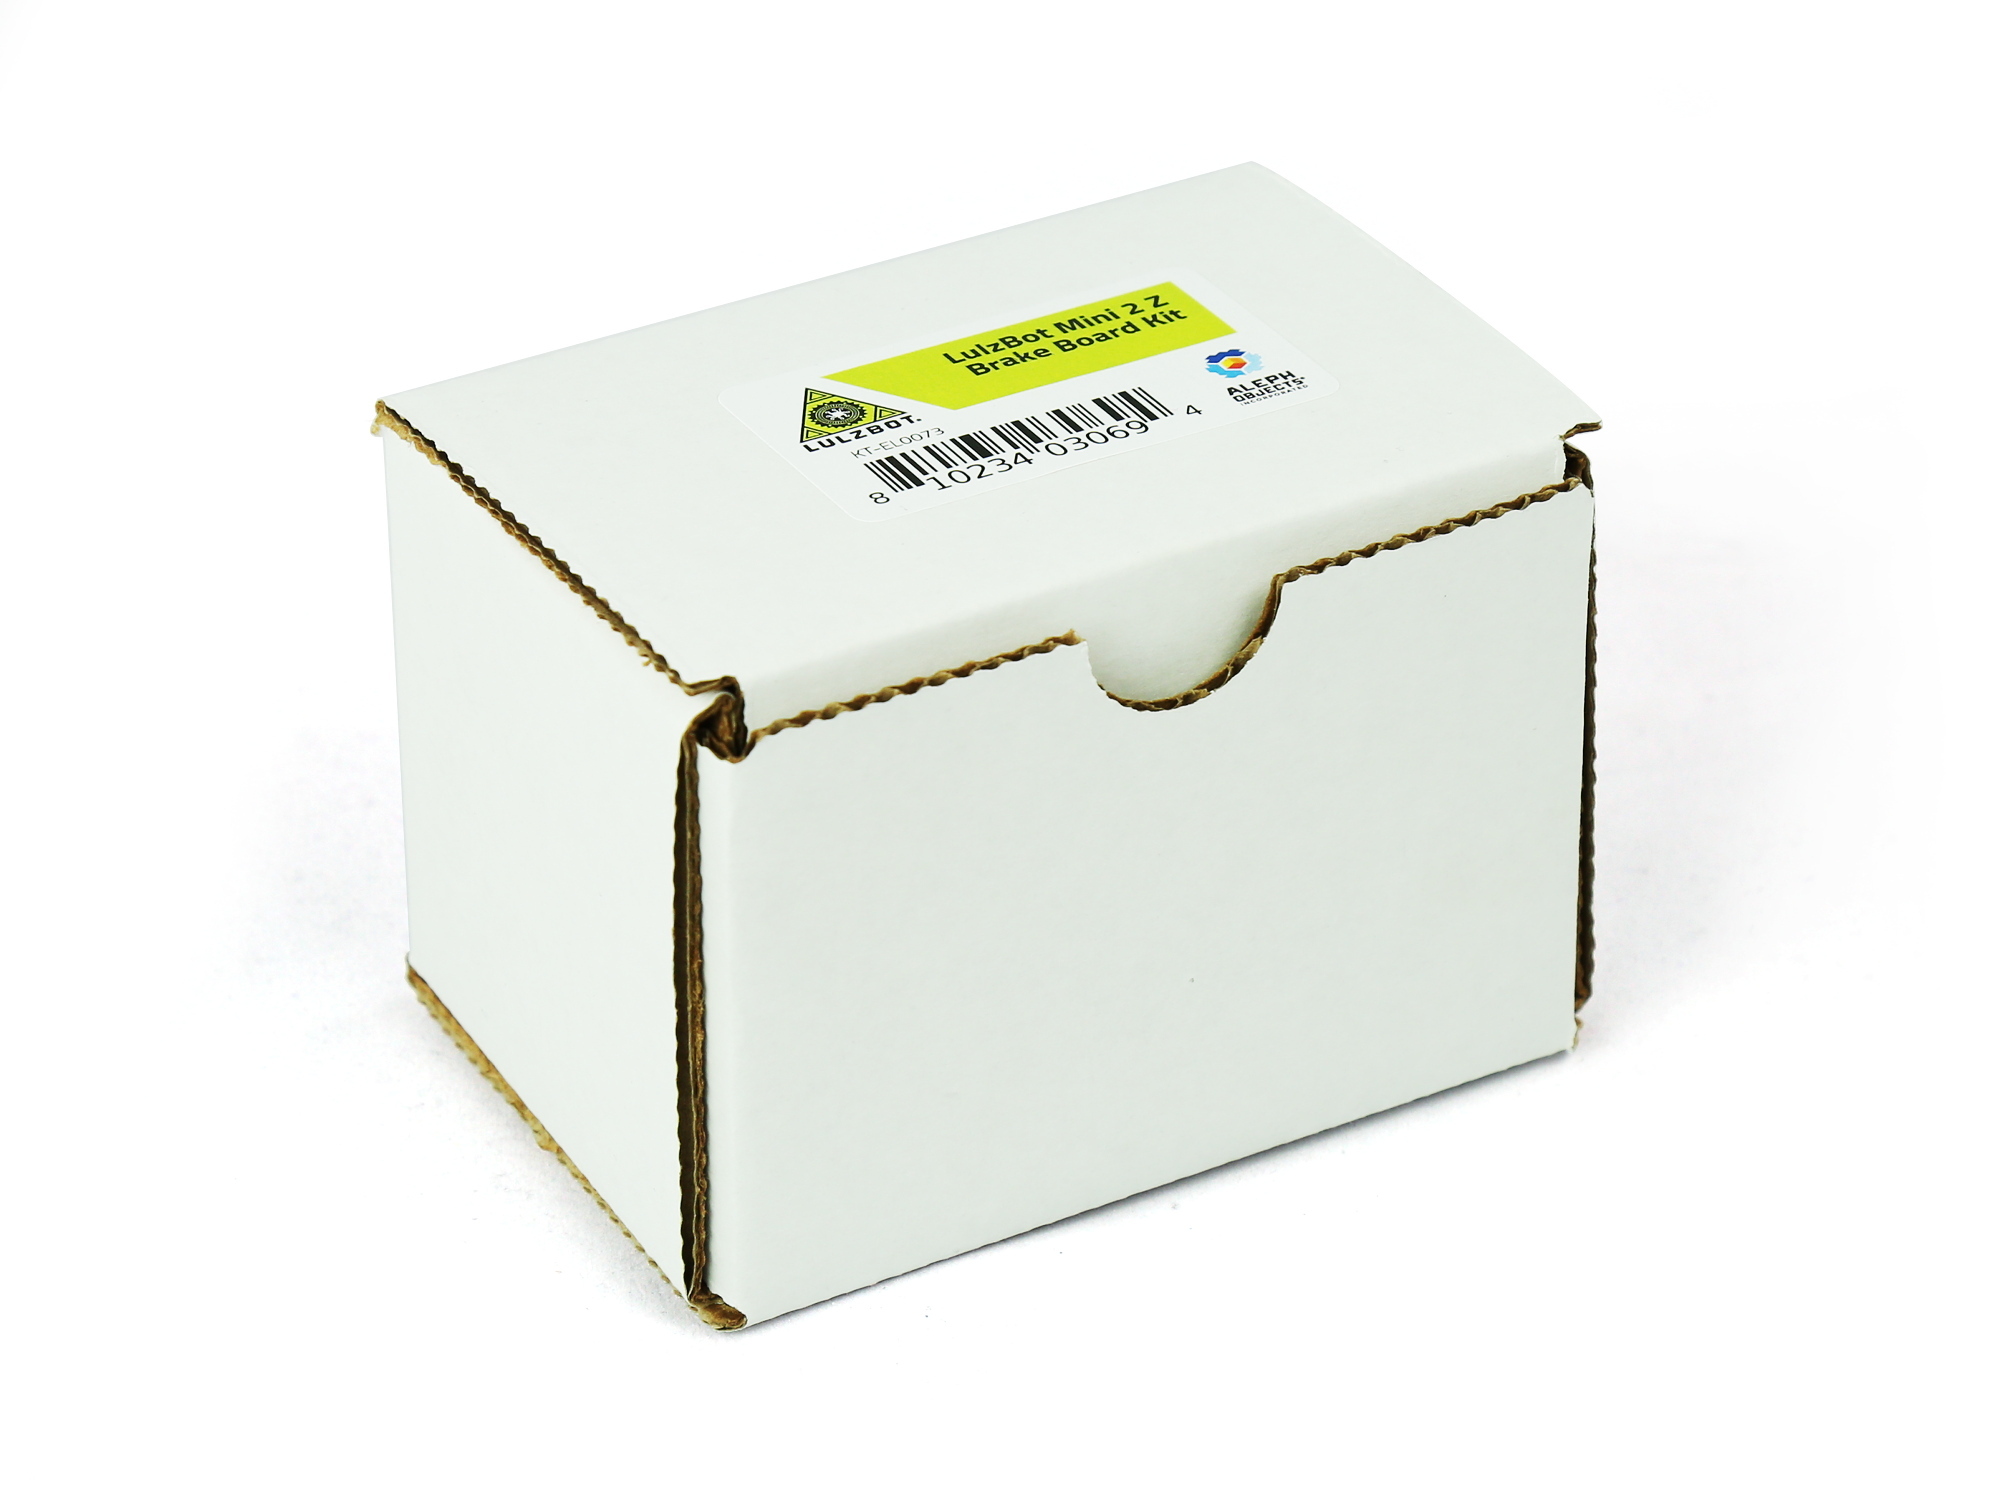
Place a label in the center on the front of the box and complete the packaging.