Open HardwareAssembly Instructions
Guides for installation and assembly of the LulzBot line of products made by FAME 3D LLC.
Guides for installation and assembly of the LulzBot line of products made by FAME 3D LLC.
Tools:
18mm open end wrench
4.5mm open end wrench
1.5mm hex screwdriver
2mm hex screwdriver
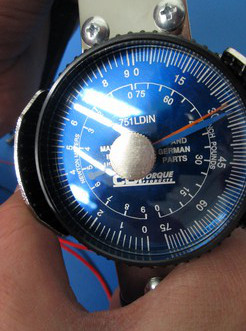
3.39 N-m (30in-lbs) torque wrench with 7mm crows foot adapter
Resbond 907TS Blue thread sealant
Parts:
4x- 24-30AWG crimp tin pin [EL-MS0212]
1x- M3x8 stainless steel button head screws [HD-BT0104]
Blue Thread Sealing compound
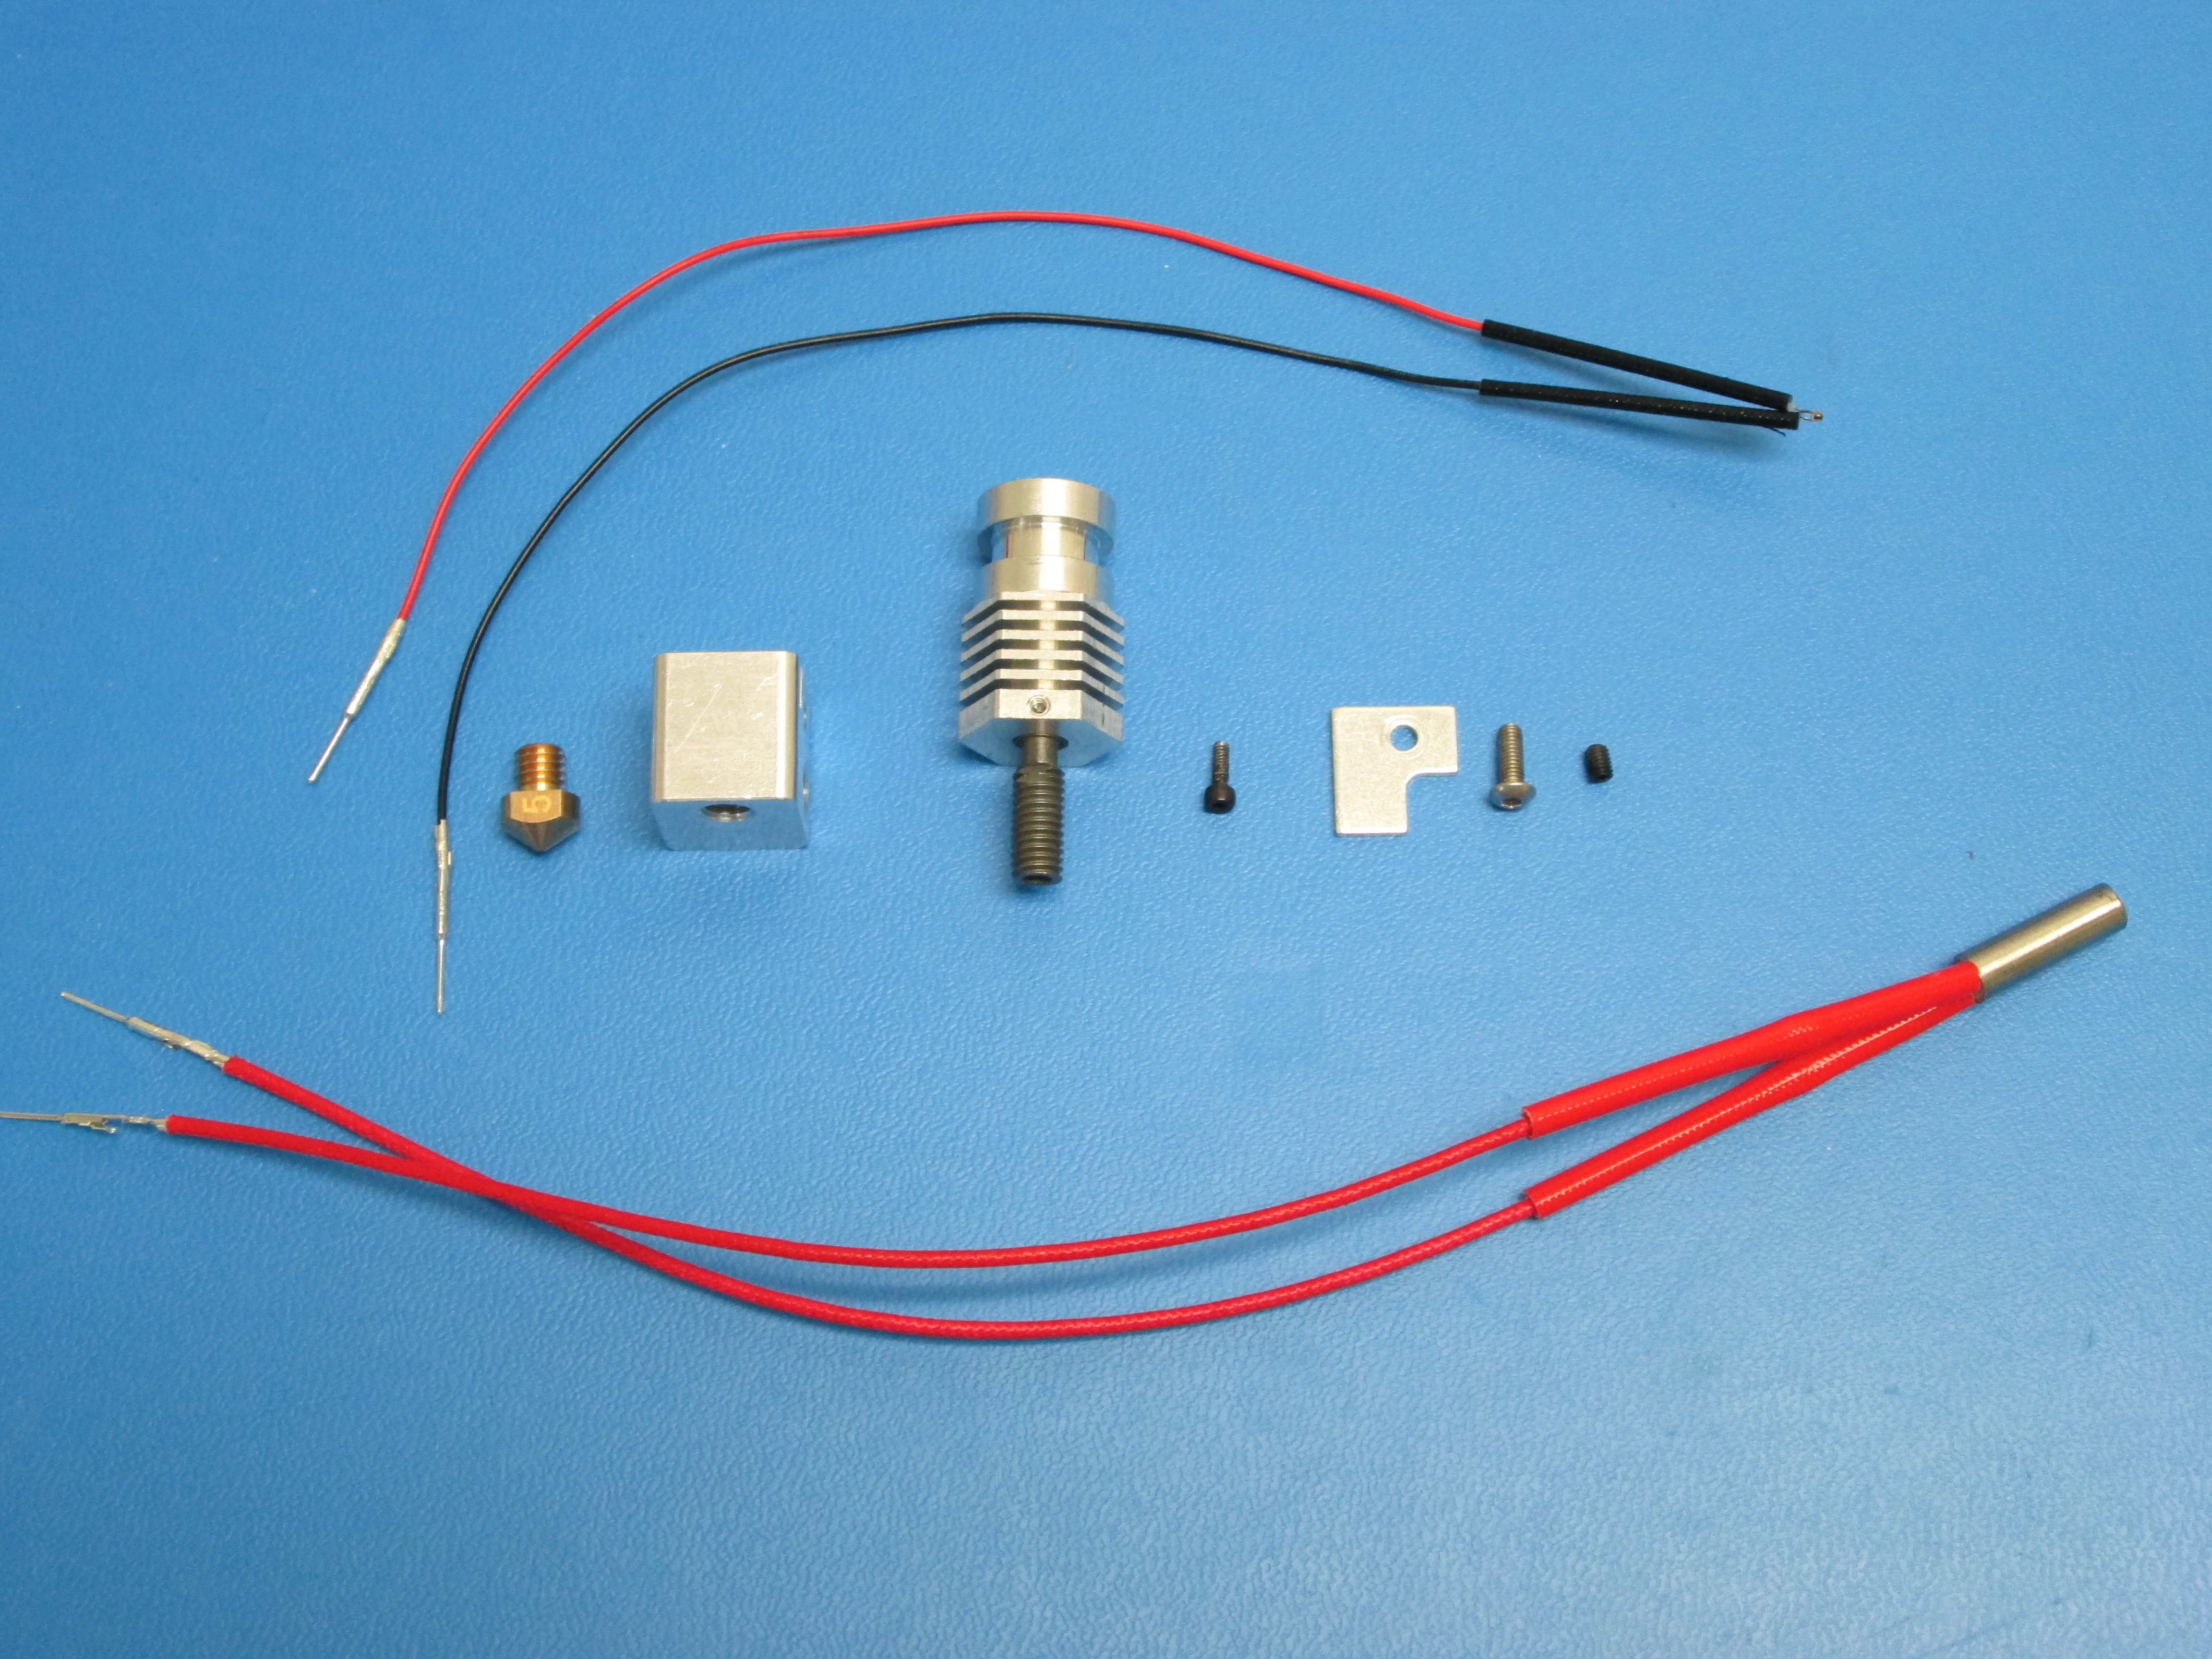
1x- Hexagon hotend kit (select kit for item to be made):
-HE-SH0037 uses HE-SH0031 for .5mm; or
-HE-SH0038 uses HE-SH0033 for .35mm; or
-HE-SH0039 uses HE-SH0041 for .6mm
-- NOTE: HE-SHXXXX Kits includes:
 1x- Hexagon thermistor;
       must cut wires cut to 195mm, strip 5mm

 1x- Hexagon heater cartridge;
       must cut wires to 180mm, strip 5mm

 1x- Hexagon heater block

 1x- Hexagon nozzle
       (Nozzle sized on side of nozzle 5=.5mm, 6=.6mm, 35=.35mm)

 1x- Hexagon heat sink

 1x- M3x6 SCHS

 1x- Thermistor retention plate

 1x- M2.5x6 set screw

Trim Thermistor leads to 220mm length from tip of Thermistor, strip 5mm of insulation
Trim heater cartridge leads to 220mm length from tip of cartridge, strip 5mm of insulation
2X- Terminate Thermistor leads (24-30AWG) connector pin
2X- Terminate Heater Cartridge cable leads (24-30AWG) connector pin


Verify proper nozzle size, locate nozzle size indicator on side of nozzle
With the heatsink out of the heater block, install nozzle using a 7mm torque wrench and holding the heater block with an 18mm wrench.
Tighten to 3.39 N-m (30in-lbs)
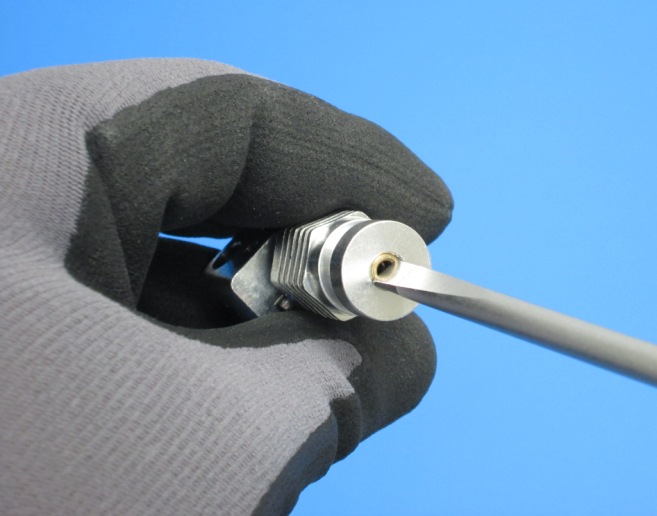
In the heatsink, tighten the brass insert at the top of the center hole (opposite the nozzle) to hand tight


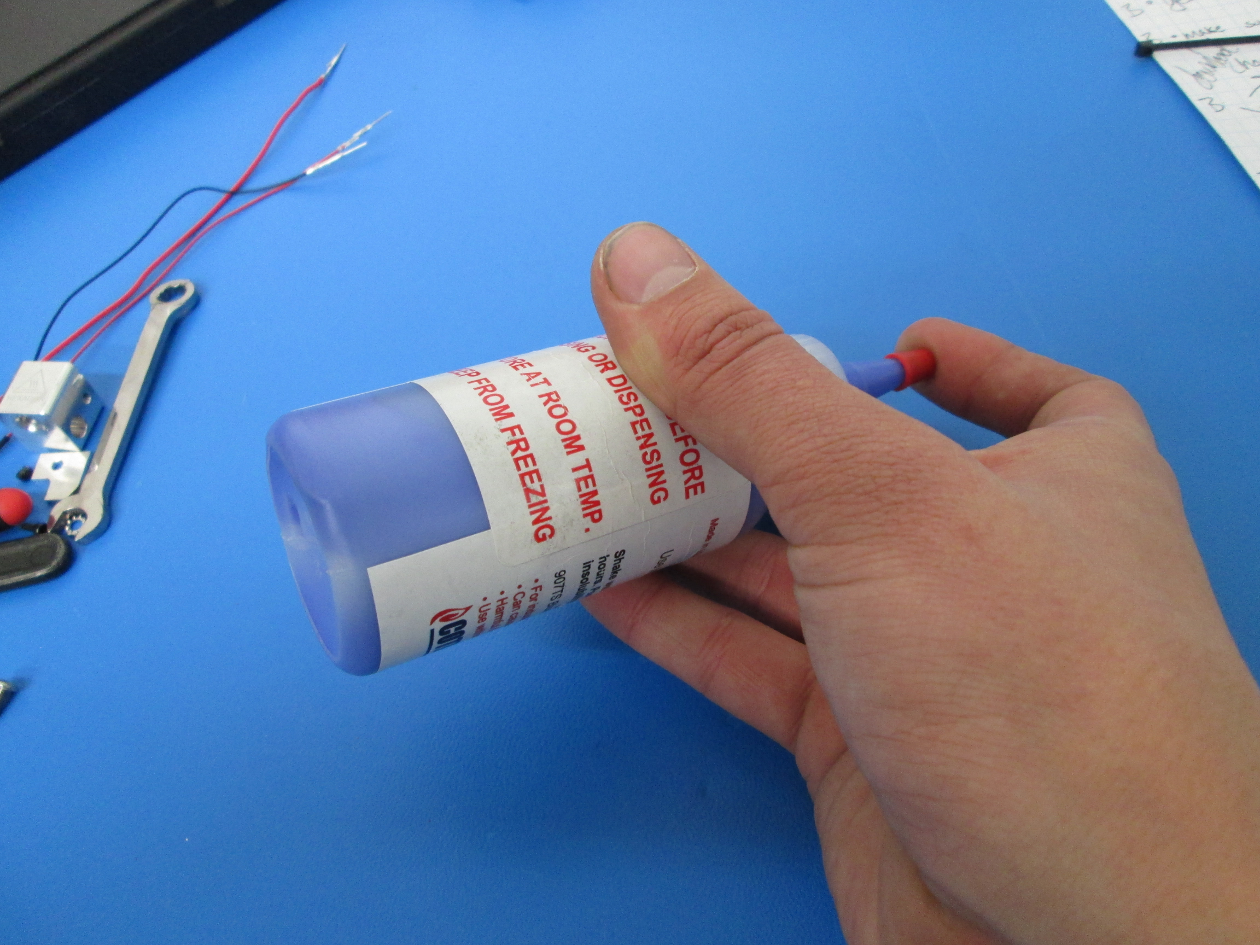
With cap in place, shake the bottle of threadlock well to ensure it is well mixed.
Apply a generous coating, except for the last 2 threads, of high temperature threadlock to the threaded portion of the heatsink, as shown. This will ensure a good seal and that no threadlock makes its way down to the nozzle
^CAUTION: Do not place any tools or devices into the internal shaft of the heat sink
Install in the heatsink tightly using a 4.5mm wrench and holding the heater block with an 18mm wrench to 15 in-lbs.
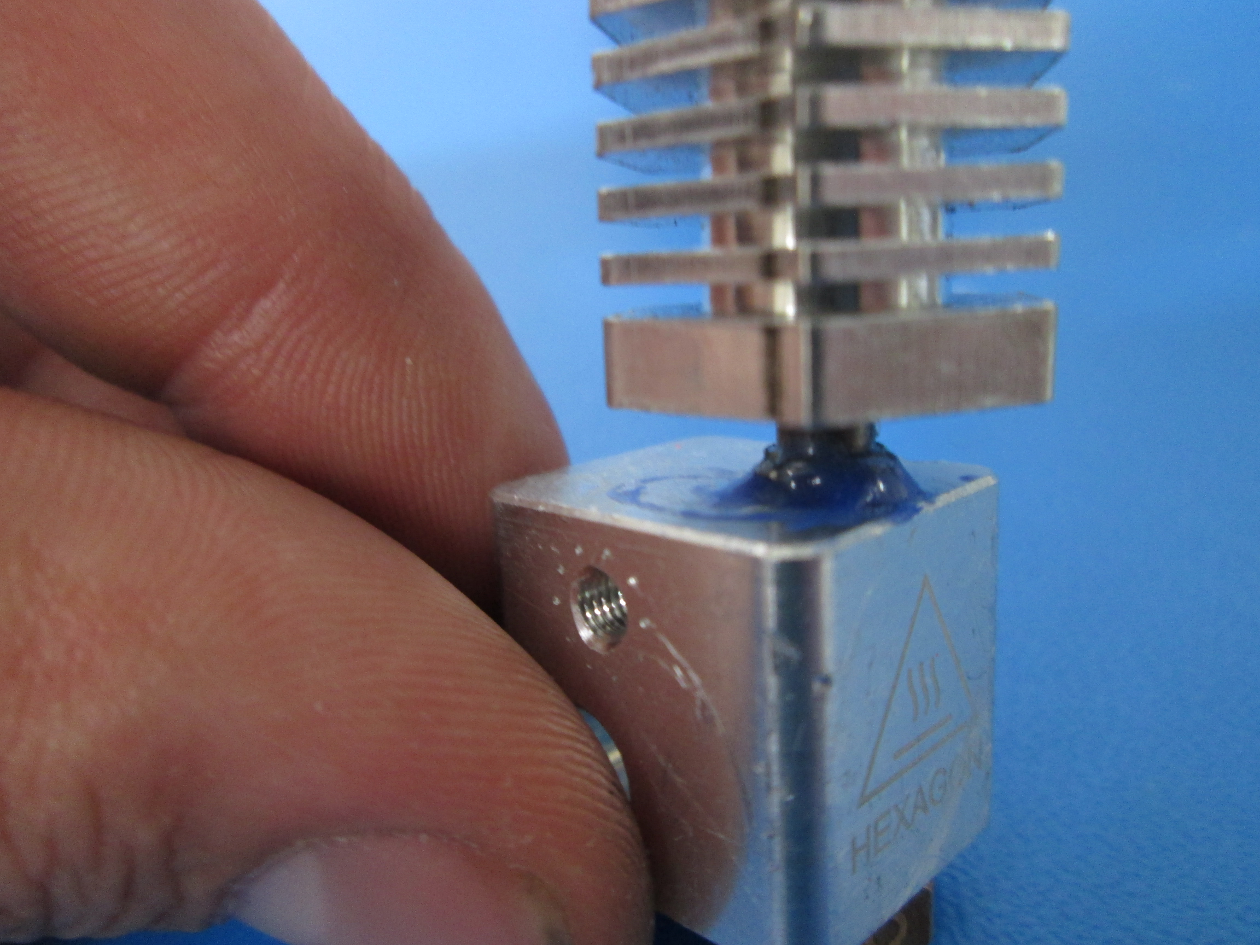
For V2 Dual Extruders only: Before the threadlock compound sets (within 5 minutes), rotate the heat-sink so that one of the points of the heat-sink faces the front (Triangle HOT part logo) and the set screw hole is positioned toward one of the three backside locations.
Threadlock will appear on the top of the extruder block. Wipe off any that drips over the sides of the block but leave the thread-lock around the heat-sink extension as a visual indication that there is threadlock on the threads.
Apply a small amount of Threadlock to the M2.5x6 SCHS screw, install in the heatsink set screw hole and tighten screw to finger tight.


Verify the resistance across the thermistor is 100 Ohms (+/- 20 Ohms) at ~24C/ ~75F room temperature
Take thermistor and pull back both pieces of the black sheathing approximately 13mm (~1/2”)
Make sure the inner clear plastic tubing is all the way down to the head of the thermistor on both sides
Slide ONE of the pieces of black sheathing down to the bead of the thermistor
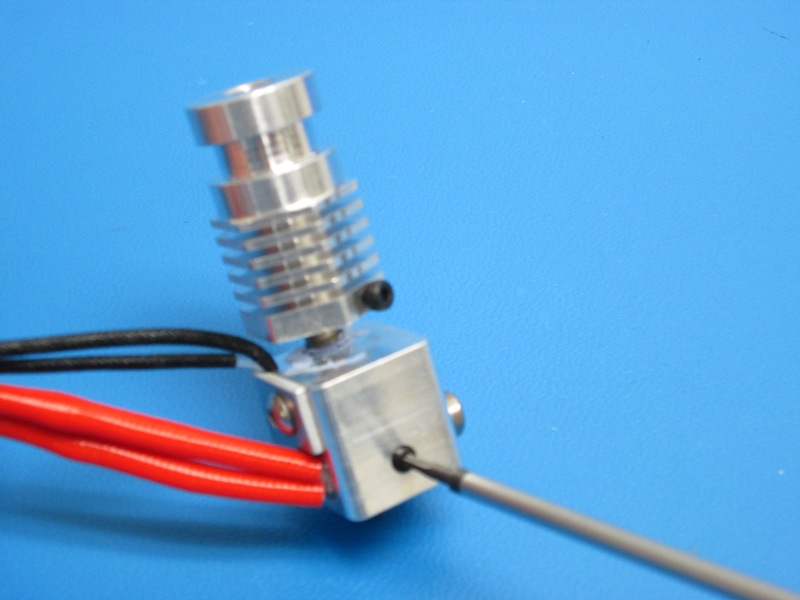
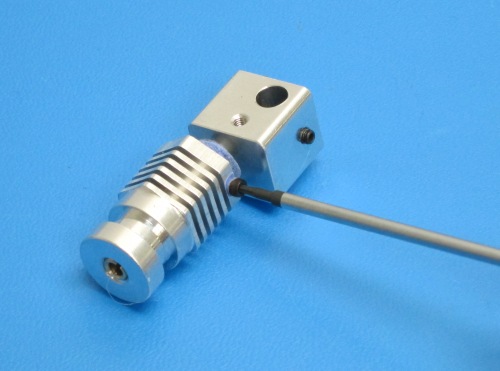
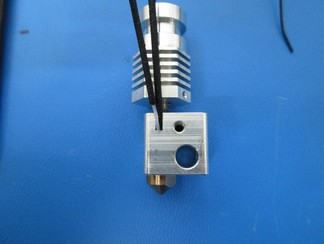
Insert the Thermistor (head first) into the heater block, ensuring the clear tubing and sheathing do not slide up from the head of the thermistor and the thermistor head enter is at least 2mm into the heater block.


Verify the resistance across the heater cartridge terminals is 19.5 Ohms (+/- 2 Ohms) ; verify a open circuit condition (“OL” reading on an Ohmmeter) exists between each heater cartridge terminal an d the cartridge tip
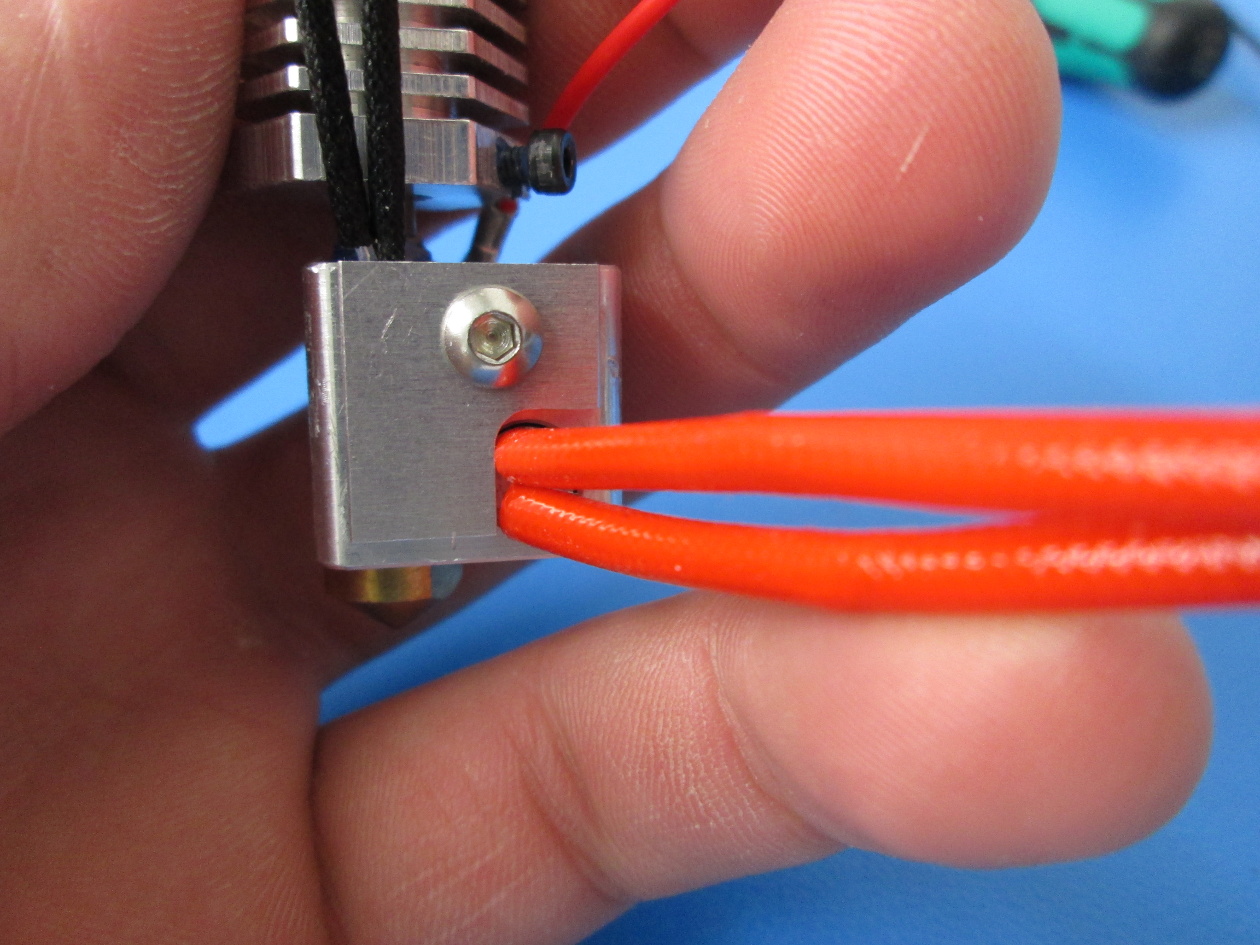
While holding the thermistor in place, slide the heater cartridge into the heater block so that the wires are coming out of the same face as the thermistor and the heater cartridge wires are positioned vertically
Lift the black sheathing that is not in the thermistor hole slightly above the top of the heater block
Install the retention plate and secure is the M3x8 BHCS screw tightened to hand tight, slide the lifted sheathing back down to the top of the heater block. The plate front edge should be parallel with the front edge of the heater block
It is critical to ensure: Both leads of the thermistor are in the channel in the side of the heater block and not pinched against the flat face by the retaining plate;
One of the two pieces of the black sheathing should be secured by the retention plate, the other should rest flush with the top of it;
The retaining plate is completely flush against the block and that it does not move; and
The heater cartridge wires are aligned vertically so that neither of the leads are touching the metal plate.

Pull heater cartridge up against the retention plate
Make sure the wires are aligned vertically and that neither of the wires are close to touching the retention plate
Lock cartridge into place with am M3x6 set screw tightened hand tight from the rear of the heater cartridge (no threadlock used here).
Verify your assembly (All screws are tight, wires are good, correct parts were used, etc.)