Open HardwareAssembly Instructions
Guides for installation and assembly of the LulzBot line of products made by FAME 3D LLC.
Guides for installation and assembly of the LulzBot line of products made by FAME 3D LLC.
1x- [EL-MS0584] 3M Double-Sided Foam Tape 50mm
2x- [HD-BT0007] M3x20 SHCS, Black-Oxide
3x- [HD-BT0157] M3x8 SHCS, Black-Oxide
3x- [HD-BT0185] M3x16 SHCS, Black-Oxide
1x- [HD-BT0275] M3x12 SHCS, SST
1x- [HD-MS0555] LCD Spacer
1x- [HD-NT0001] M3 Nut
1x- [PC-AS0056] LCD LB_GLCD
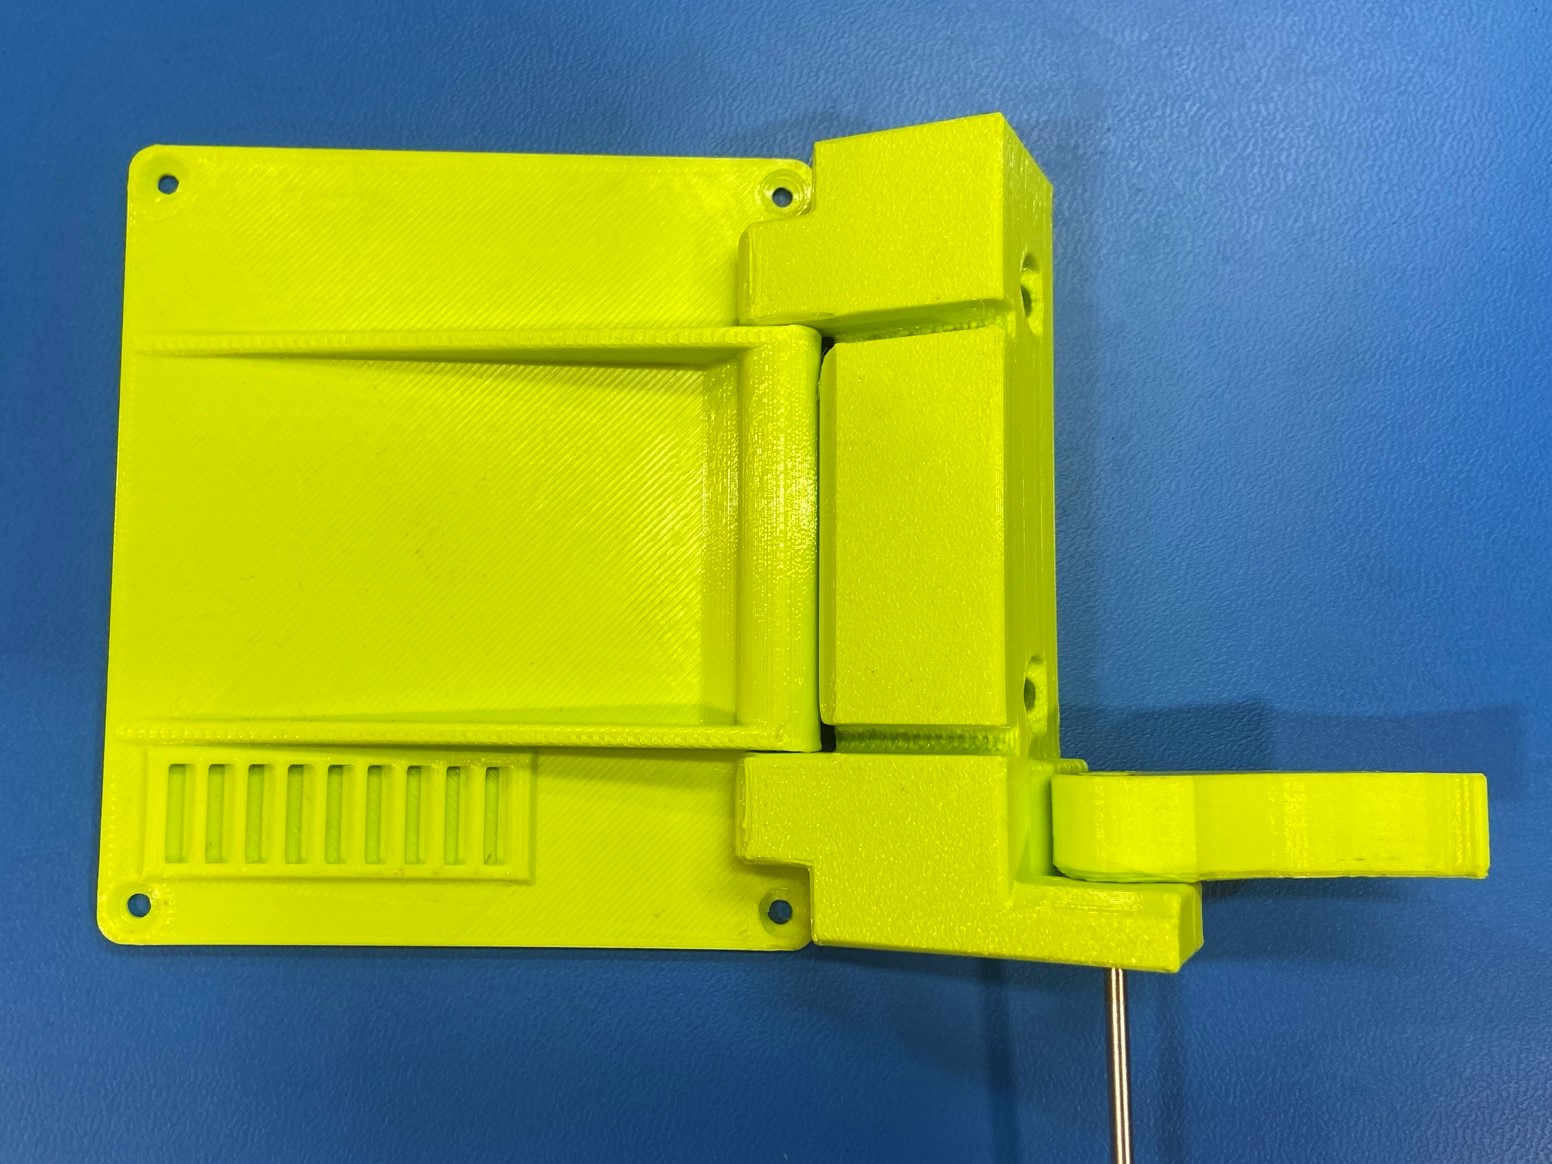
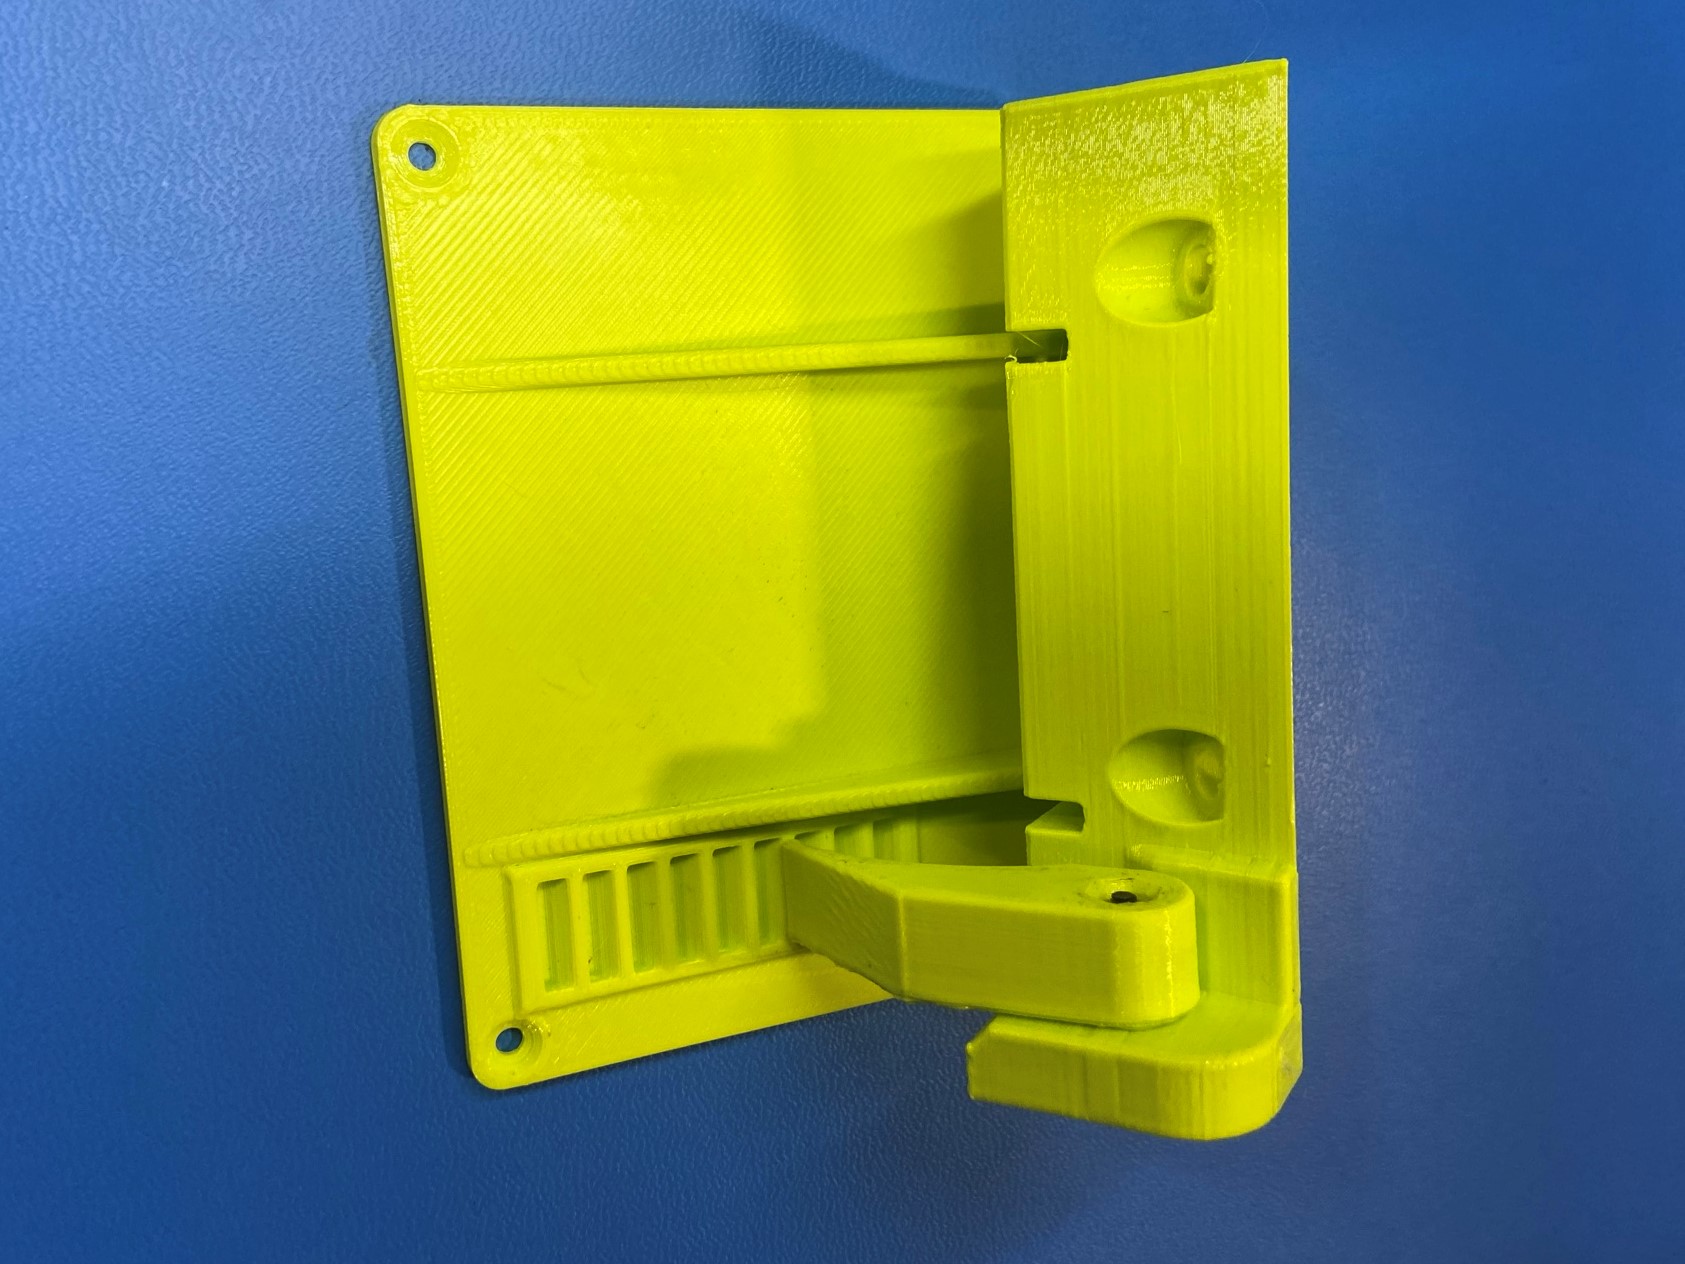
1x- [PP-GP0550] Standard LCD Case
1x- [PP-GP0551] Standard LCD Cover
1x- [PP-GP0553] Standard LCD Frame Mount
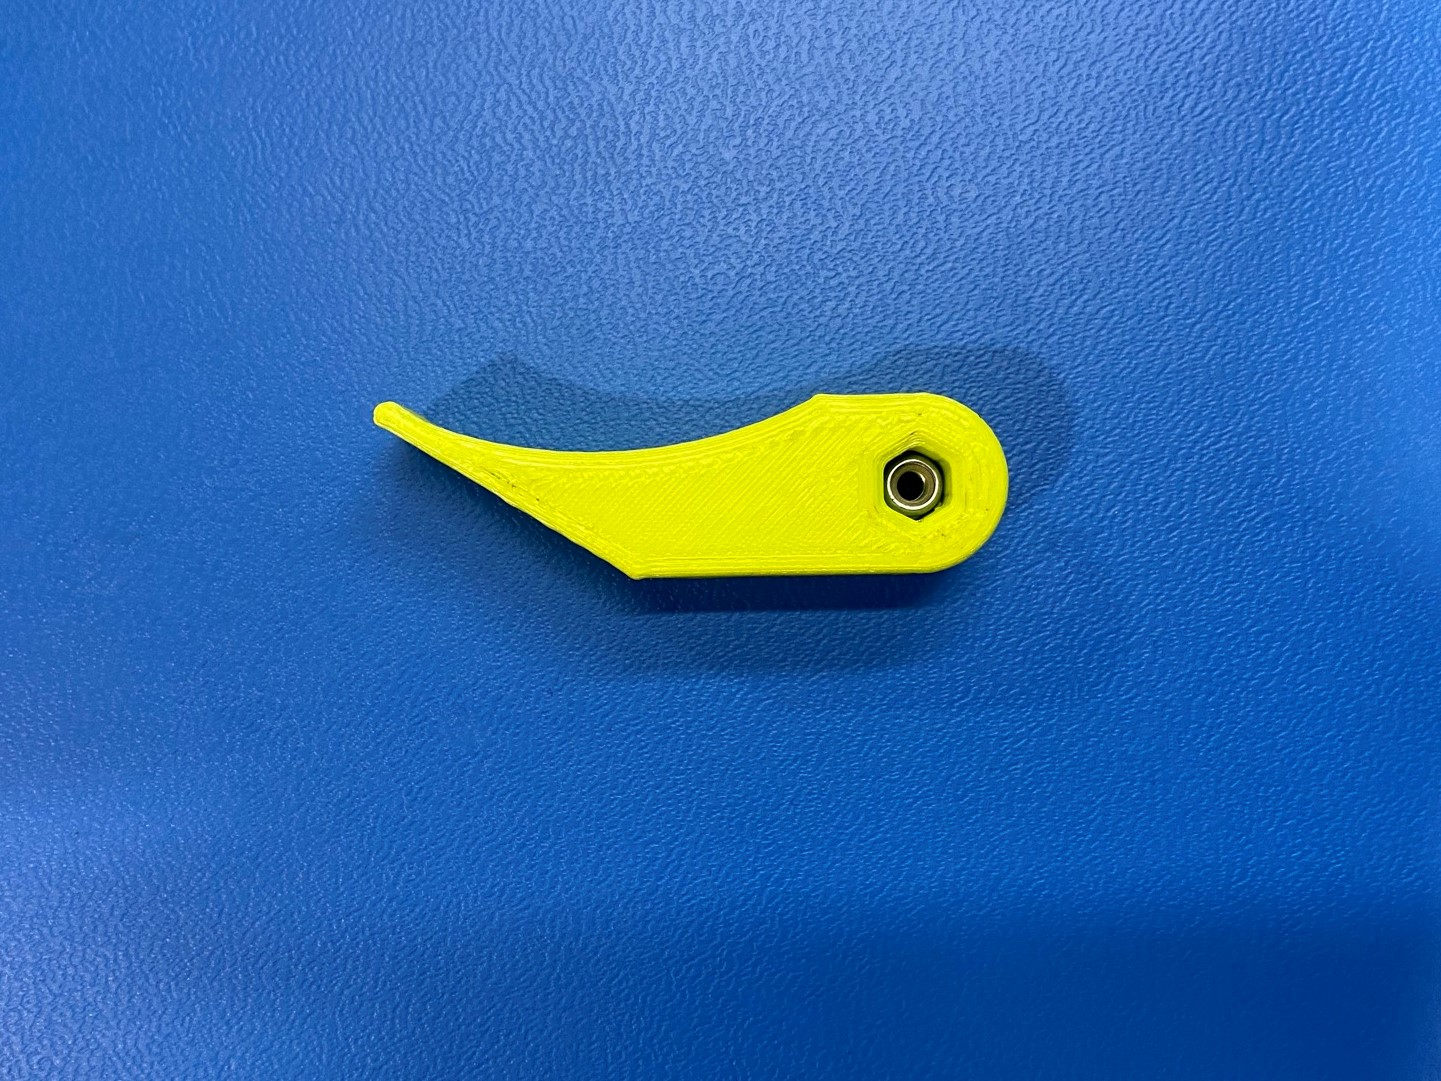
1x- [PP-GP0574] Flexy LCD Knob
1x- [PP-GP0575] Standard LCD Brace
1x- [PP-GP0601] LCD Plaque
1x- [PP-GP0603] LCD Locking Tab

Attach the standard LCD cover [PP-GP0551] to the standard LCD frame mount [PP-GP0553] using 2x M3x20 SHCS [HD-BT0007].
Now place 1x M3 nut [HD-NT0001] inside the hex hole on the standard LCD brace [PP-GP0575], then attach it to the LCD frame mount using 1x M3x16 SHCS [HD-BT0185].
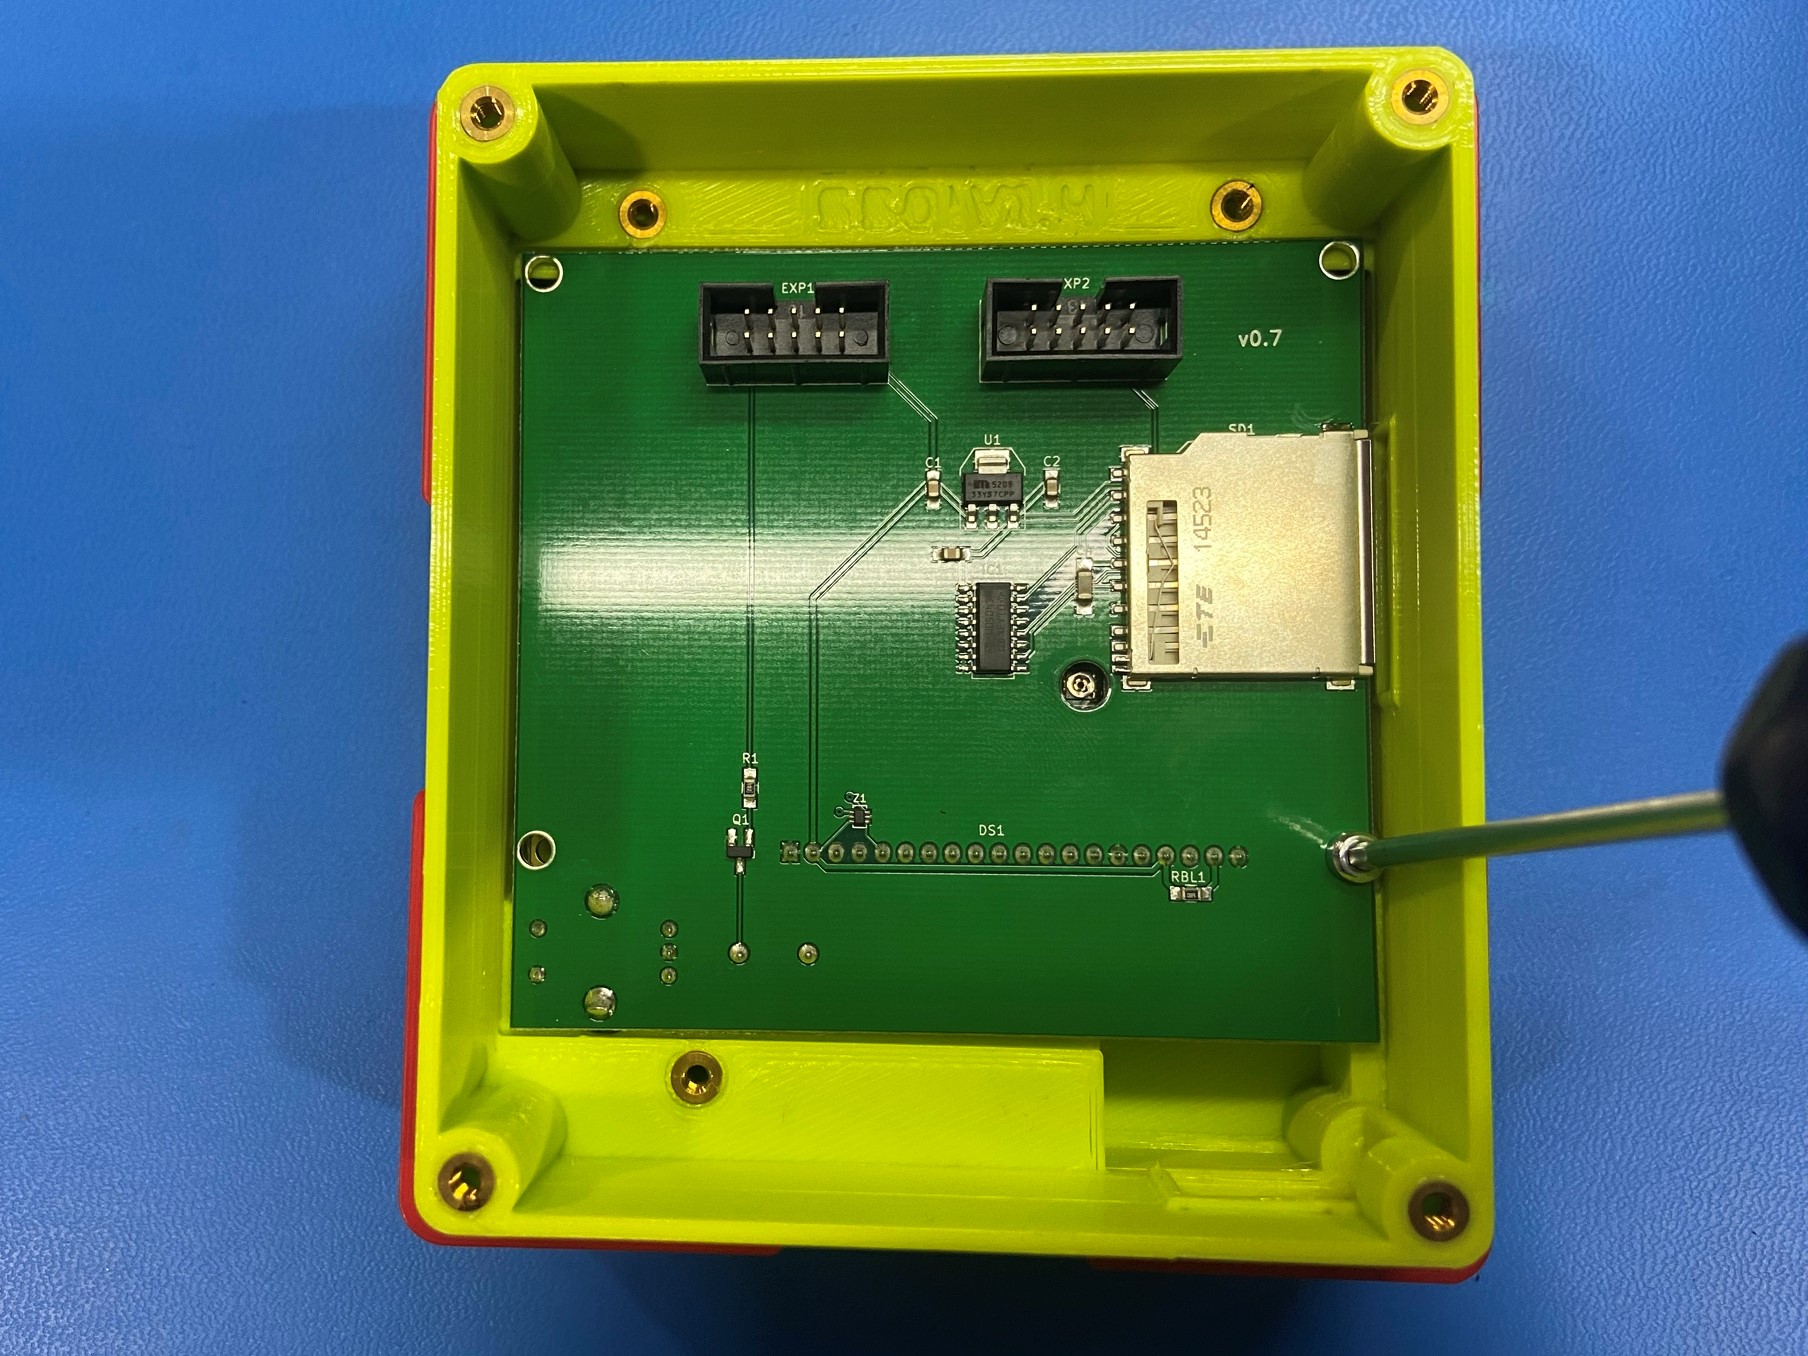
Remove the LCD [PC-AS0056] from the anti-static bag, then place 1x LCD spacer [HD-MS0555] between the two plates on the LCD make sure its the bottom right hole when looking at the back side.
Then place 1x M3x12 SHCS SST [HD-BT0275] inside the bottom right hole to keep the spacer in place.
Place the standard LCD case [PP-GP0550] inside the LCD jig.
Starting with the top edge of the LCD slide the LCD inside the LCD case making sure the top plate is resting on the ledge on the LCD case.
Then fasten the M3x12 SHCS SST to secure the LCD. Make sure not to overtighten
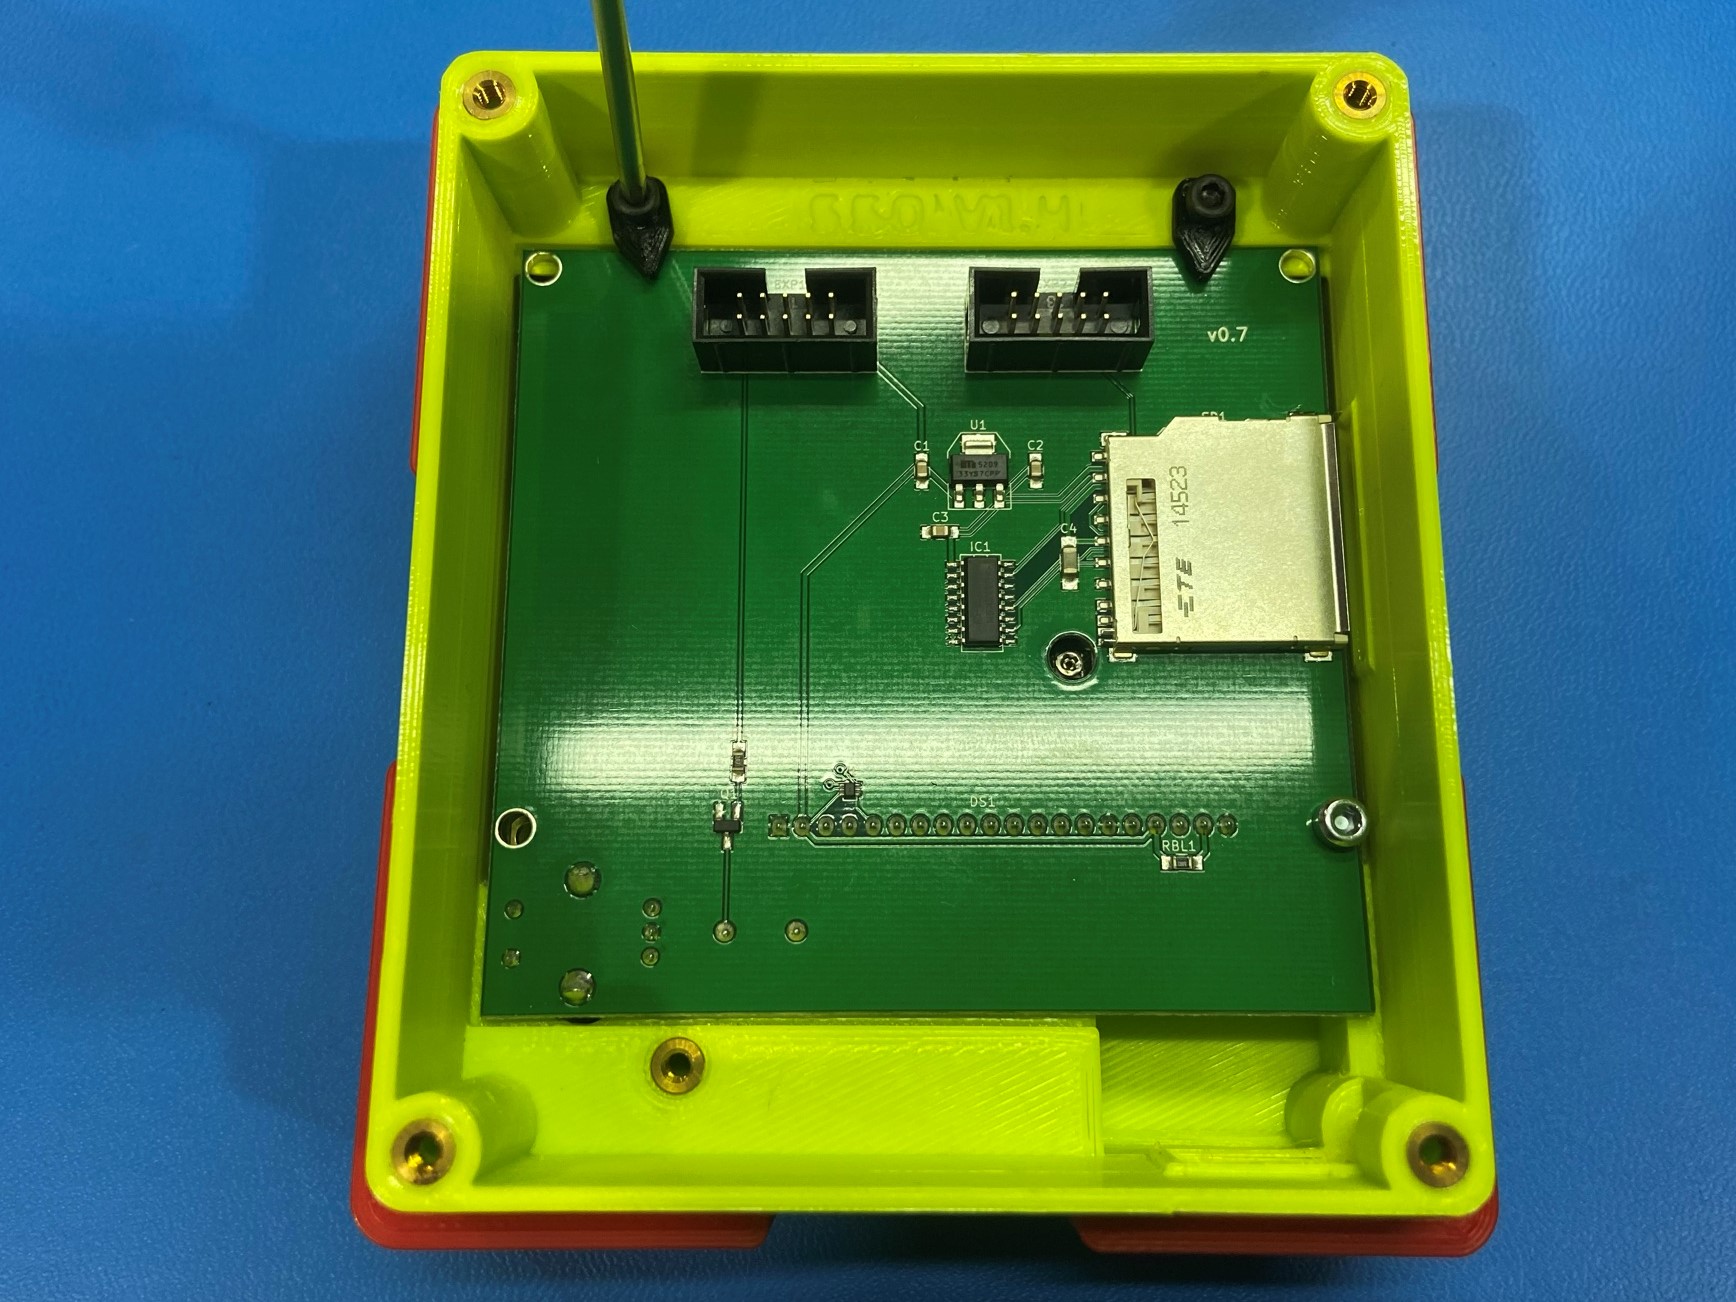
Using 3x LCD locking tabs [PP-GP0603] and 3x M3x6 SHCS [HD-BT0157] fully secure the LCD to the LCD case.
Note: You will have to hold the tab in place as you tighten to ensure they are directly over the LCD.


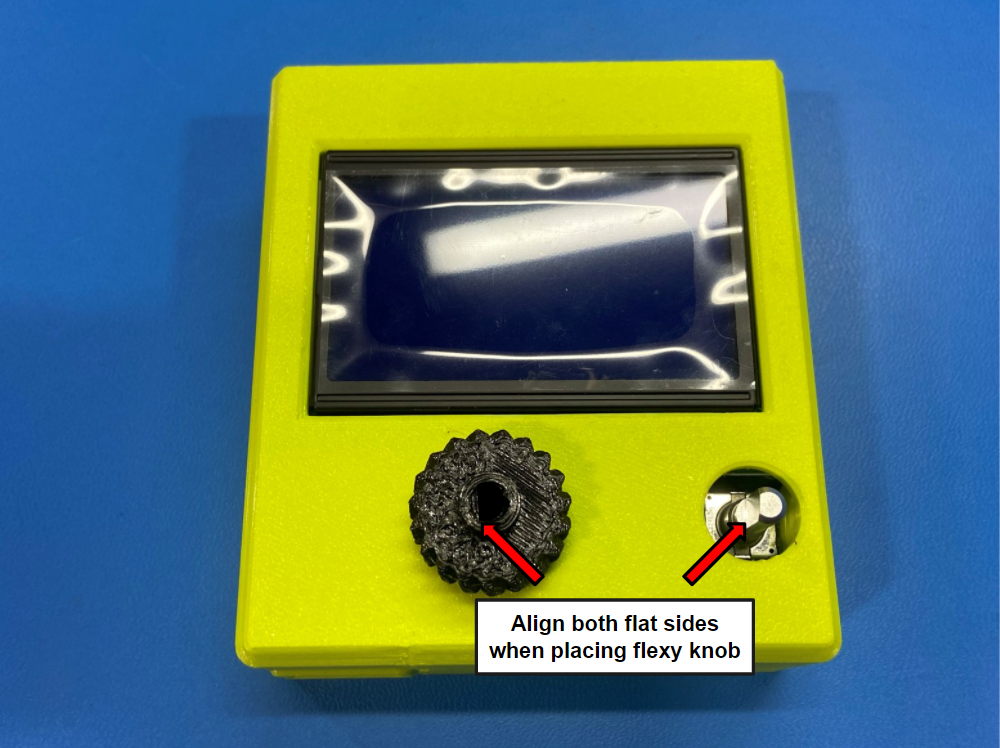
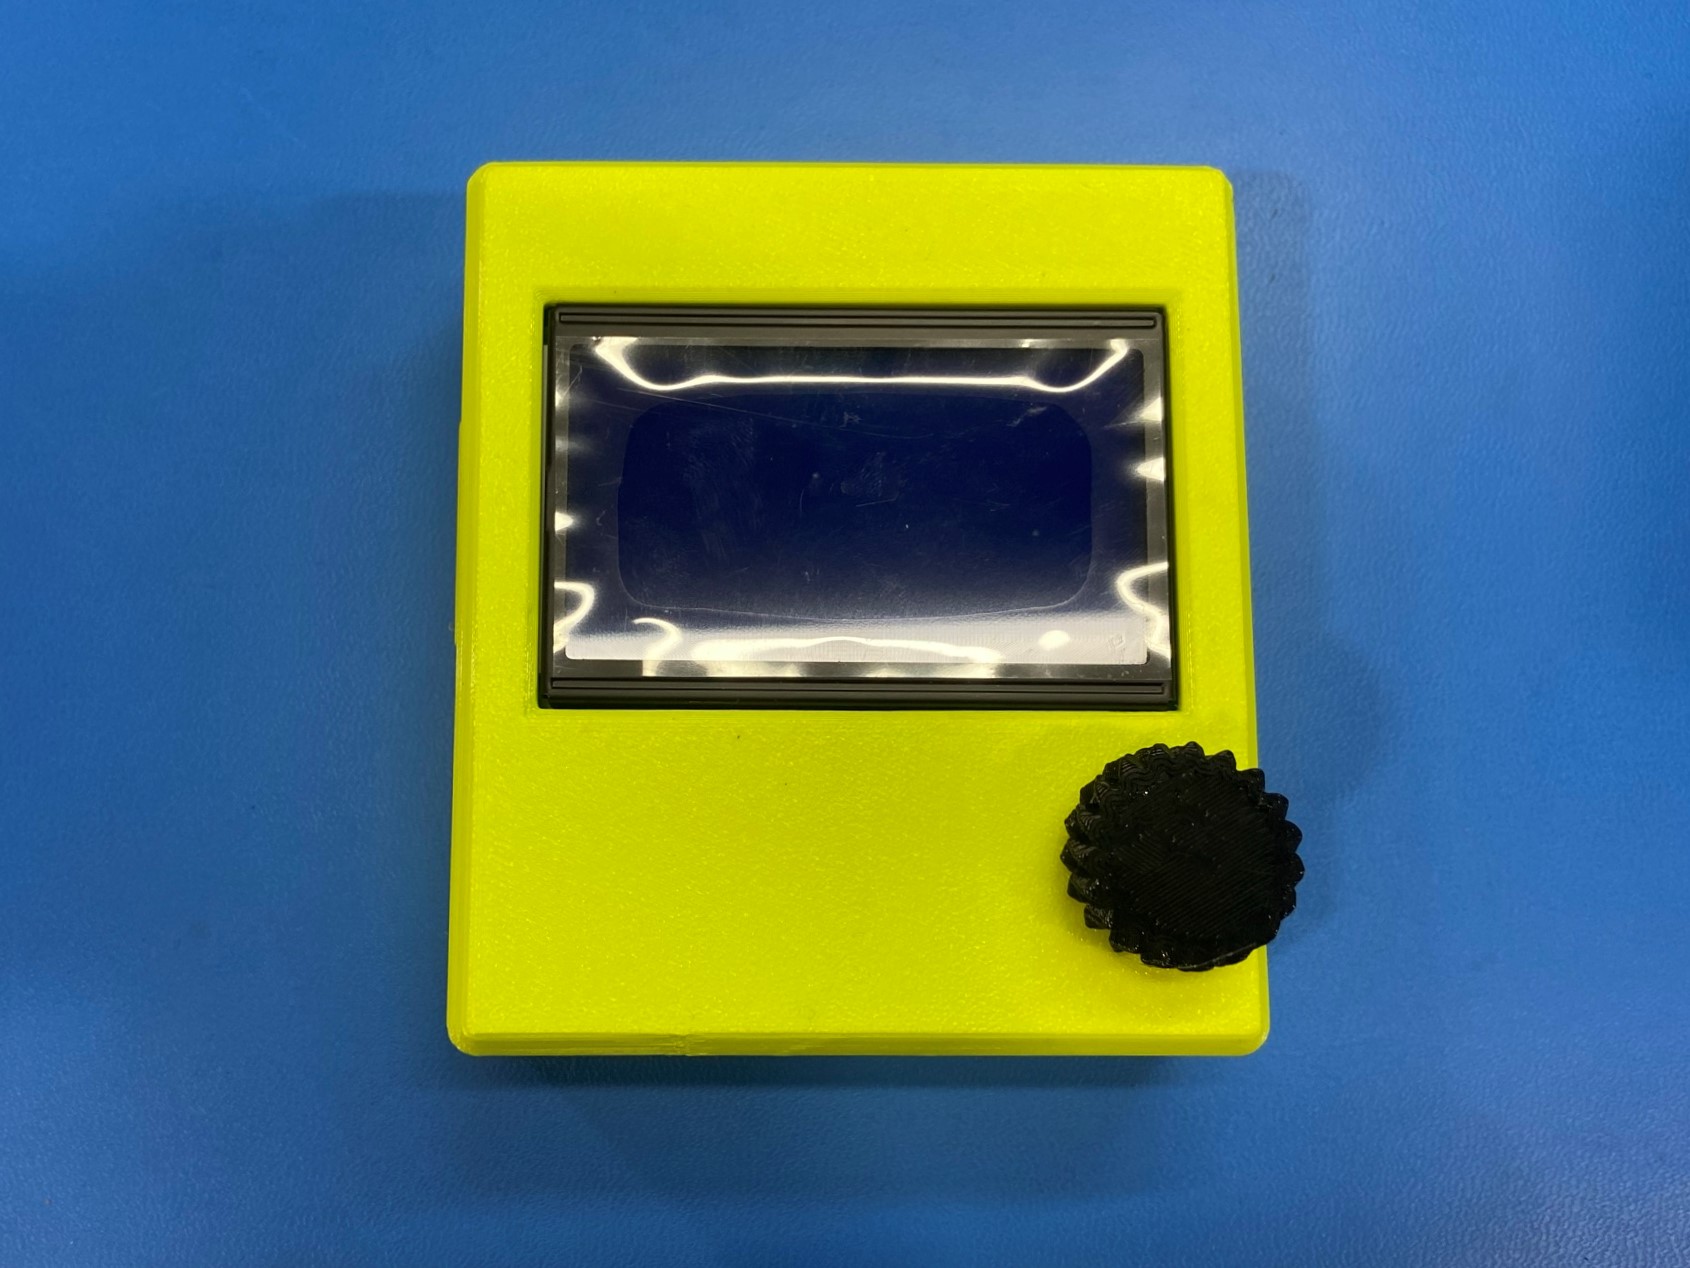
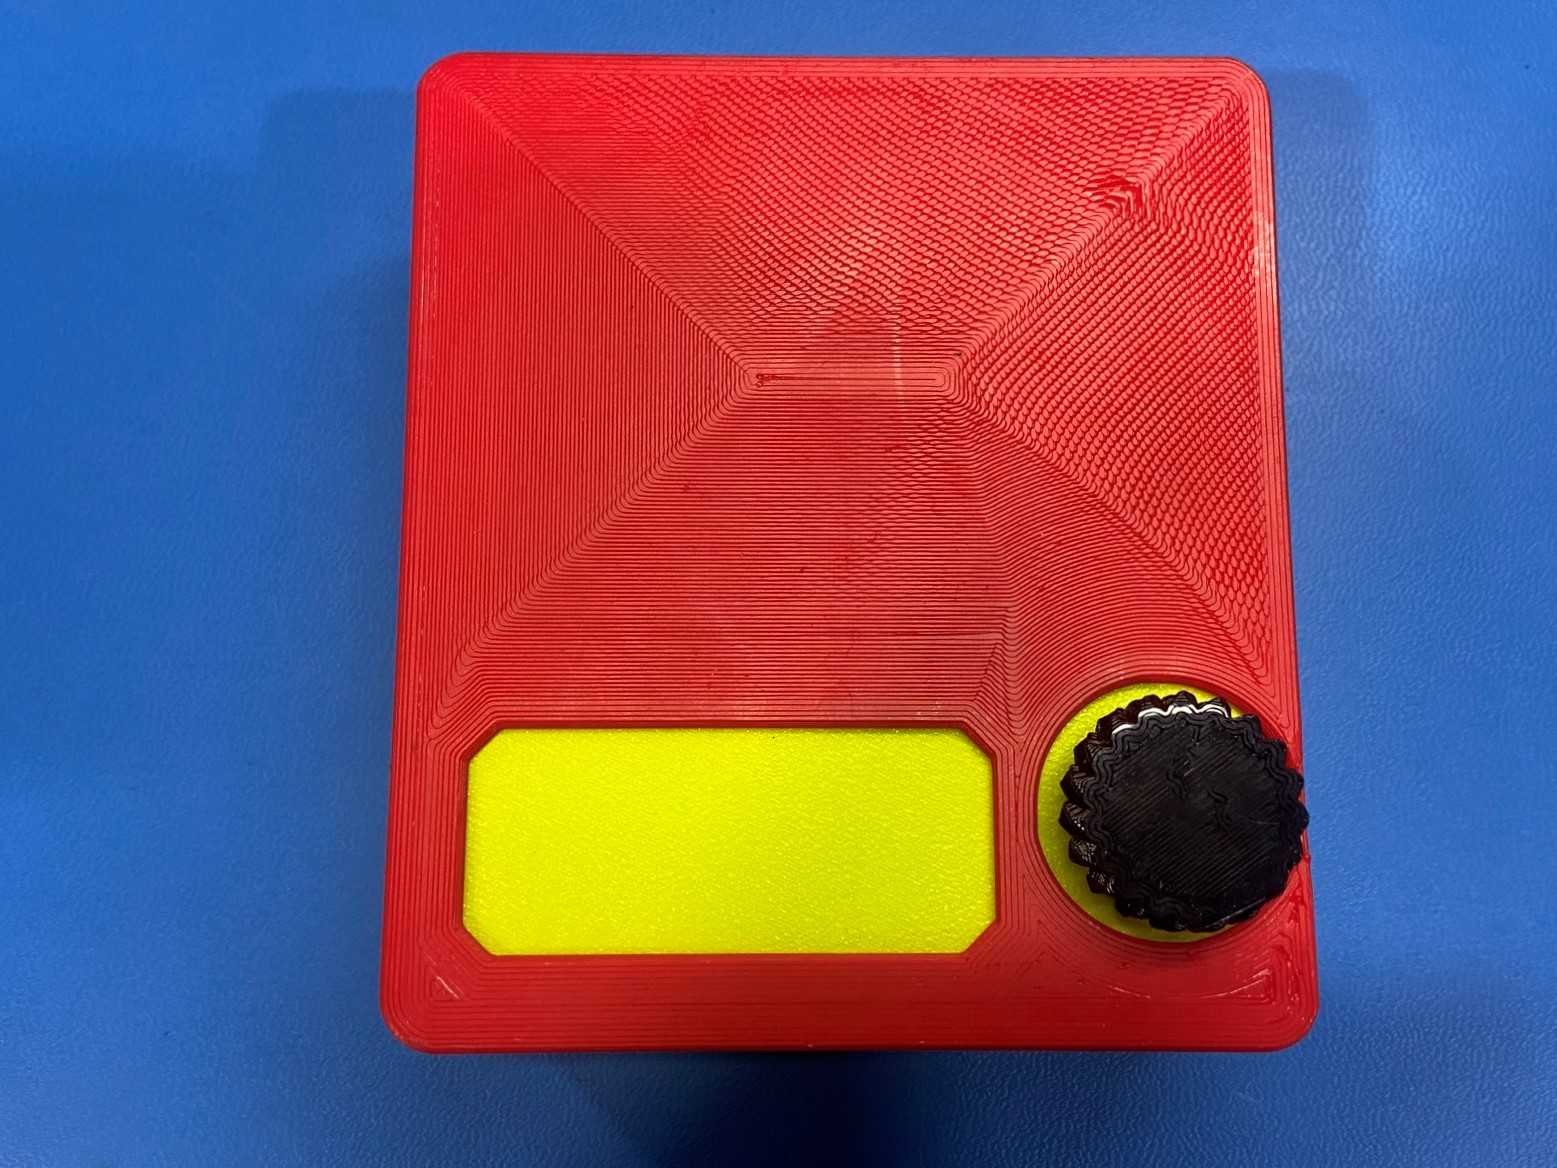
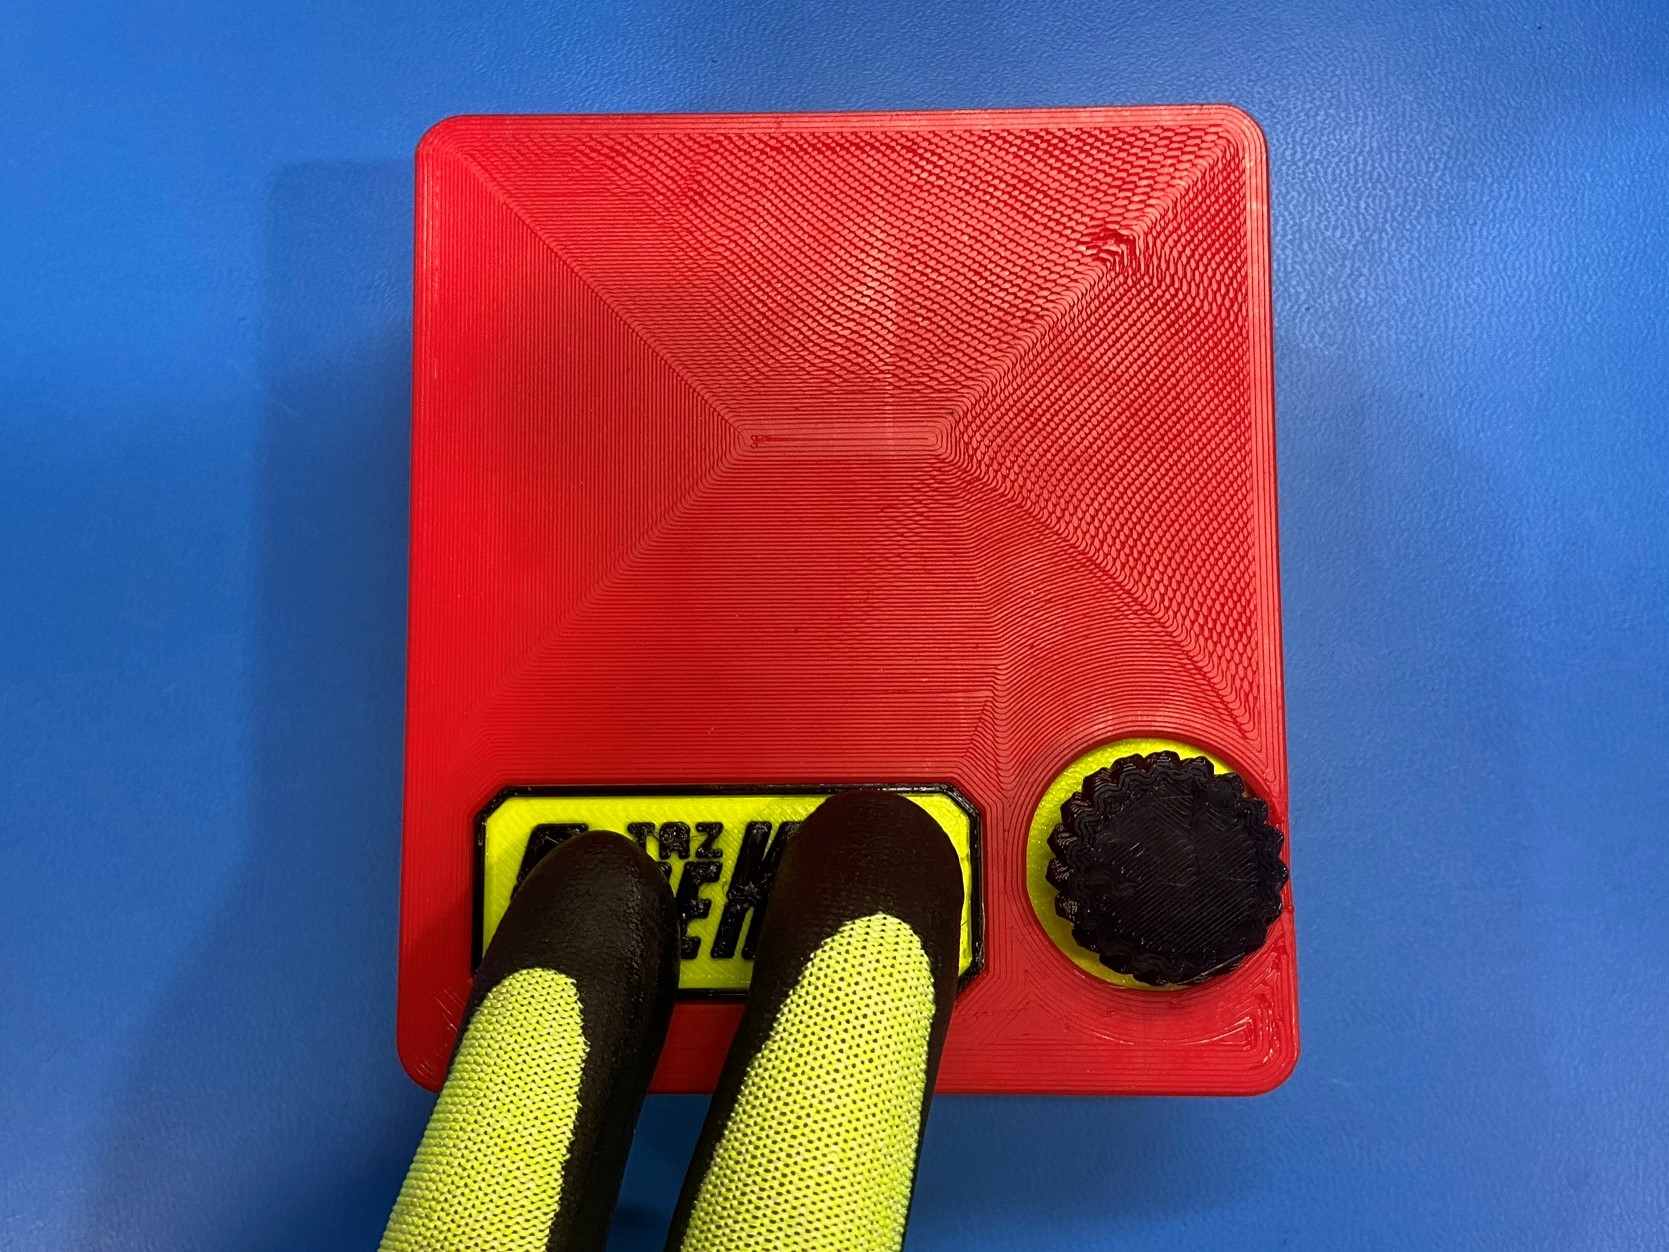
Place the flexy LCD knob [PP-GP0574] over the shaft on the LCD, make sure to align the flat side of the shaft with the flat side on the flexy knob.
Then place the plaque placement jig over the LCD case.
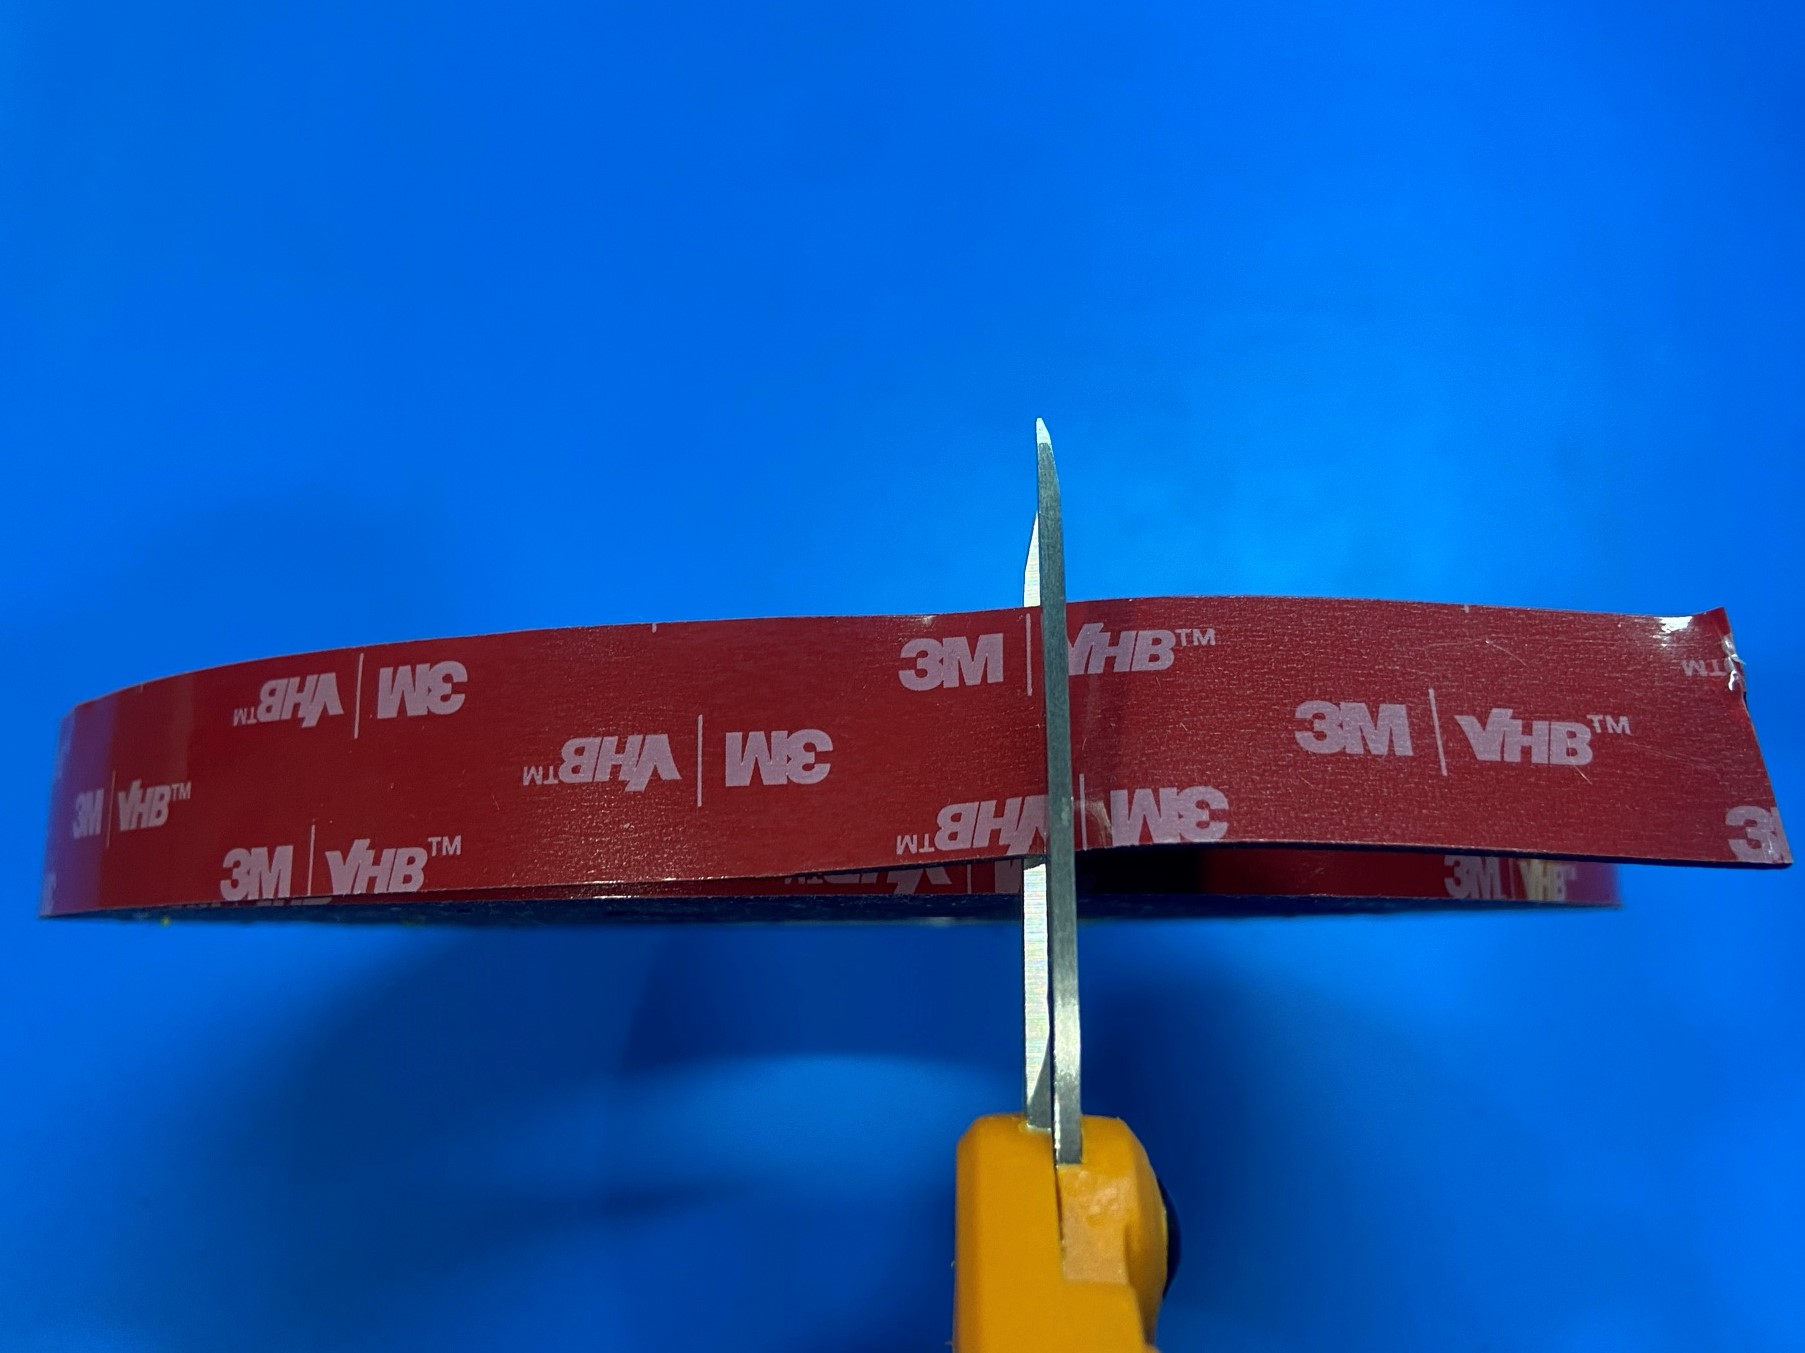
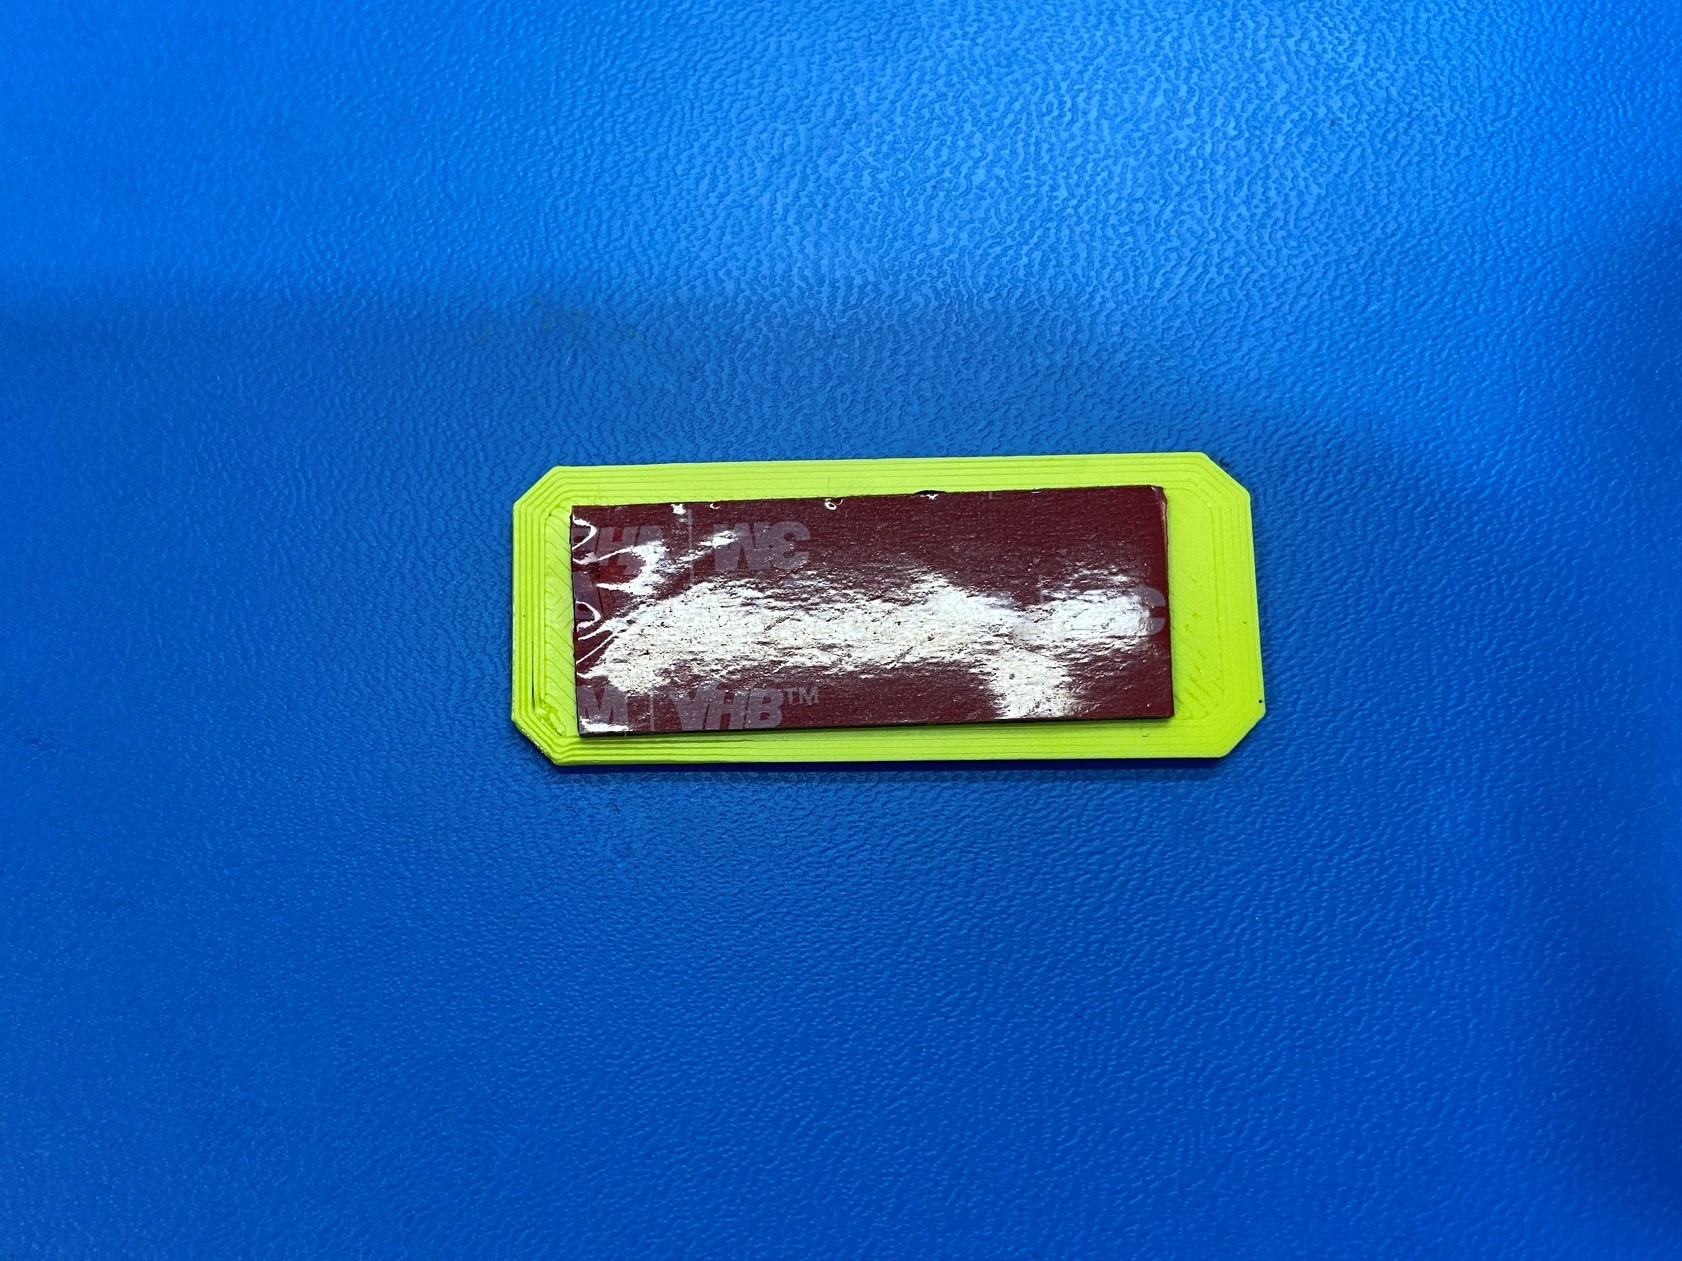
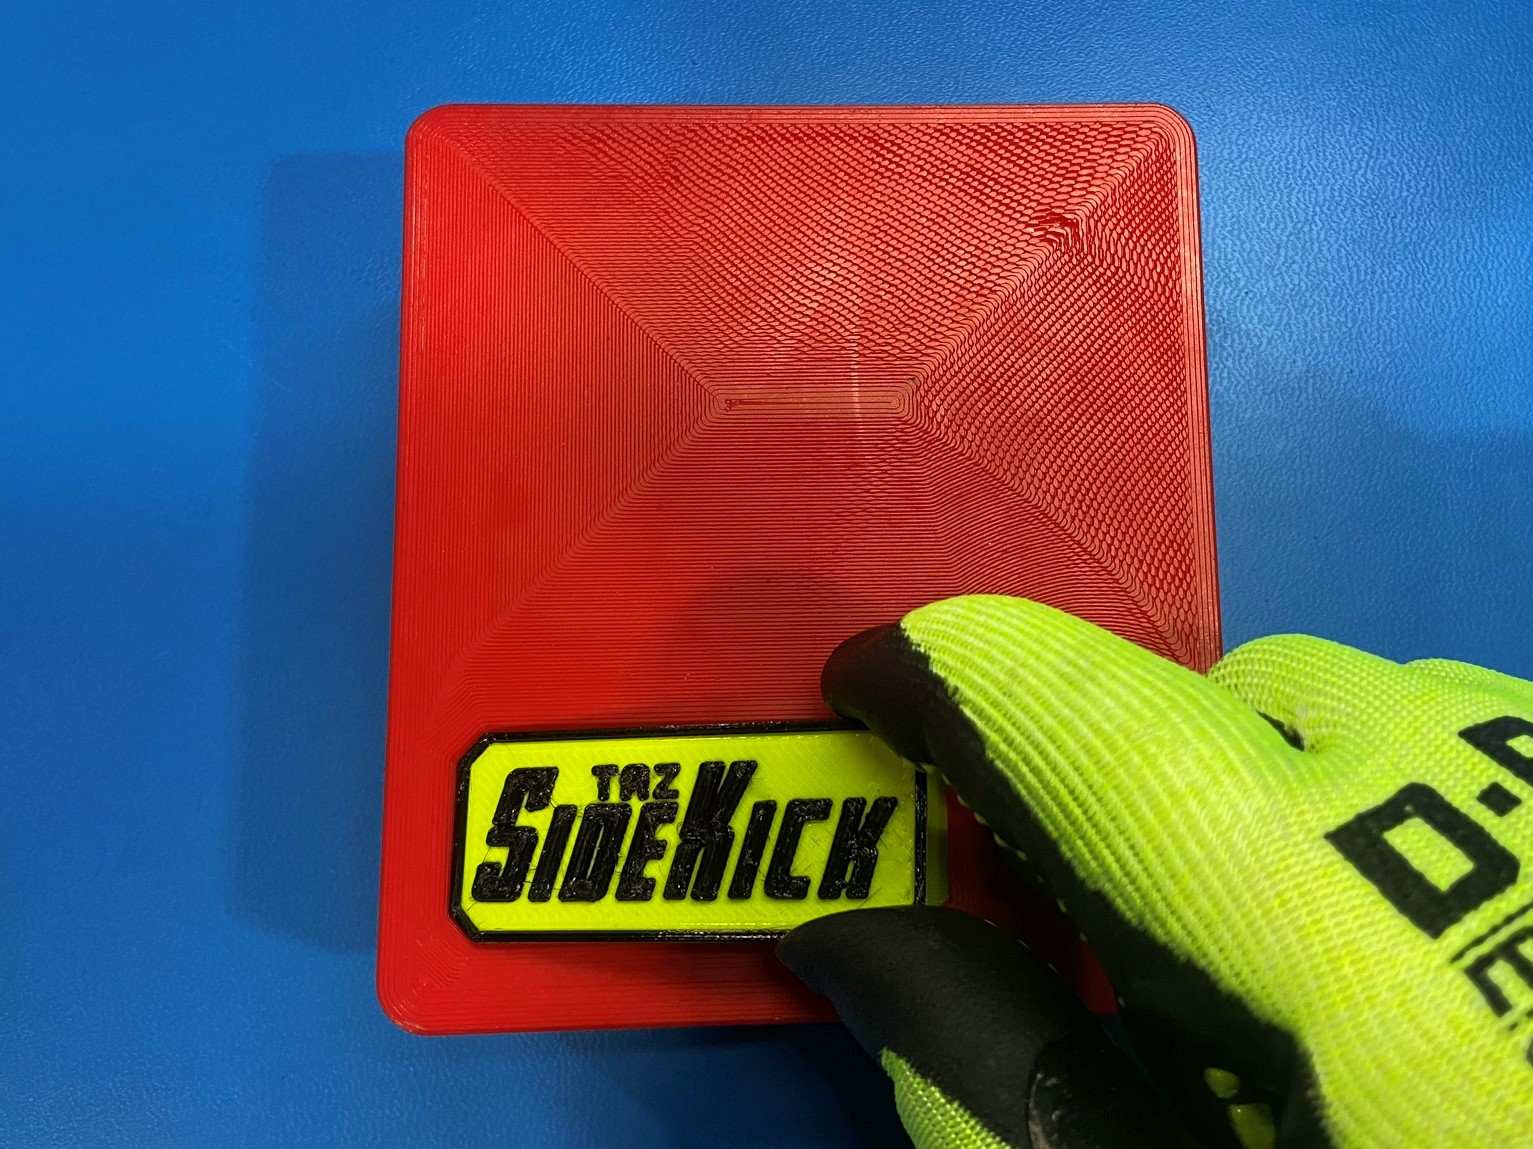
Cut 50mm or roughly 2 in of the 3M double-sided foam tape [EL-MS0584] and place it on the backside of the LCD plaque [PP-GP0601].
Make sure the tape is centered on the plaque so it isn't visible when attached to the case.
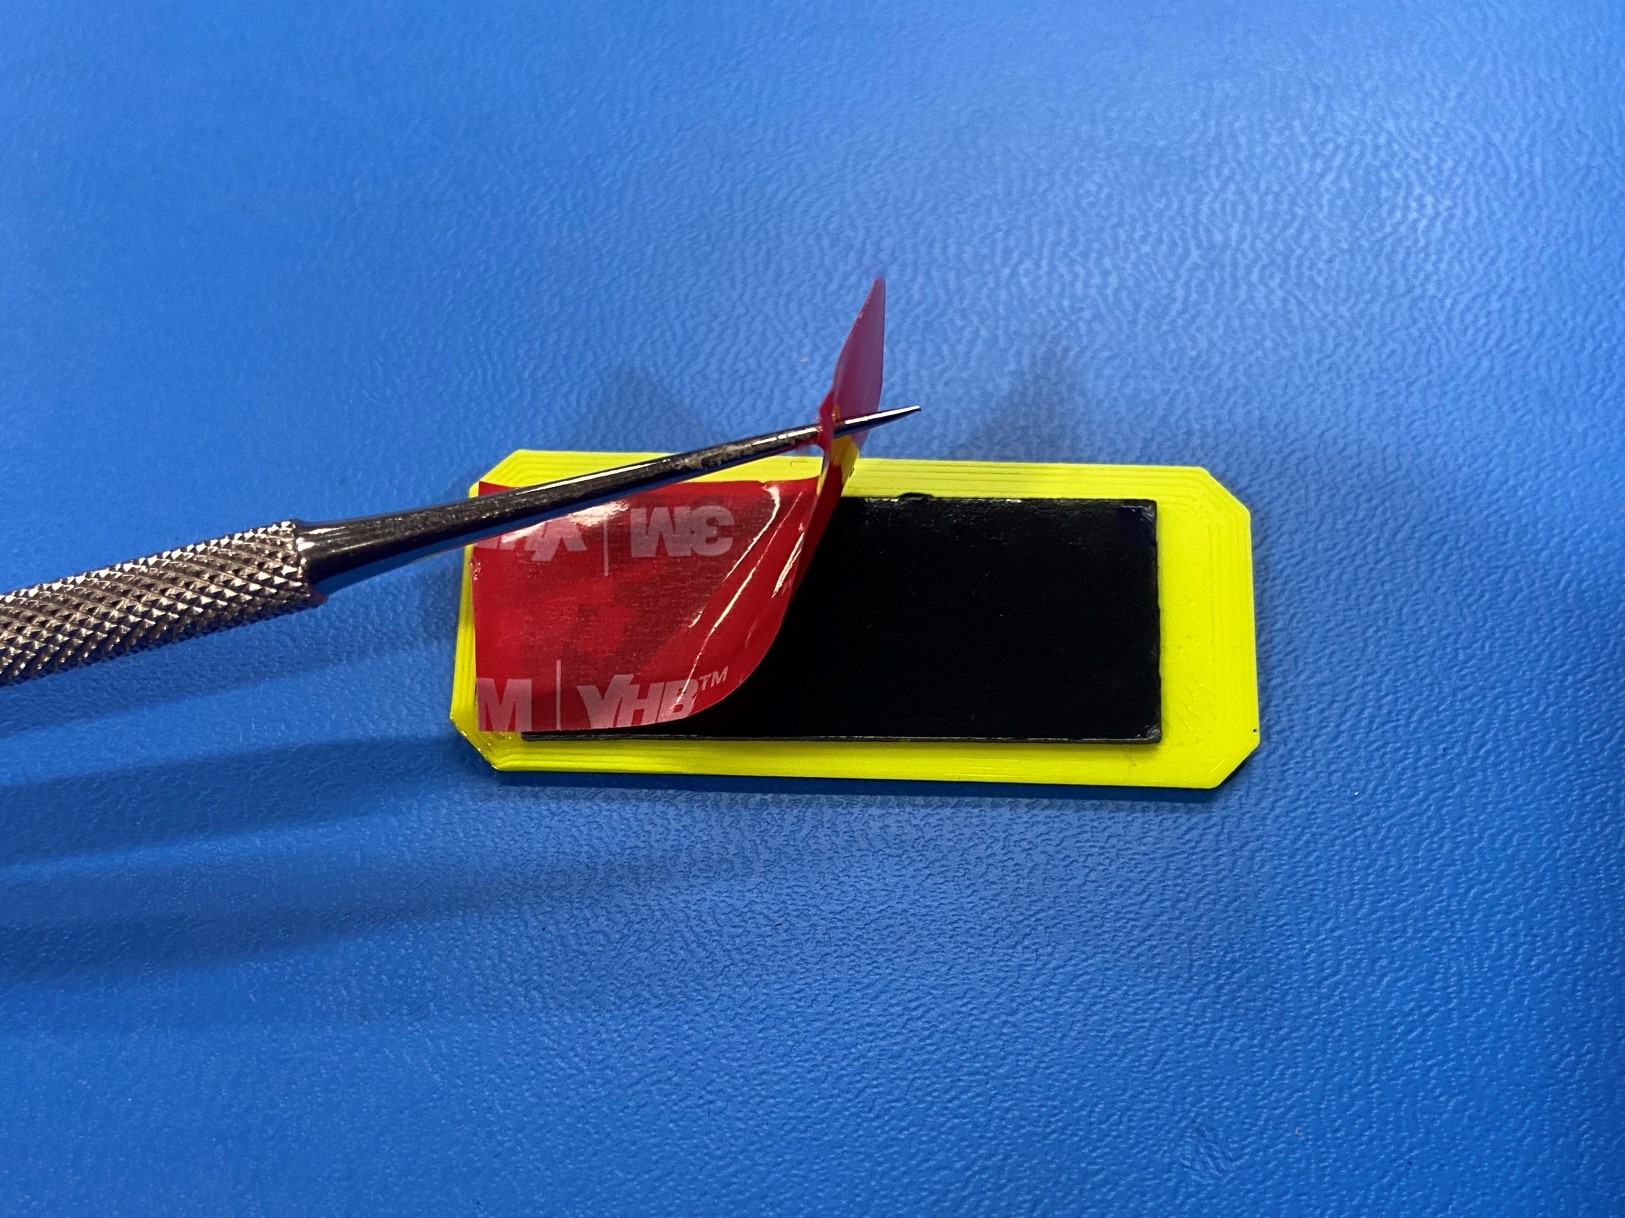
Remove the backing on the tape and then start with on end of the LCD plaque and place it on the LCD case making sure to firmly press it down.
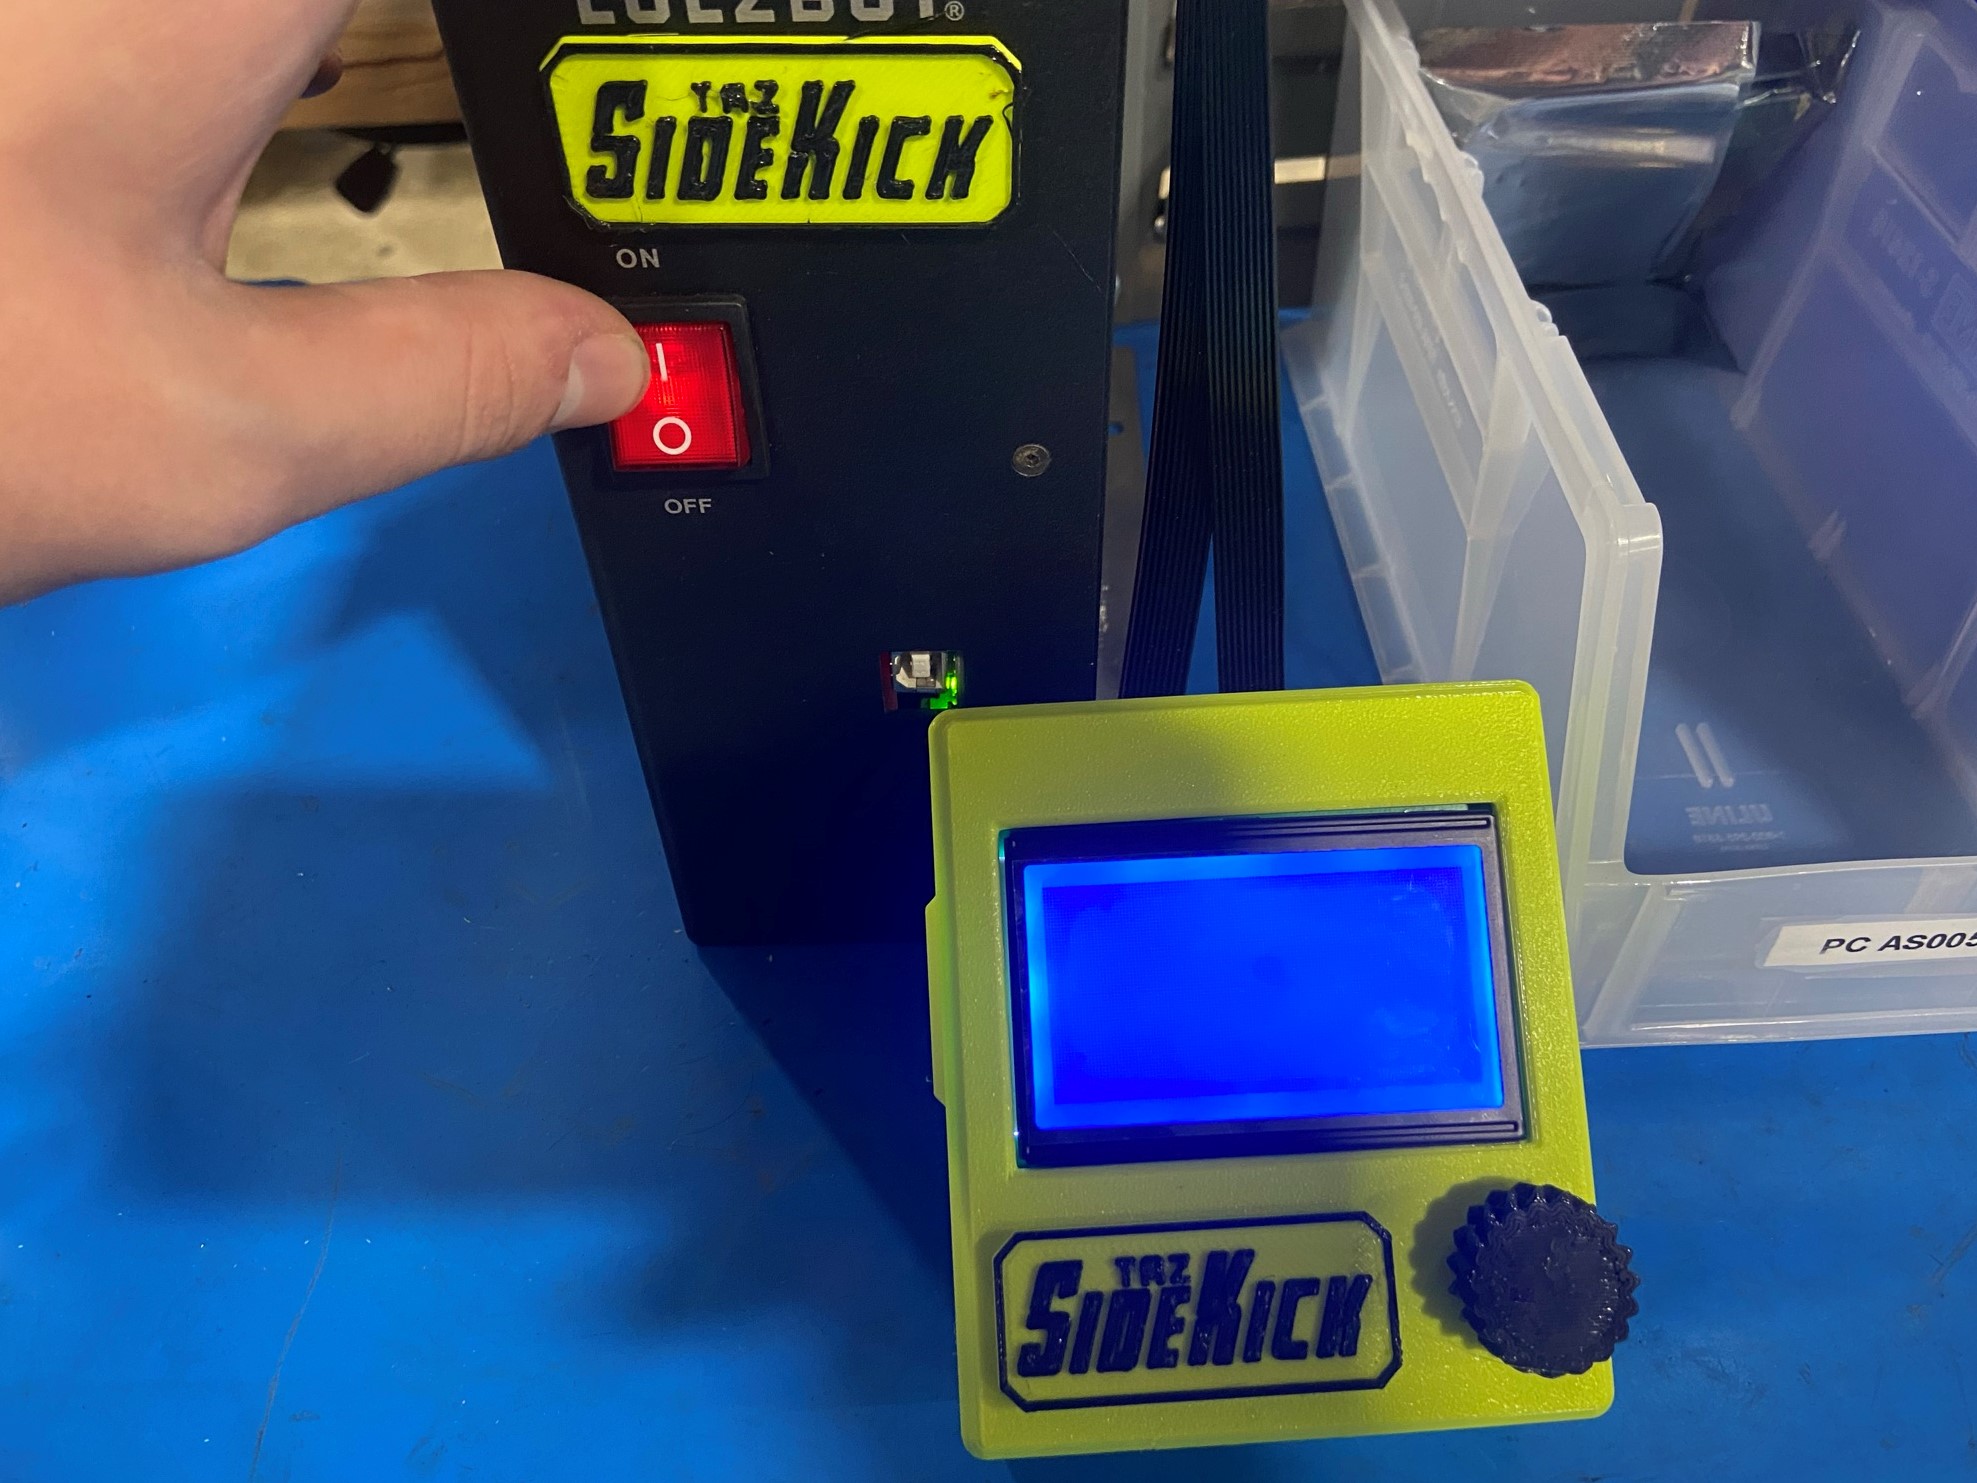
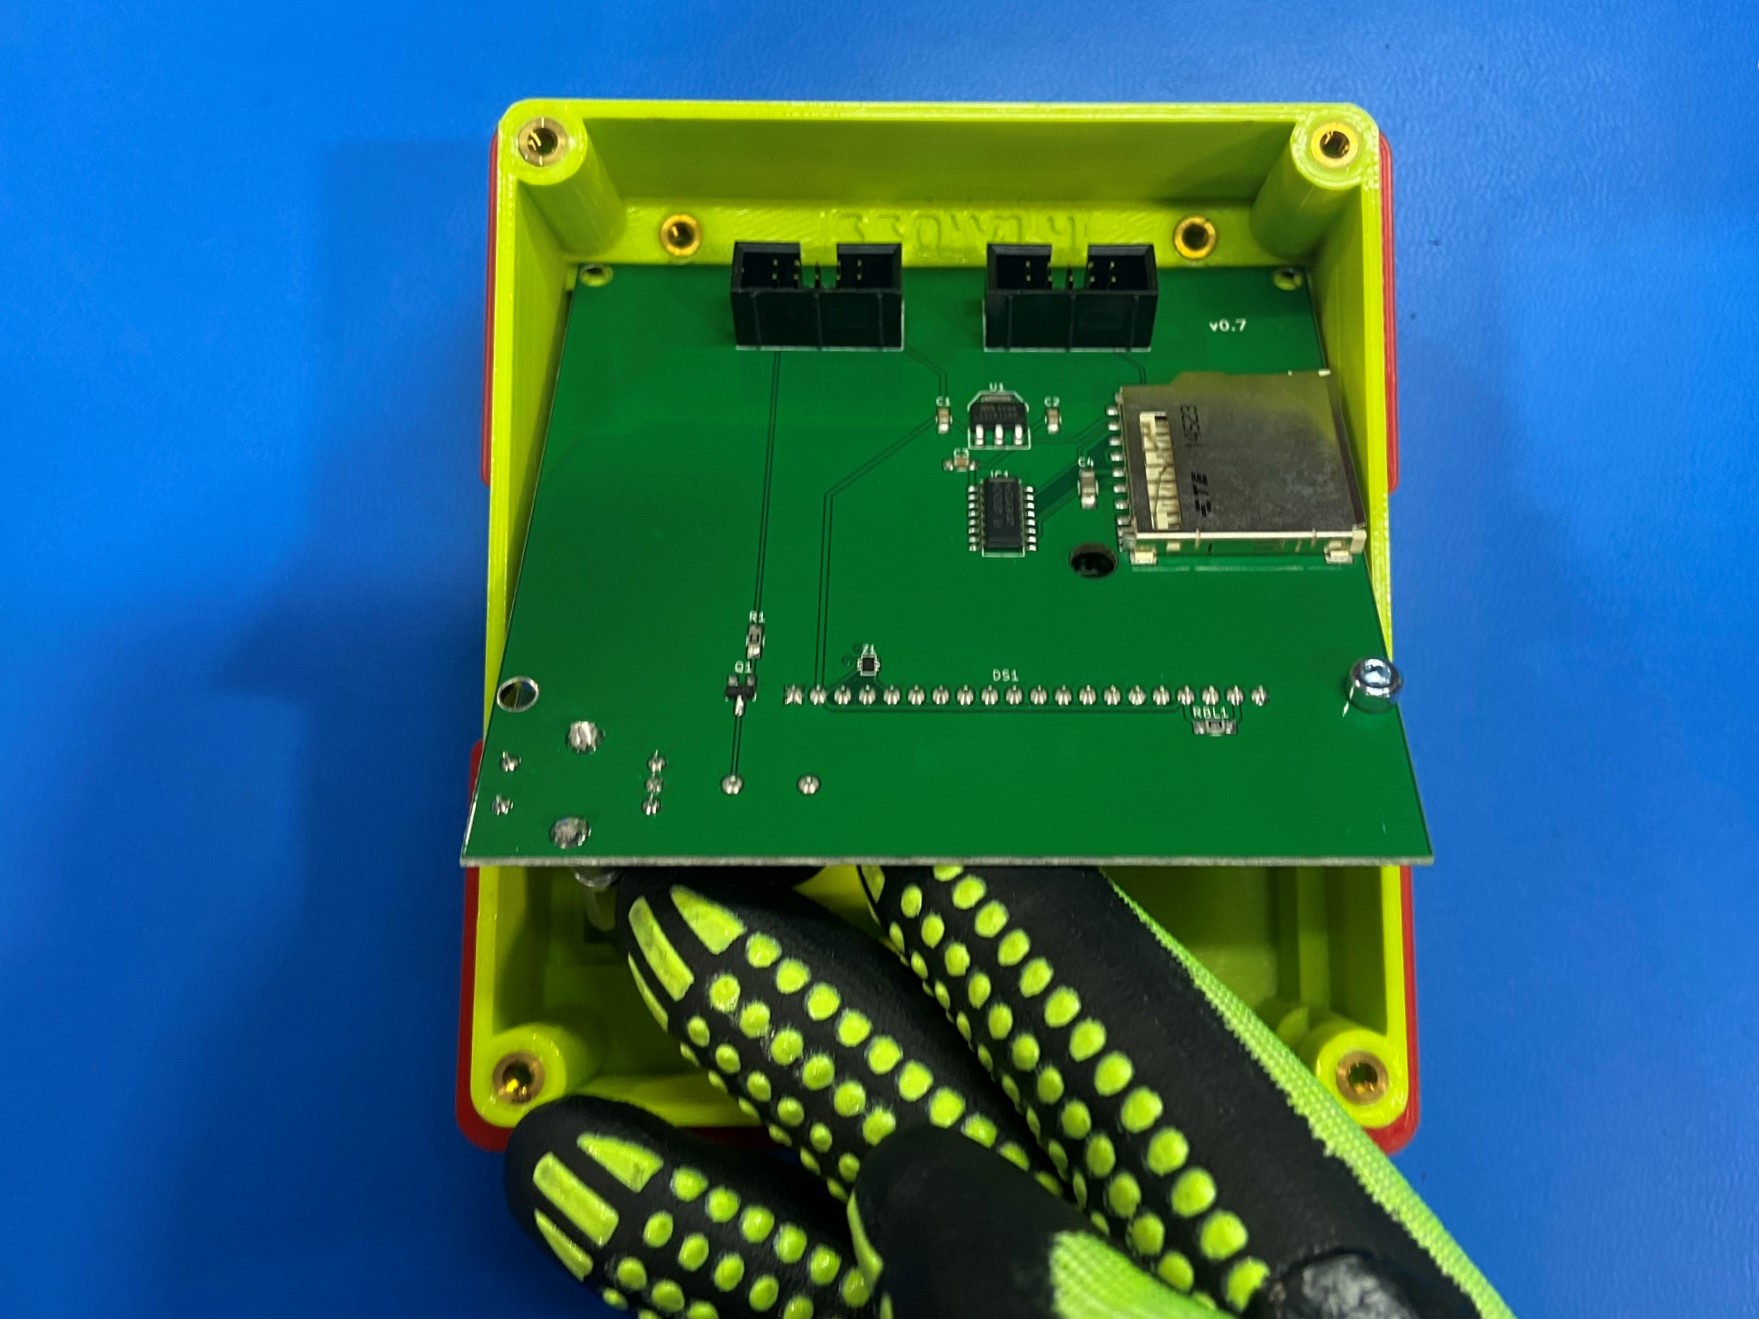
Connect the LCD assembly to the test printer connecting the two LCD wire to the assembly making sure the wire with the white tape around it is connected to the EXP2 port.
Then turn the test printer on, verify that the screen lights up with a light blue. If the LCD doesn't light up check the LCD wires and make sure they are connected correctly.
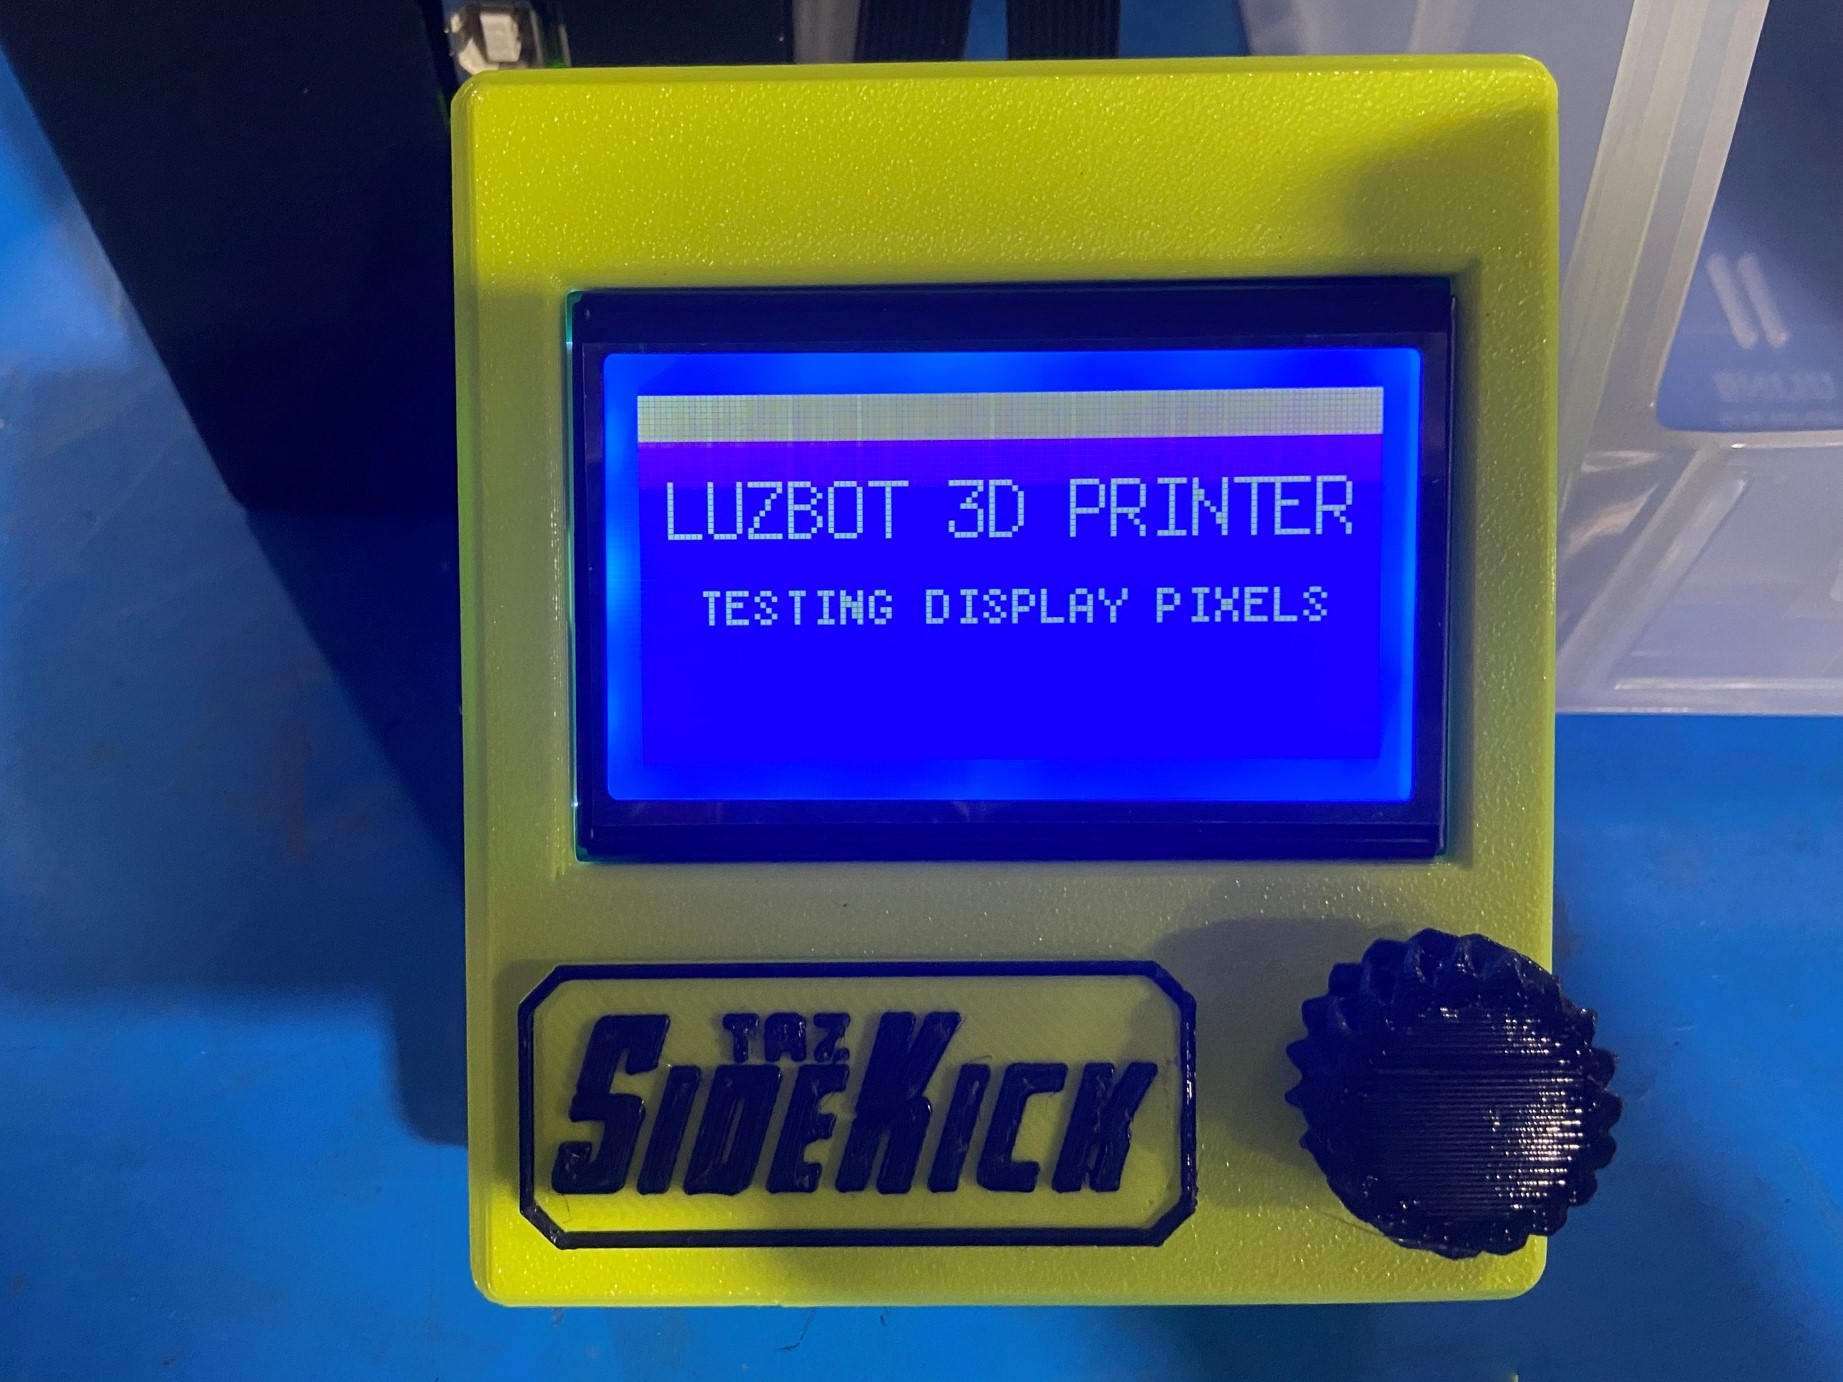
The screen should show the following message next:
LUZBOT 3D PRINTER TESTING DISPLAY PIXELS
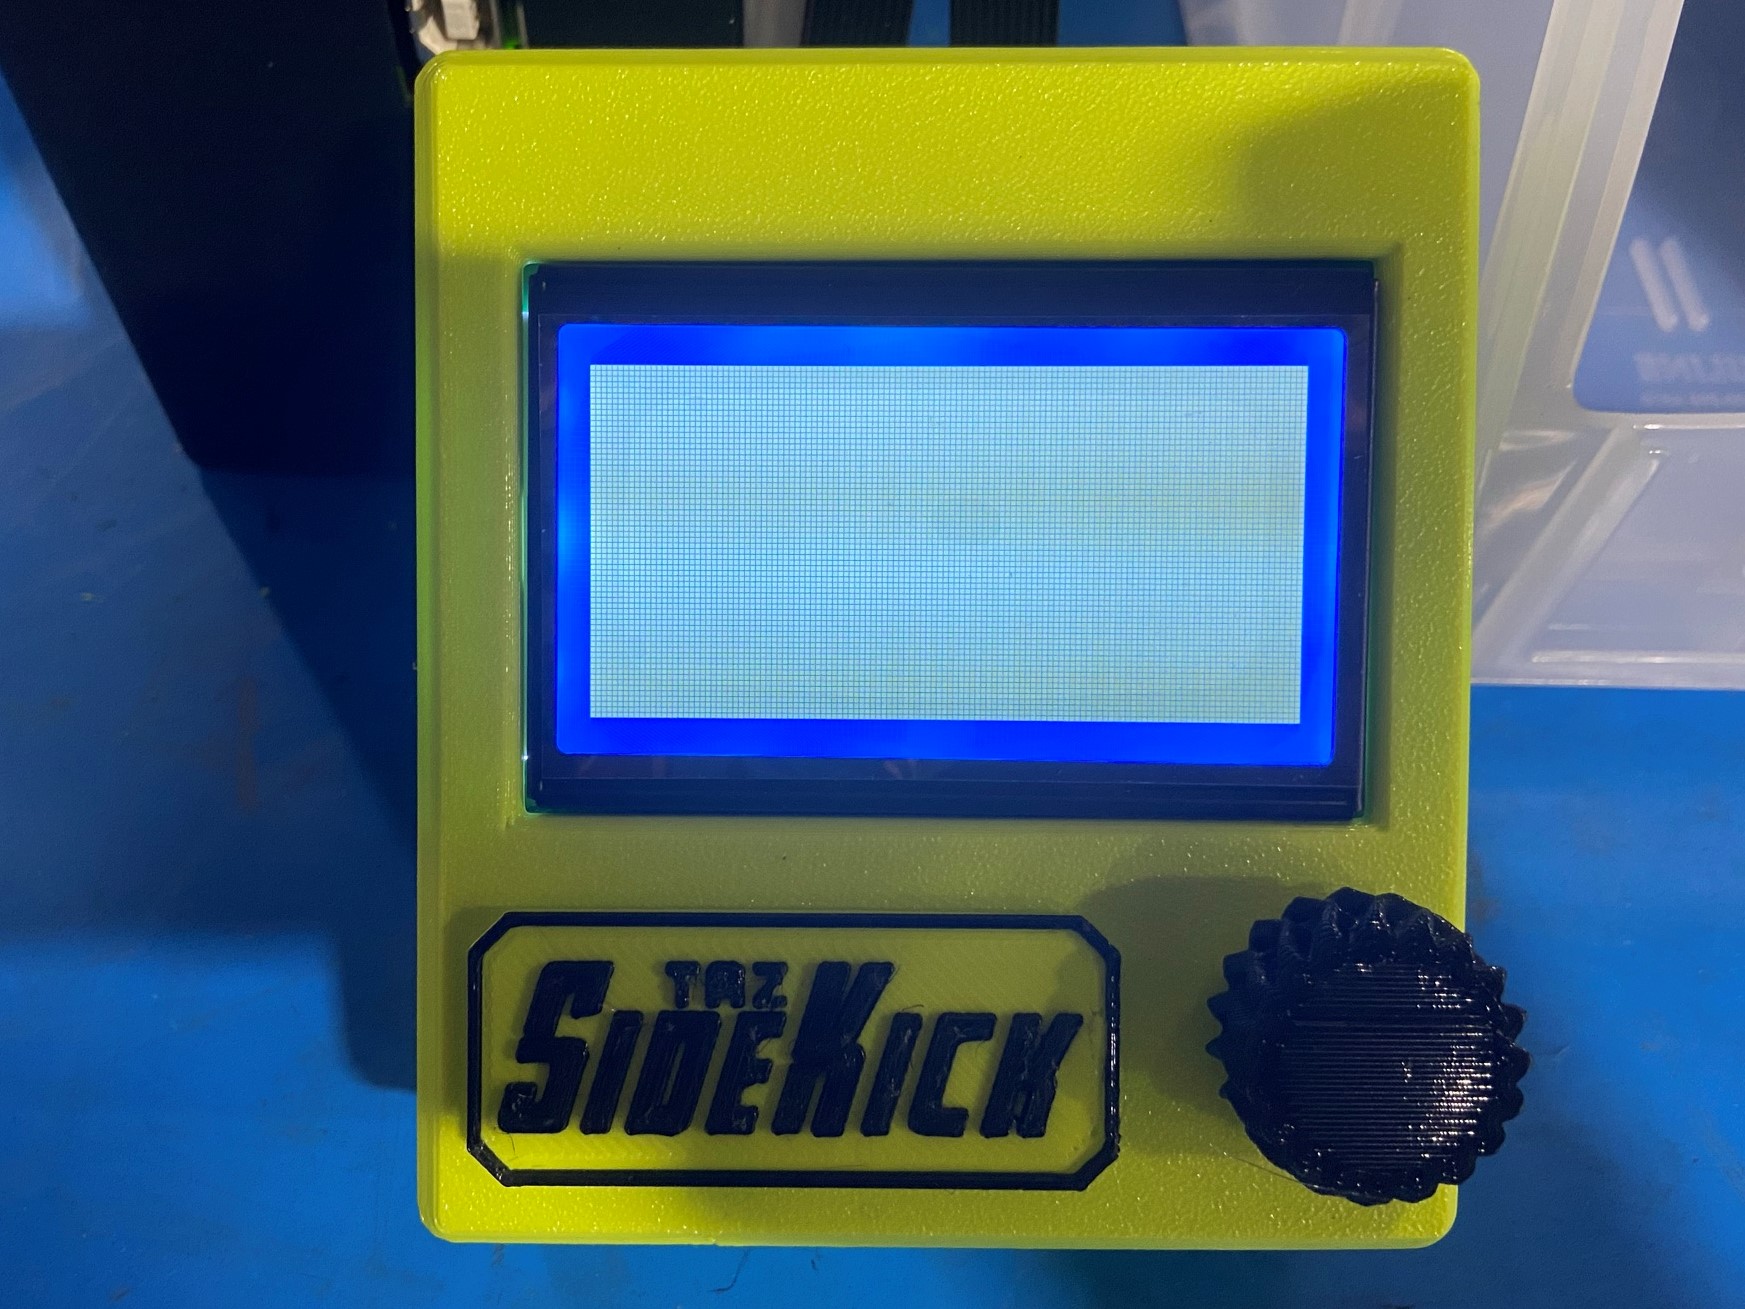
Then the screen will turn from white to blue then finally a solid white.
Look for any pixels that aren't lighting up or if there is something unusual with the displace. If this occurs tag the LCD and report to team lead.