Open HardwareAssembly Instructions
Guides for installation and assembly of the LulzBot line of products made by FAME 3D LLC.
Guides for installation and assembly of the LulzBot line of products made by FAME 3D LLC.
Gather a roll of PEI [HD-MS0311] and a roll of adhesive backing [HD-MS0310].
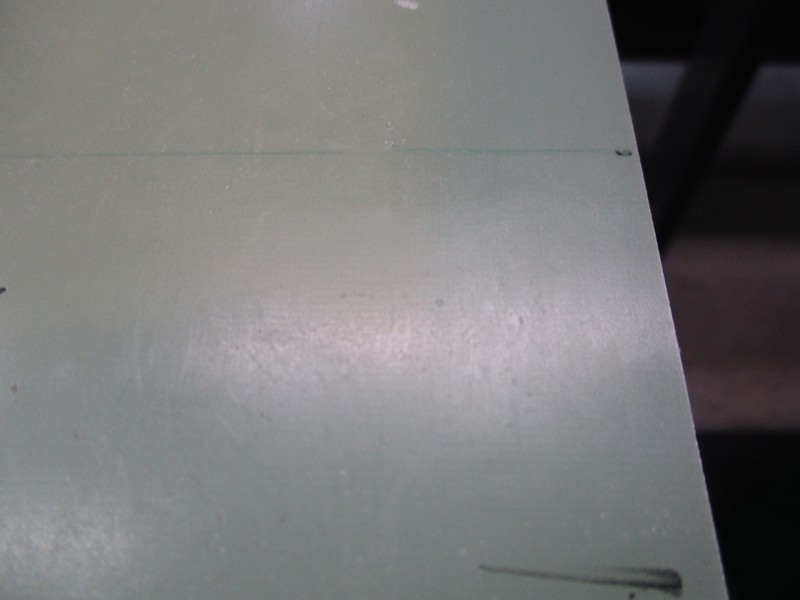
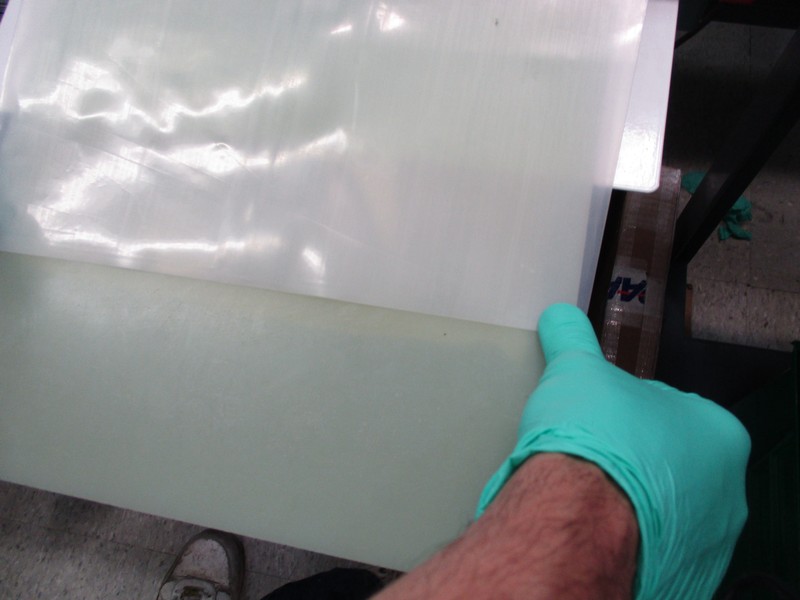
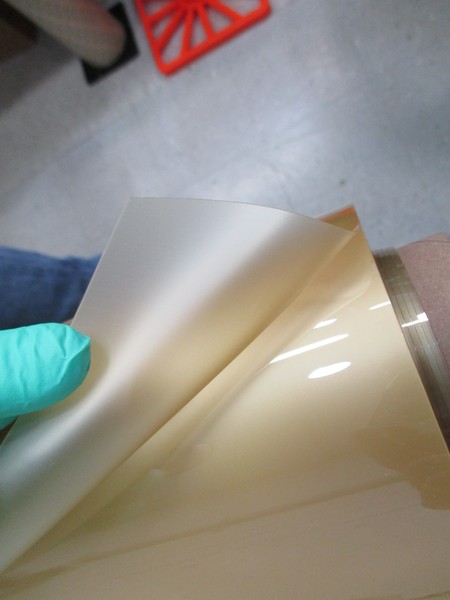
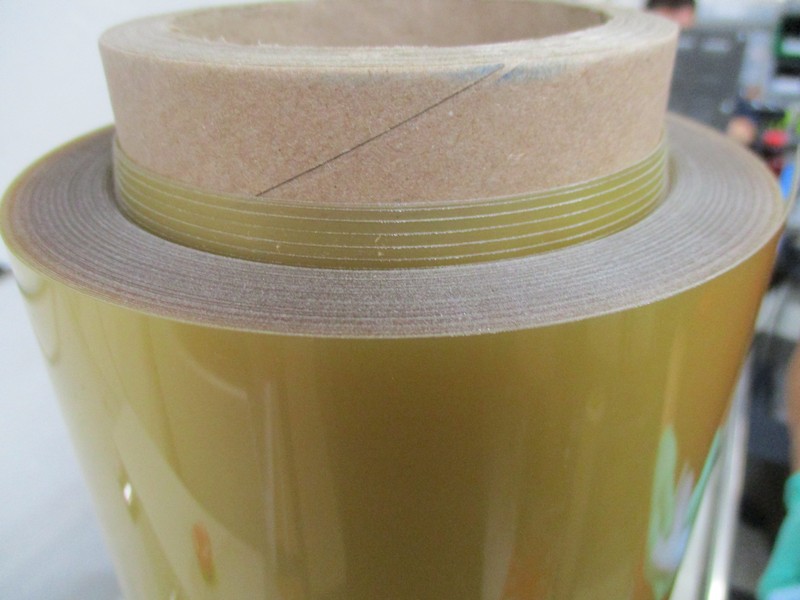
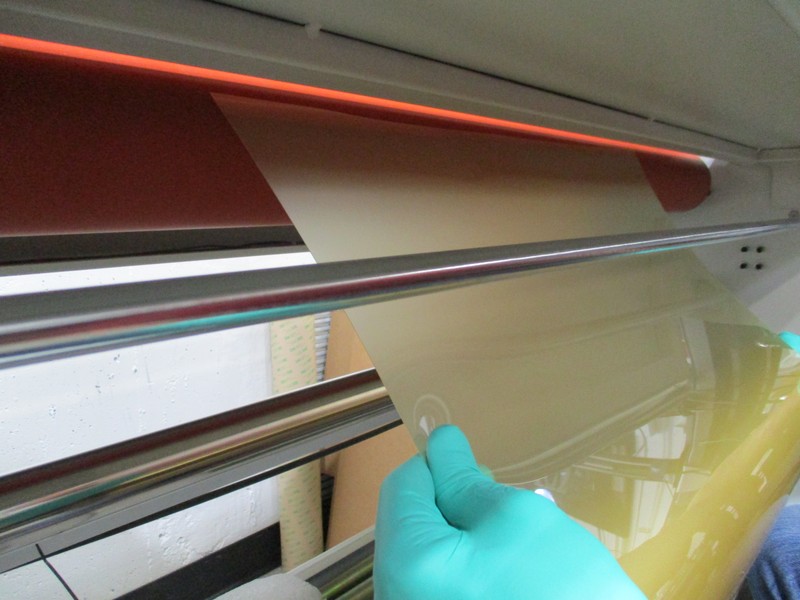
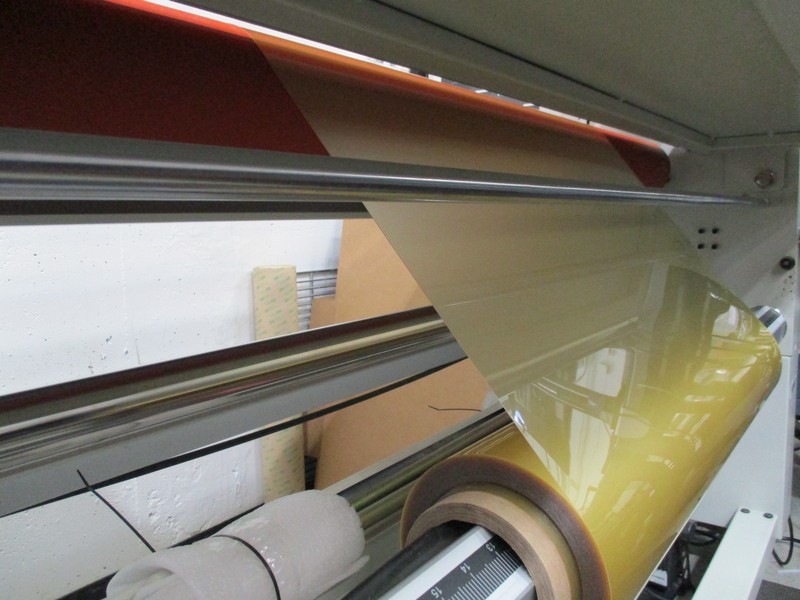
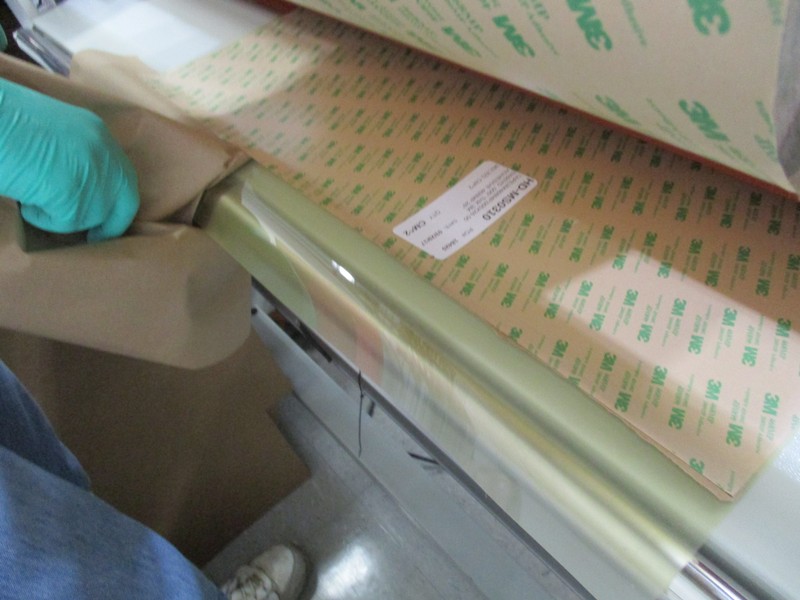
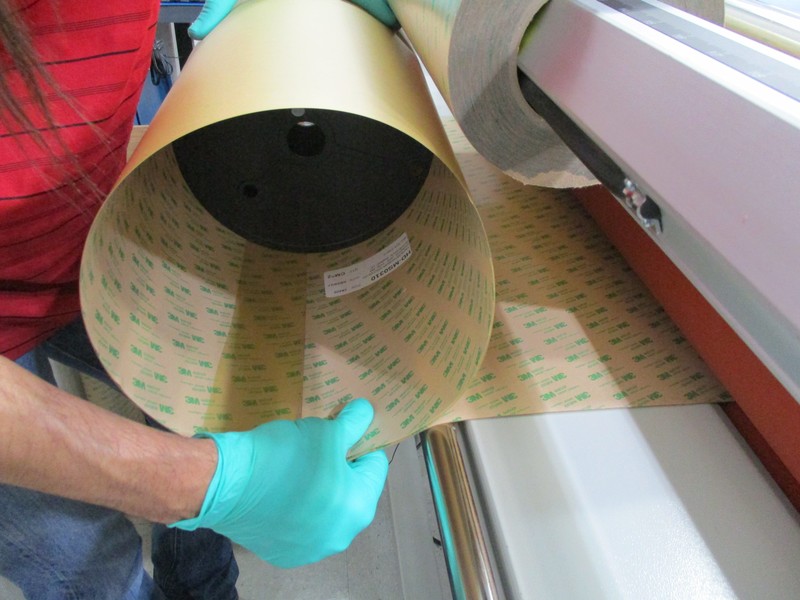
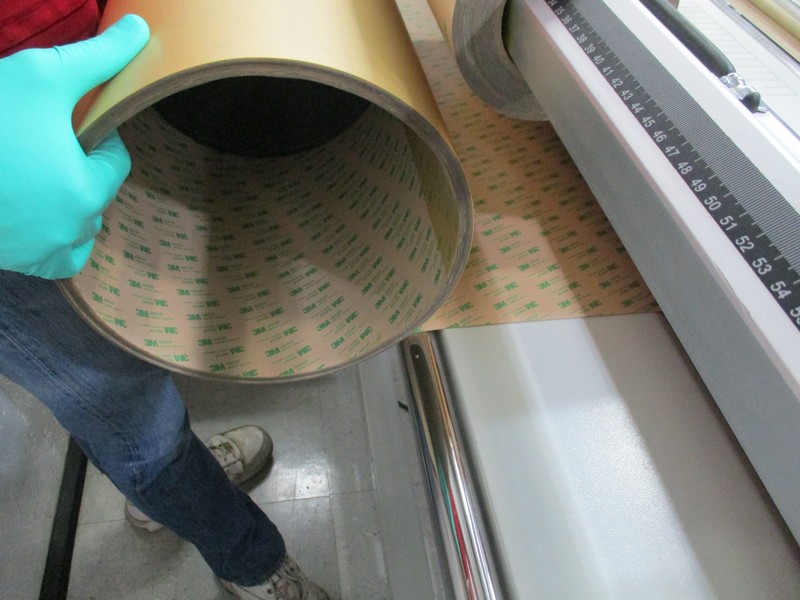
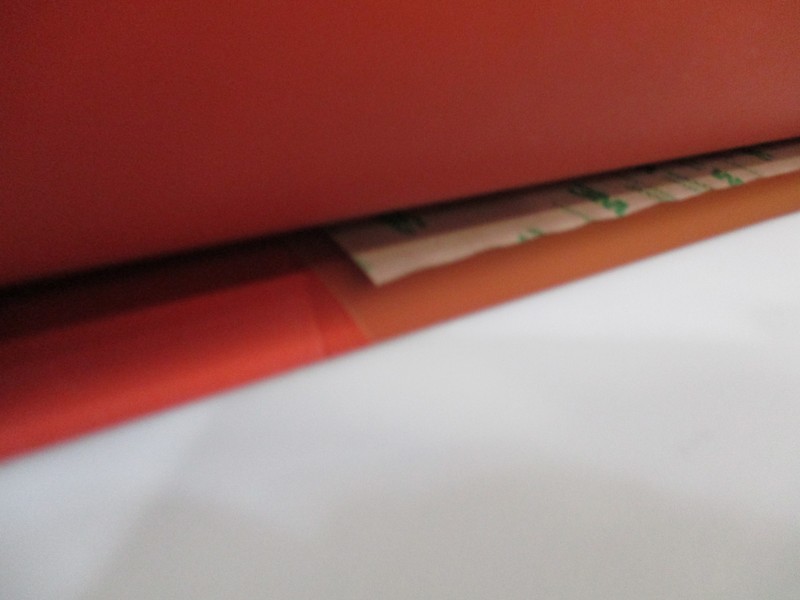
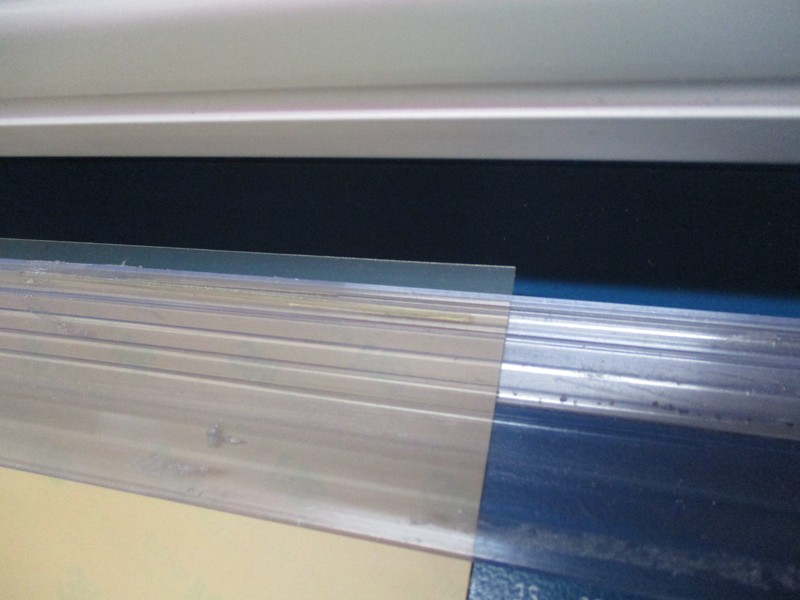
Begin by getting a lint free cloth and spray the cloth with one squirt of isopropyl alcohol. Use this cloth to wipe down the PEI roll to remove any debris/dust that is attached to the surface of the PEI. We will want to inspect the direction the PEI was rolled. It should have a matte finish on the inside of the roll and a shiny finish on the outside (see image). Next inspect the end of the PEI roll and check for potential alignment issues when laminating. Ideally the PEI is rolled such that the end of the roll is flush, however sometimes the roll can be offset a bit (see image). When the roll is offset the adhesive can drift to the edge of the PEI when laminating, so it is wise to inspect the roll and plan for the drift. In the case that the offset is extreme, you will likely have to cut and restart the lamination process once you get to the offset part of the roll.
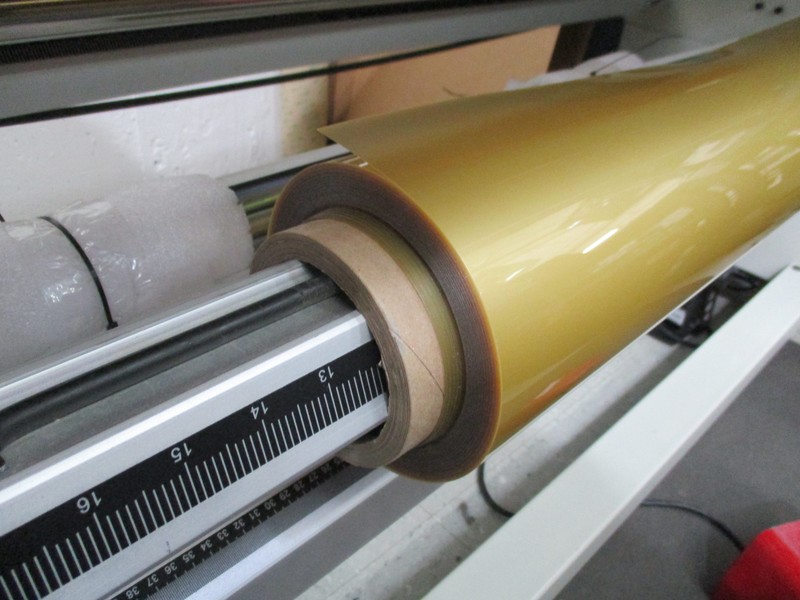
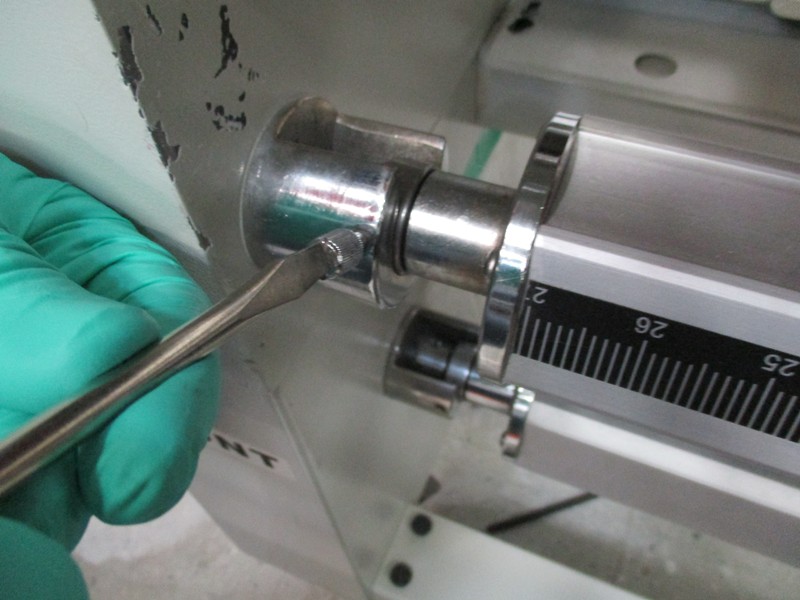
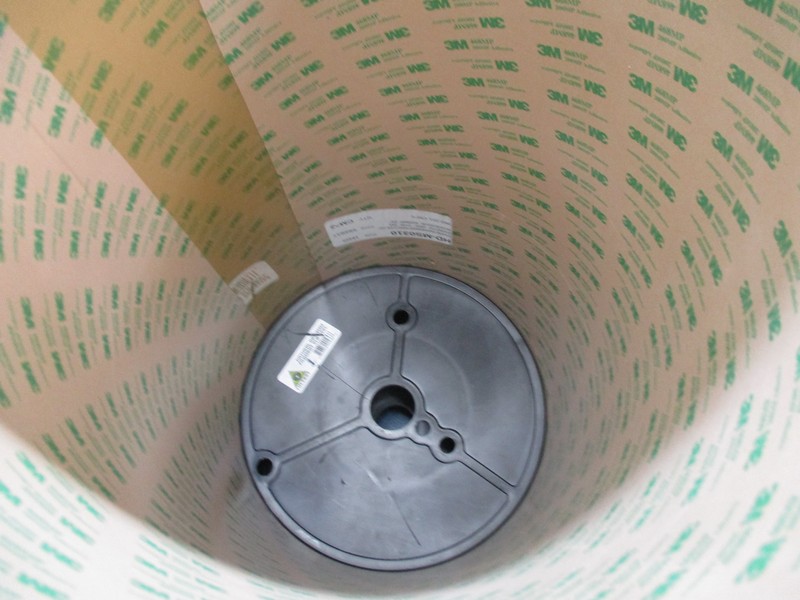
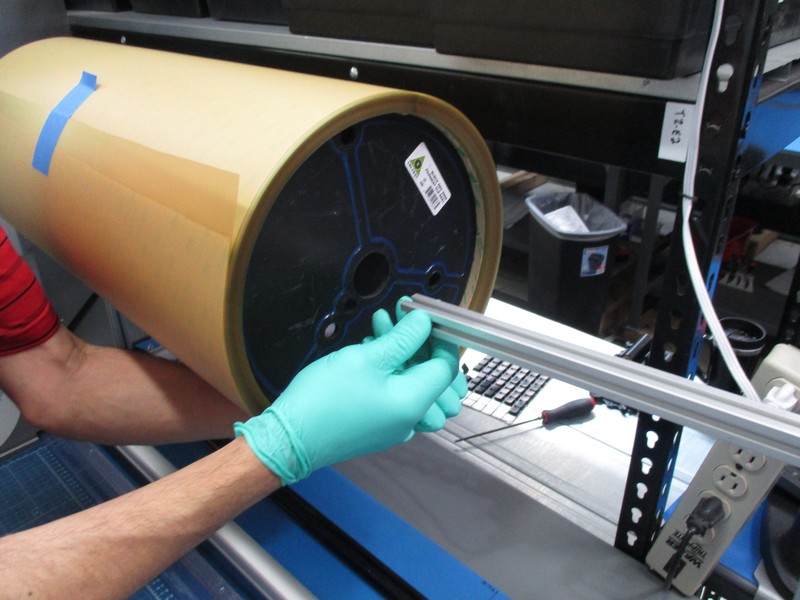
Next we need to install the PEI roll onto the lower auto grip supply shaft. Slide the roll onto the shaft and be sure that the PEI unrolls as pictured (see images). Next secure the supply shaft in its slot by tightening the locking screw with a screwdriver (see images). Get the PEI roll centered on the shaft and lock the roll in place using the rubber locking strap. To lock the roll in place turn the roll so the rubber strap gets pinched between the roll and the shaft (see images). This will prevent the roll from slipping in the lamination process.
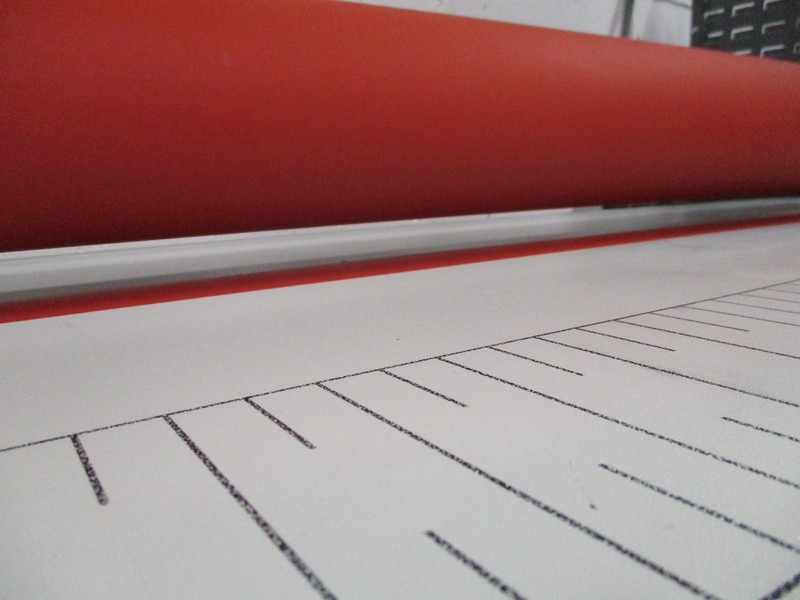
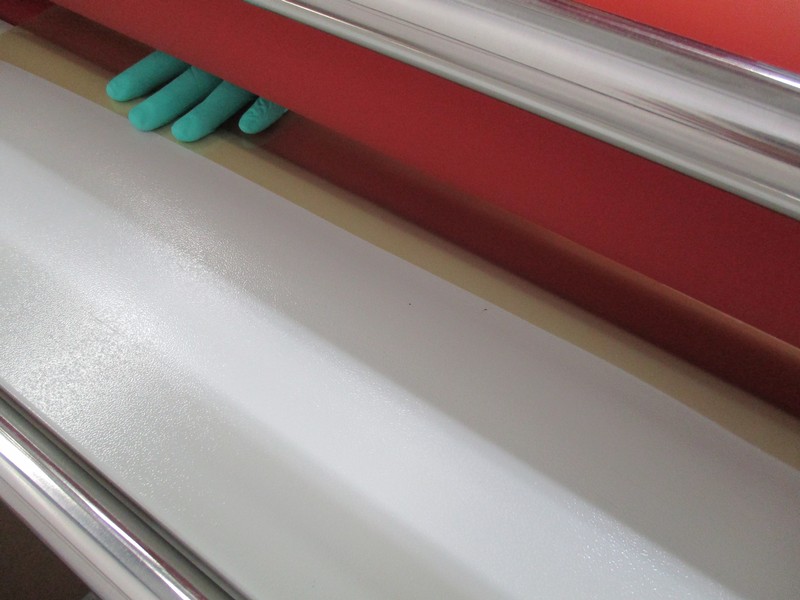
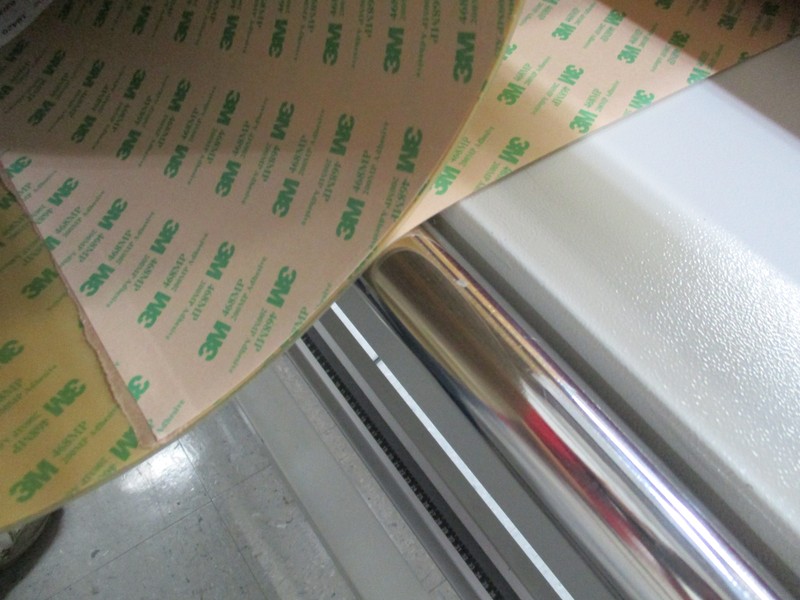
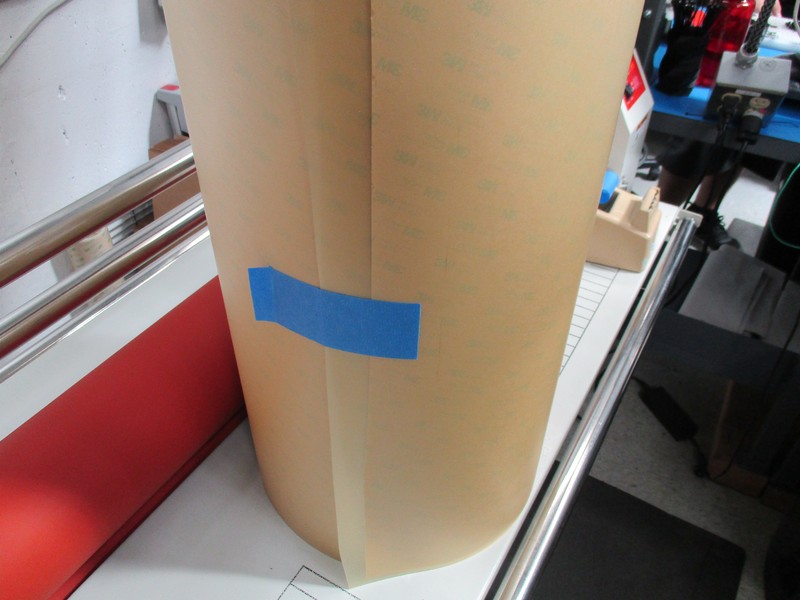
Raise the top roller to set up the PEI feed path. Feed the PEI up through the two metal cross bars and onto the front face of the bottom roller as pictured. Run the PEI over the top of the bottom roller and out the back side of the laminator. Tape the PEI to the laminator table on the backside of the rollers using painters tape (see images). Once the PEI is attached check the feed path to ensure smooth operation.
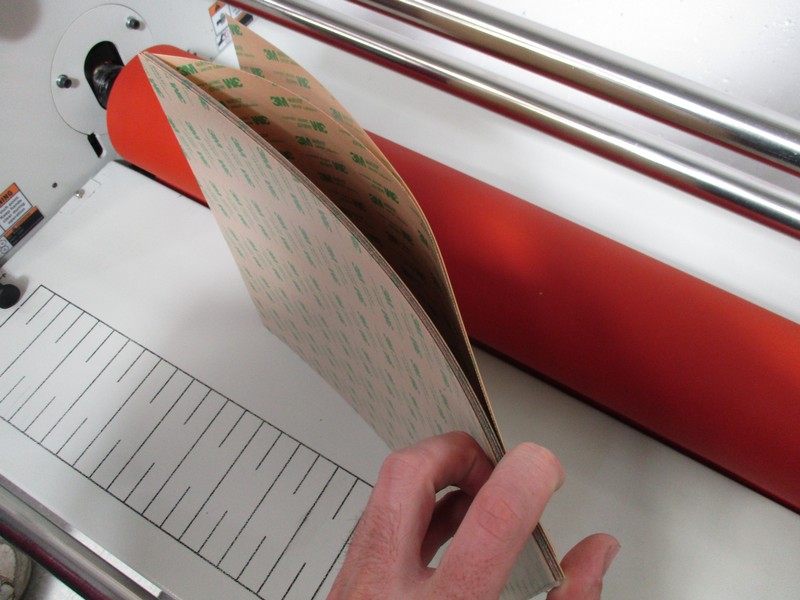
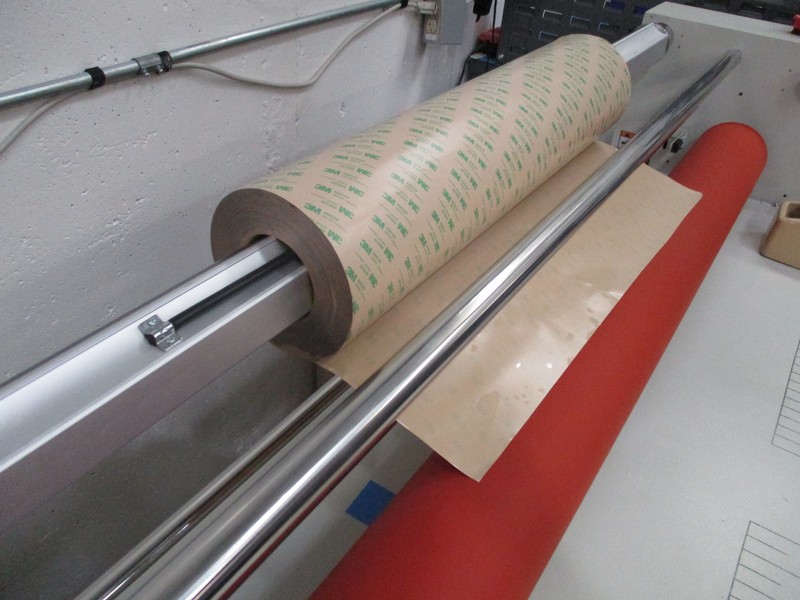
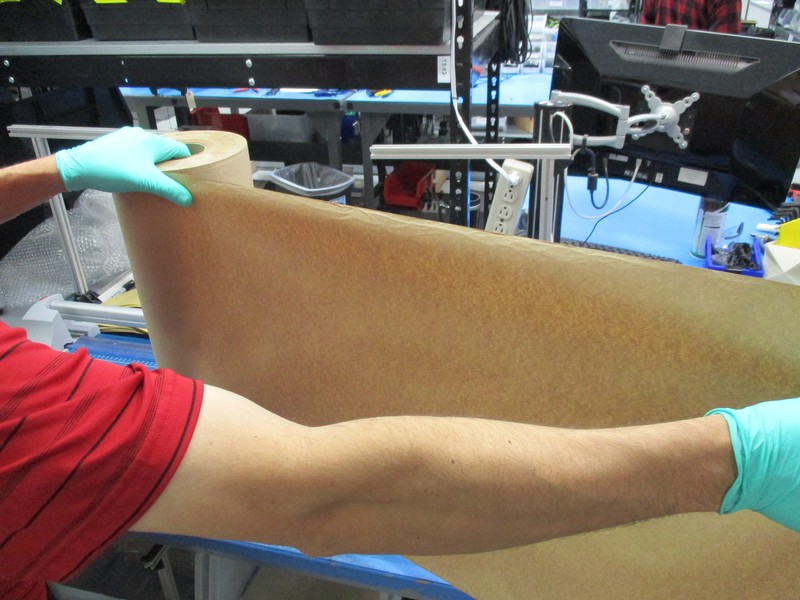
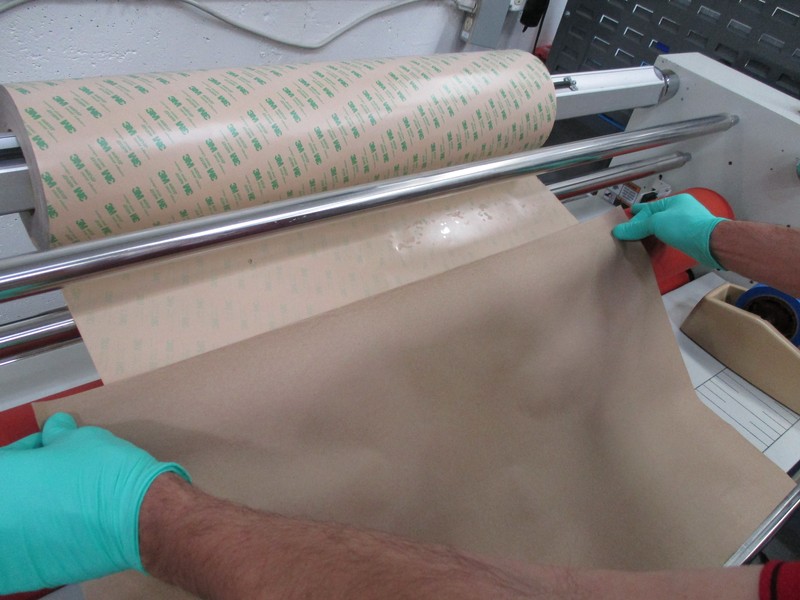
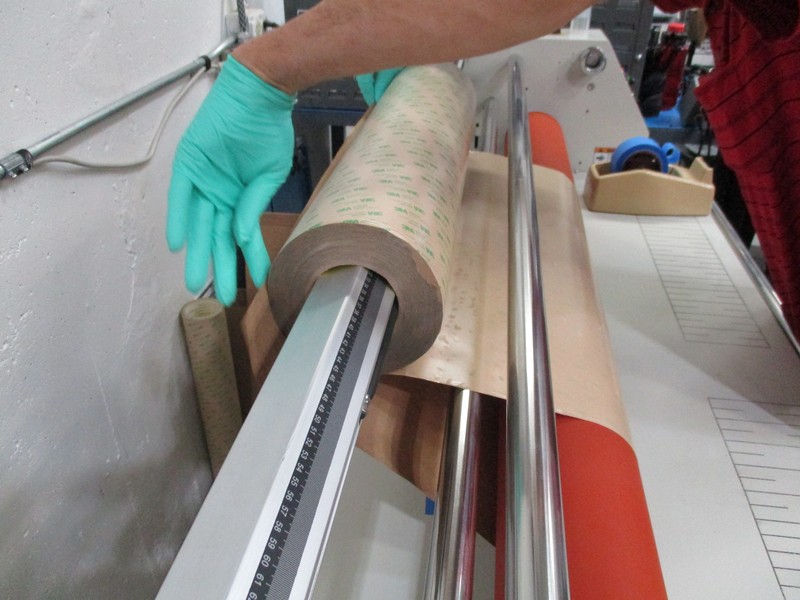
Next we need to install the adhesive roll on the upper auto grip supply shaft. Be sure to install so the adhesive feeds through the two upper metal cross bars as pictured (see image). Secure the supply shaft in place by tightening the lock screw with a screwdriver. Now get a 2 foot piece of butchers paper. Attach the butchers paper to the end of the adhesive roll as pictured (see image). Feed the butchers paper over the top of the top roller and out the back of the laminator (see image). Be careful not to let the adhesive touch the PEI.
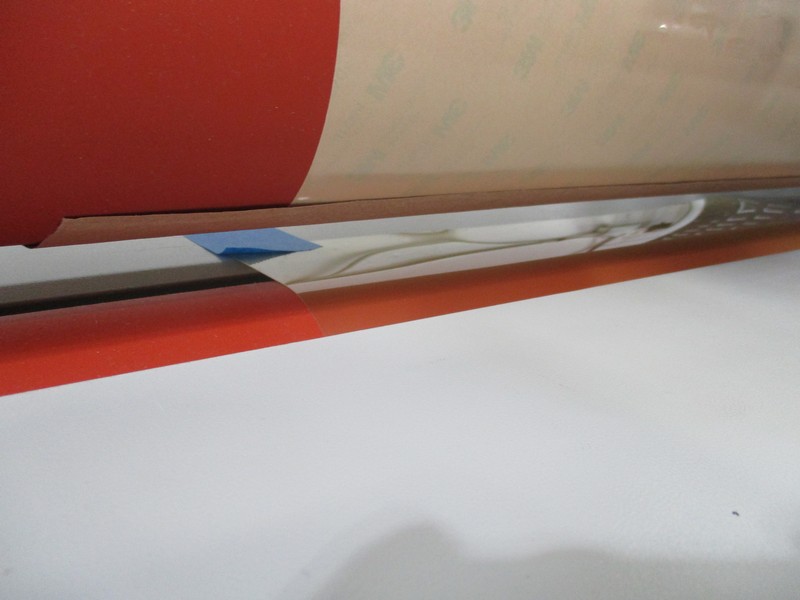
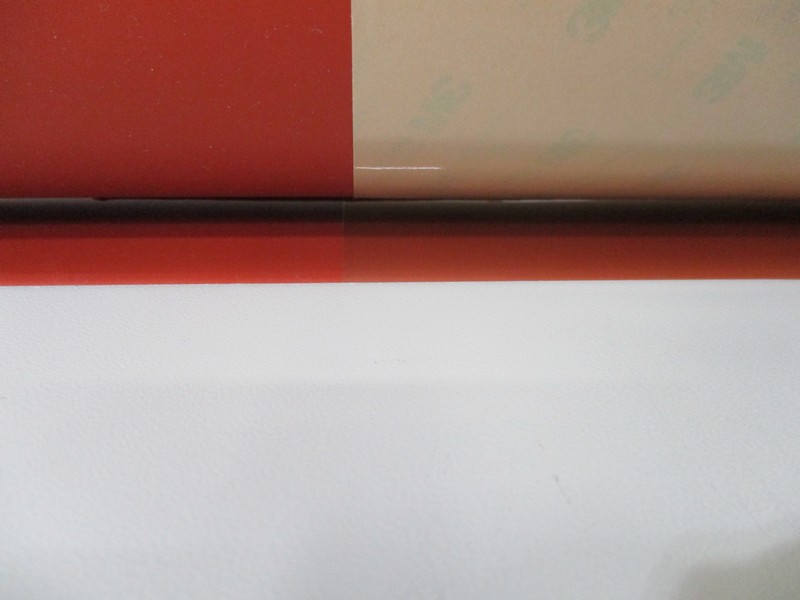
Shift the adhesive roll on the upper supply shaft to align the adhesive roll to the PEI roll. Align allowing a little room on either side to ensure proper coverage when the rolls shift a little from left to right (see image). Lock the adhesive roll in place using the rubber auto grip strap. When the rolls are aligned and properly locked in place on their shafts it is time to lower the top roller and mate the PEI and adhesive. Lower the roller to 100% pressure


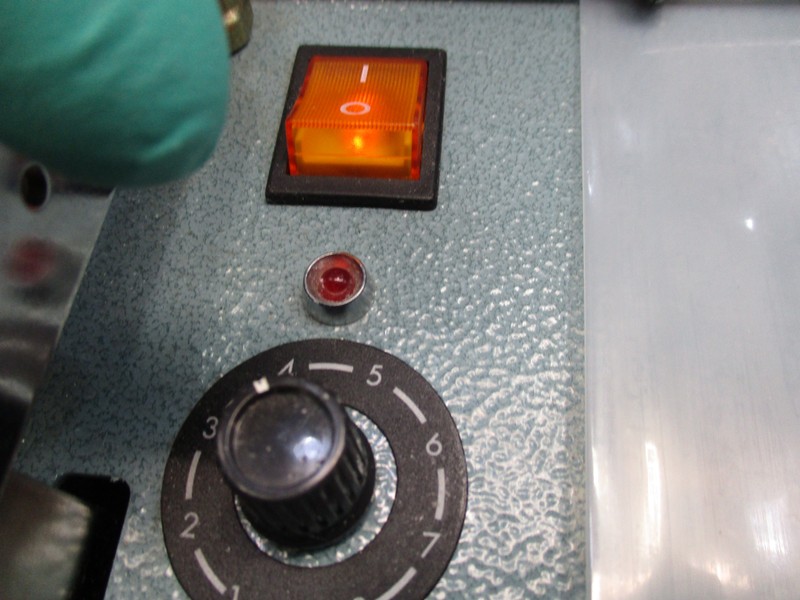
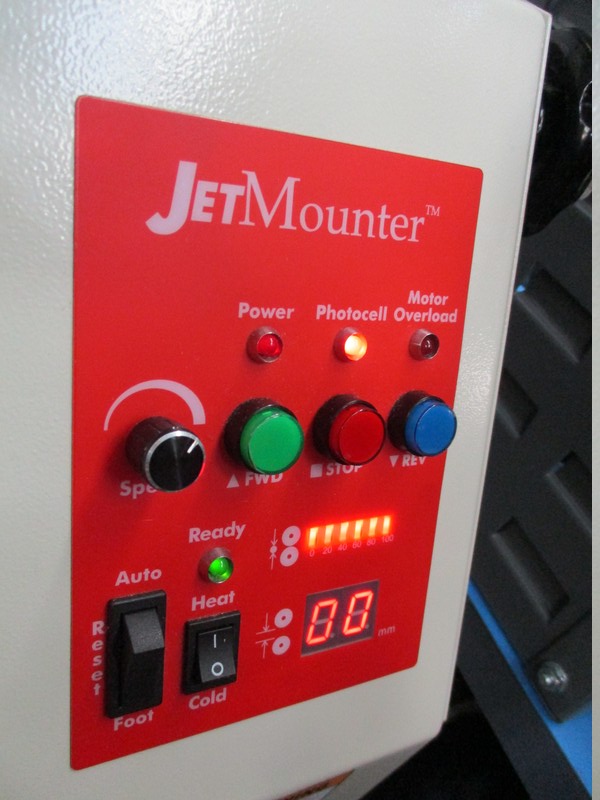
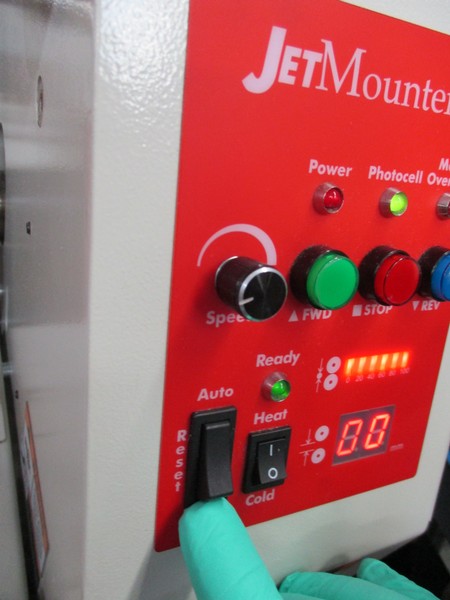
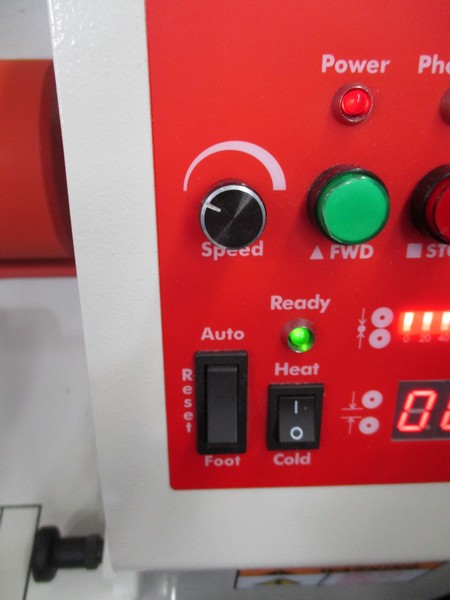
The laminator should be at 100% pressure with the PEI and adhesive rolls aligned and installed. Tighten the hand wheel until the photocell light turns red. Now back off until the light turns green (see image). Set the speed to 0 and then set the reset button to auto.
Barely turn the speed up to its lowest setting. The laminator rollers will start to move. Get about 6 inches through the rollers and set the speed back to zero, the rollers should stop. Go to the backside of the machine and tear the butchers paper off the end of the PEI/adhesive sheet. Grab a filament reel as a guide to roll the PEI/adhesive sheet around.
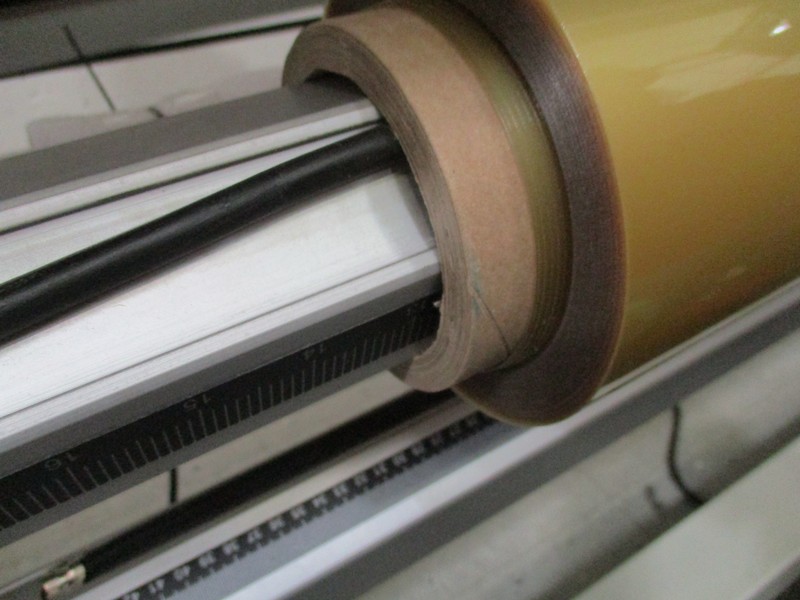
Bump the speed on the laminator up to about 45%. DO NOT ROLL FASTER THAN 45% SPEED. The rollers will start to move again. Guide the PEI/Adhesive roll around the filament reel as pictured (see image). Continue to roll the PEI/adhesive around the filament reel. Be sure to keep an eye on the alignment of the adhesive and PEI. This is where it is important that when we set up the alignment of the PEI and adhesive that we made sure to leave room on either side to account for the reels shifting. If the PEI or adhesive begin to drift to the edge of the reel it is ok as long as it doesn't drift off the edge. If the adhesive drifts off the edge of the PEI we need to stop the rollers and cut the PEI and adhesive and realign them and restart the lamination process.
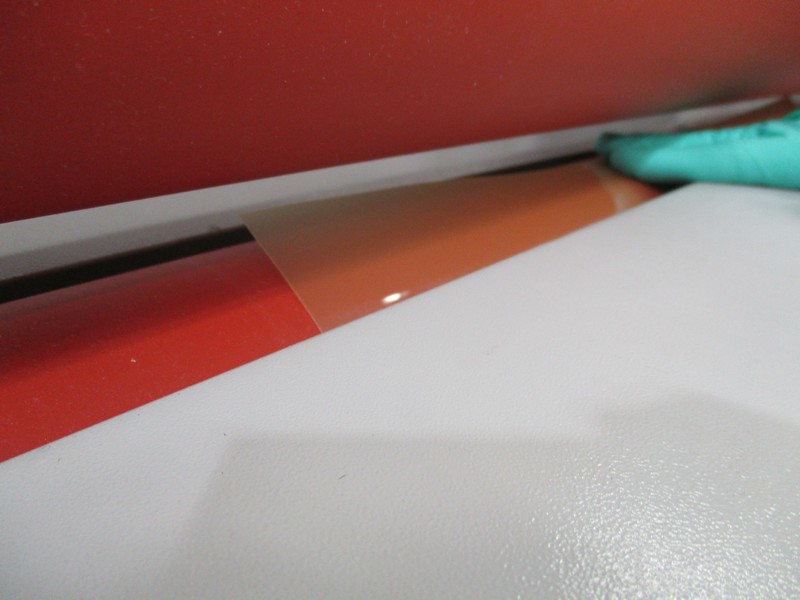
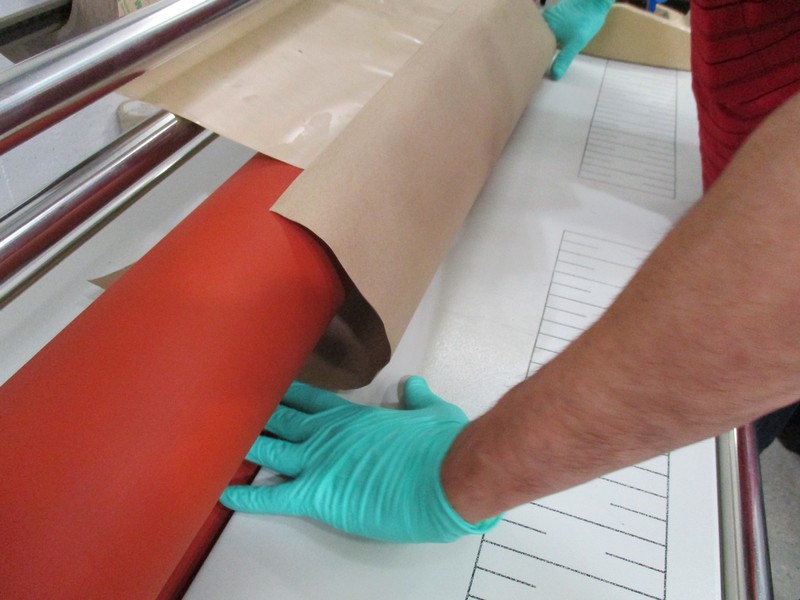
Continue to reel the PEI/adhesive around the filament reel keeping the edges straight as you go. Keep an eye on the PEI reel as it will likely run out before the adhesive. Once the PEI gets very close to the end of its roll, set the speed to zero to stop the rollers. Place the reeled up PEI/Adhesive sheet on top of the metal cross bars. Using scissors cut the end of the PEI off its roll. Now cut the reel of adhesive at the lower metal cross bar as pictured (see image). If you cut the adhesive here it will land right at about the end of the PEI. Be careful not to touch the adhesive when cutting. Hold the adhesive against the roller to prevent trapping air bubbles. Turn the laminator speed back up to the lowest setting and guide the adhesive along the roller until the end of the adhesive and the end of the PEI make it through the rollers.
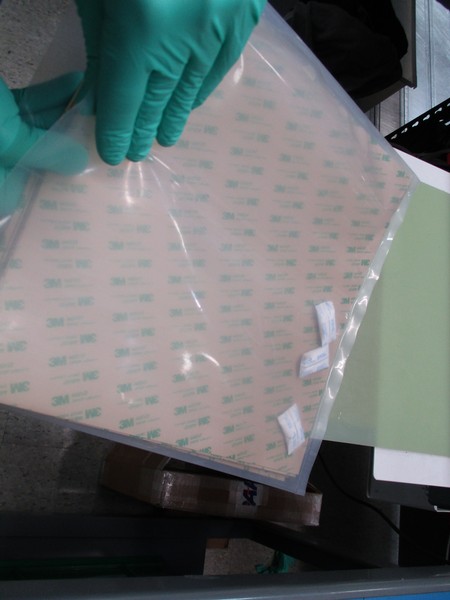
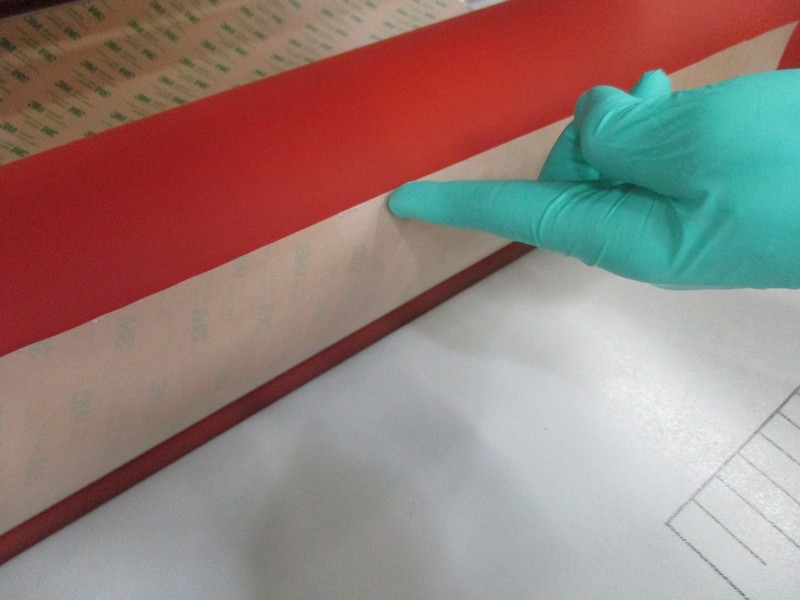
Now that the adhesive its attached to the PEI apply a piece of painters tape to hold the roll together (see image). We are now ready to cut the PEI into sheets to be used for TAZ and Mini heat beds.


Get the taped roll of PEI and adhesive and press the filament reel all the way to the bottom. Grab a second filament reel and push this reel in at the top of the roll as pictured (see image). These filament reels will act as a mounting point for cutting the PEI into sheets. Place this roll of PEI/adhesive onto the reel holder at the cutting station. Note the orientation of the reel(see image).
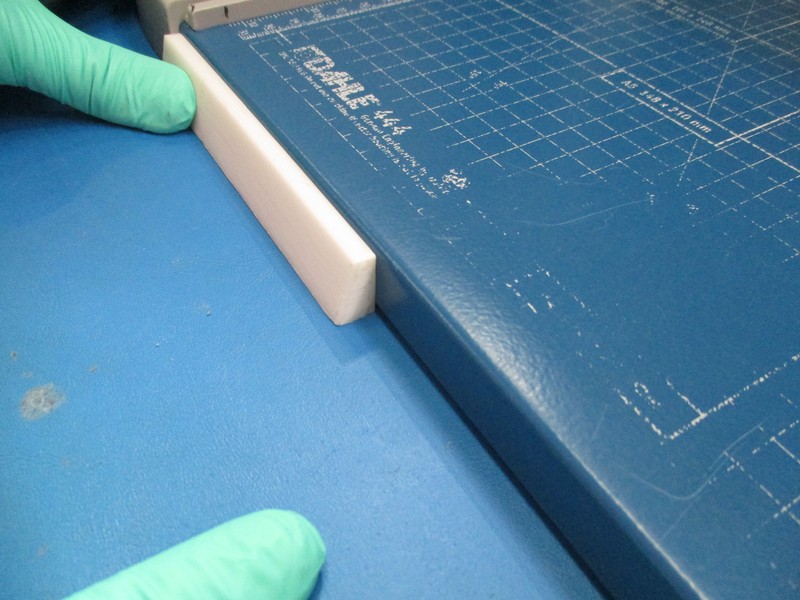
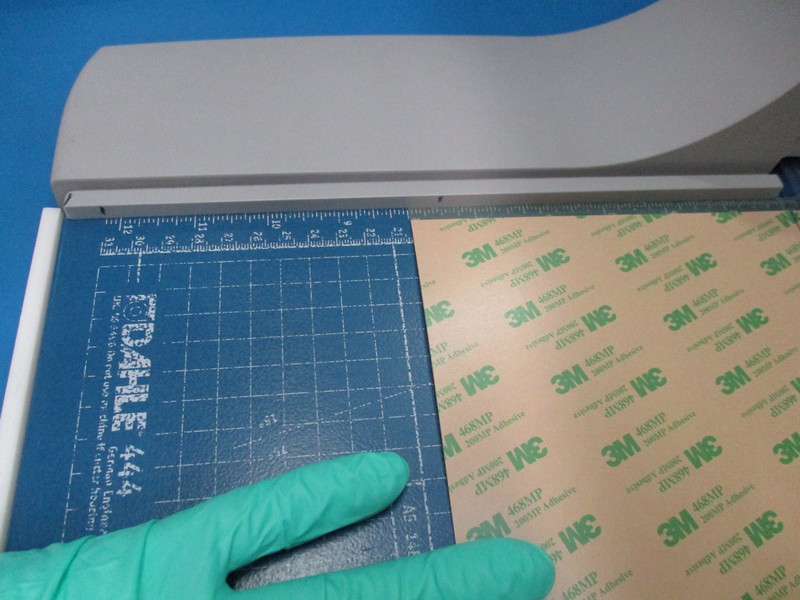
There are tiny 3d printed spacer jigs at the back corner of the cutter (see image). Use one of these on the front left corner of the cutter (see image).


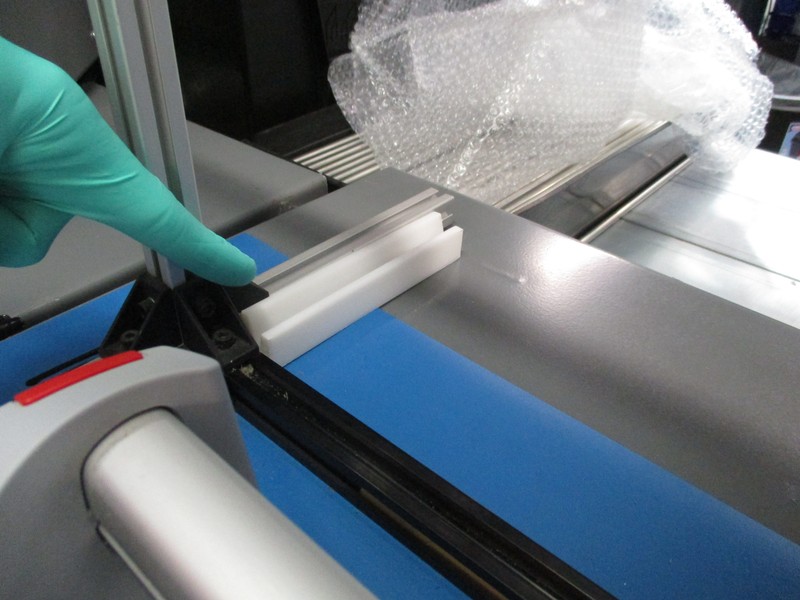

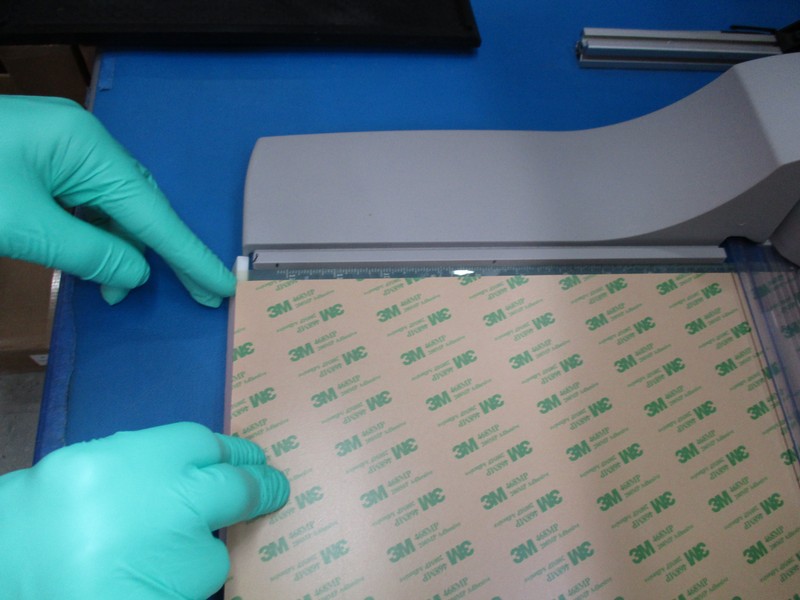
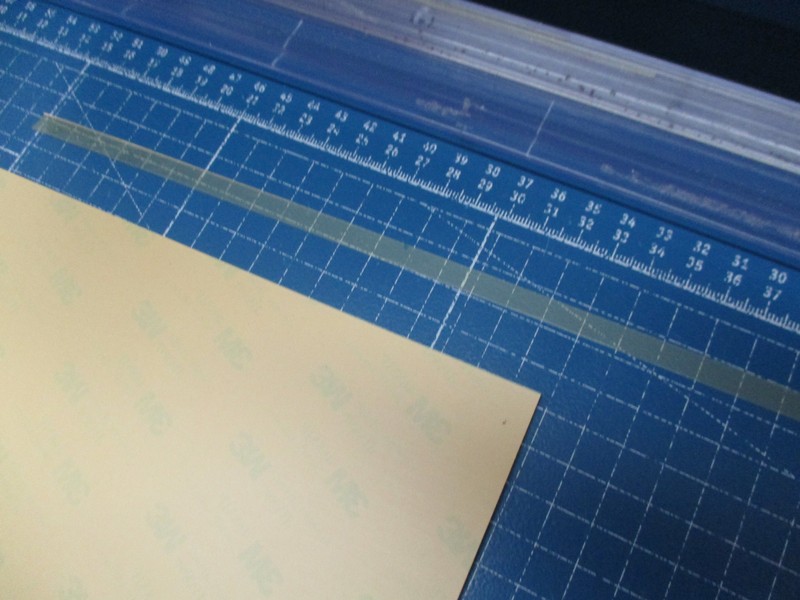
Feed the end of the PEI/adhesive roll into the cutter. Cut the end off to make a square starting point (see image)
Depending on what you will be using the PEI for, you will cut to various sizes. The possible sizes are:
Production:
TAZ- 32 cm
Mini- 20.5 cm
Store:
TAZ- 31 cm
Mini- 19 cm
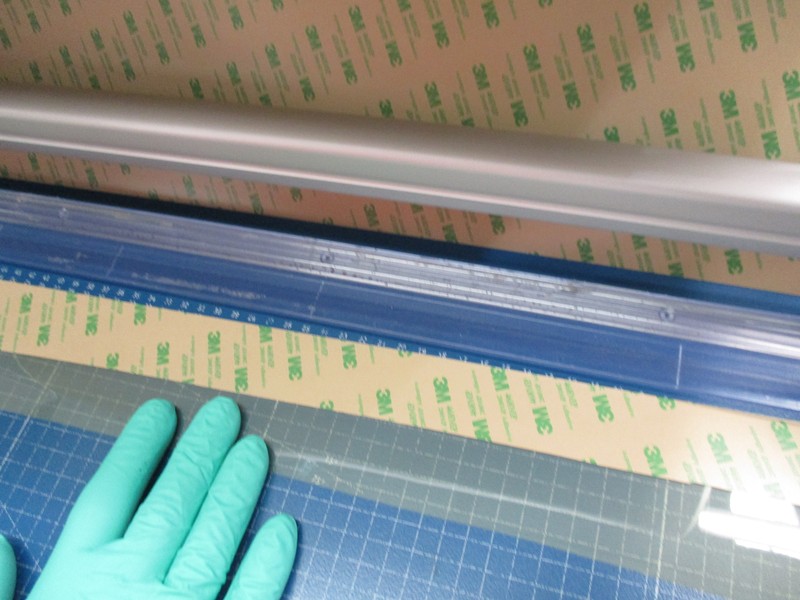
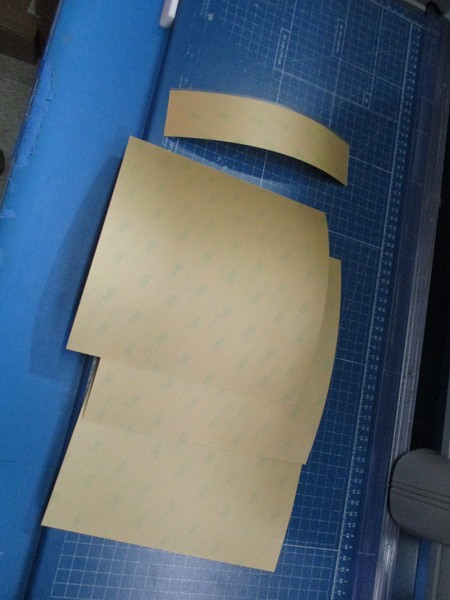
TAZ PEI: Ensure the cutting jig is in place and pull the PEI through the cutter so that it is flush with the edge of the cutting jig as pictured (see image). Now run the cutting blade across the guide. You will get a strip of PEI that can be used for 2 TAZ beds. One end of this sheet will have some PEI overhanging off the adhesive backing. Take the overhanging end of this sheet and feet into the cutter to cut this end off and make a square edge that is fully covered with adhesive (see image). Align the edge you just cut to the edge of the cutting jig and make another cut. Now with the remaining piece slide it down so the edge is flush with the cutting jig and trim the remainder off the other end. You should now have 2 pieces of TAZ PEI (see image).
Mini PEI: Pull some PEI into the cutter making sure to measure to the appropriate length for a Mini bed. Now run the cutting blade across the guide. You will get a strip of PEI that can be used for 3 Mini beds. One end of this sheet will have some PEI overhanging off the adhesive backing. Take the overhanging end of this sheet and feet into the cutter to cut this end off and make a square edge that is fully covered with adhesive (see image). Now cut this strip into three mini bed sheets. You will end up with 3 sheets and a small piece of scrap (see image).


Now that we have cut the PEI in preparation for TAZ/Mini heat bed production. It is time to package the pre-cut PEI for storage. It is important to have a nice buffer built up of pre-cut PEI for days of high heat bed demand. We store PEI in packaged quantities of 10.
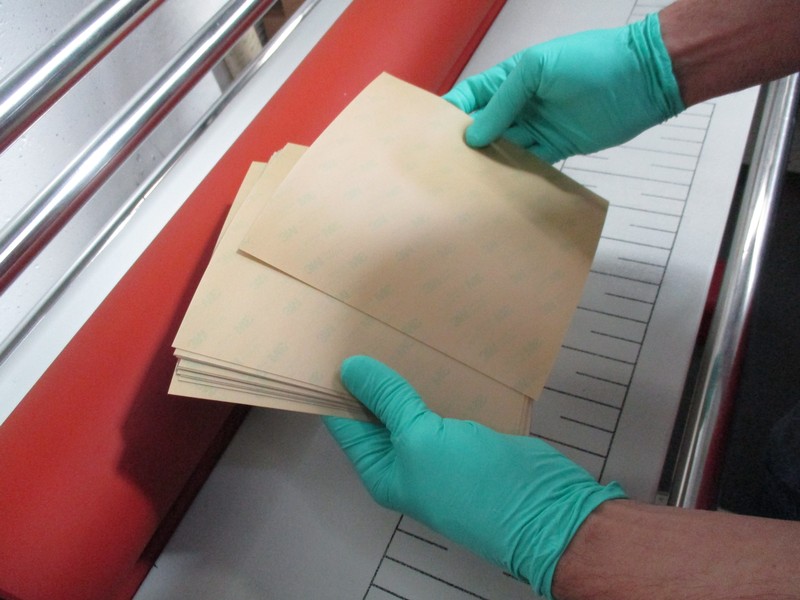
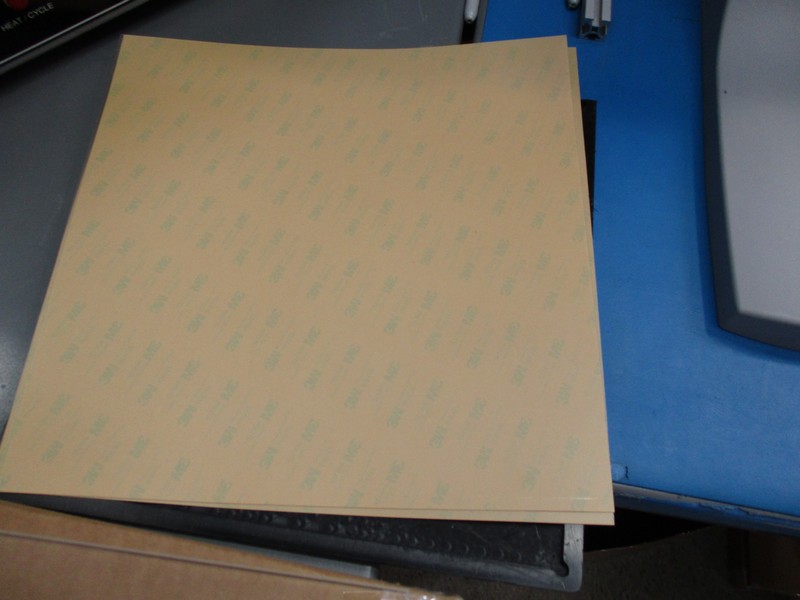
To start collect your 10 TAZ or 10 Mini PEI sheets and inspect them for debris, adhesive issues, bubbles, etc. If all 10 sheets are good, find their natural curvature. Stack them together so that they have a common natural curvature (see image).
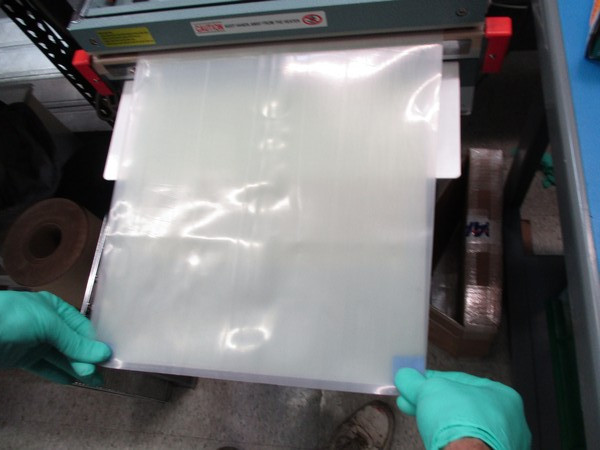
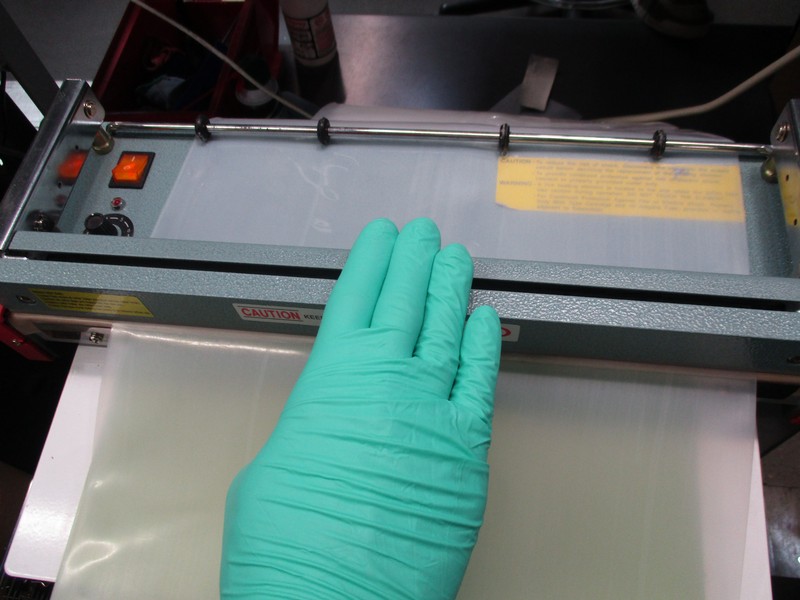
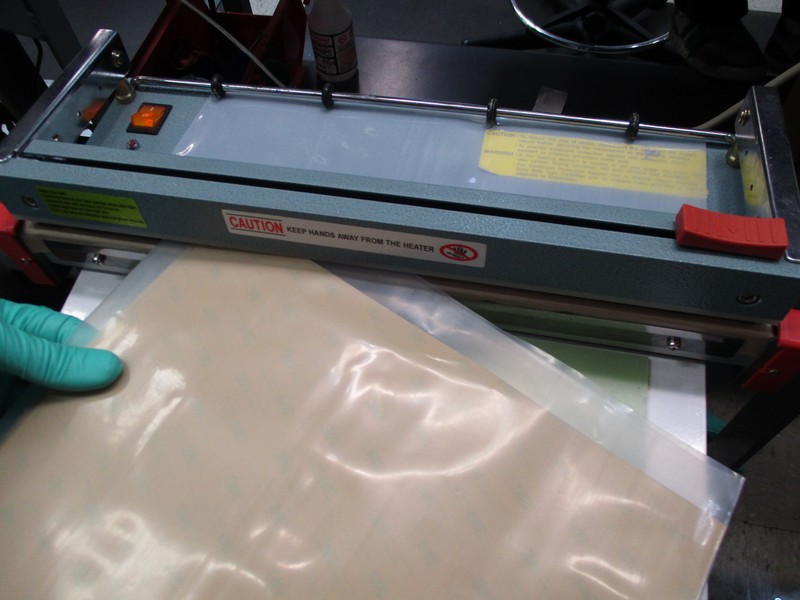
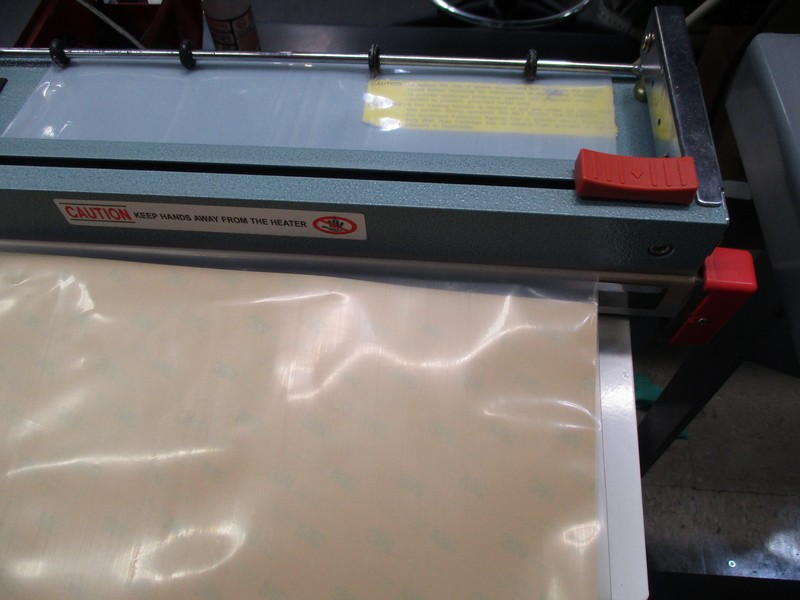
Now we need to prep a sealed bag to hold the PEI. On the bag sealing machine pull some plastic bag material through the sealing bars.
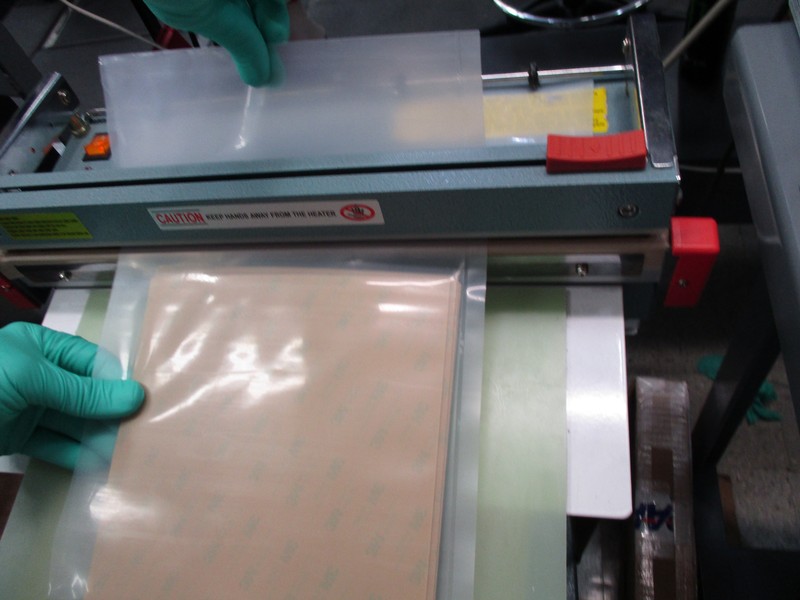
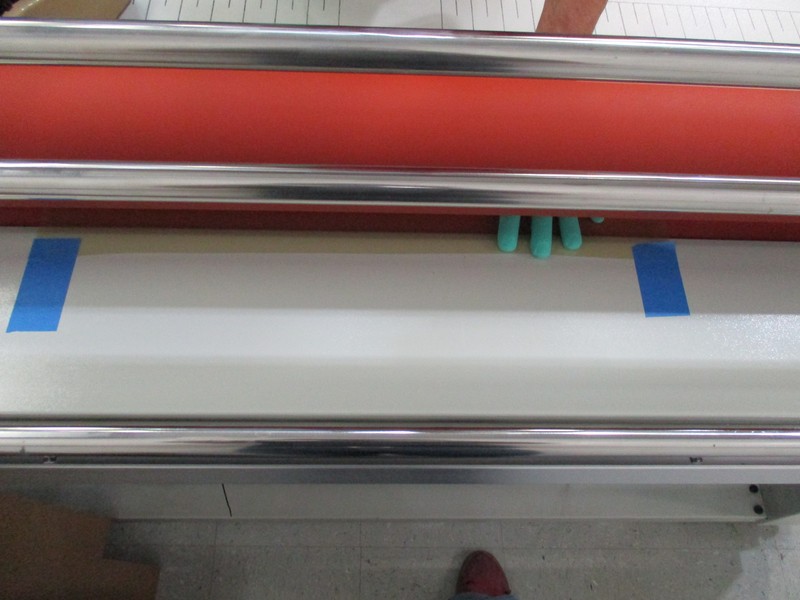
FOR TAZ: Align the end of the bag material with the end of the support tray (see image)
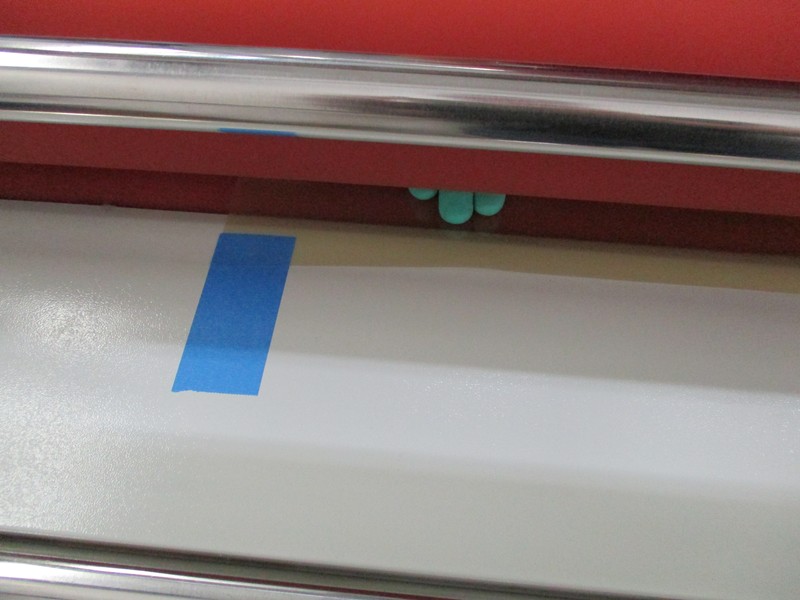
FOR MINI: There is a blue line drawn on the support tray, align the end of the bag material with this line (see image)
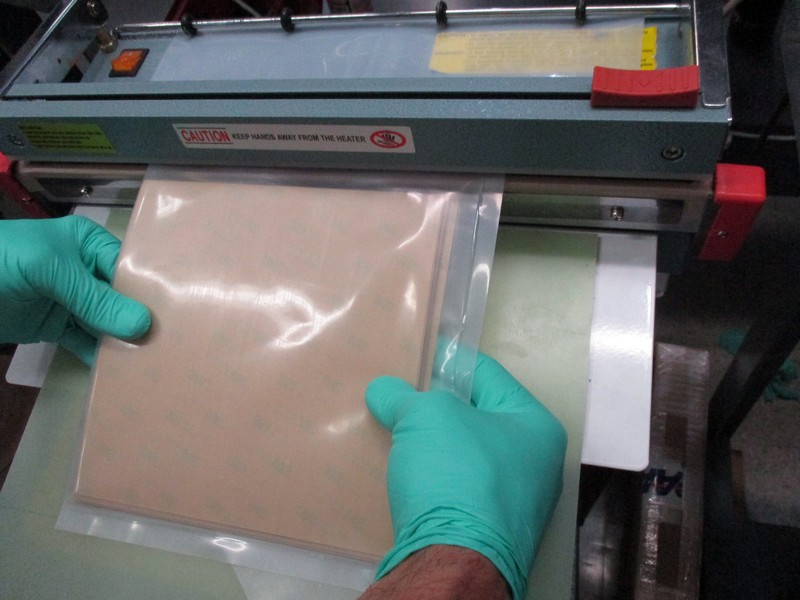
Now press down on the foot pedal, and the red light will turn on, when this light goes out take your foot off the foot pedal and slide the cutting blade across the sealing bar. You will have a cut bag with one end sealed.
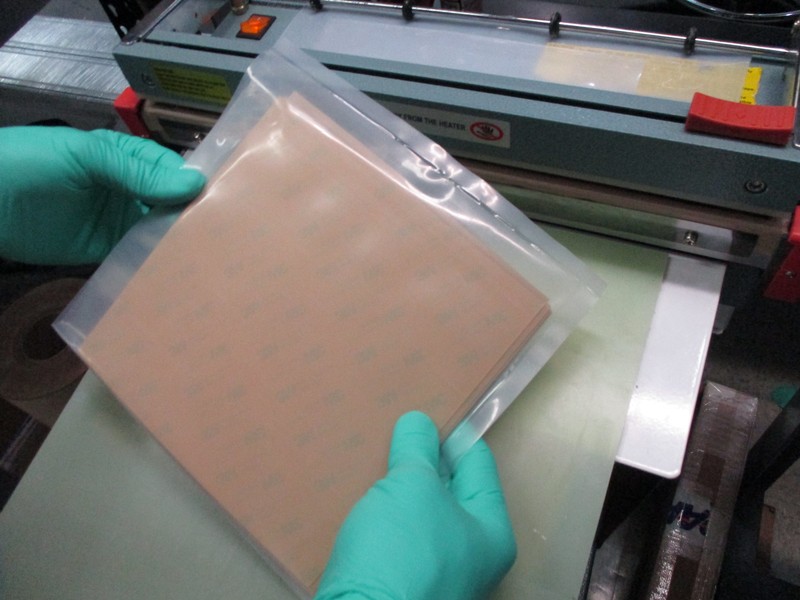
For TAZ, insert your PEI into the bag and add 3 desiccant packs to absorb residual moisture. Insert the other end of the bag into the sealer and using the foot pedal seal the bag. Now you should have a sealed bag of 10 TAZ PEI sheets. Write the number of PEI sheets on the bag.
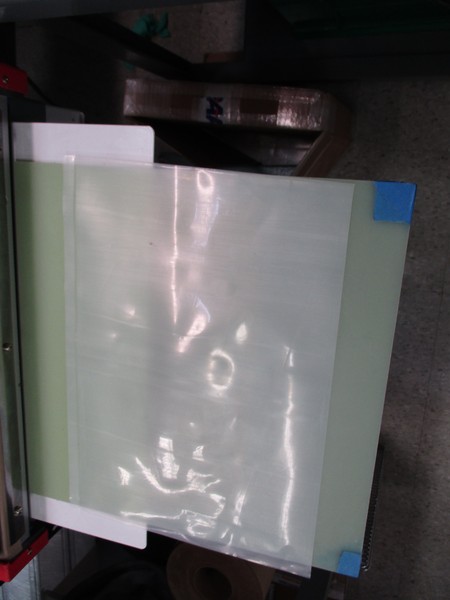
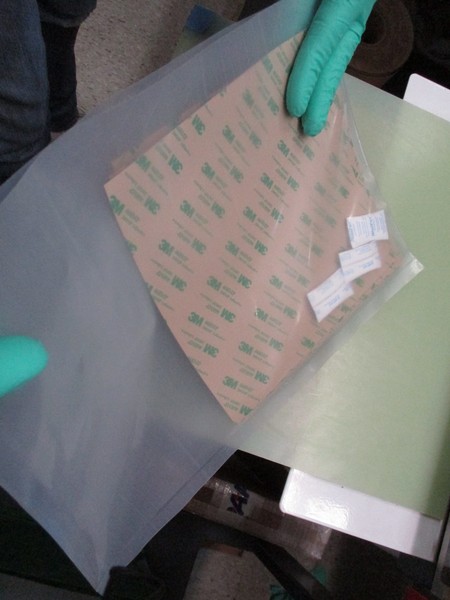
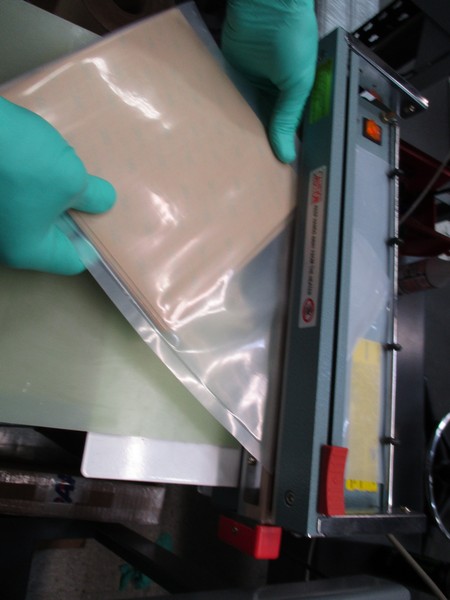
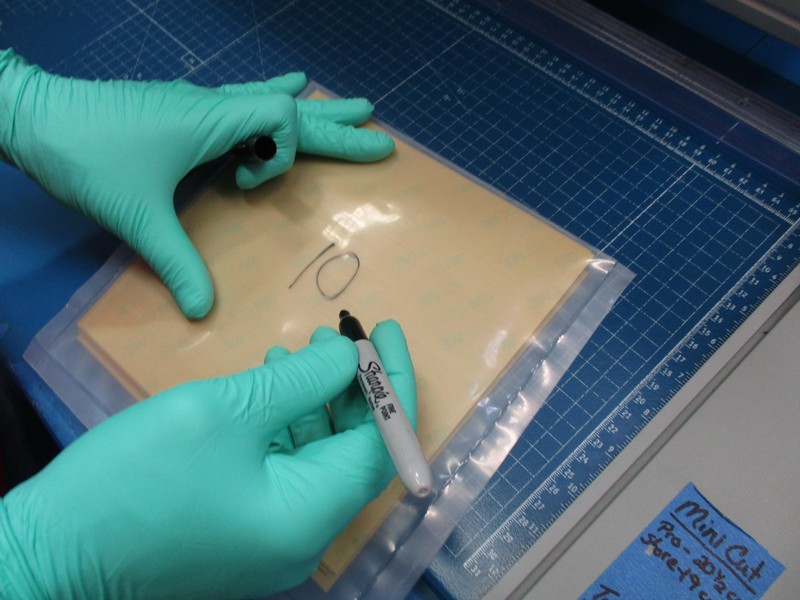
For MINI, insert PEI into the corner of the bag and add 3 desiccant packs to absorb residual moisture (see images). Insert the short side of the bag into the sealer and using the foot pedal seal this end first (see images). Run the cutting blade across the sealing bar and trim off the excess portion of bag. Now seal the final edge of the bag. You should have a sealed bag of 10 Mini PEI sheets. Write the number of PEI sheets on the bag.
Store this packaged PEI in the appropriate bins on the production floor. If there is already some PEI in the bins, put the freshly bagged PEI at the bottom of the stack to ensure the older PEI gets used first.