Open HardwareAssembly Instructions
Guides for installation and assembly of the LulzBot line of products made by FAME 3D LLC.
Guides for installation and assembly of the LulzBot line of products made by FAME 3D LLC.
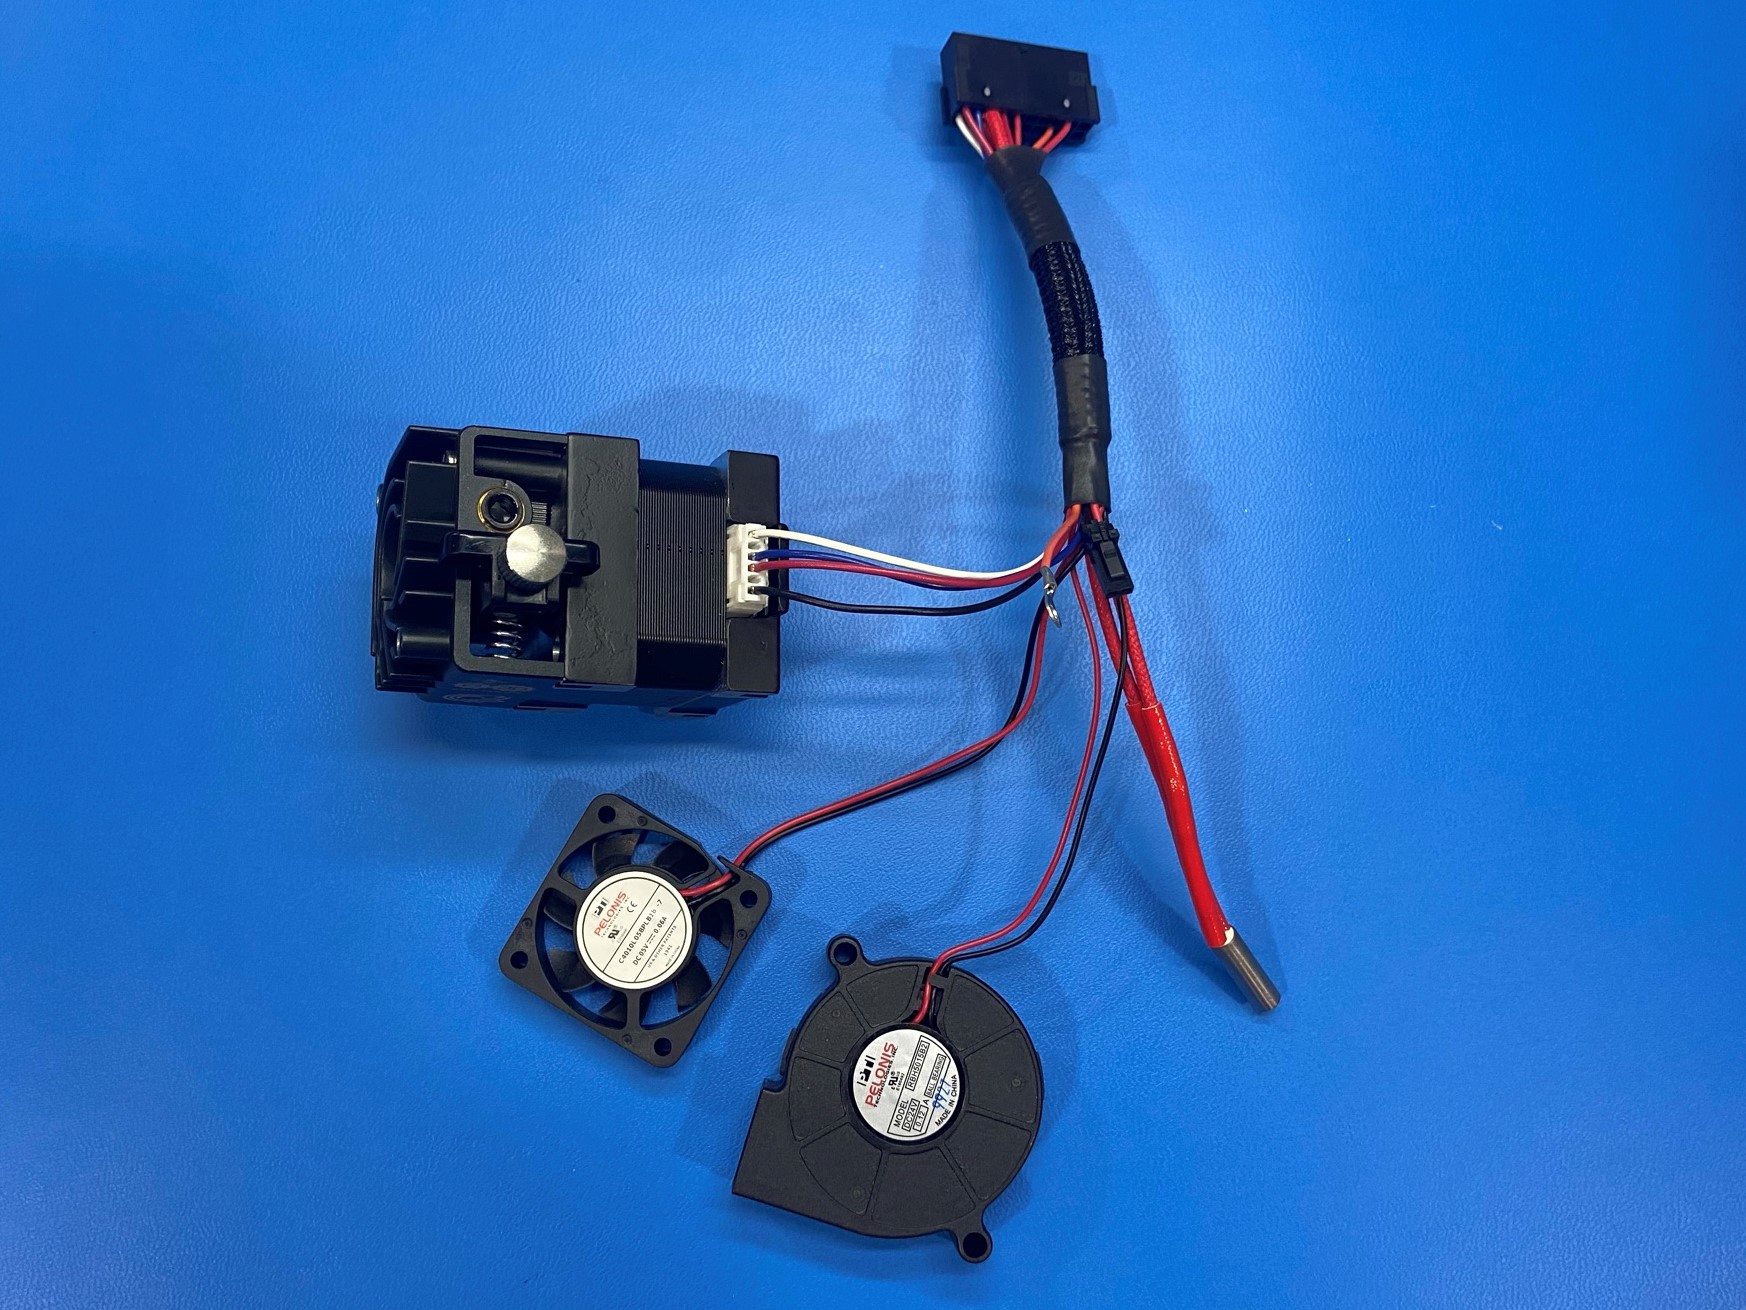
1x- [AS-CB0142] Hemera Extruder Harness assembly
1x- [DC-LB0155] Caution Hot Symbol
1x- [DC-LB0205] 1.75mm Indicator Label
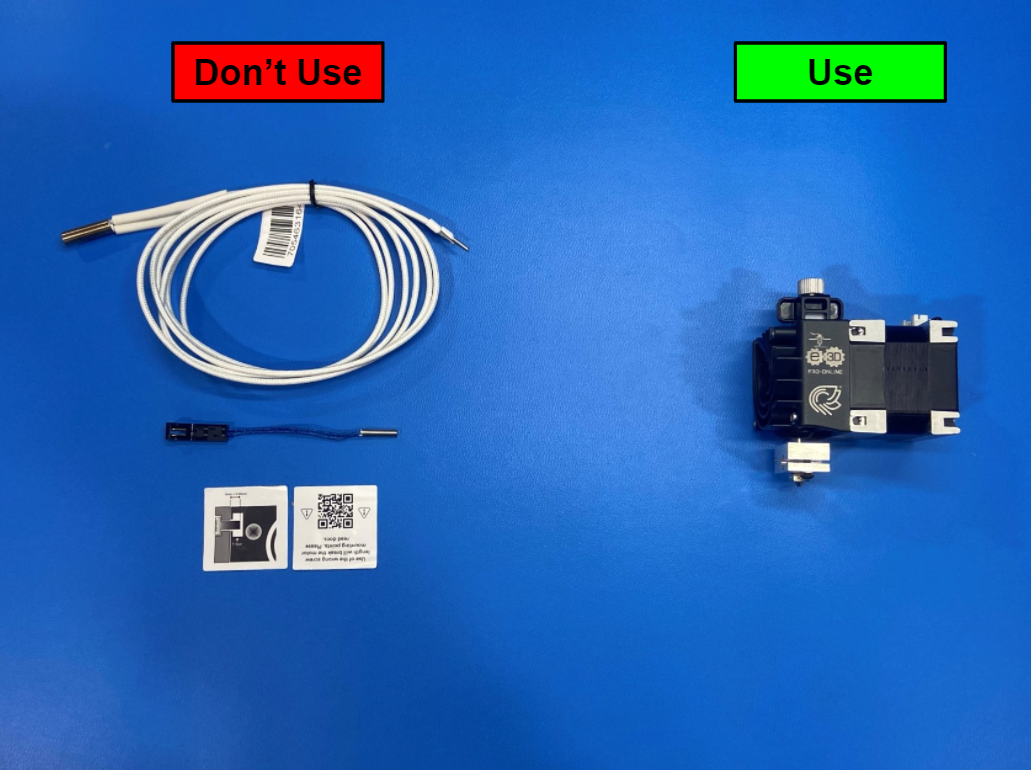
1x- [EL-TH0012] E3D Cartridge Style Thermistor with Molex Connector
2x- [HD-BT0005] M3x10 SHCS, Black-Oxide
3x- [HD-BT0039] M3x12 SHCS, Black-Oxide
1x- [HD-BT0085] M3x5 BHCS, SST
1x- [HD-BT0130] M3x8 FHCS, Black-Oxide
1x- [HD-BT0202] M3x25 BHCS, Black-Oxide
2x- [HD-NT0358] M3 Square Nut
1x- [HD-WA0027] M3 Internal Tooth Lock Washer, SST
1x- [HD-WA0038] M3 Washer
1x- [PP-GP0654] Hemera Mount
1x- [PP-GP0655] Hemera Fan Duct
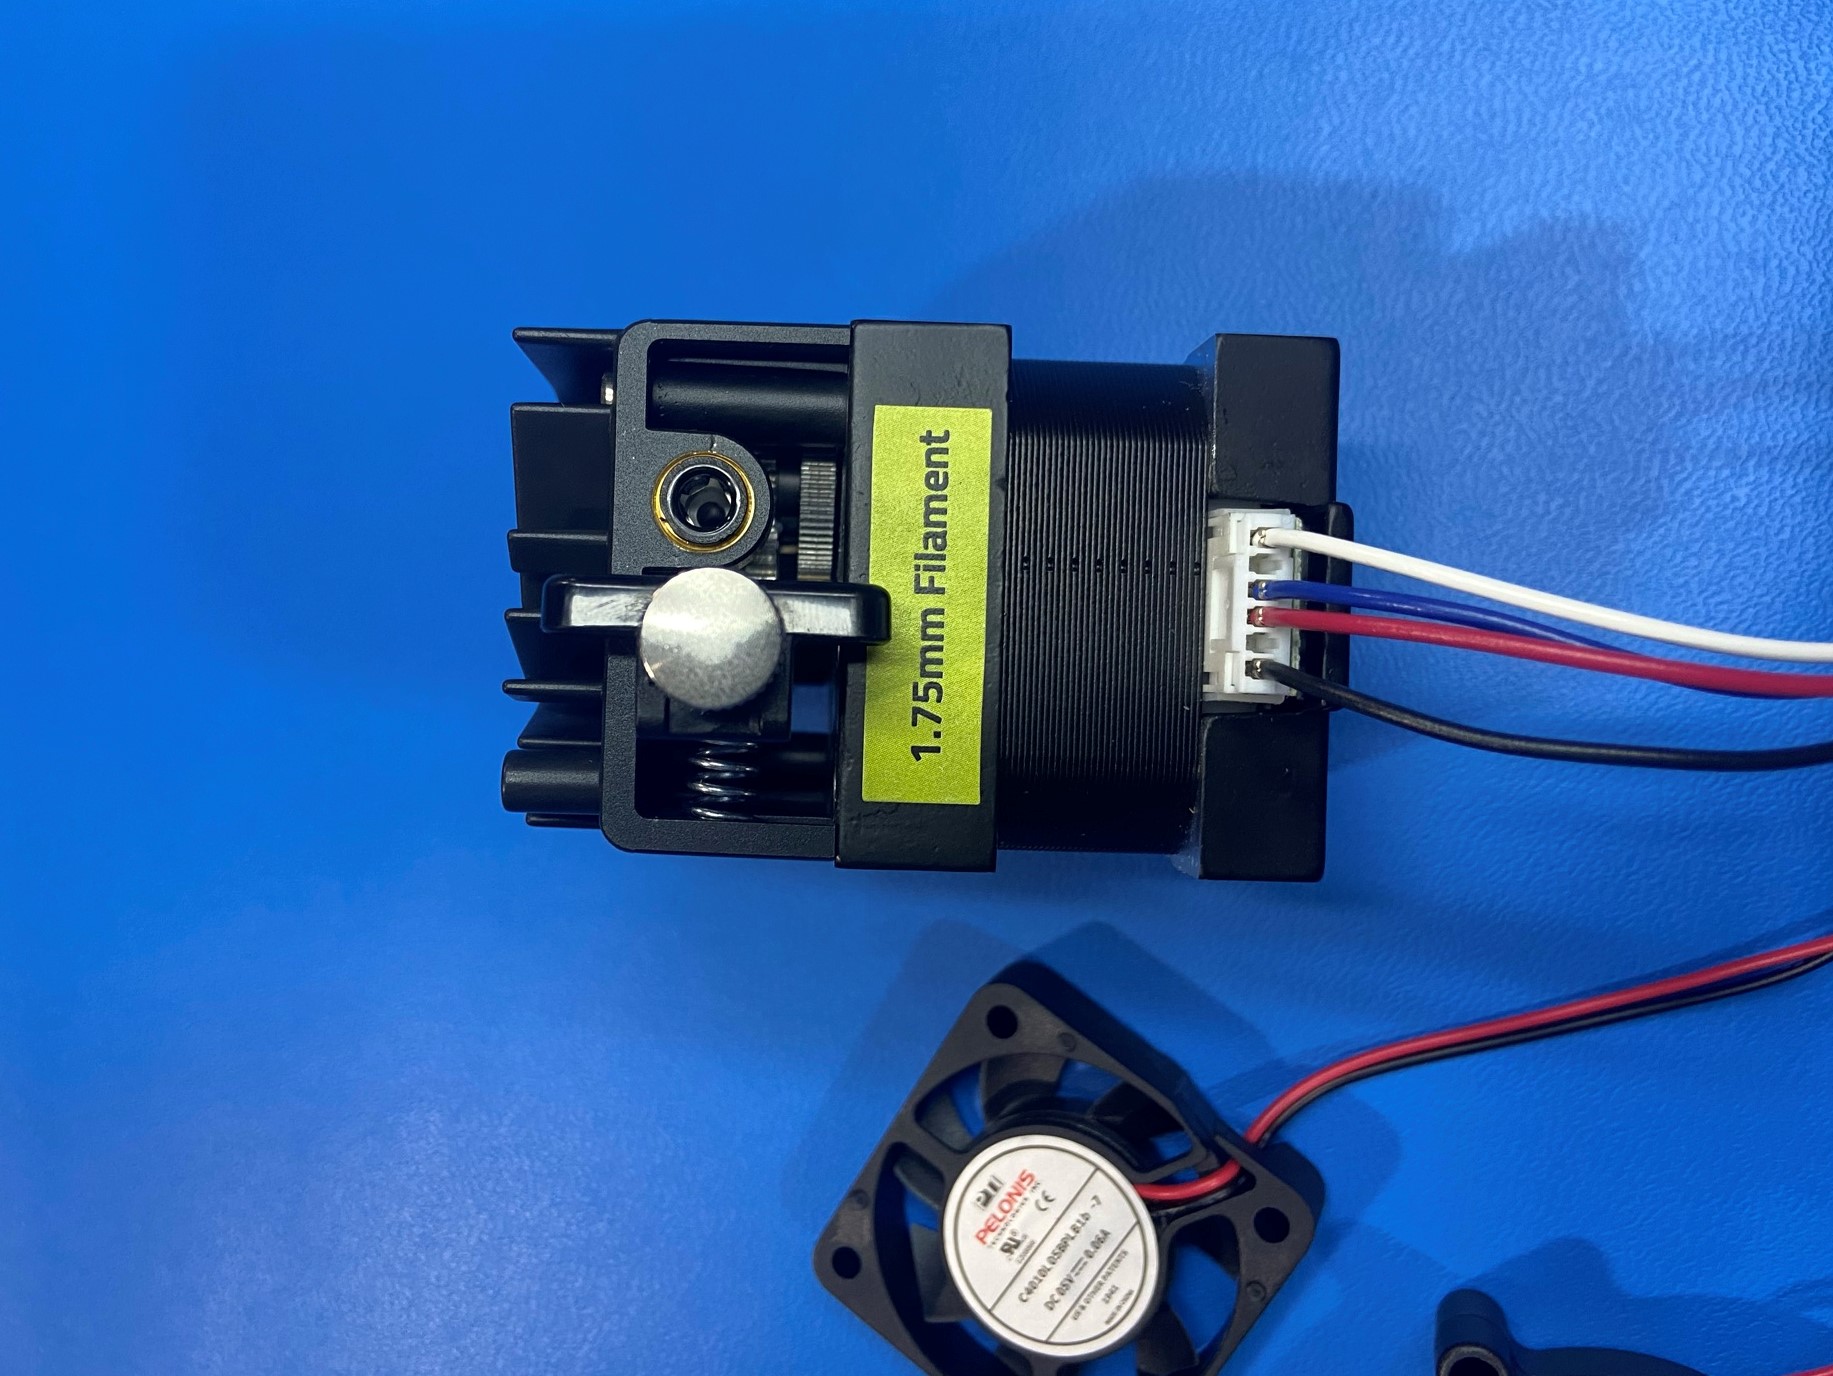
1x- [PP-MP0293] Hemera Extruder Assembly

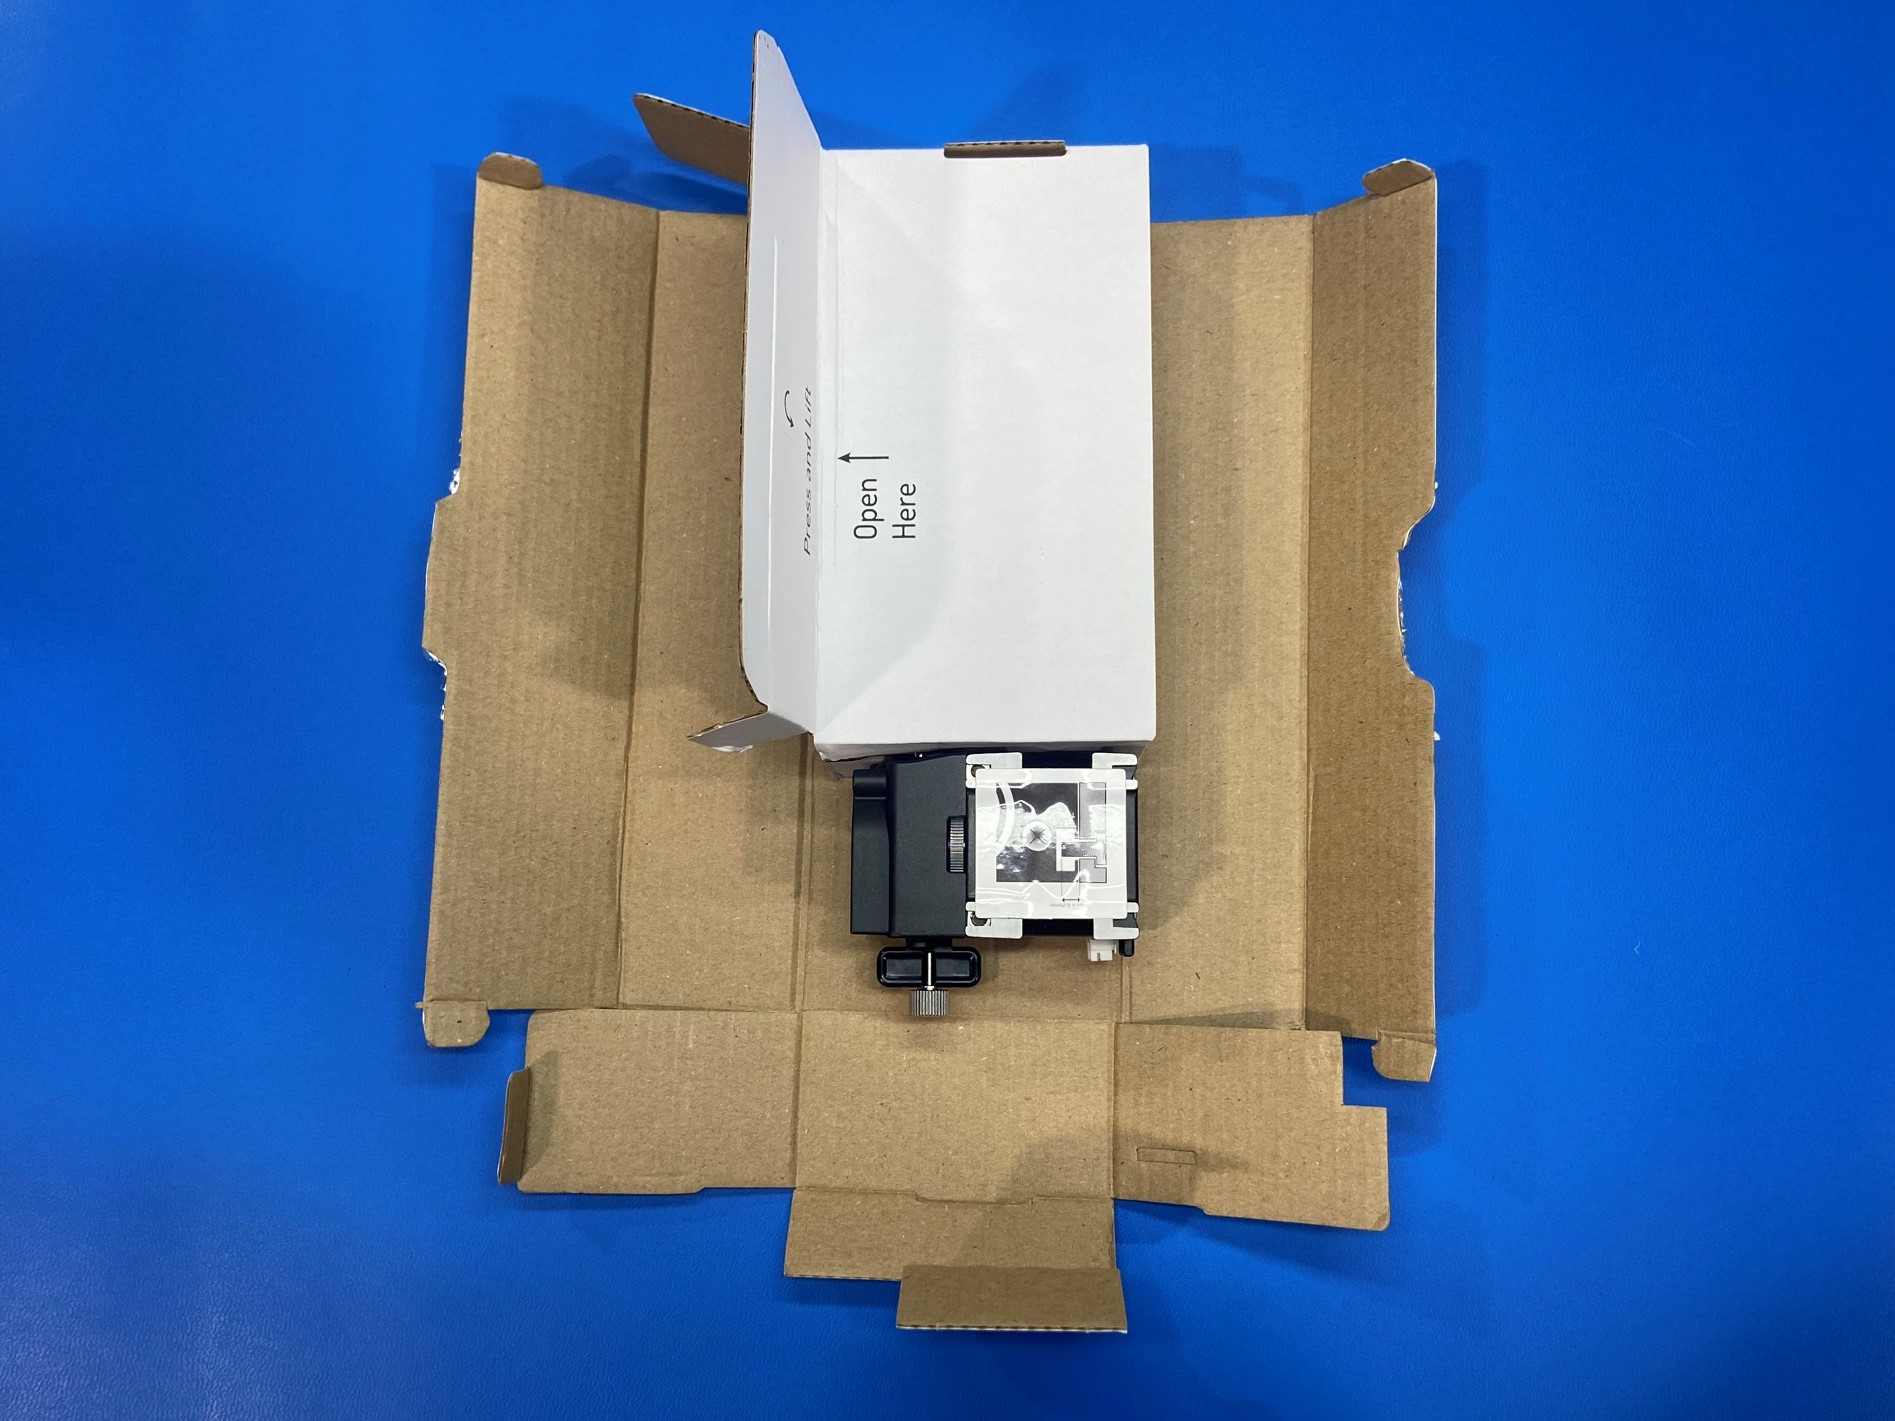
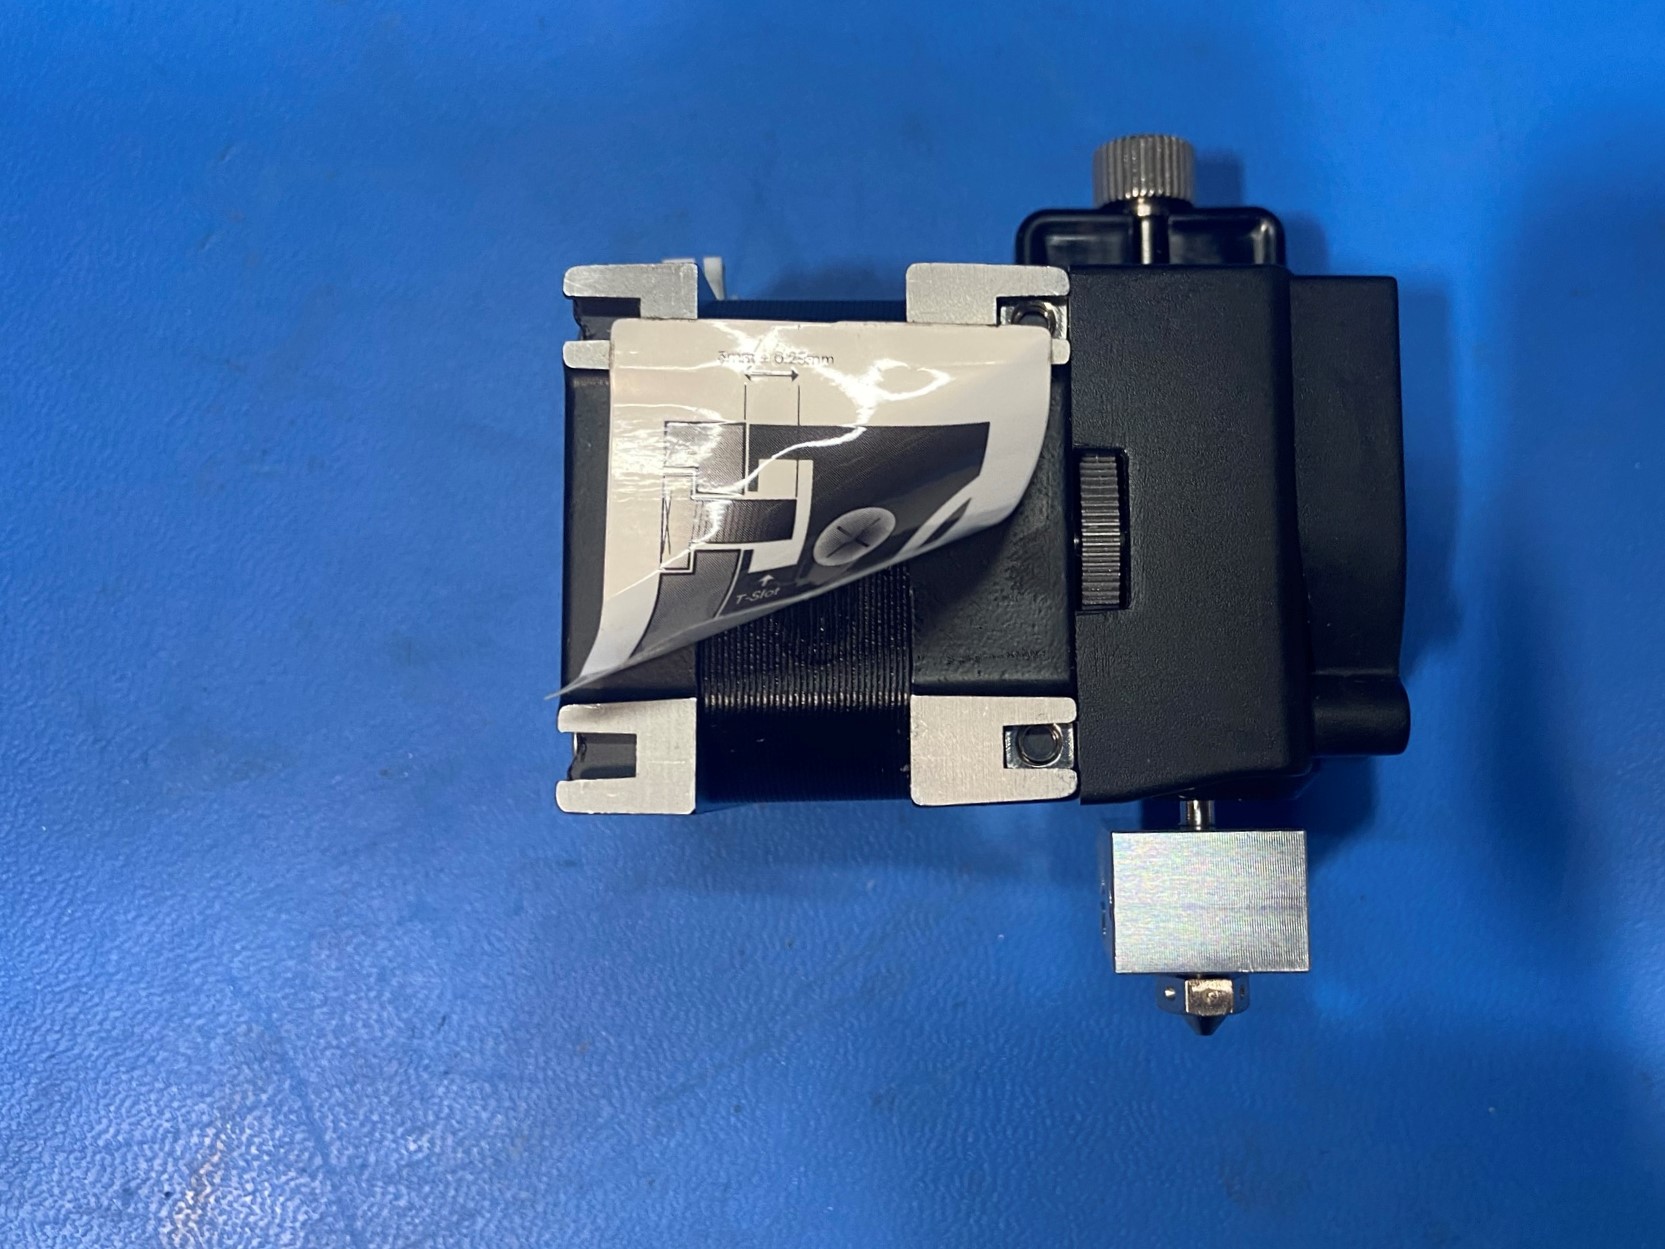
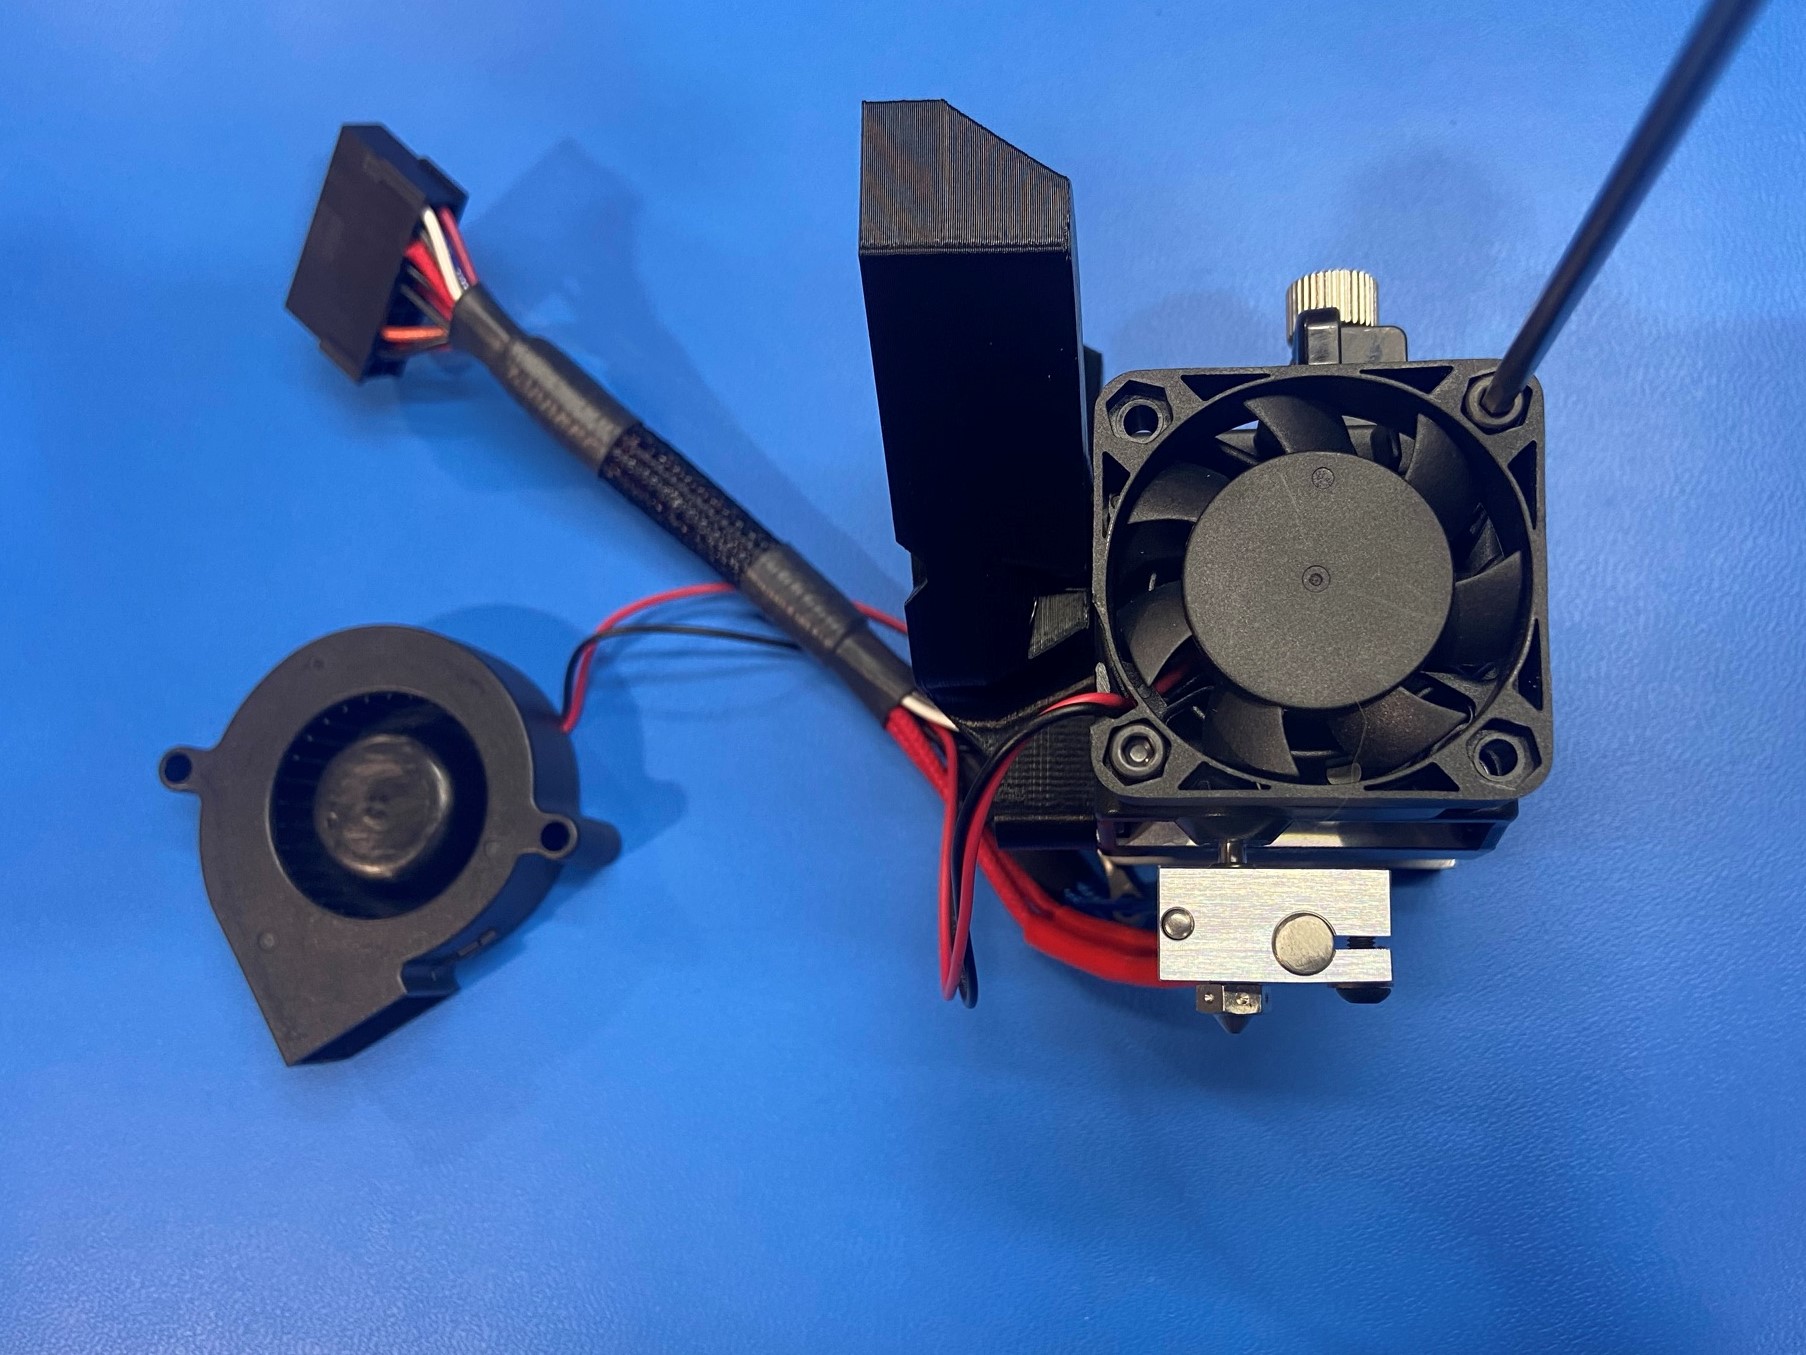
Follow the instruction on the box to open the Hemera Extruder Assembly [PP-MP0293]. Then remove all the components from the box.
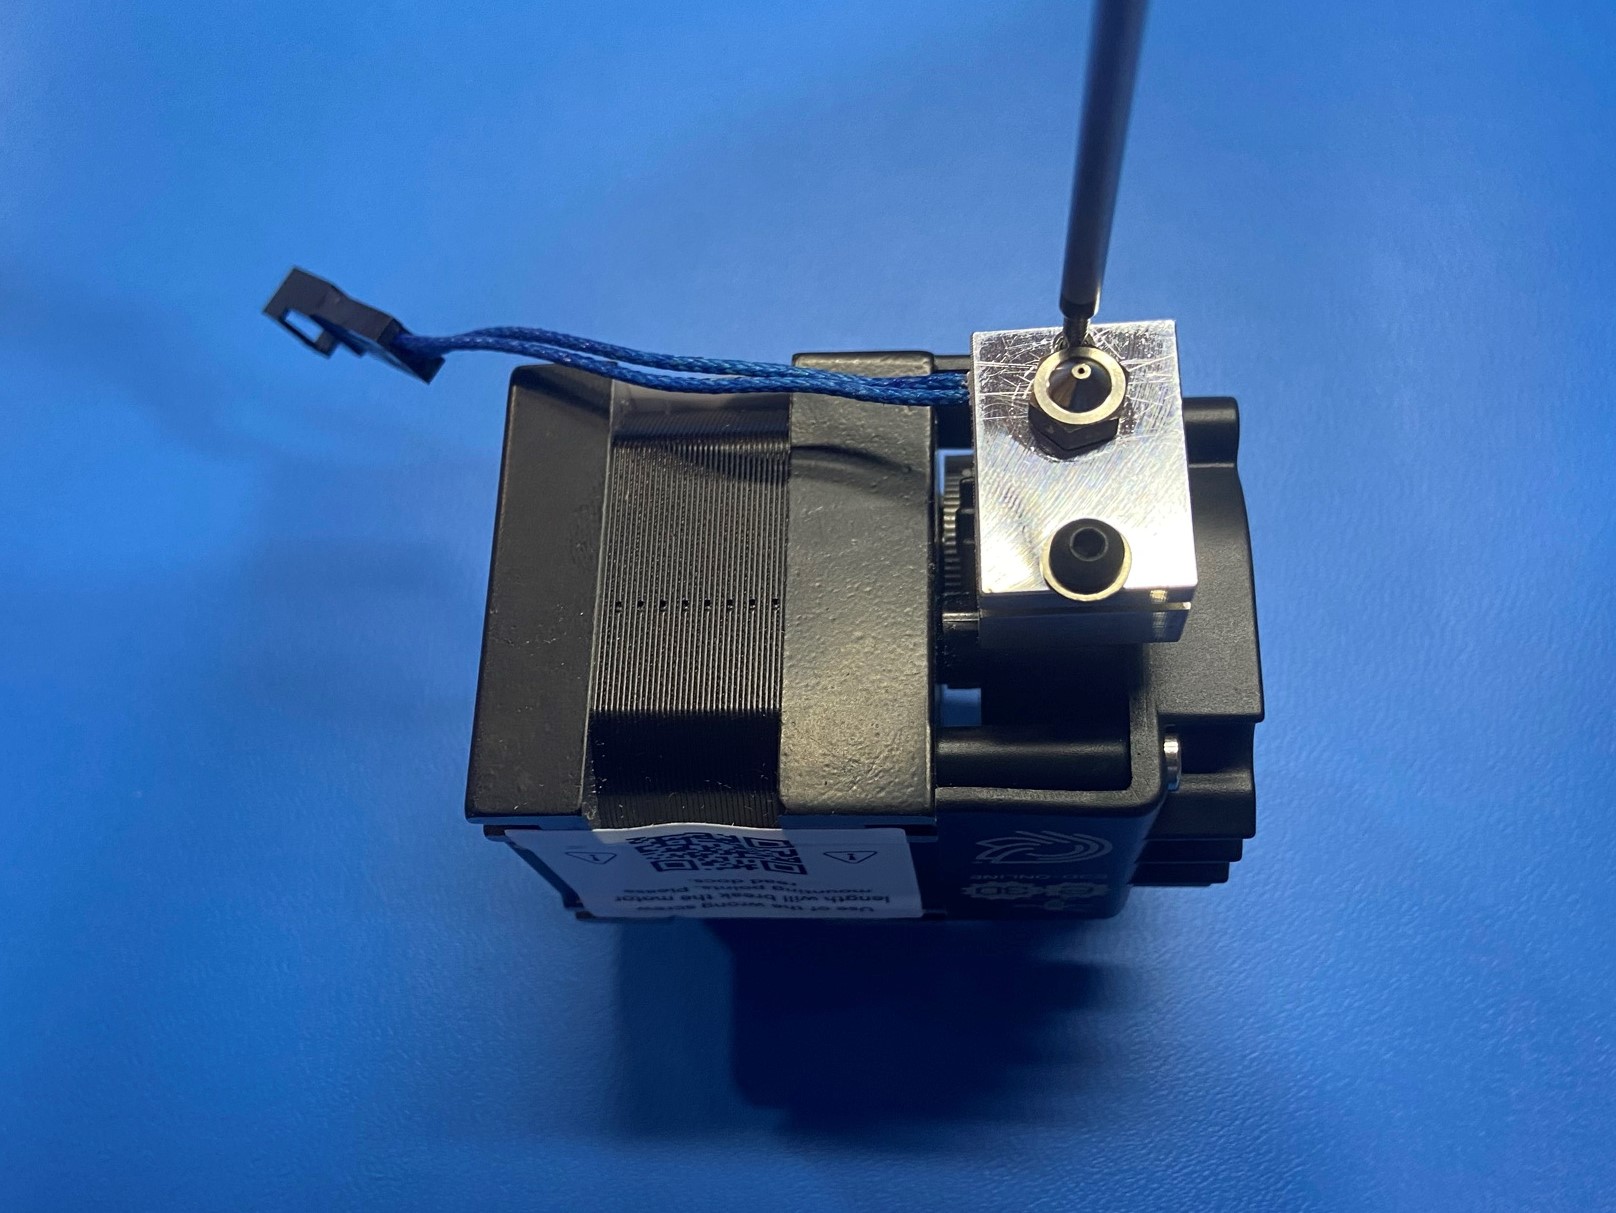
Remove the heat cartridge and thermistor wires from the heat block
Remove the two stickers from the Hemera Extruder one is on the front and the second one is on the back.
Once the wires and stickers are removed from the Hemera Extruder set everything else to the side to be sorted at a later time. [reference#1]


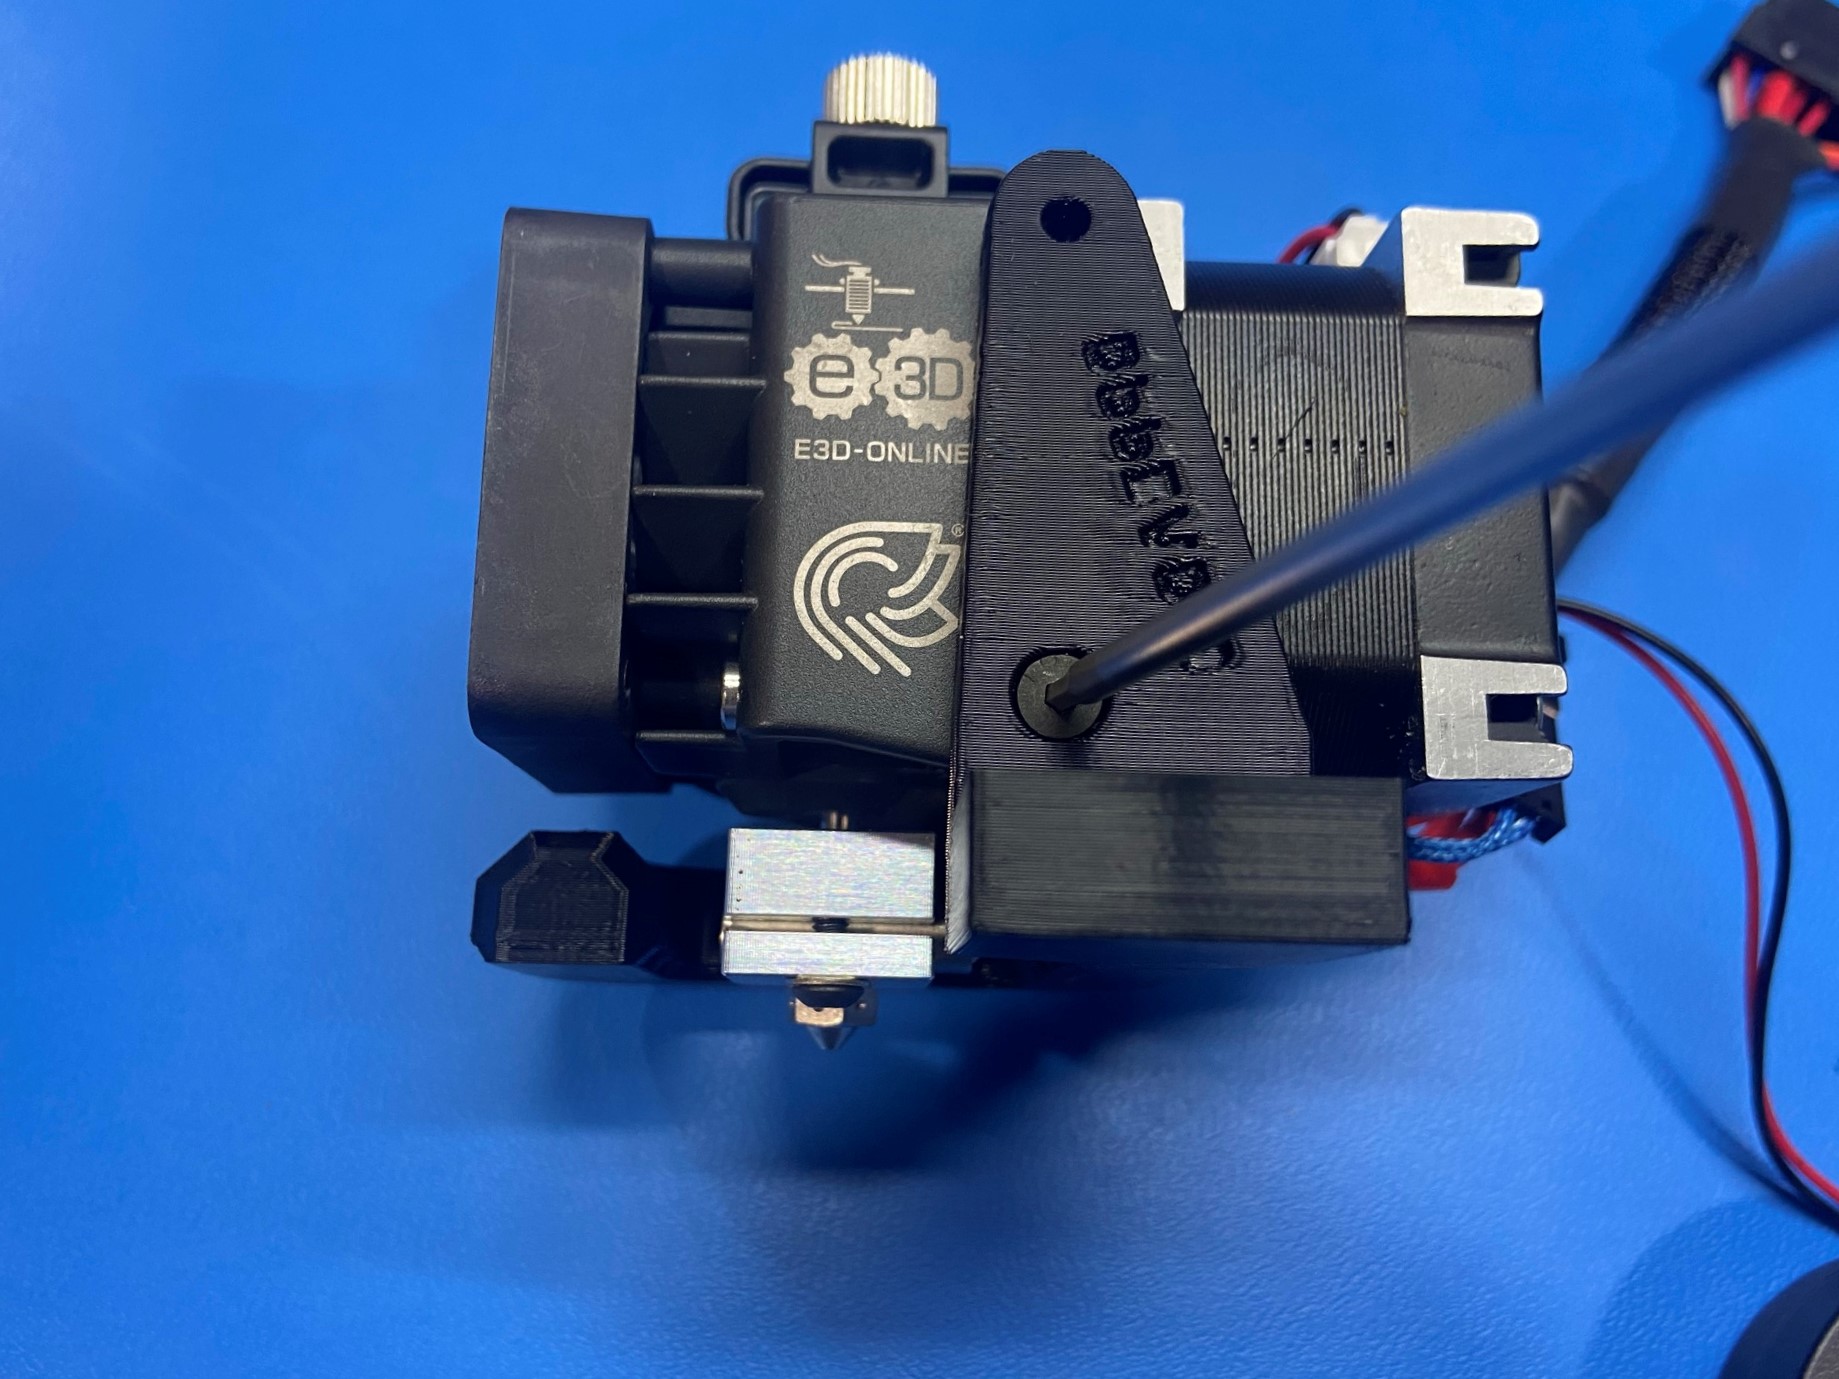
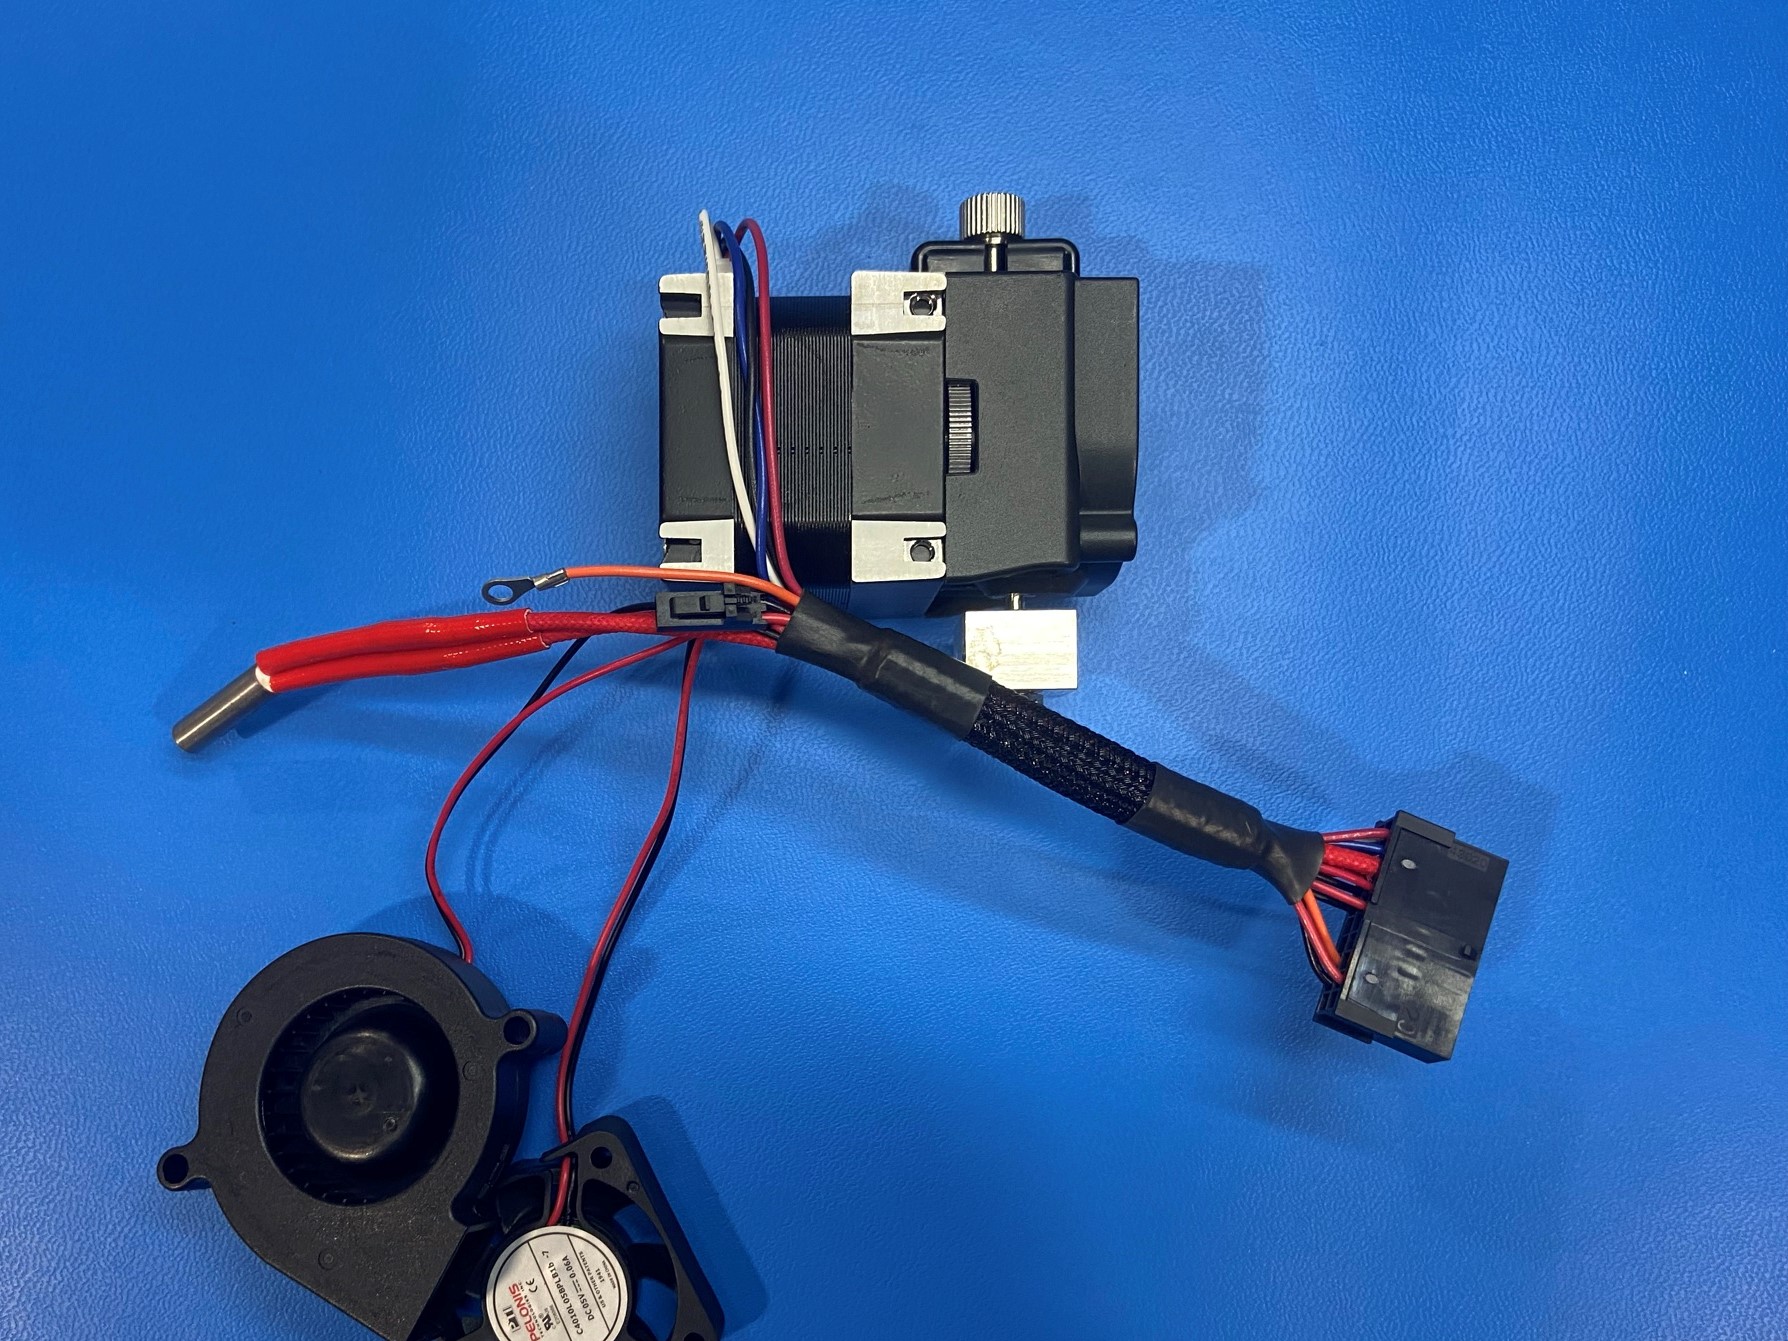
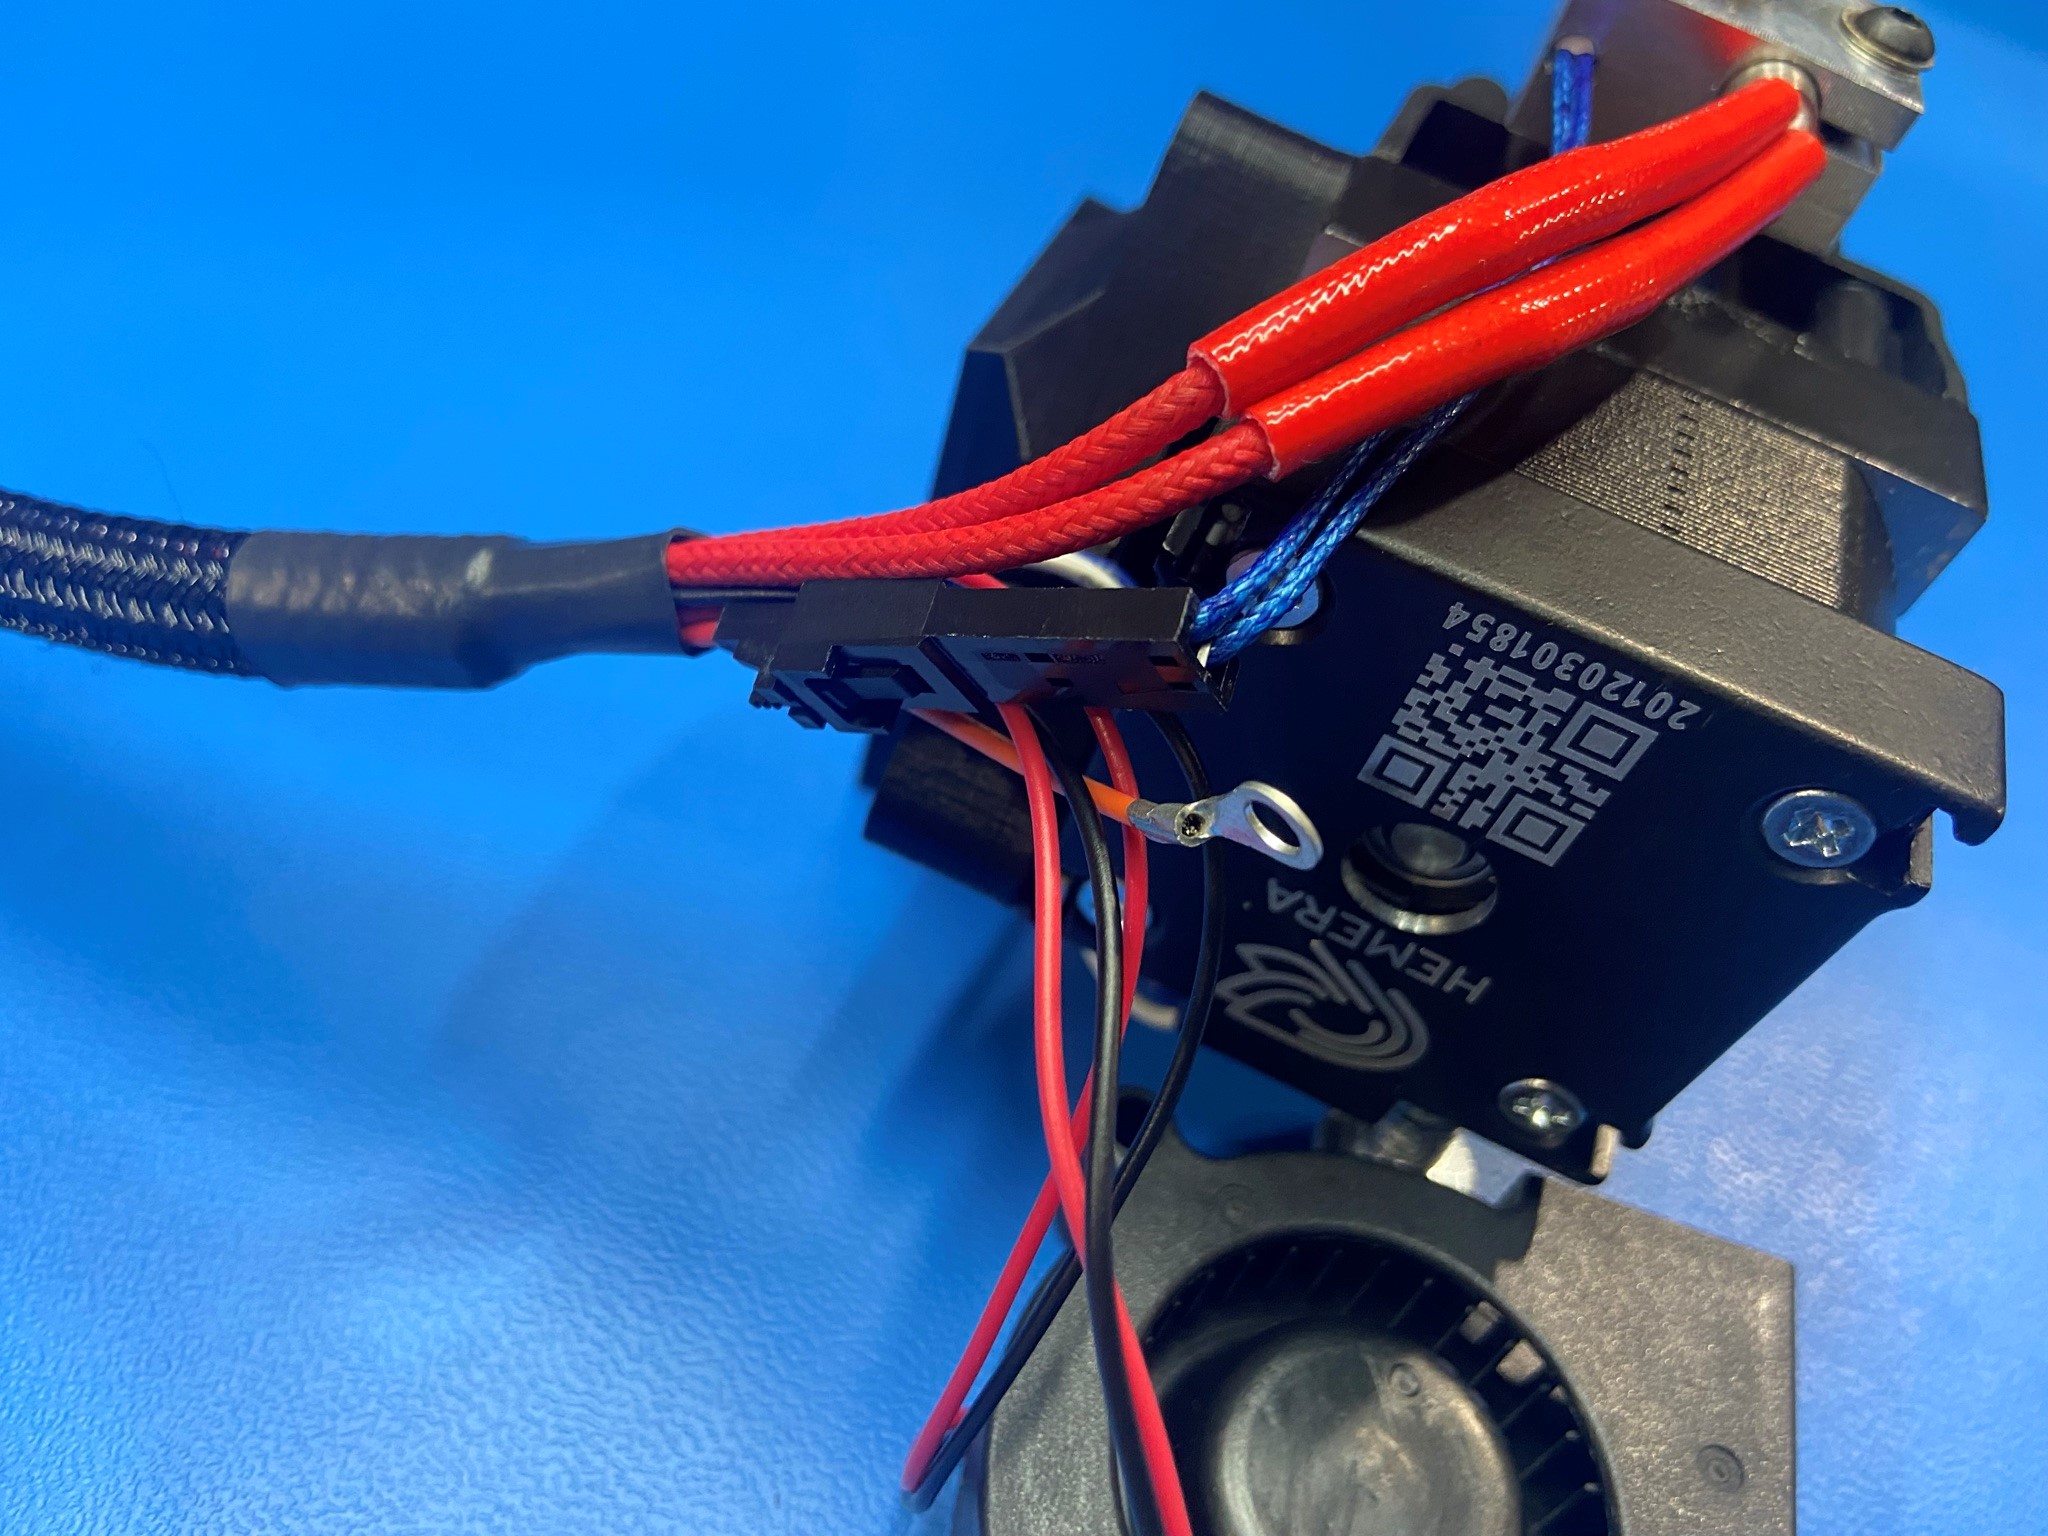
Connect the motor wire from the Hemera Extruder Harness assembly [AS-CB0142] to the motor on the Hemera Extruder.
Next place the 1.75mm Indicator Label [DC-LB0205] on the top side of the motor next to the thumbscrew.
Then route the motor wires along the backside (side without logos) of the motor and place 1x M3 square nut [HD-NT0358] inside the top left tab.
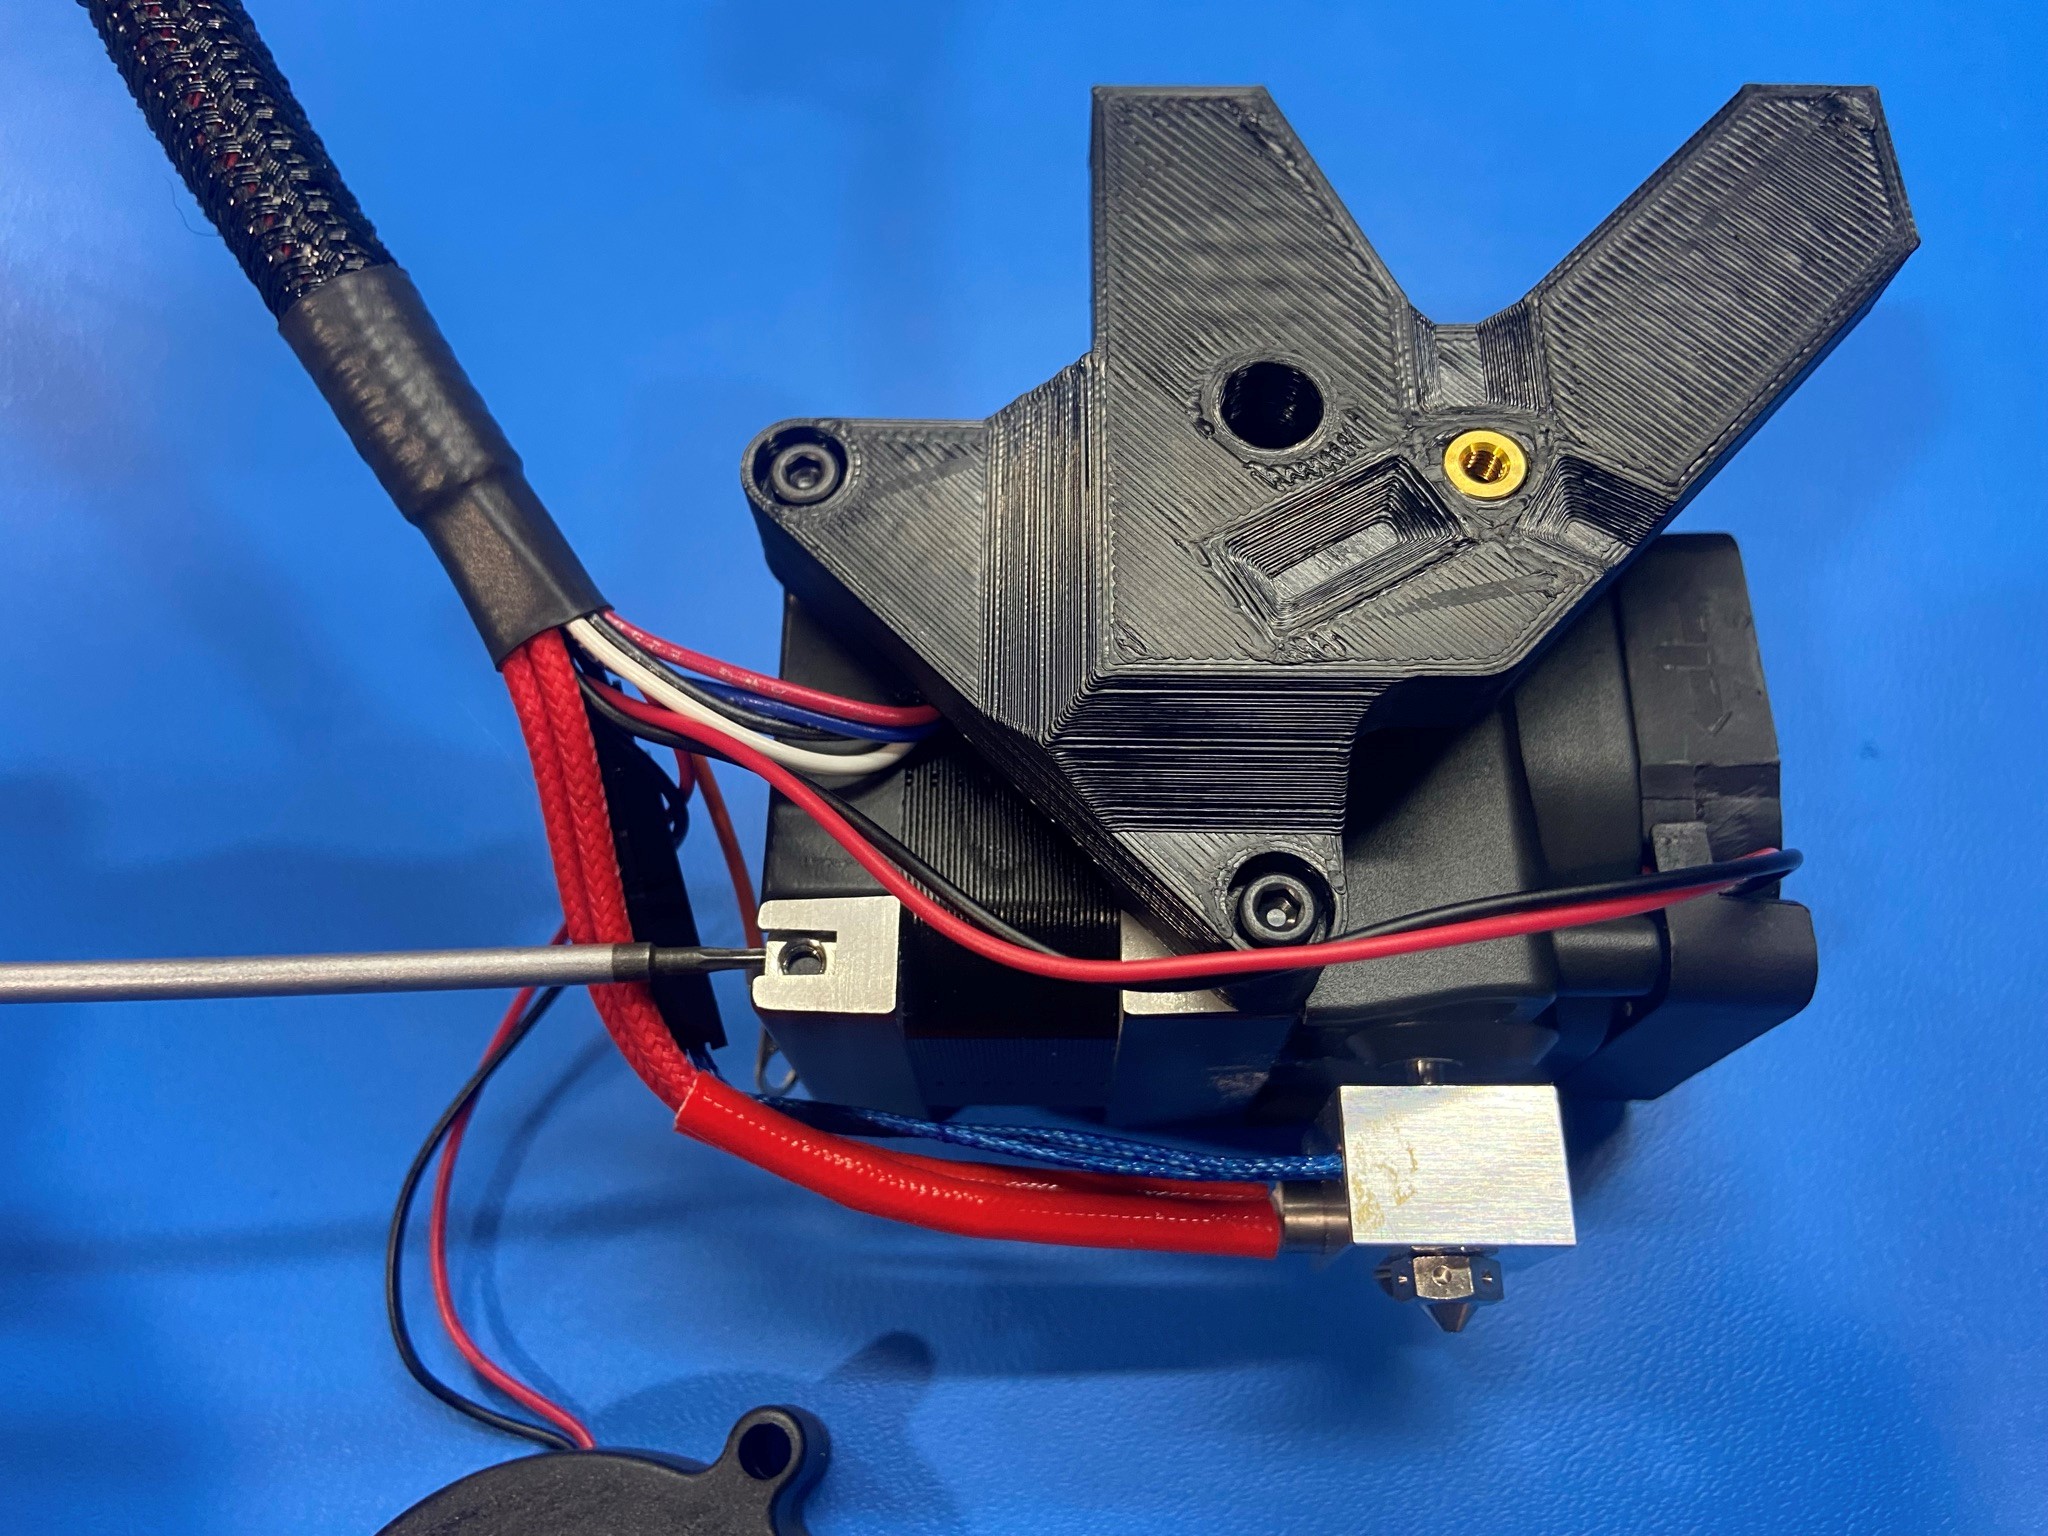
Now using 3x M3x12 SHCS [HD-BT0039] mount the Hemera Mount [PP-GP0654]
Note: Make sure the motor wires are under the mount without being crushed

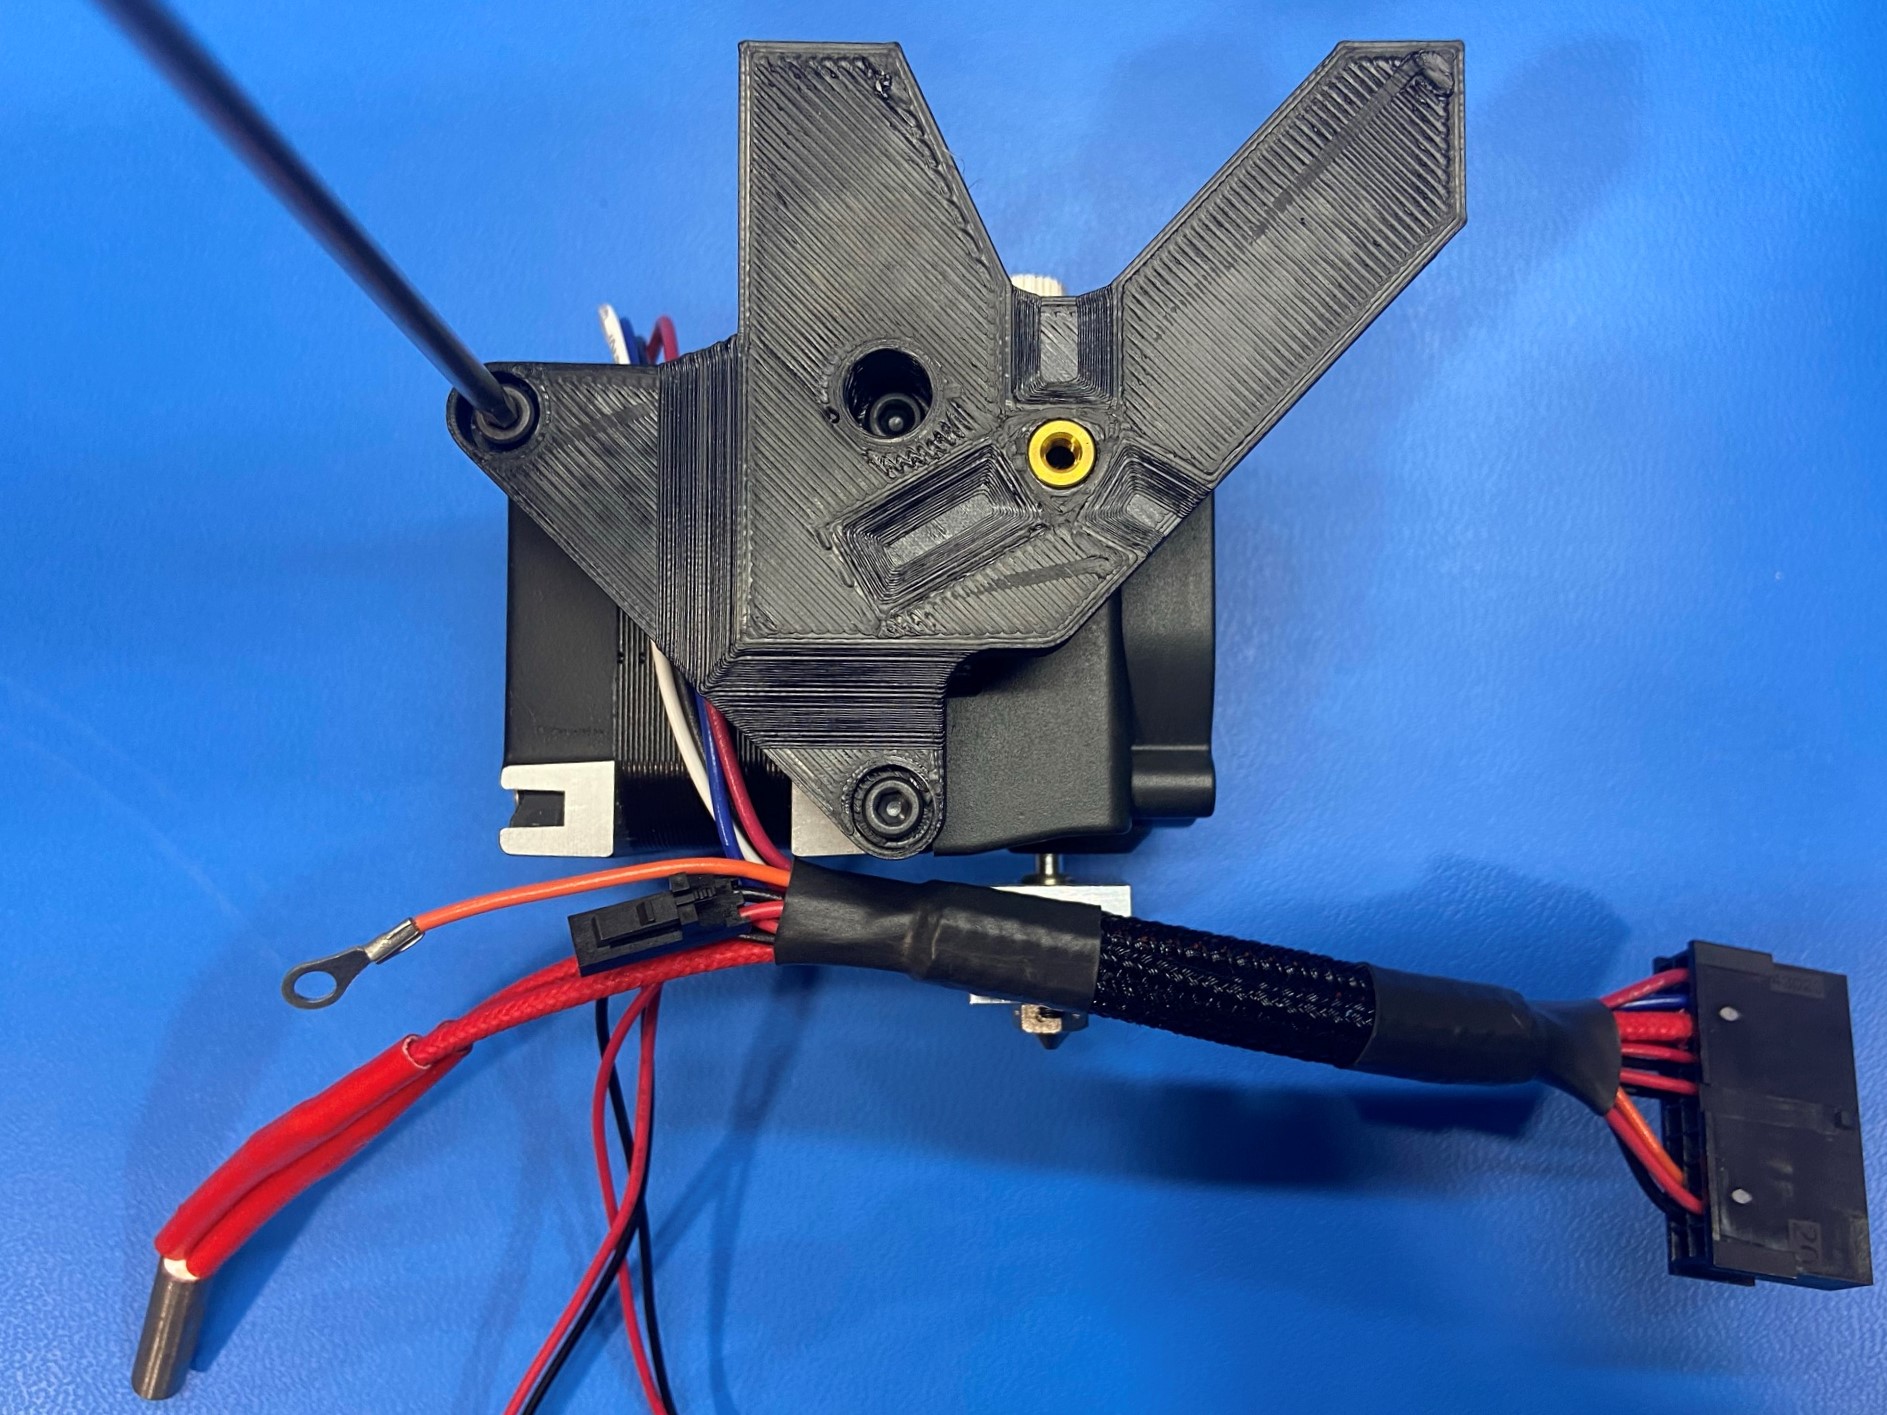
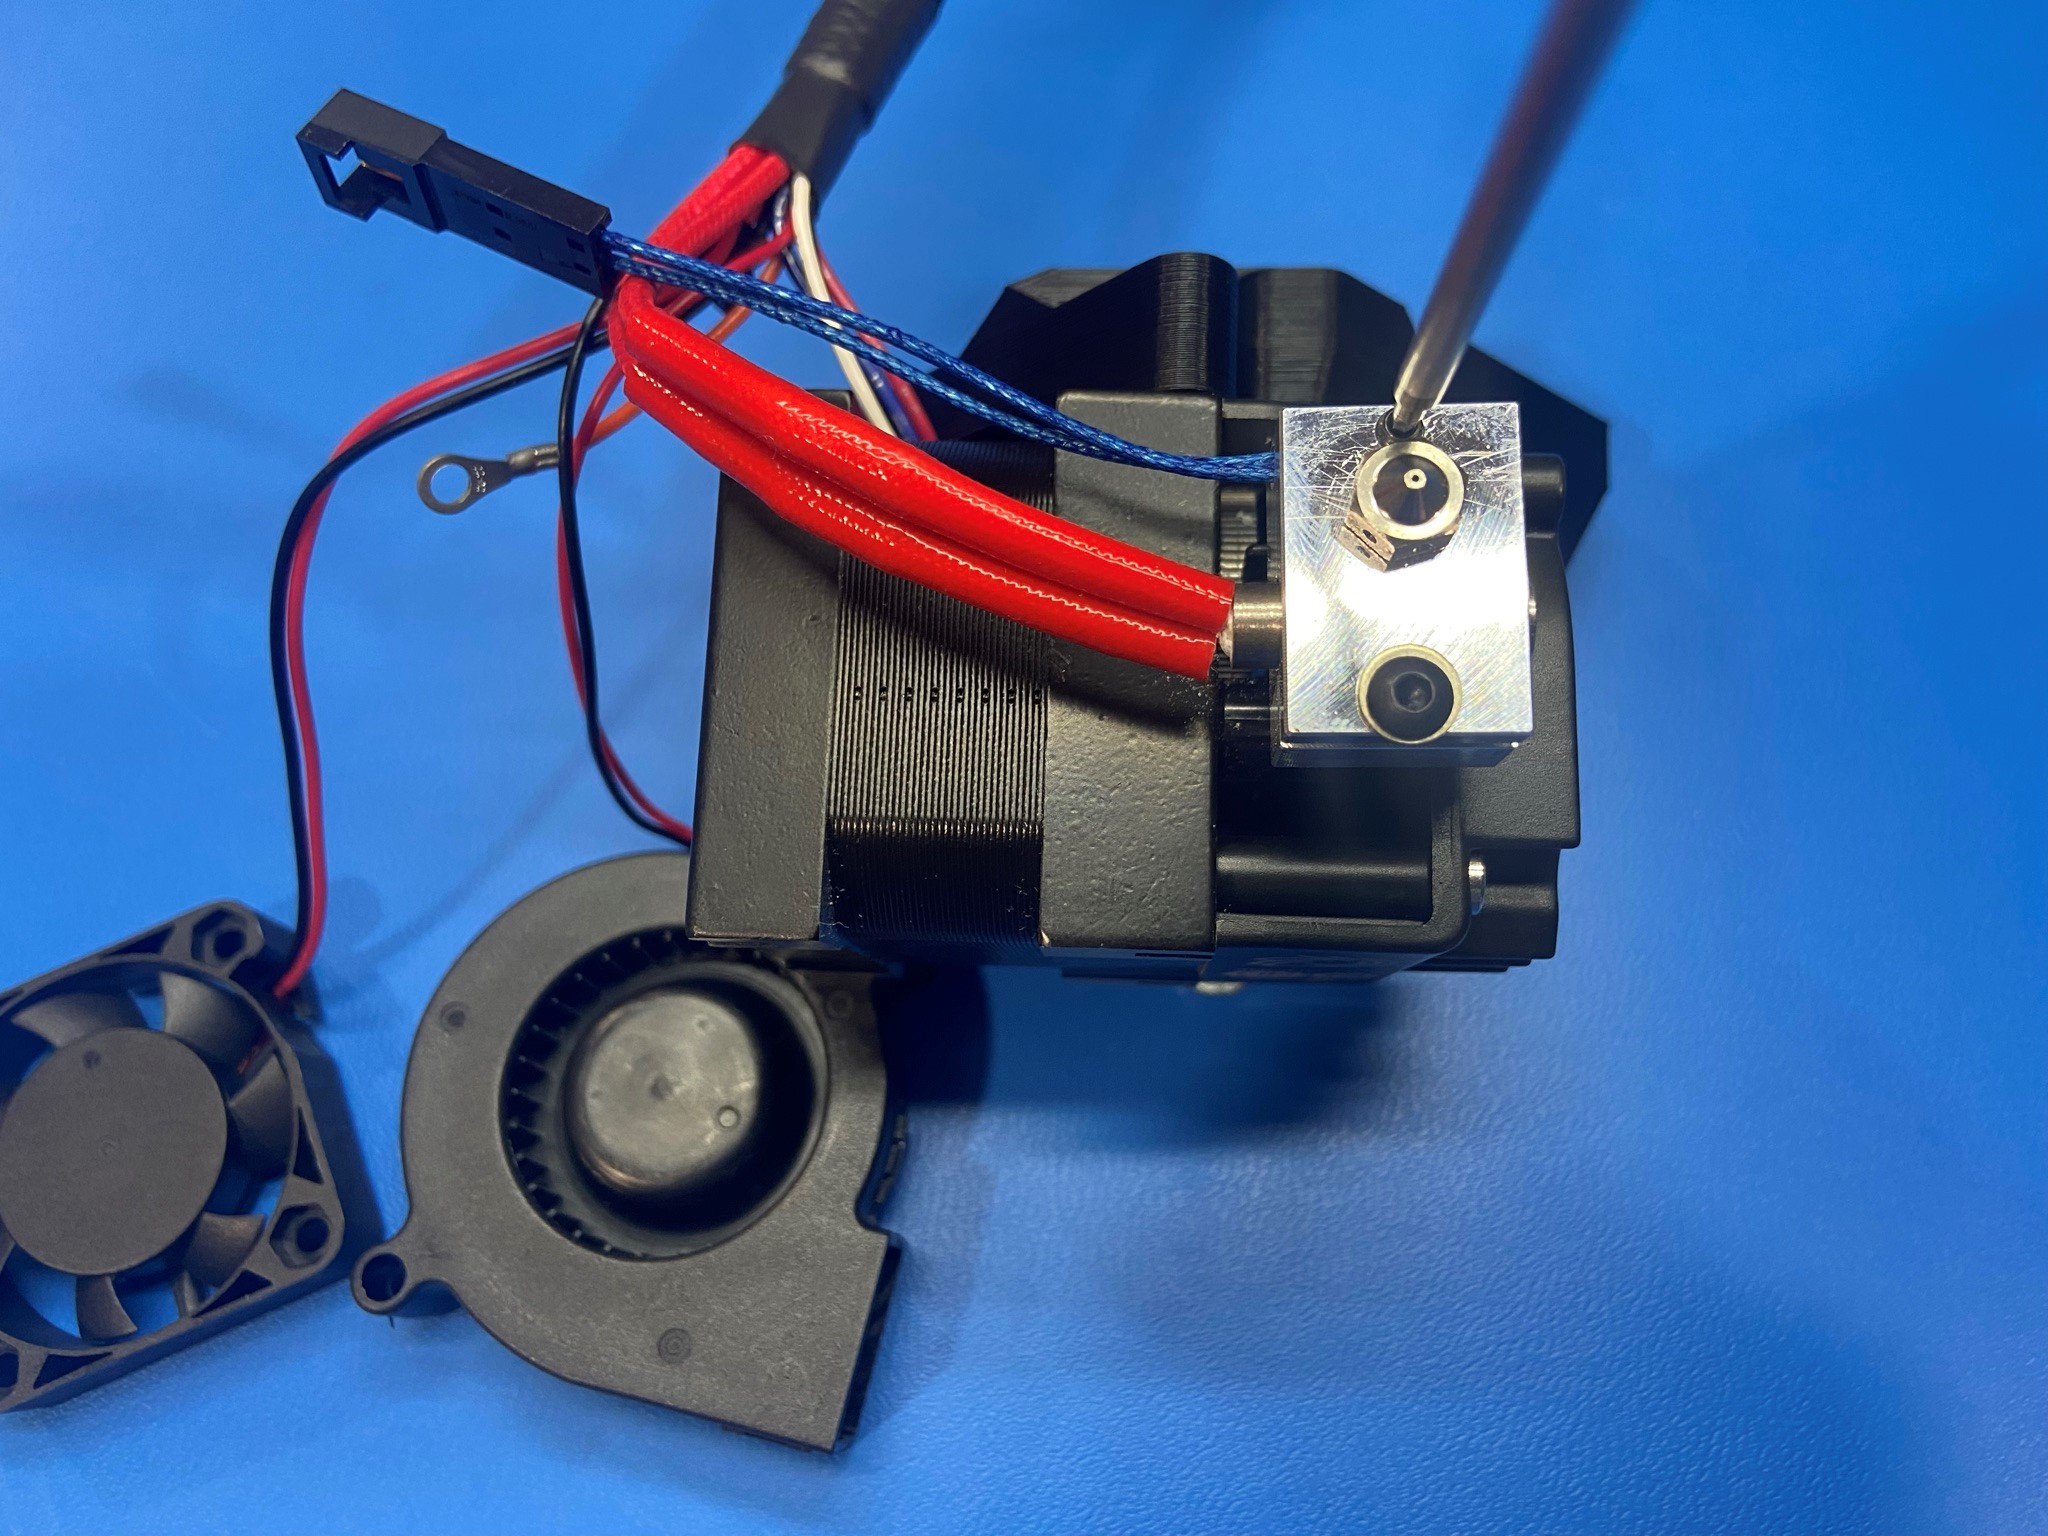
Attach the white or red 40W heat cartridge wire to the heat block, then attach the Thermistor with Molex Connector [EL-TH0012] to the heat block.
Note: make sure the wires are running over the motor.
Connect the thermistor wire to the Hemera extruder harness using the black and red wire that has a molex connector on the end.
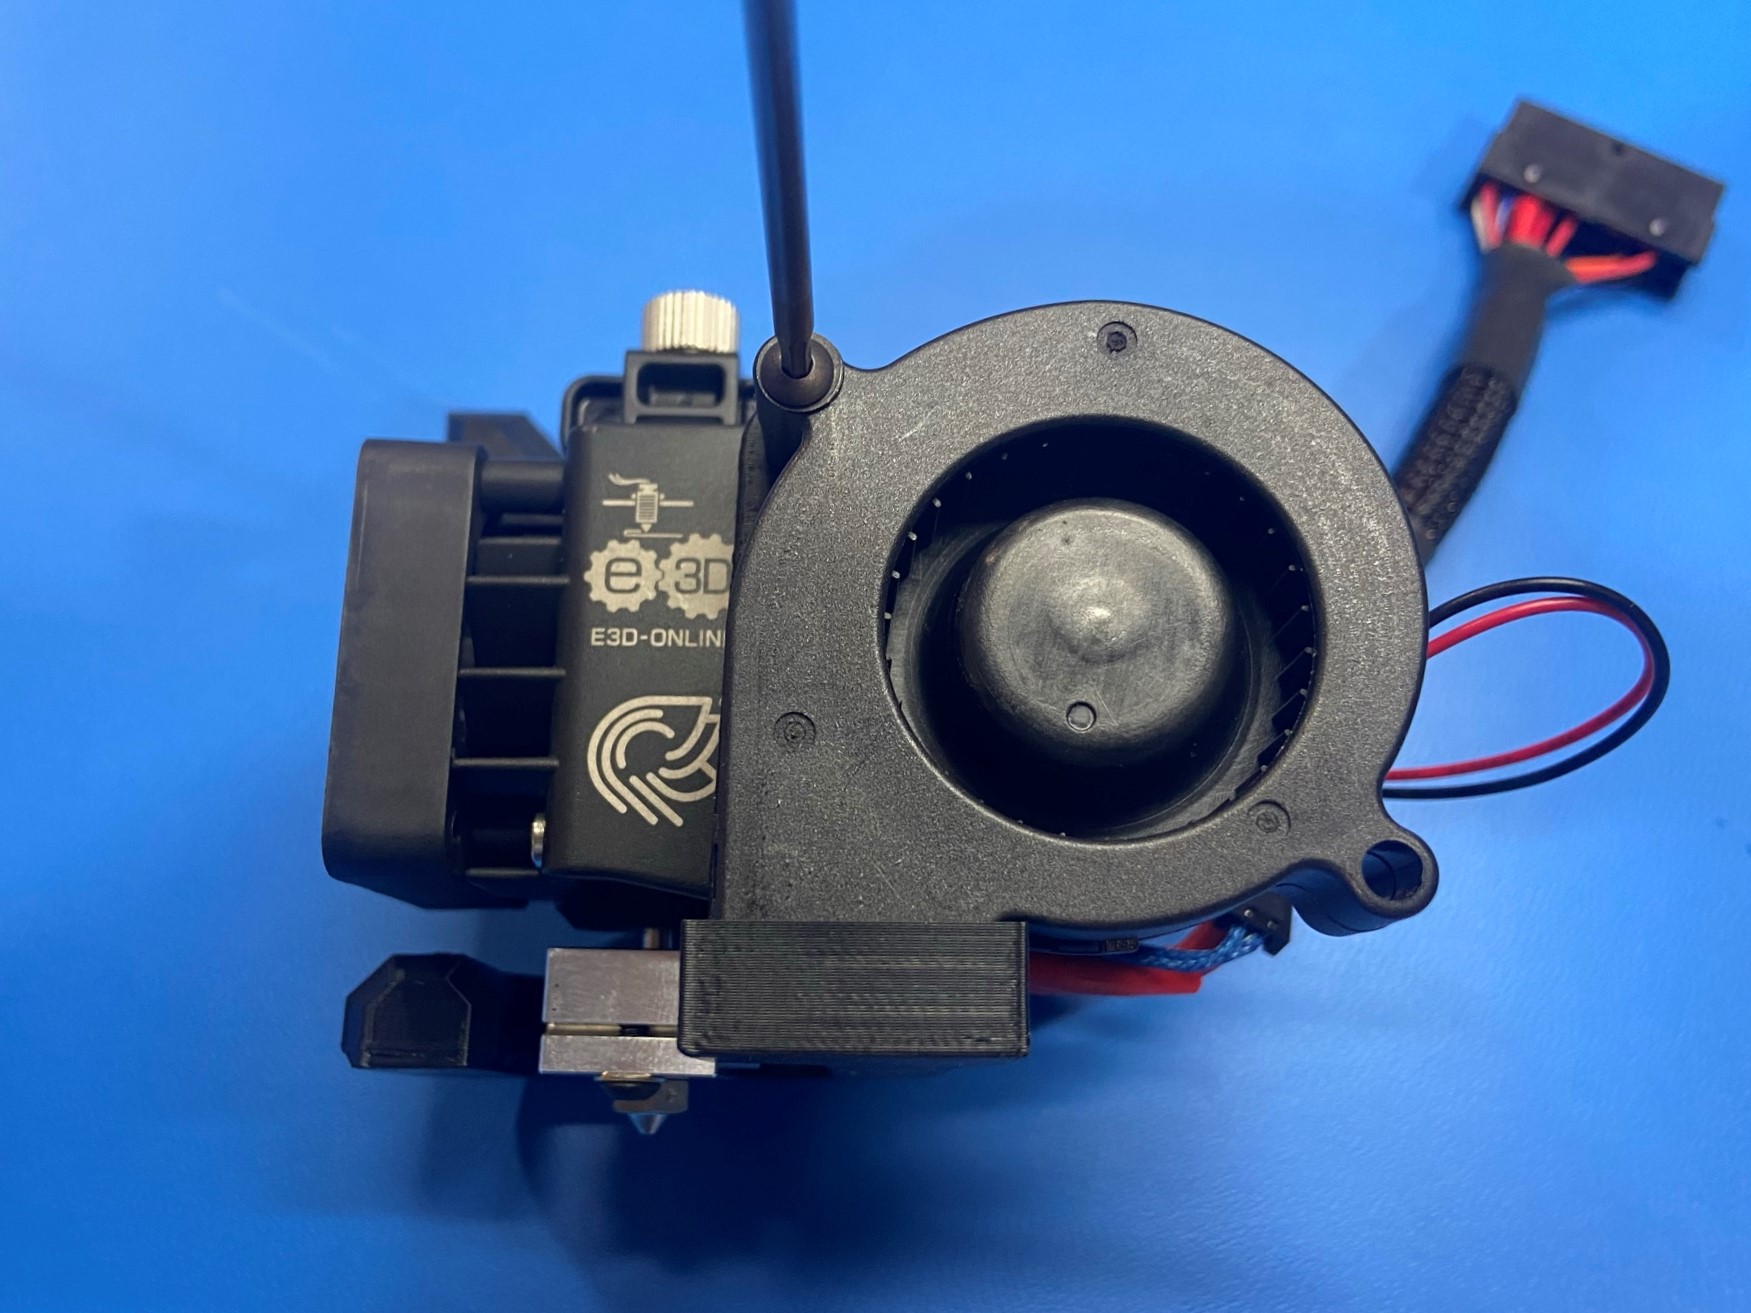
Next Attach the box fan to the heat sink on the left side of the tool head, use 2x M3x10 SHCS [HD-BT0005]
Note:make sure the wires from the fan are on the back side of the heat sink with the sticker against the heat sink
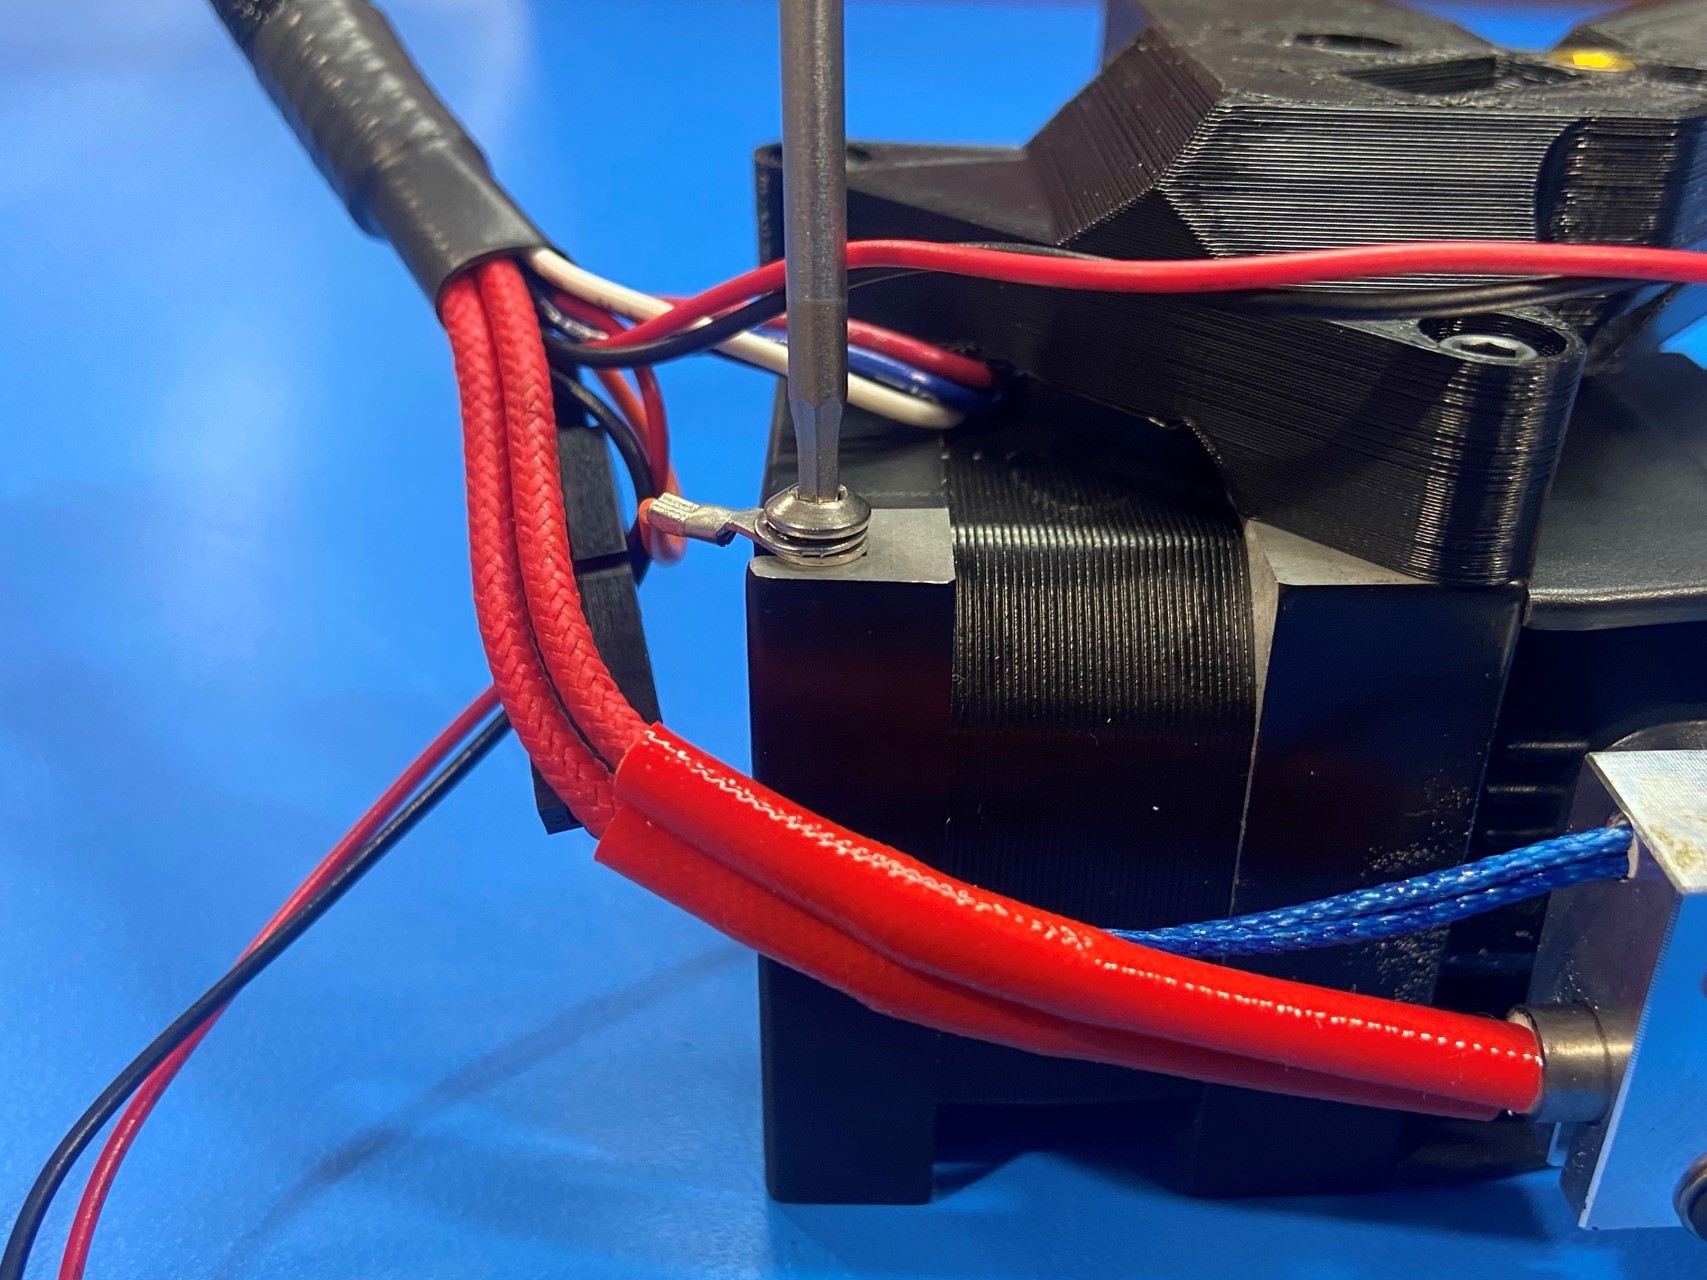
Place 1x M3 square nut inside the bottom left tab on the motor.
Using 1x M3x5 BHCS [HD-BT0085] with 1x M3 lock washer [HD-WA0027] mount the ground screw to the bottom right tab on the backside of the motor.

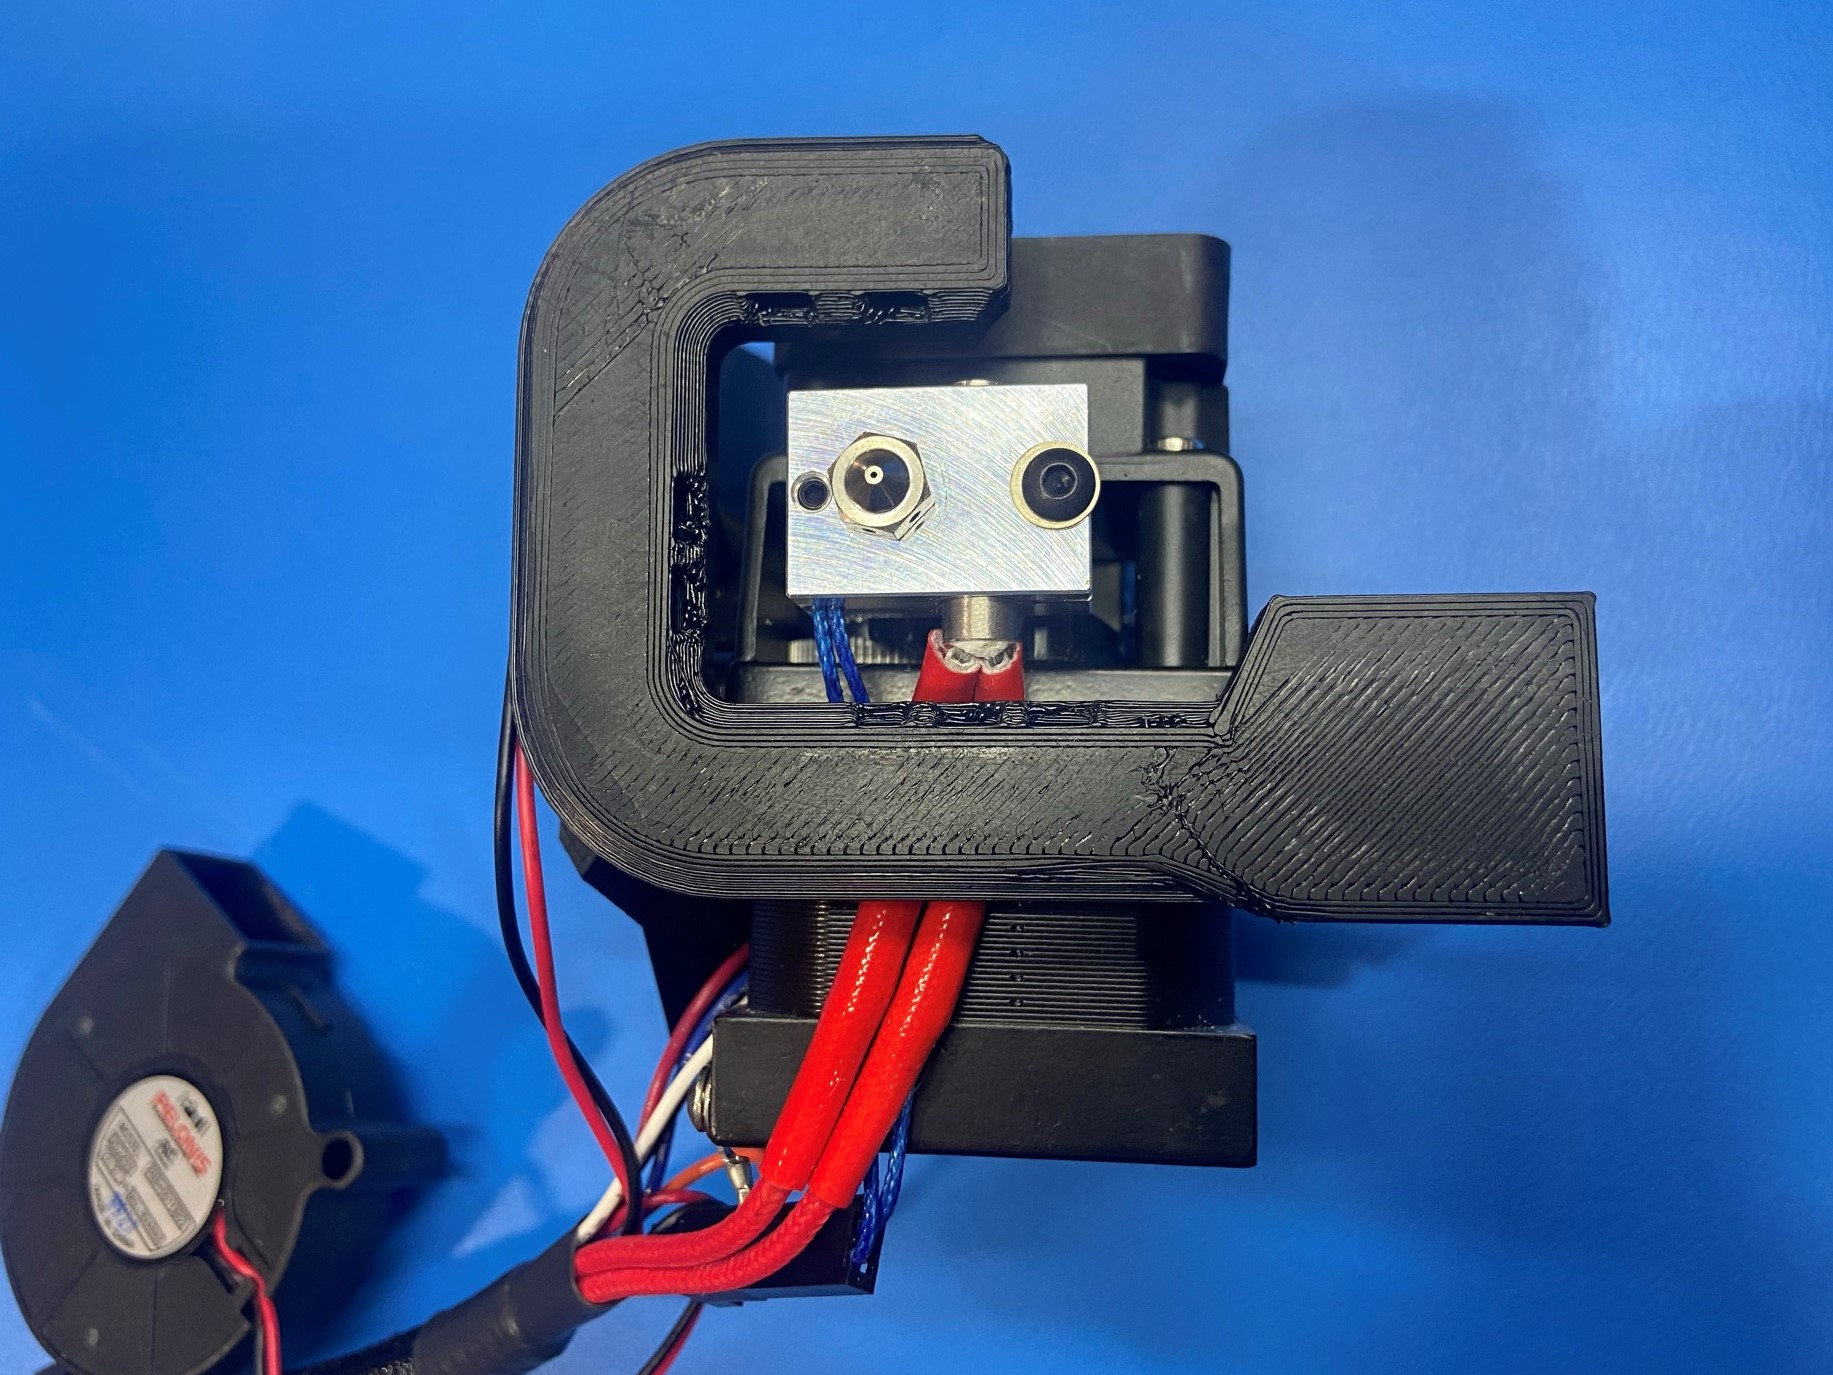
Using 1x M3x8 FHCS [HD-BT0130] mount the Hemera Fan Duct [PP-GP0655] to the front side of the extruder motor.
Note: make sure the wires are placed between the Hemera fan duct and the extruder motor. [reference#2]
Then place the blower fan inside the rectangular slot on the Hemera fan duct and attach it with 1x M3x25 BHCS [HD-BT0202] and 1x M3 washer [HD-WA0038]. Place the Caution Hot Symbol [DC-LB0155] on the front side of the fan as shown.