Open HardwareAssembly Instructions
Guides for installation and assembly of the LulzBot line of products made by FAME 3D LLC.
Guides for installation and assembly of the LulzBot line of products made by FAME 3D LLC.
Before changing the nozzle on your Galaxy Series Tool Head, be sure that there is no filament inserted into it.
If necessary, heat up the Tool Head and remove any filament prior to changing the nozzle.
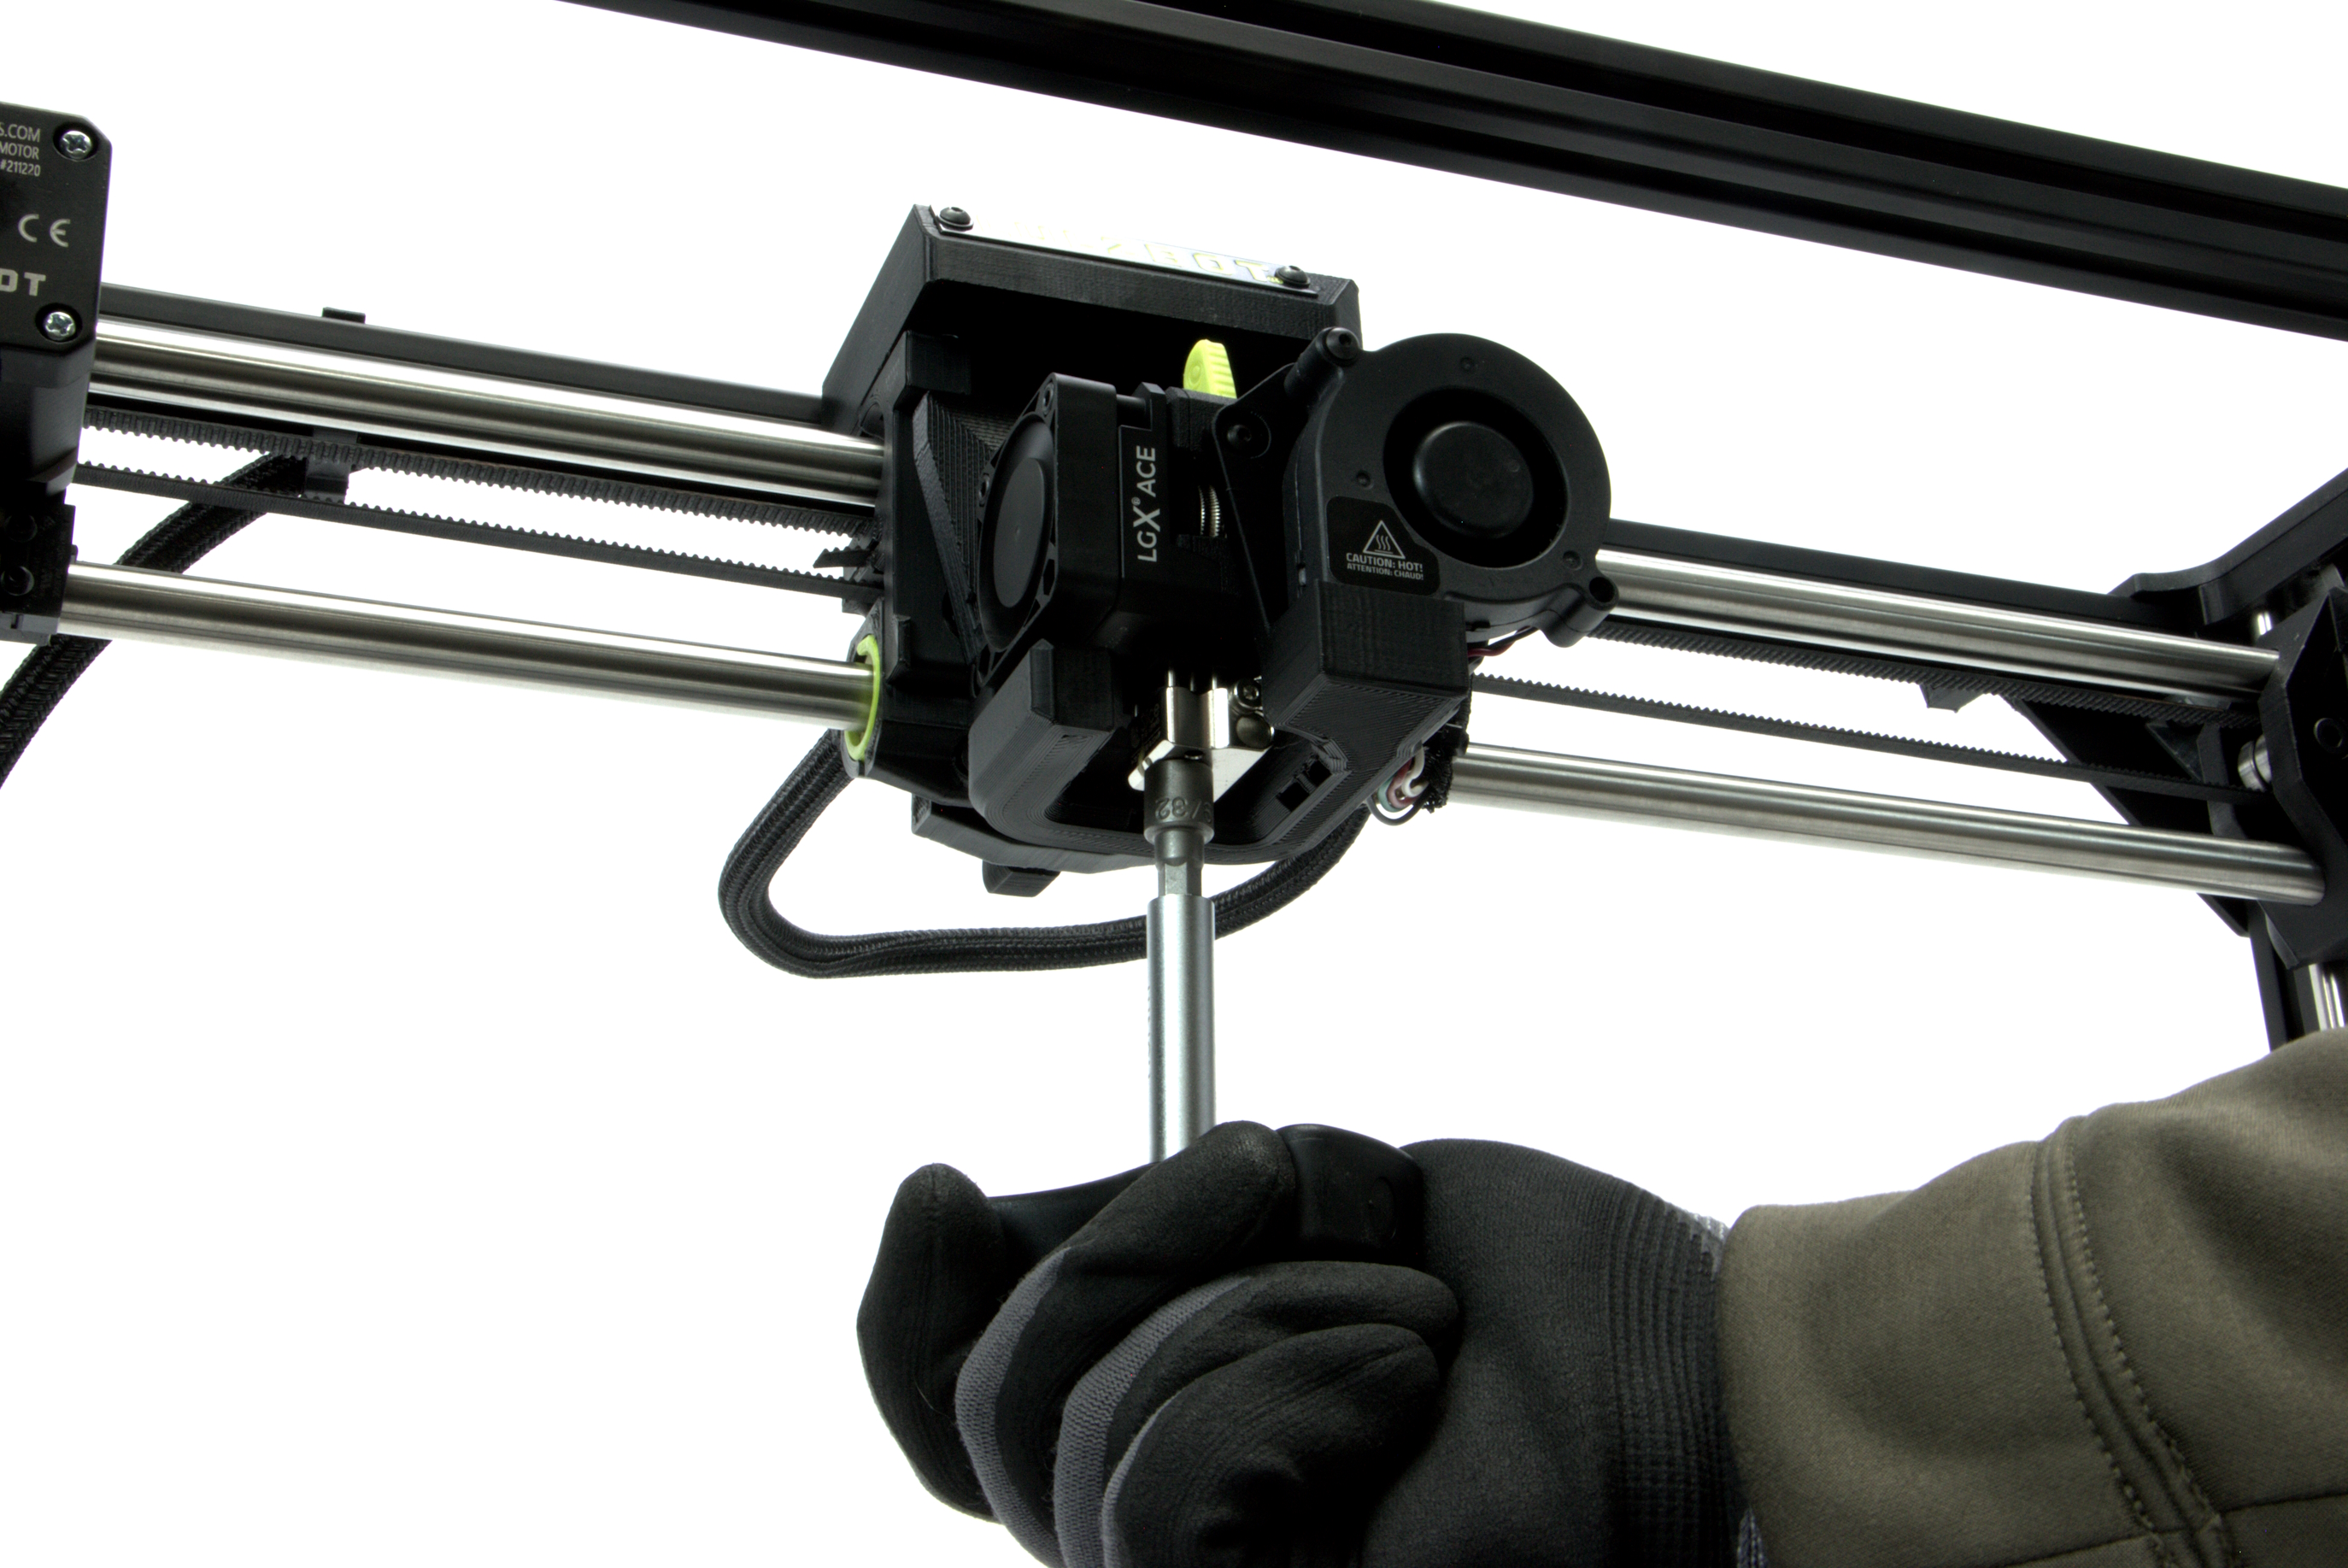
You will be working around a heated up hot end, It is recommended to wear gloves to protect your hands from accidental contact with the heated nozzle/hot end.
At FAME 3D we respect your freedom to modify your LulzBot 3D printer and Tool Heads. It is important to know that any modifications or attempted repairs that cause accidental or intentional damage are not covered under the Warranty.

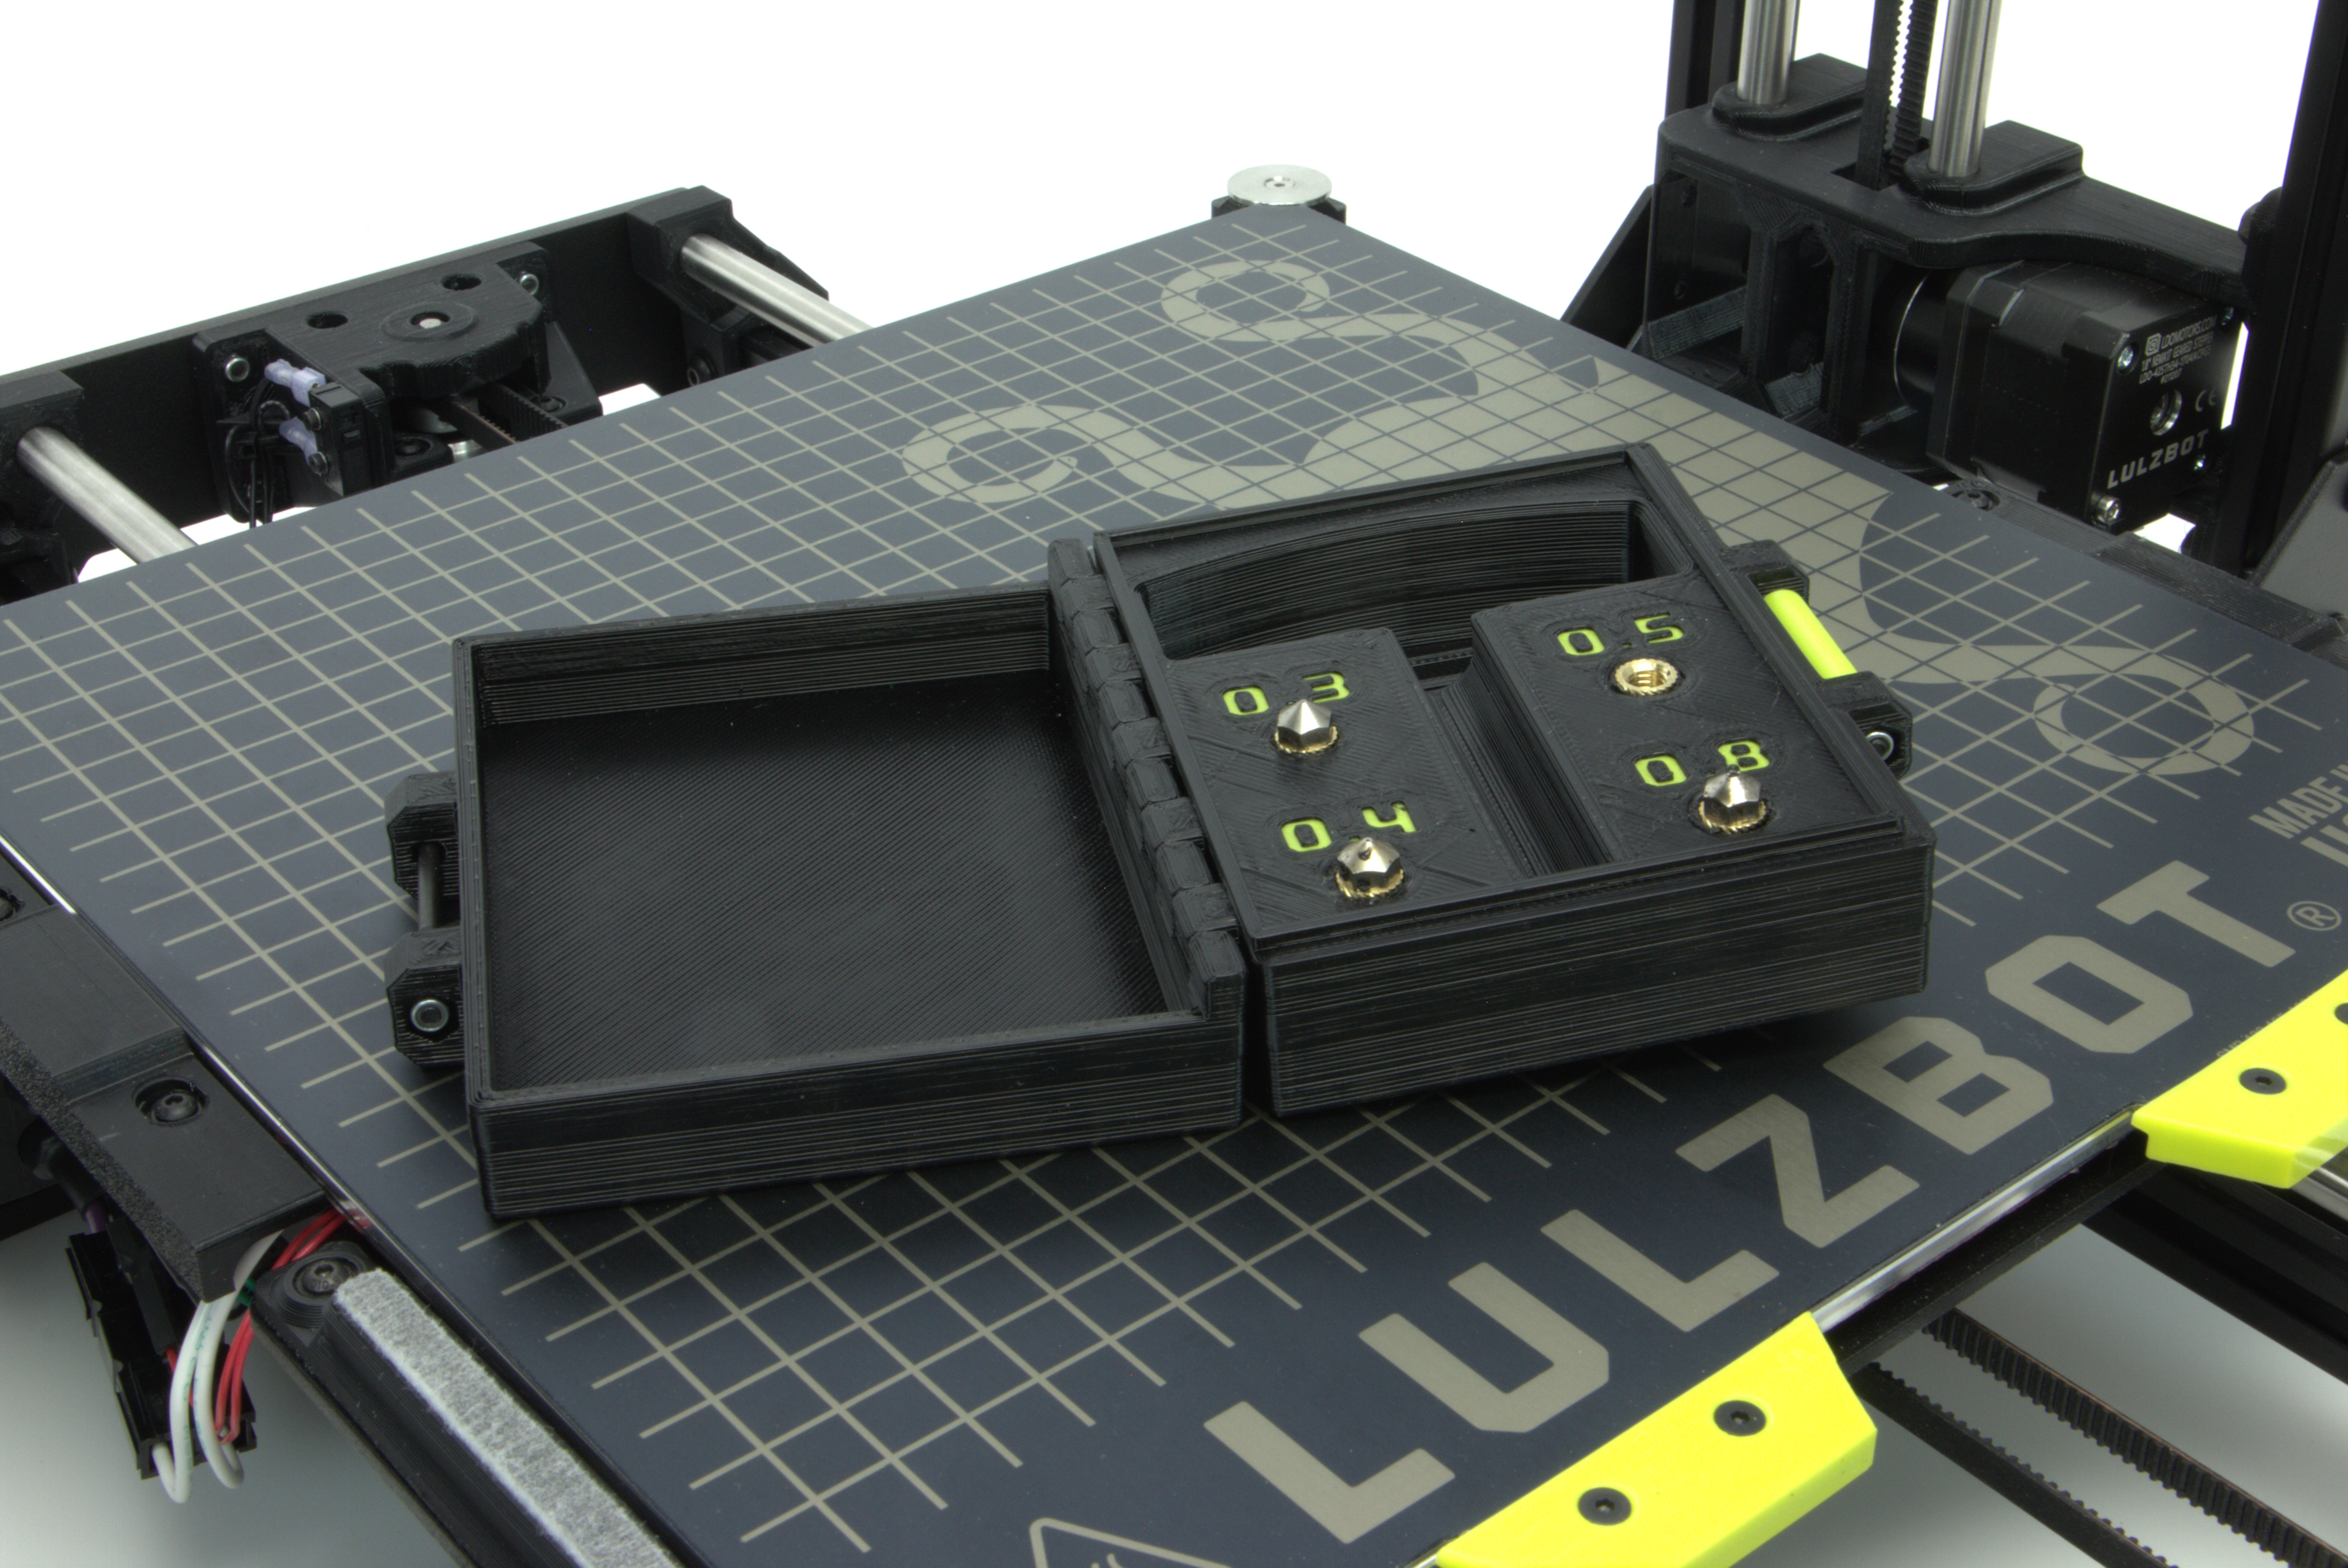
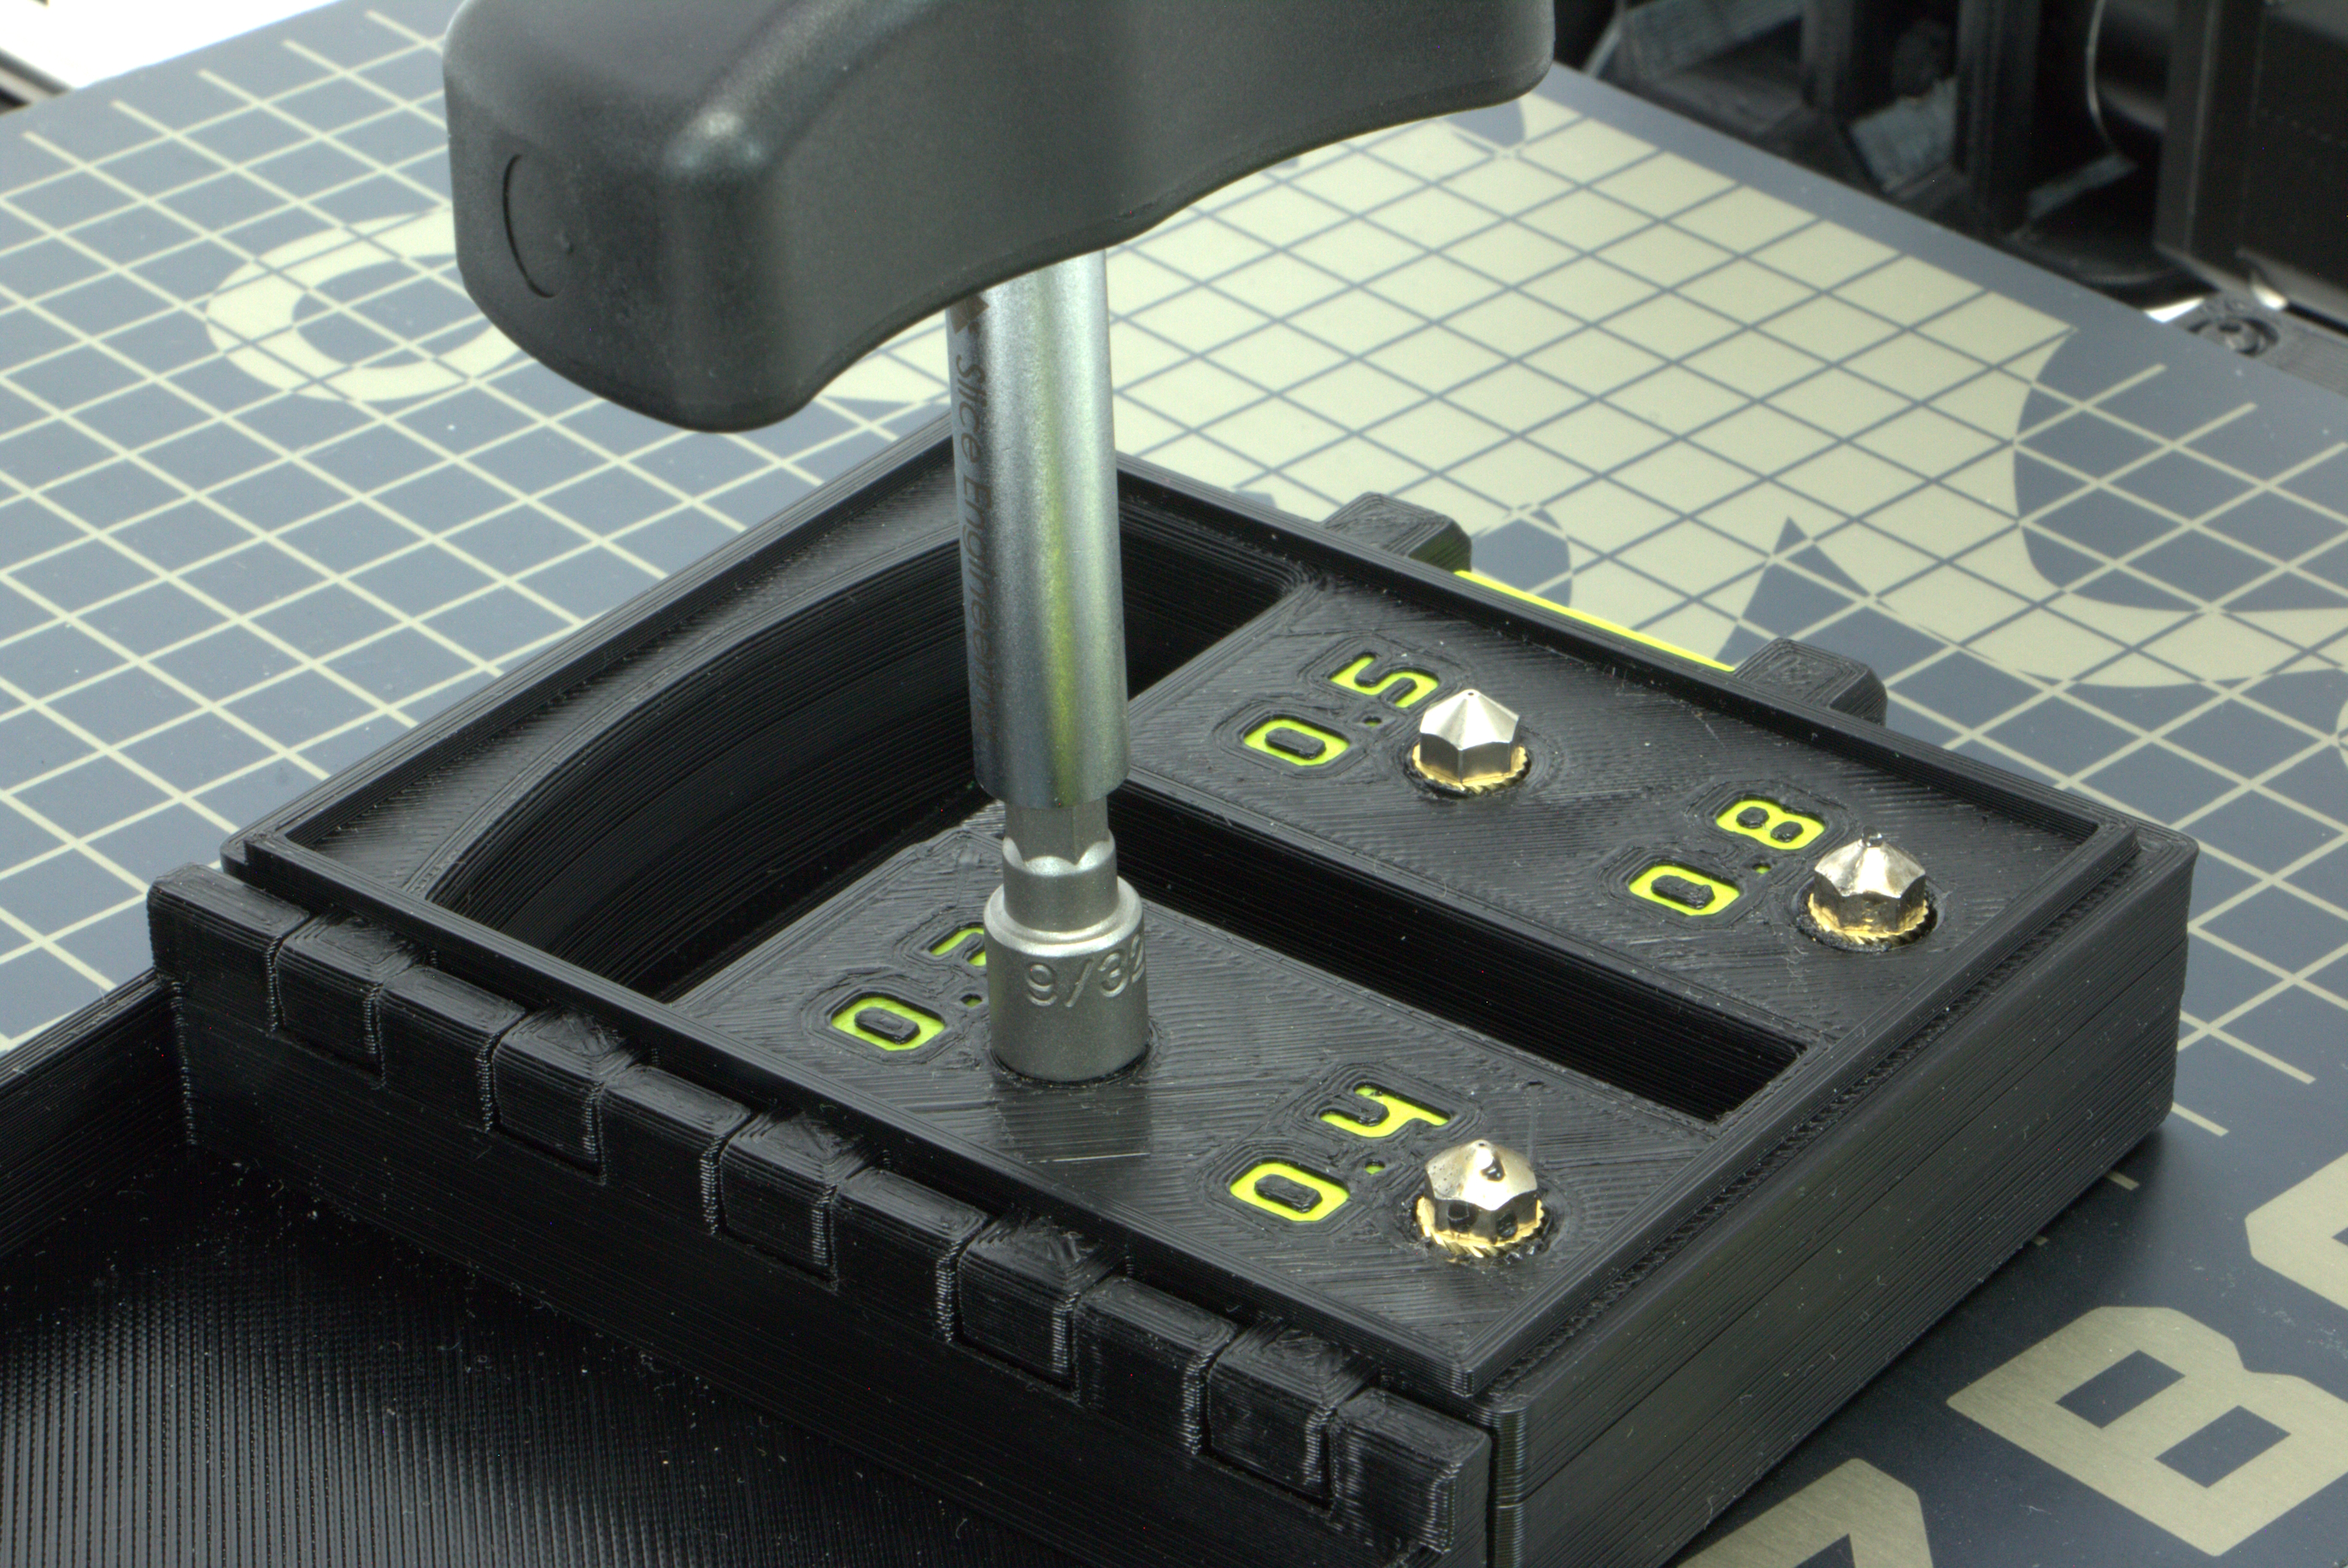
Galaxy Series Nozzle Kit
-Torque Tool
-Adapter
-Nozzles
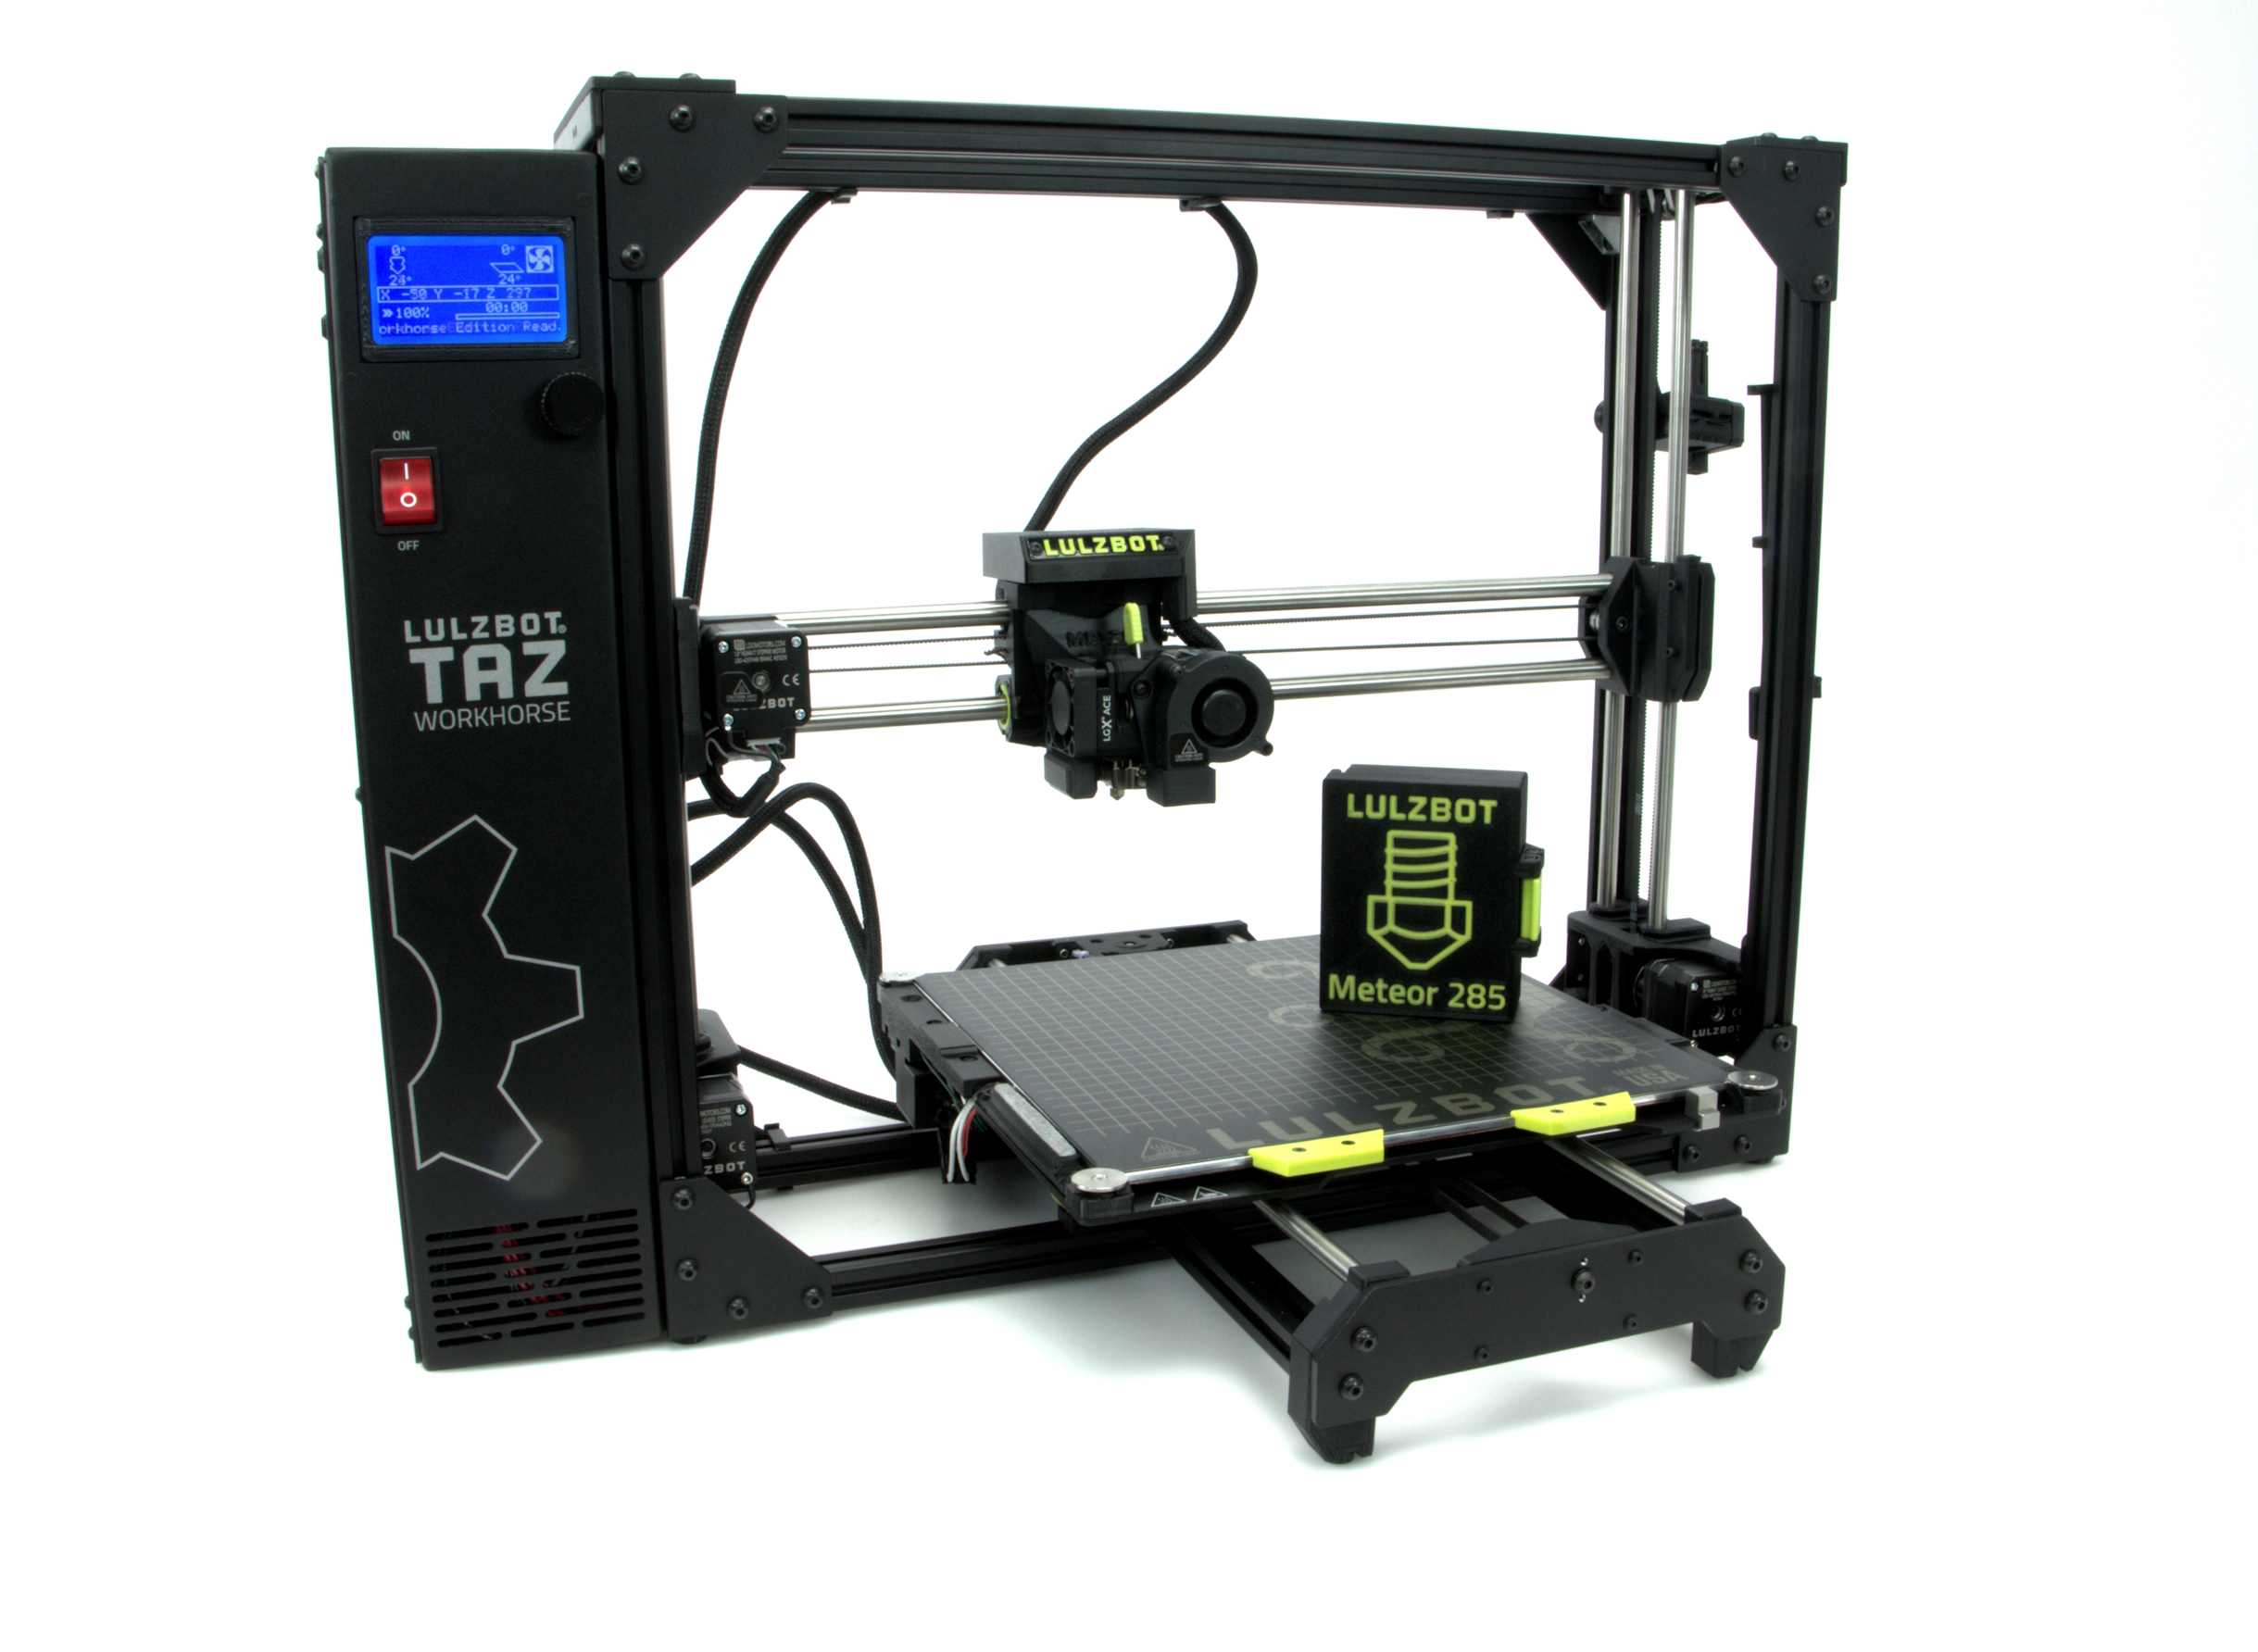
Printer with Galaxy Series Tool Head Installed
-Meteor 285/175
-Asteroid 285
-Twin Nebula 285/175
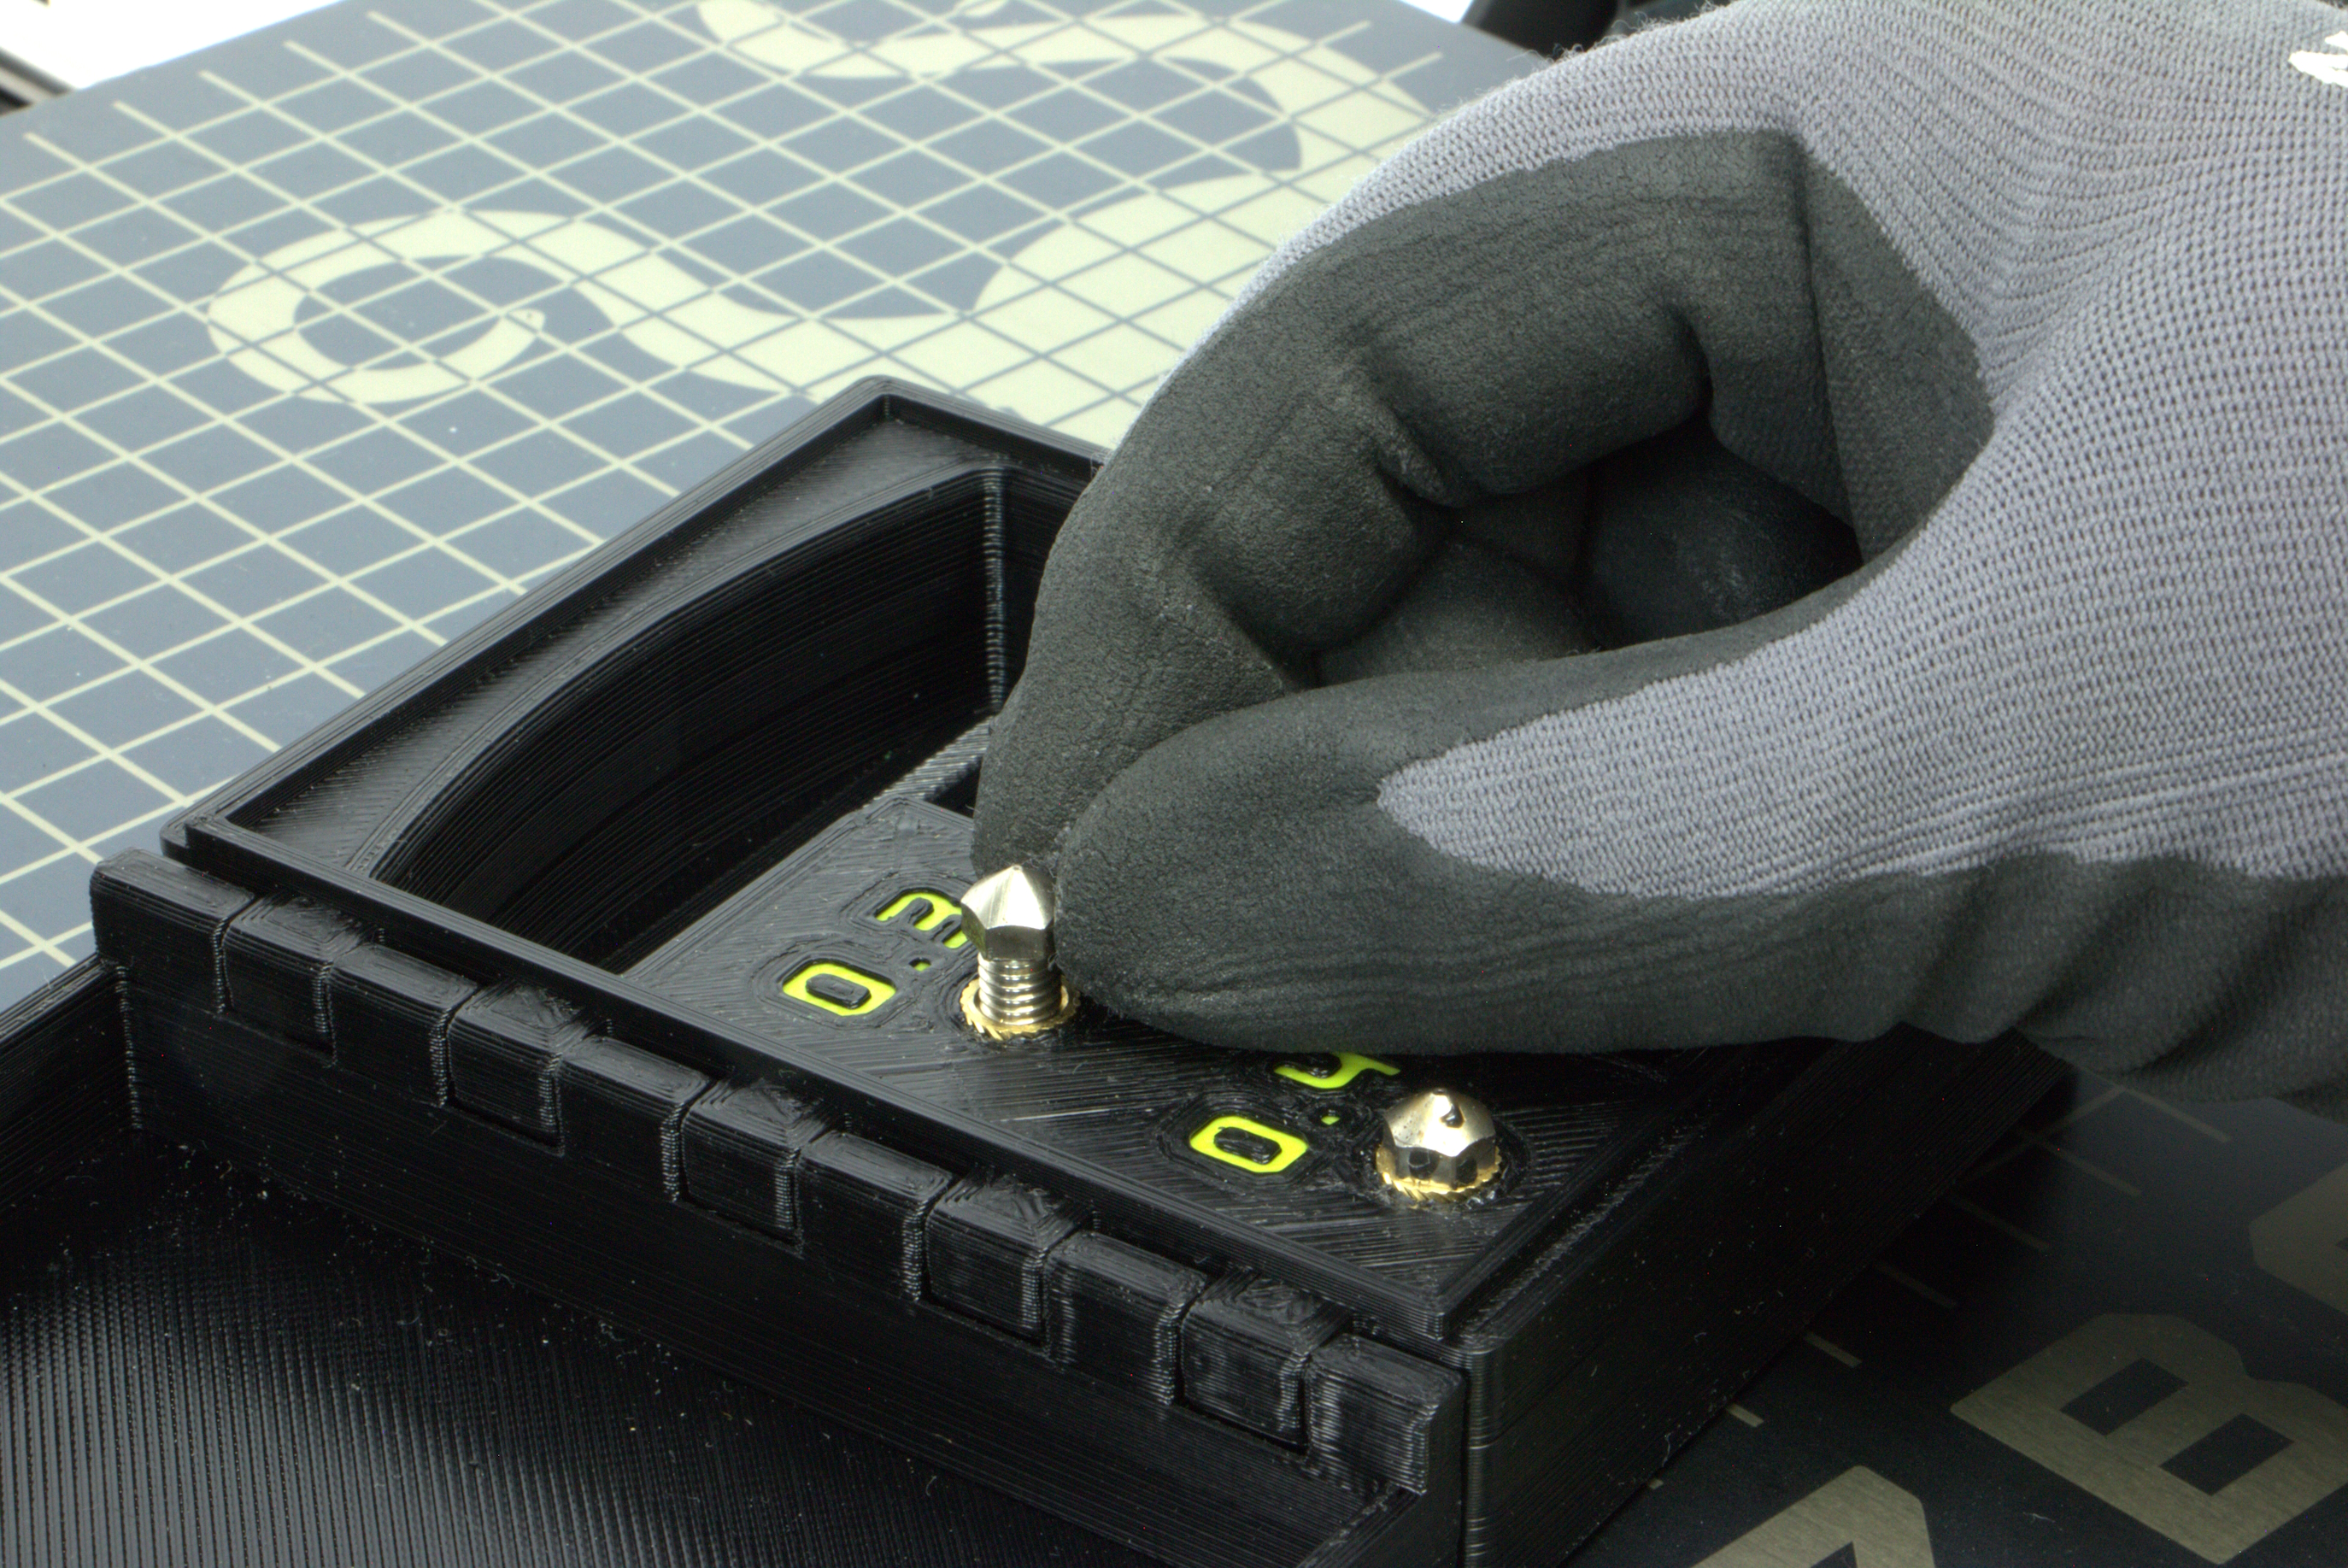
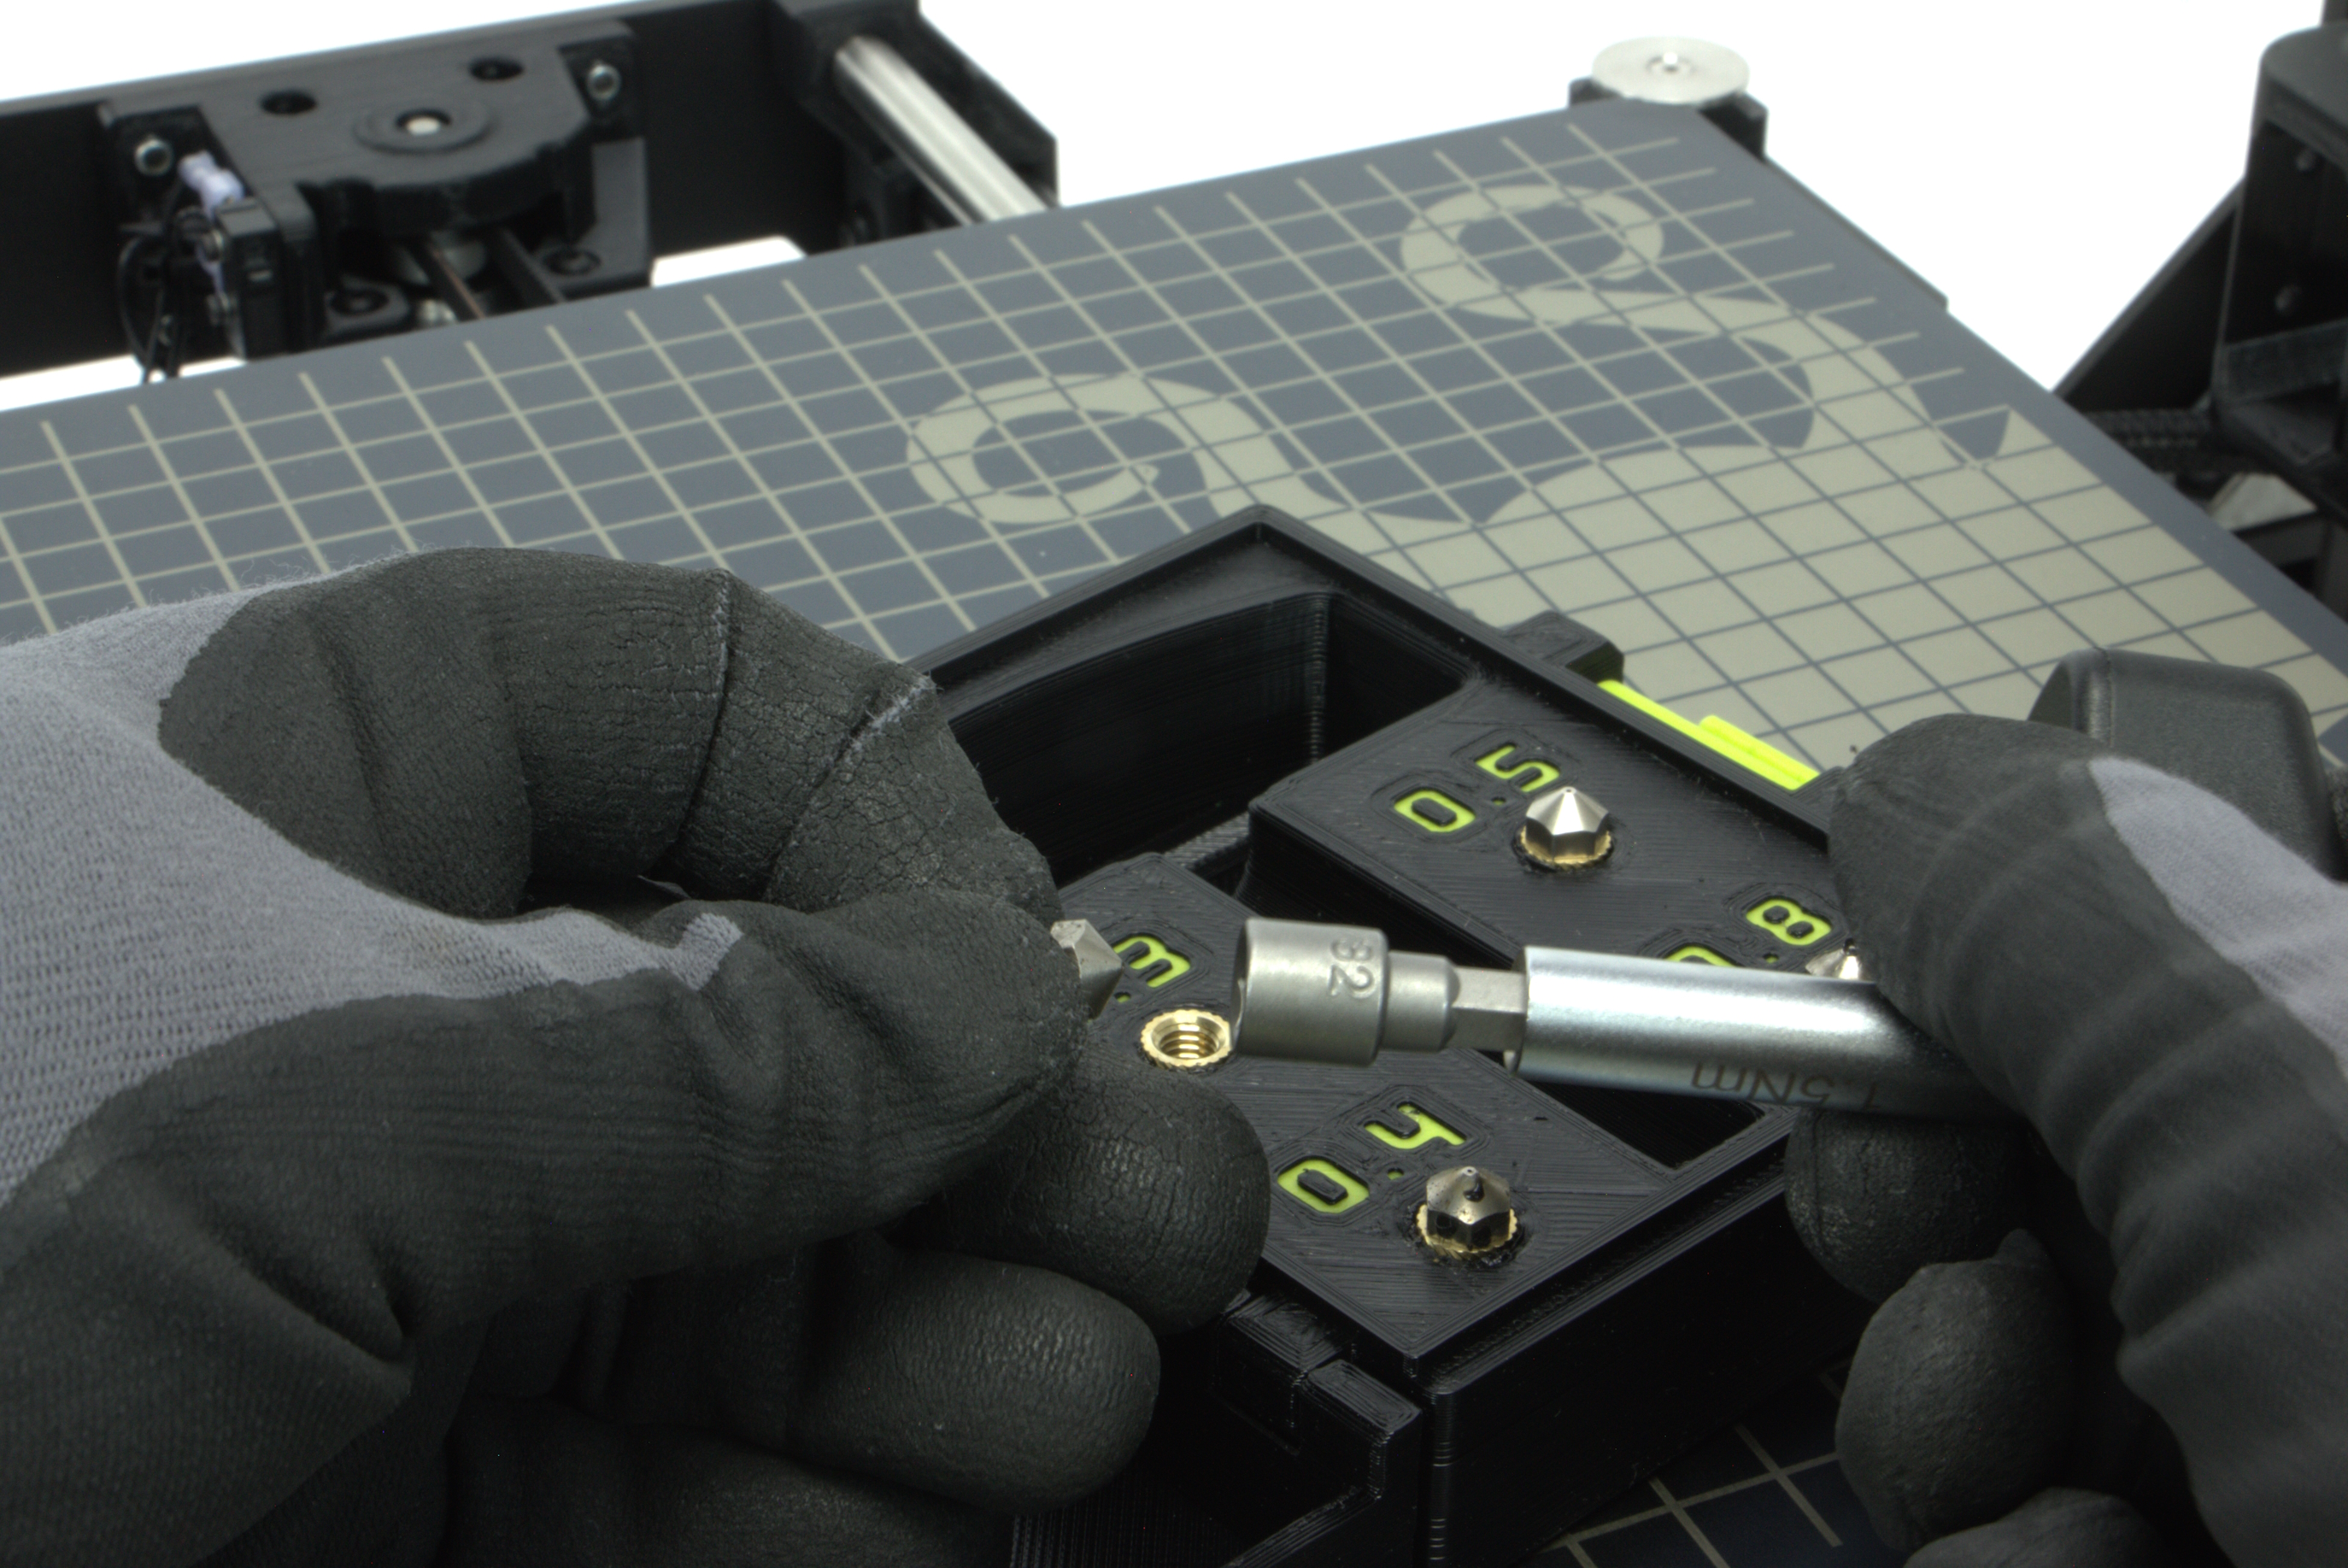
Gloves
-Protects your hands from accidental contact with hot end components.
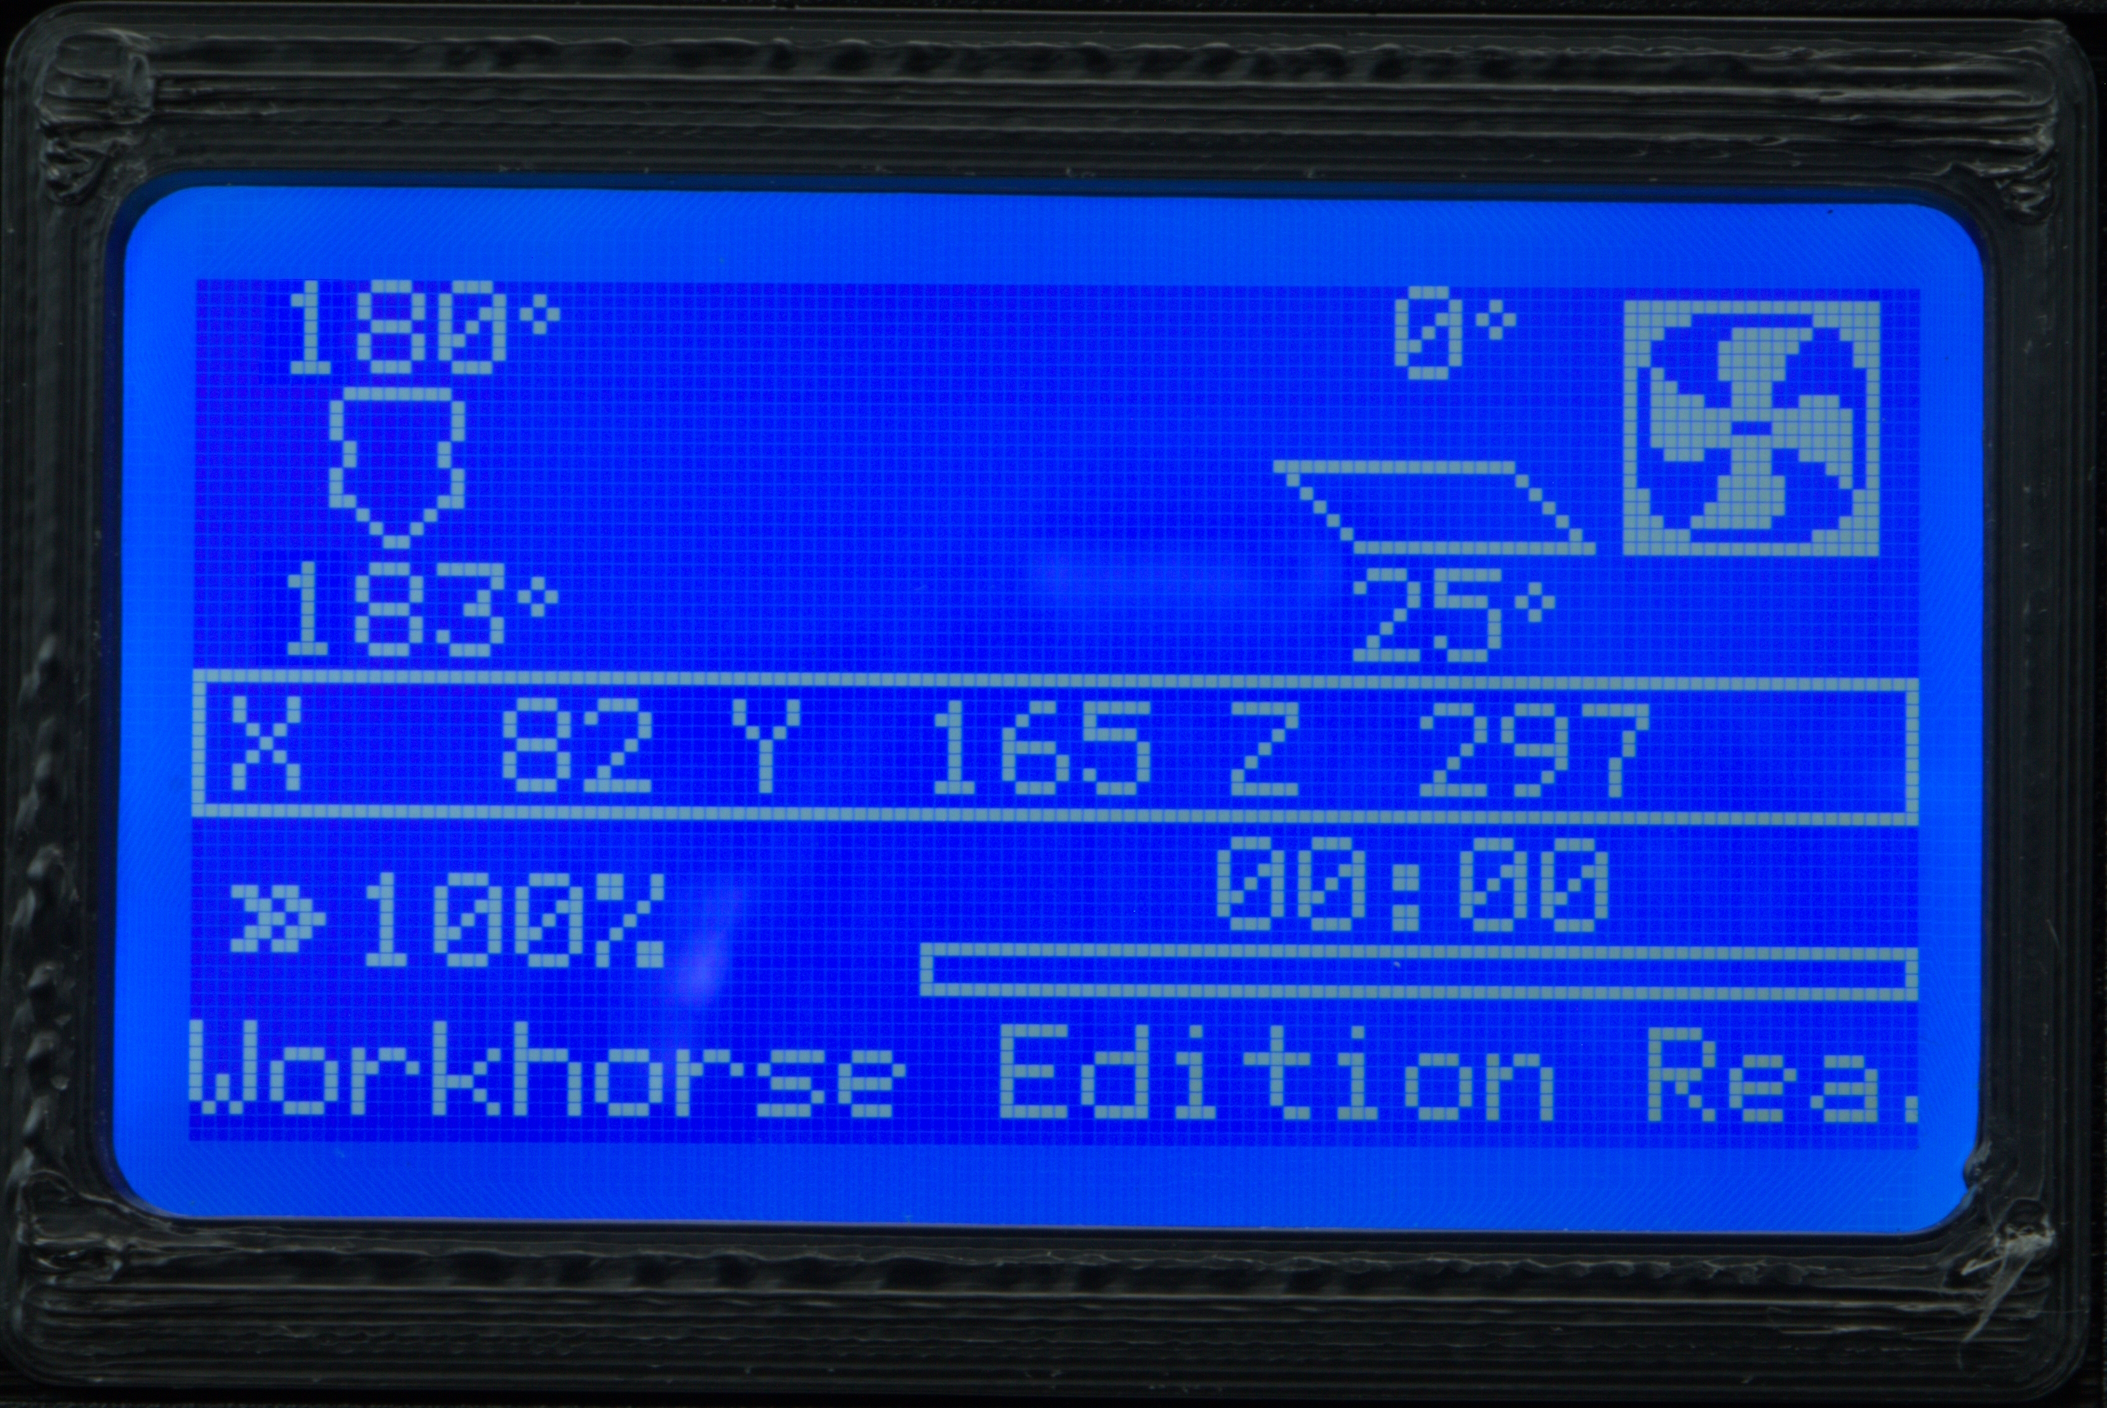
Power on your printer and raise the Tool Head up to the top of the printer to have complete access to the nozzle area.
Using the printer's LCD, heat the Tool Head to 180°C.
Let the Tool Head sit for a moment to allow the hot end temperature equalize.
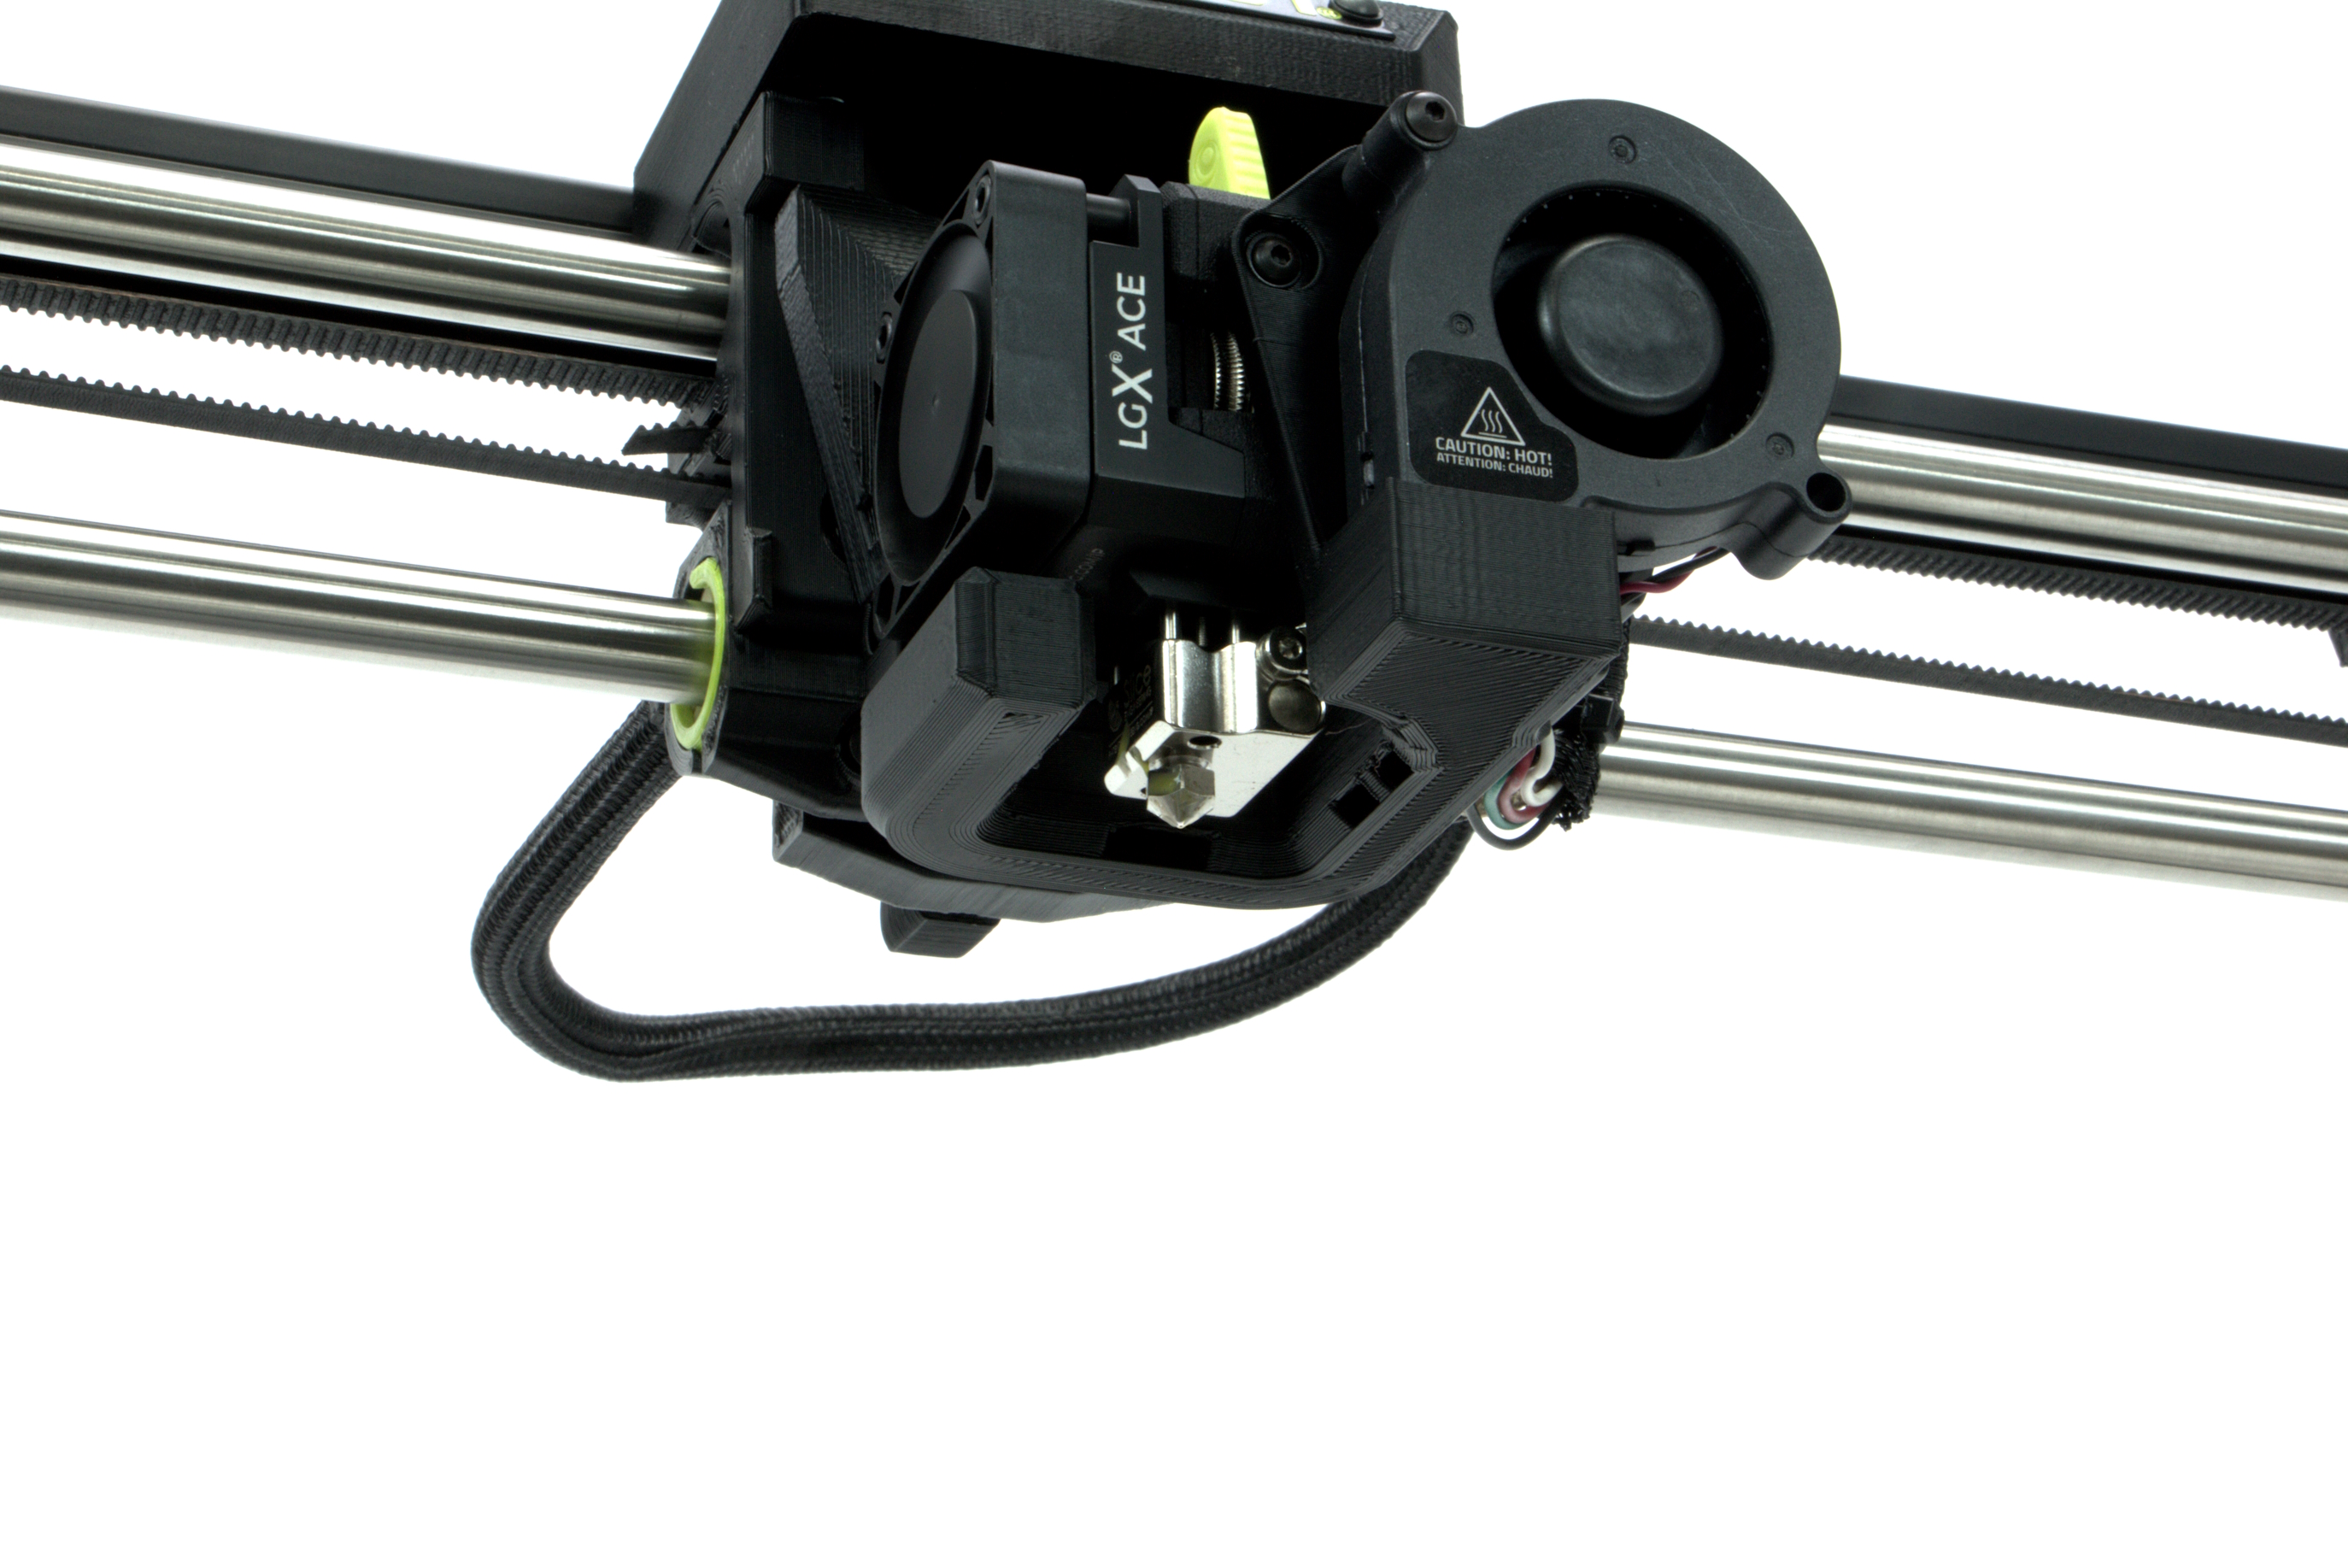
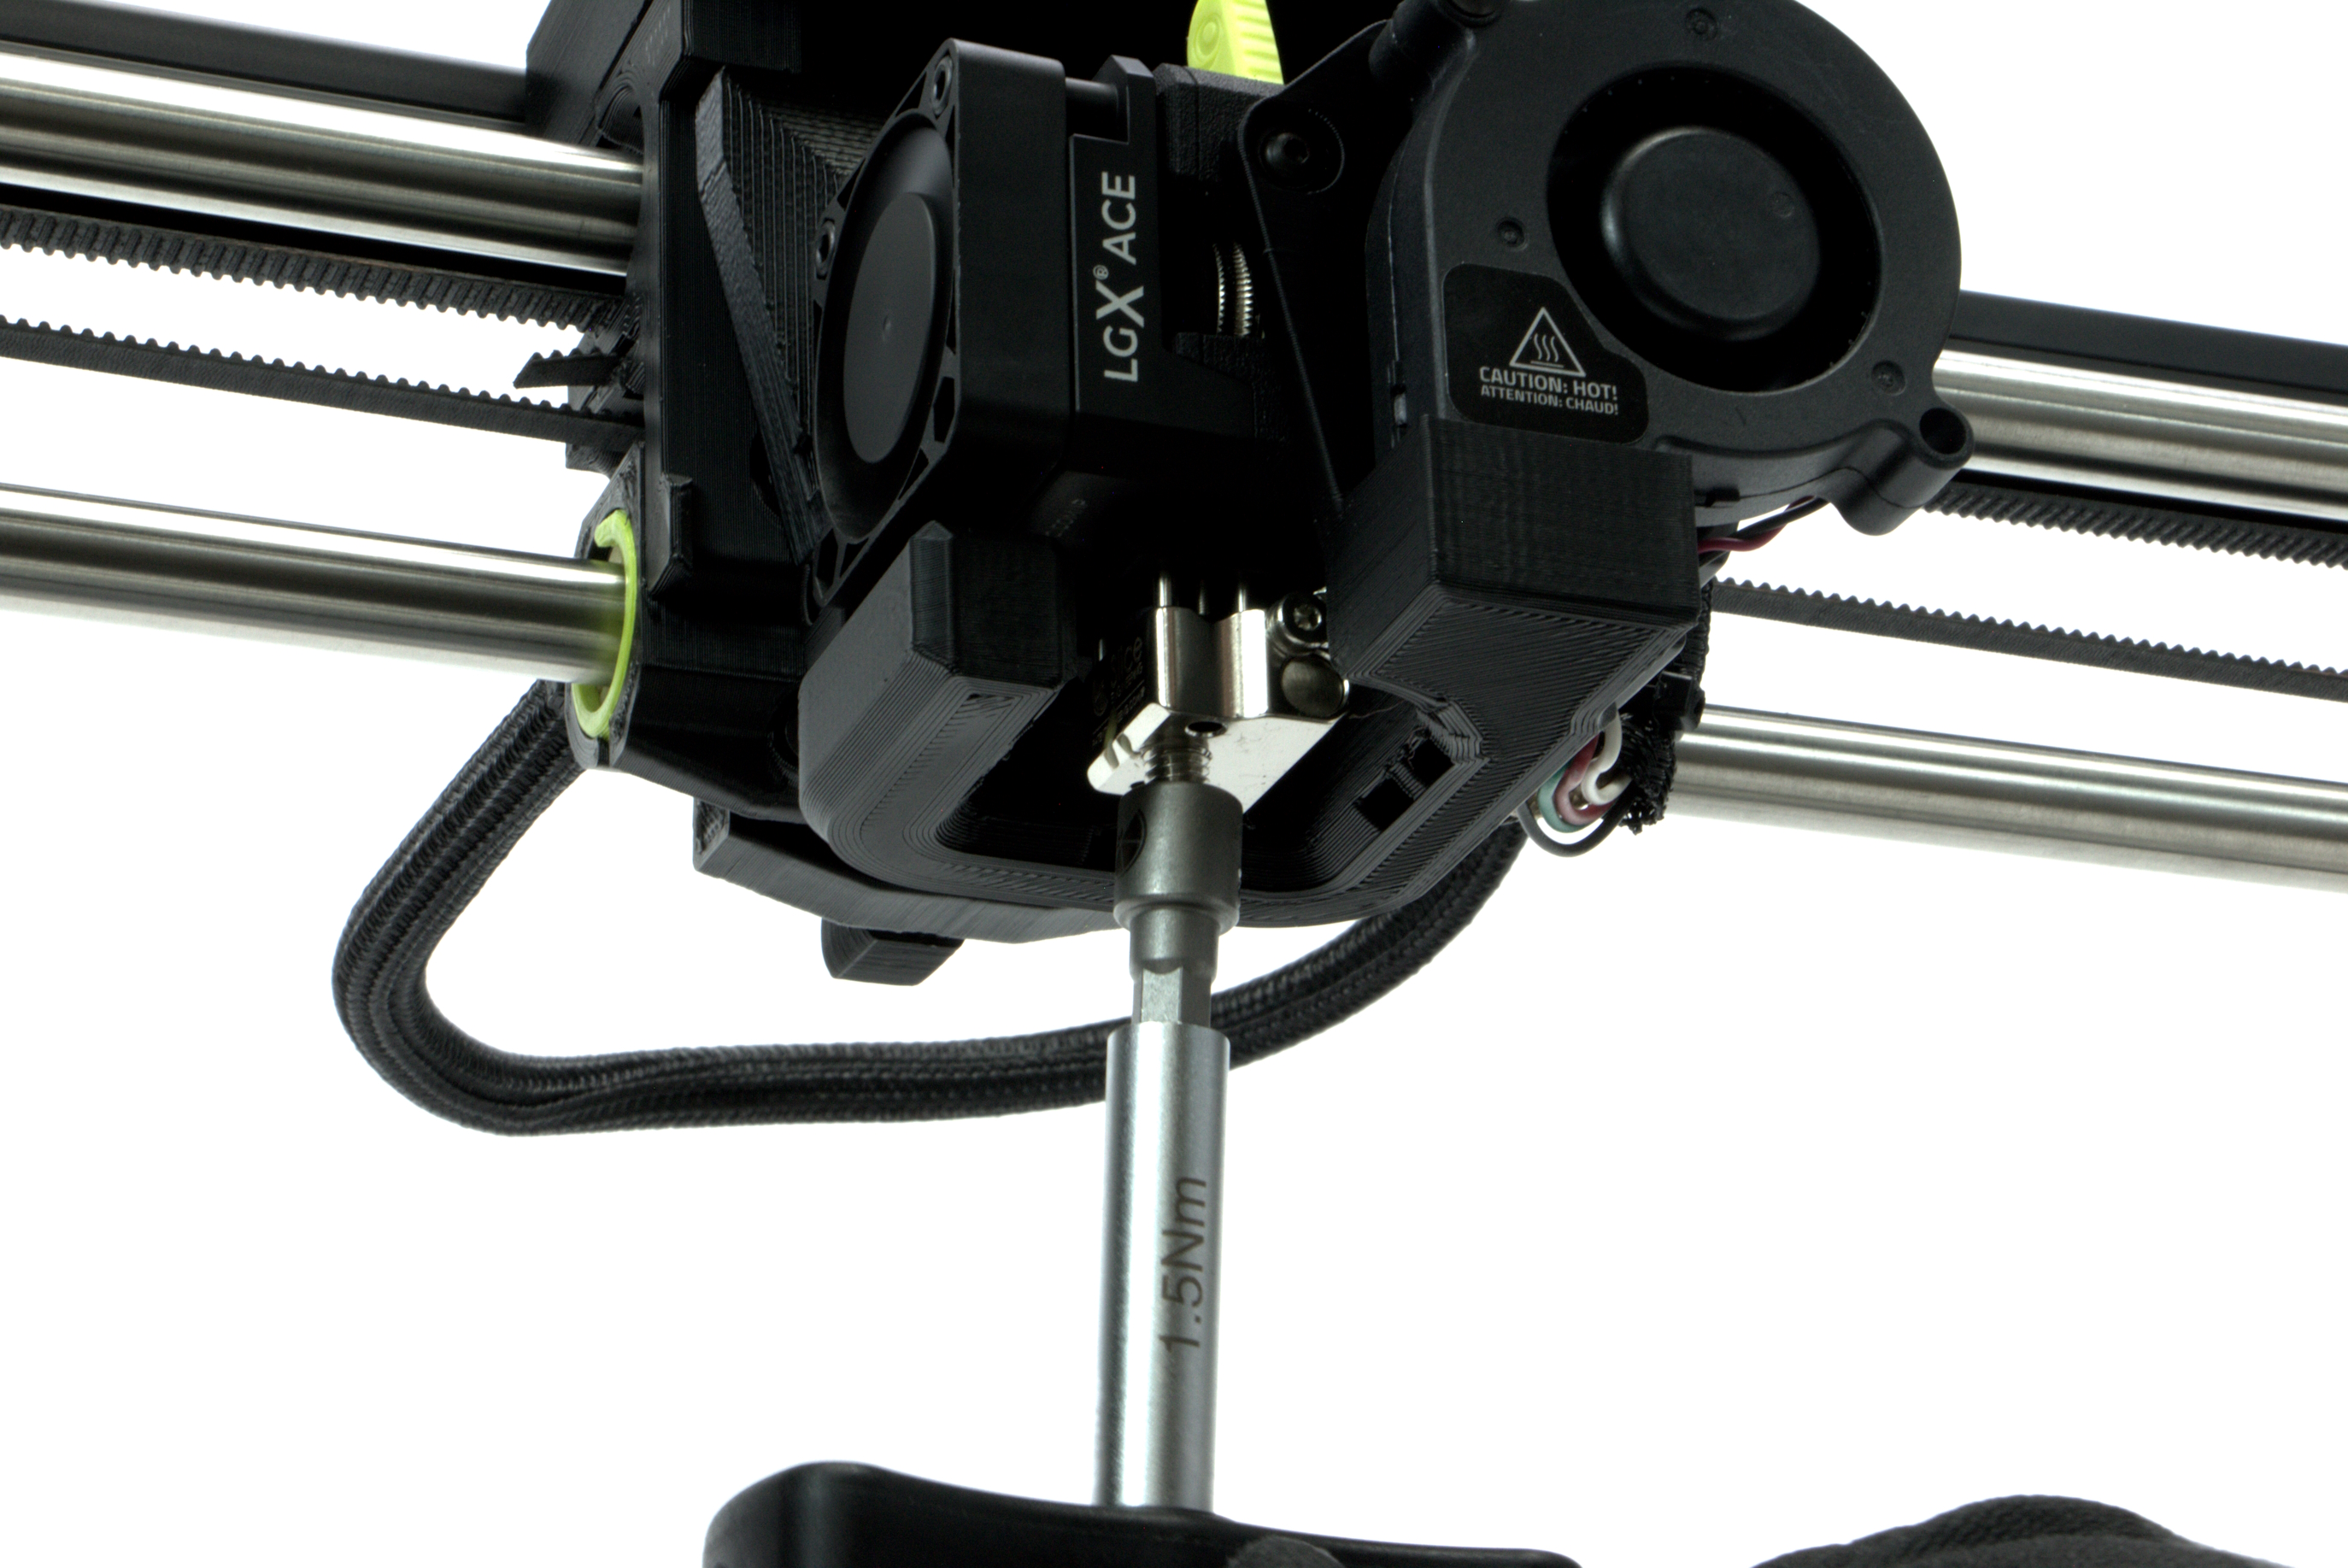
When swapping the nozzle, be very careful of the wires near the back of the hot end.
Do not touch or contact the wires as this could result in an electrical short.
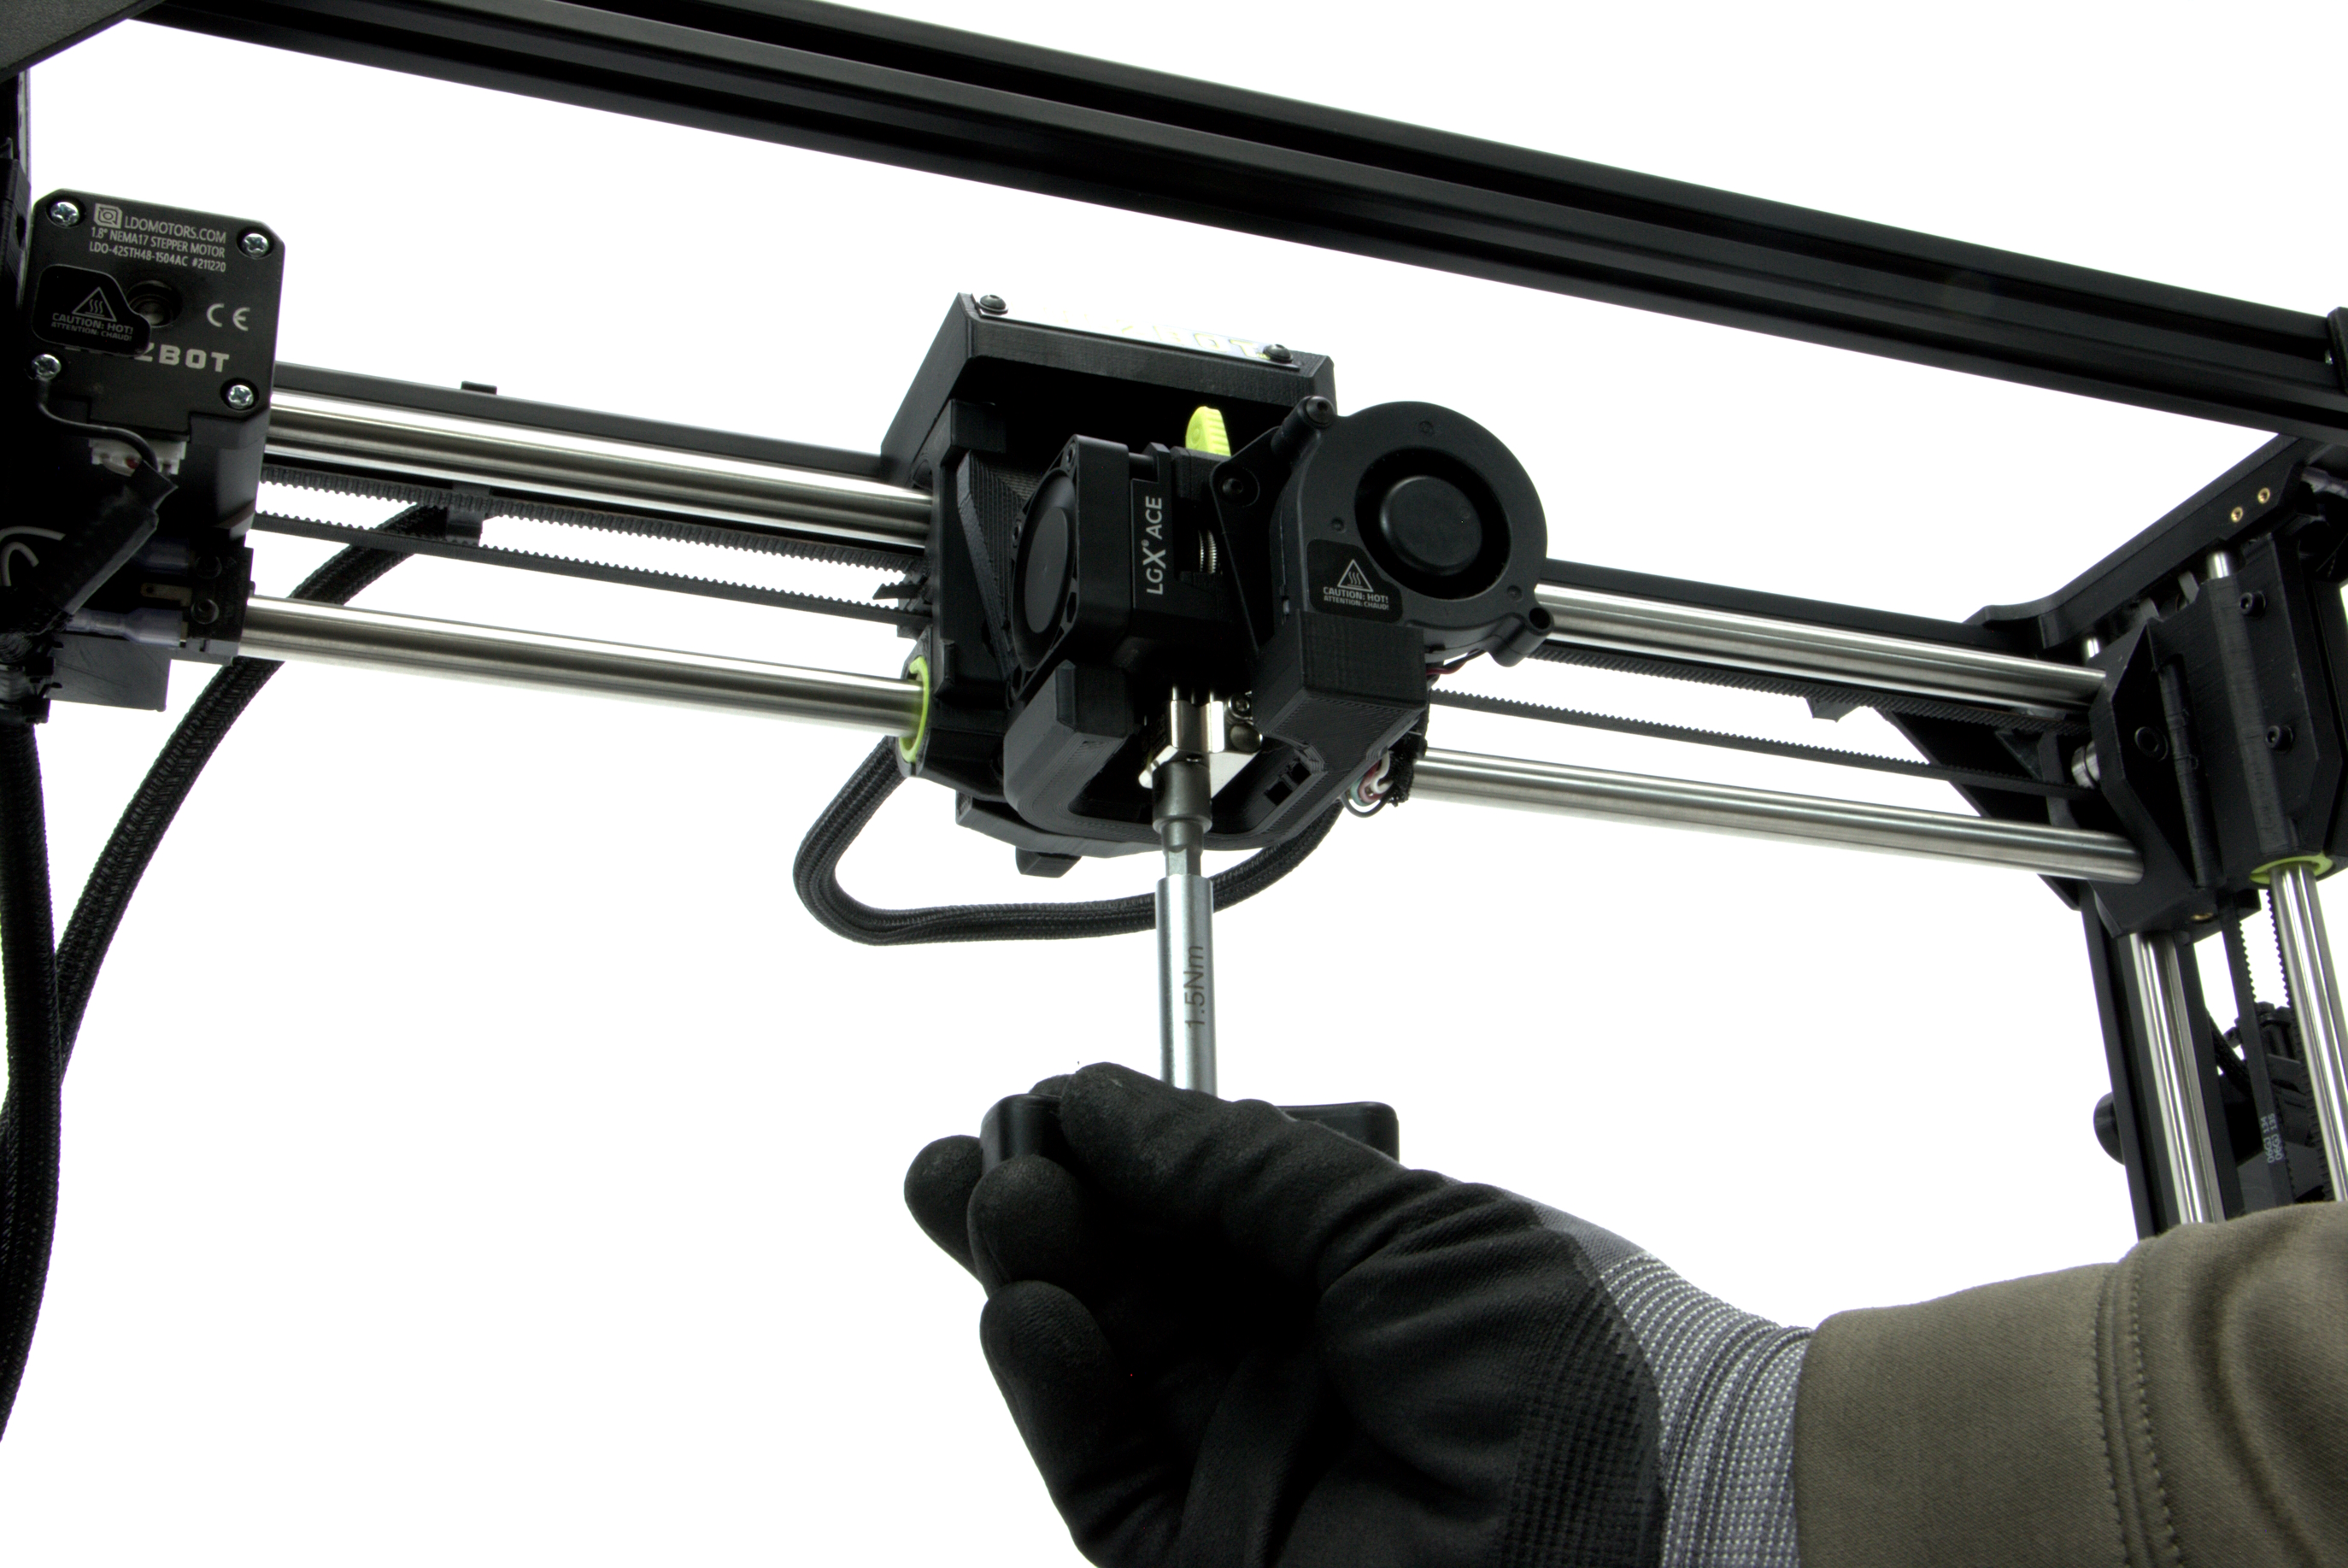
Using the Torque Tool and Adapter from the nozzle kit, carefully turn the installed nozzle counterclockwise and unthread the nozzle.
Be careful as the nozzle will be very hot. Do not touch it until it has cooled off completely.
Once cooled off, place nozzle into nozzle kit in the appropriate location.
Use the torque tool to secure nozzle into the insert of the kit.

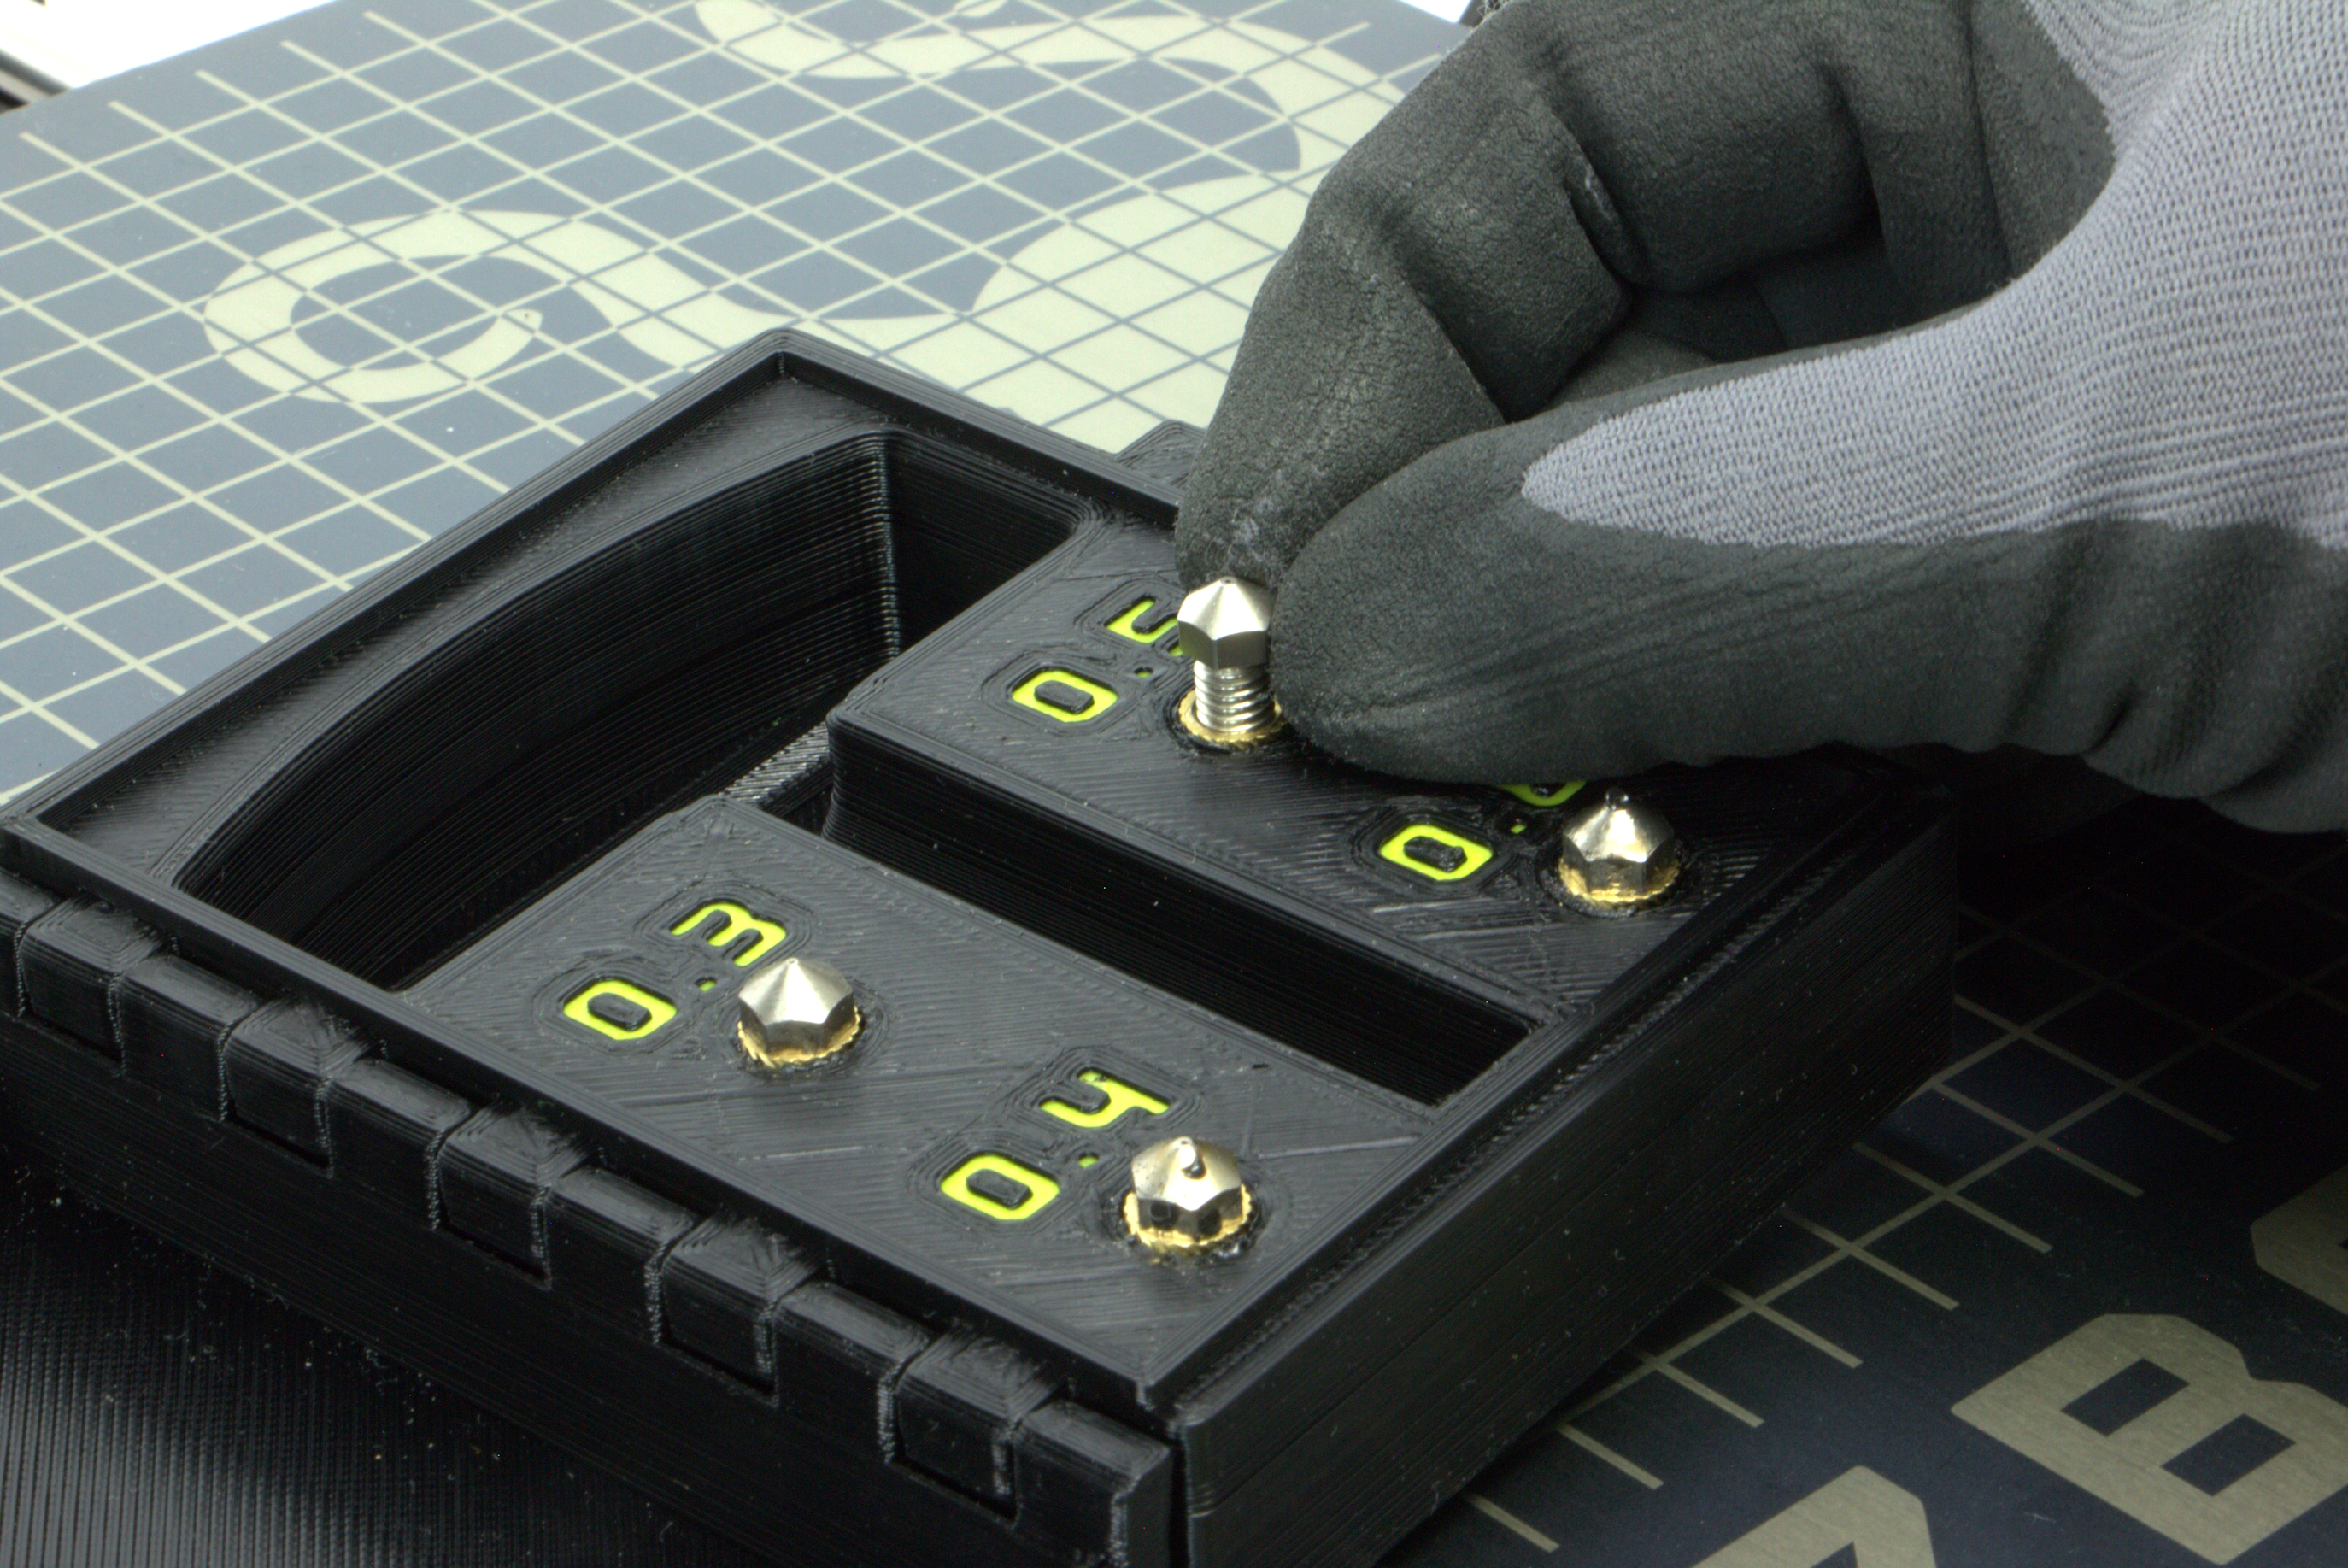
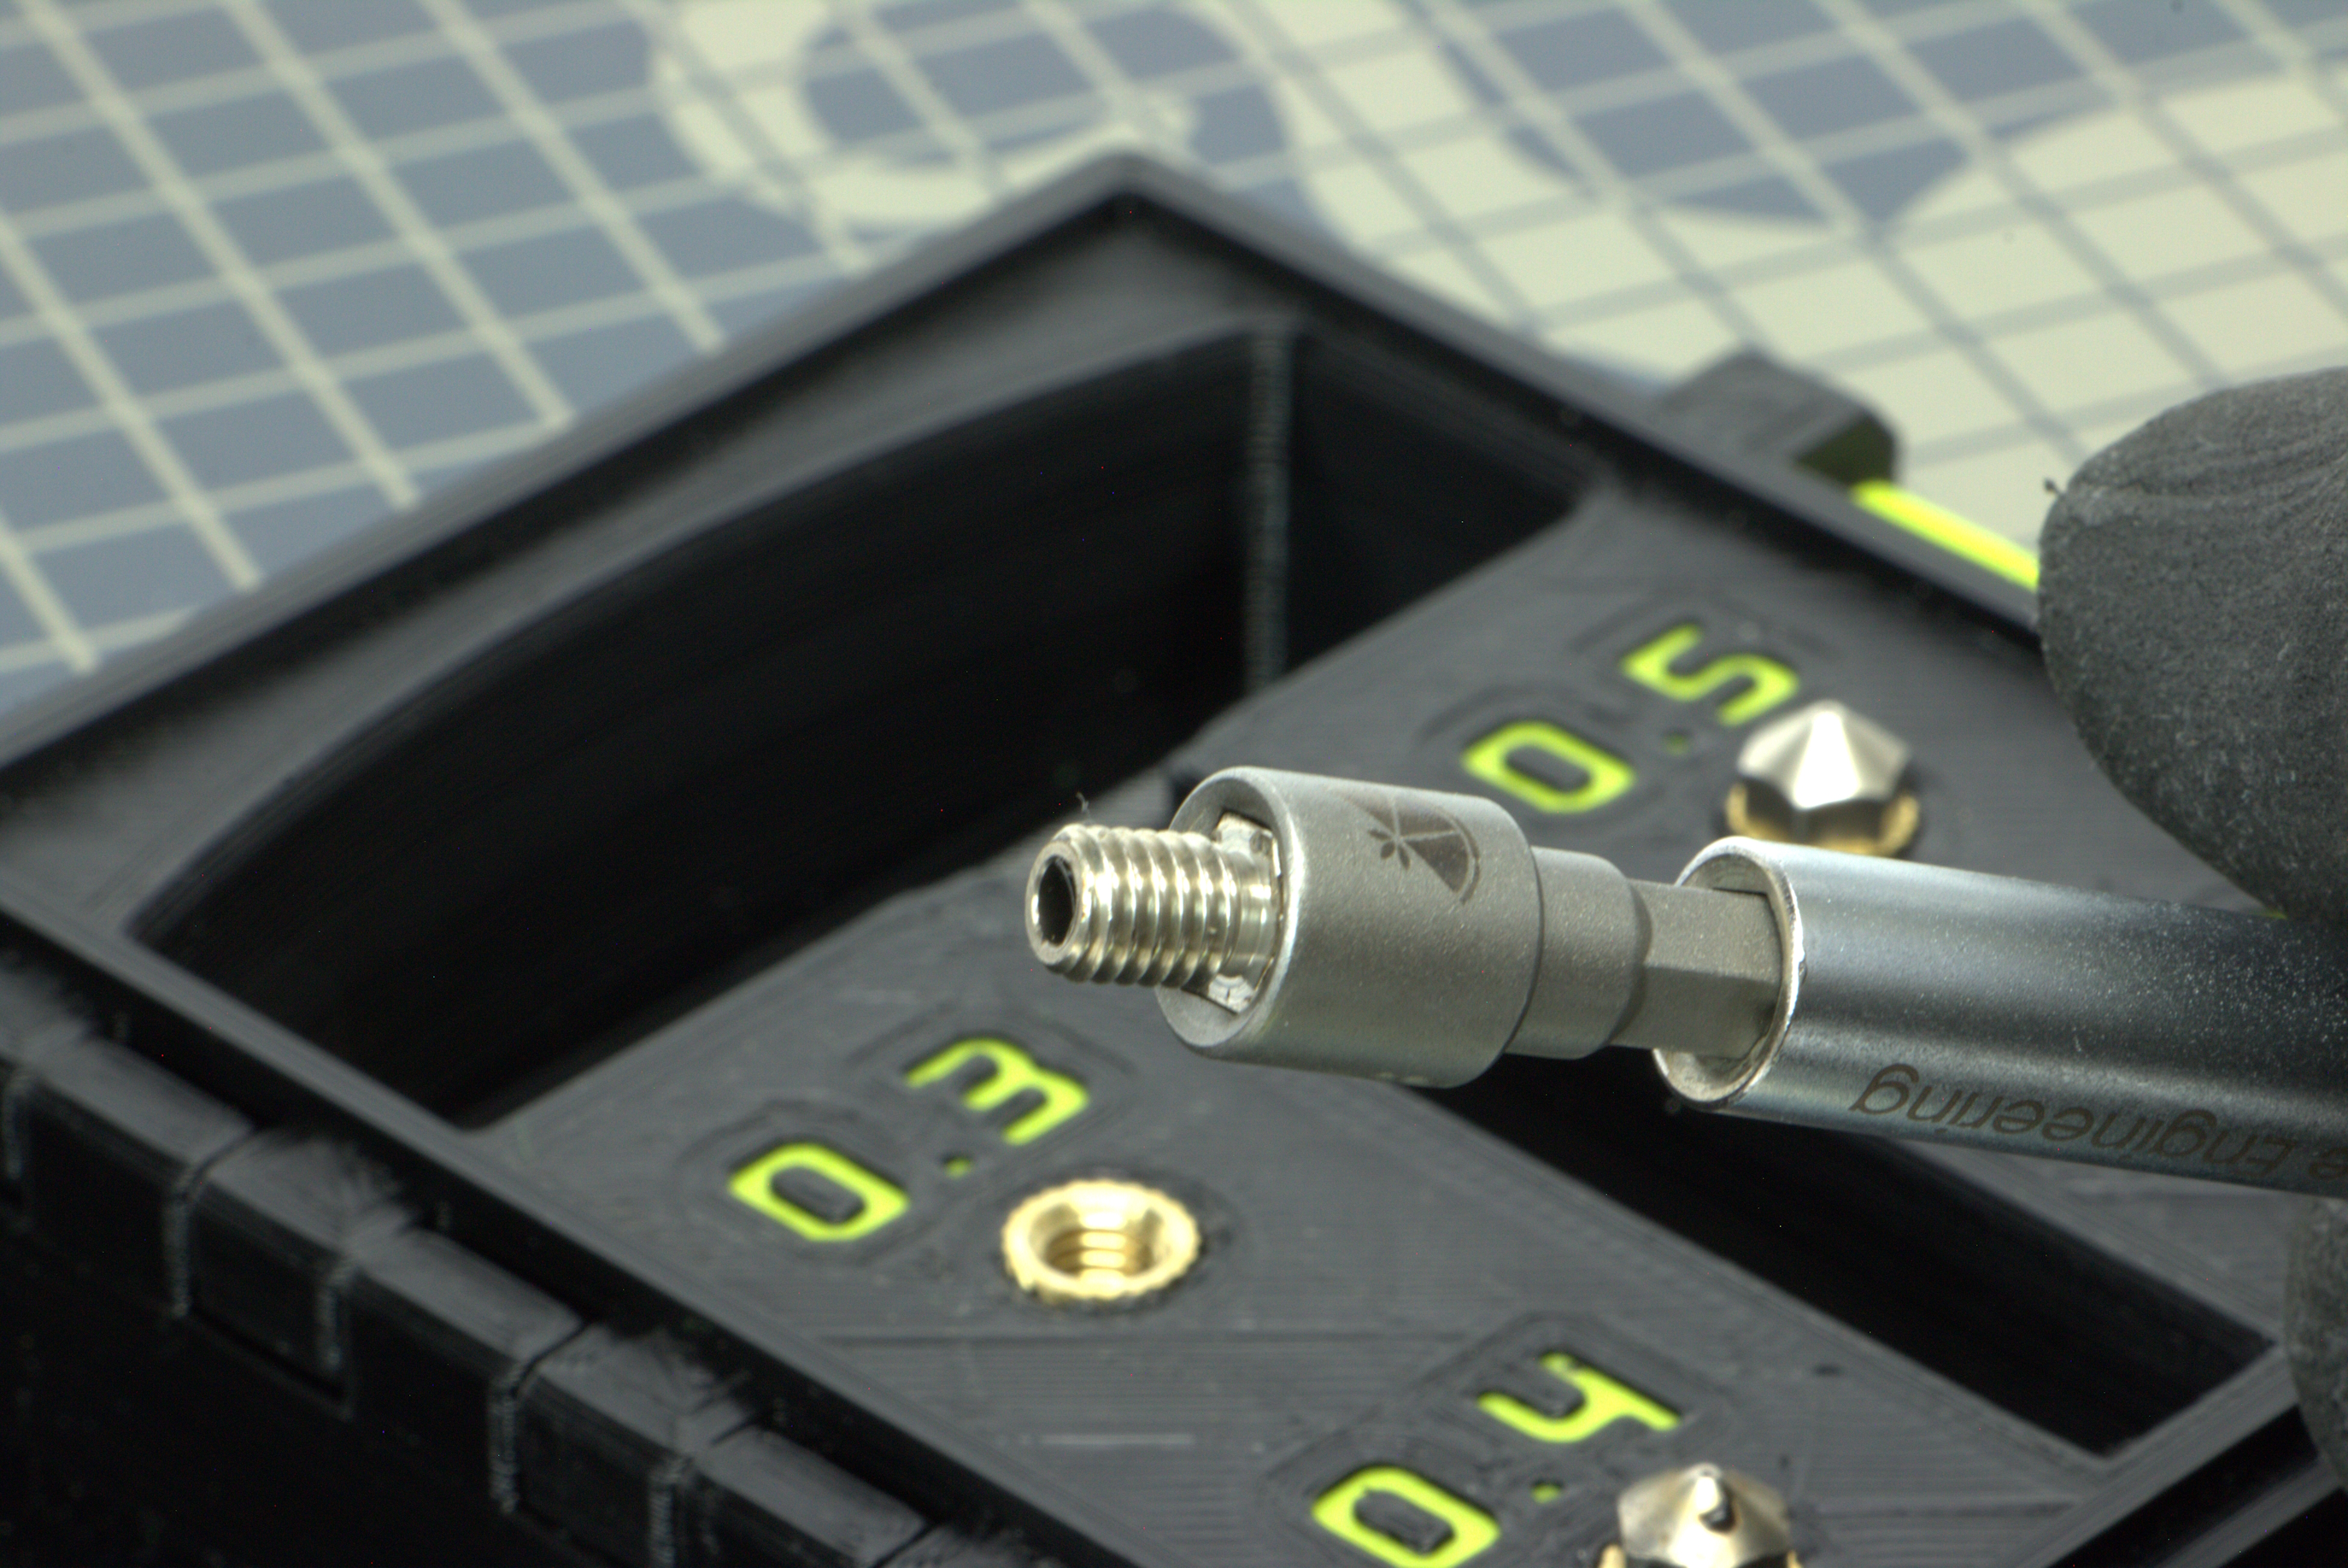
Remove desired nozzle from the kit using torque tool to loosen and insert it into the torque tool/adapter.
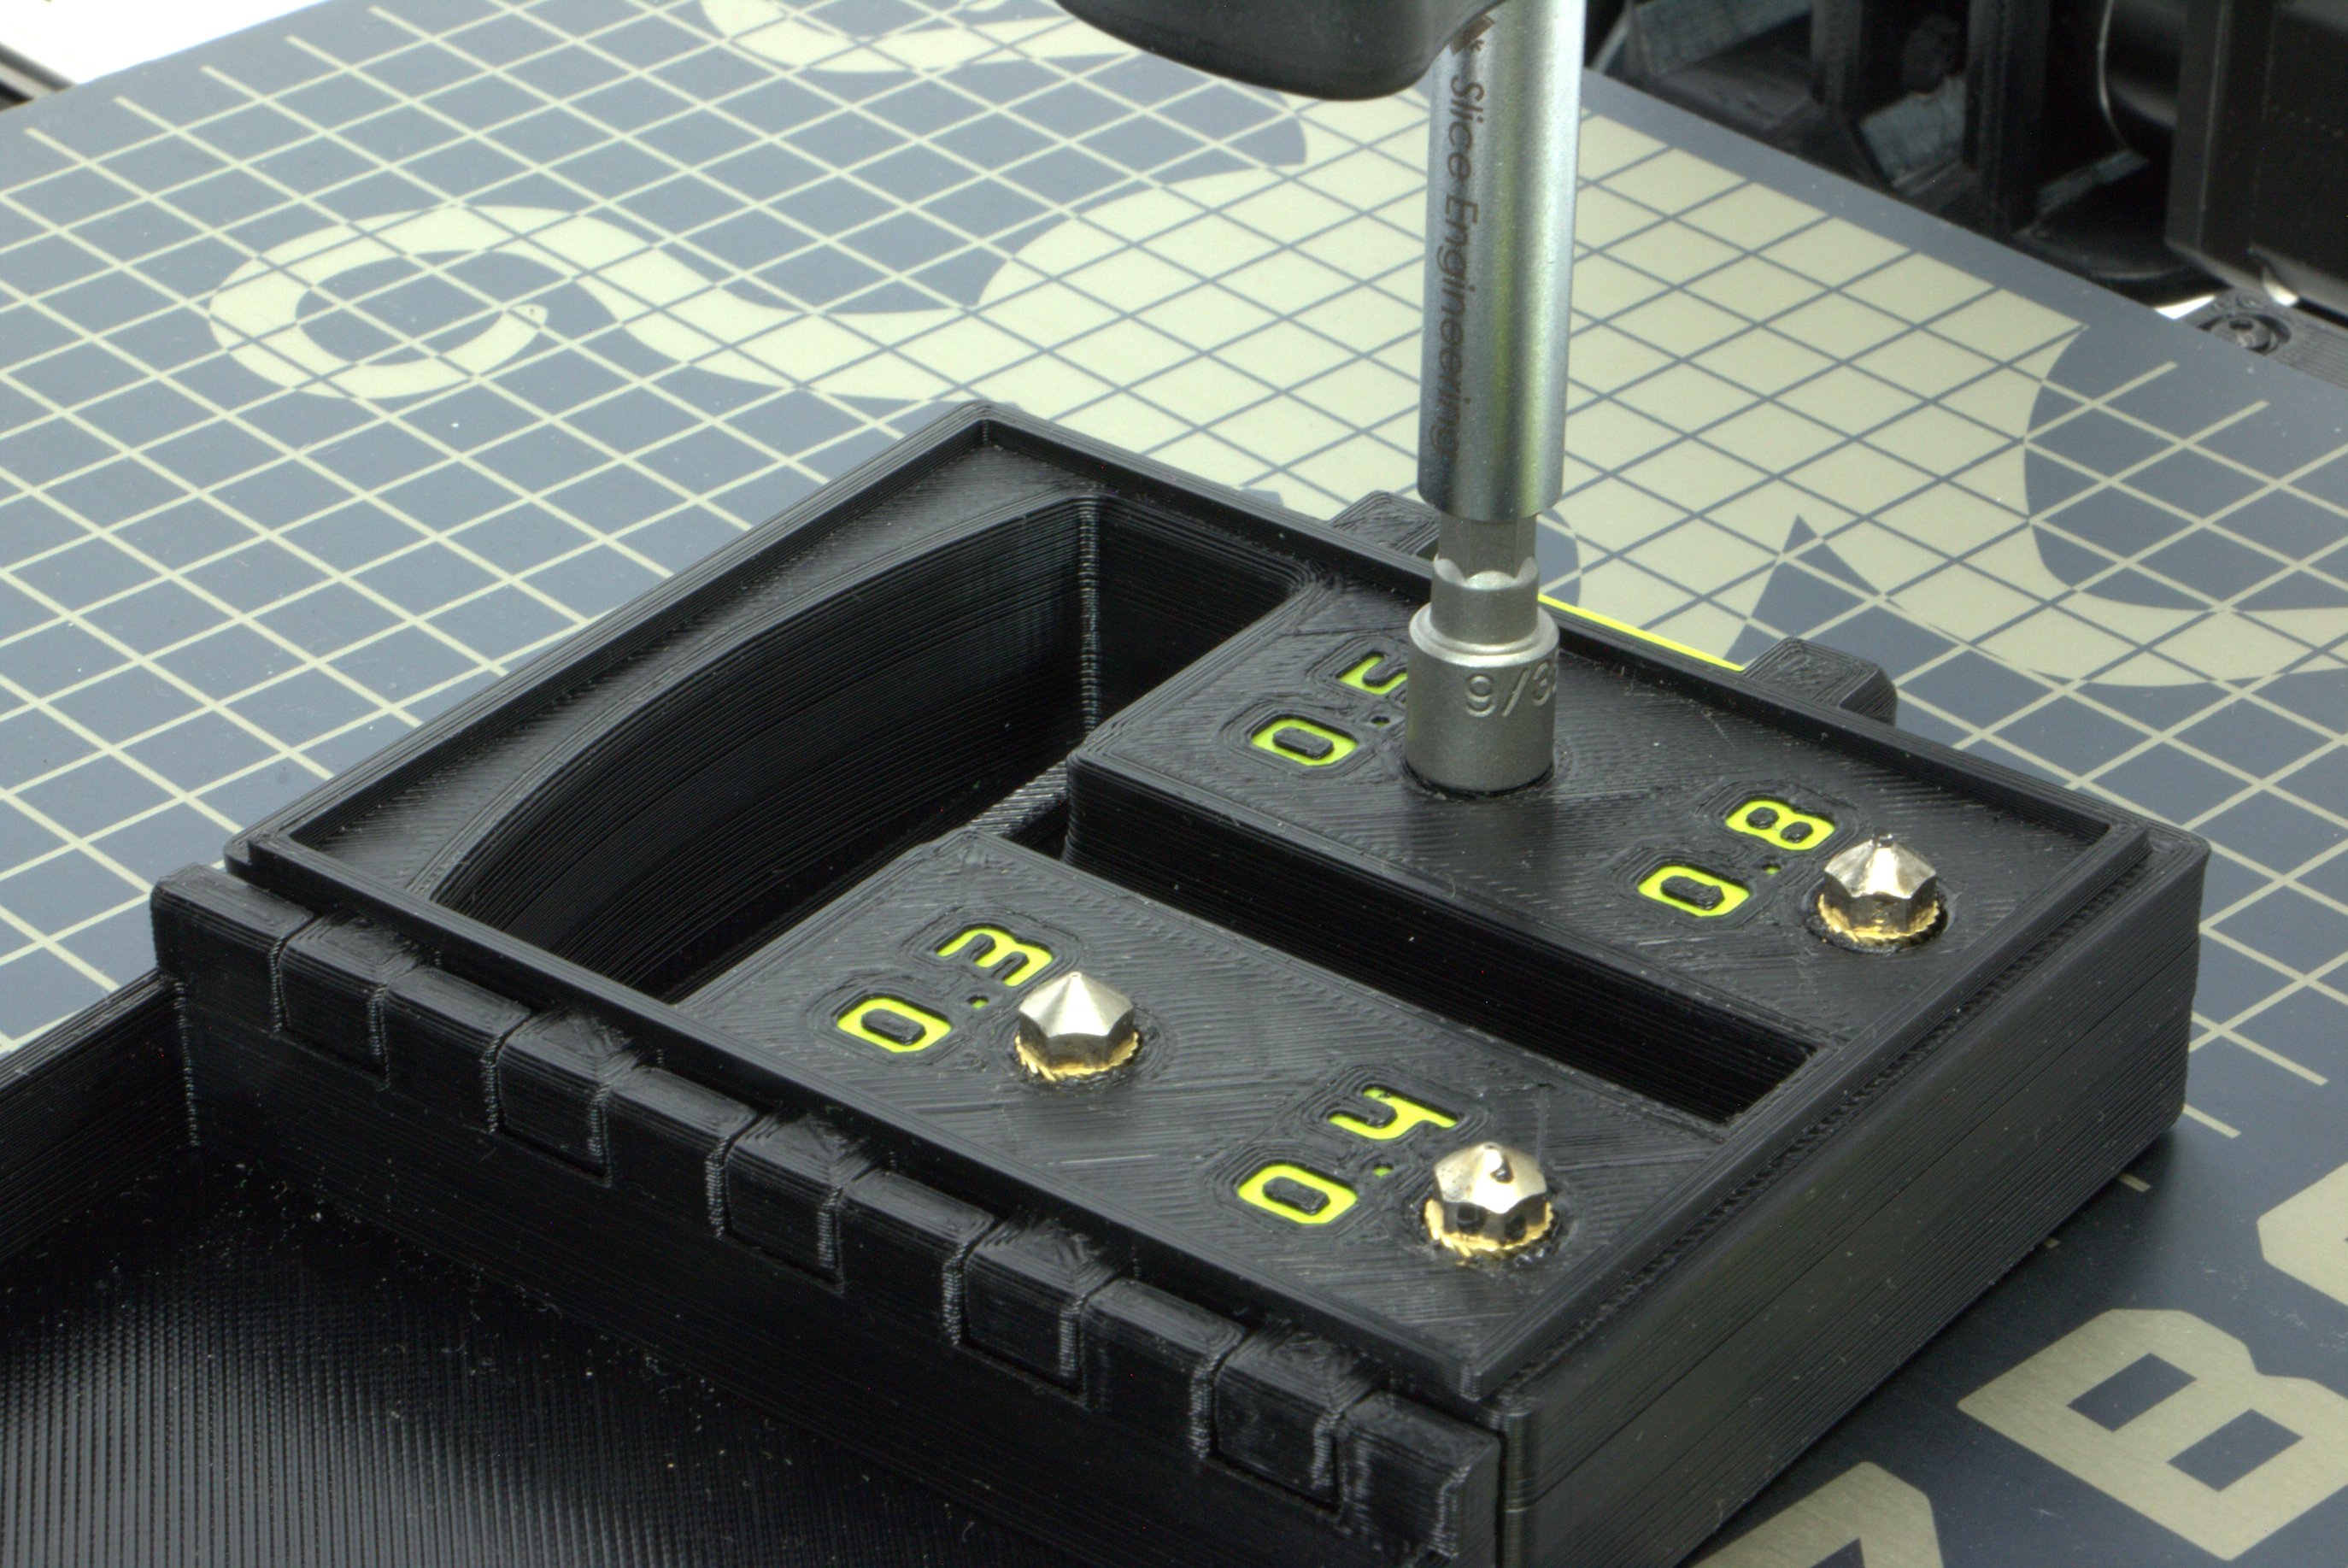
Start threading nozzle into the Tool Head .
Once it is fully tightened, keep turning the torque tool until it clicks.
Remove torque tool and adapter from tool head.
Again, tool and adapter will be hot, let cool completely before placing back into nozzle kit.
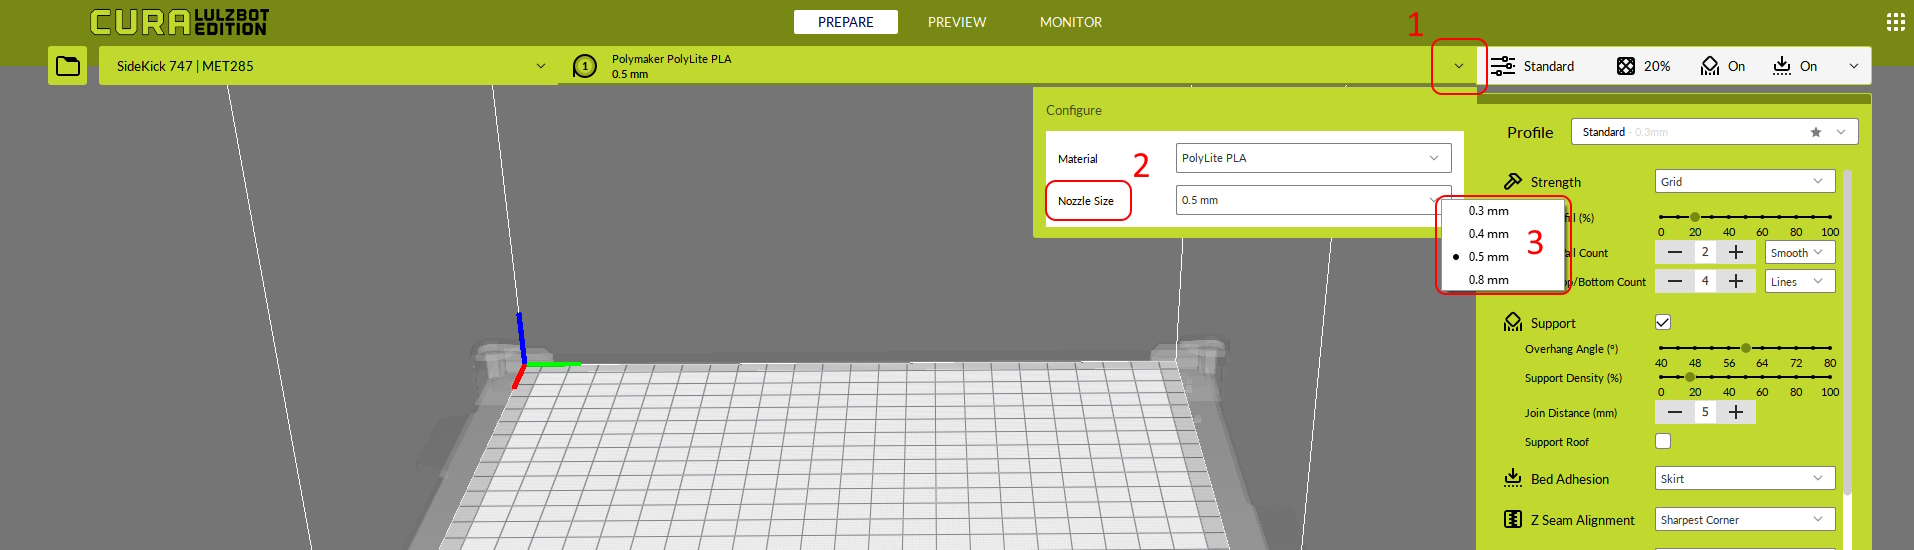
Once the nozzle change has been done, you will need to remember to change the nozzle size in Cura.
In Cura 4.13.7+, under the material profile selection under the Prepare tab, click the material you are using, locate the Nozzle Size option, and select the correct nozzle size that you just installed.
Failure to select the correct nozzle size may result in poor extrusion/jams.