Open HardwareAssembly Instructions
Guides for installation and assembly of the LulzBot line of products made by FAME 3D LLC.
Guides for installation and assembly of the LulzBot line of products made by FAME 3D LLC.
Ensure you are downloading and using the most up to date stable edition of LulzBot Cura available from lulzbot.com/cura.
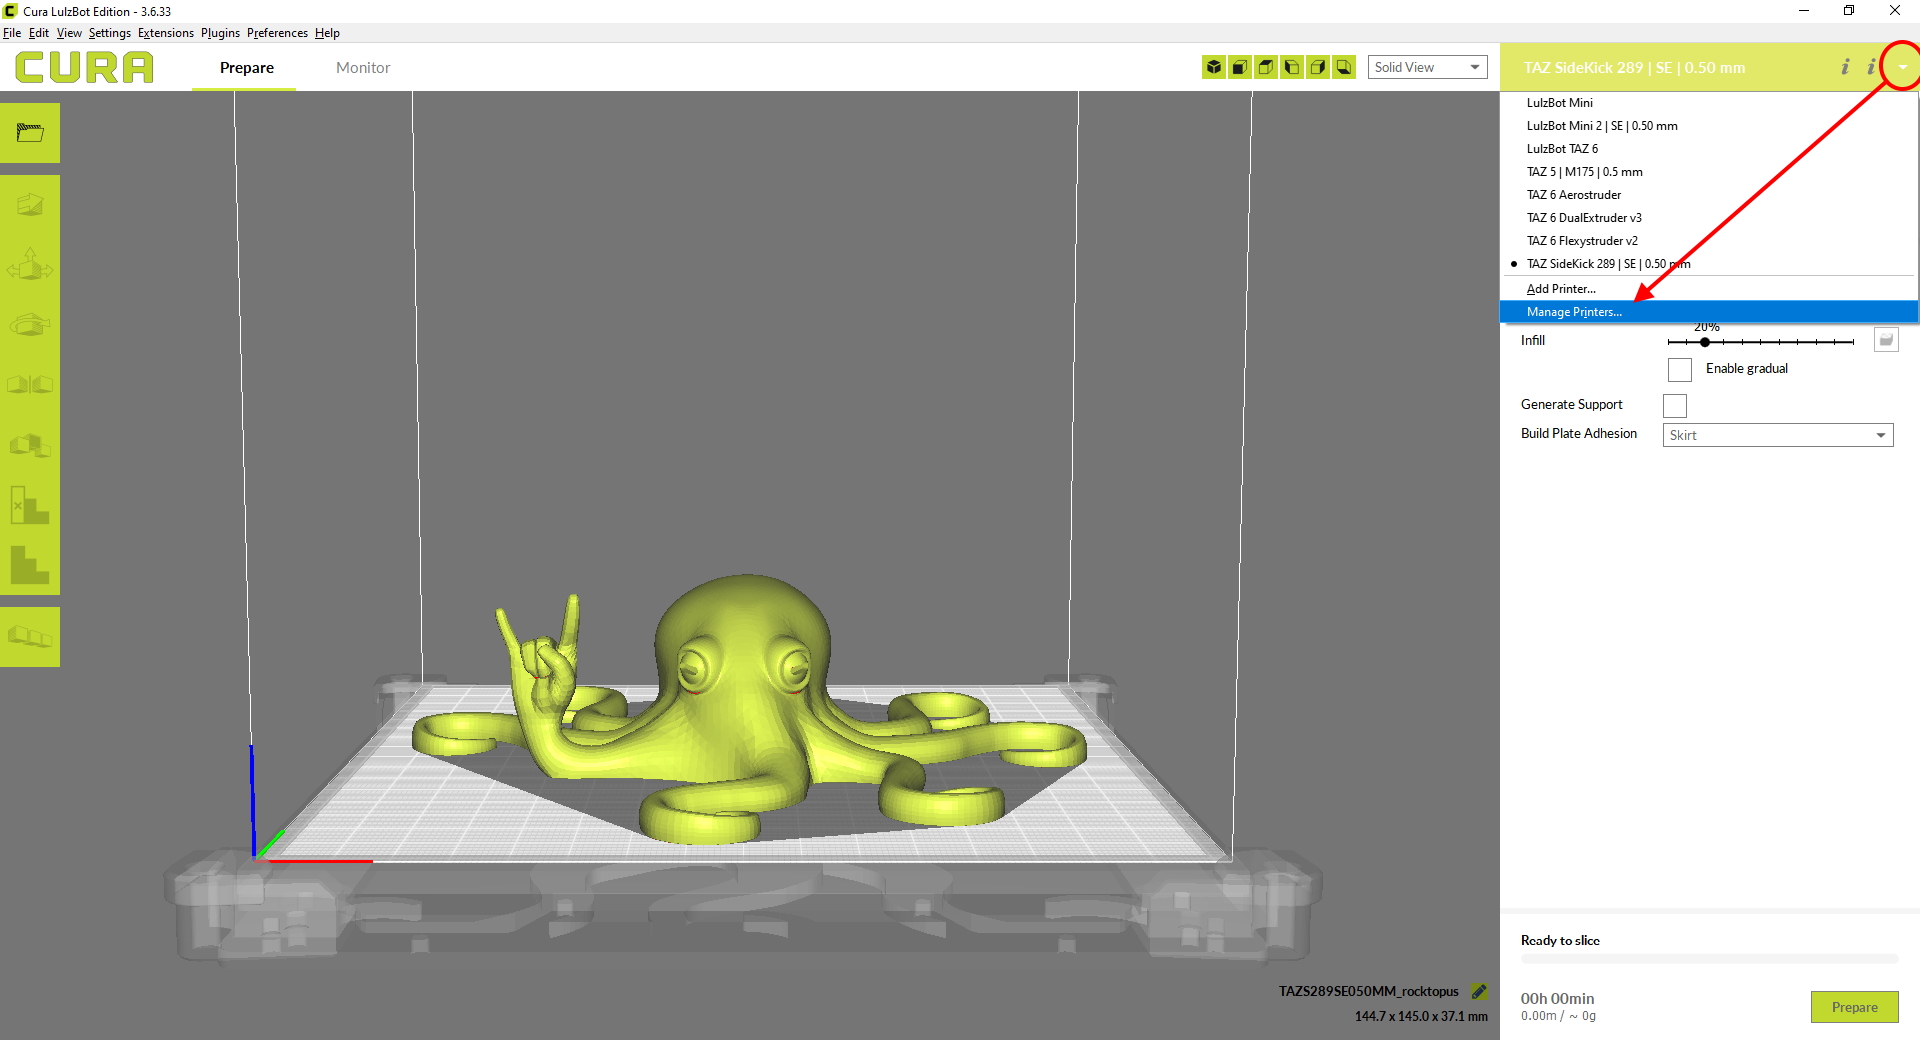
When adding a new printer, or setting up a printer for the first time, make your way to the manage printer window.
In the upper right corner of Cura, select the small downward arrow to expand the dropdown menu.
Select Manage Printers... to open the manage printers window.
At the top of the newly opened window, select the add button to add a new printer or tool head.
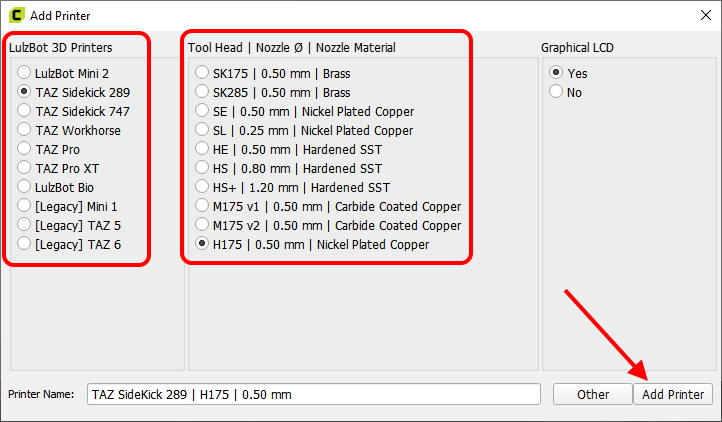
Be sure to select the correct printer and tool head from the available options on the Add Printer screen and click the Add Printer button in the bottom right hand corner.
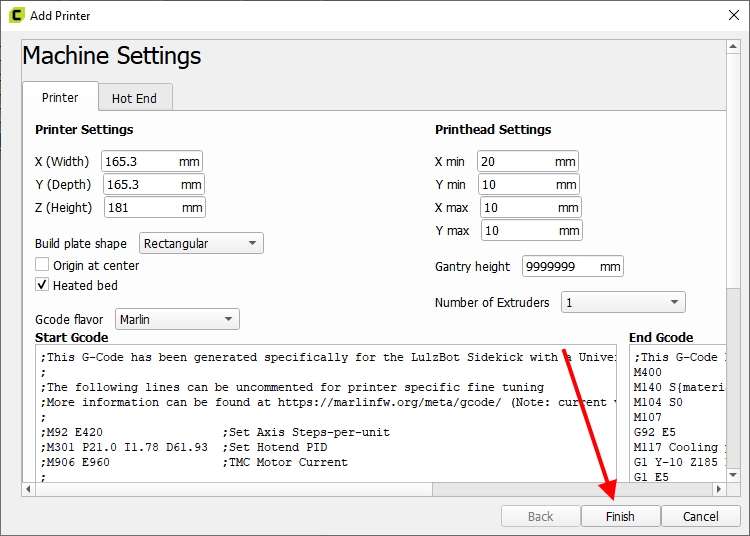
A new window Machine Settings window will appear that you can close out of by selecting the Finish button in the bottom right corner of the window.

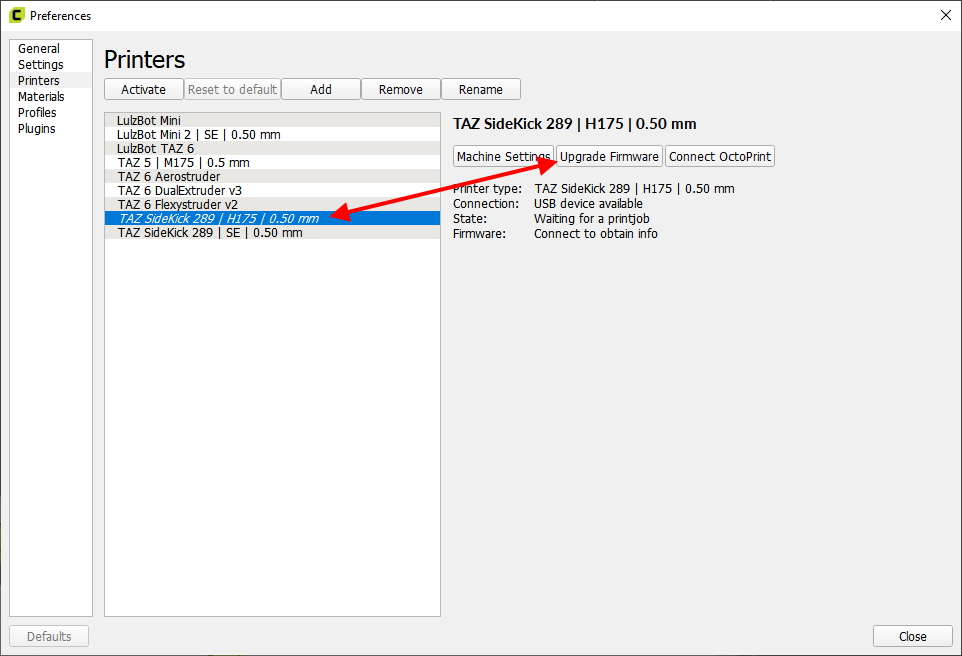
After closing out of the Machine Settings window, you will be brought back to the Manage Printers window.
Ensure that the correct printer/tool head is selected and highlighted in blue.
Click on the Upgrade Firmware button to the right of the window.
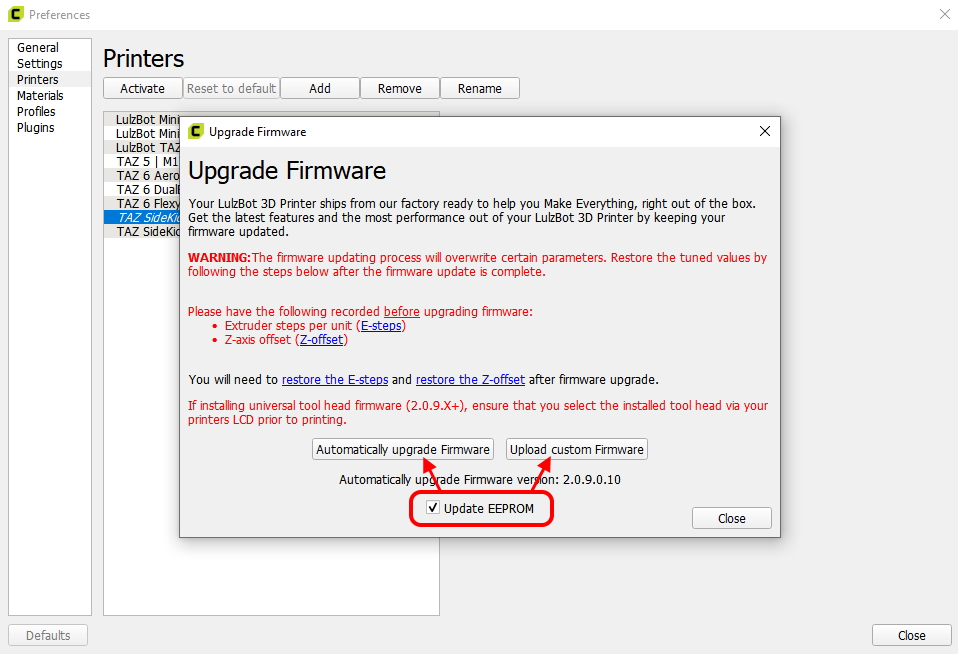
You can follow the on screen warnings to save your current E-step and offset values if you are going to install your previous tool head again in the future.
If you are installing one of our universal tool heads, you do not need to restore the E-steps from your old tool head.
The new firmware will install the correct E-step value for your new tool head.
Check that the Update EEPROM box is checked and select Automatically upgrade Firmware, or Upload custom Firmware if choose a firmware file manually.
Once started, a progress bar will show the status of the firmware installation and will indicate when the firmware update has completed.
Your printer will restart once the firmware update has finished.


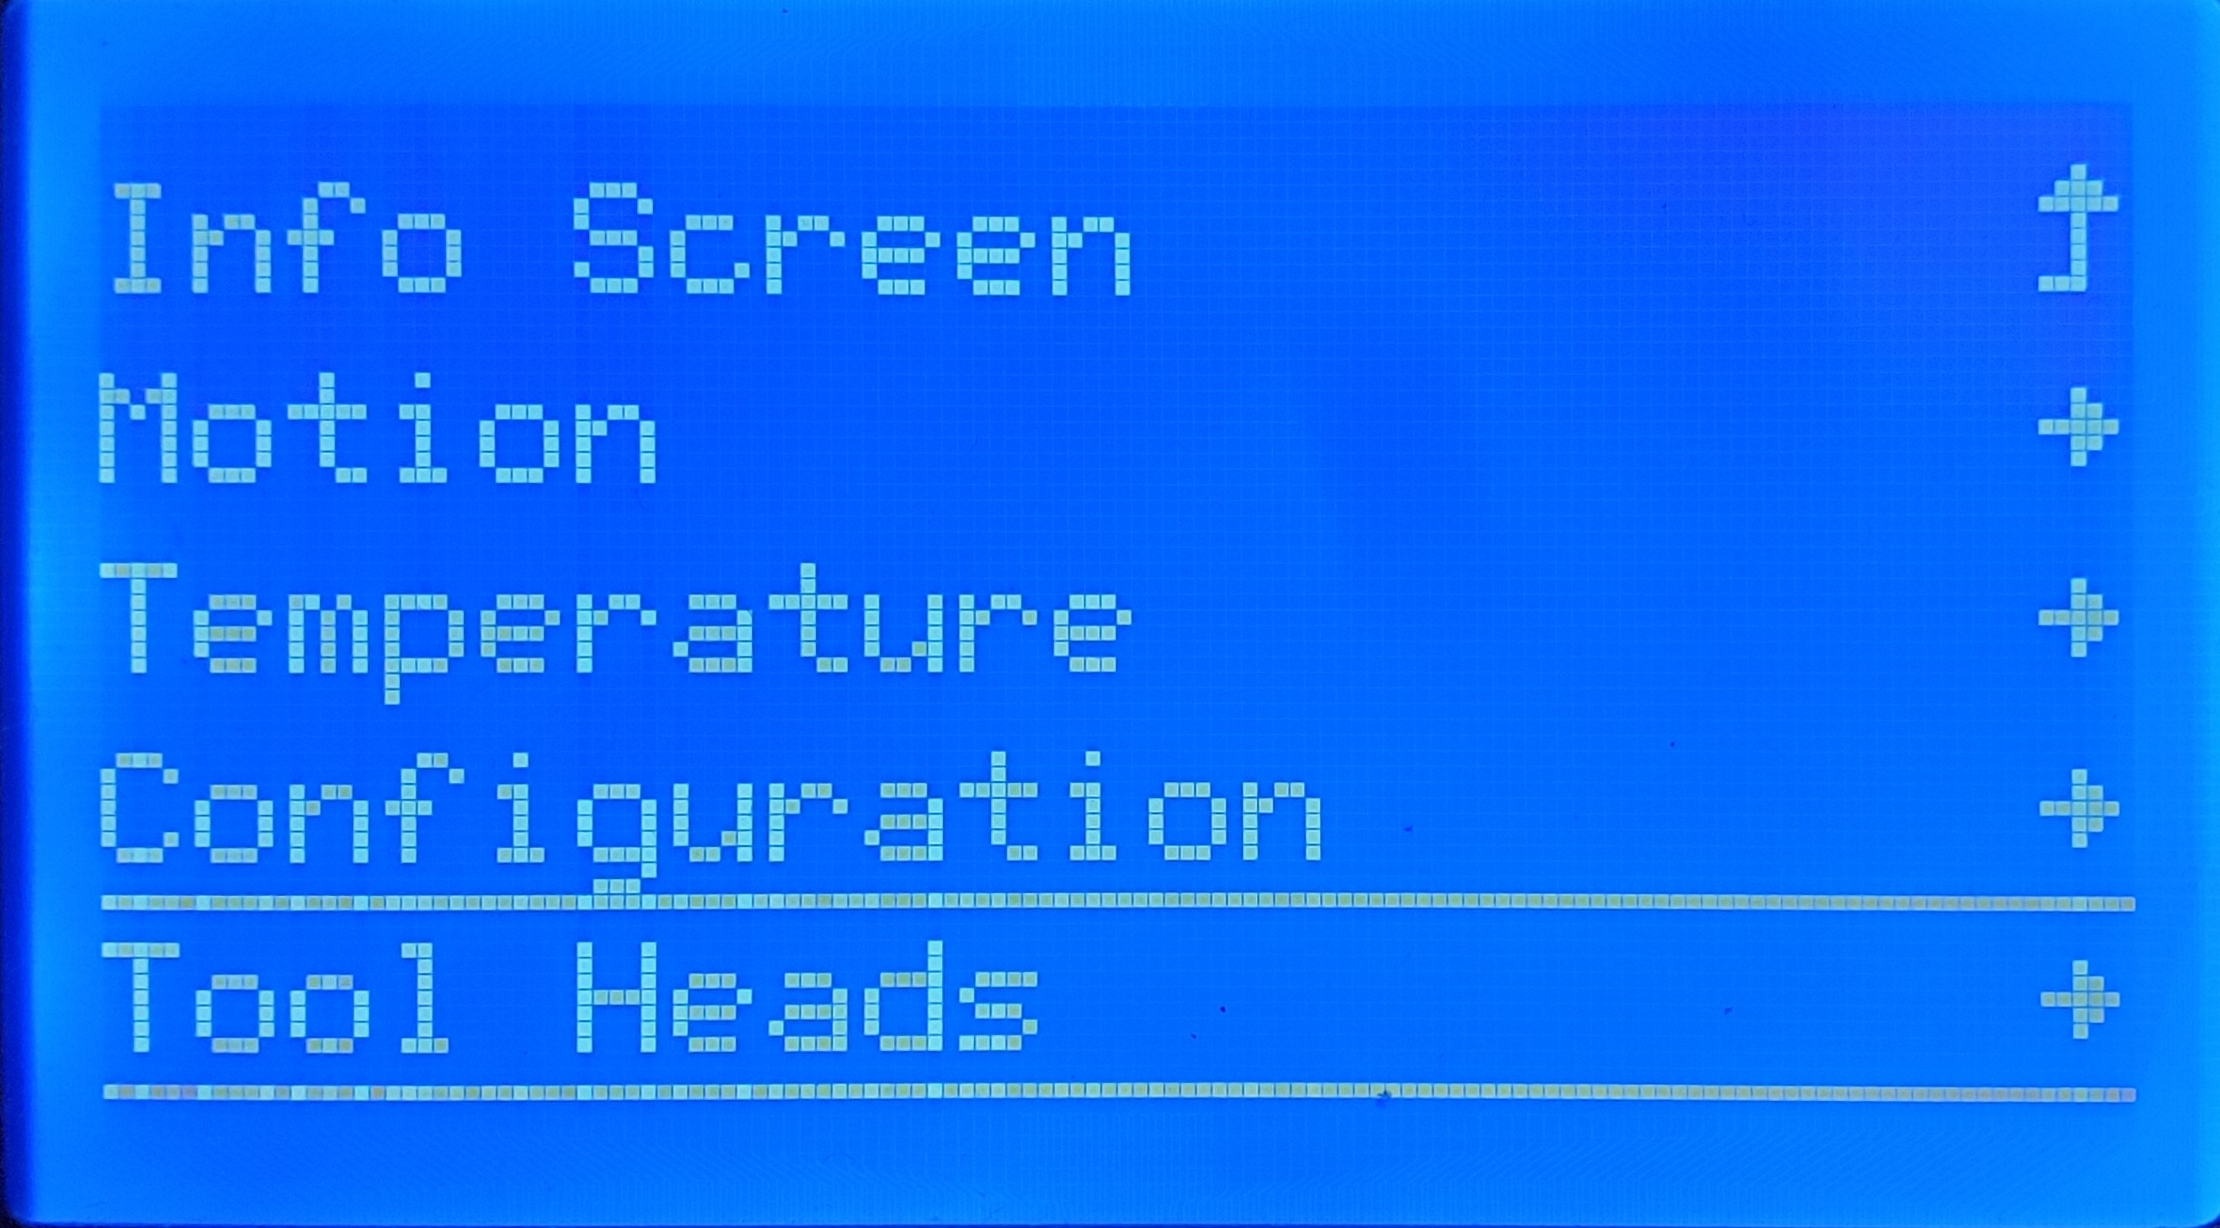
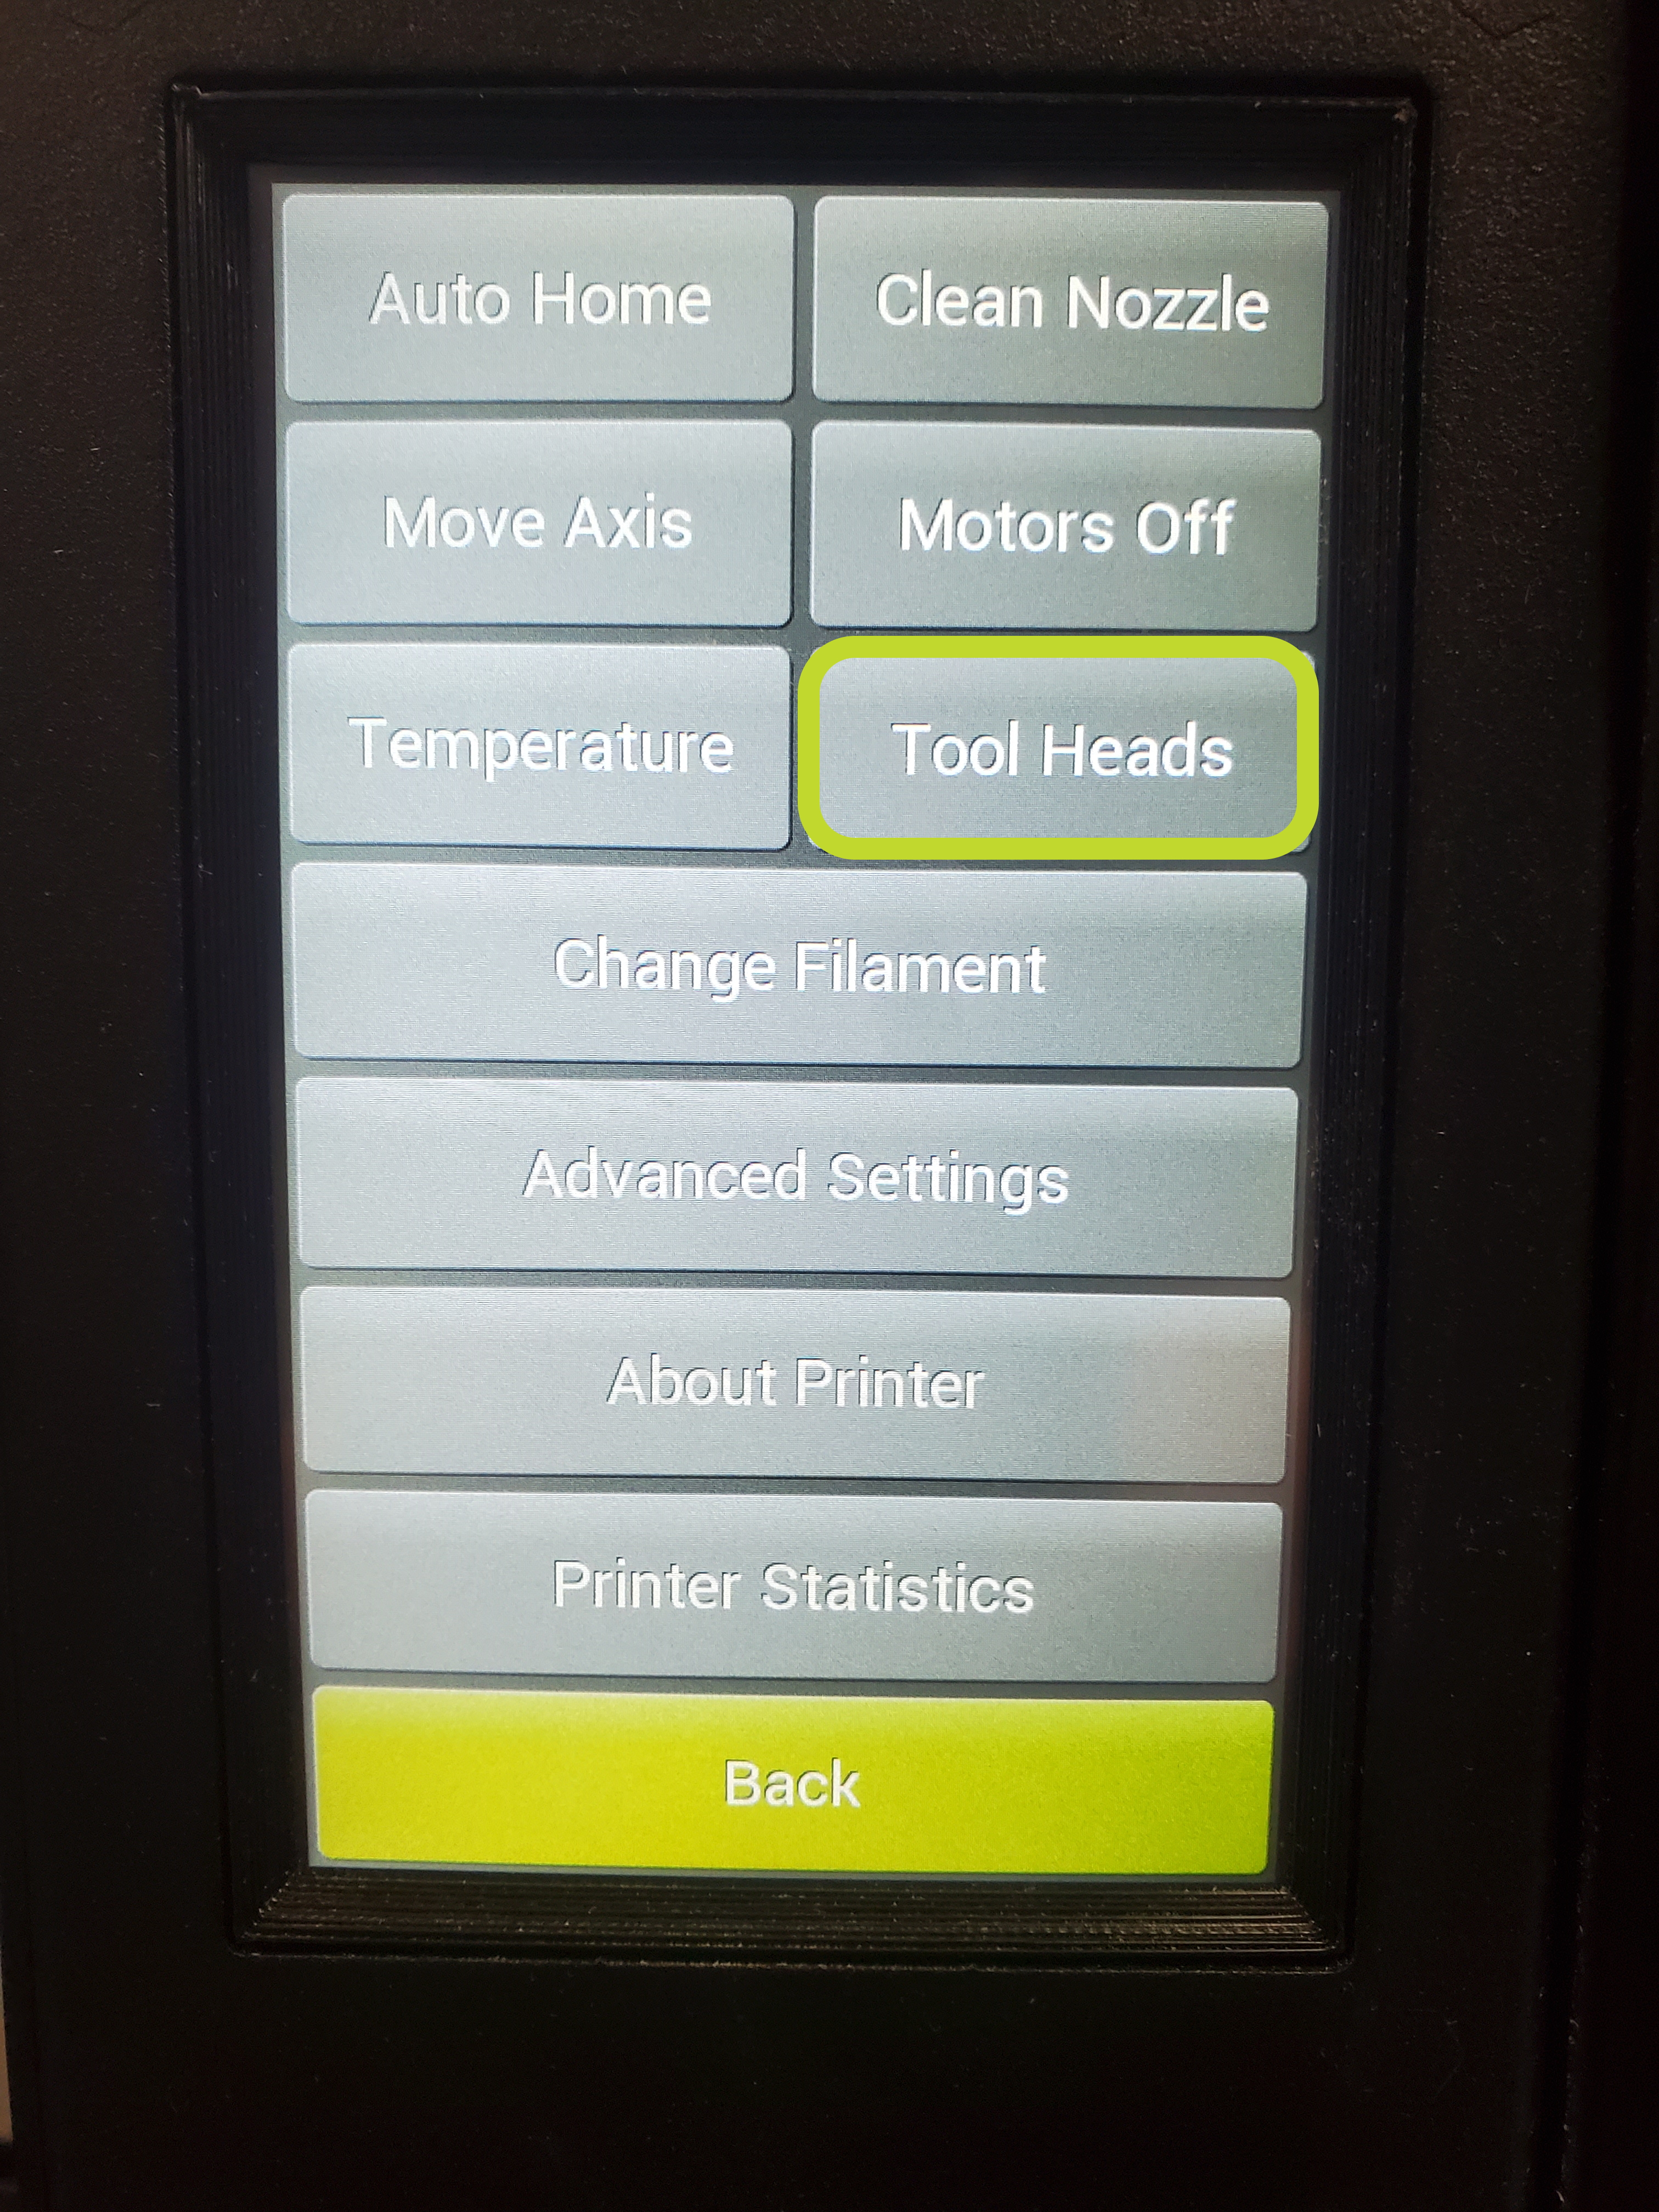
Depending on your printer and the firmware version used, you will still need to select the correct tool head via your printers LCD.
Navigate to the first menu screen on your printers LCD and select the Tool Heads menu.
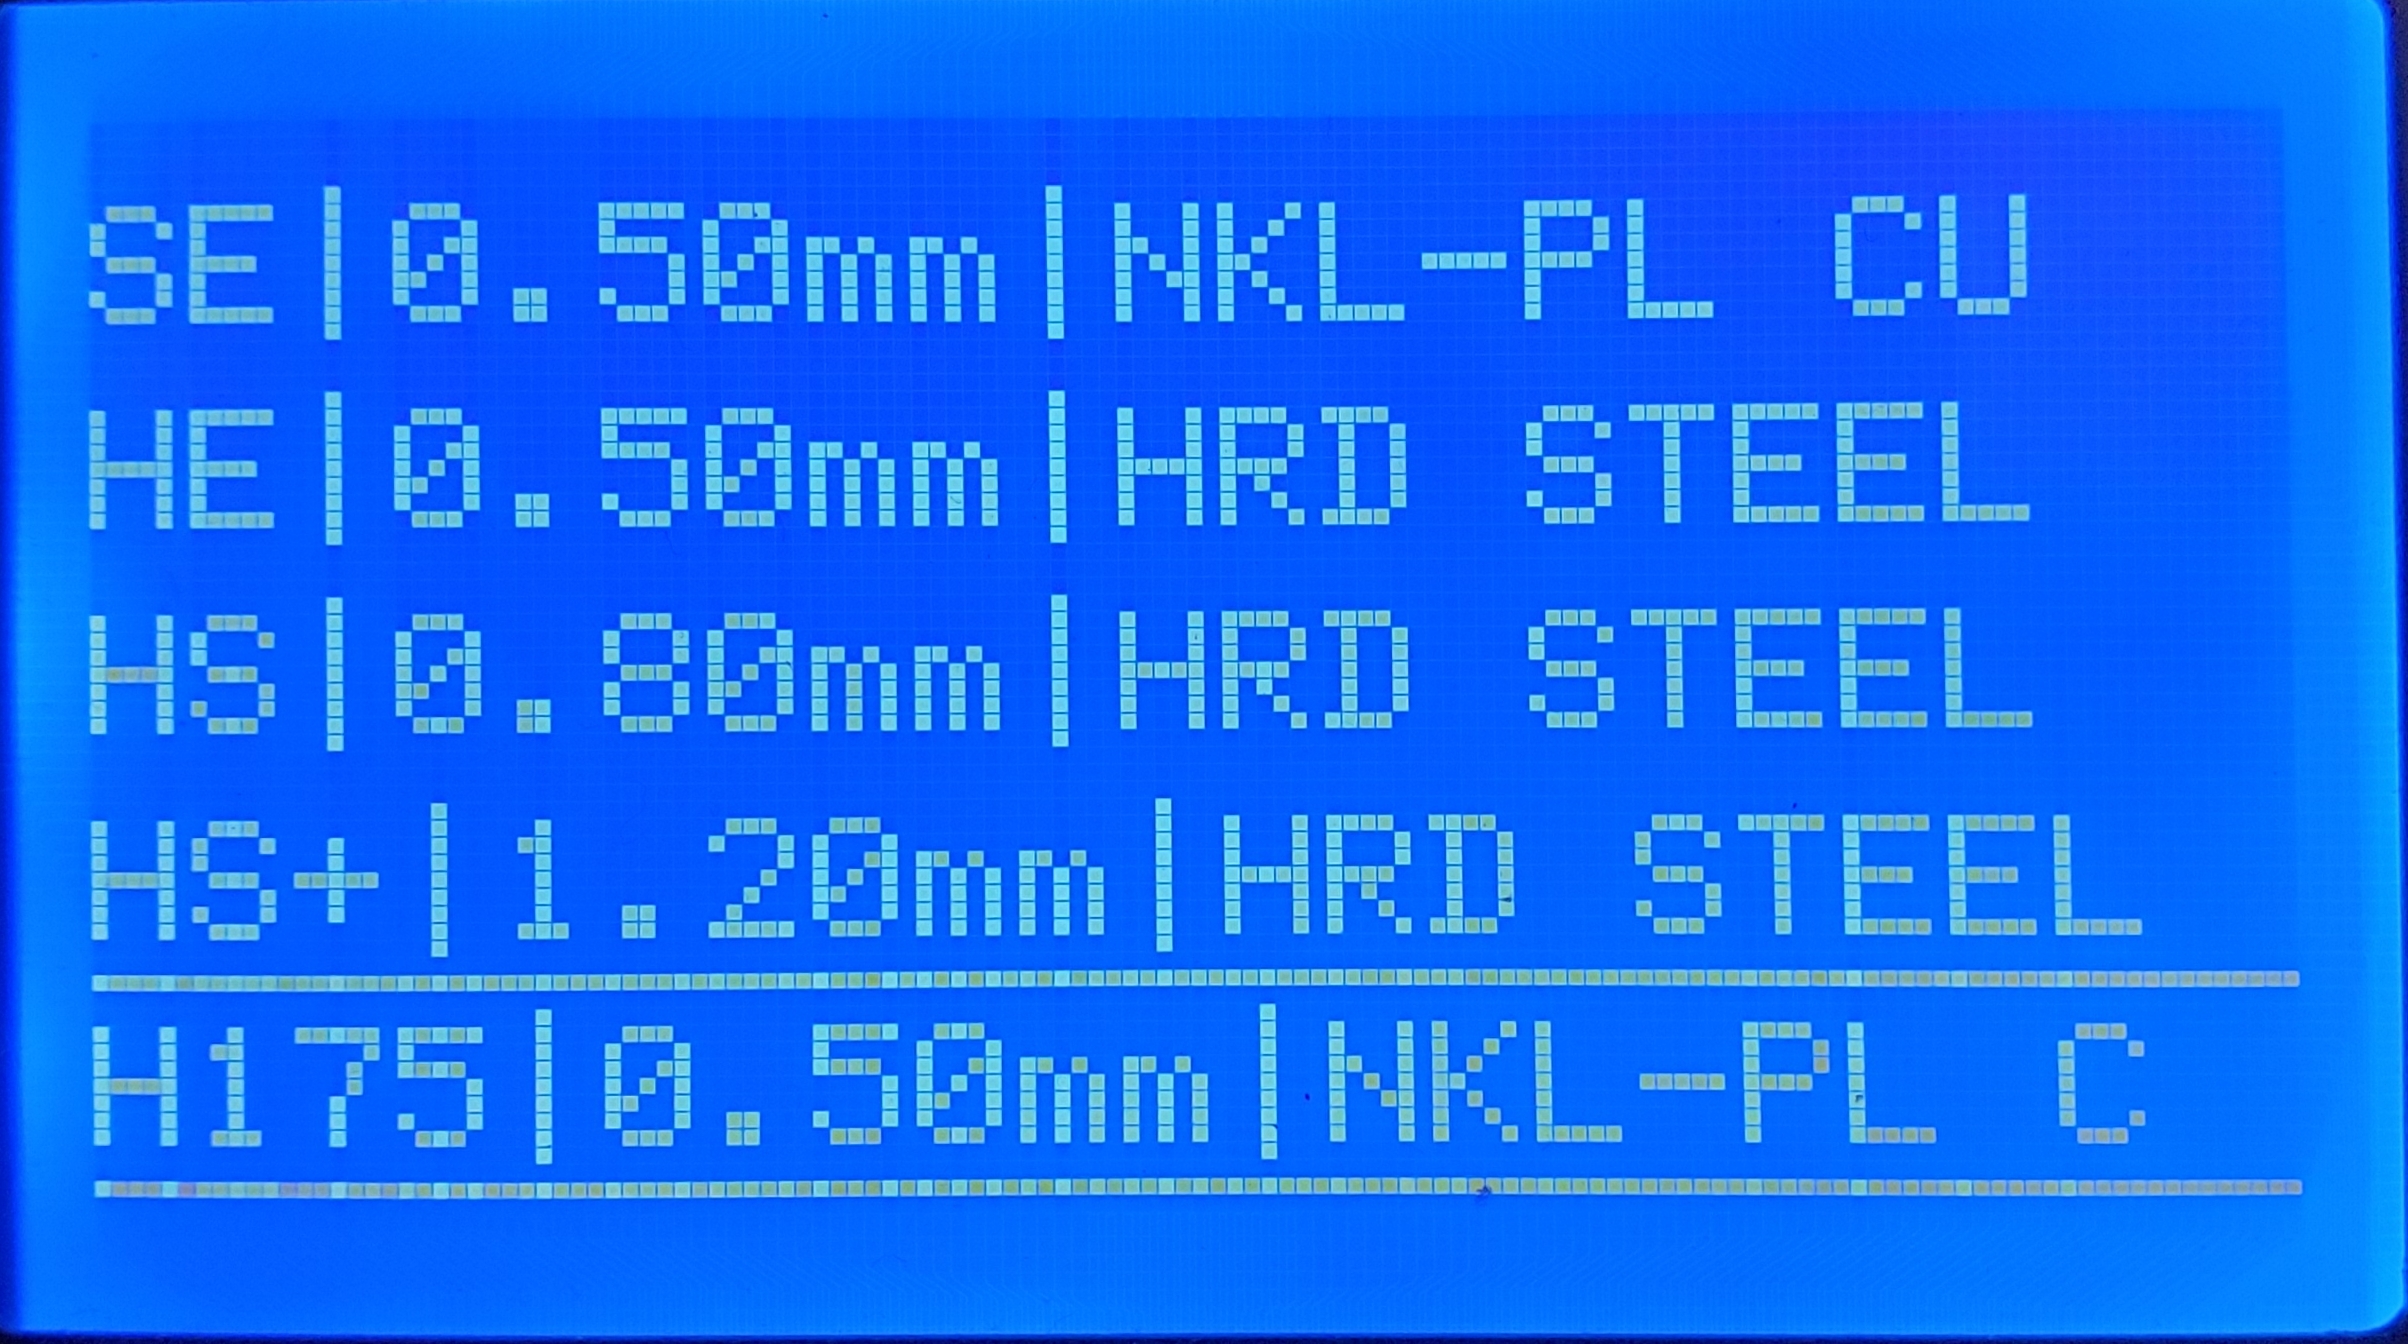
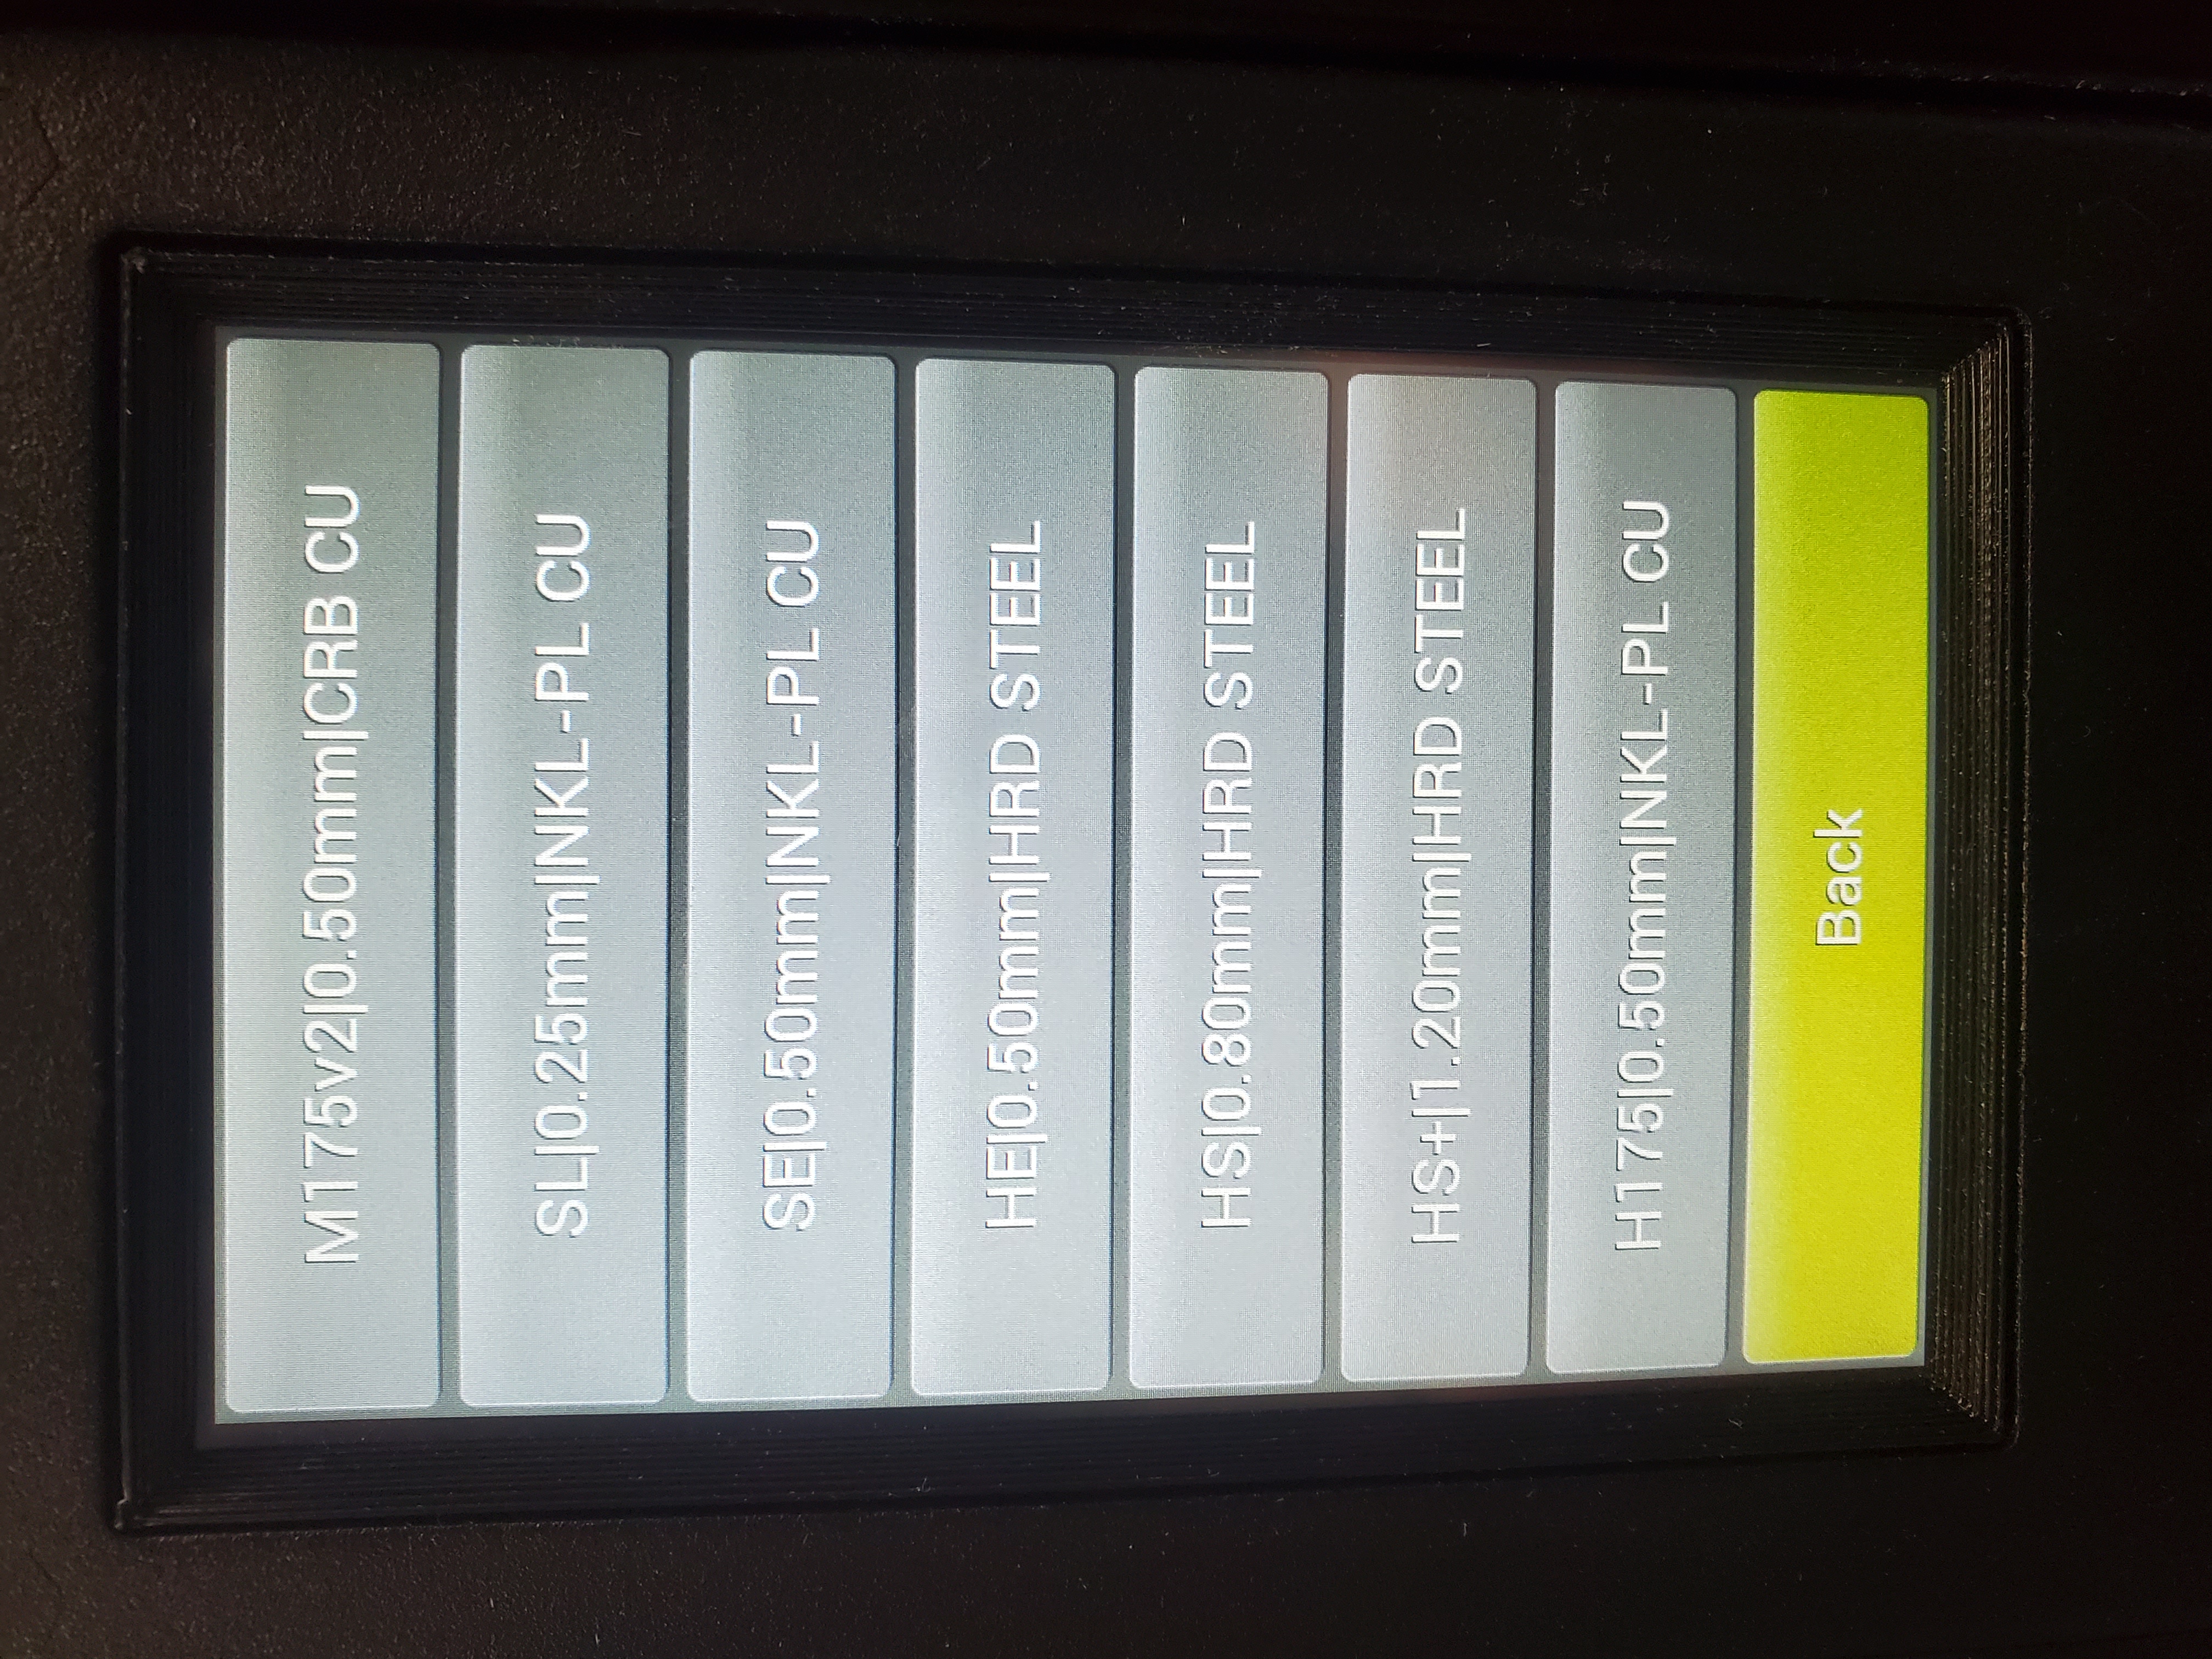
Scroll down until you find the correct tool head that corresponds with the tool head installed on your printer and select it.
Once you have updated your firmware, you may need to adjust your printers z-offset as all previous settings will be overwritten.
If you have any additional questions, please reach out to our support staff at support@lulzbot.com