Open HardwareAssembly Instructions
Guides for installation and assembly of the LulzBot line of products made by FAME 3D LLC.
Guides for installation and assembly of the LulzBot line of products made by FAME 3D LLC.
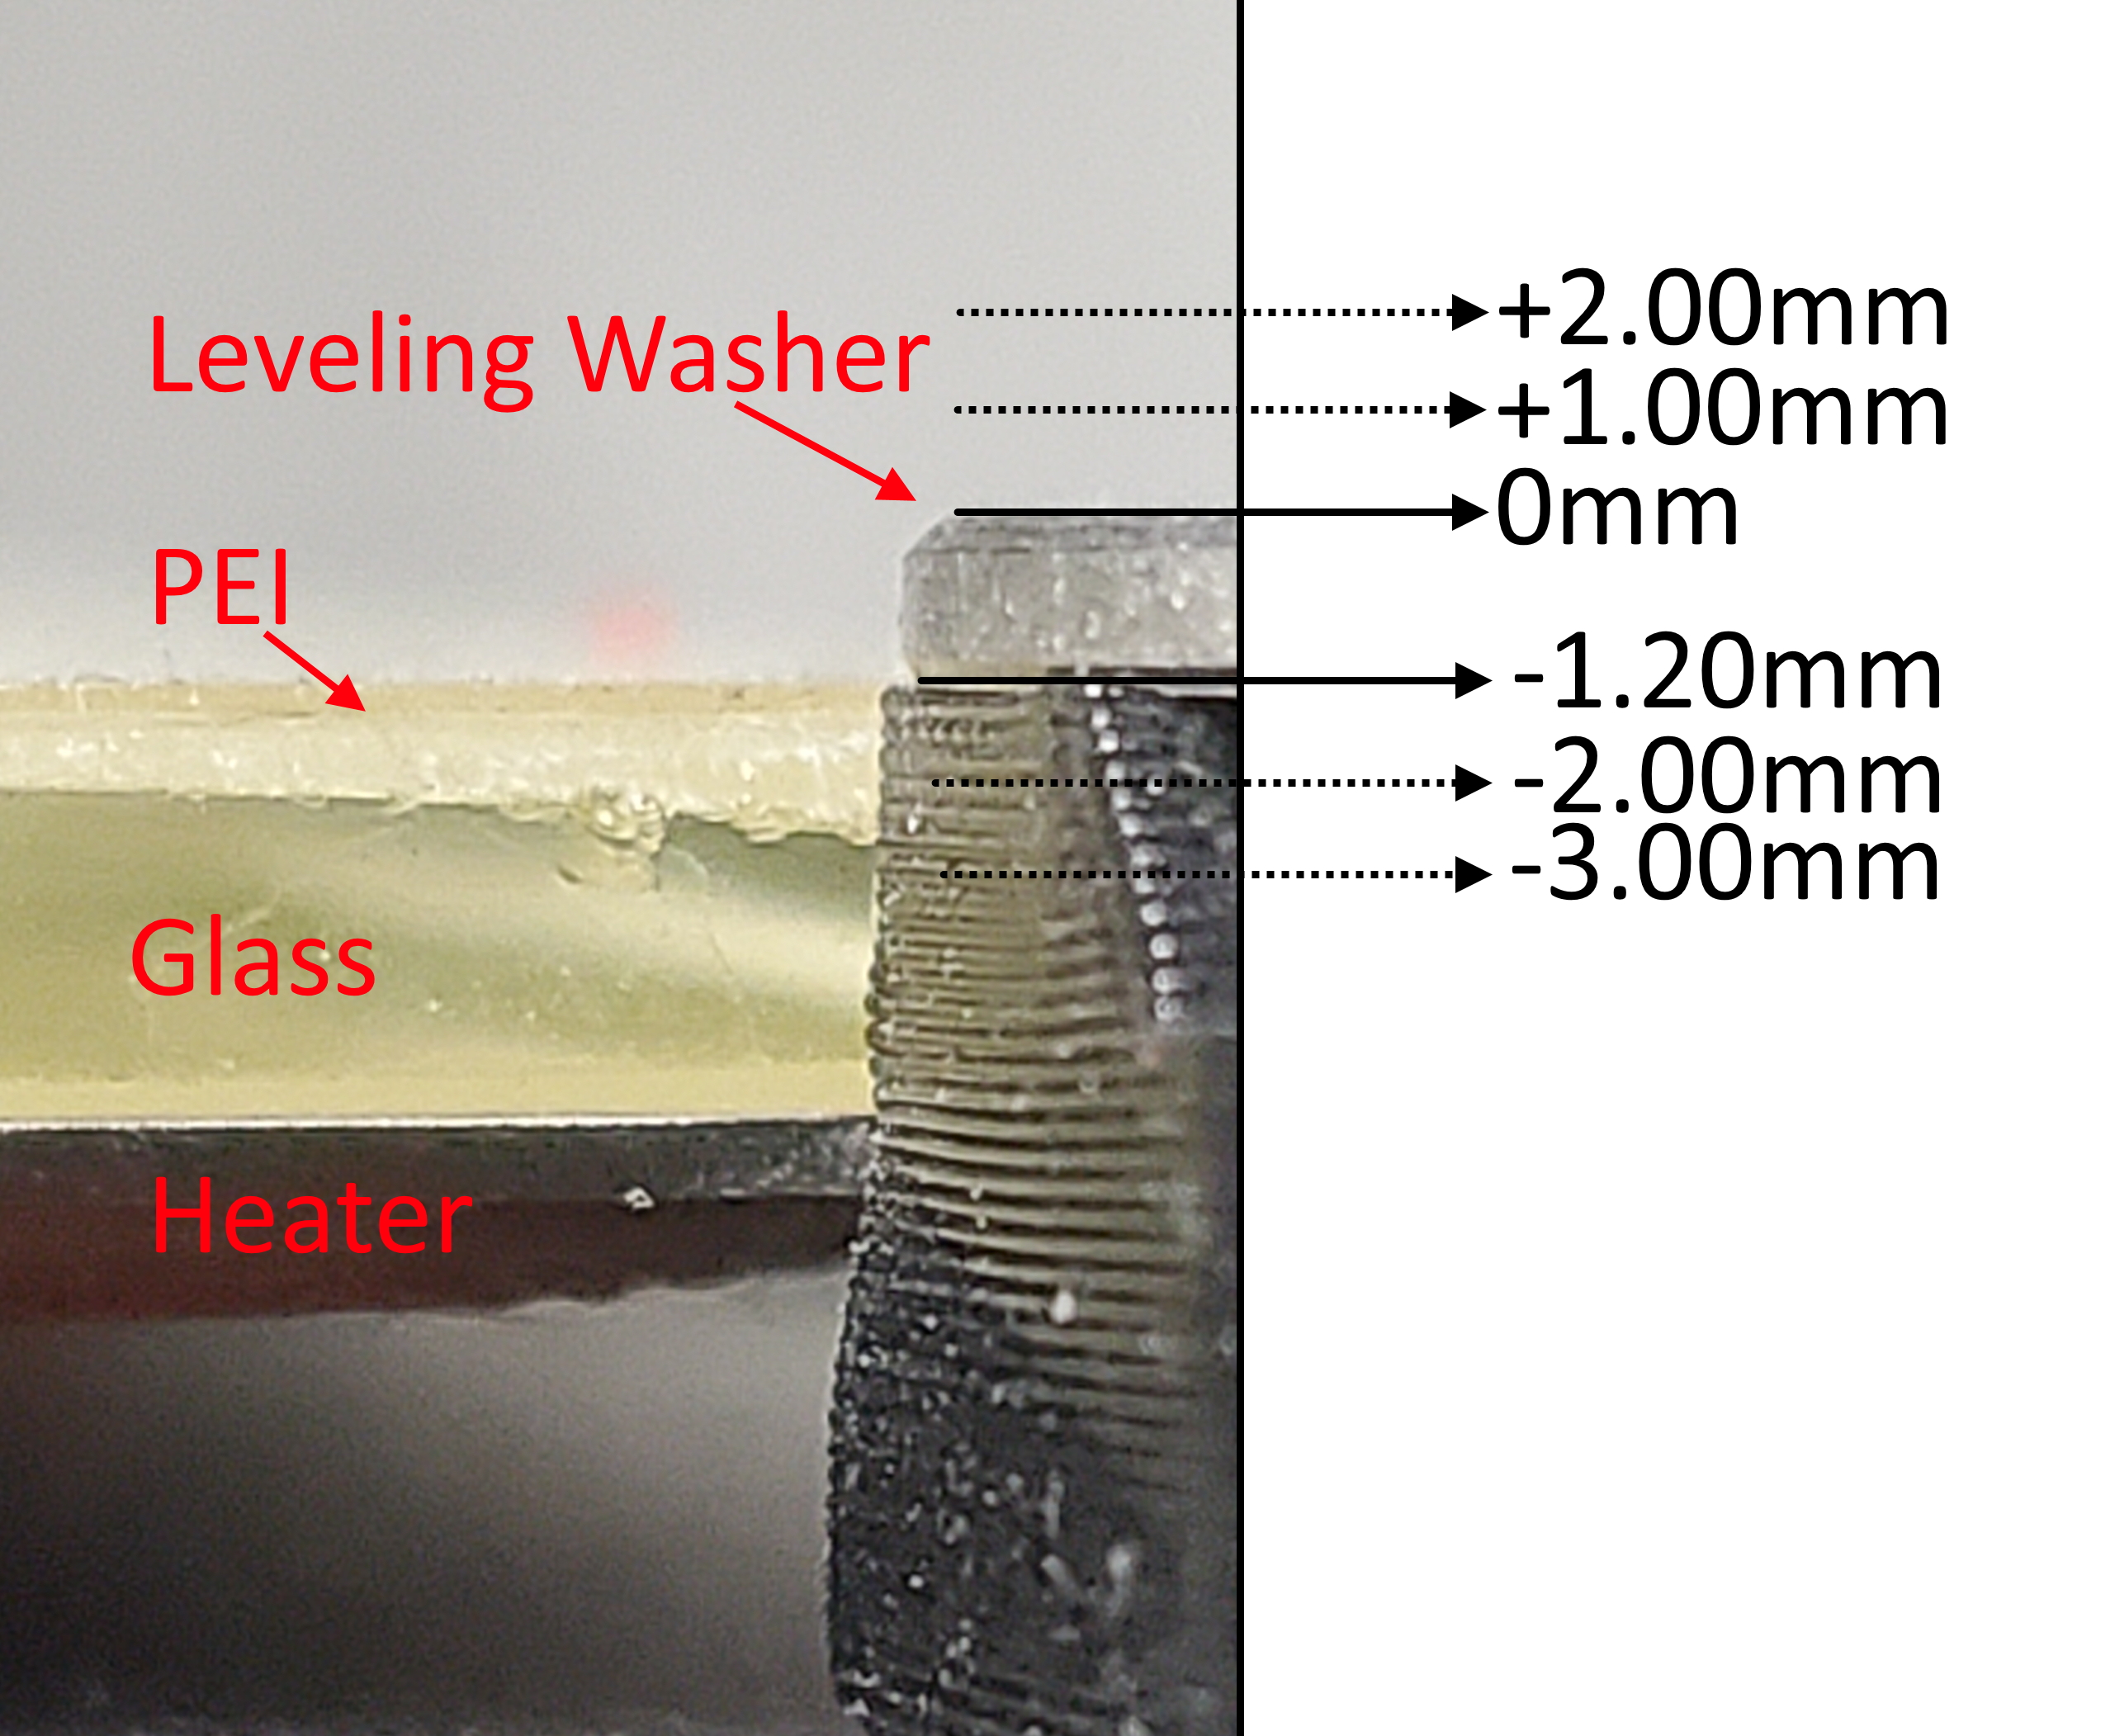
The Z-axis offset, or Z-offset for short, is the distance from the top of the heated bed washers (defined as “zero”) to the tip of the nozzle of the tool head.
This number will usually be a negative value (in some cases, or depending on your printer, it may be positive)—the closer your Z-offset is to zero, the further away from the print surface the hot end nozzle will be moved.
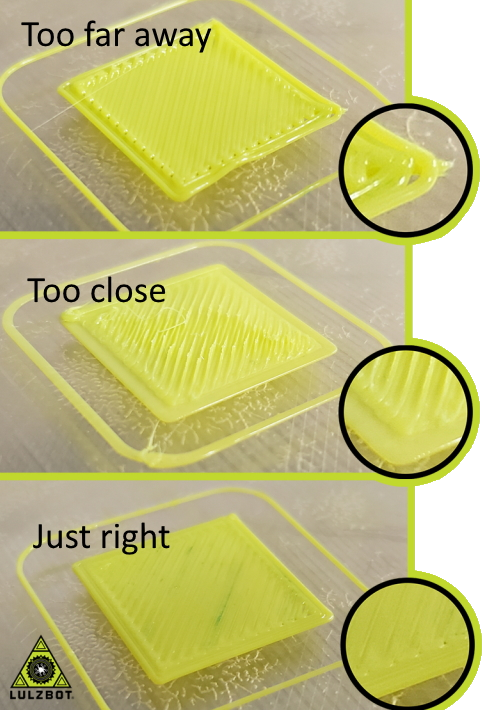
Having the correct Z-offset leads to a perfect first layer for consistent print quality, excellent part adhesion, and release.
When updating your firmware, your Z-offset will be set back to a place-holder value defined in the firmware before calibration.
There are two ways to record the existing factory-calibrated value so you can restore your 3D printer z-axis calibration after a firmware upgrade
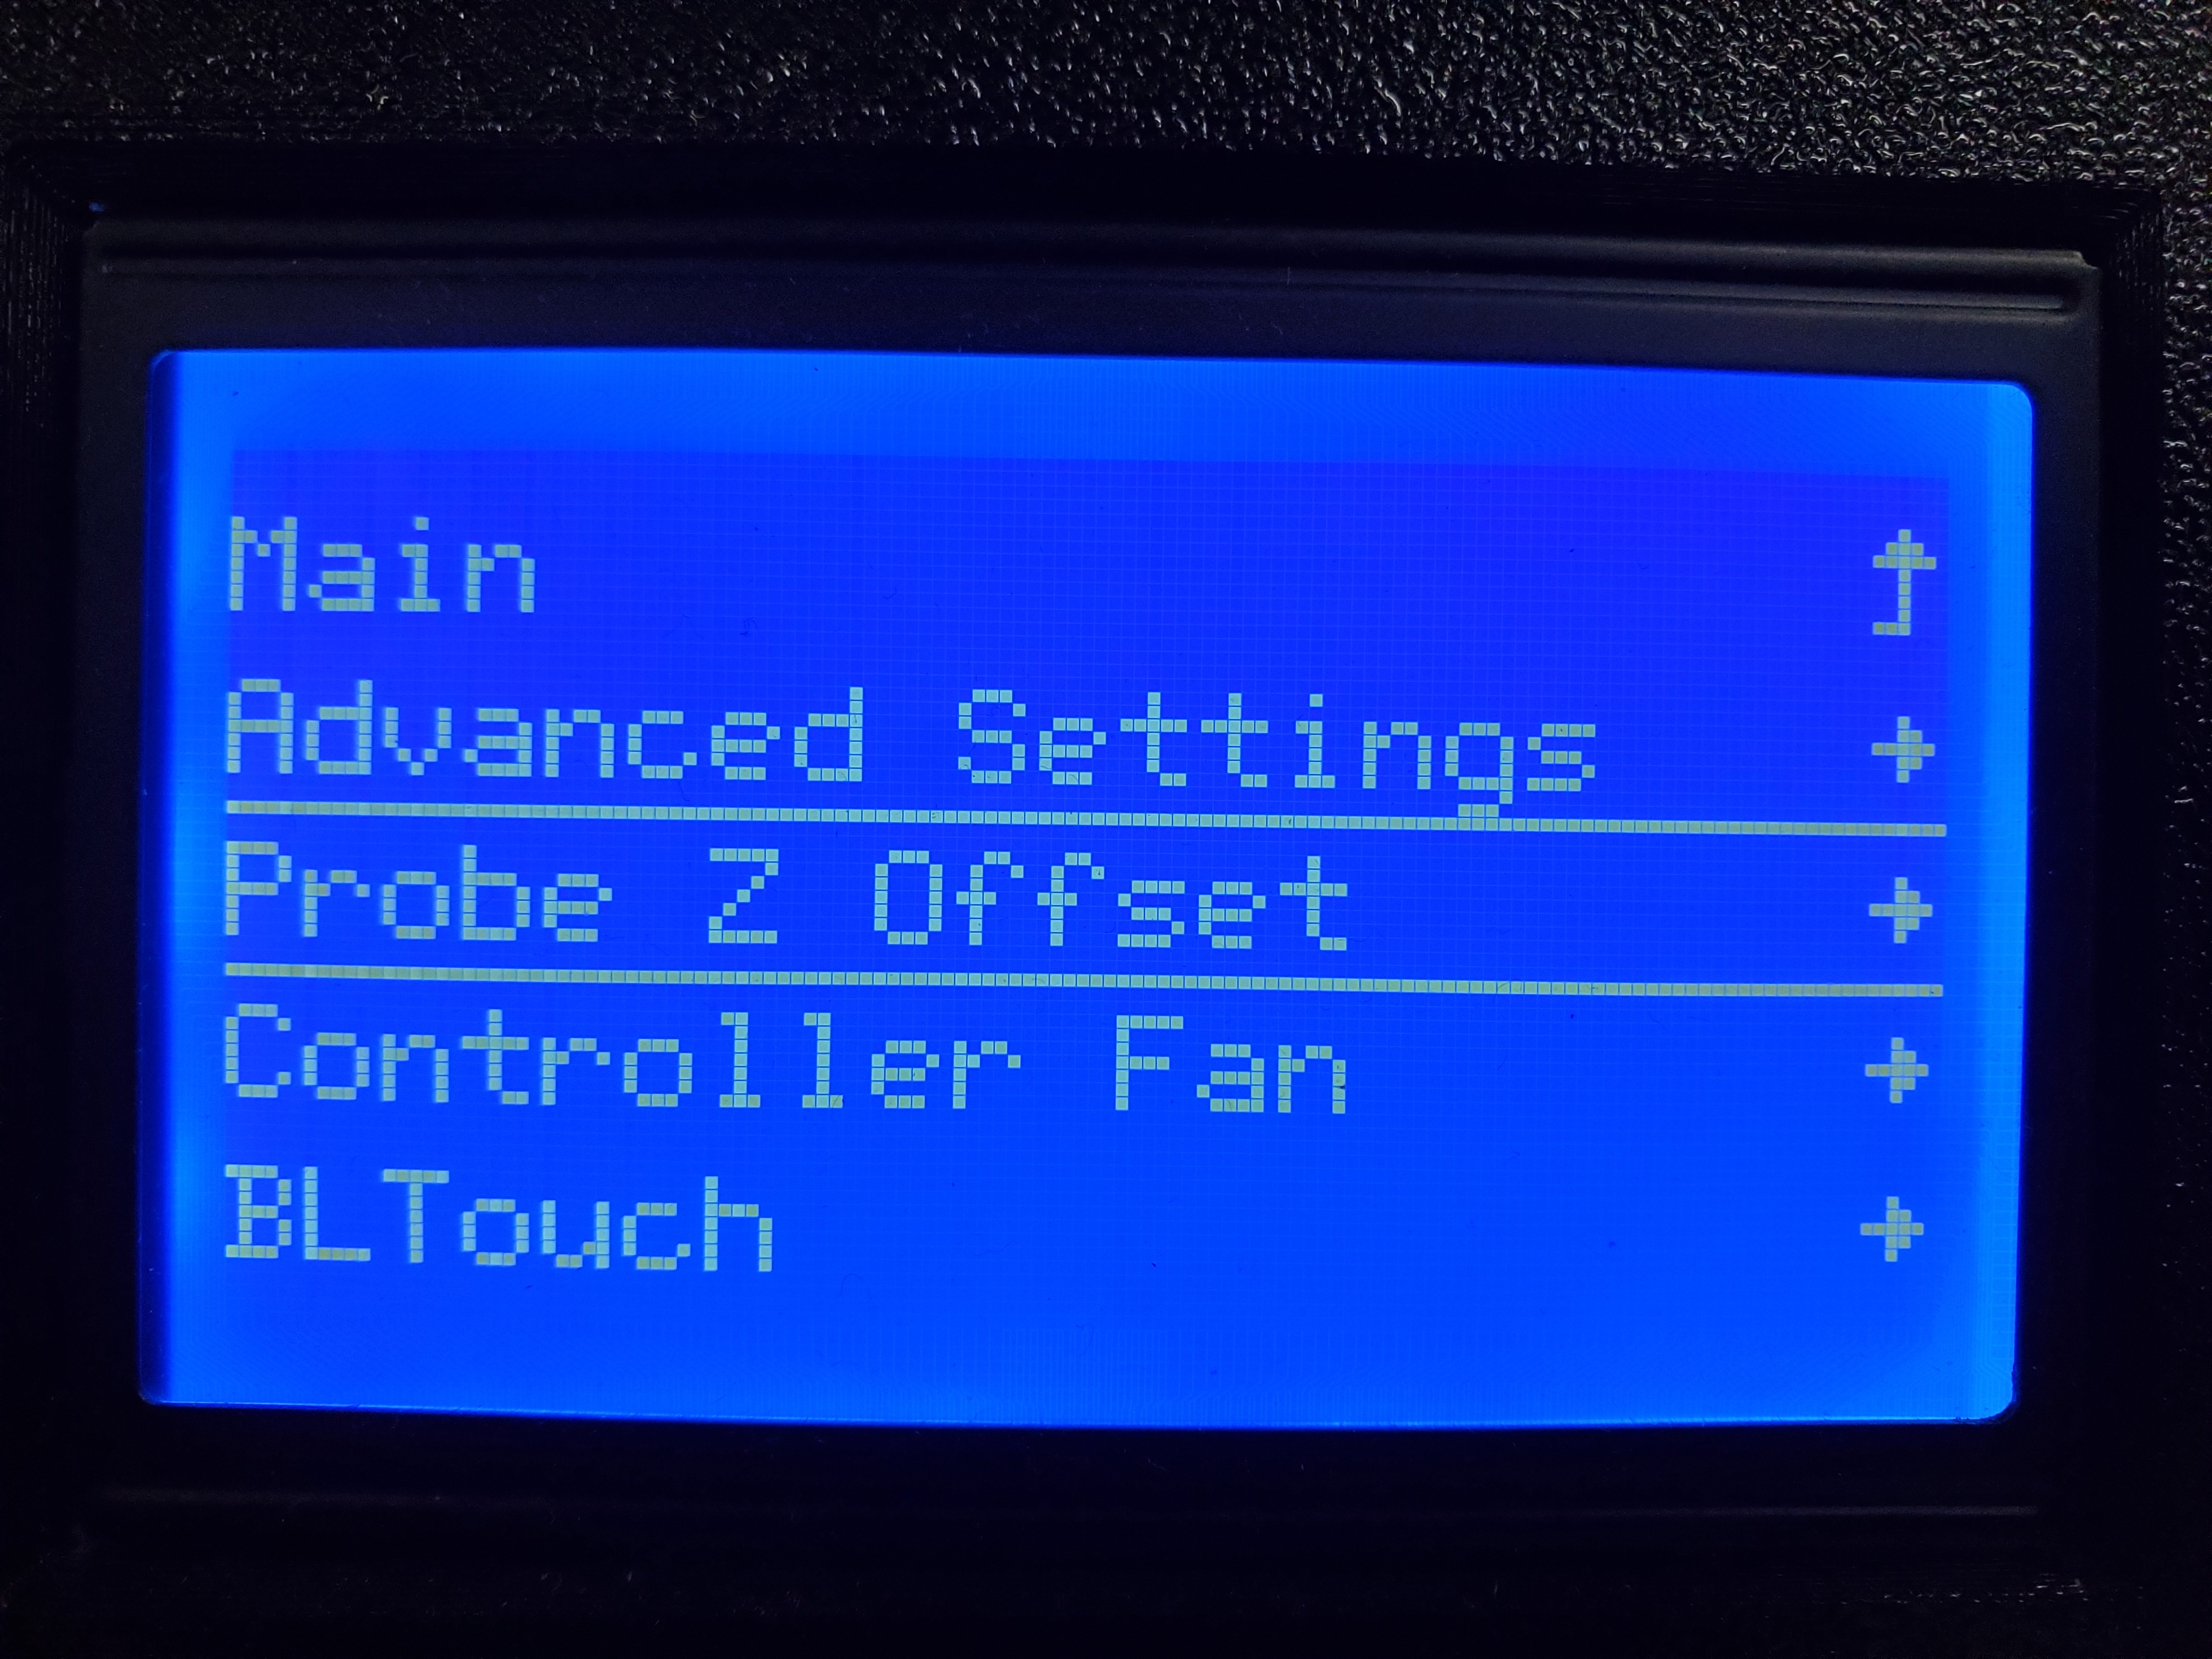
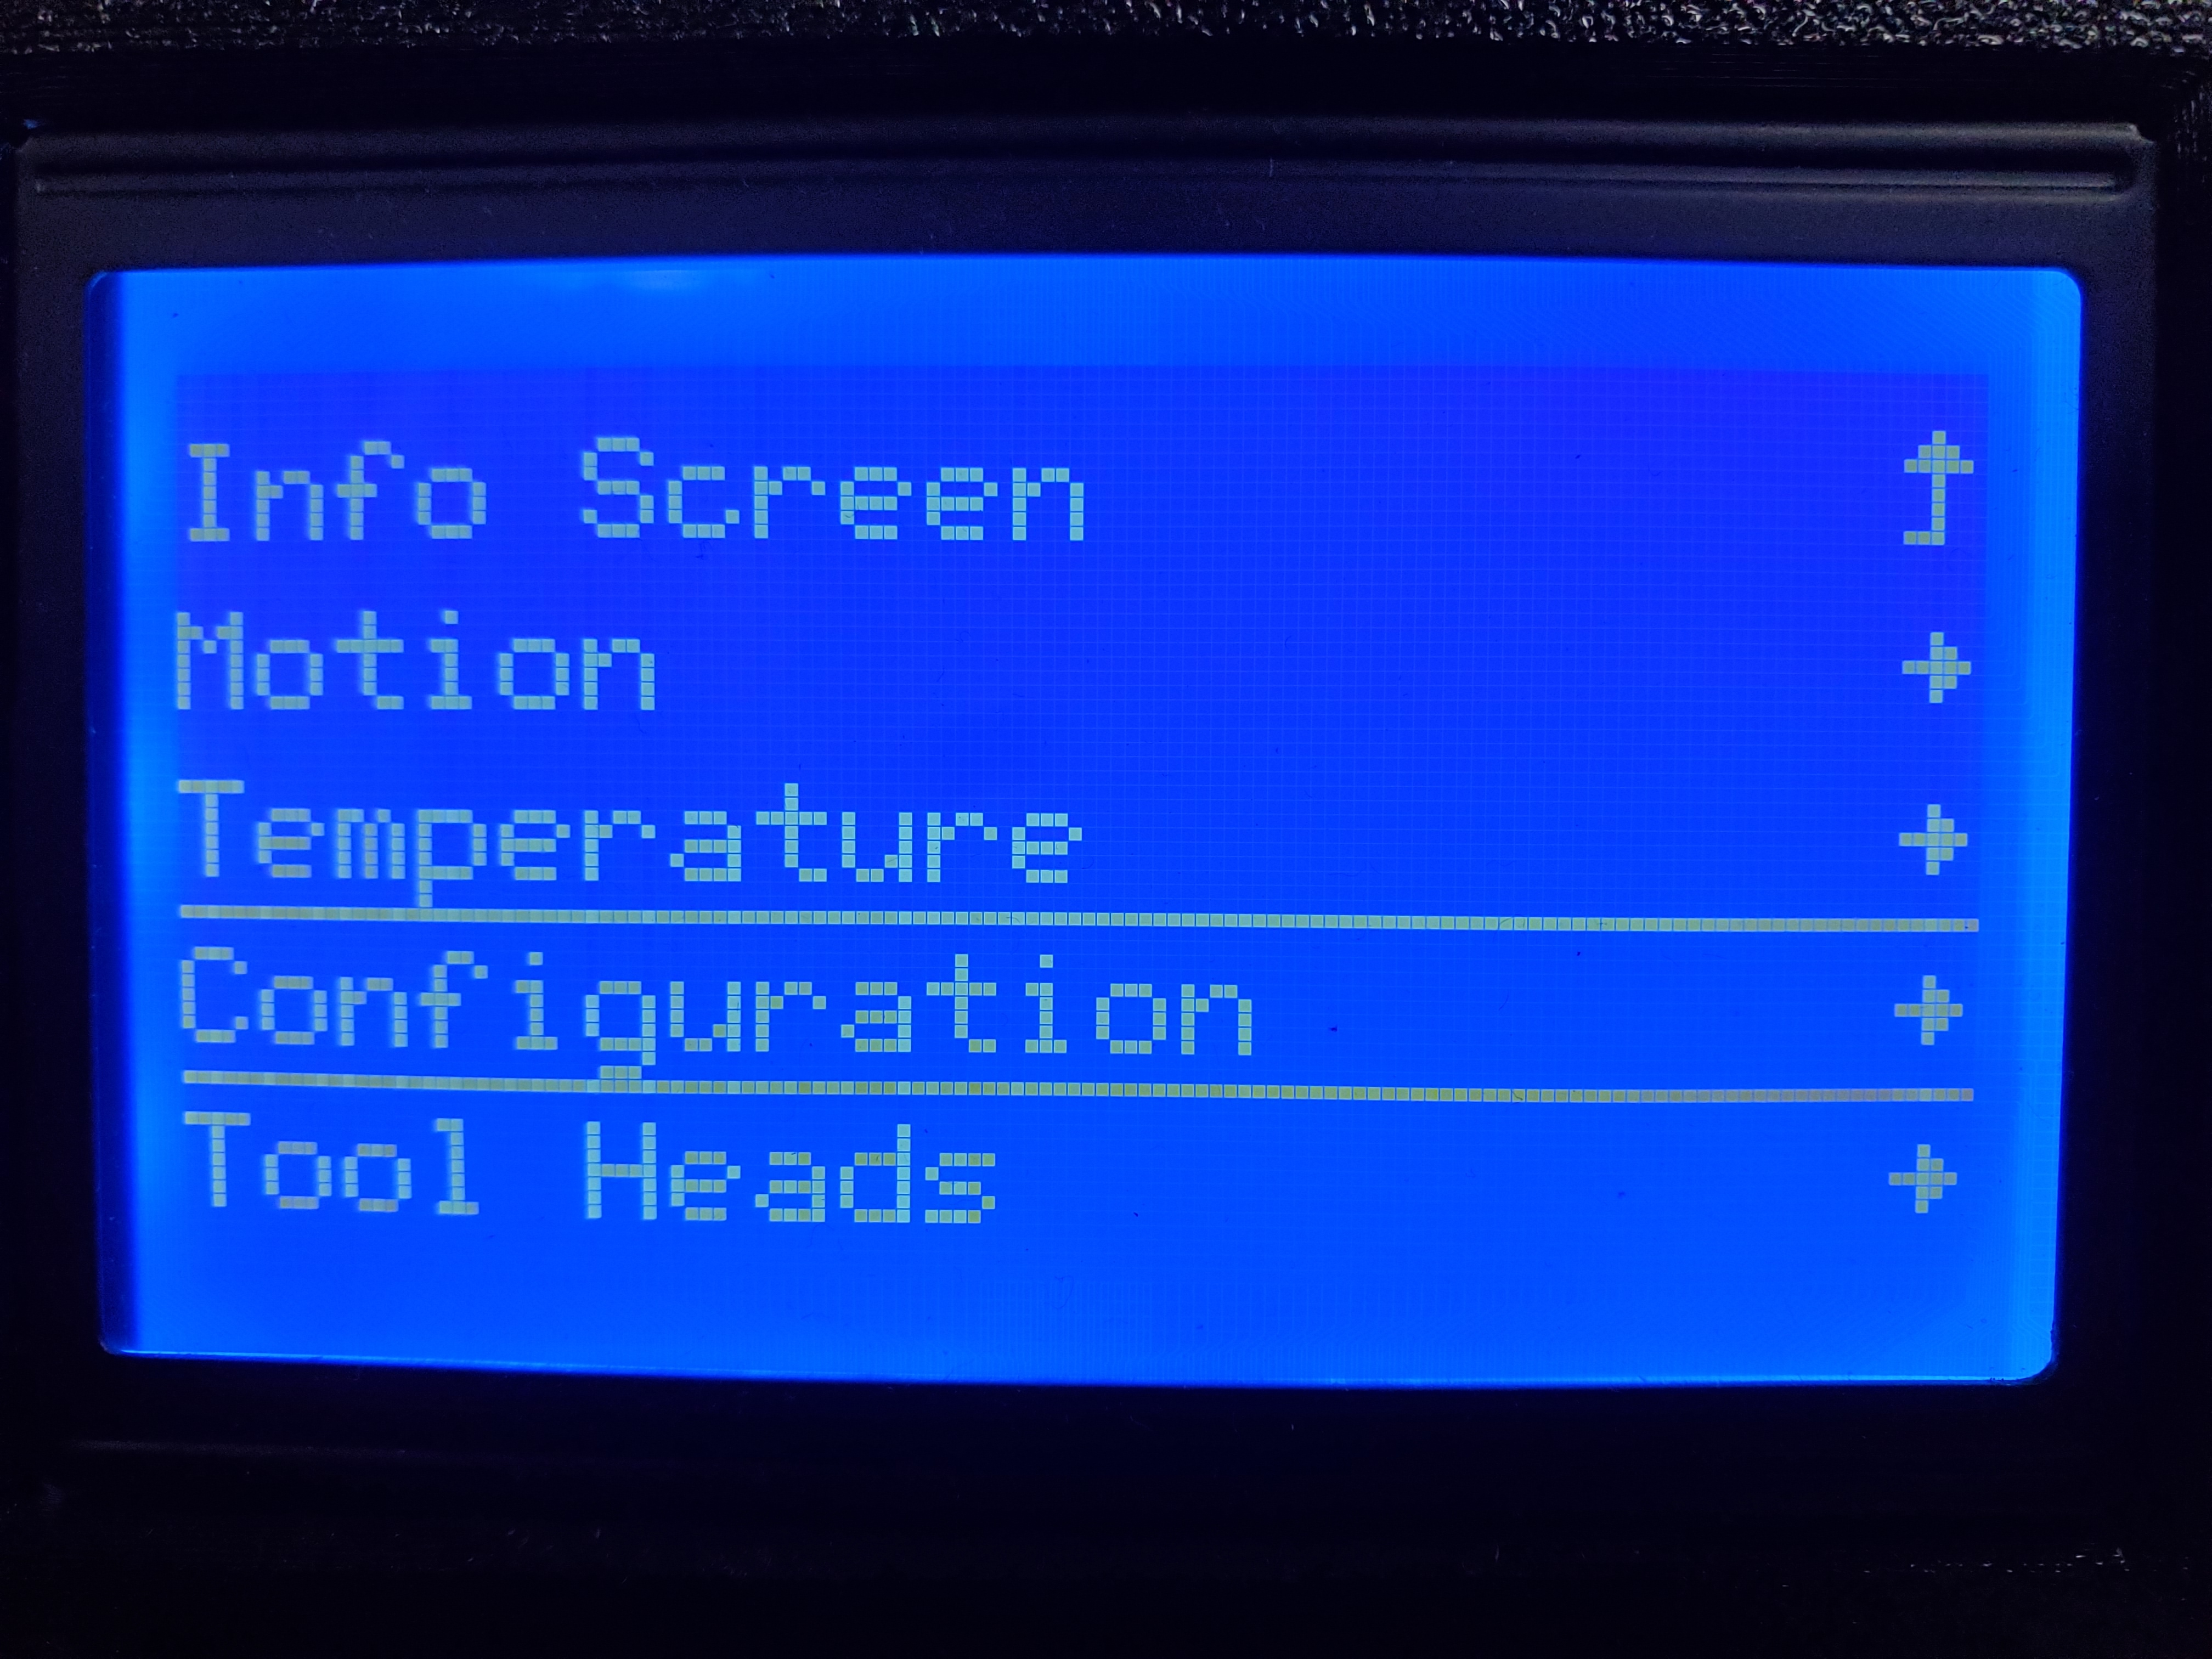
From the main menu, select Configuration.
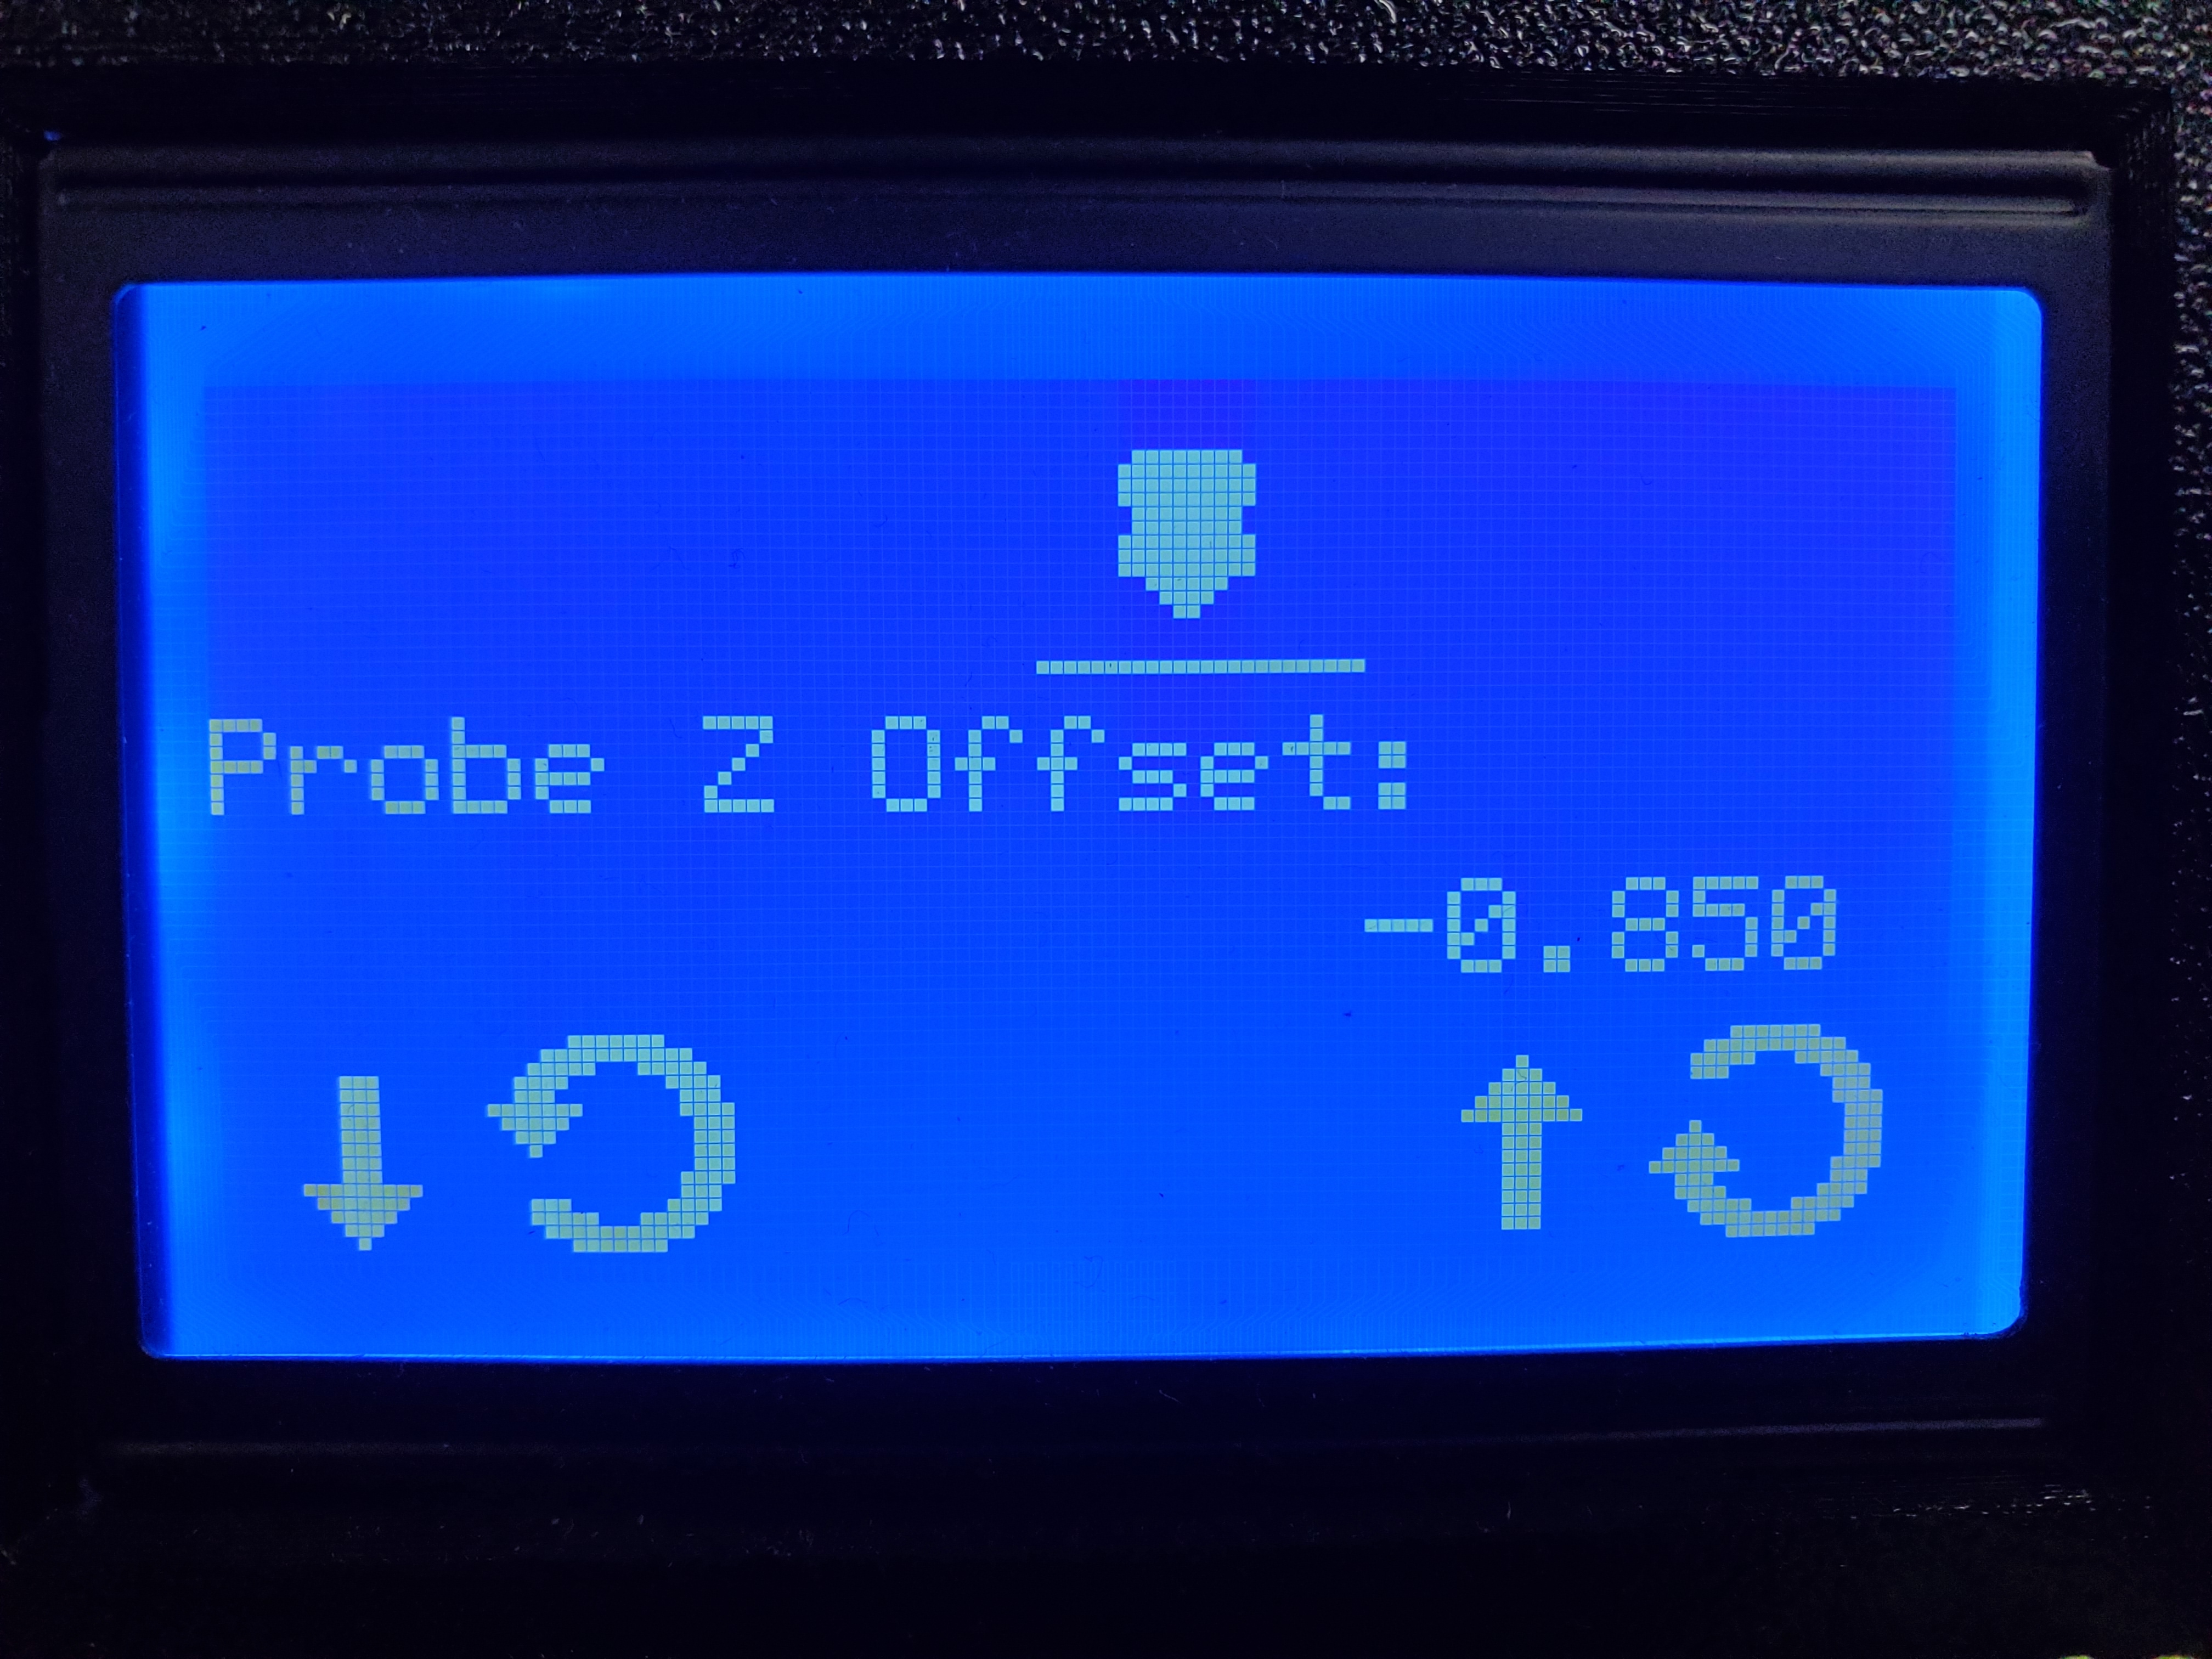
Select Probe Z offset.
Record the value displayed on the screen.


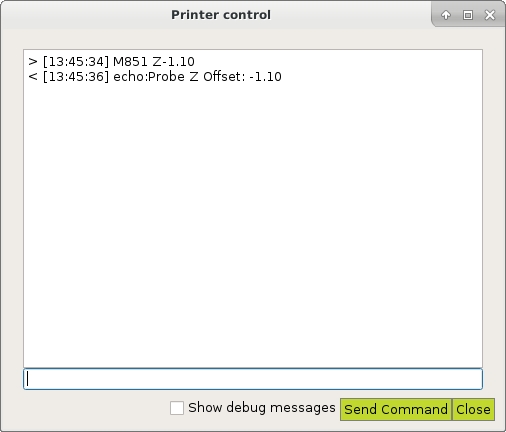
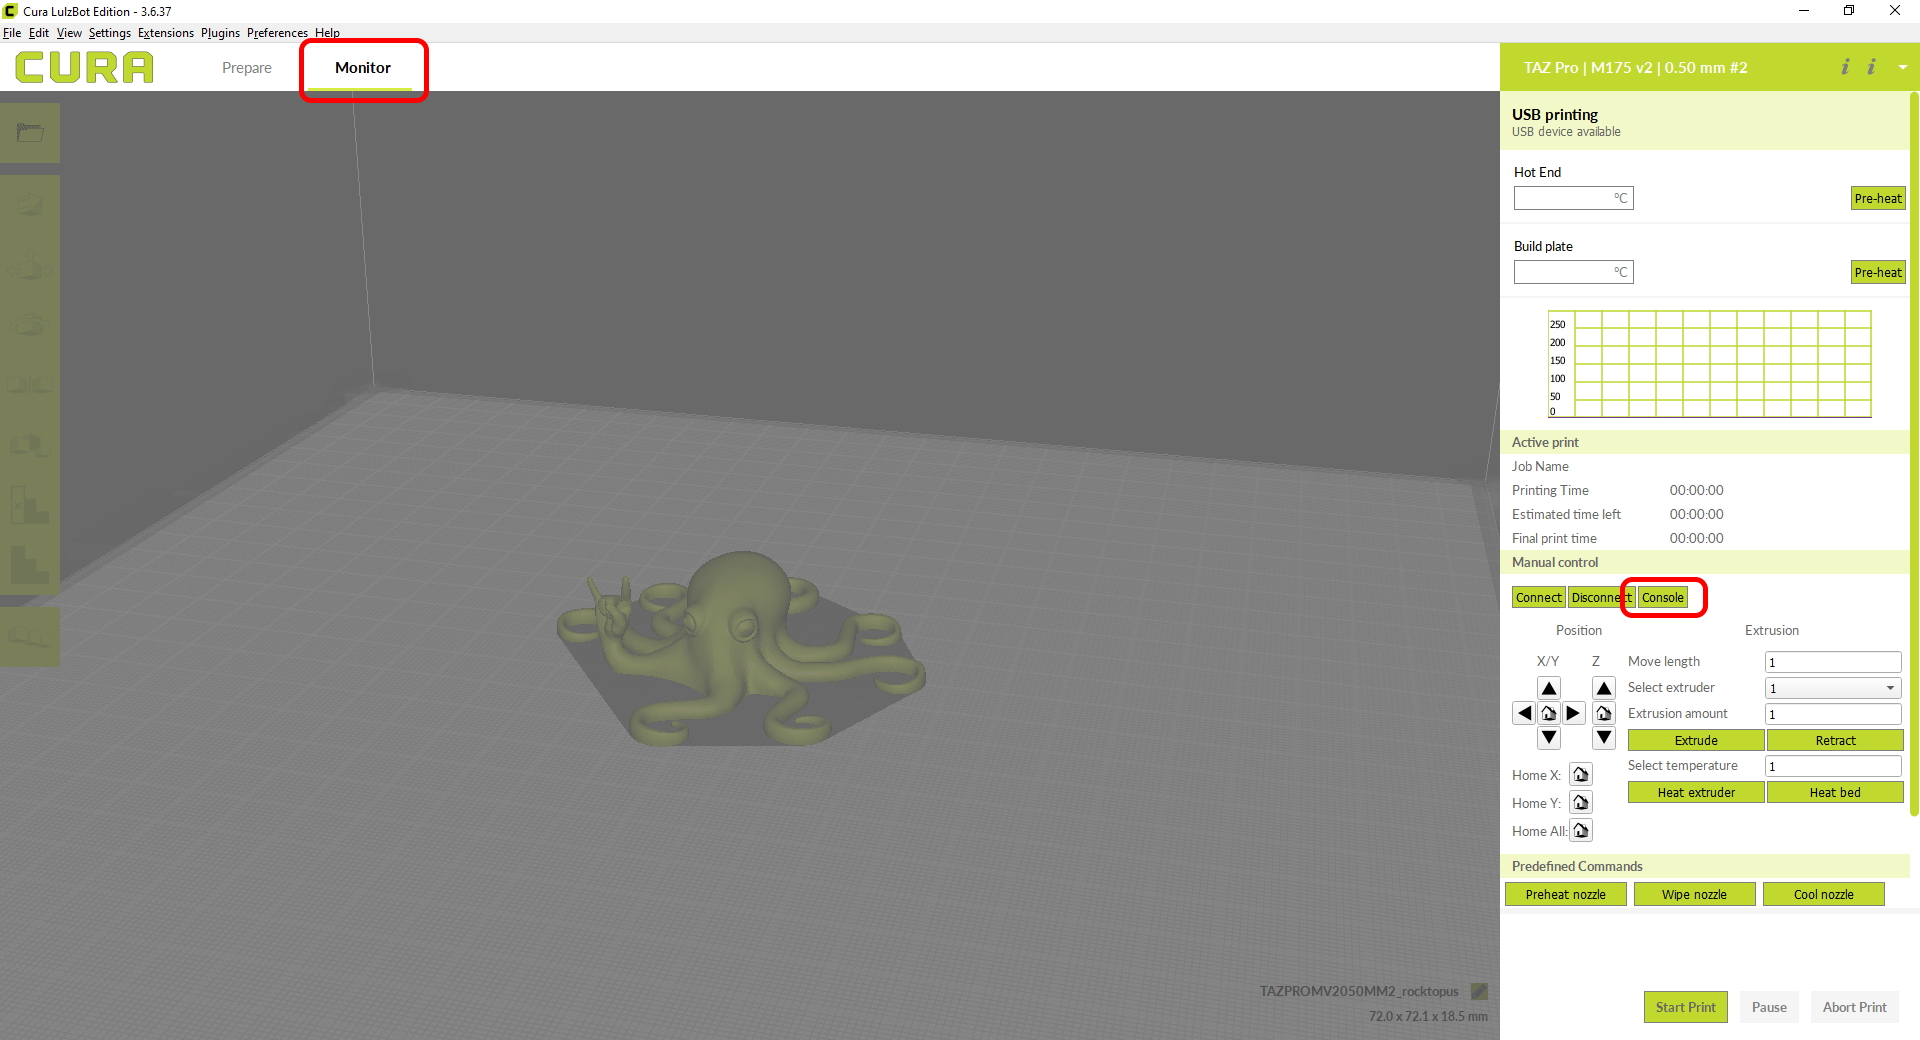
Connect to your LulzBot 3D Printer using the supplied USB cable and open the console found in the monitor tab.
Type in M851 and press enter.
Record the displayed value.

From the main menu, select Configuration.
Select Probe Z offset.
Adjust the Z-offset by turning the knob counter-clockwise to raise the value, or clockwise to lower it.
The Z-offset is typically a negative number, with zero being identified as the top of the heat bed washers.
A larger negative Z-axis value brings the hot end nozzle closer to the print surface.
A smaller negative Z-axis value will move the nozzle further away from the print surface.
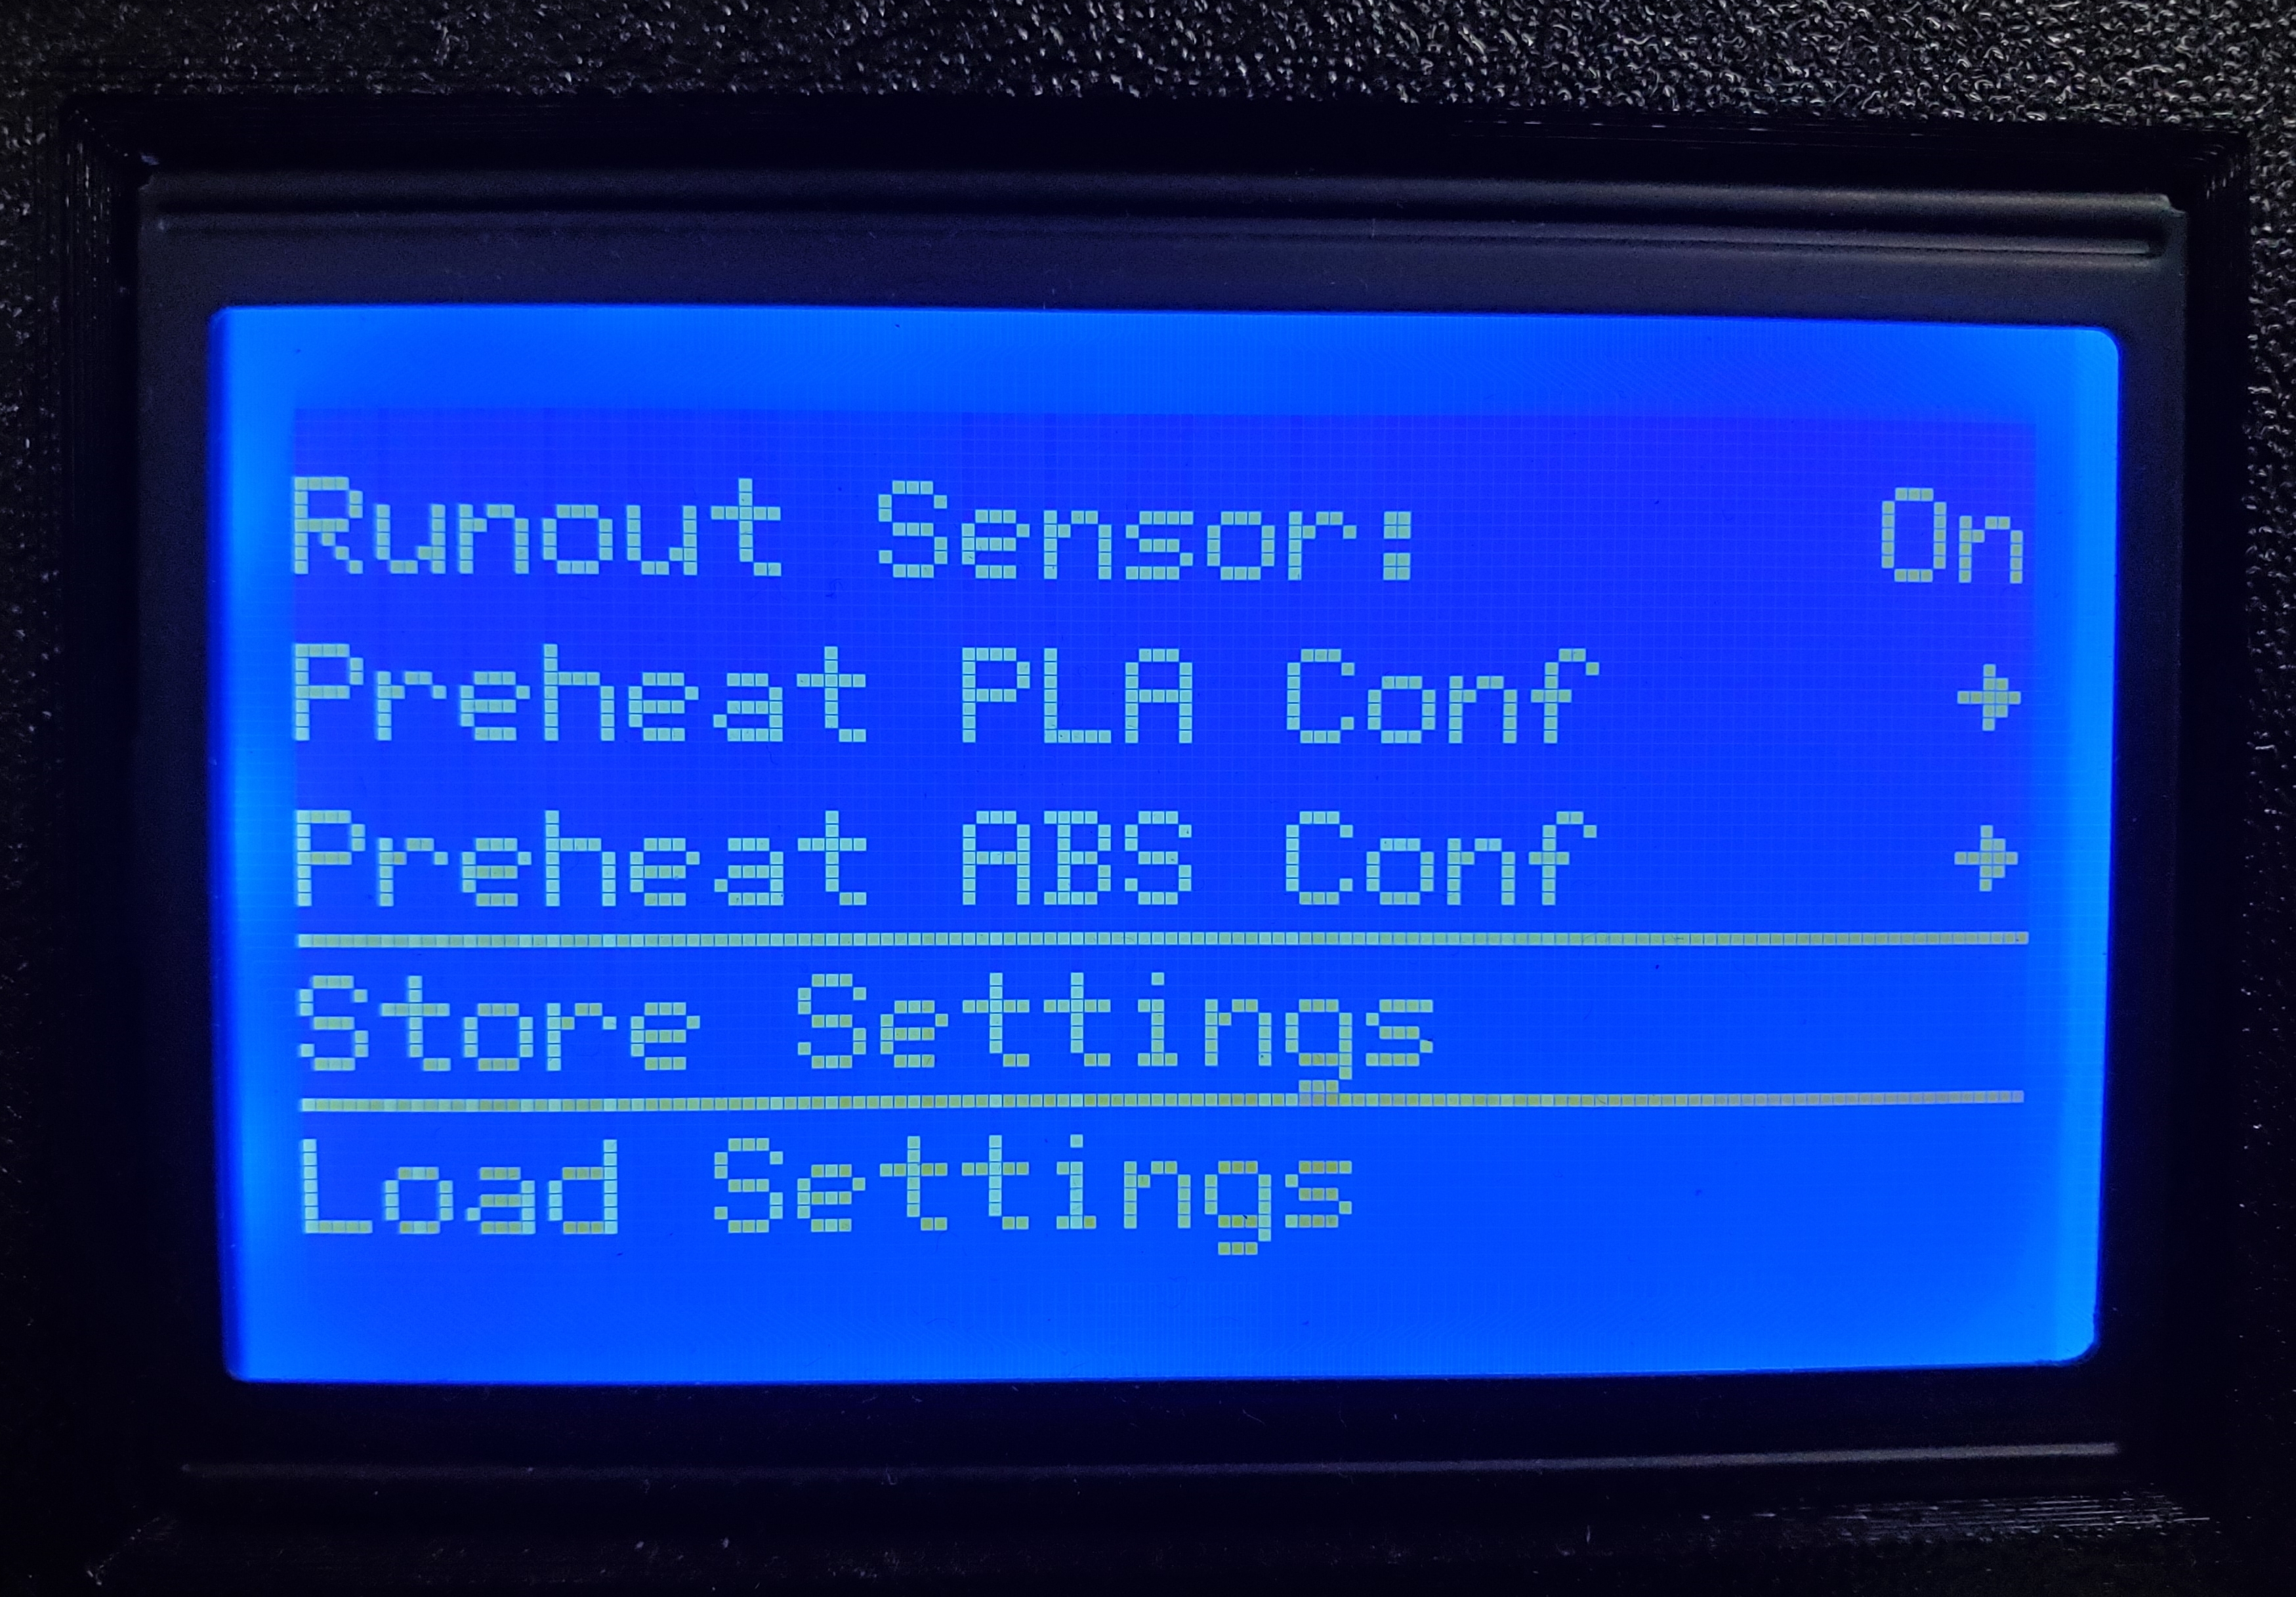
When you have restored your Z-offset to the original or adjusted value, select Store Settings from the Configuration menu to save it.
You will hear a beep, indicating that the settings have been successfully saved.

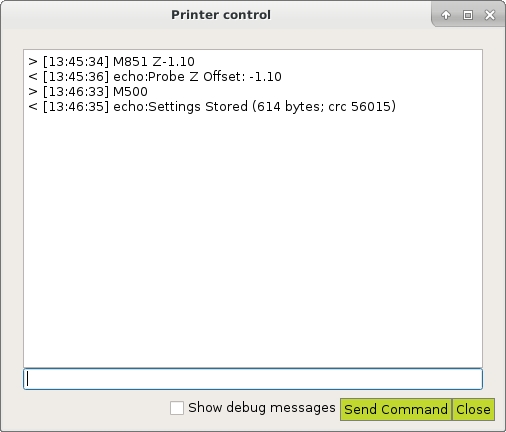
After updating the firmware, open the console window again and type M851 Z-x.xx (substituting x.xx for the Z-axis offset recorded previously.)
Type M500 to save this setting to your 3D printer.