Open HardwareAssembly Instructions
Guides for installation and assembly of the LulzBot line of products made by FAME 3D LLC.
Guides for installation and assembly of the LulzBot line of products made by FAME 3D LLC.
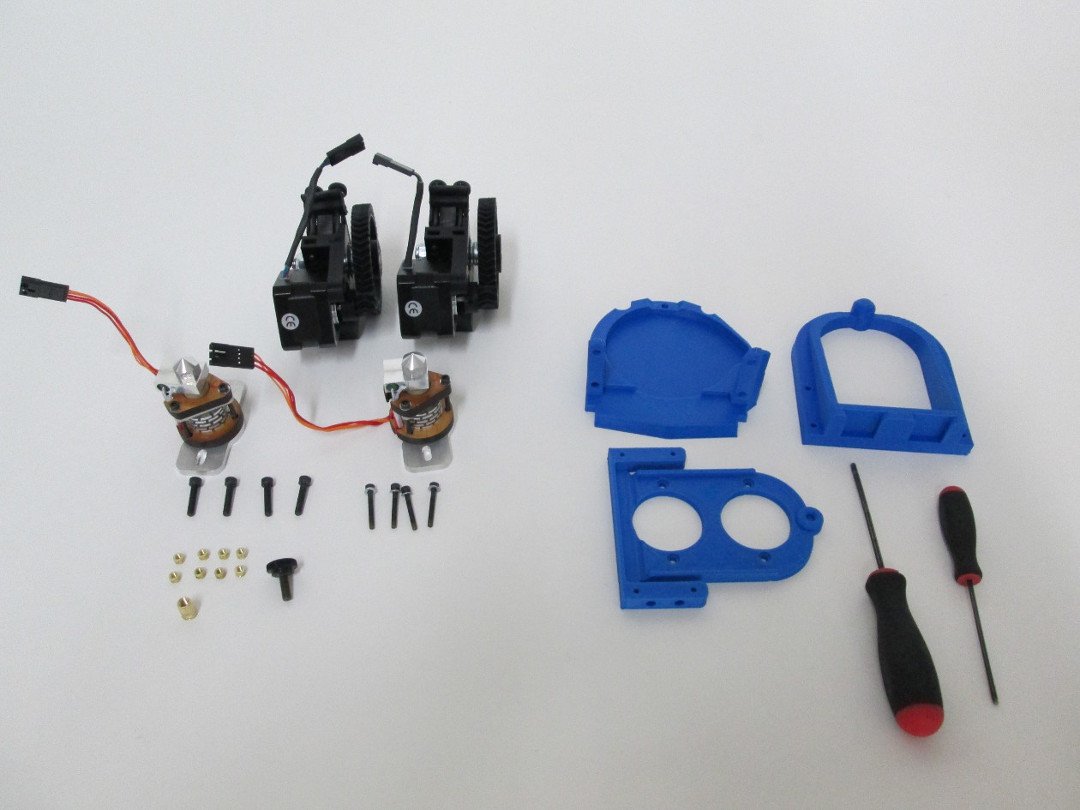
Gather the necessary tools. You'll need:
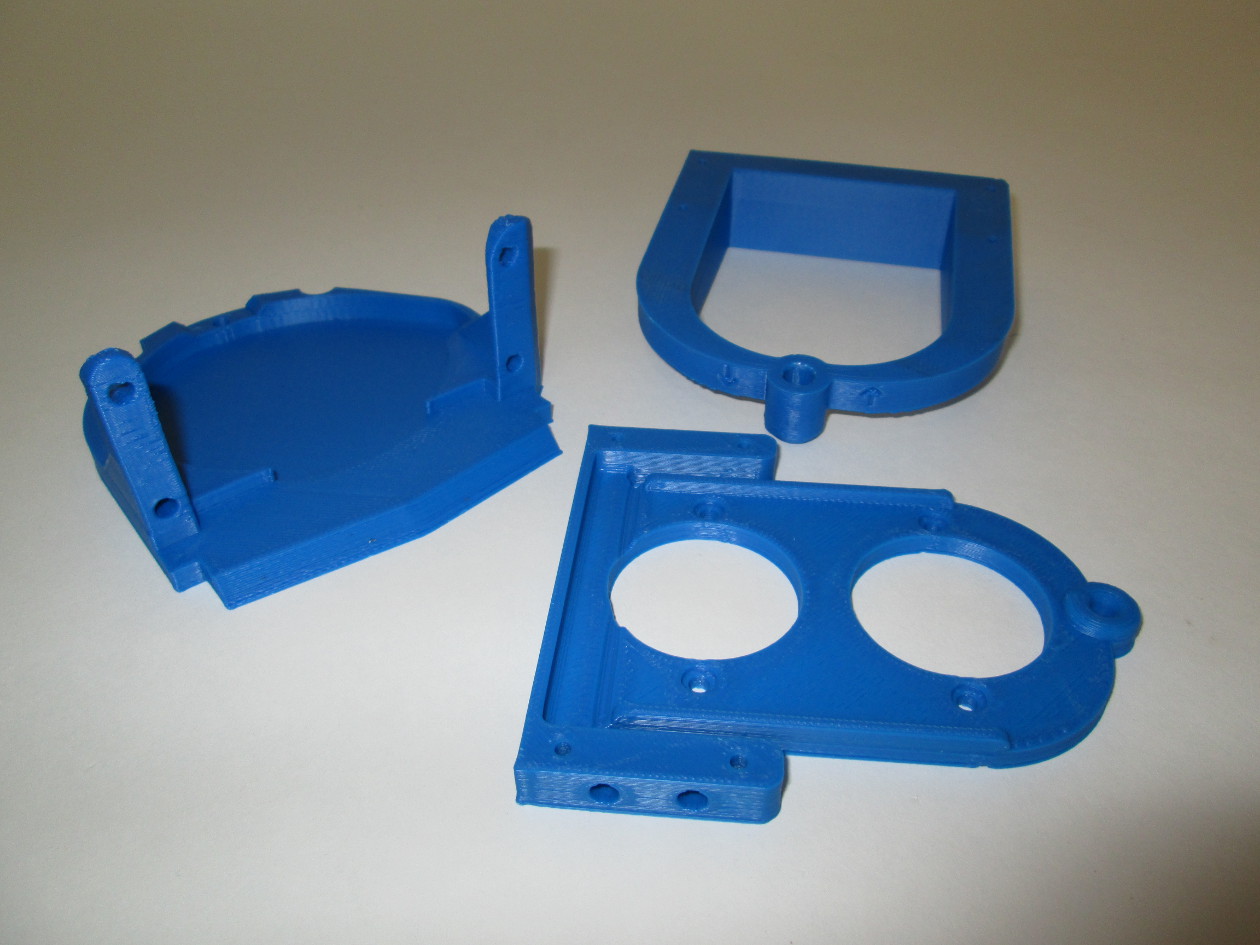
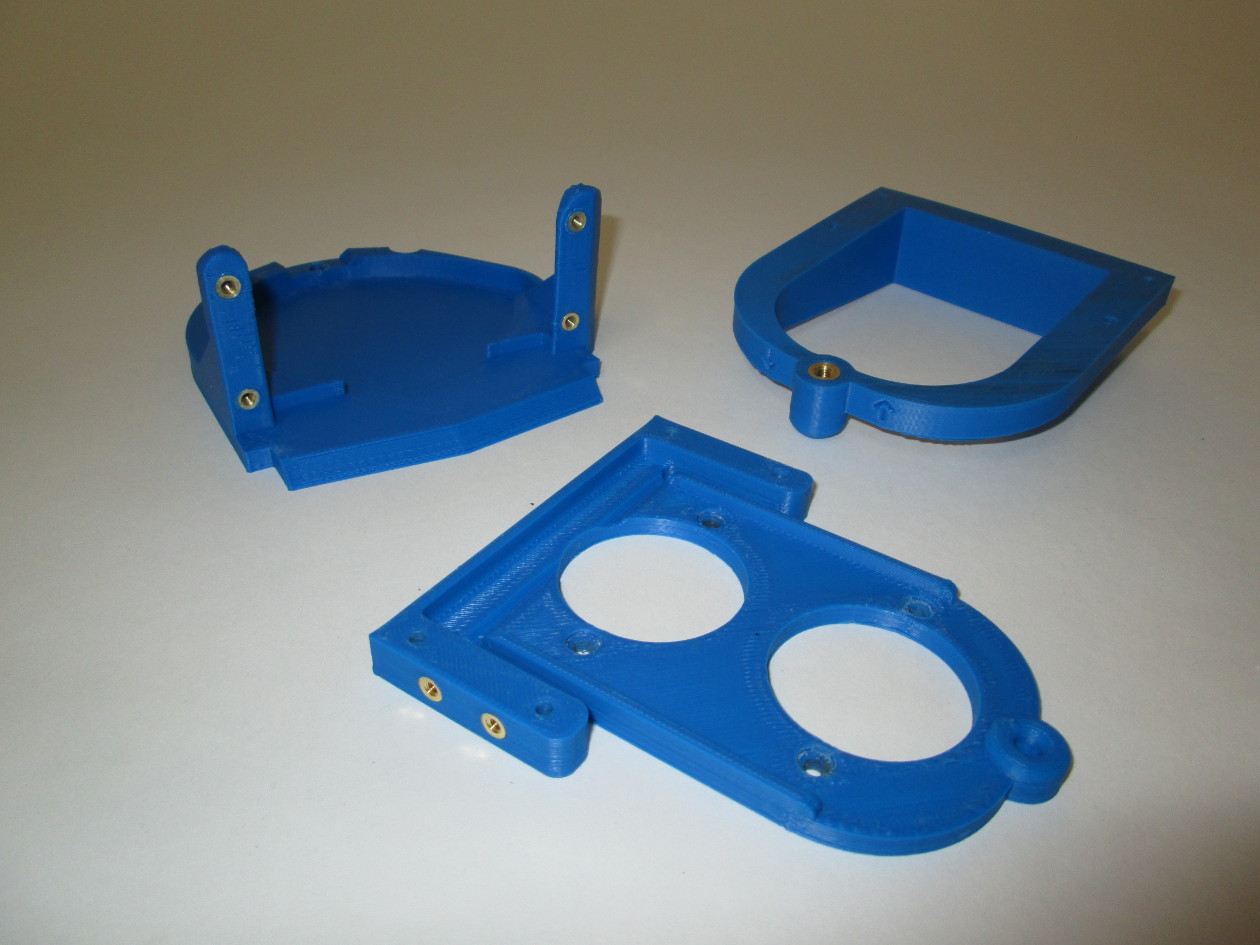
Printed parts:
1x - Dual Extruder Mount
1x - Flex Plate
1x - Dual extruder lower bracket
Tools:
1x - 1.5mm hex driver
1x - 2.5mm hex driver
Fasteners:
1x - M5 heat set insert
8x - M3 heatset insert
4x - M3x25 screws
4x - M3 washers
4x - M4x20 SHCS bolts
4x - M4 hex nuts
4x - M4 nuts
1x - M5x14 bolt with thumbscrew cap
Sub-assemblies:
2x - Budaschnozzle with .35mm nozzle
2x - Wades extruder for dual (see extruder assembly instructions, and use shortened hobbed bolt and low profile stepper)
Using a soldering iron, install heatset inserts into:
-the 4 holes in the bottom of the extruder mount (m3 heatset)
-the 4 holes on either side of the flex plate (m3 heatsets)
-the single hole on the top of the lower bracket (m5 heatset)
Make sure that the tops of the inserts are flush with the surface
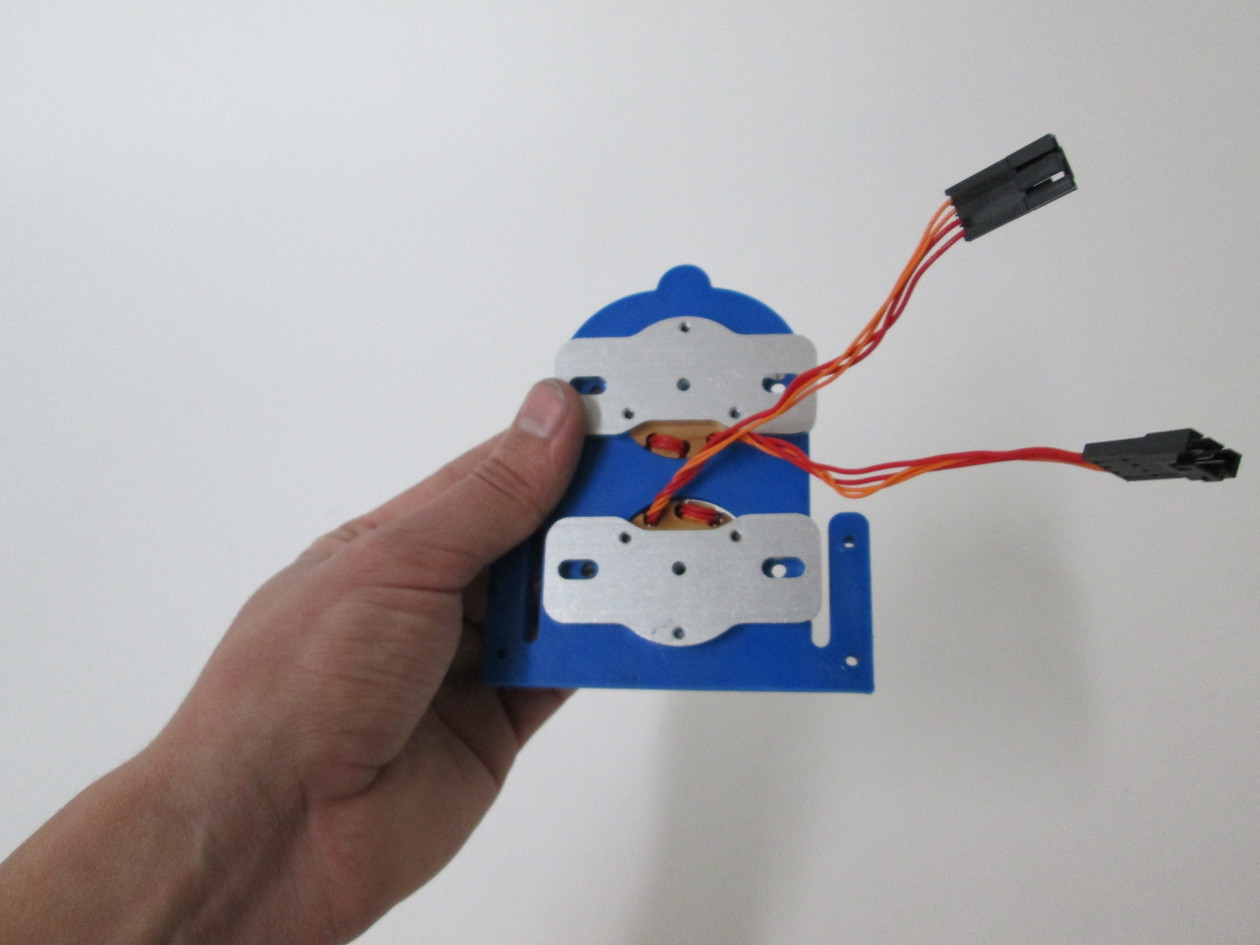
Install the 2 budaschnozzles in the flex plate as shown, with the wires comming out in the center facing each other.
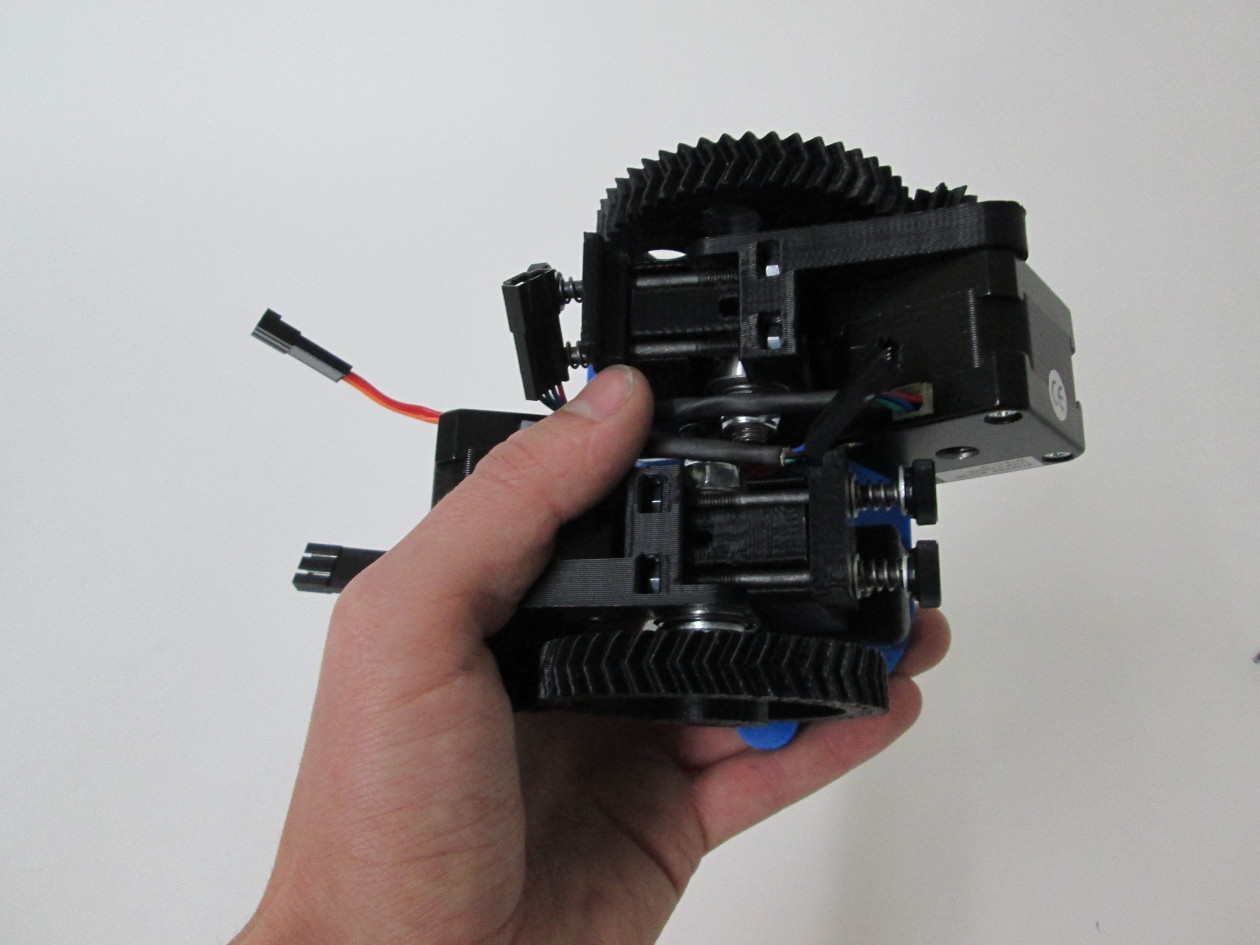
Next, install the 2 wades extruder assemblies on top of the budashnozzles, with the gears facing out. Fasten with M4x20 botts and m4 nuts. Don't tighten all the way just yet.
Feed a piece of filament into each extruder to line it up with the budaschnozzle, then tighten down all the way.

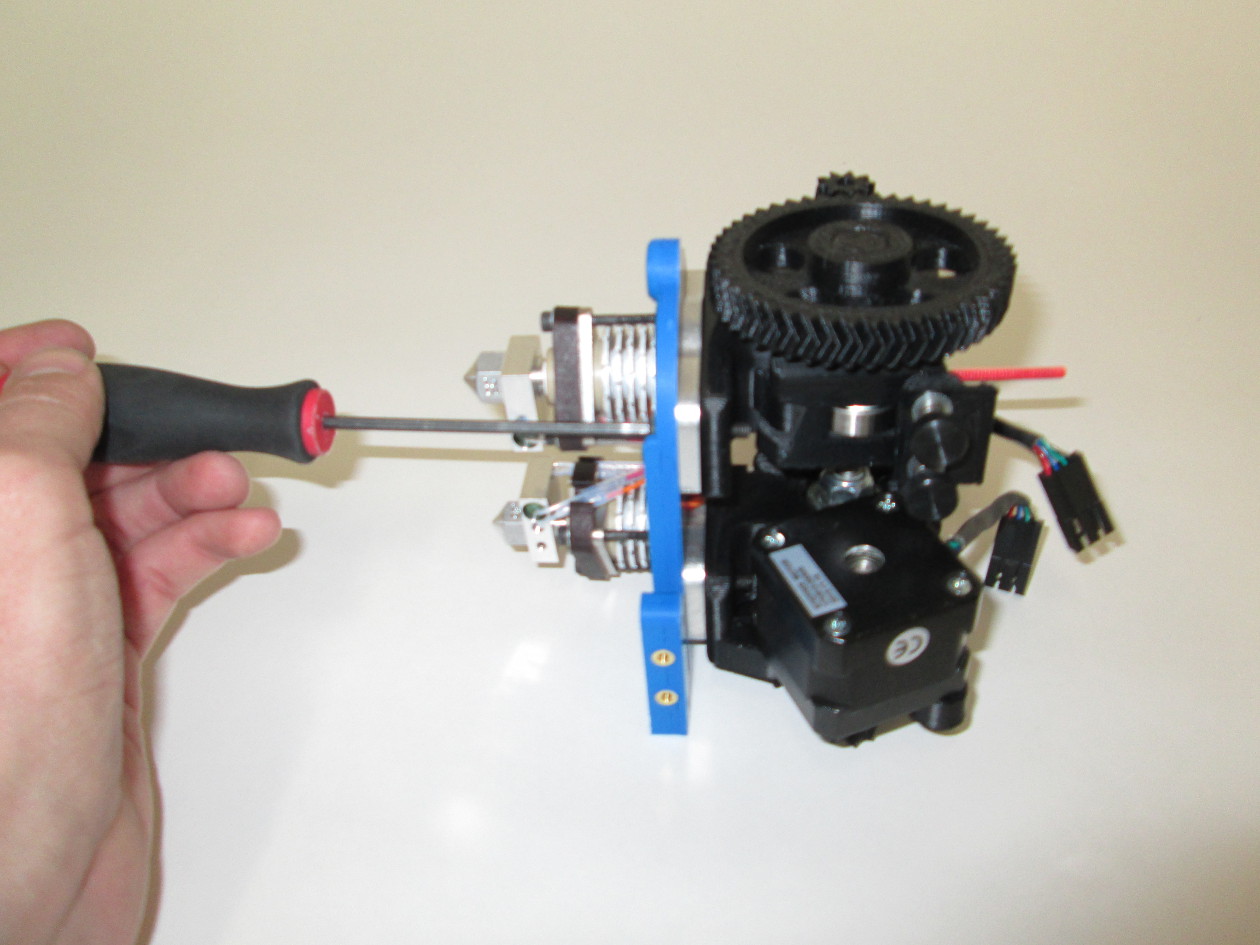
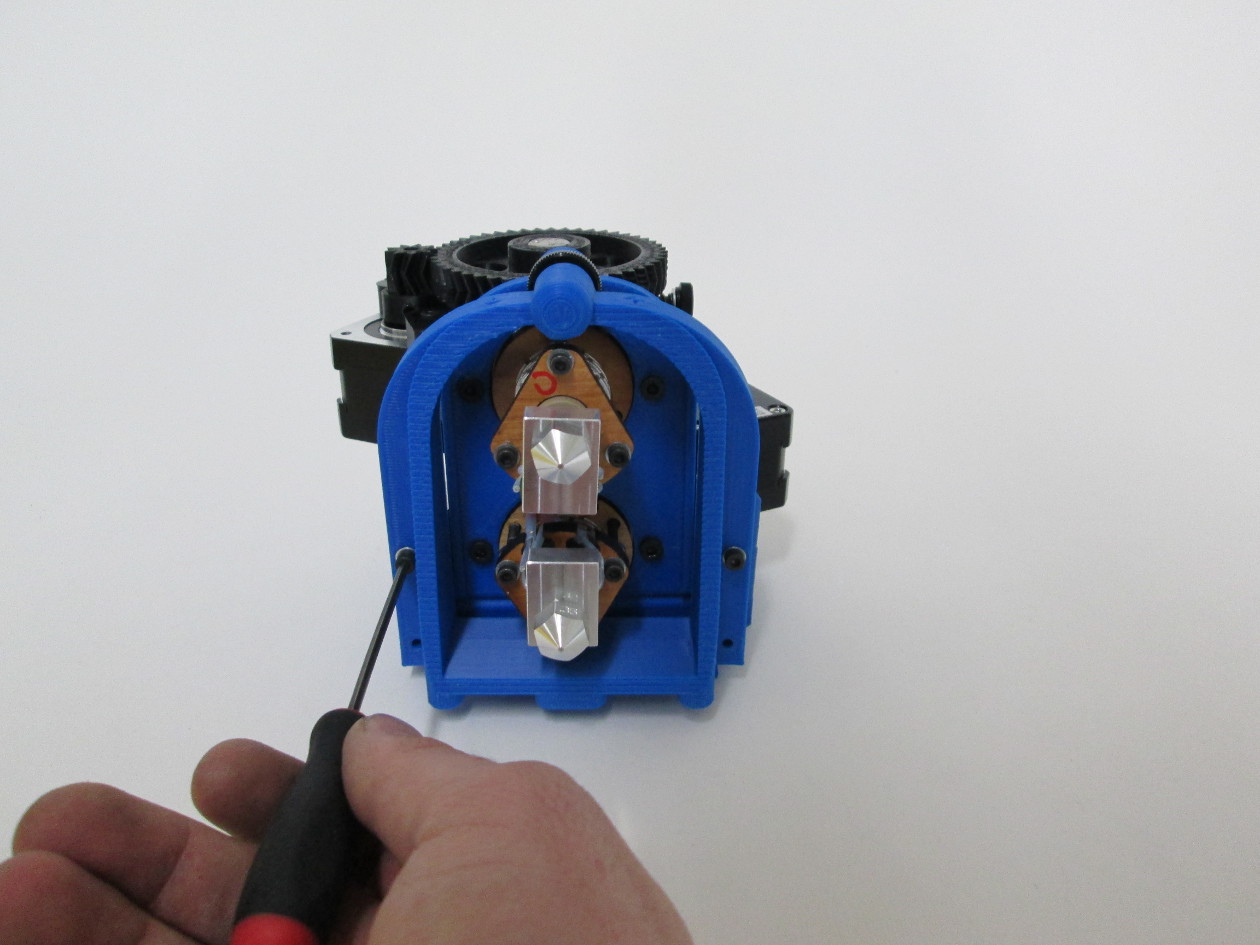
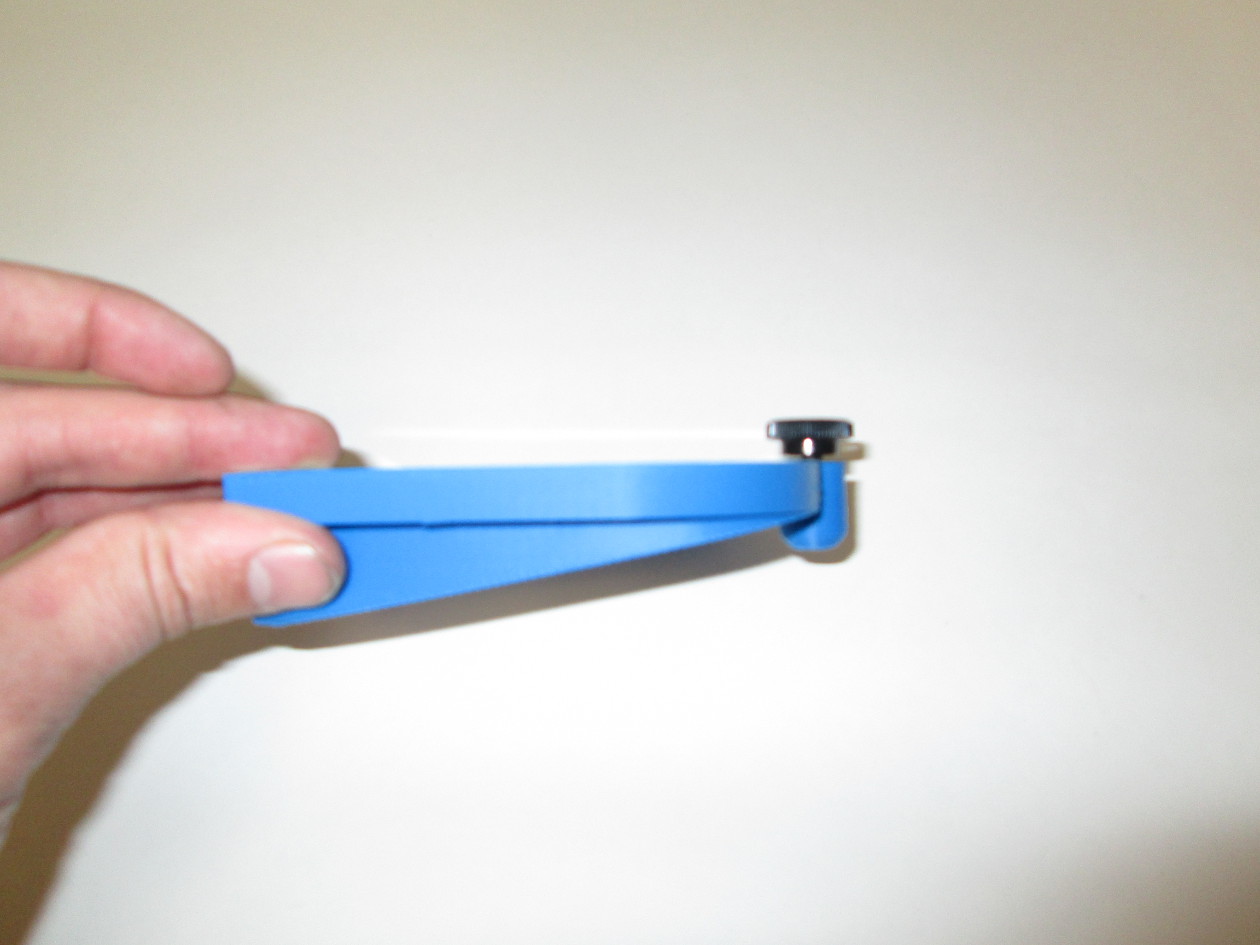
Screw an M5x14 with thumb screw cap into the M5 insert in the lower bracket as shown. Screw it down until it is touching the surface of the bracket, only finger tight.

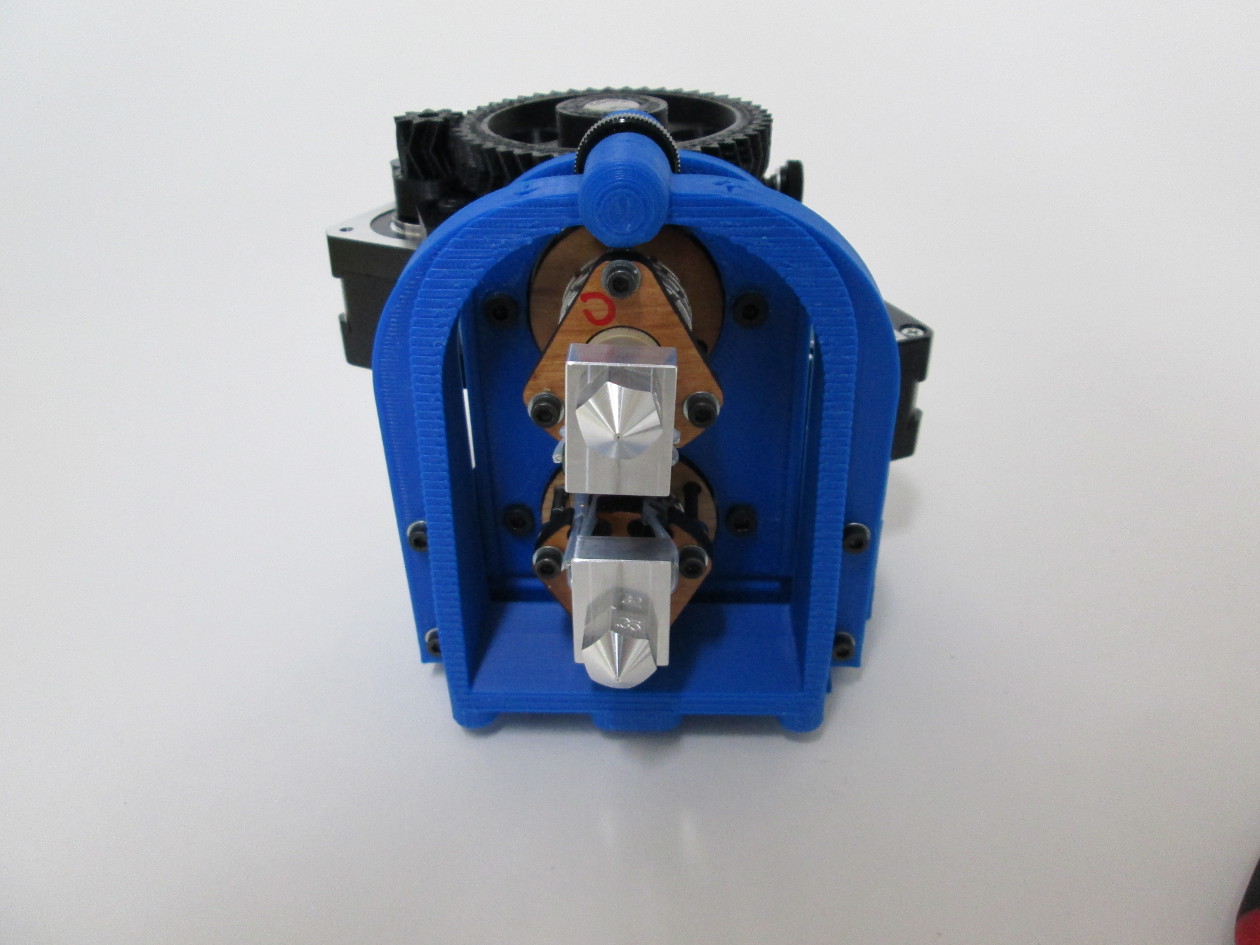
Sandwich the flex plate with the extruders on it between the dual extruder mount on top and the lower bracket on bottom. Attach using 4 M3x25 screws with washers.