Open HardwareAssembly Instructions
Guides for installation and assembly of the LulzBot line of products made by FAME 3D LLC.
Guides for installation and assembly of the LulzBot line of products made by FAME 3D LLC.
Materials required for Dual Extruder v3 Heatsink Fan kit [KT-HD0023]
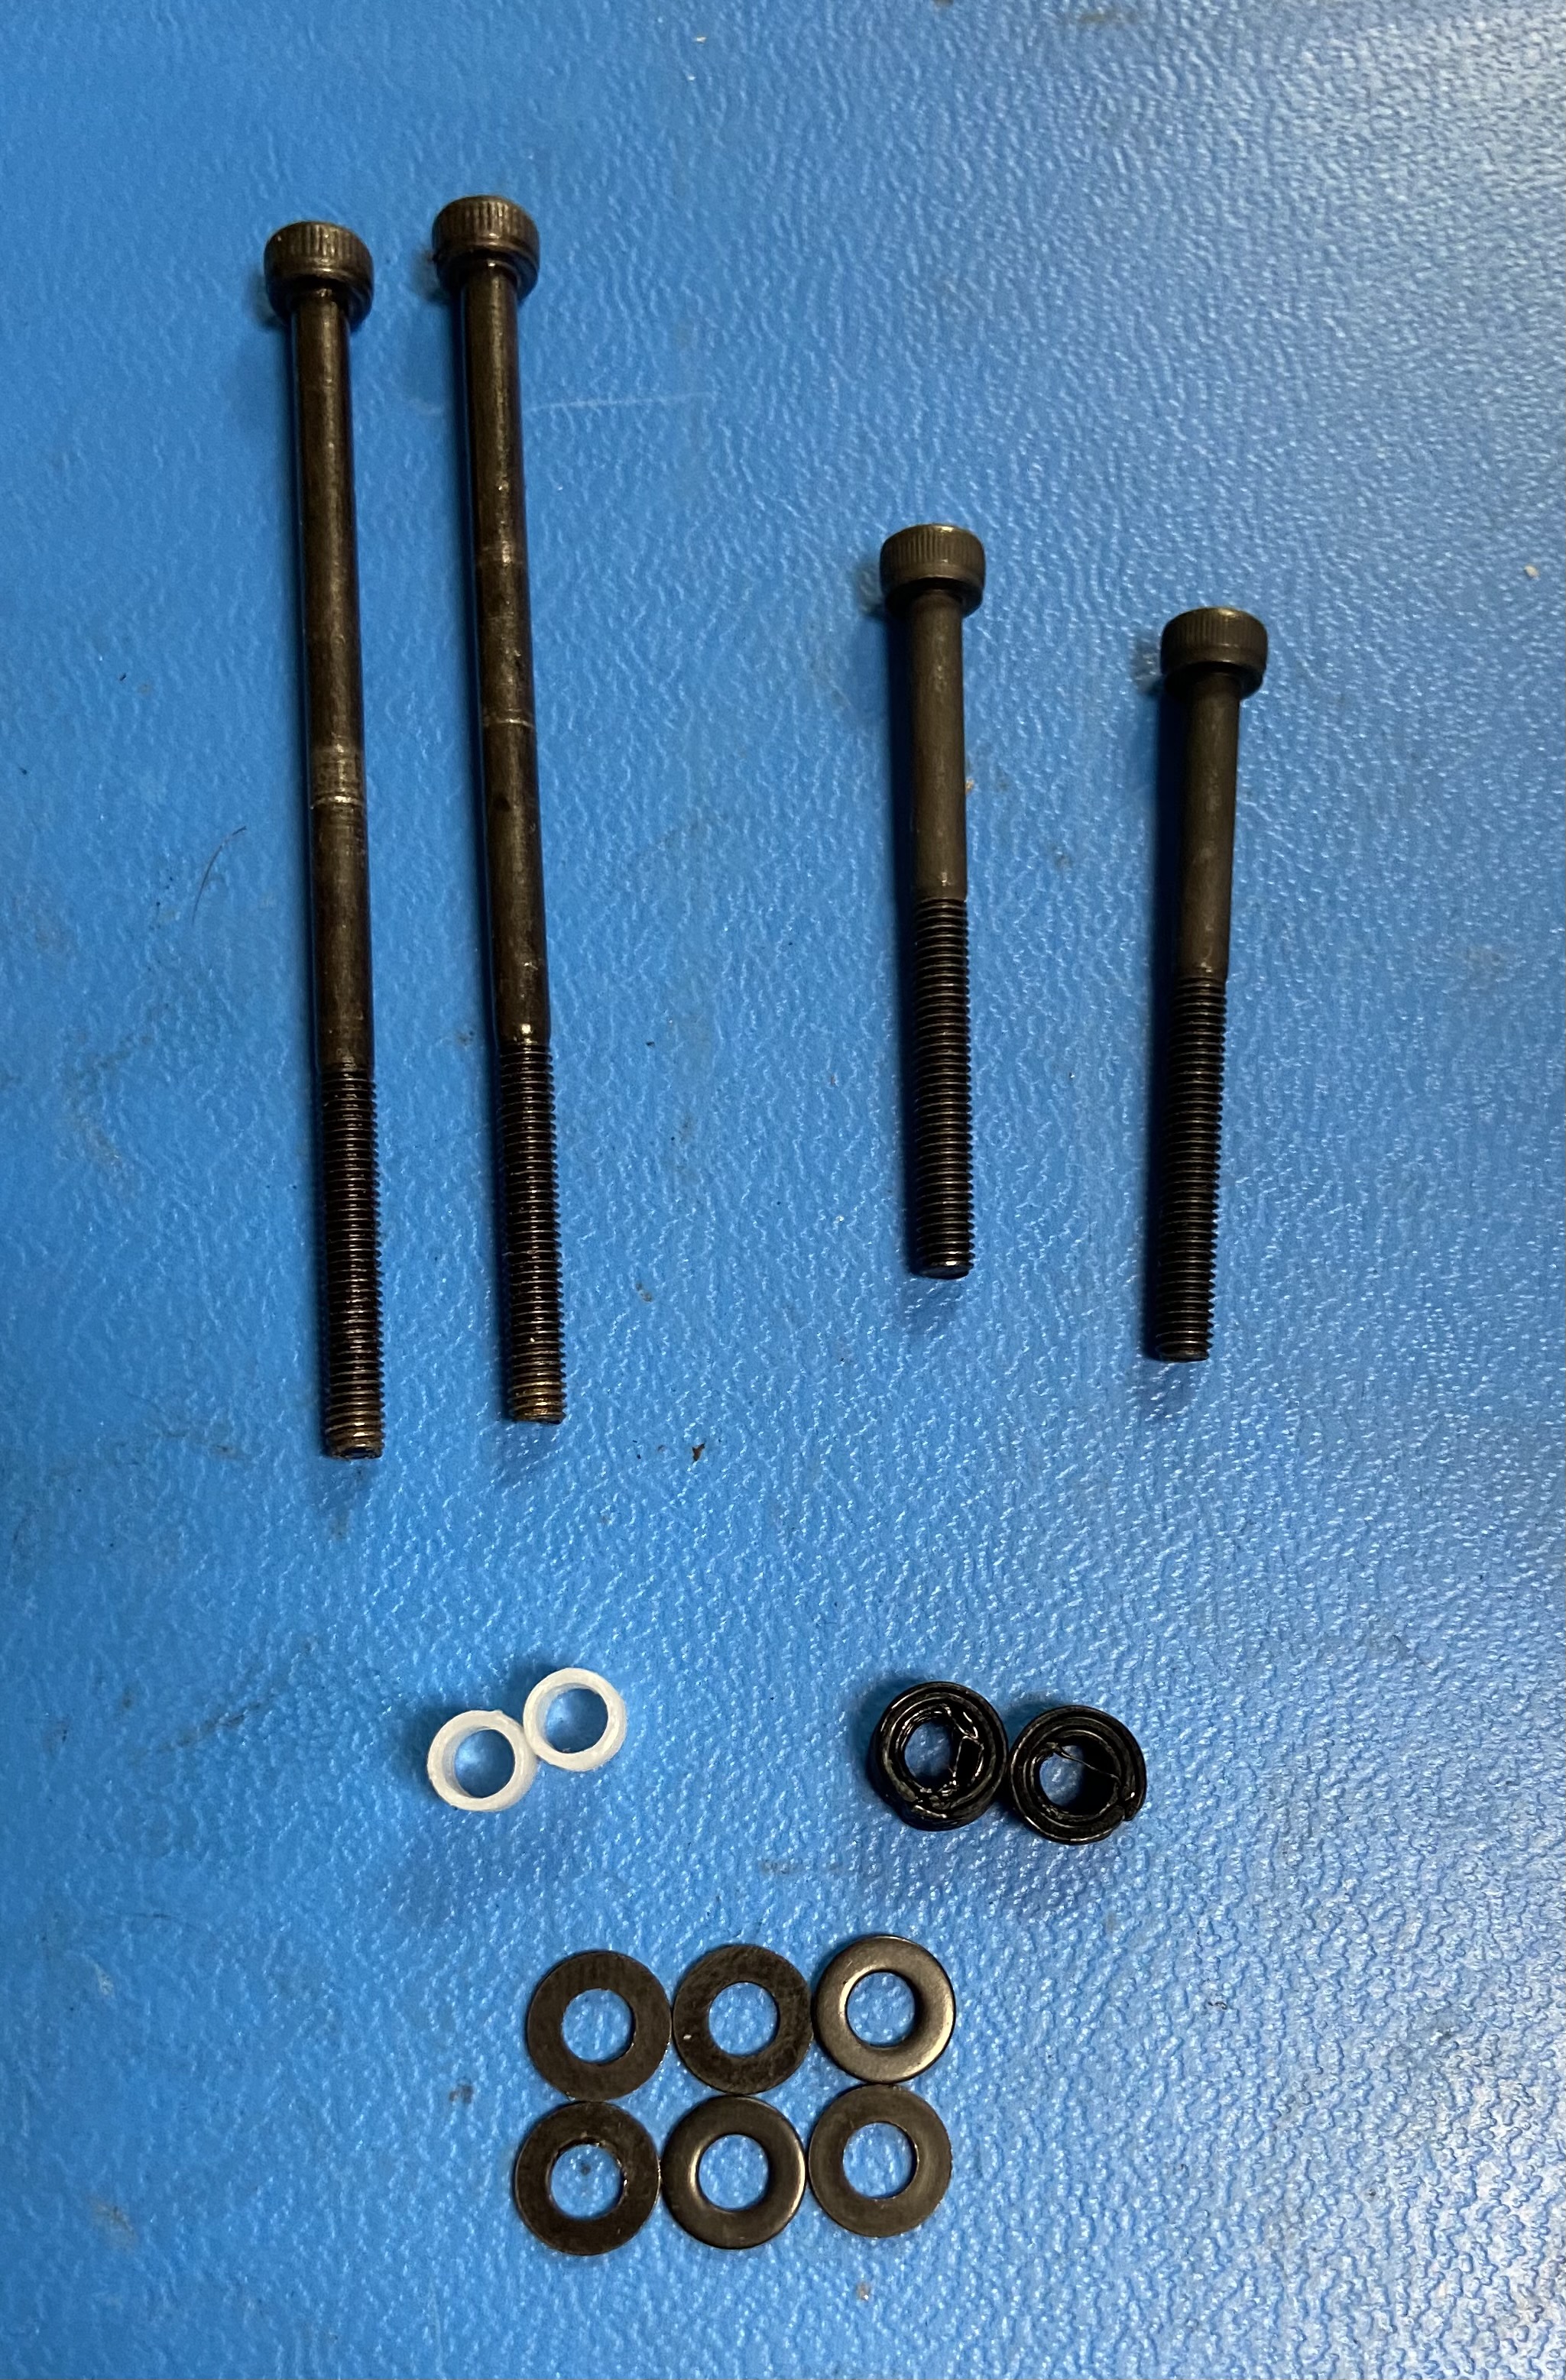
2x- [HD-BT0203] M3x60 SHCS, Black-Oxide
2x- [HD-BT0043] M3x35 SHCS, Black-Oxide
6x- [HD-WA0038] M3 Flat Washer, Black-Oxide
2x- [HD-MS0555] M3x5 Spacer
2x- [PP-GP0501] Dual v3 Fan Spacer
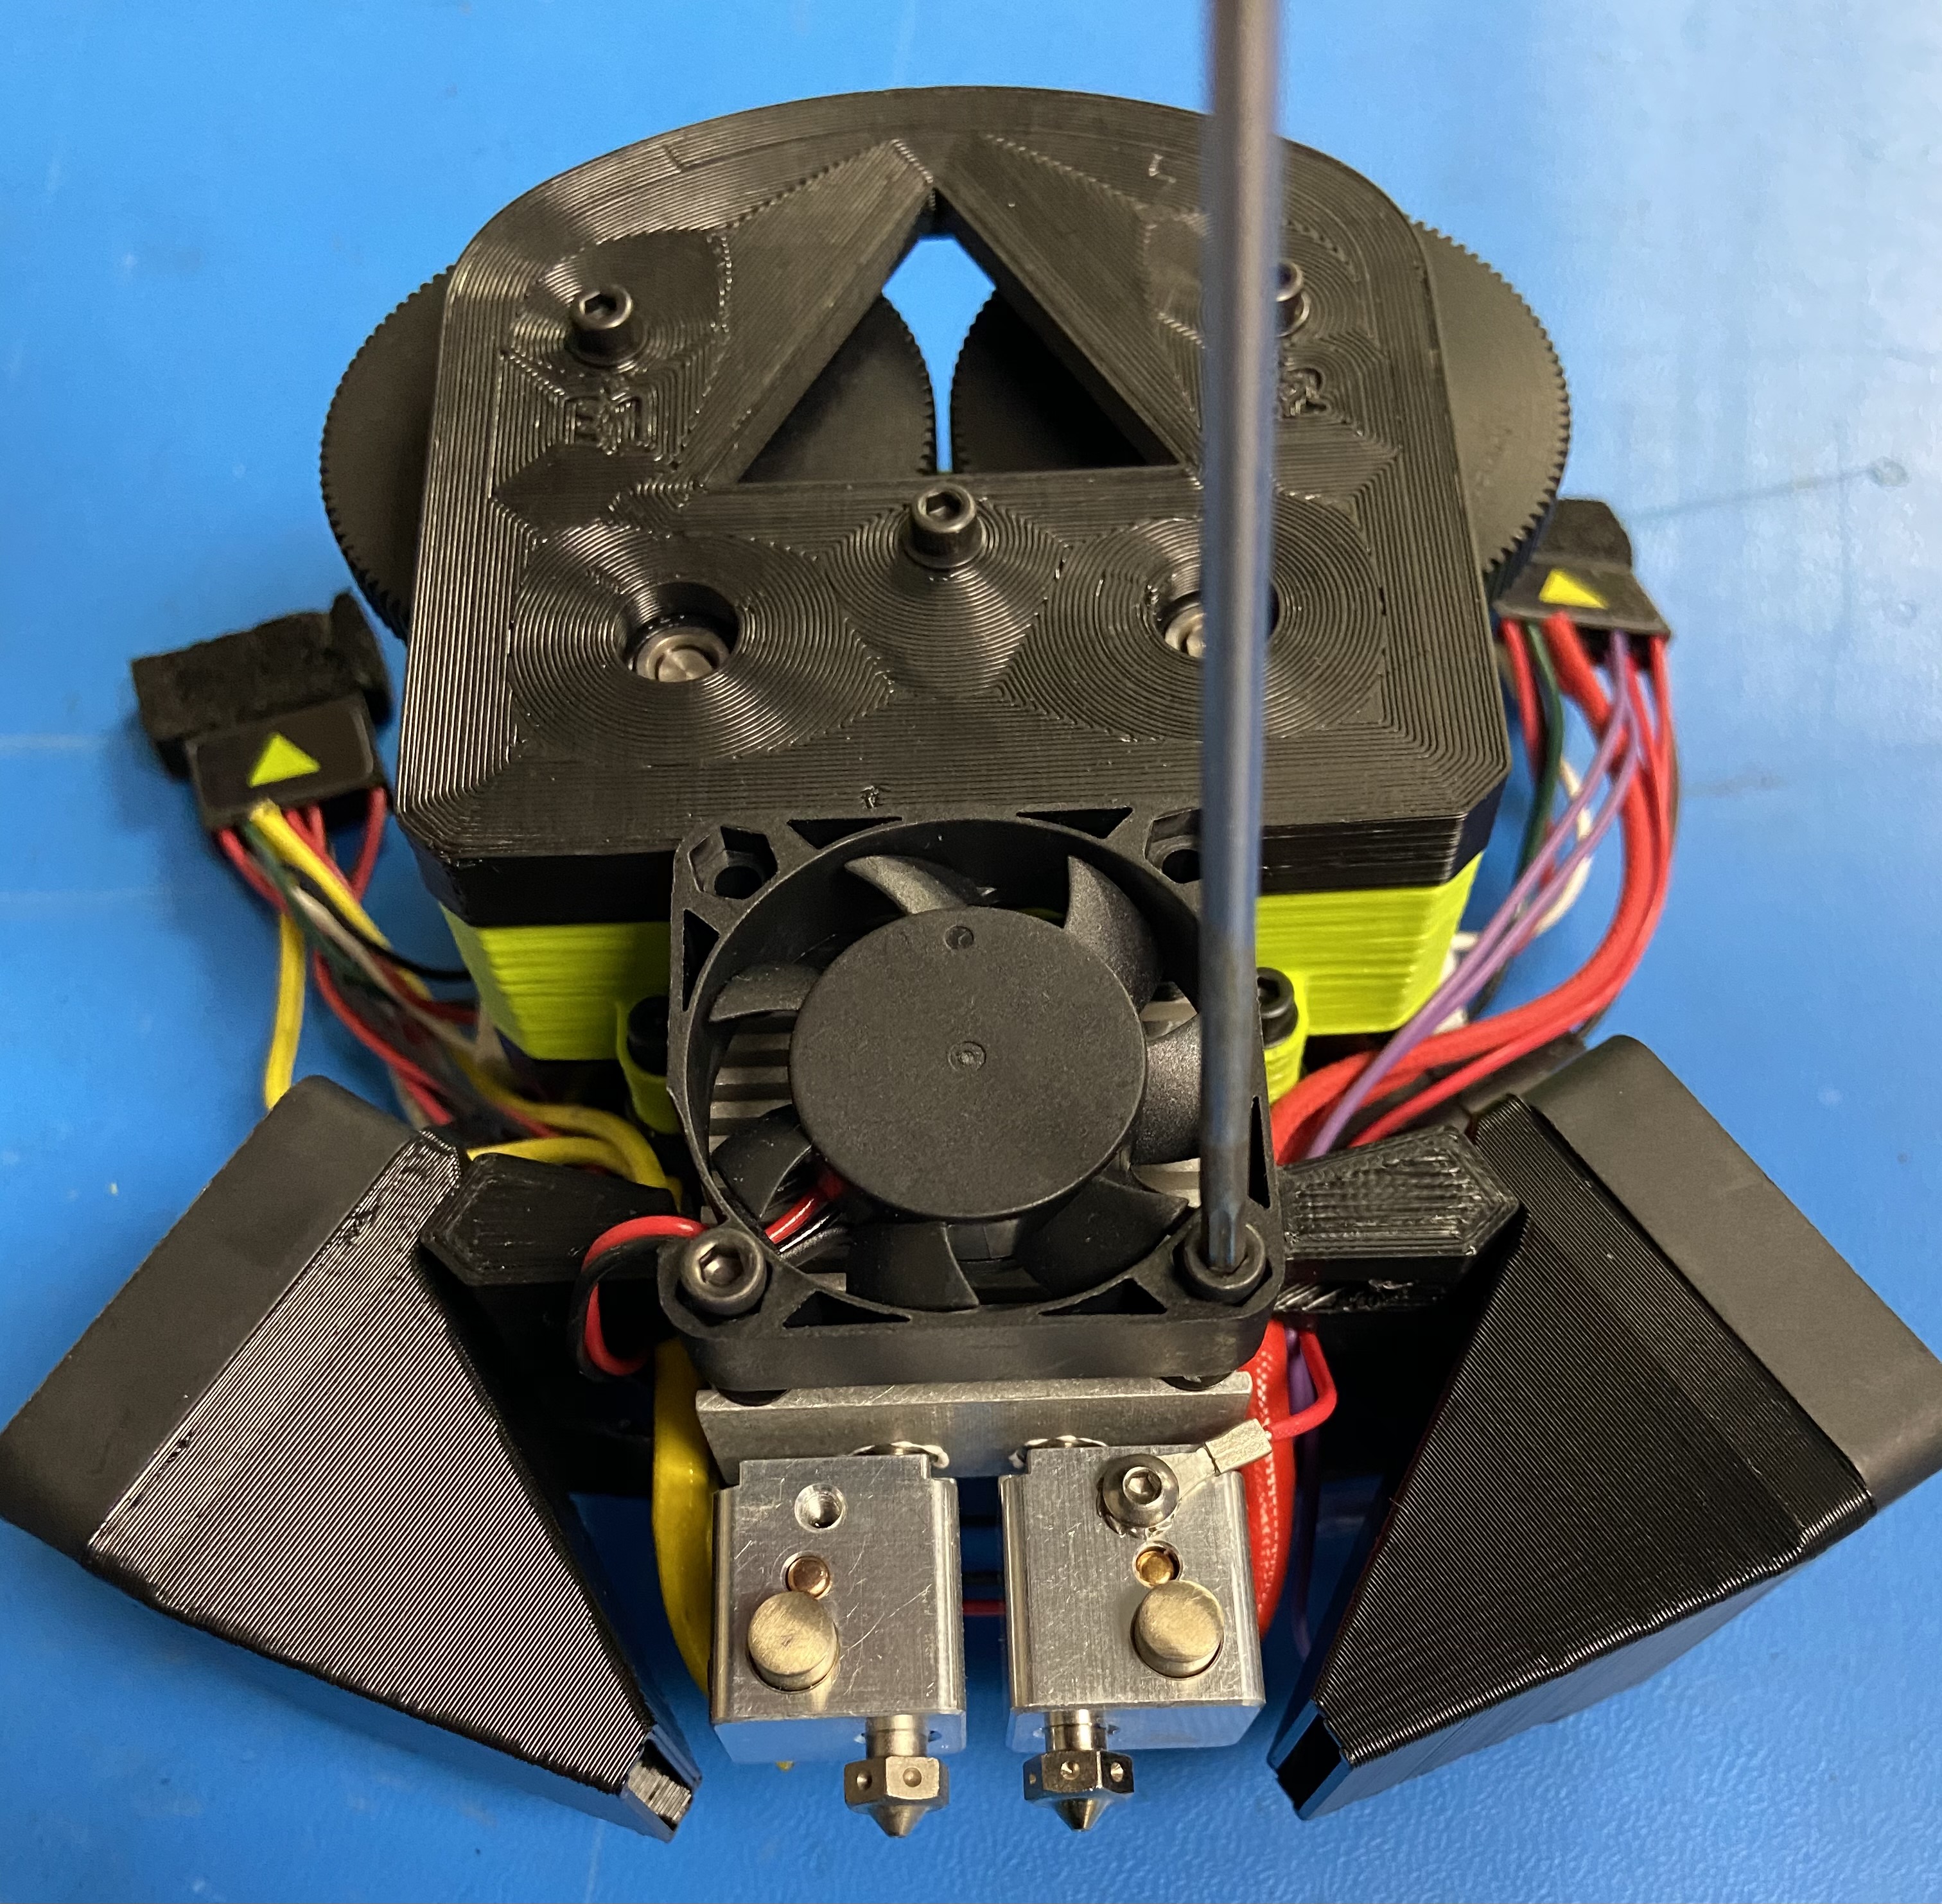
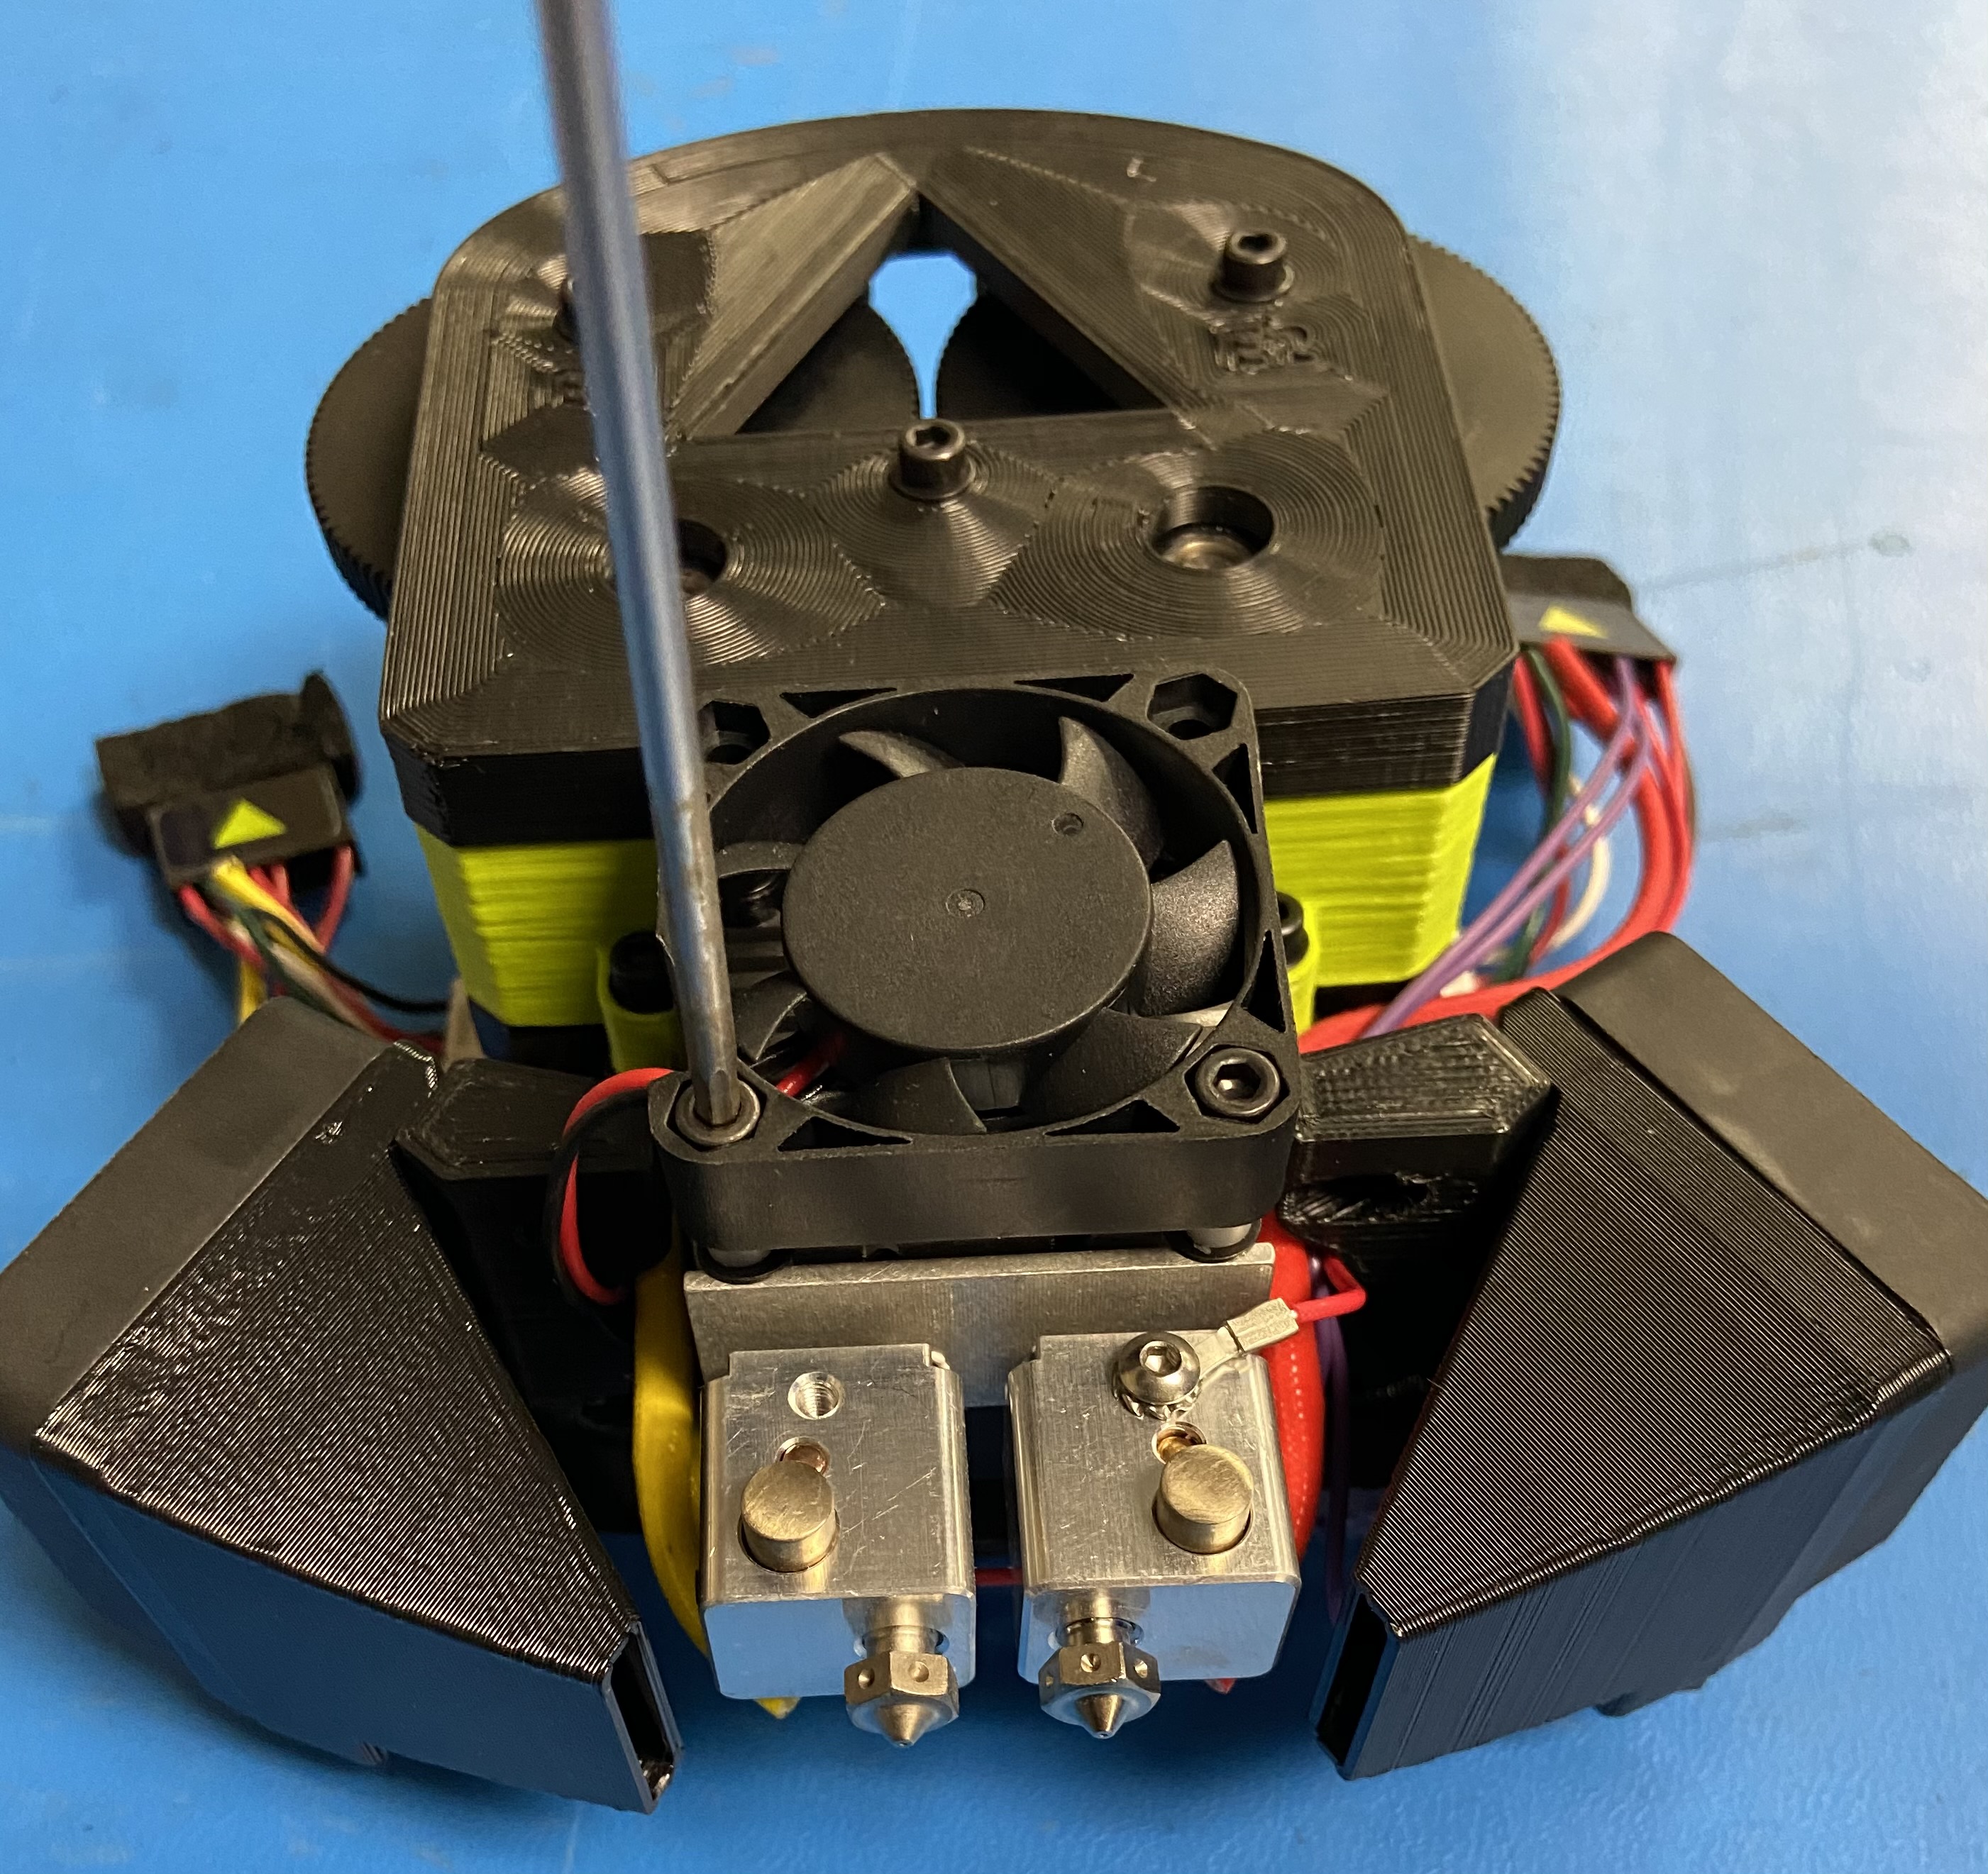
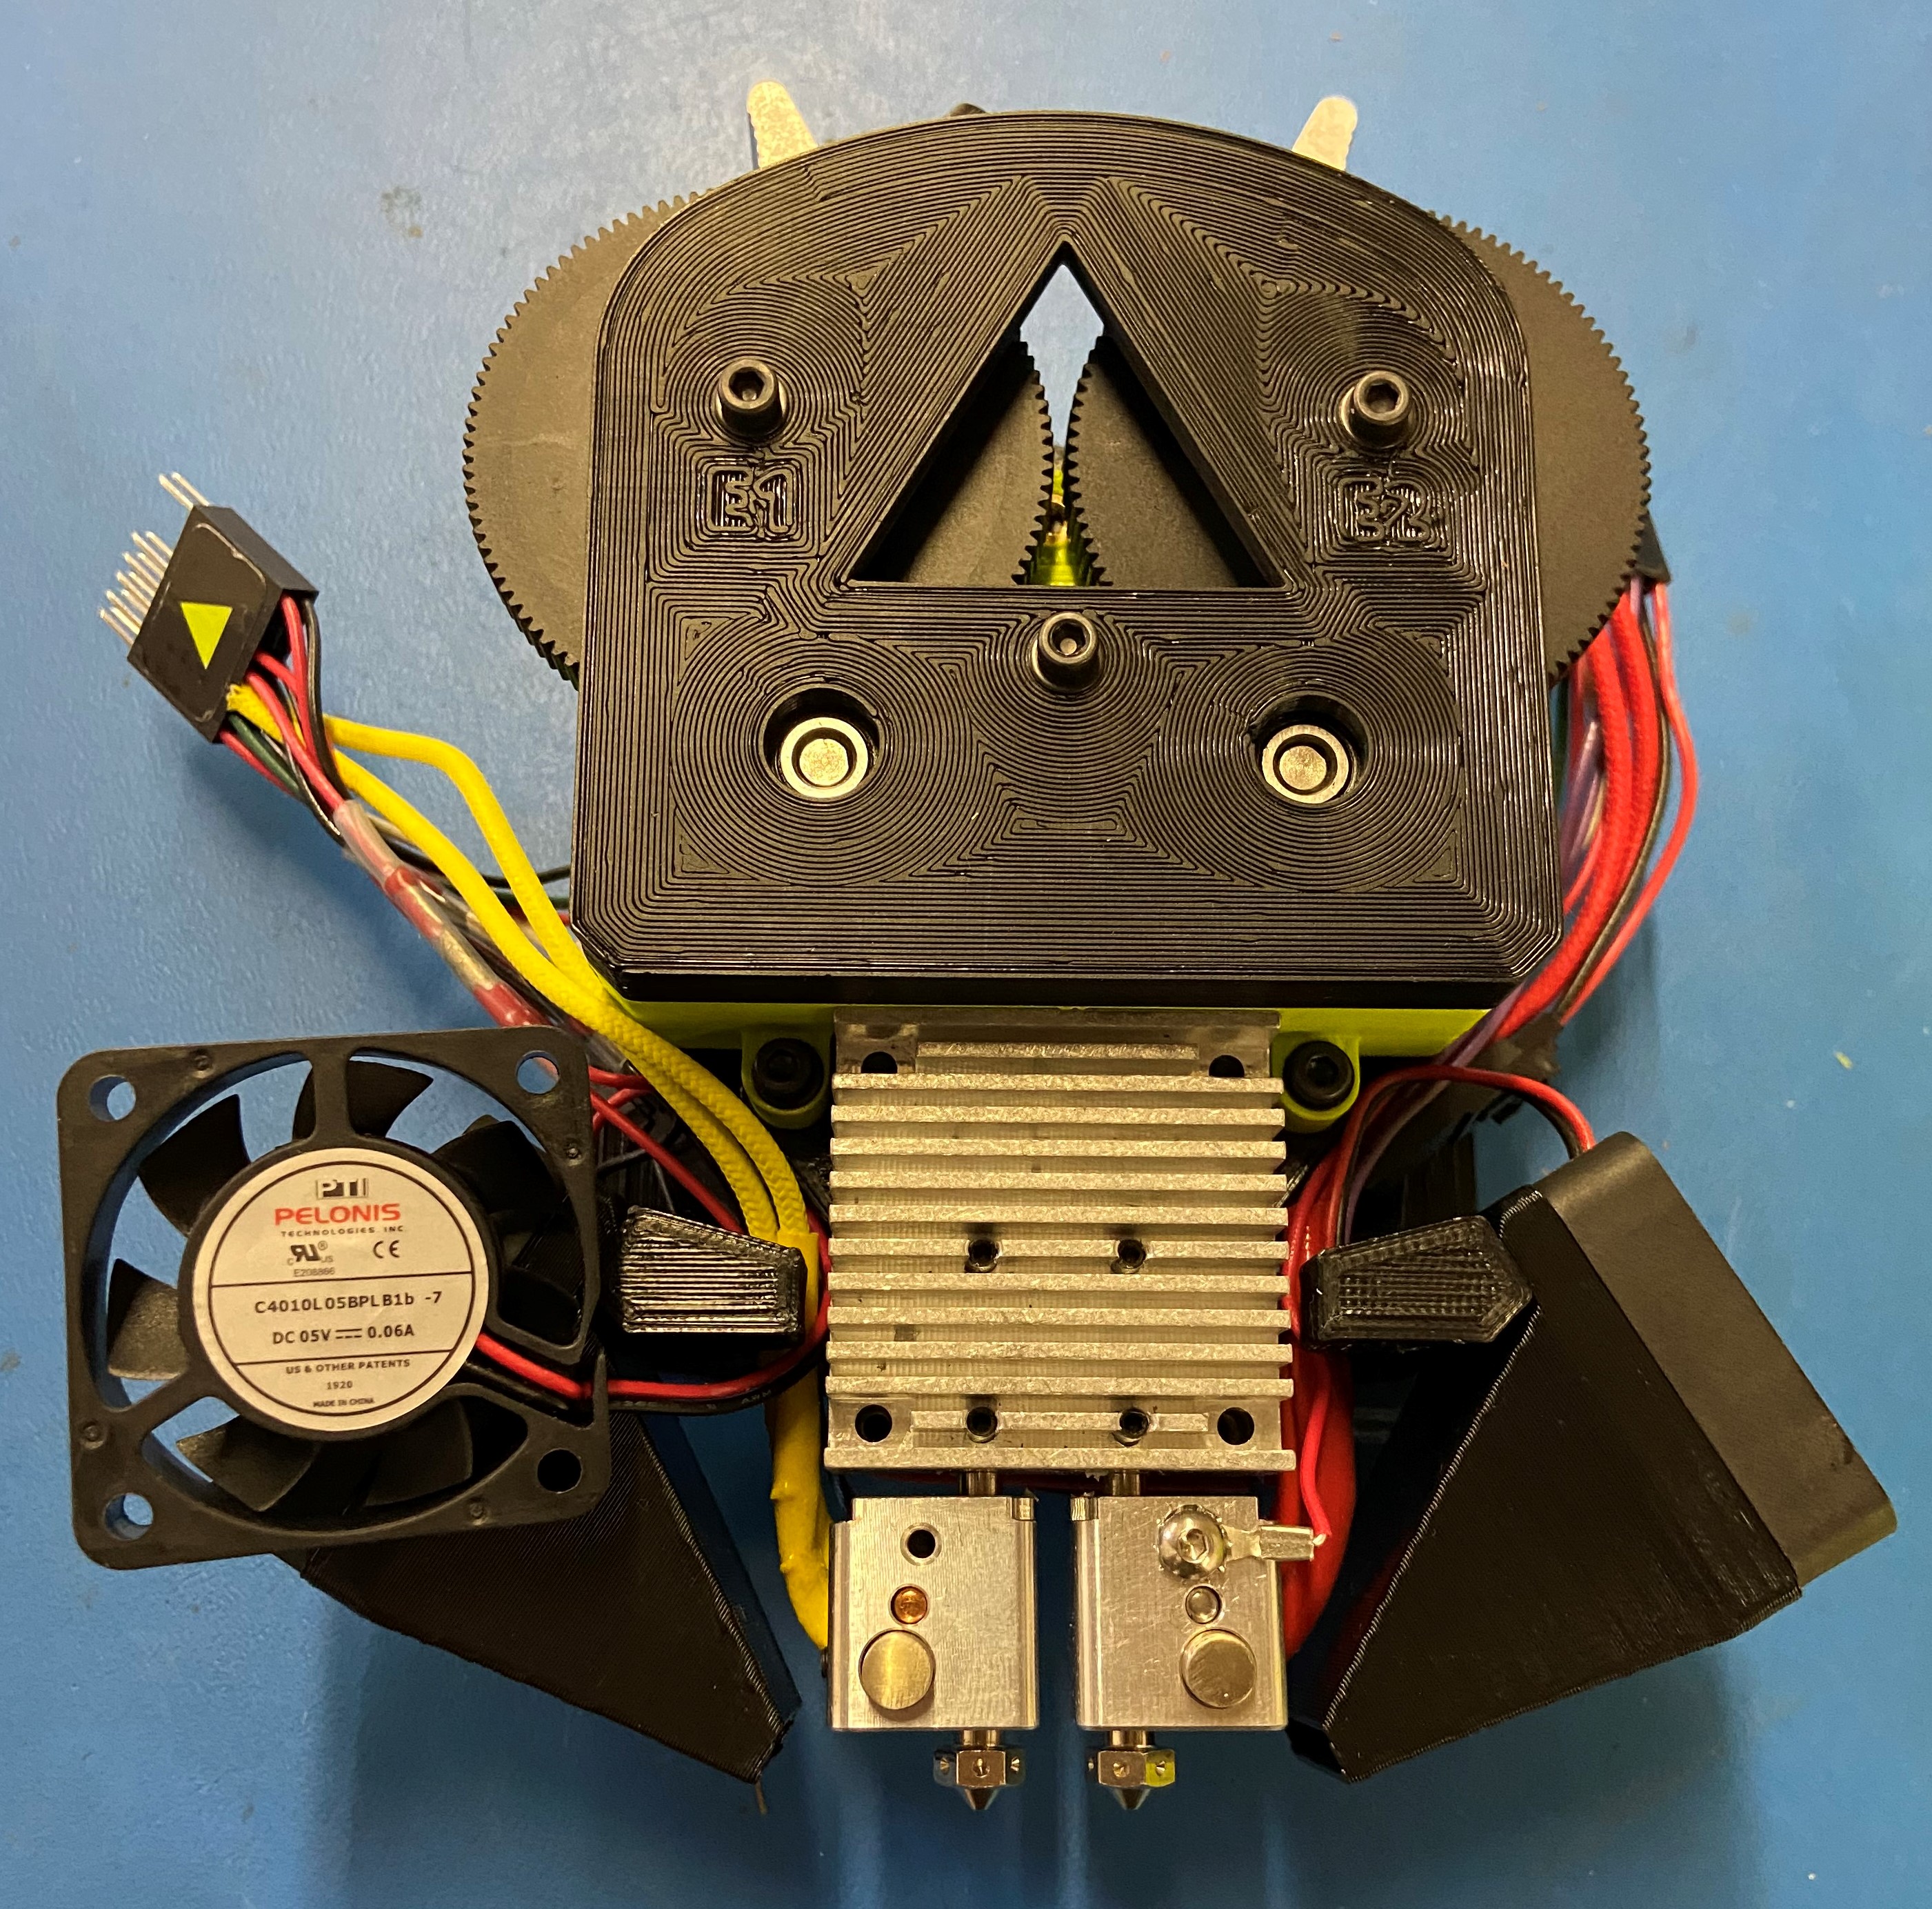
Remove the four M3x60 SHCS [HD-BT0203] screws that hold the fan onto the heatsink
Warning : Once last screw is removed the heatsink is no longer attached to the dual extruder, make sure to keep heatsink in place for the next steps
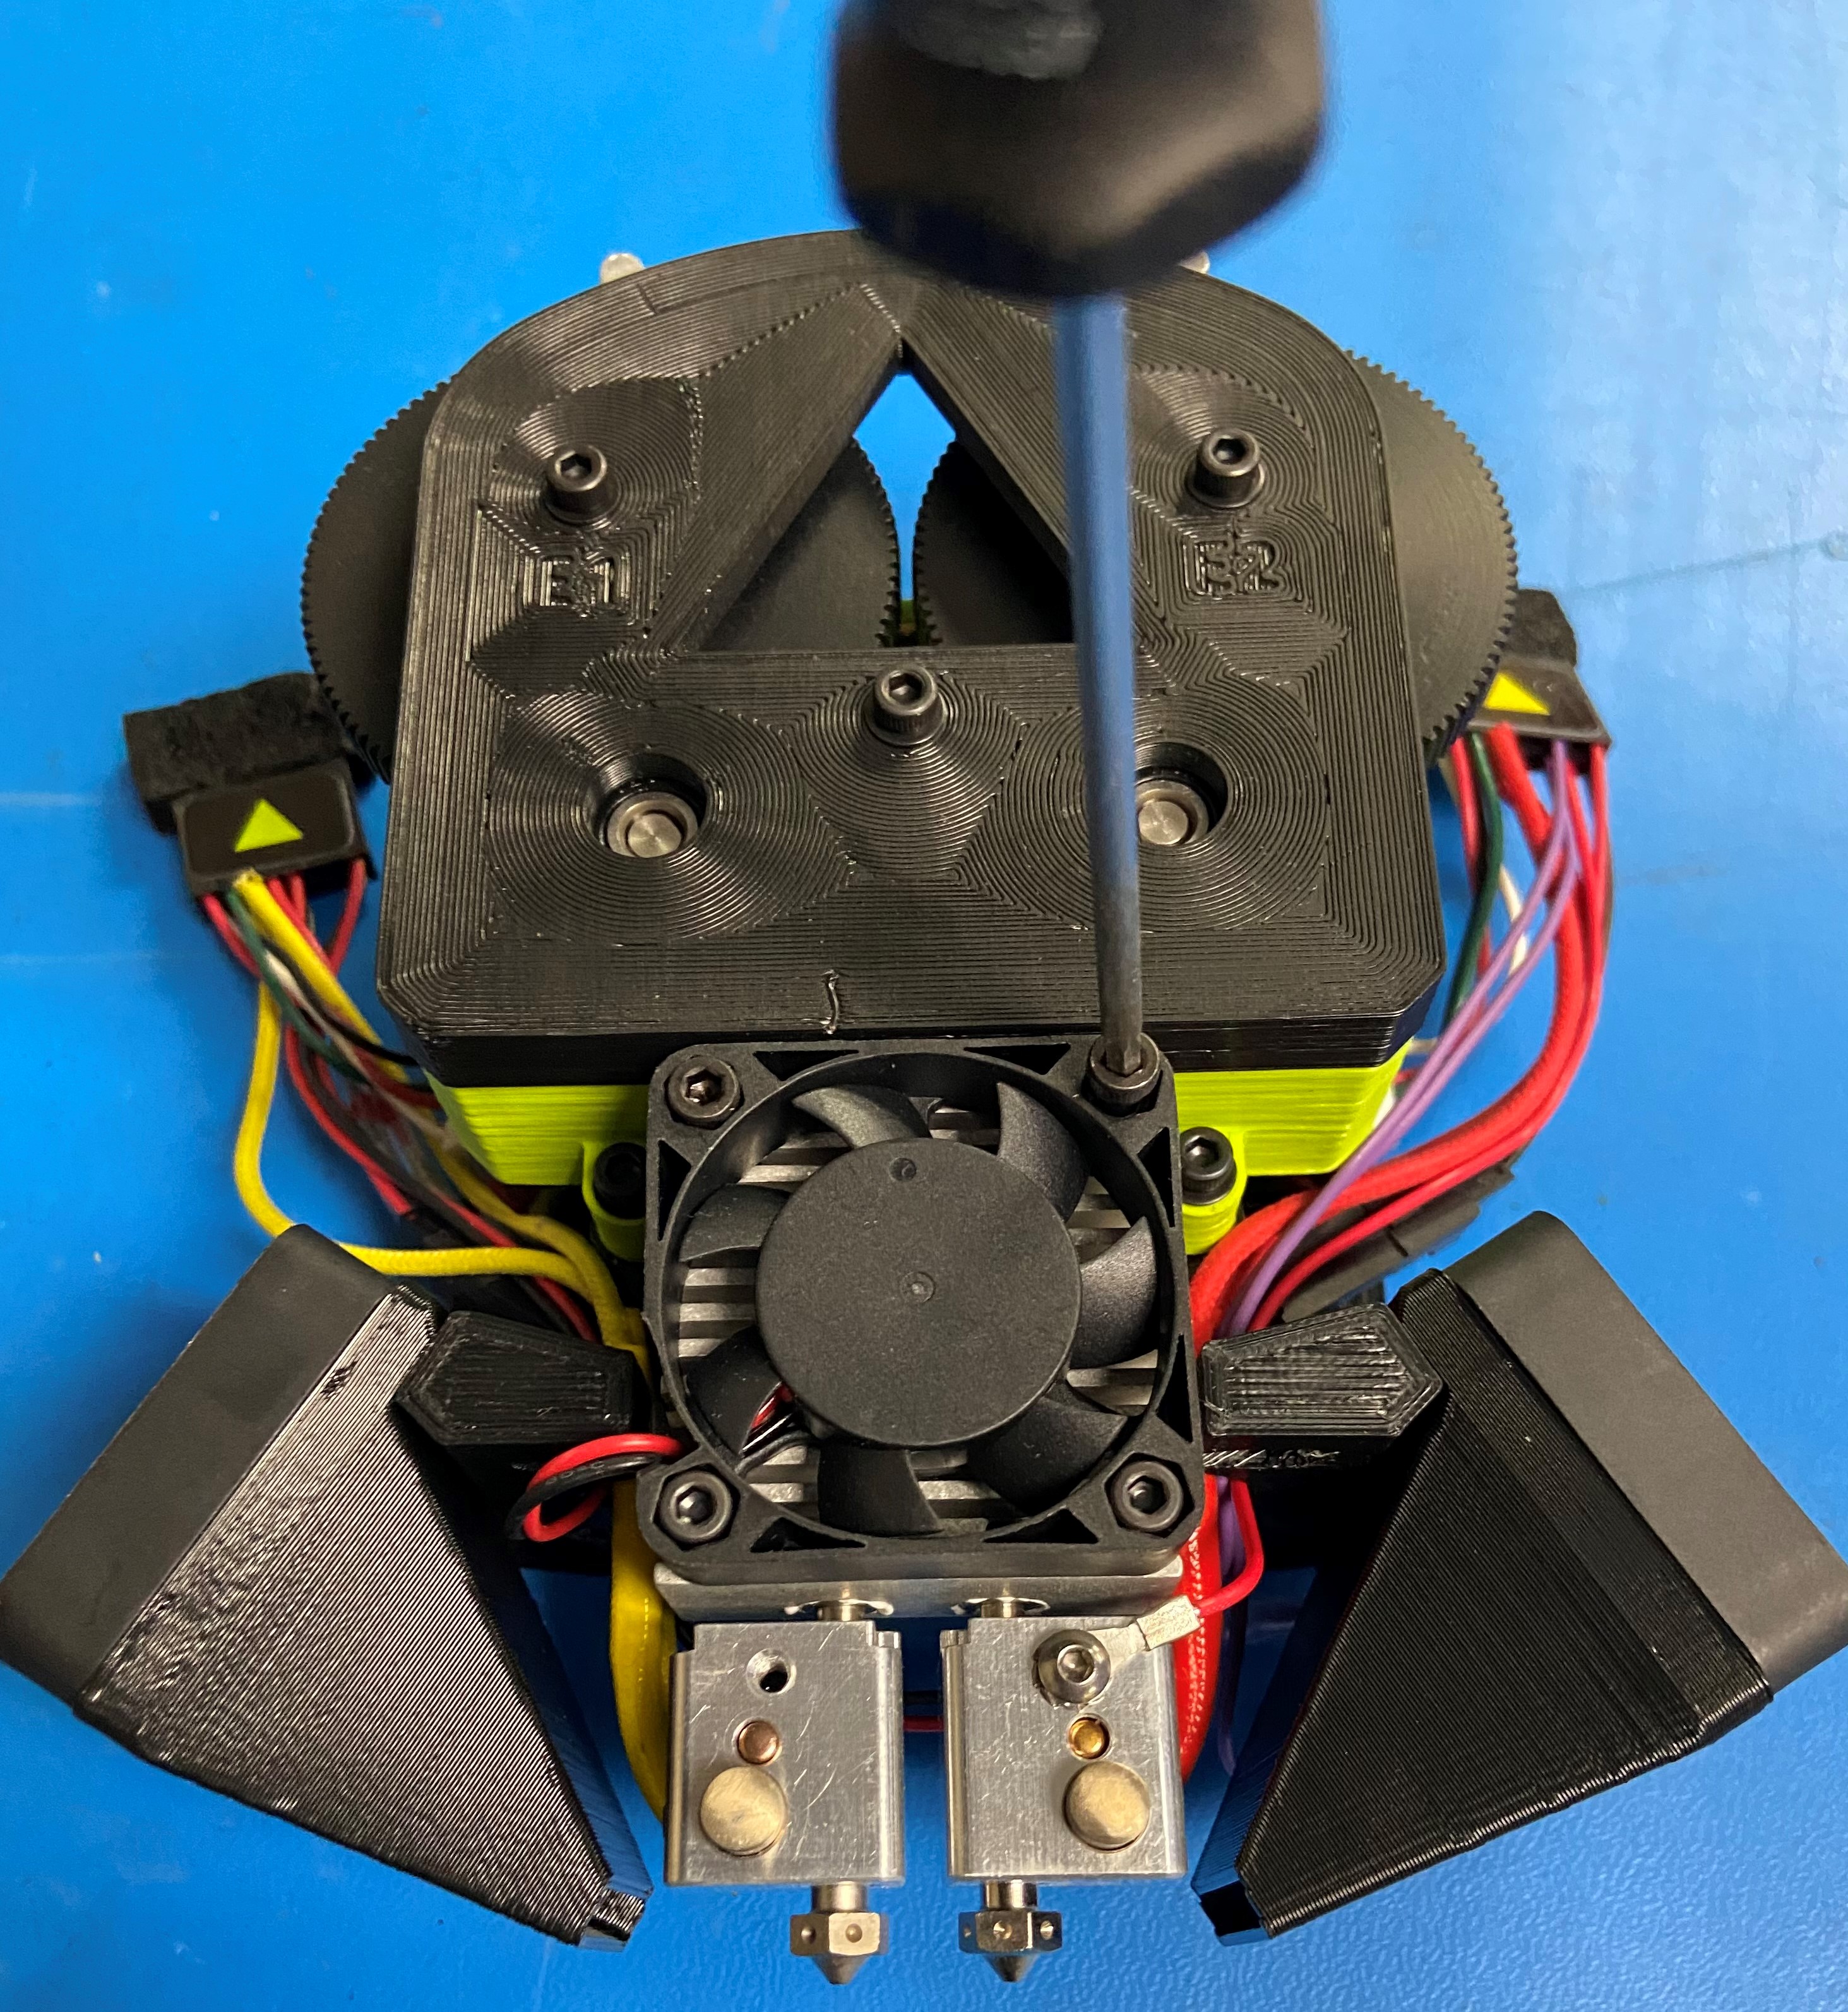
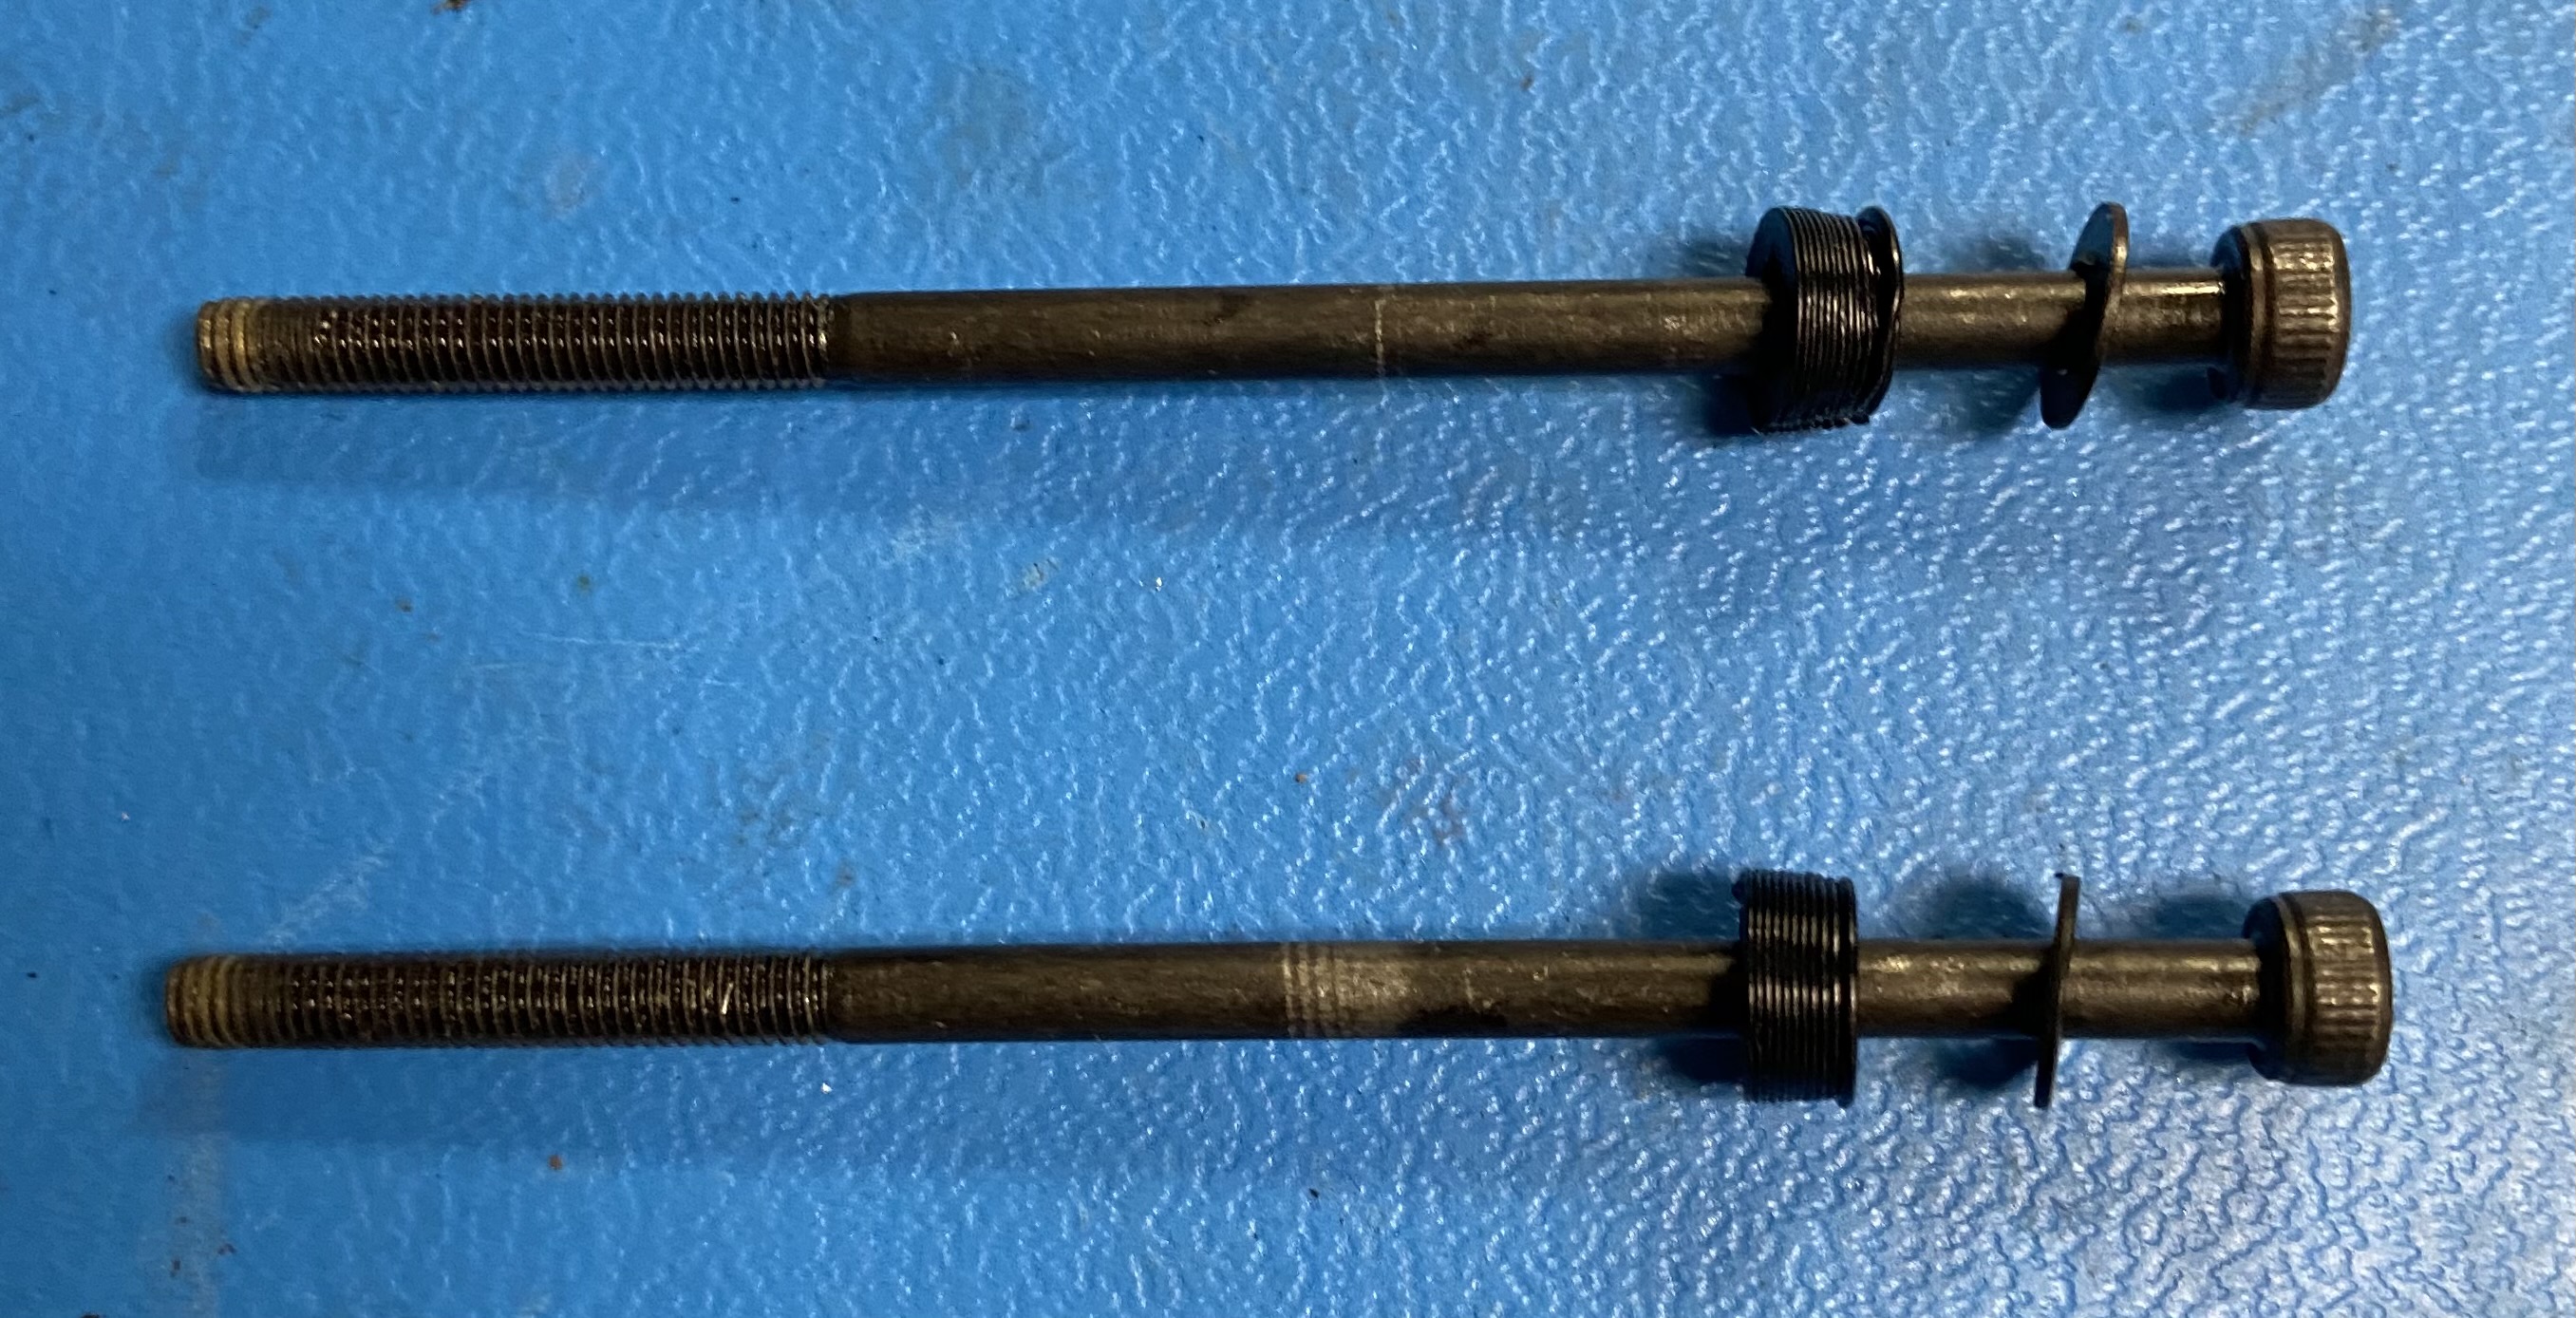
Take a M3x60 SHCS screw [HD-BT0203] and place a M3 flat washer [HD-WA0038] then a dual v3 fan Spacer [PP-GP0501] on the screw, then insert the screw in one of the top holes in the heatsink, as shown. Repeat for the other top hole.
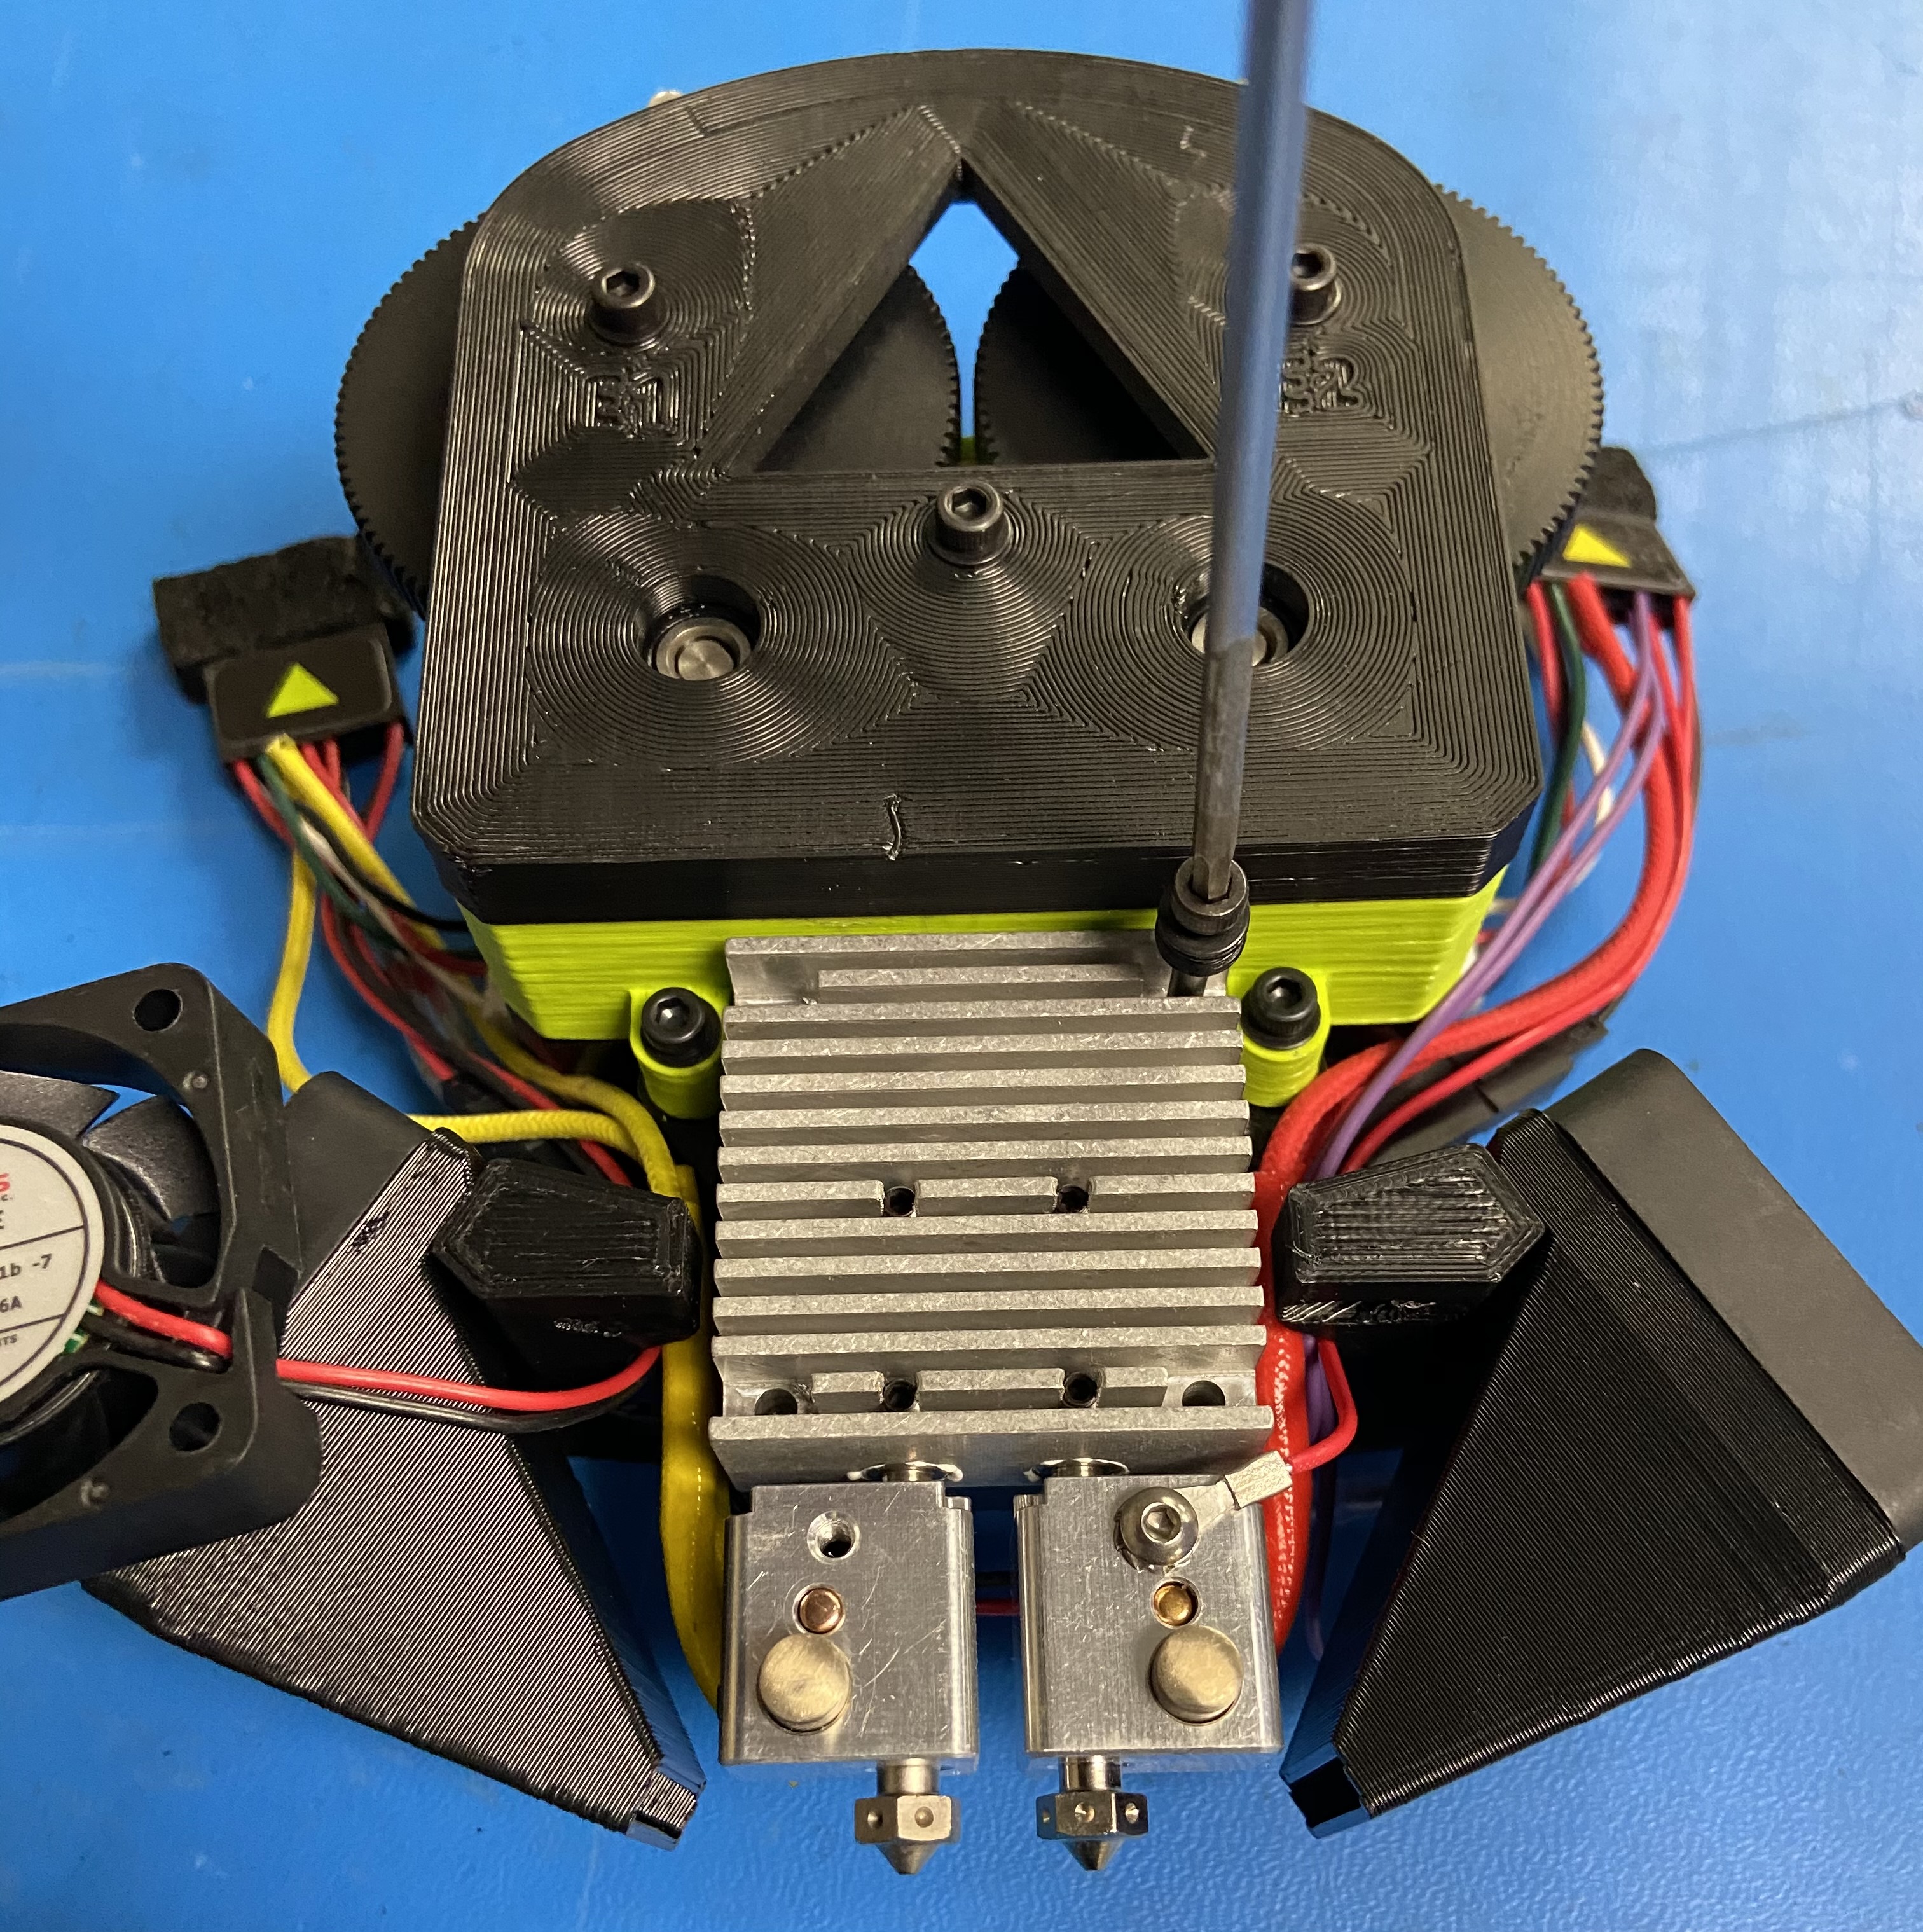
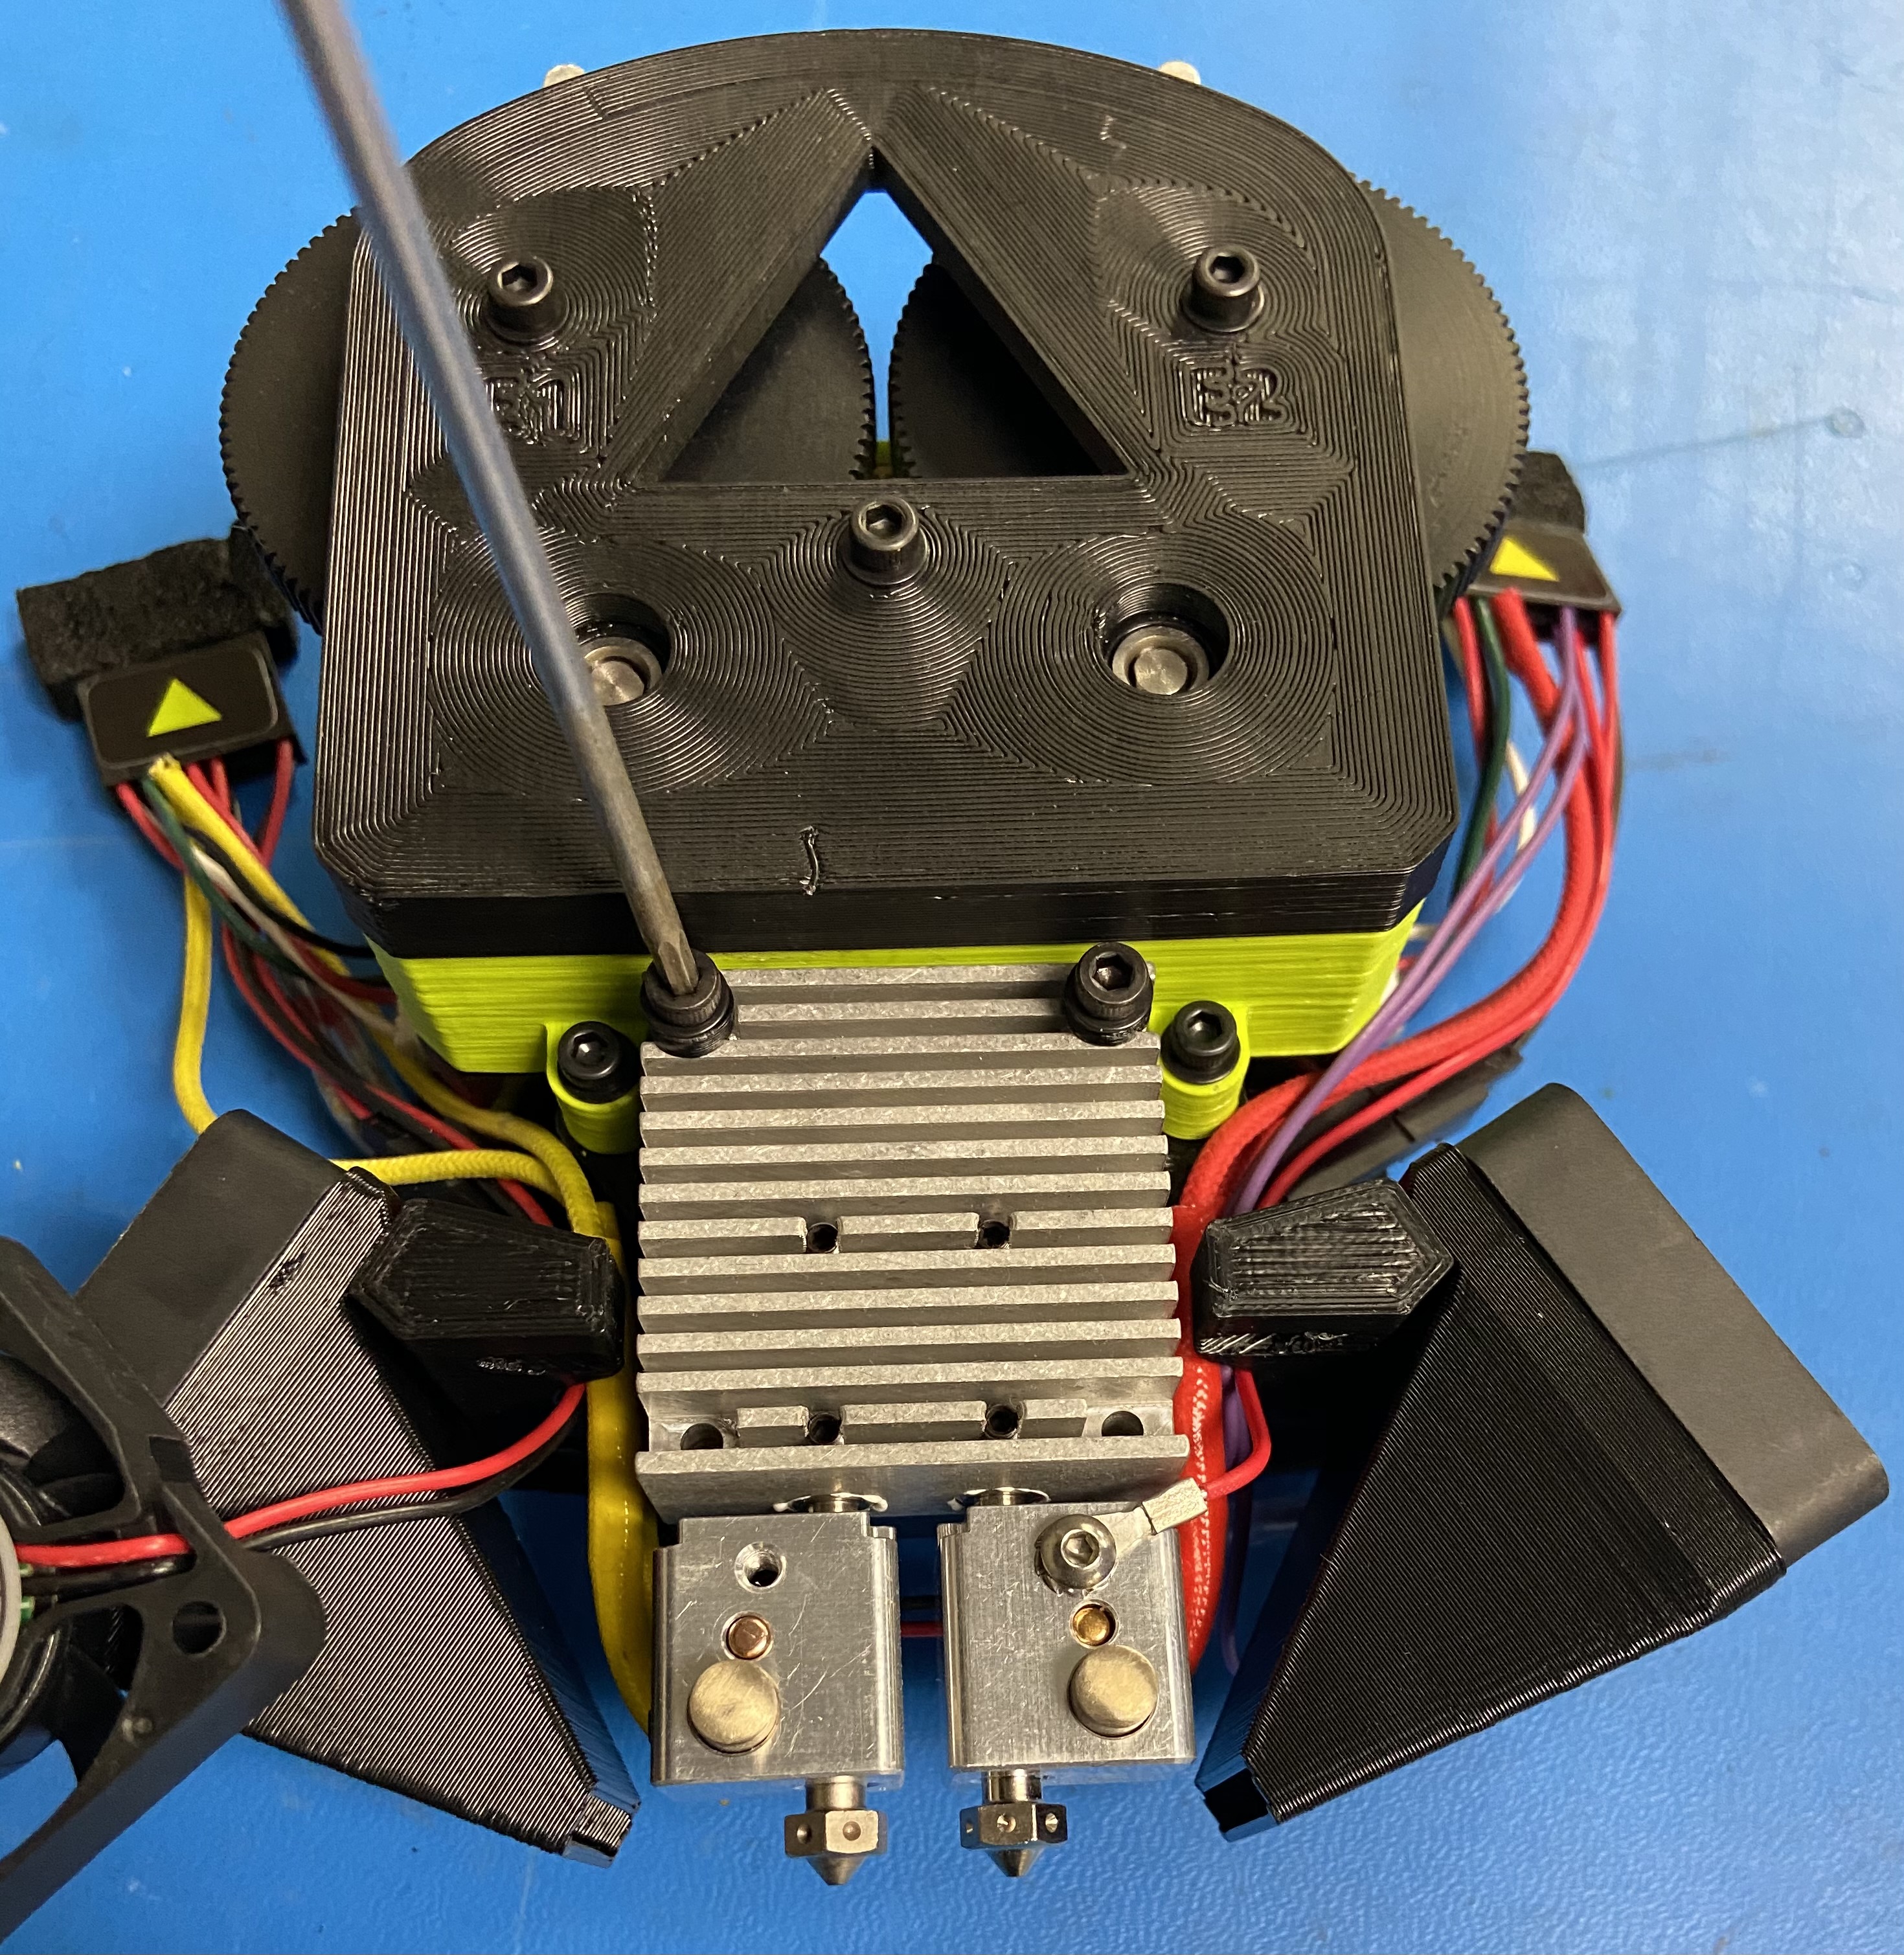
Once screws are fastened flip the extruder head over and check if screws protrude the mounting plate, if so then loosen the screws till they are at least flush the mounting plate, as shown.
Take the two M3x35 SHCS screws [HD-BT0043] and place them through the two bottom holes on the heatsink fan, once they are through the fan you can slide a M3 flat washer [HD-WA0038] then a M3x5 Spacer [HD-MS0555] followed by one more M3 flat washer [HD-WA0038] on the screw, as shown. Repeat for the other screw.
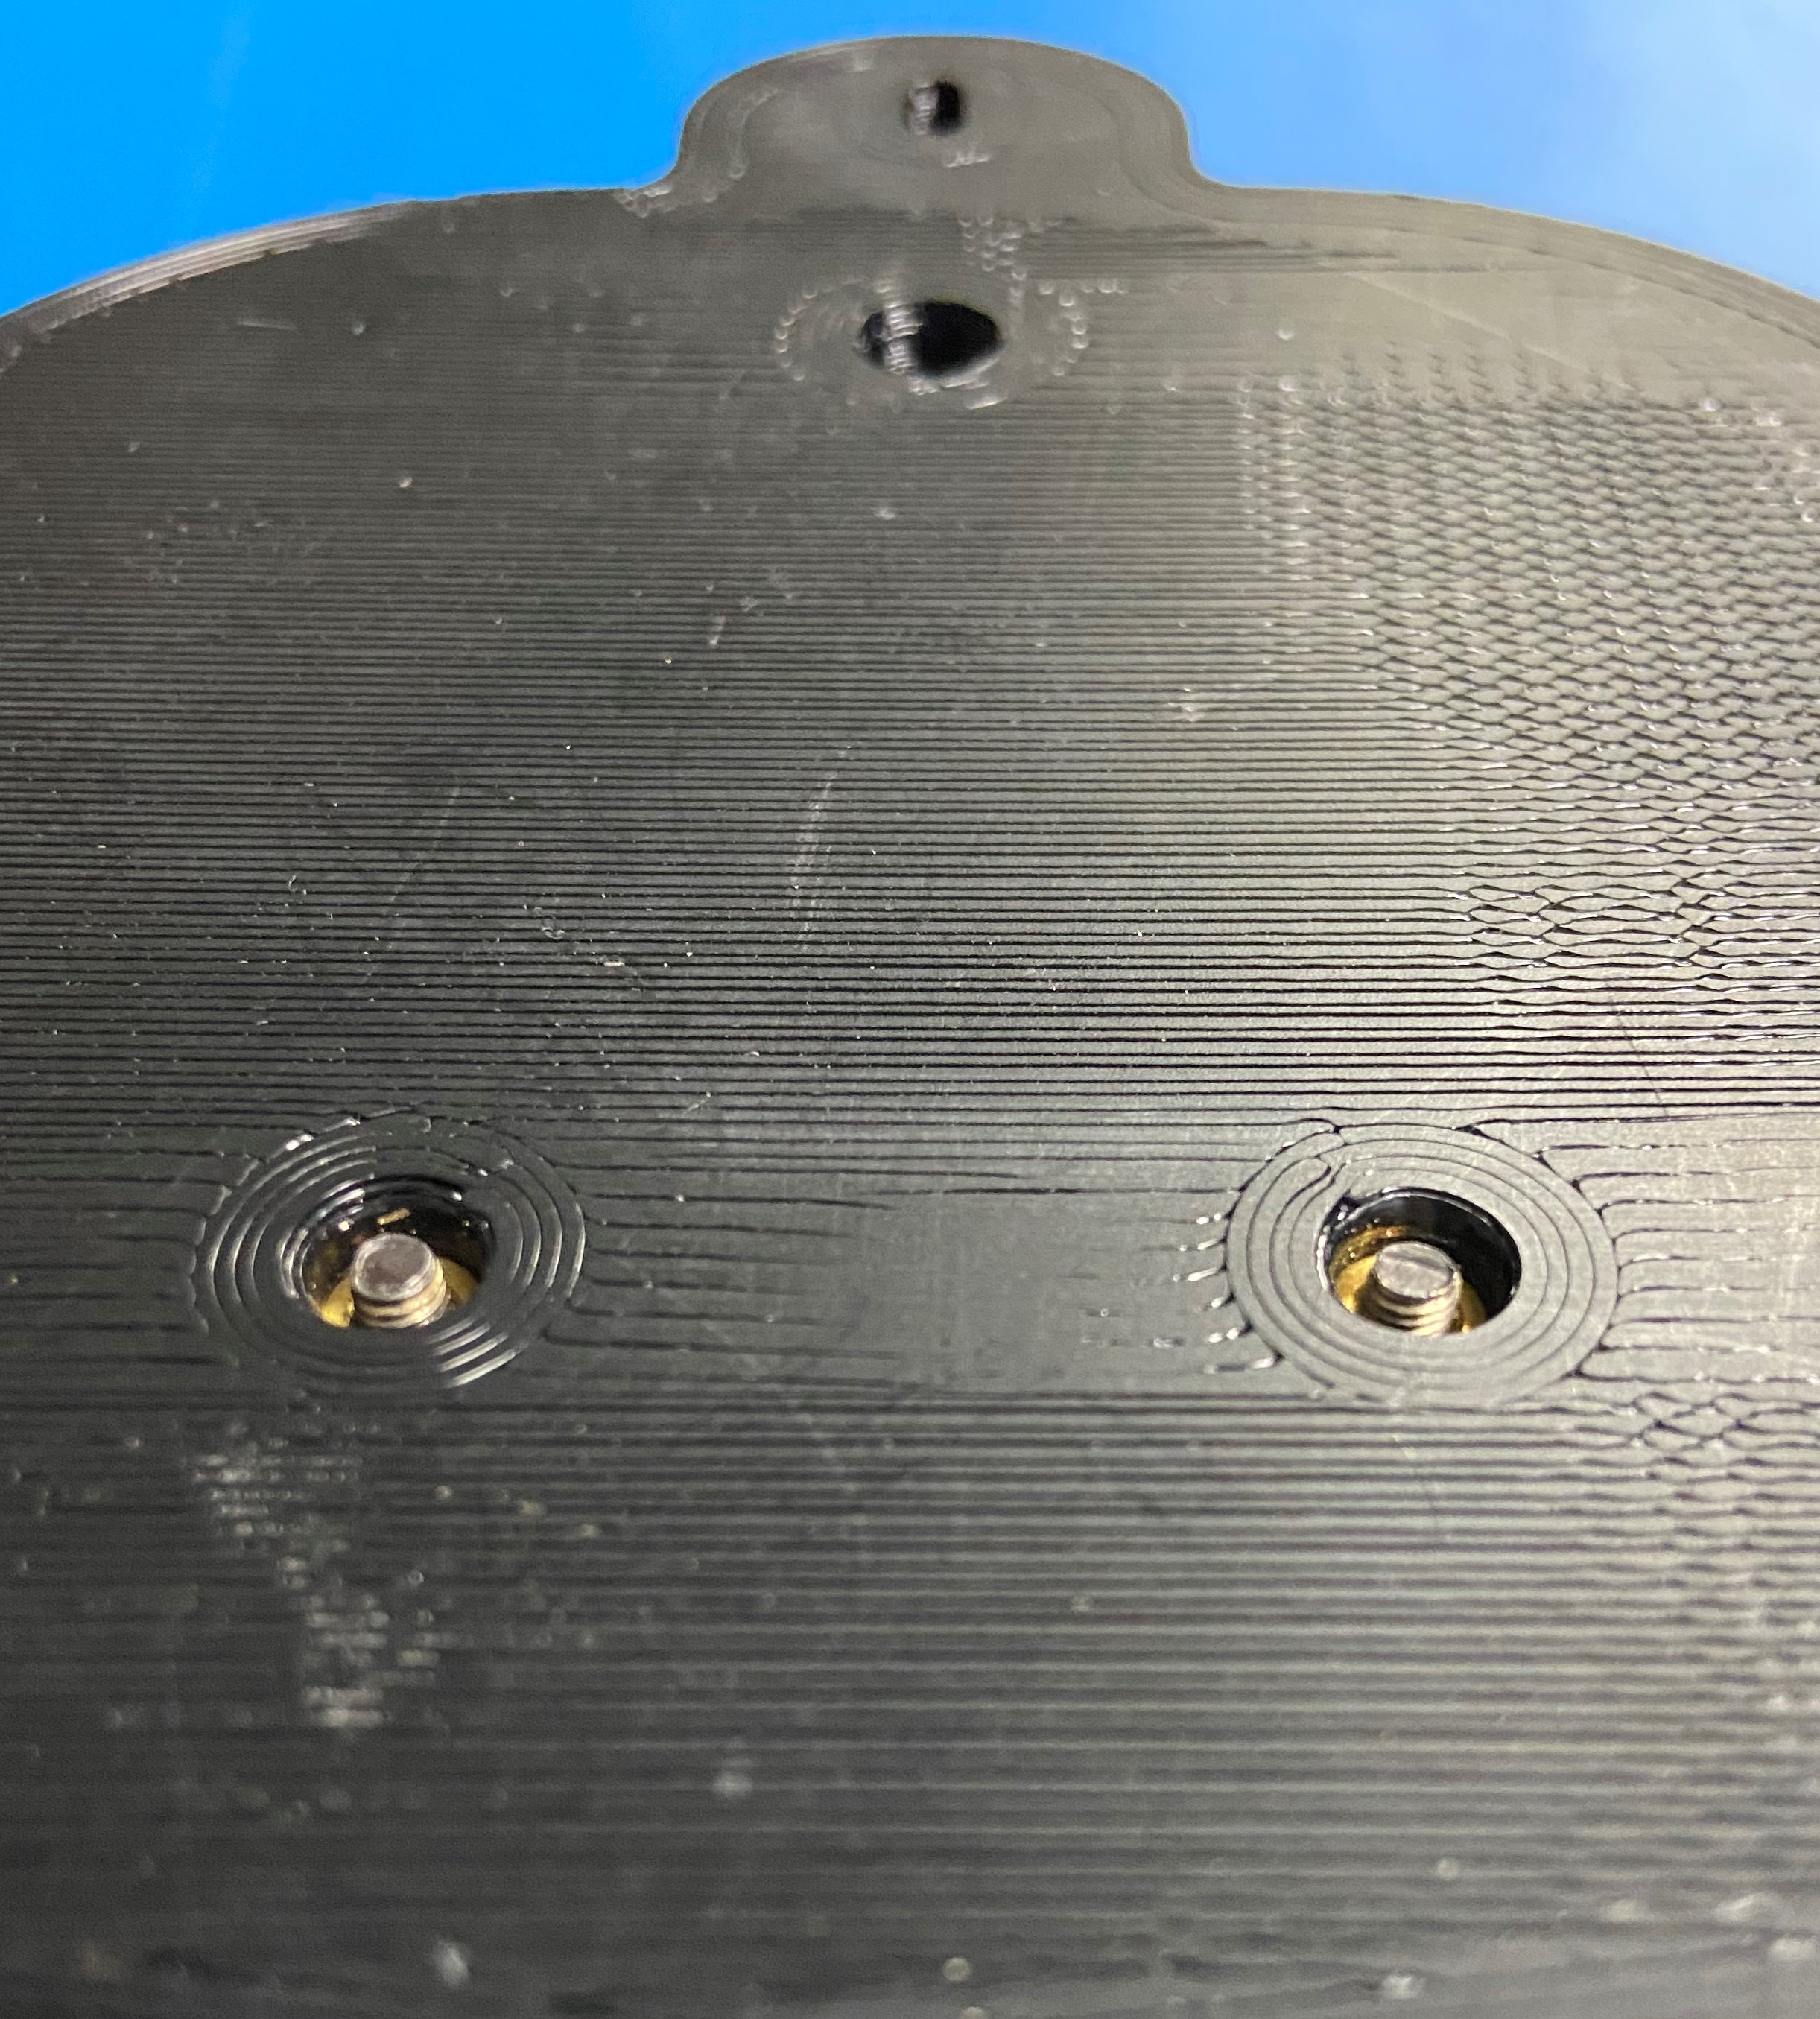
Fasten the fan to the heatsink, as shown.
Make sure screws are firmly holding the fan and heatsink in place, but do not over tighten the screws