Open HardwareAssembly Instructions
Guides for installation and assembly of the LulzBot line of products made by FAME 3D LLC.
Guides for installation and assembly of the LulzBot line of products made by FAME 3D LLC.
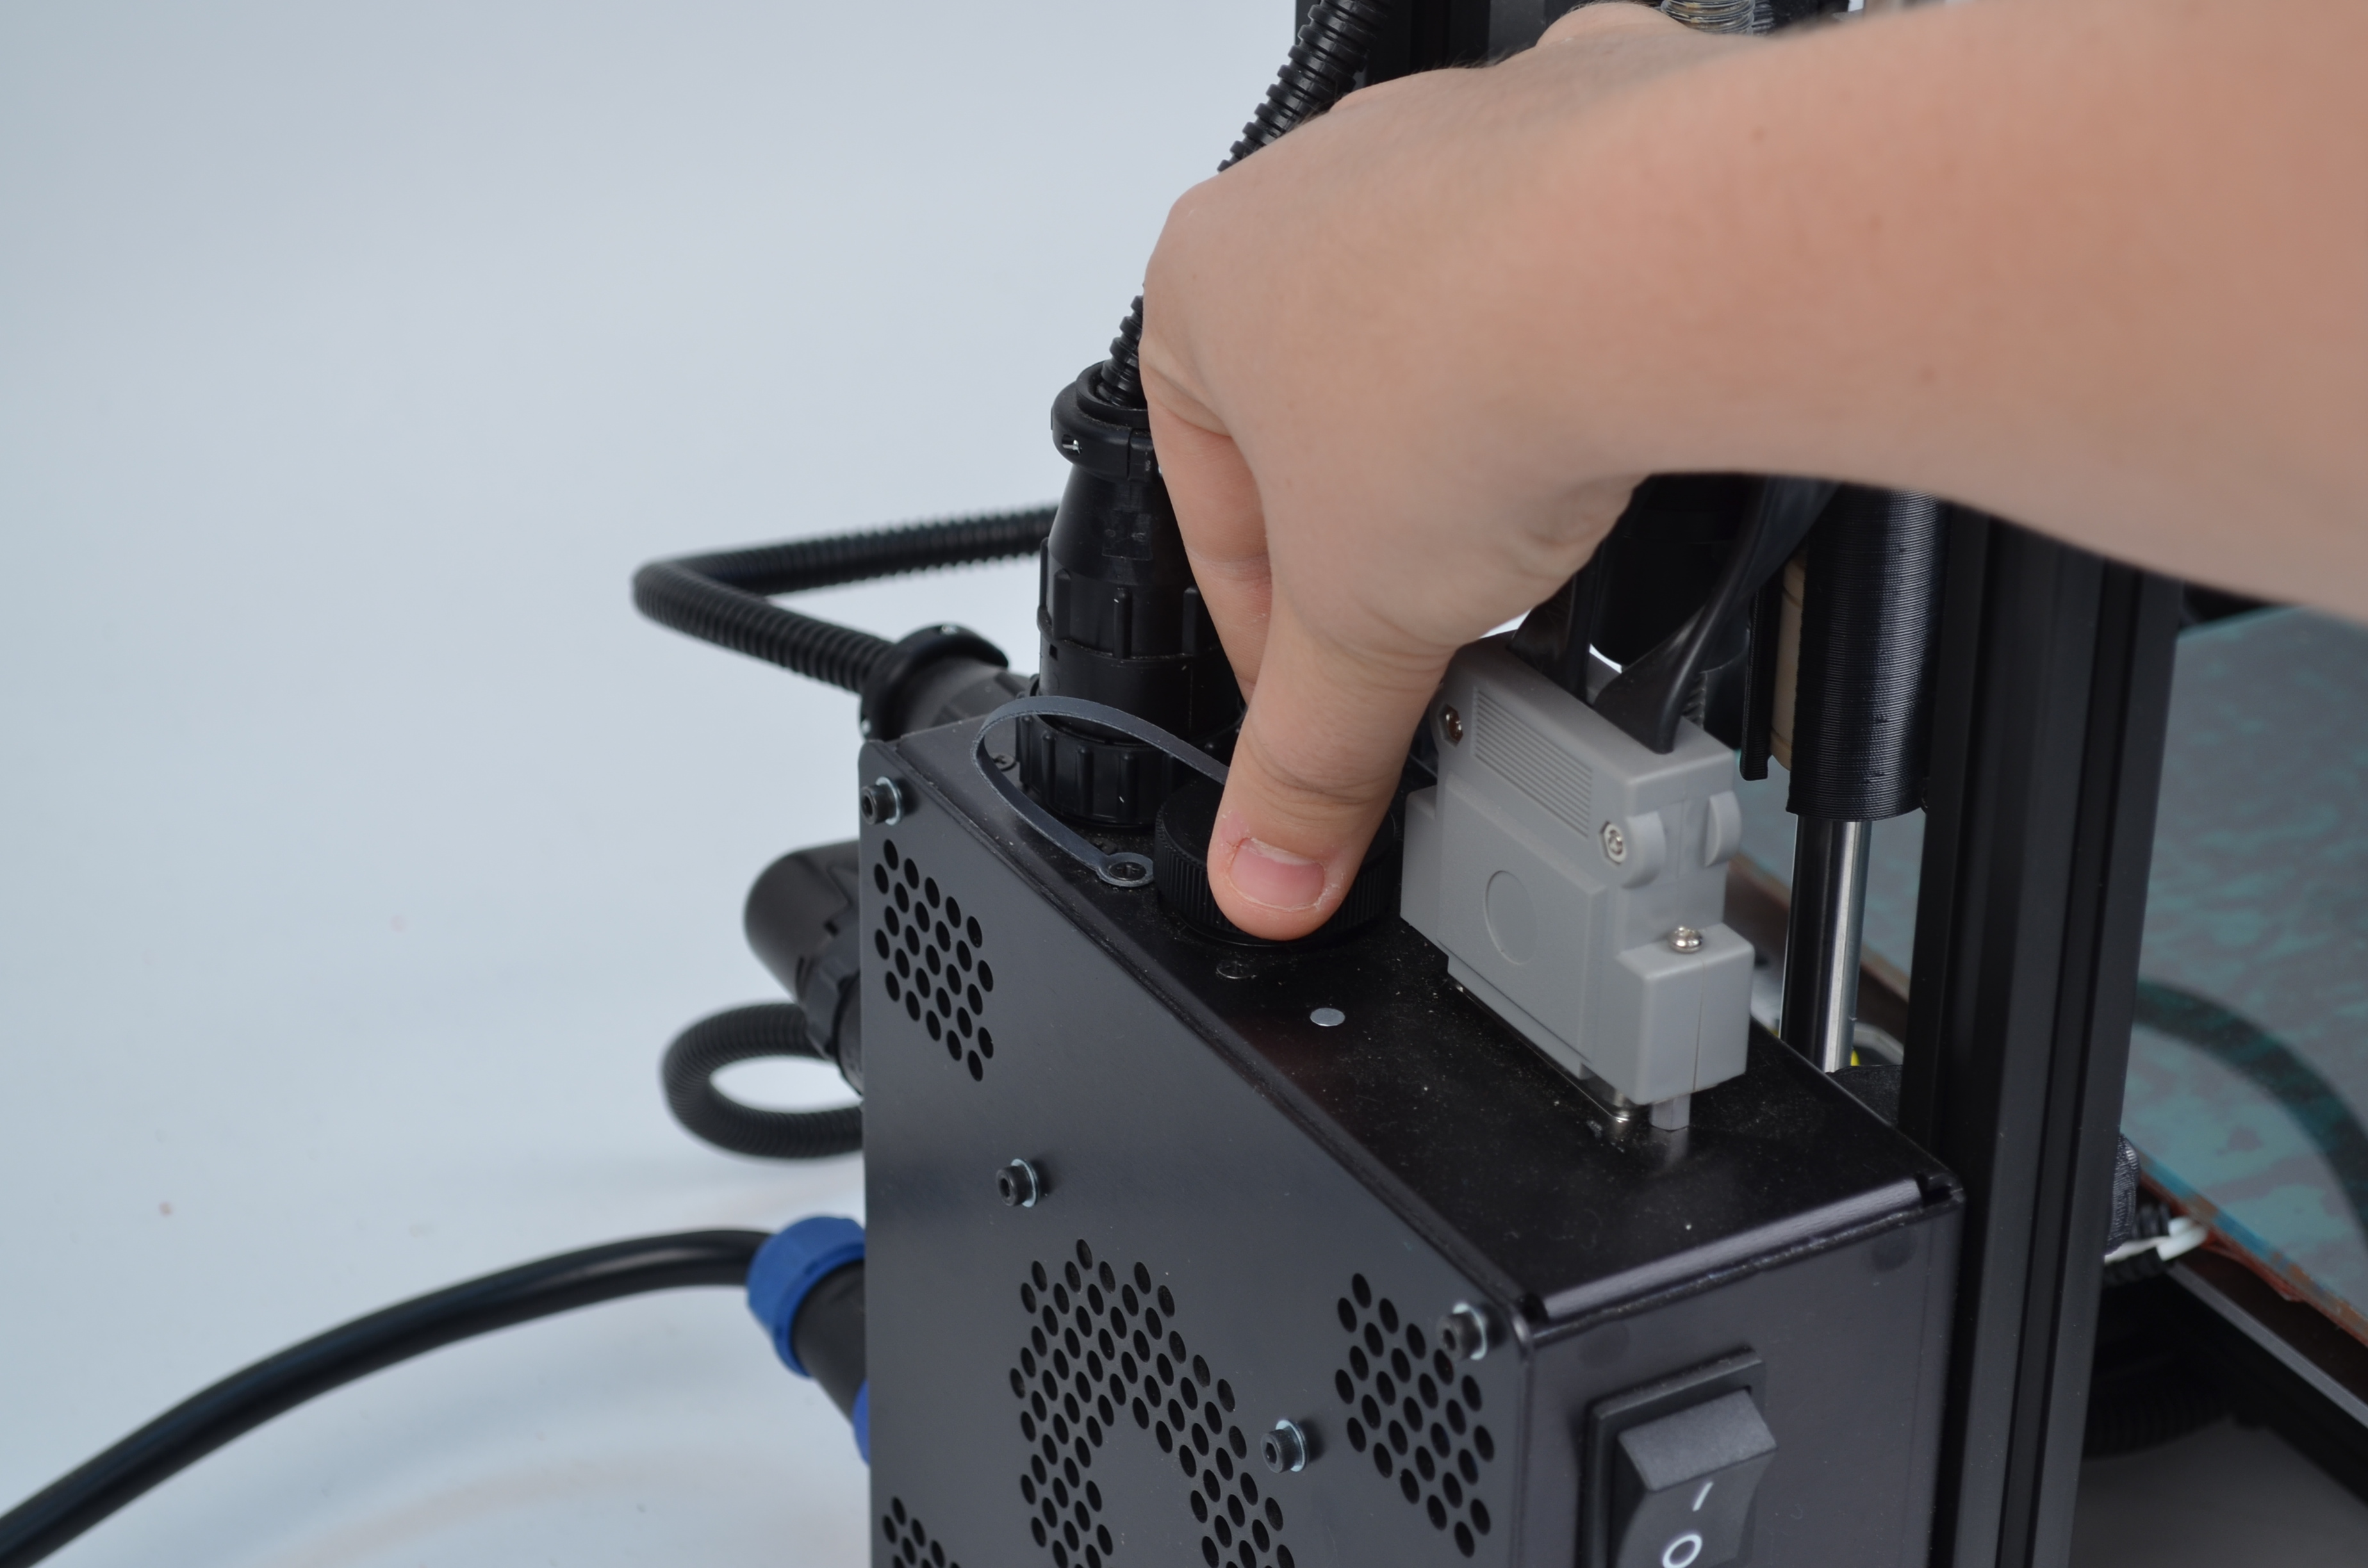
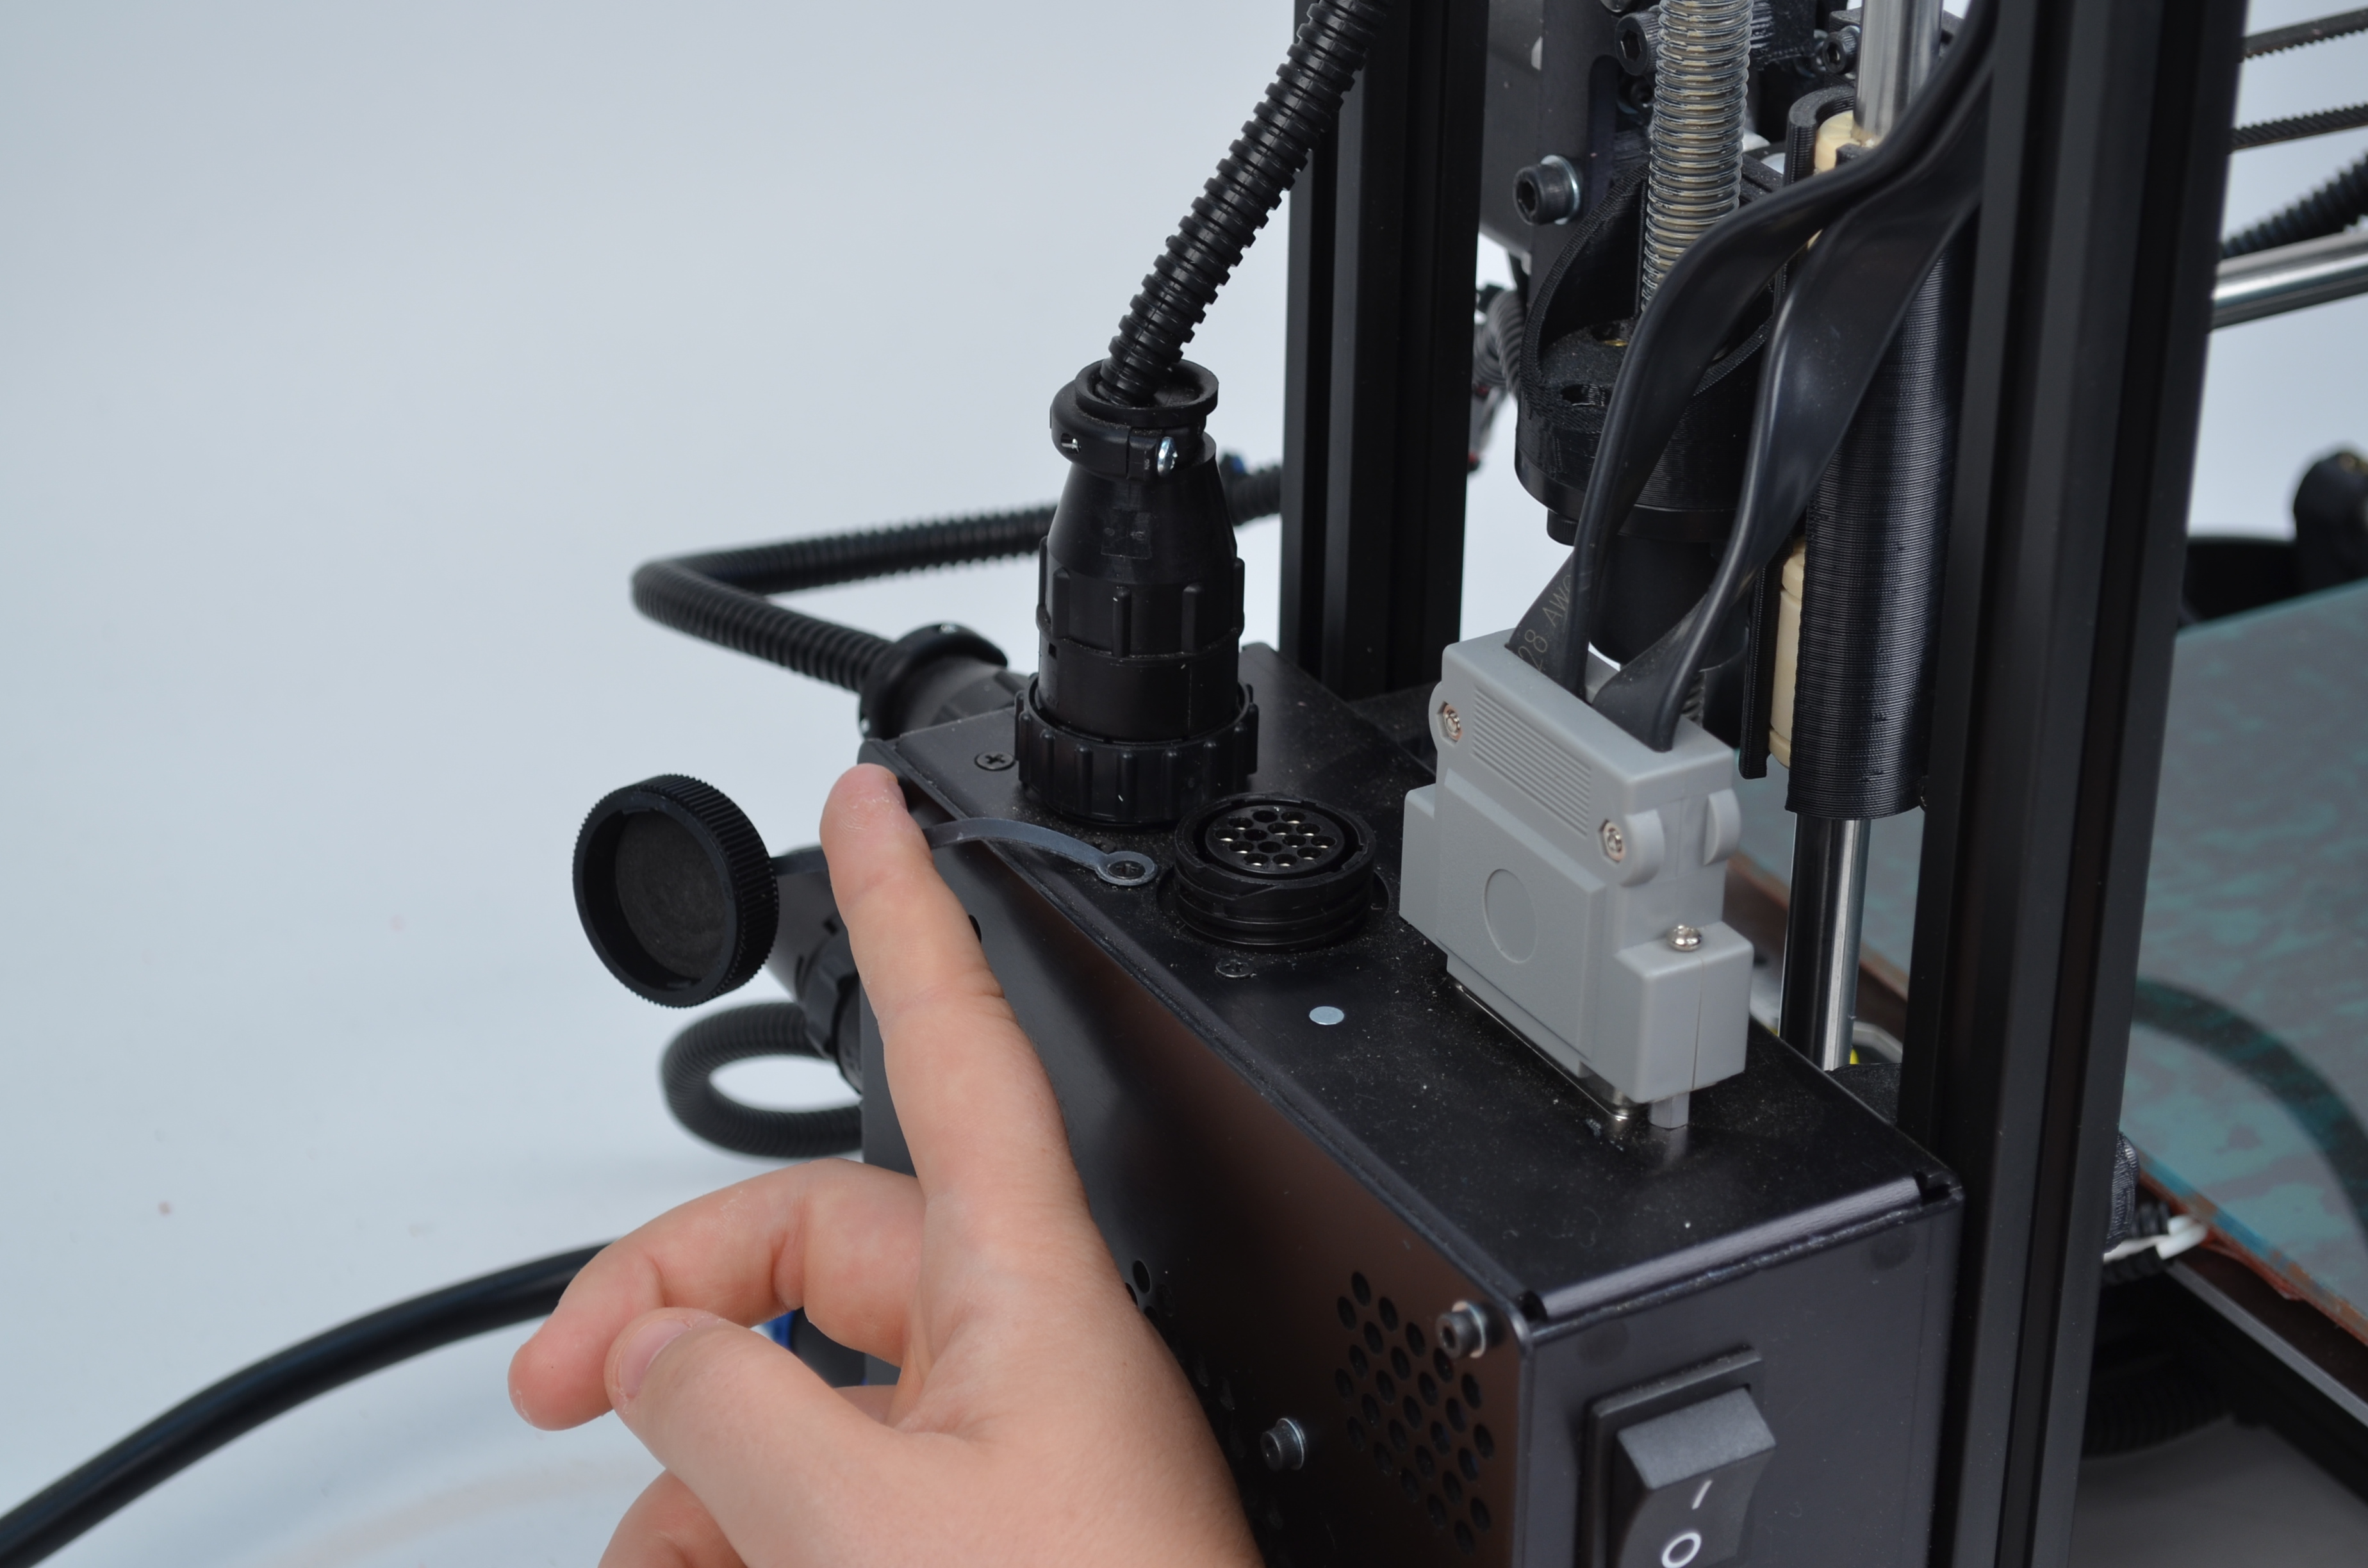
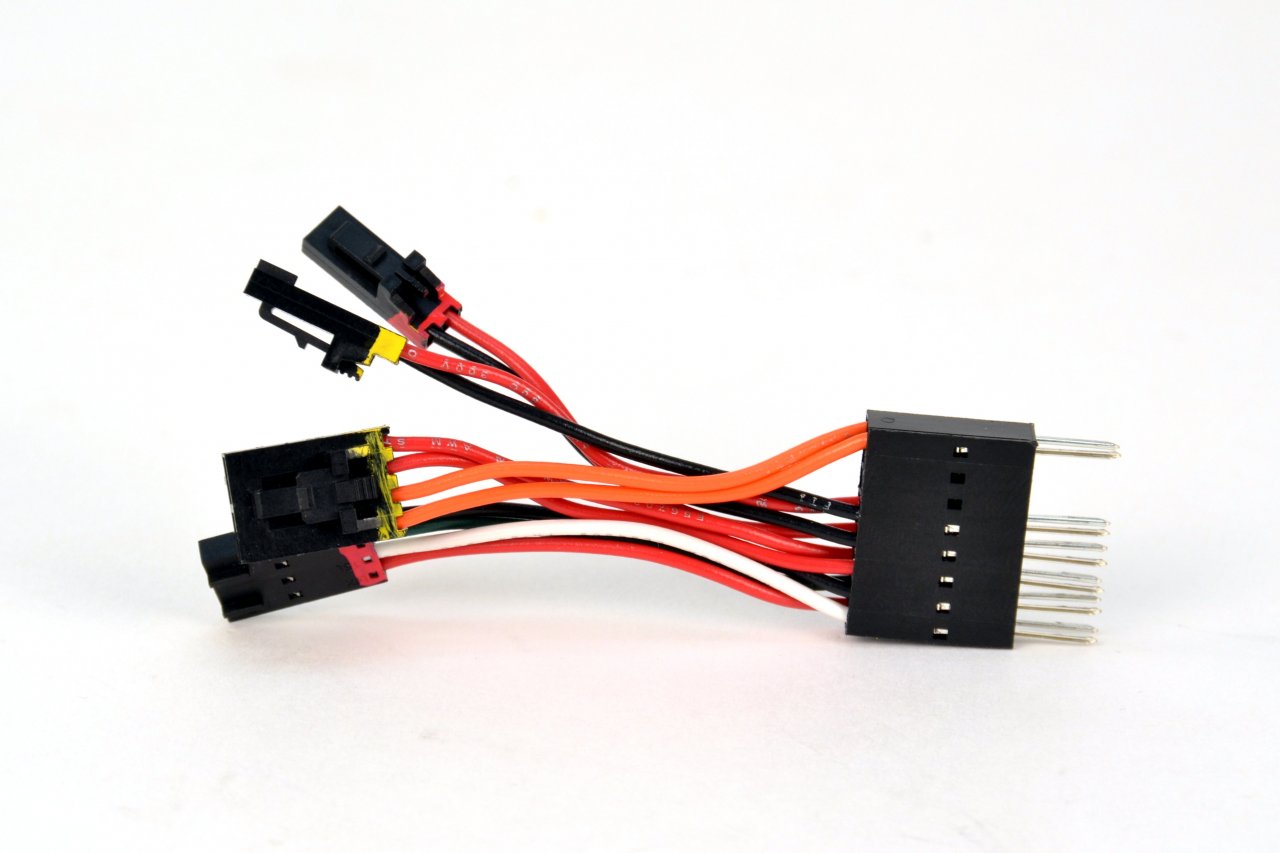
The LulzBot TAZ 5 3D printer has two versions. The original LulzBot TAZ 5 3D printer was equipped with a 0.35mm nozzle. The hot end and extruder wiring harness has 4 connectors.
The LulzBot TAZ 5 3D printer with 0.50mm nozzle has a hot end and extruder wiring harness with a single 16 pin connector. If your LulzBot TAZ 5 3D printer has the 16 pin connector, contact our support team by sending an email to Support@LulzBot.com with your order number, contact and shipping information. The required harness will be sent to you.


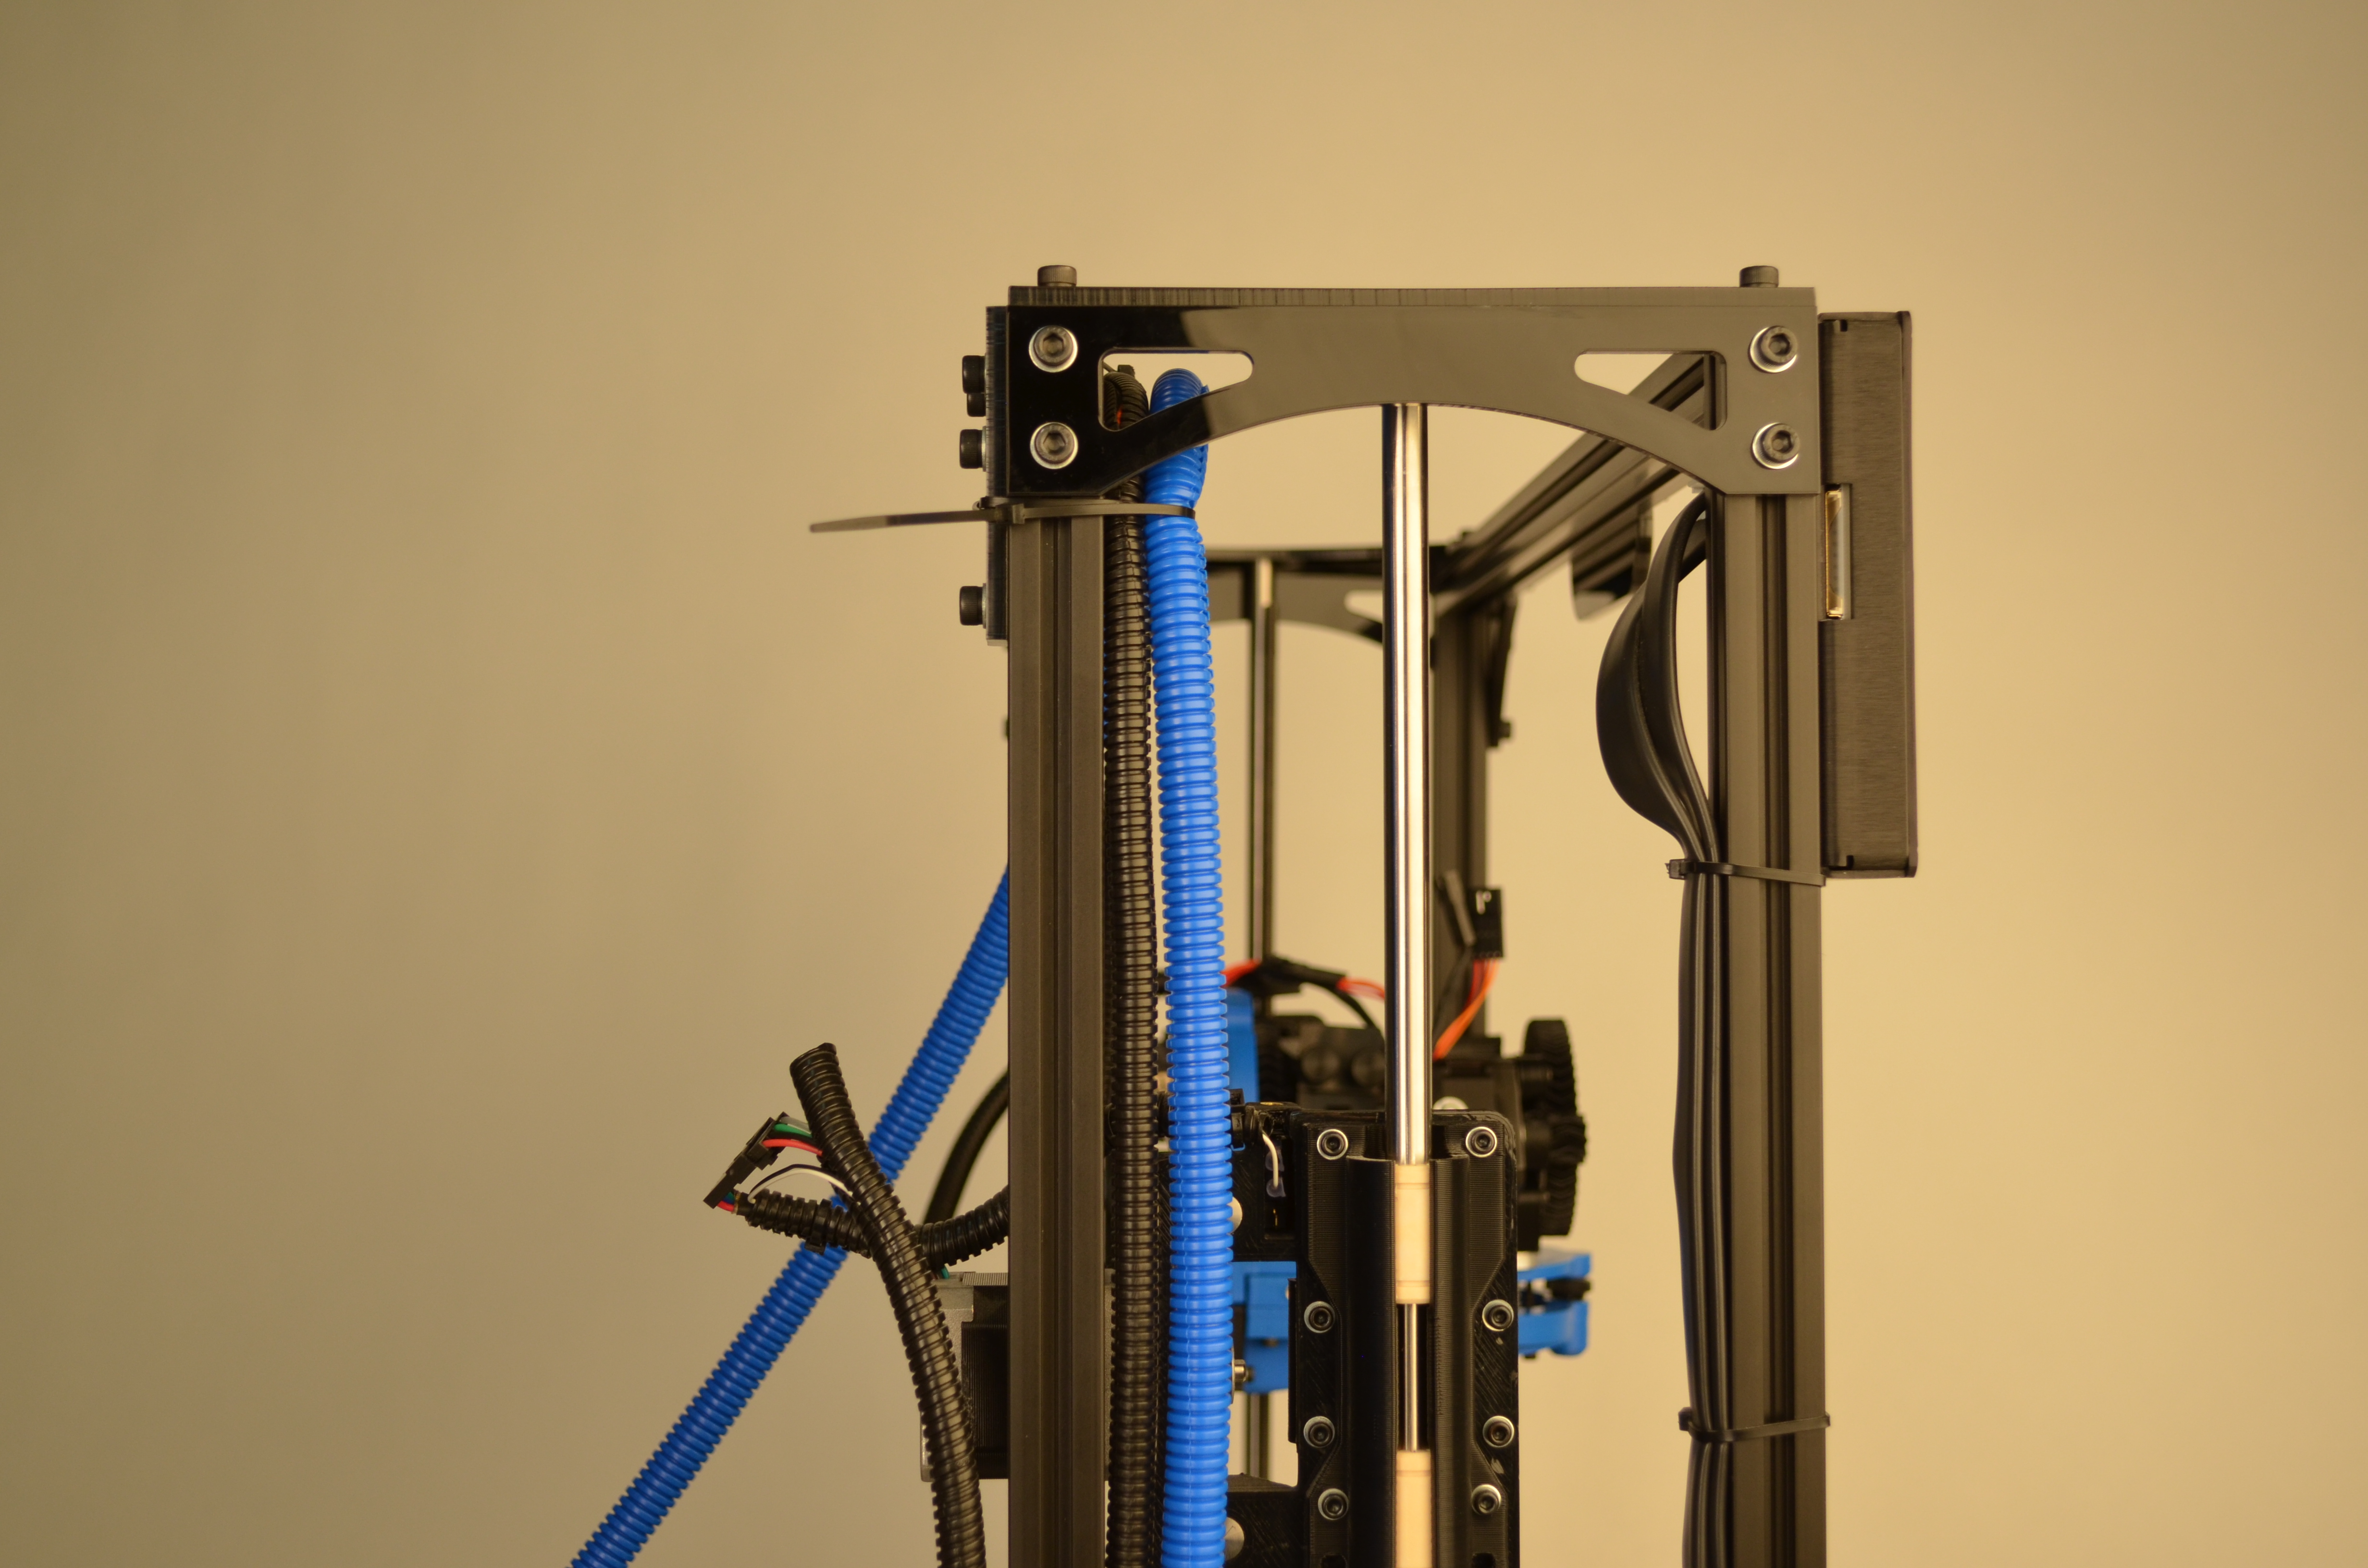
Use zip-ties to secure the wiring harnesses to the LulzBot TAZ 3D printer frame.
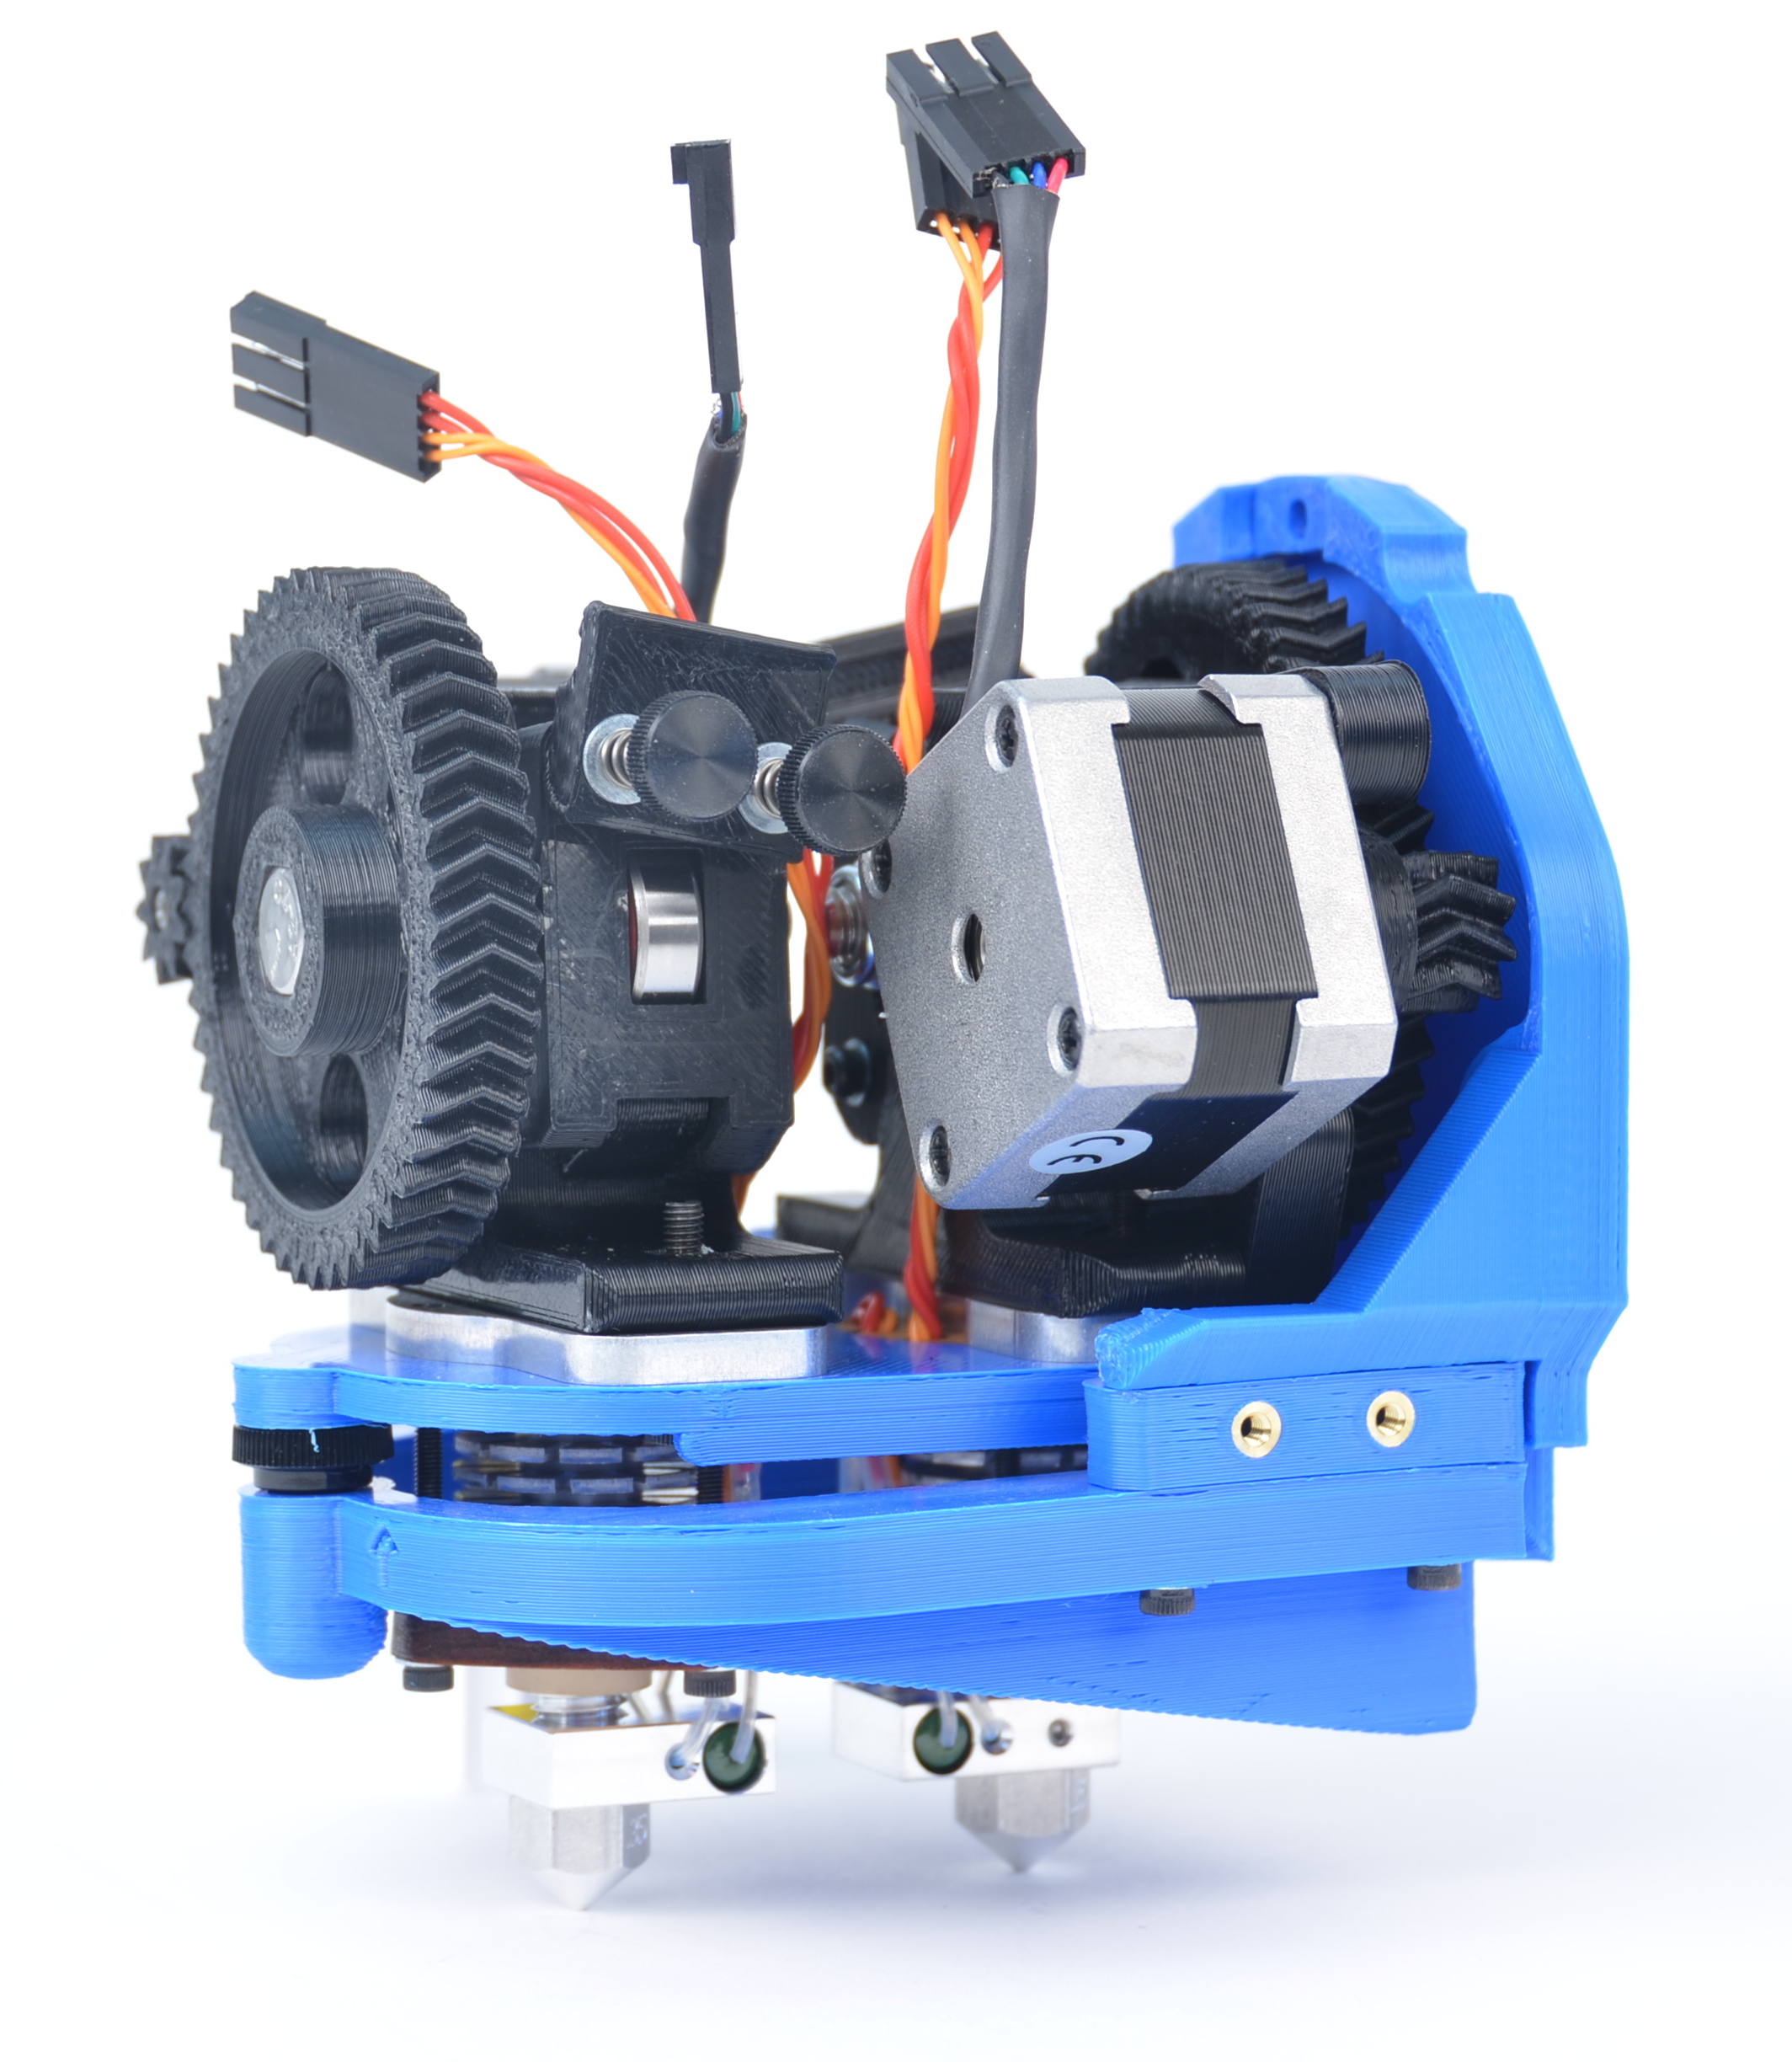
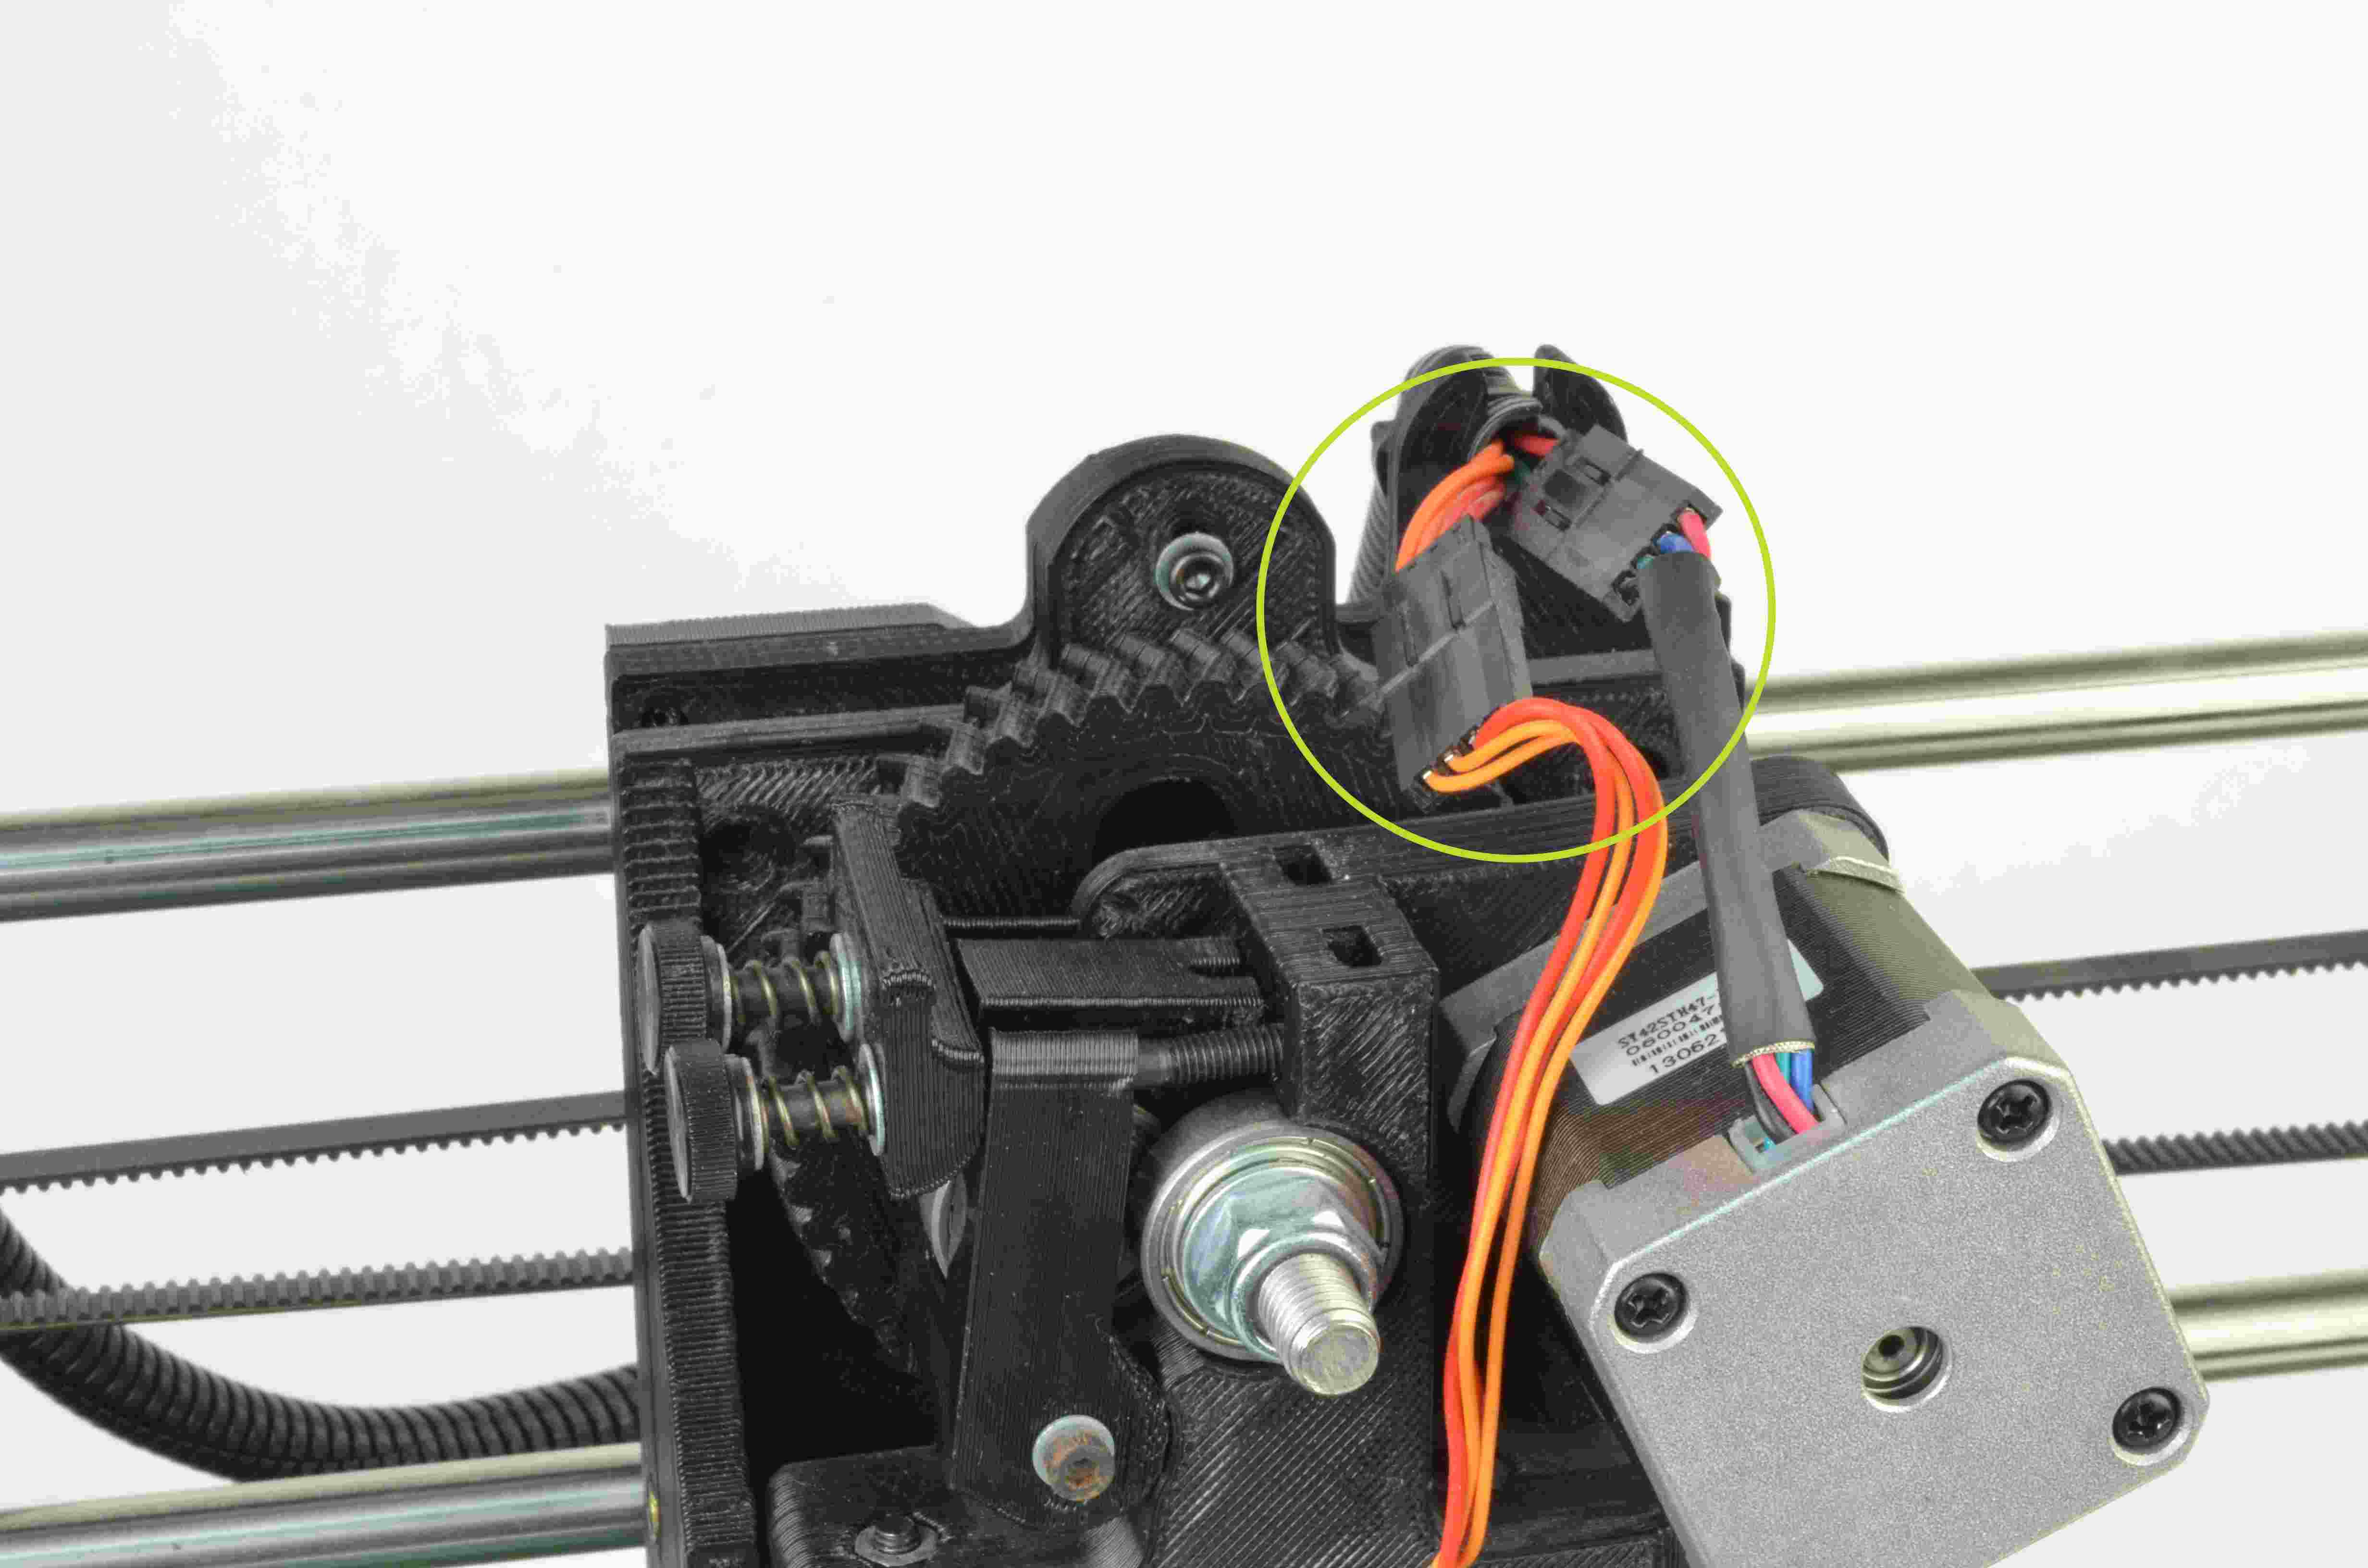
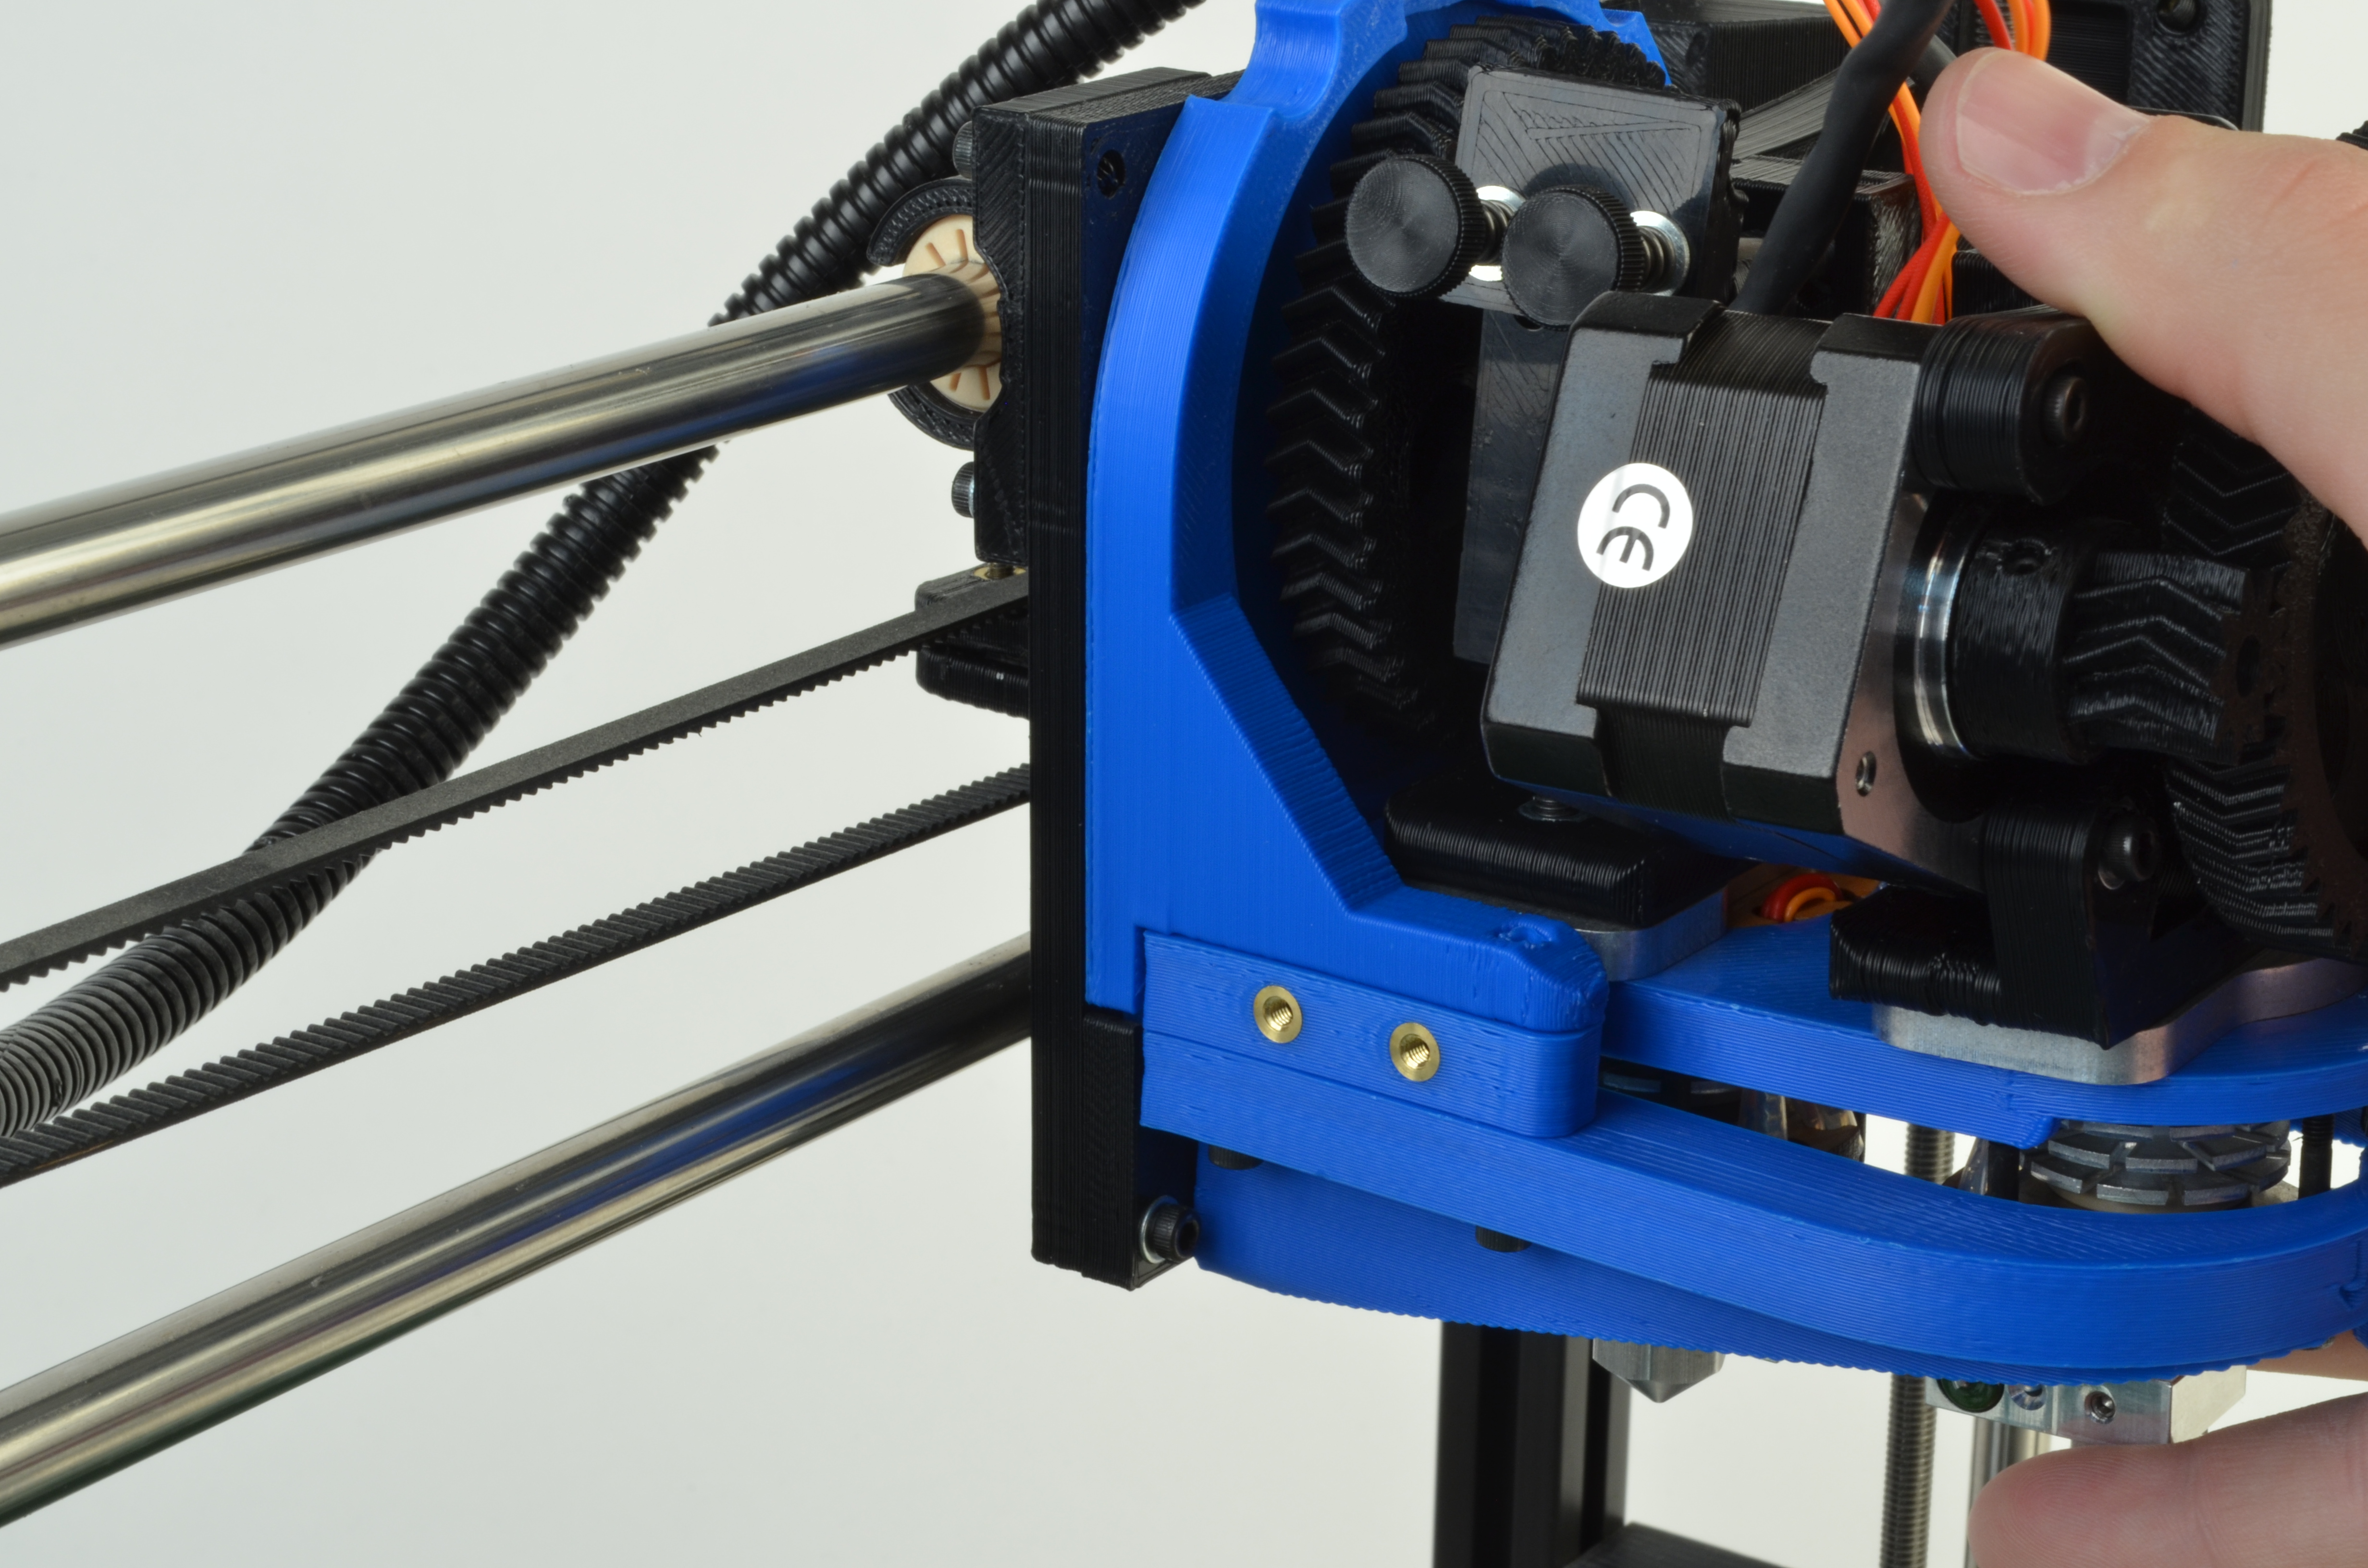
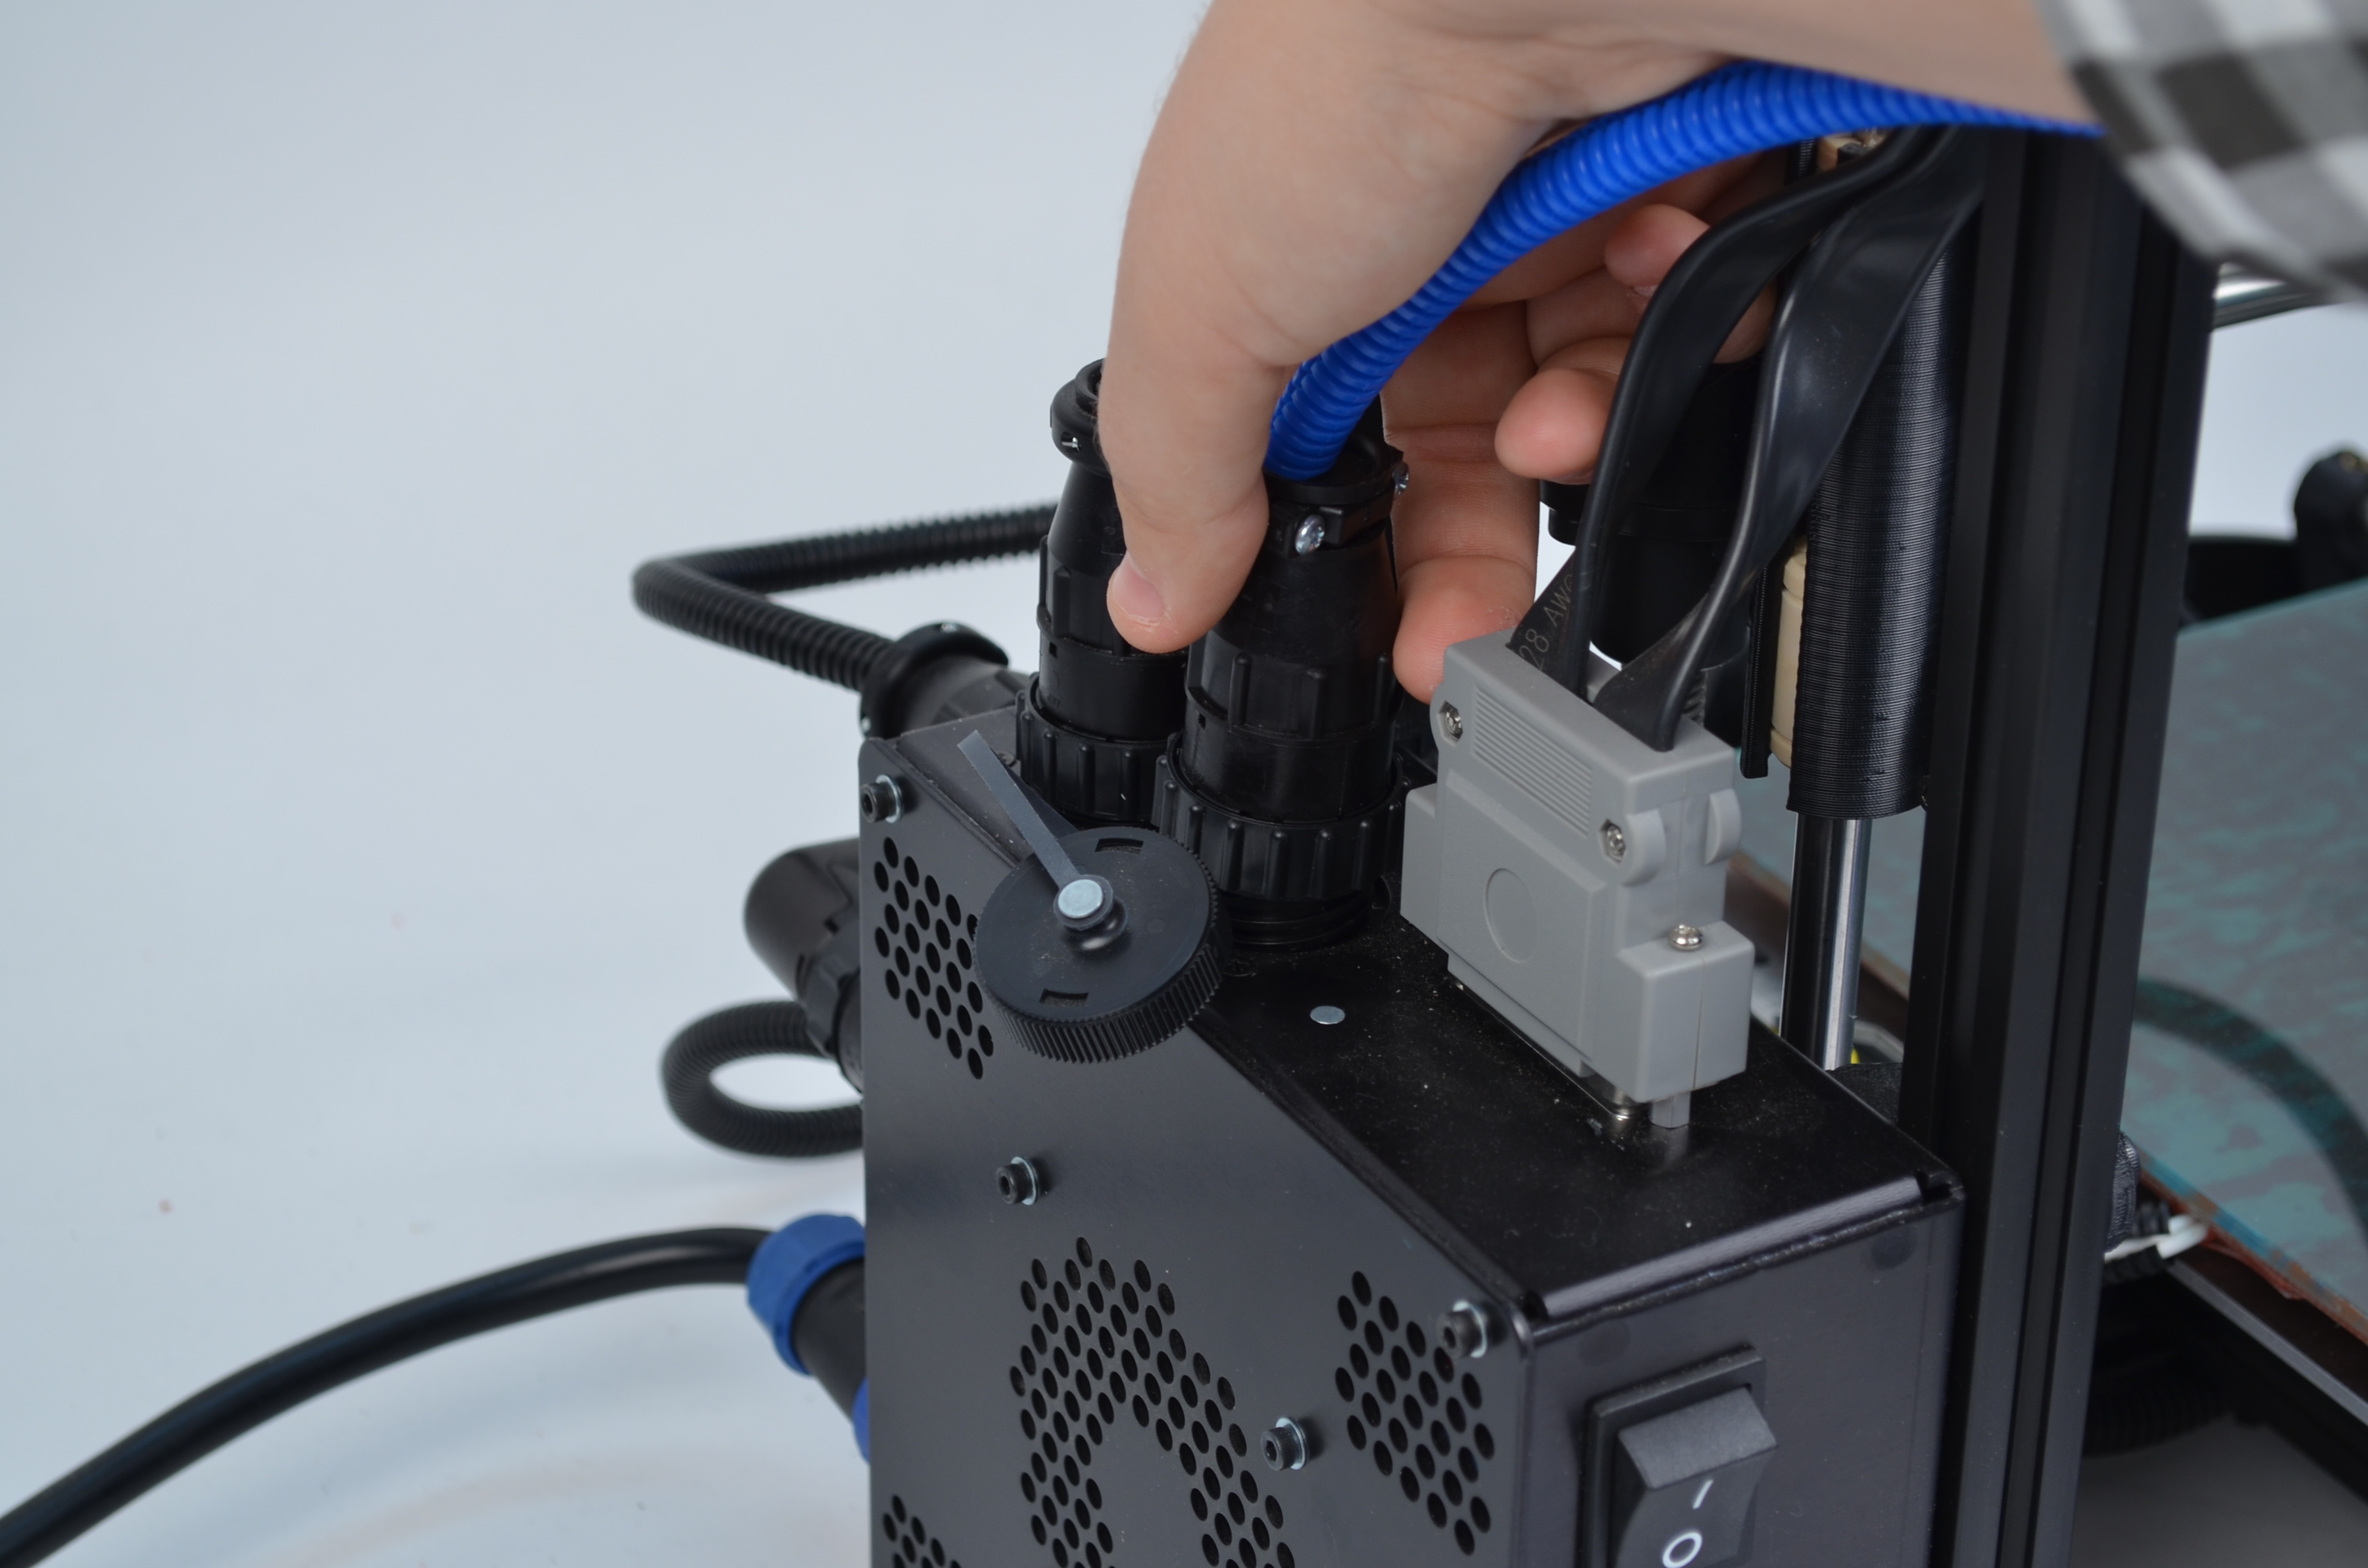
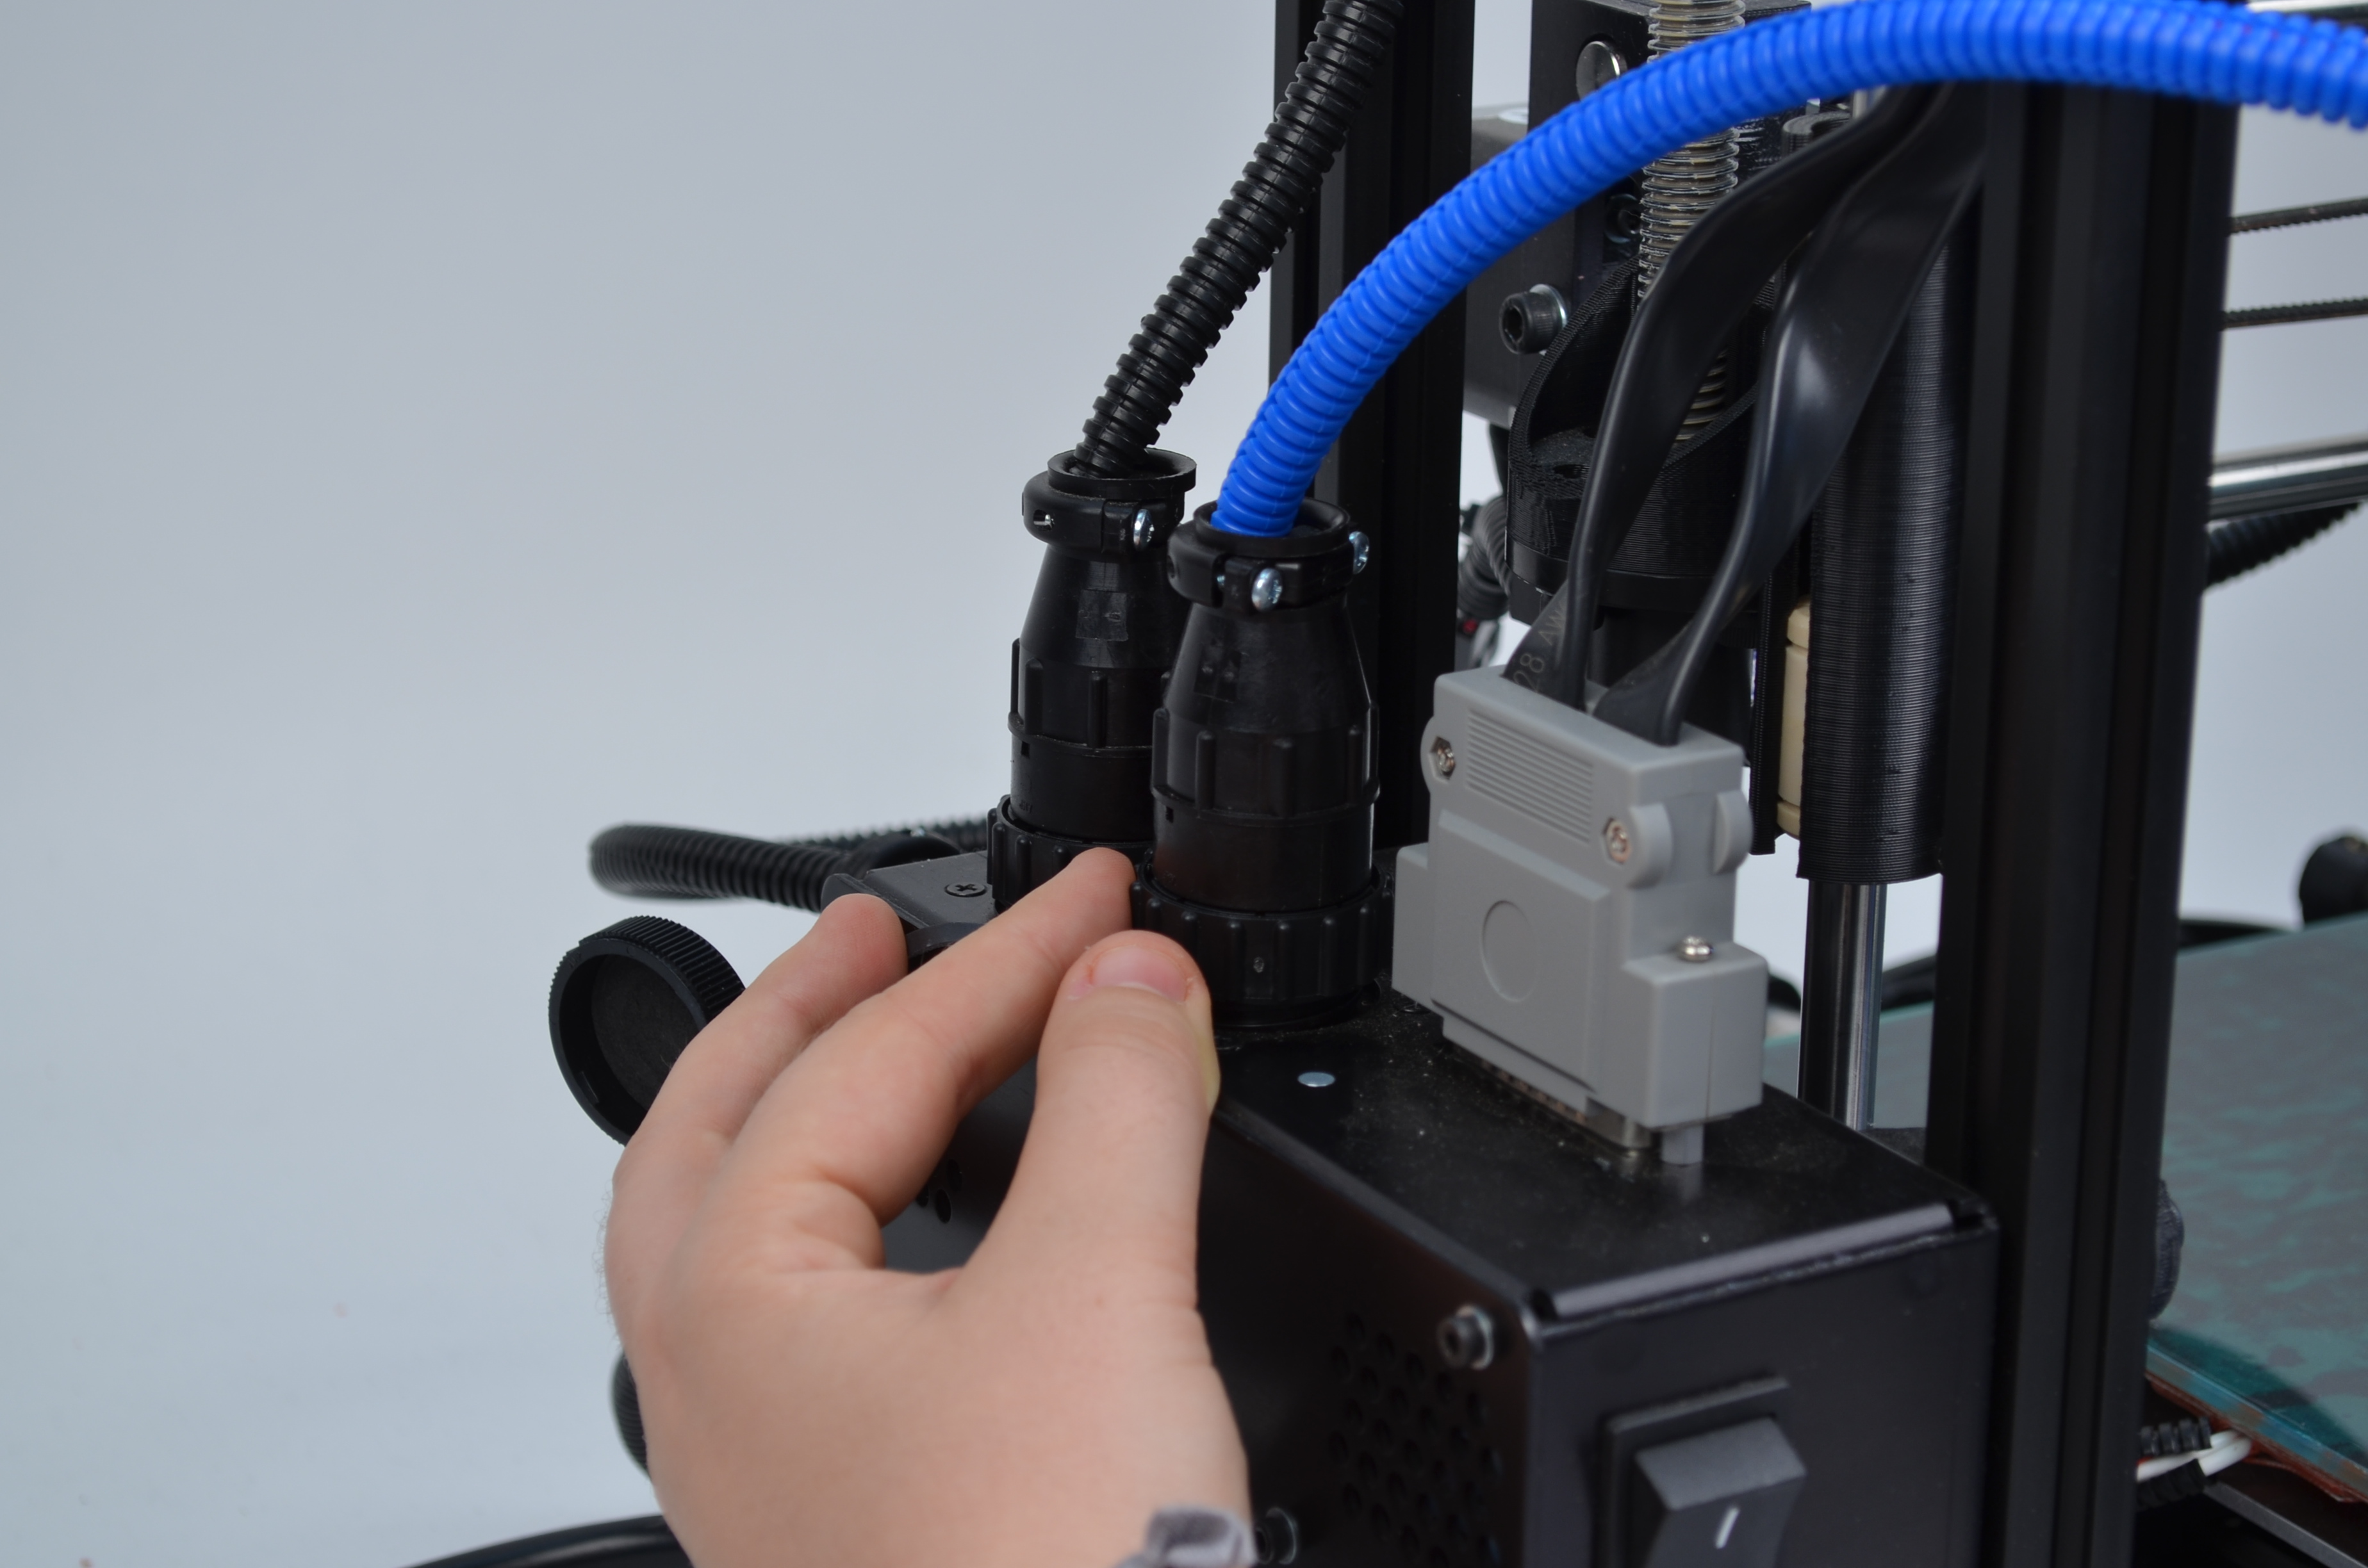
Connect the two extruders to the wiring harness:
Connect the rear extruder motor (extruder 0) 4 color wire connector to the 4 color wire connector within the black wiring harness
Connect the rear hot end (extruder 0) 2 color wire connector to the 2 color wire connector within the black wiring harness
Connect the front extruder motor (extruder 1) 4 color wire connector to the 4 color wire connector within the blue wiring harness
Connect the front hot end (extruder 1) 2 color wire connector to the 2 color wire connector within the blue wiring harness
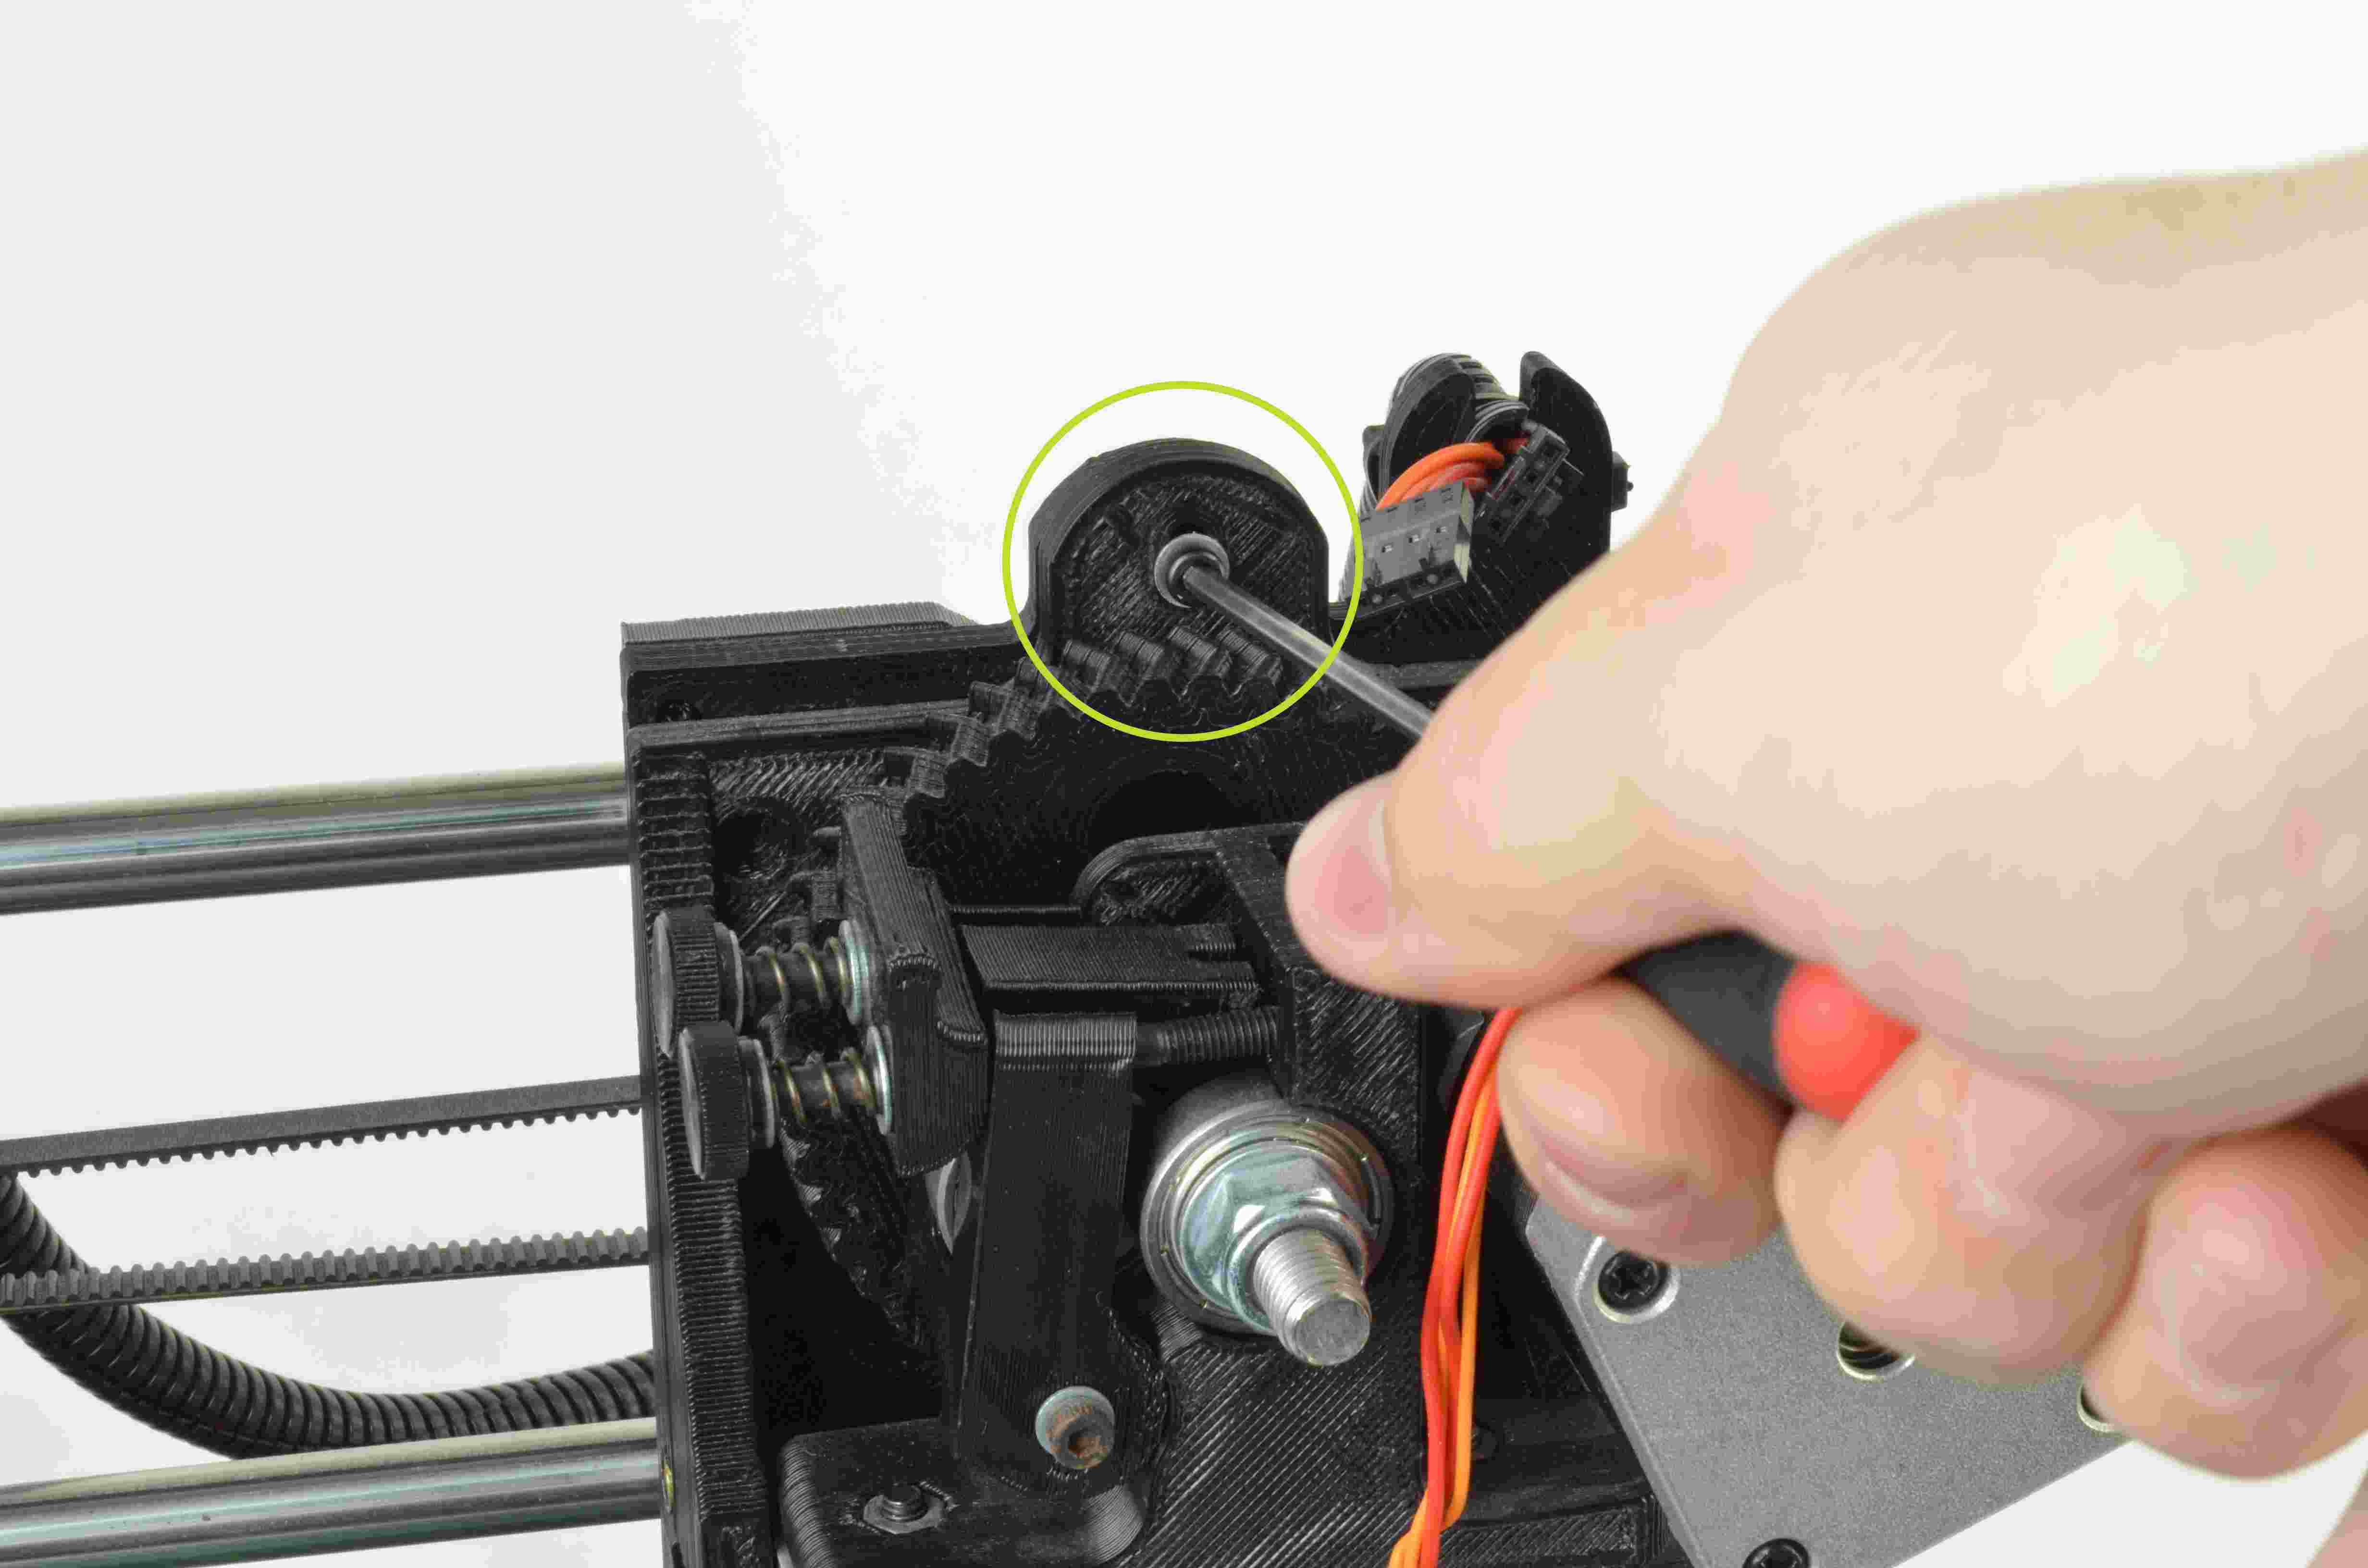
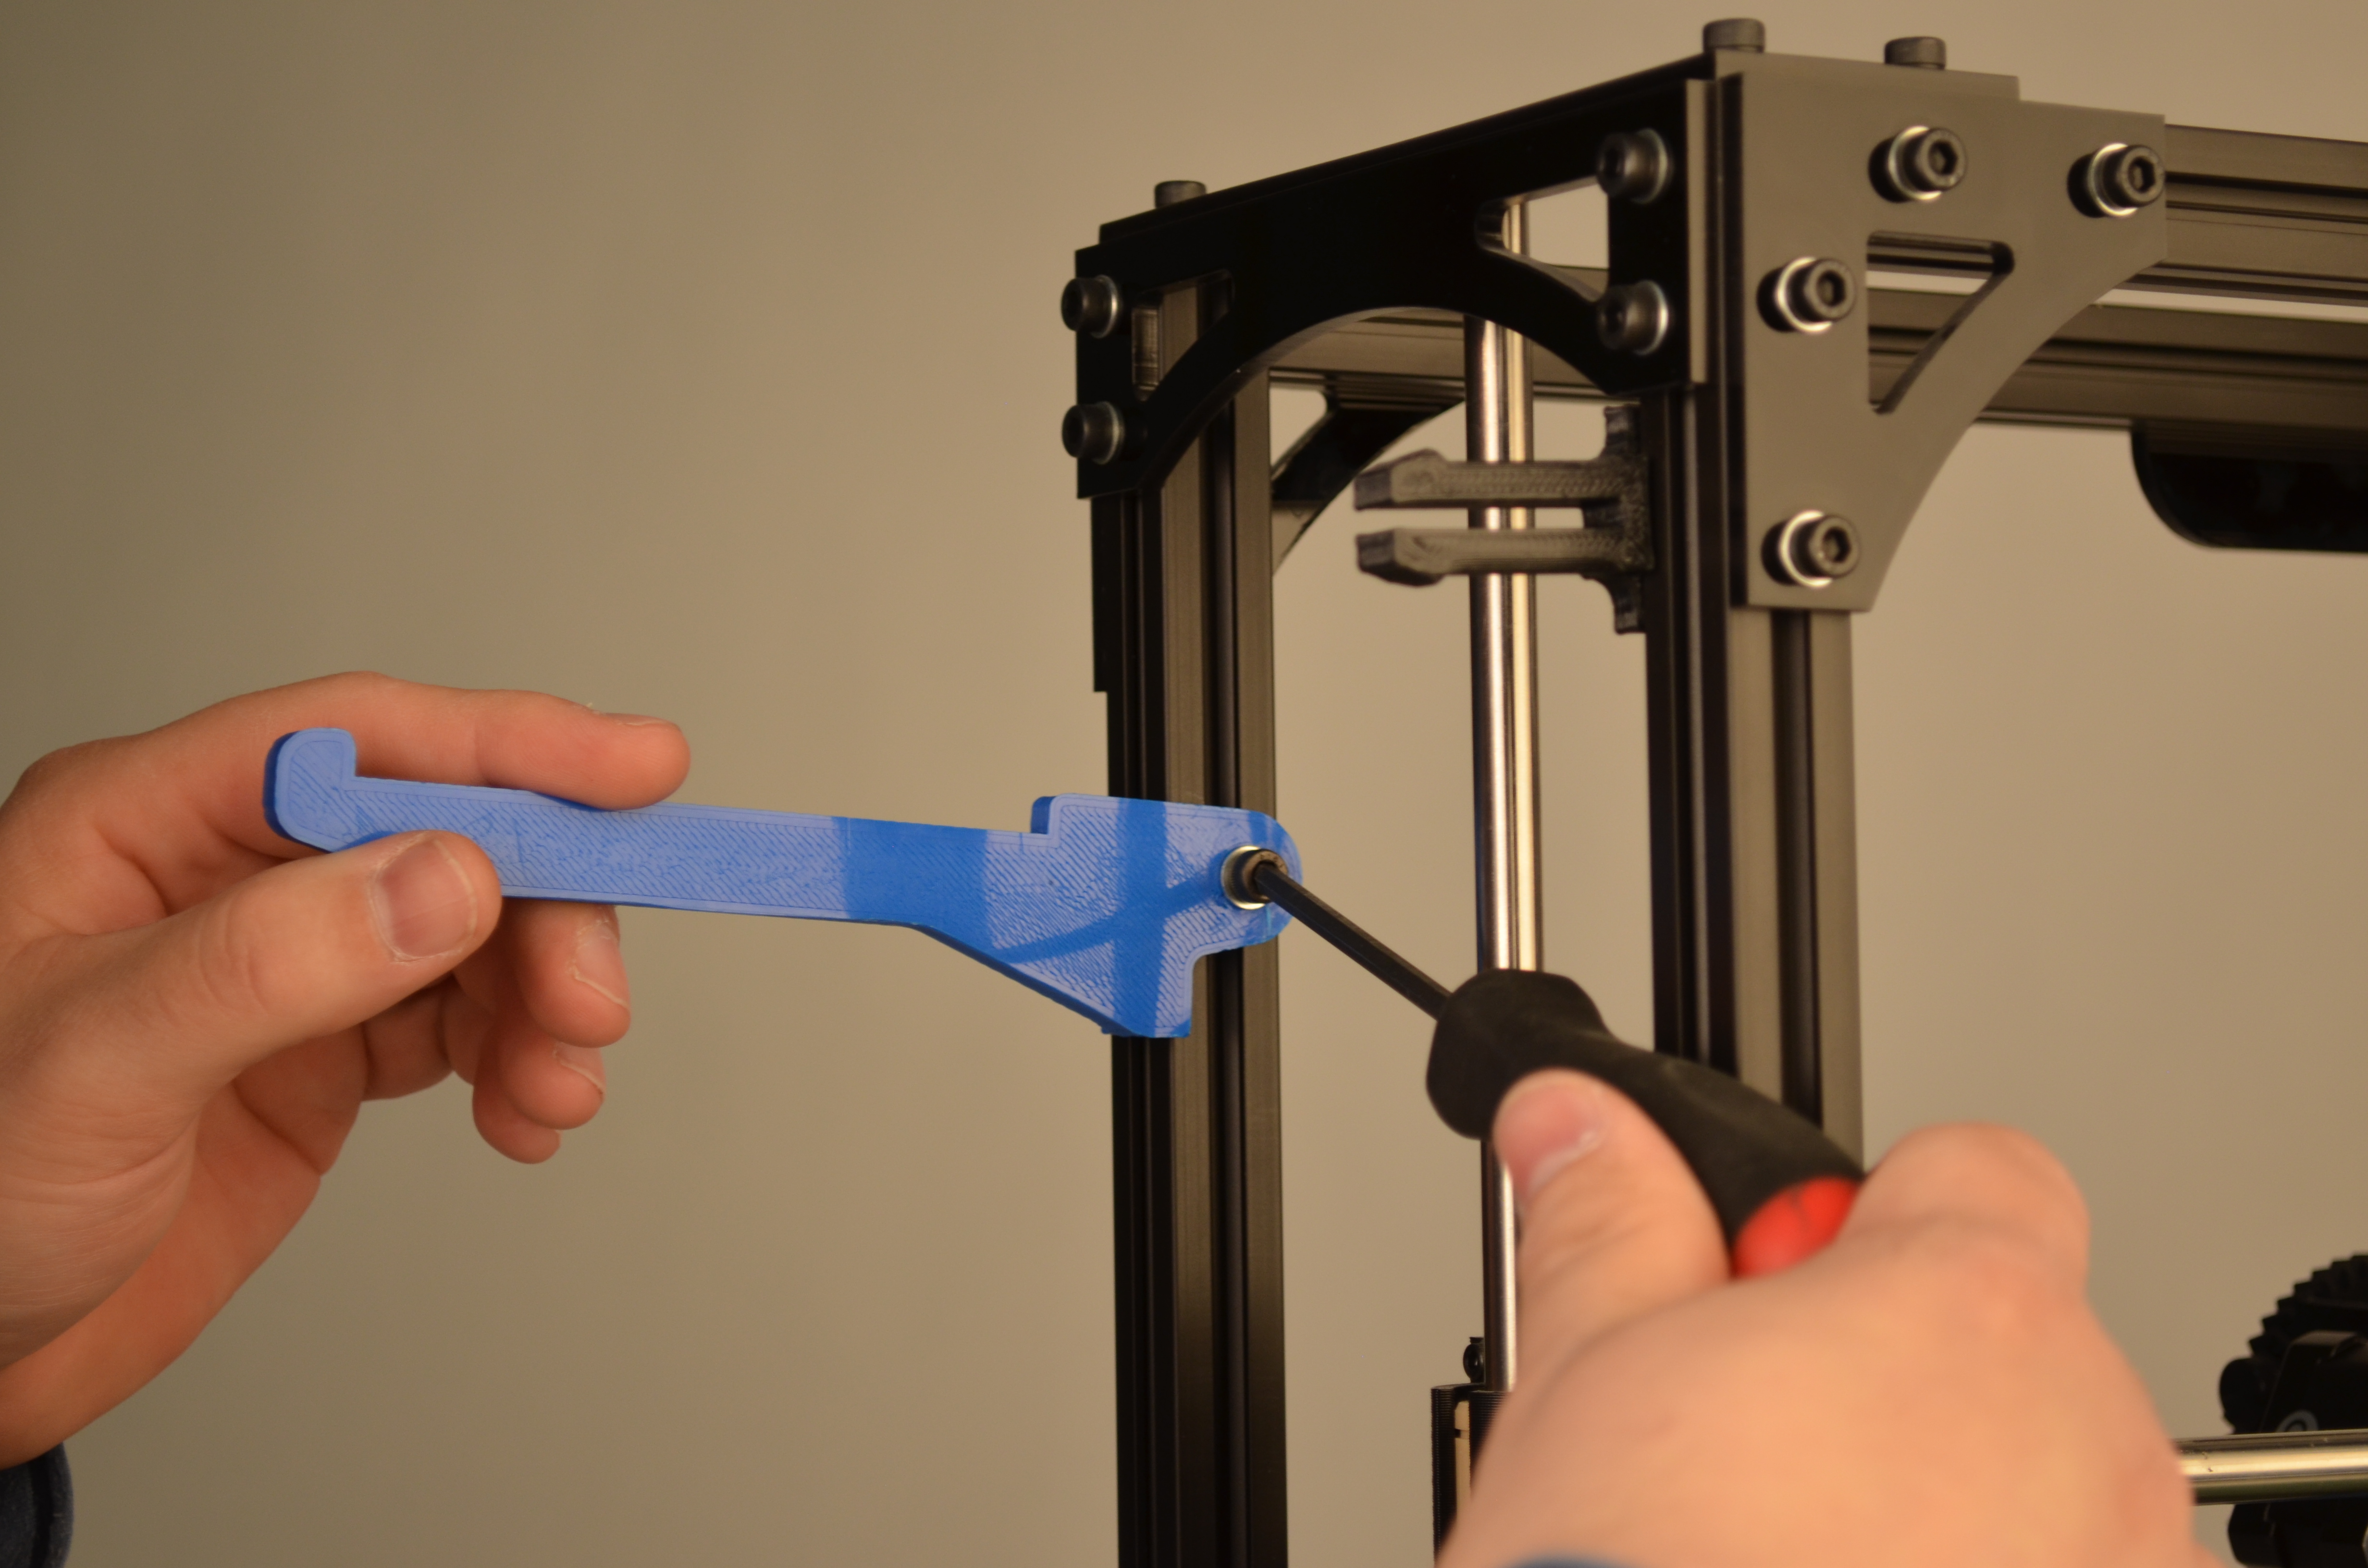
Loosen the M5 bolt holding the first spool arm with the M4 driver.
Lower the existing spool arm by ~3 inches.
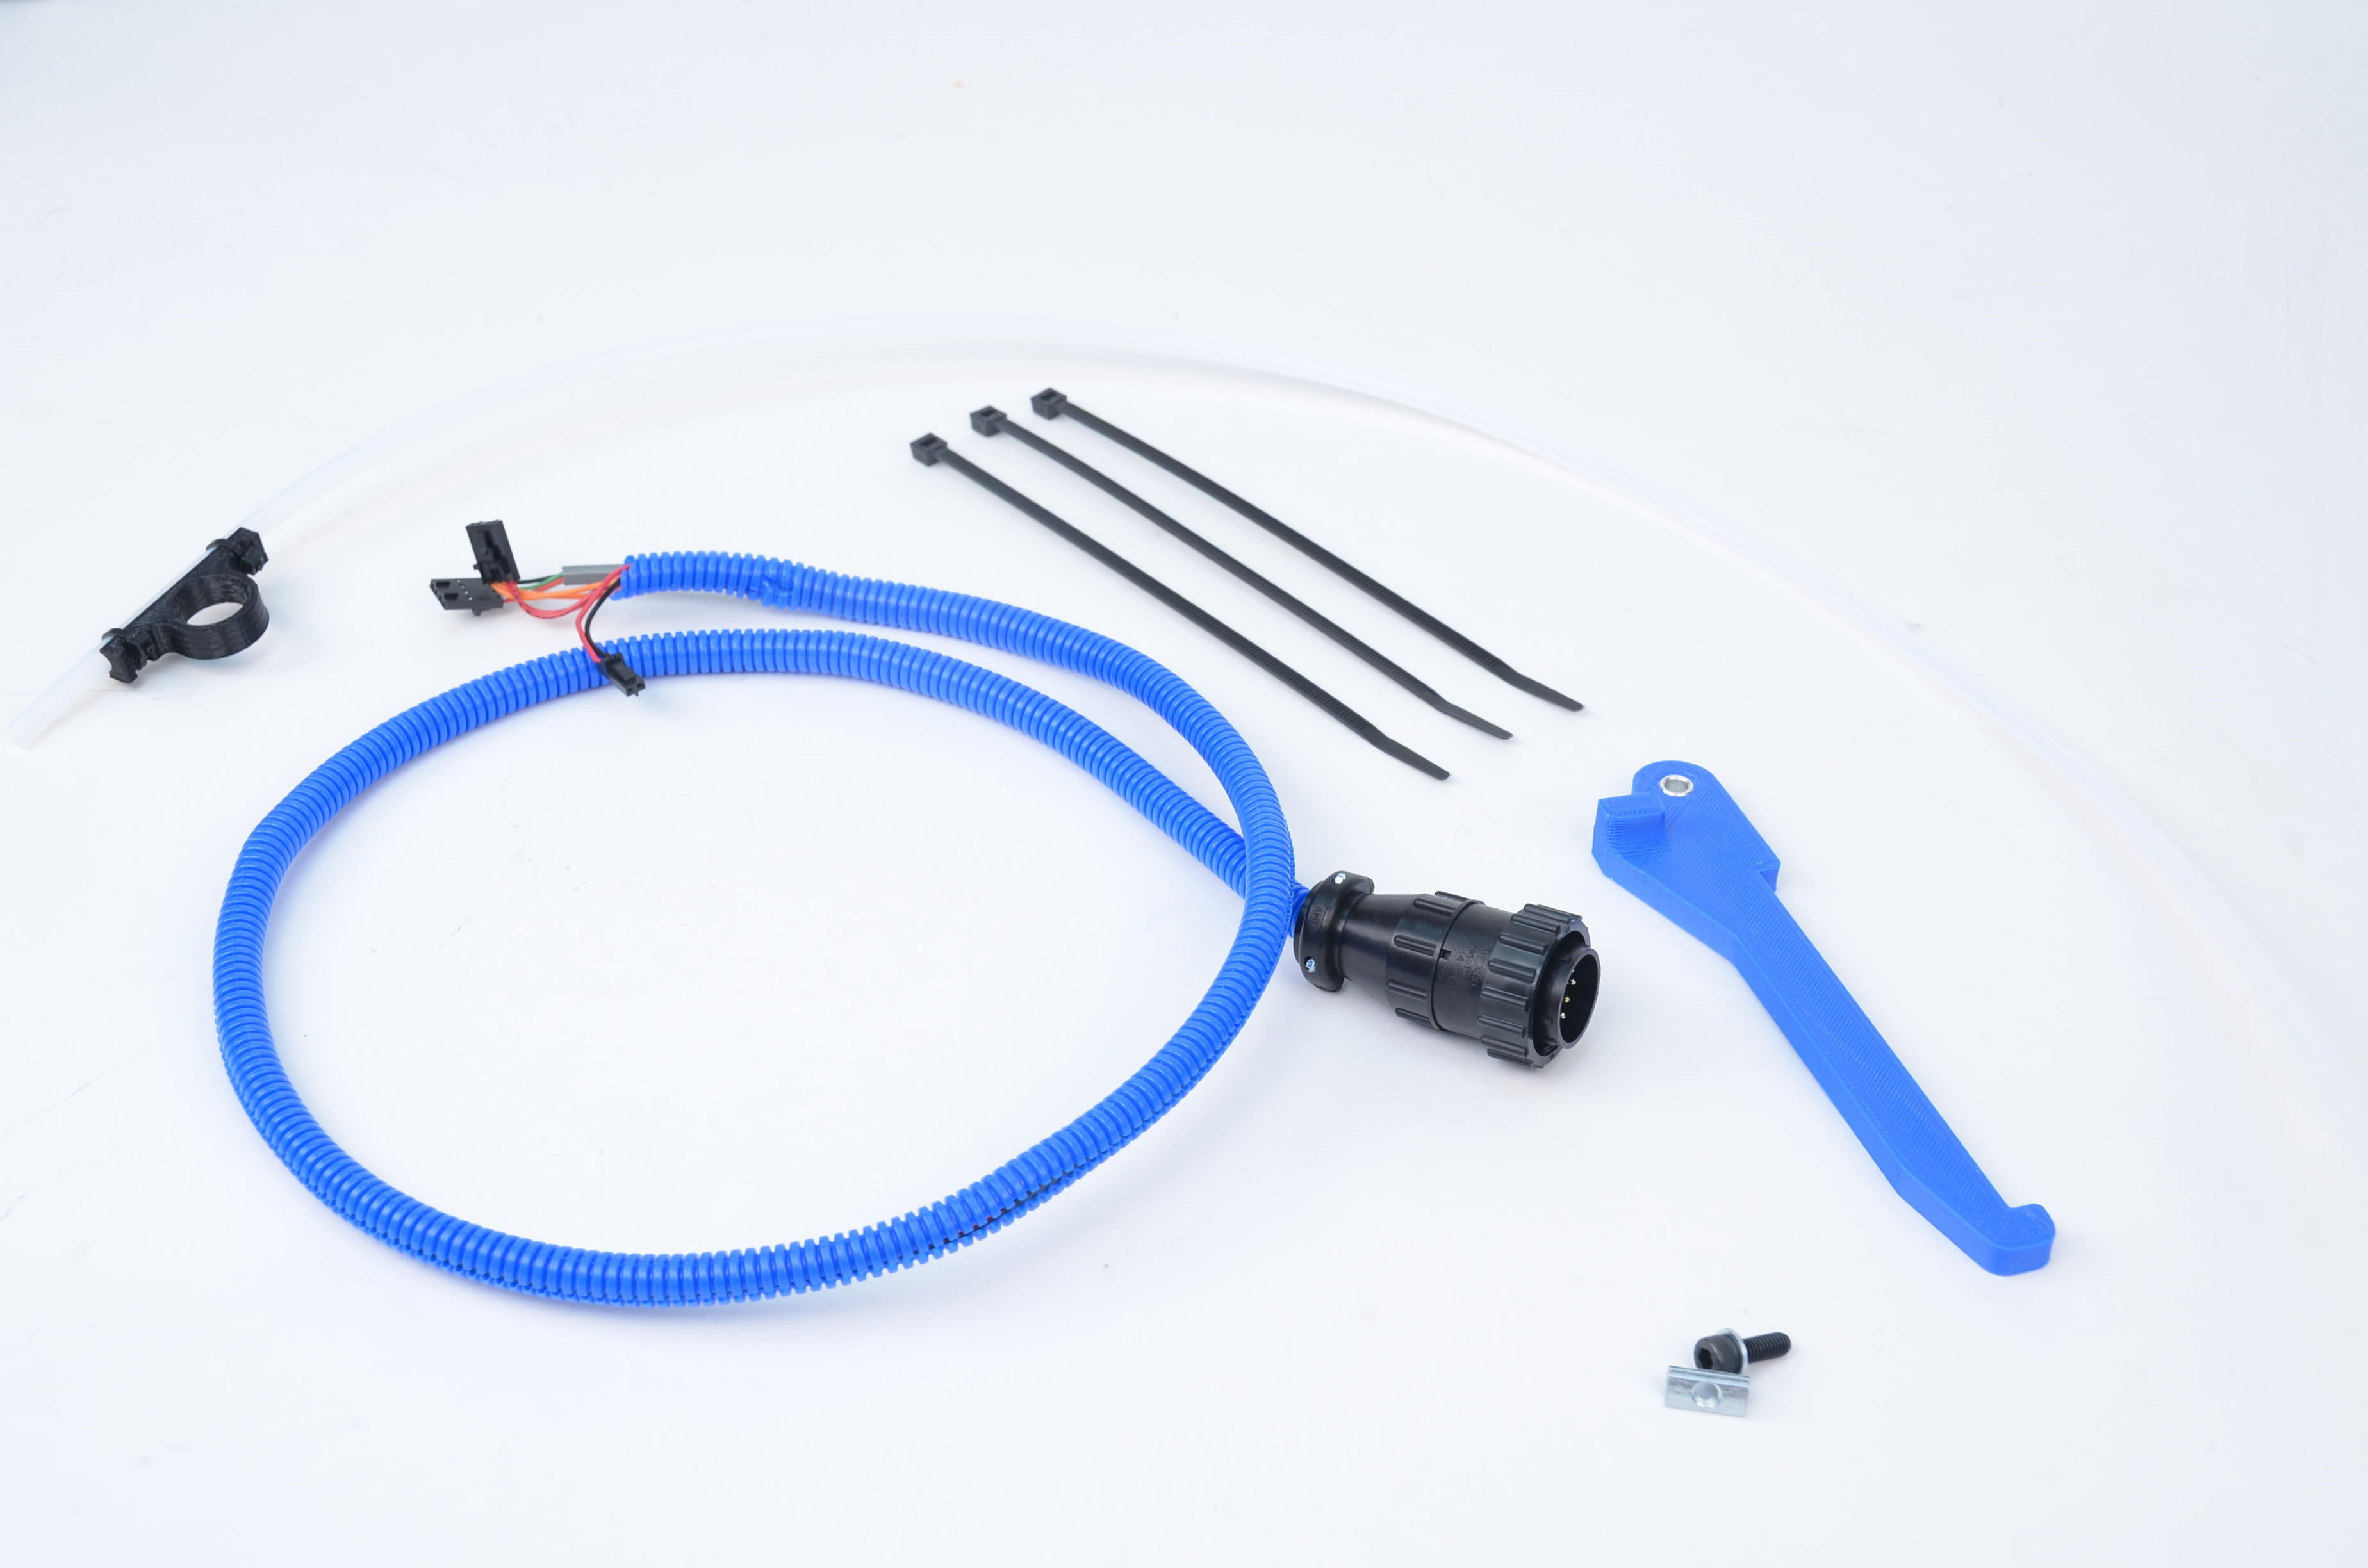
Attach 2nd spool arm using drop in fastener. Slide the provided M5 T-nut into the aluminum extrusion approximately 6” above the original spool arm position. Make sure that spools can spin freely on both arms without interfering with each other.
Attach 2nd feed tube on original feed tube holder.

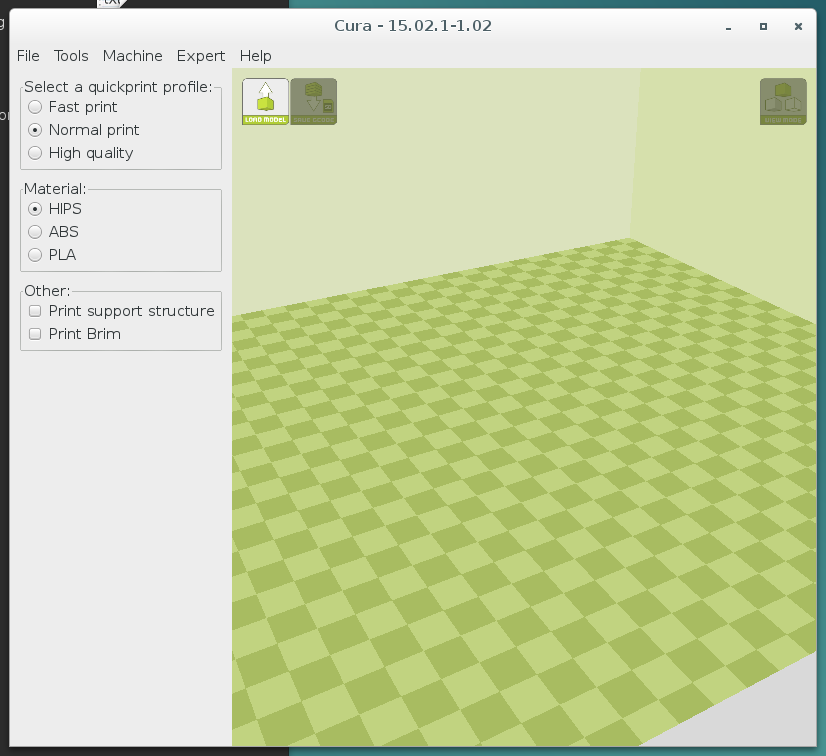
Cura LulzBot Edition is available from http://LulzBot.com/Cura. Install Cura LulzBot Edition if not already installed on your computer. It is important to have the LulzBot Edition of Cura, as it has preset machine configuration profiles built into it. Plug in your TAZ 3D printer to the power supply and power on your LulzBot TAZ 3D printer. Once powered on connect your 3D printer to your computer using the USB cable. Open Cura LulzBot Edition.
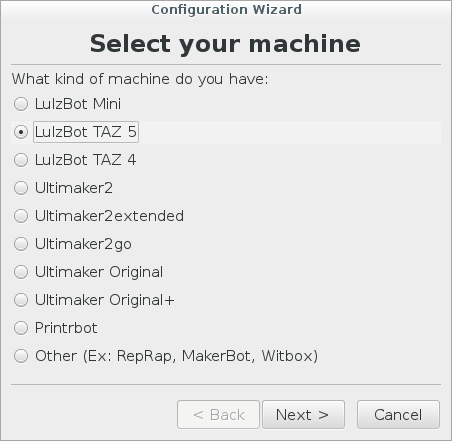
In Cura LulzBot Edition, Select Machine > Add a new machine.
Select your TAZ version: LulzBot TAZ 5.
Click Next to proceed to the next window.
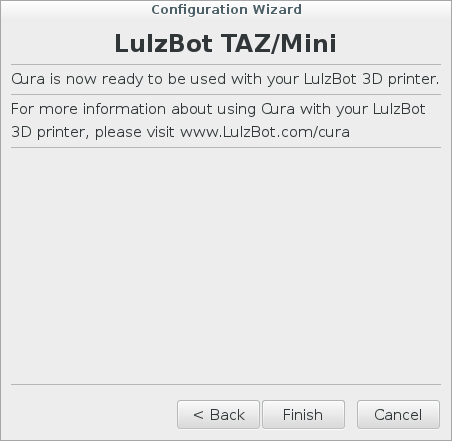
In the nozzle size selection window Select 0.35 mm and press Next to proceed to the next window.
Select Finish and proceed to the next step.
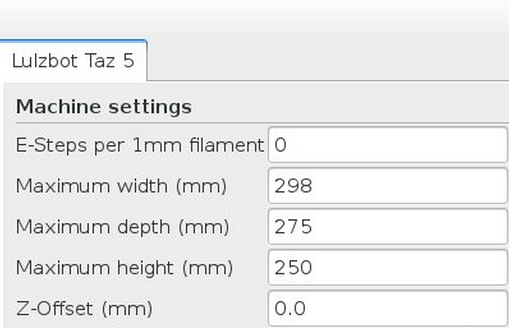
Select Machine > Machine settings to open the Machine settings window.
Select the tab with the last 3D printer added: LulzBot TAZ 5.
Change the 3D printer name by selecting Change machine name.
Change it to: LulzBot TAZ 5 with Dual Extruder v1 (0.5mm nozzles).
Select OK to save the changes.
Under machine settings update the Extruder Count to 2.
Press OK to save the settings.
Calibrate your Dual Extruder v1 Tool Head offsets and extruder steps per unit by following our Dual Extruder calibration guide.