Open HardwareAssembly Instructions
Guides for installation and assembly of the LulzBot line of products made by FAME 3D LLC.
Guides for installation and assembly of the LulzBot line of products made by FAME 3D LLC.
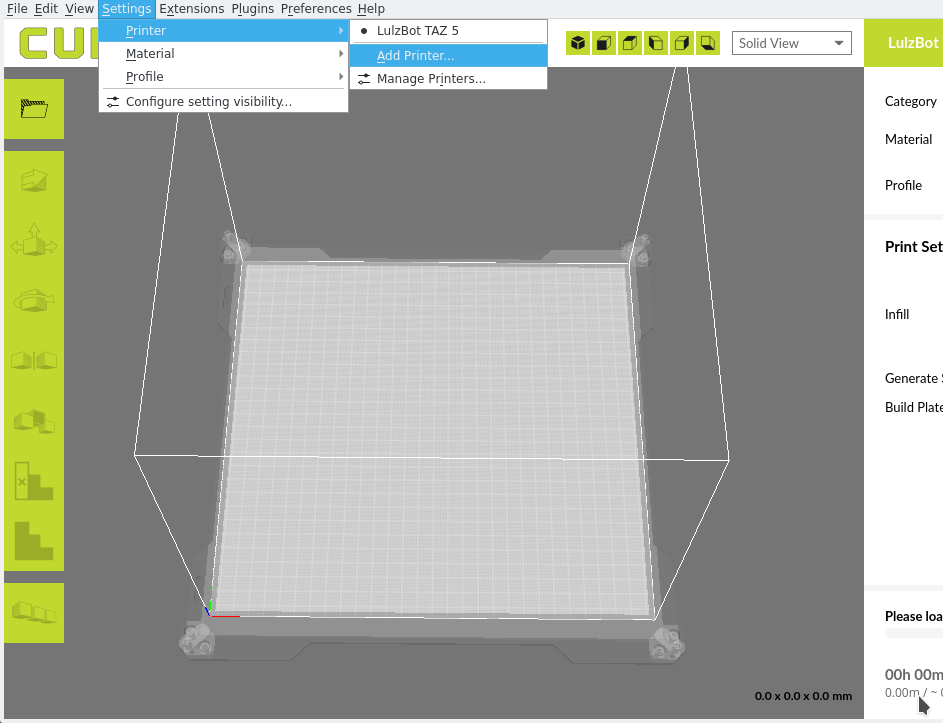
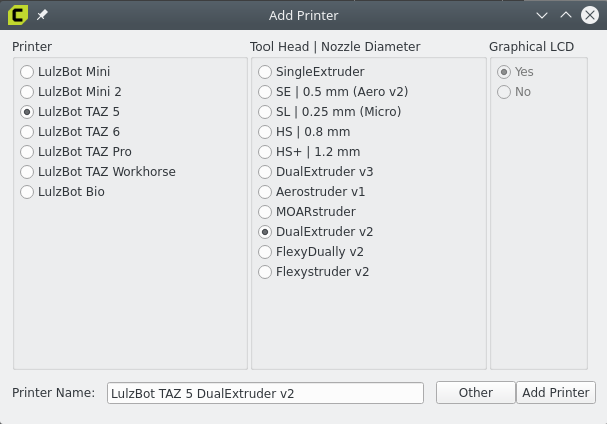
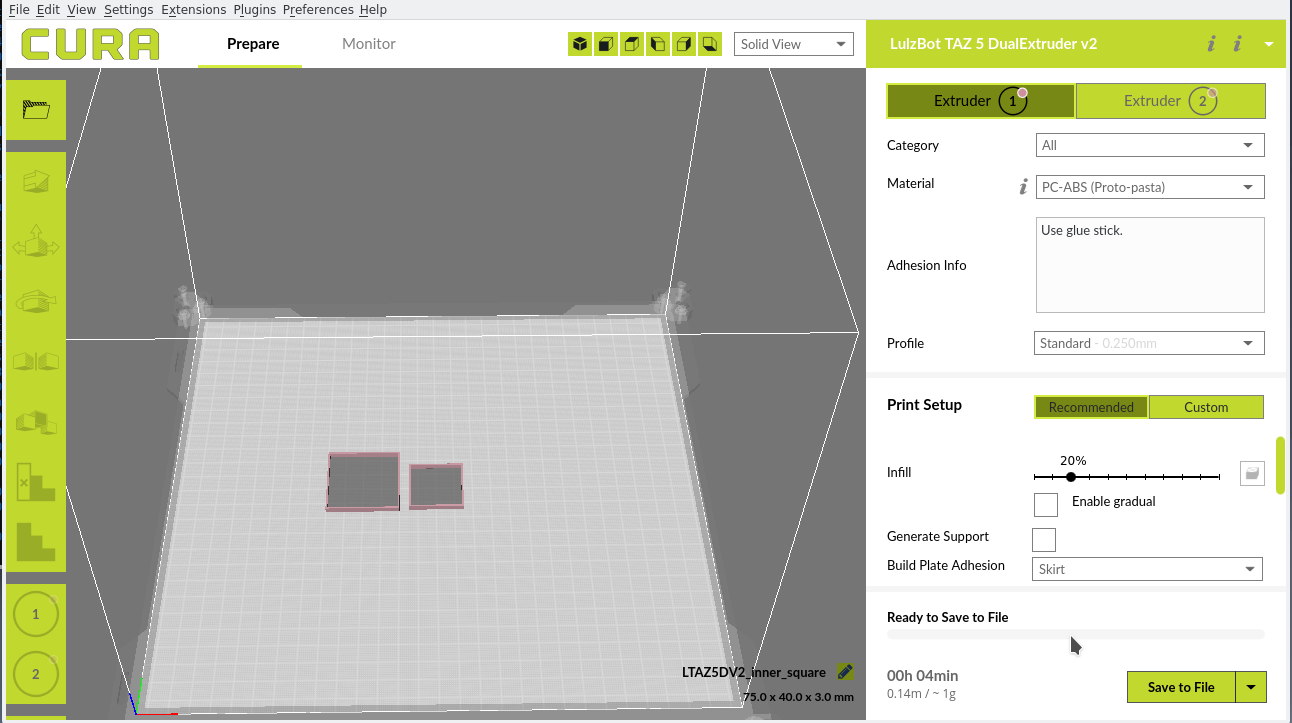
This guide uses Cura: LulzBot Edition for both slicing the 3D model and for controlling your LulzBot 3D printer. Download and install Cura by following the instructions found at LulzBot.com/Cura.
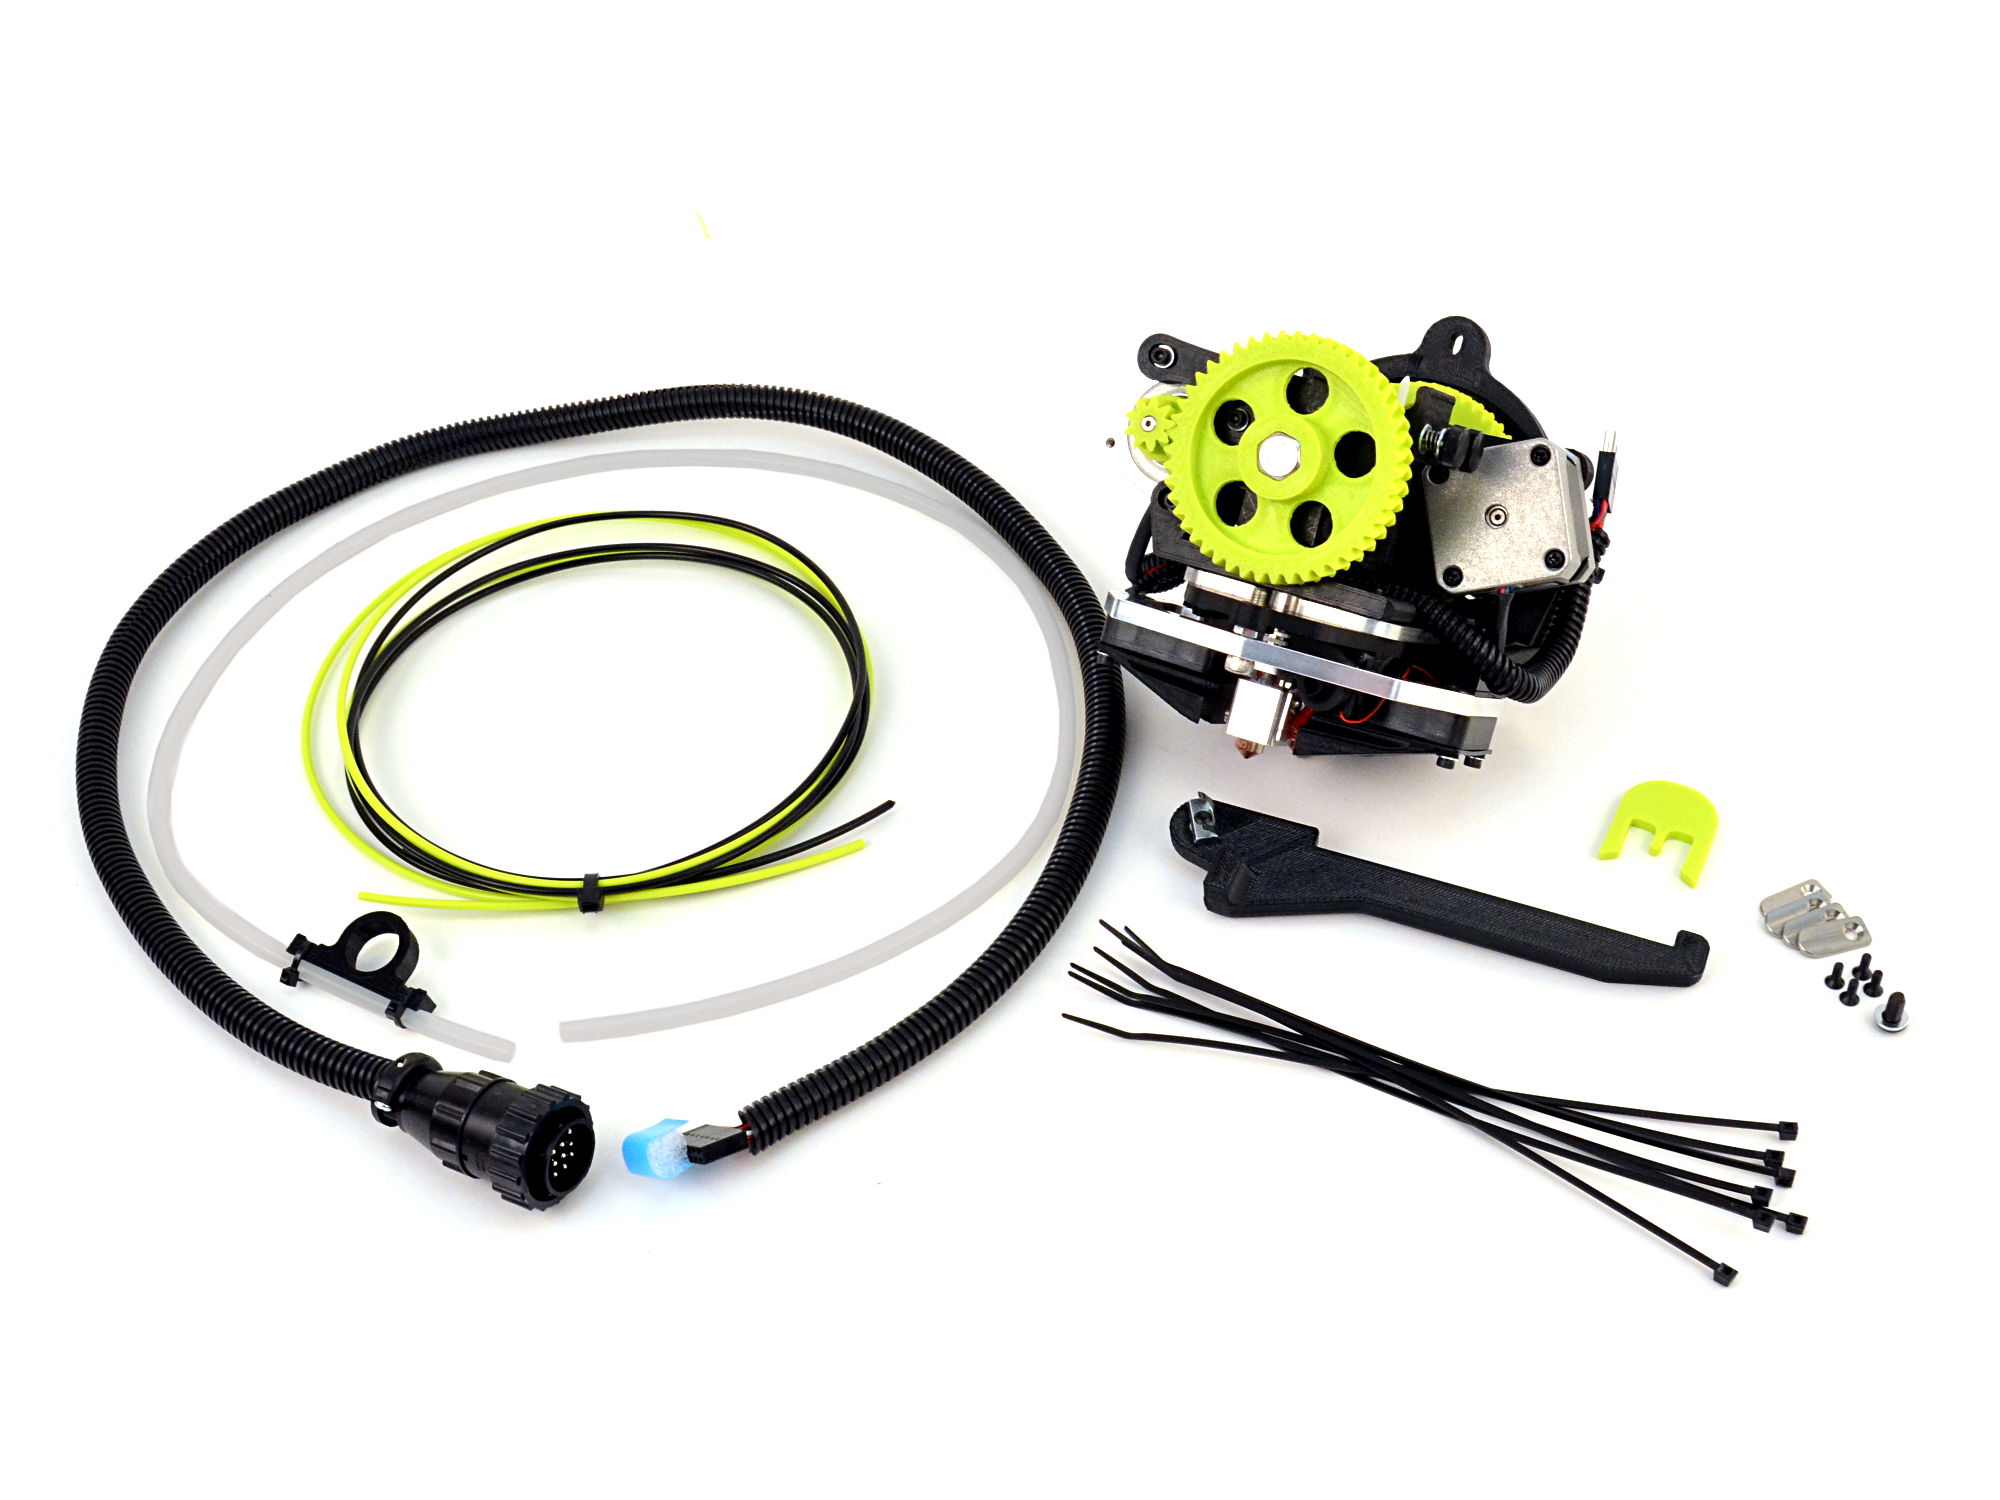
Download the following files by selecting the files below or by right clicking and selecting Save link as:
Additional items required:
Additional items recommended:
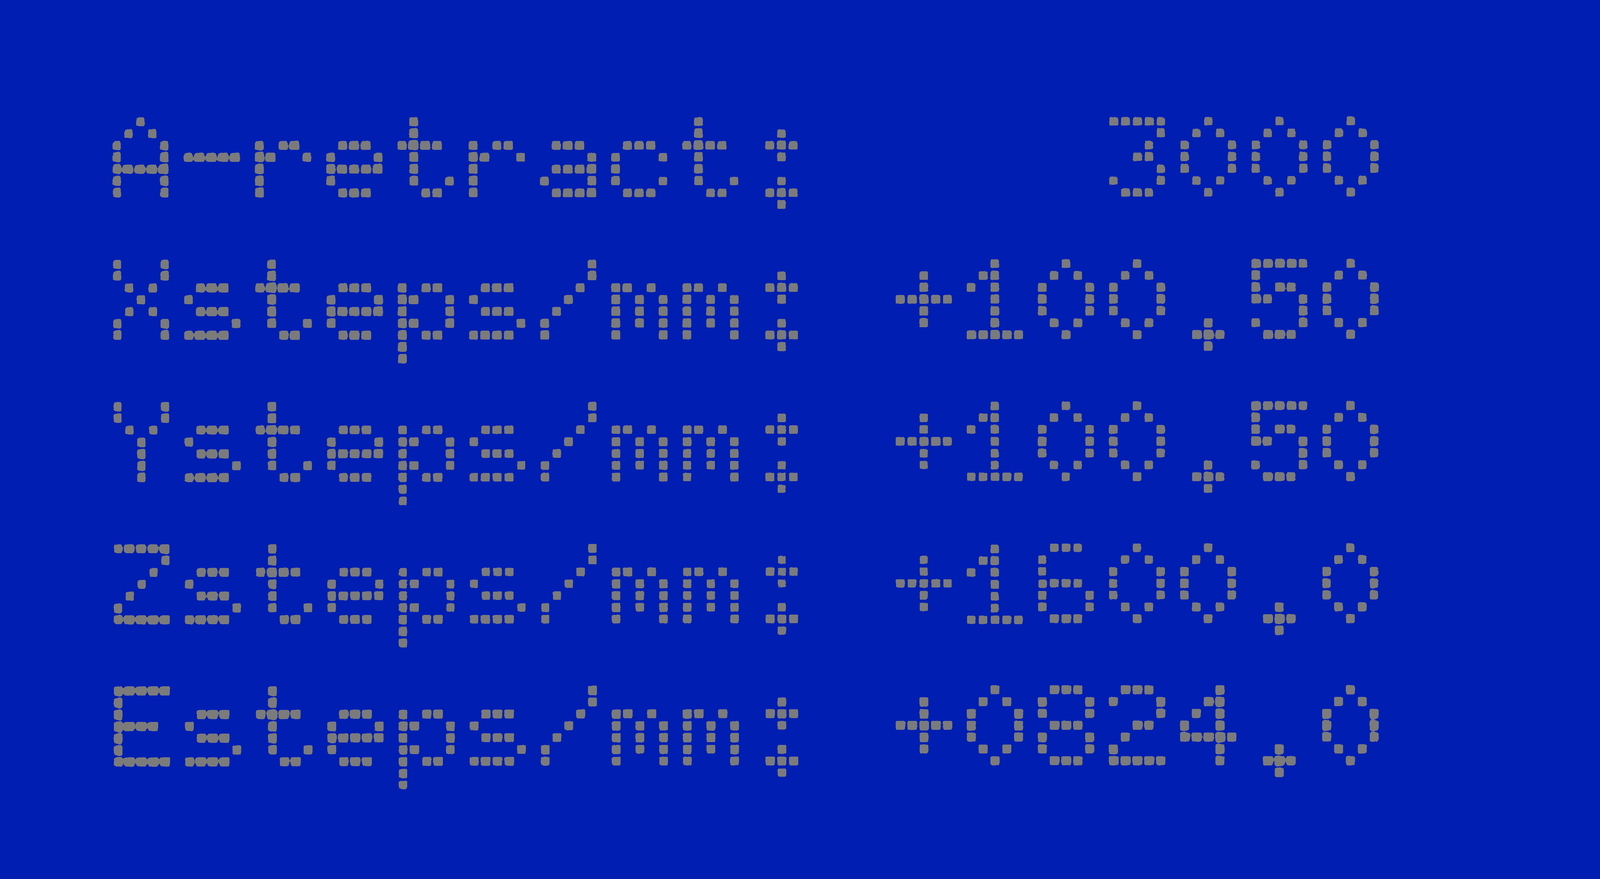
Record your current ESTEPS by using your Graphical LCD controller. Navigate to:
Configuration > Advanced Settings > scroll down to Esteps/mm and E1stps/mm and record both Esteps values.
This slide has directions for setting the nozzle height on a TAZ 5 Only Skip to next slide for TAZ 6 directions
Raise your front nozzle on the tool head by screwing the adjustment screw Counter Clockwise
This slide is for the TAZ 6 ONLY if you are installing on a TAZ 5, skip to the next slide.
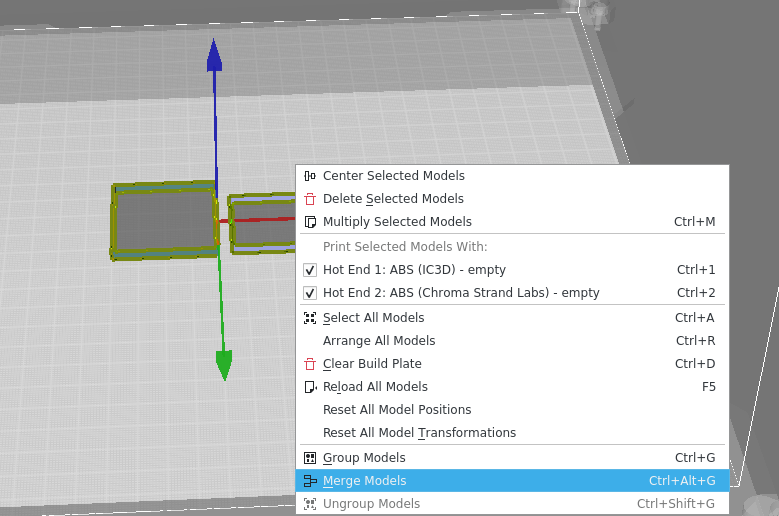
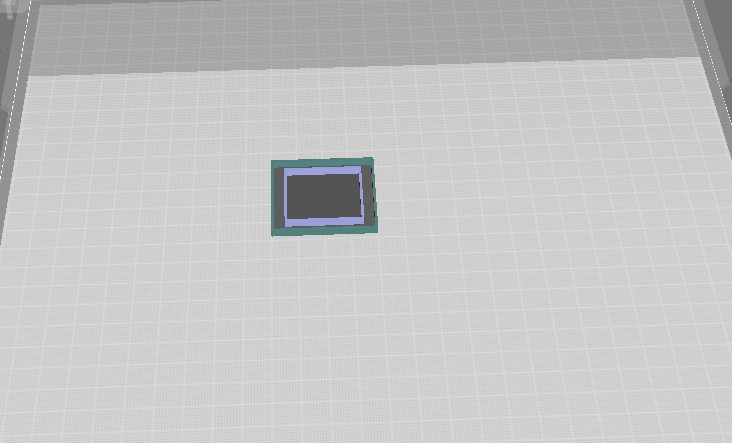
Press Print to print the merged Calibration Squares model.
As your 3D printer moves to print each portion it will switch between active extruders automatically. Monitor the print progress for it should only take a few minutes. Once the print has finished proceed to the next step.

Once the printed objects are complete, leave them on the print surface. Use your digital calipers to measure the gap between each model from the top & bottom, and the gap between each side. Record your current values.
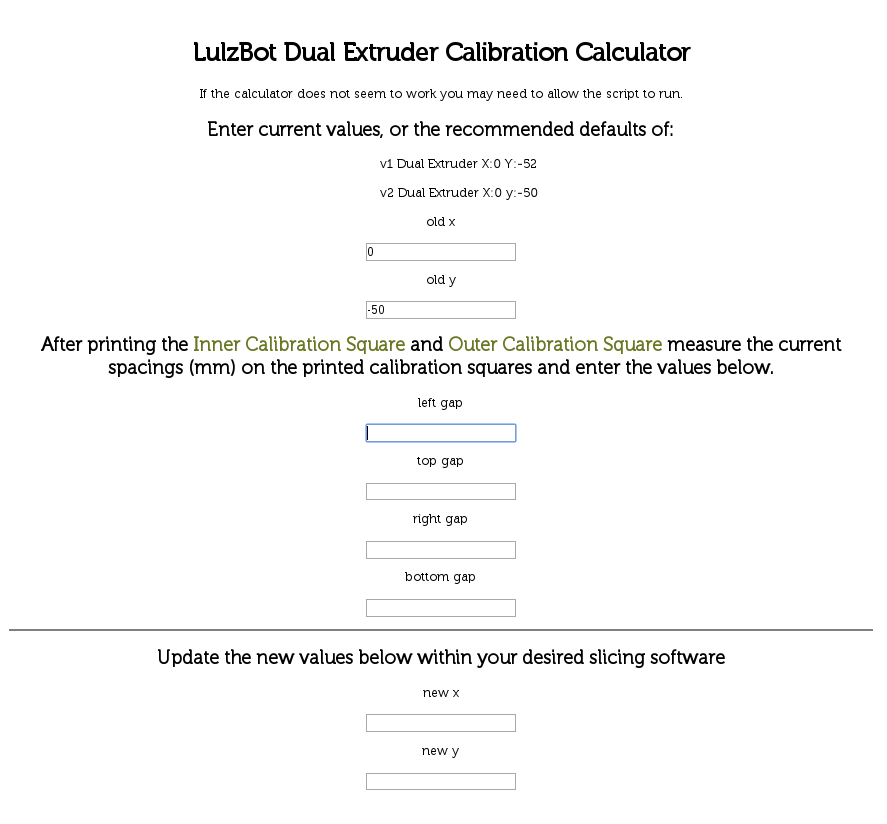
Enter these numbers into our offset calculator found here: https://www.lulzbot.com/dual-extruder-calibration-calculator
This will produce new offsets, that will need to be updated in the Machine Settings menu.
Close the control window.
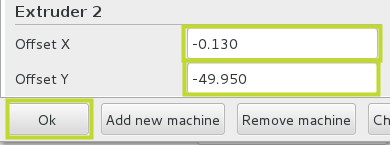
Open the Machine settings window by selecting:
Machine > Machine Settings
Update your__X__ and Y offsets and save the changes by pressing OK.
Reprint the inner and outer calibration squares using the steps in this guide to fine tune the offsets until you are satisfied with the results.
Once the printed objects are complete, leave them on the print surface. Use your digital calipers to measure the gap between each model from the top & bottom, and the gap between each side. Record your current values.
Once you are satisfied with the dual extruder offsets print a two color dice to celebrate! The model is available here:
Happy printing!