Open HardwareAssembly Instructions
Guides for installation and assembly of the LulzBot line of products made by FAME 3D LLC.
Guides for installation and assembly of the LulzBot line of products made by FAME 3D LLC.

Once saved, launch the installer by double clicking on the downloaded file on your Desktop. You may be able to open the file from the download section of your browser.
Once the installation wizard is open, click Install to continue through the installation process. Click Next or Yes when prompted.
The Installation Wizard will also prompt you to install the driver used to communicate with the LulzBot 3D printer. Click Next, Install or Next to allow the driver installation process to finish.
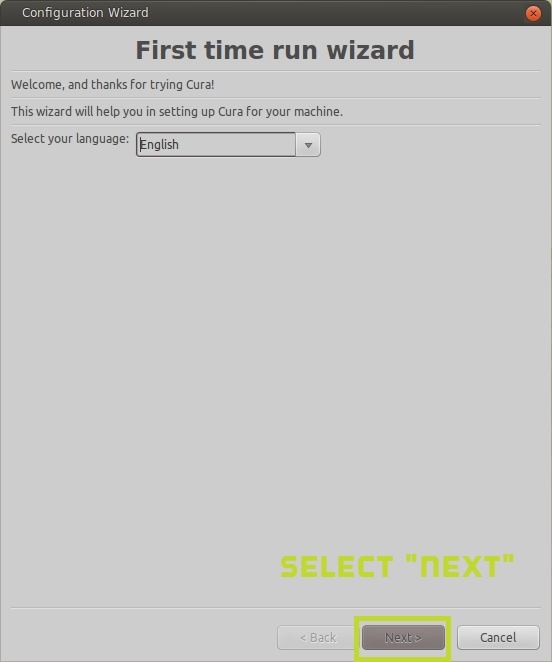
The first time Cura is opened you'll be shown the First Run Wizard. It is important to completely finish this process as it will set up Cura to work with your specific model of LulzBot 3D printers.
The wizard should now say Cura is now ready to be used with your LulzBot 3D printer.
Continue with the Quick Start Guide included with your LulzBot 3D printer to print your first object with Cura. The Quick Start Guide can be downloaded from LulzBot.com/Cura