Open HardwareAssembly Instructions
Guides for installation and assembly of the LulzBot line of products made by FAME 3D LLC.
Guides for installation and assembly of the LulzBot line of products made by FAME 3D LLC.
Materials required:
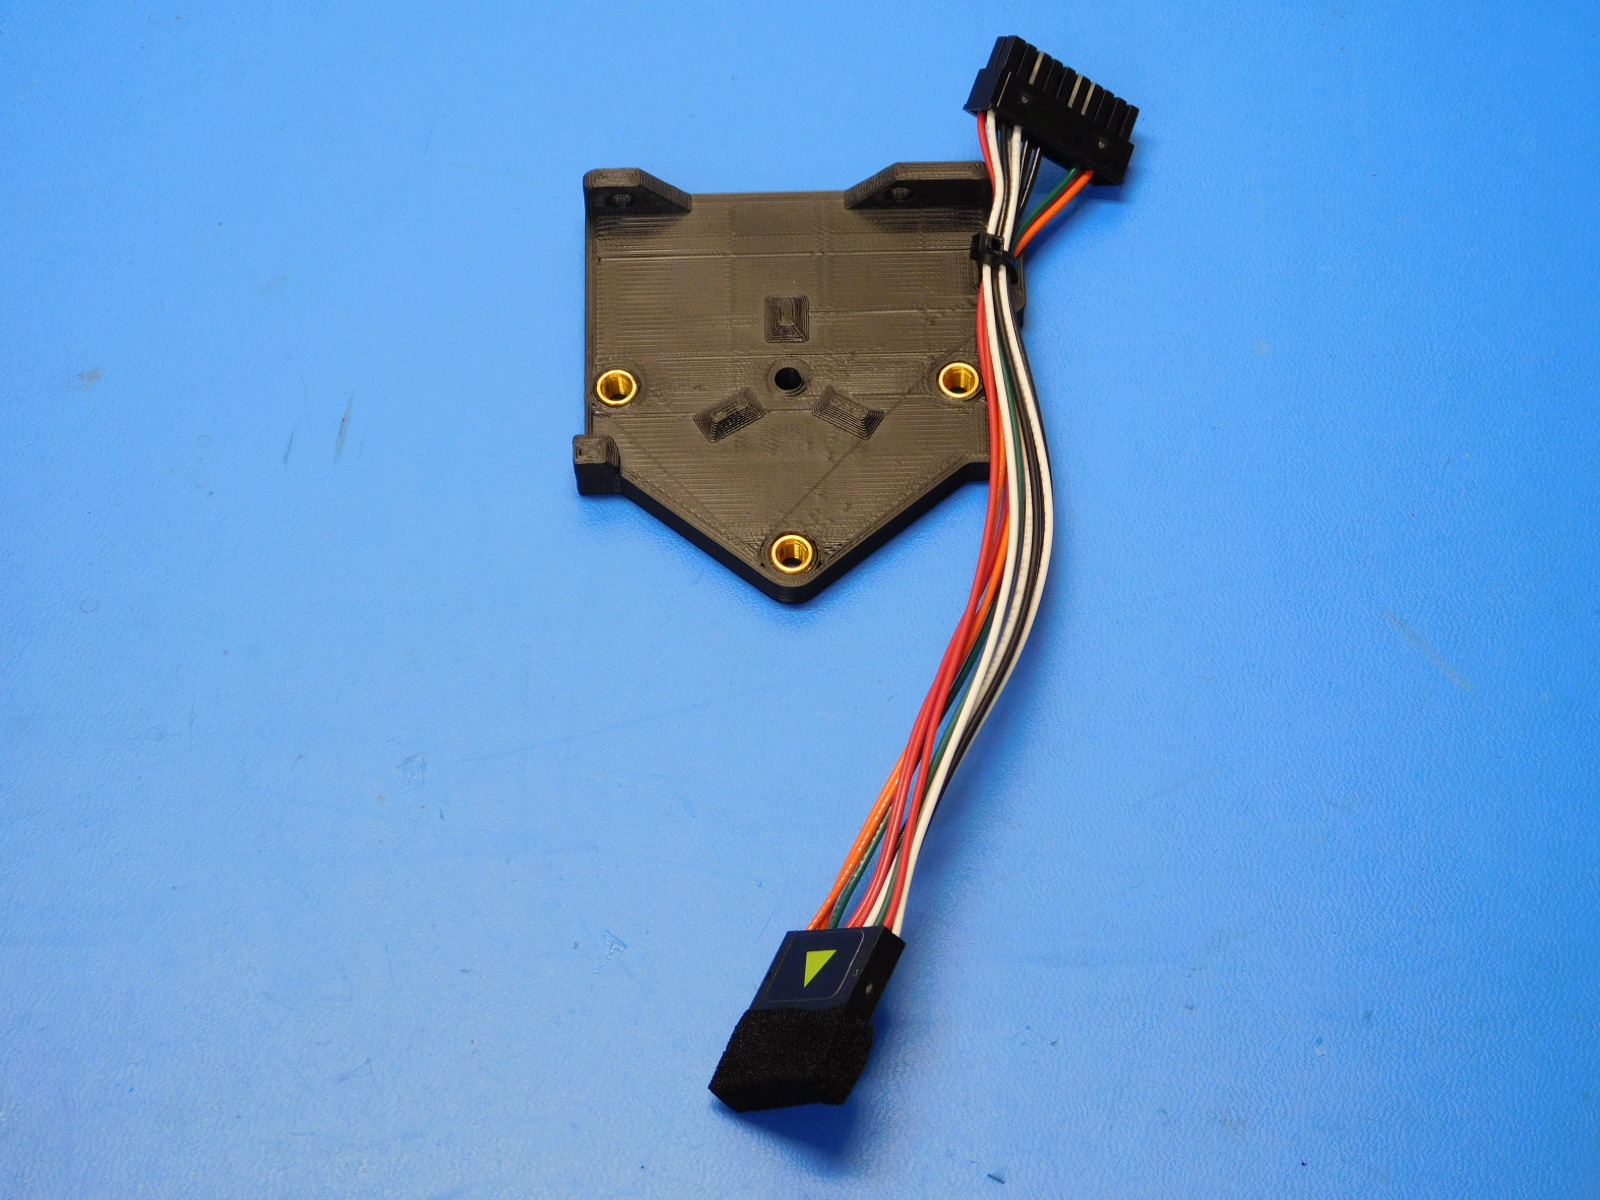
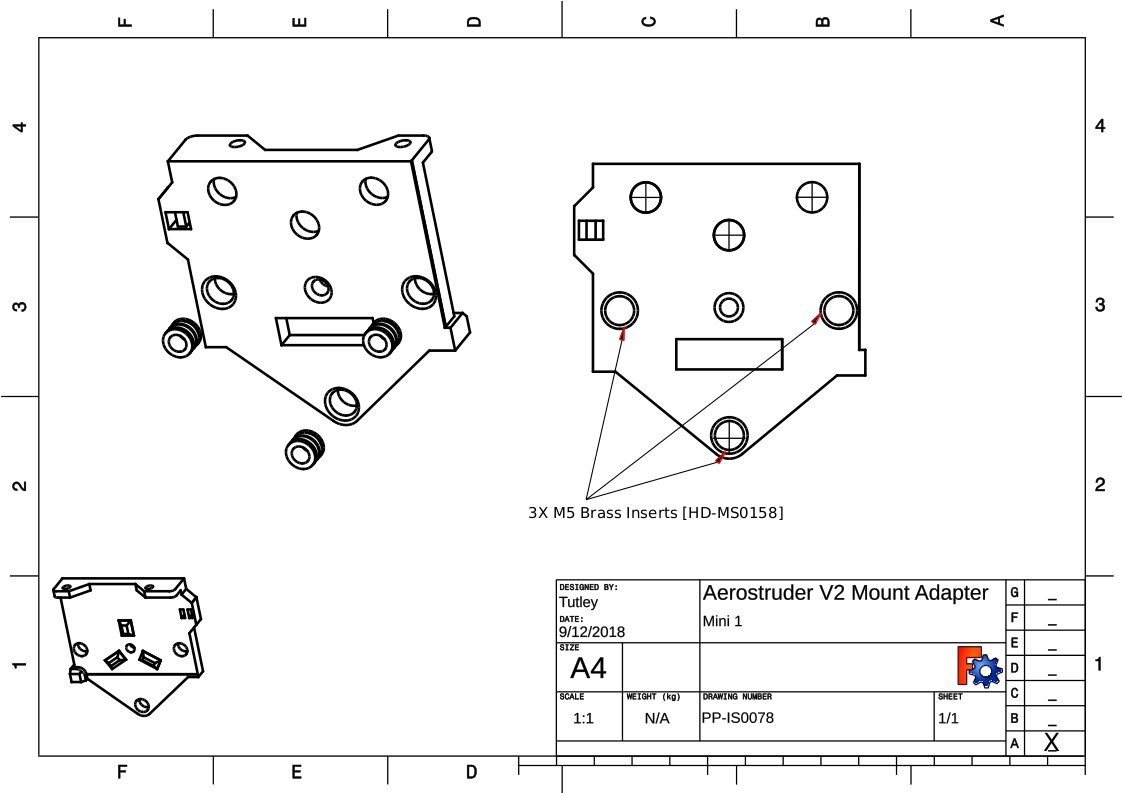
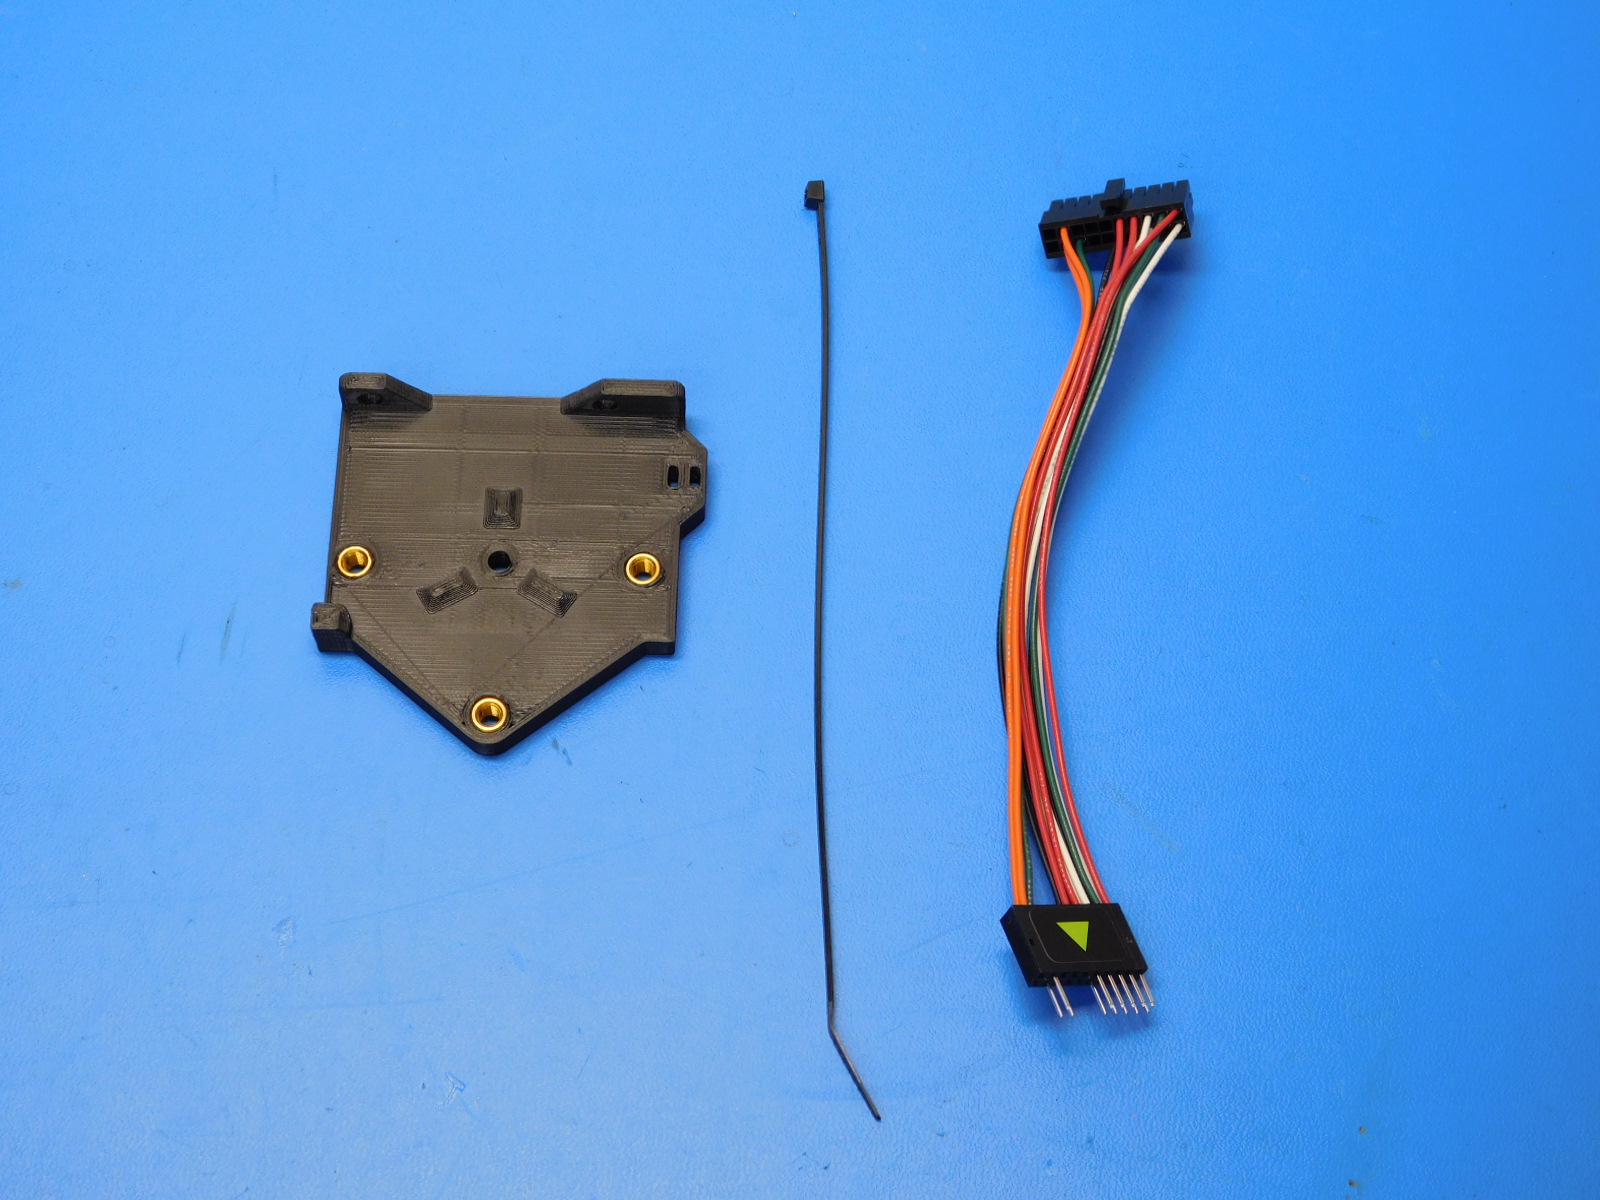
1x- [PP-GP0354] Aerodapter Mini Mount
3x- [HD-MS0158] M5 Inserts
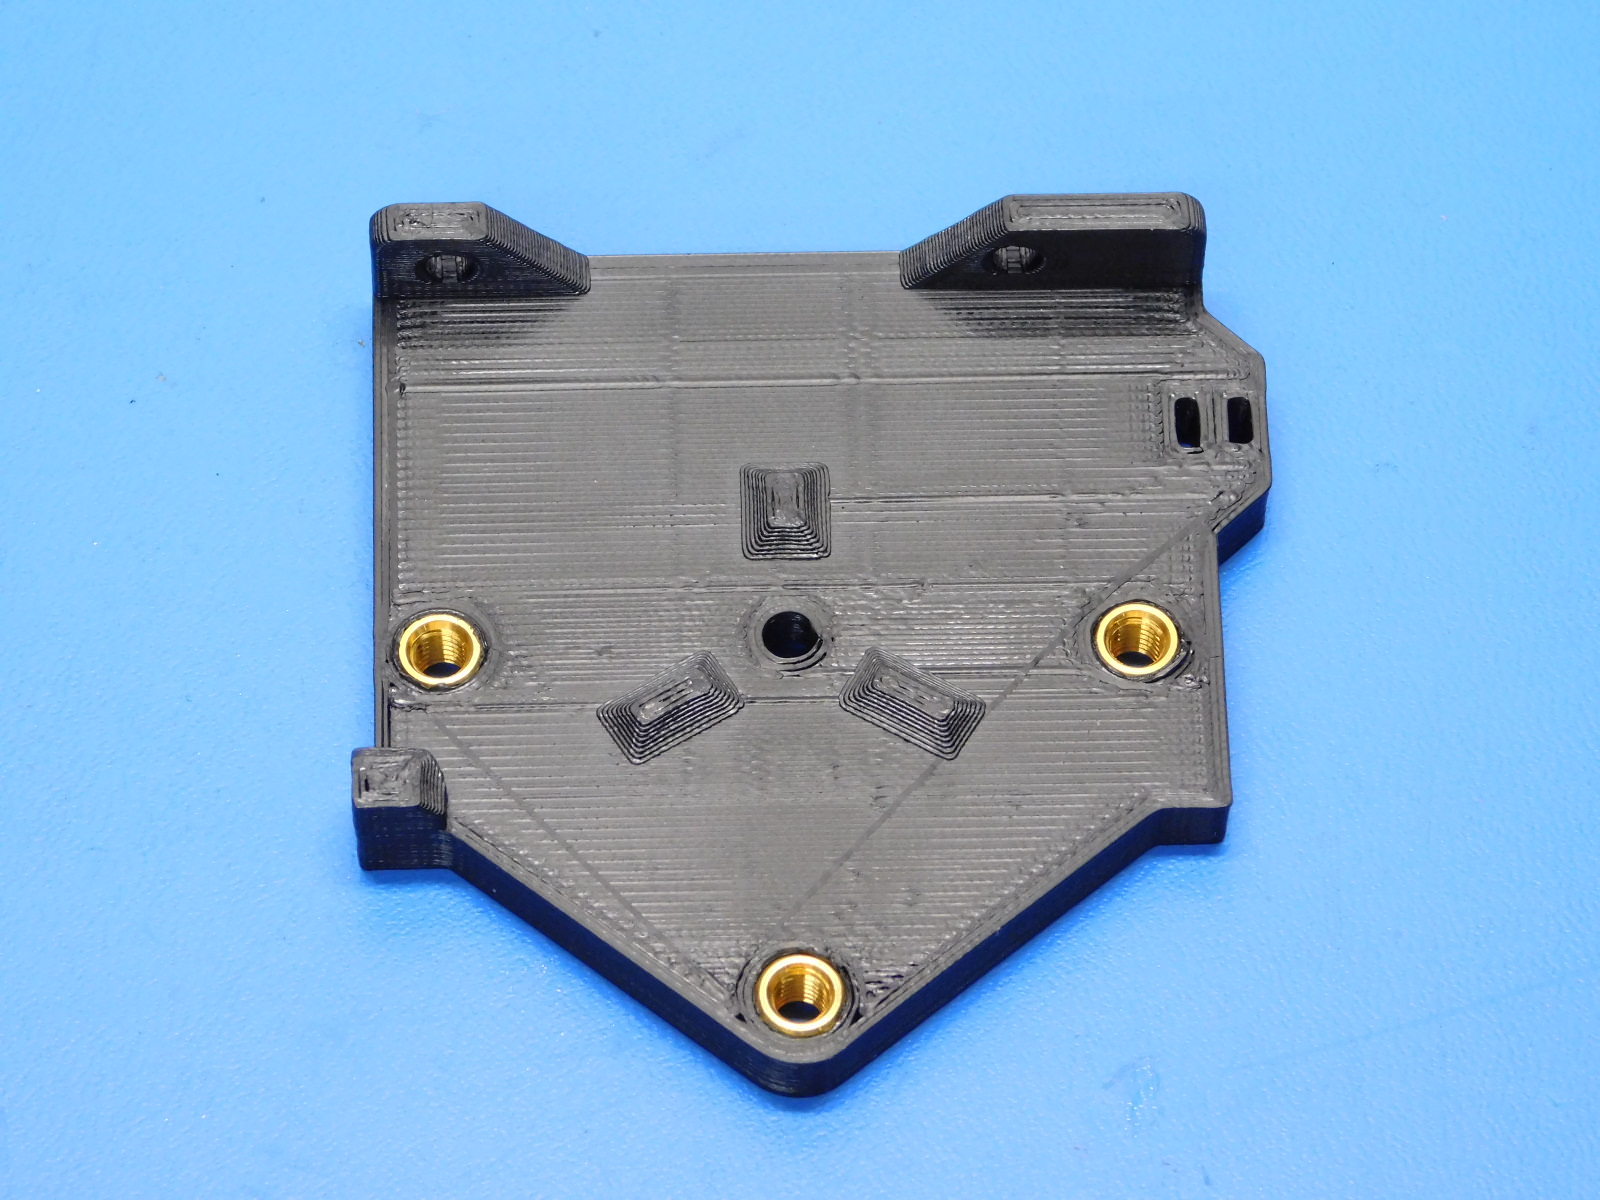
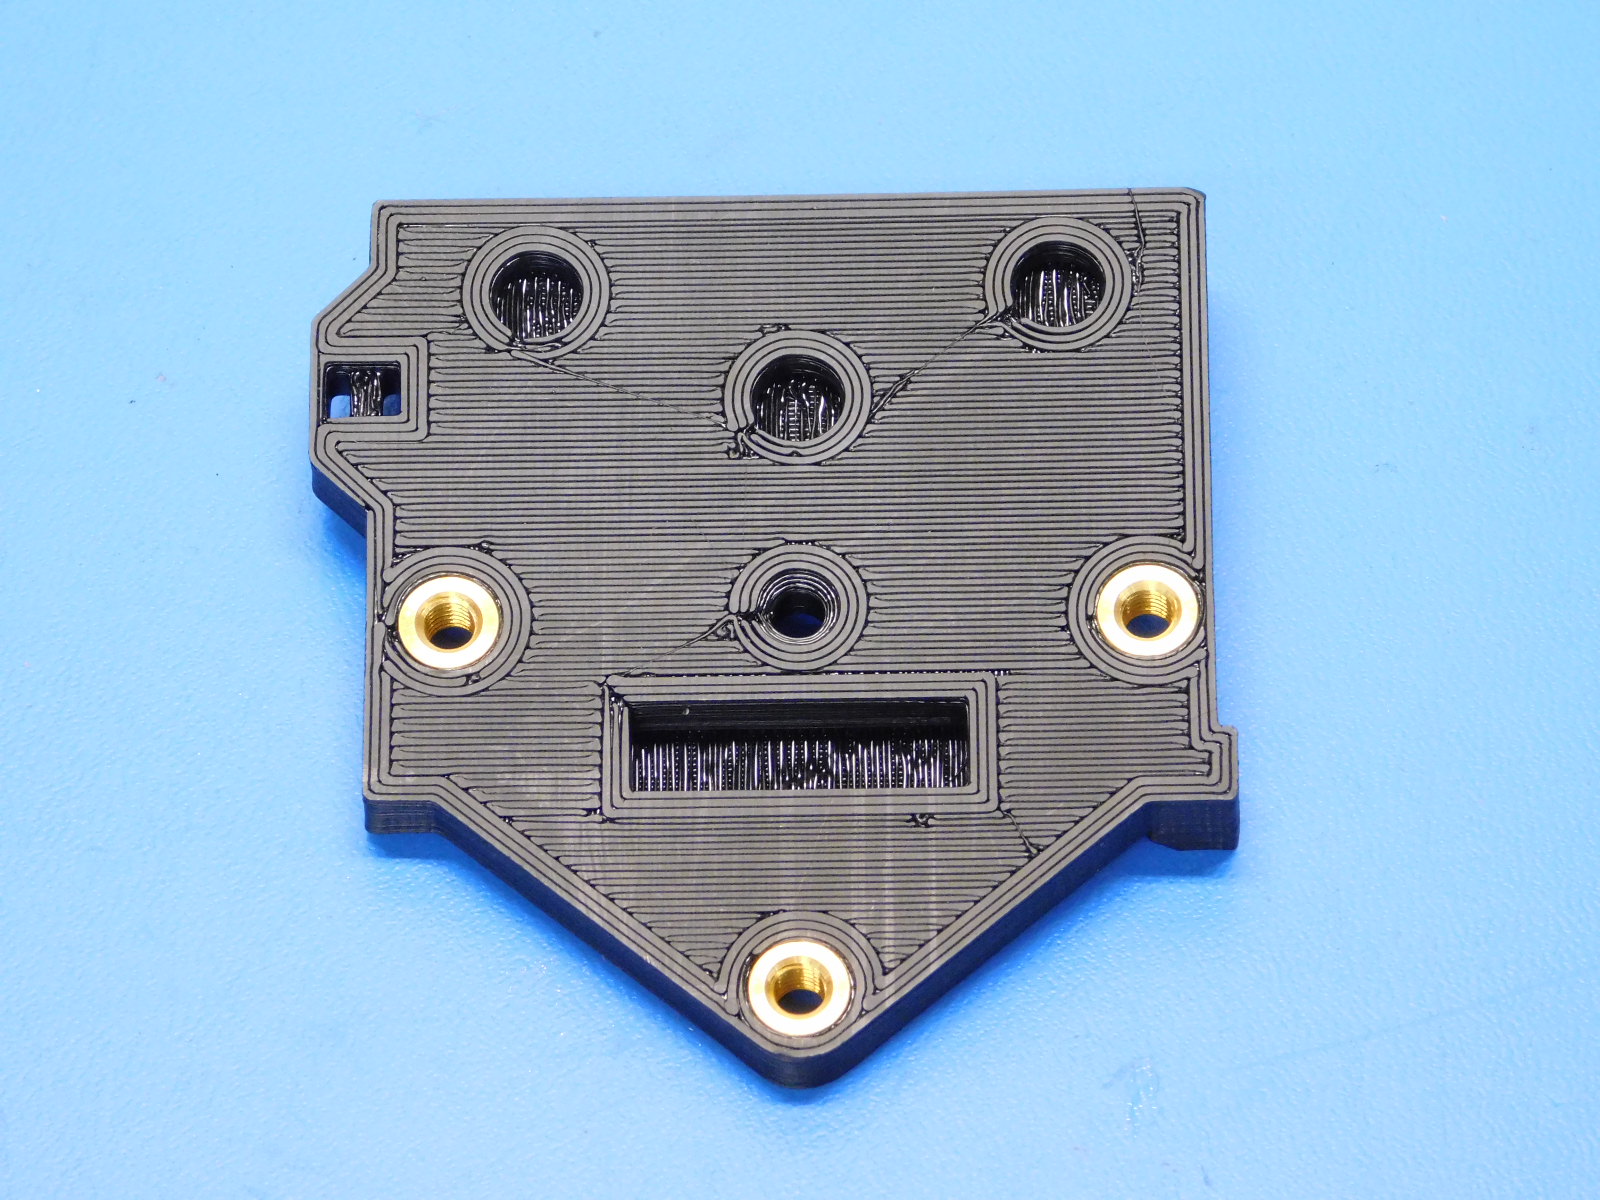
Follow the insert diagram to install three (3) M5 Inserts [HD-MS0158] to the Aerodapter Mini Mount [PP-GP0354]
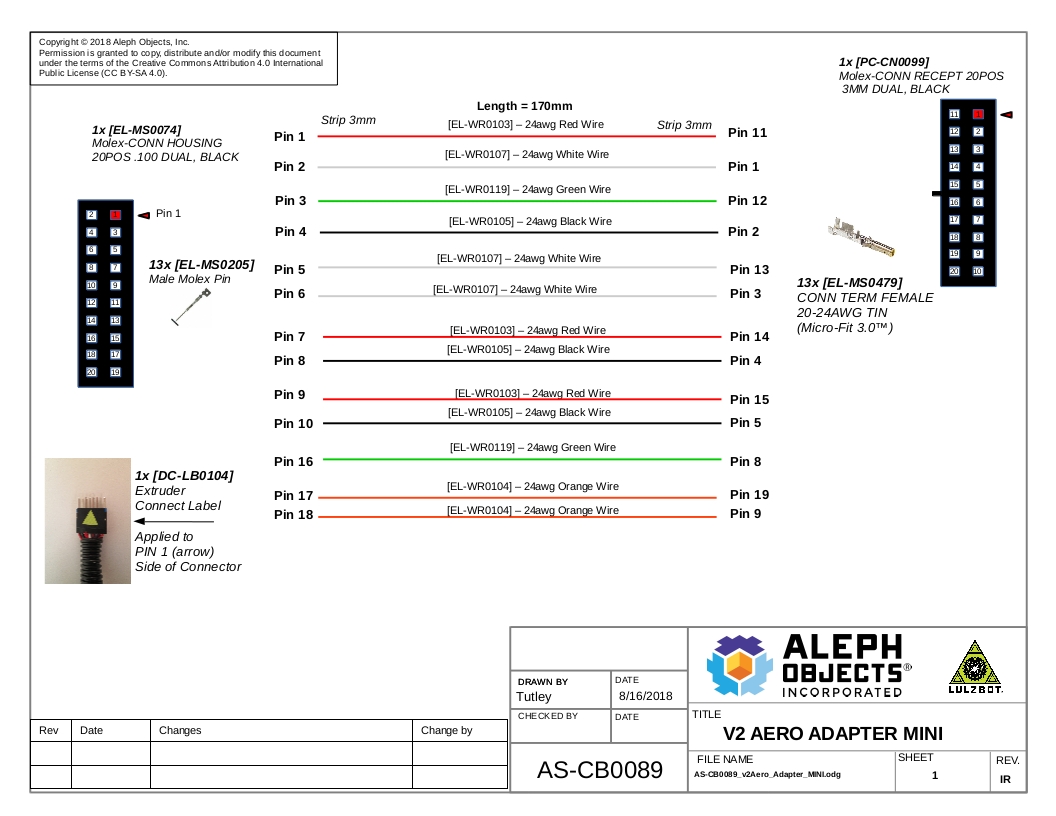
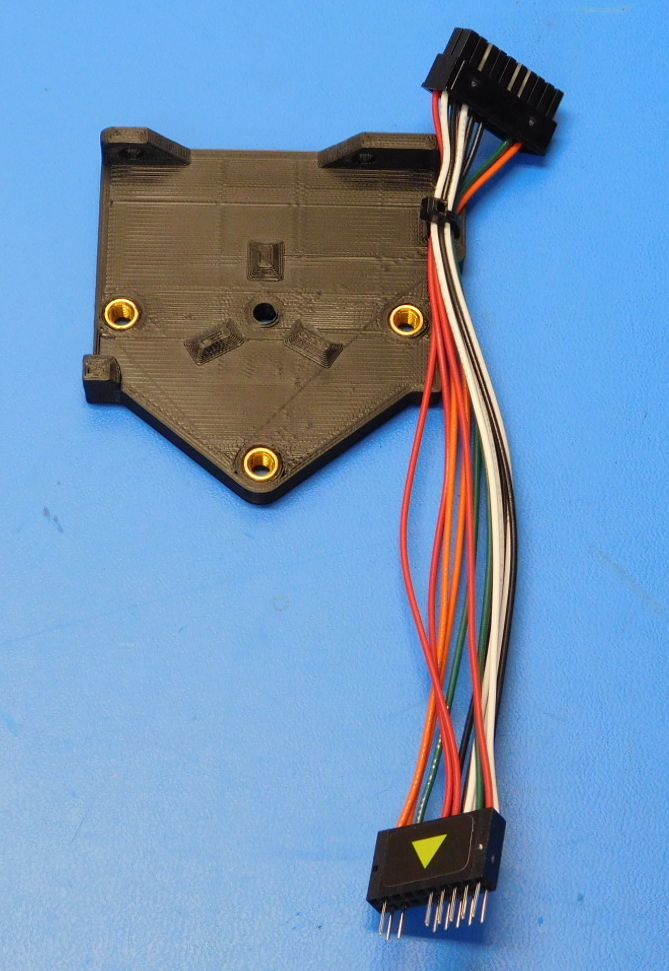
Build the harness according to the drawing provided
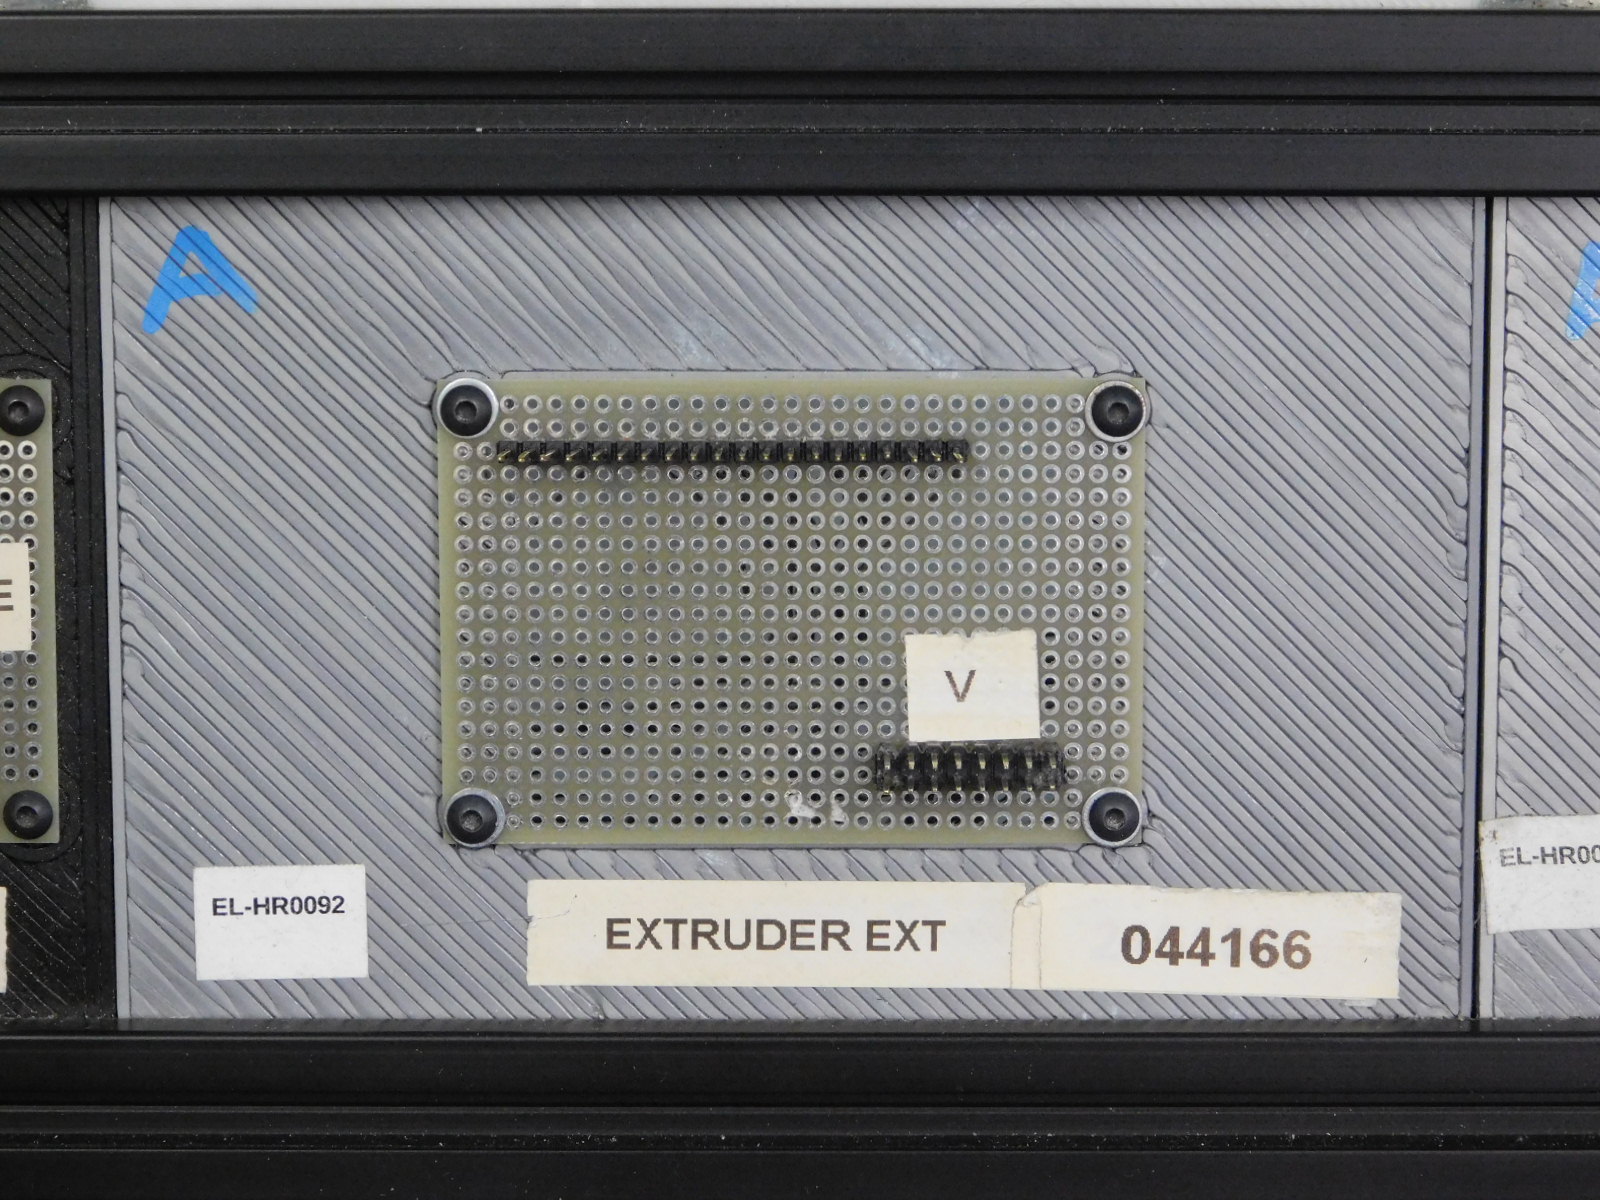
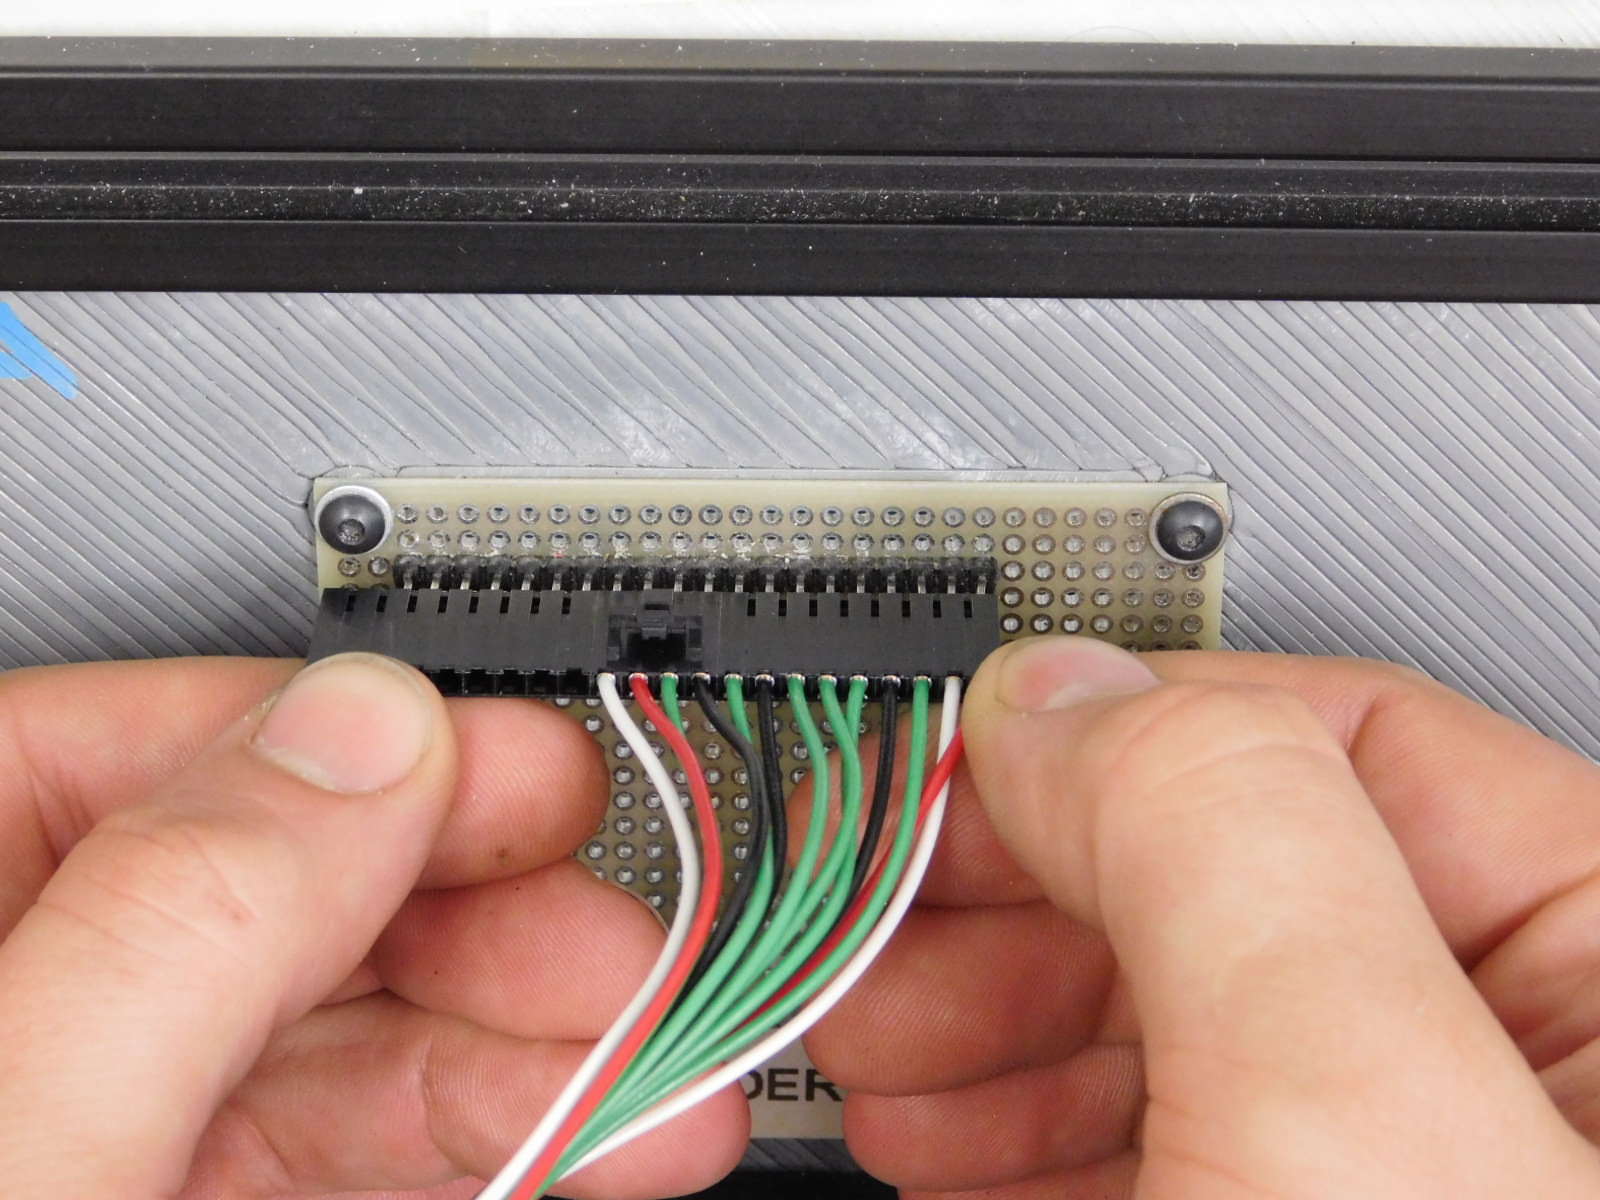
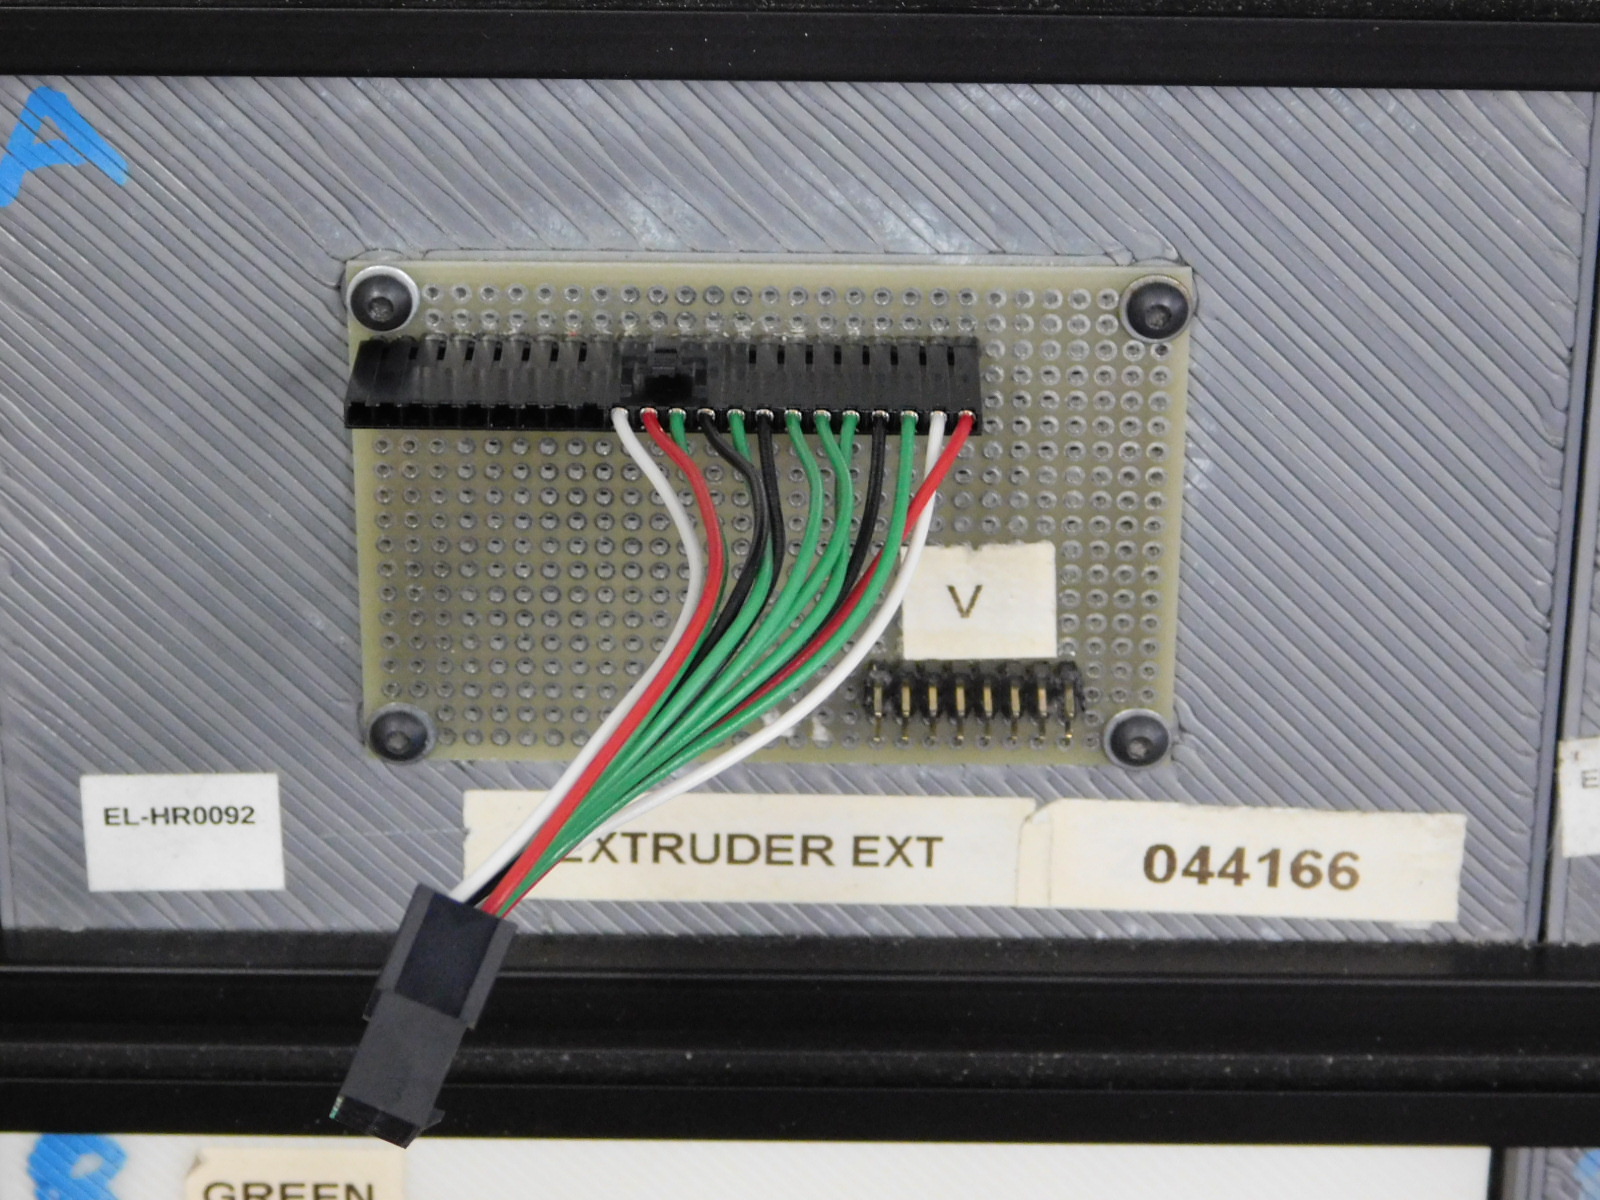
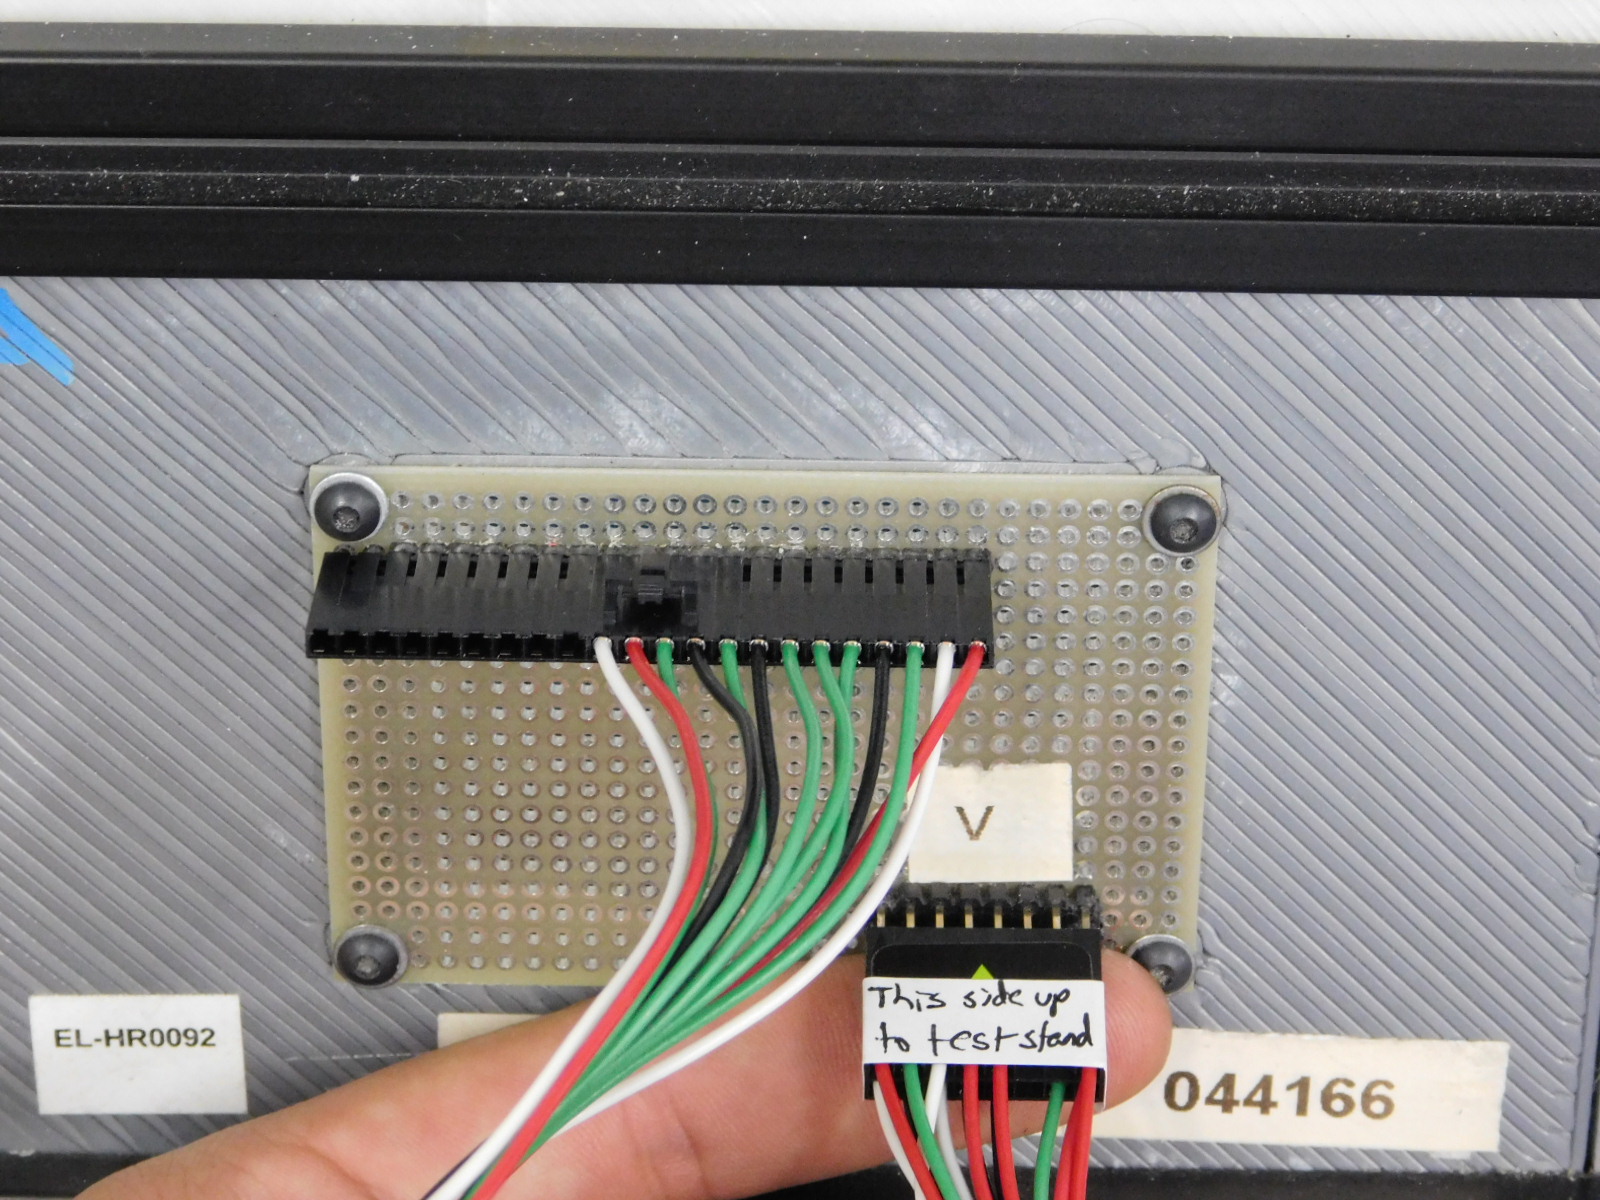
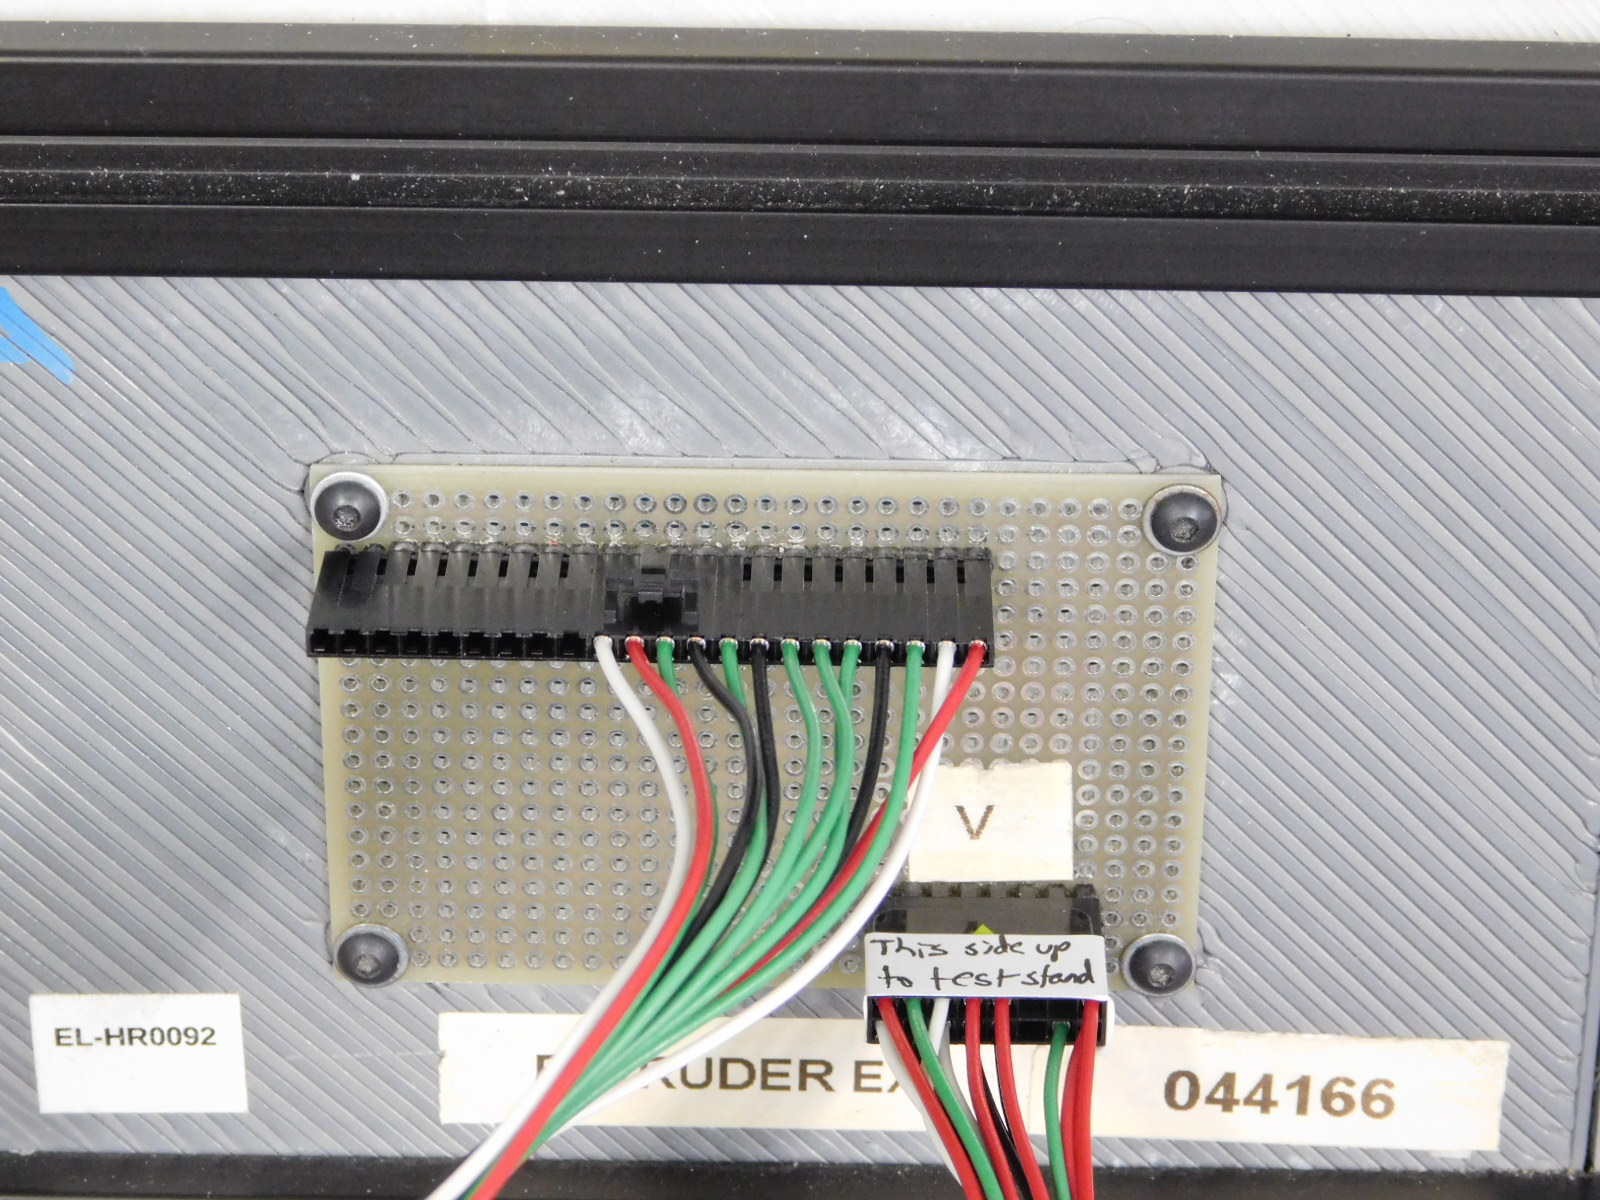
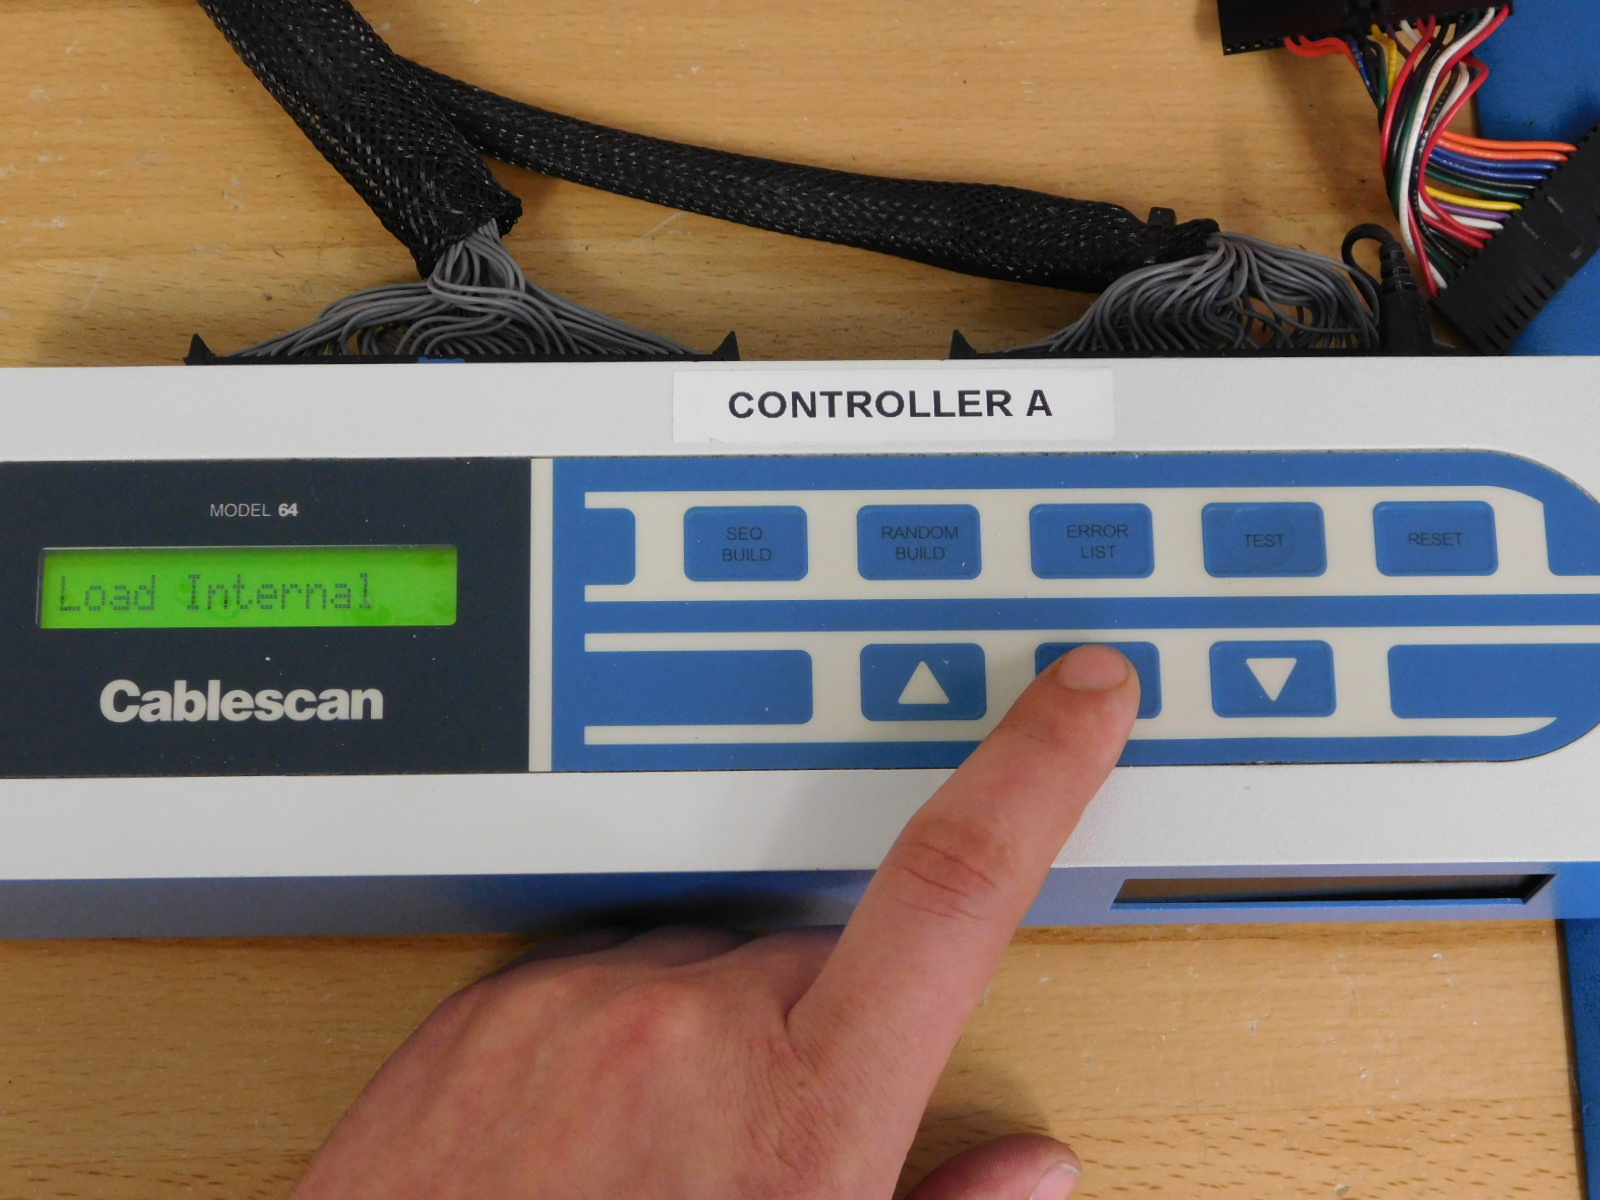
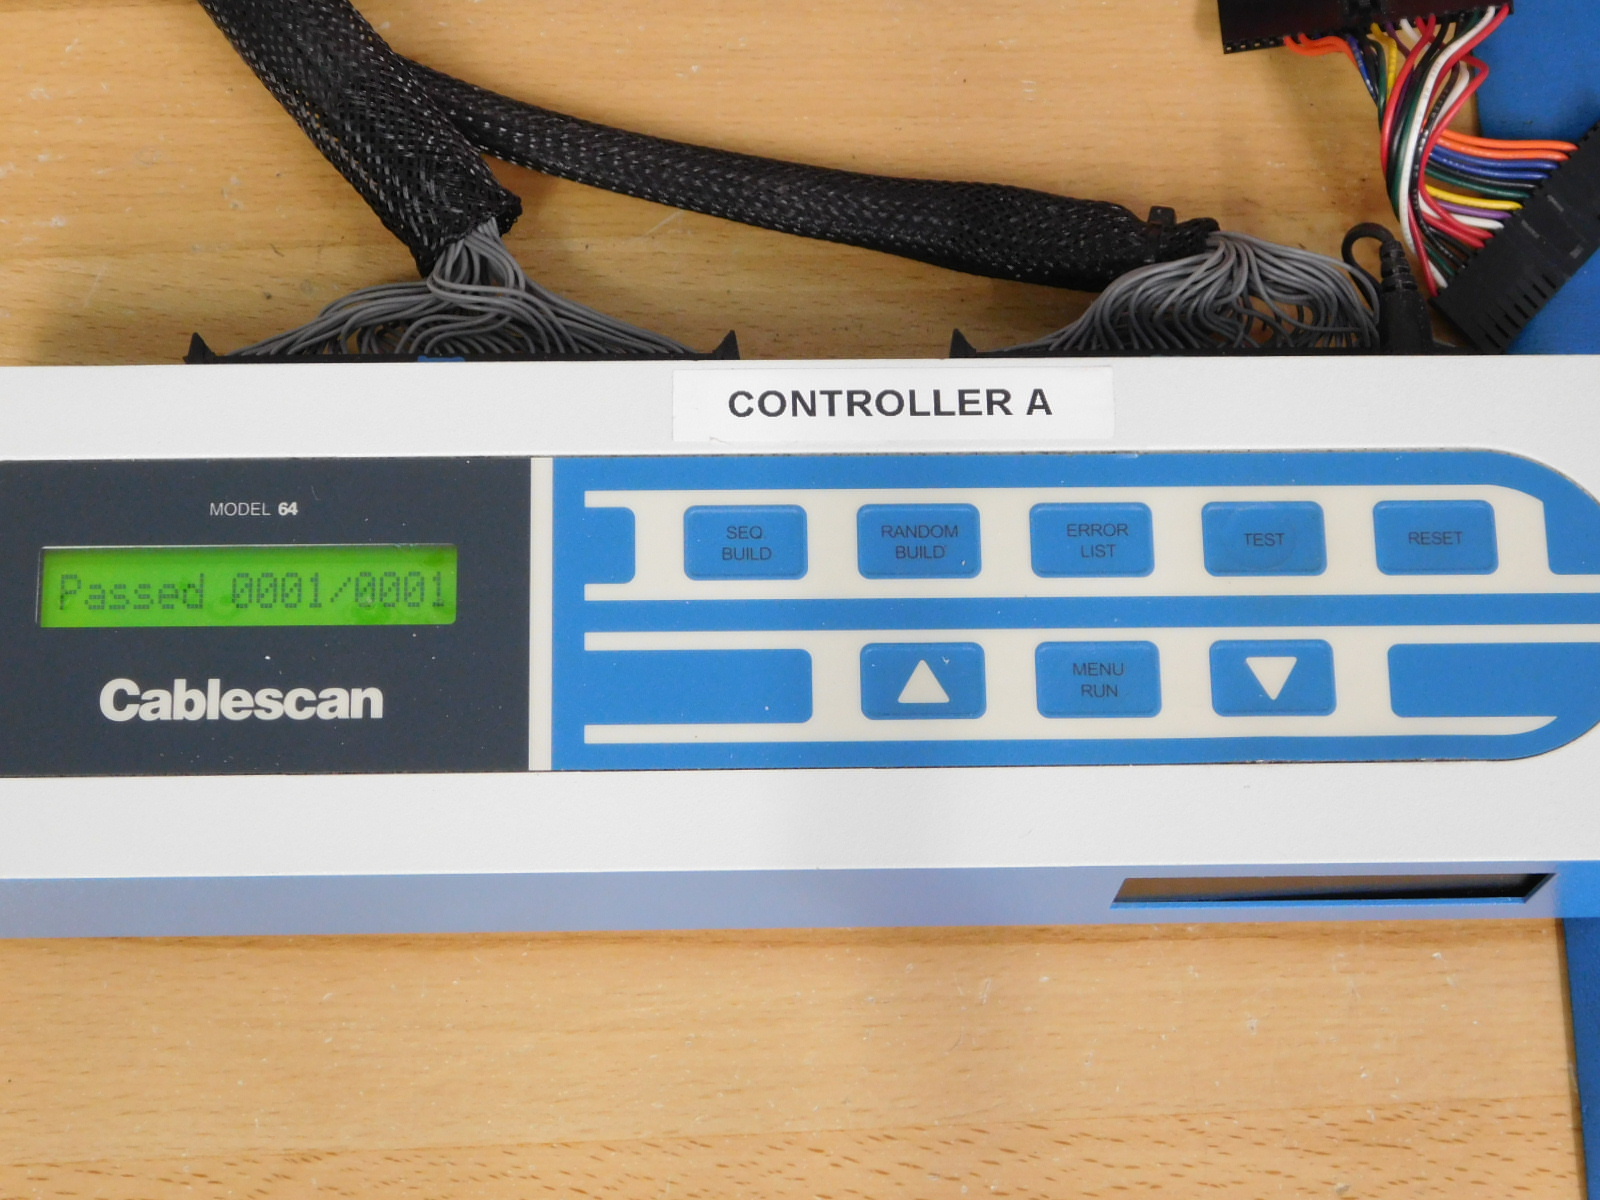
This test utilizes the TAZ 6 Extruder Harness test panel attached to Cablescan Controller A
First, attach the Microfit adapter jumper to the top single row header on the test panel with the clip facing up and extra pin slots hanging over the left of the header, as pictured.
Then attach the white label side of the 16pin to 20pin Male to Female adapter jumper to the test panel, ensuring the label is facing up as pictured.
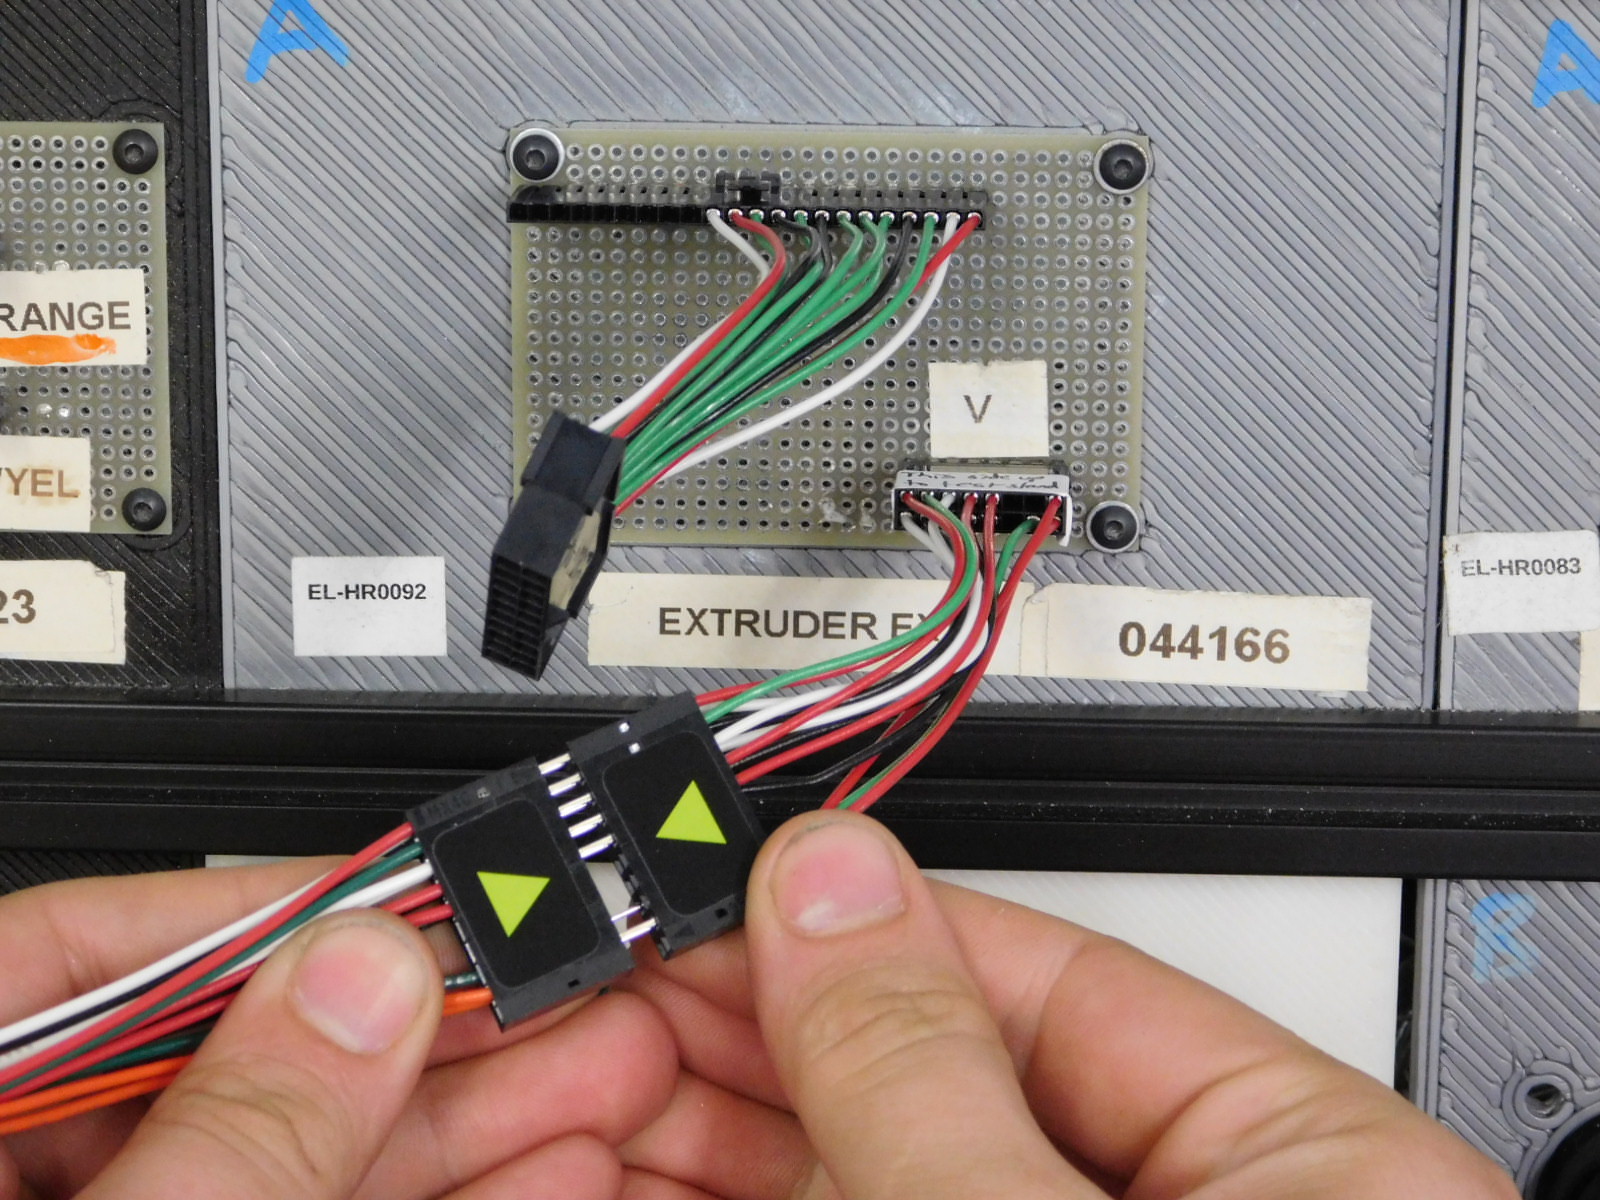
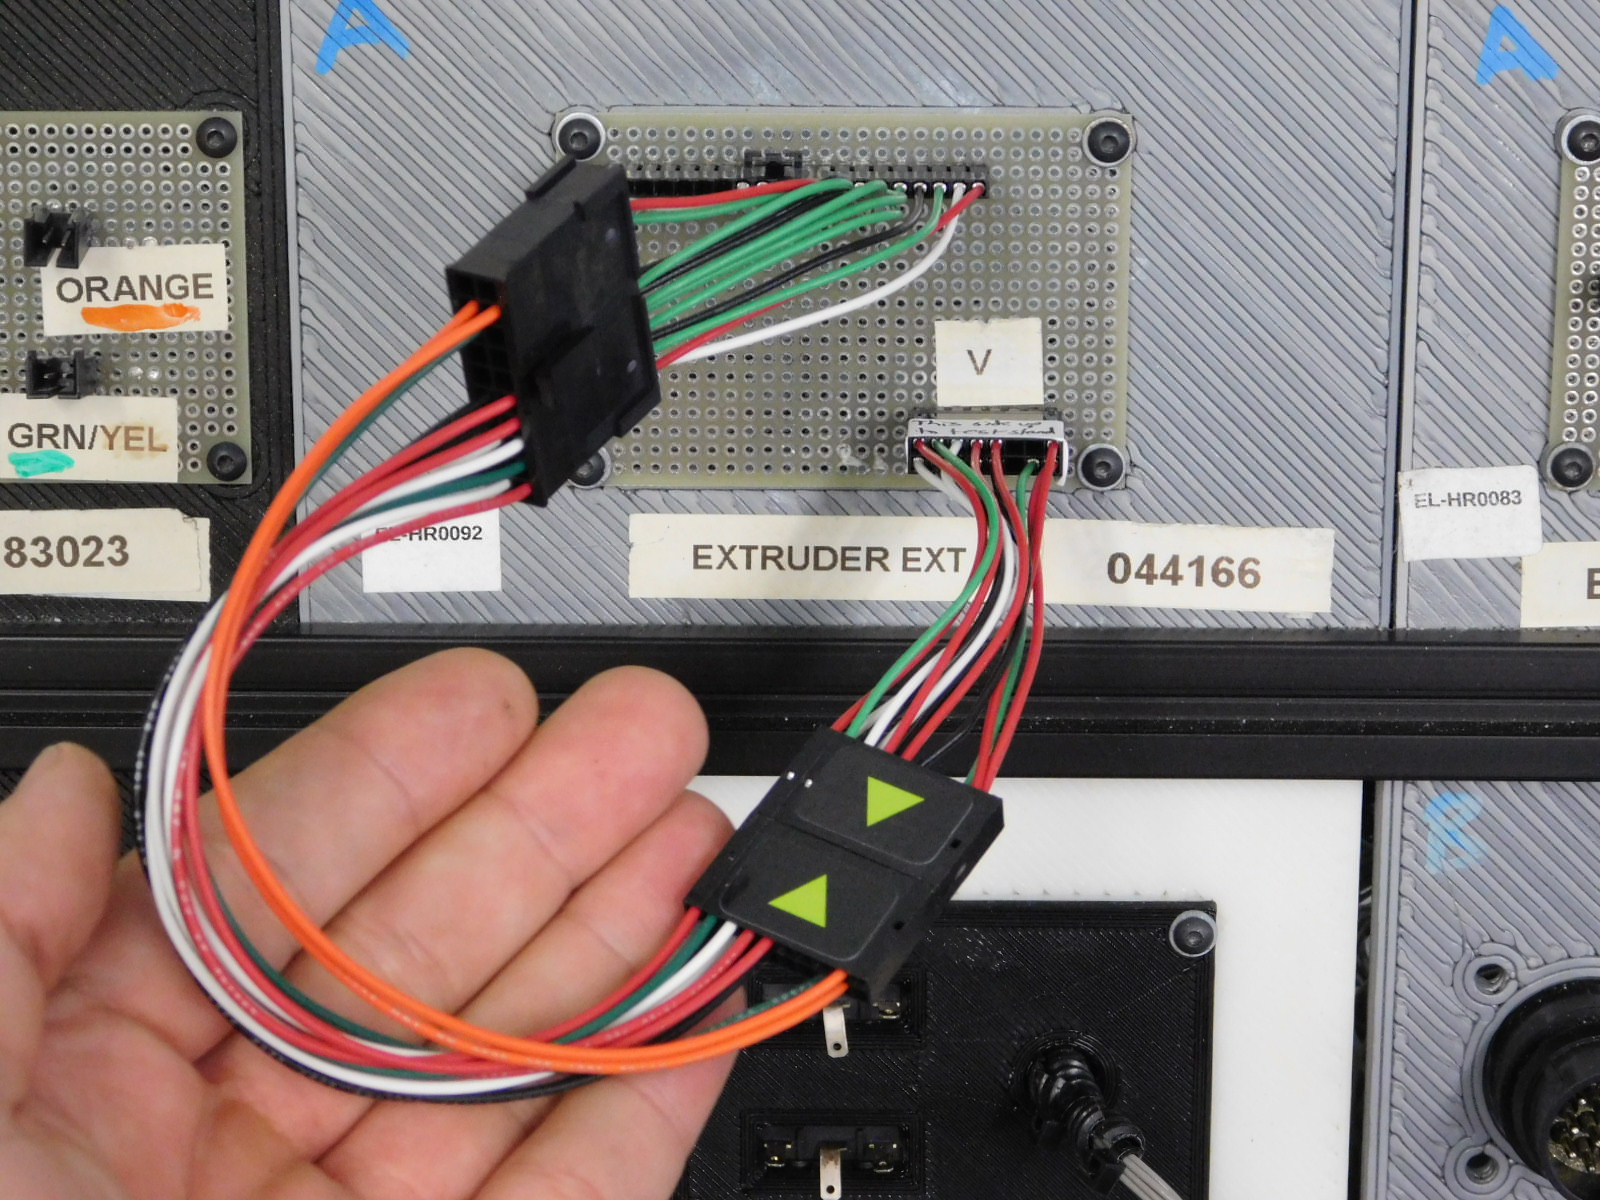
Connect the 20 pin dual row connector end of the harness to the Male to Female adapter jumper, aligning the two arrow labels as pictured.
Connect the Microfit side to the Microfit adapter jumper; this can only be connected in one orientation.
Power on Cablescan Controller A
Use the UP/DOWN arrows to navigate to "LOAD INTERNAL", select by pressing MENU/RUN
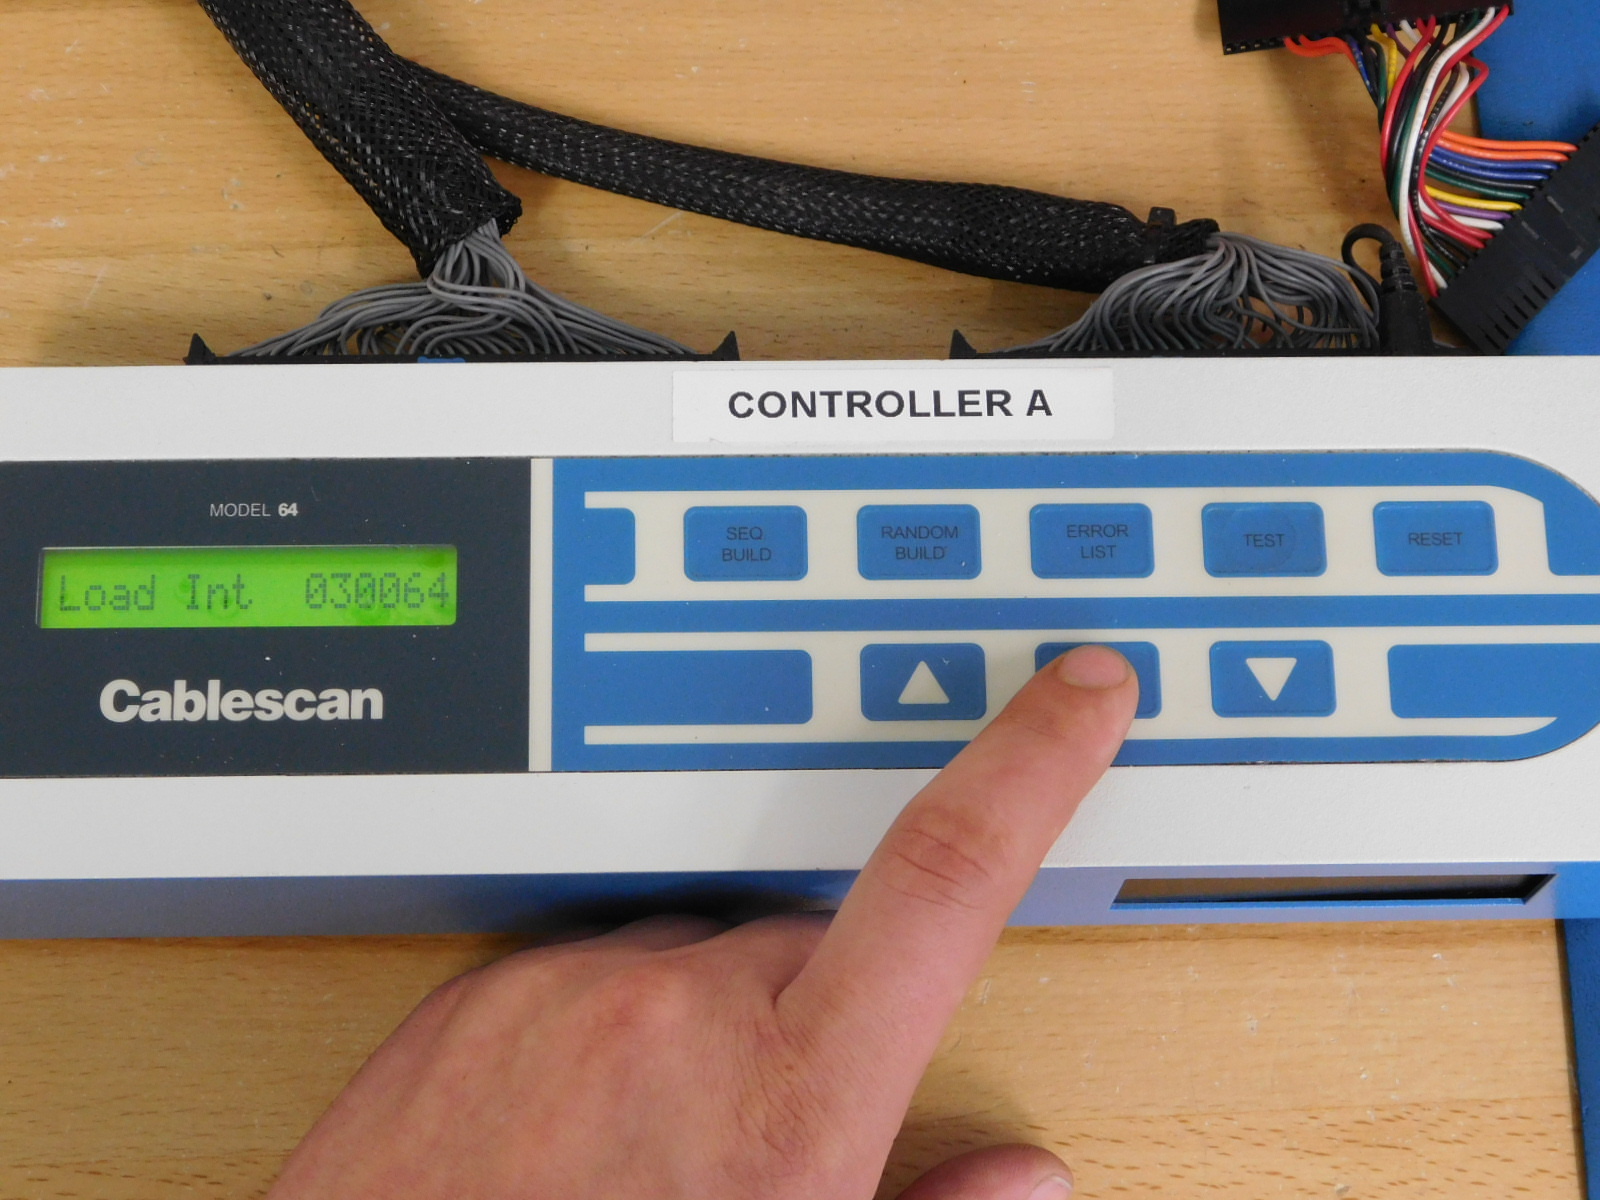
Use the UP/DOWN arrows to navigate to "Load Int 030064", select by pressing MENU/RUN
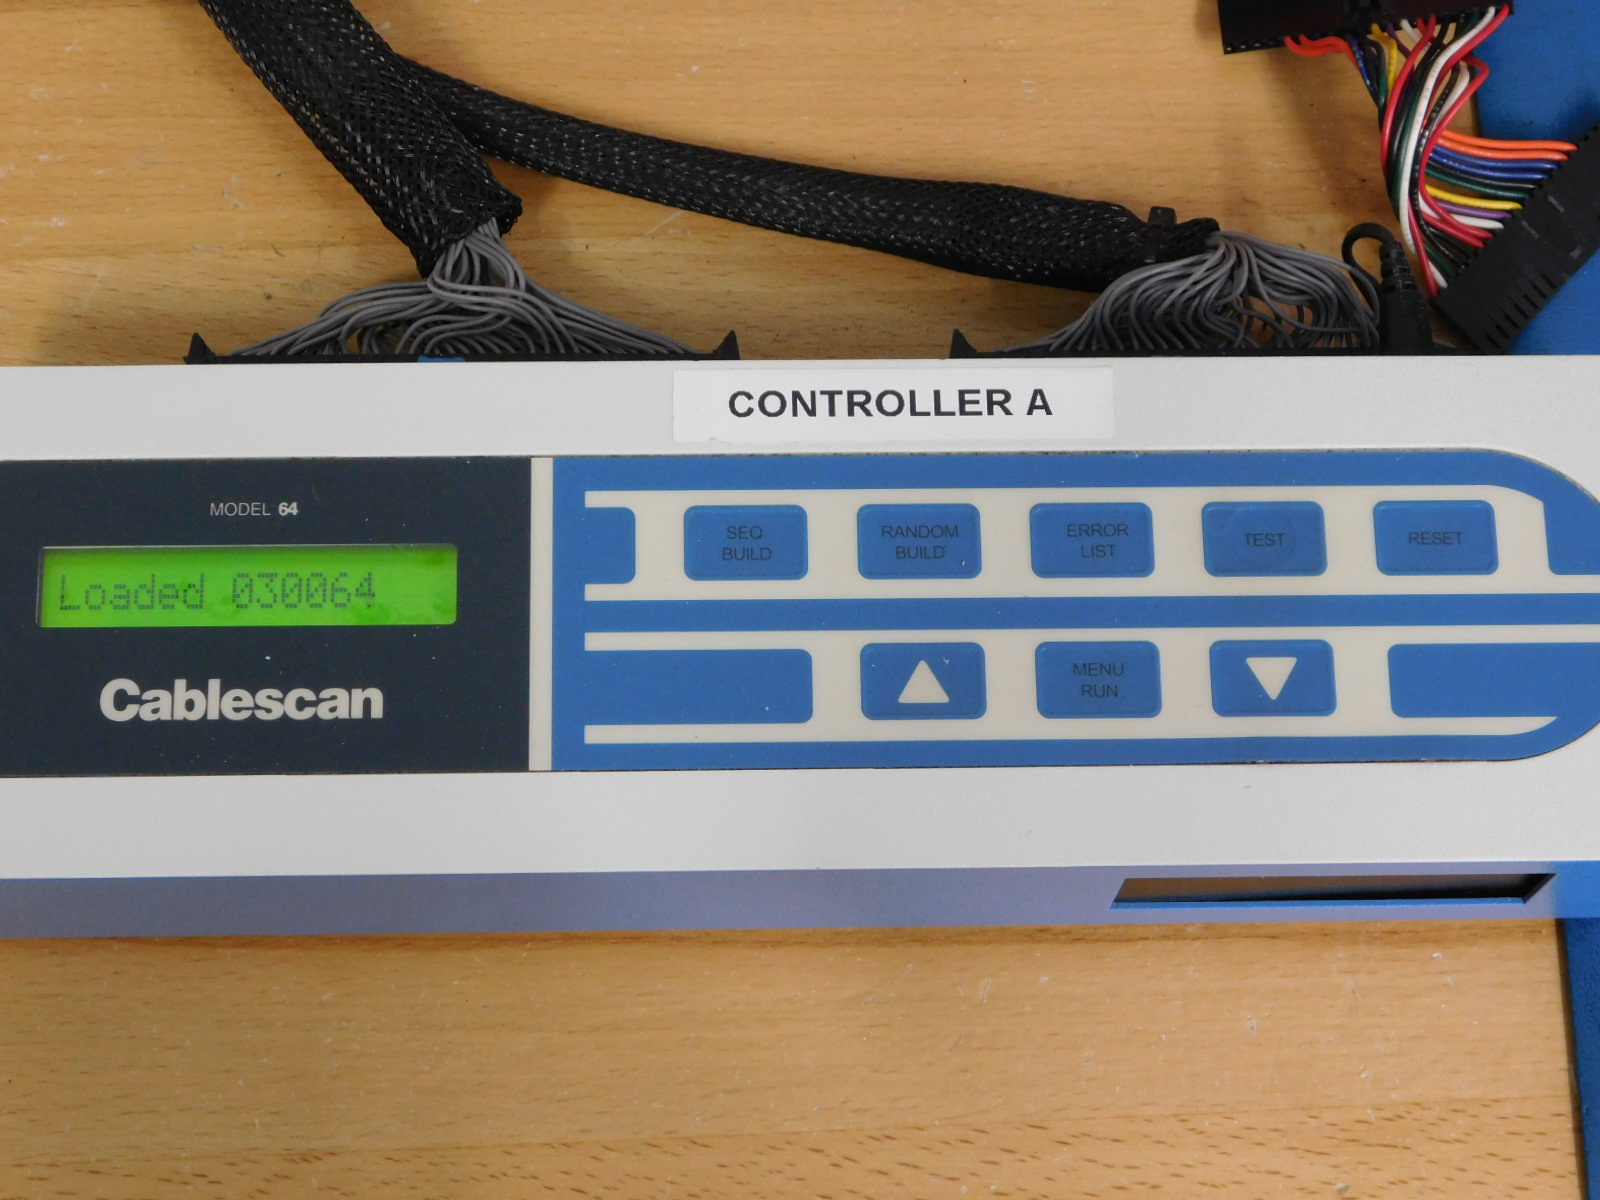
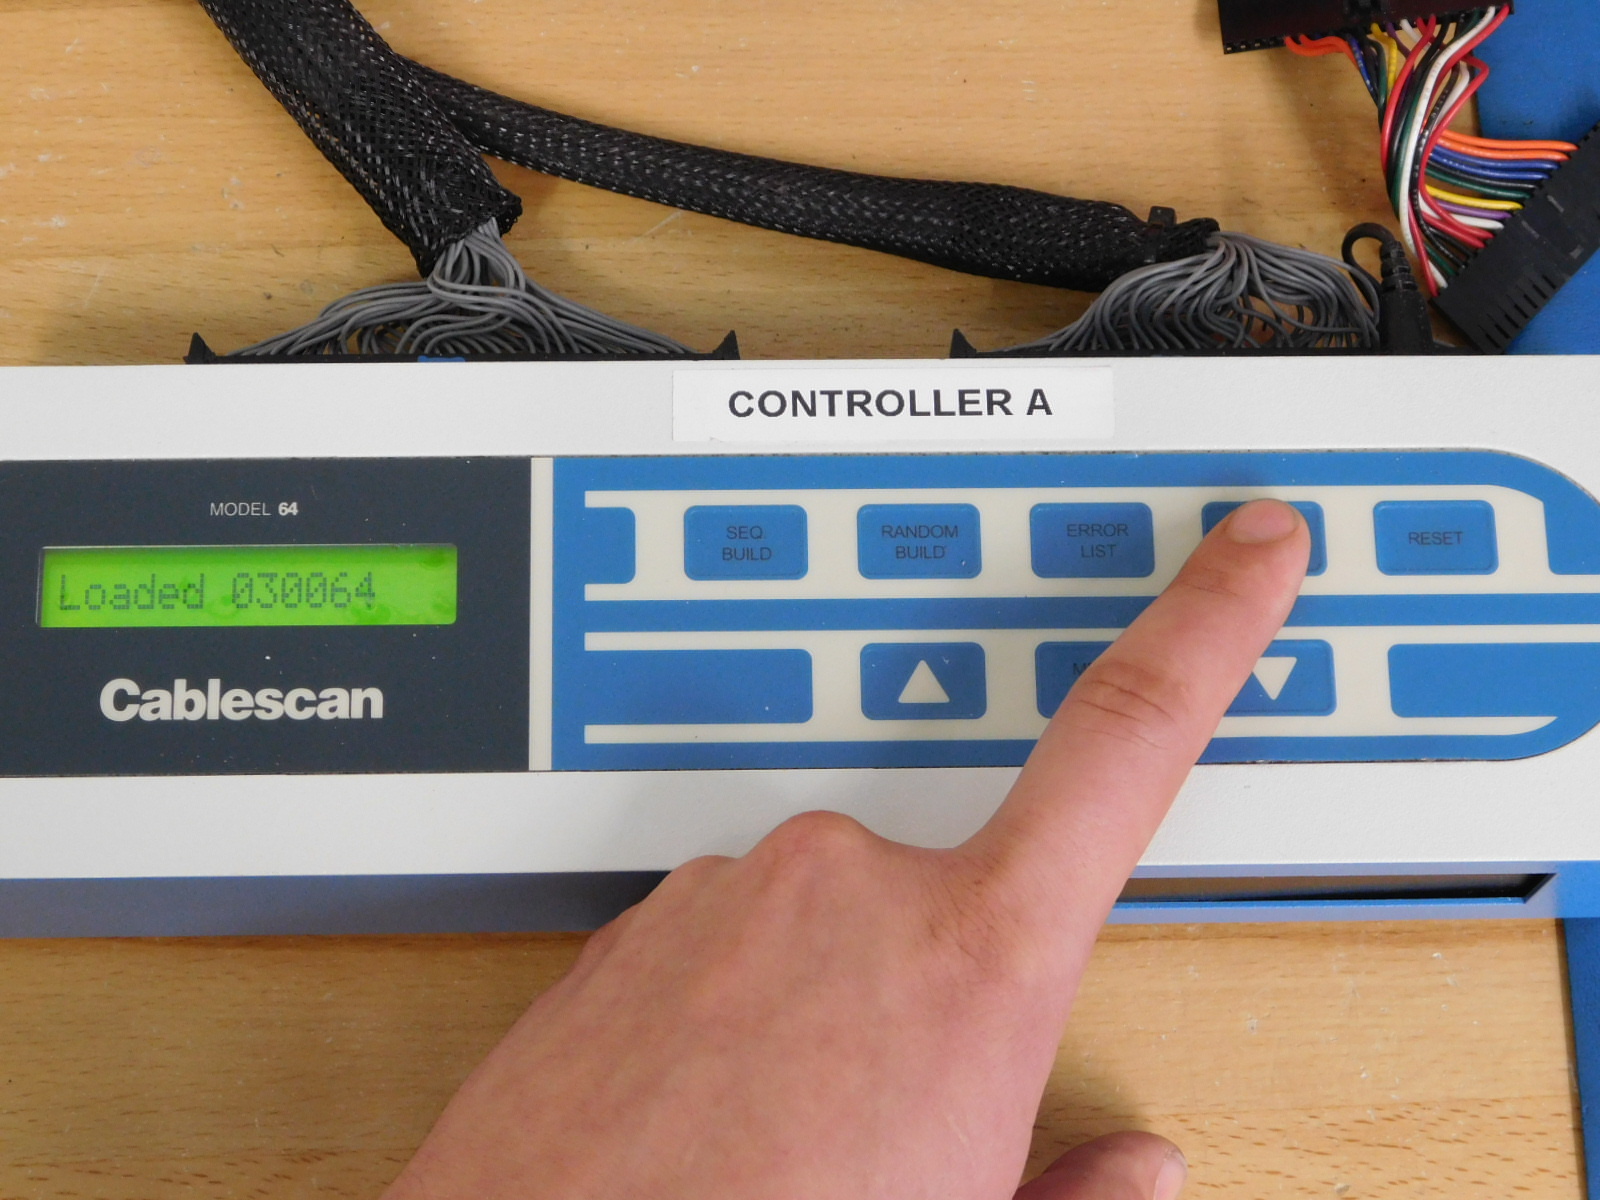
The Cablescan's display will now read "Loaded 030064"
Press TEST to run the test
If the harness passes the test, the Cablescan's display will now read PASSED 0001/0001 and the harness can be removed from the test panel. It is not necessary to remove the adapter jumpers from the test panel unless switching to test another harness.
If the Cablescan display reads anything other than PASSED, first verify that all connections are properly aligned and secured.
Consult the harness build diagram above to ensure the harness was built properly. If the cause of the failure cannot be located, refer to MER department or follow standard Non-Conforming materials handling process.

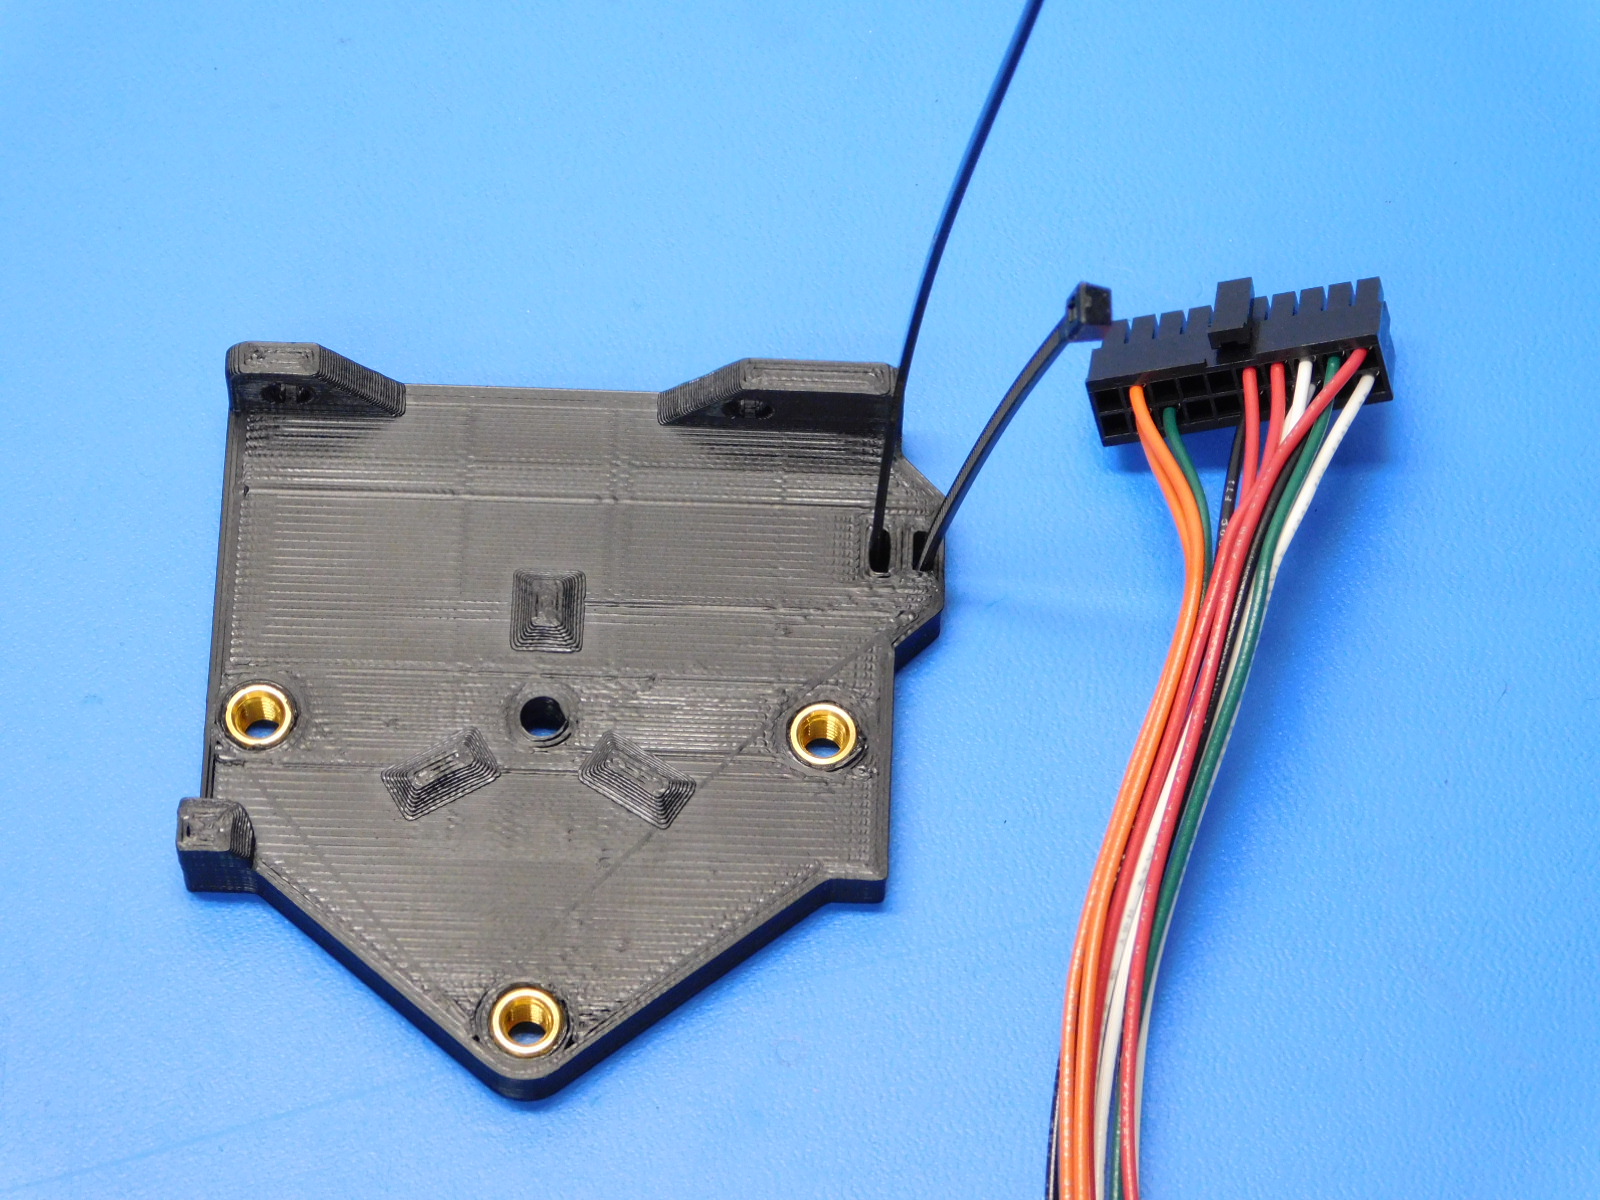
Using a Cable Tie [HD-MS0058], attach the harness [AS-CB0089] to the Aerodapter mount [PP-GP0354]
Beginning with the latch on the right, loop the zip tie through the two small slots on the right side of the printed mount.
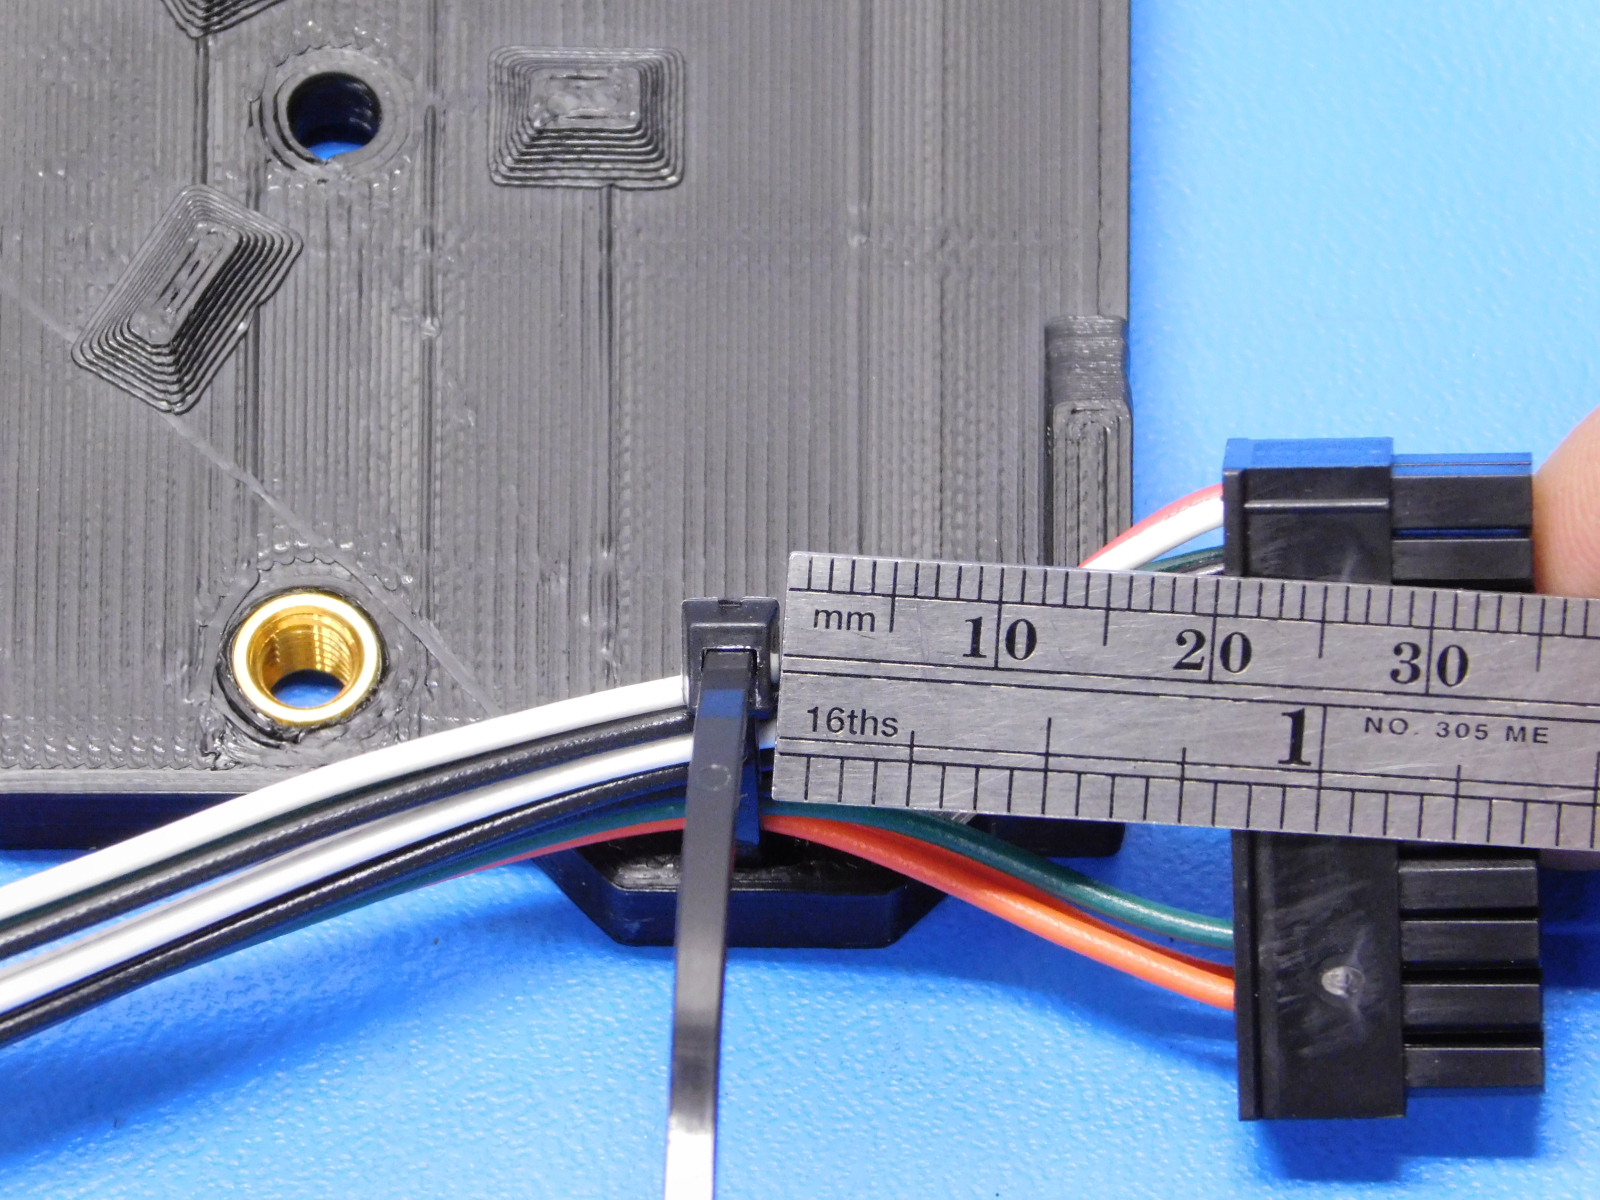
Lay the Microfit side of the harness [AS-CB0089] in the zip tie with the clip facing down.
Close the zip tie, but but before tightening, position the connector 20mm from the zip tie as pictured.
Cut off any excess zip tie past the latch so that it is flush
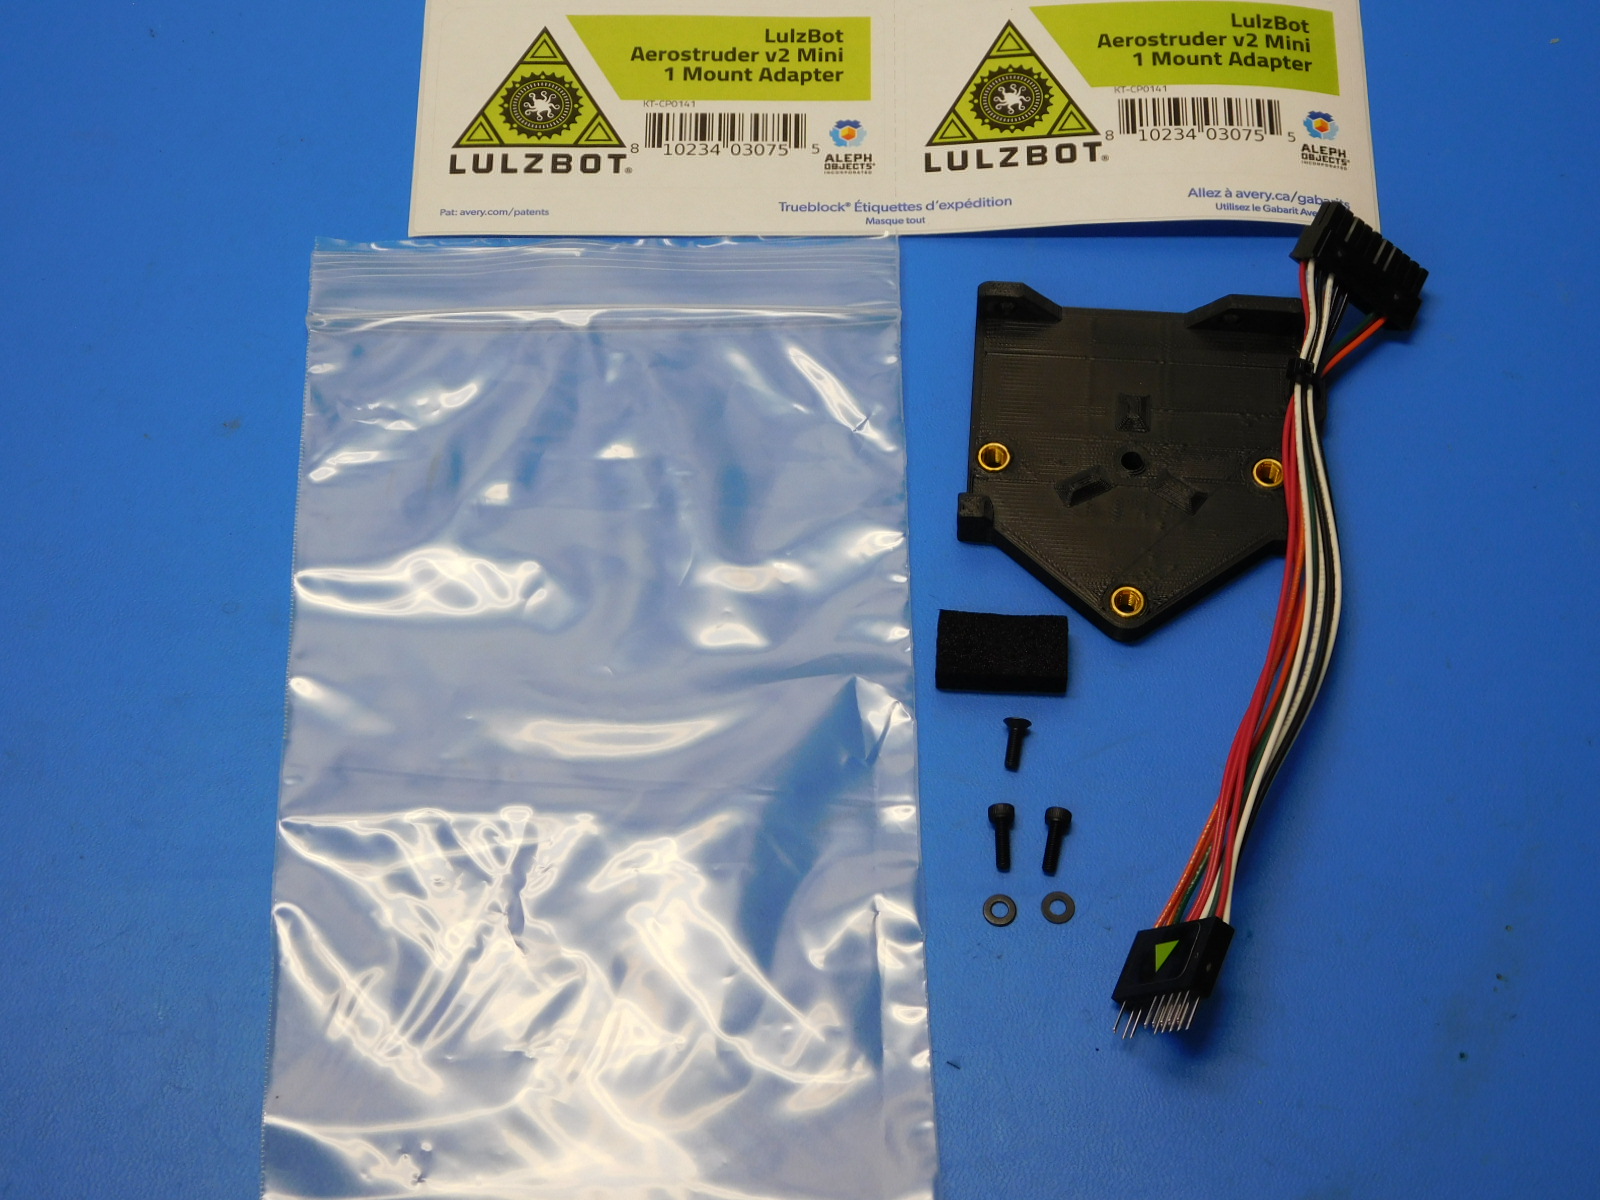
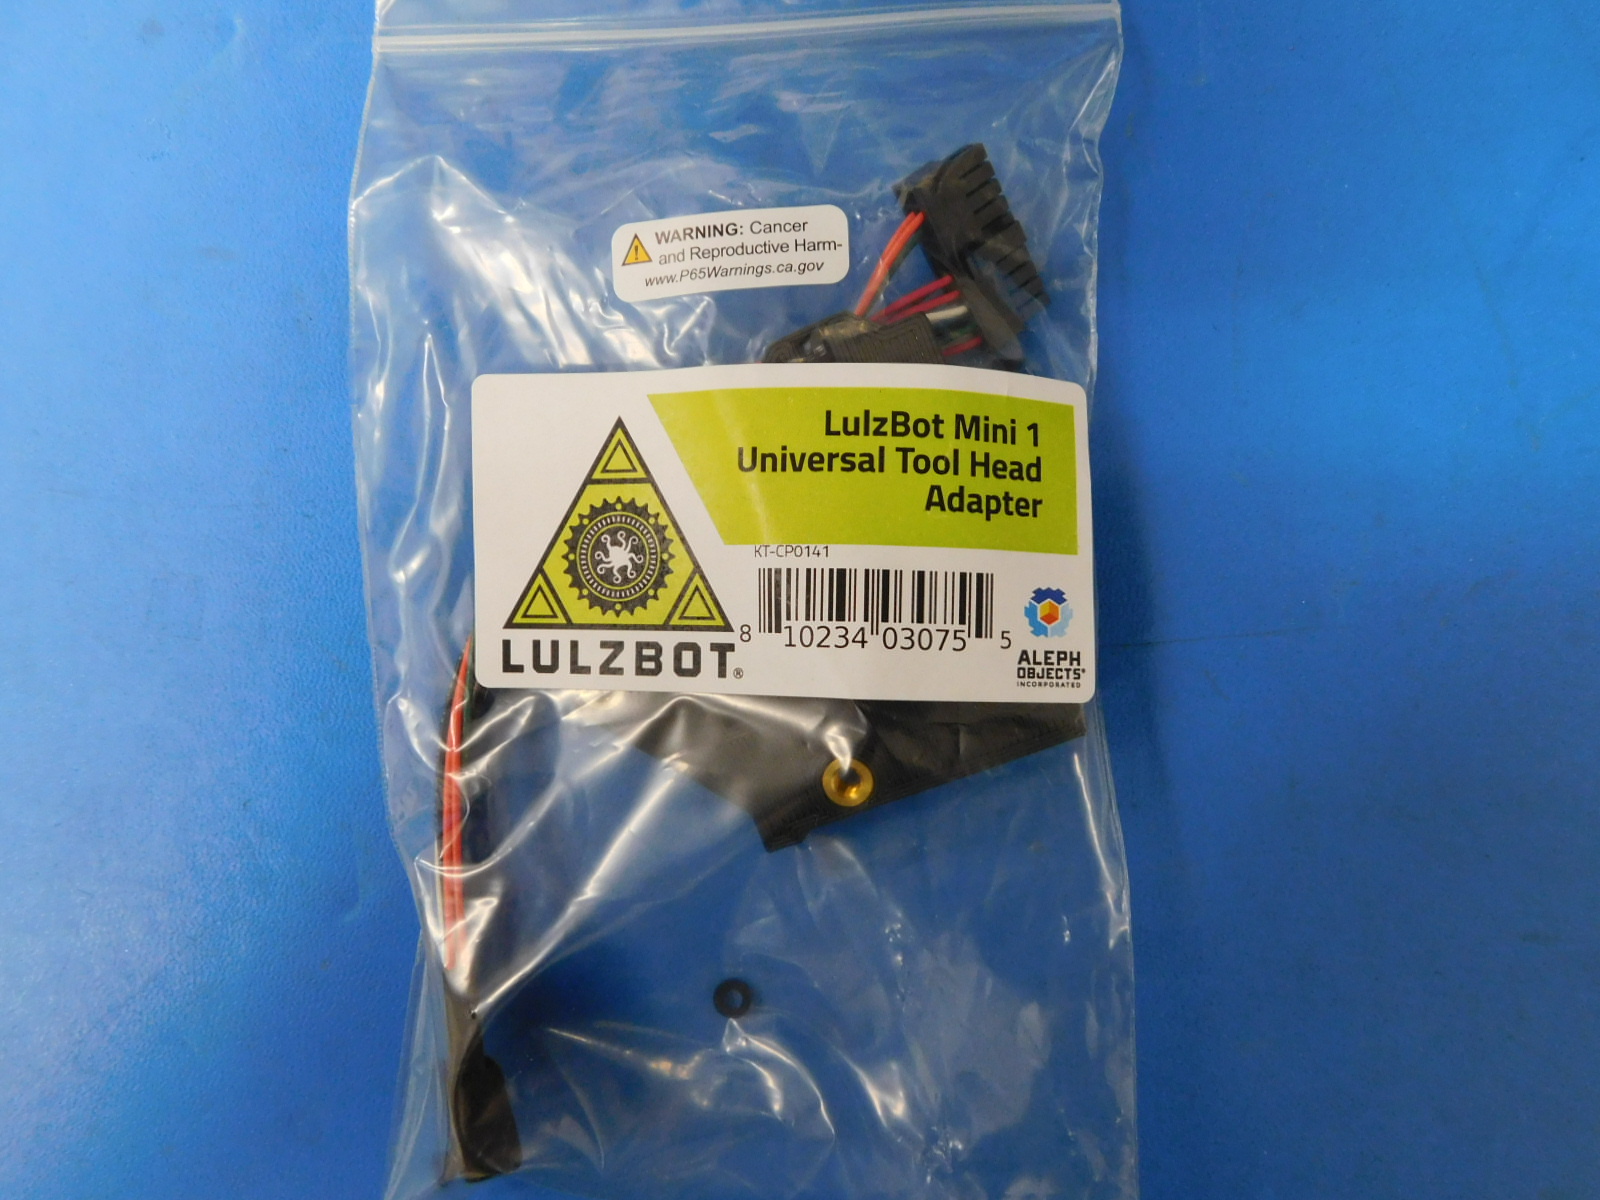
The completed assembly must now be packaged for retail sale
Gather the following materials:
1x- [AS-TH0071] Aerodapter Mini 1 Assembly
1x- [HD-BT0116] M3x10 FHCS
2x- [HD-BT0005] M3x10 SHCS
2x- [HD-WA0038] Black M3 Washer
1x- [HD-MS0375] ESD Foam - Extruder pin protection
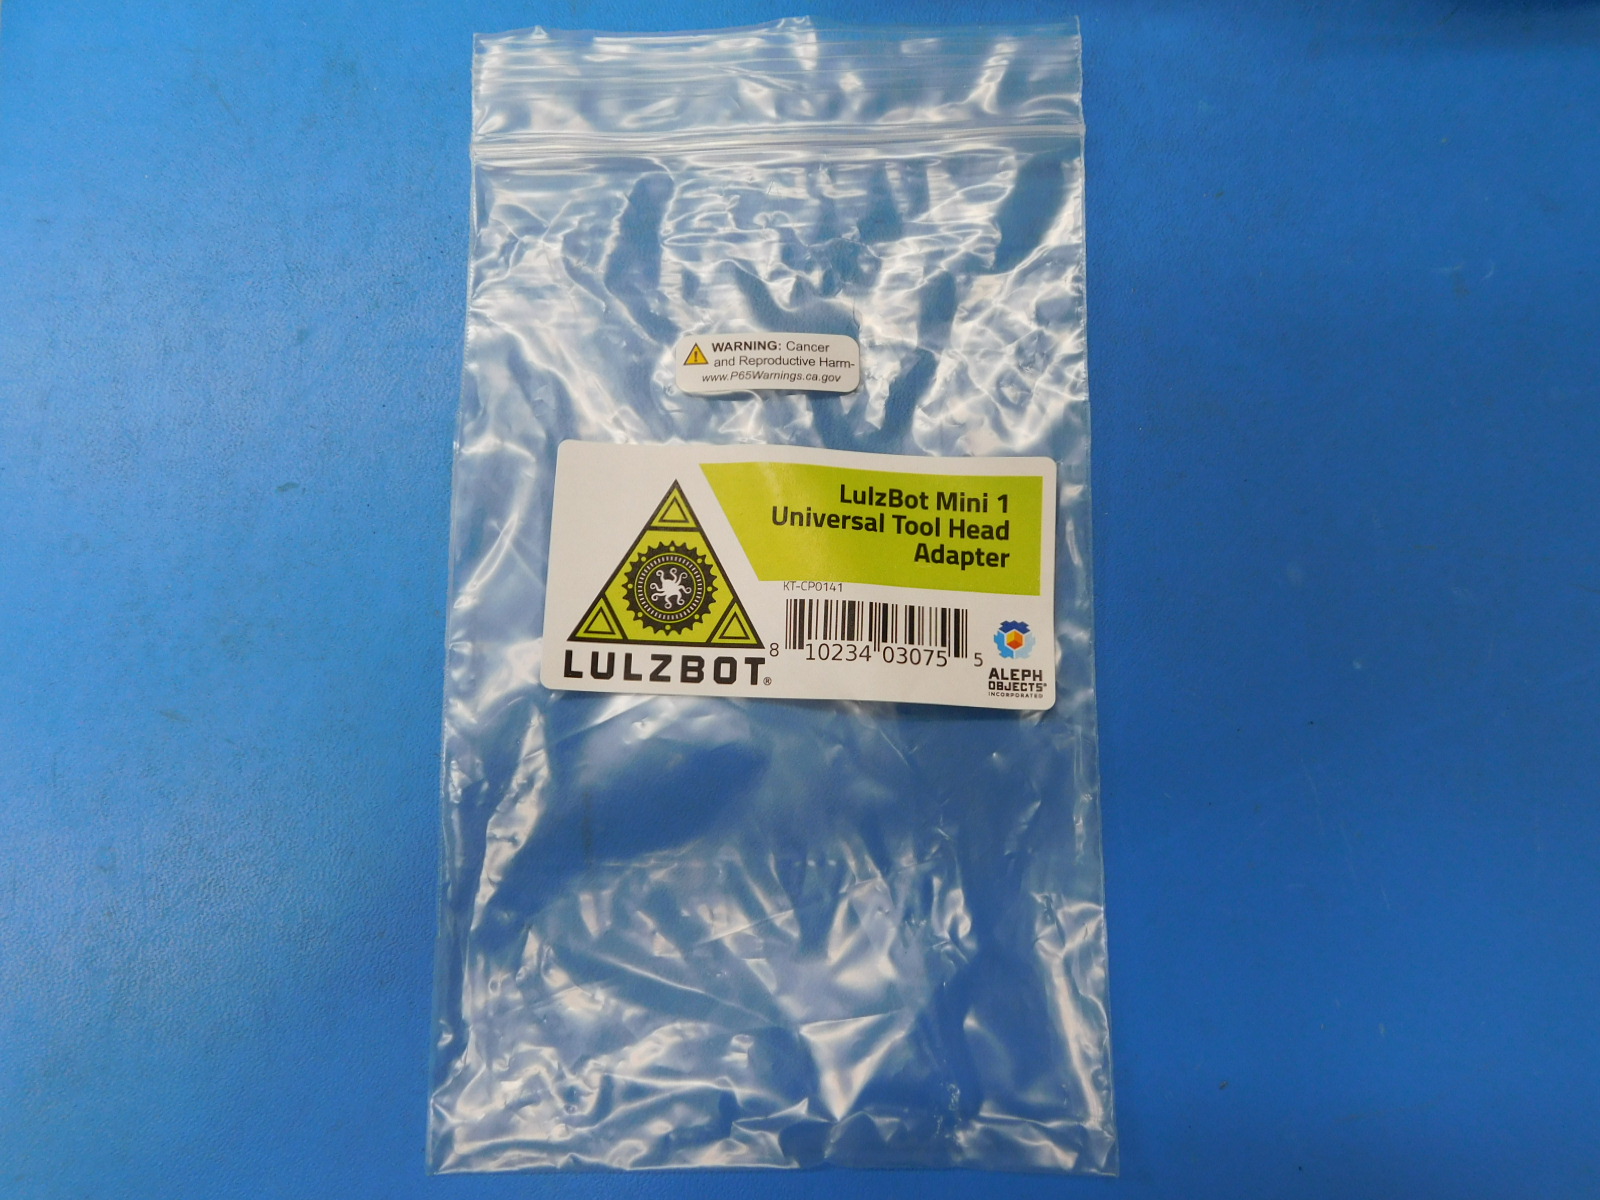
1x- [SH-PG0019] White Shipping Labels, 2x4"
1x- [SH-PG0025] 5x8" 2mil Reclosable Bag
1x- [DC-LB0174] P65 Warning Label
Apply one ESD Pin Protector Foam [HD-MS0375] to the exposed male pins on the end of the adapter harness
Place the fasteners and washers into the Bag [SH-PG0025]
Place one printed label [SH-PG0019] towards the center of the bag as pictured then add [DC-LB0174] above product label.
Place the Aerodapter assembly [AS-TH0071] into the bag with the fasteners, close the bag