Open HardwareAssembly Instructions
Guides for installation and assembly of the LulzBot line of products made by FAME 3D LLC.
Guides for installation and assembly of the LulzBot line of products made by FAME 3D LLC.
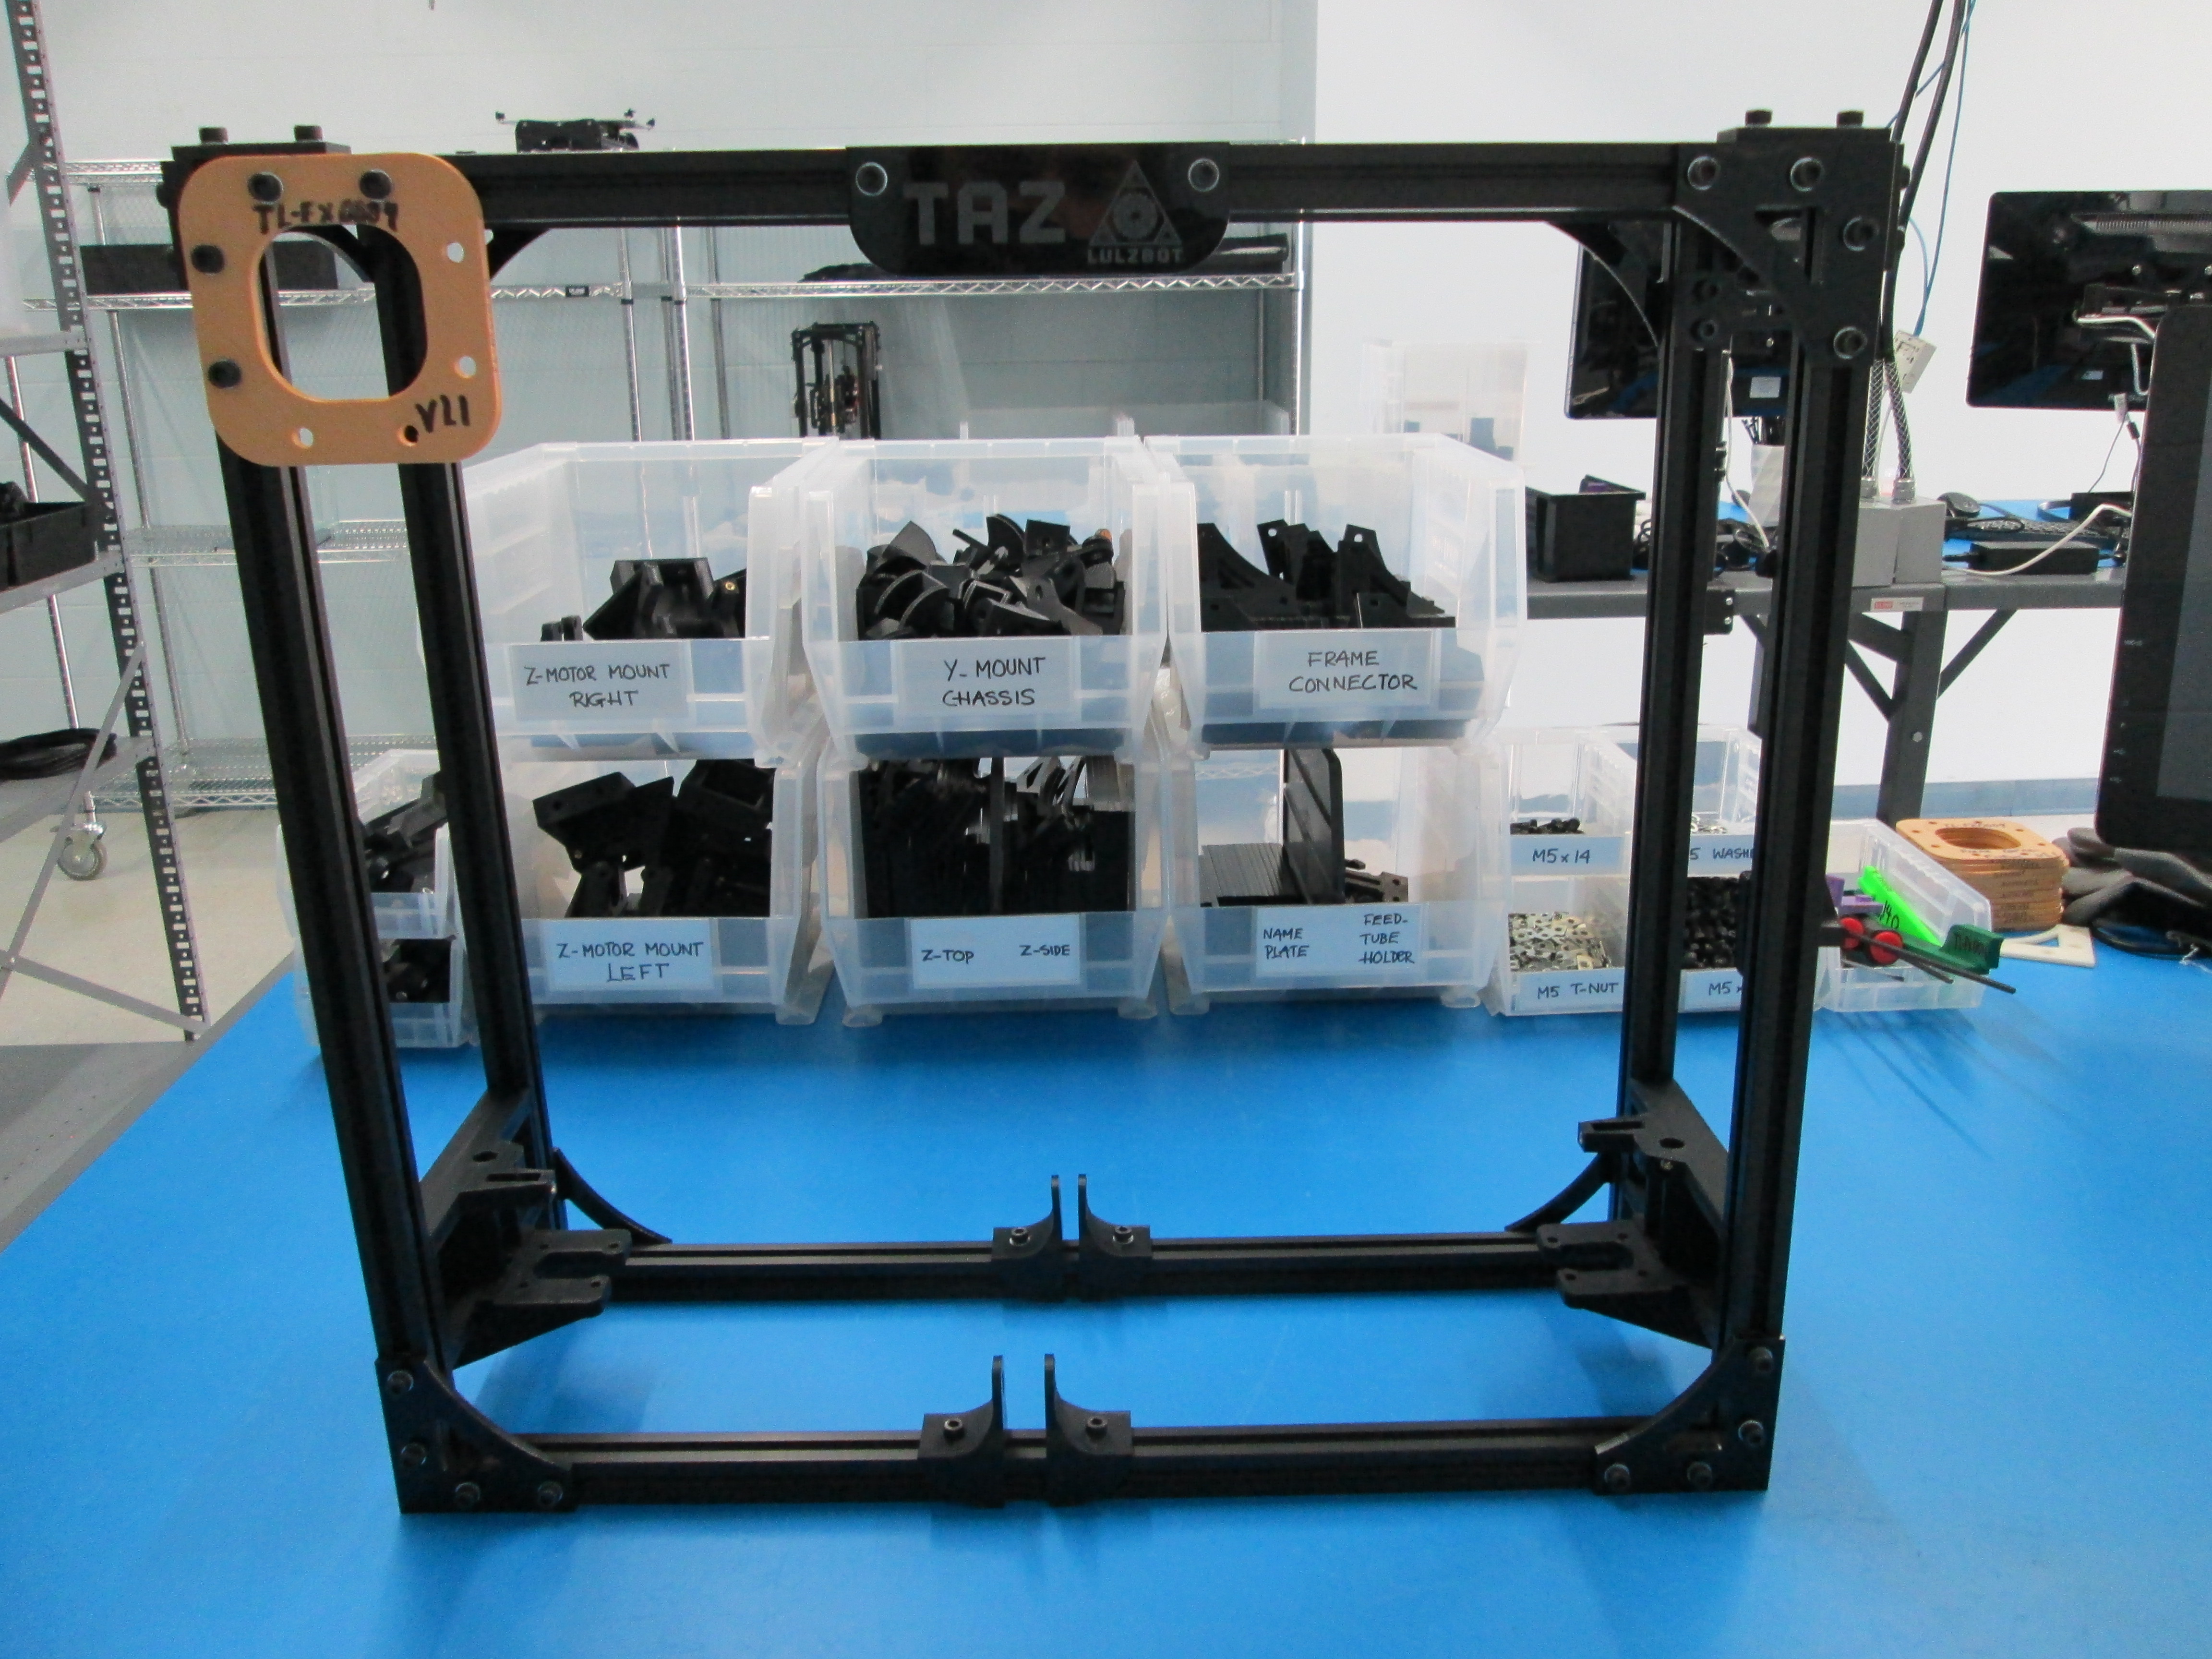
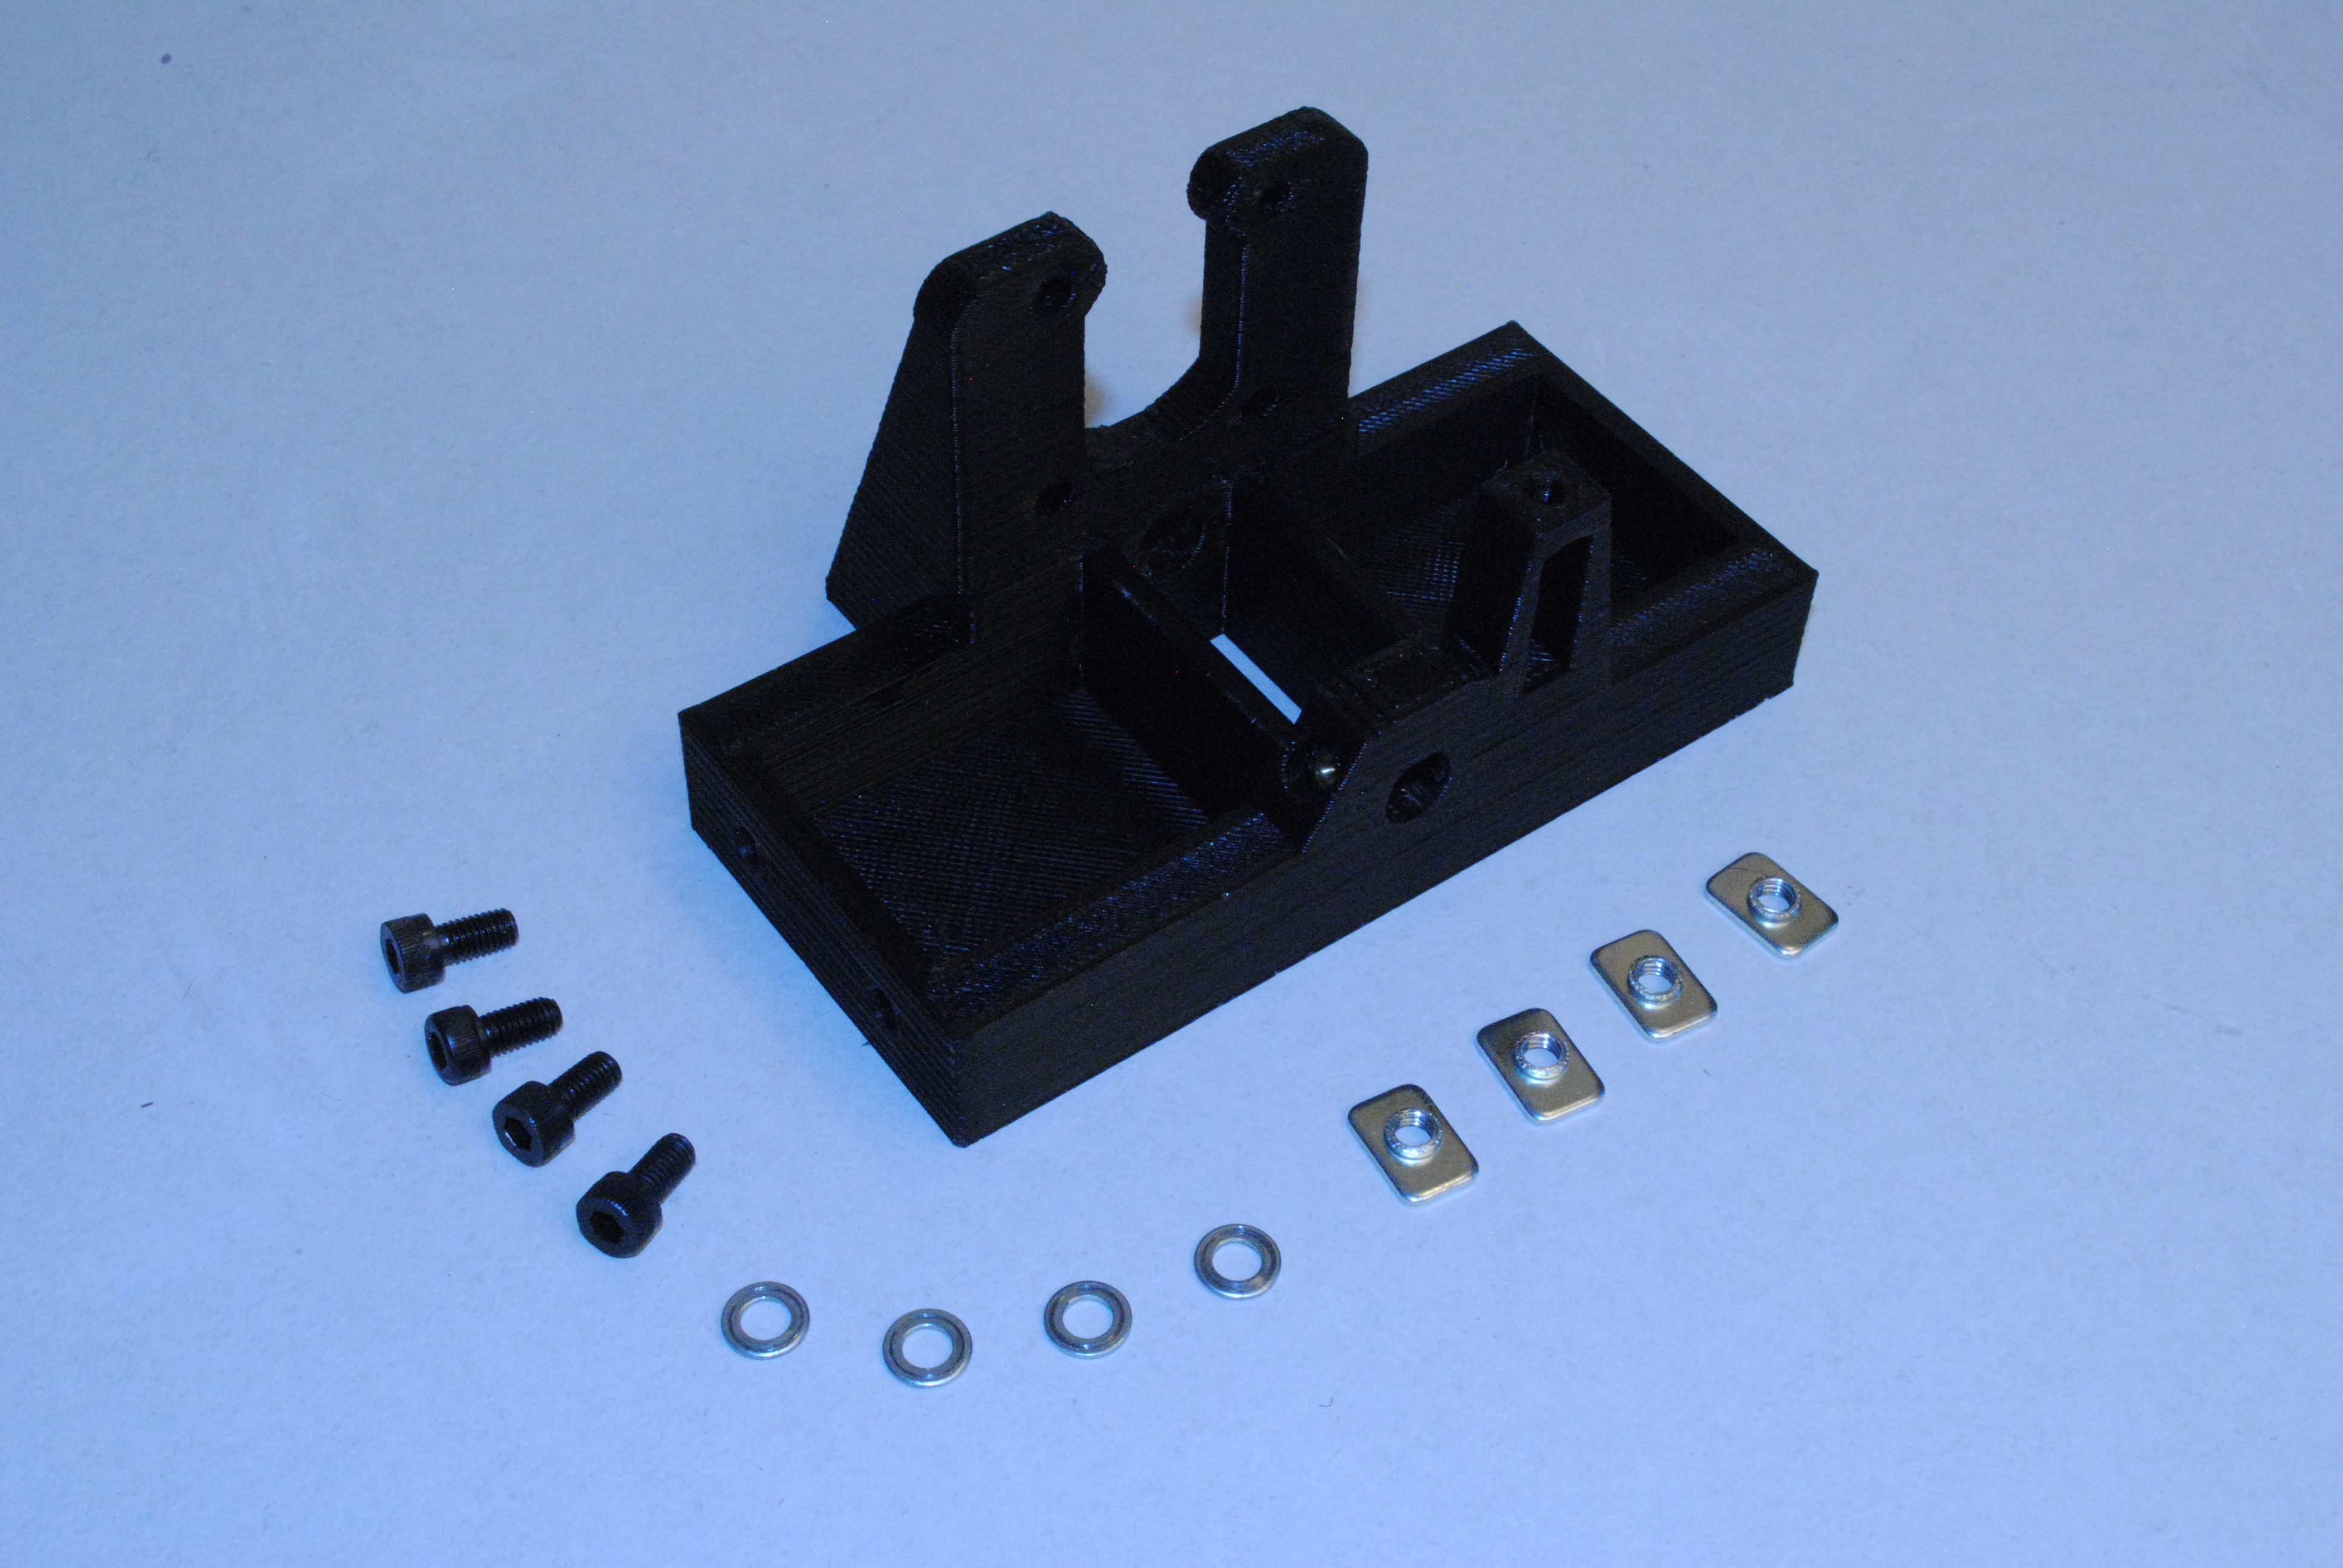
Components:
Tools:


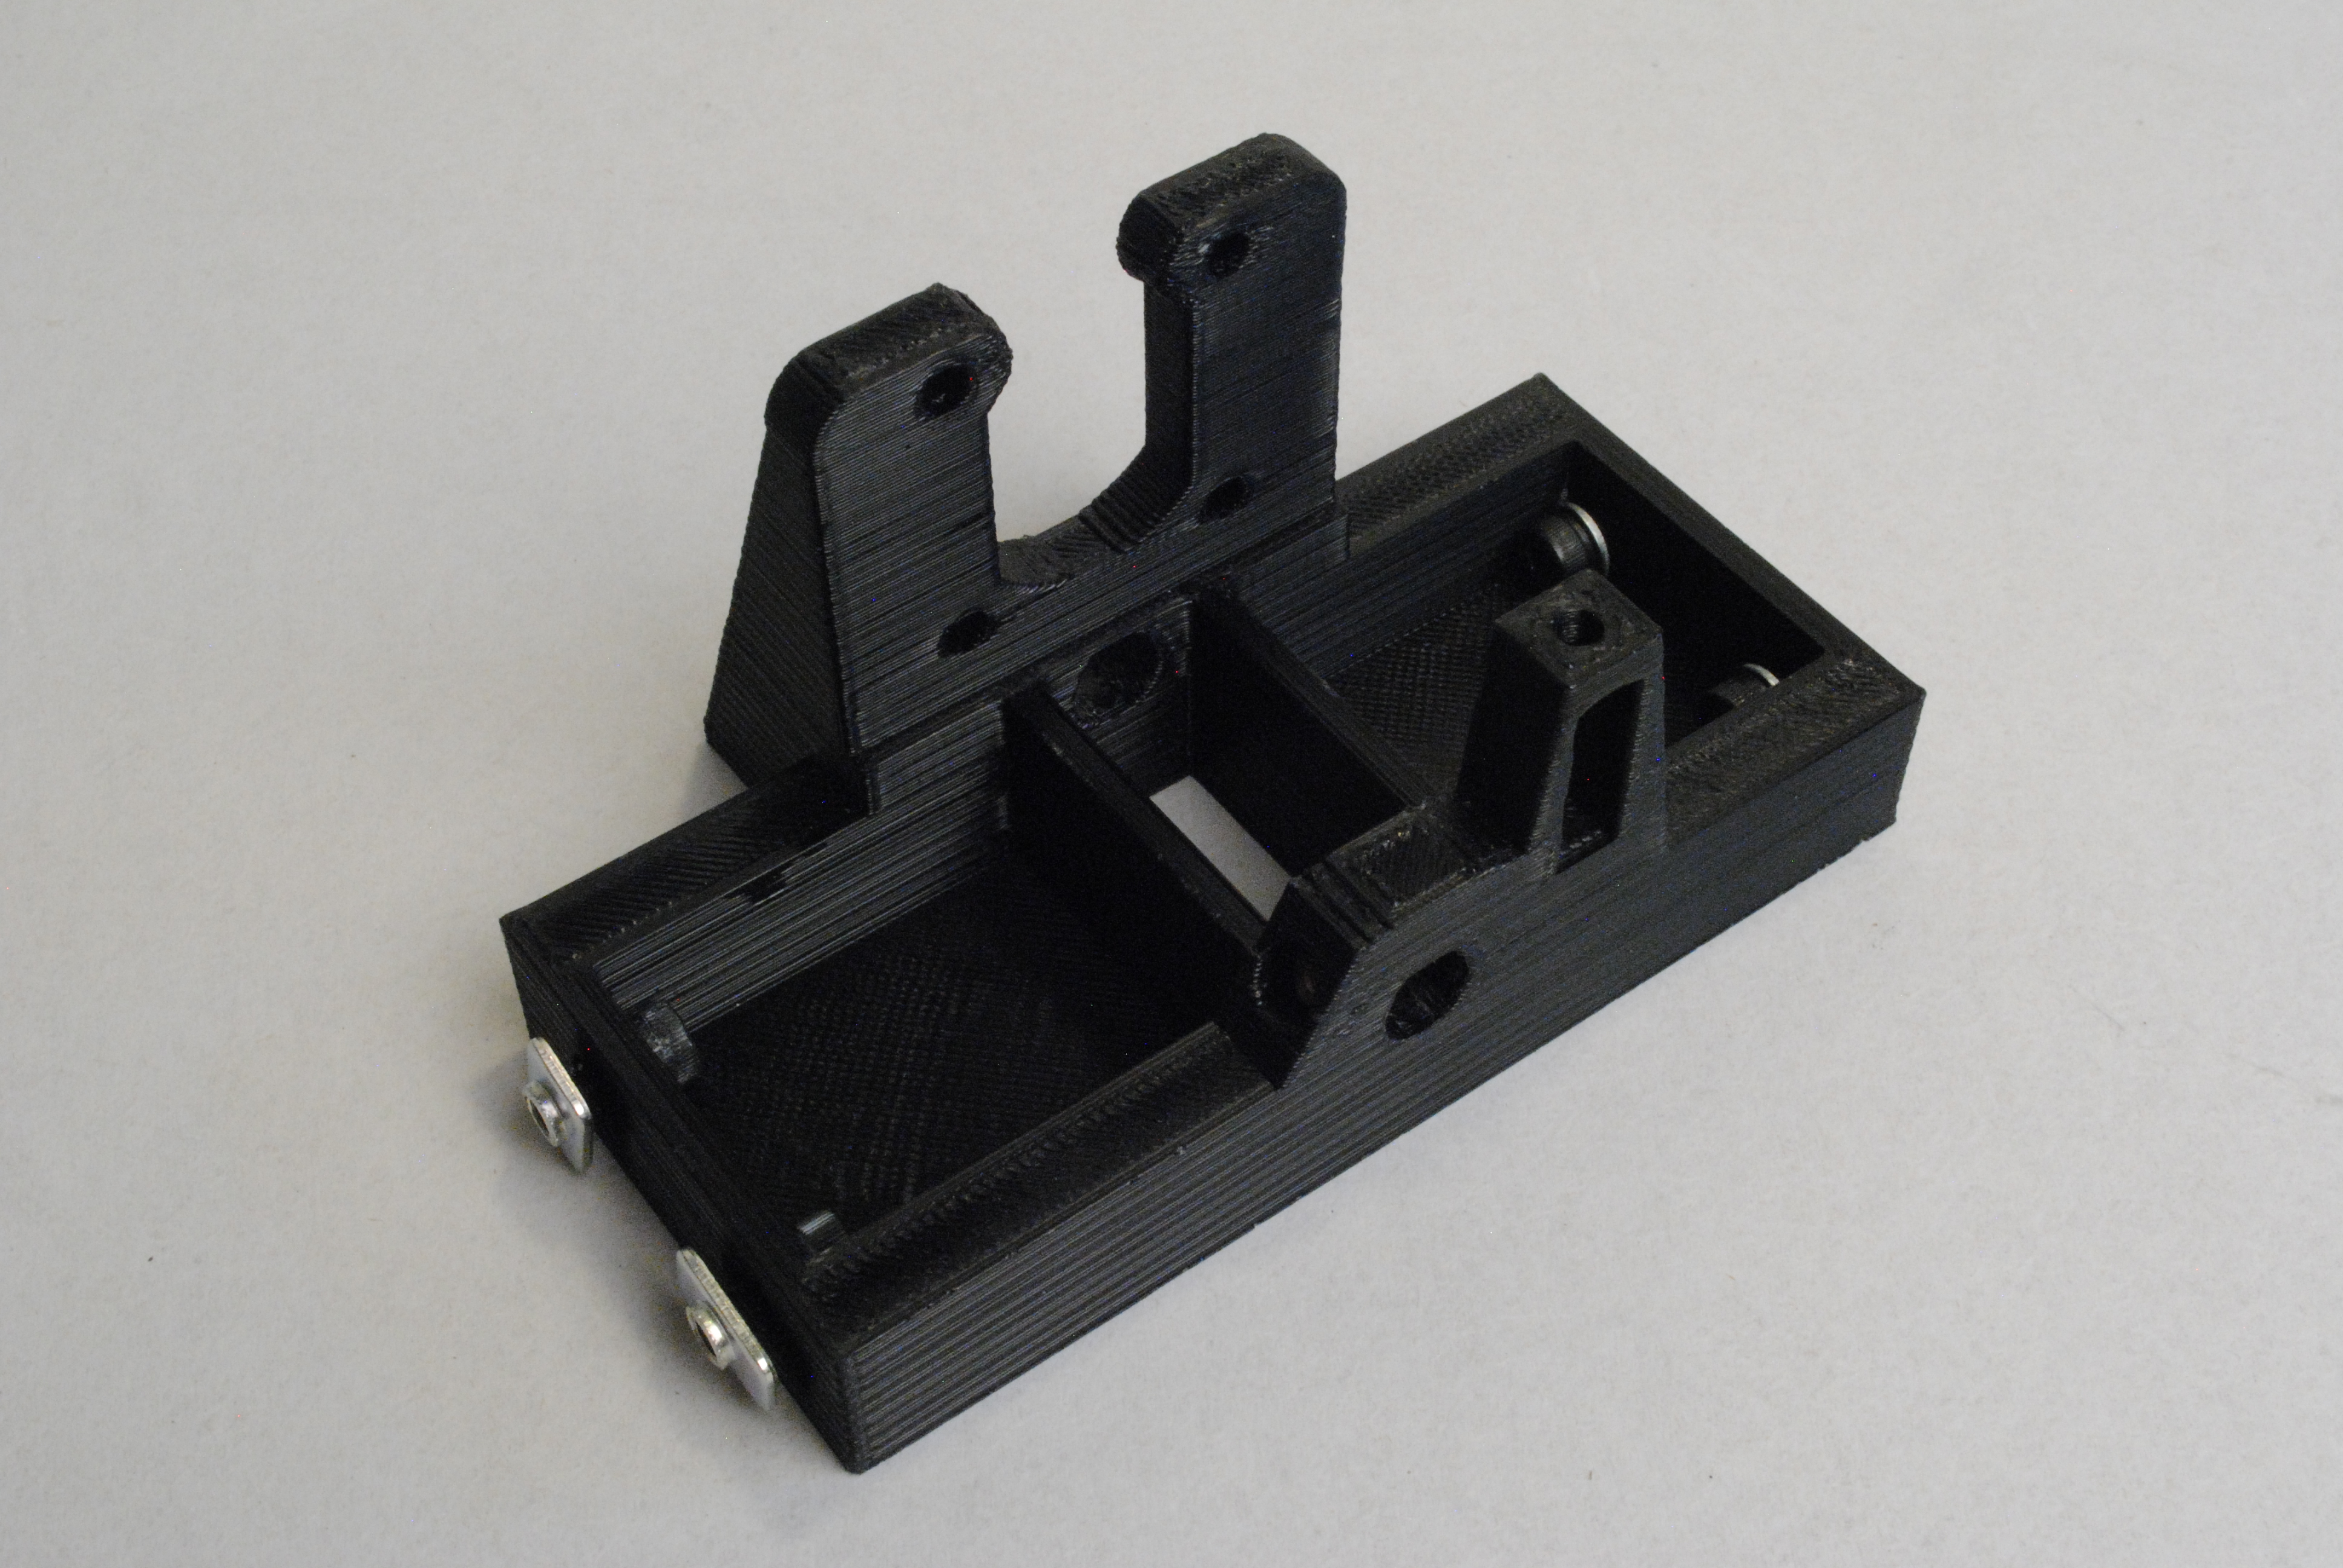
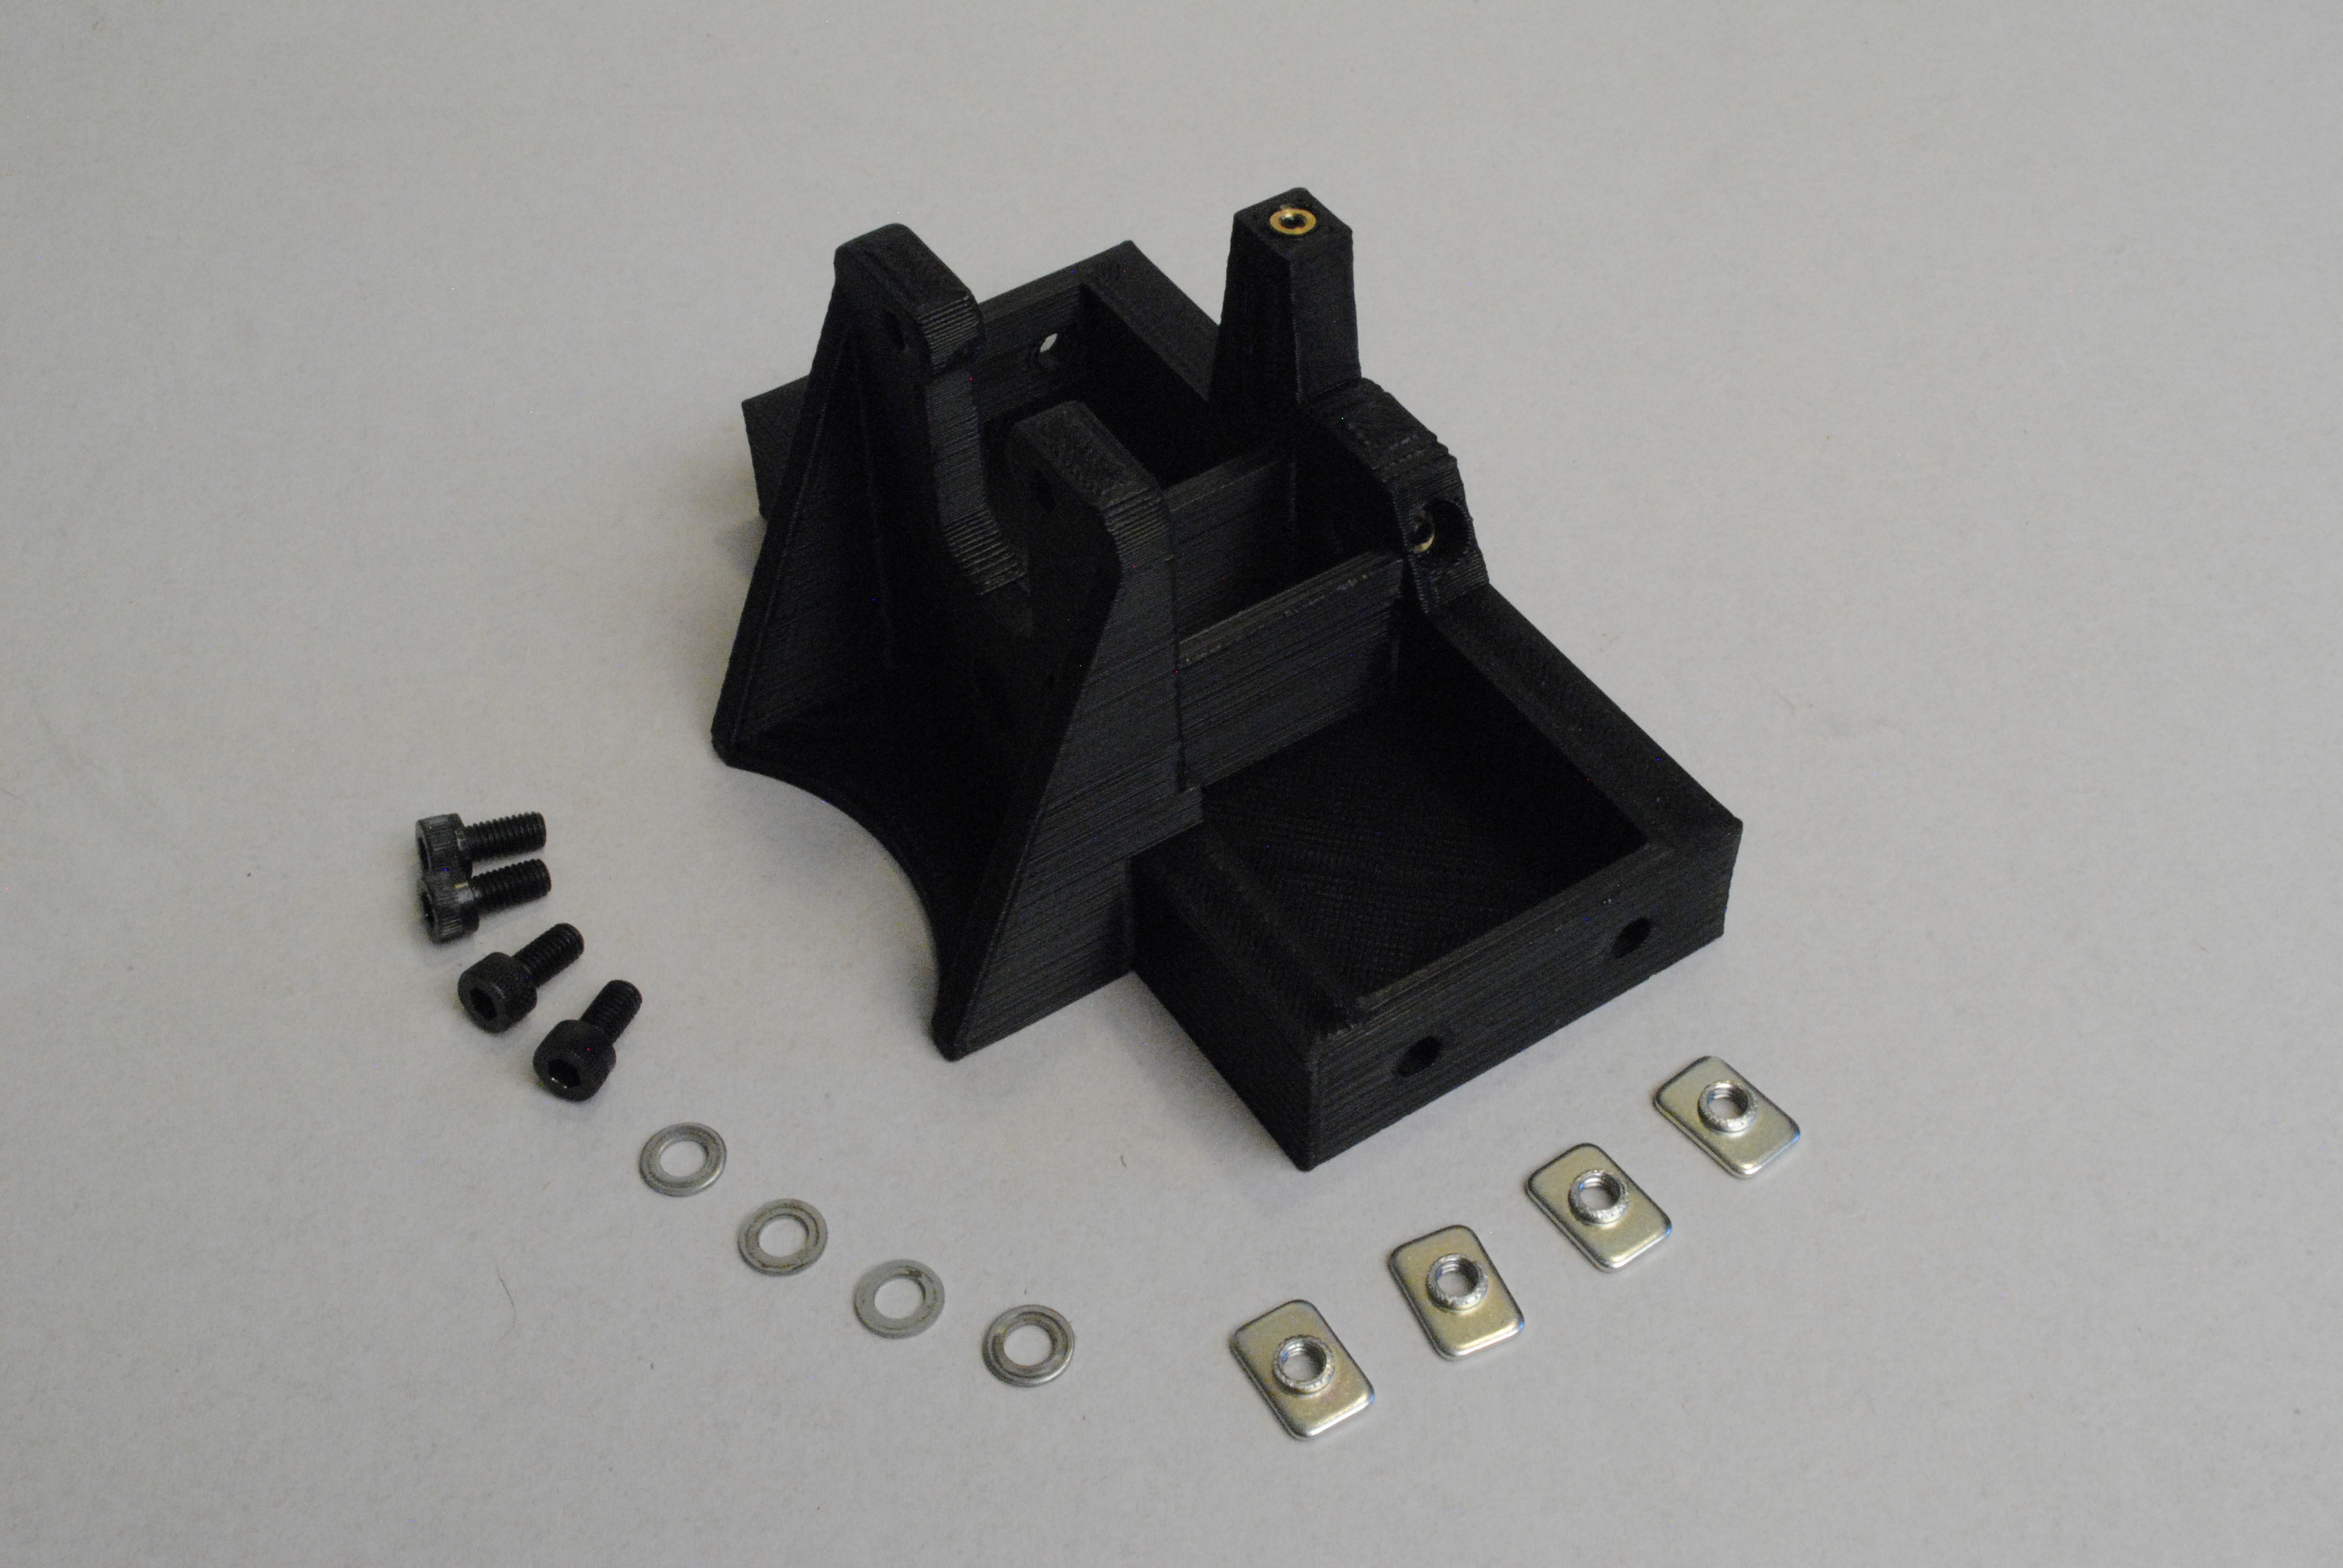
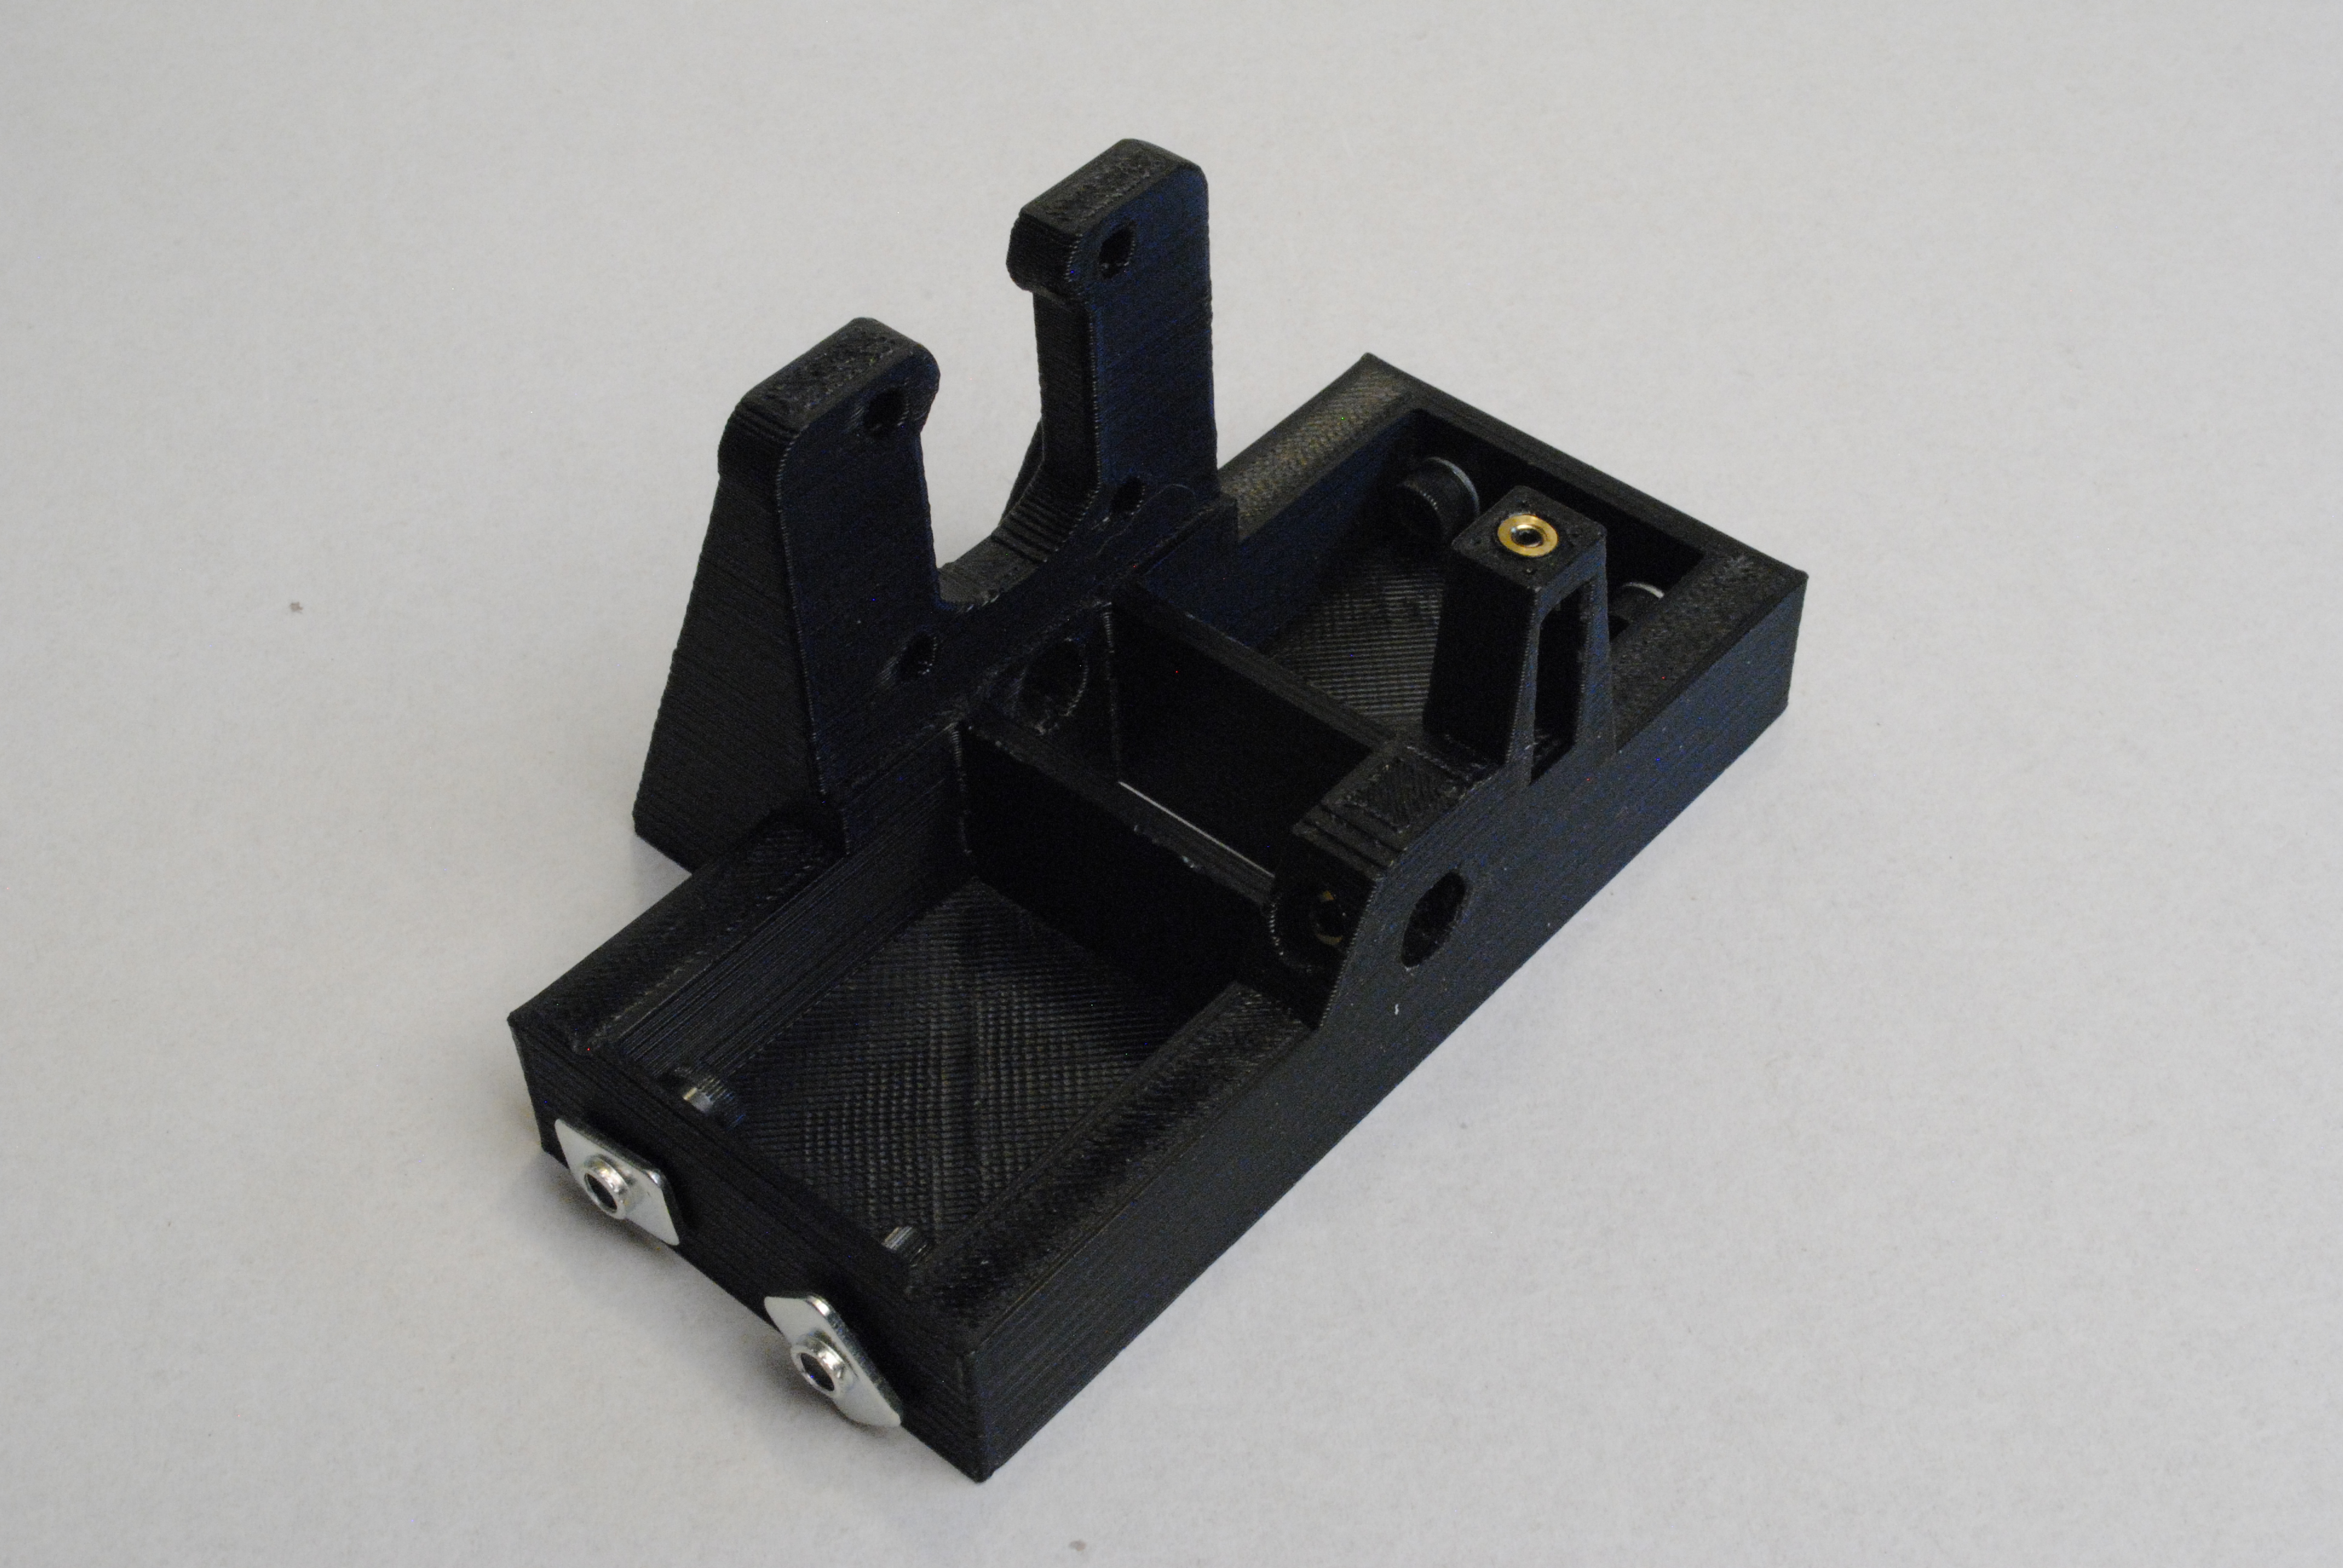
Build 2 of these assemblies.
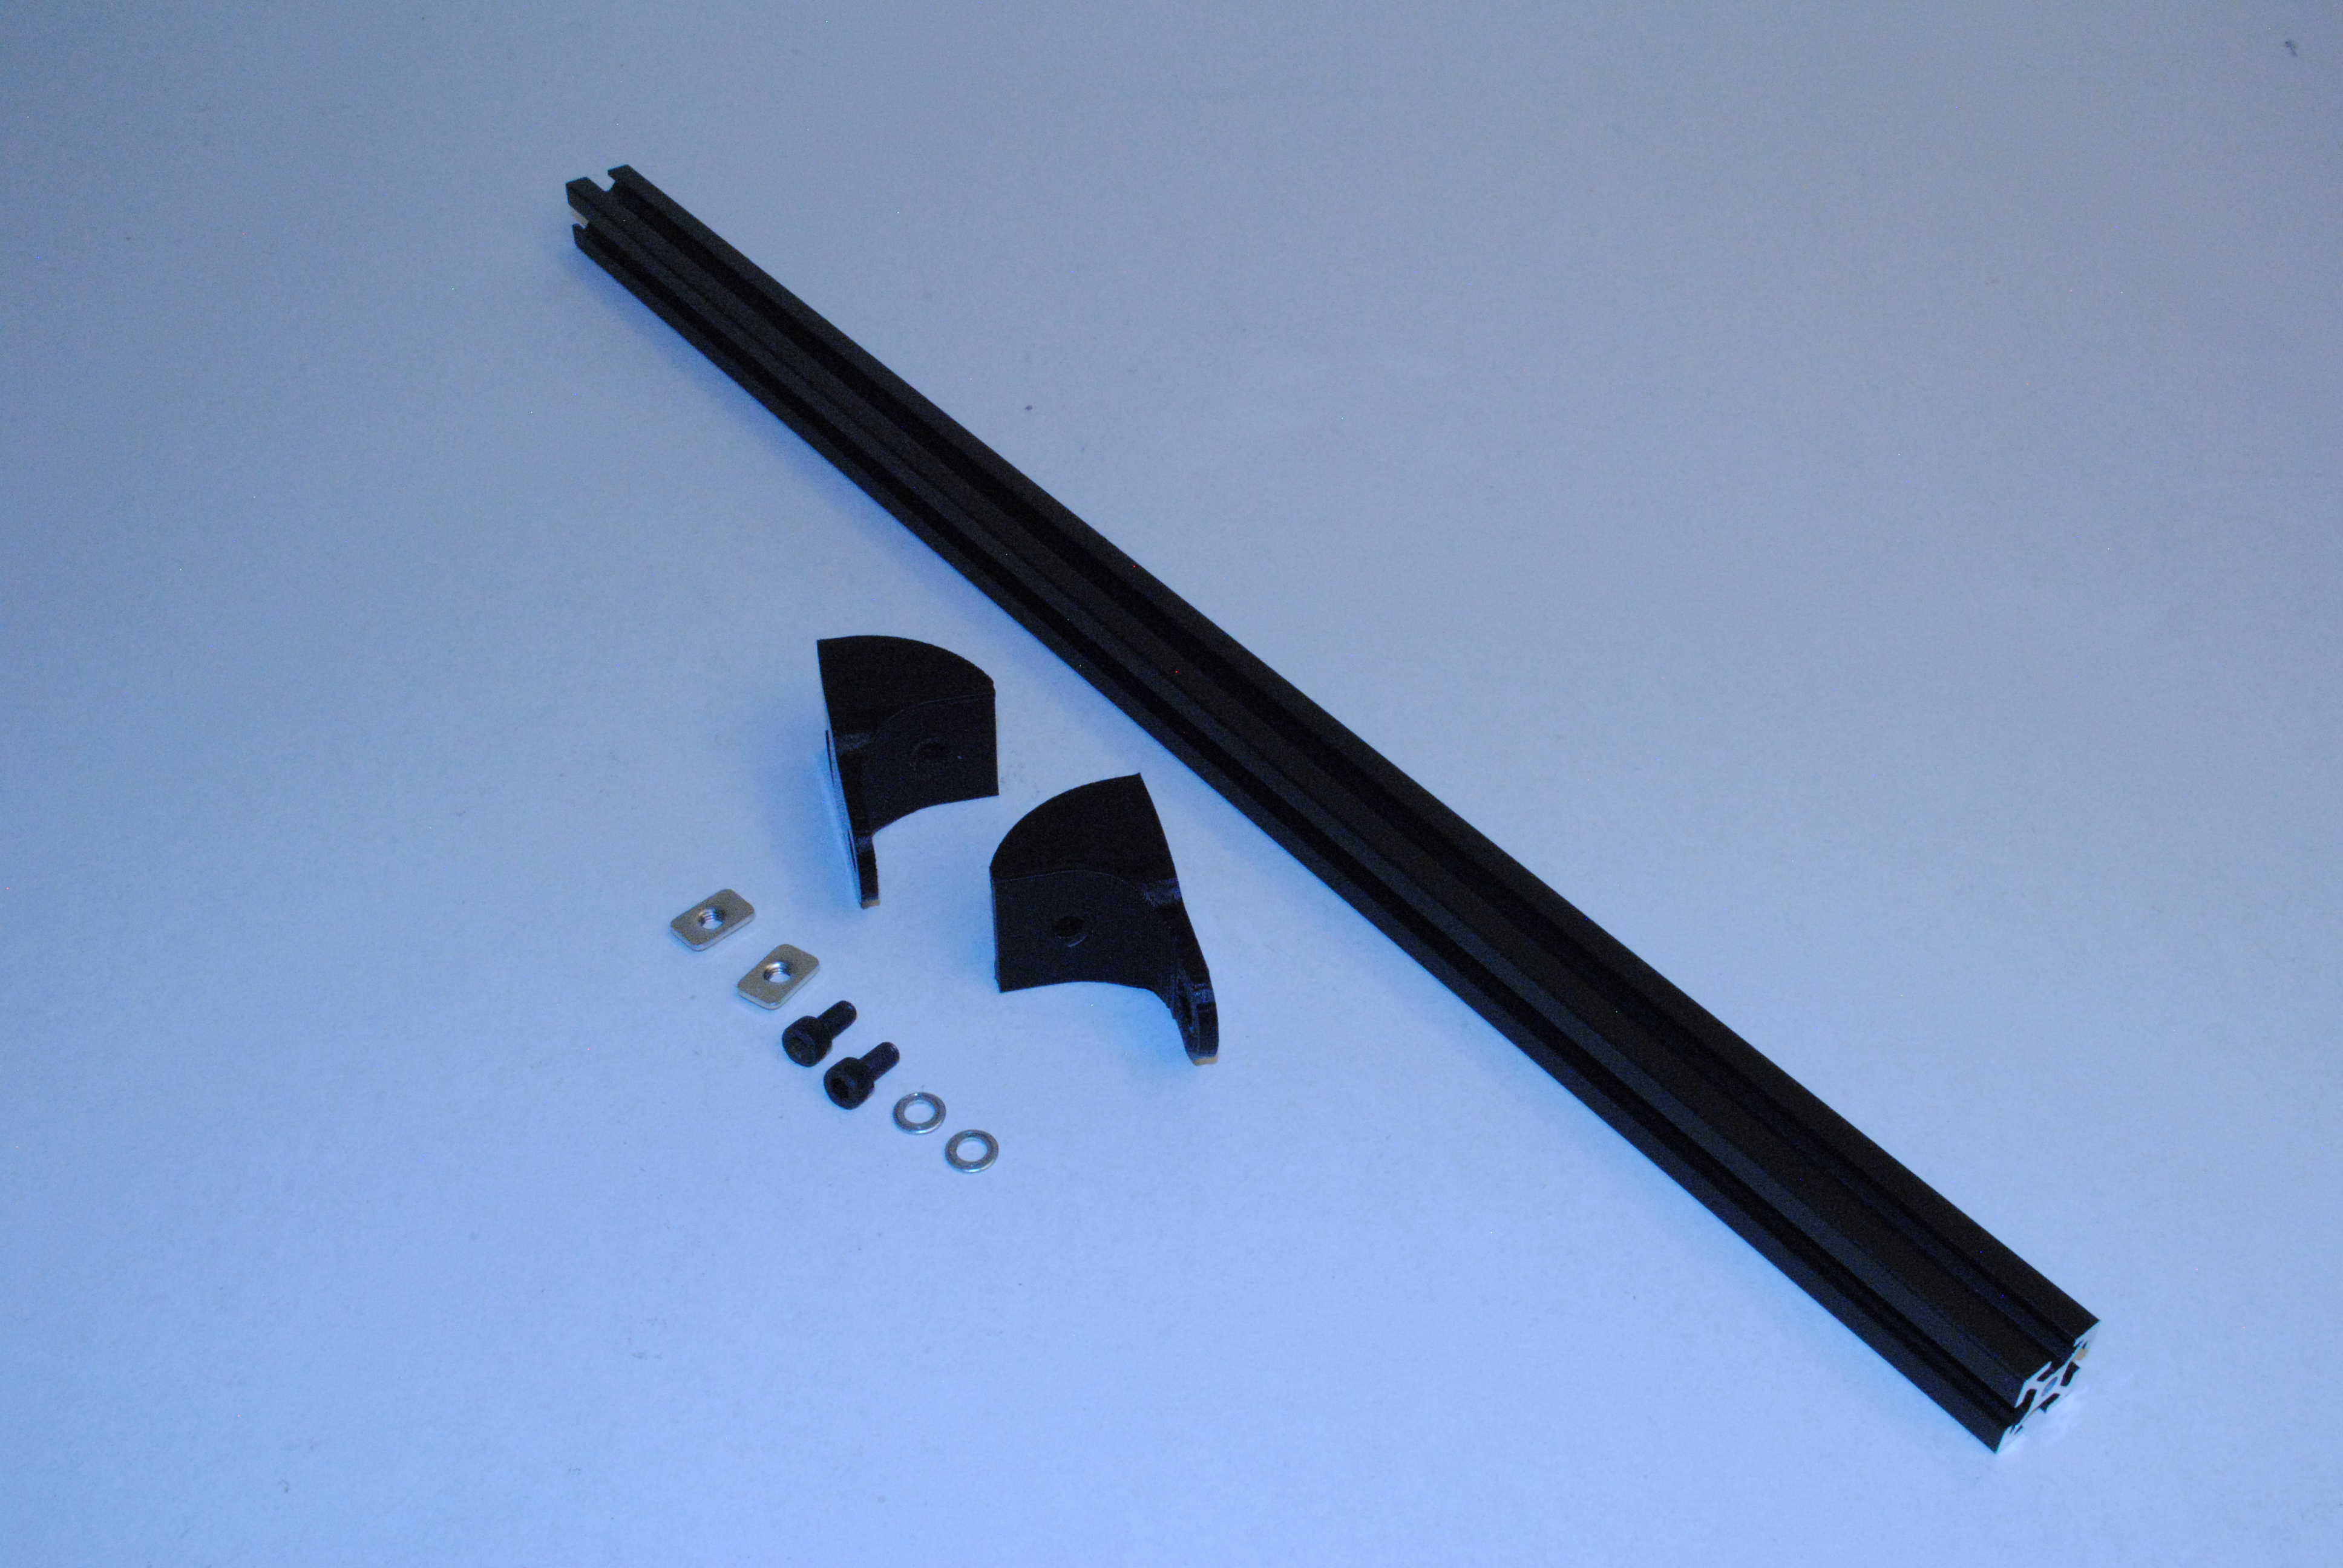
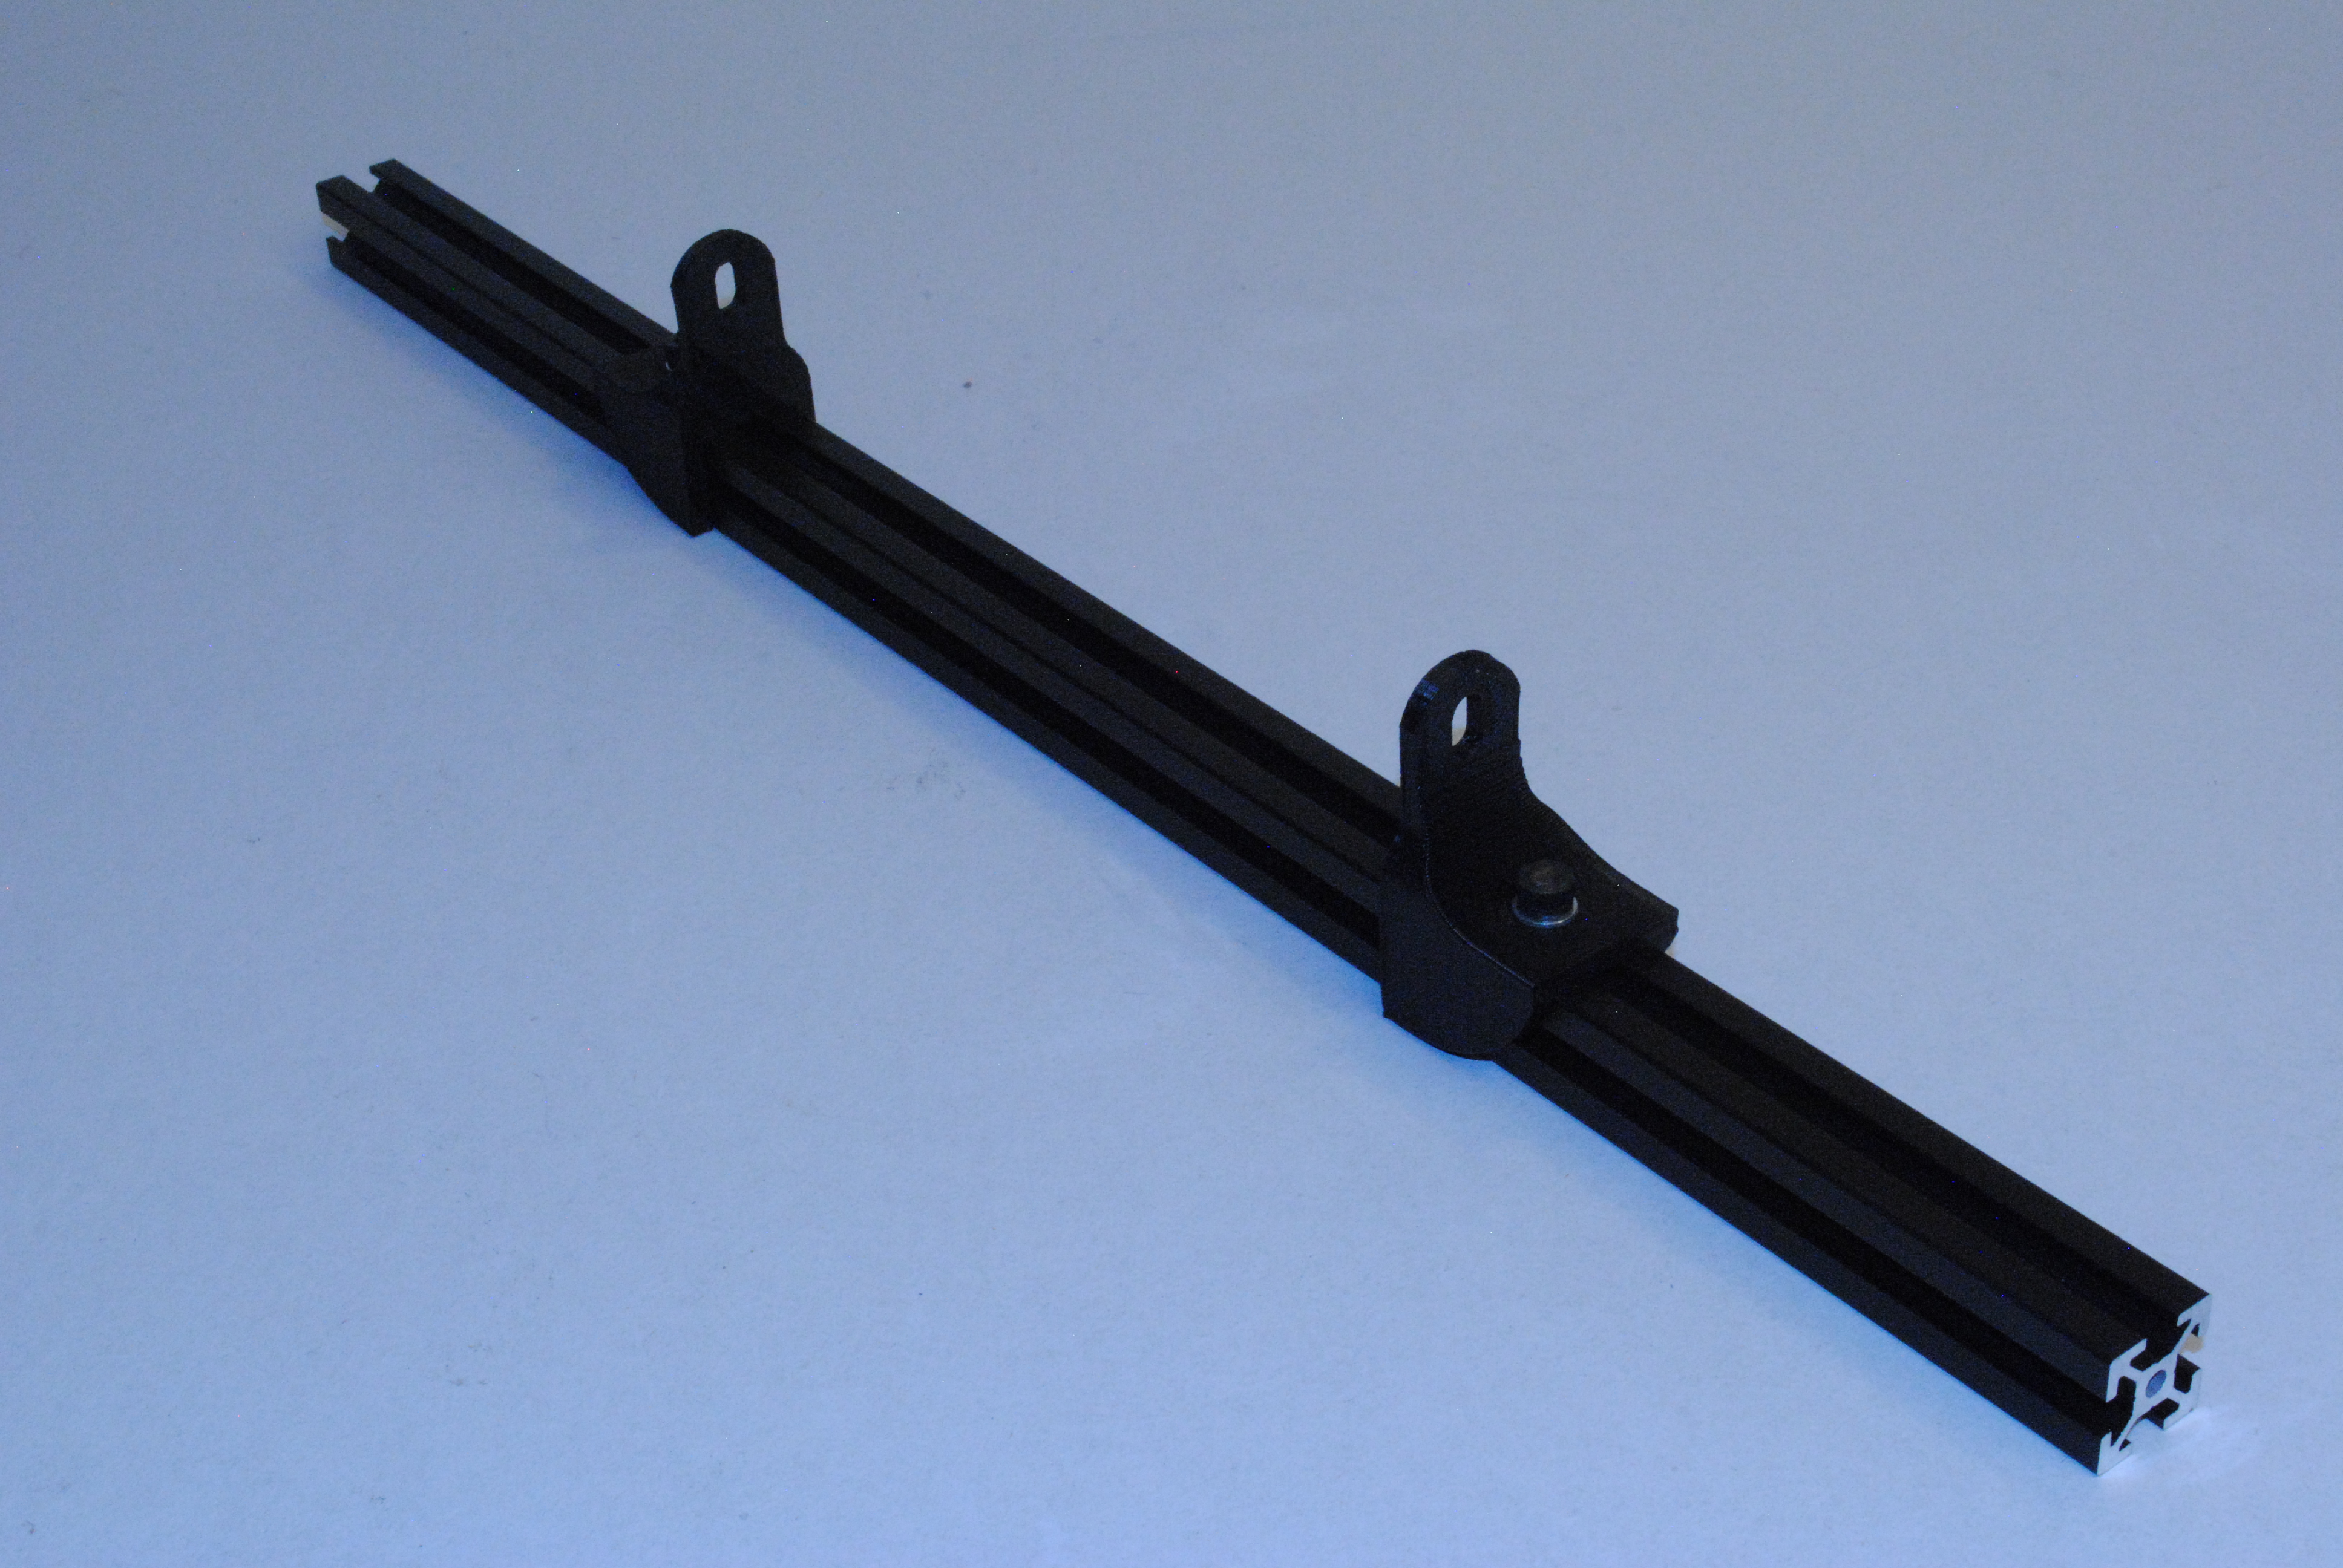
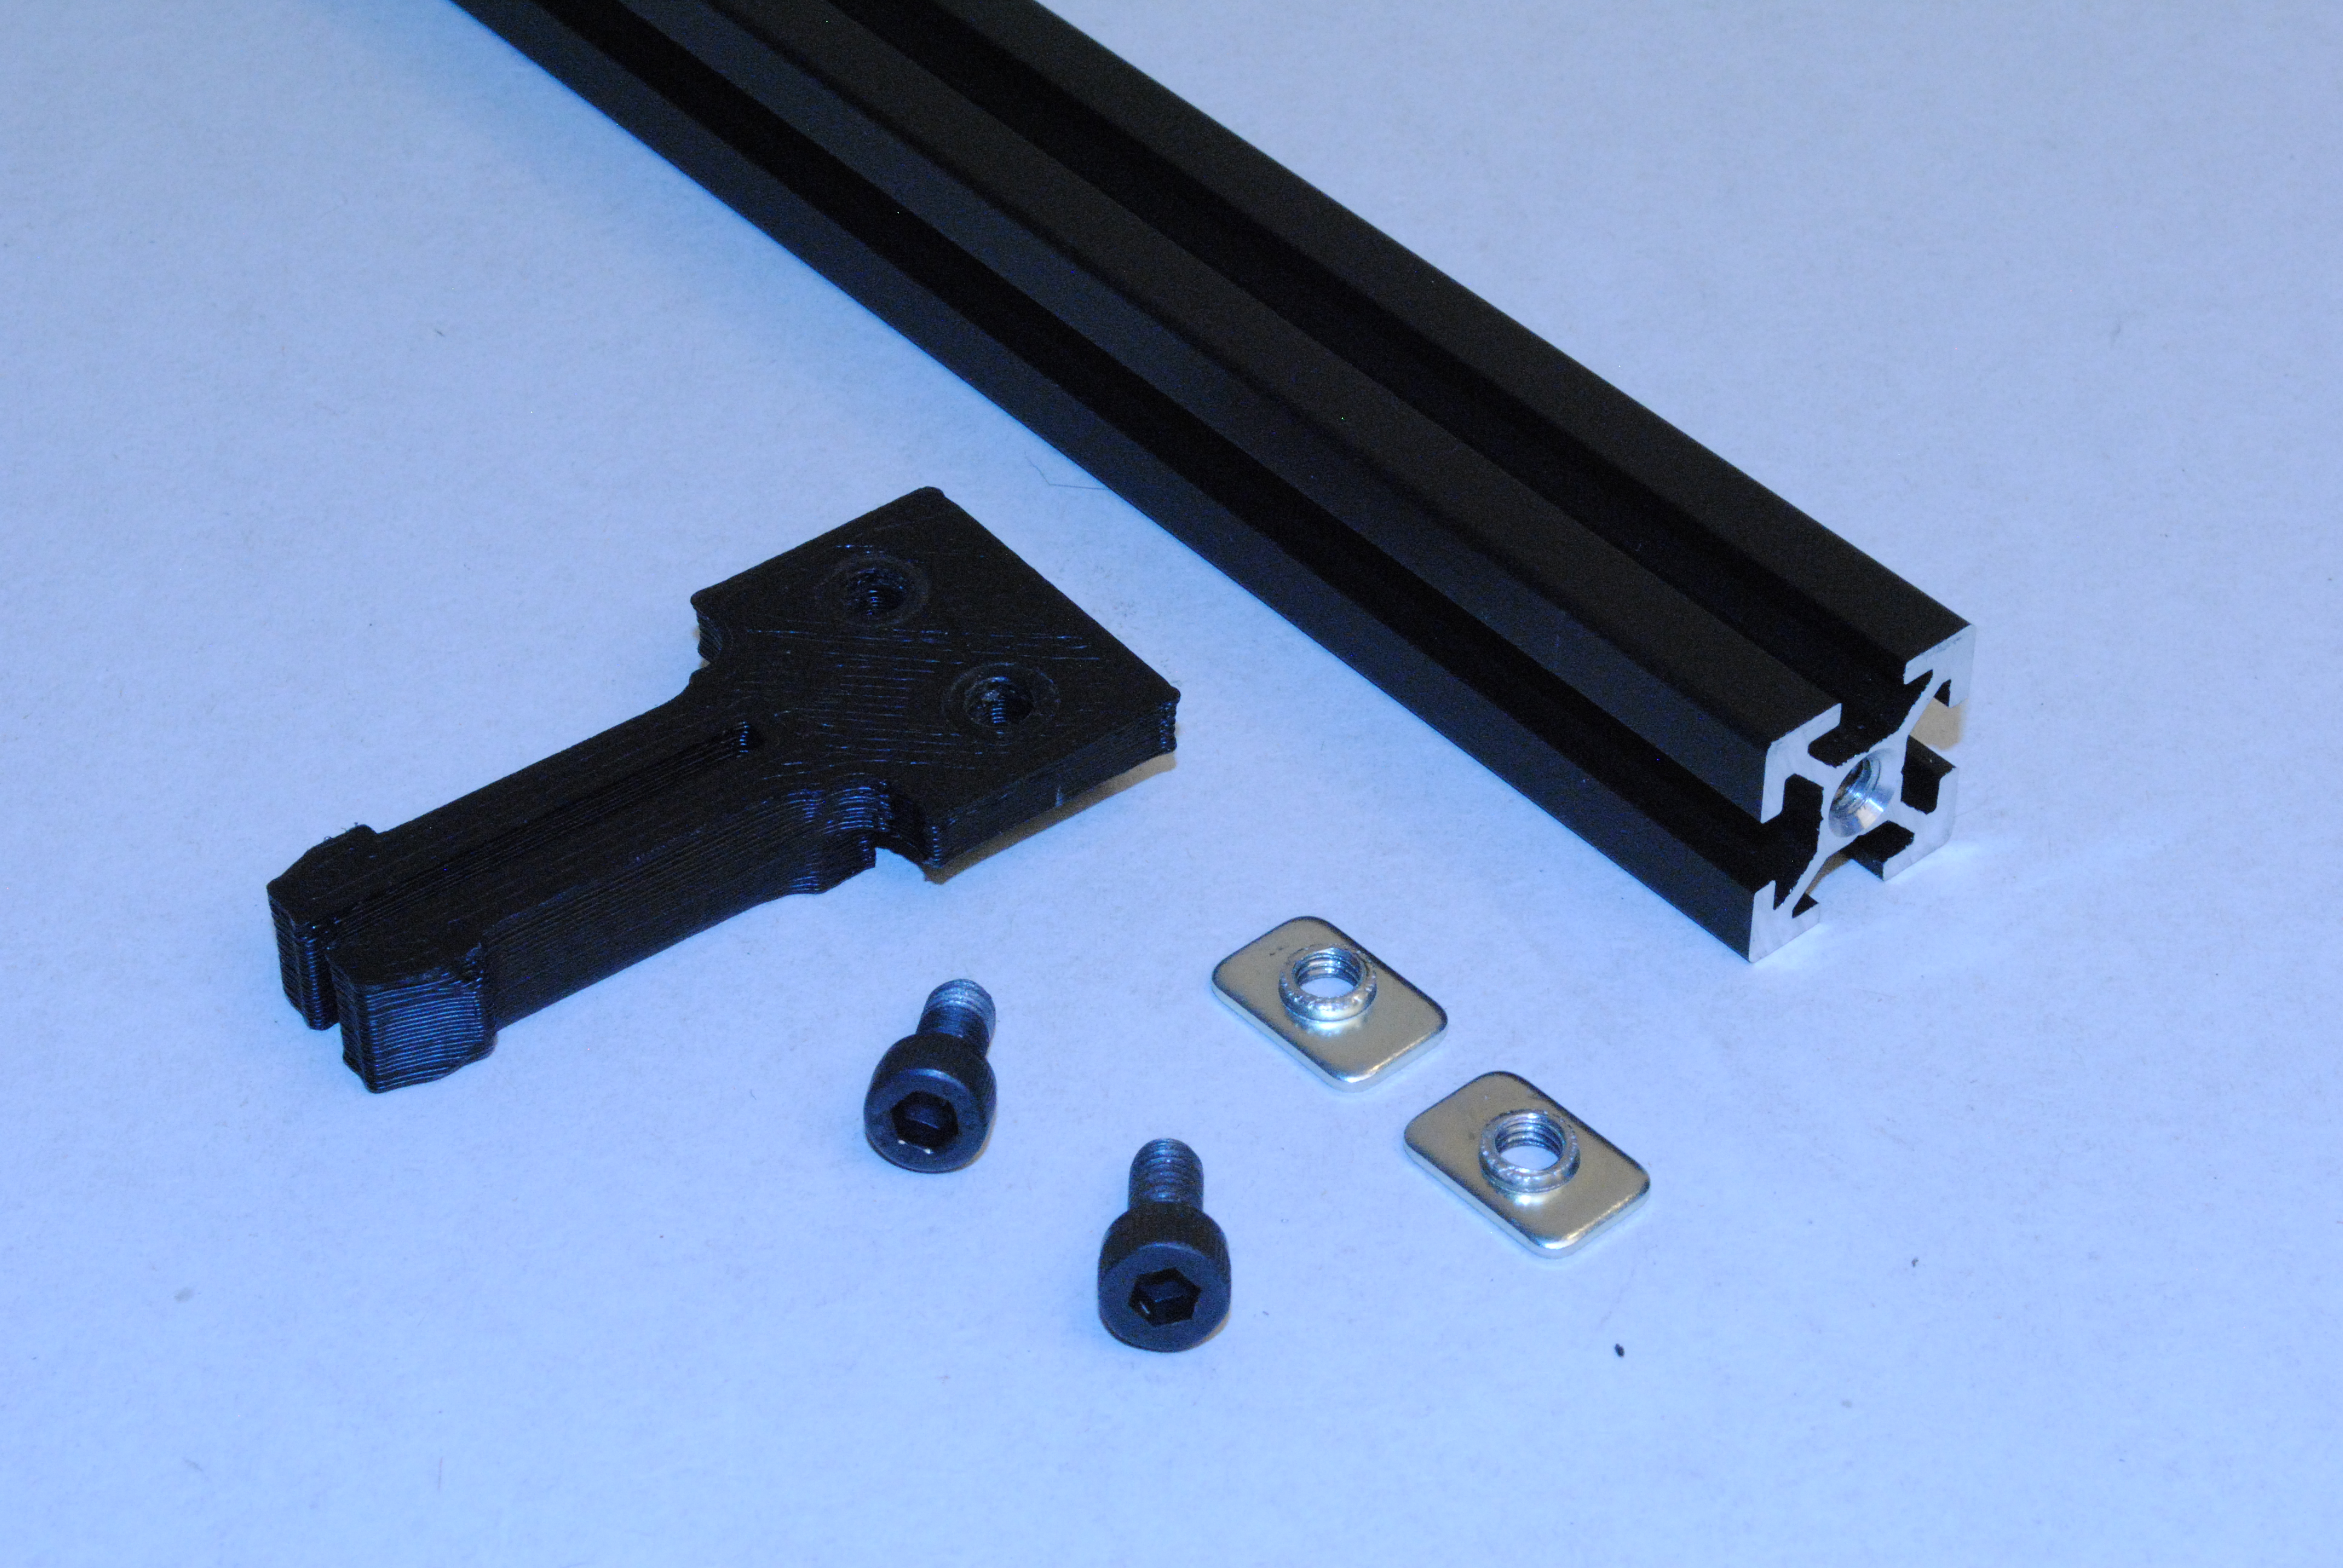
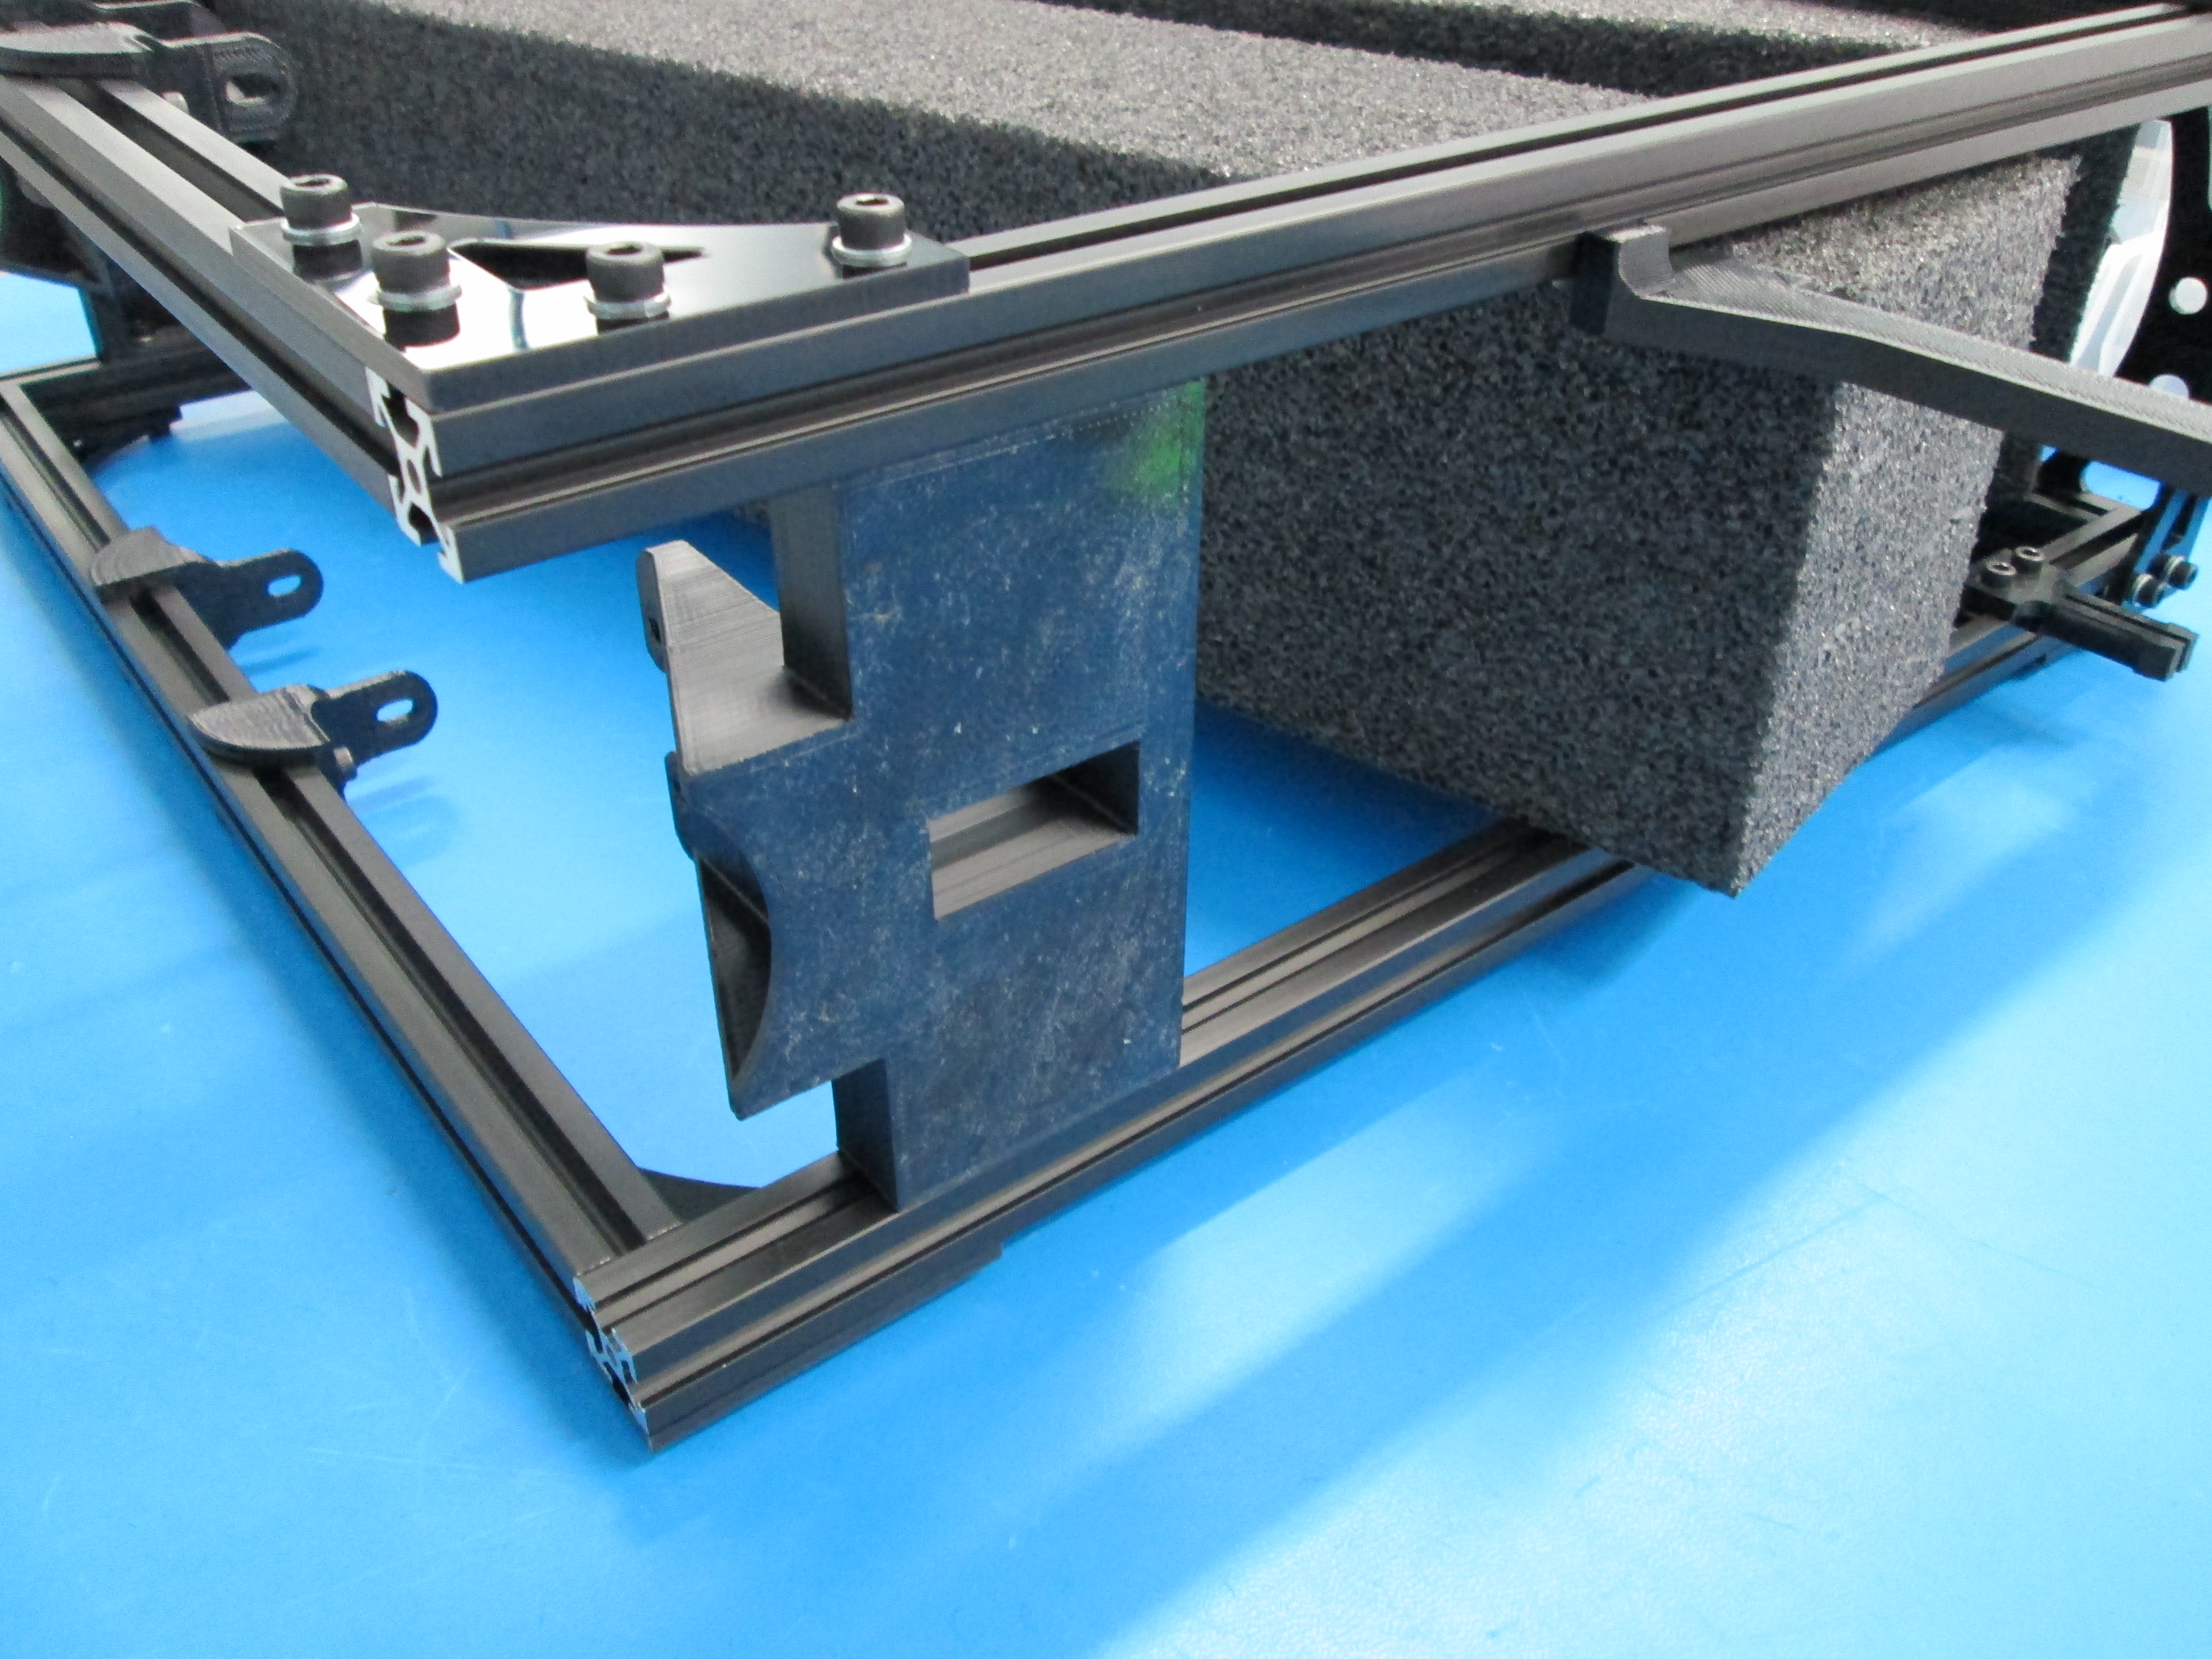
Install two Y mount chassis onto Extrusion with no taps using M5 x 10 SHCS, M5 Washers and M5 T-nuts.
Take note of the direction of the Y mounts, the tall flat sides must face each other.
The location is not important at this point. Snug them down just enough to not slide around during the rest of the assembly.
Install 1x M8 nut into the Inner spool mount.
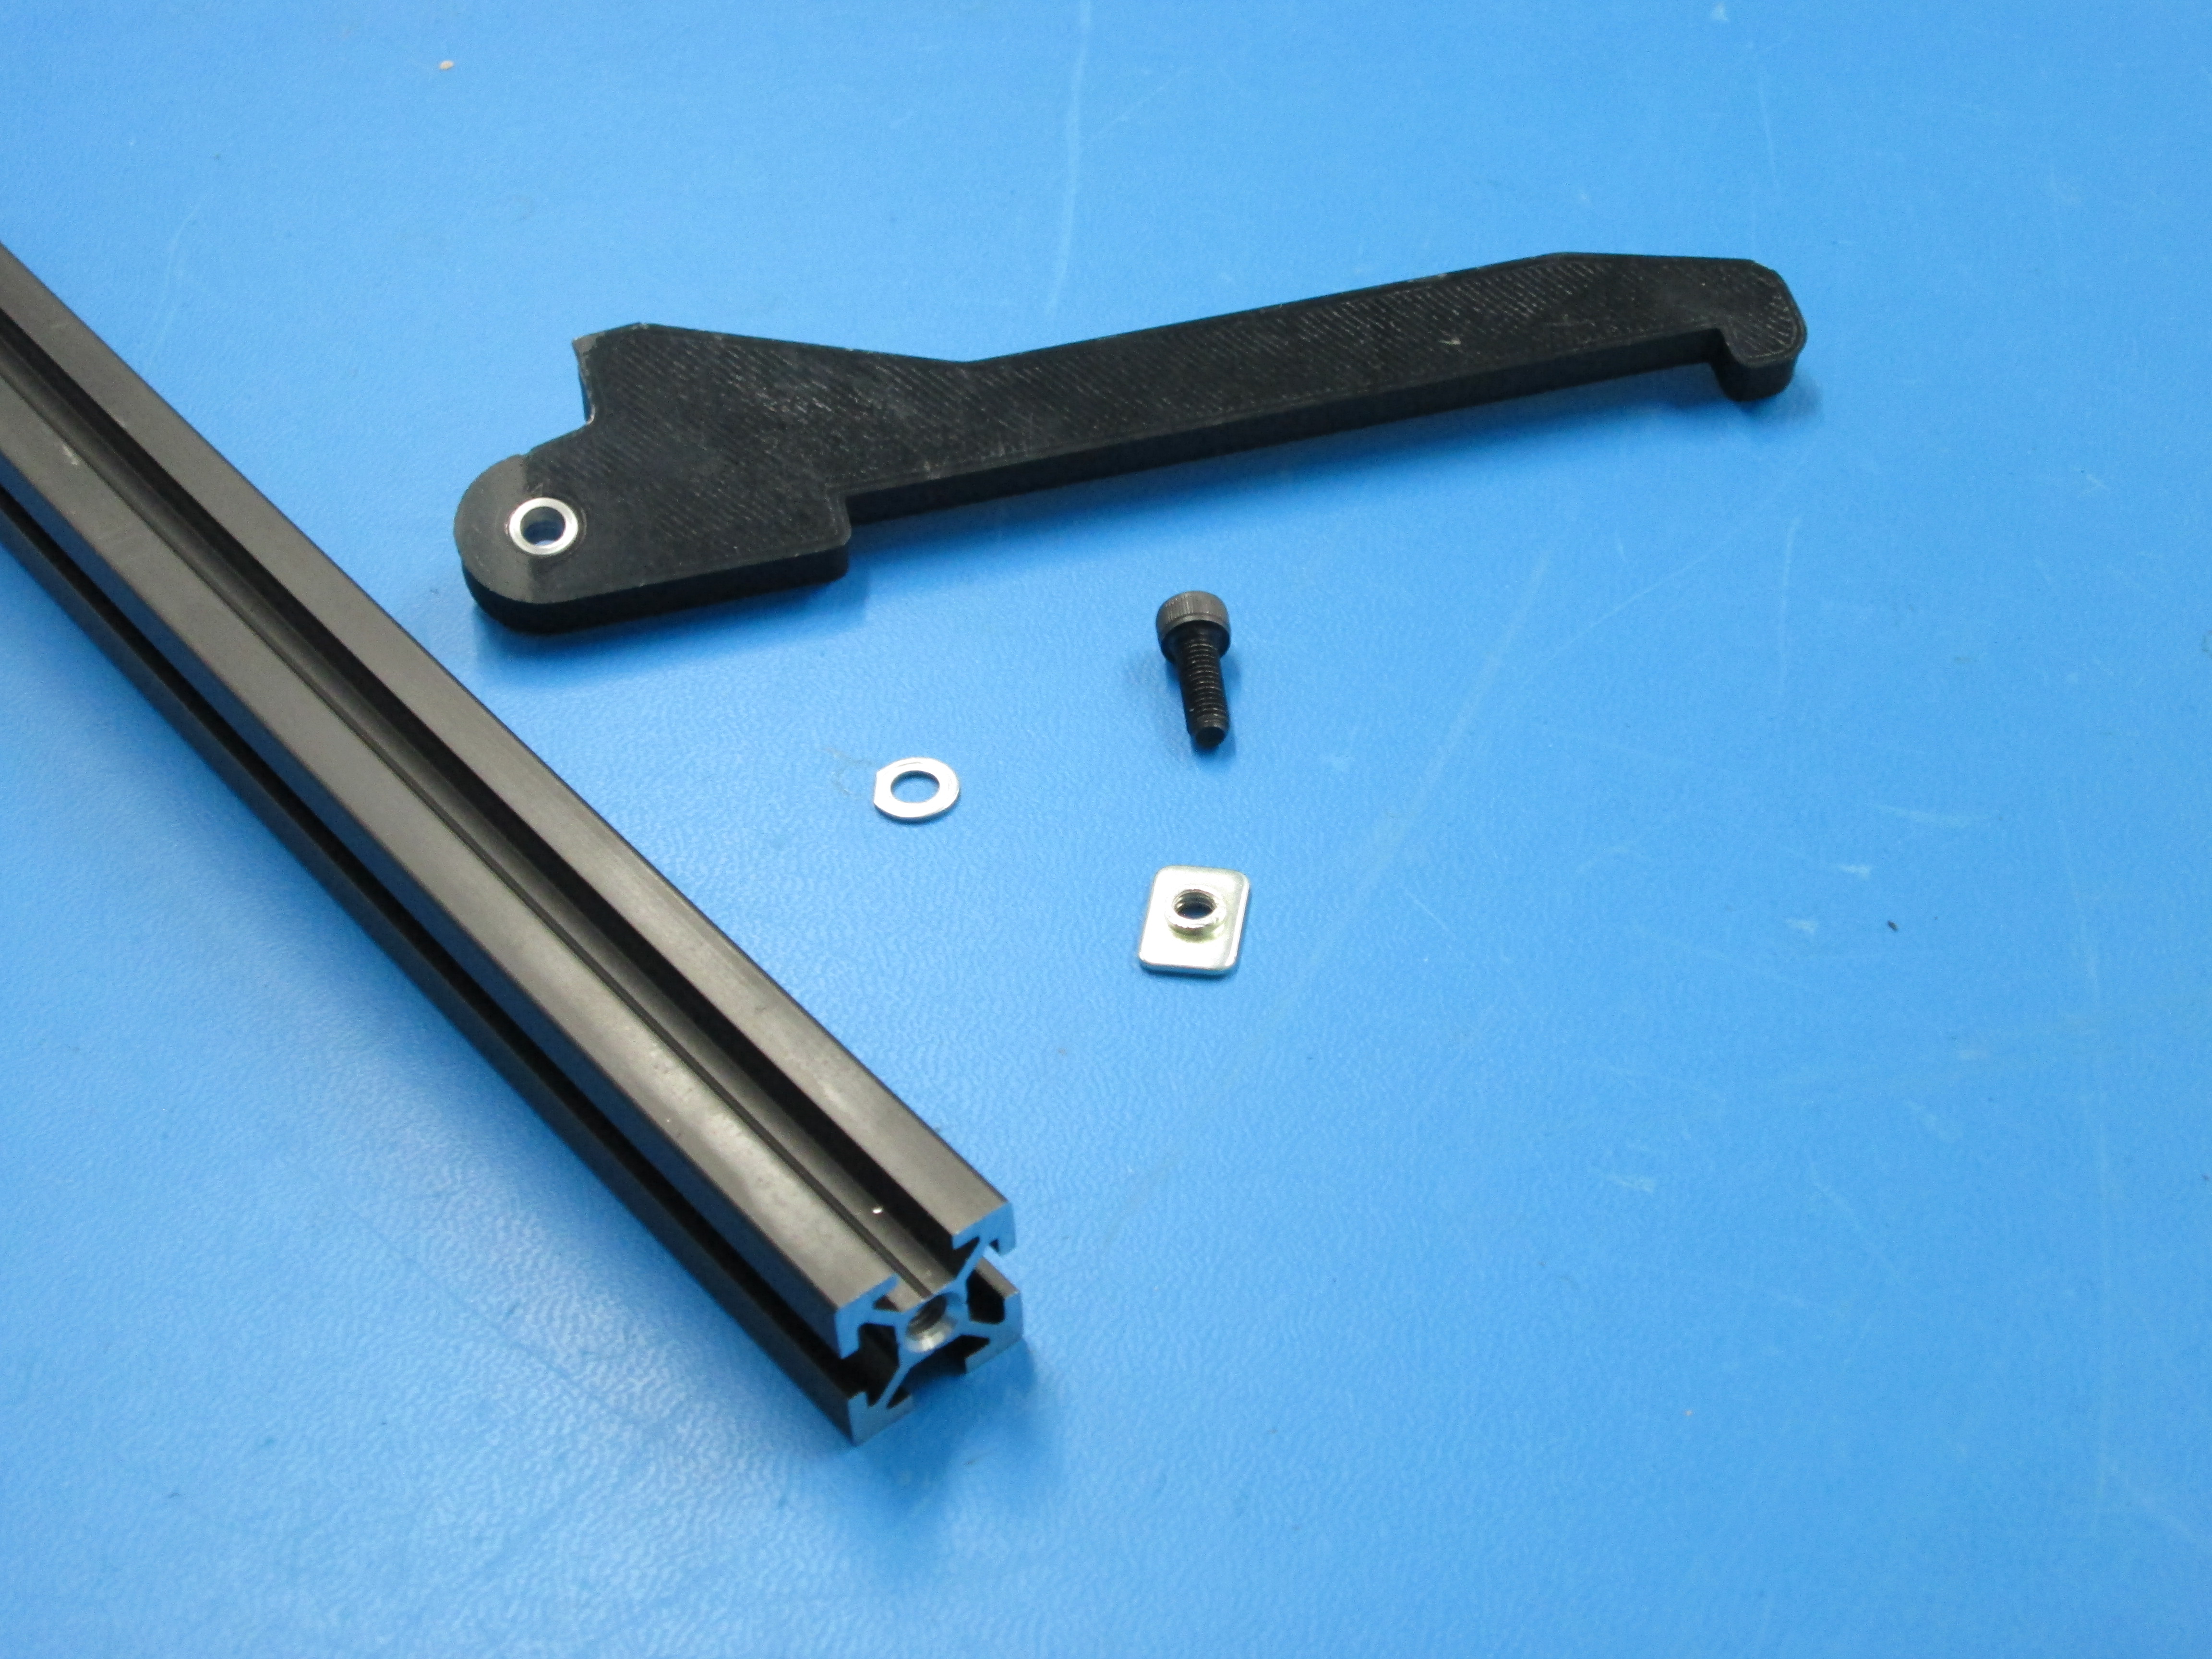
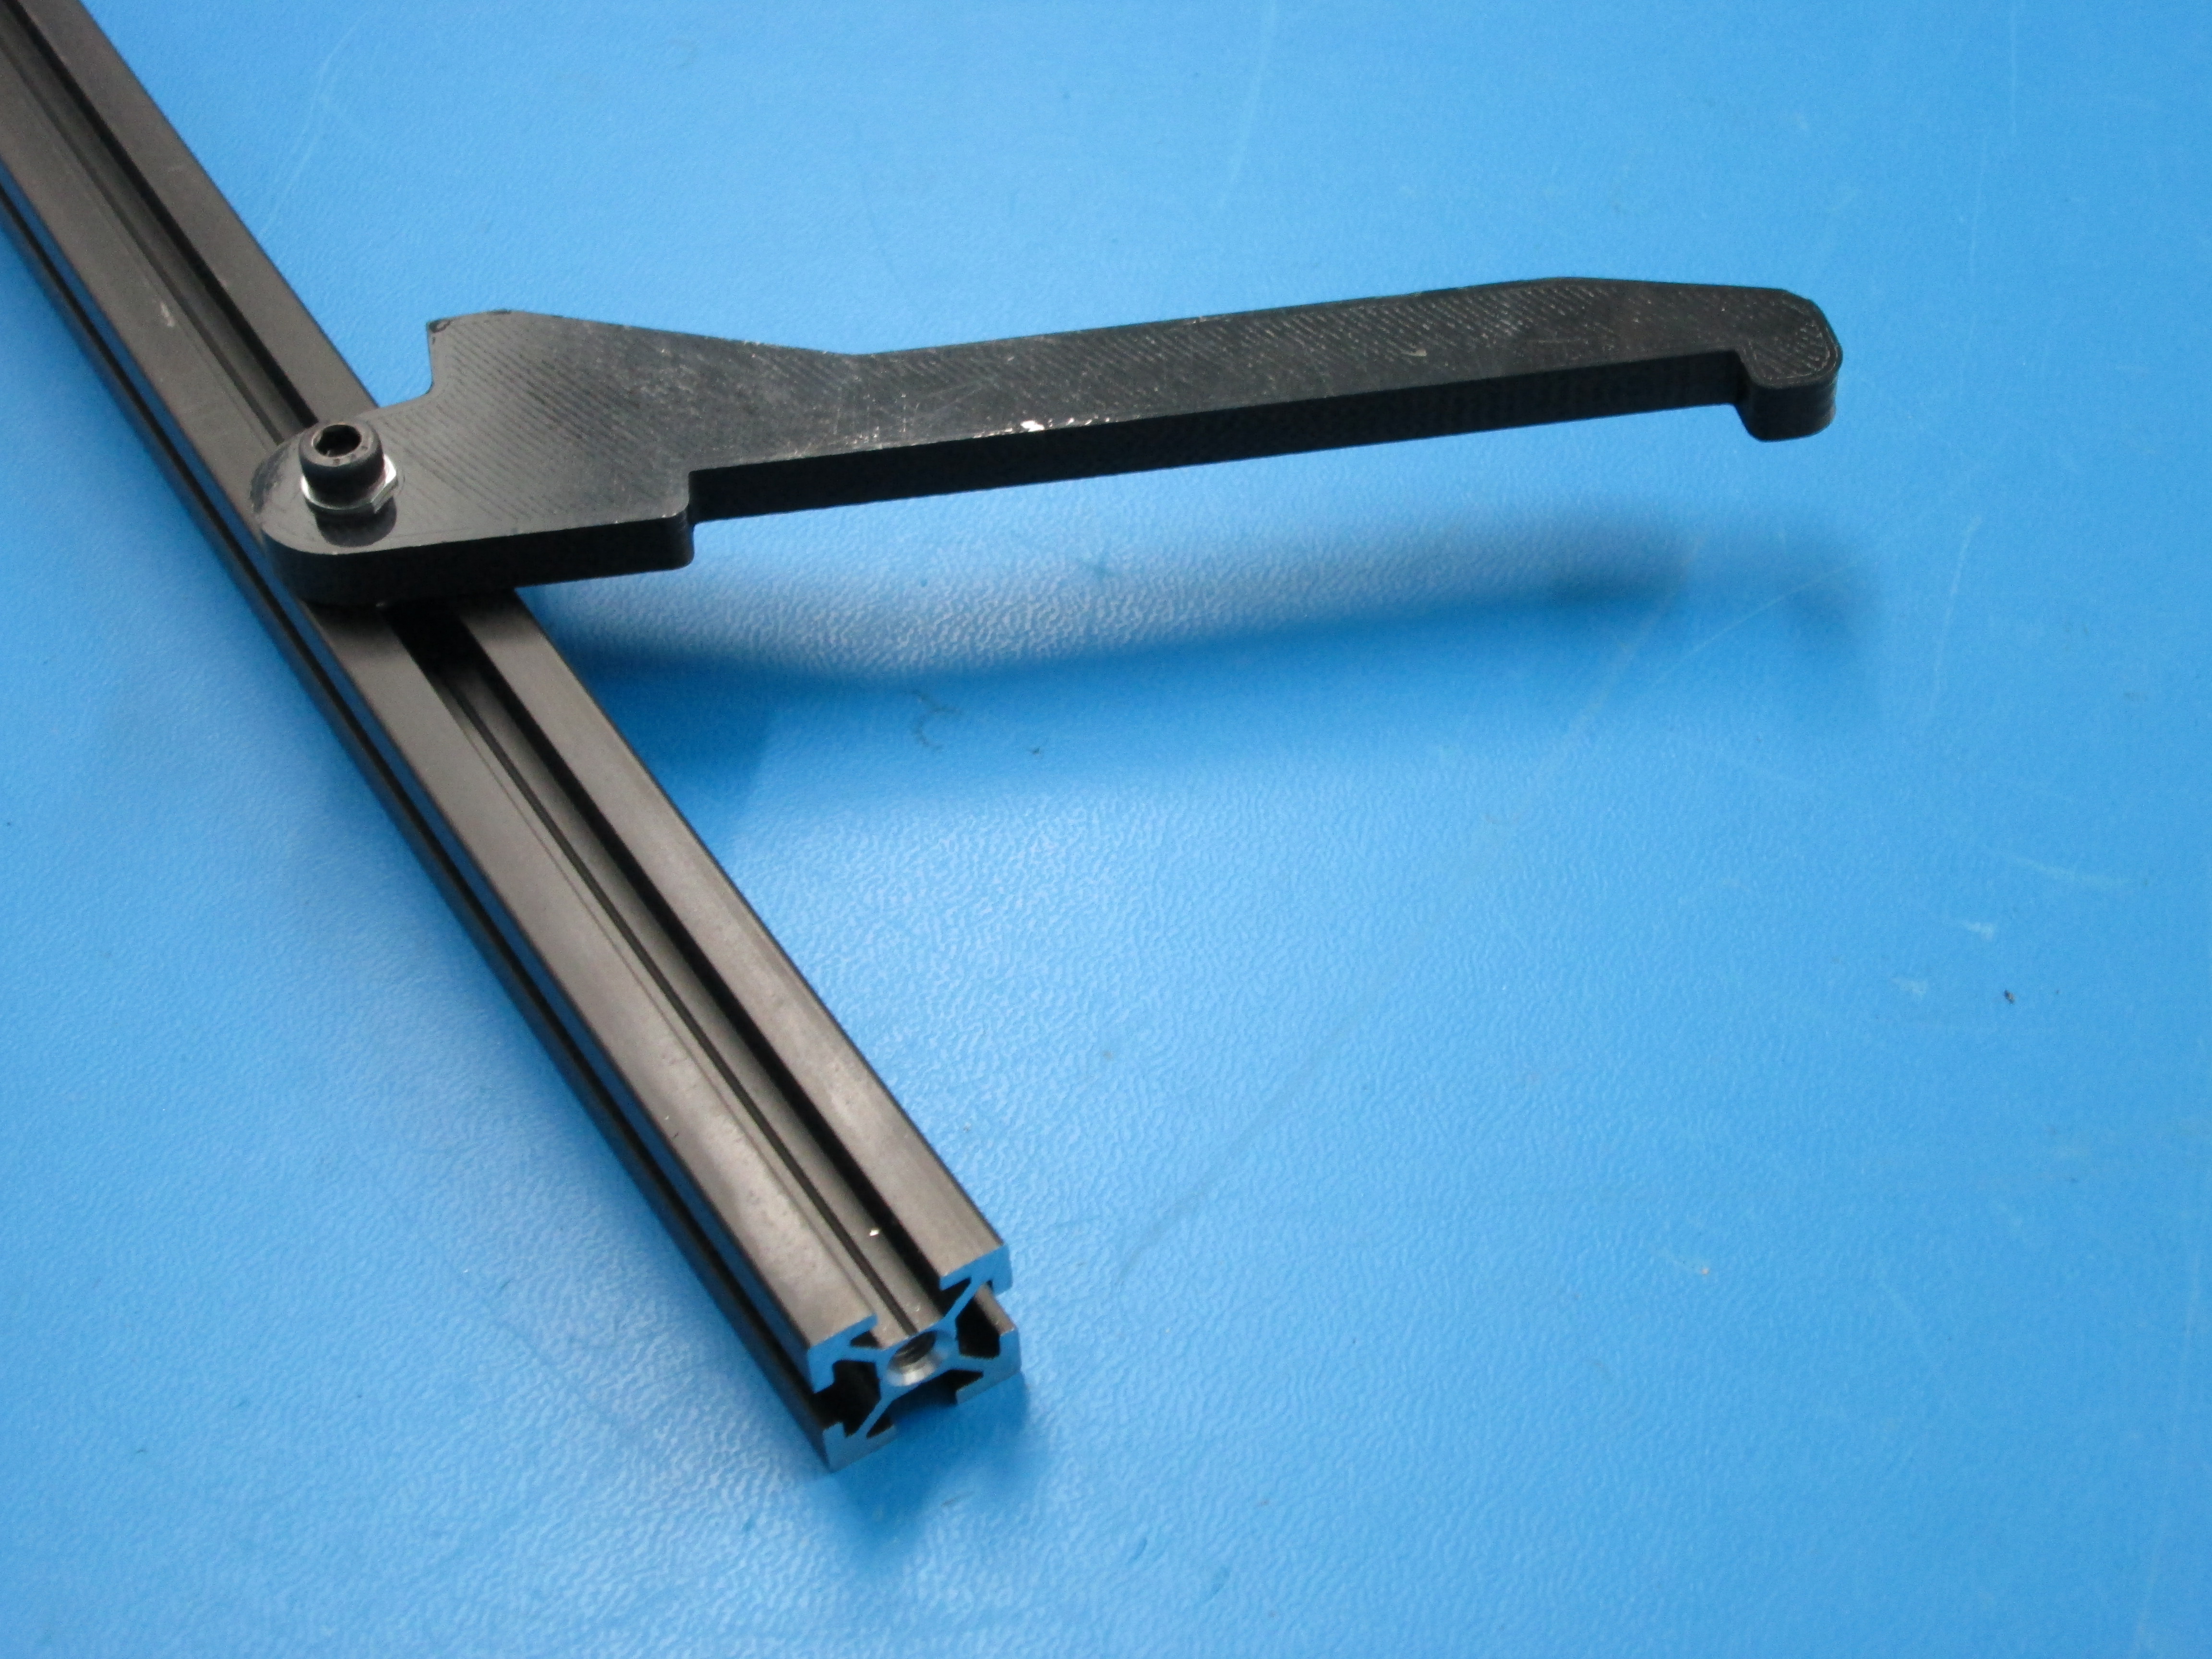
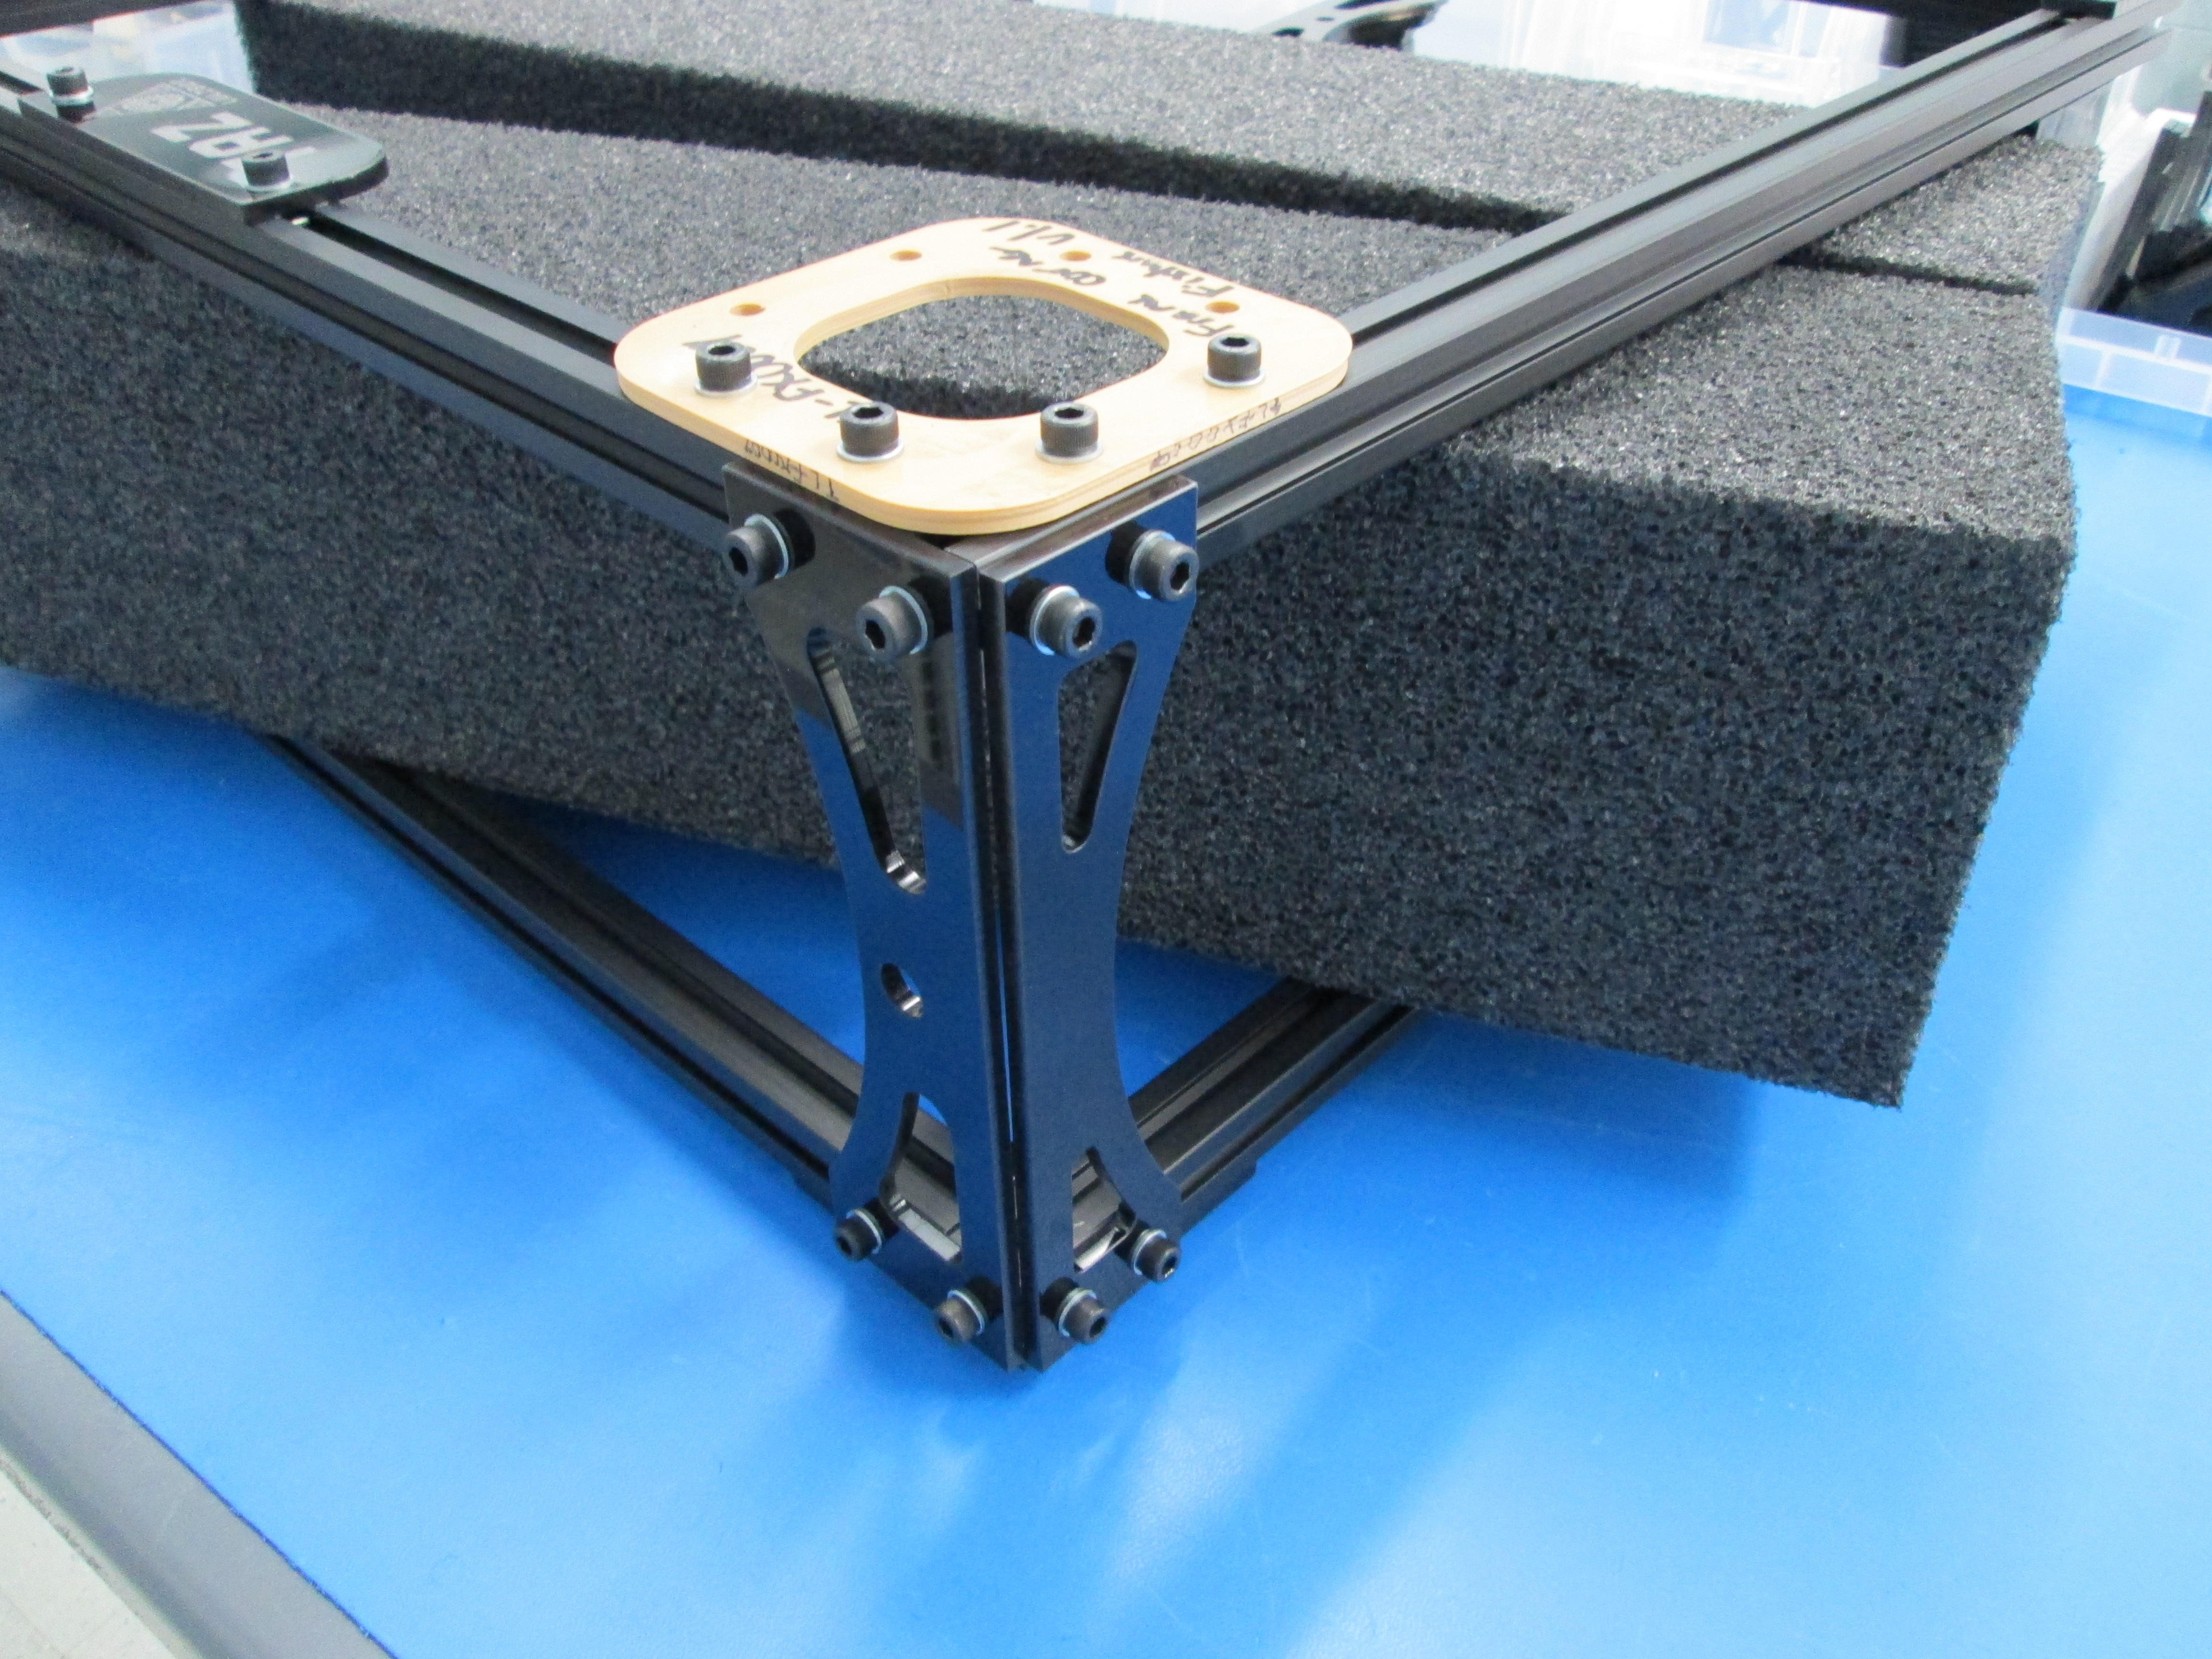
Use 1x M5 x 14 SHCS and M5 Washer to bolt on the Spool Arm. Take note of the tapped end of the extrusion.
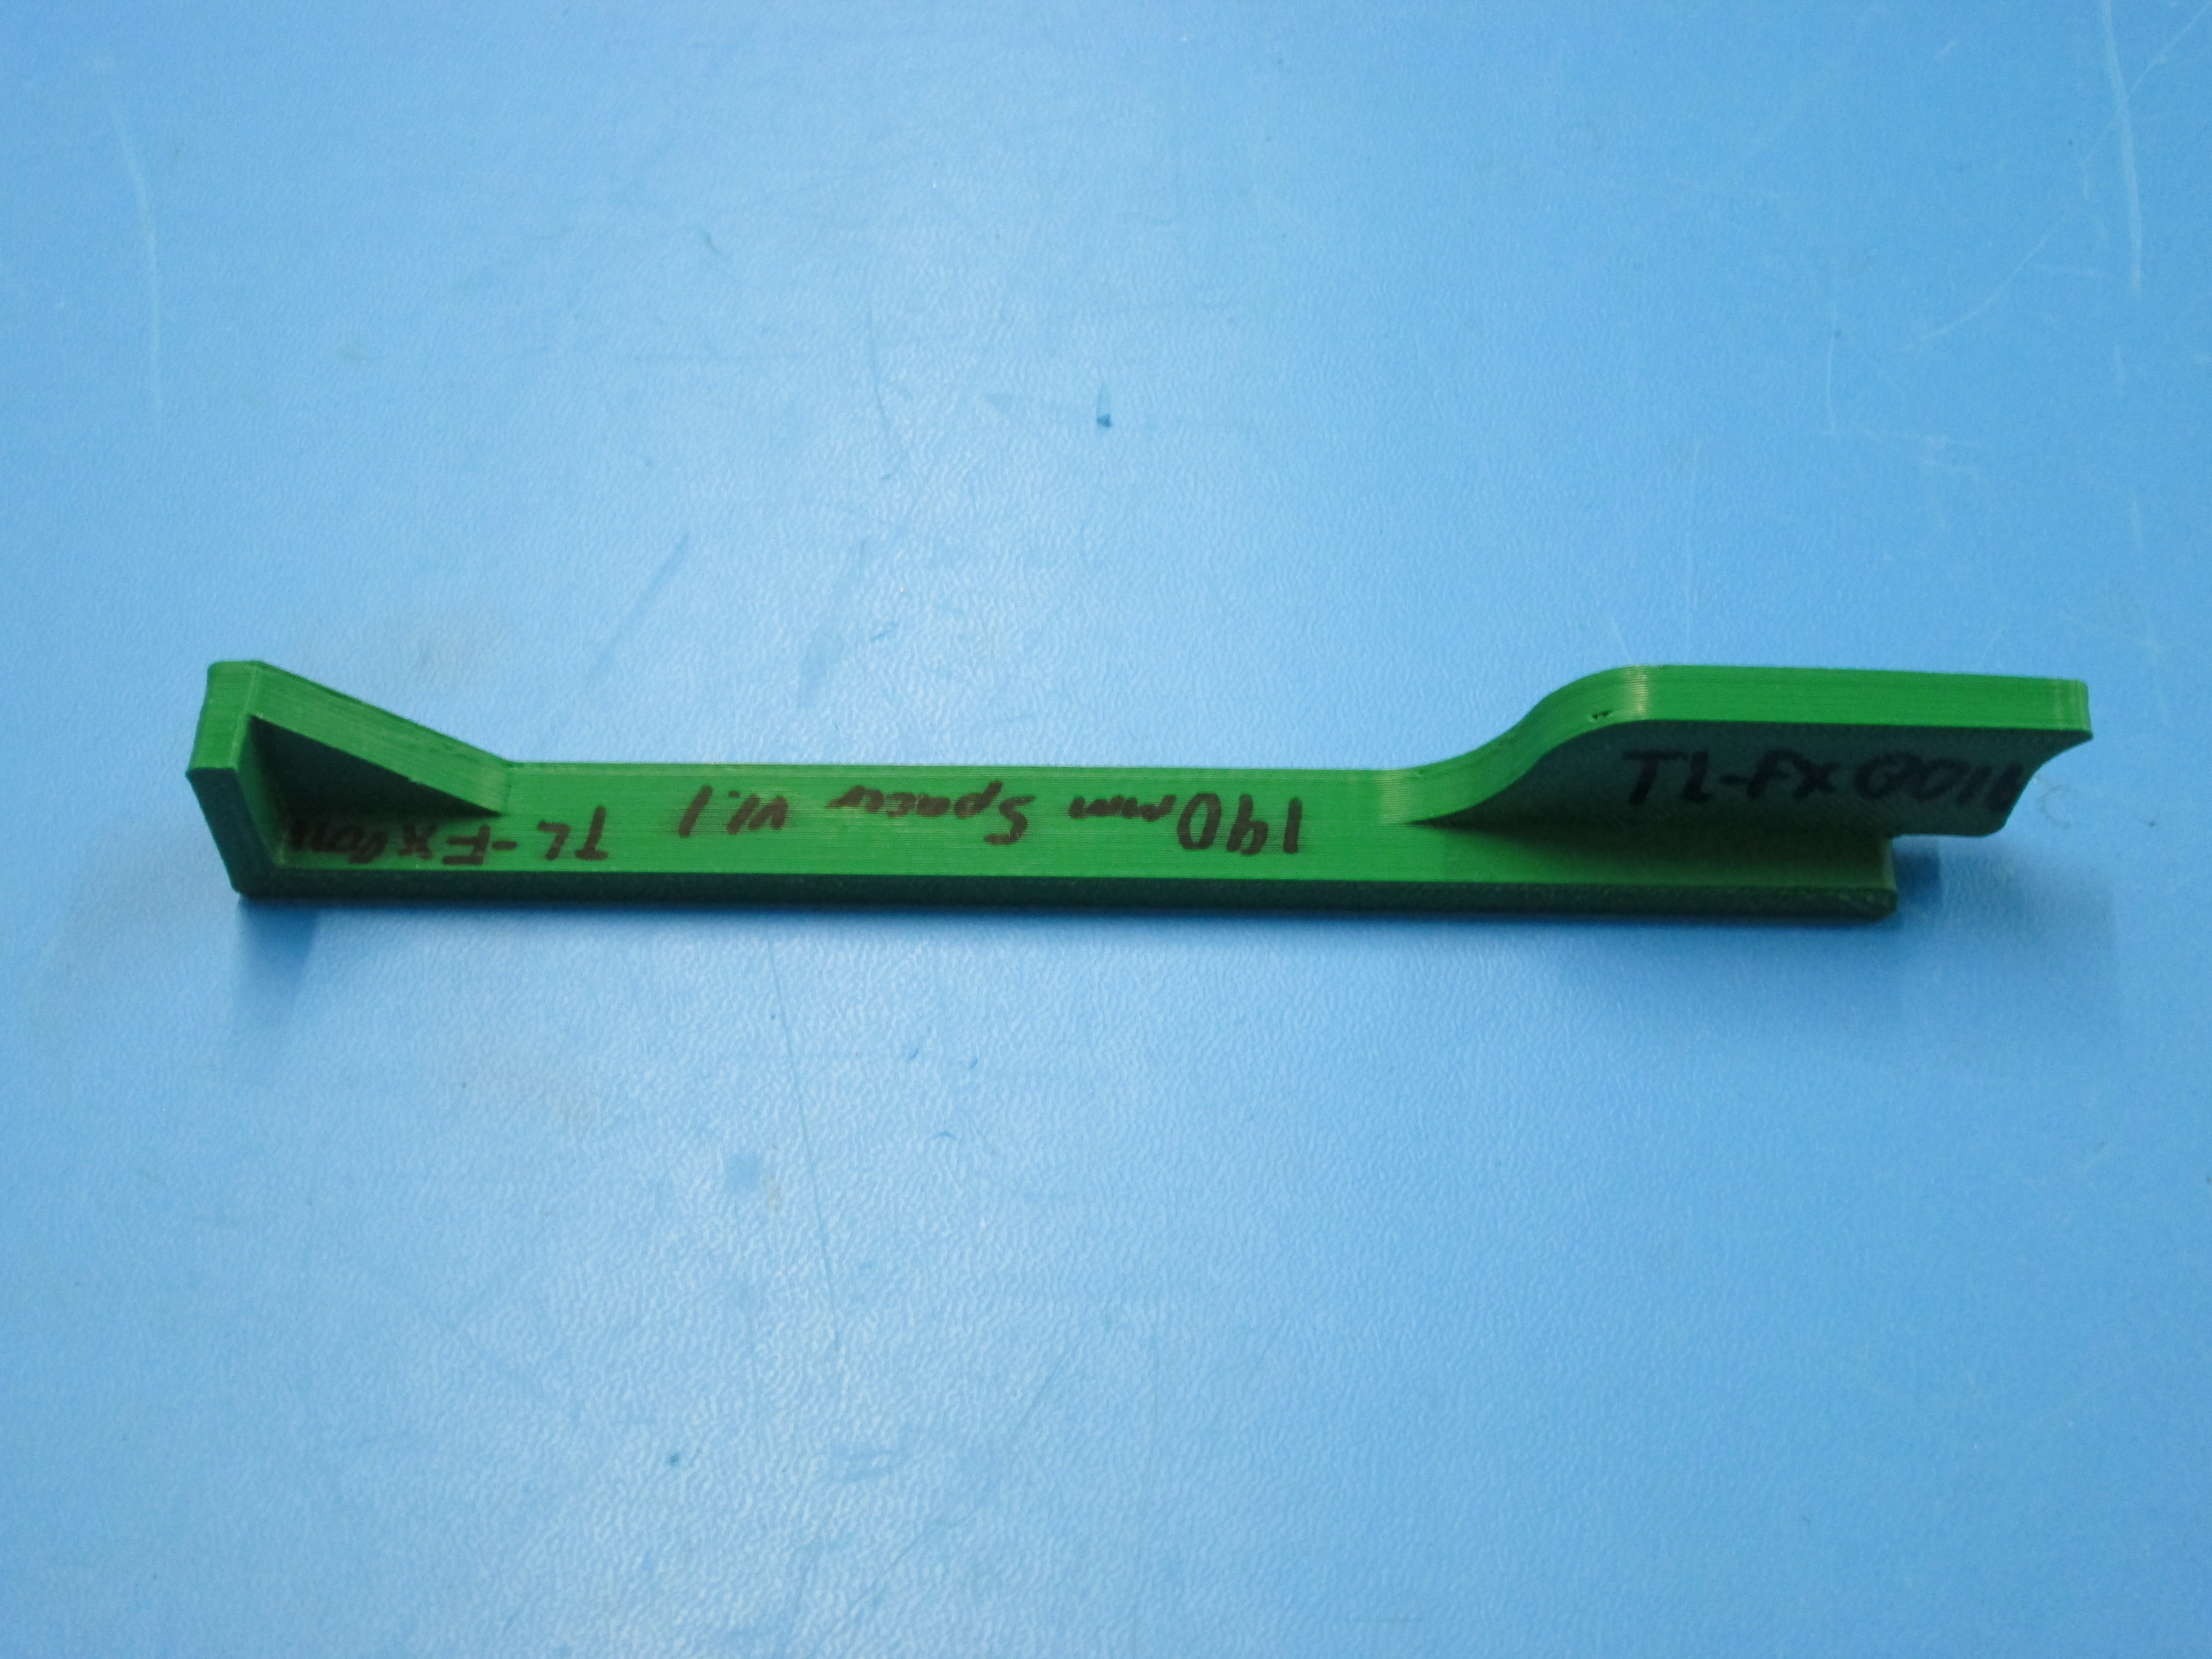
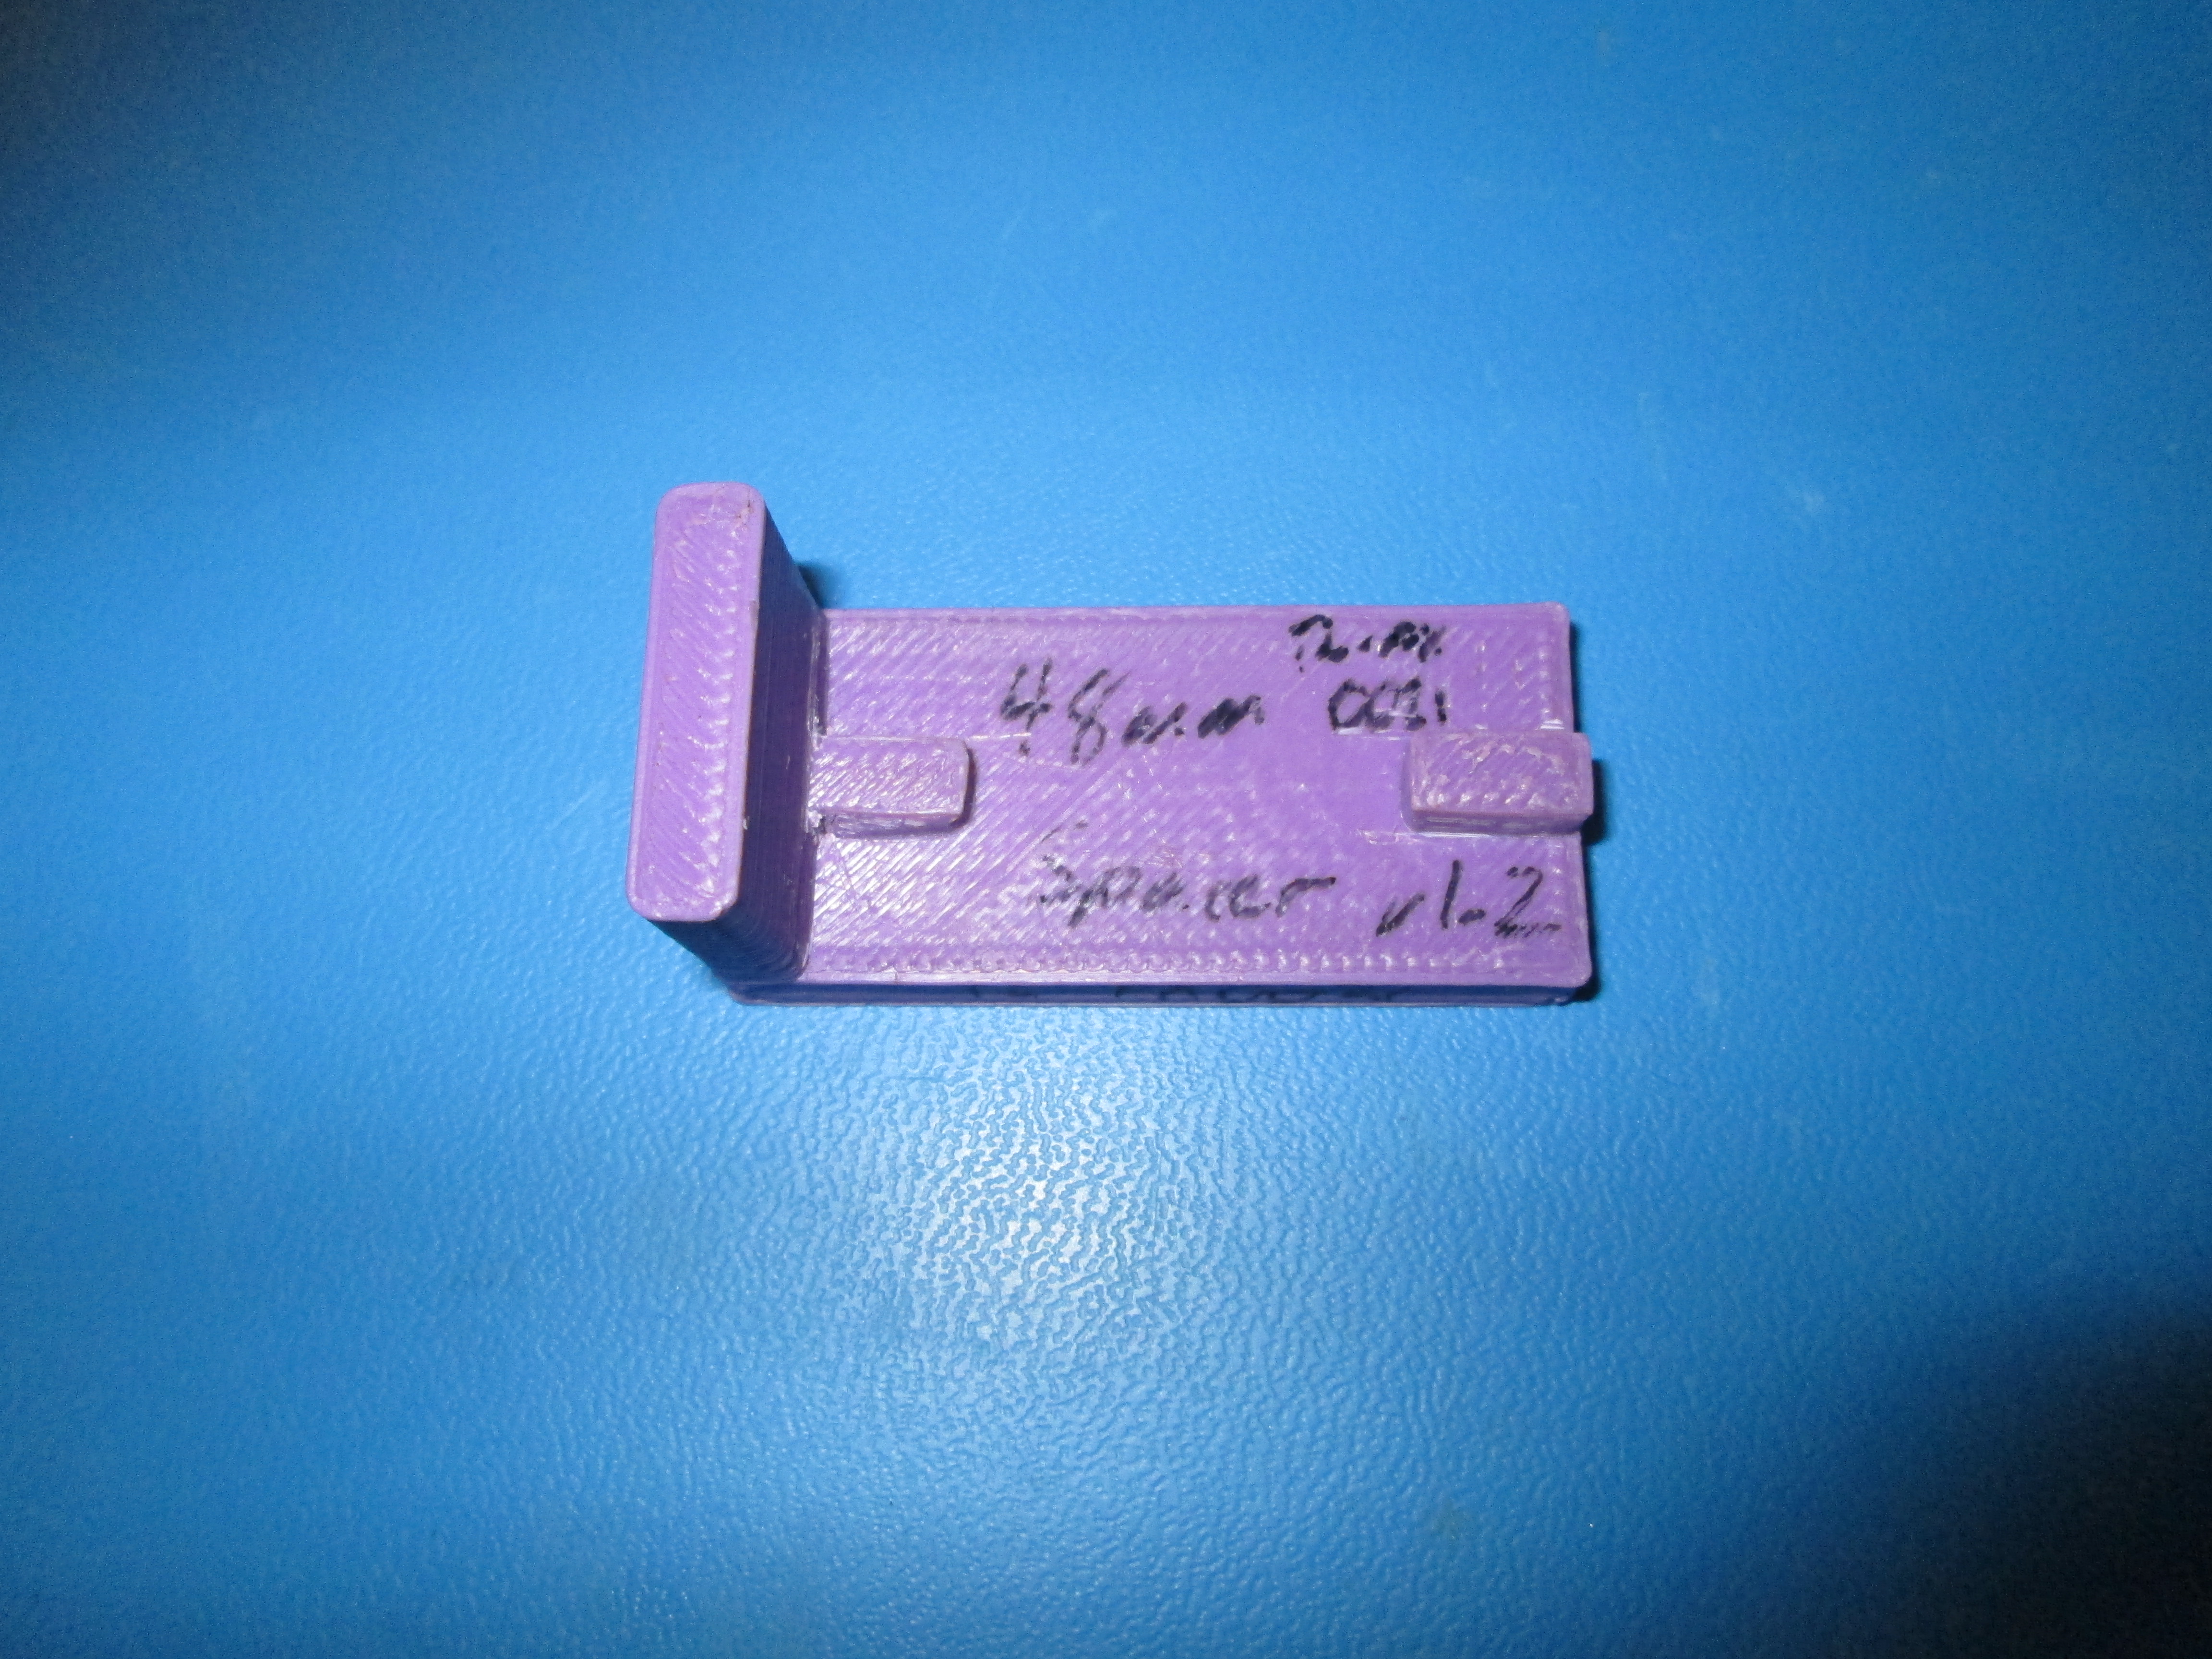
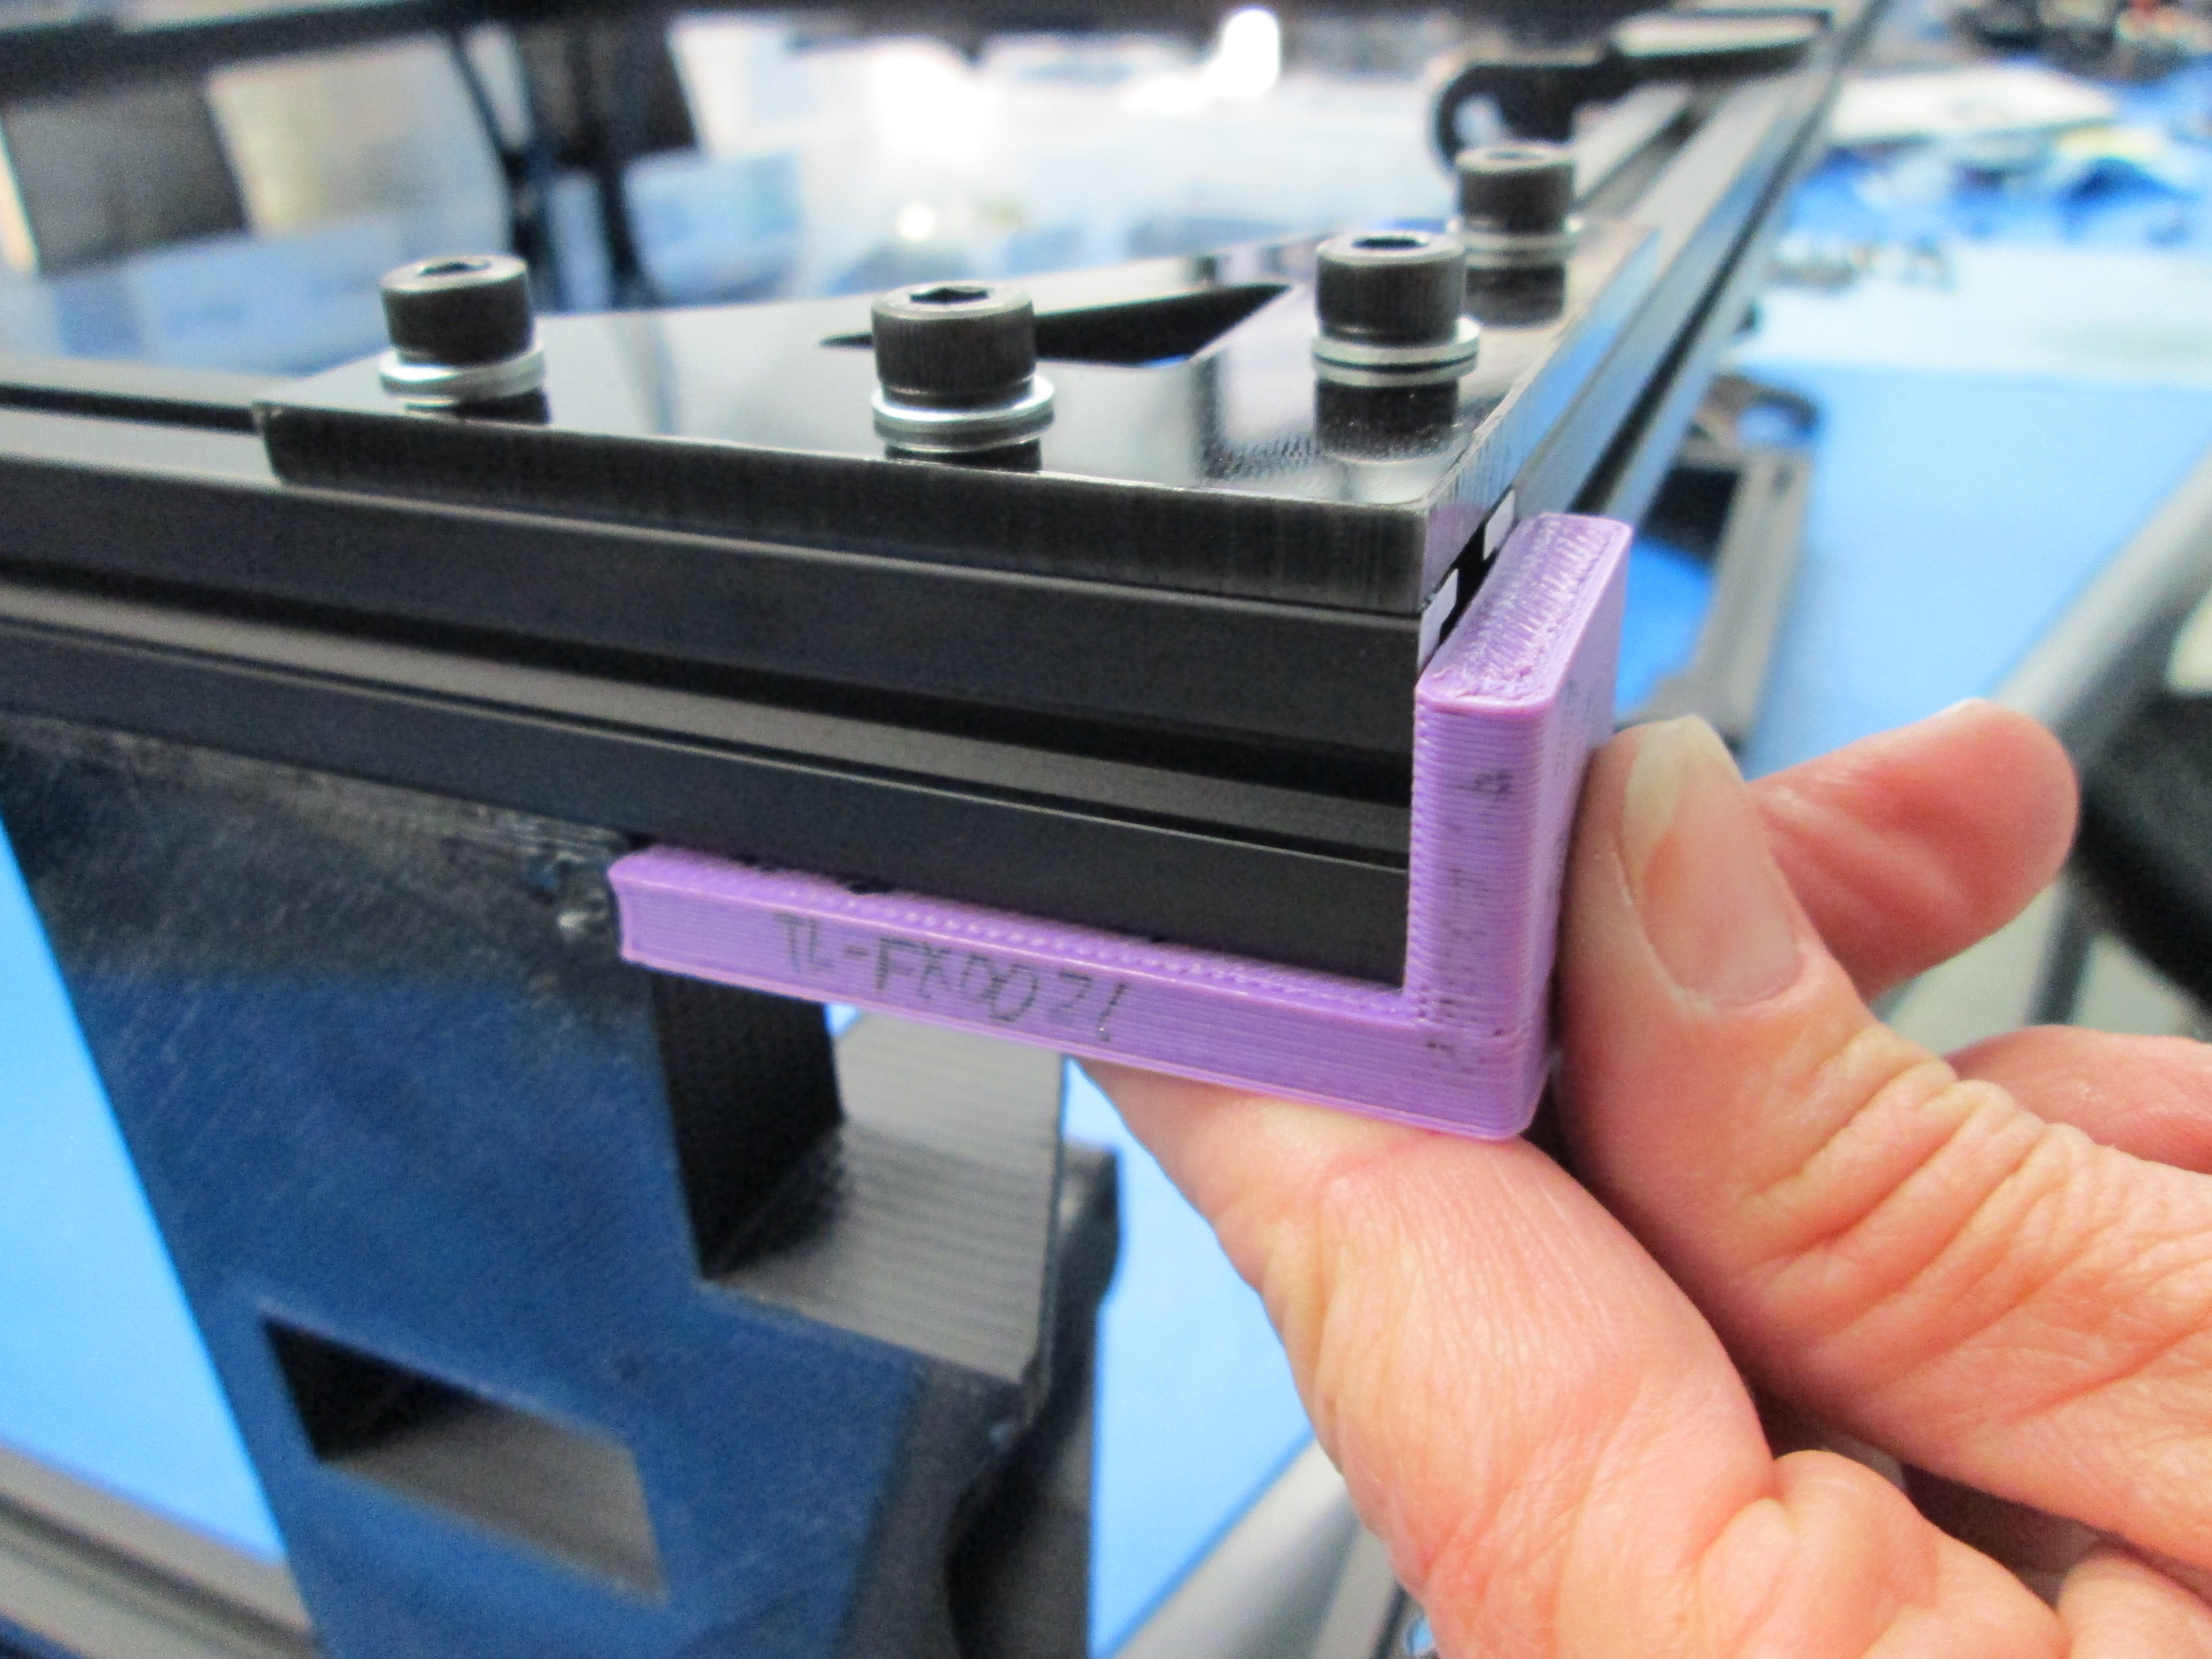
Set the location of the arm using the TL-FX0011 fixture.

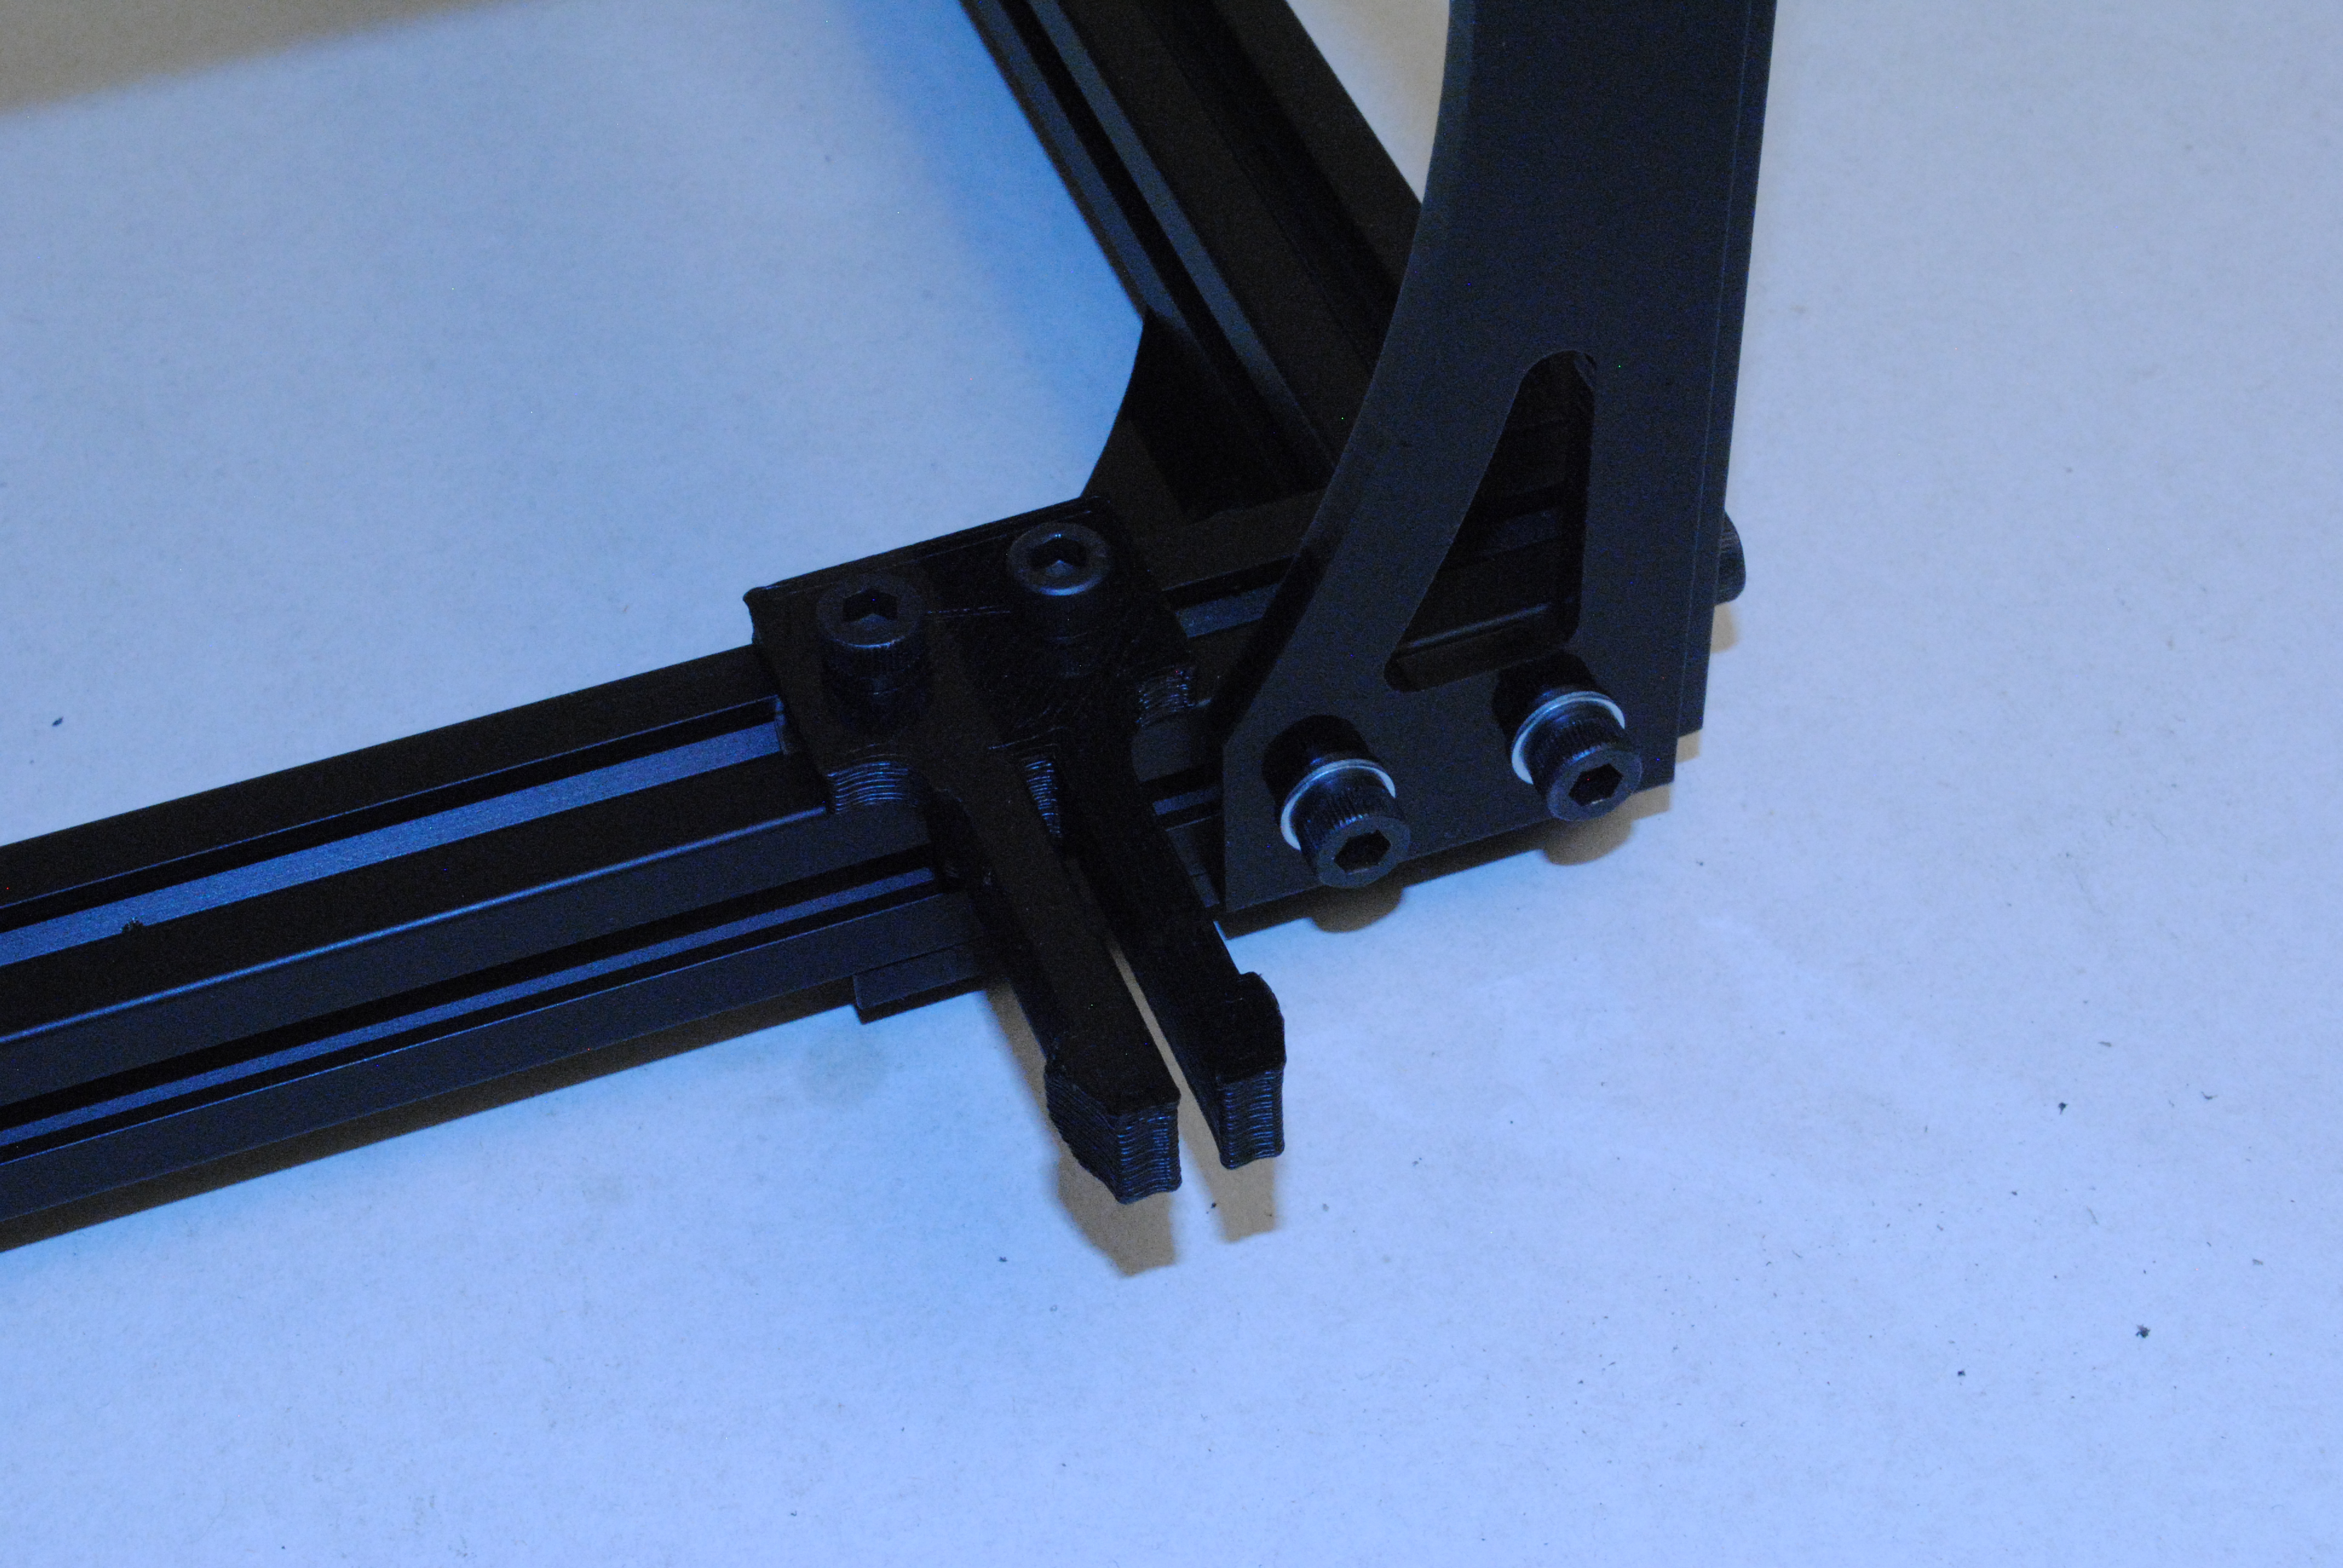
Slide 2x M5 T-nuts into the slot on the bottom right extrusion.
Install the Feet tube support with 2x M5 x 10mm SHCS.
Take note of tapped end of extrusion.

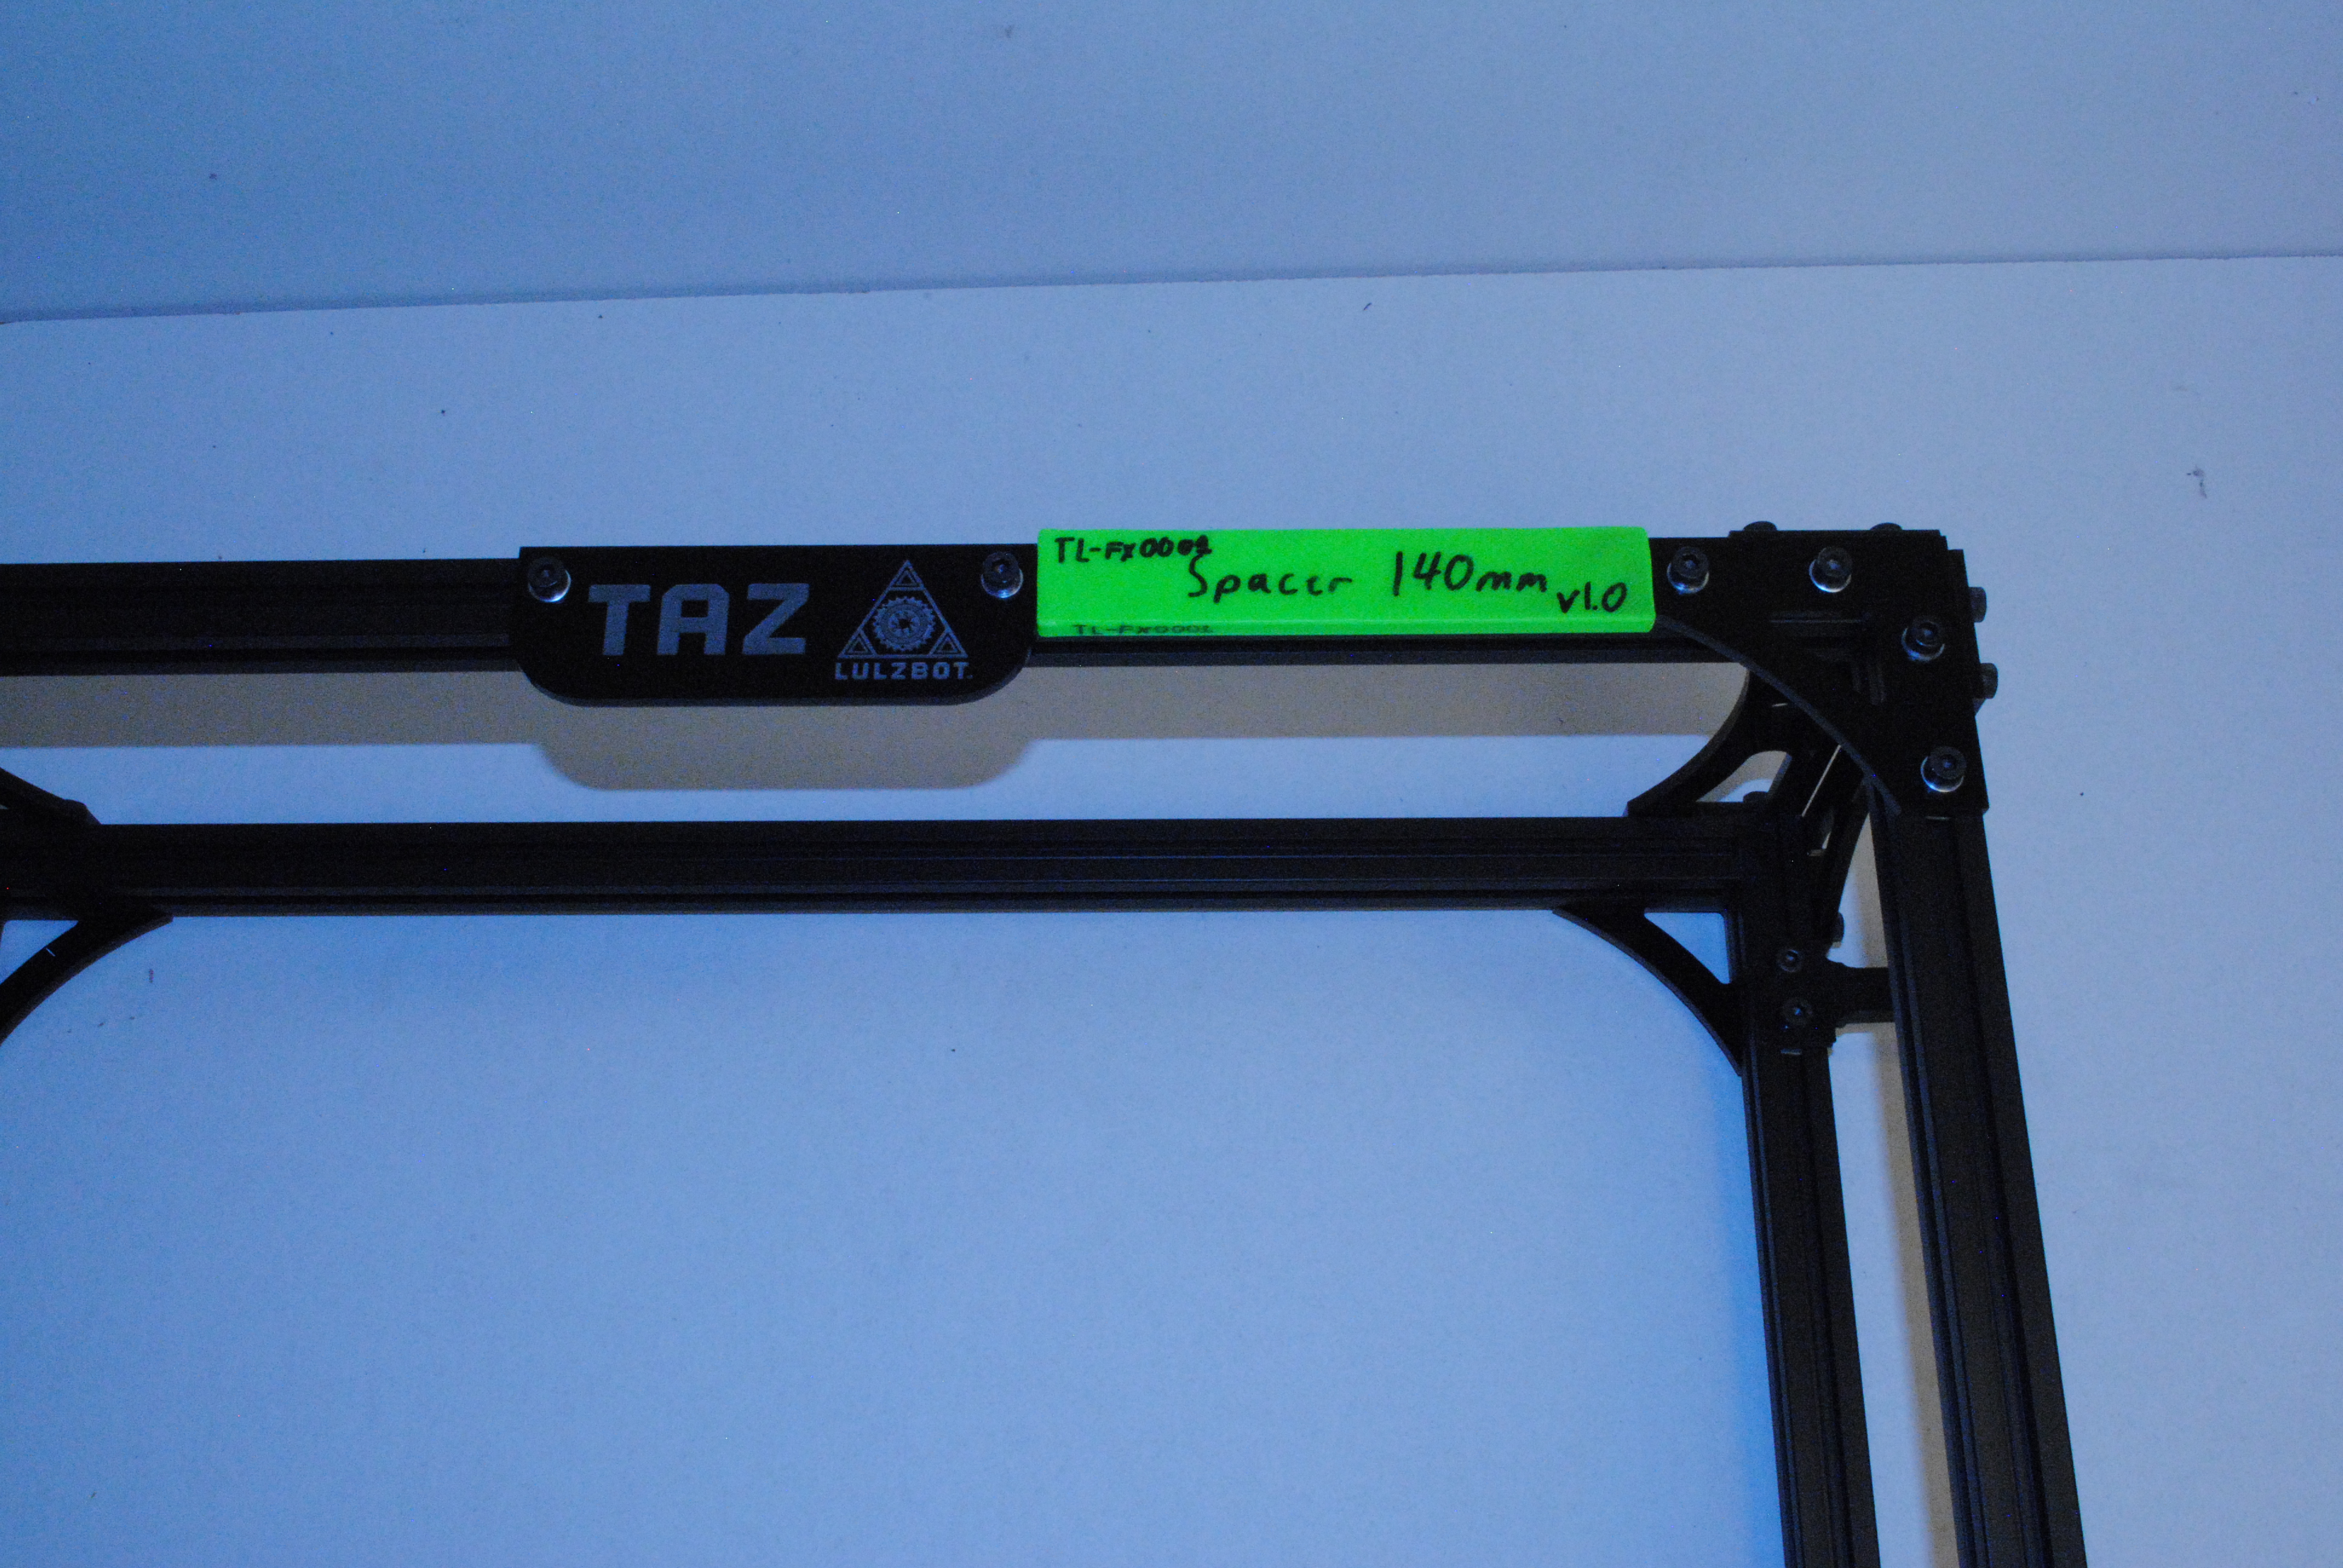
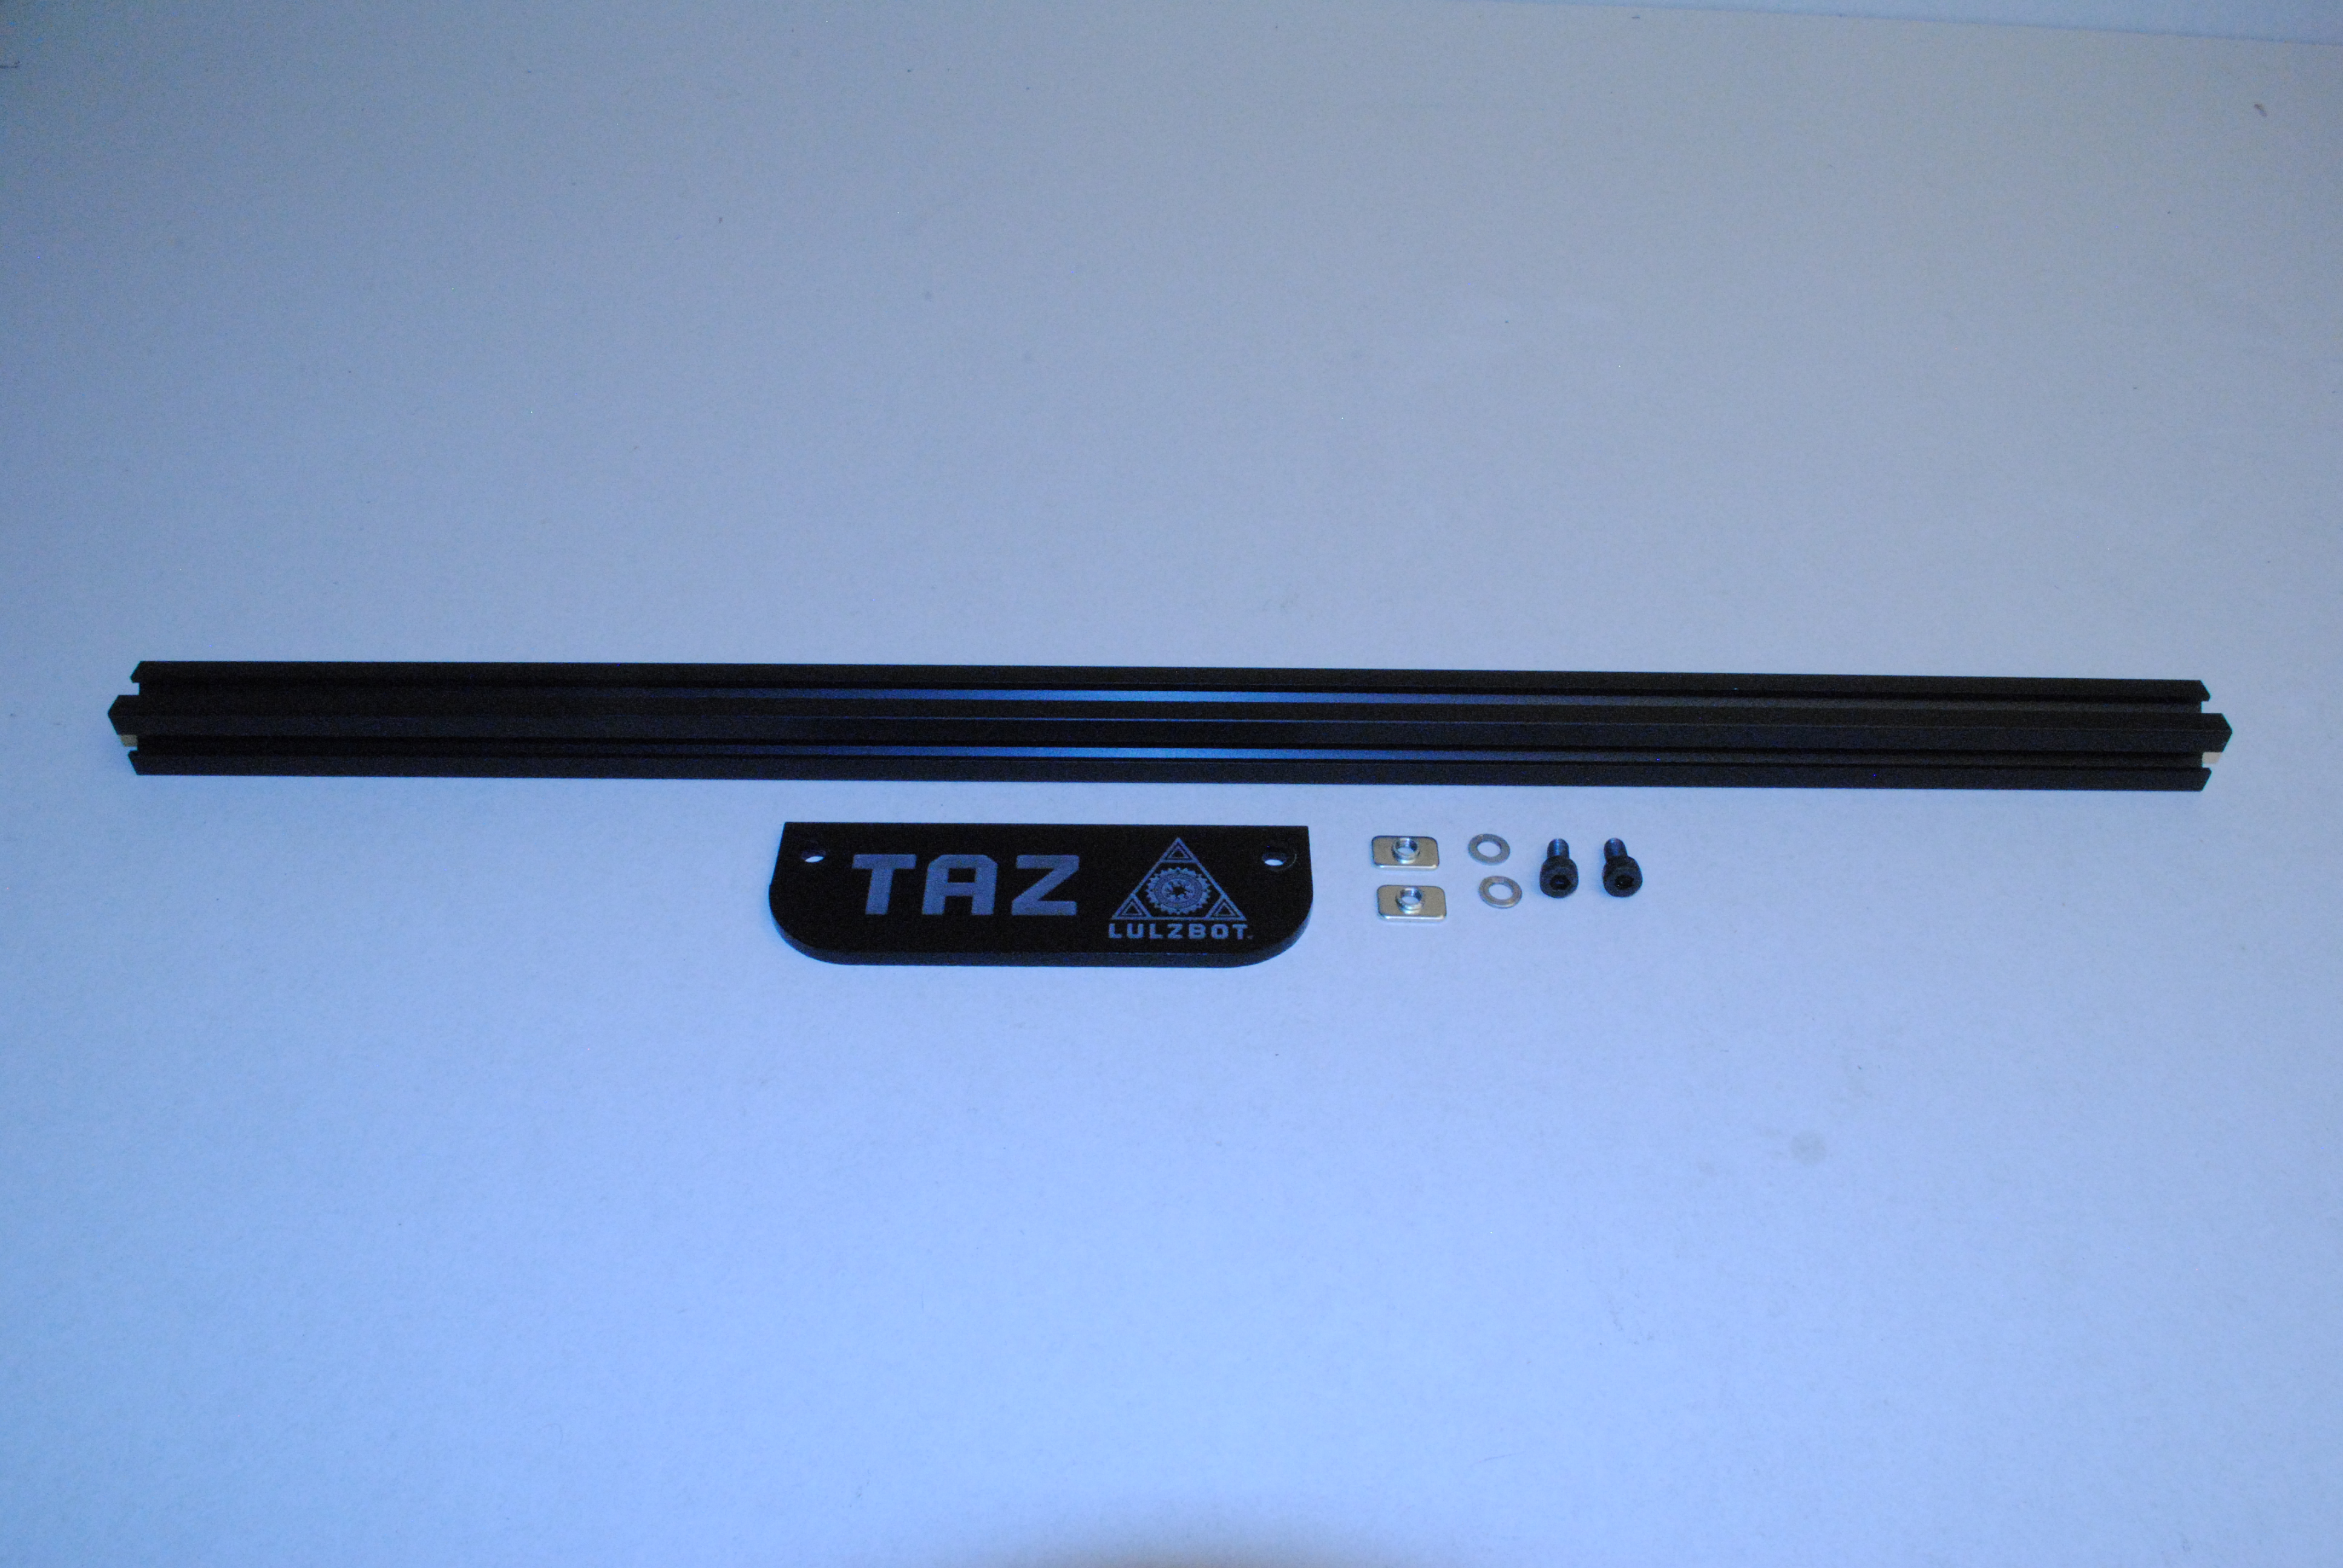
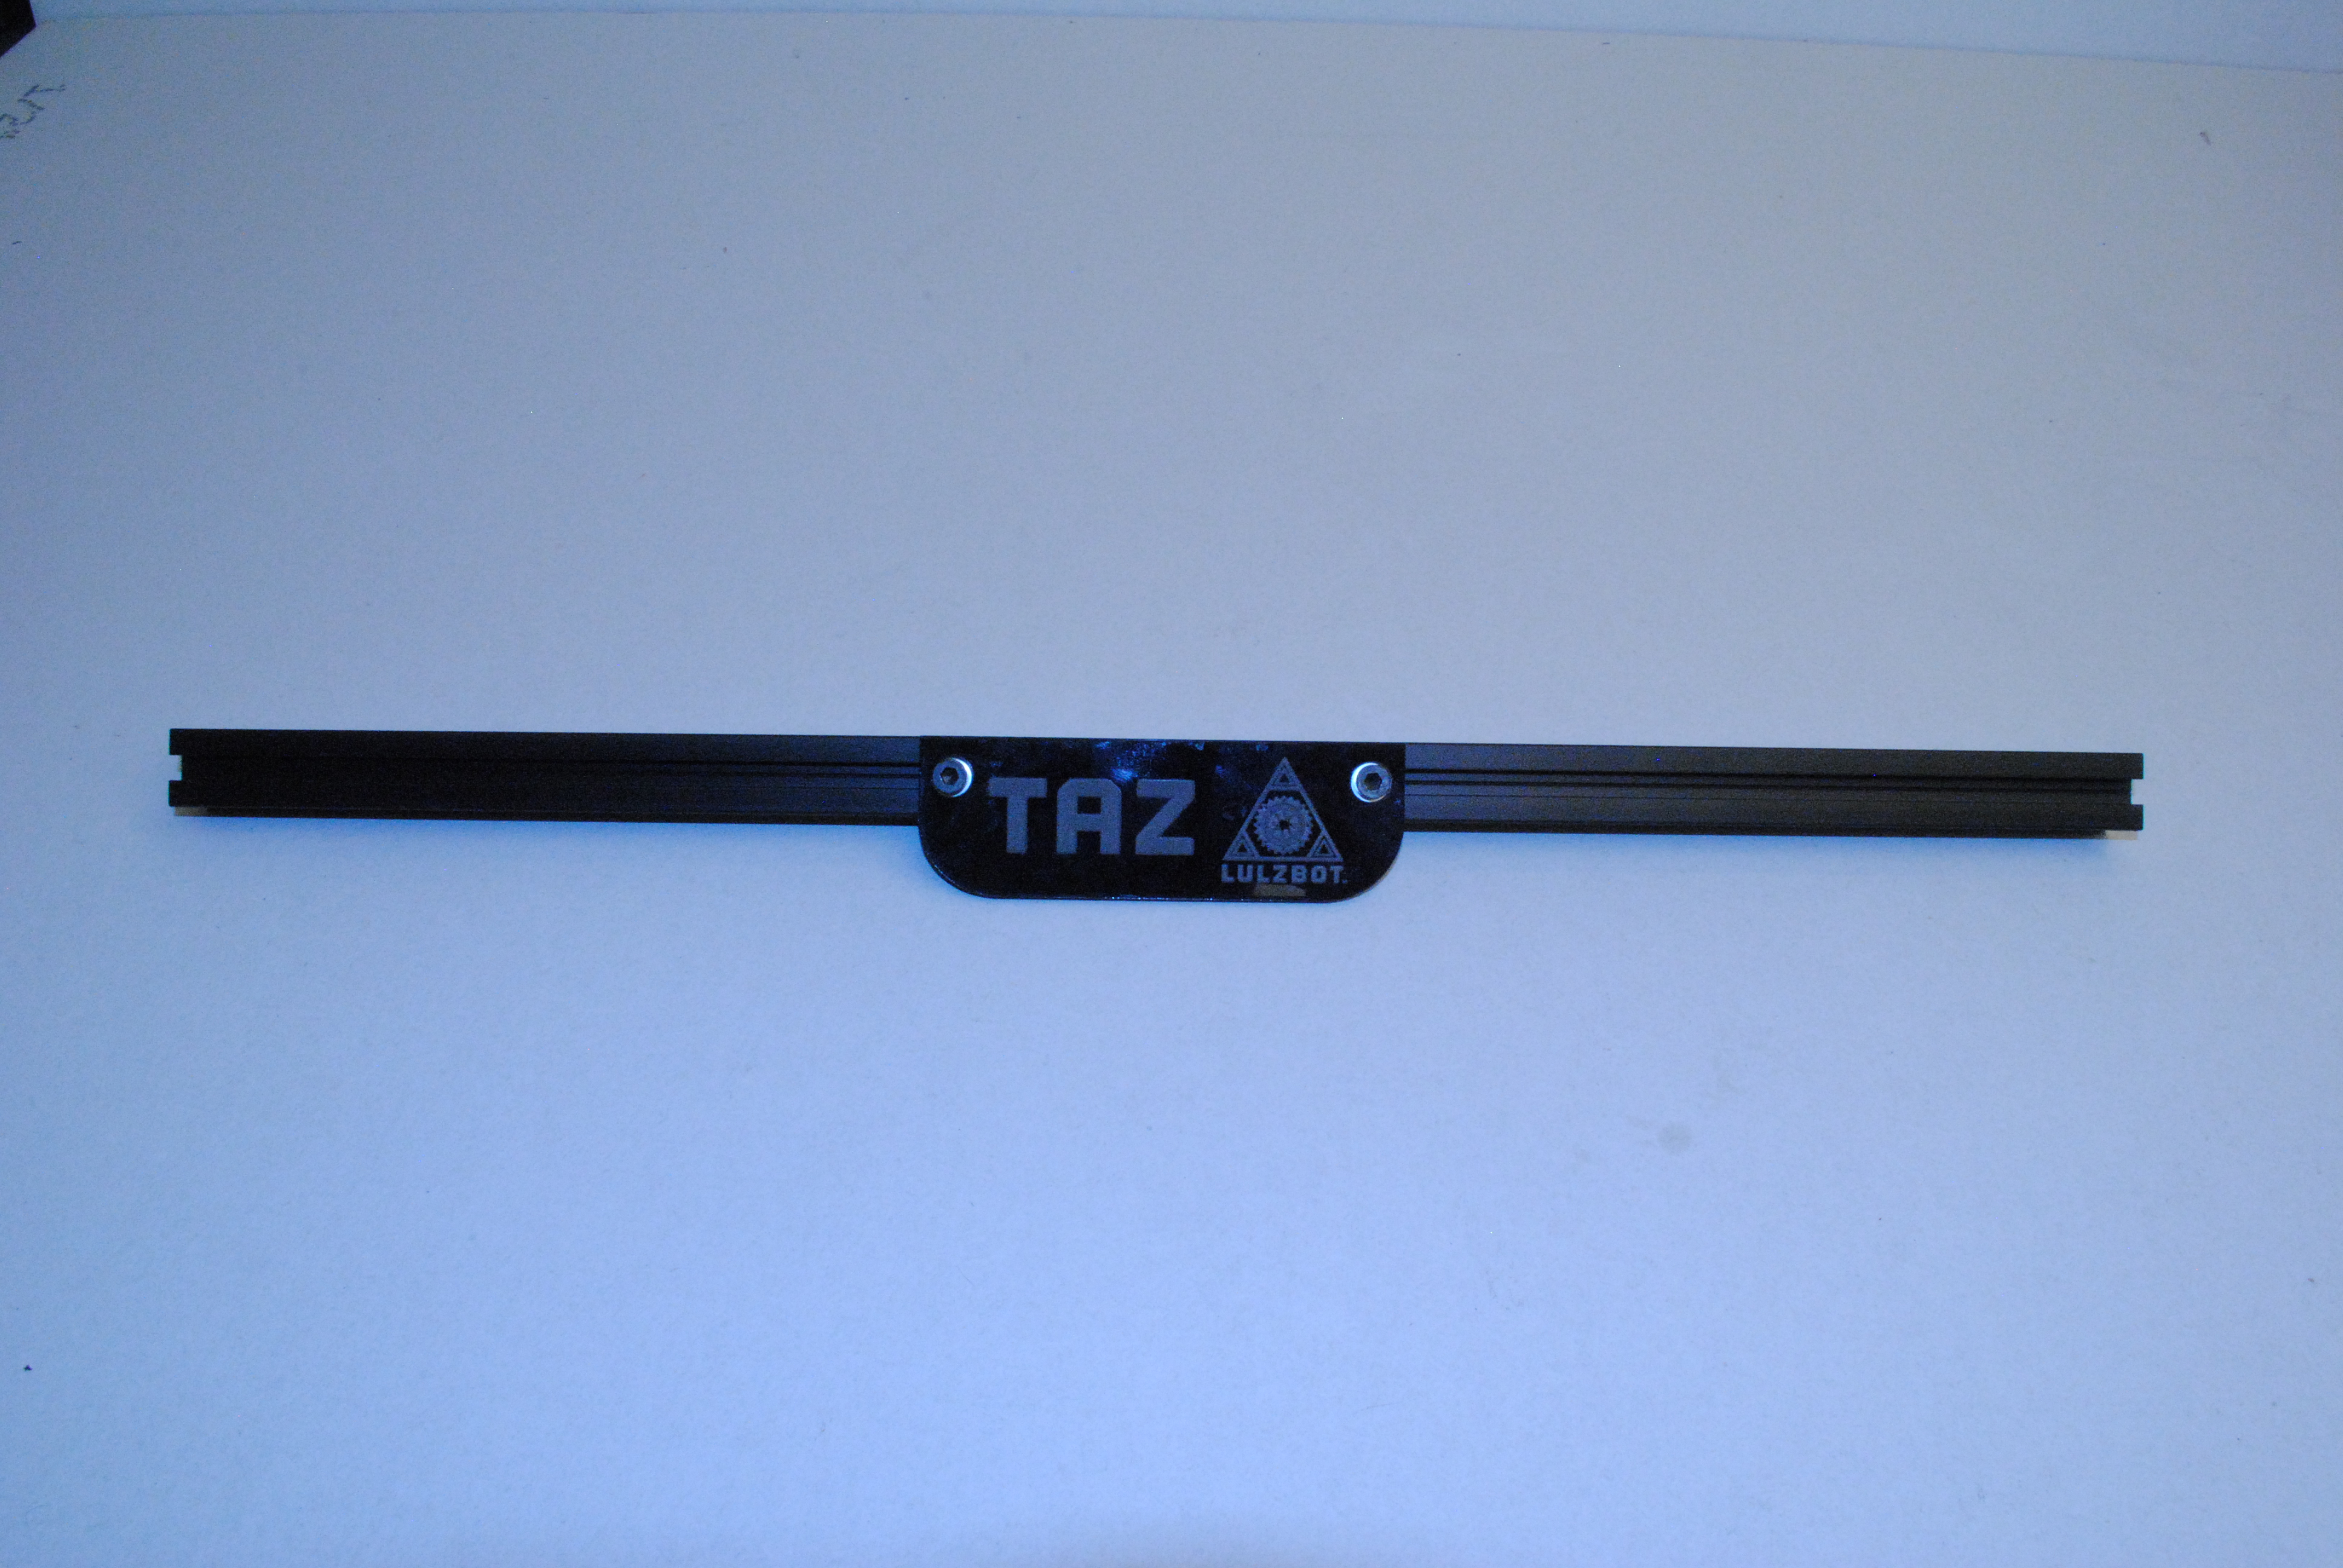
Using the 2x M5 T-nuts in an extrusion that is not tapped, install the name plate with 2x M5 x 10 SHCS and M5 Washers.
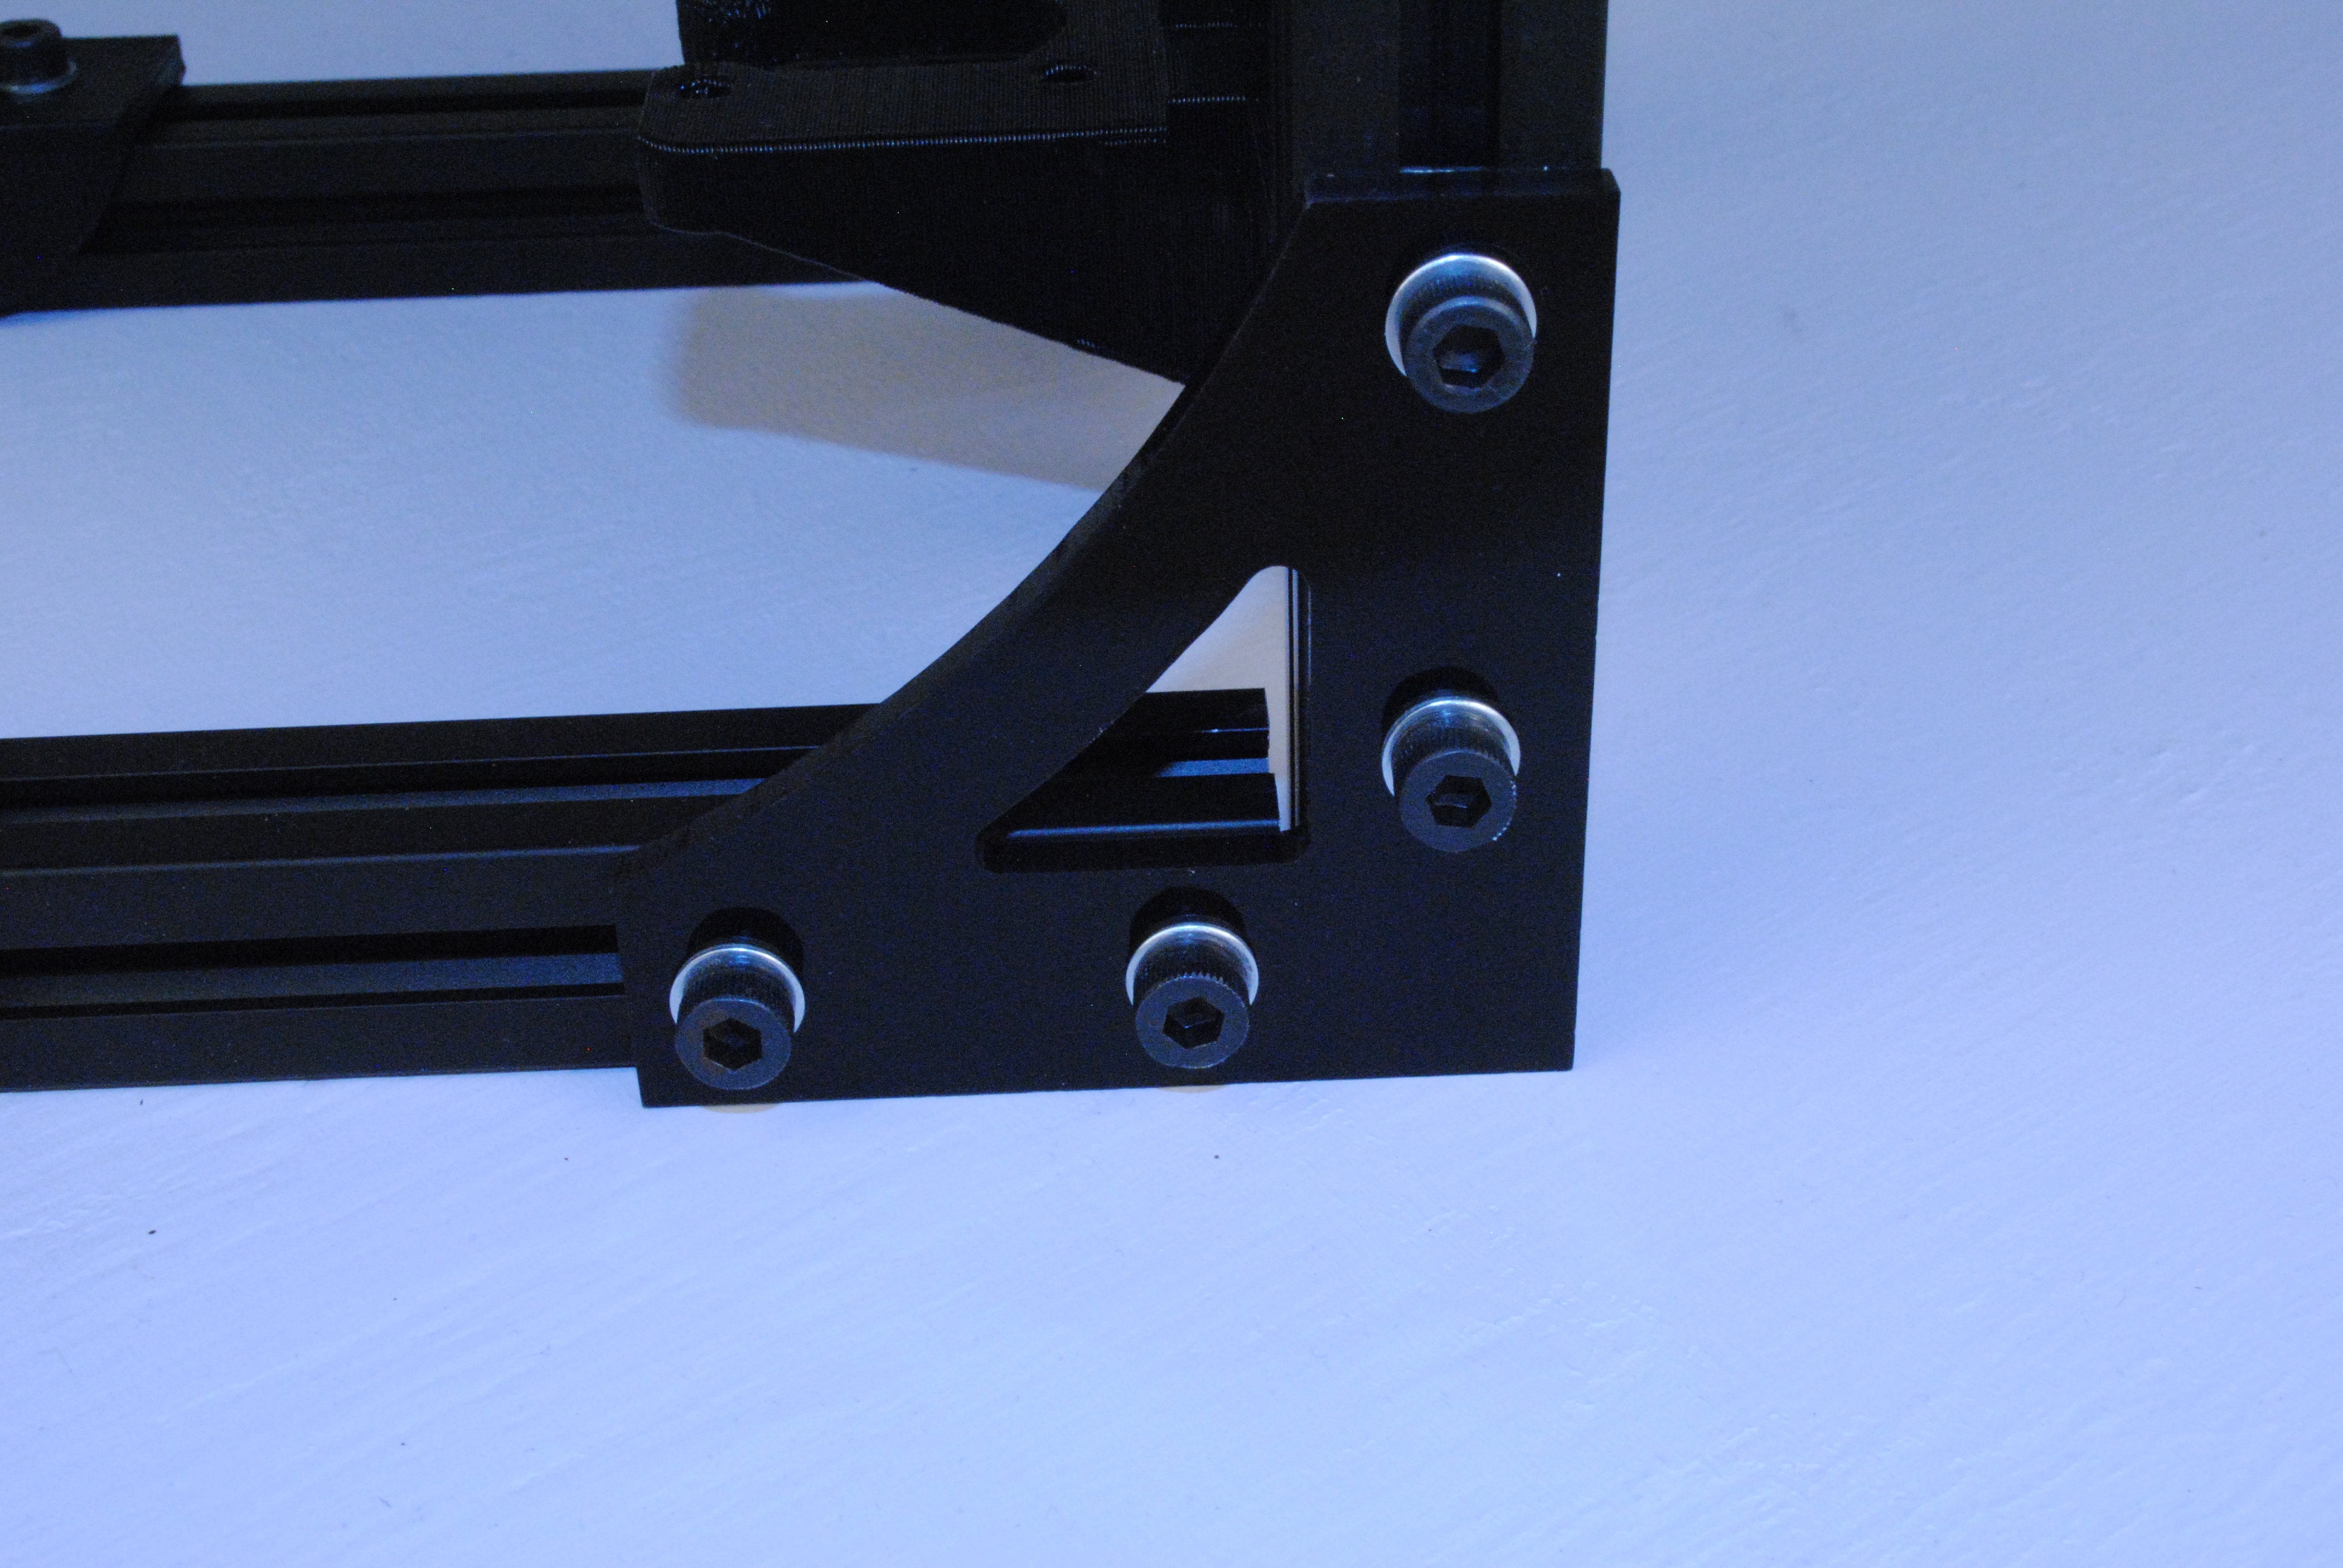
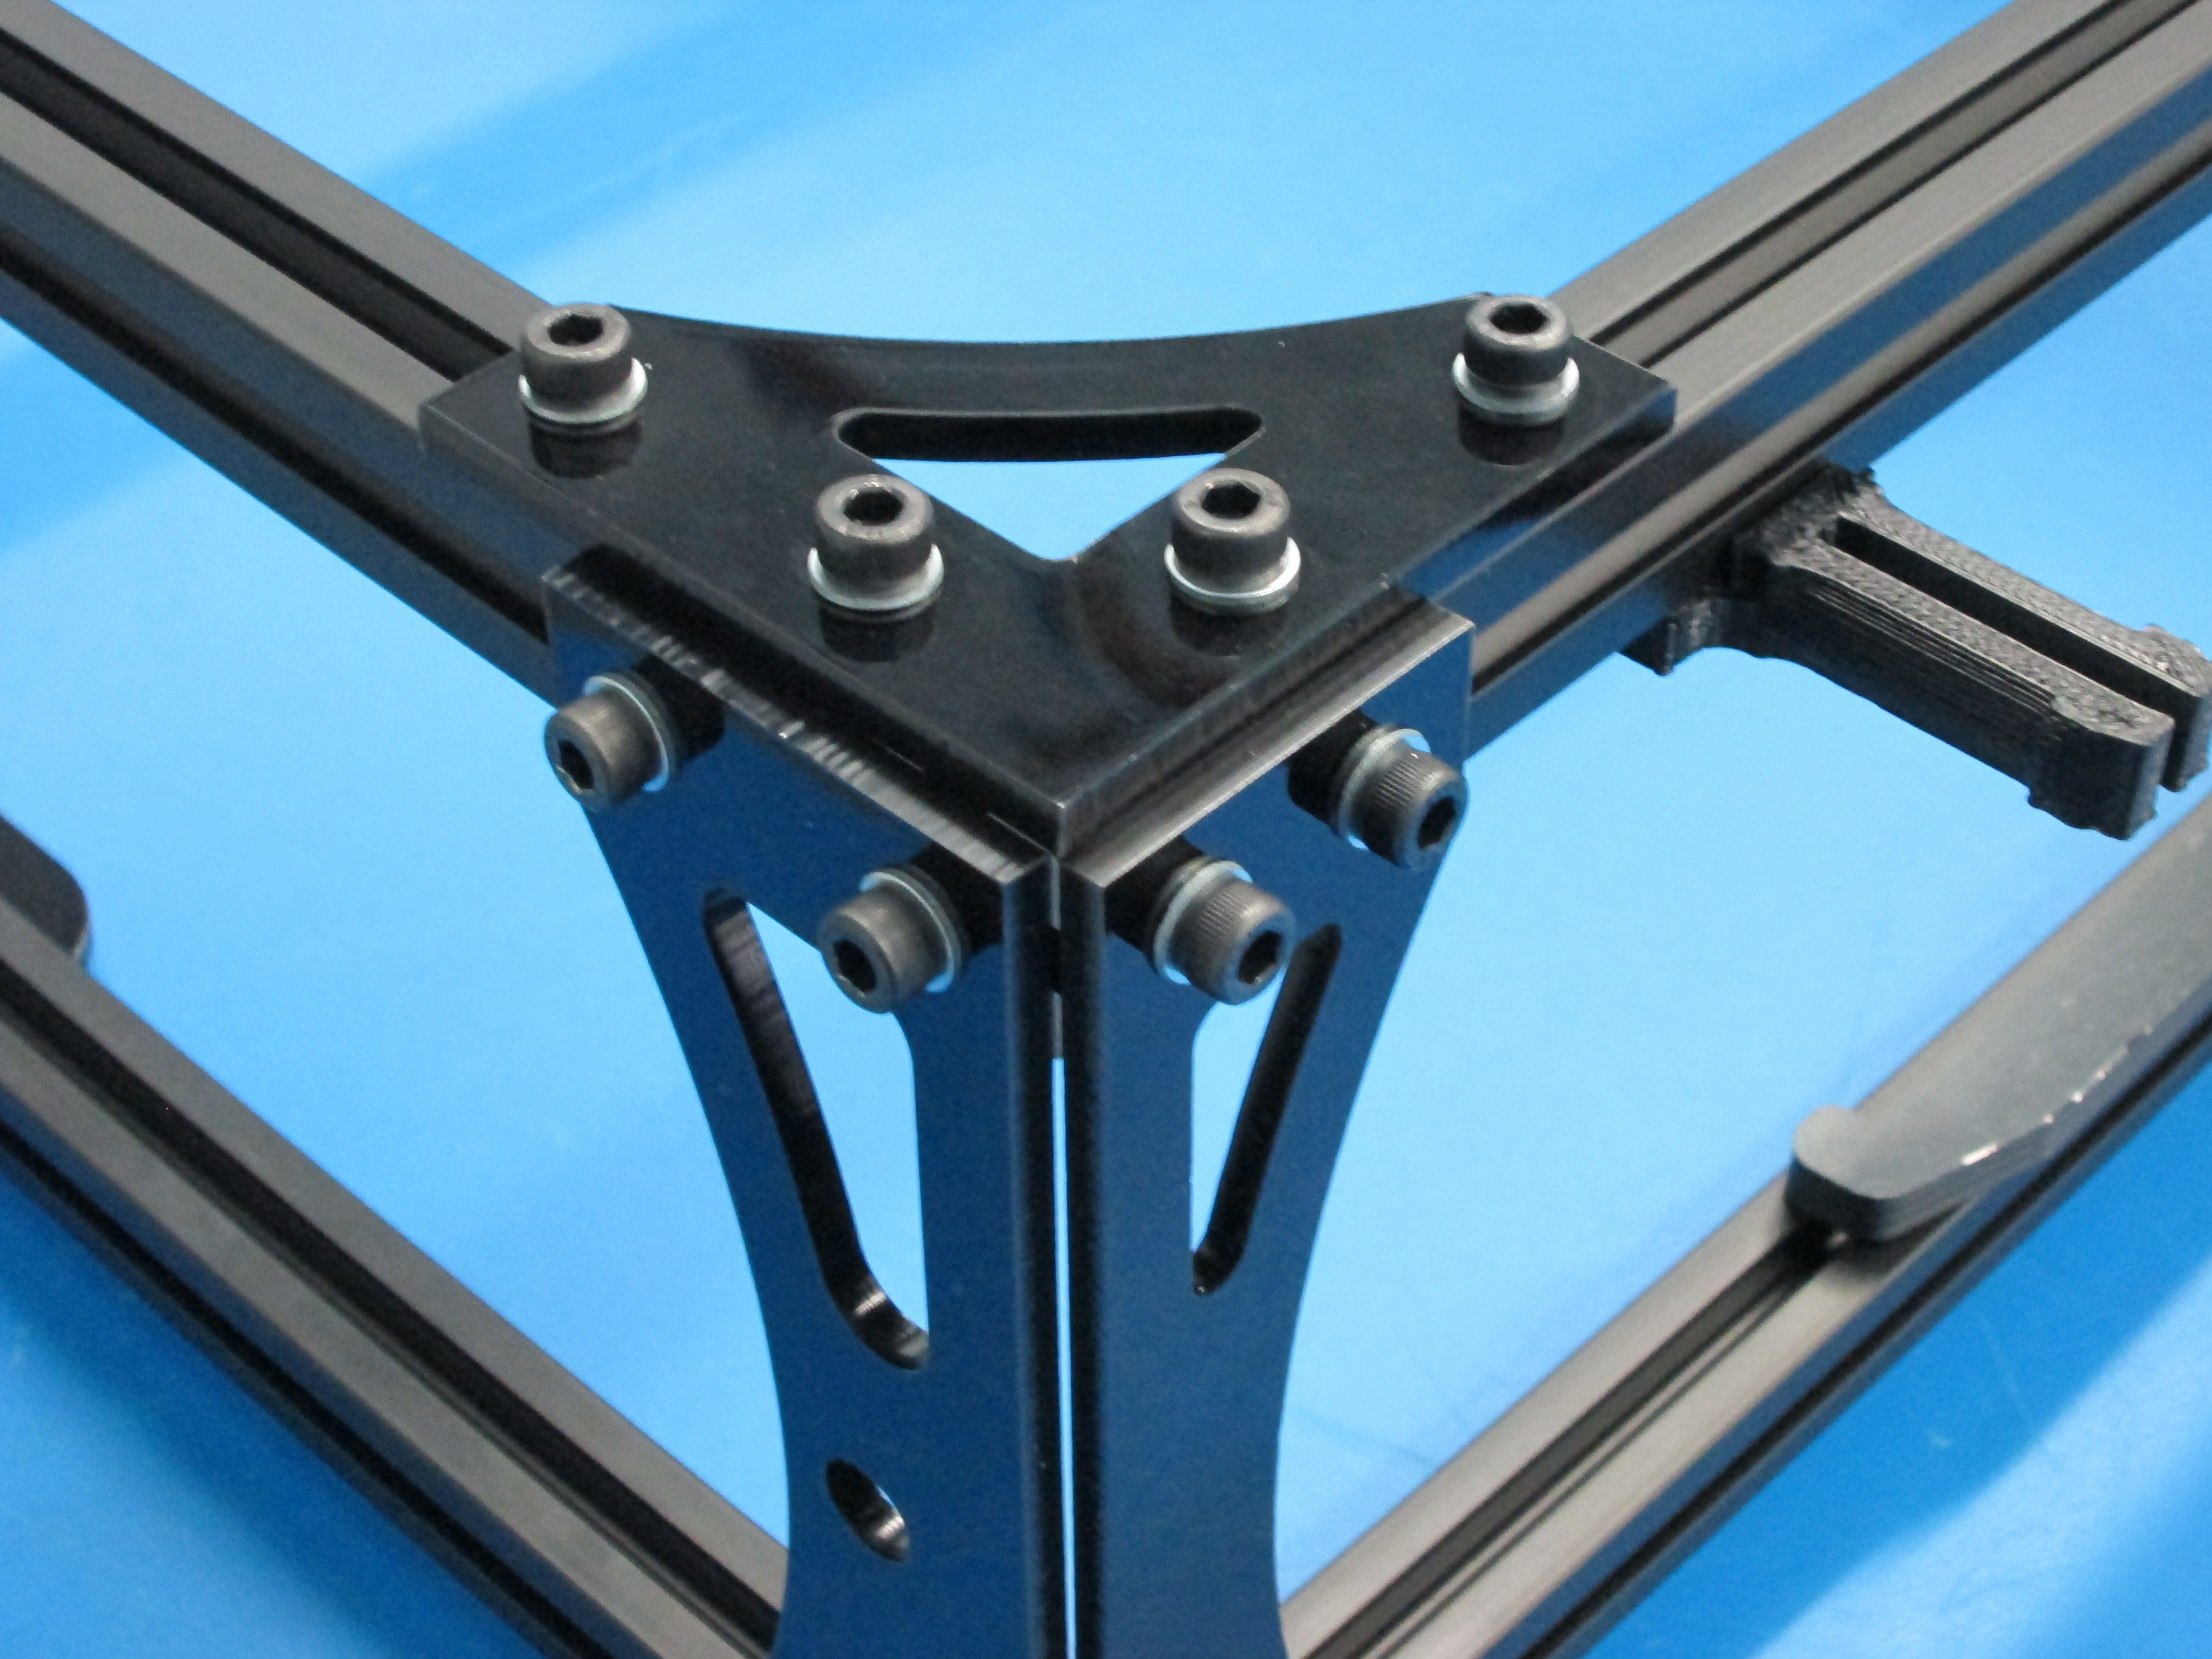
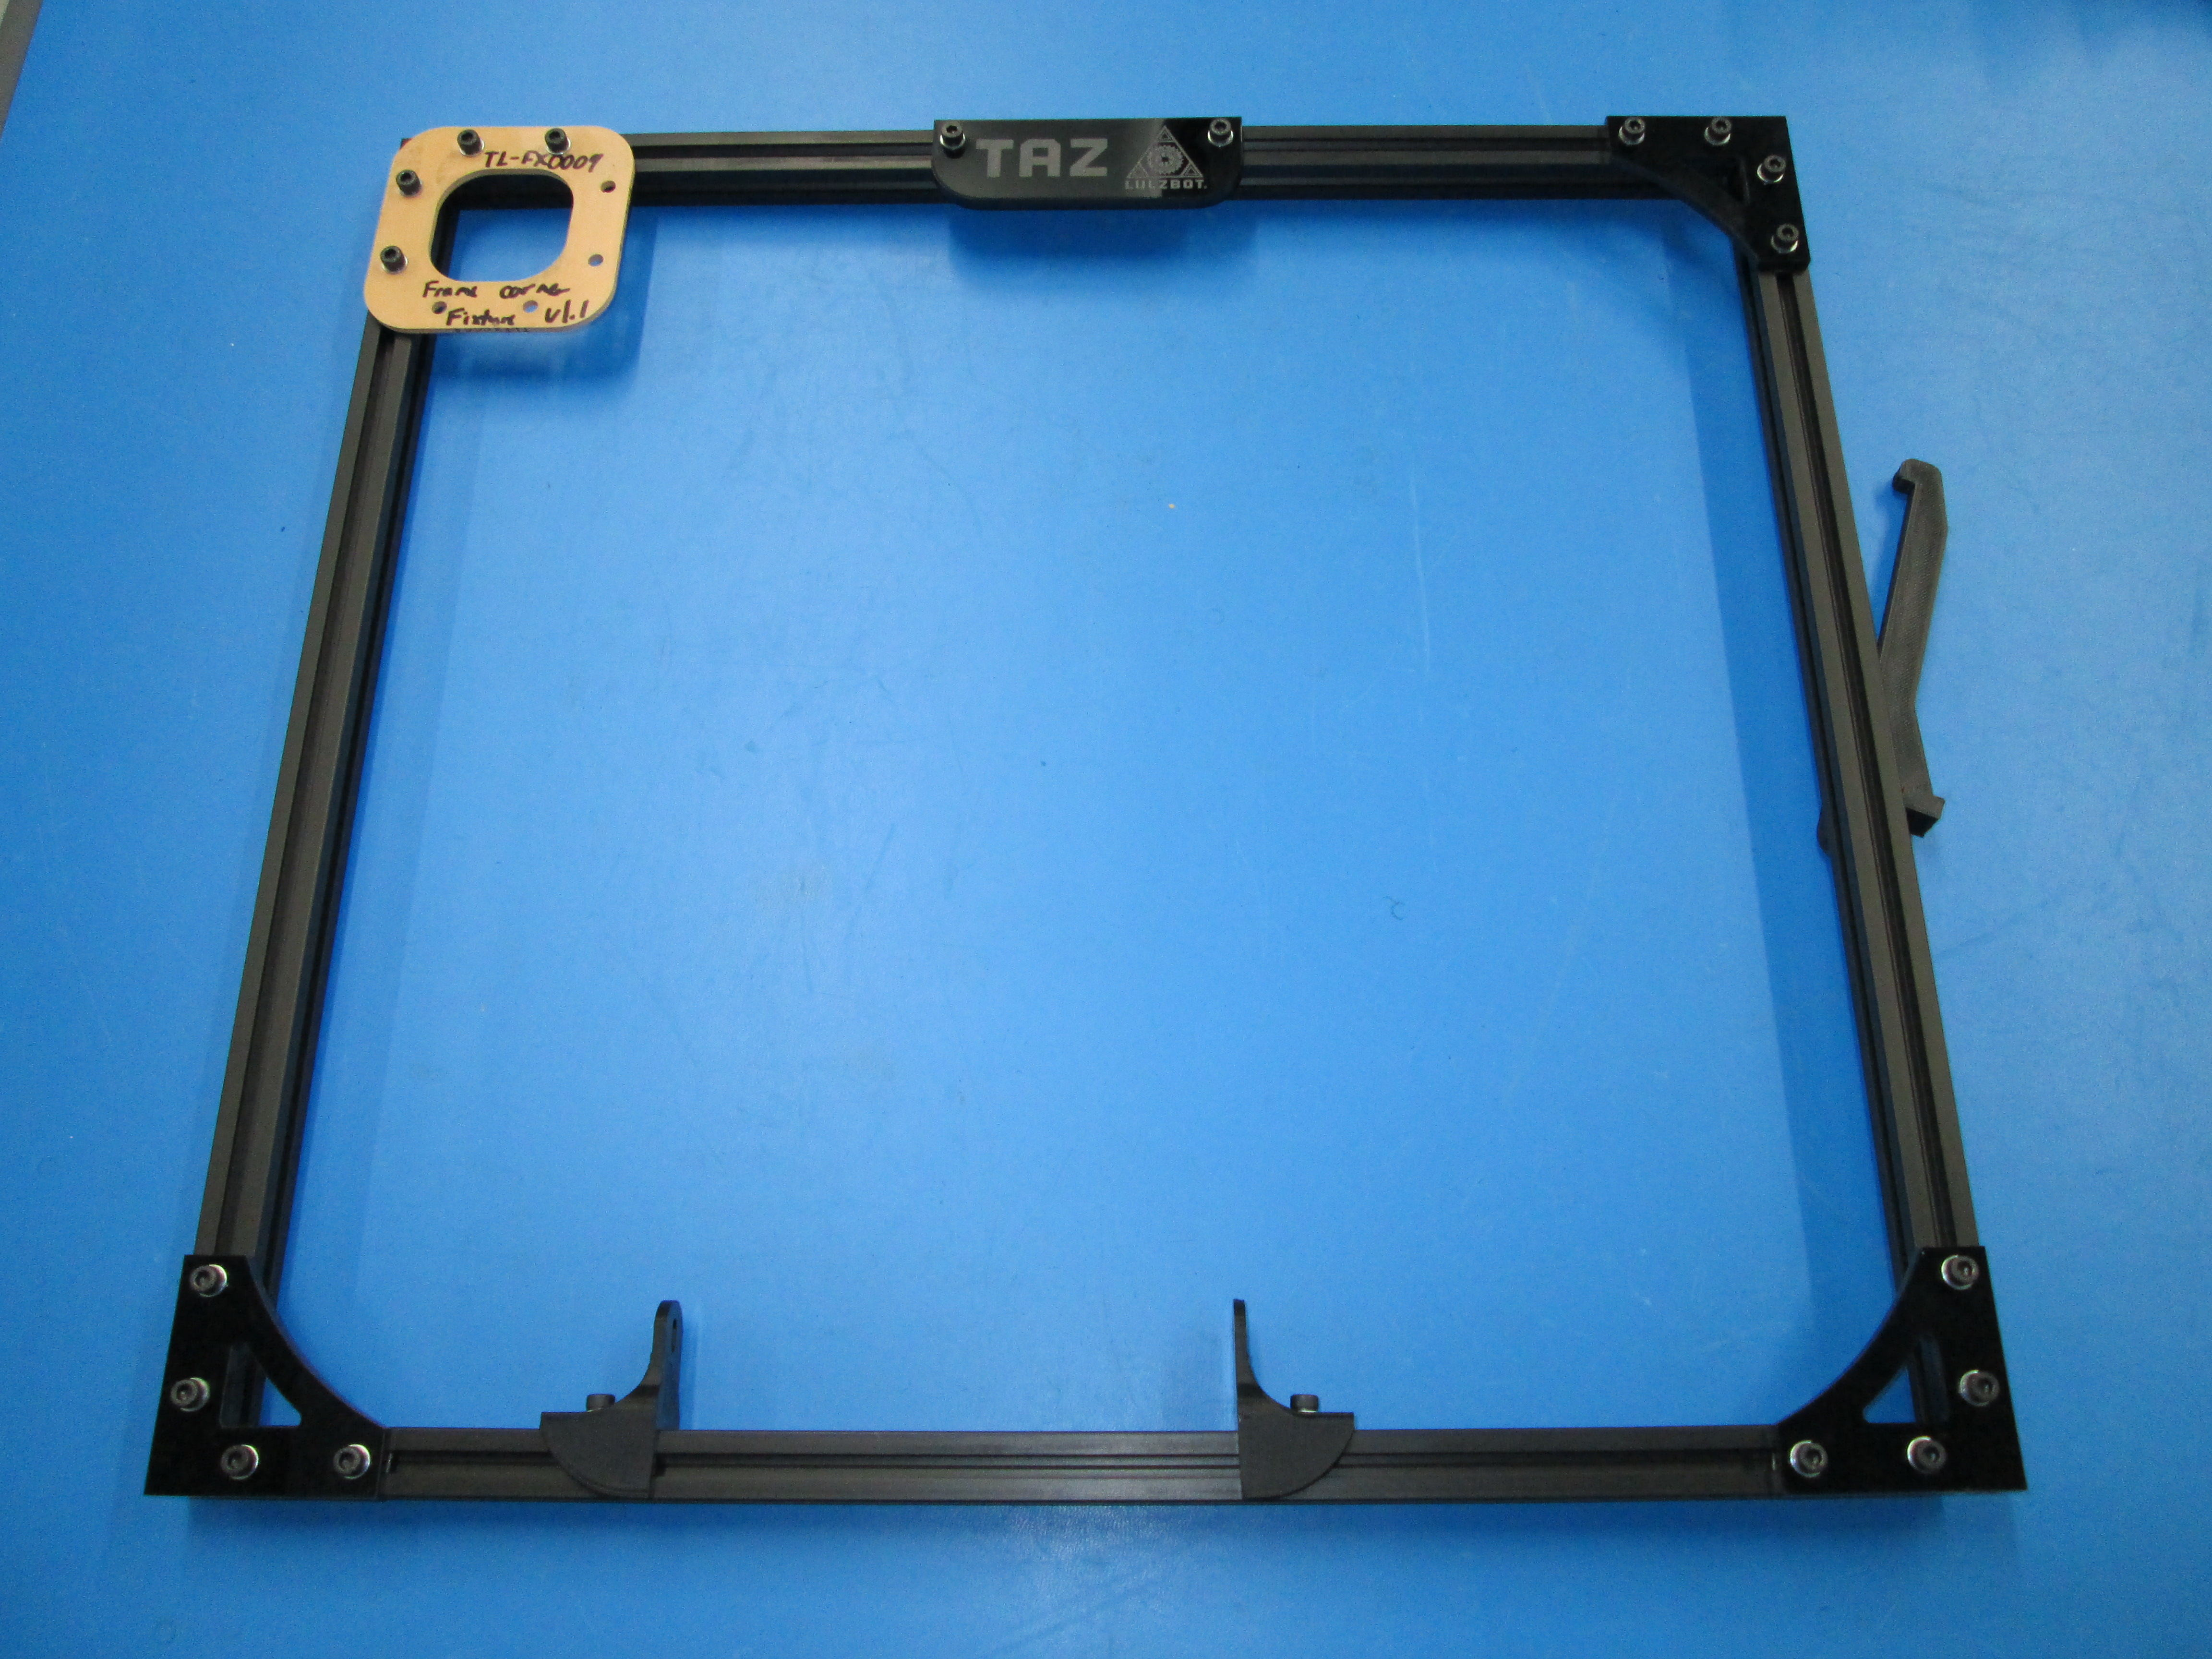
Assemble the front frame square as shown.
There is a tapped extension at the top of both the right and left extrusions.
Install 2 M5 t-nuts into the top of the name plate extrusion.
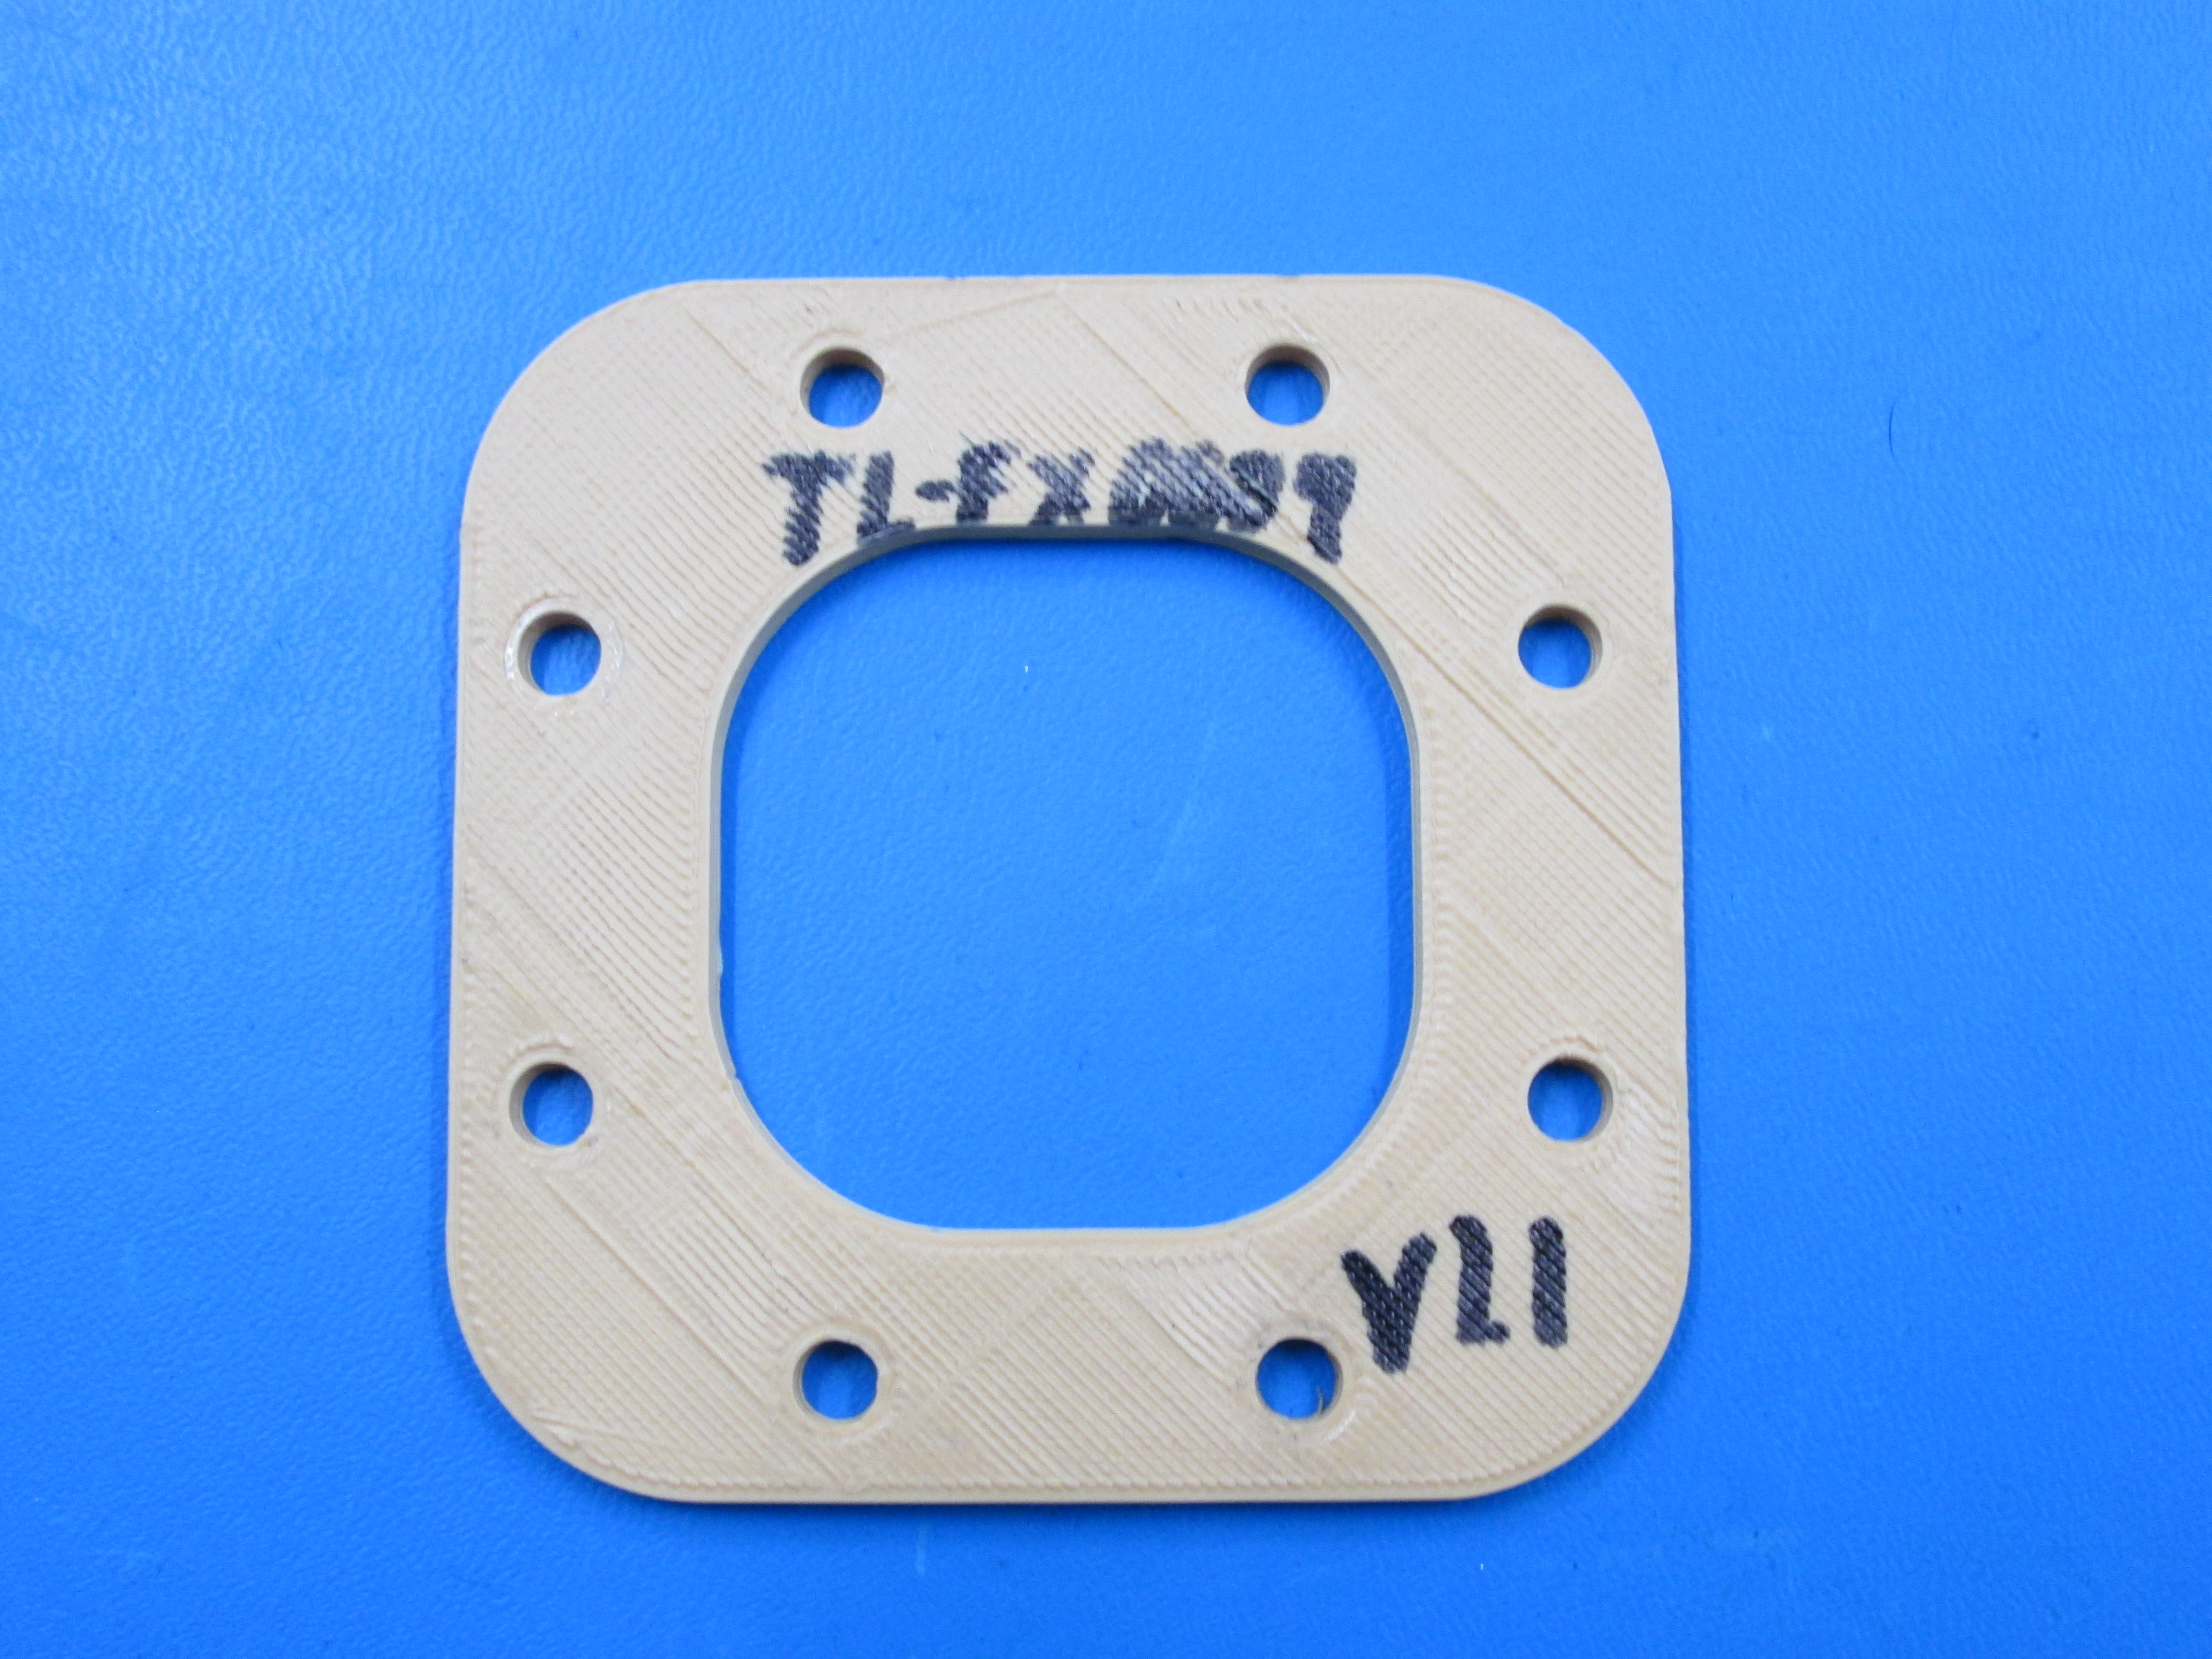
Use Fixture TL-FX0009 in the upper left corner.
Assemble using M5 x 10 SHCS, M5 Washers and M5 T-nuts.


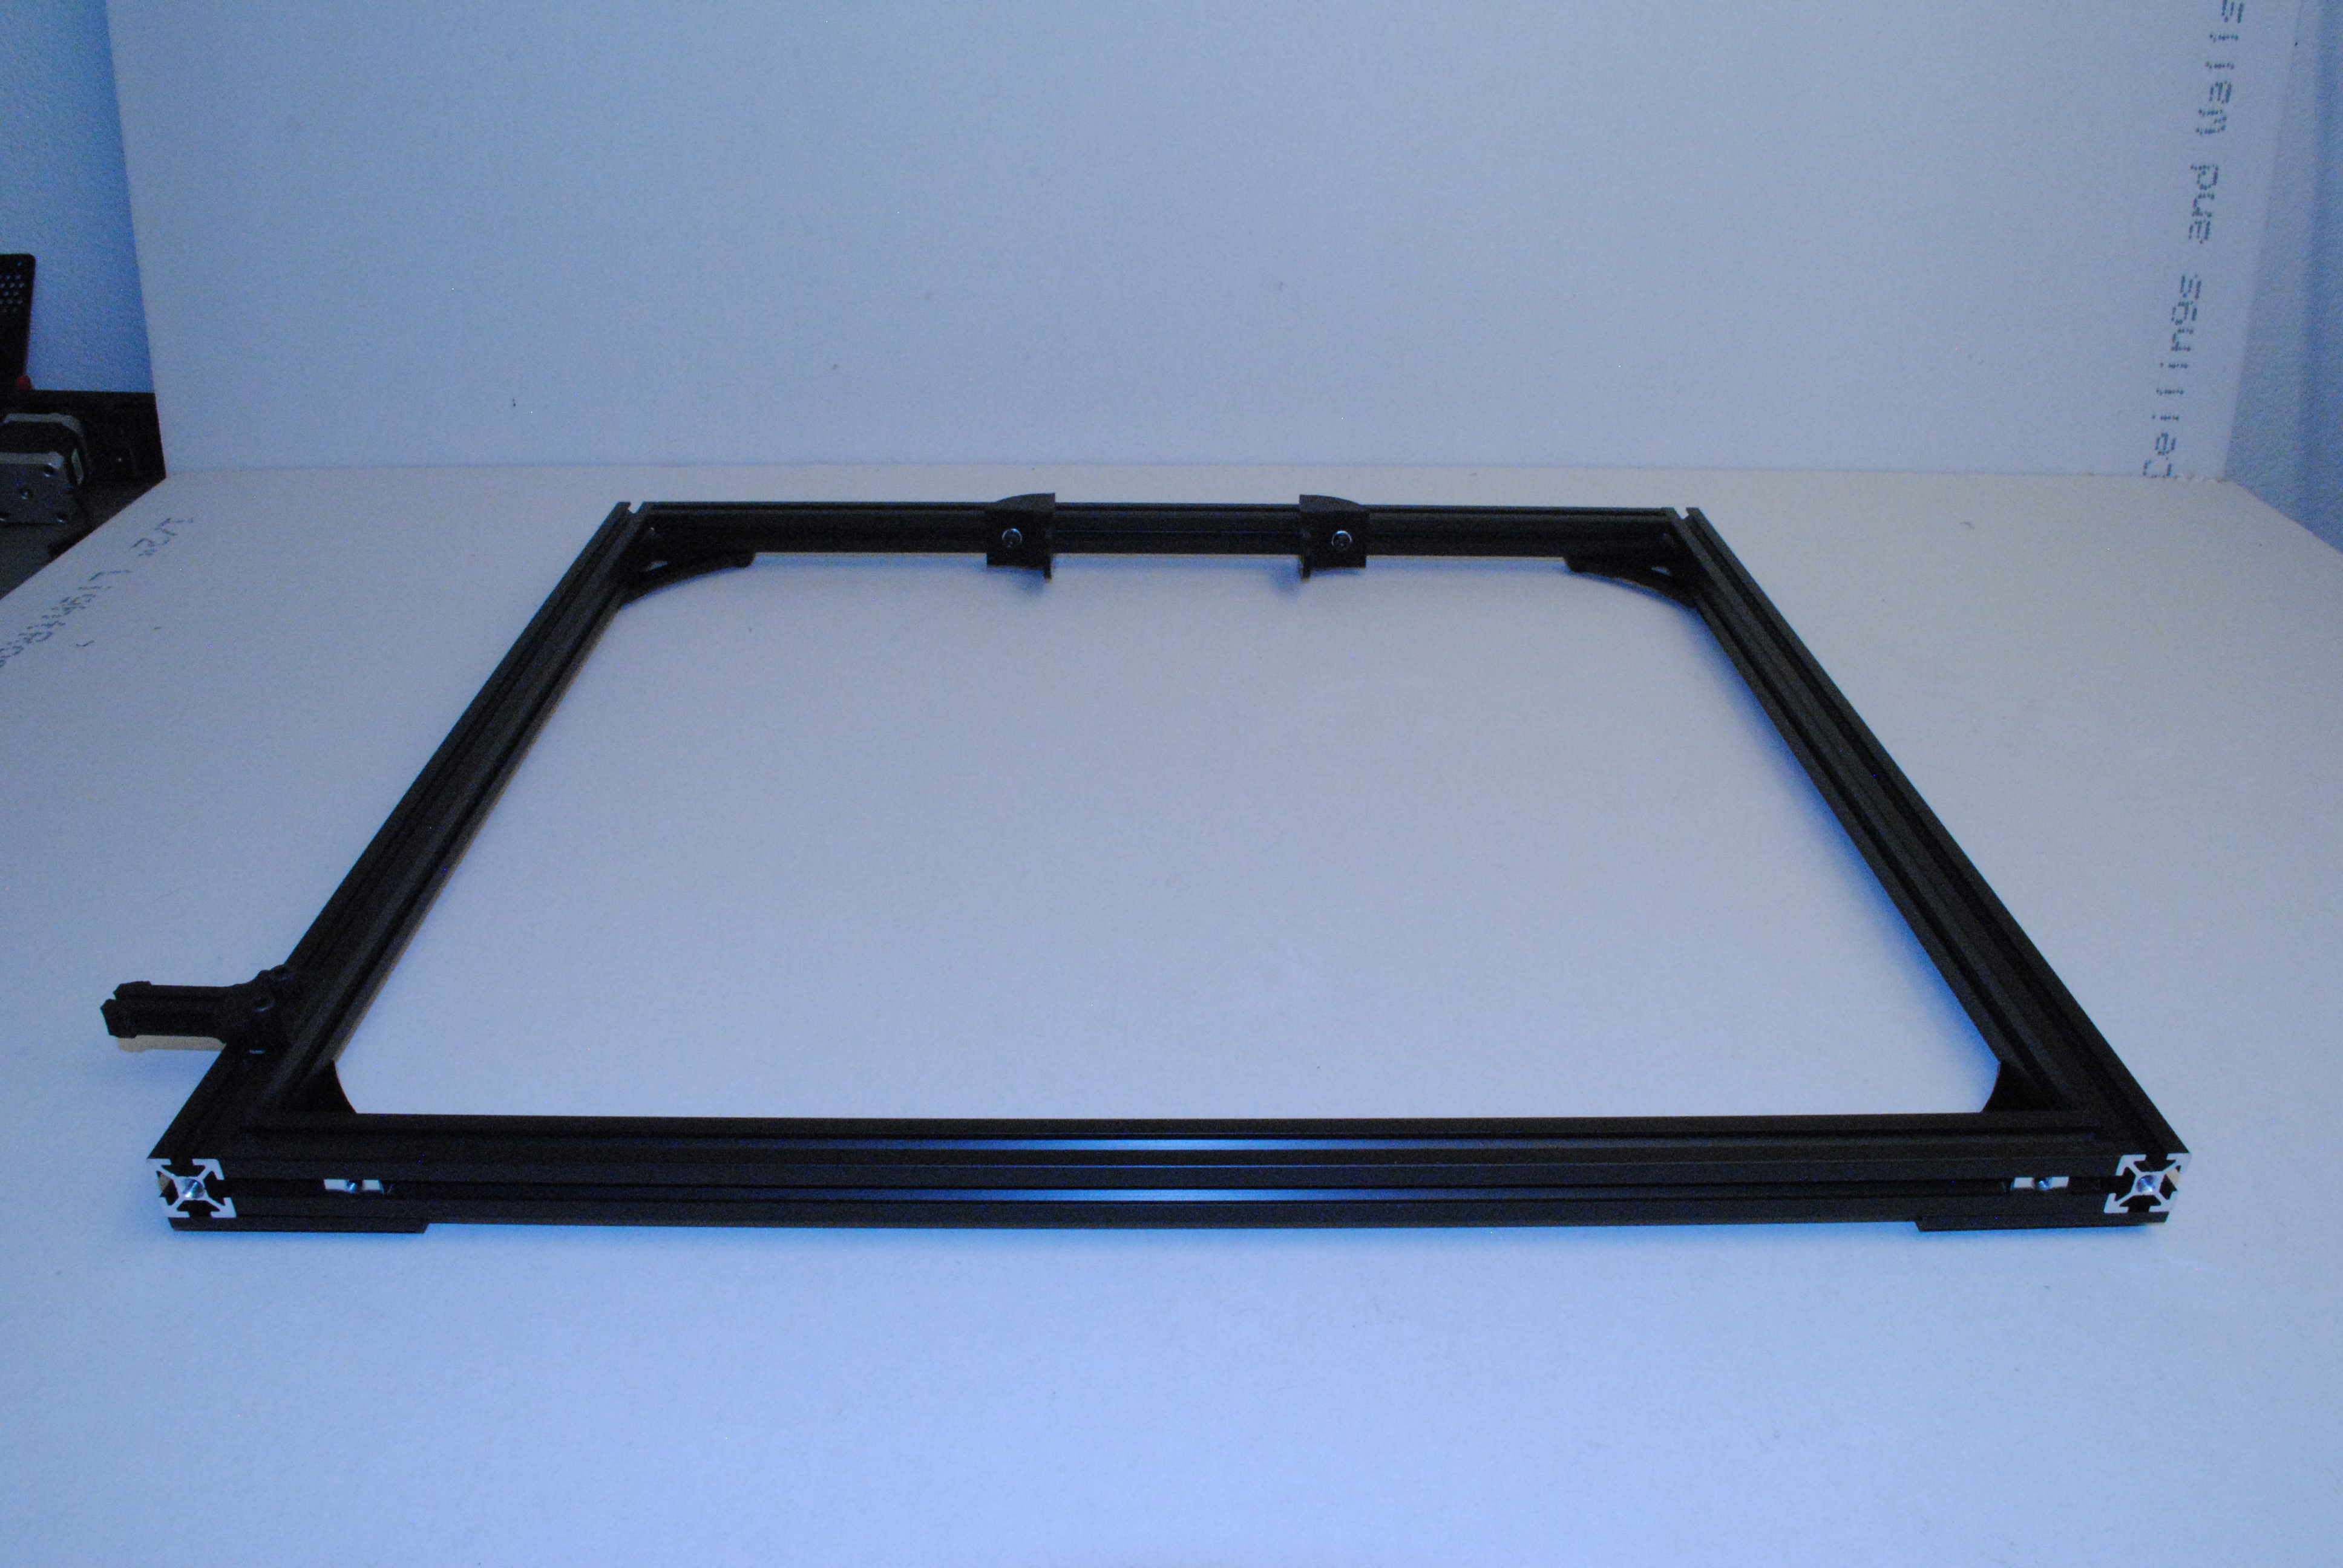
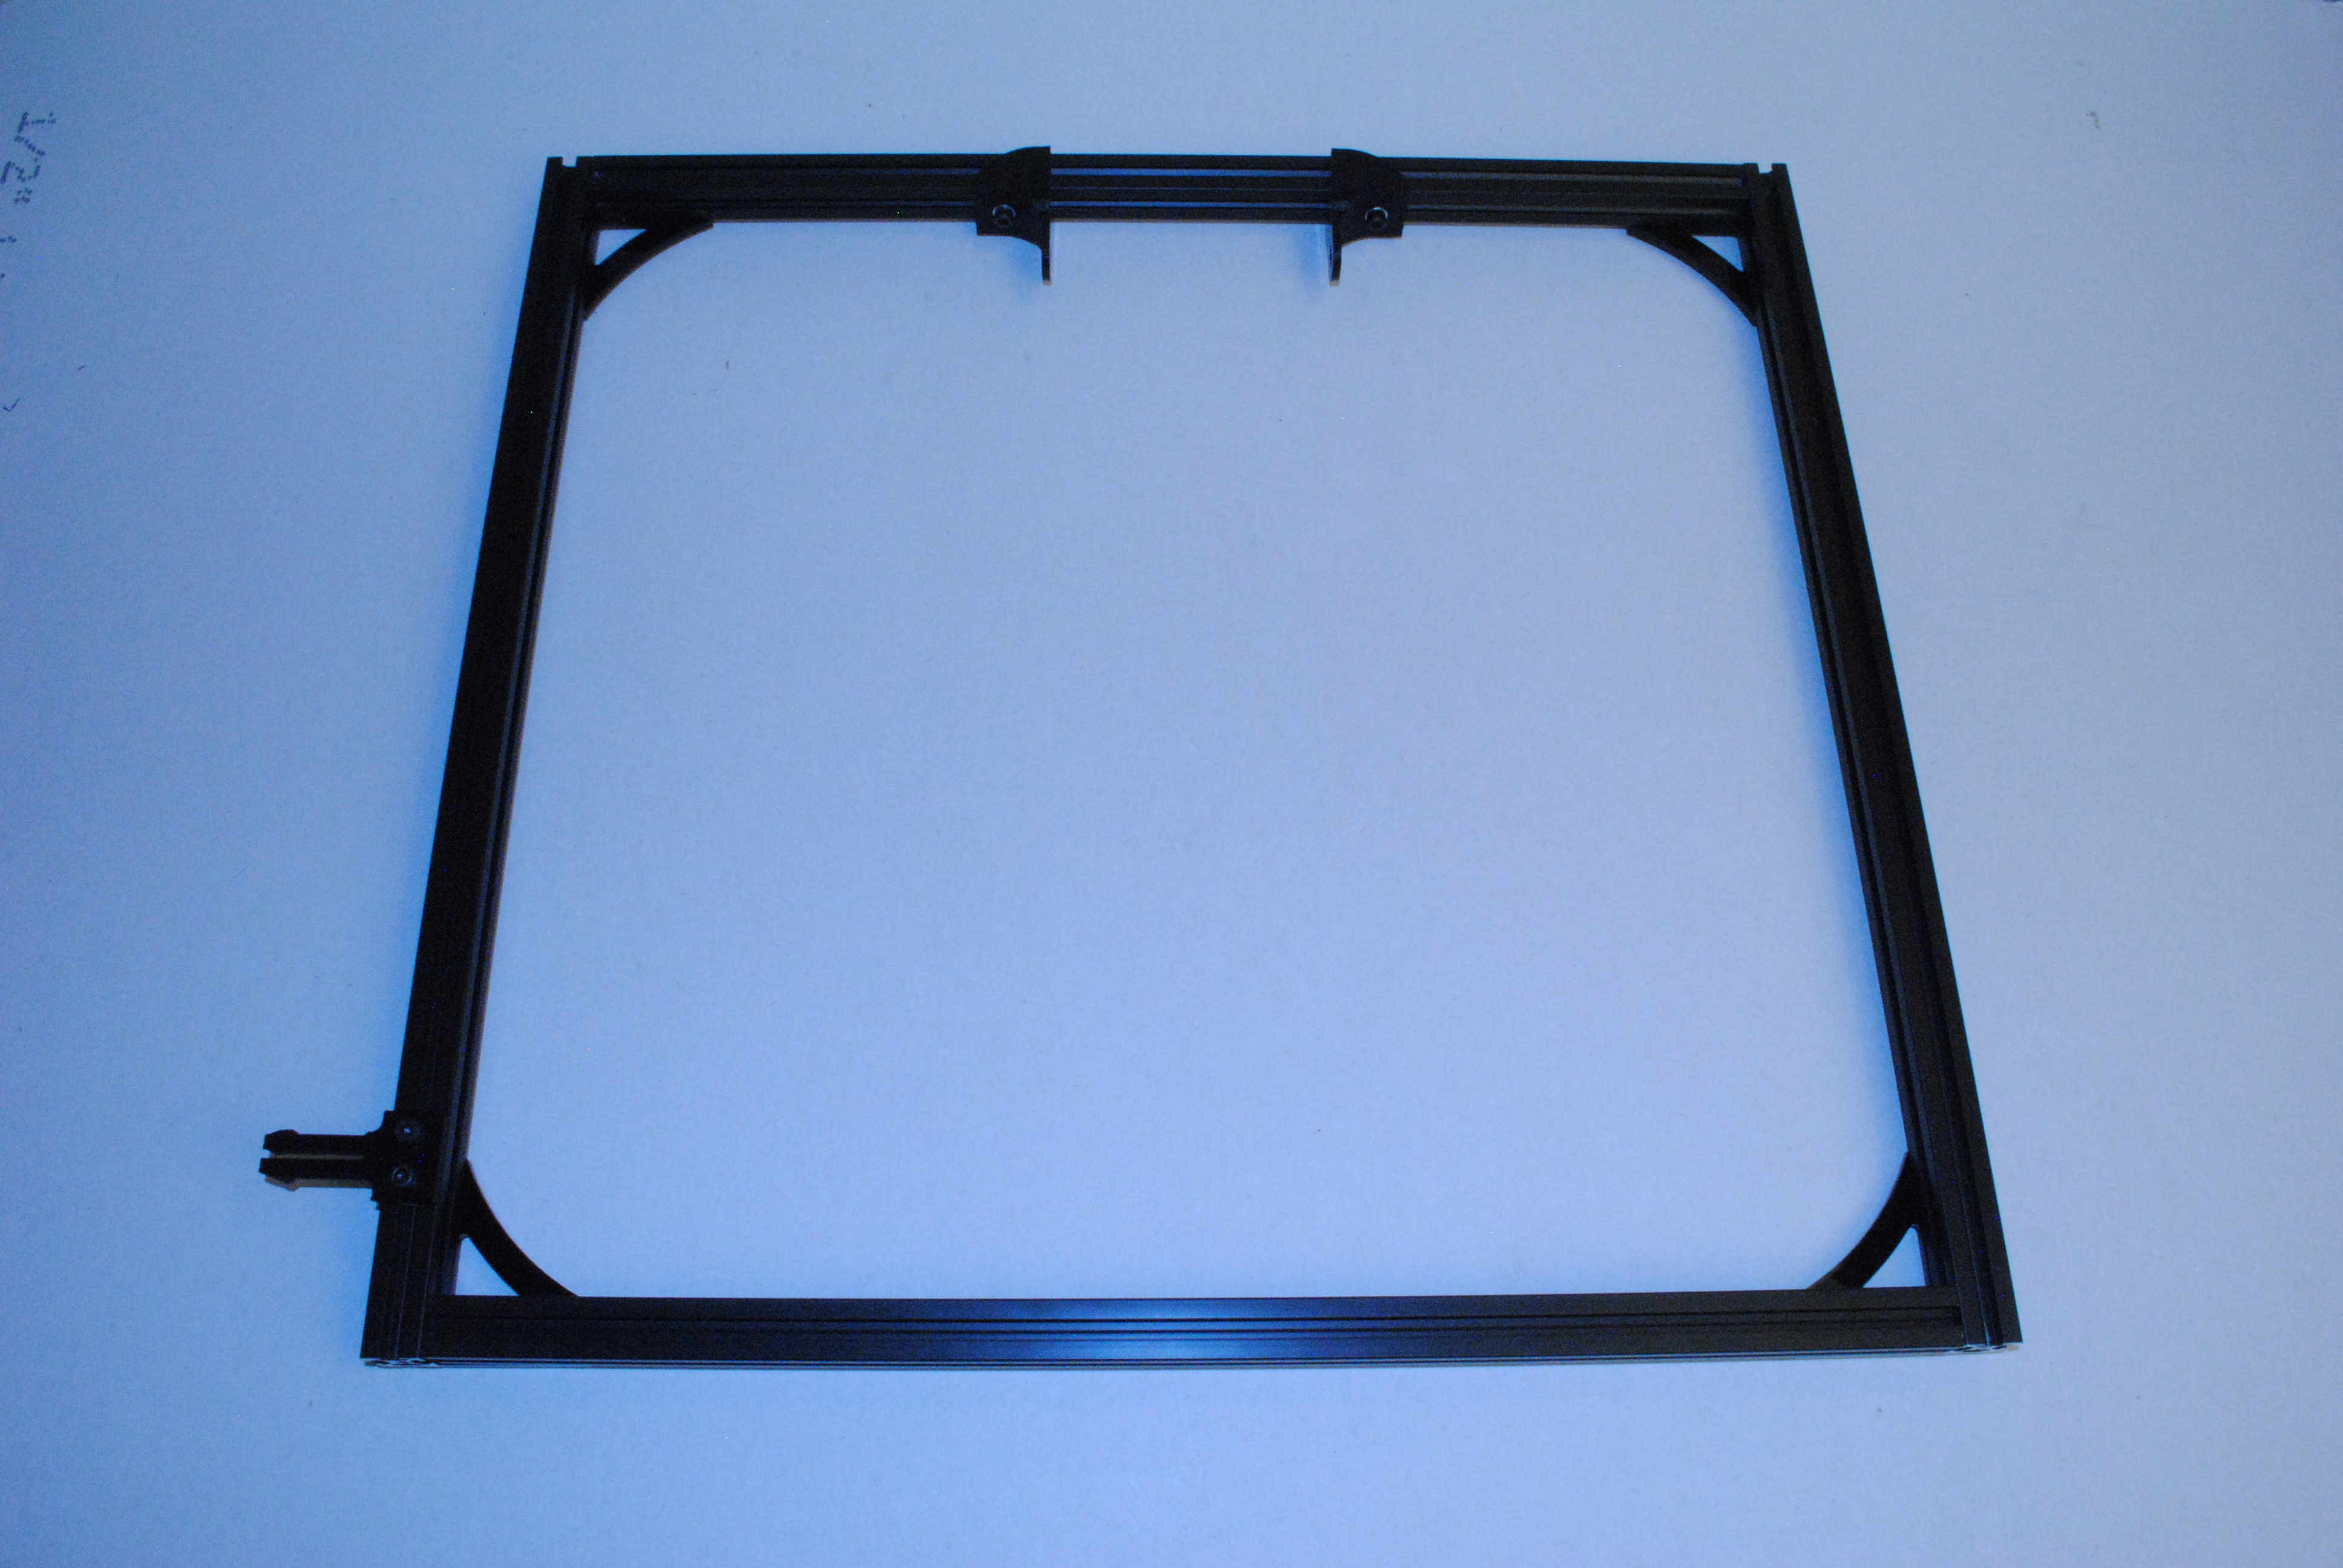
Assemble the back frame square as shown.
There is a tapped extension at the top of both the right and left extrusions.
Install 2x M5 t-nuts into the top of the upper extrusion.
Assemble using M5 x 10 SHCS, M5 Washers and M5 T-nuts.


Lay the front and back frame squares together with the spacer foam.

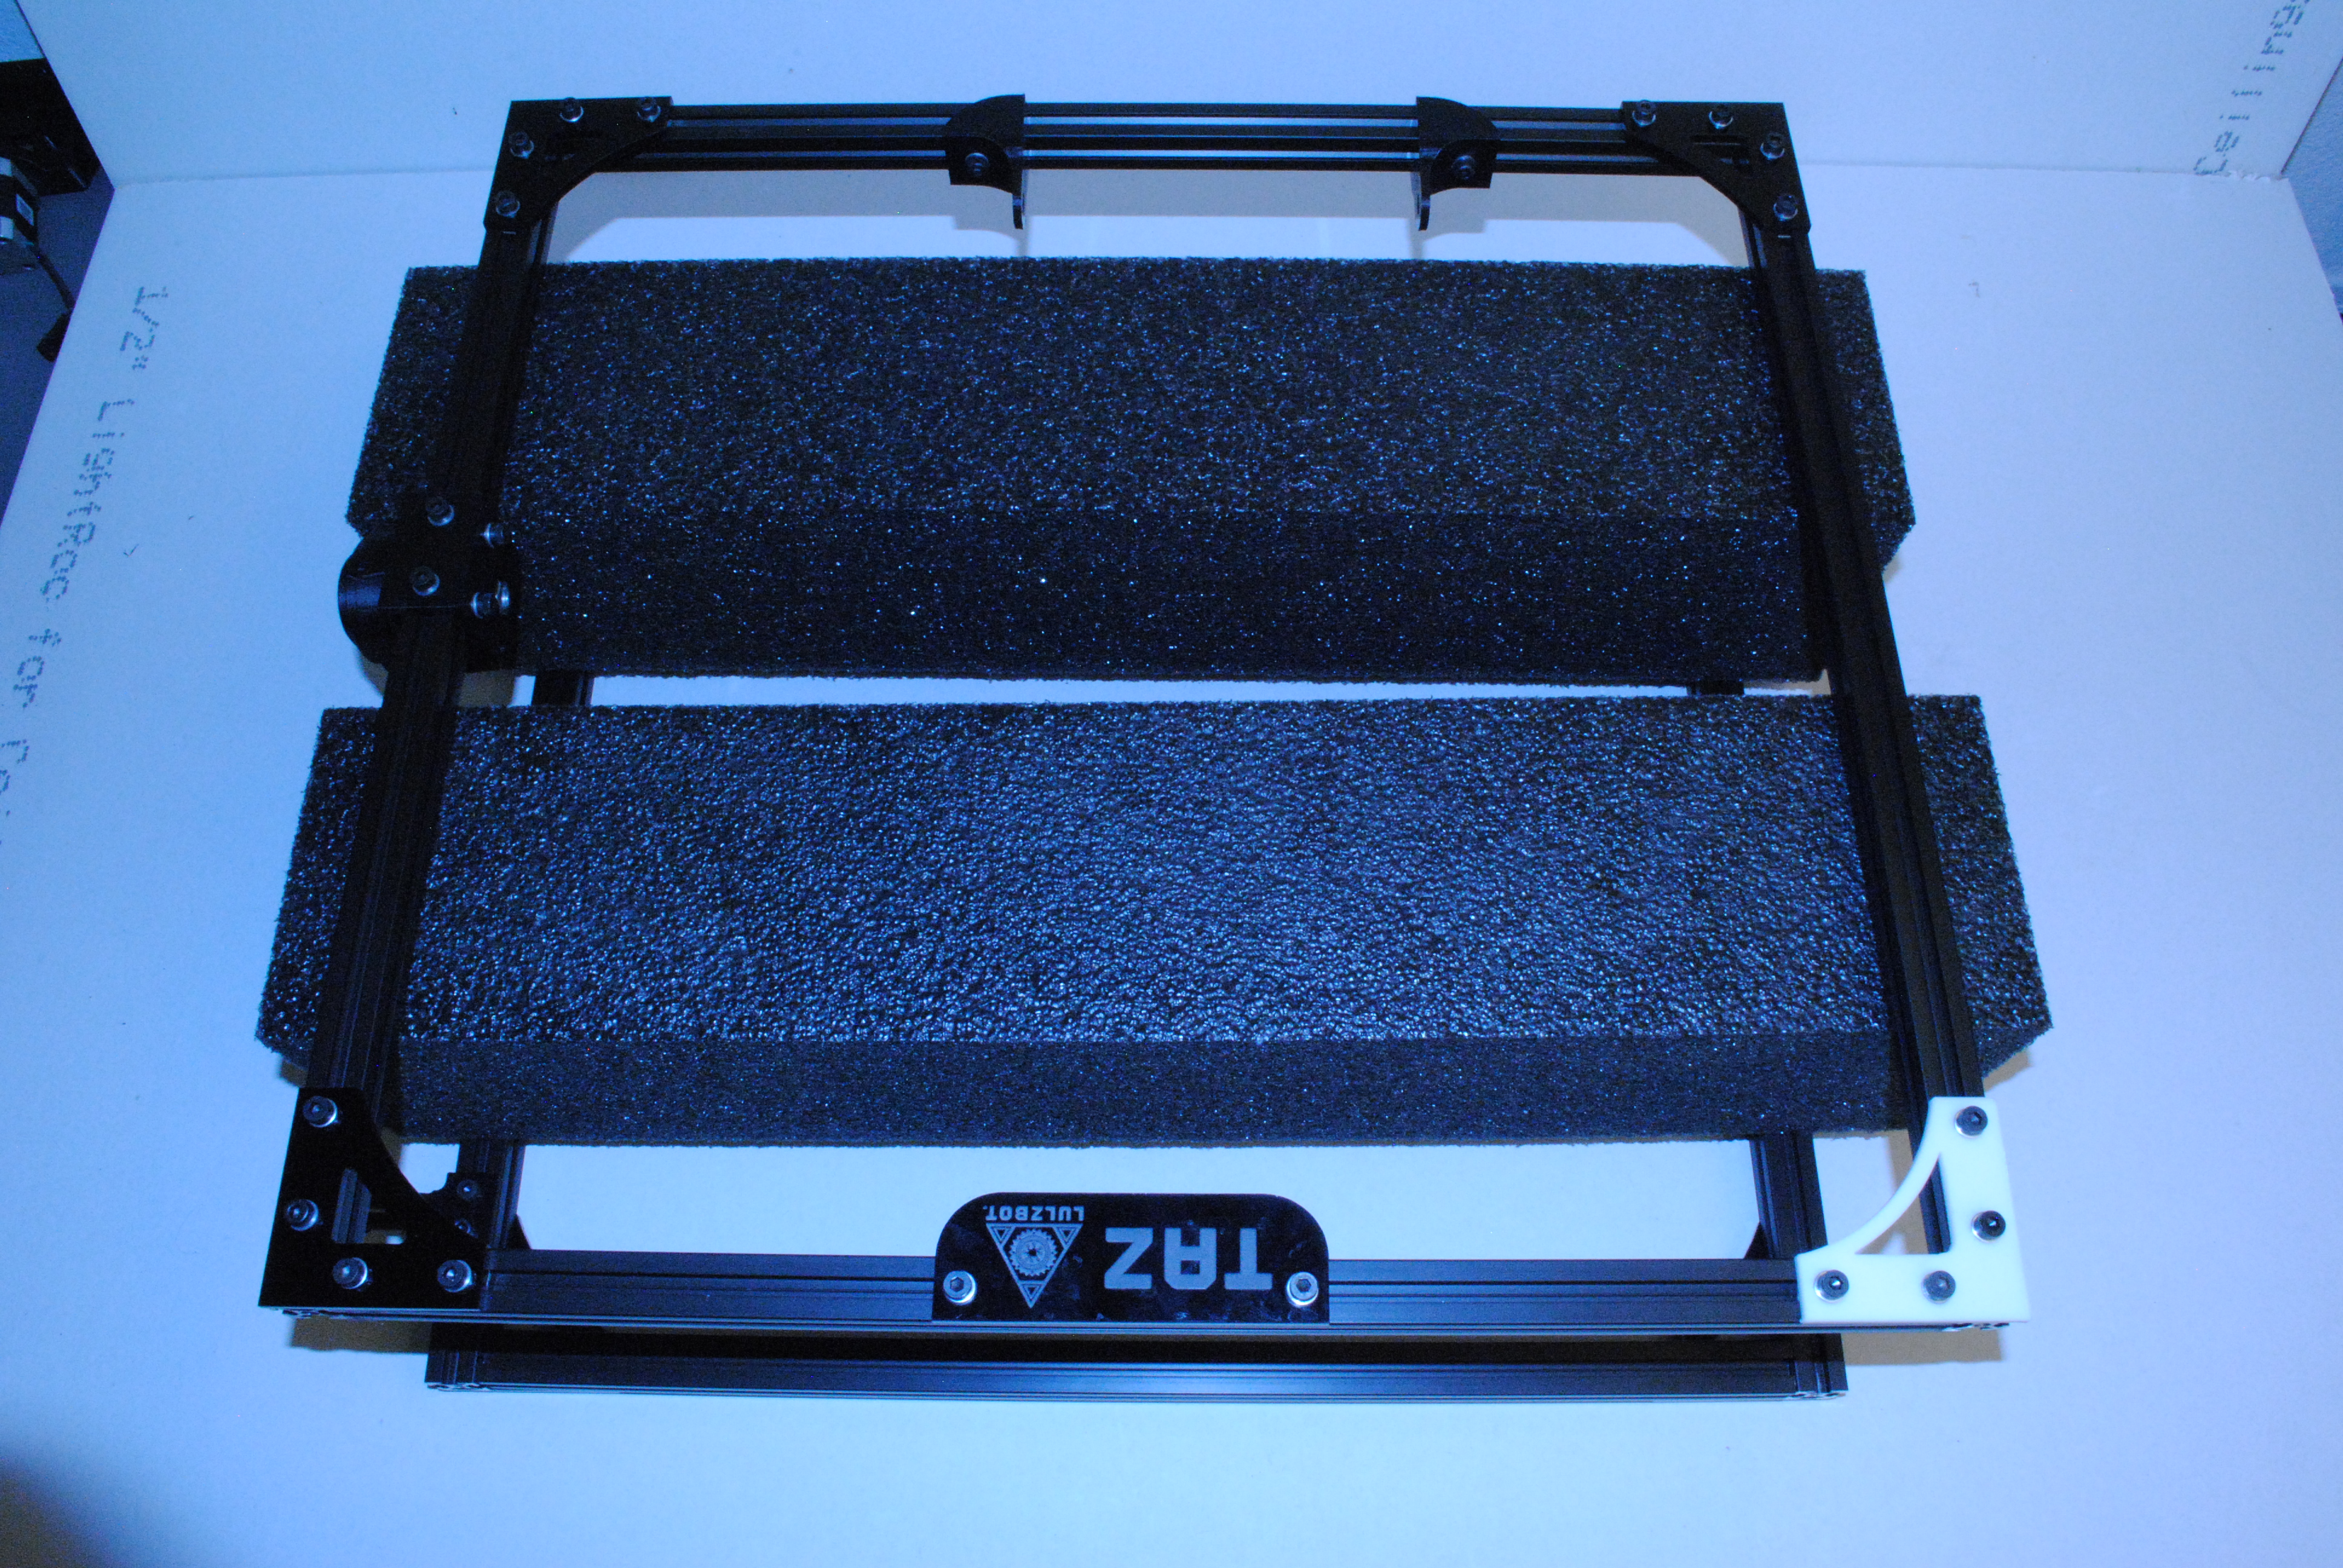
Install 4x M5 T-nuts.
Assemble Z top flat and Z top flat side as shown with M5 x 10 SHCS and M5 washers.


Install 4x M5 T-nuts.
Assemble Z top flat and Z top flat side as shown with M5 x 10 SHCS and M5 washers.

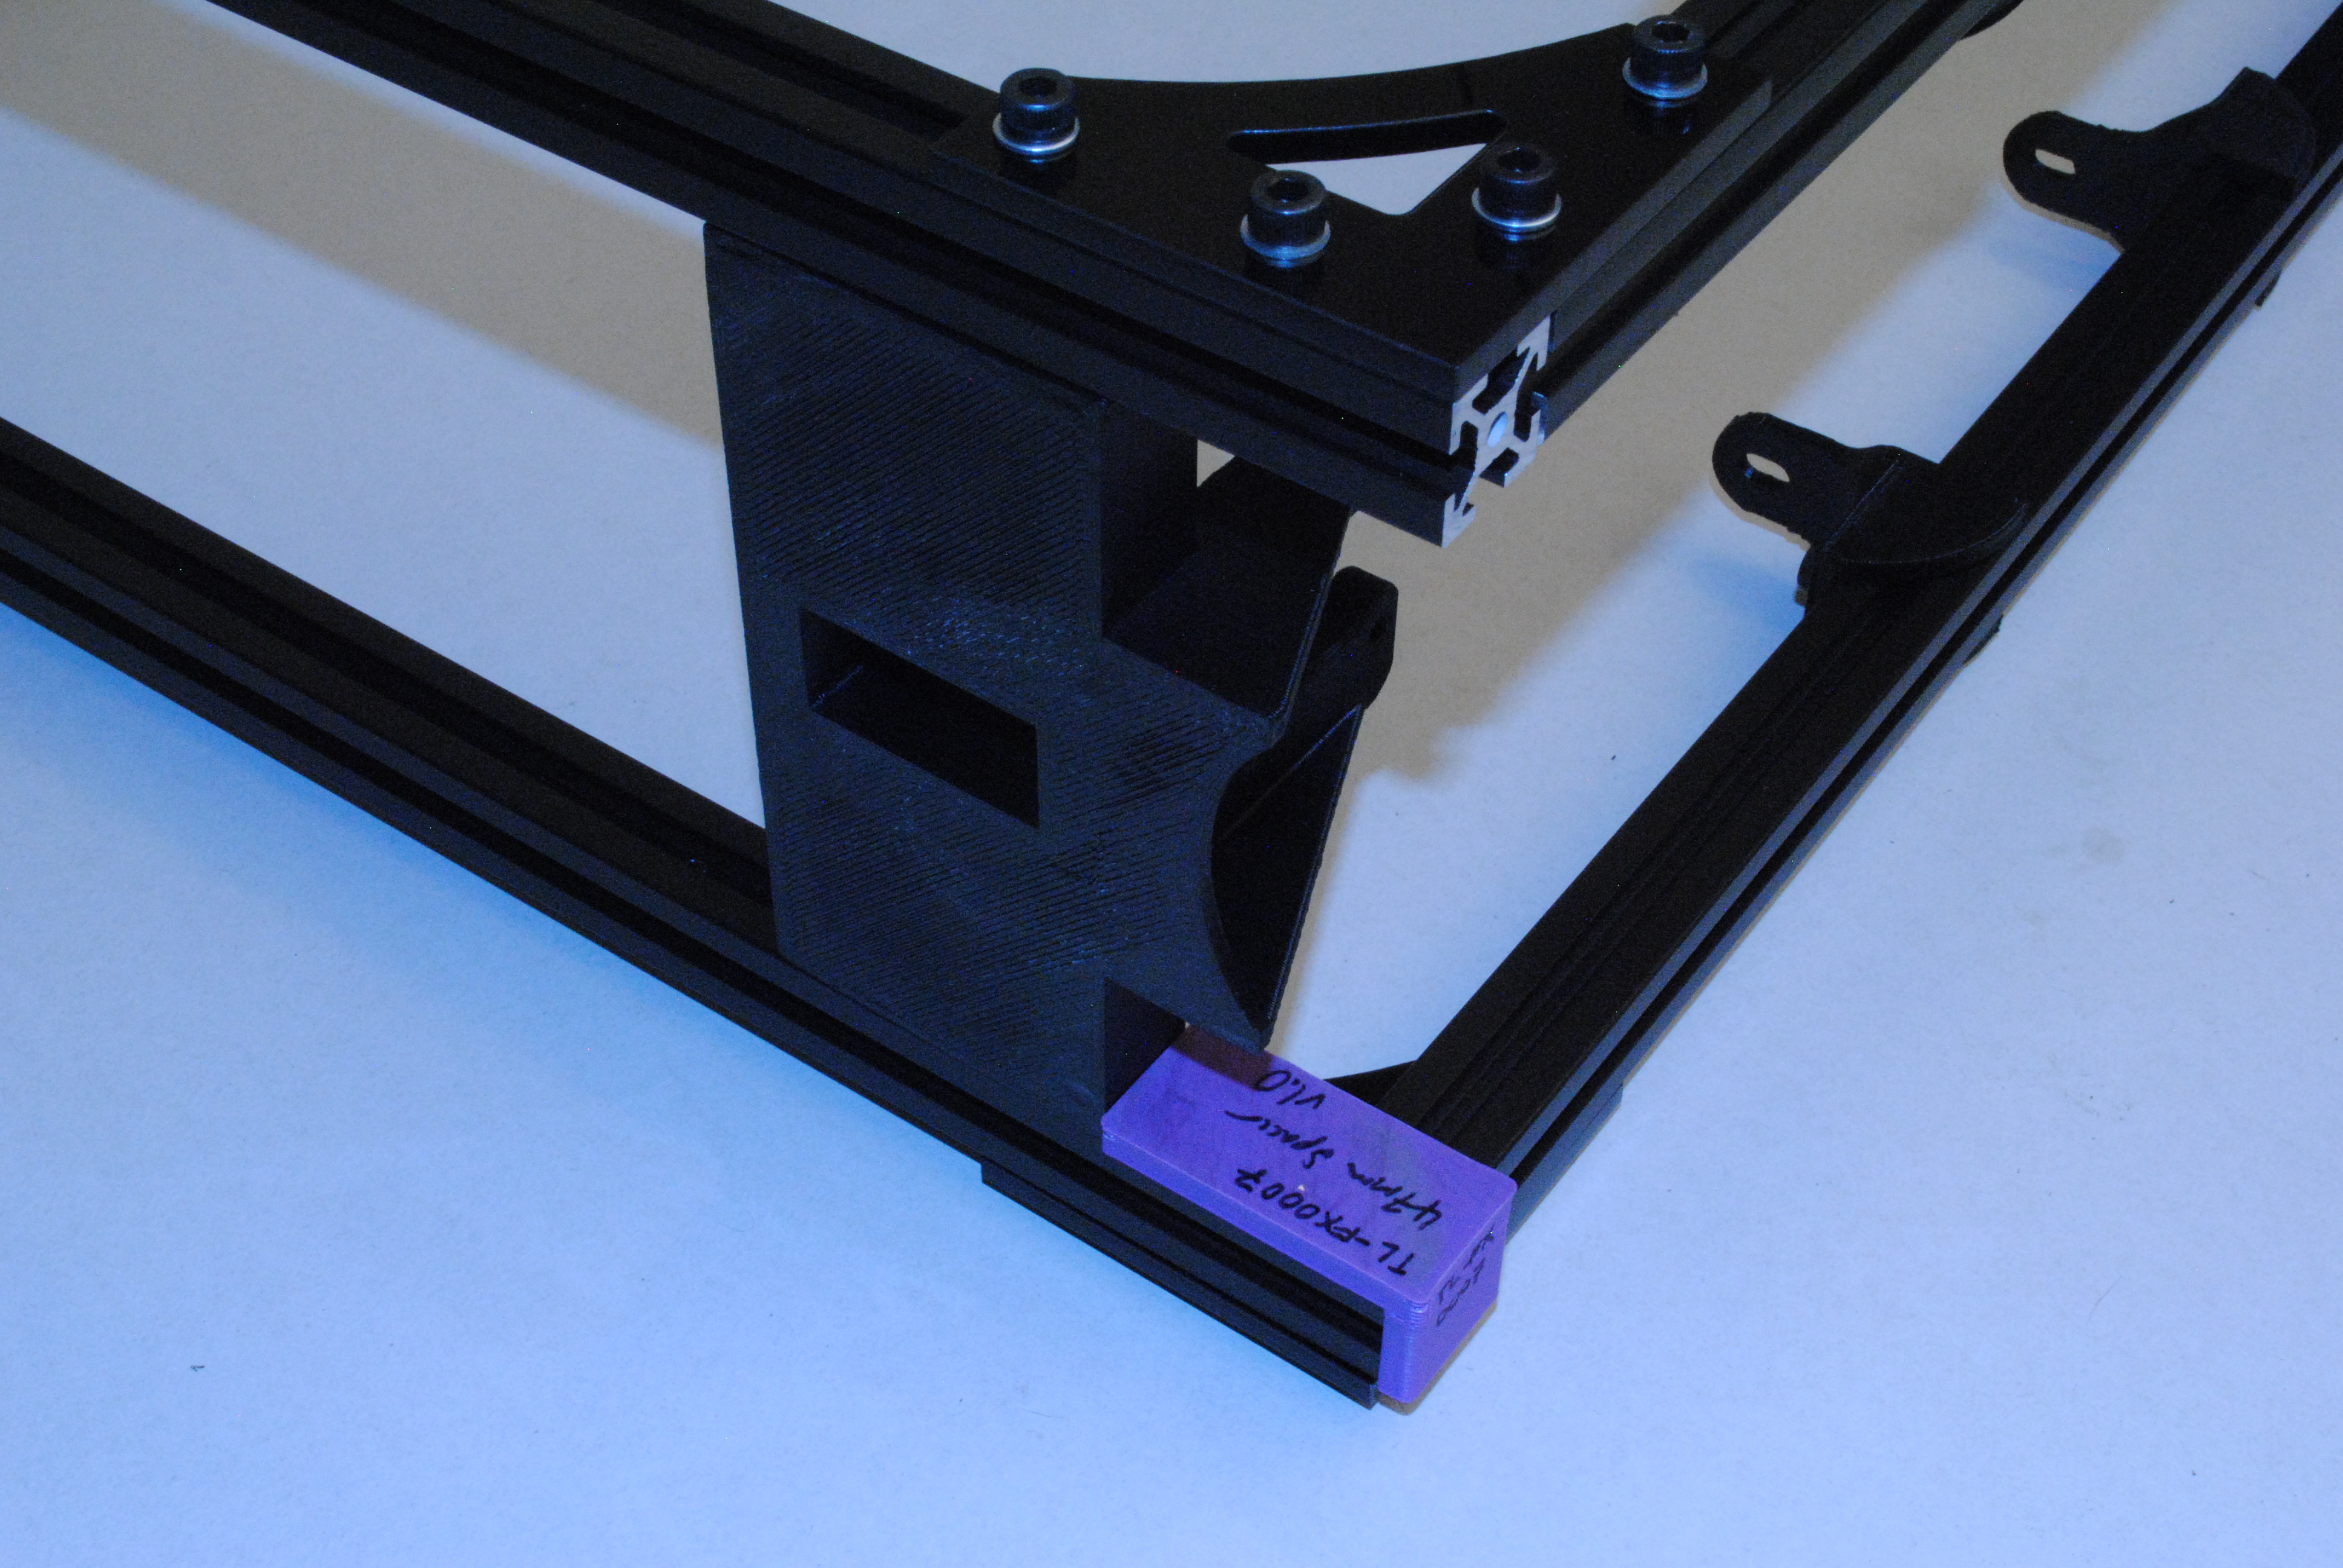
Install 4x M5 x 10 SHCS, M5 Washers and M5 T-nuts into the Z motor mount right as shown.
Slide the motor mount into the bottom of the frame and set it's height with the 48mm fixture. Only check the height against the front part of the frame.

Install 4x M5 x 10 SHCS, M5 Washers and M5 T-nuts into the Z motor mount left as shown.
Slide the motor mount into the bottom of the frame and set it's height with the 48mm fixture. Only check the height against the front part of the frame.

Set the frame up on a flat surface.
Close any gaps there may be at the ends of the extrusions.
Make sure all parts are straight on the assemble with edges flush with the extrusion.
Using fixtures, set the location of the Name plate, Z motor mounts and Feed tube holder.
Tighten all the bolts at this point.