Open HardwareAssembly Instructions
Guides for installation and assembly of the LulzBot line of products made by FAME 3D LLC.
Guides for installation and assembly of the LulzBot line of products made by FAME 3D LLC.
Before measuring belt tension, run the axis to be measured, from Min to Max travel positions to ensure belt-to-pulley position
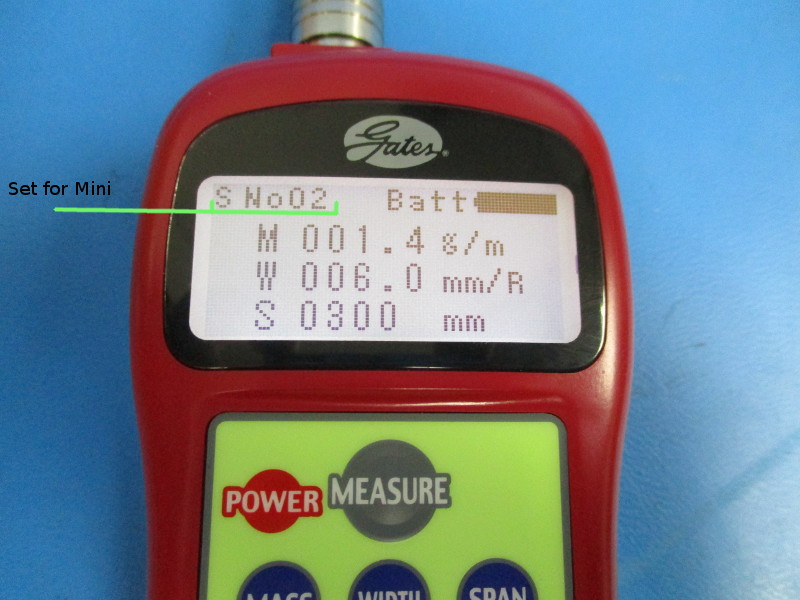
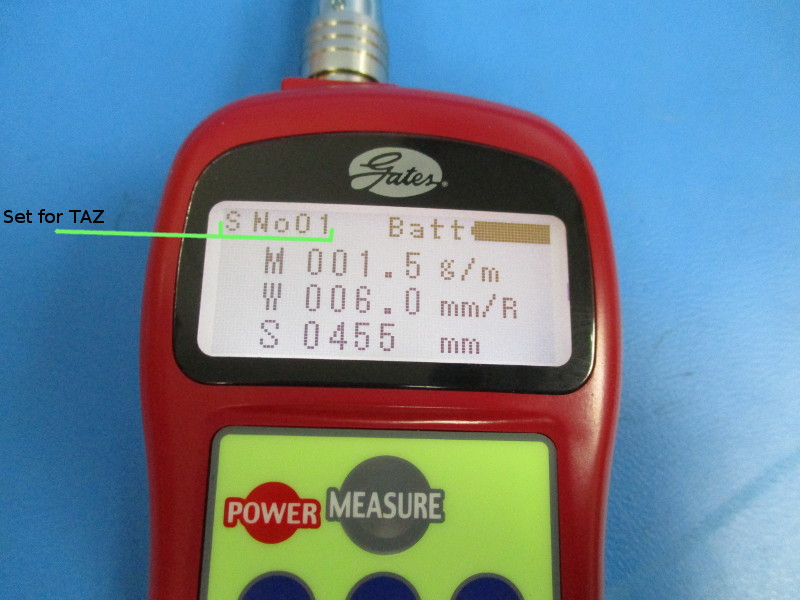
Turn the tension meter on by pushing the power button. Set the meter to the desired preset settings.
Press “1” for testing TAZ belts.
Press “2” for testing Mini belts
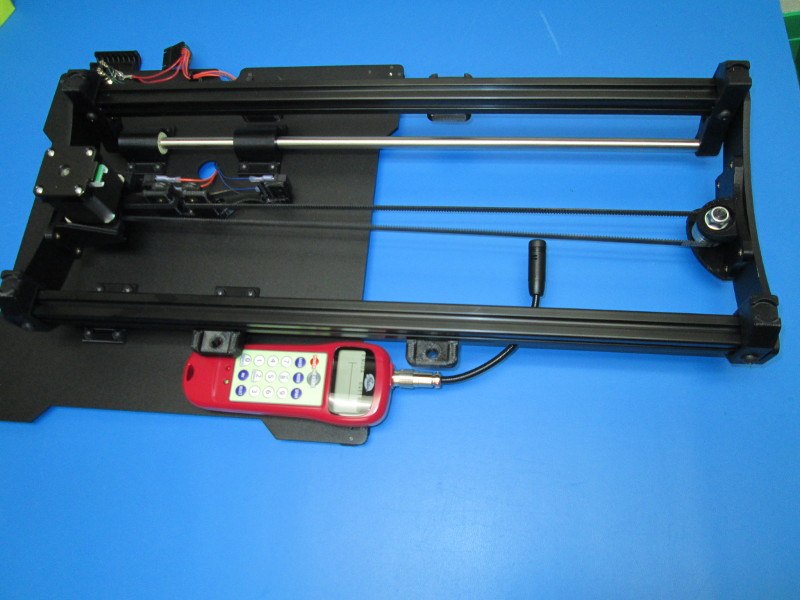
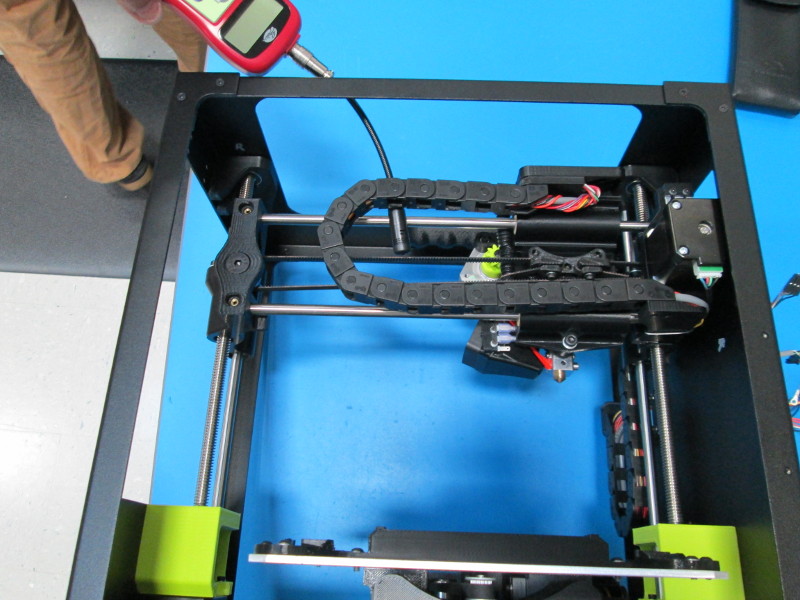
Move the belt clamp of the desired axis to the position shown.
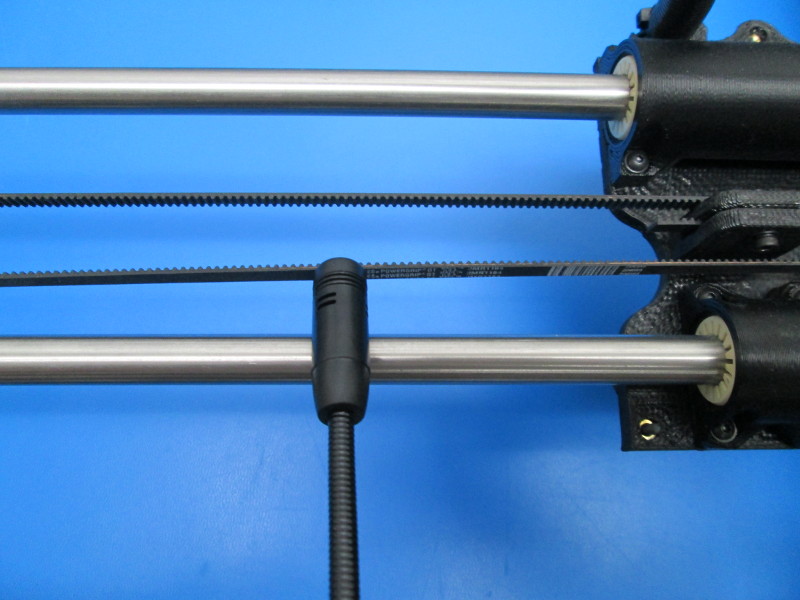
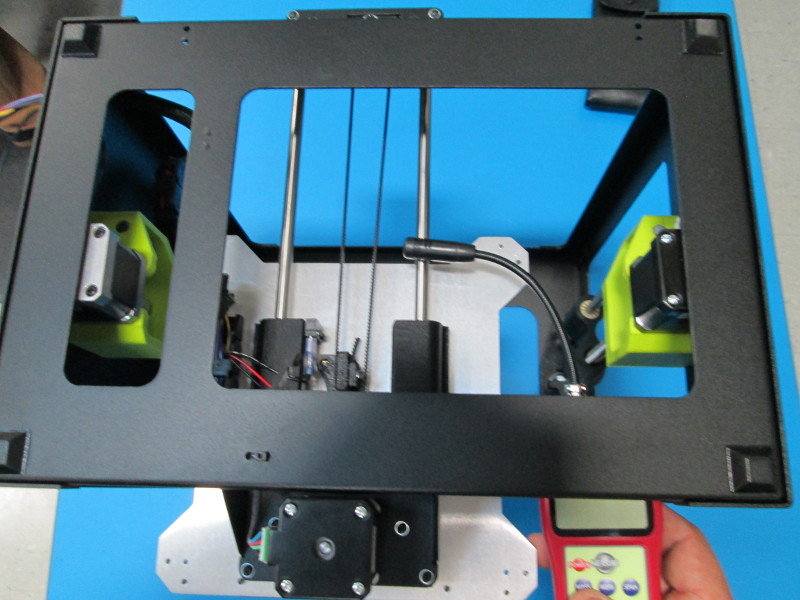
Place the receiver end next to the belt to be tested in the positions shown (Hold the sensor approximately 1cm (0.4 inch) from the belt or closer without touching the belt.)
(Note location of tension meter sensor in relation to the belt)
Press the “MEASURE” button; the green LED light will begin to flash
Tap the belt span to make the belt span vibrate
The Green LED light will continue to flash until a signal is received from the sensor, the LED will turn off, a wave form will generate on the LCD screen.
The belt tension will display on the screen, the meter will beep three times, and the green LED light will turn off indicating a successful measurement.
If the belt signal cannot be measured, or the measured frequency of the belt is out of range the Red LED light will turn on. To make another tension reading Tap the belt again. The auto-trigger feature will automatically re-active the meter without pressing the “MEASURE” button.
Verify the displayed value is within 23-27 newtons
Make at least two other tension readings by Tapping the belt again. The auto-trigger feature will automatically re-active the meter without pressing the “MEASURE” button.
The three readings if preformed without error should be relatively close to one another
Turn off tension meter by holding the power button.