Open HardwareAssembly Instructions
Guides for installation and assembly of the LulzBot line of products made by FAME 3D LLC.
Guides for installation and assembly of the LulzBot line of products made by FAME 3D LLC.
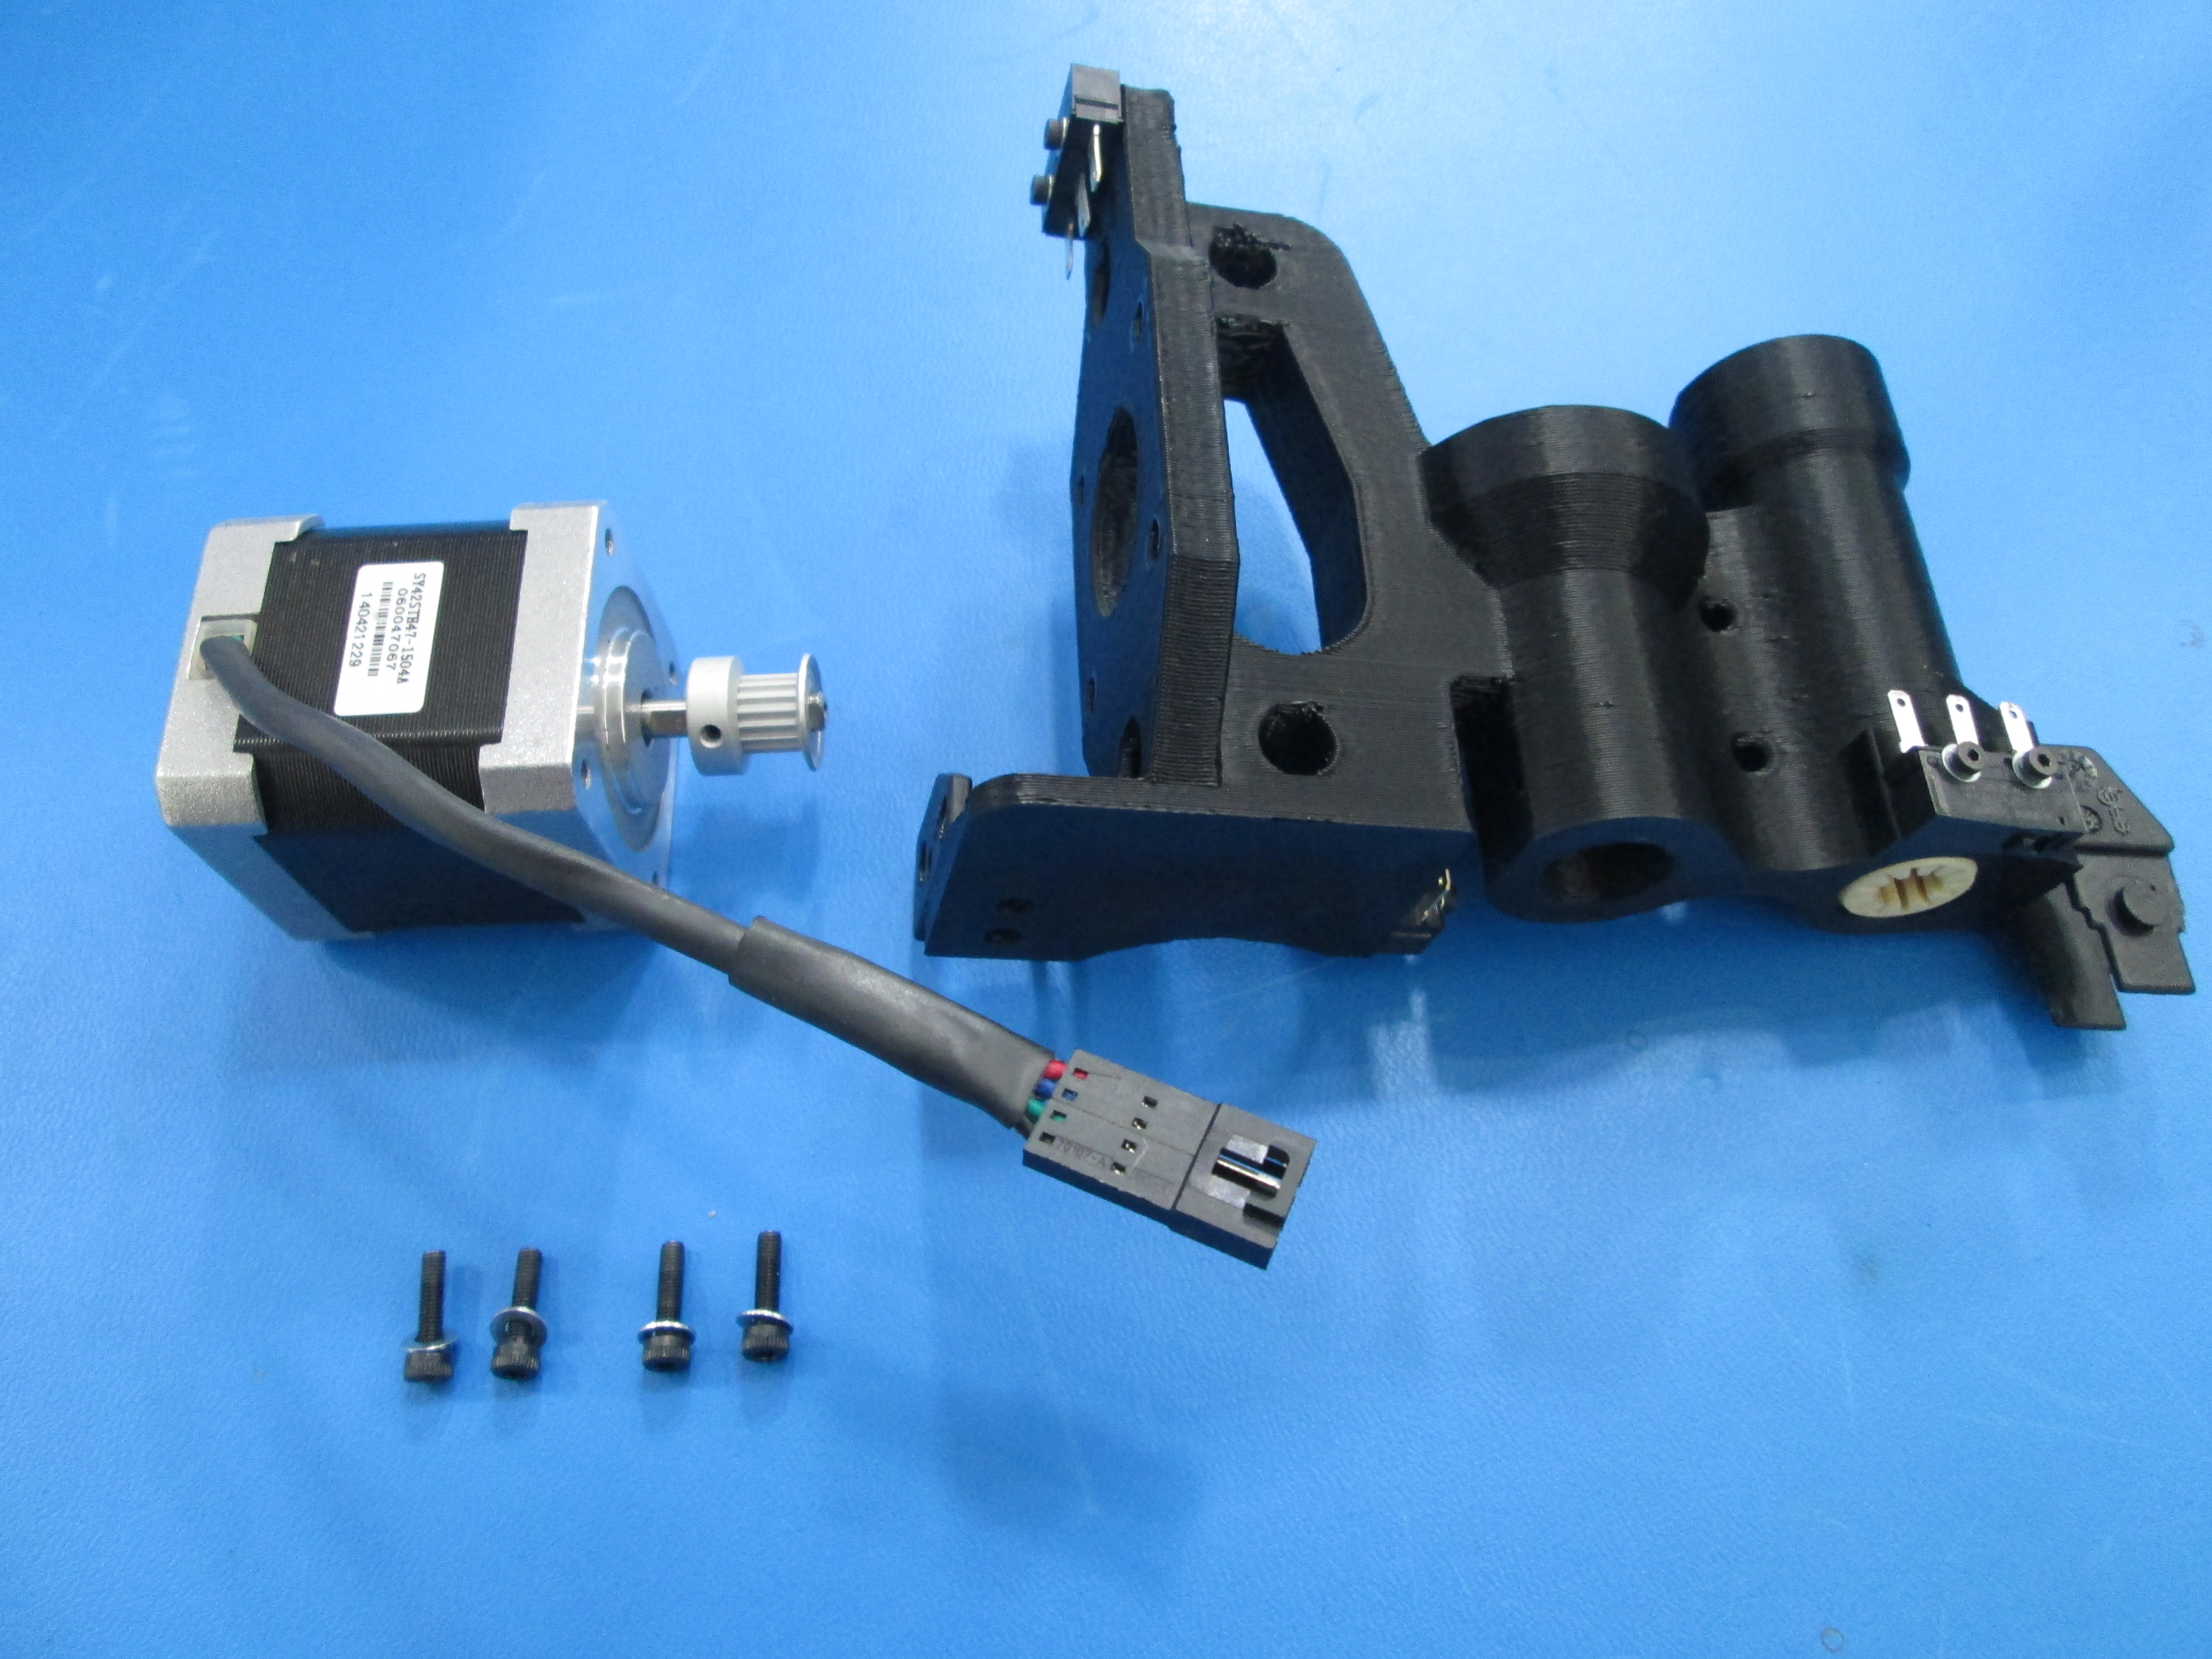
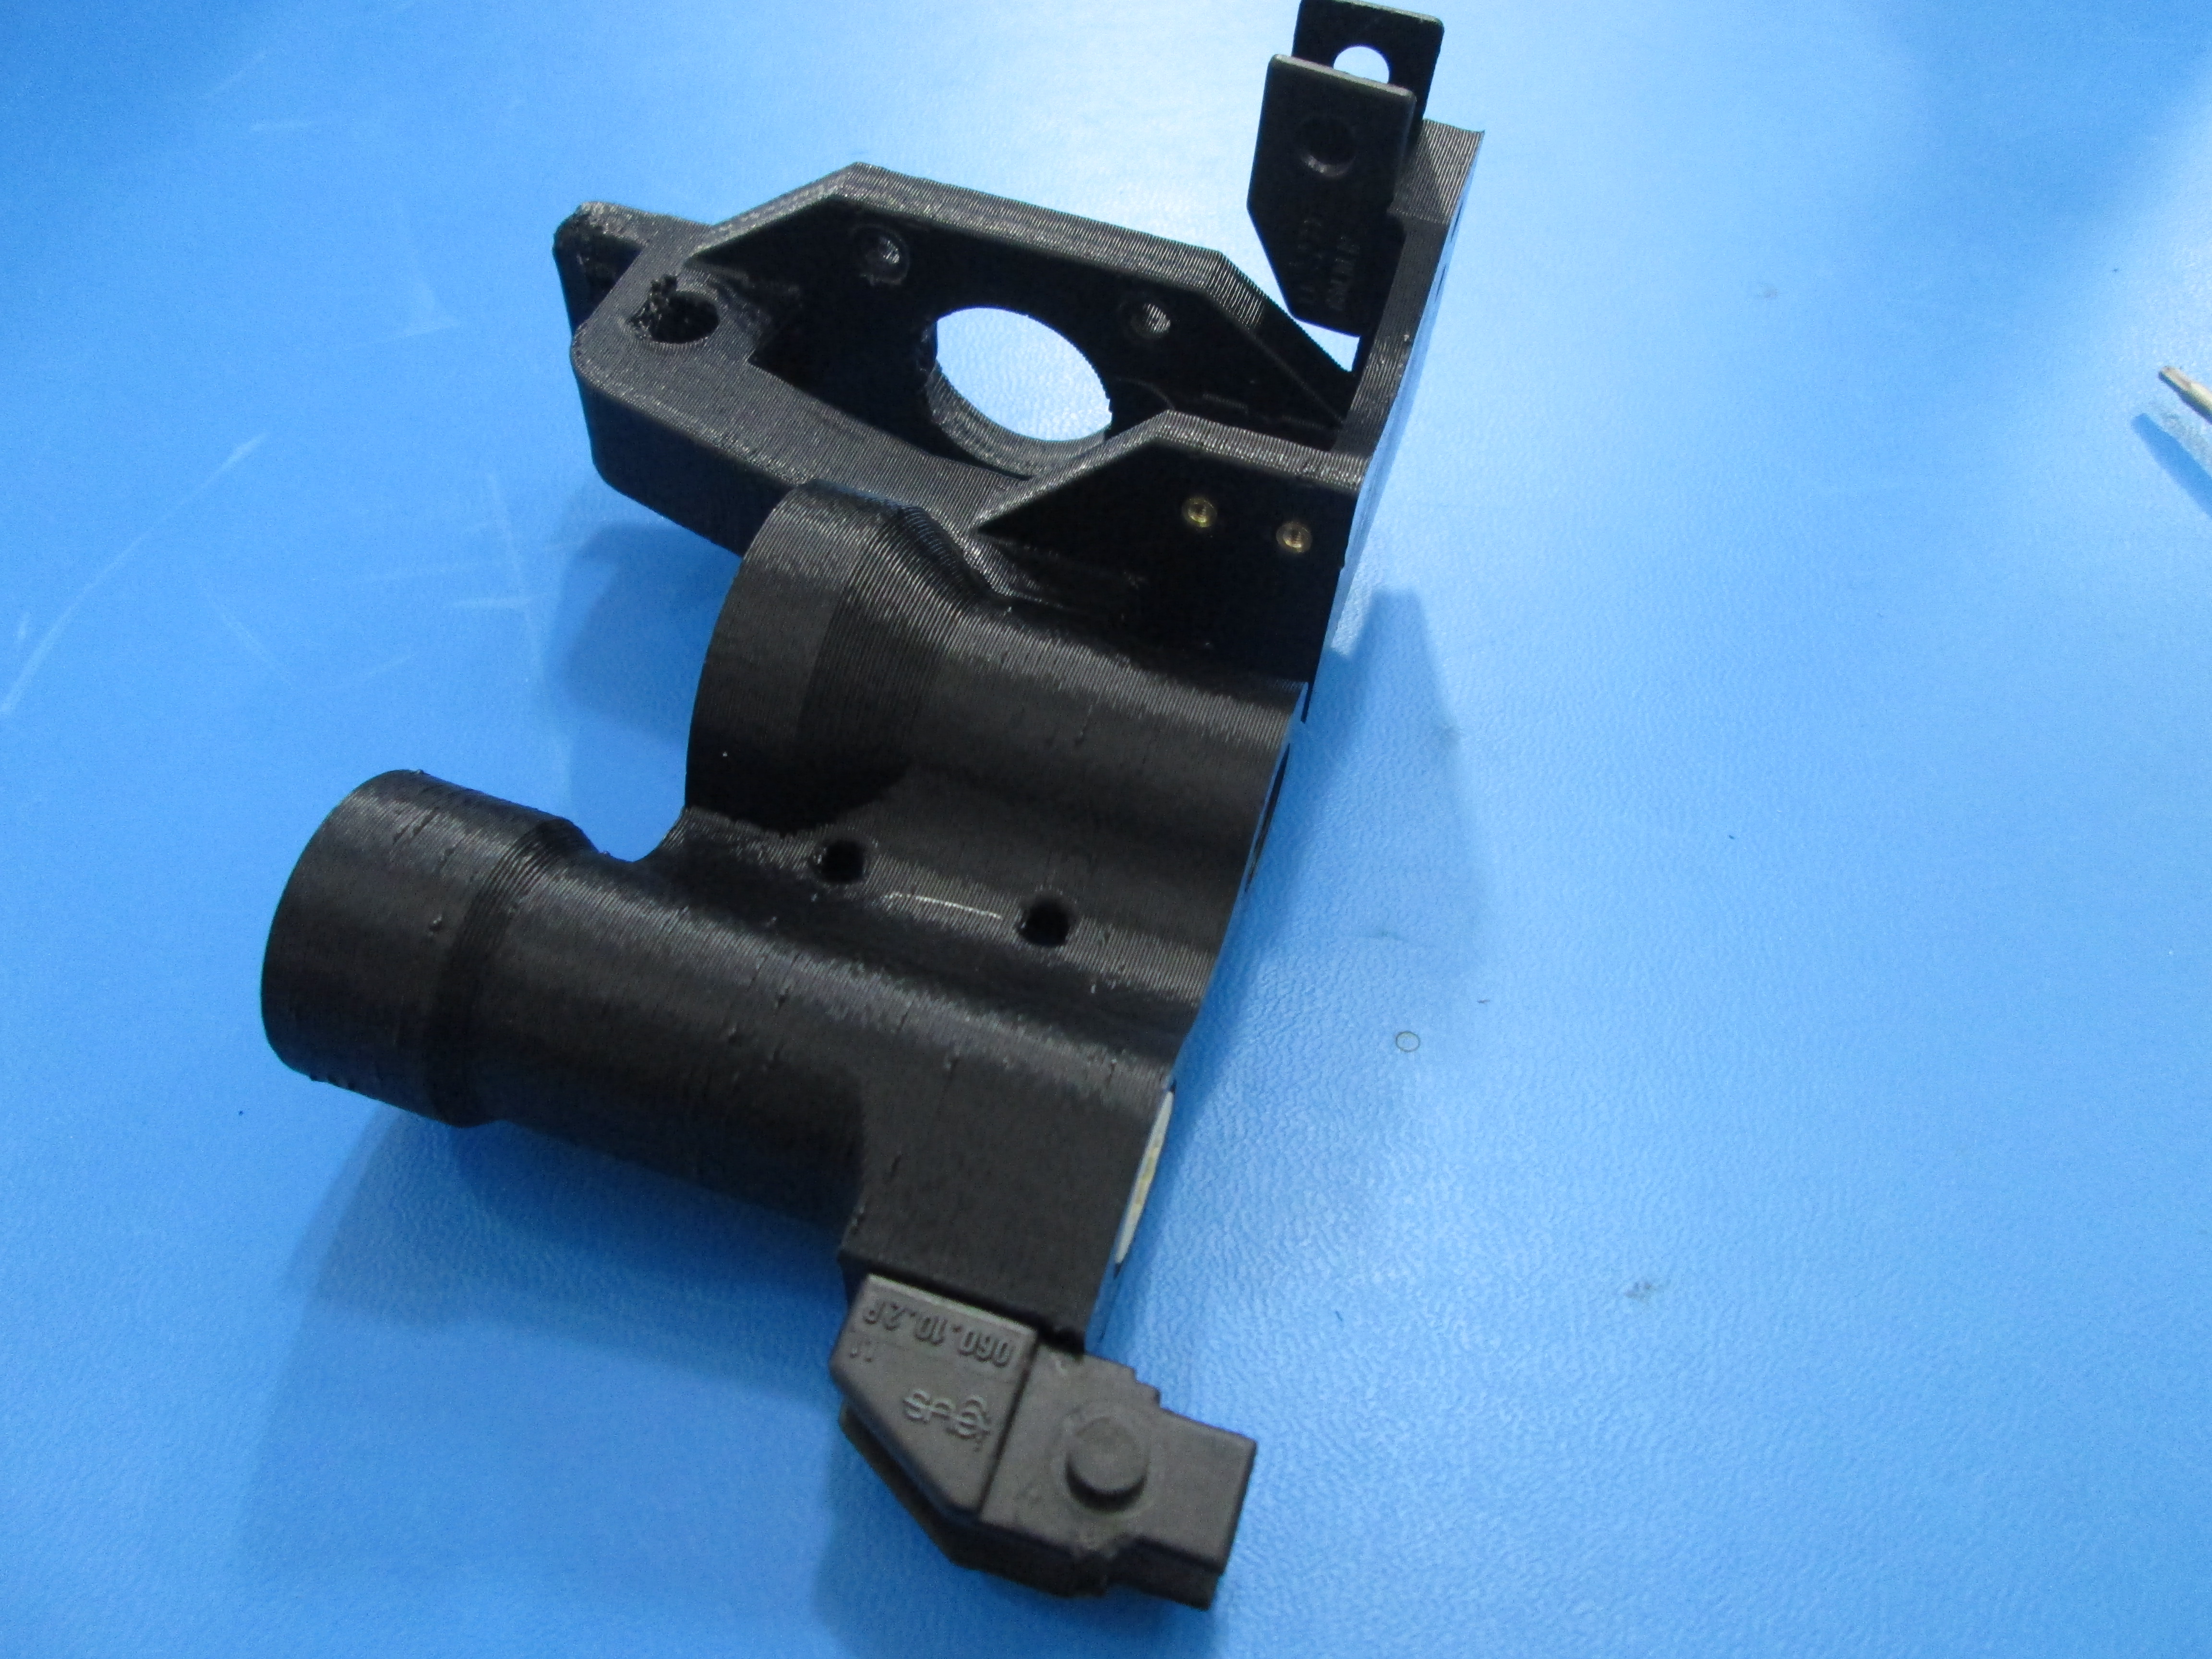
Components Required
Tools Required

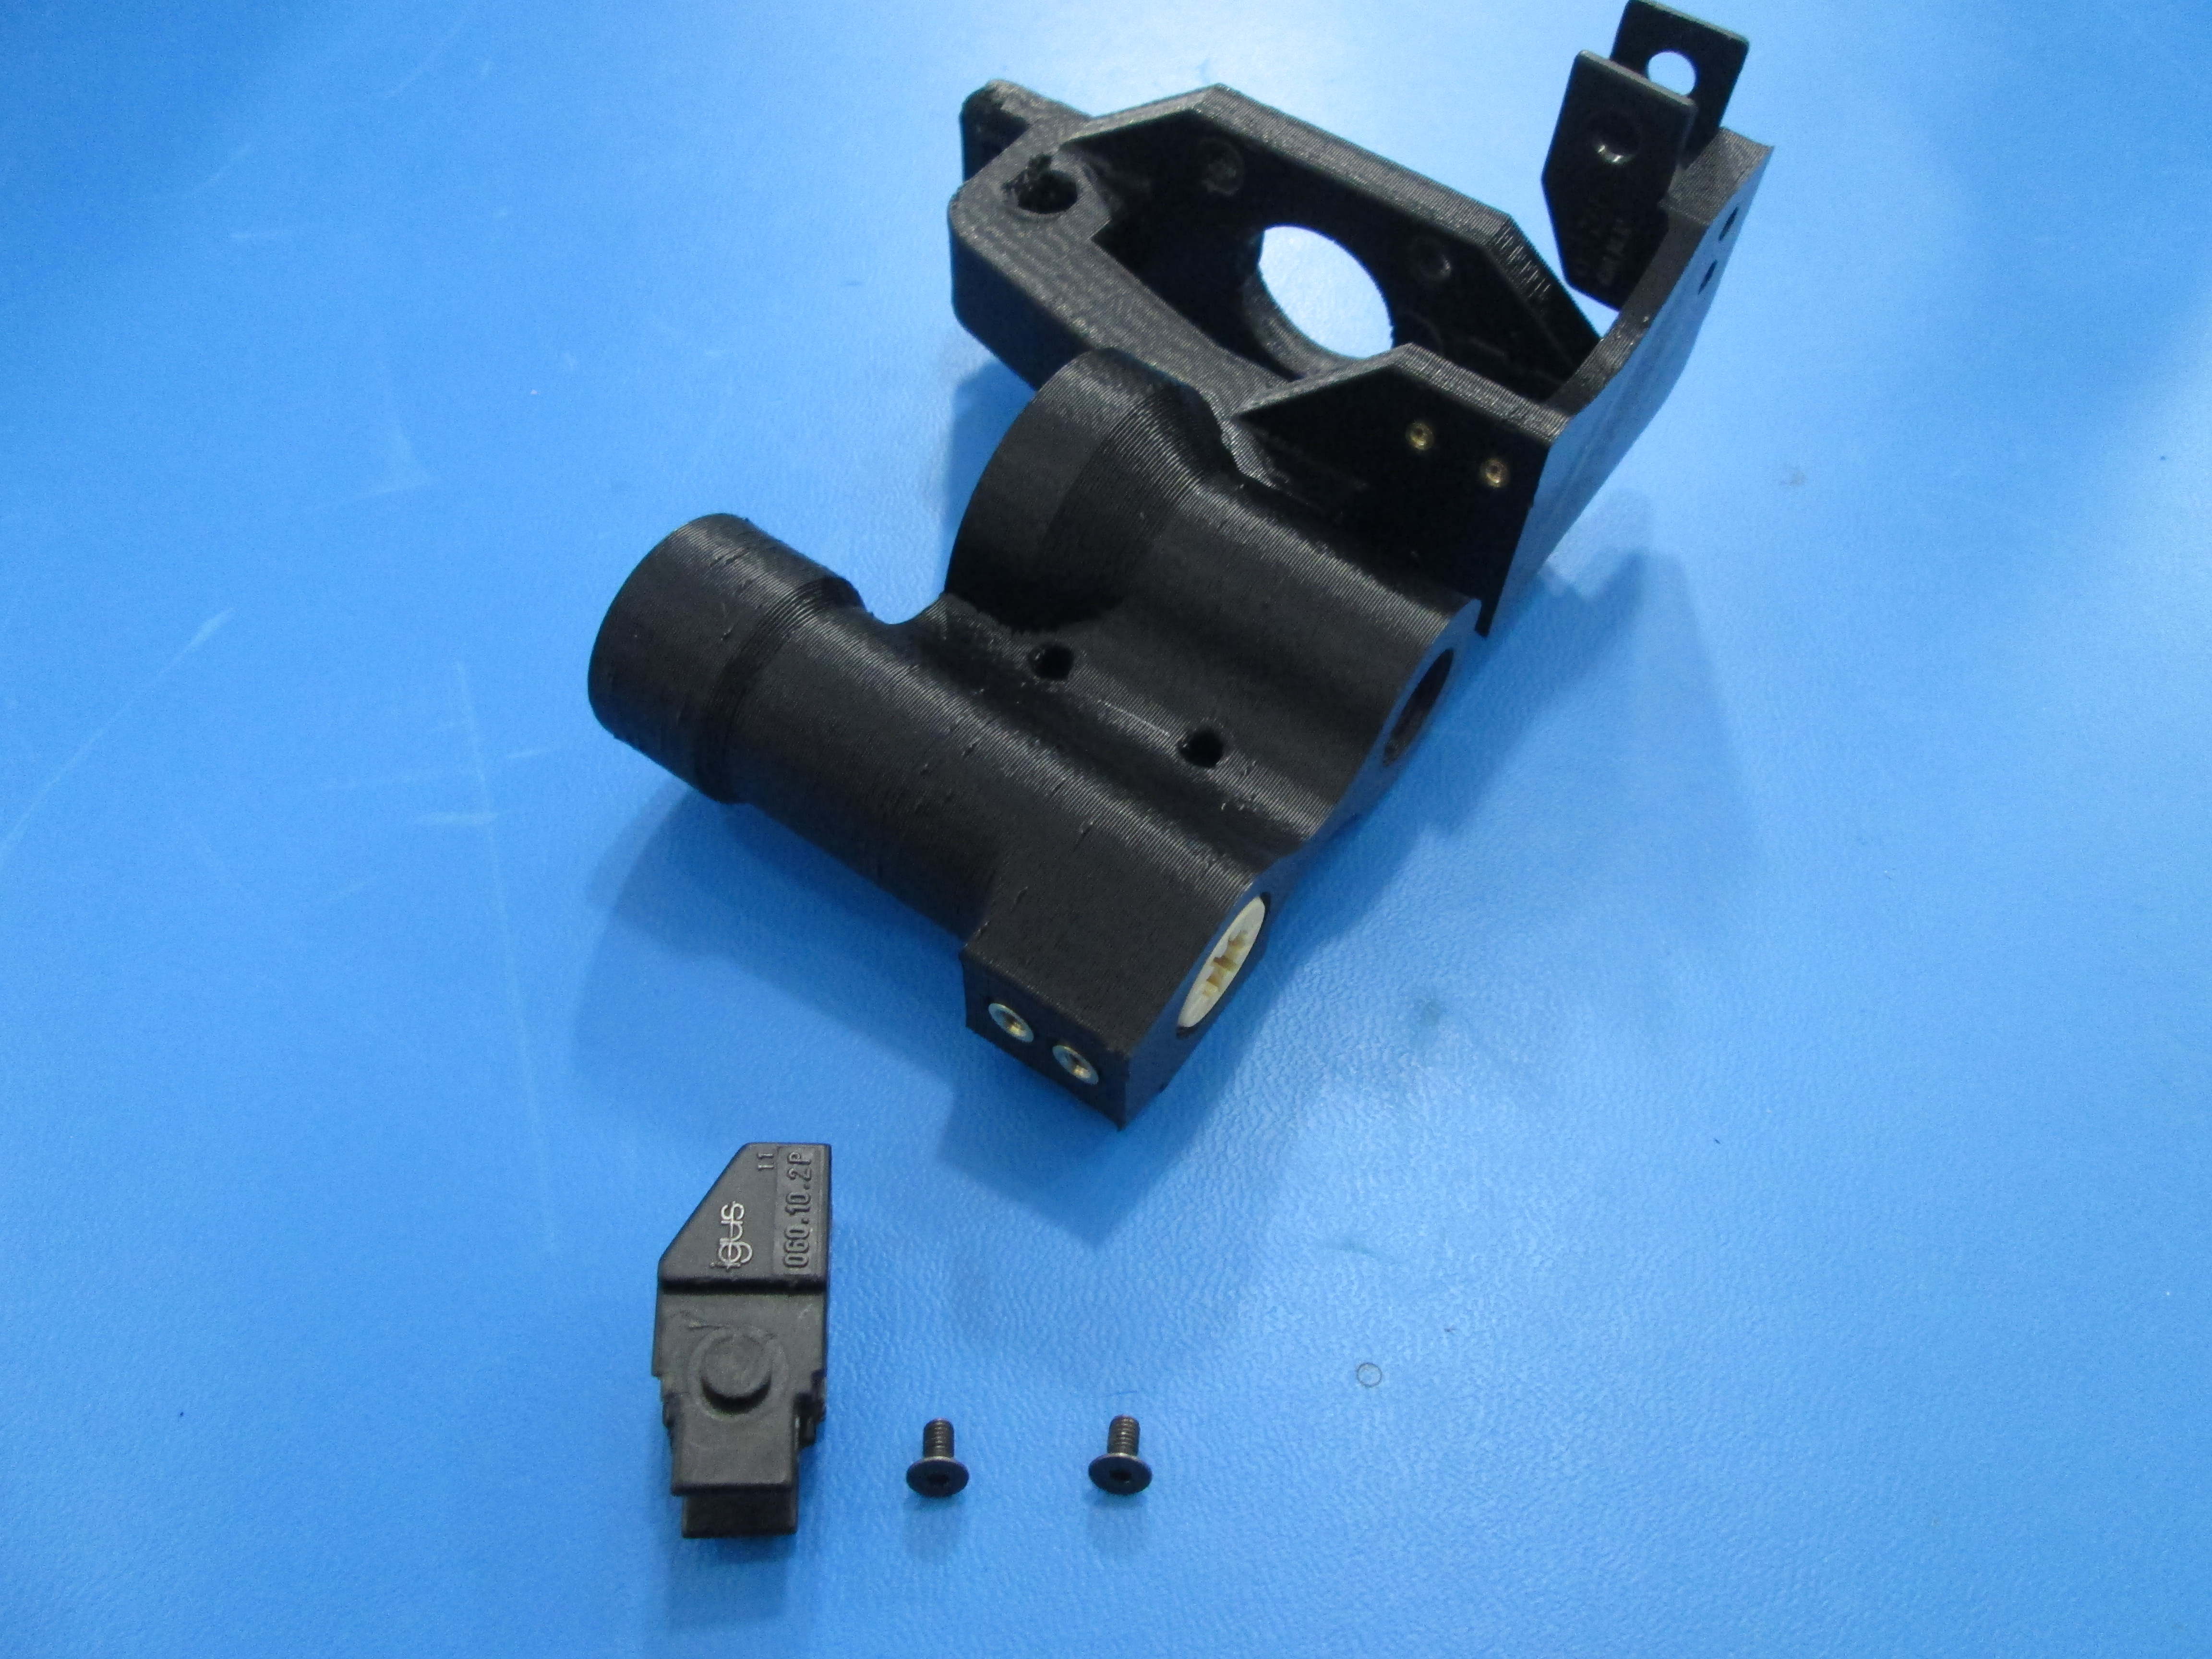
Using 2x M3x6 flat head screws attach the female cable guide connector as shown.
Using 2x M3x6 flat head screws attach the male cable guide connector as shown.

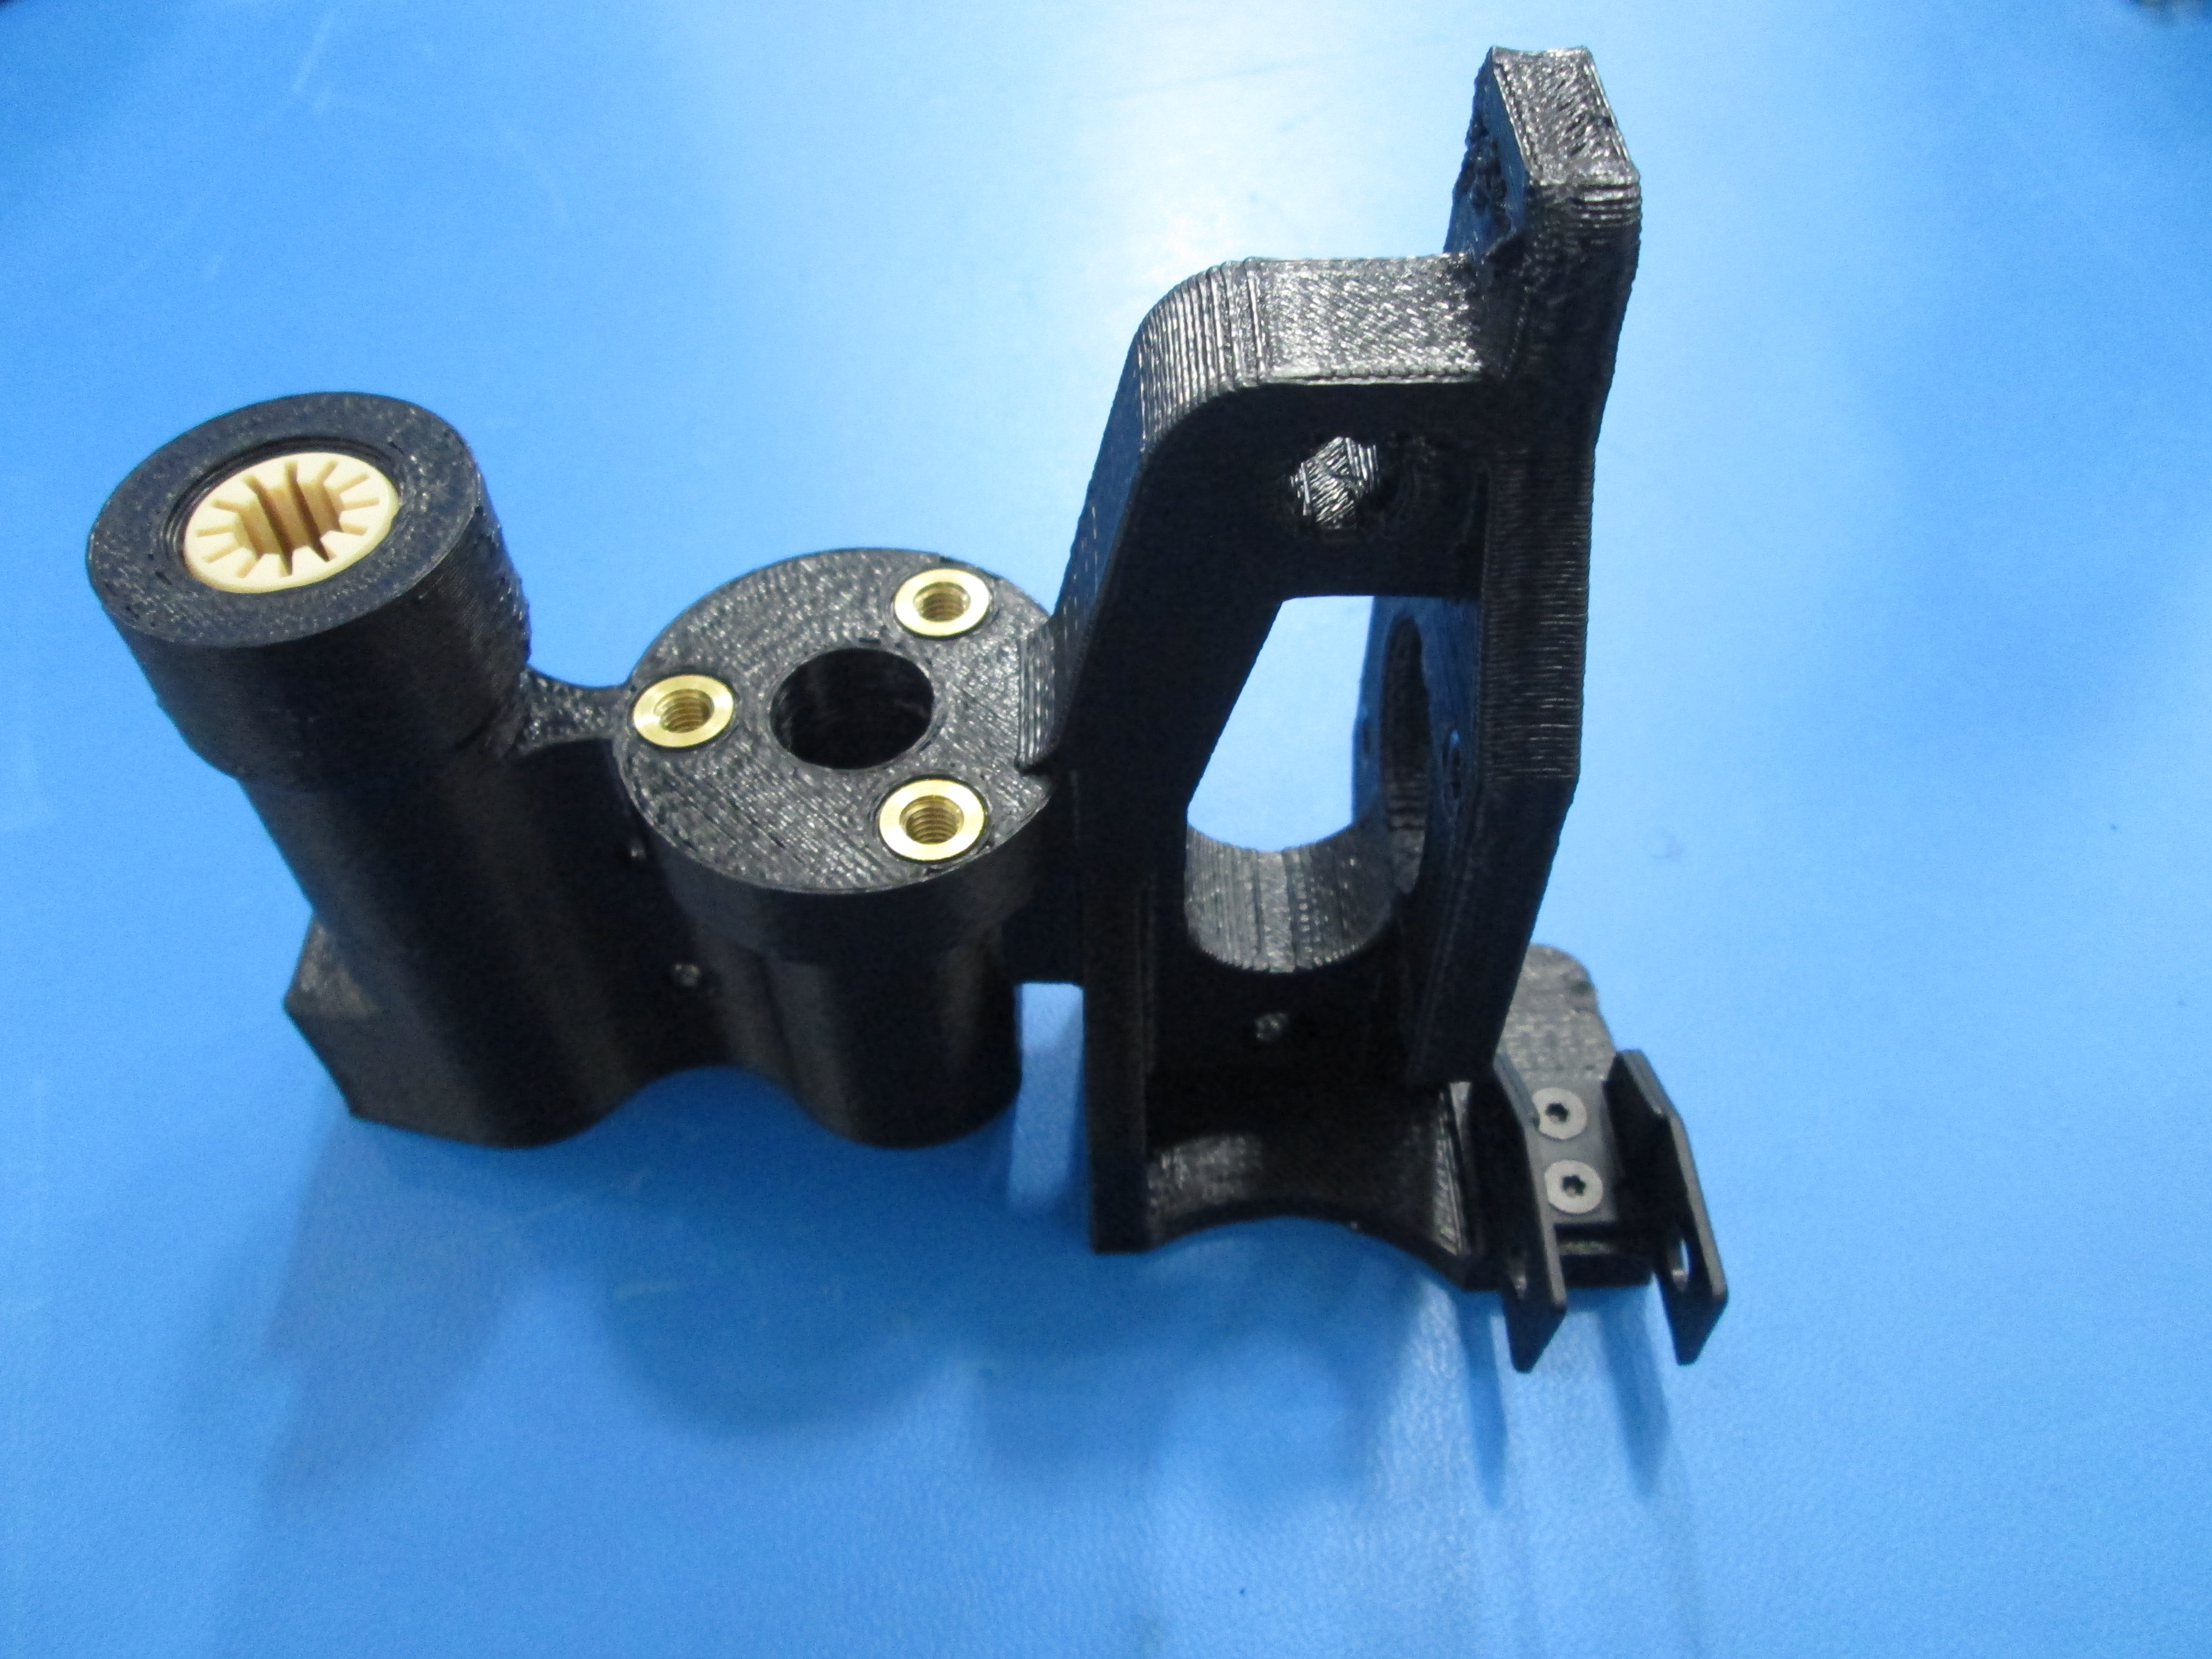
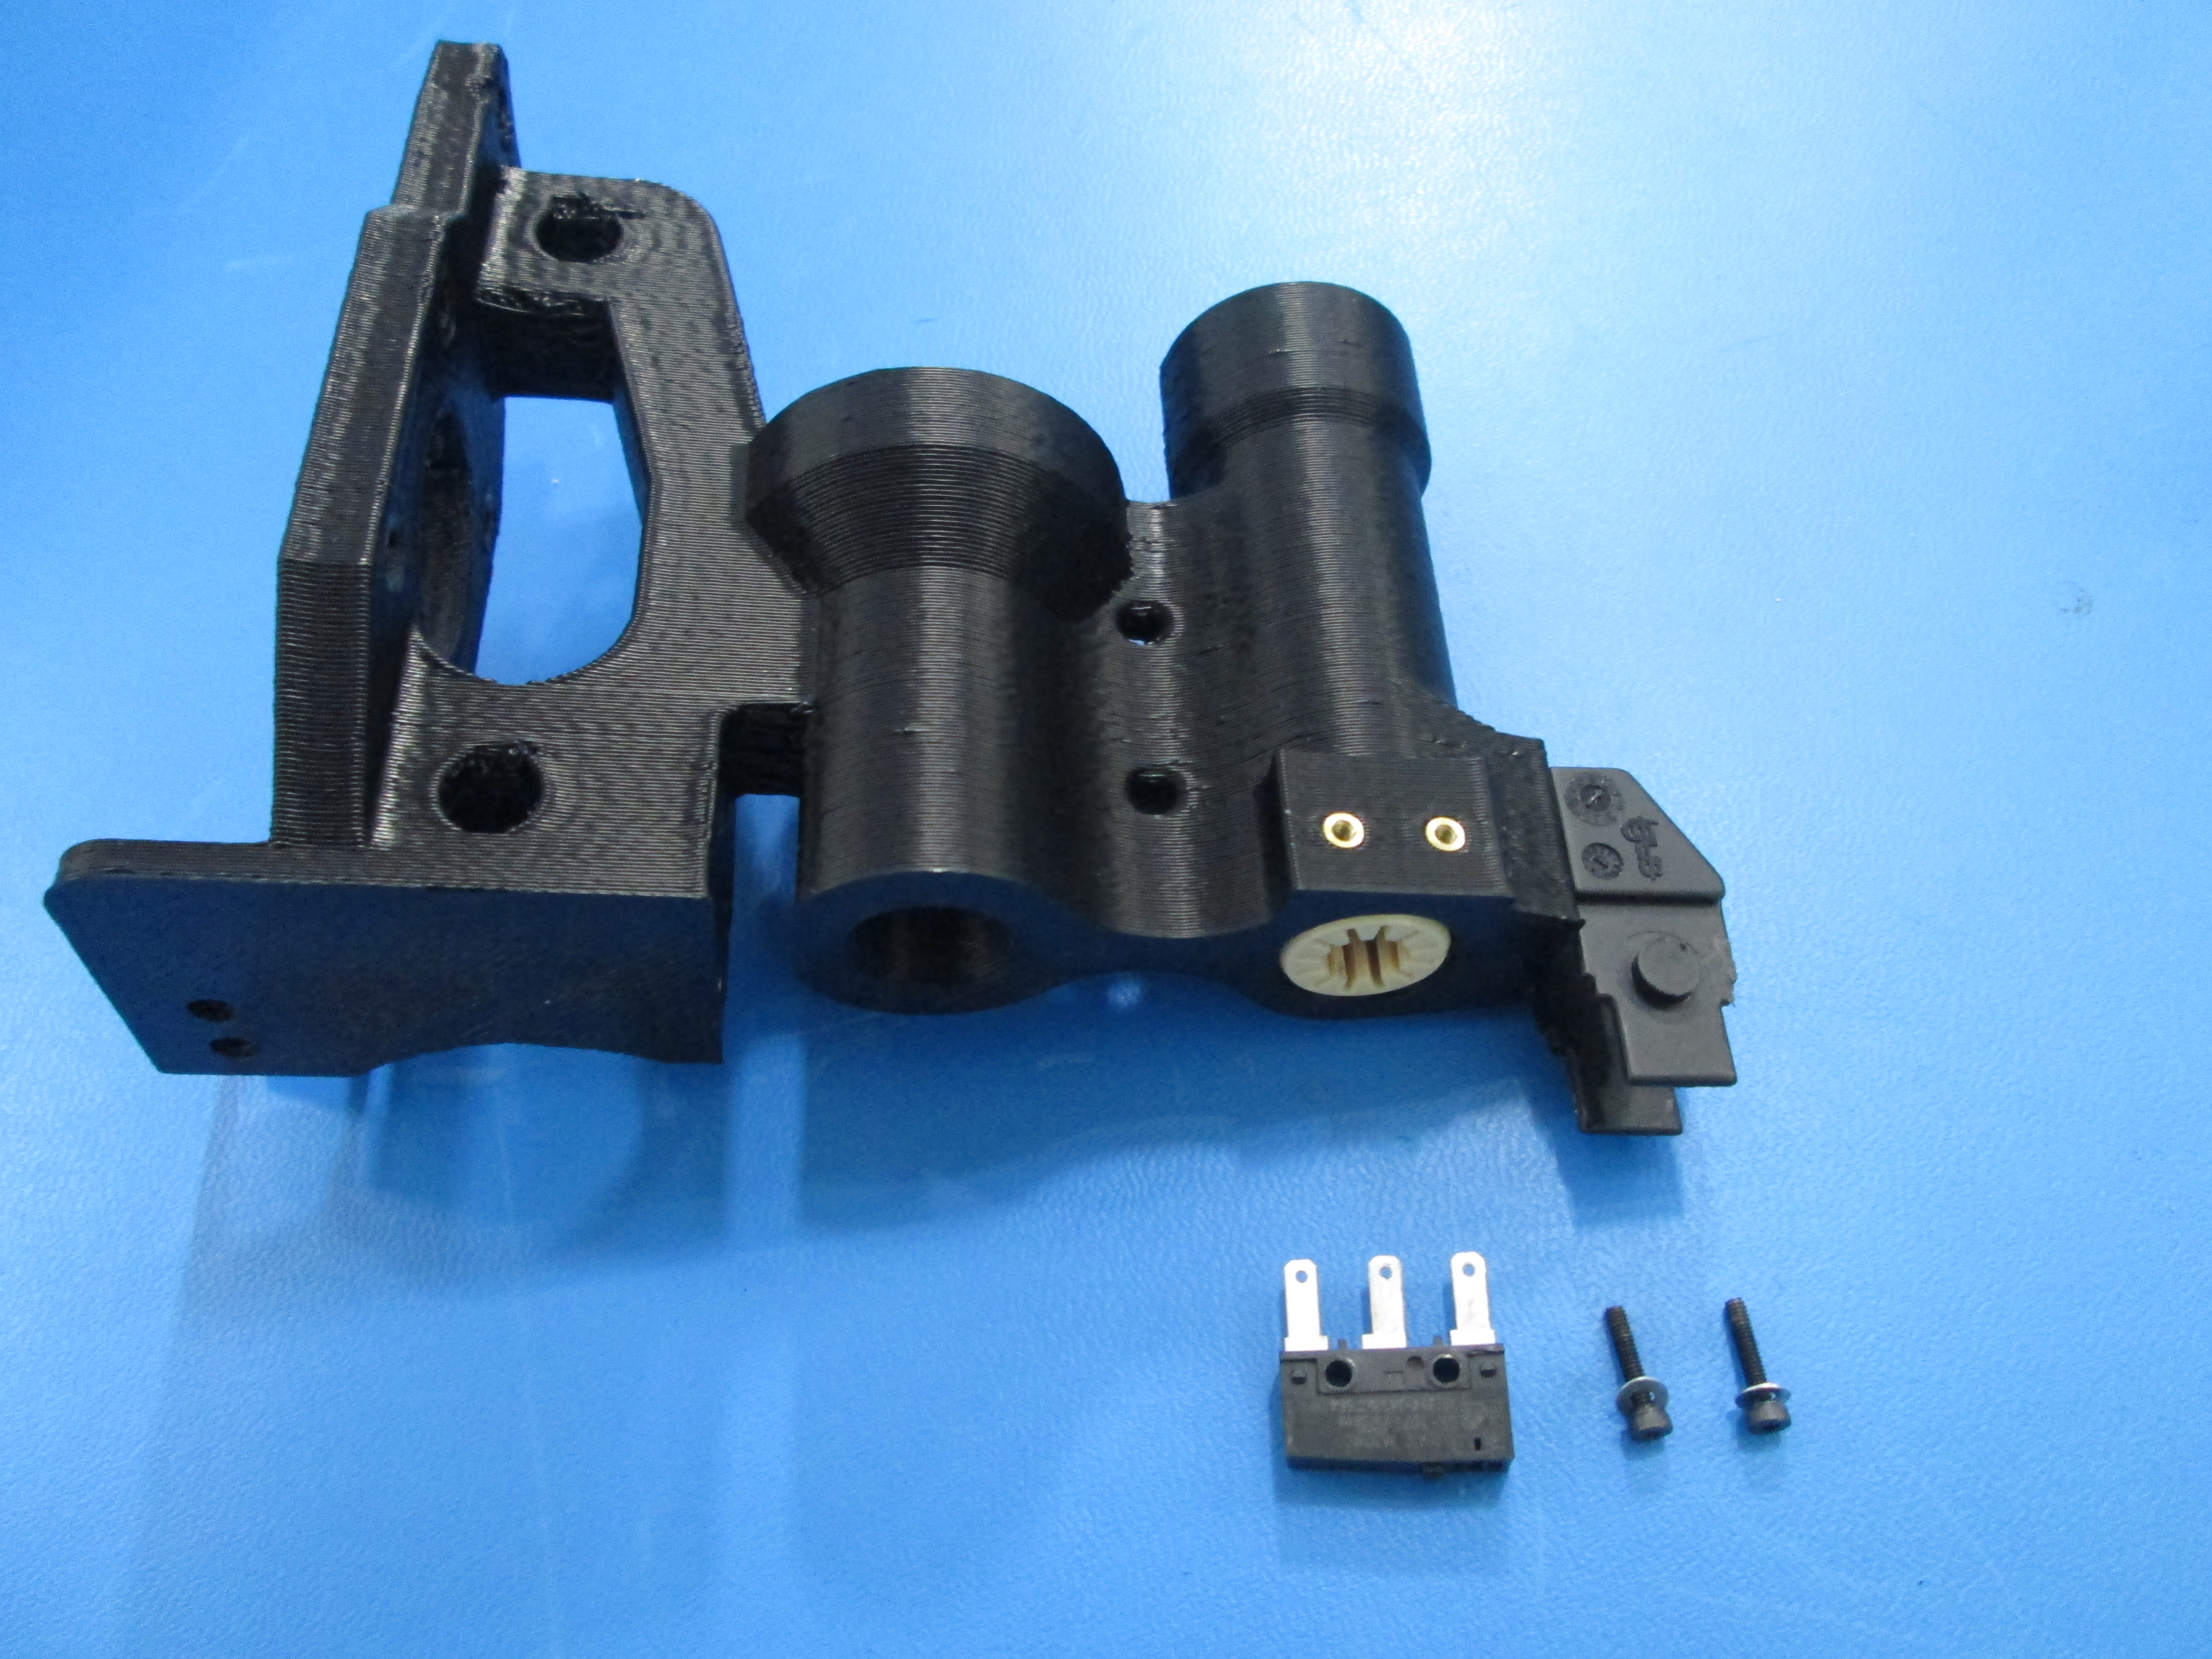
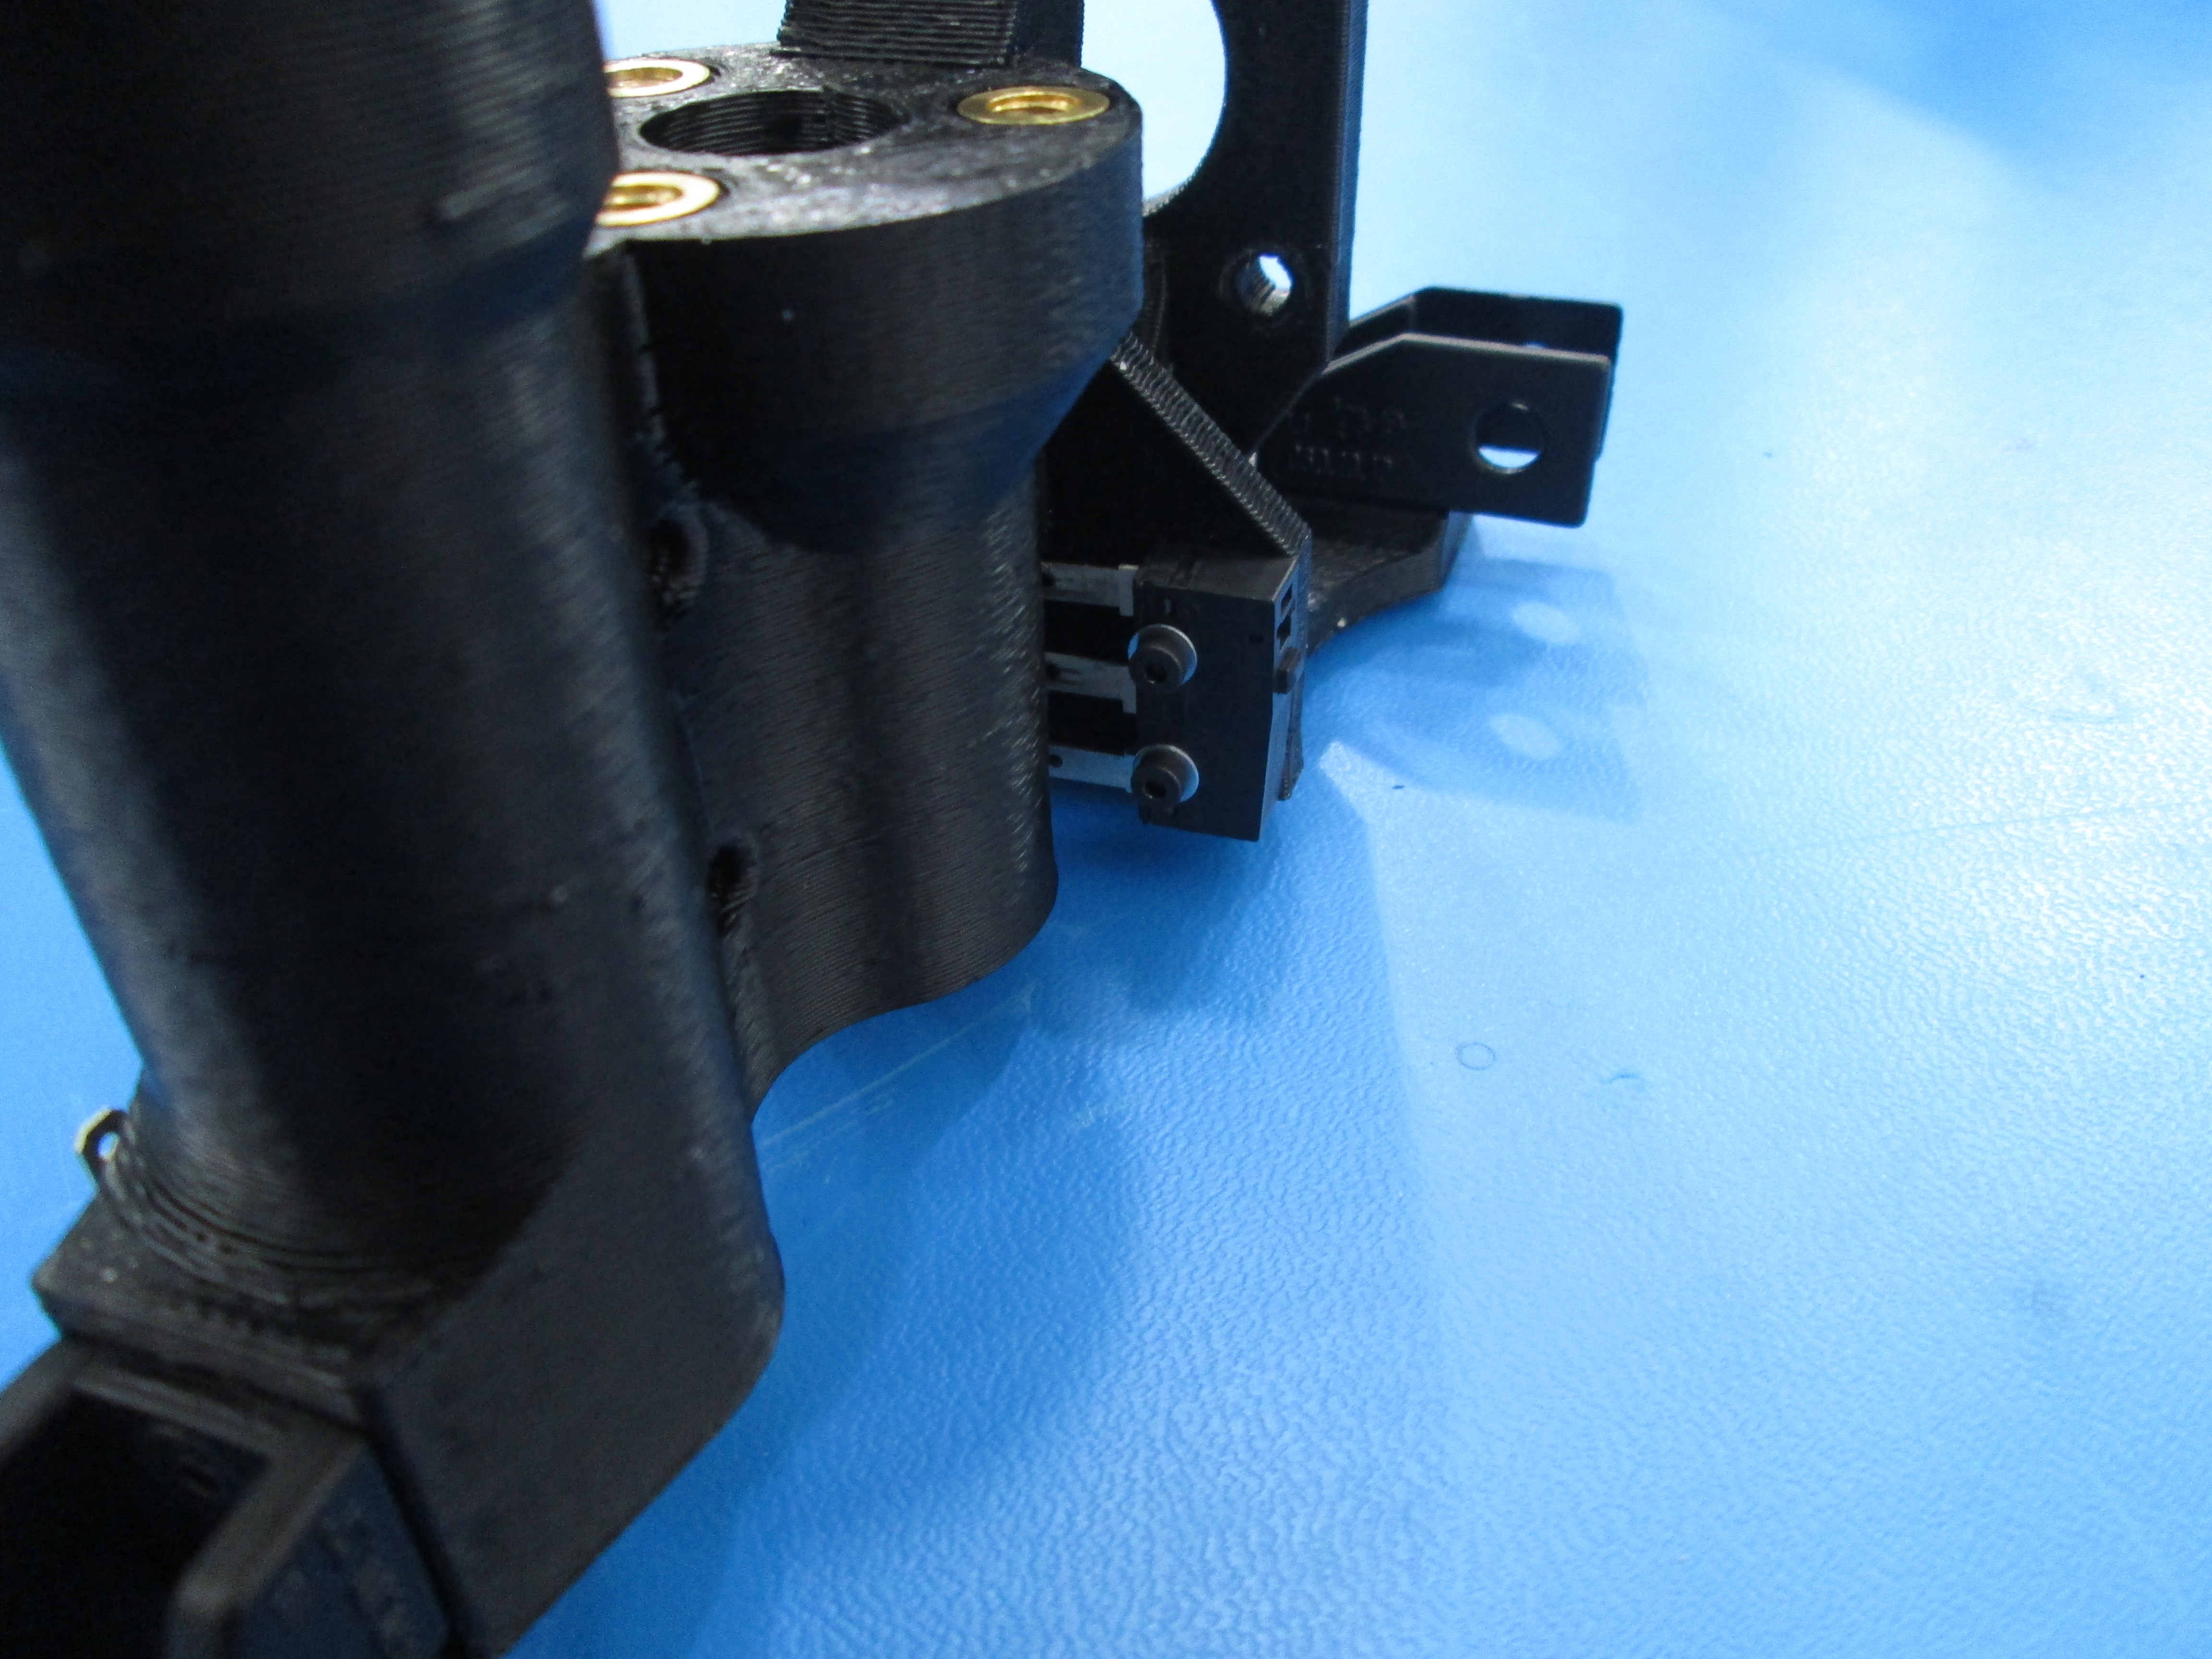
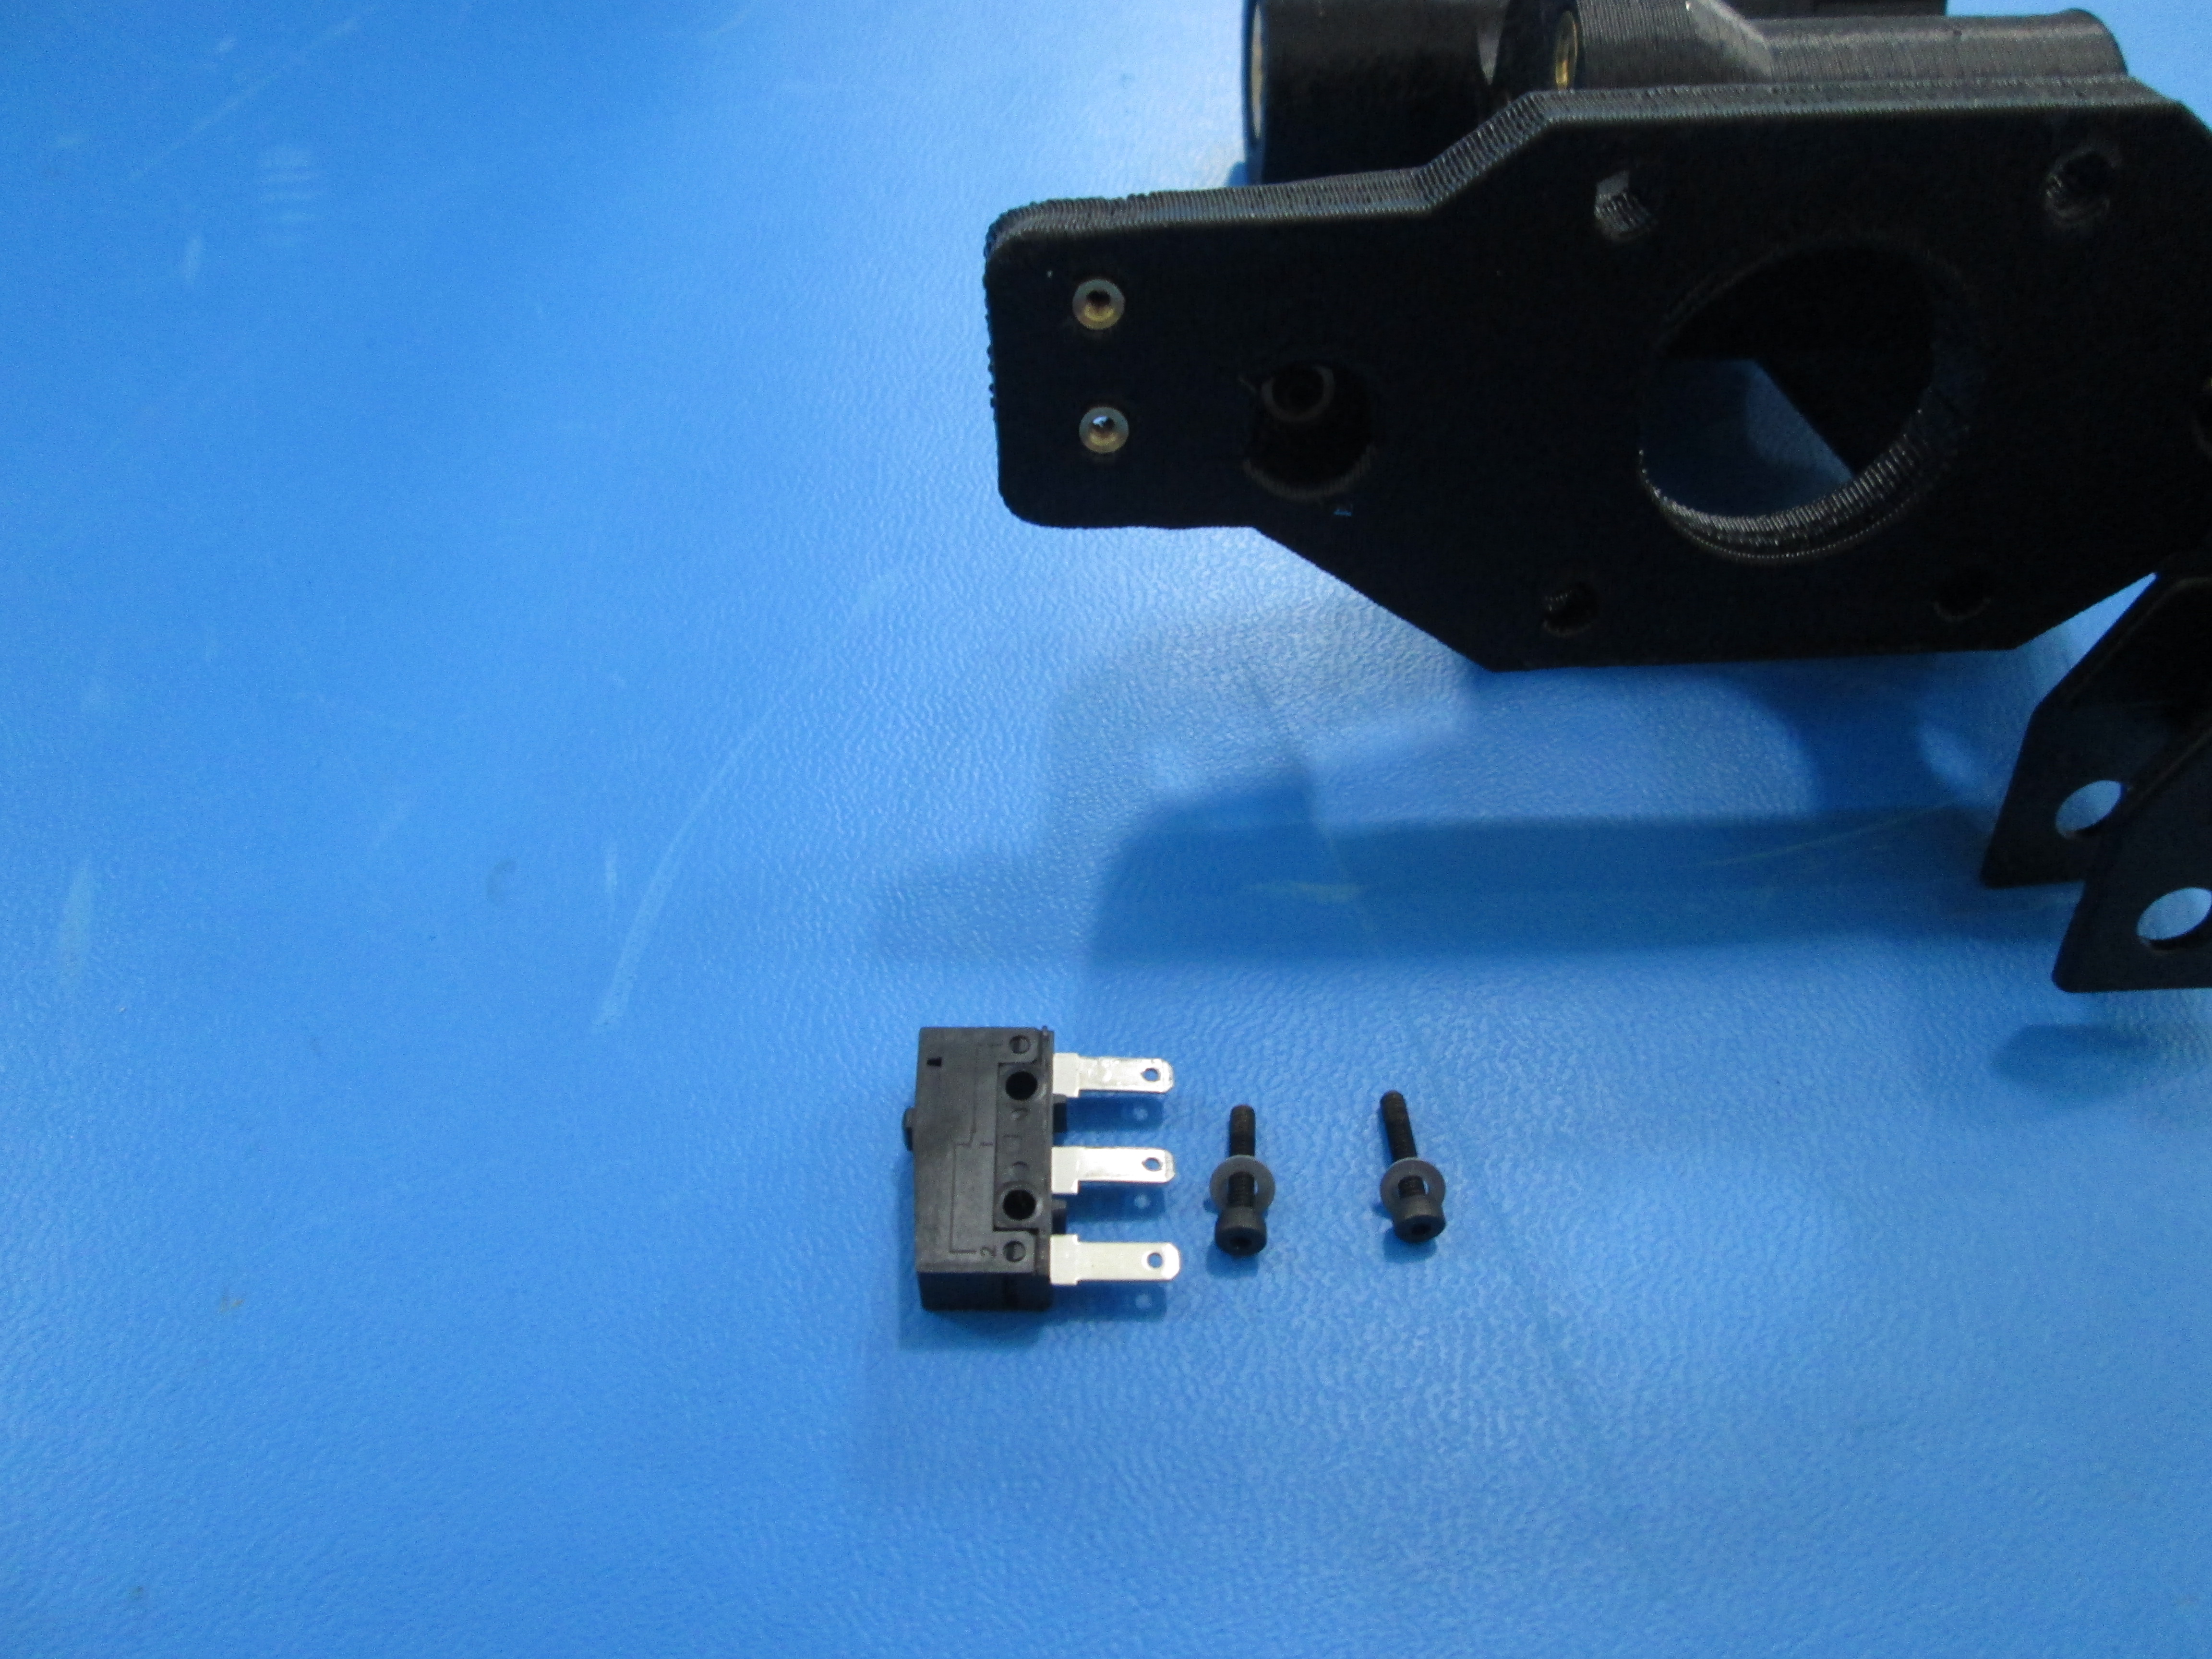
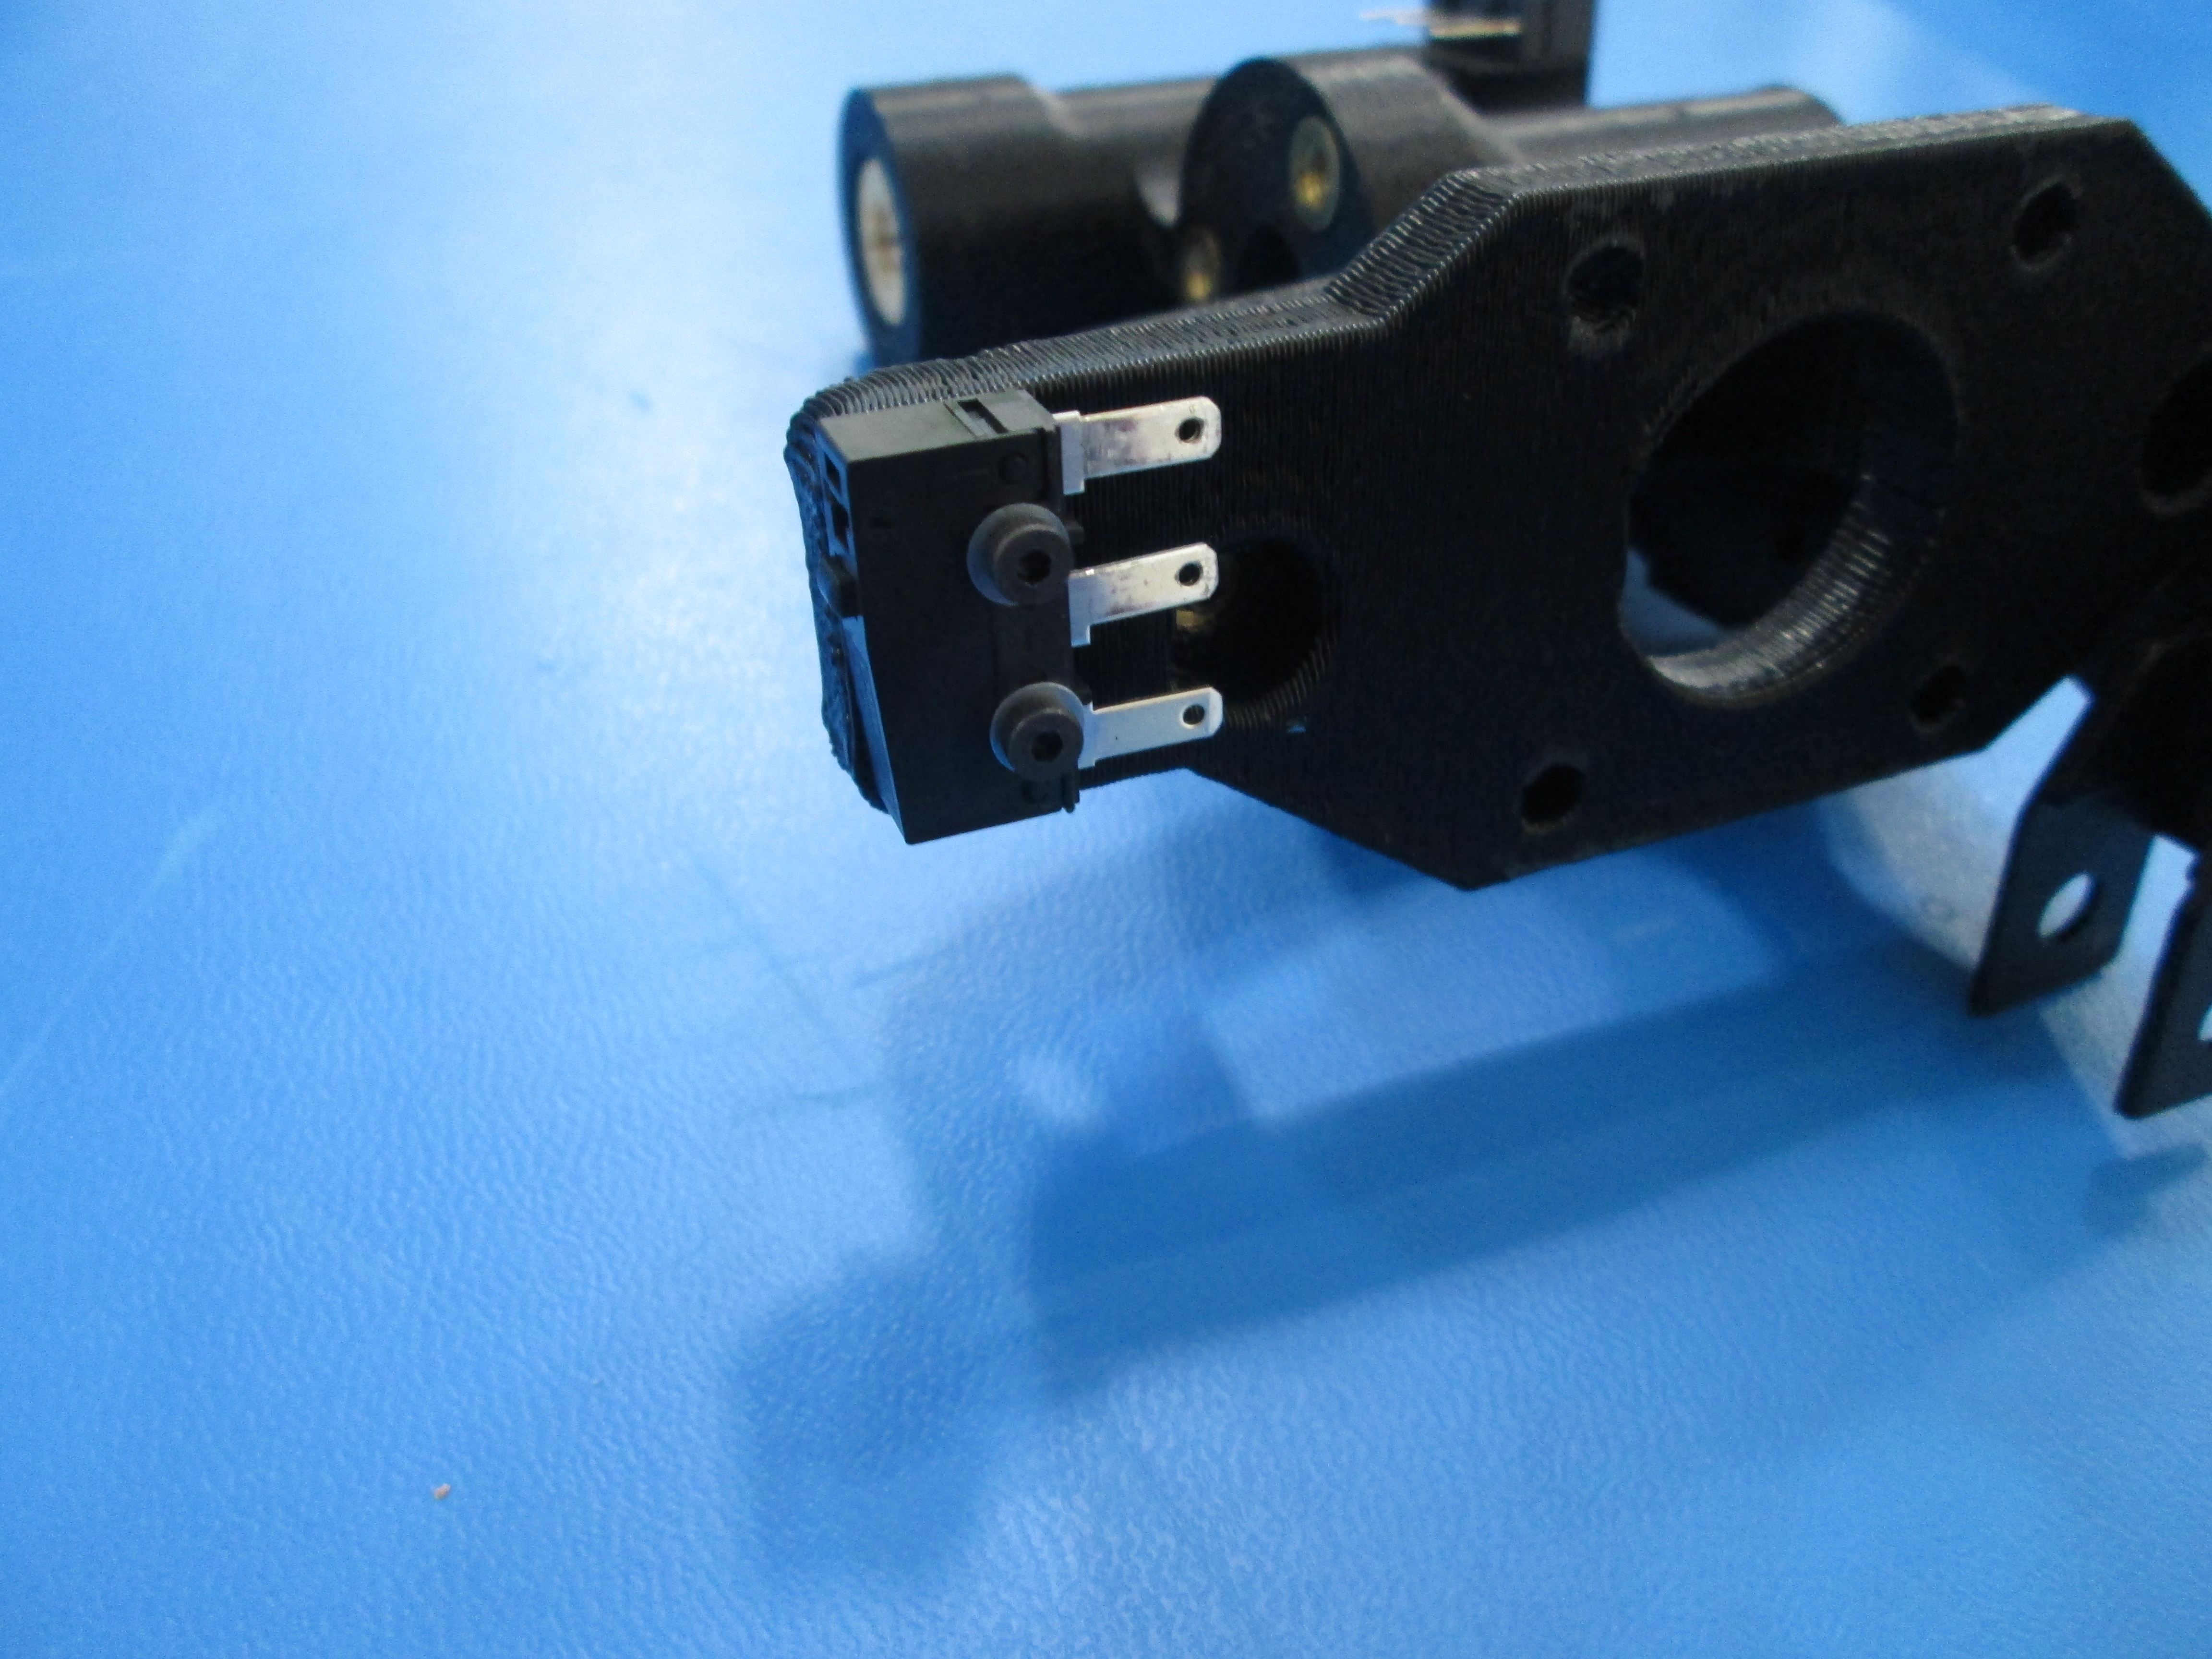
Attach the first limit switch using 2x M2x10 SHCS and M2 washers as shown.
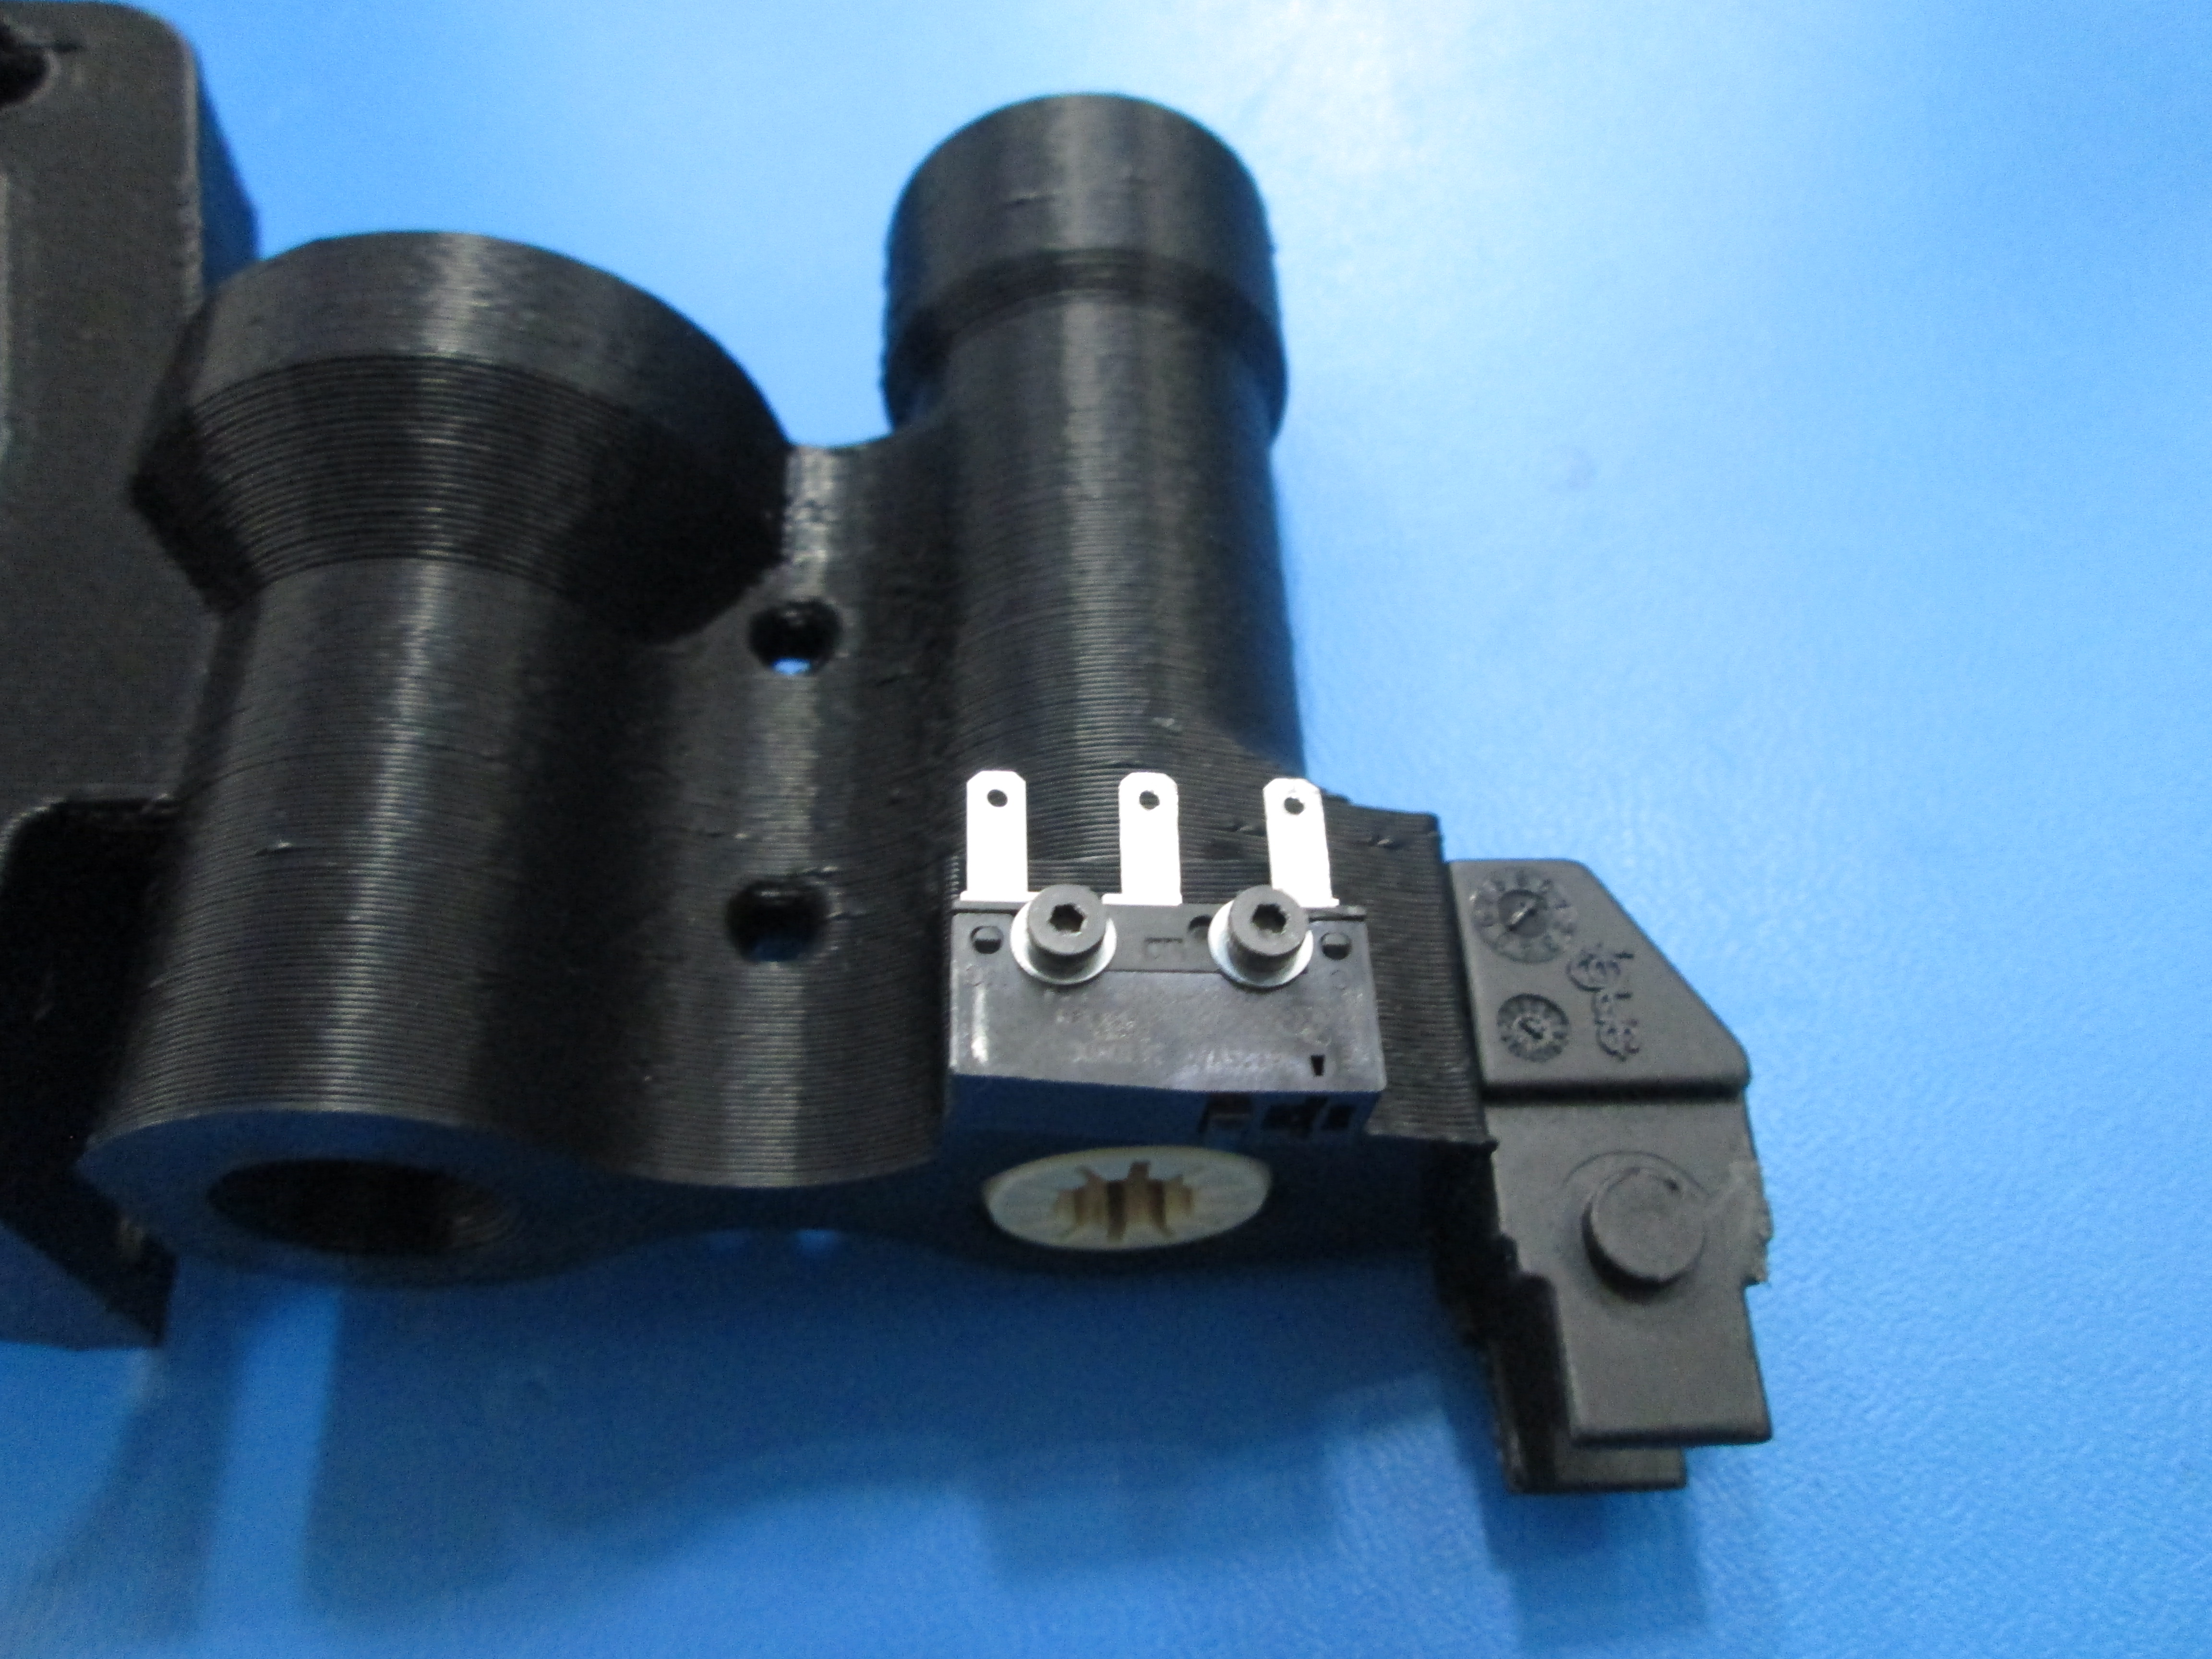
Attach the second limit switch using 2x M2x10 SHCS and M2 washers as shown.
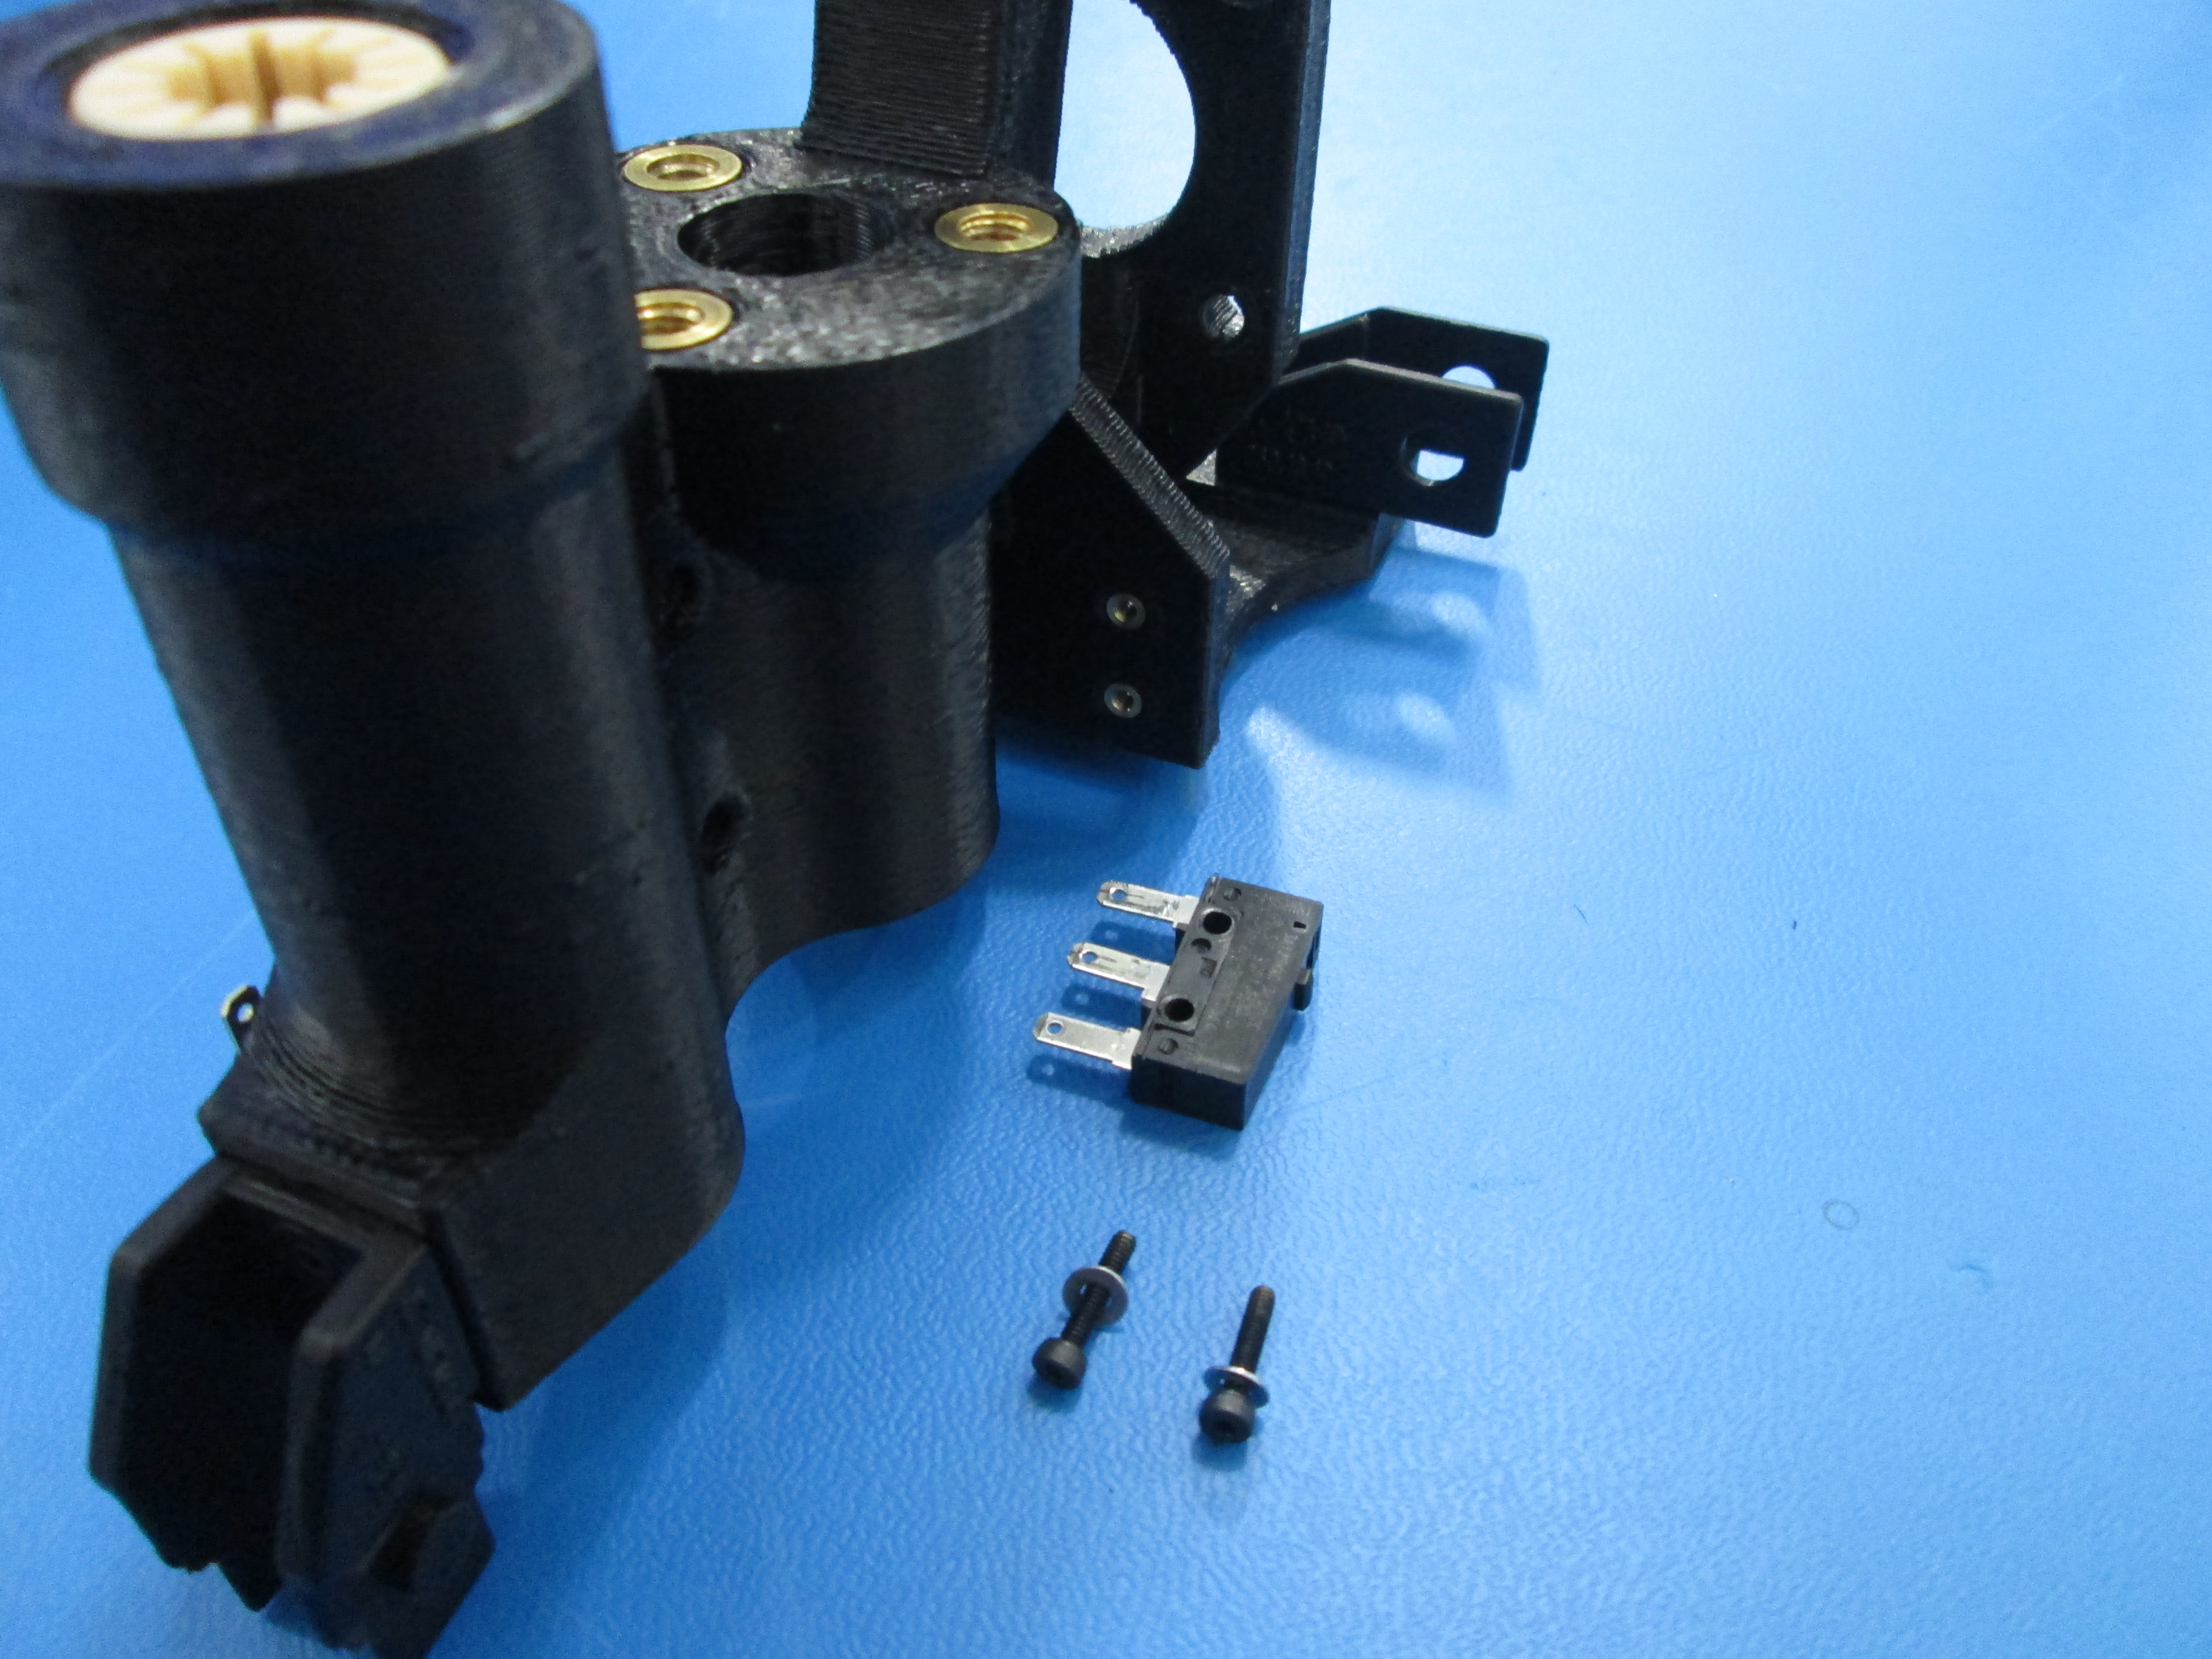
Attach the third limit switch using 2X M2x10 SHCS and M2 washers as shown.
Make sure the switches are oriented correctly by referencing the pictures.
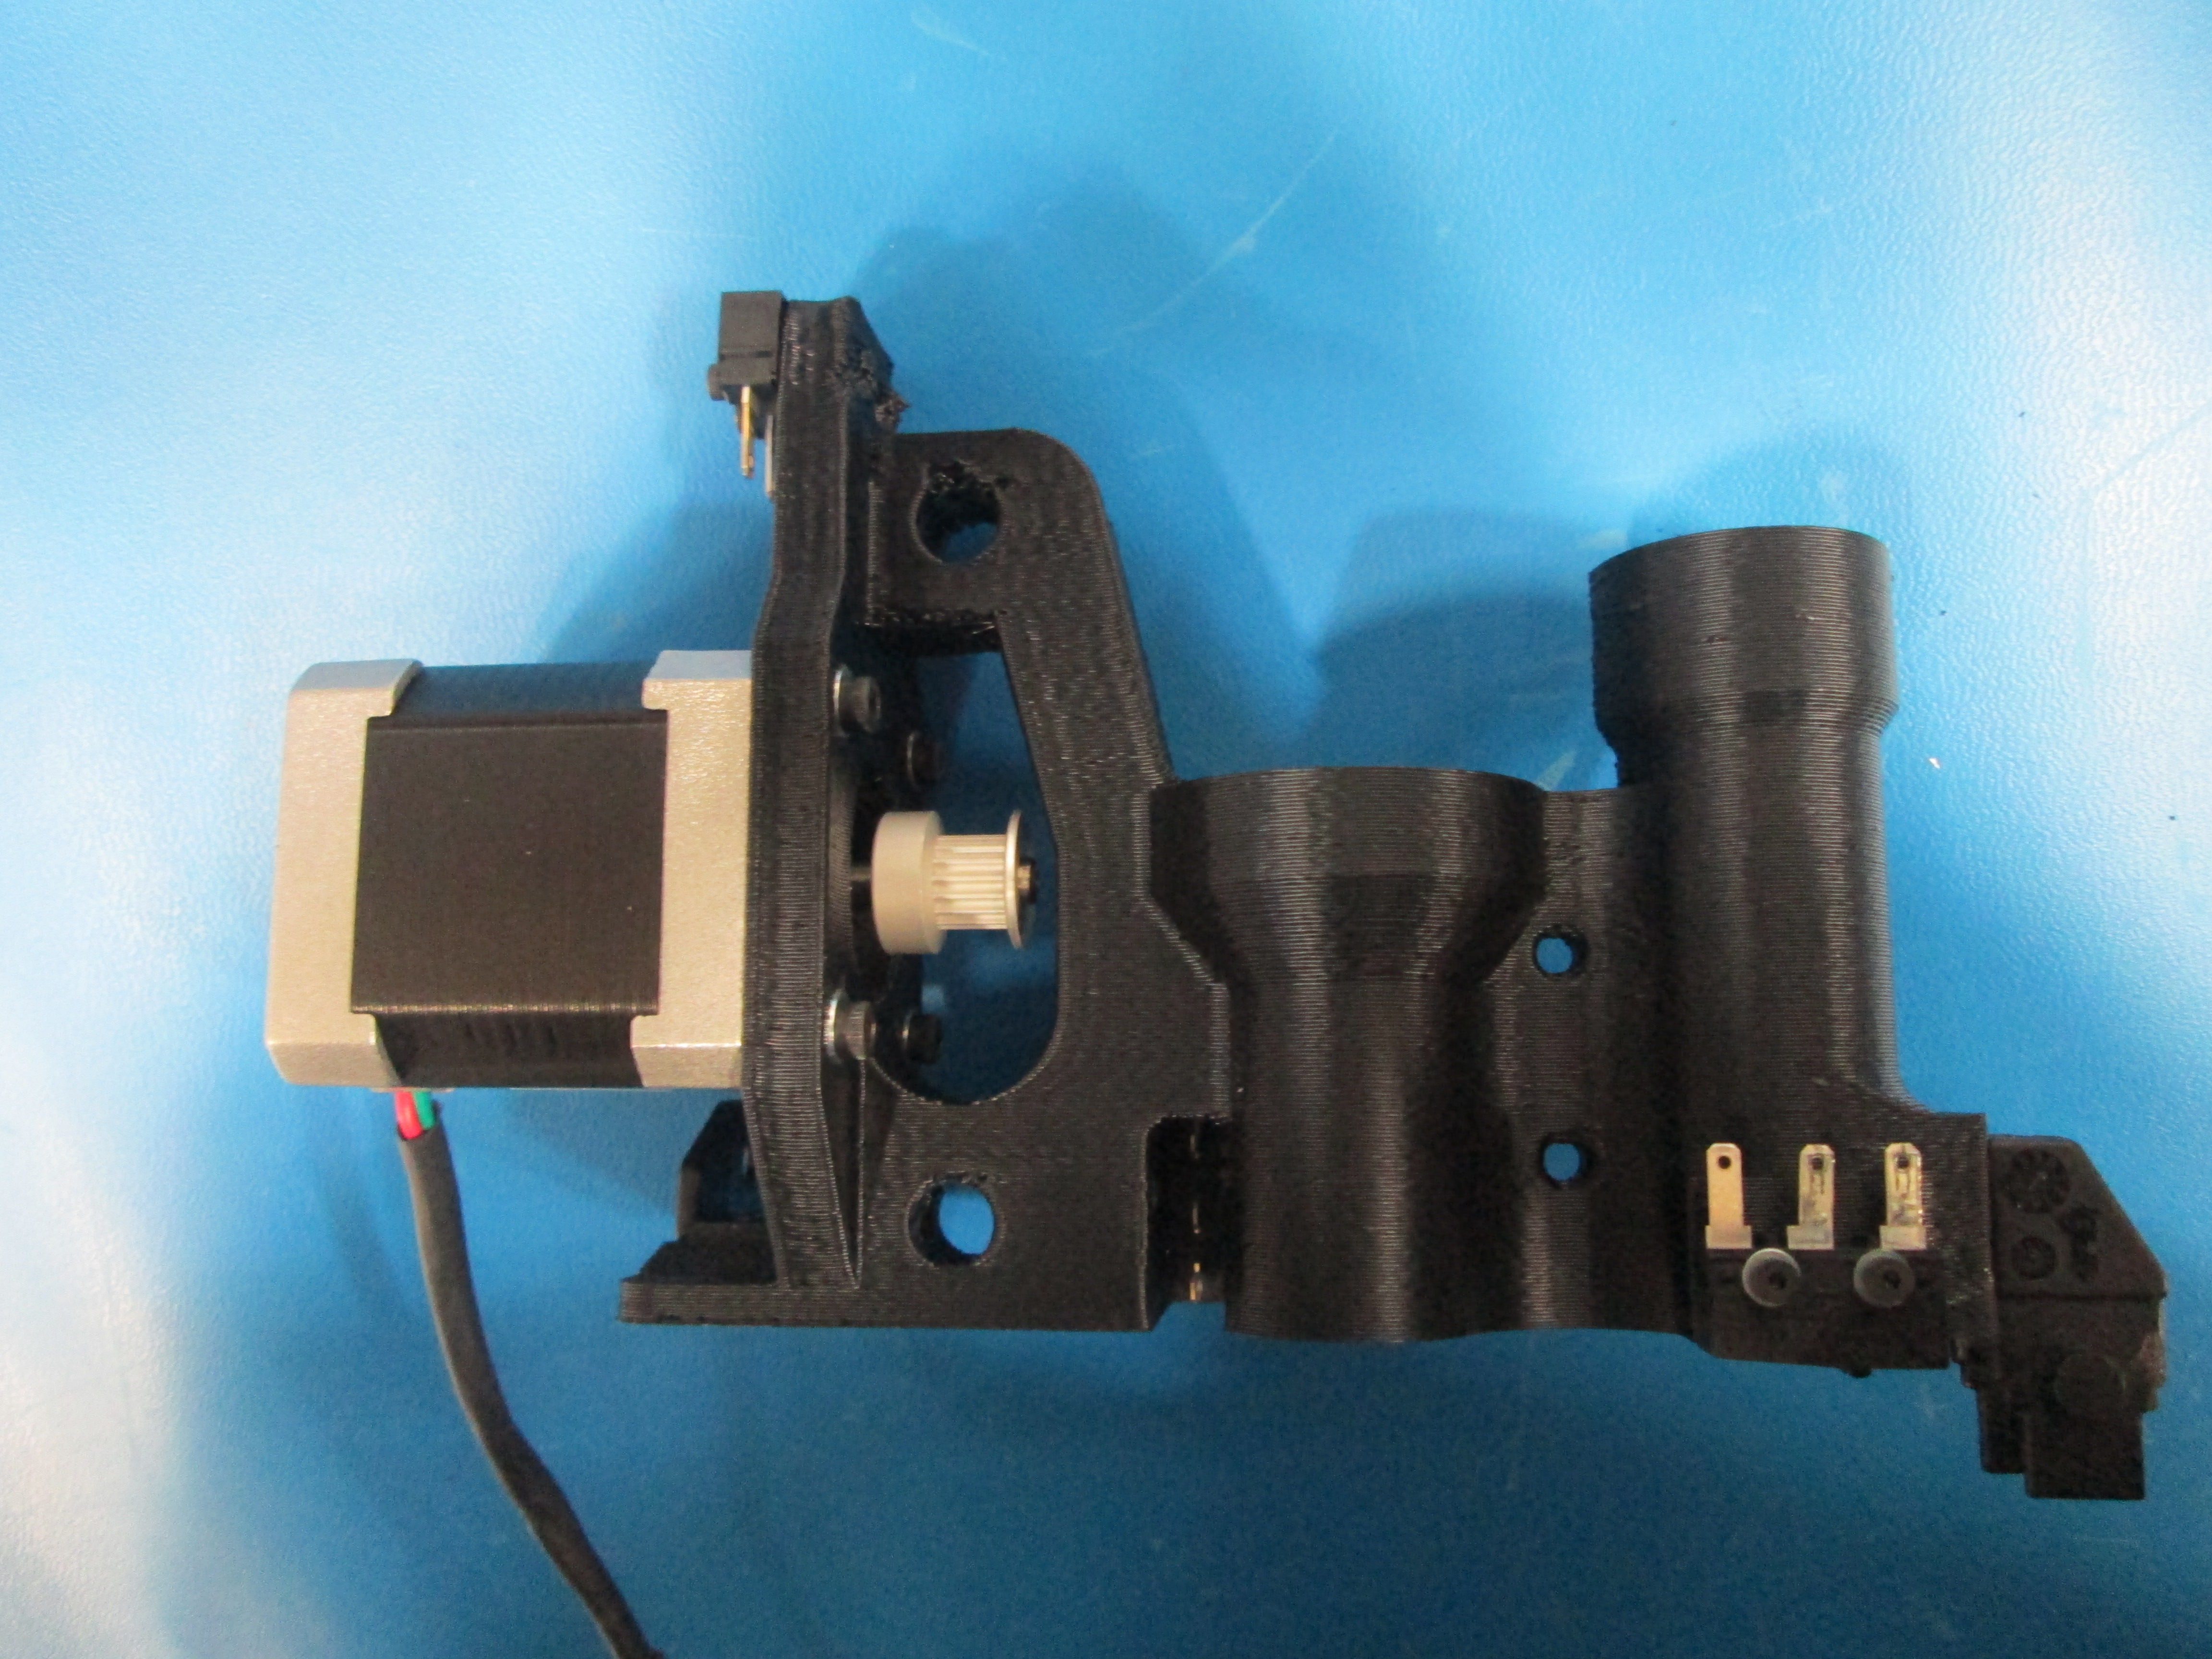
Attach the motor to the motor mount using 4x M3x12 SHCS and M3 washers as shown. Note the orientation of the motor wires in the pictures.