Open HardwareAssembly Instructions
Guides for installation and assembly of the LulzBot line of products made by FAME 3D LLC.
Guides for installation and assembly of the LulzBot line of products made by FAME 3D LLC.
1x- [HD-BT0128] M3 x 6 Bolt, FHCS Black-Oxide
4x- [HD-BT0137] M3 x 8 Bolt, BHCS, Black-Oxide
1x- [HD-BT0185] Black-Oxide M3x16 SHCS
5x- [HD-WA0038] Black-Oxide M3 Washer
1x- [PP-IS0099] Interface Board Mount with Inserts
1x- [AS-PR0143] X-Carriage sub assembly
1x- [AS-PR0141] X Double Bearing Holder Sub-Assembly
1x- [HD-BL0032] GT 3 Single Sided Neoprene Belt - 1164mm by 6mm
2x- [HD-BT0043] M3x35 SHCS
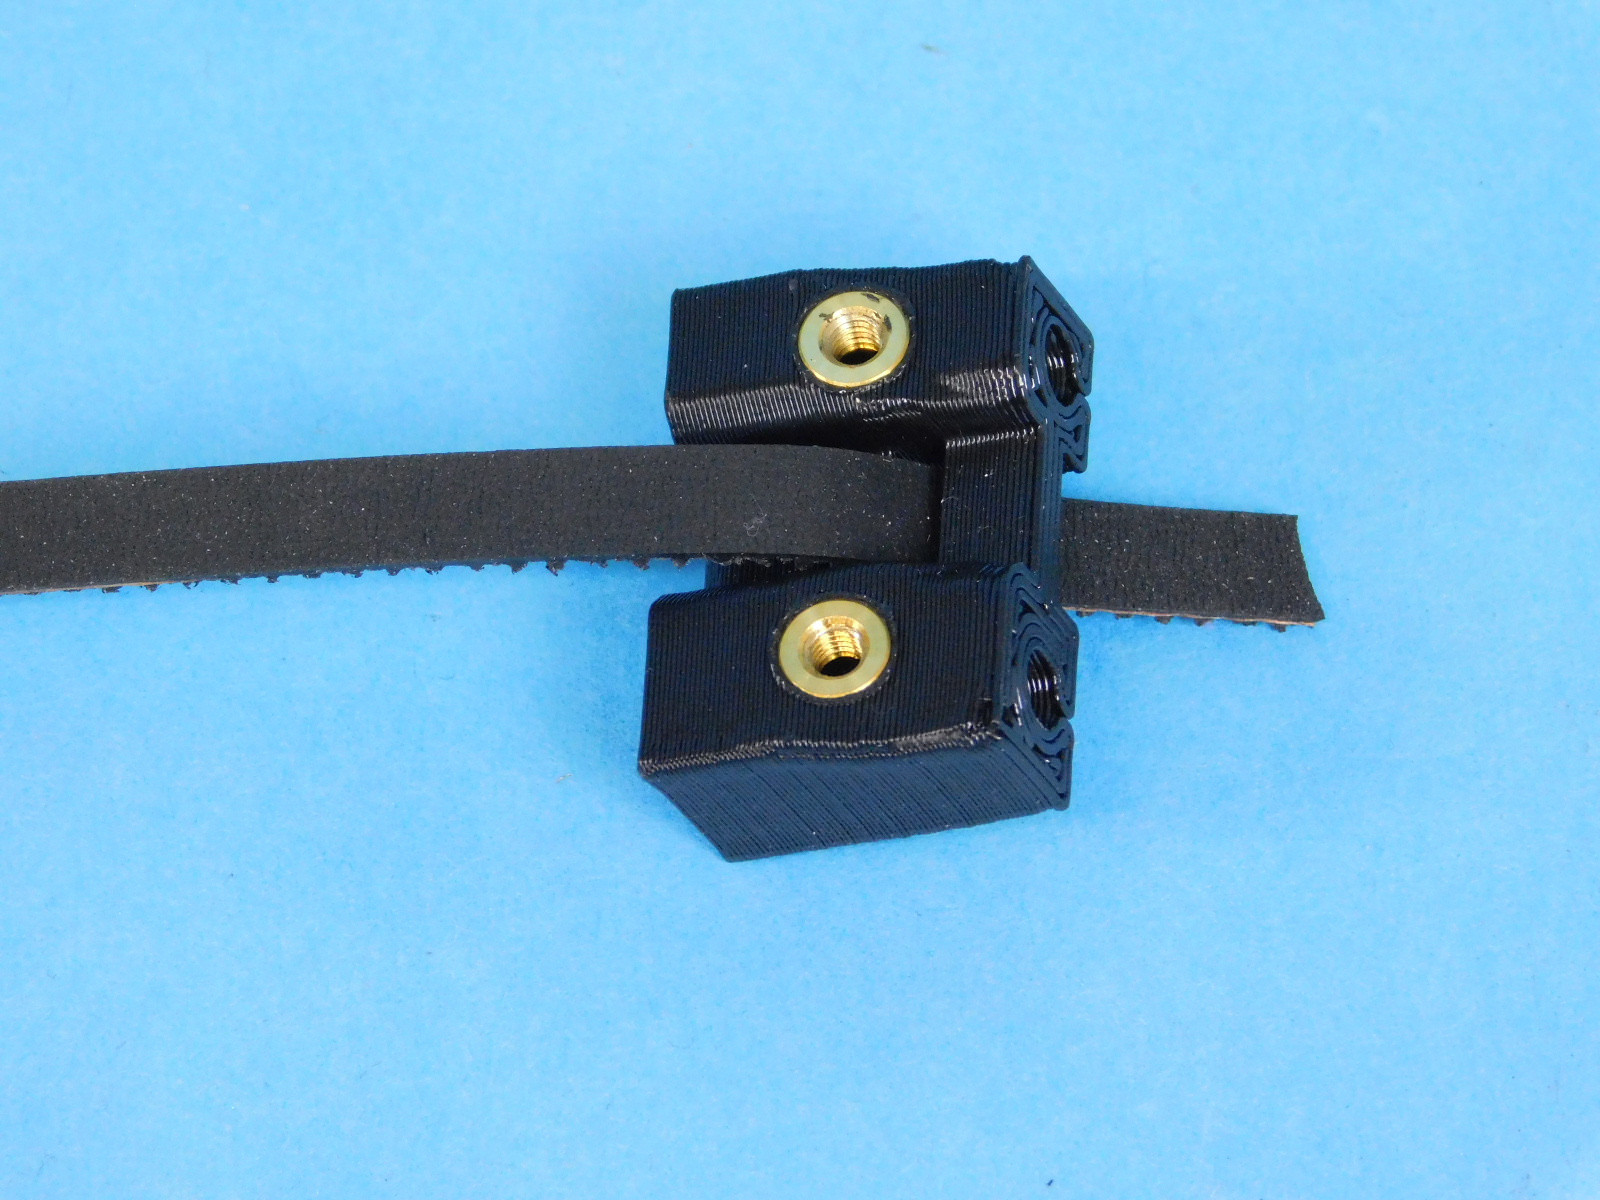
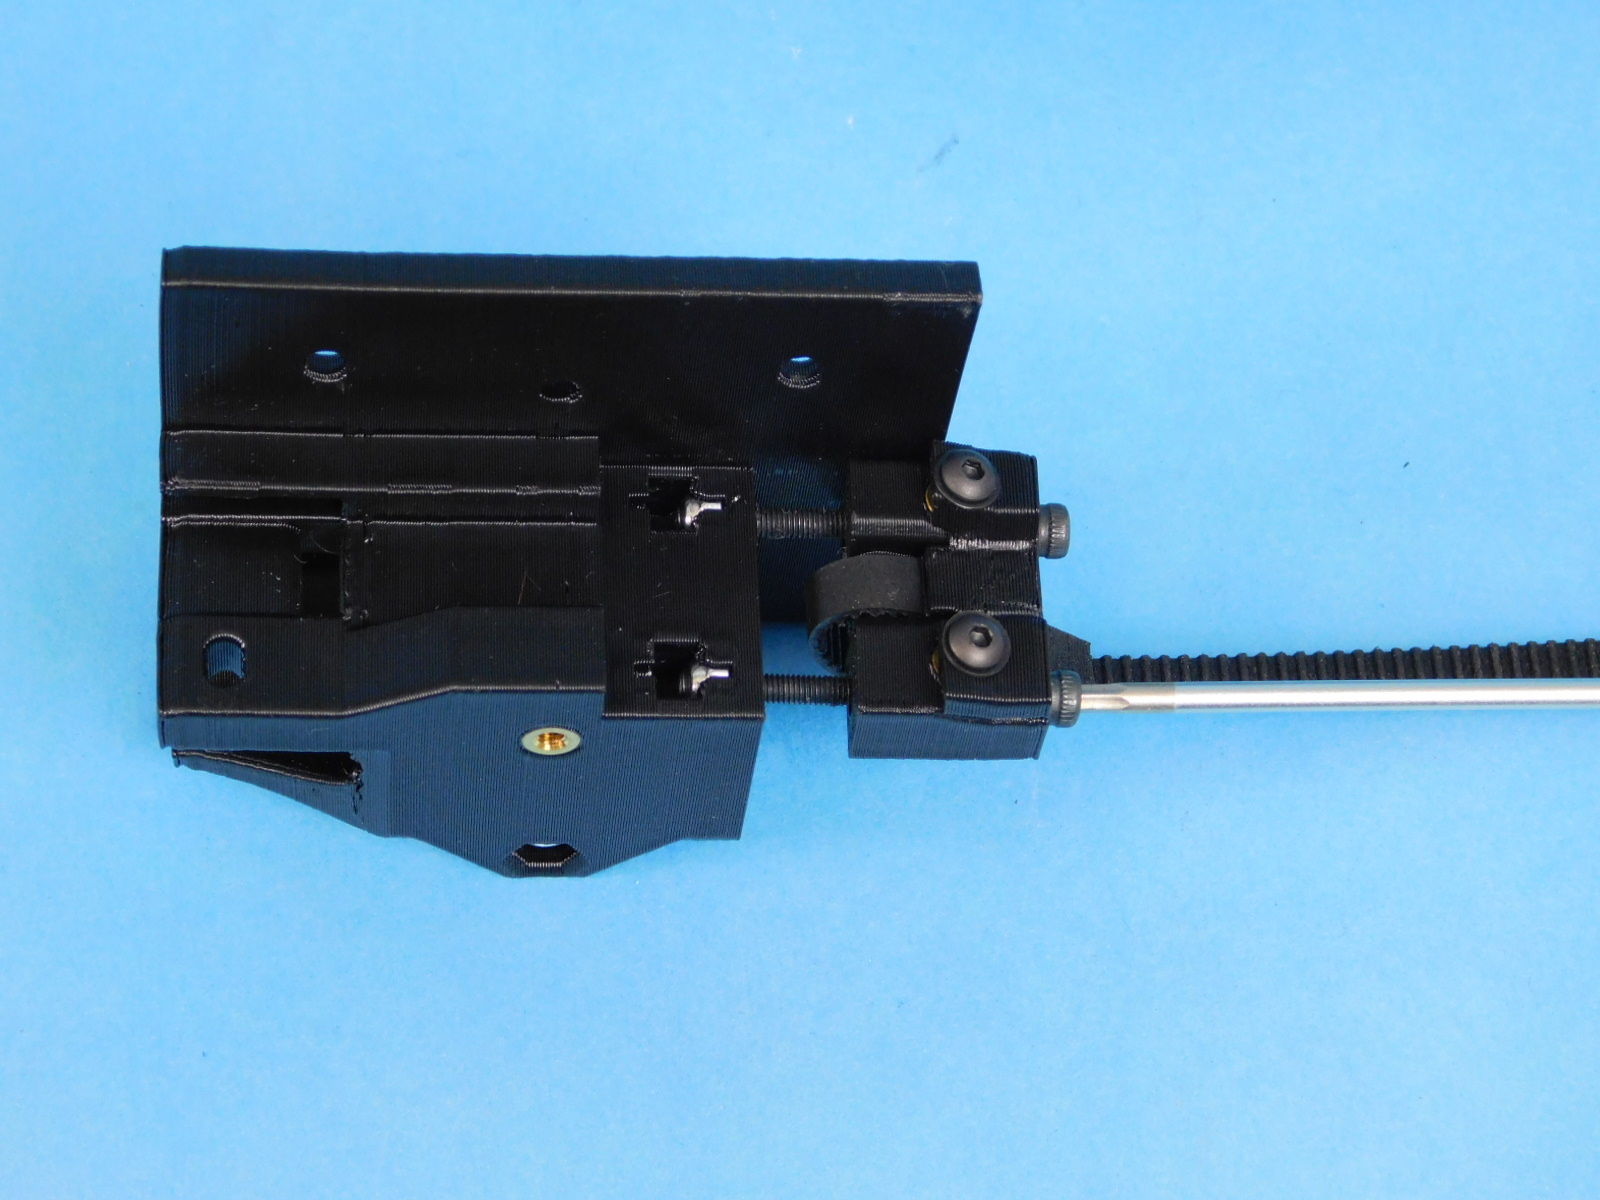
1x- [PP-IS0102] X-Belt Tensioner with Inserts
1x- [PP-GP0379] X Tensioner Clamp

Cut one belt [HD-BL0032] straight with the teeth of the belt
Route one end of the belt through the tensioner [PP-IS0102] as shown.
Note: teeth of belt facing down
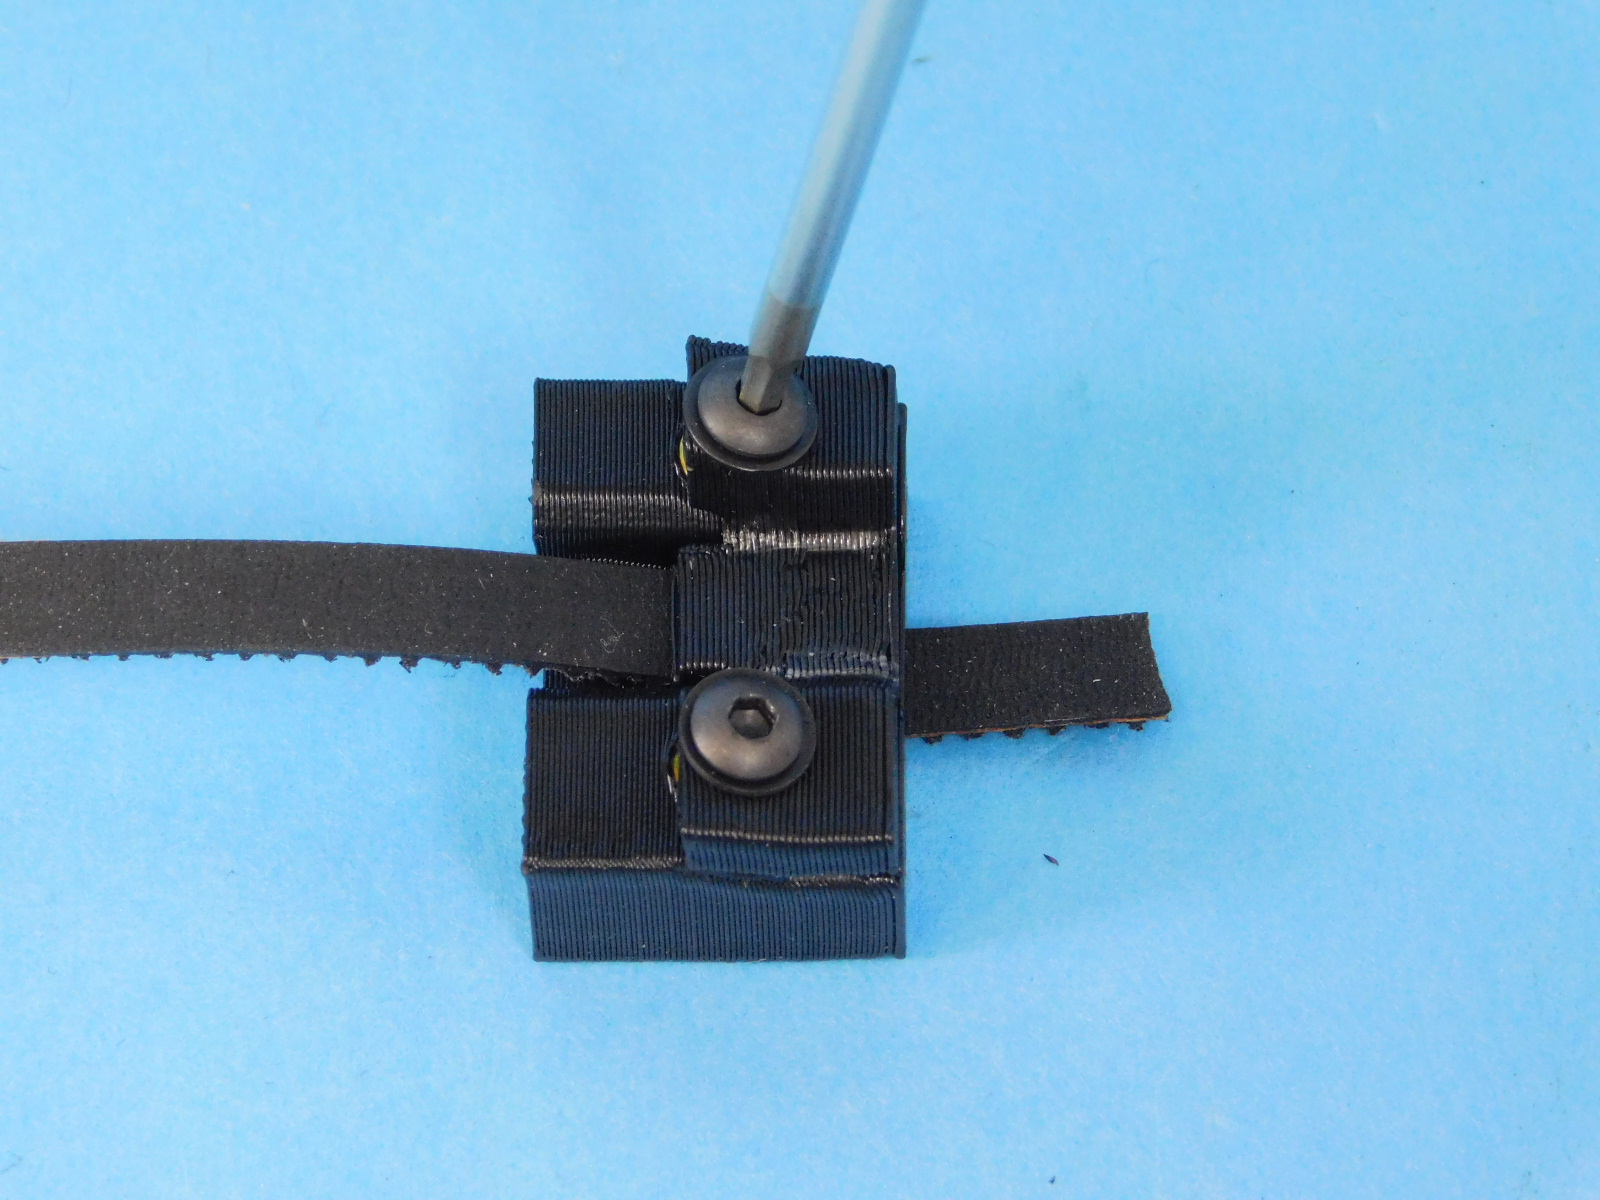
Secure one X Tensioner Clamp [PP-GP0379] to the tensioner using 2x- [HD-BT0137] with washers [HD-WA0038]
Torque both fasteners to 5in*lbs
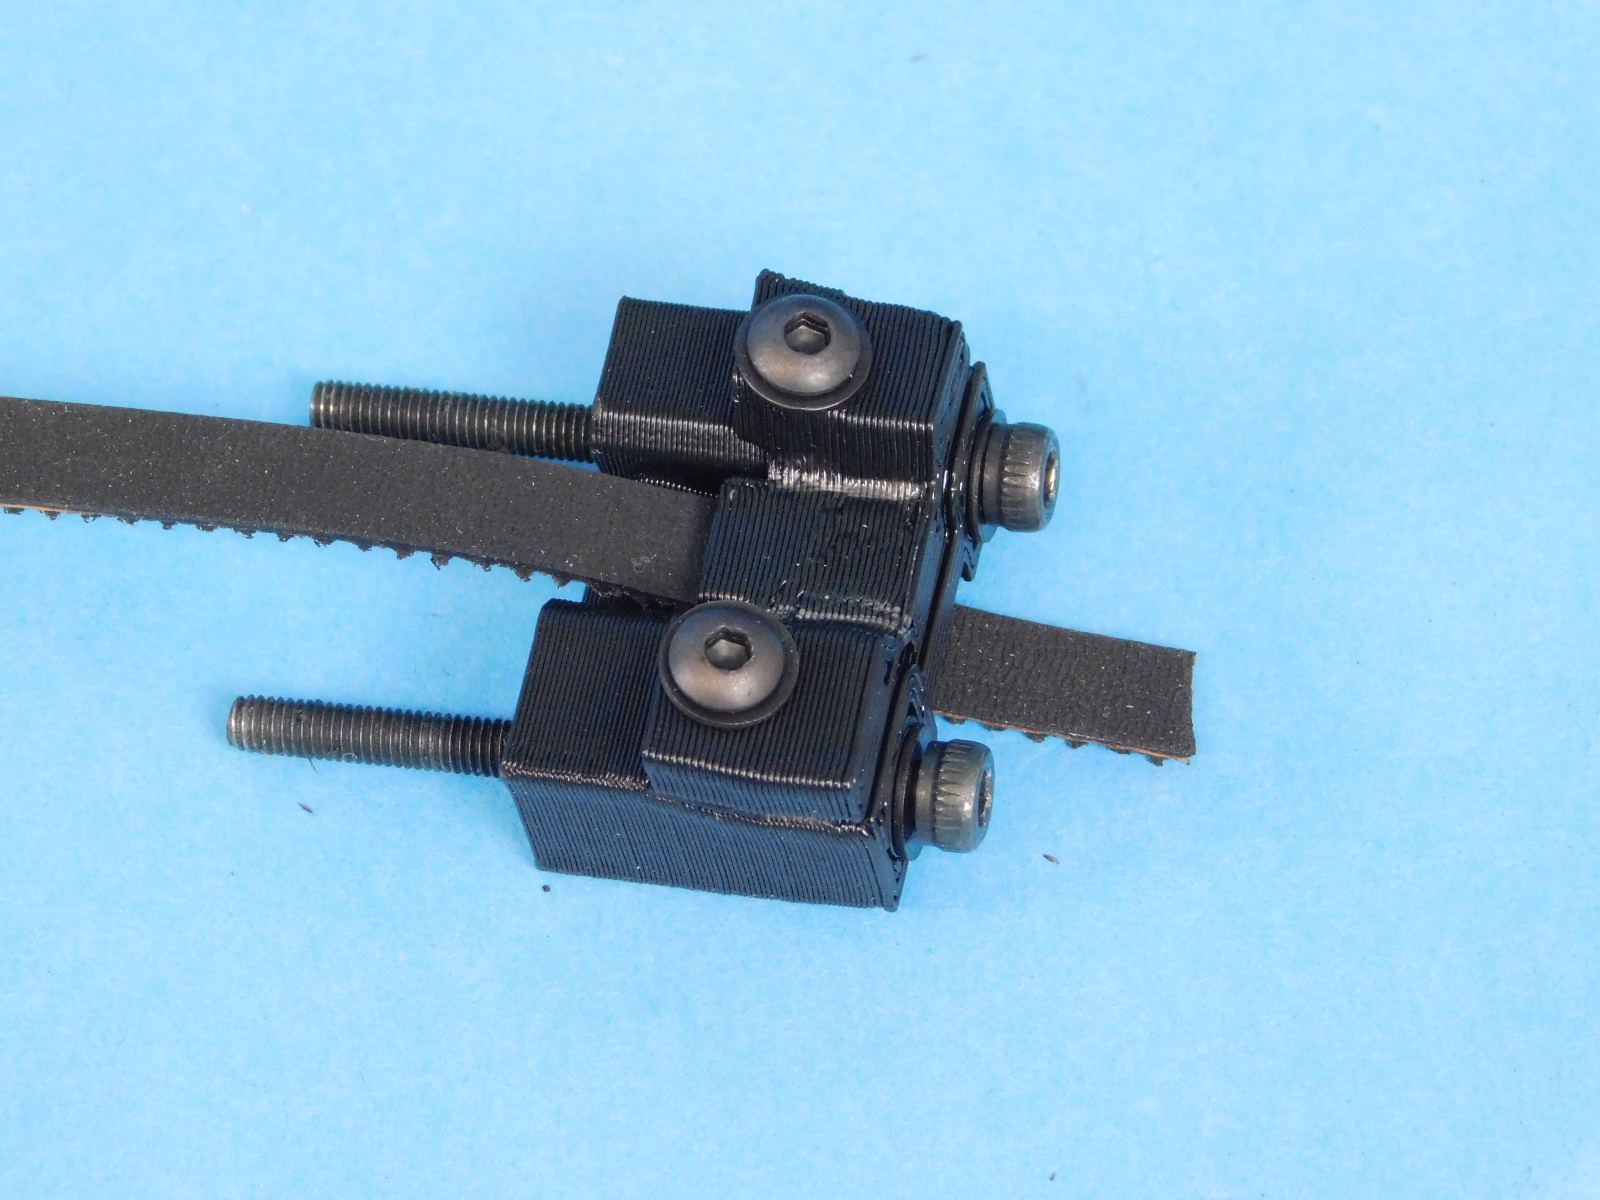
Install two M3x35 SHCS [HD-BT0043] with washers [HD-WA0038] as shown.
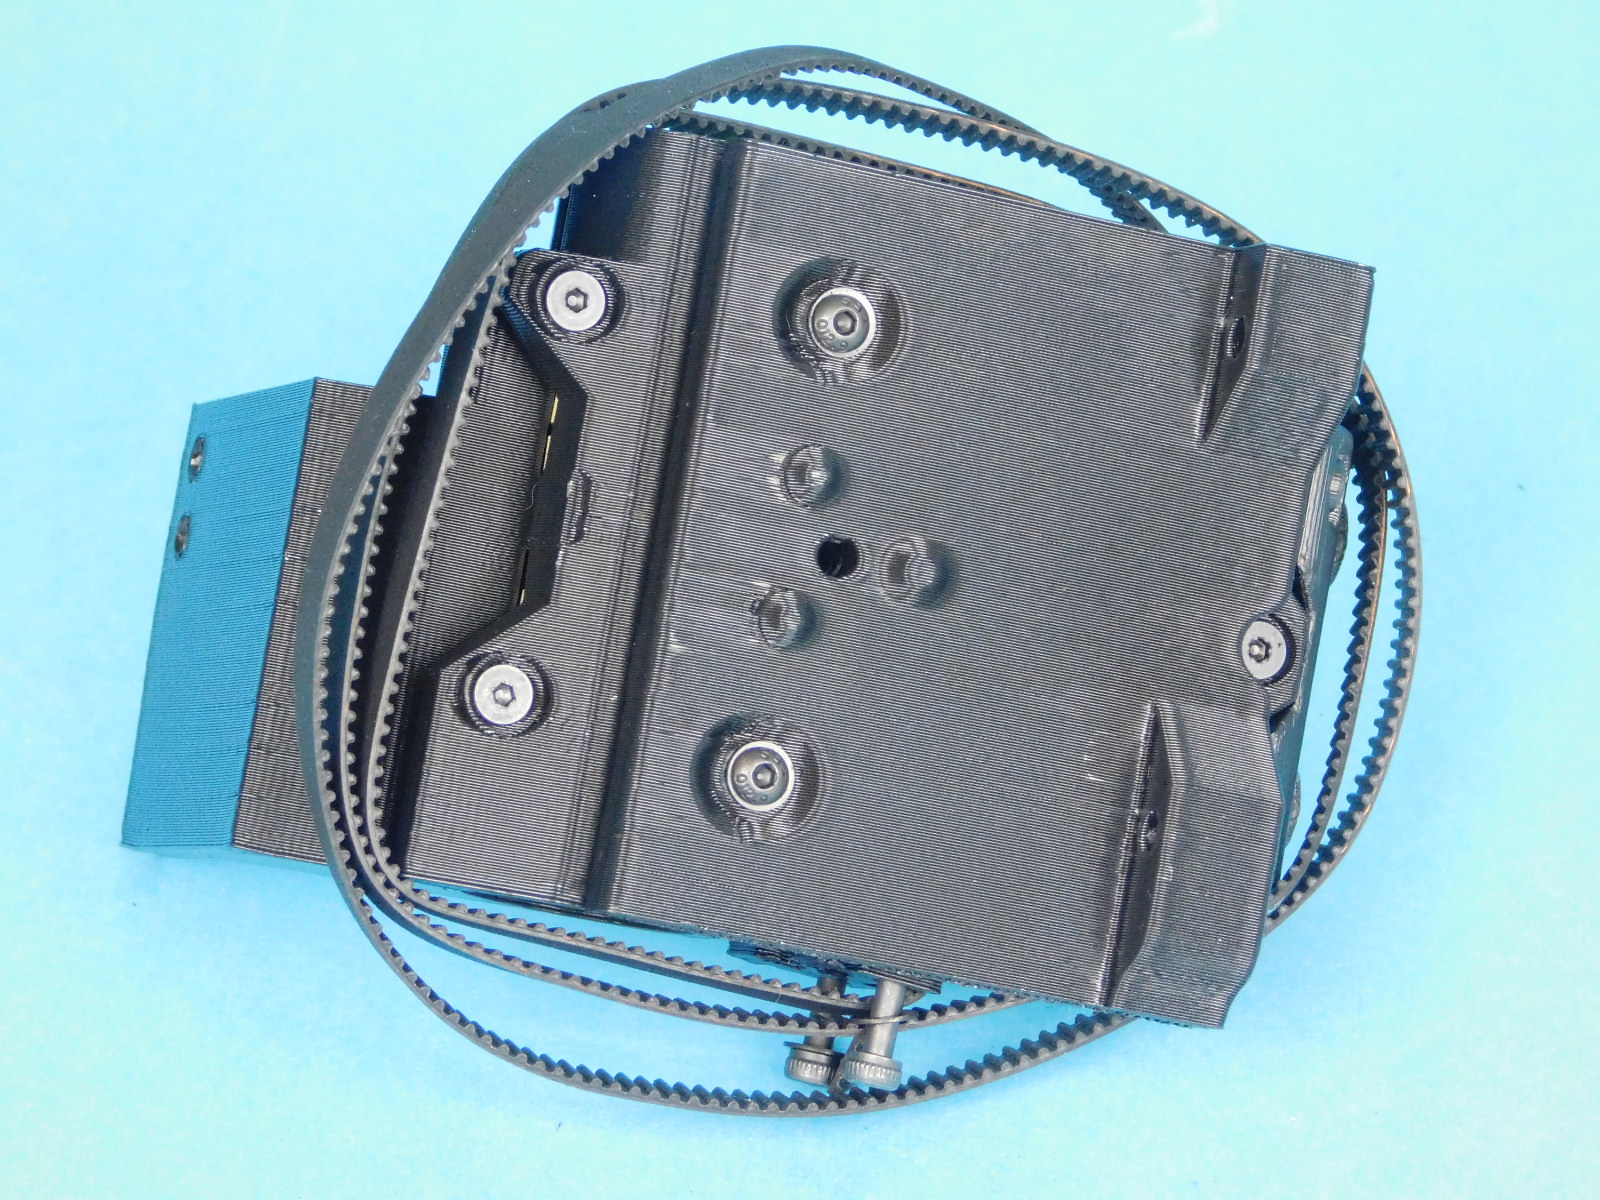
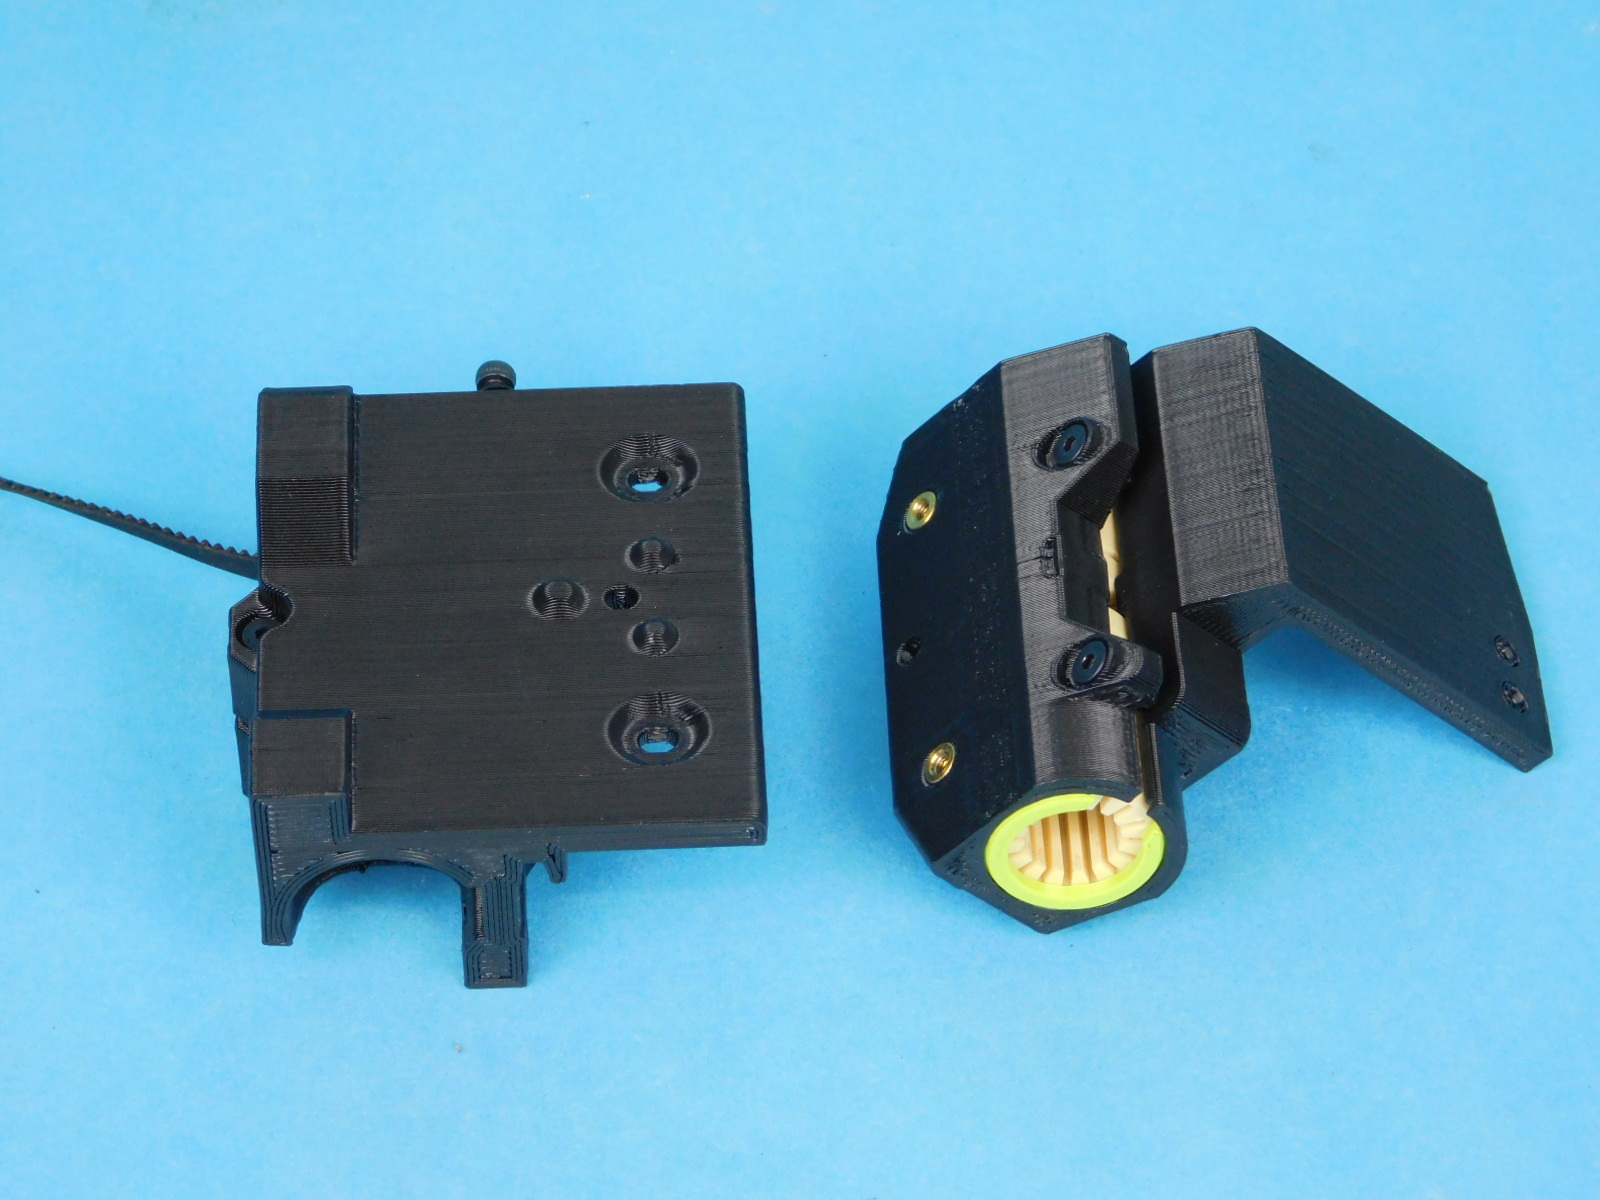
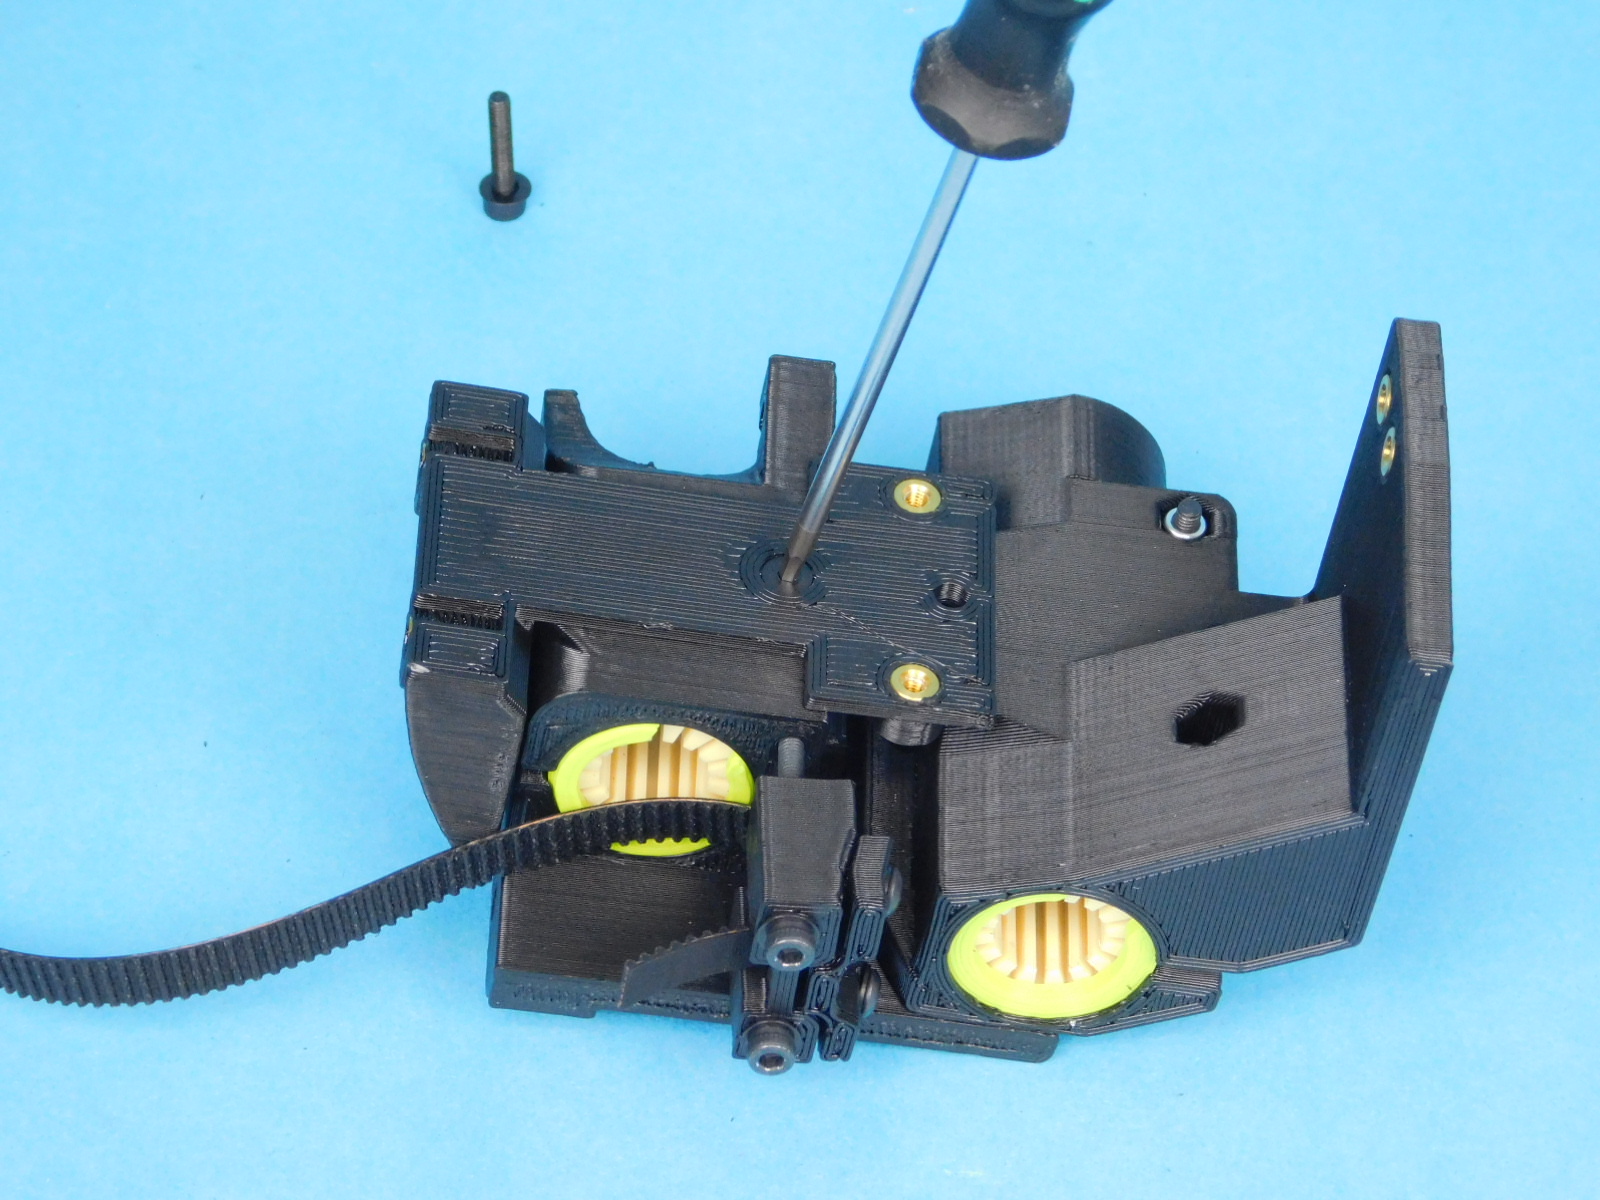
Obtain one X Carriage Sub-Assembly [AS-PR0143]
Orient both parts as shown
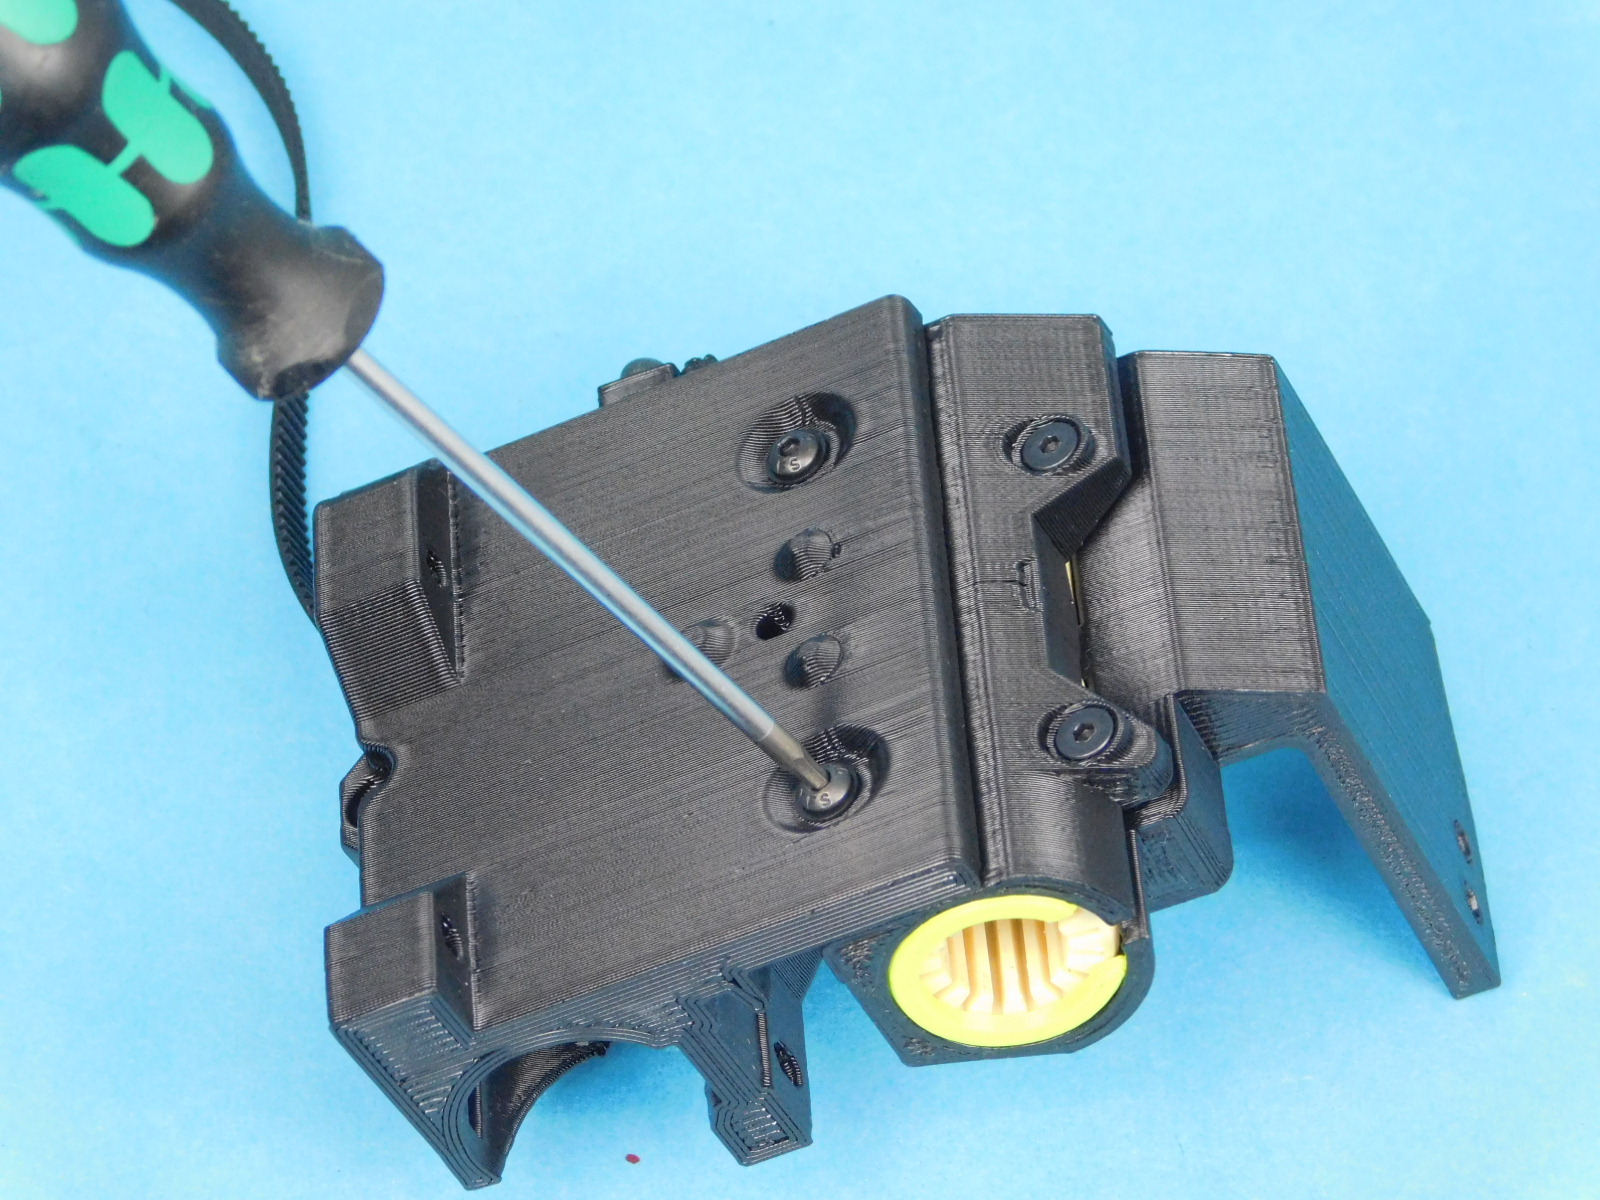
Using a 2.5mm hex driver, thread both fasteners of the tensioner into the nyloc nuts on the X Carriage Sub-Assembly [AS-PR0143]
Do not tighten
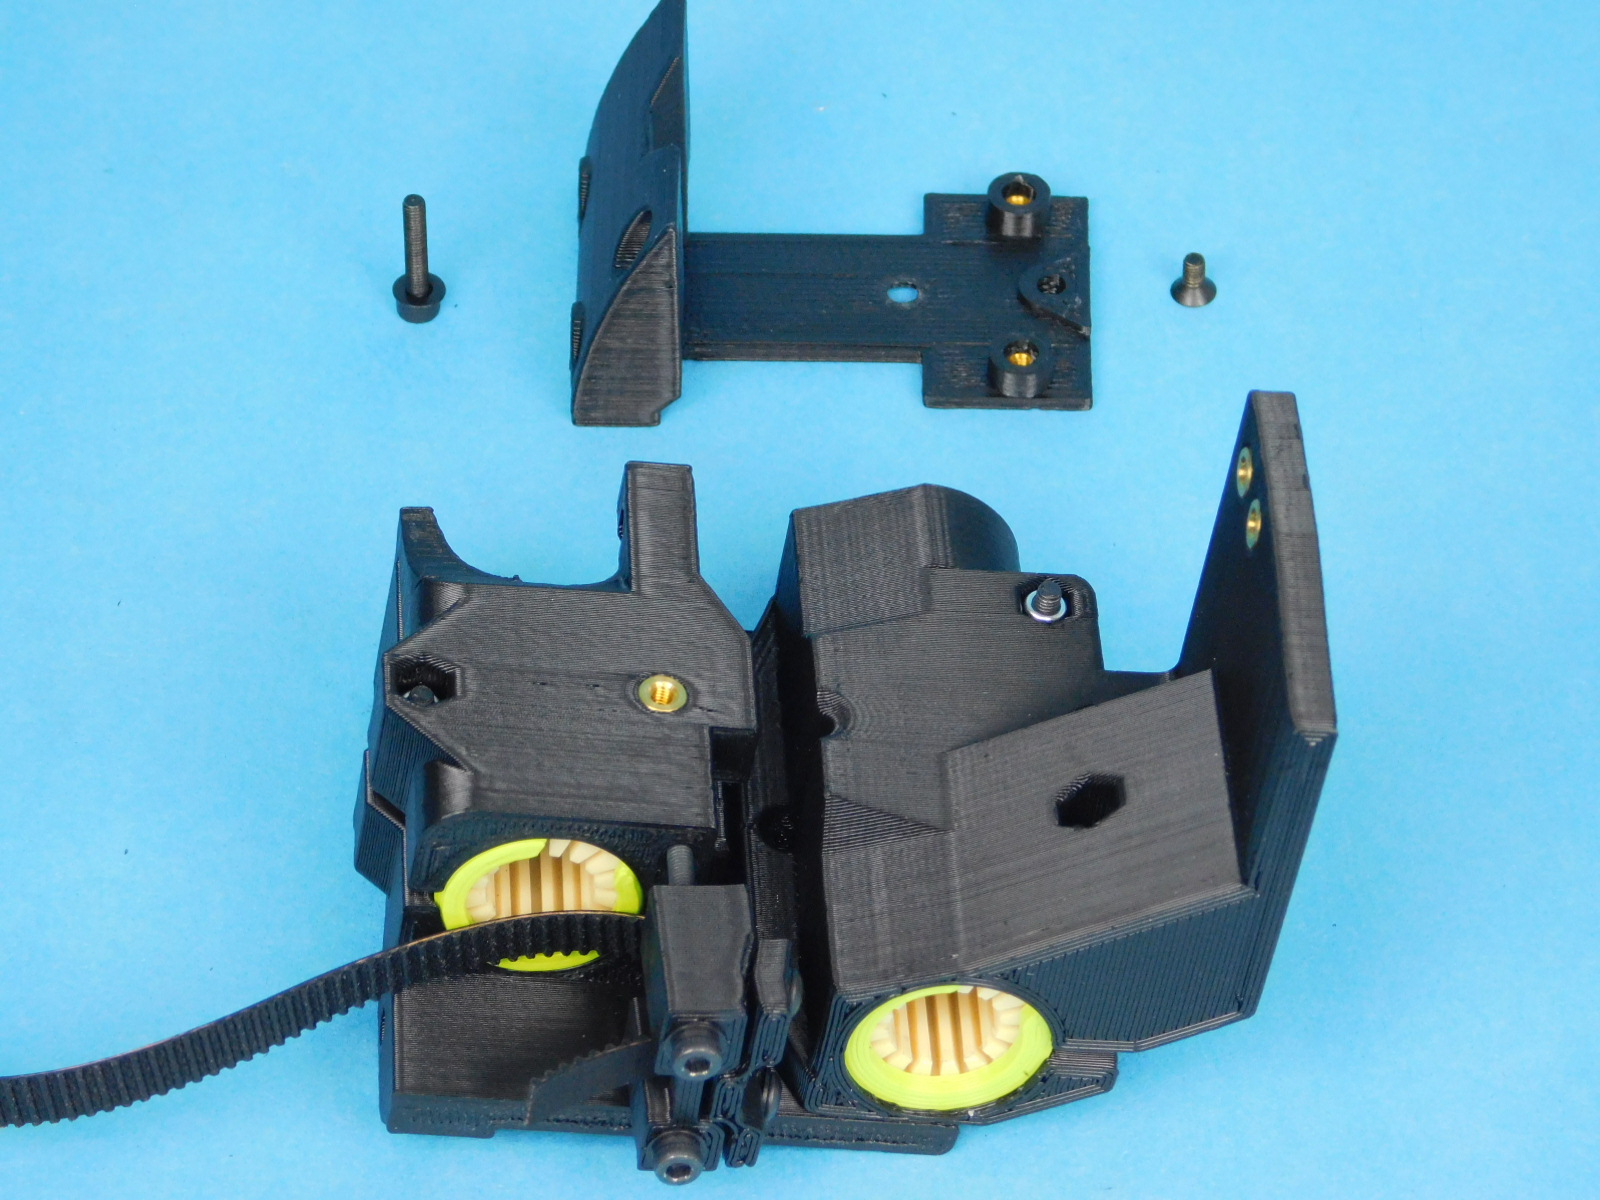
Obtain one X Double Bearing Holder Sub-Assembly [AS-PR0141]
Orient both parts as shown
Attach the X Carriage Sub-Assembly [AS-PR0143] to the X Double Bearing Holder Sub-Assembly [AS-PR0141] using two M3x8 BHCS [HD-BT0137] with washers [HD-WA0038]
Do not tighten
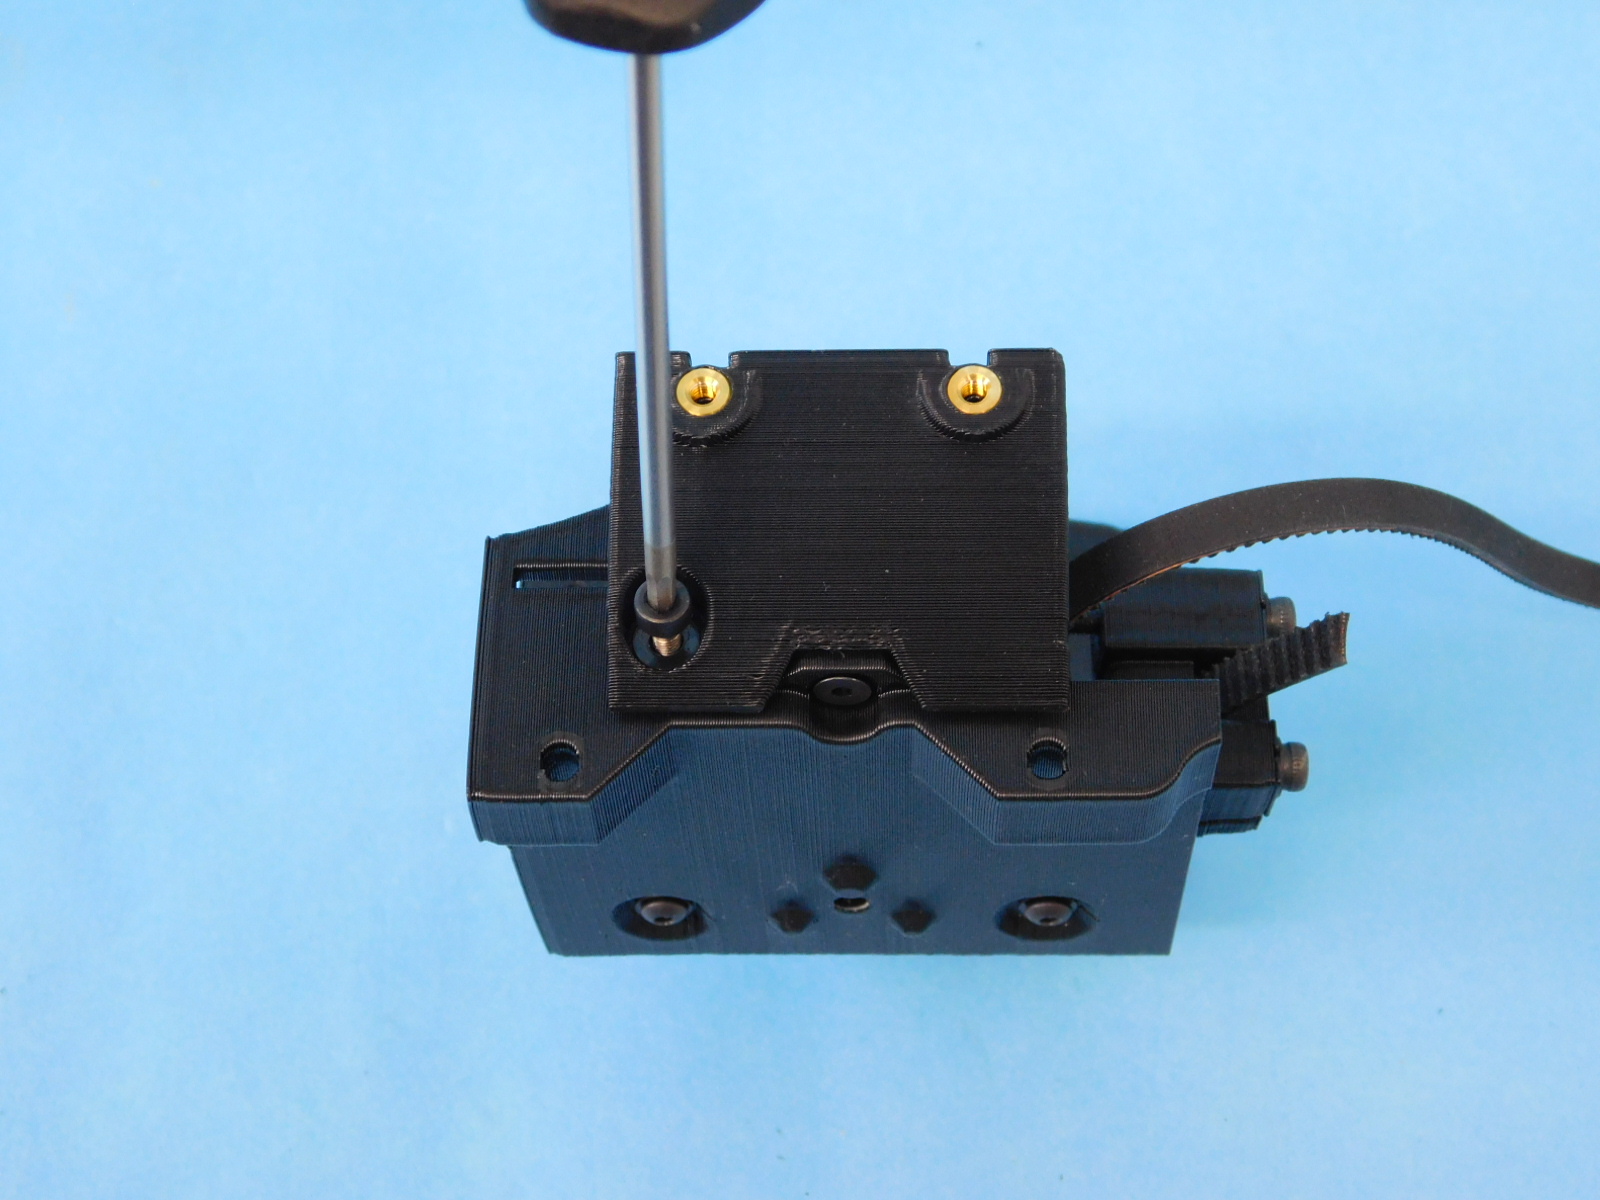
Obtain one Interface Board Mount with Inserts [PP-IS0099]
Orient both parts as shown
Place the Interface Board Mount with inserts over the X Carriage as shown.
Secure using one [HD-BT0128] at the location shown torque to 5in*lbs
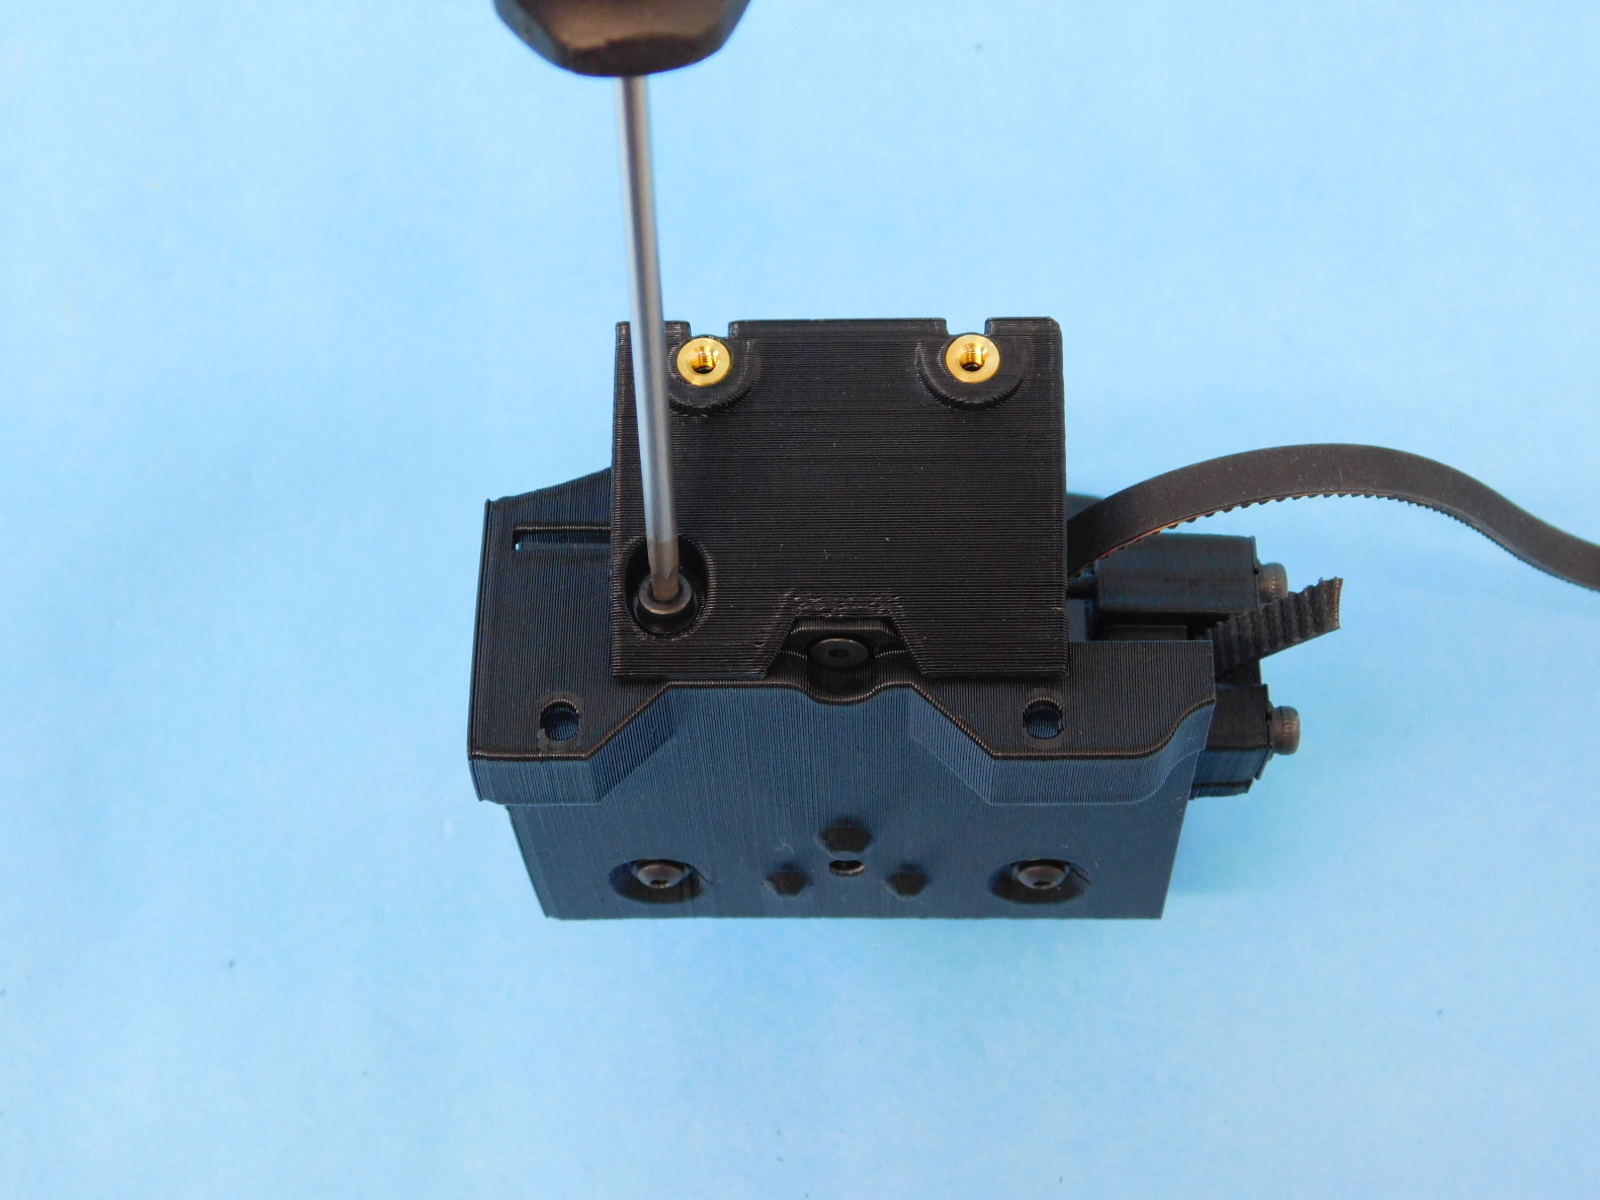
Rotate/flip the assembly upright
Install one M3x16 SHCS [HD-BT0185]
torque to 5in*lbs
Examine your work and ensure all steps were followed correctly